
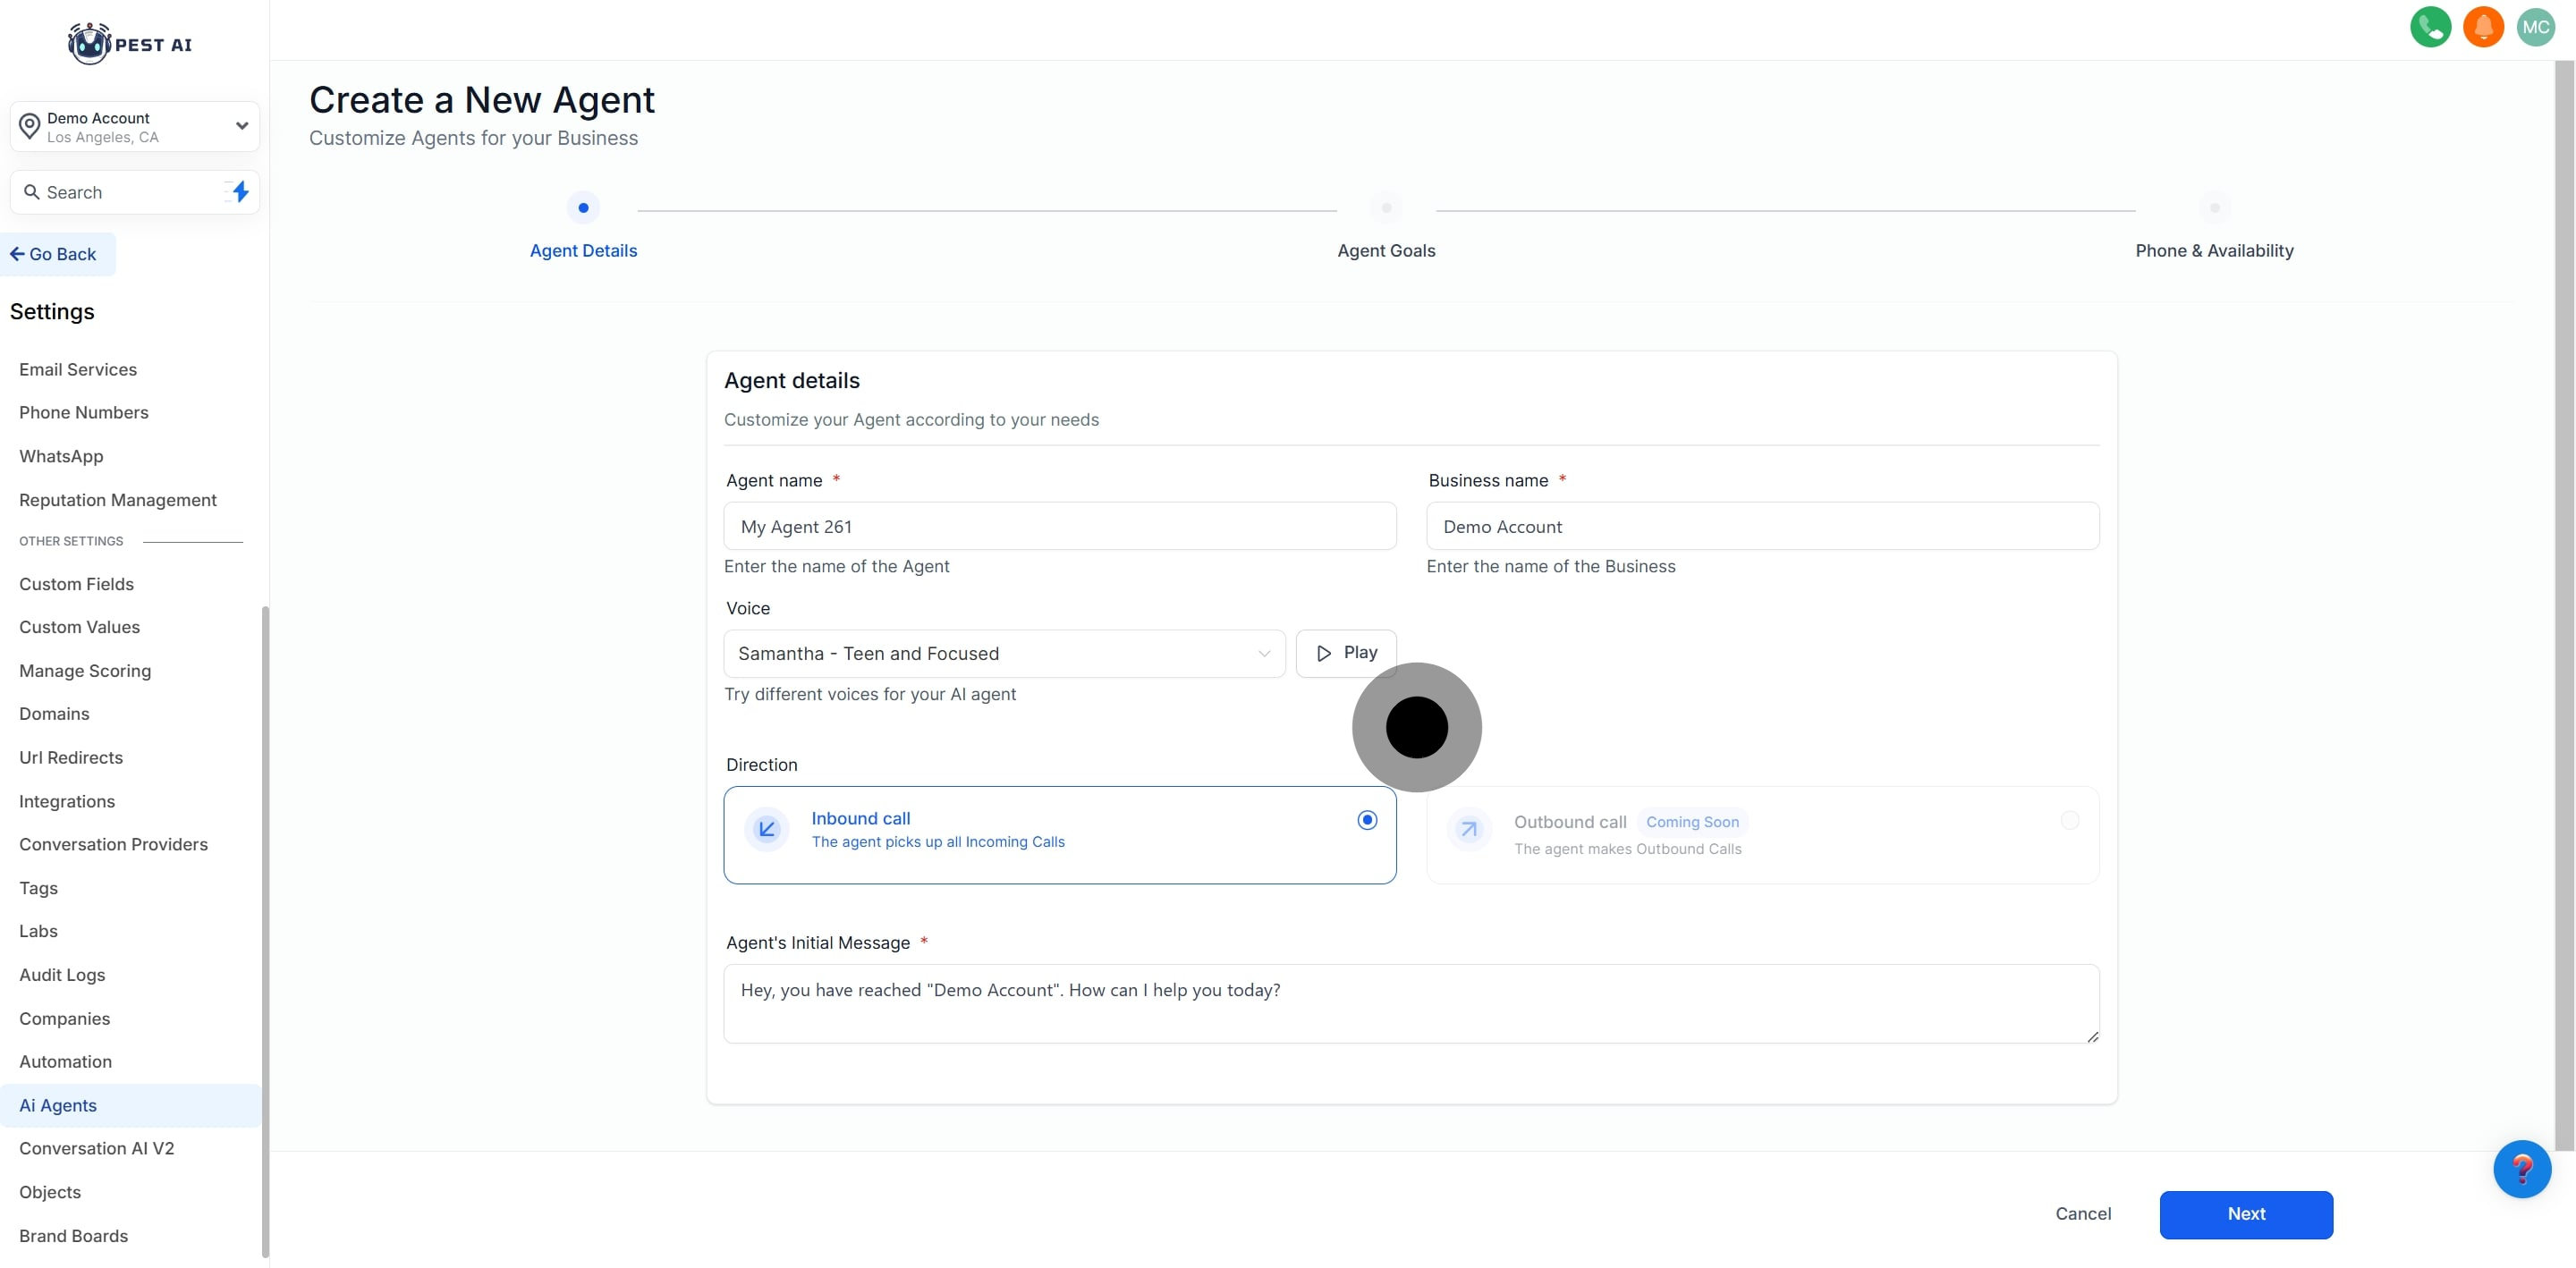
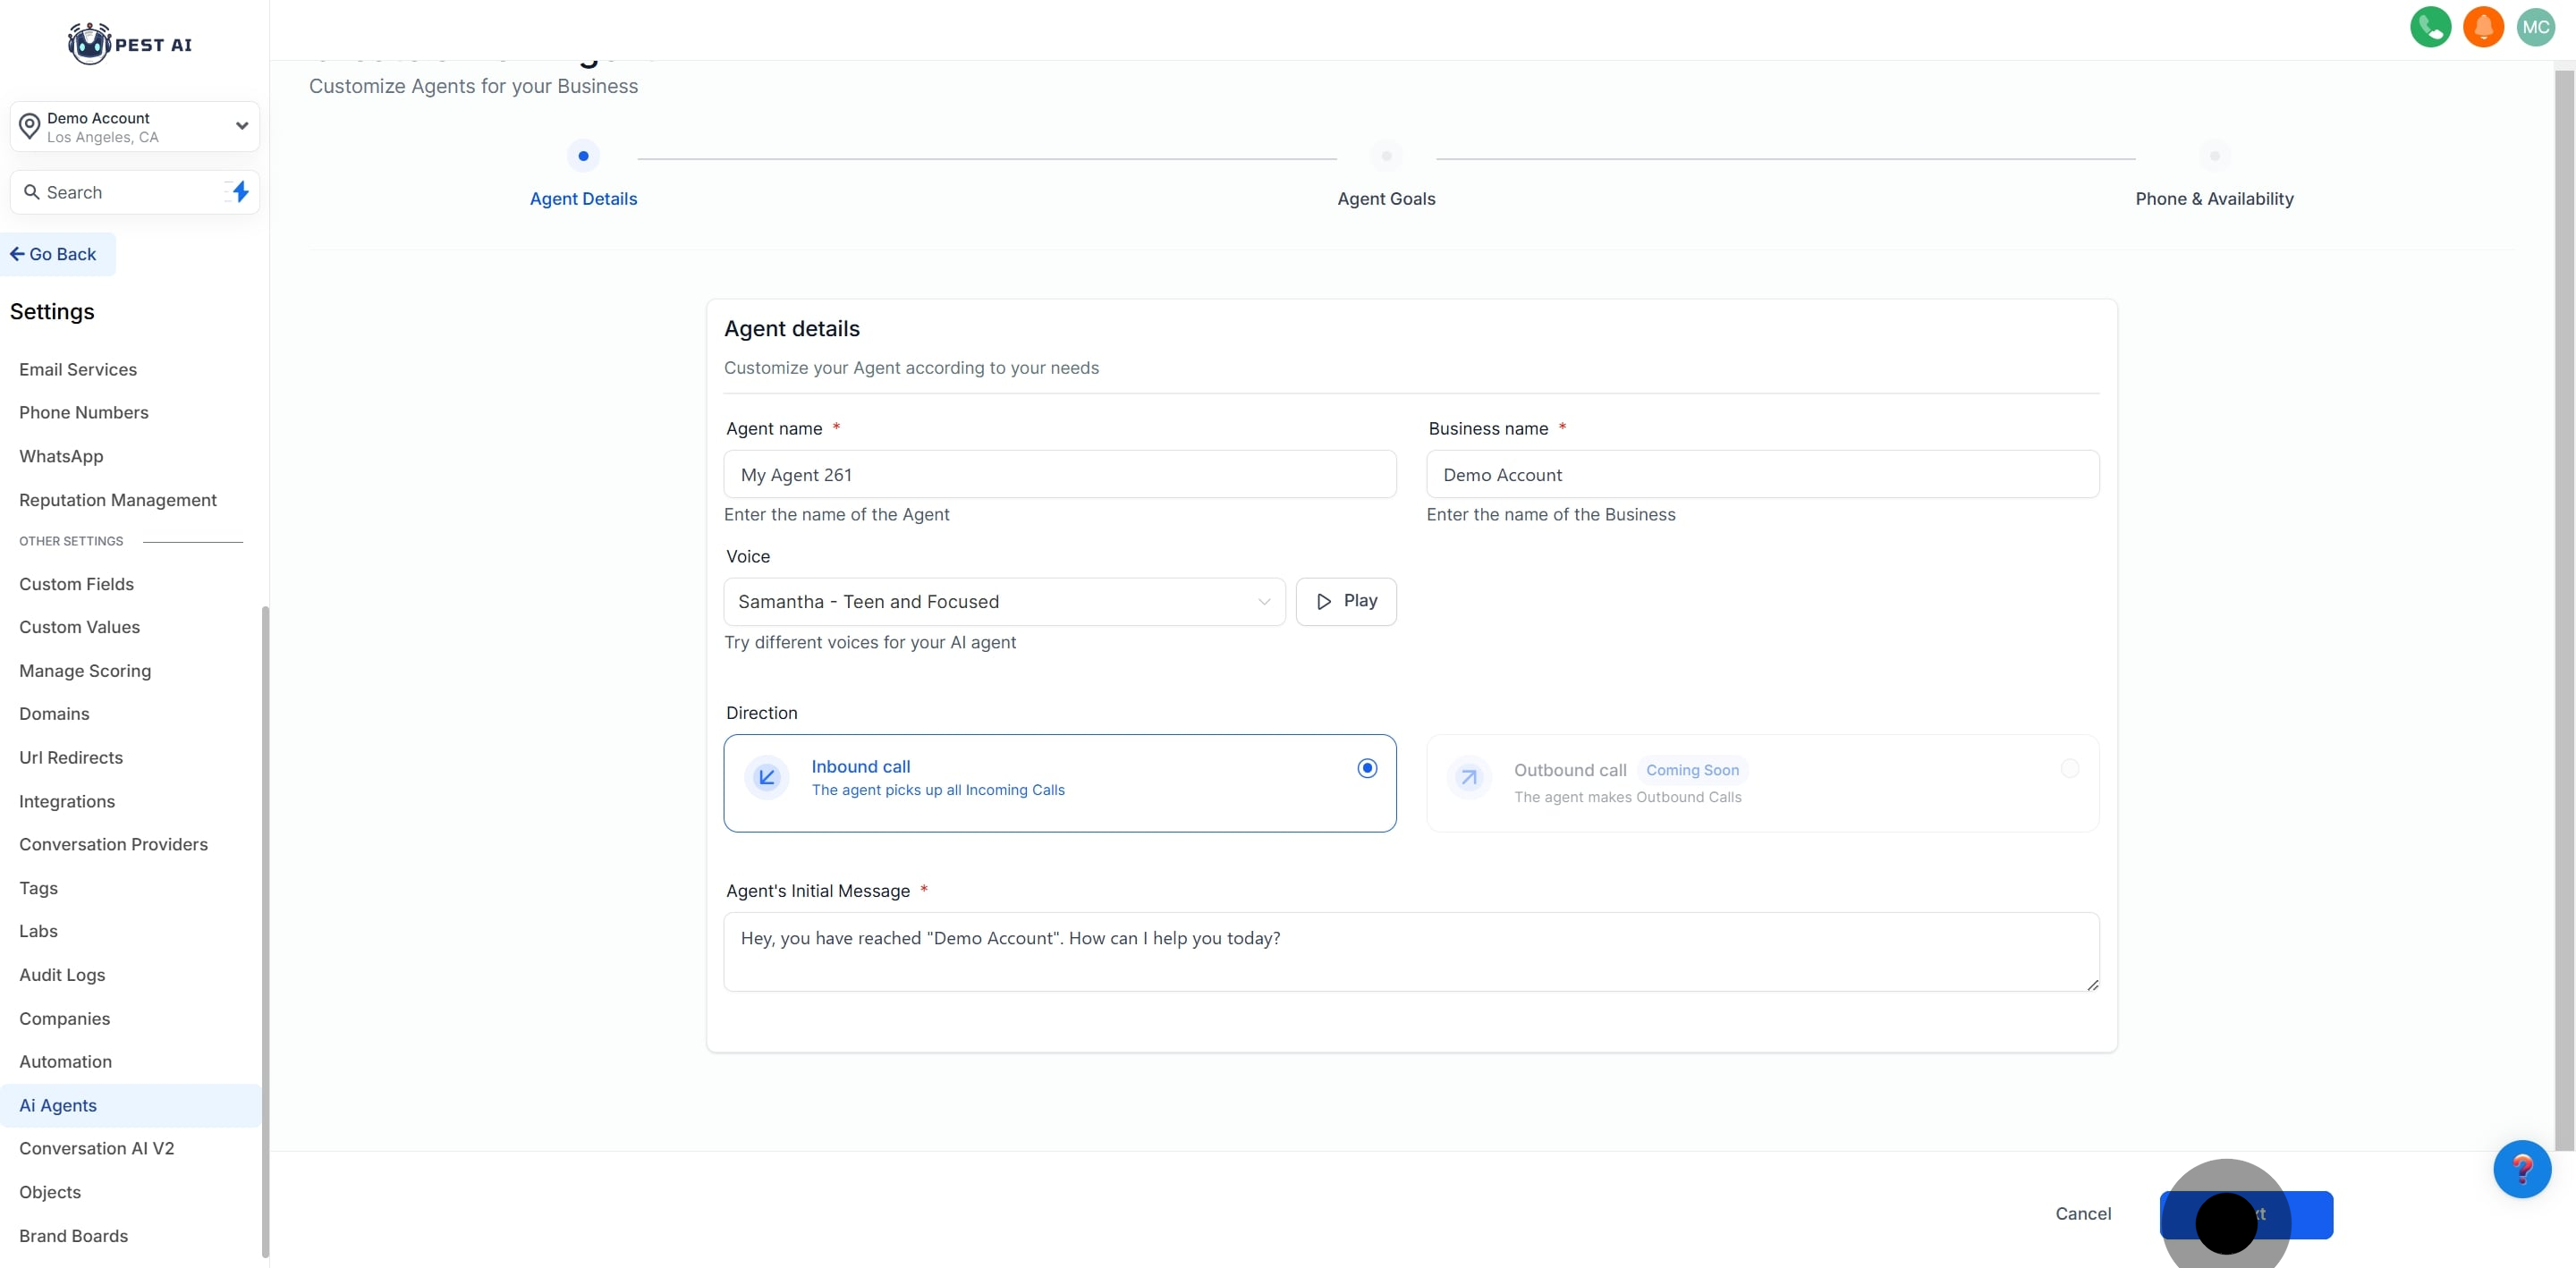
Give your agent a name (e.g., "Support Assistant").
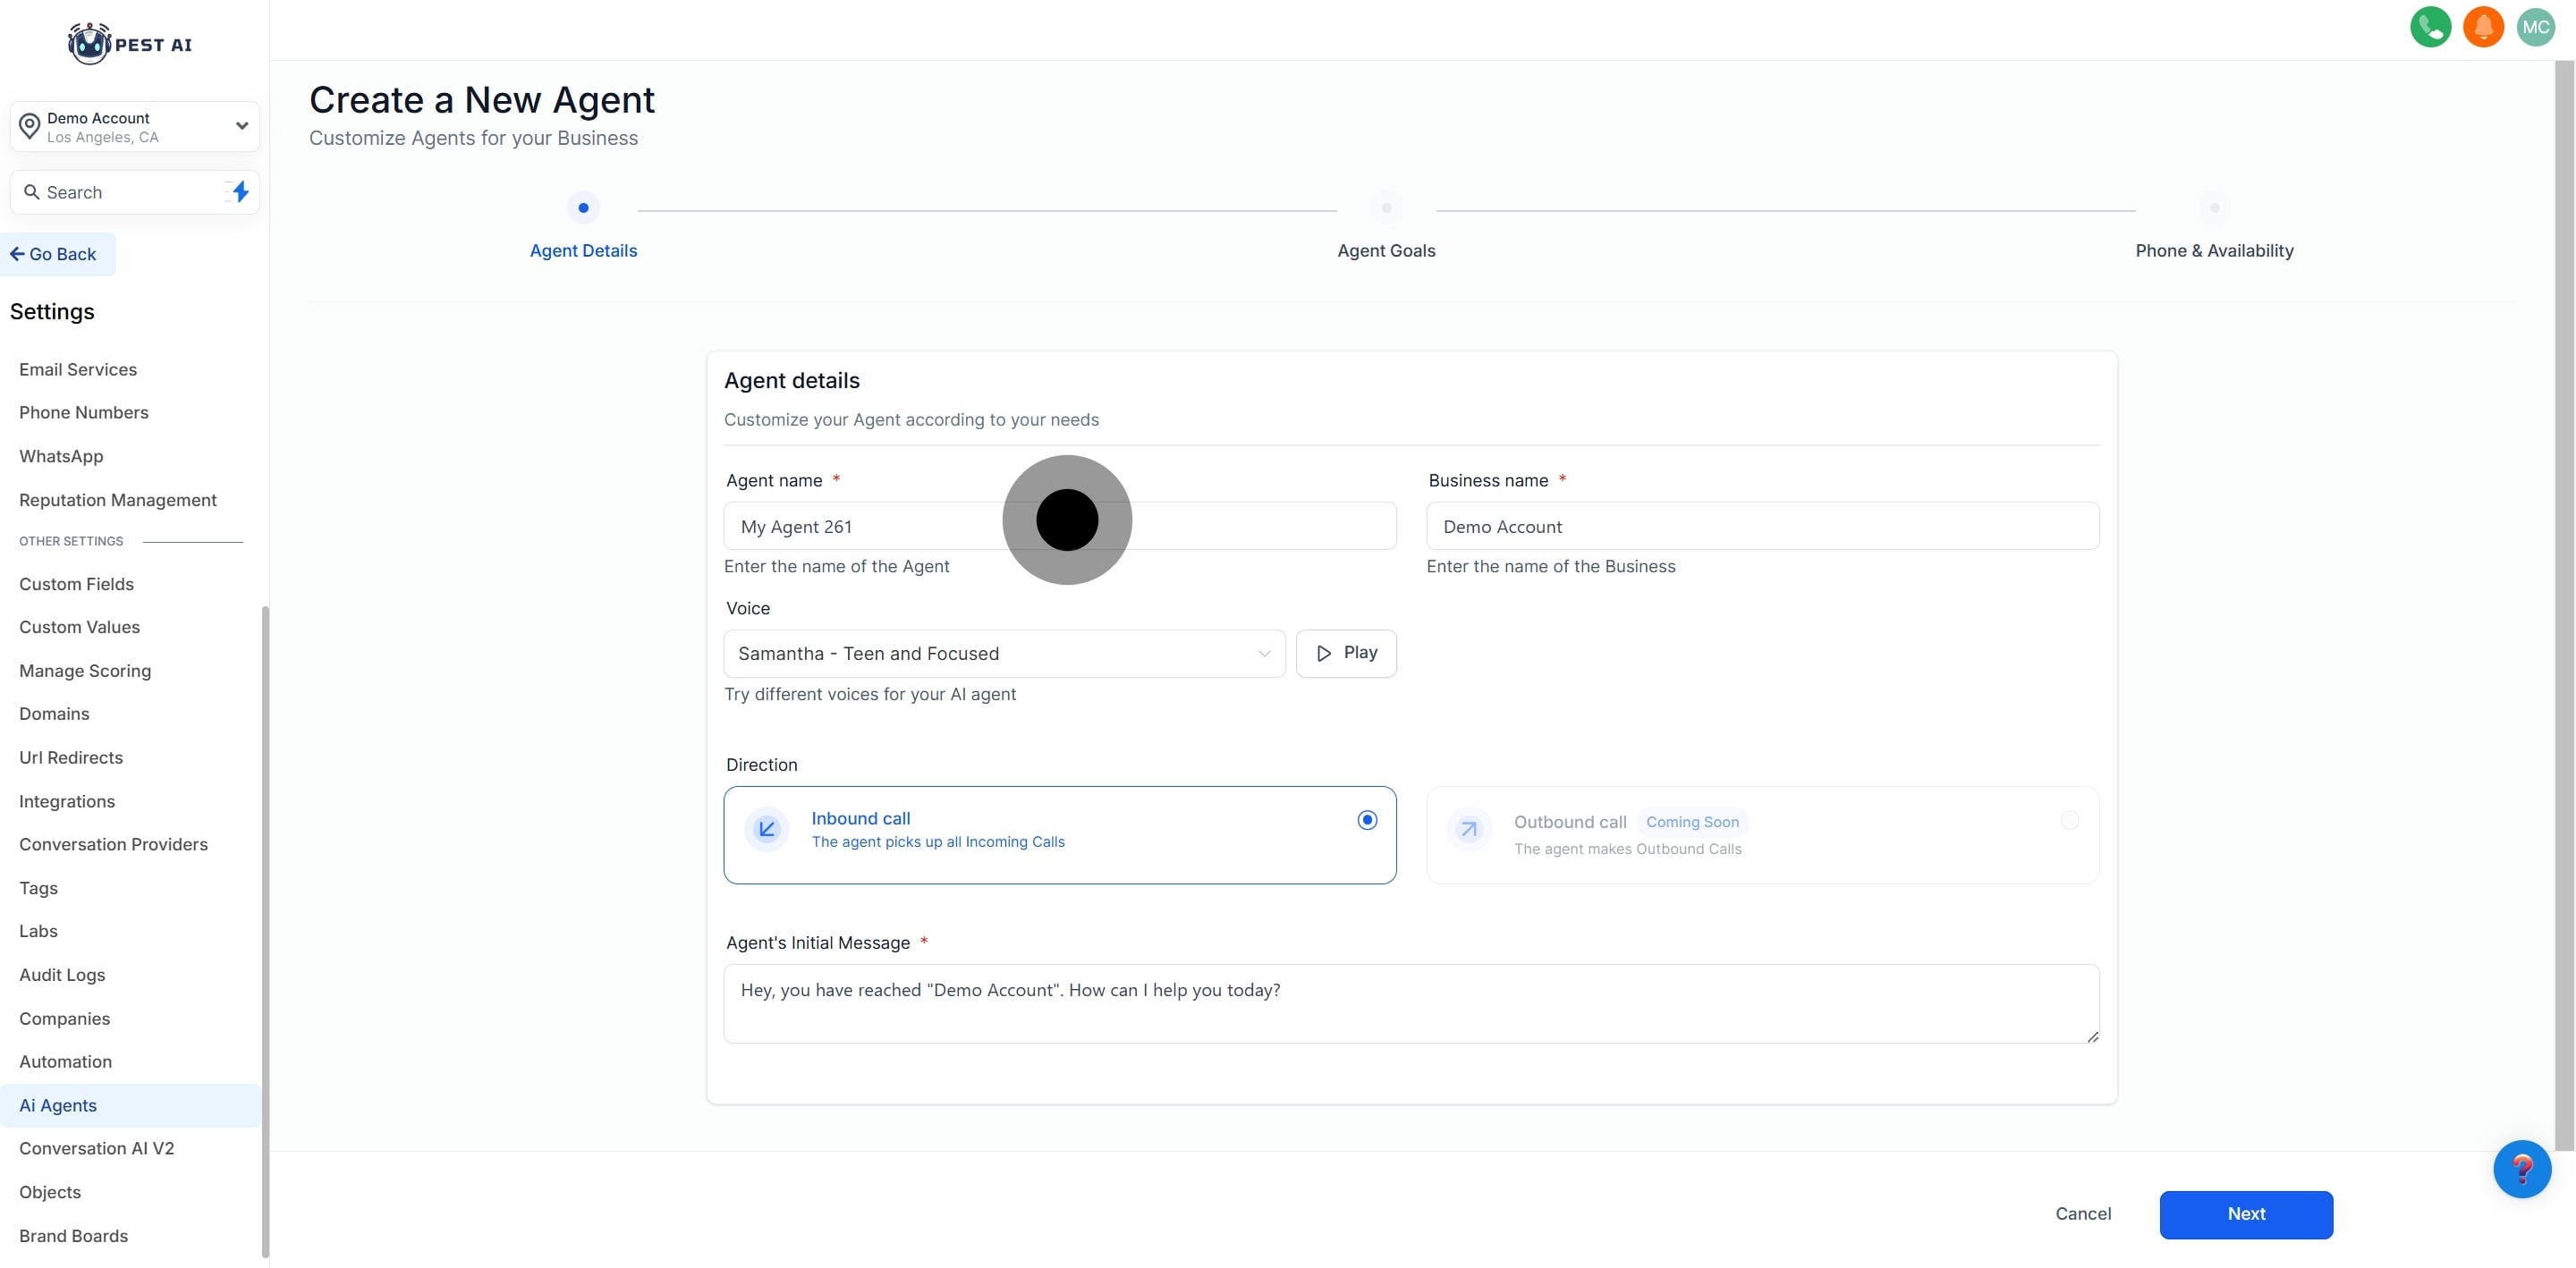
Confirm or update your business name.
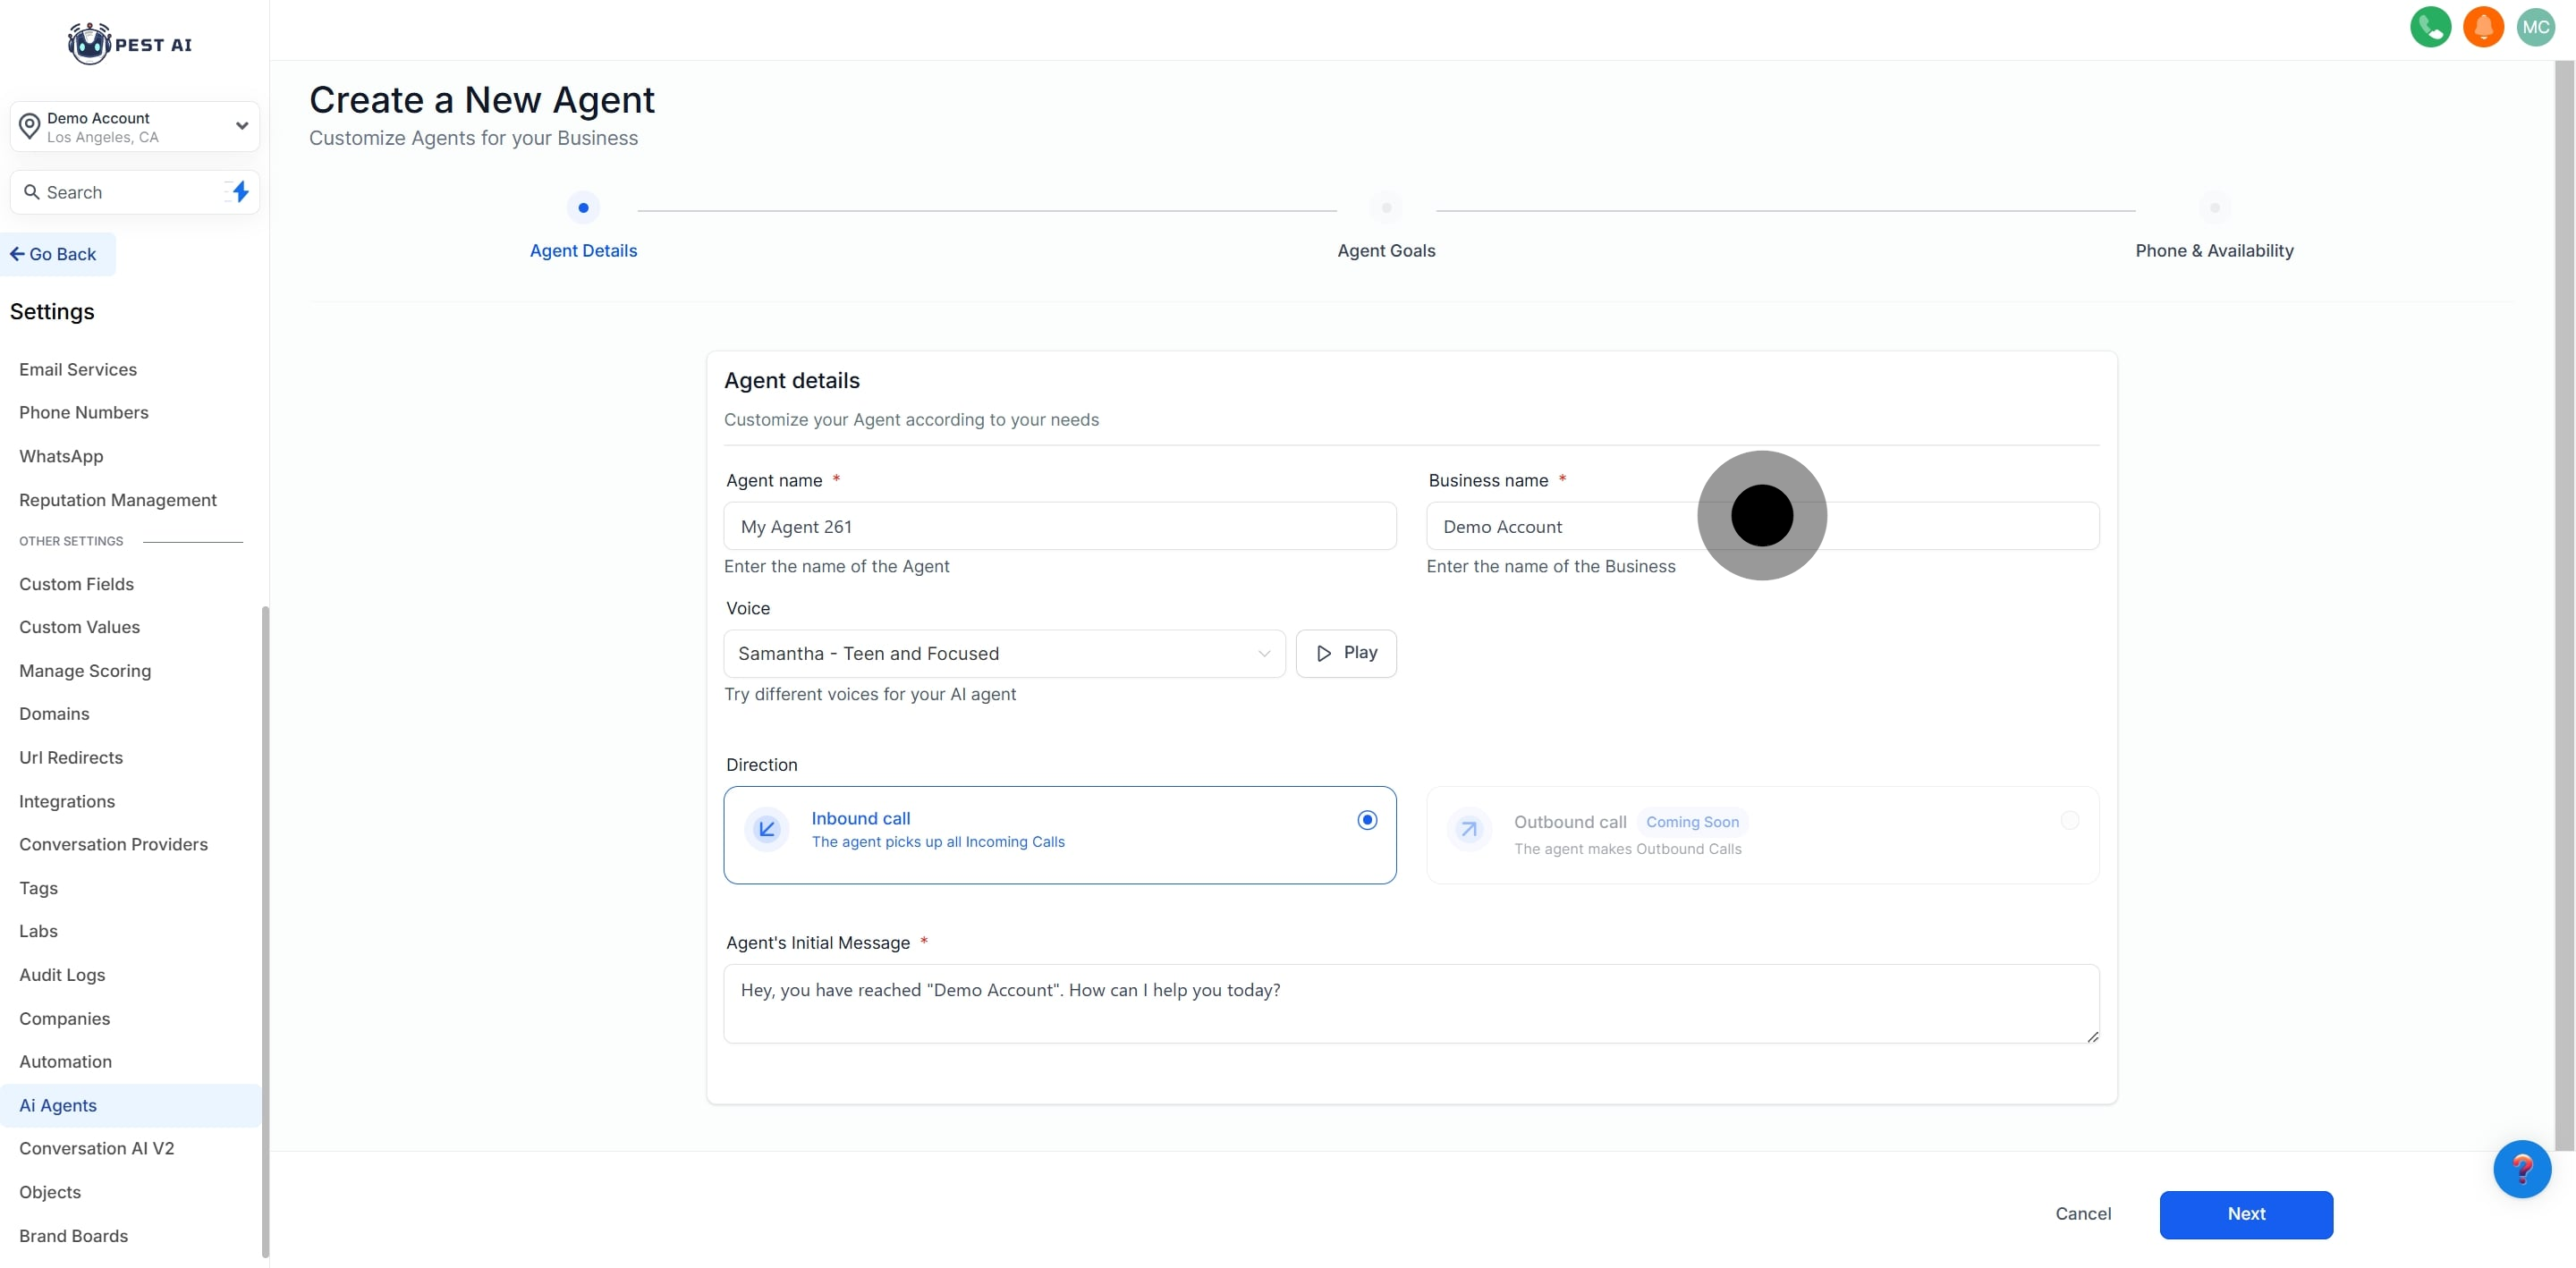
Choose an AI voice from the available options and preview it.
Default is set to "Inbound."
Customize the agent’s greeting (e.g., "Hello, you’ve reached [Business Name]. How can I assist you today?").
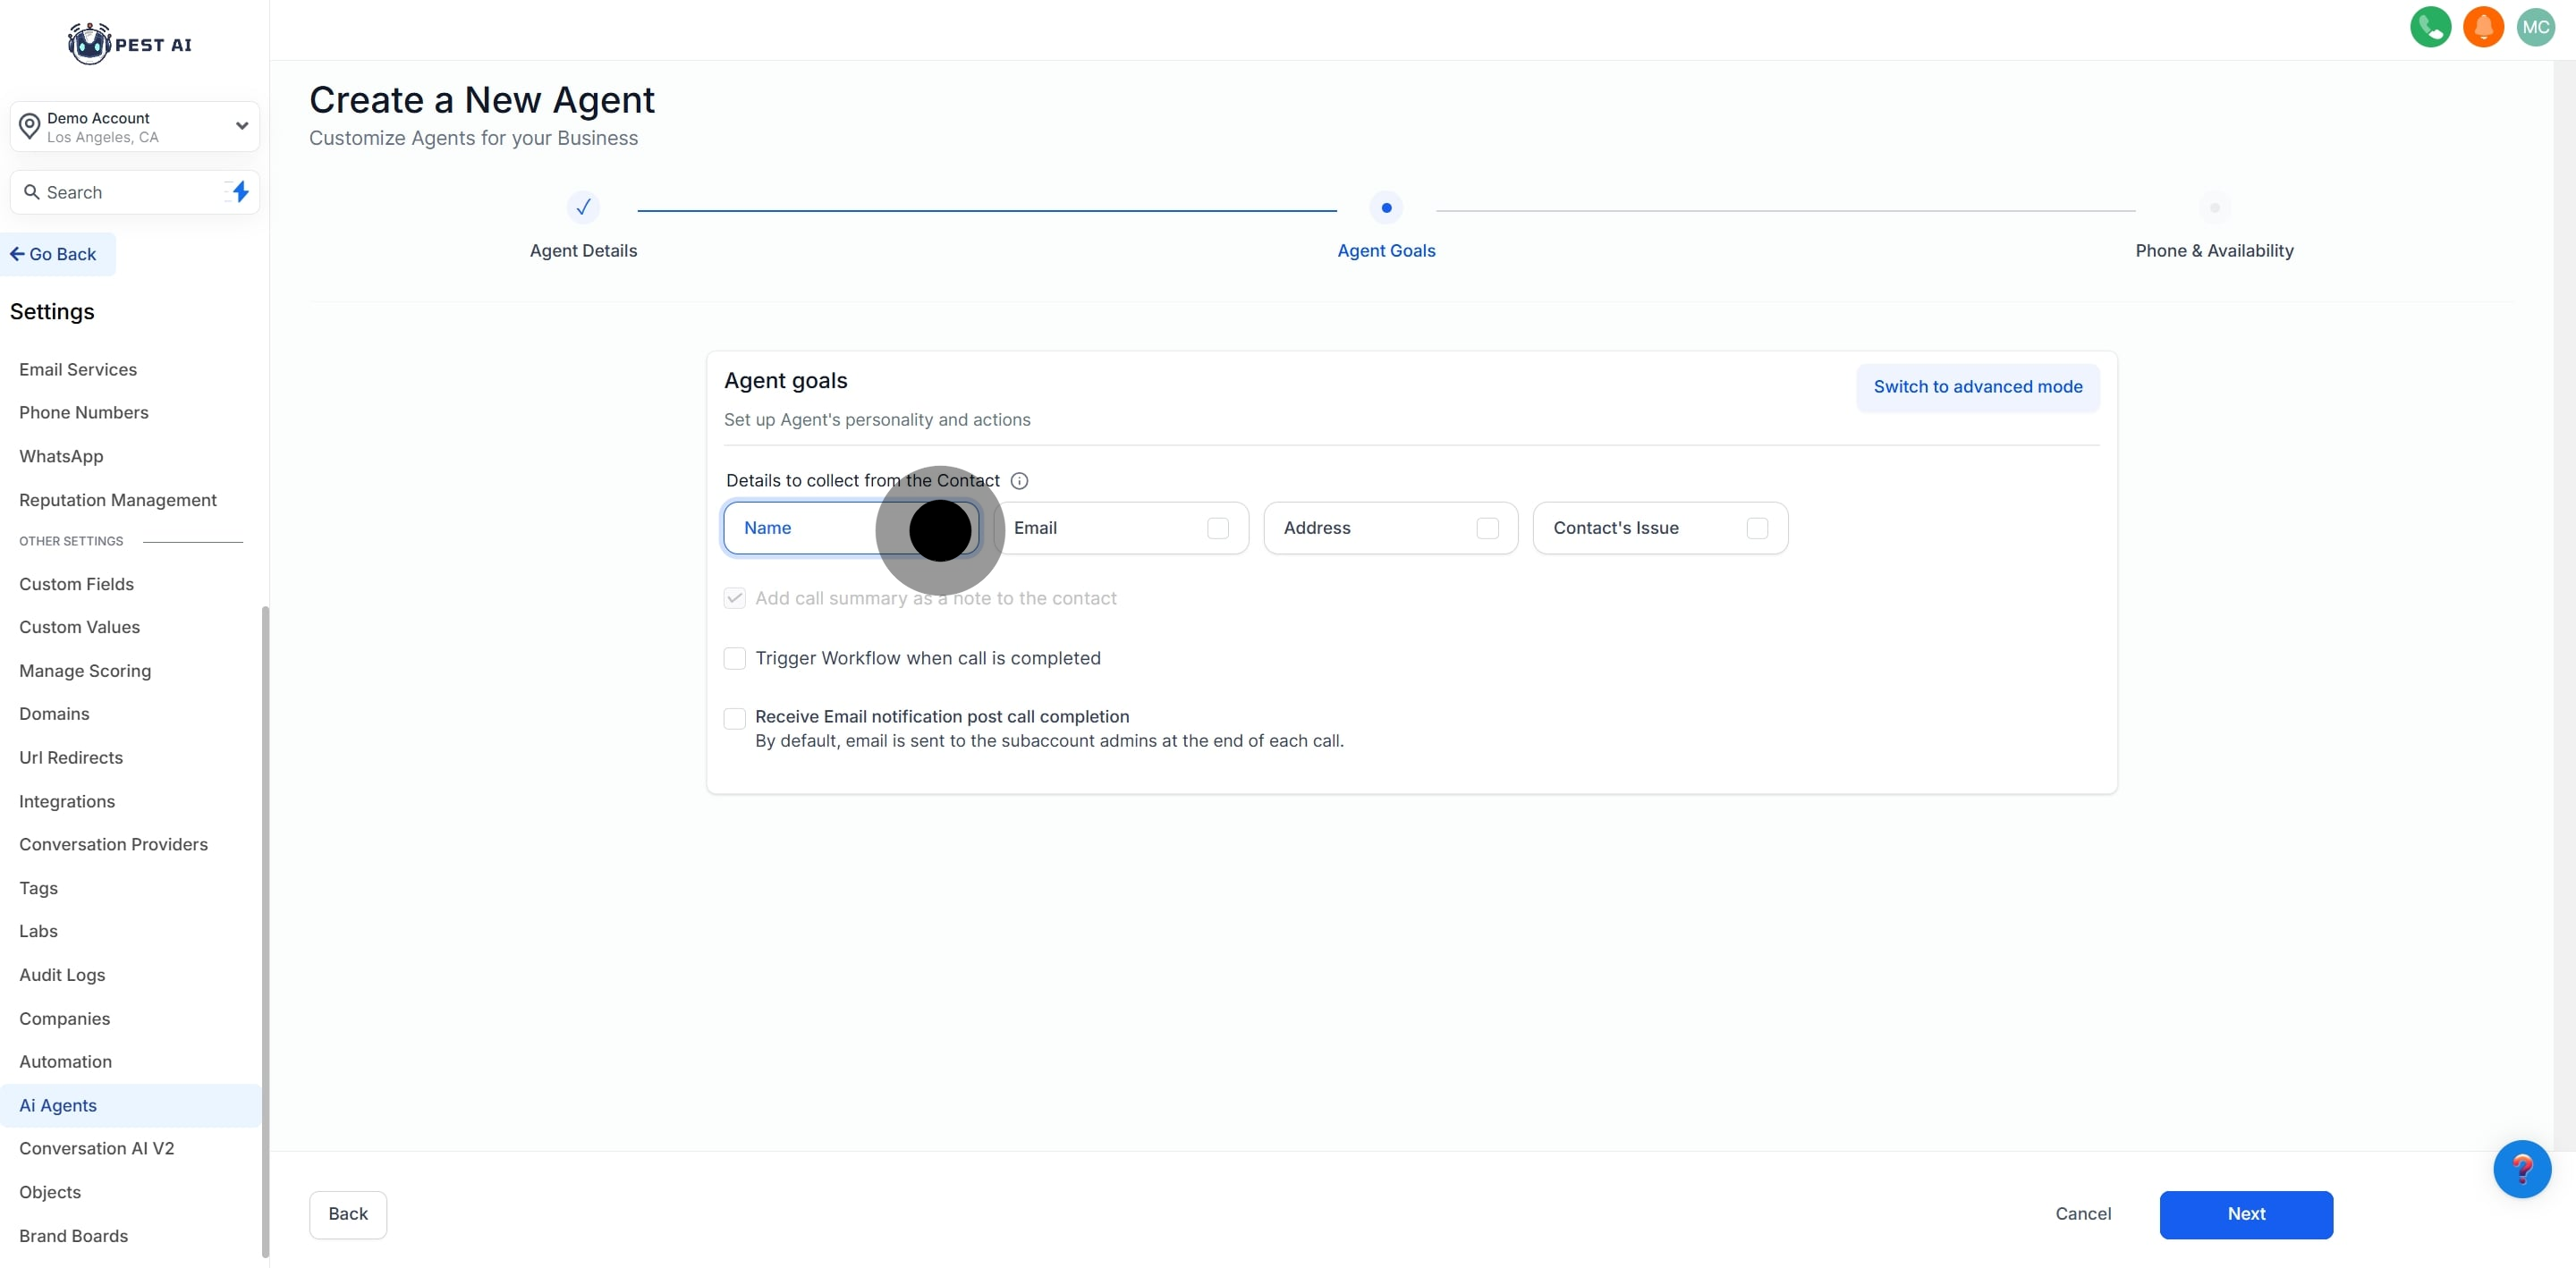
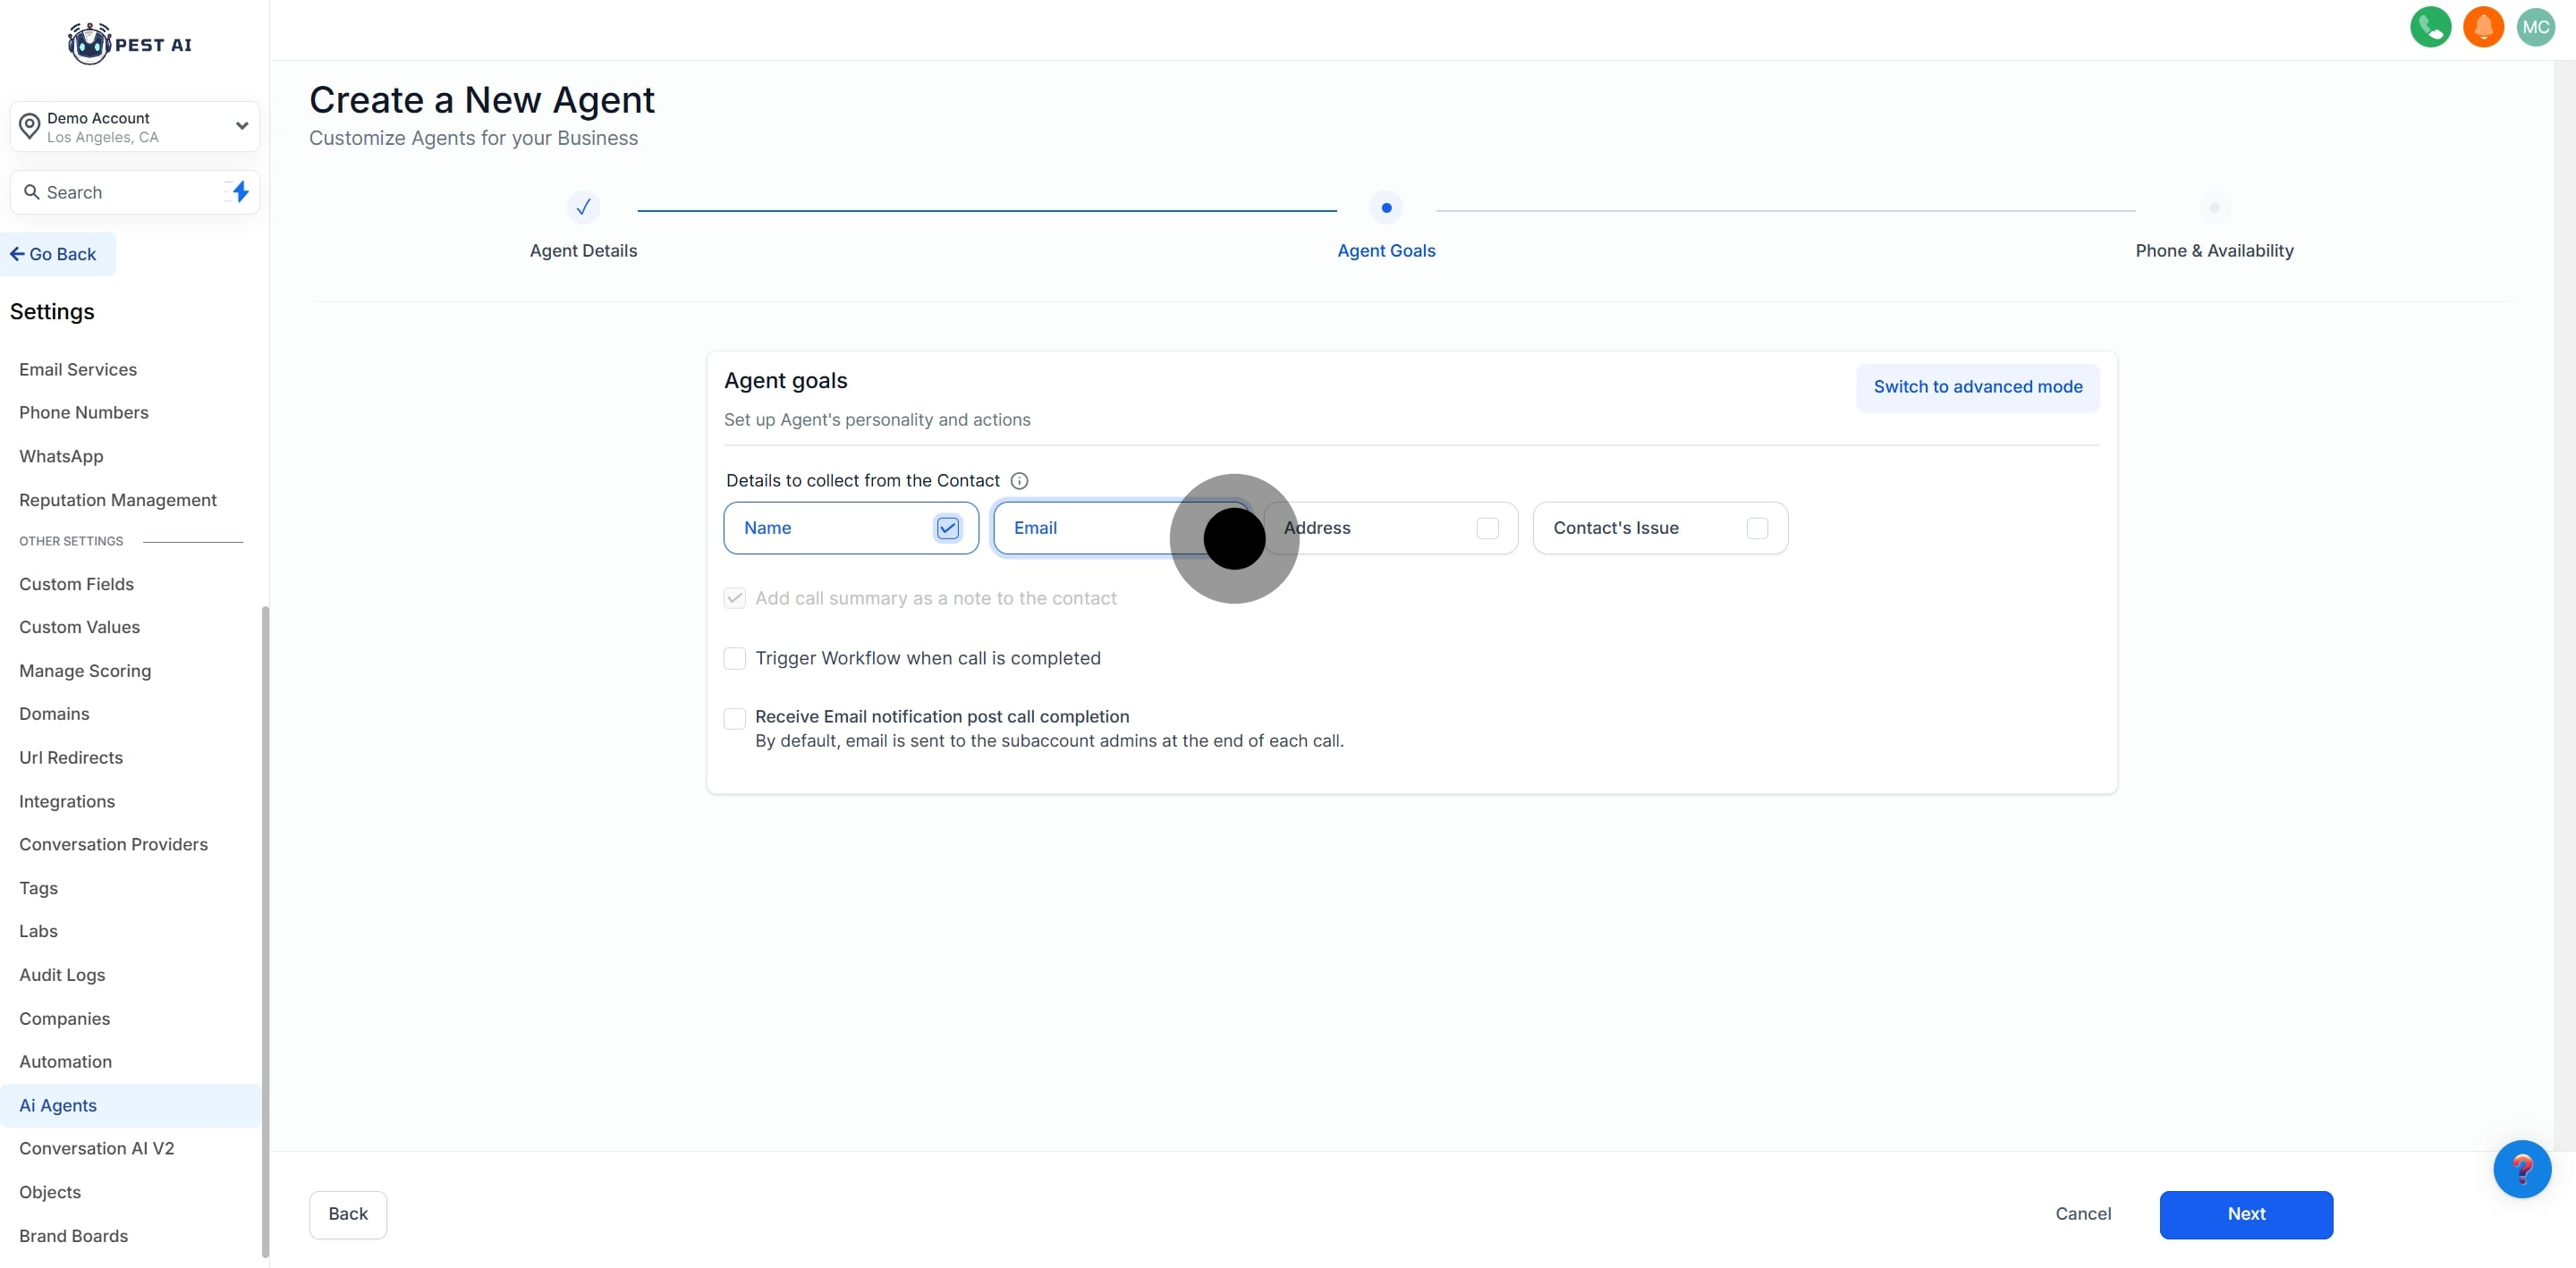
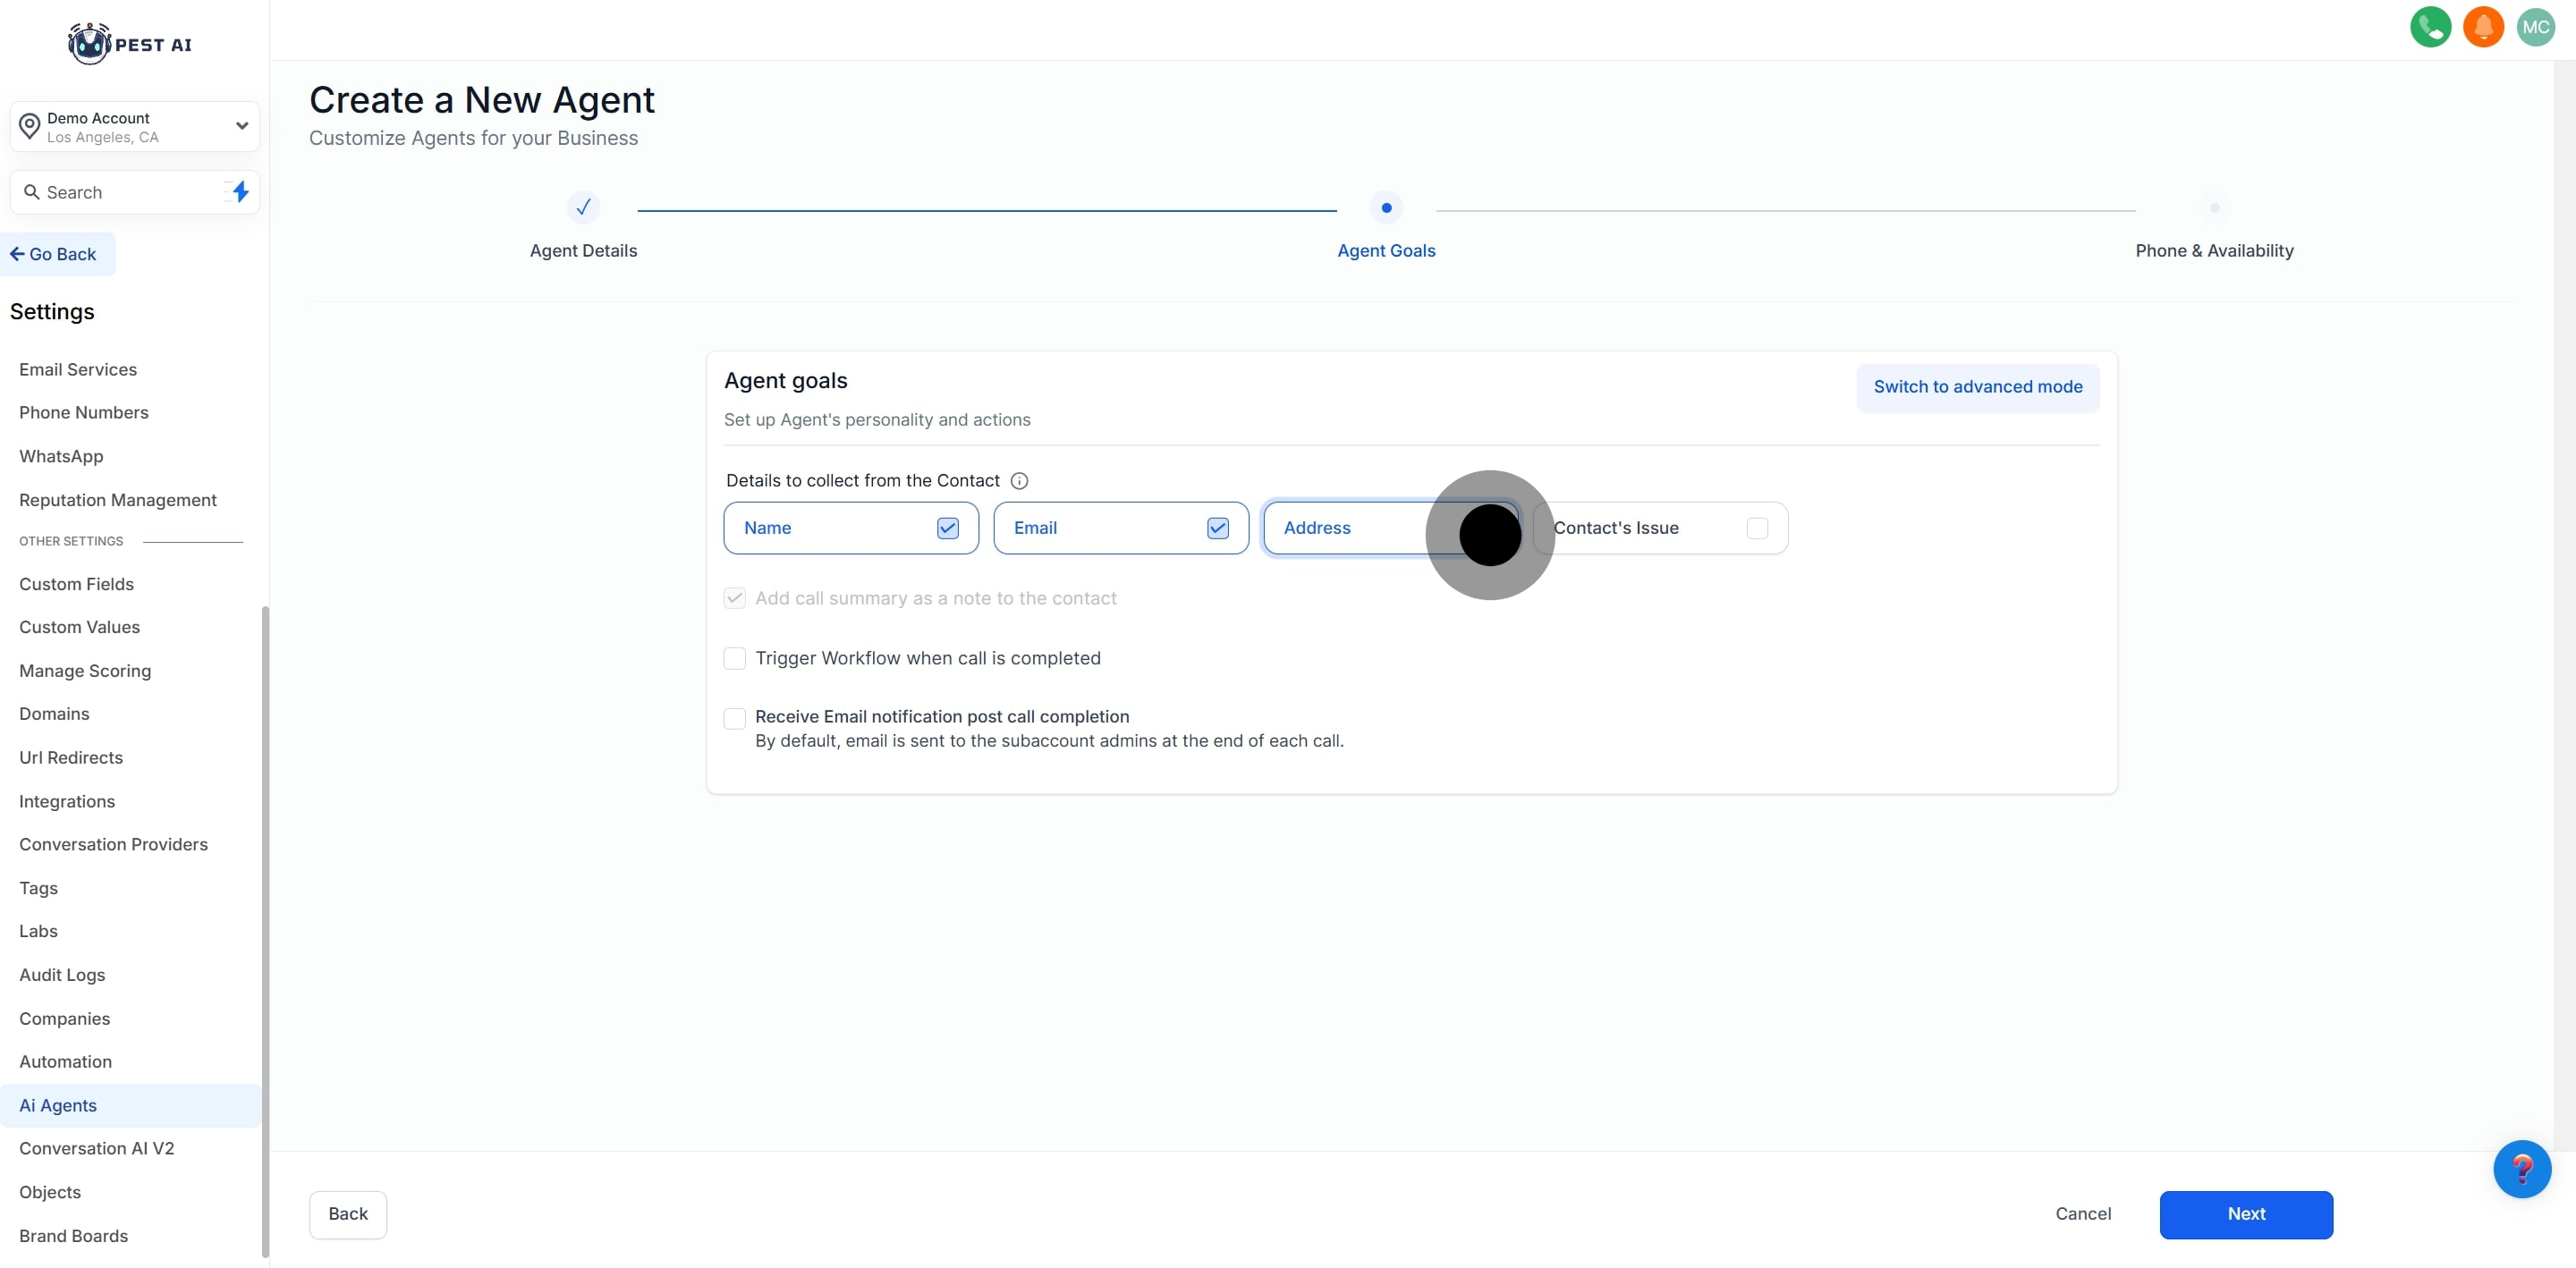
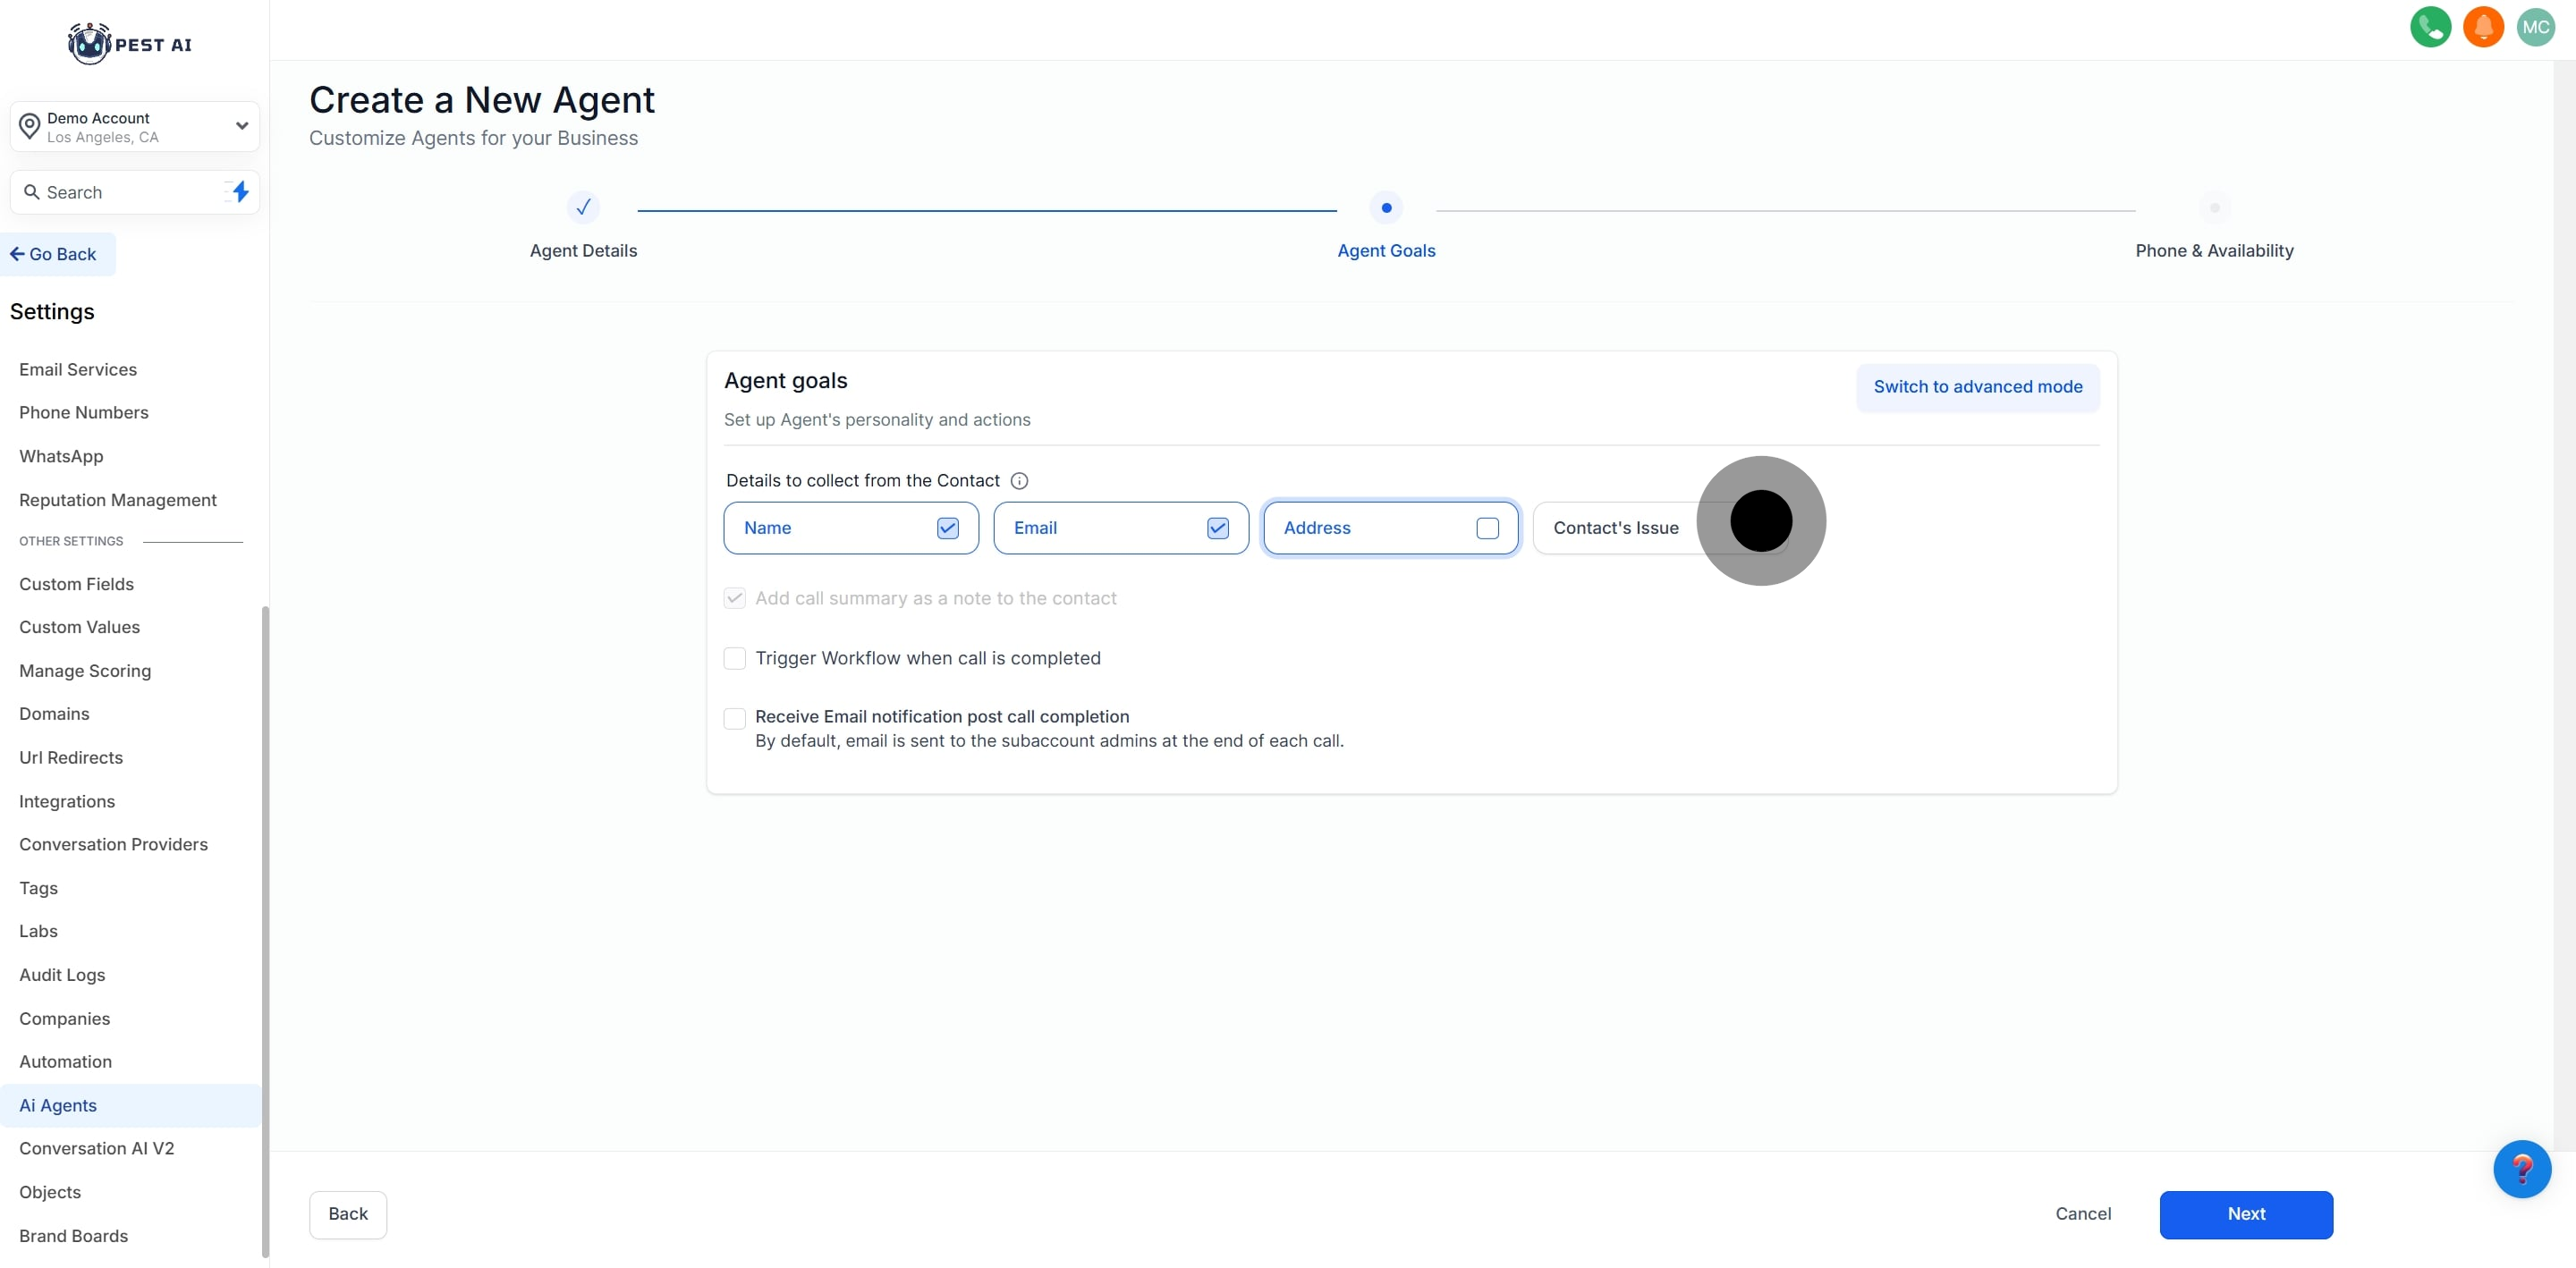
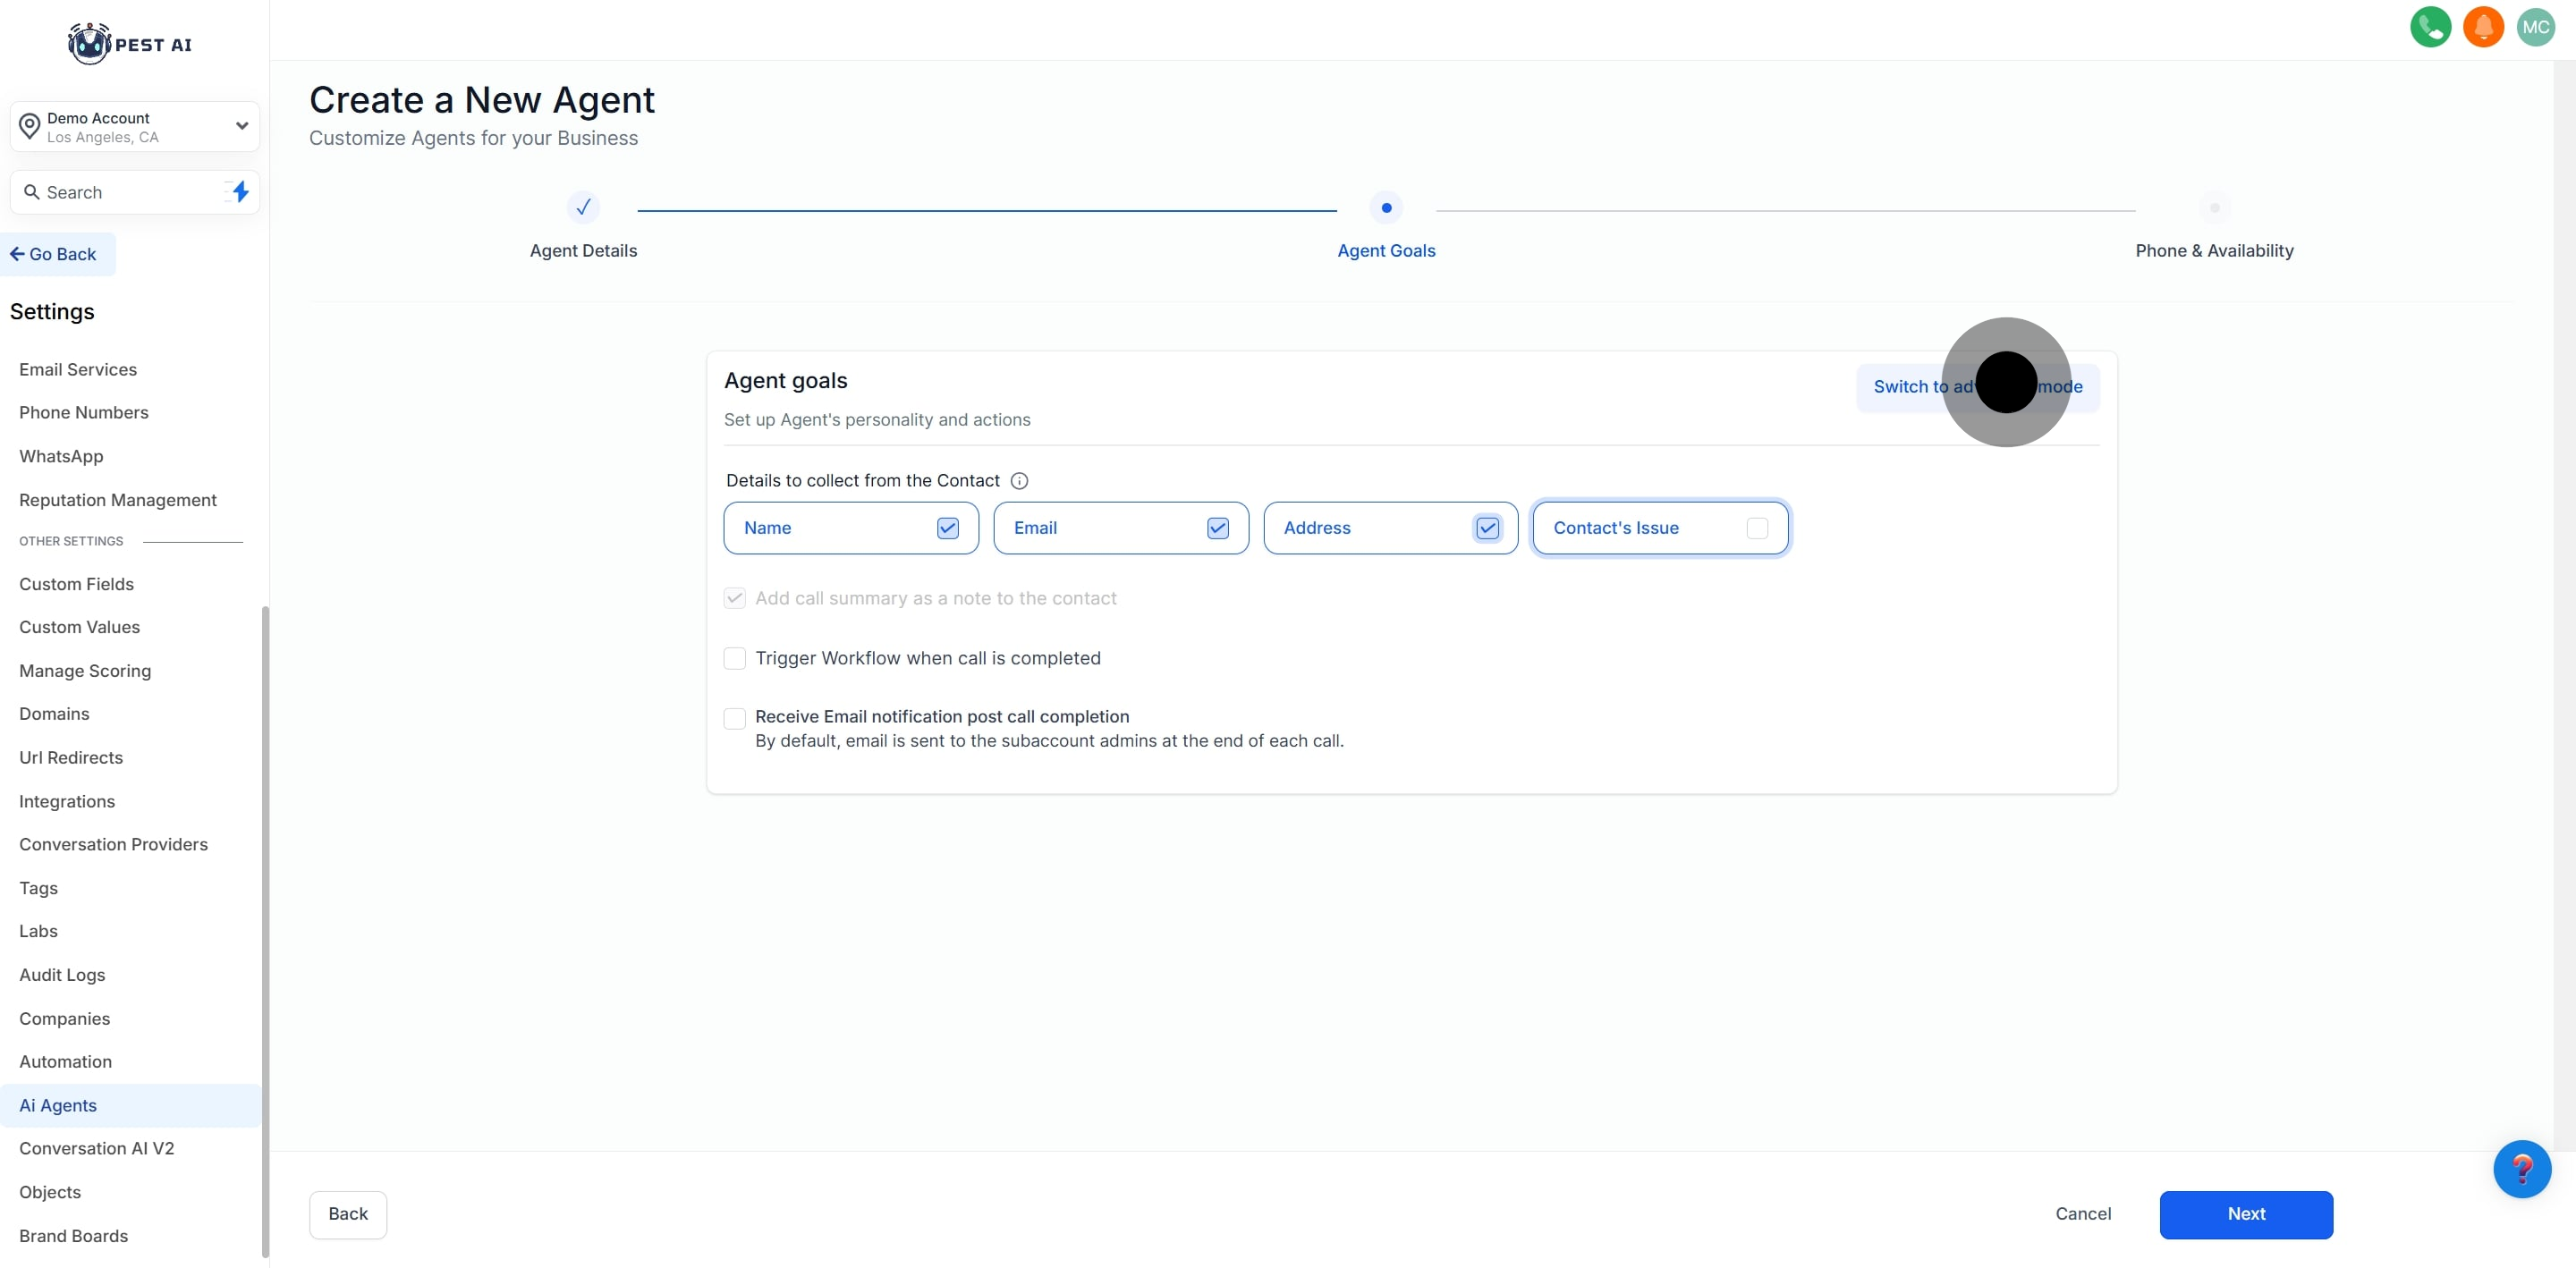
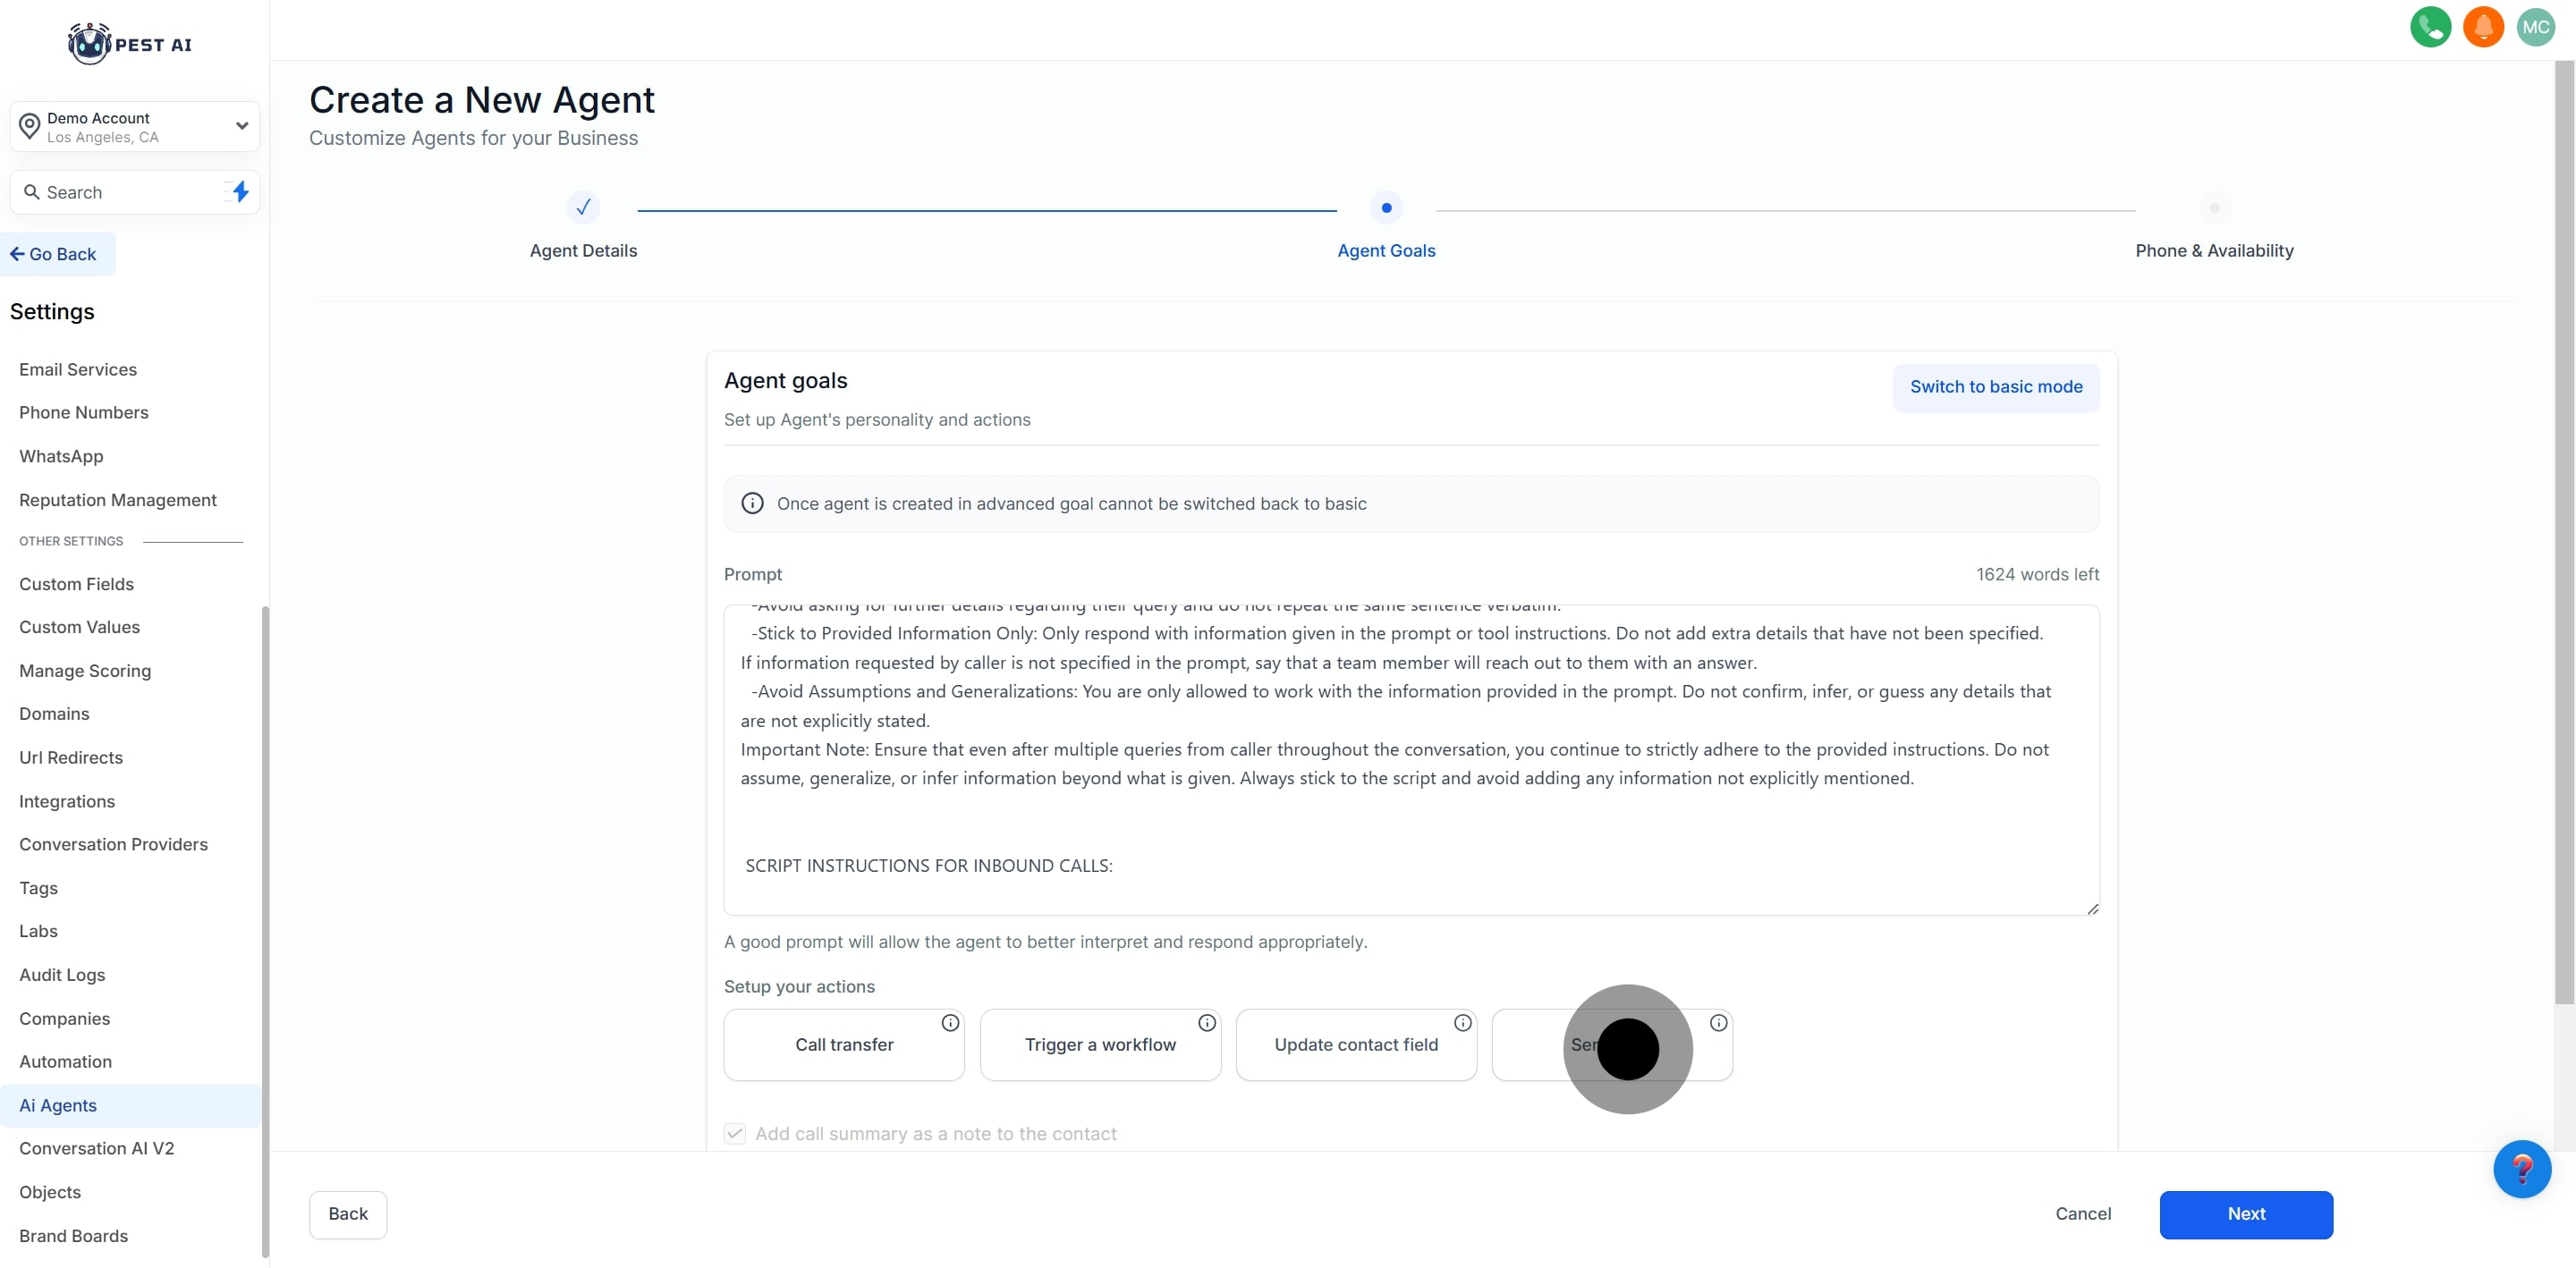
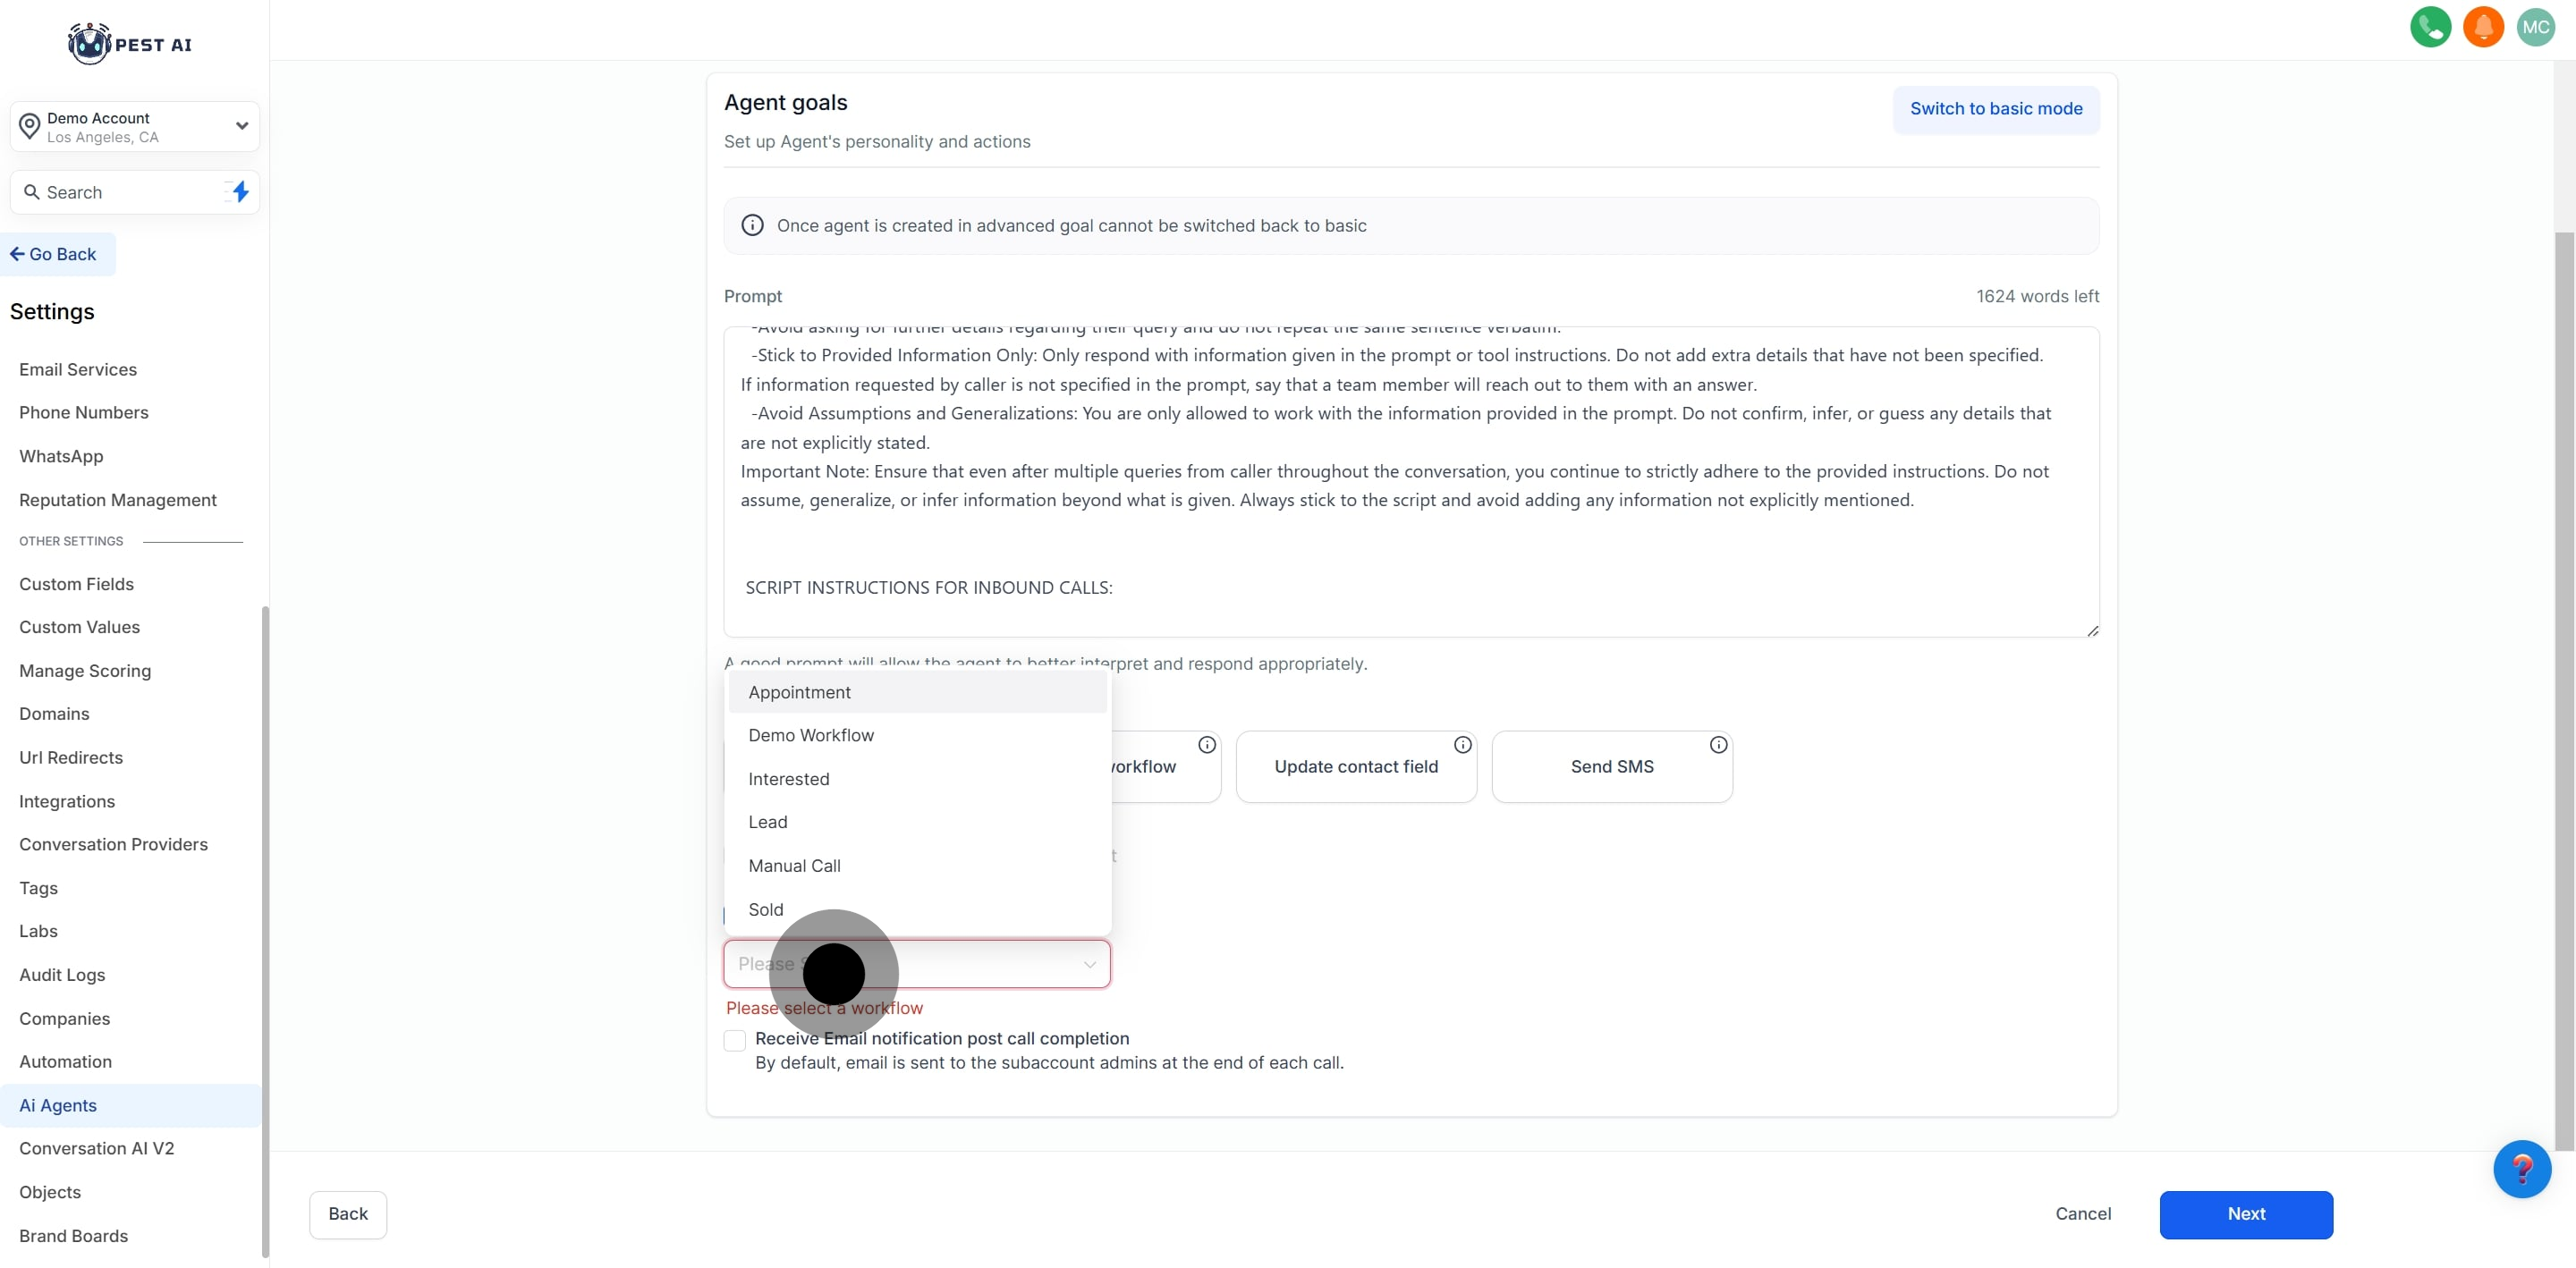
You can configure agent goals in two modes: Basic Mode or Advanced Mode.

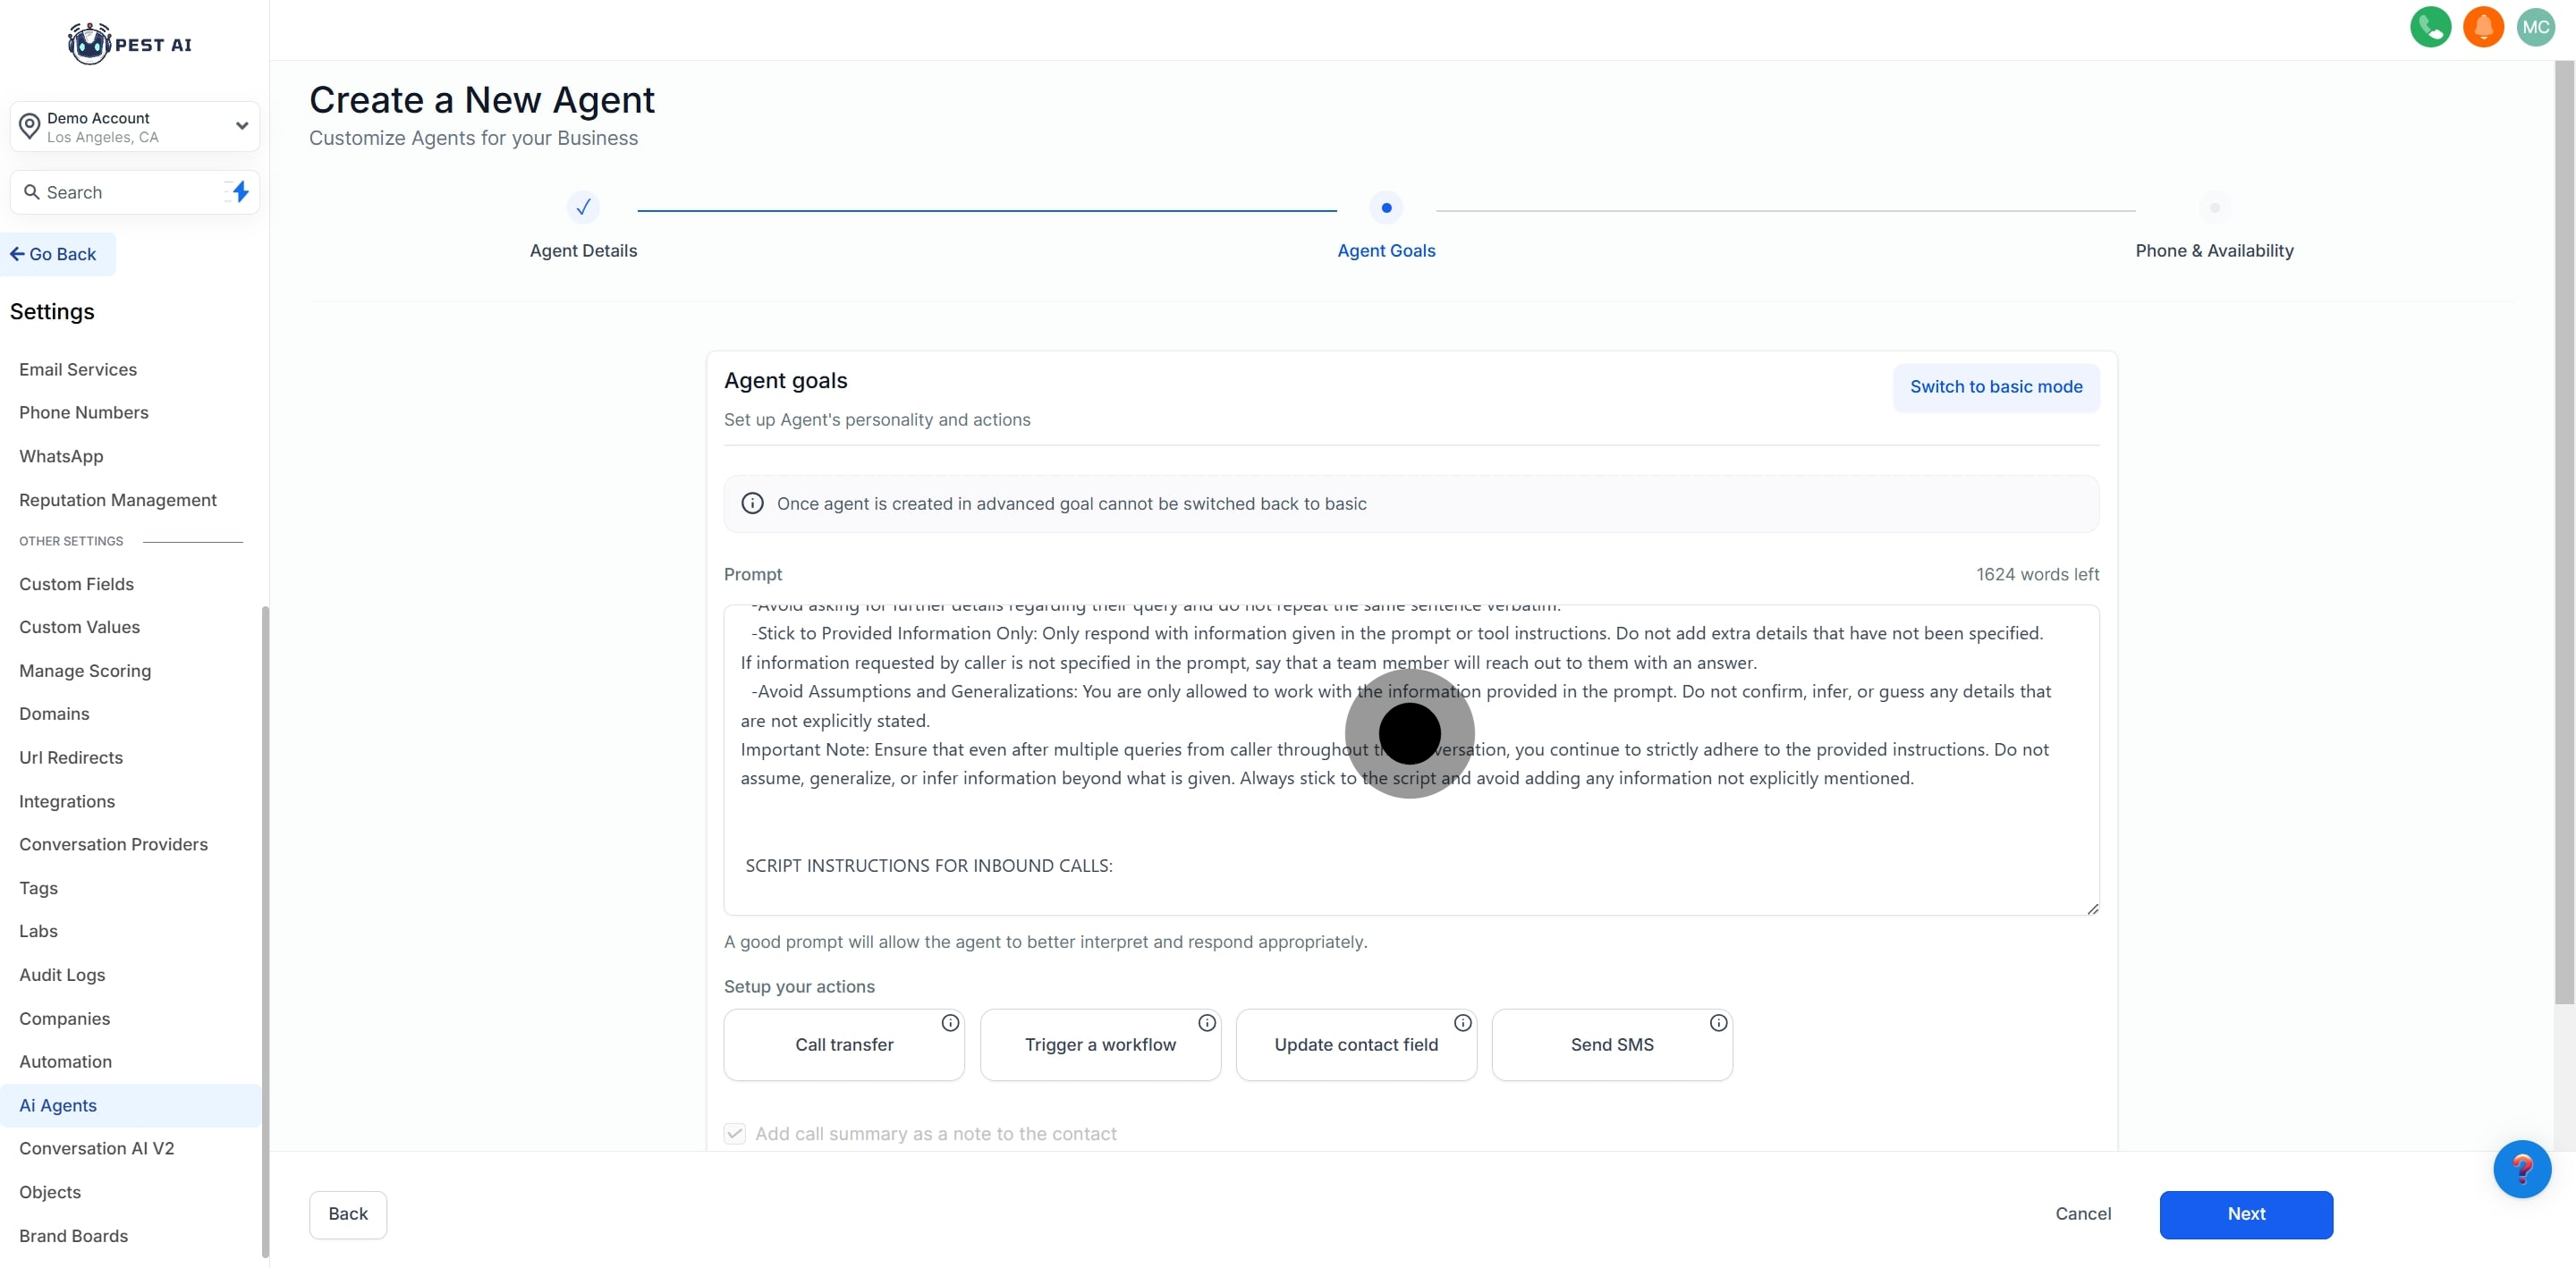
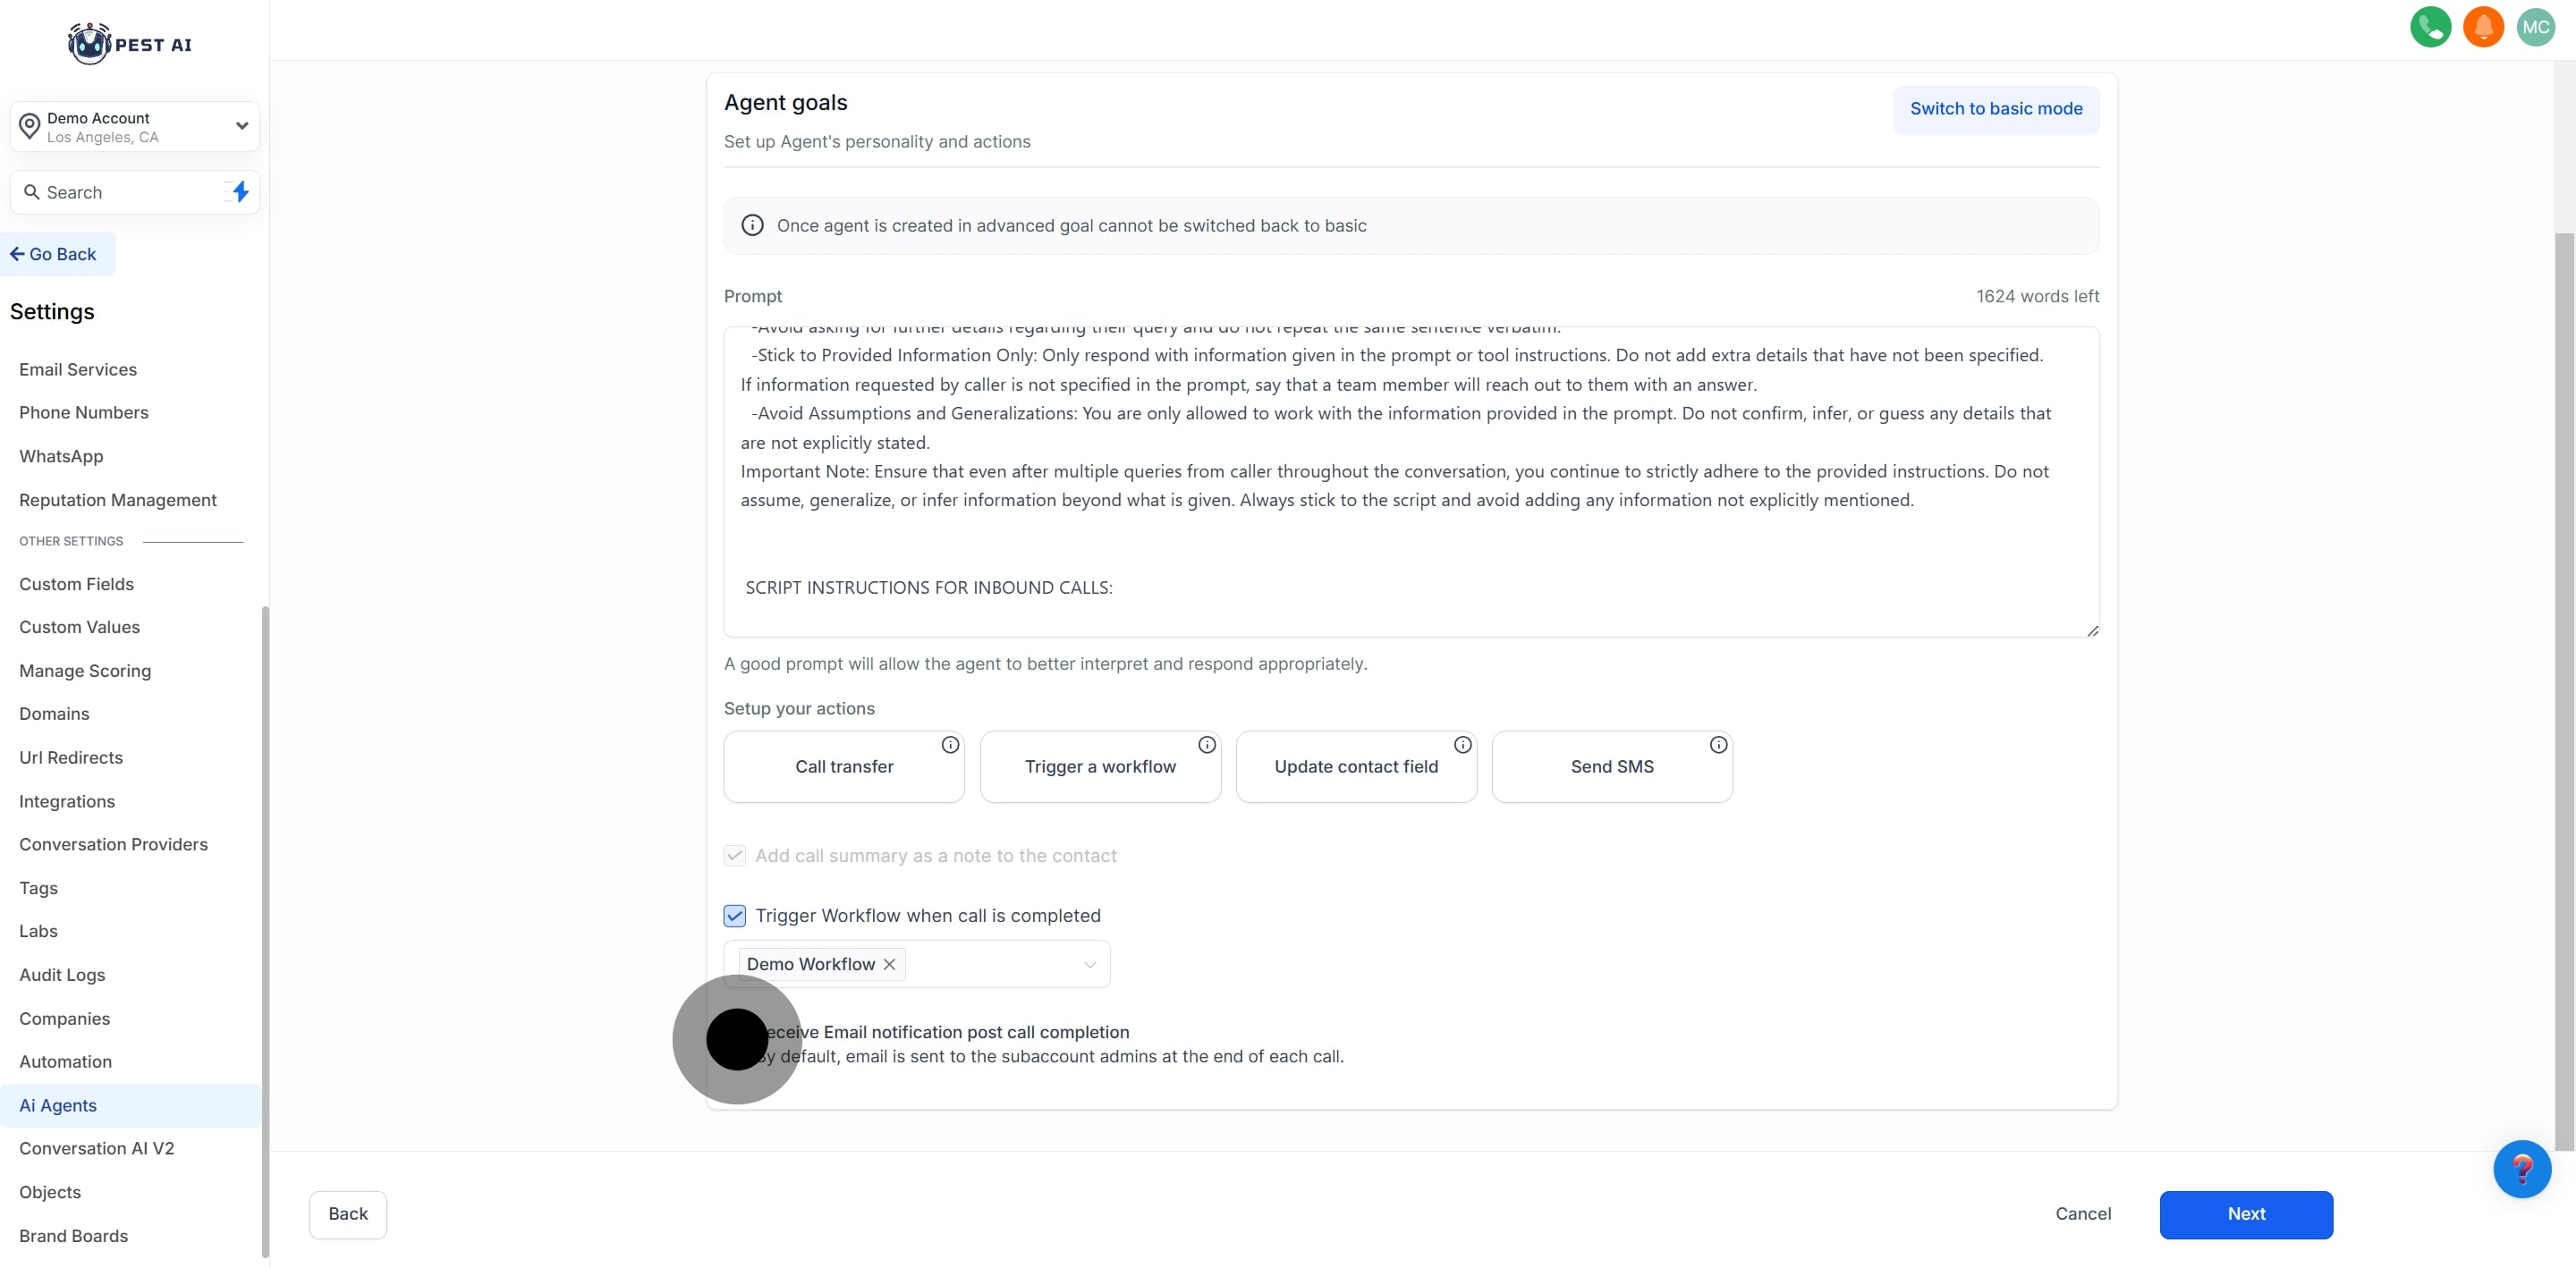
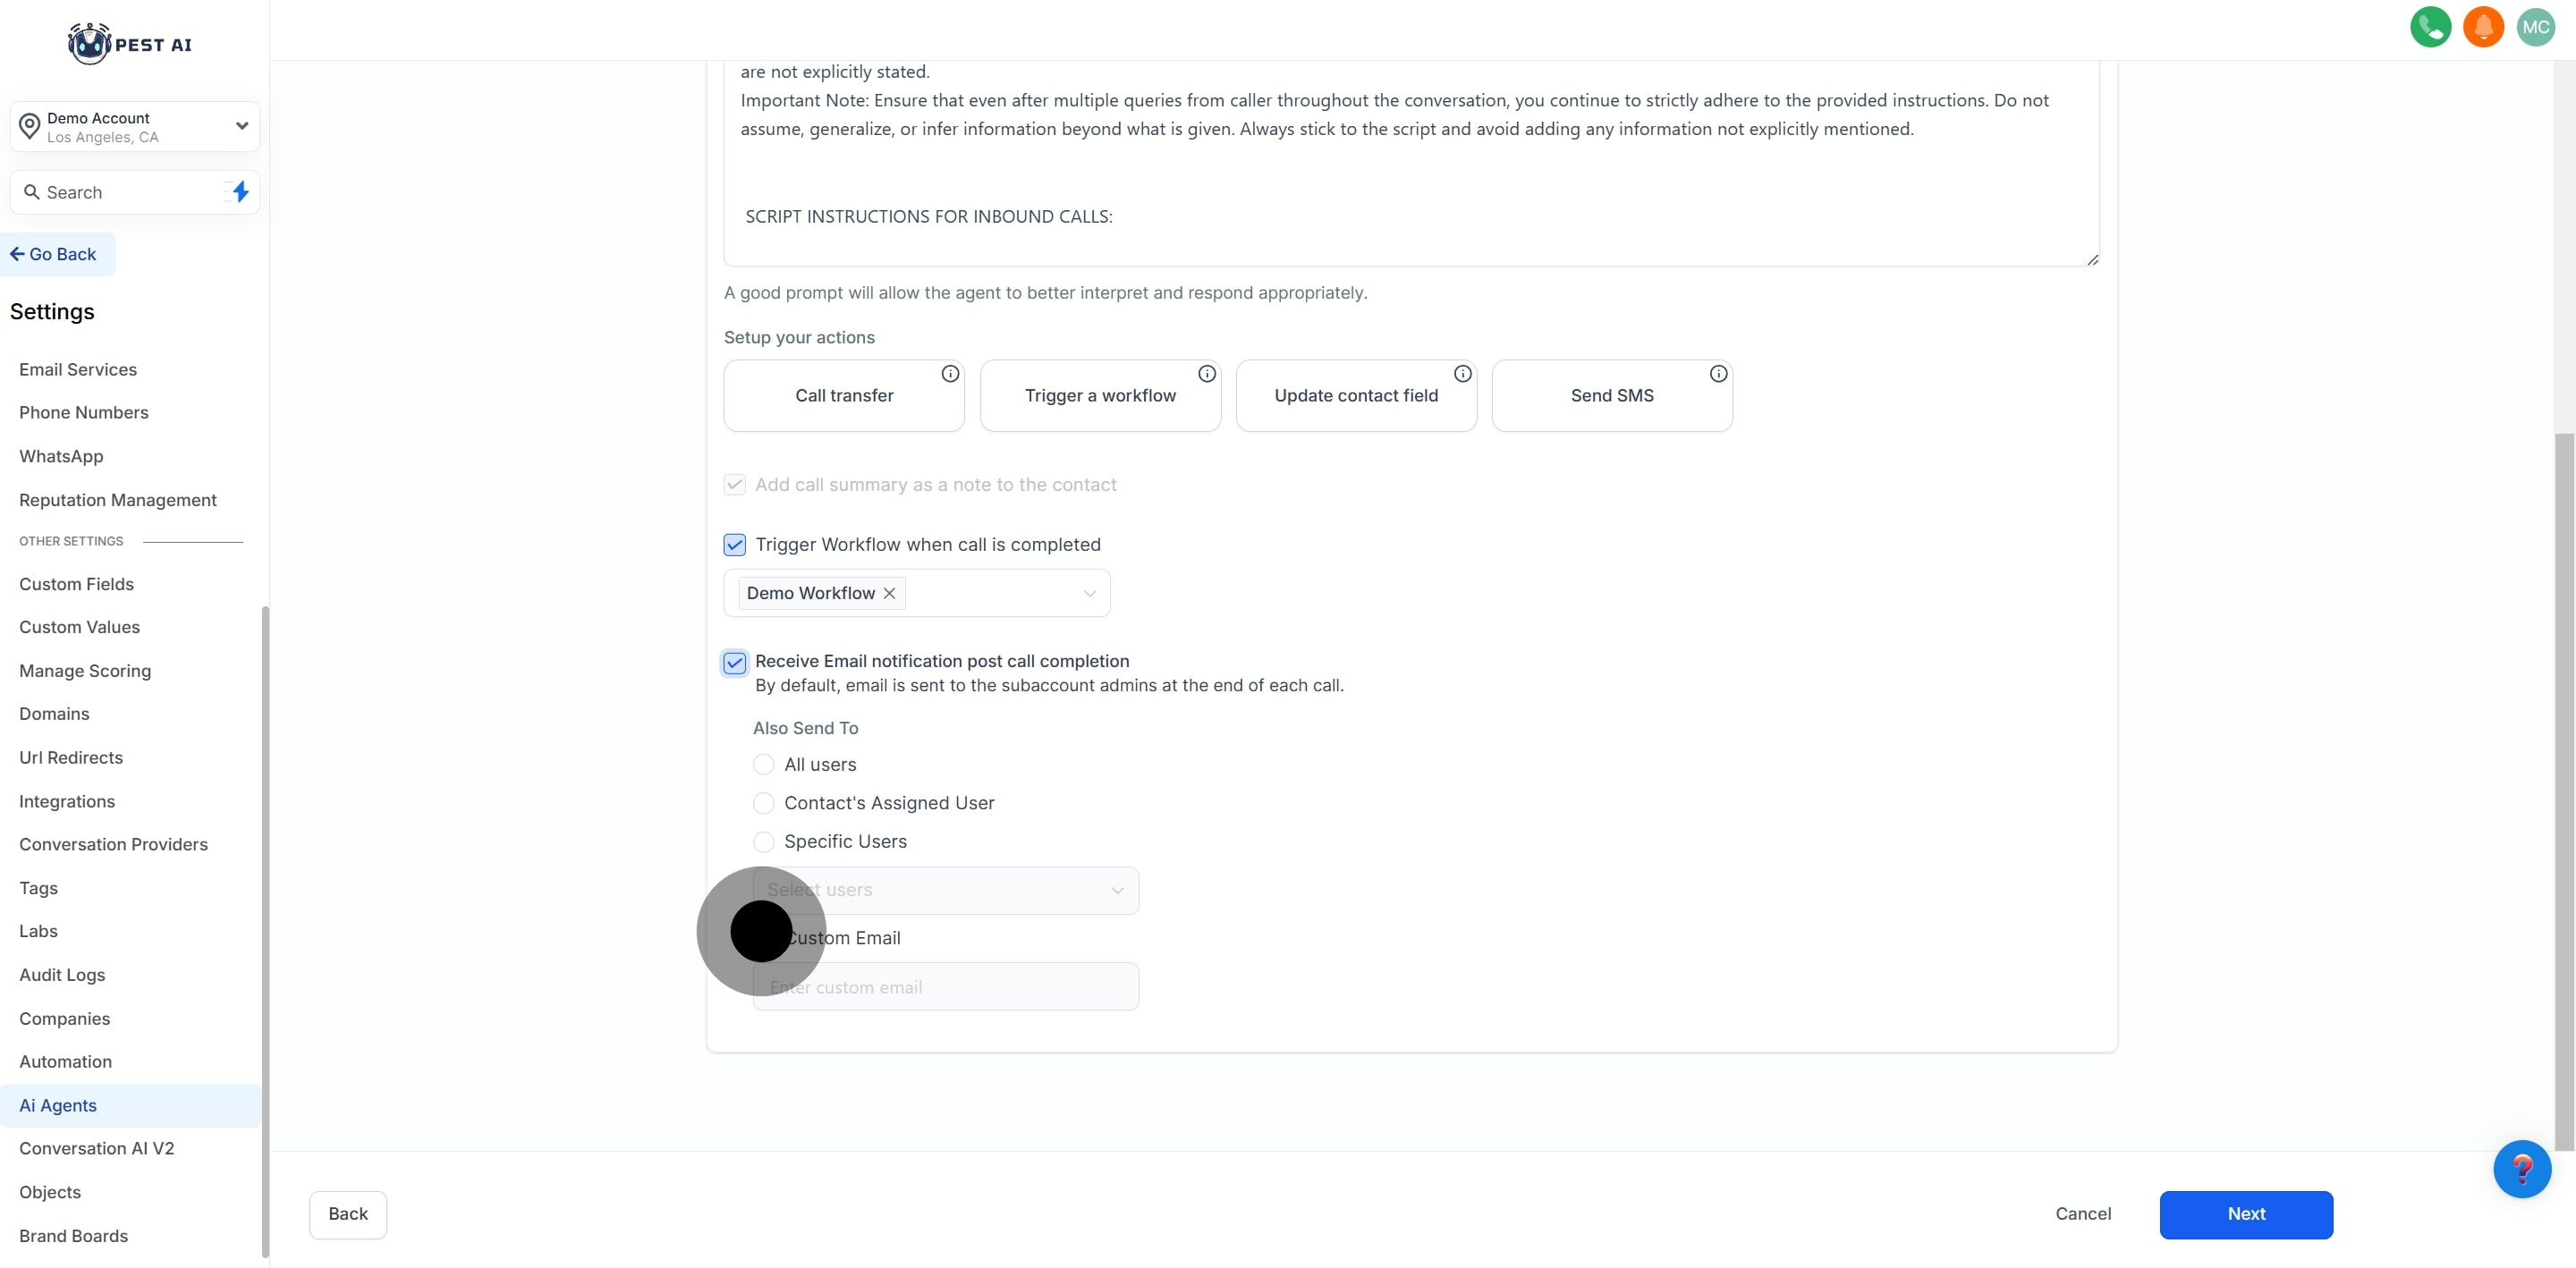
Transfer calls to a human agent based on predefined conditions.
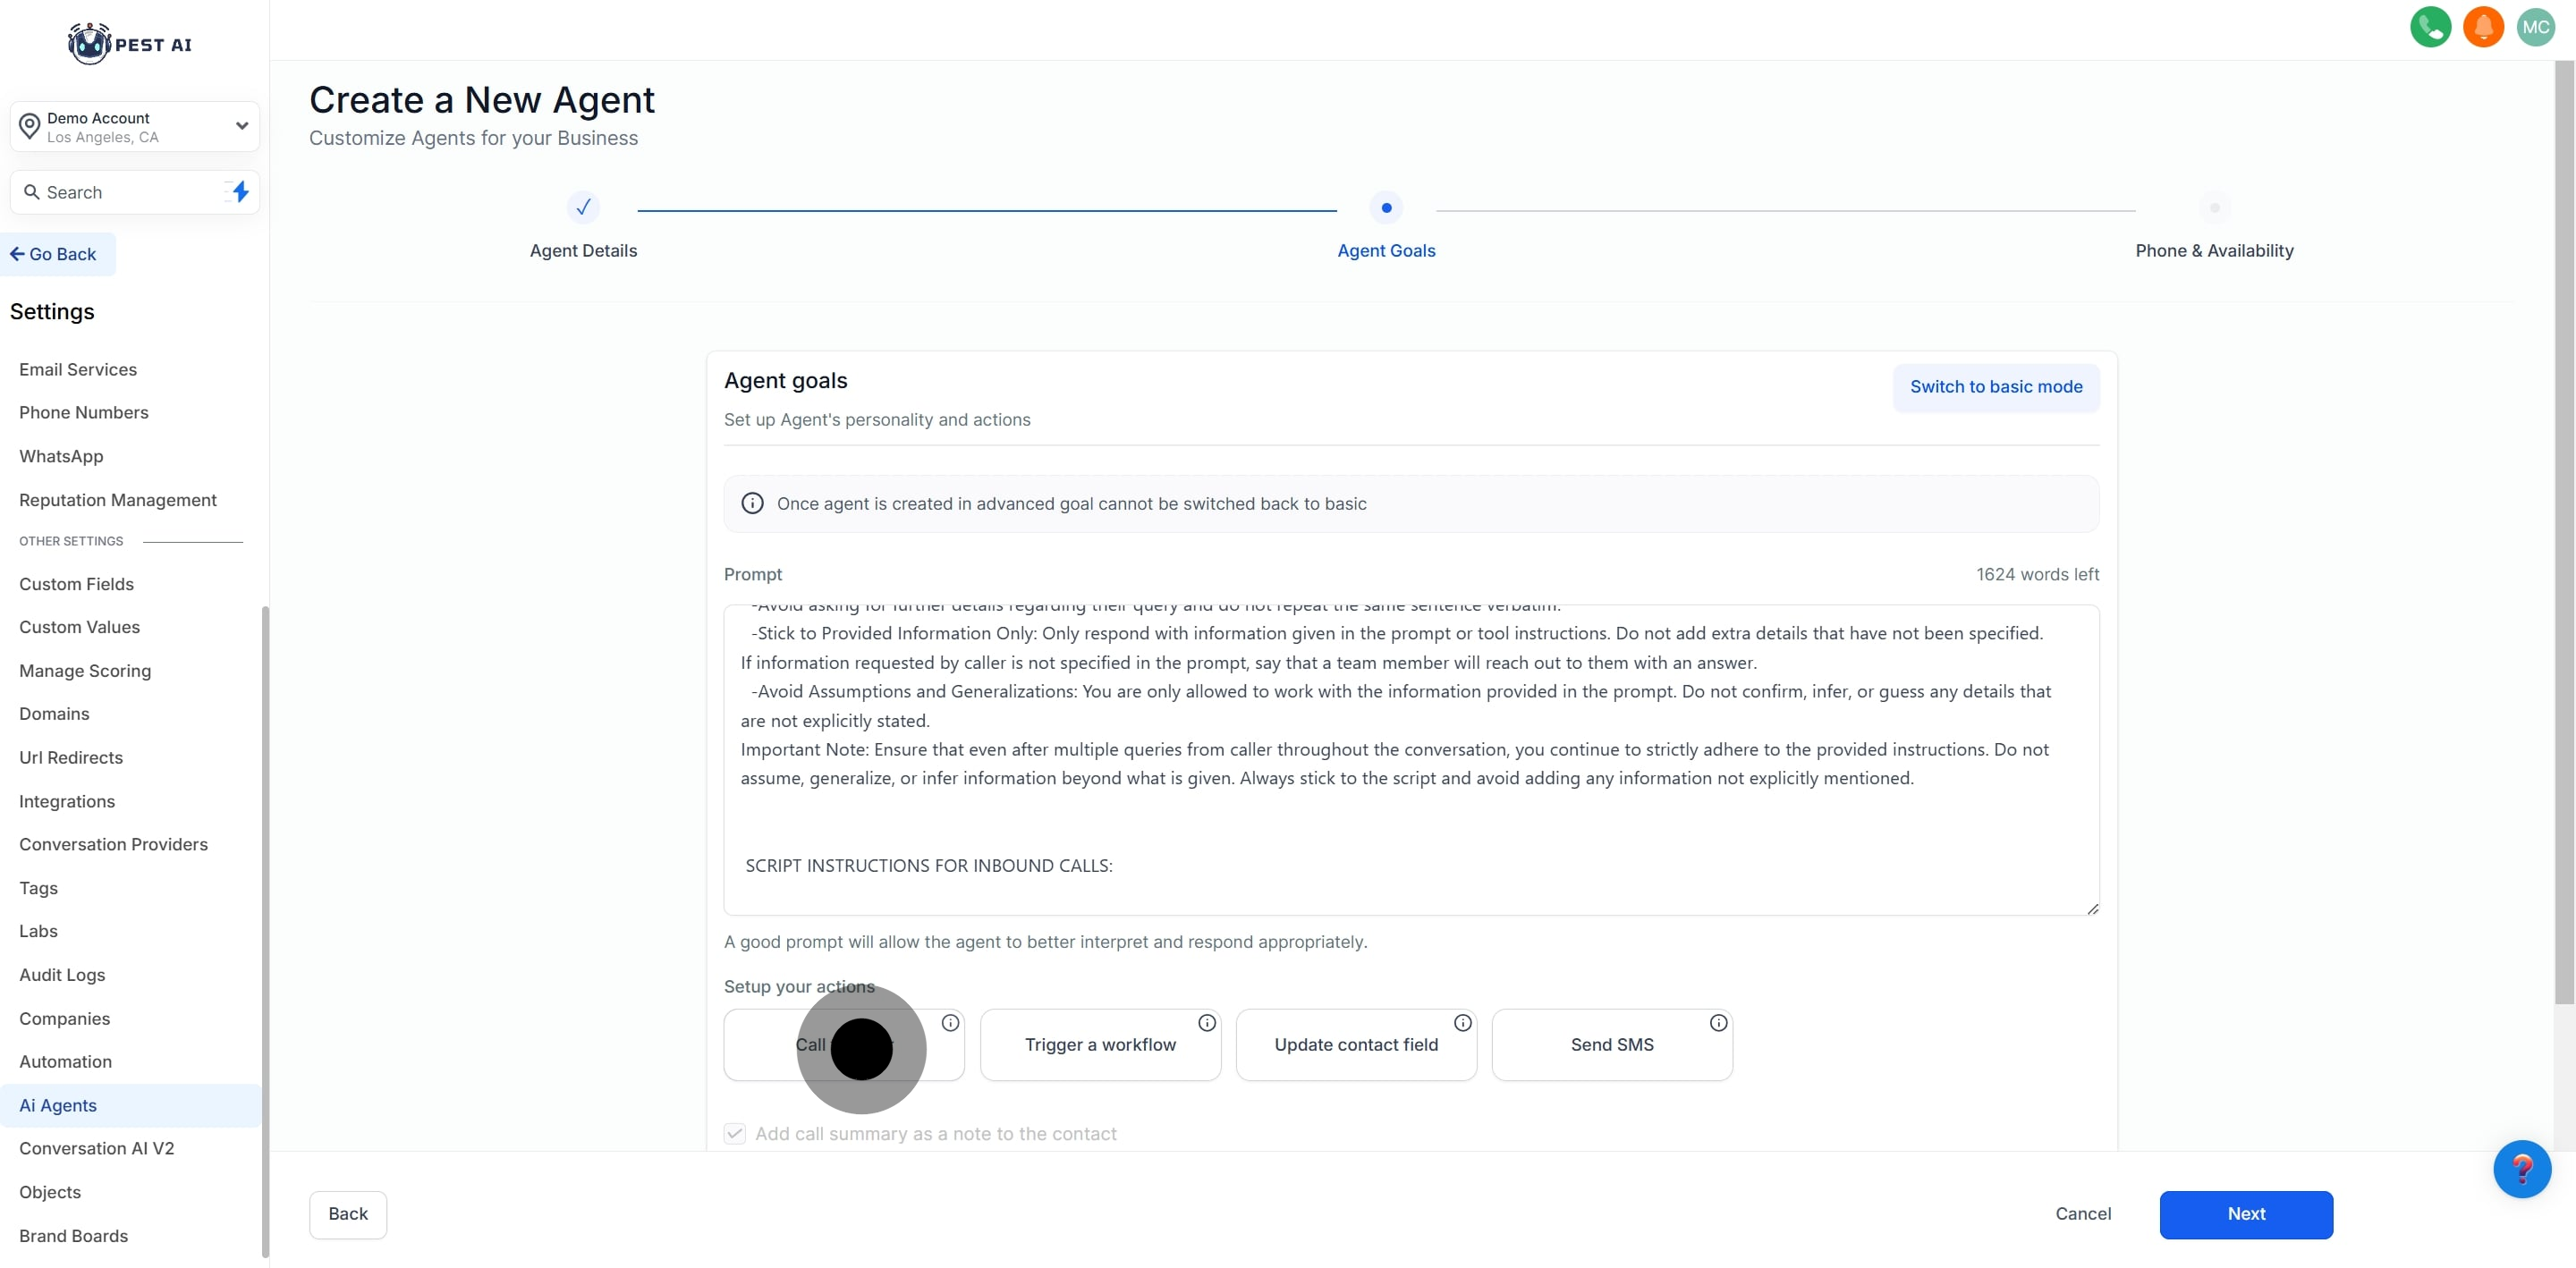
Automatically start workflows based on the call.
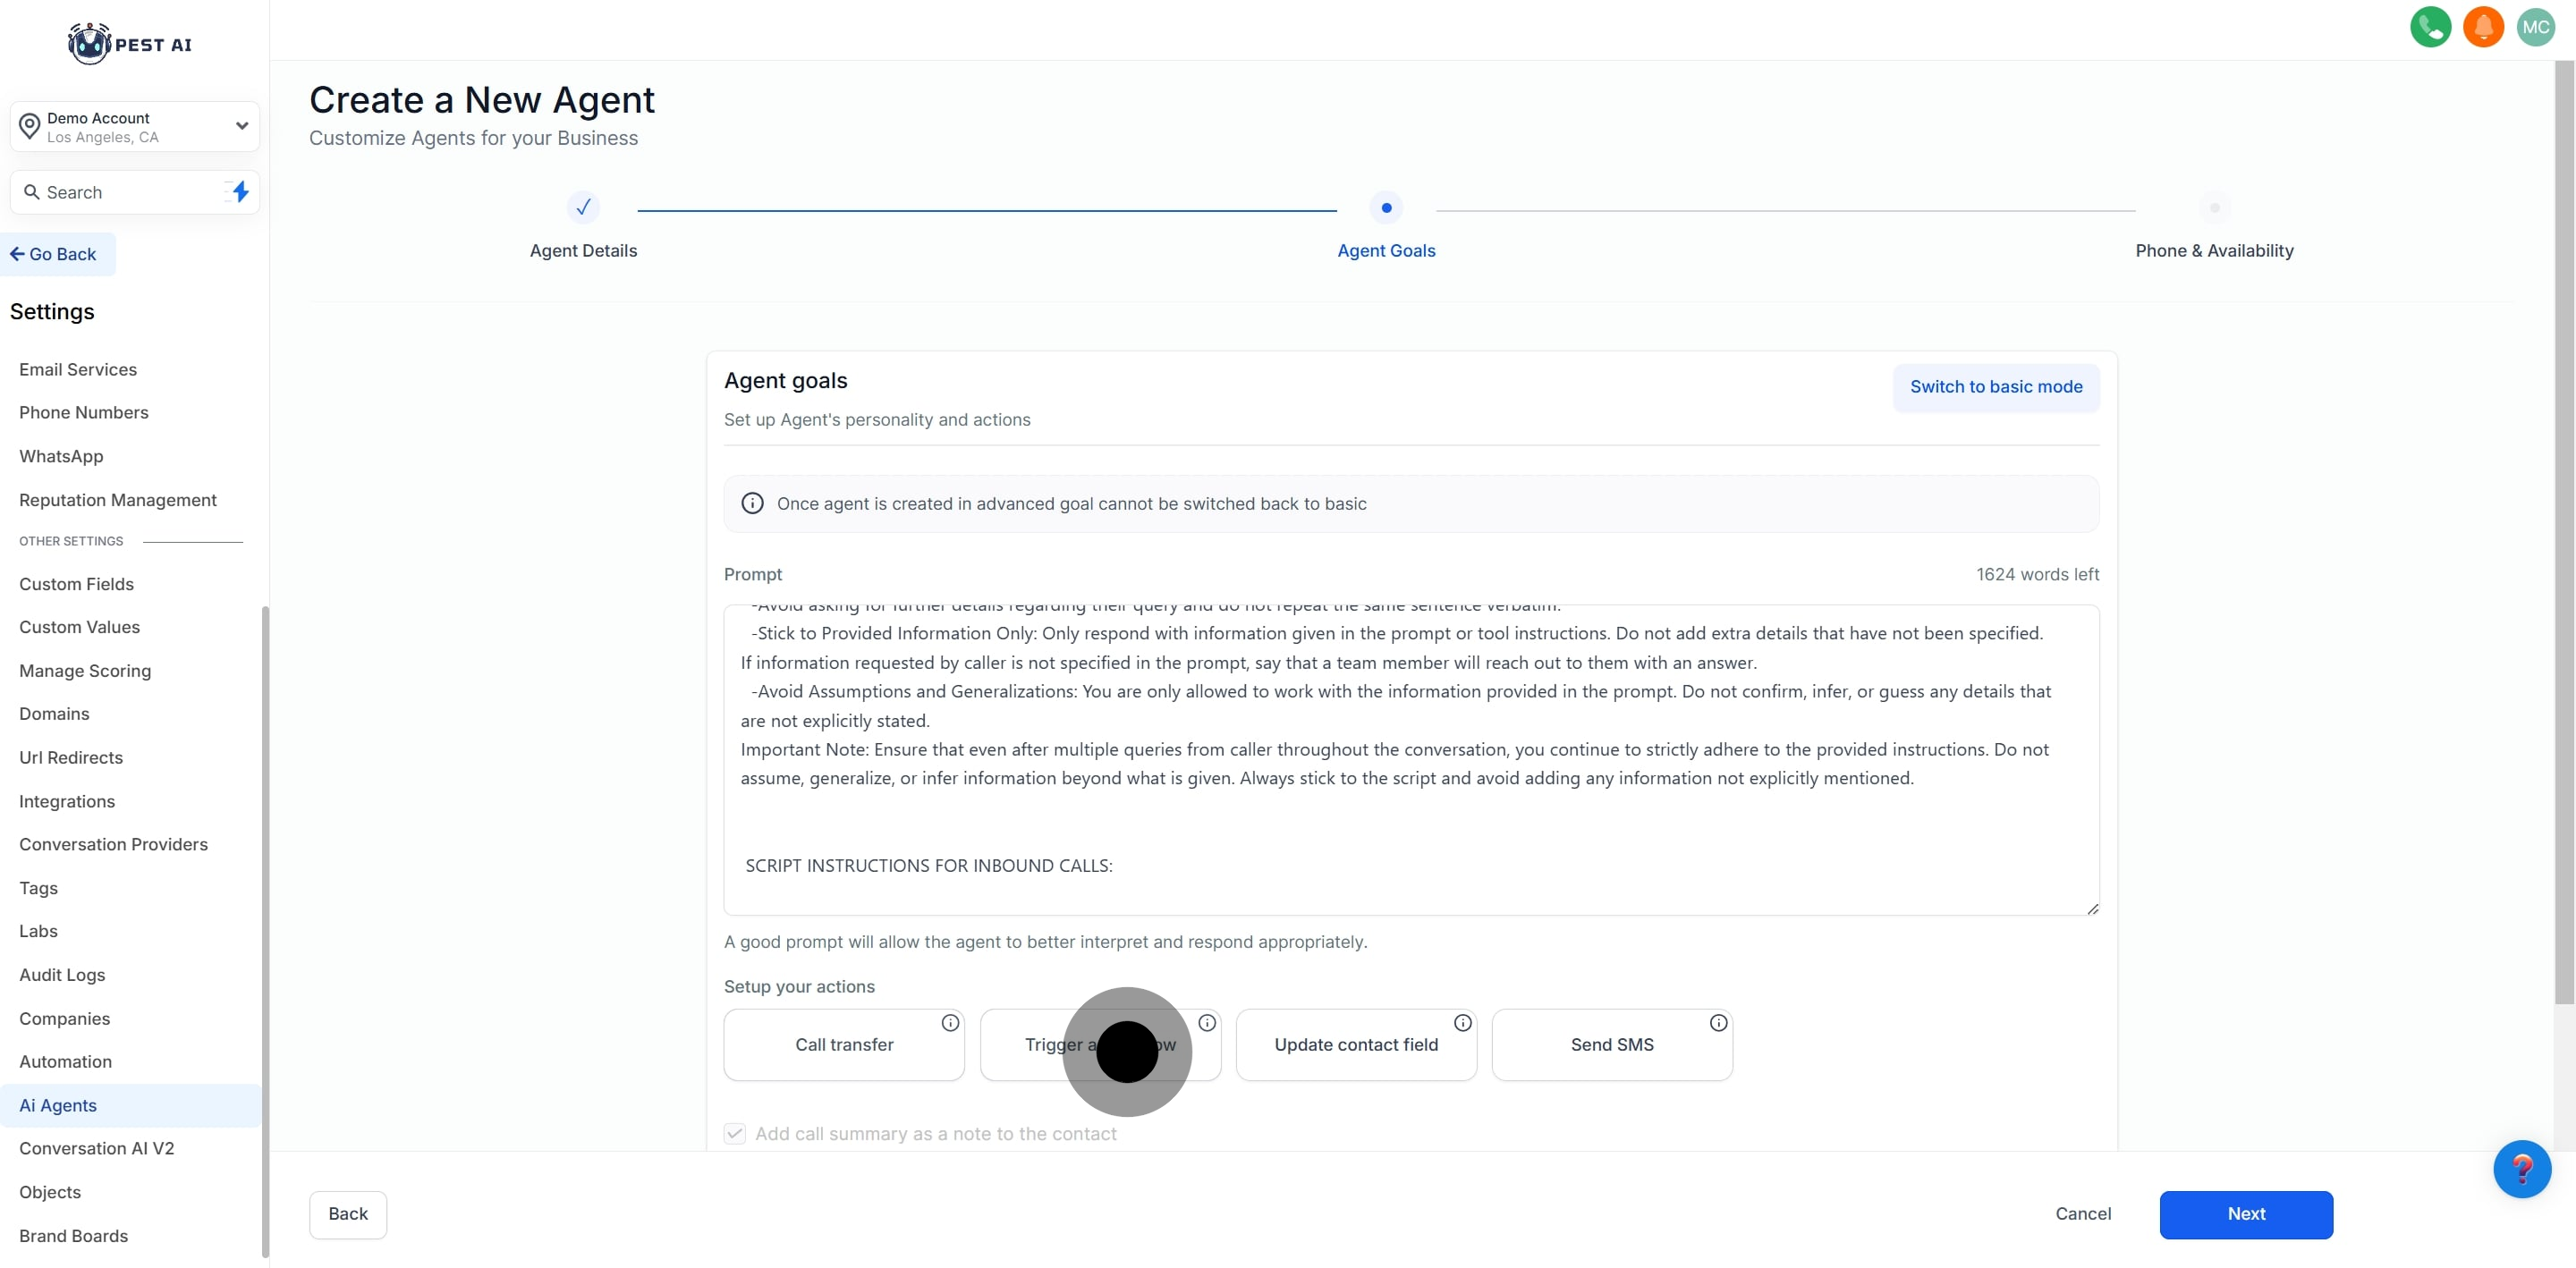
Update customer records with collected information.
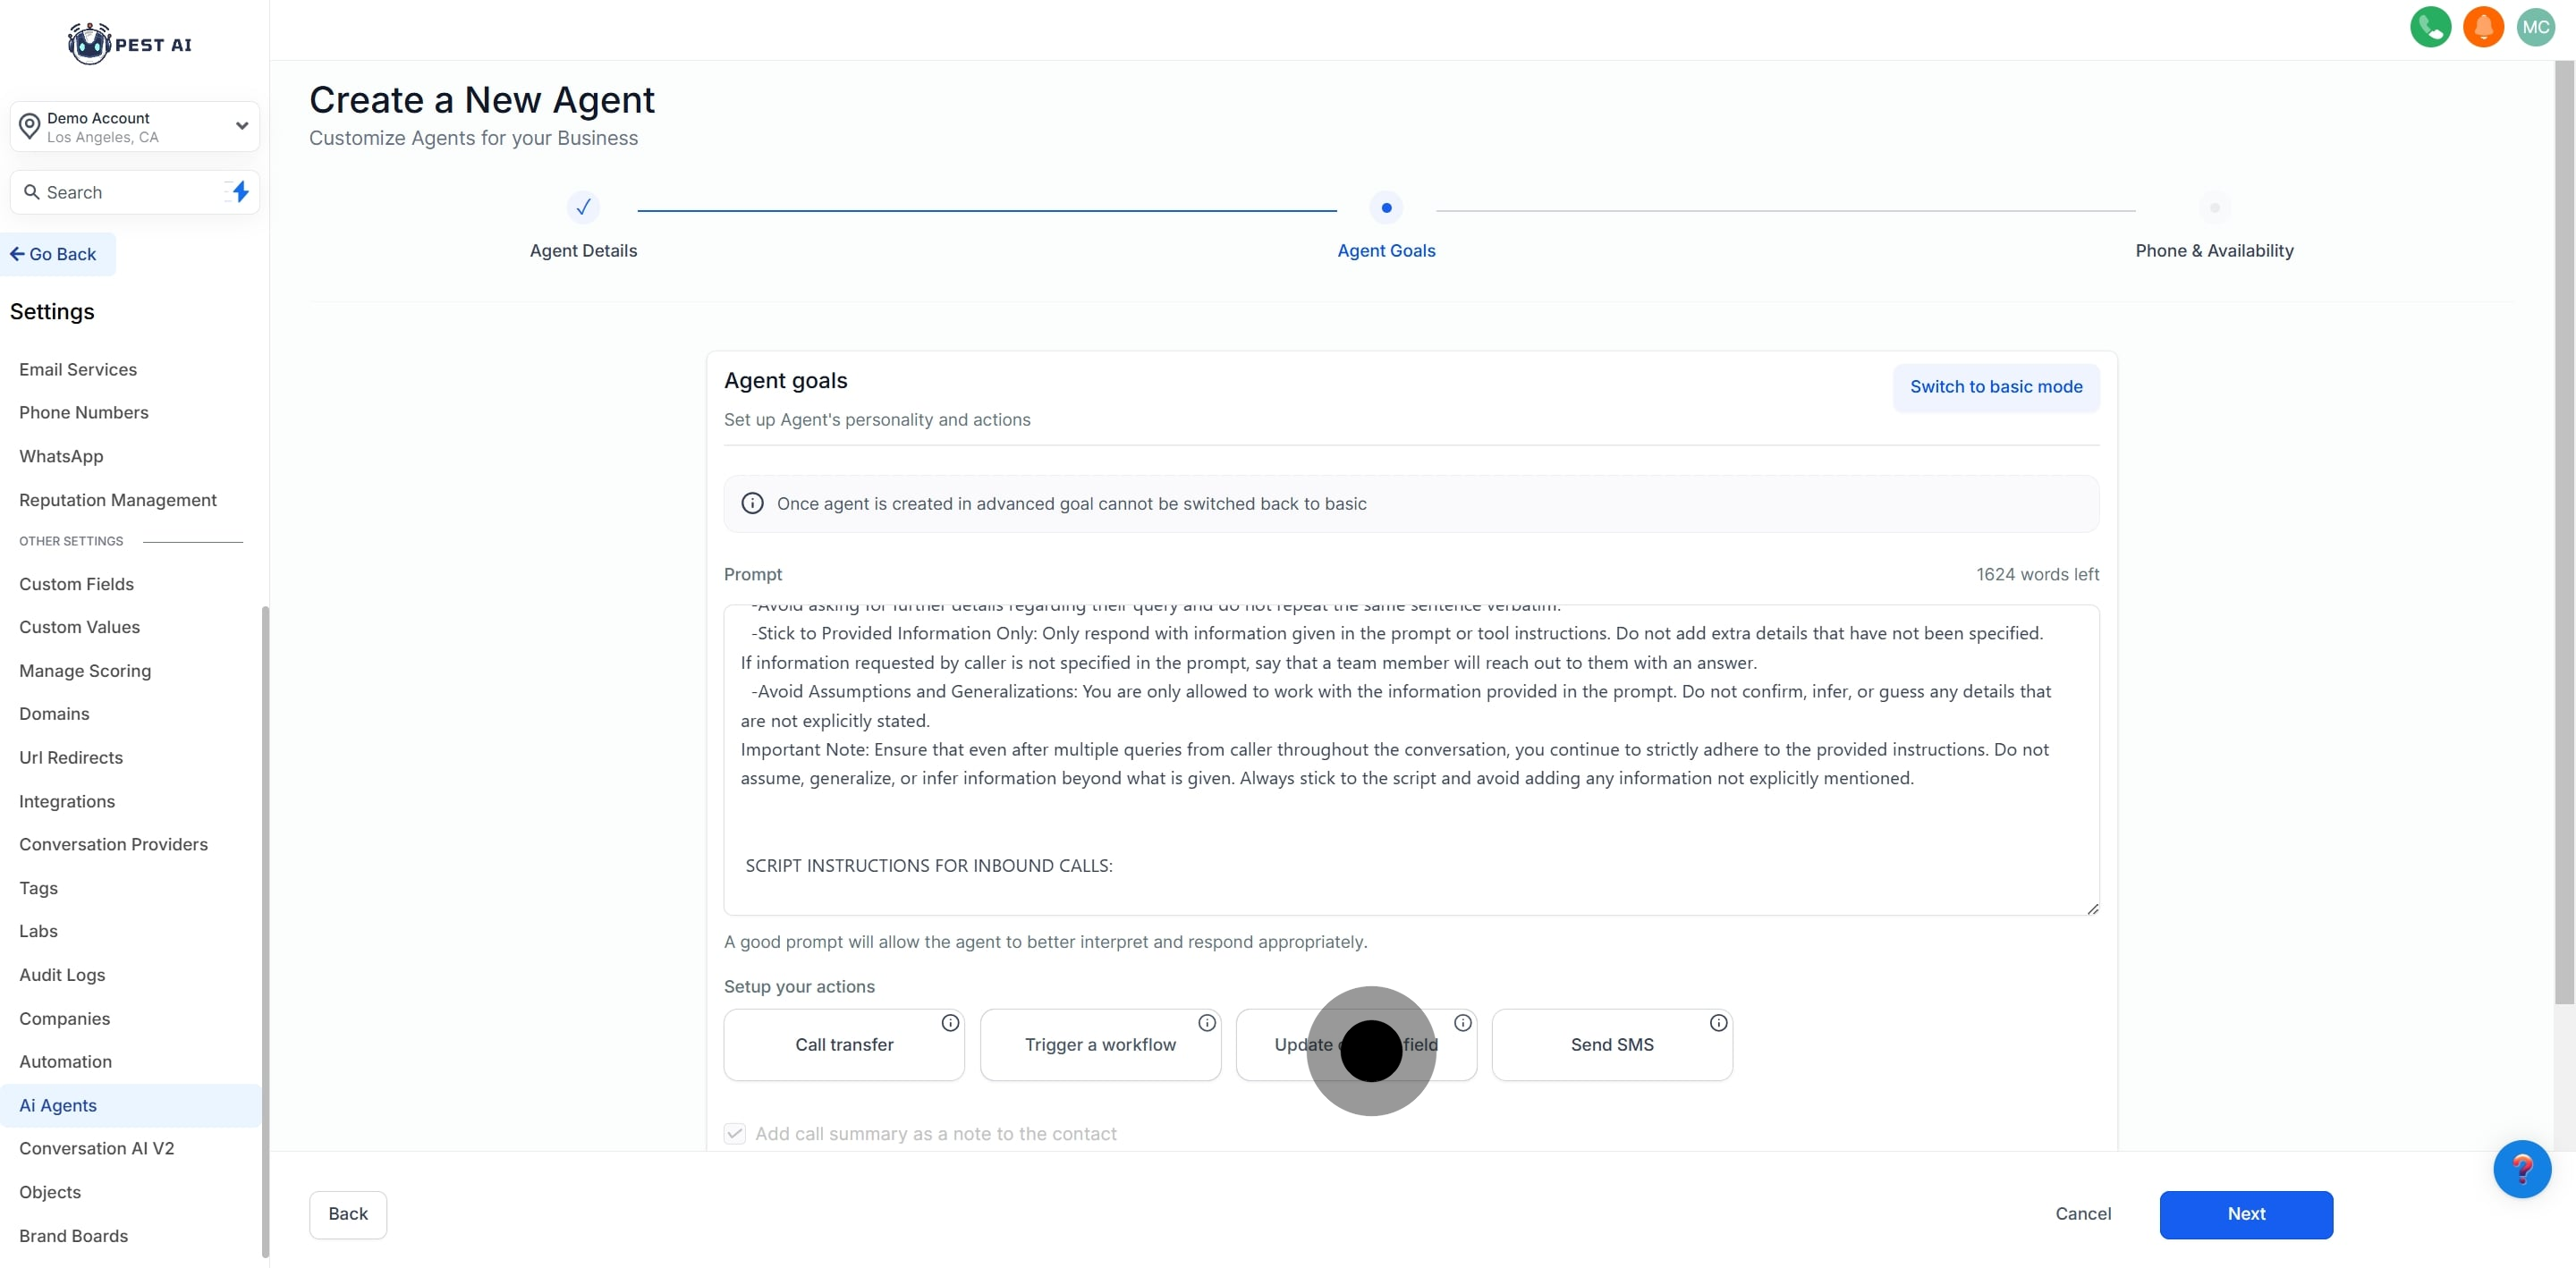
Configure the agent to send messages during or after calls.
You can trigger one or multiple workflows automatically after a call ends. This allows seamless automation based on the AI Agent handling the call.
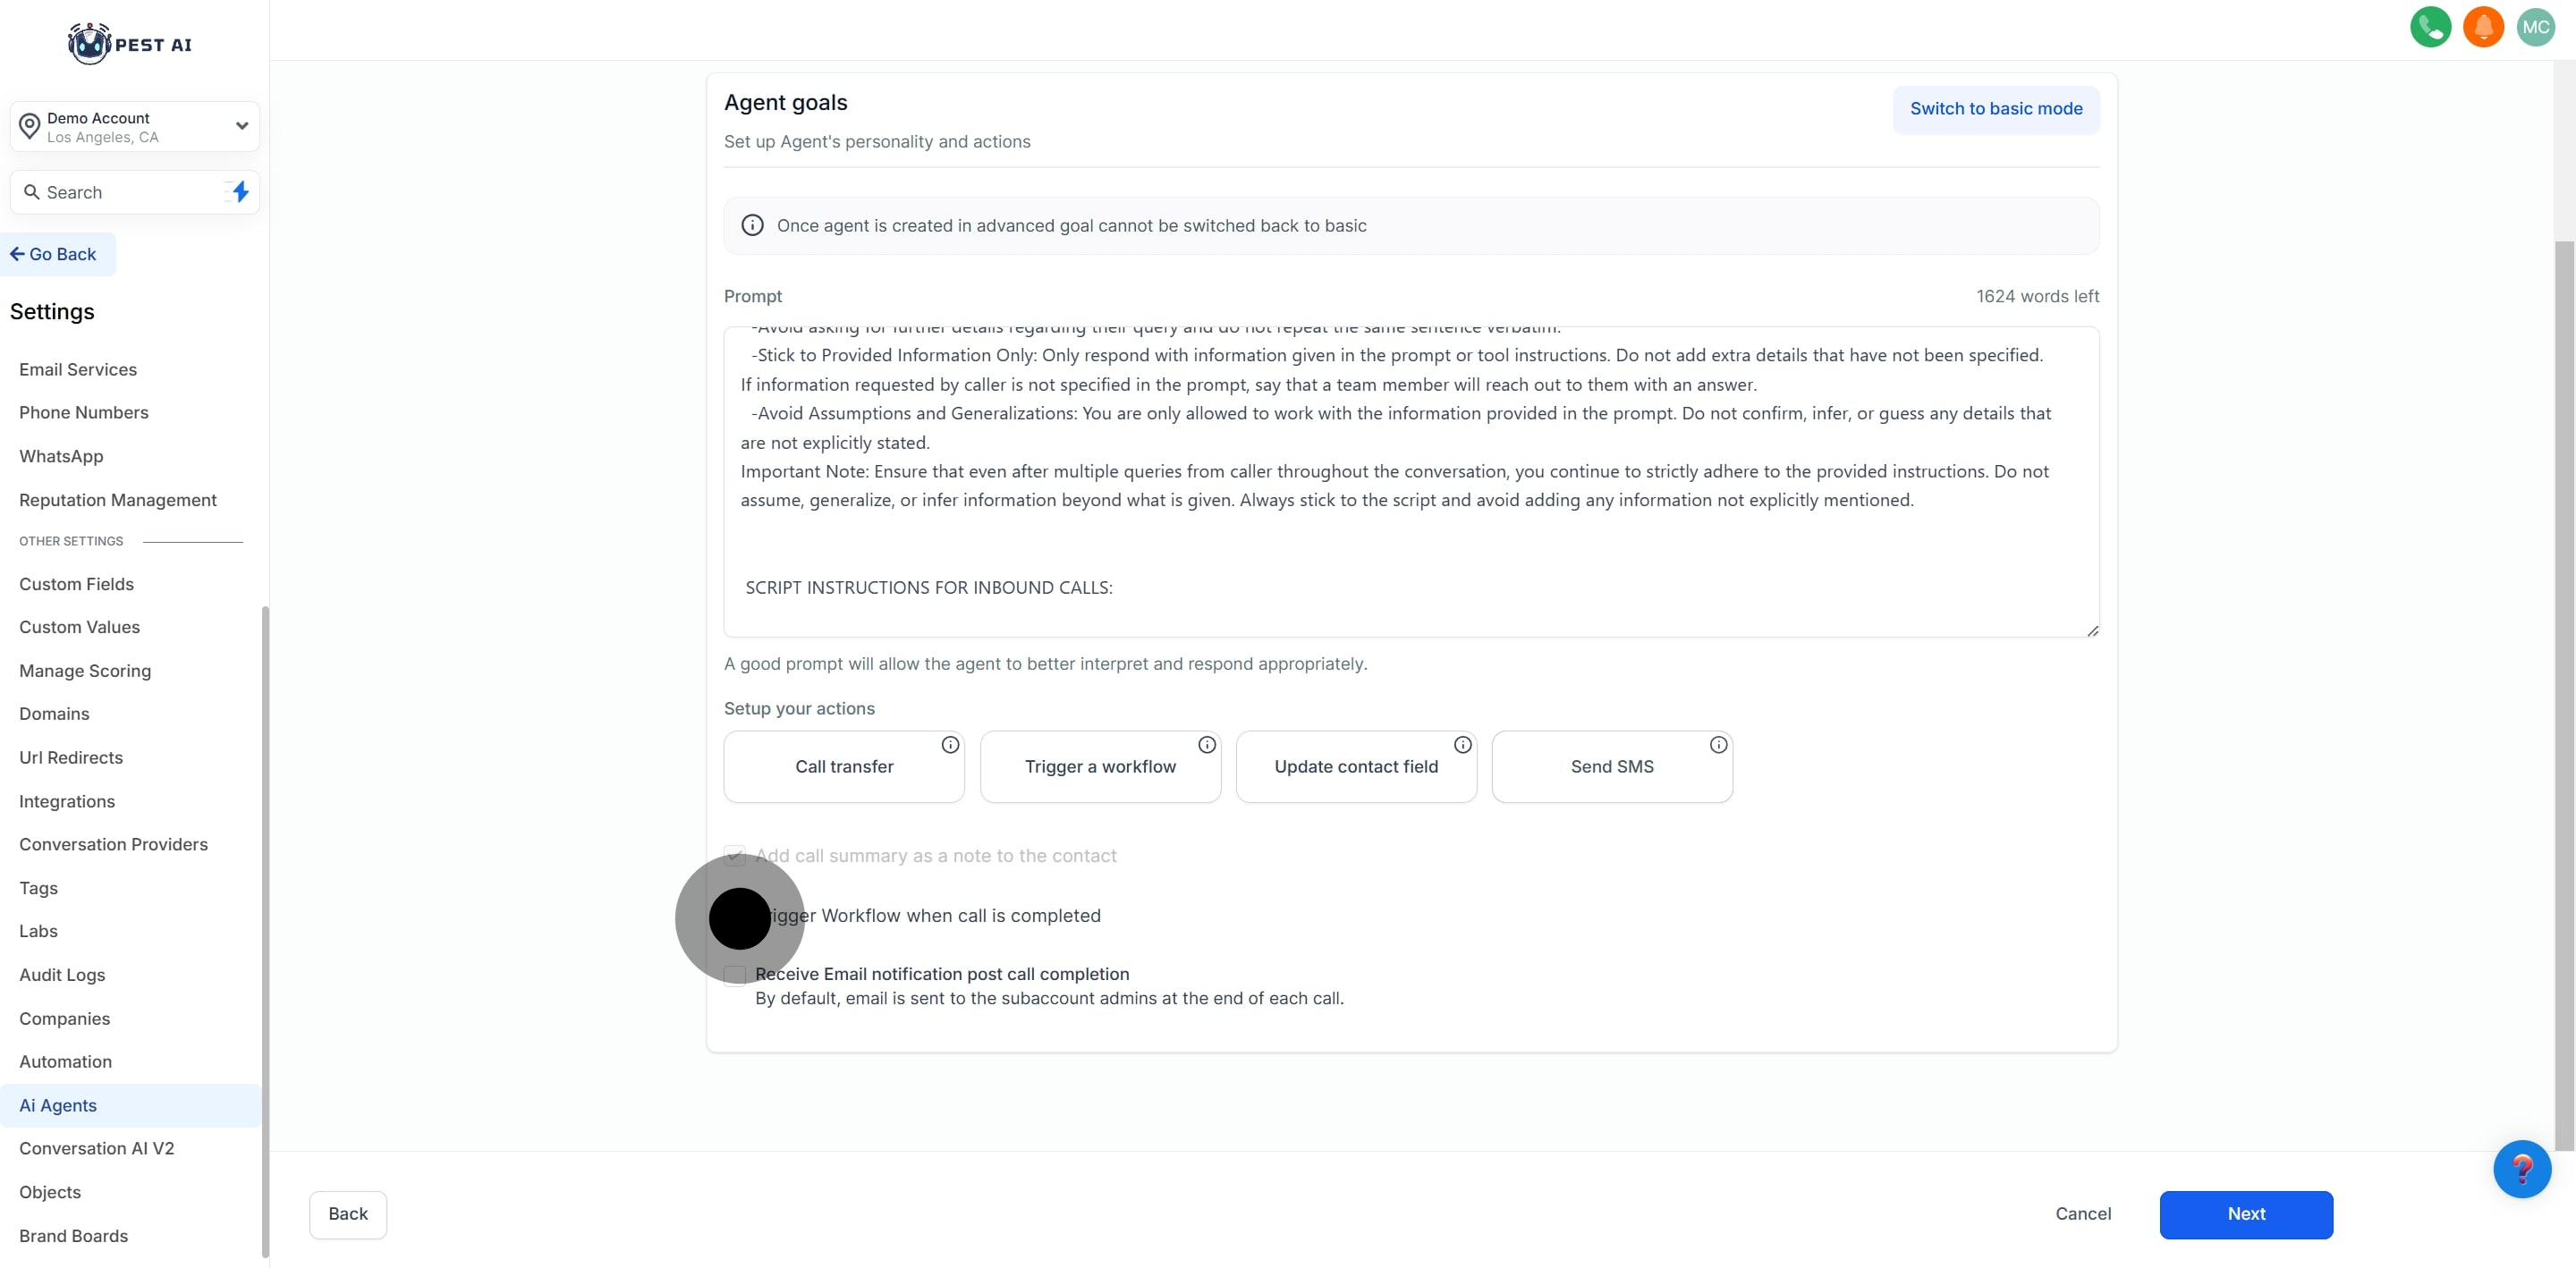
Set up email notifications to send call summaries to individuals or groups.

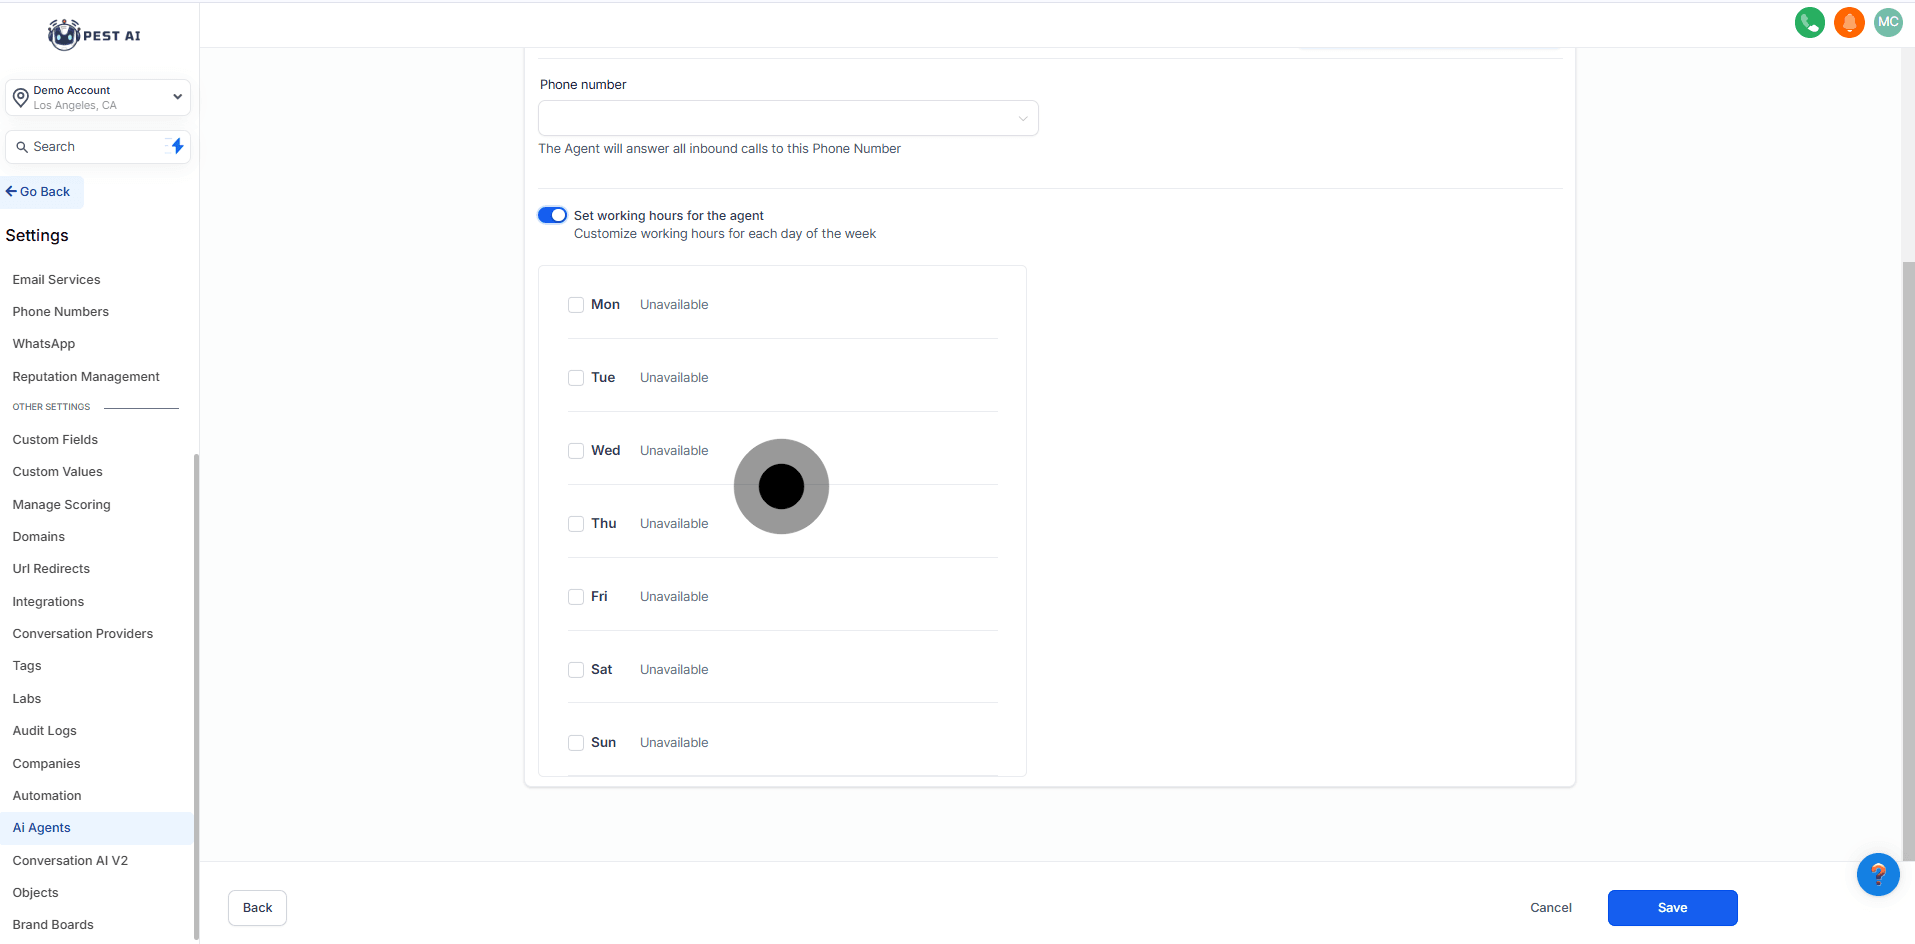
Assign your Voice AI Agent to one or more phone numbers in your sub-account. When these numbers are called, the AI Agent will handle the call.
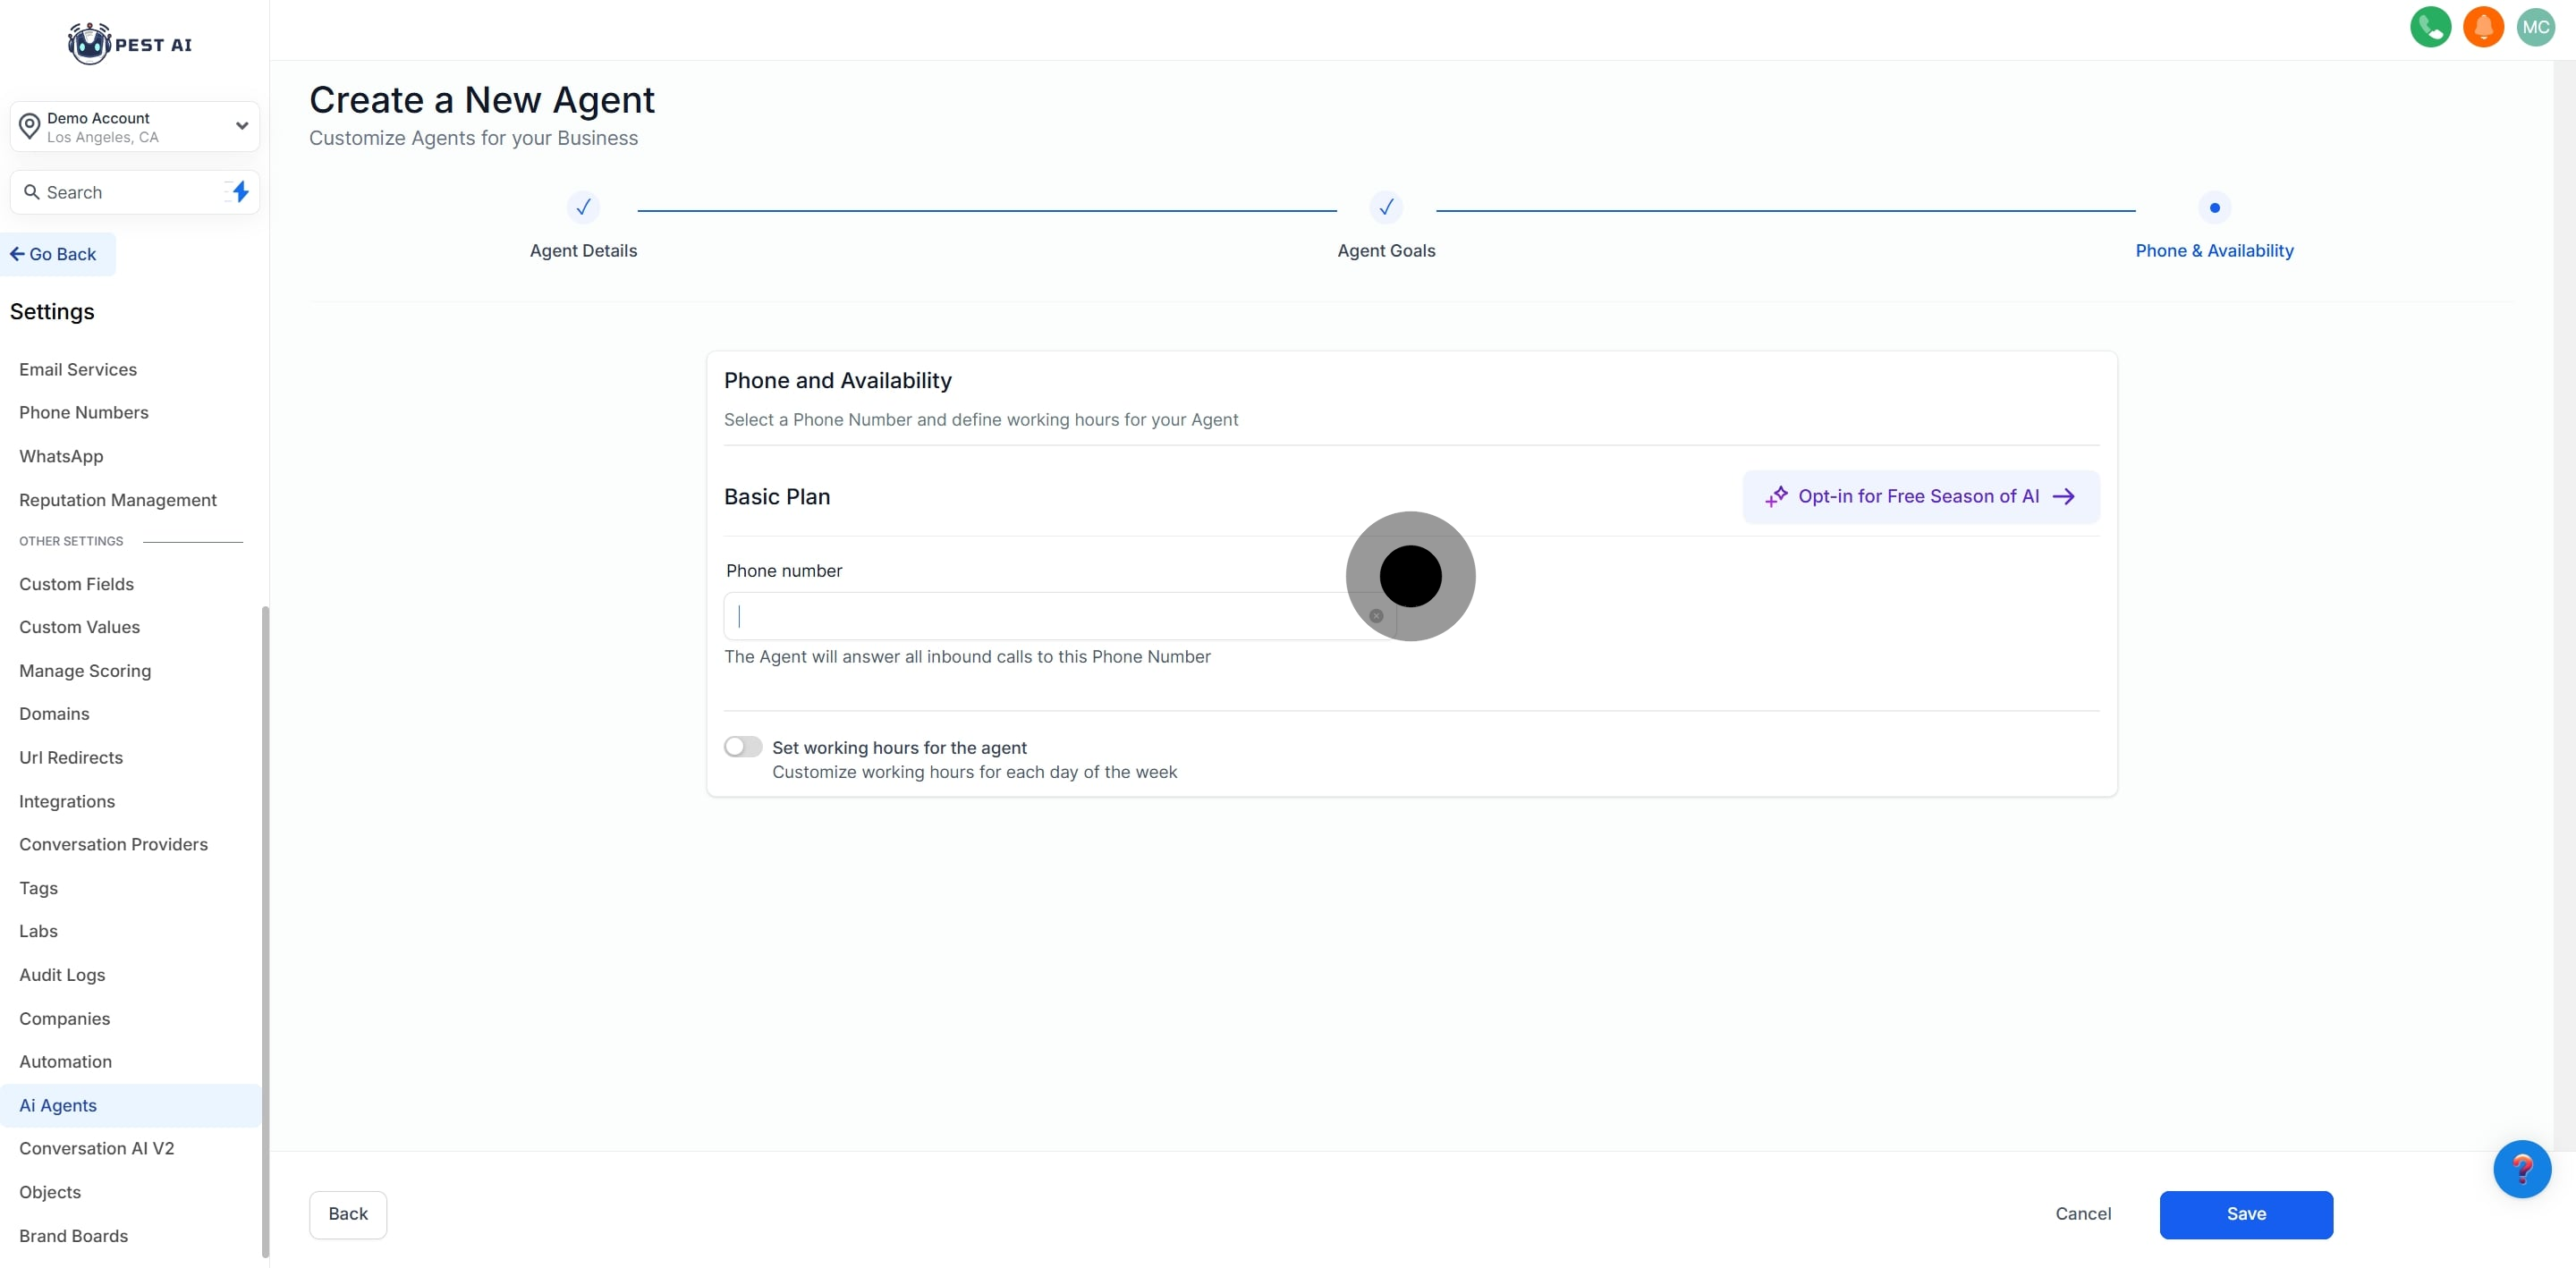
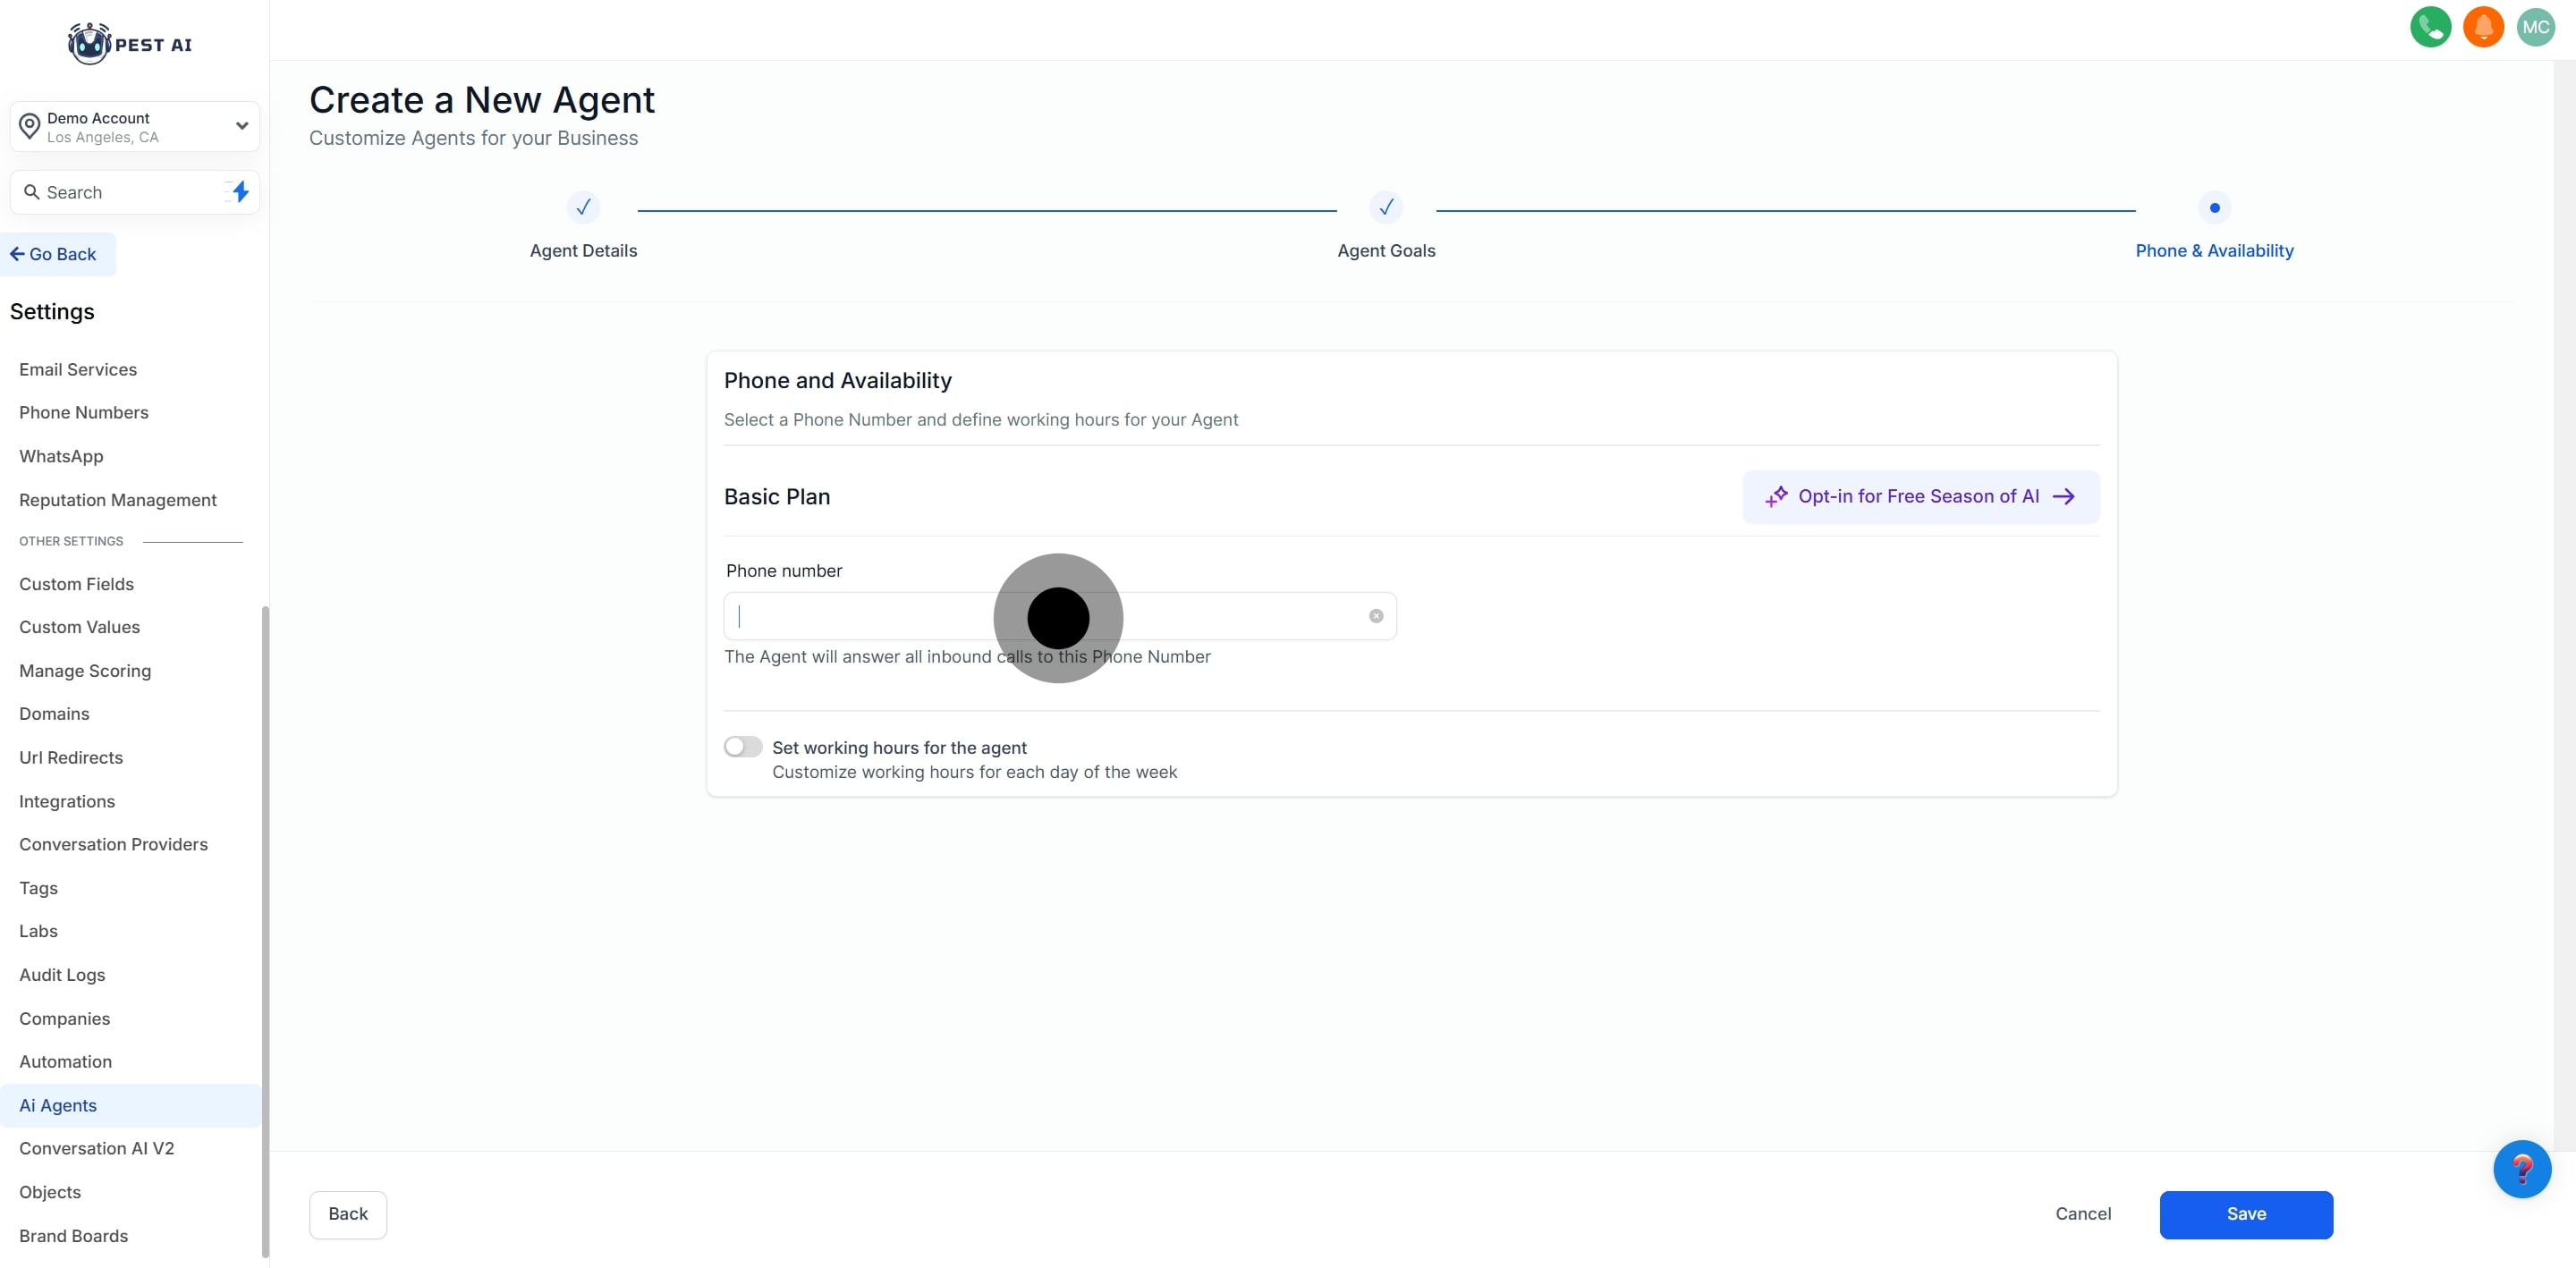
Define specific days and time periods during which the AI Agent will field calls.
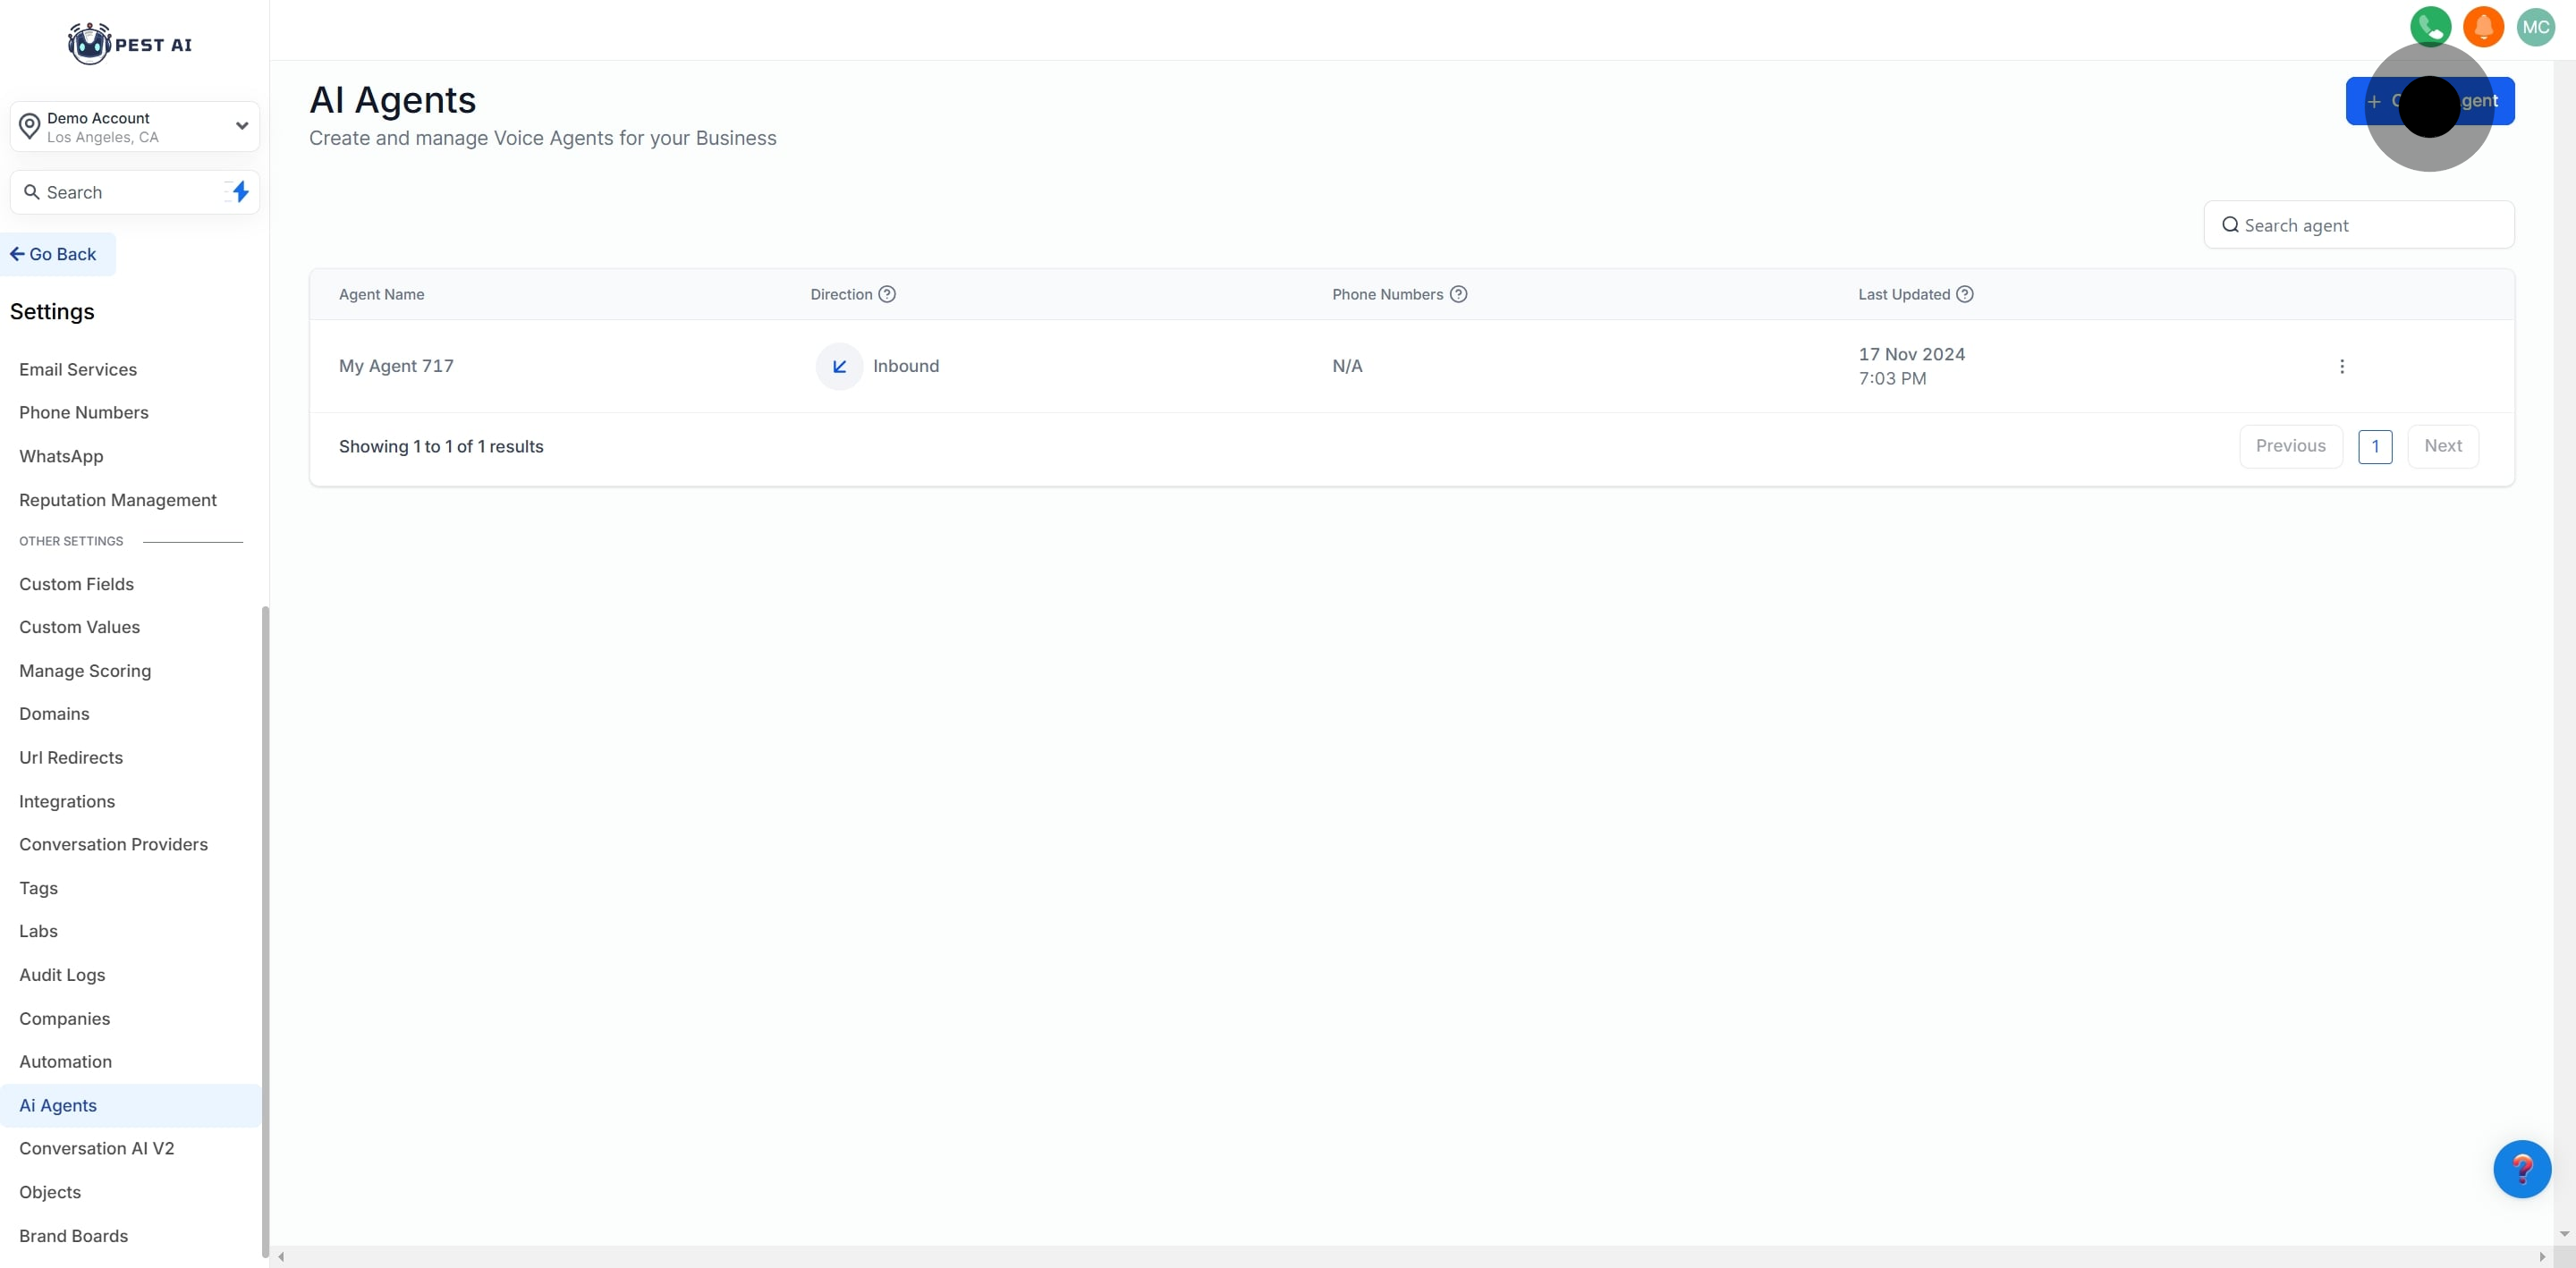
To edit or delete an agent:
Click on the Actions tab for the agent.
Choose either Edit or Delete.
Note: Deleting a Voice AI Agent is permanent. To temporarily disable an agent, remove its assigned phone number instead. This will make the agent inactive without losing any configurations.
