This guide walks you through every step of importing new contact details into Pest AI, ensuring your database is always current and comprehensive.
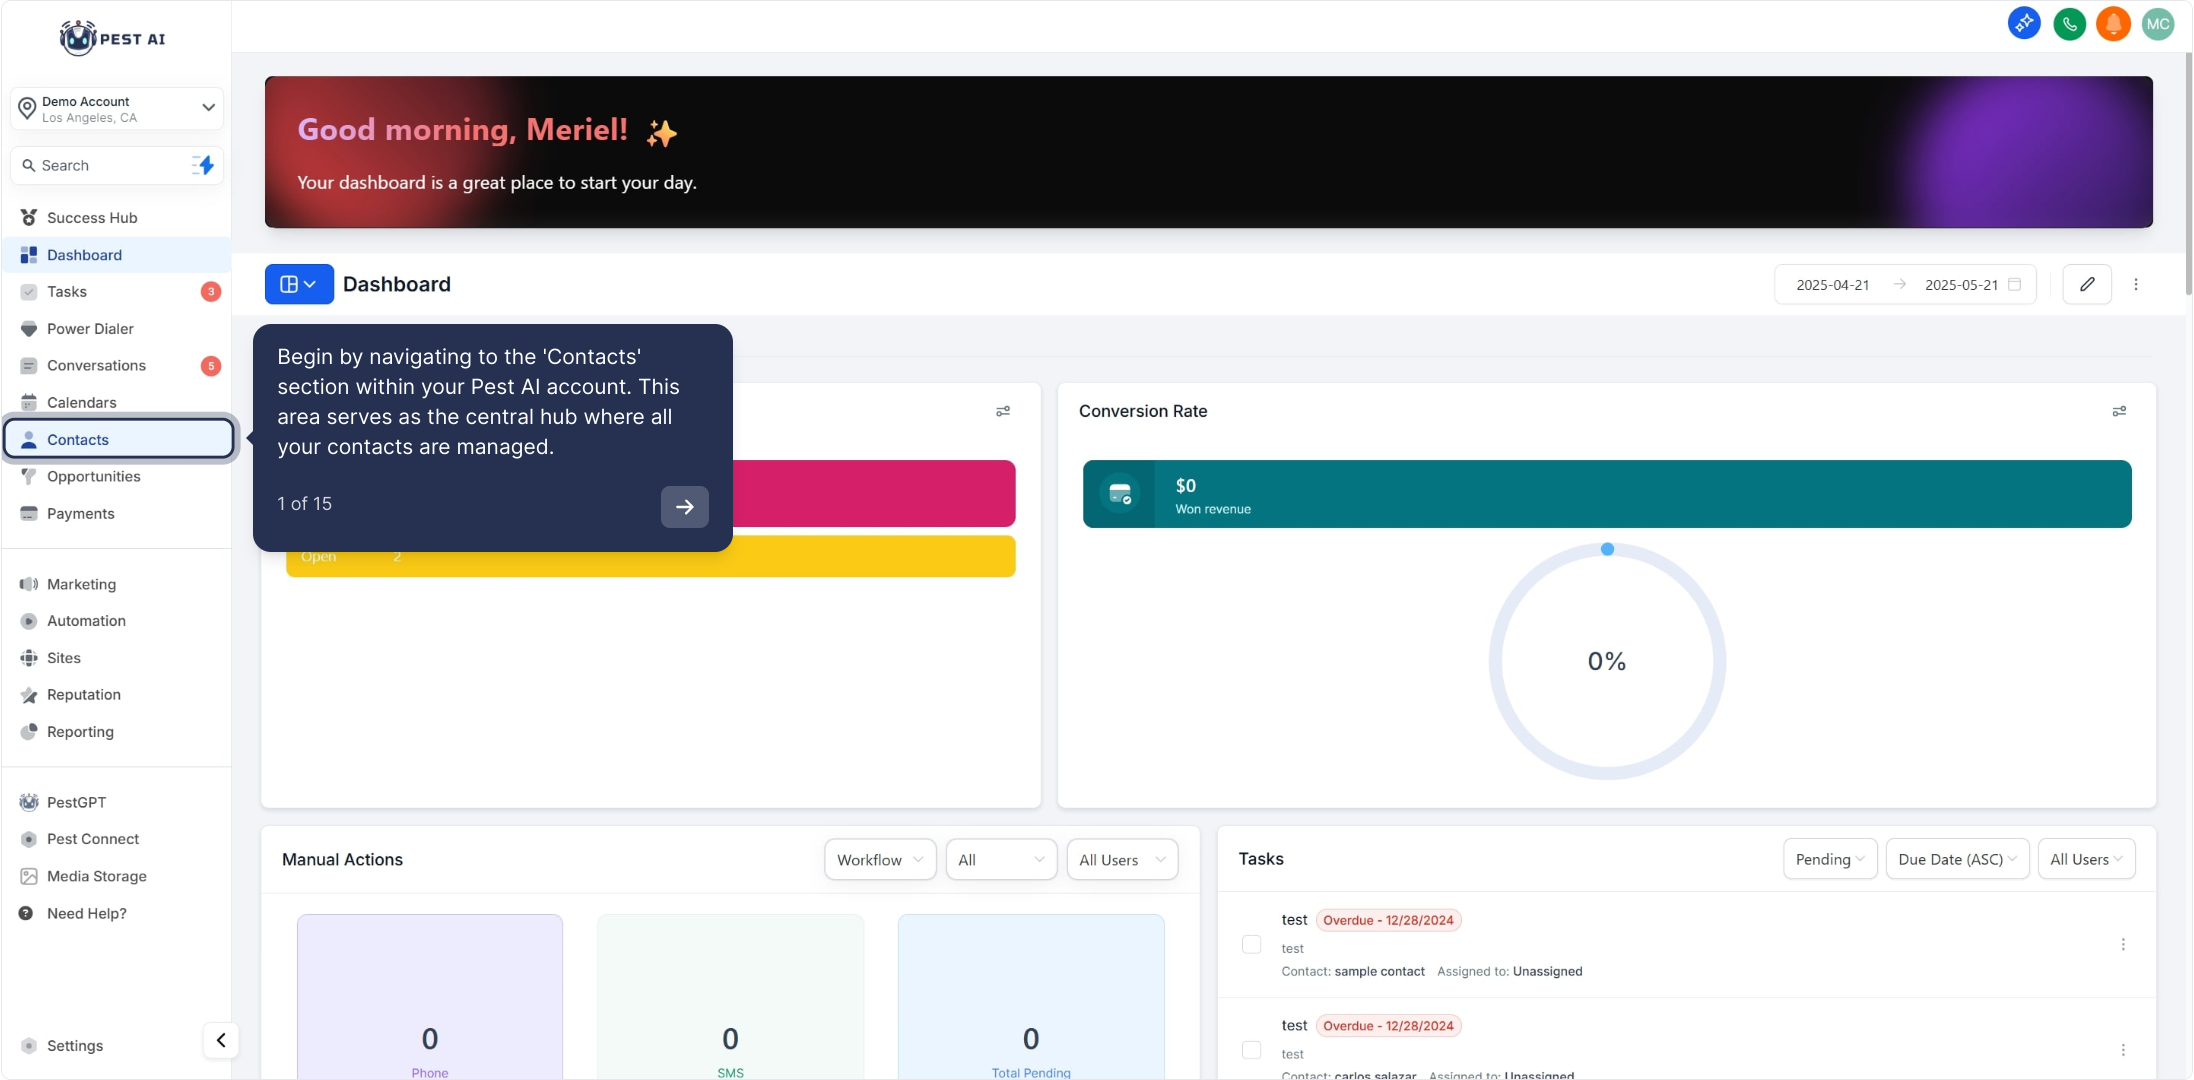
1. Begin by navigating to the 'Contacts' section within your Pest AI account. This area serves as the central hub where all your contacts are managed.
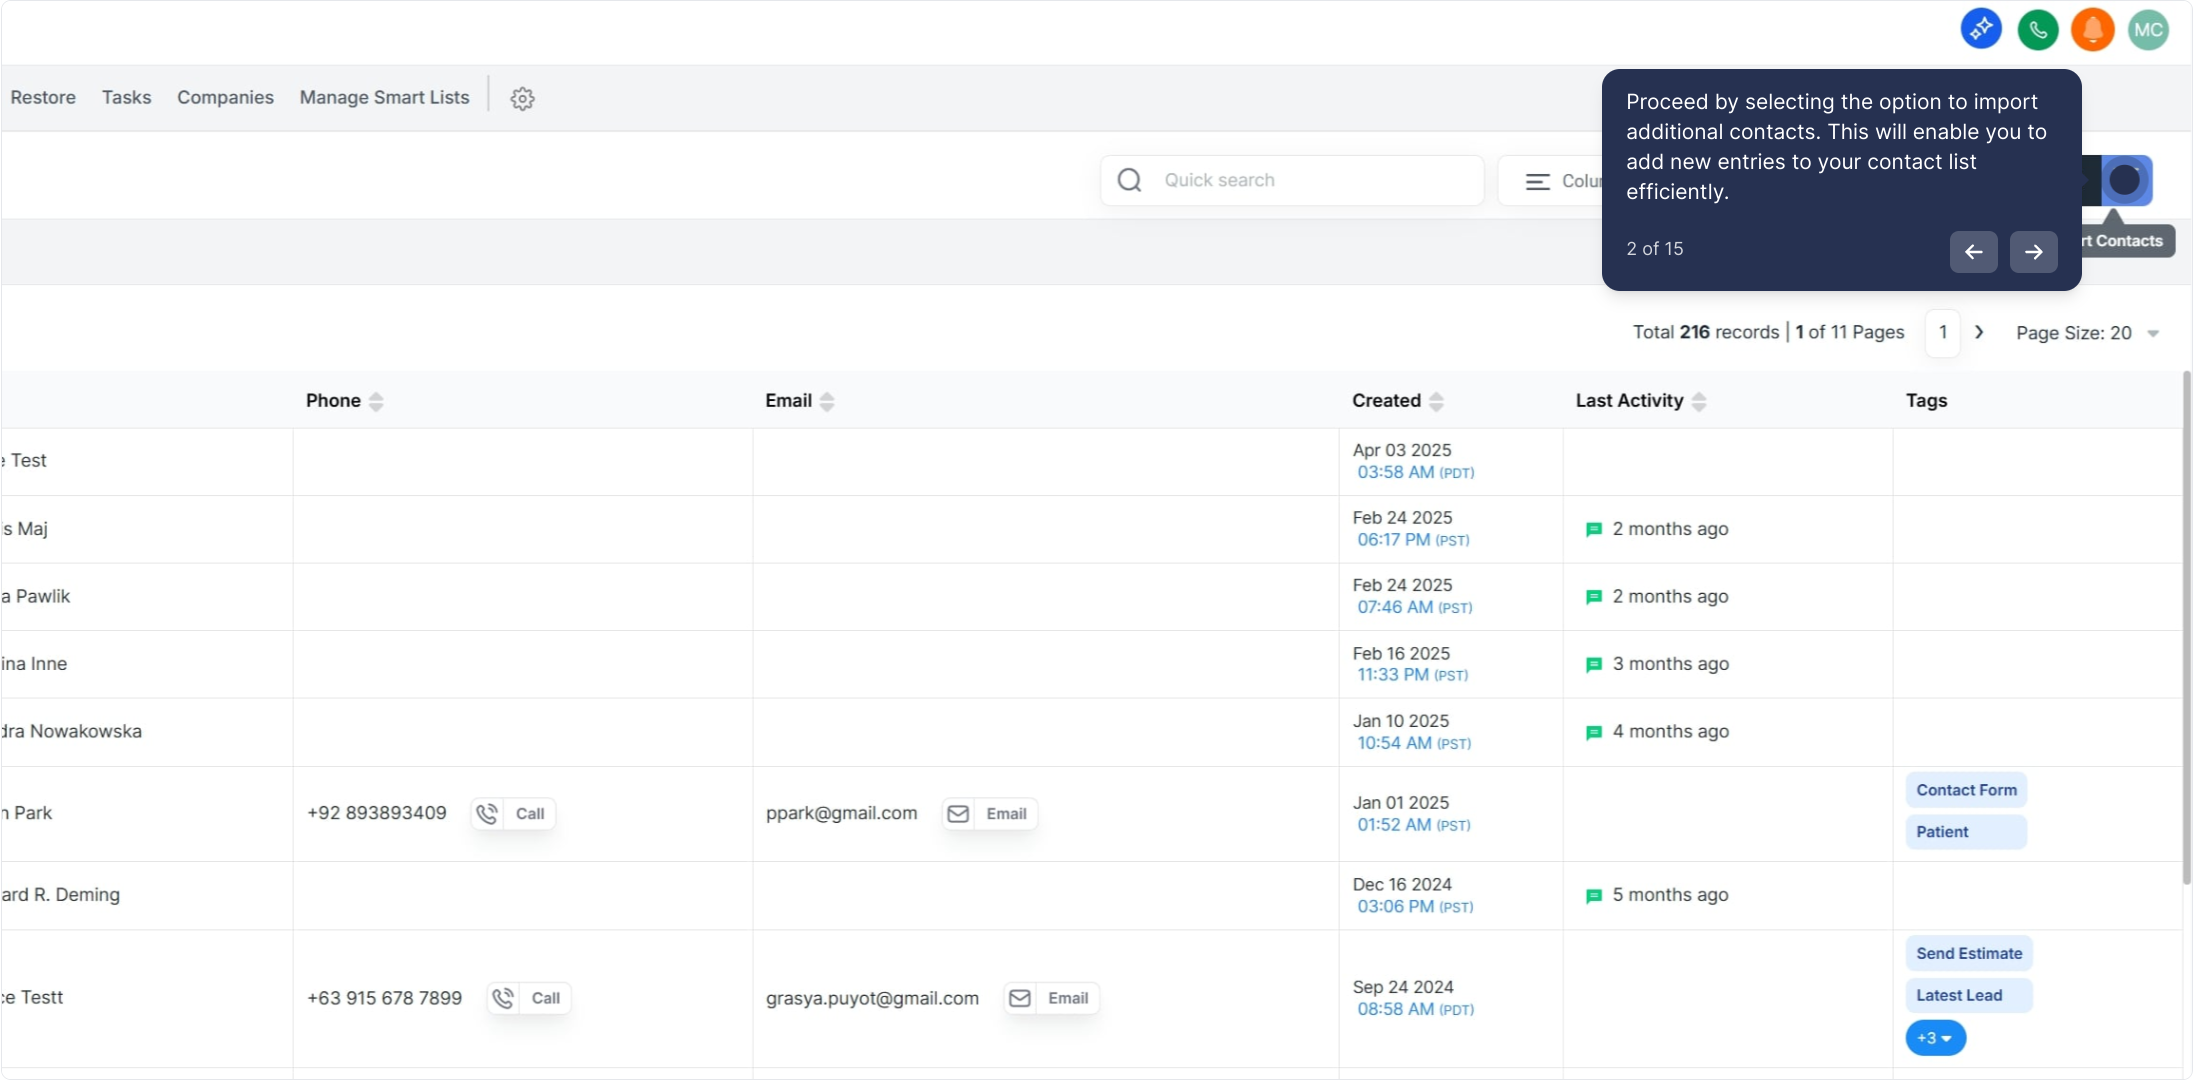
2. Proceed by selecting the option to import additional contacts. This will enable you to add new entries to your contact list efficiently.
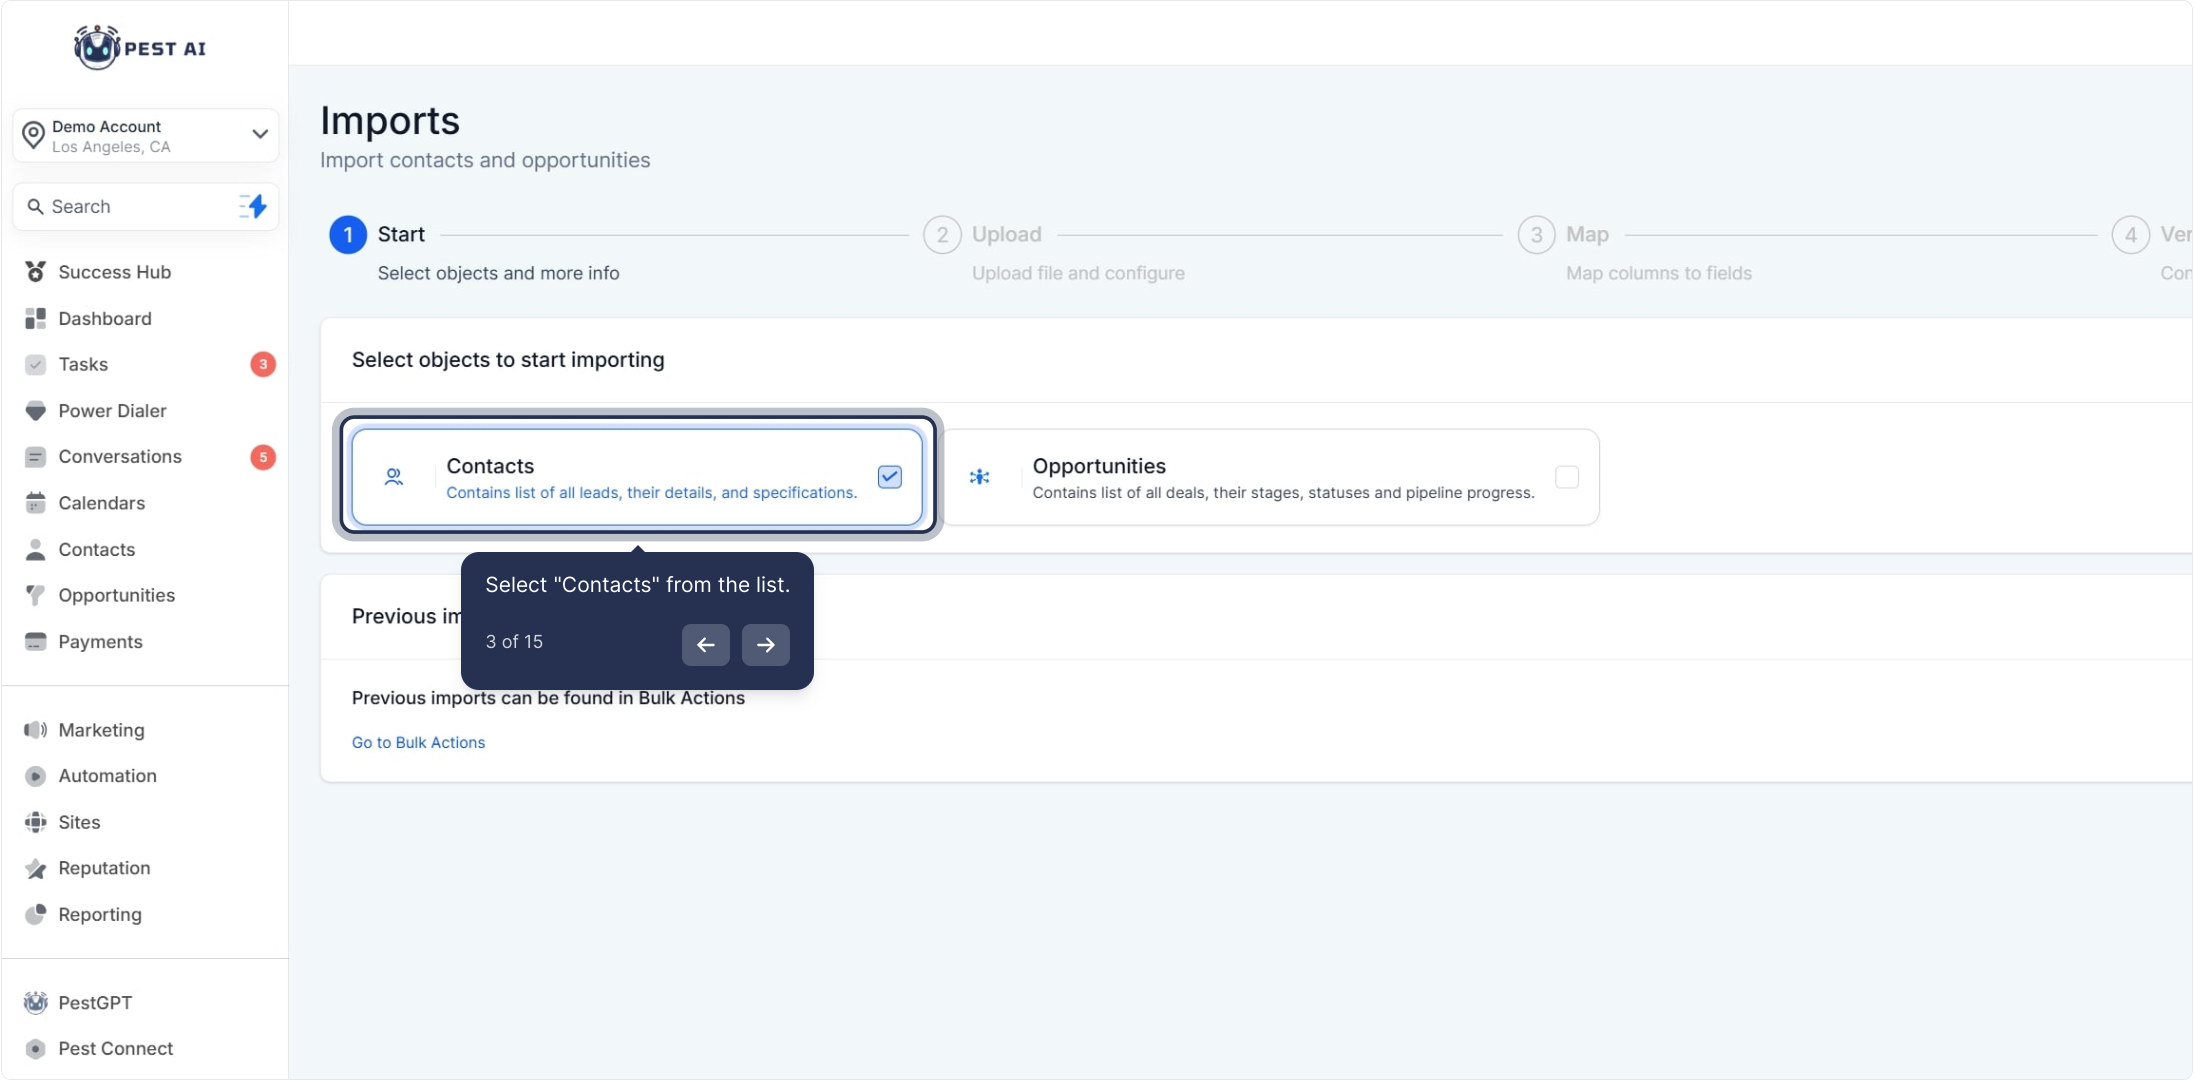
3. Select "Contacts" from the list.
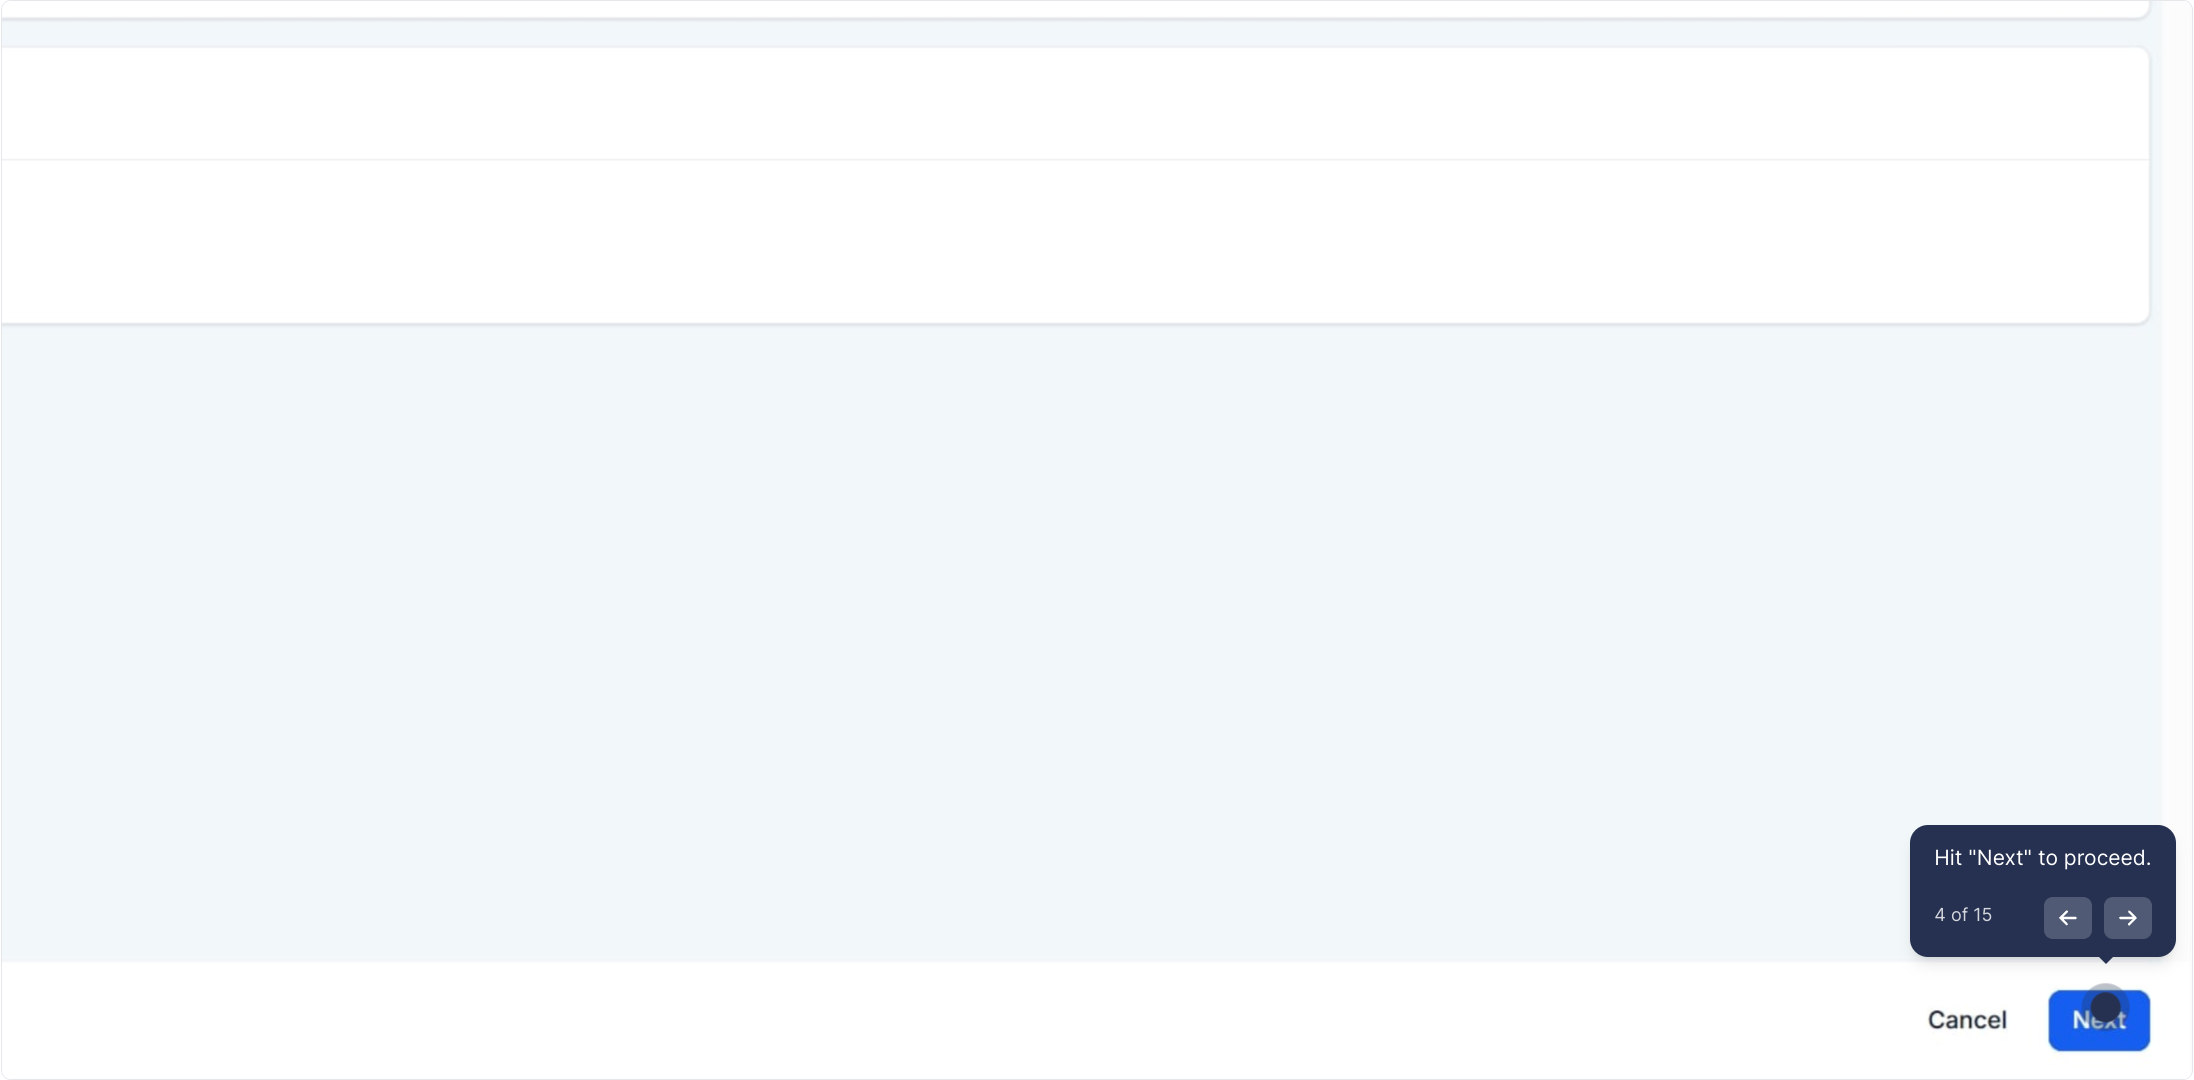
4. Hit "Next" to proceed.
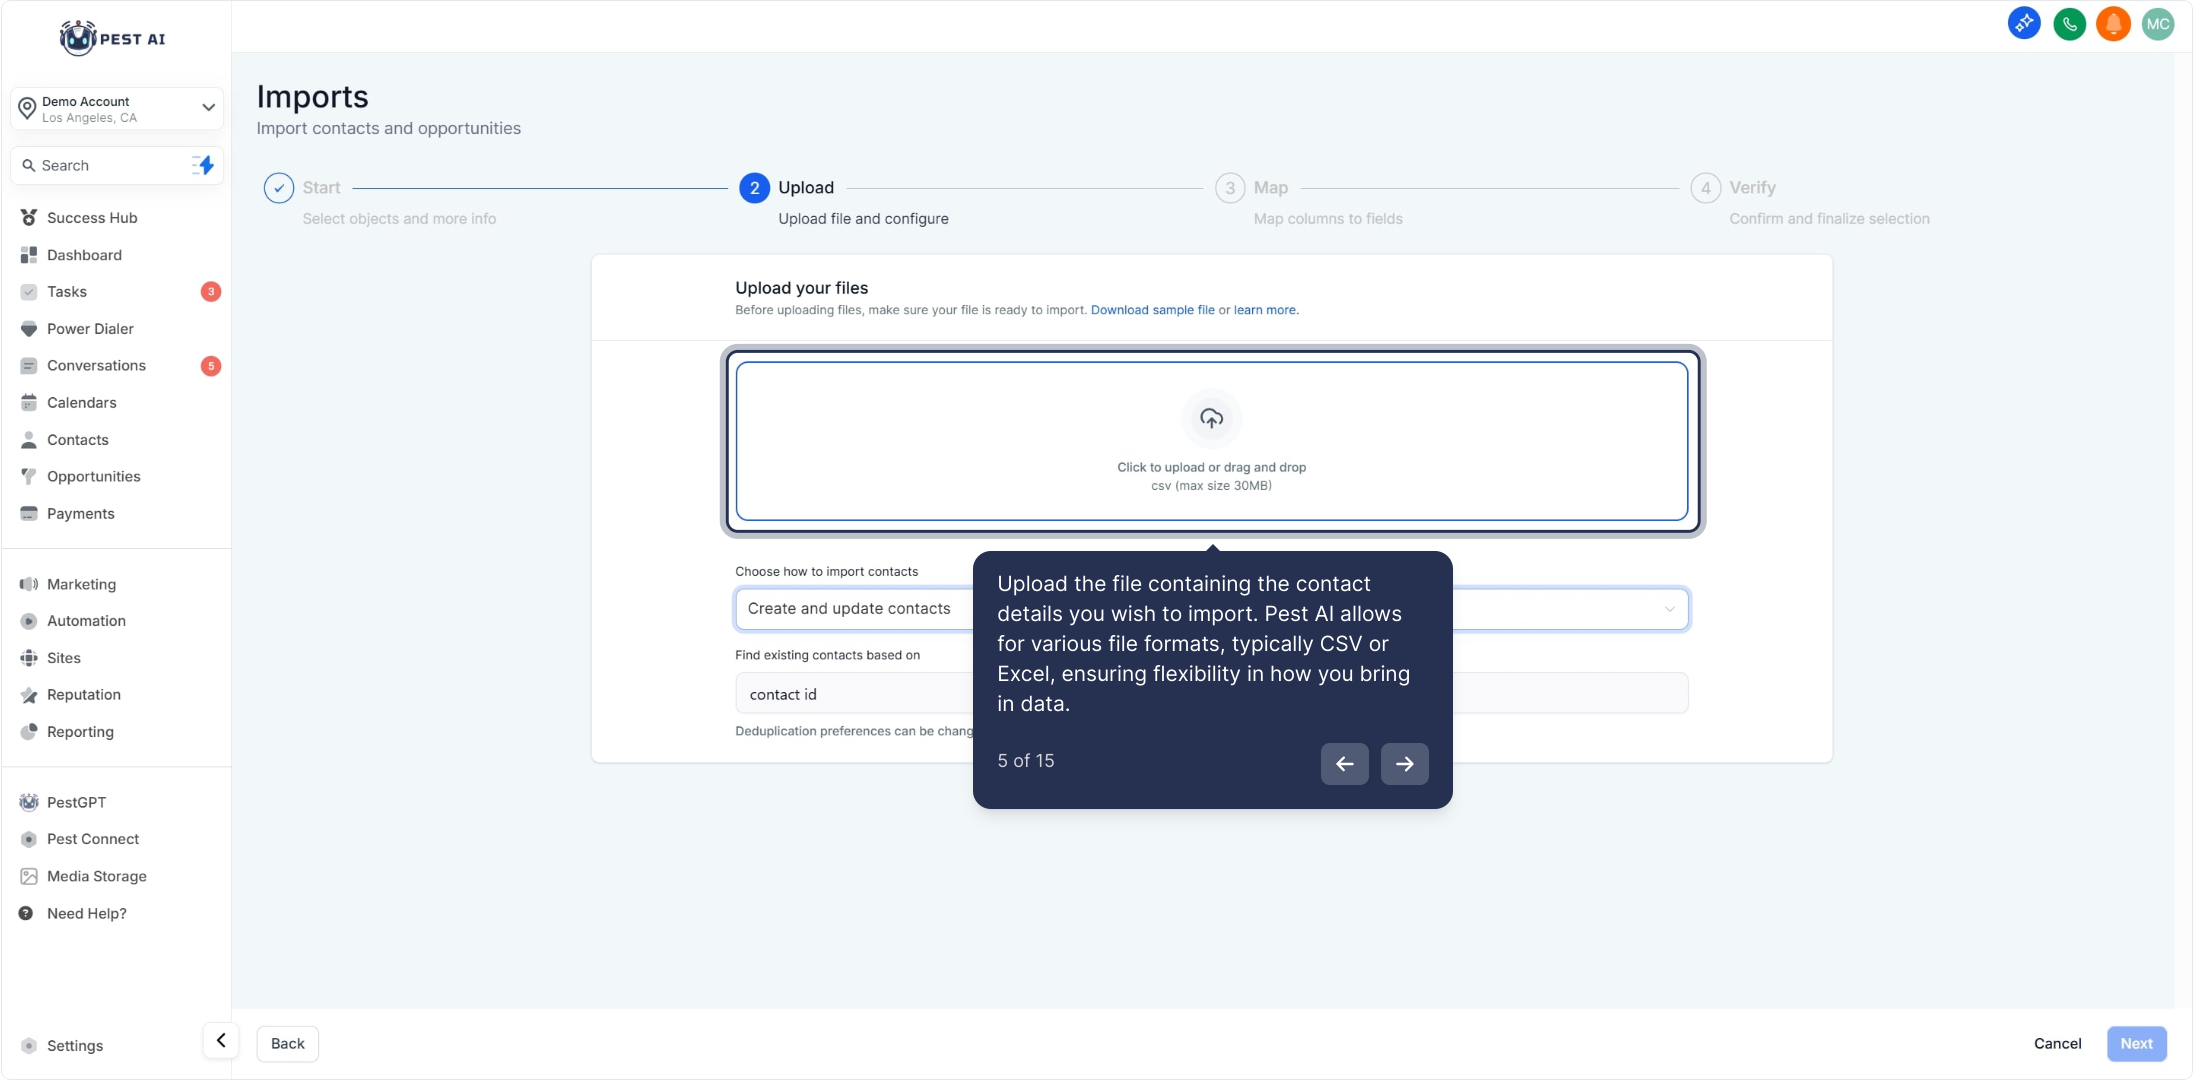
5. Upload the file containing the contact details you wish to import. Pest AI allows for various file formats, typically CSV or Excel, ensuring flexibility in how you bring in data.
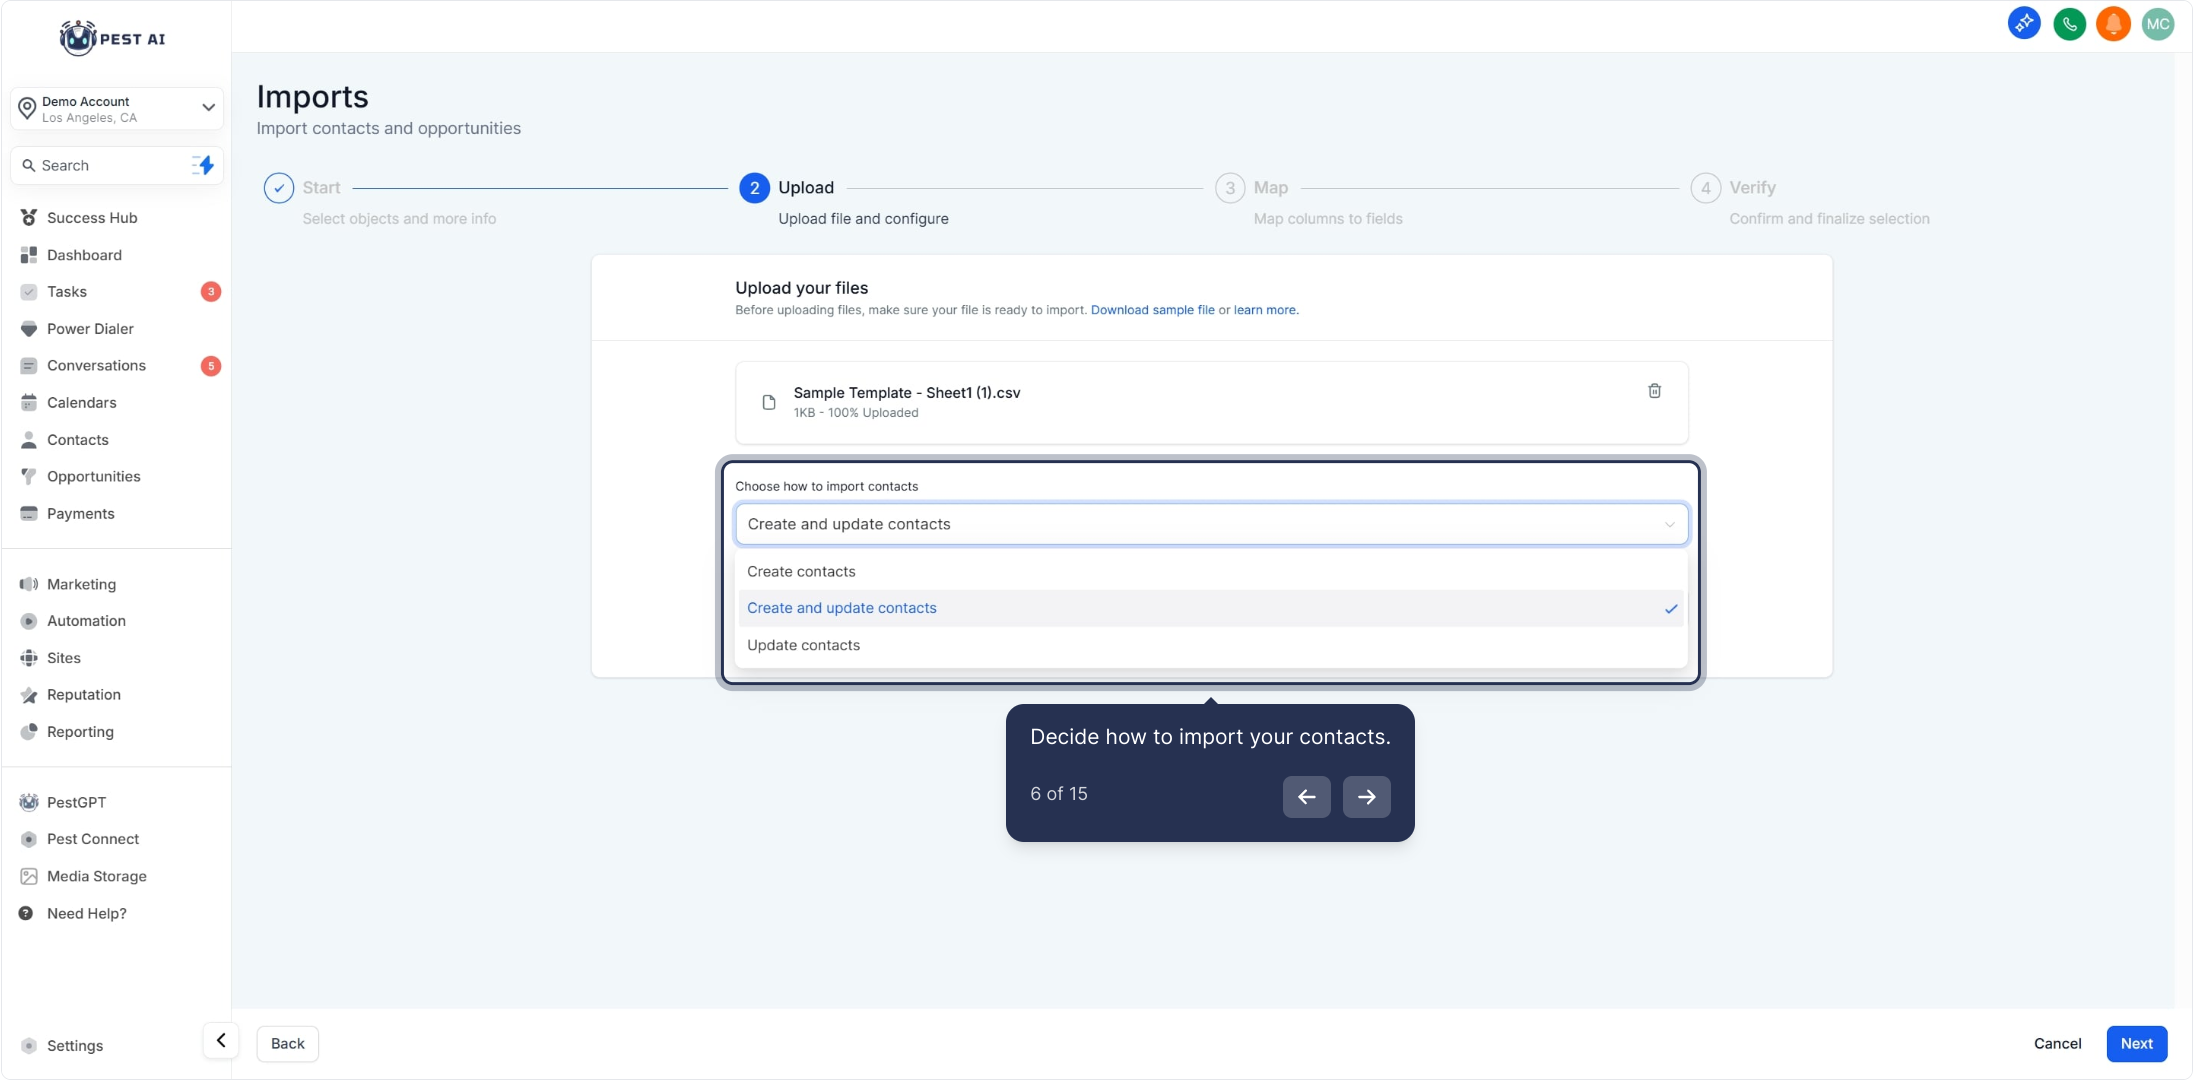
6. Decide how to import your contacts.
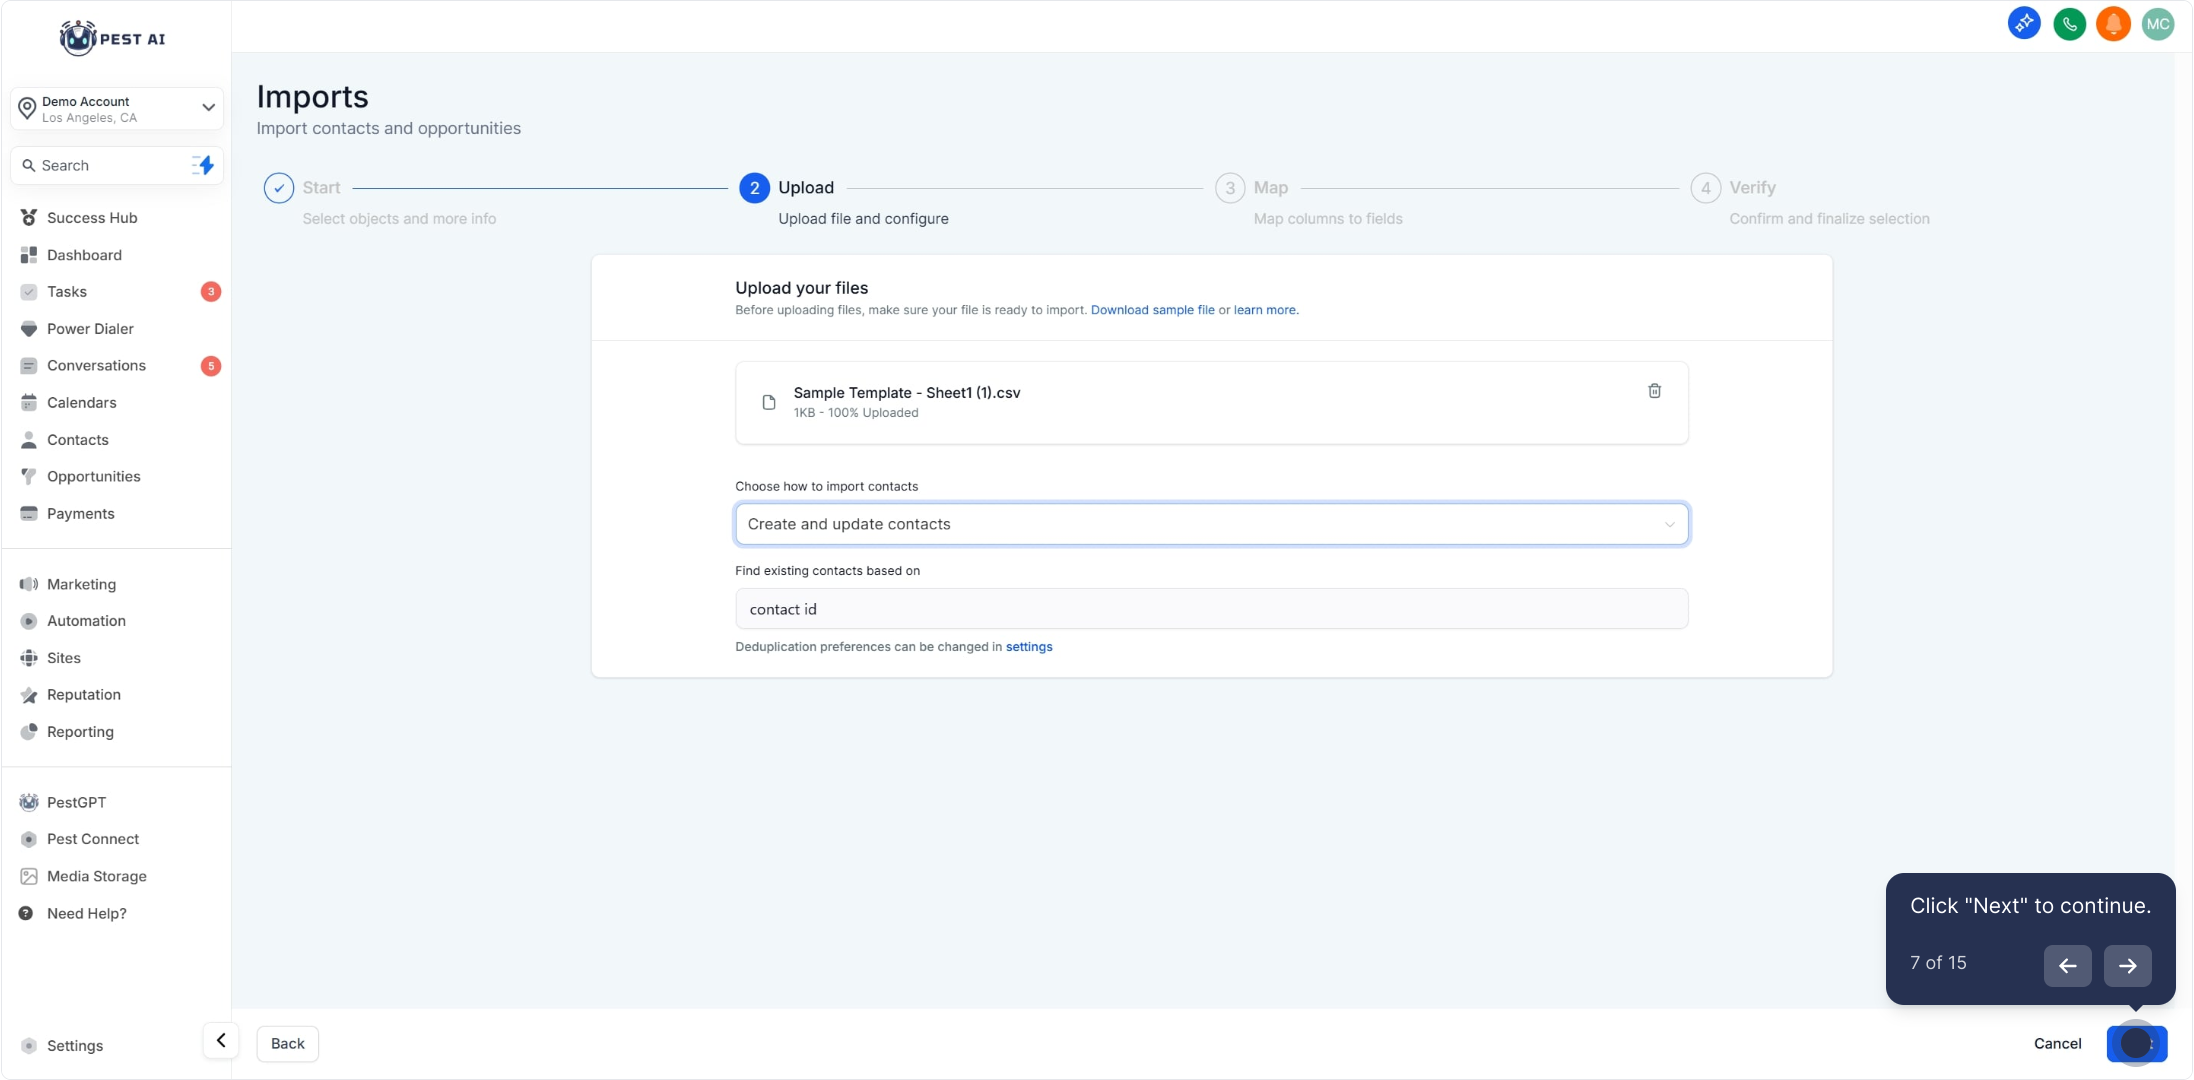
7. Click "Next" to continue.
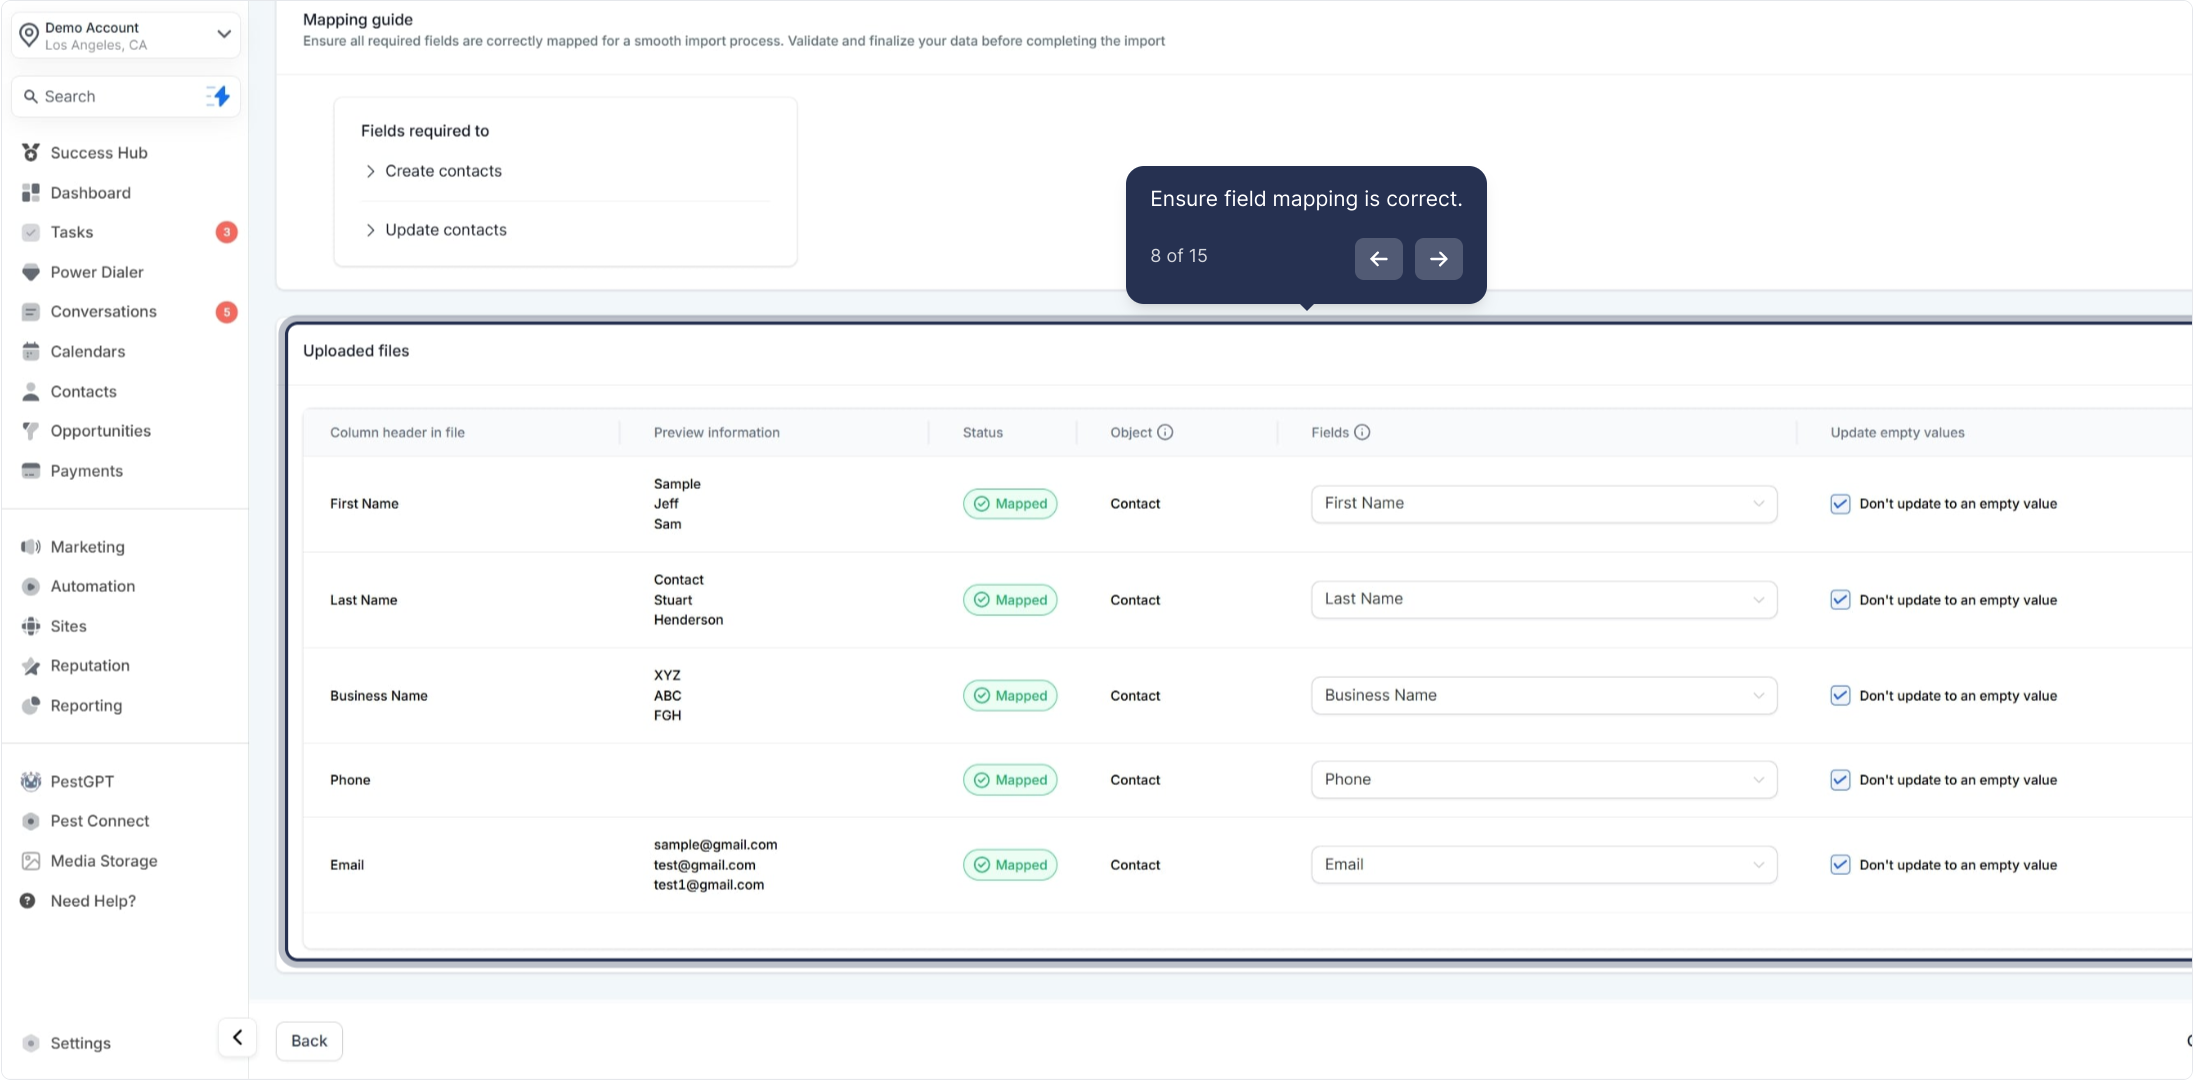
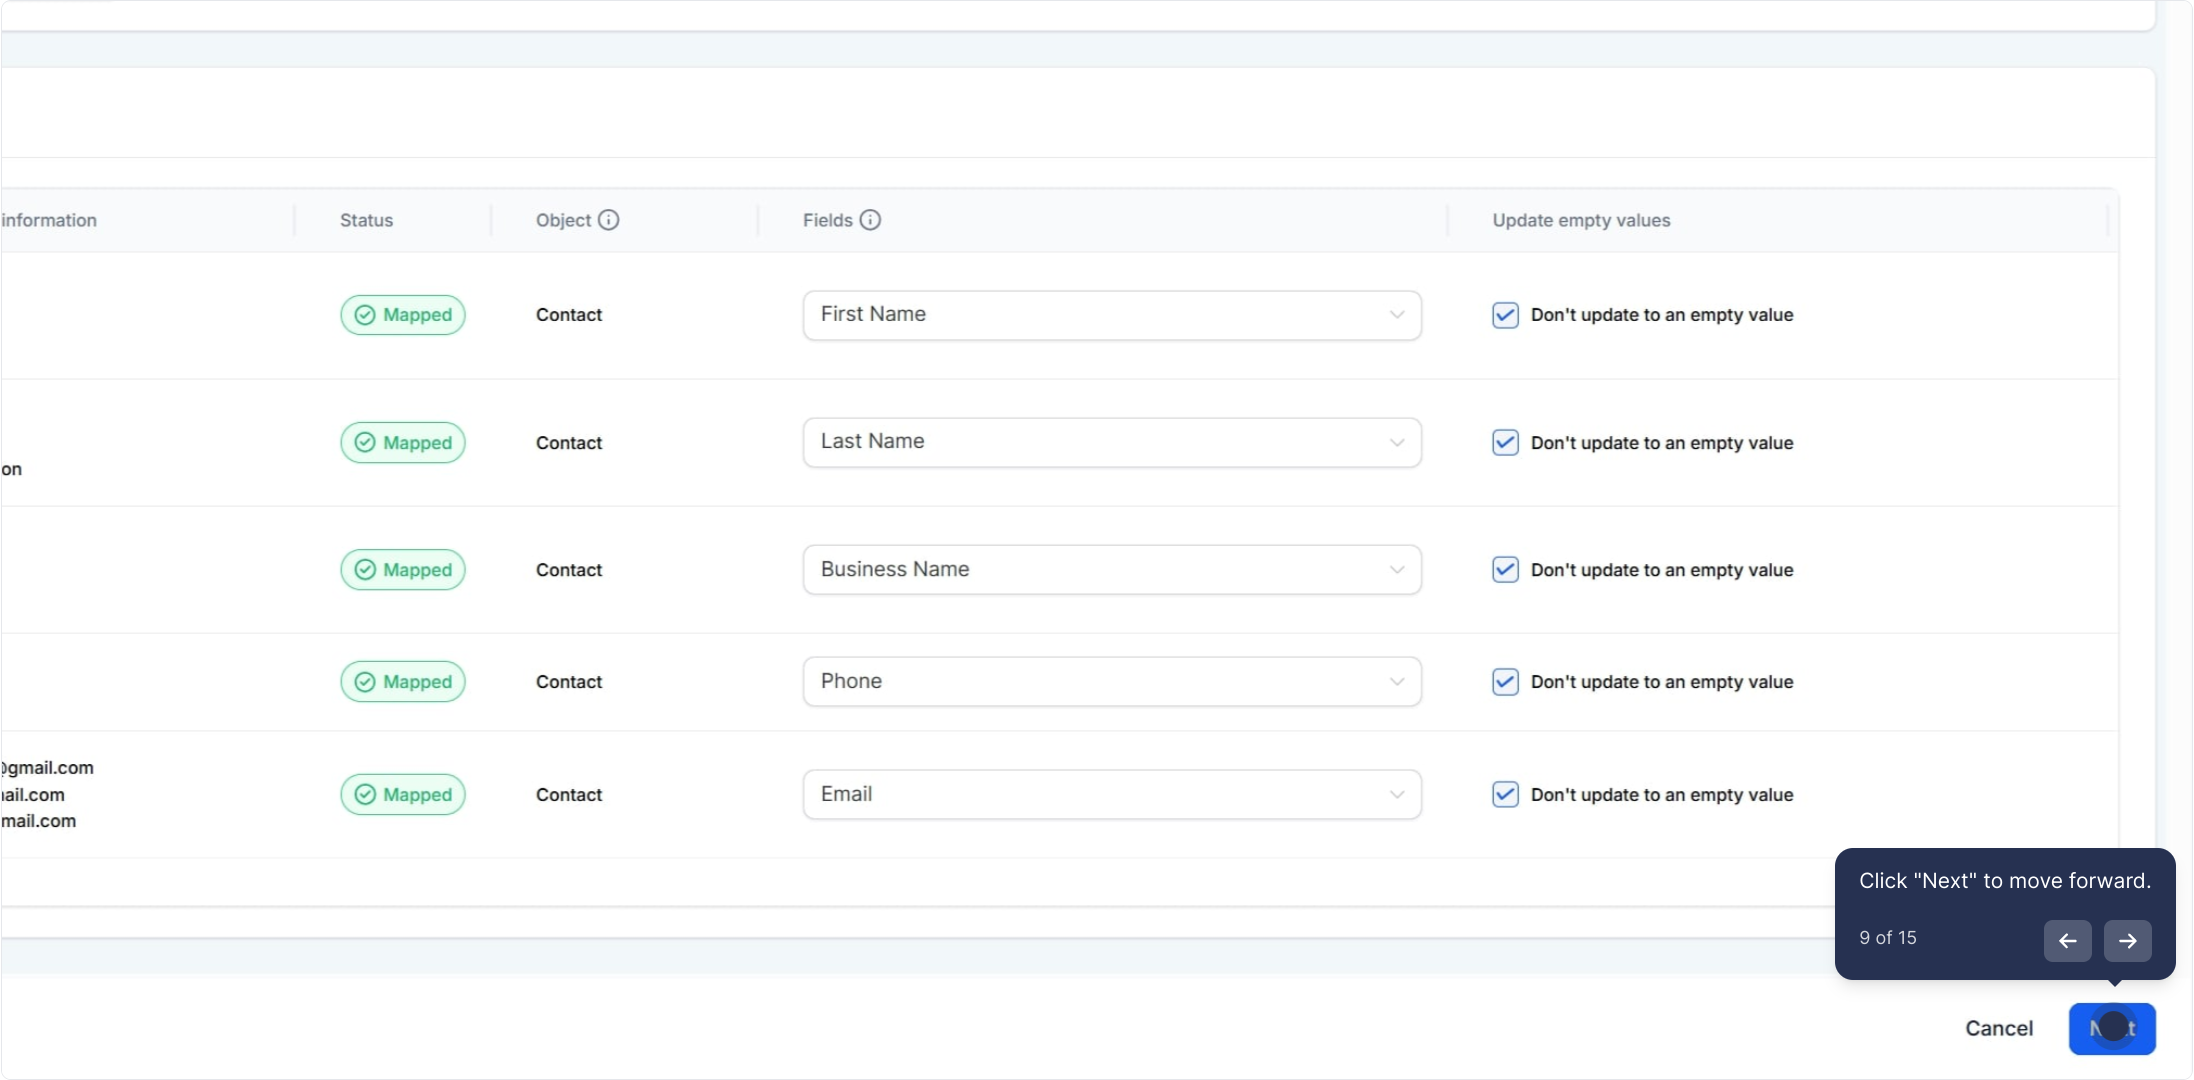
8. Ensure field mapping is correct.
9. Click "Next" to move forward.
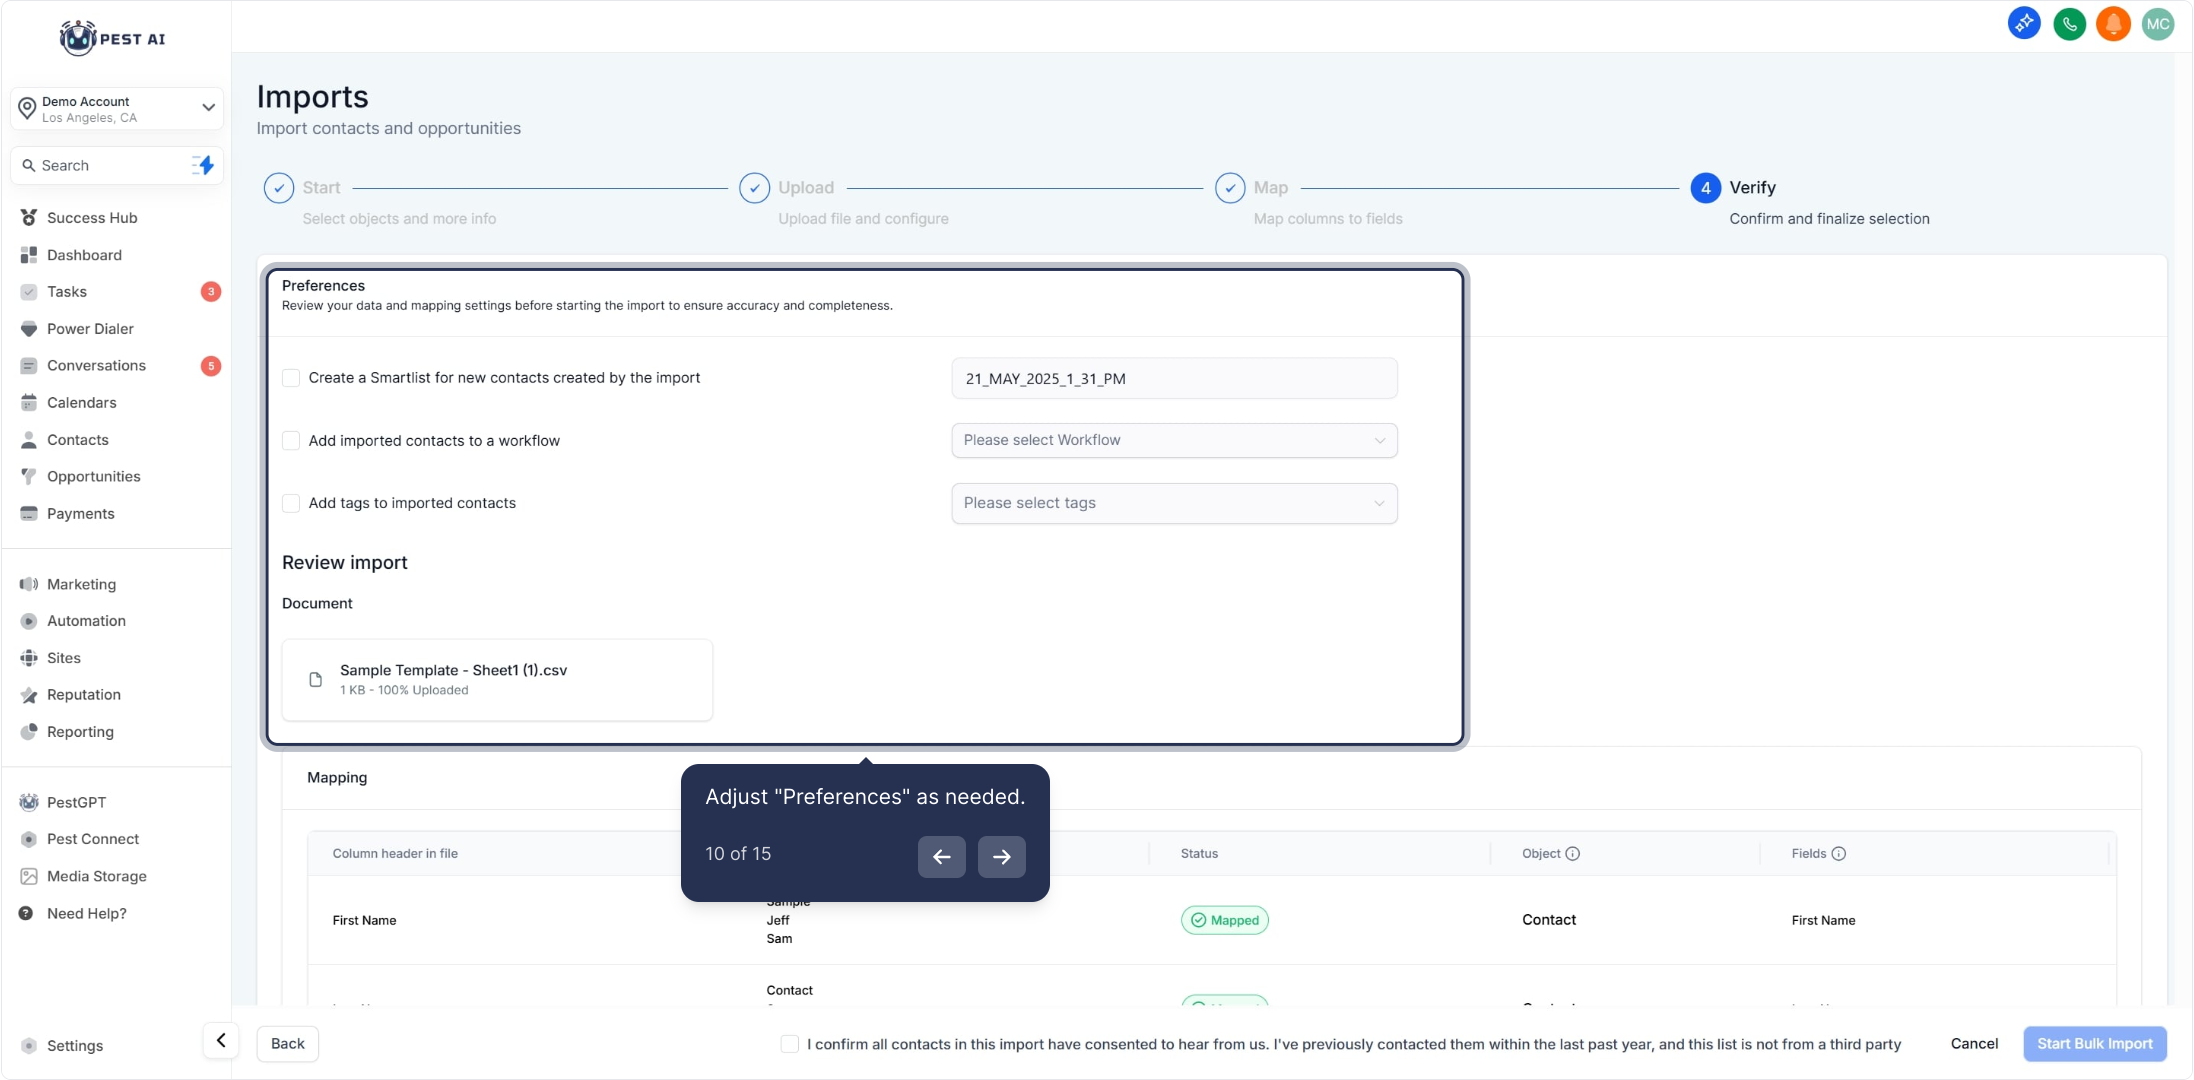
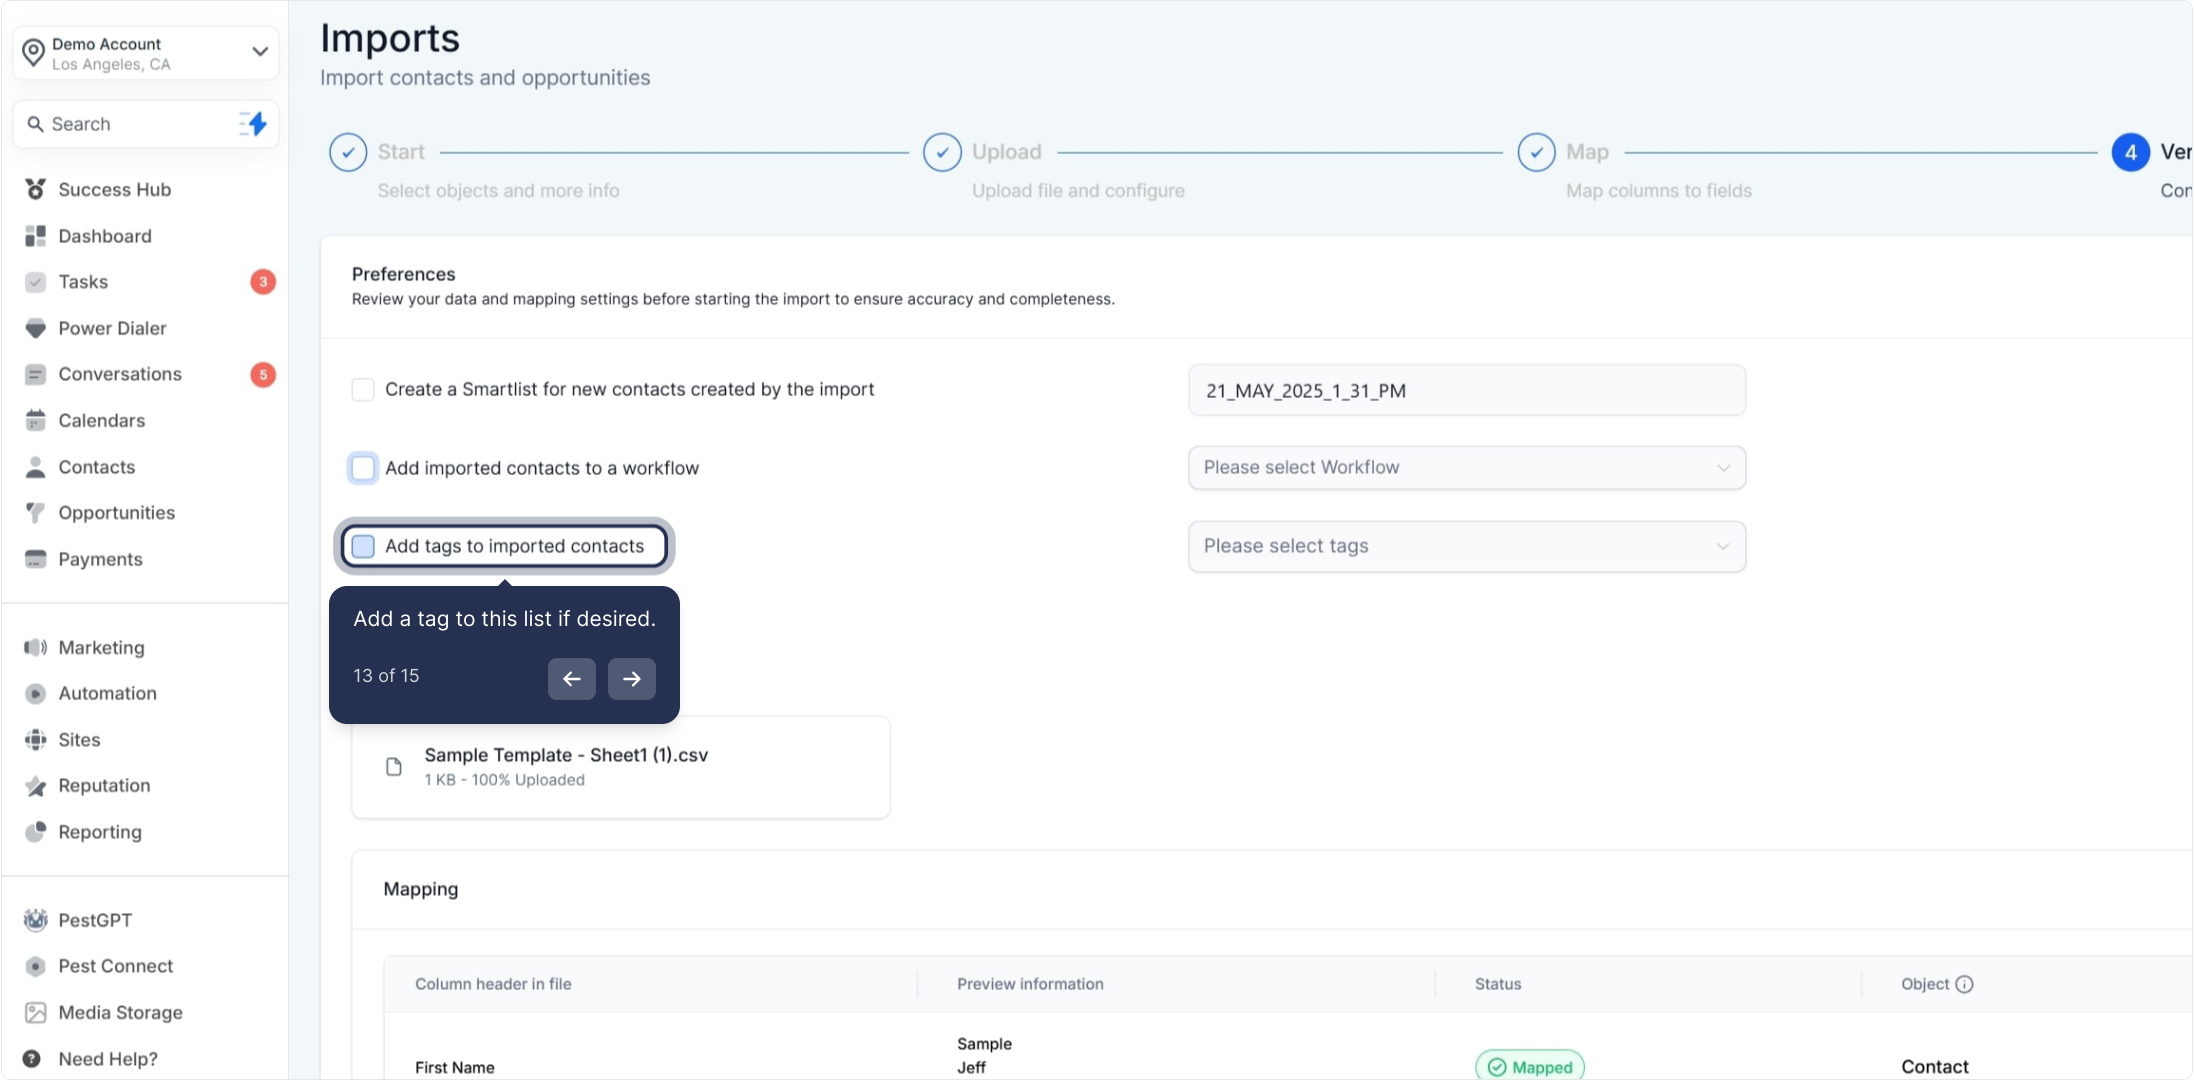
10. Adjust "Preferences" as needed.
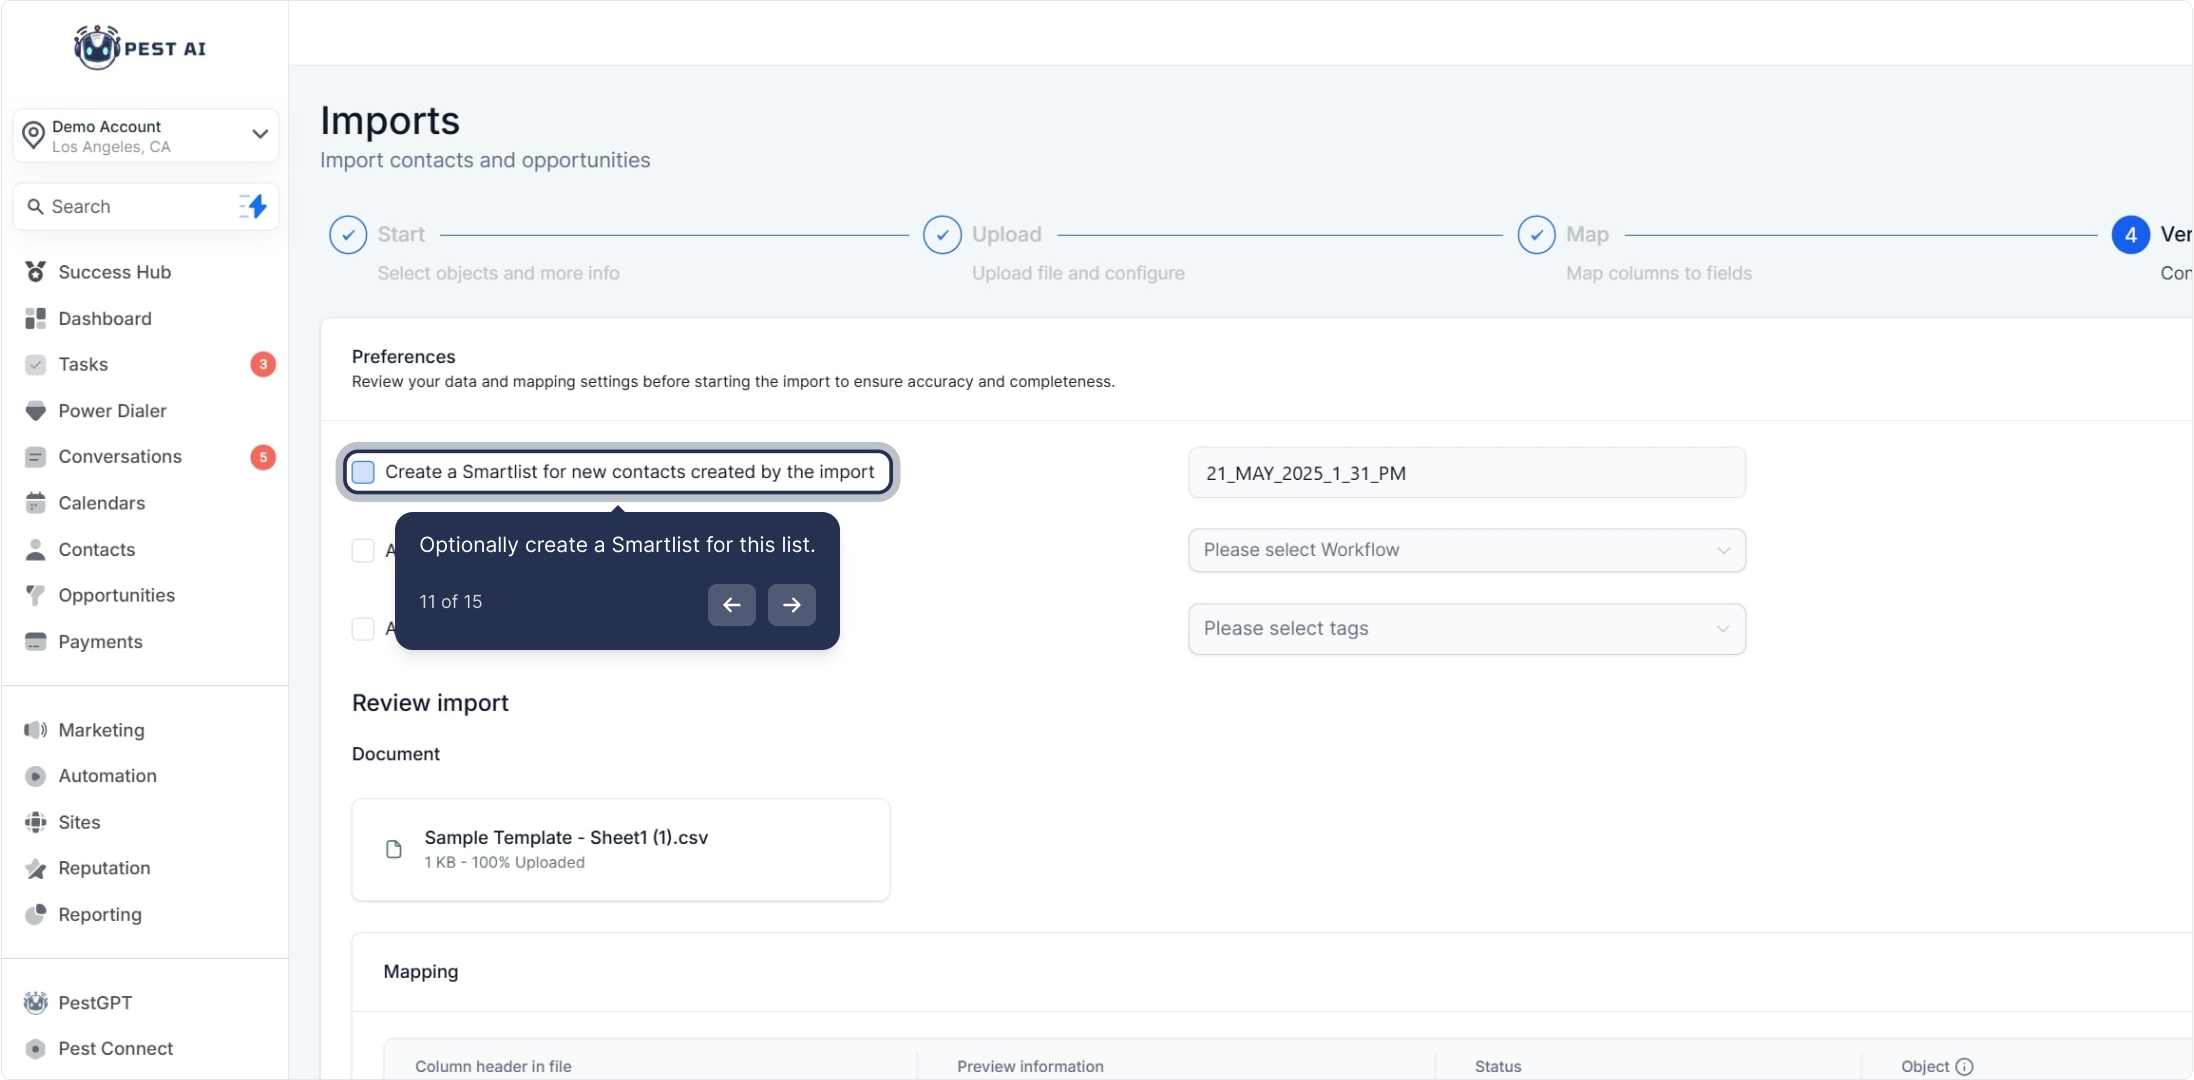
11. Optionally create a Smartlist for this list.
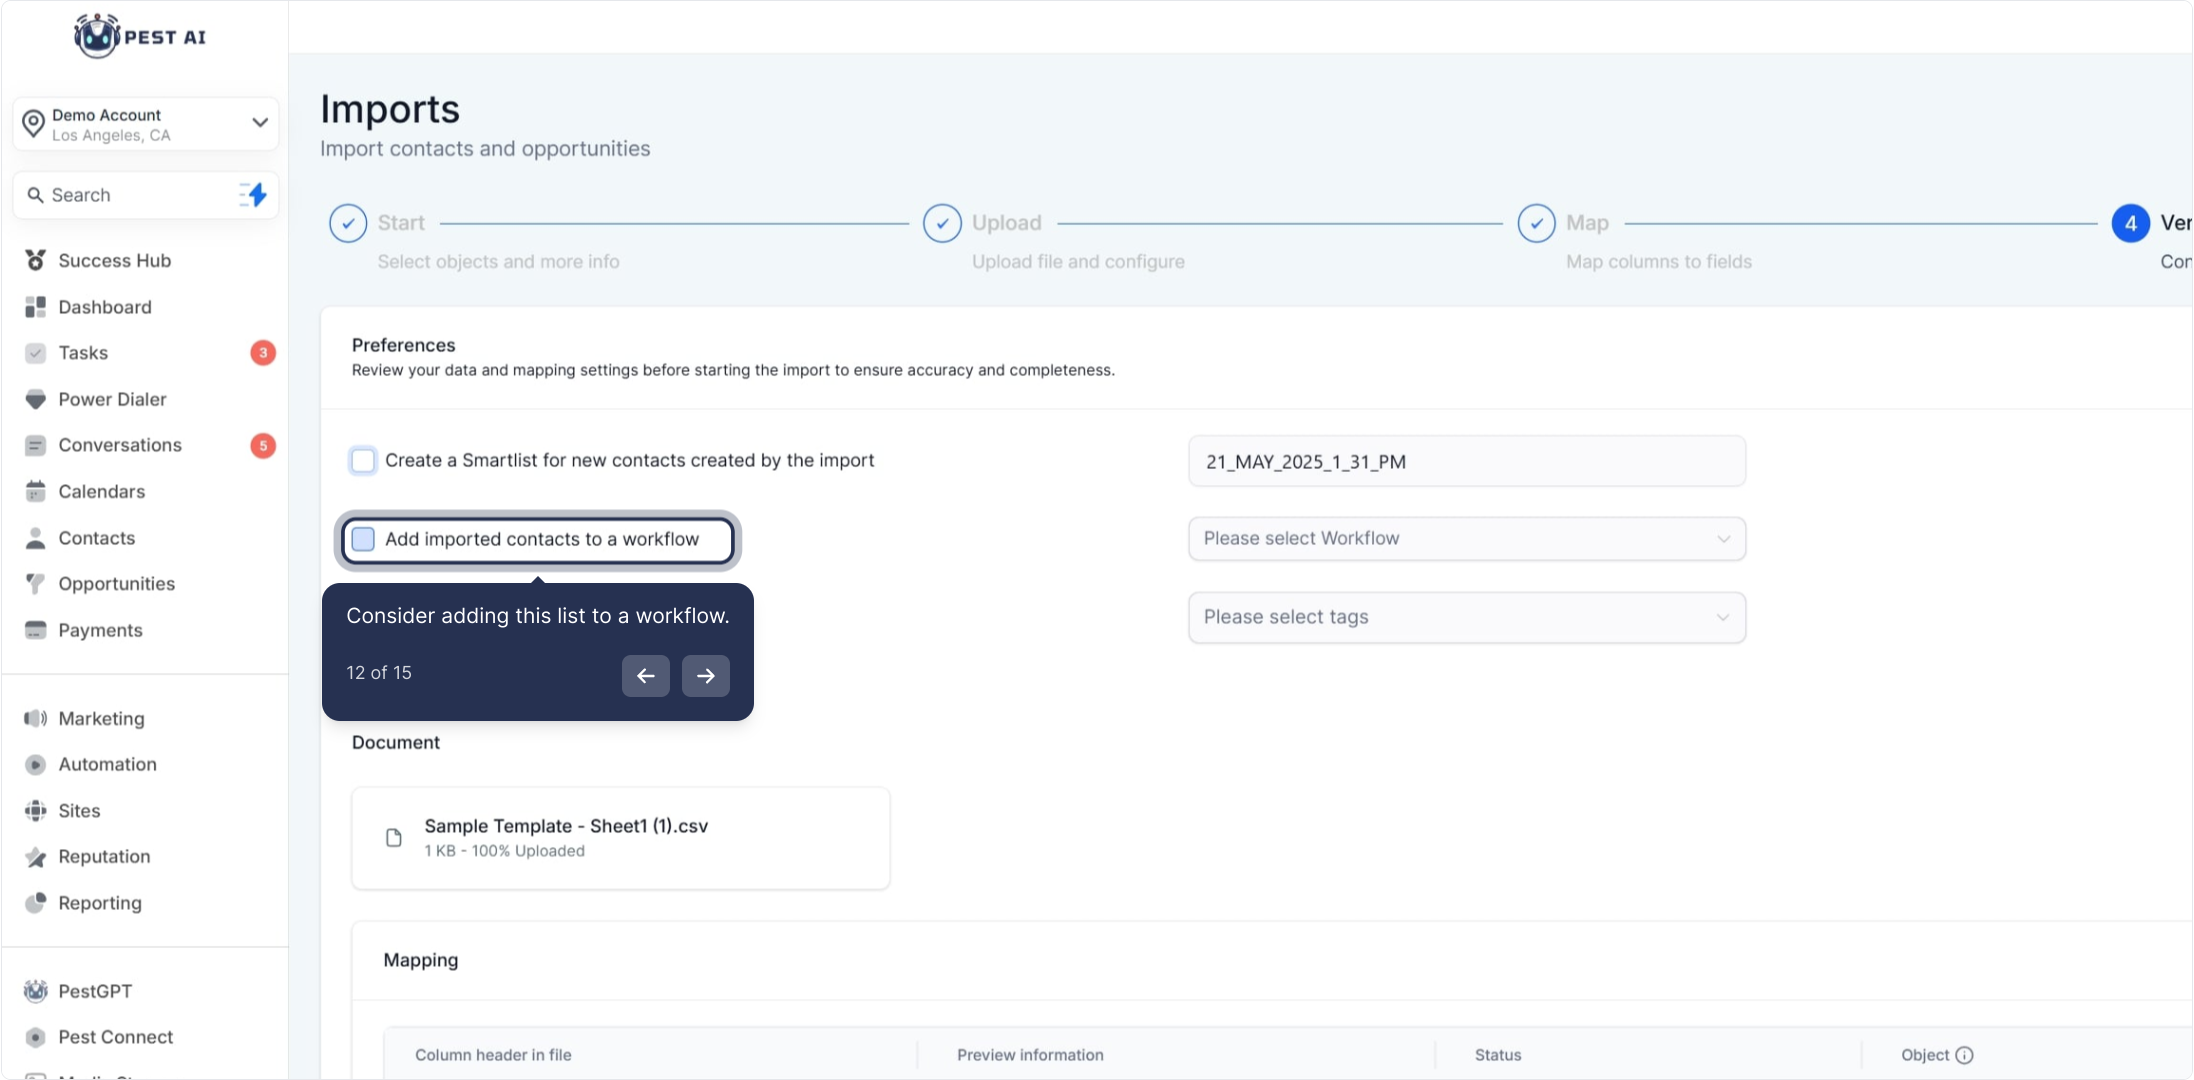
12. Consider adding this list to a workflow.
13. Add a tag to this list if desired.
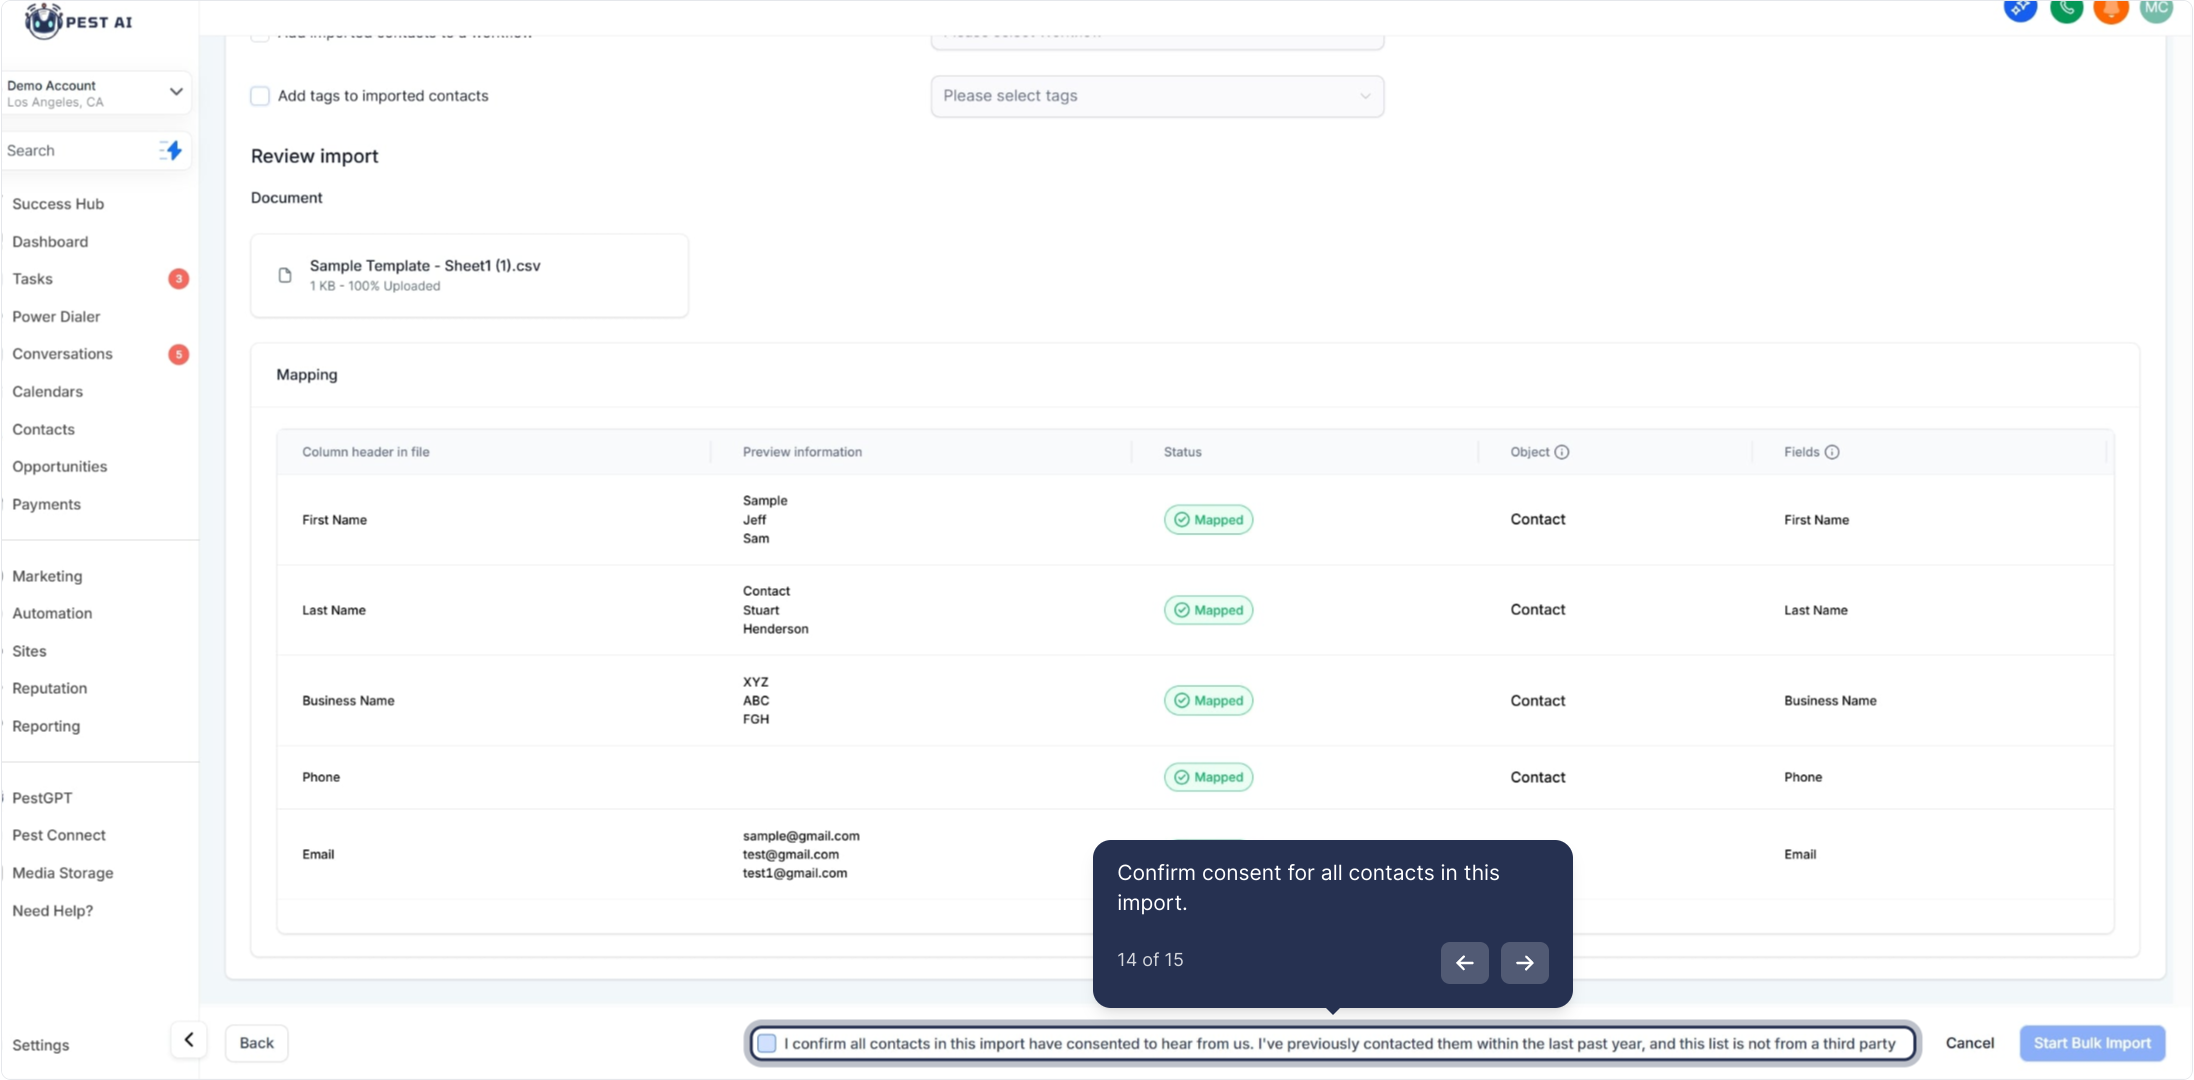
14. Confirm consent for all contacts in this import.
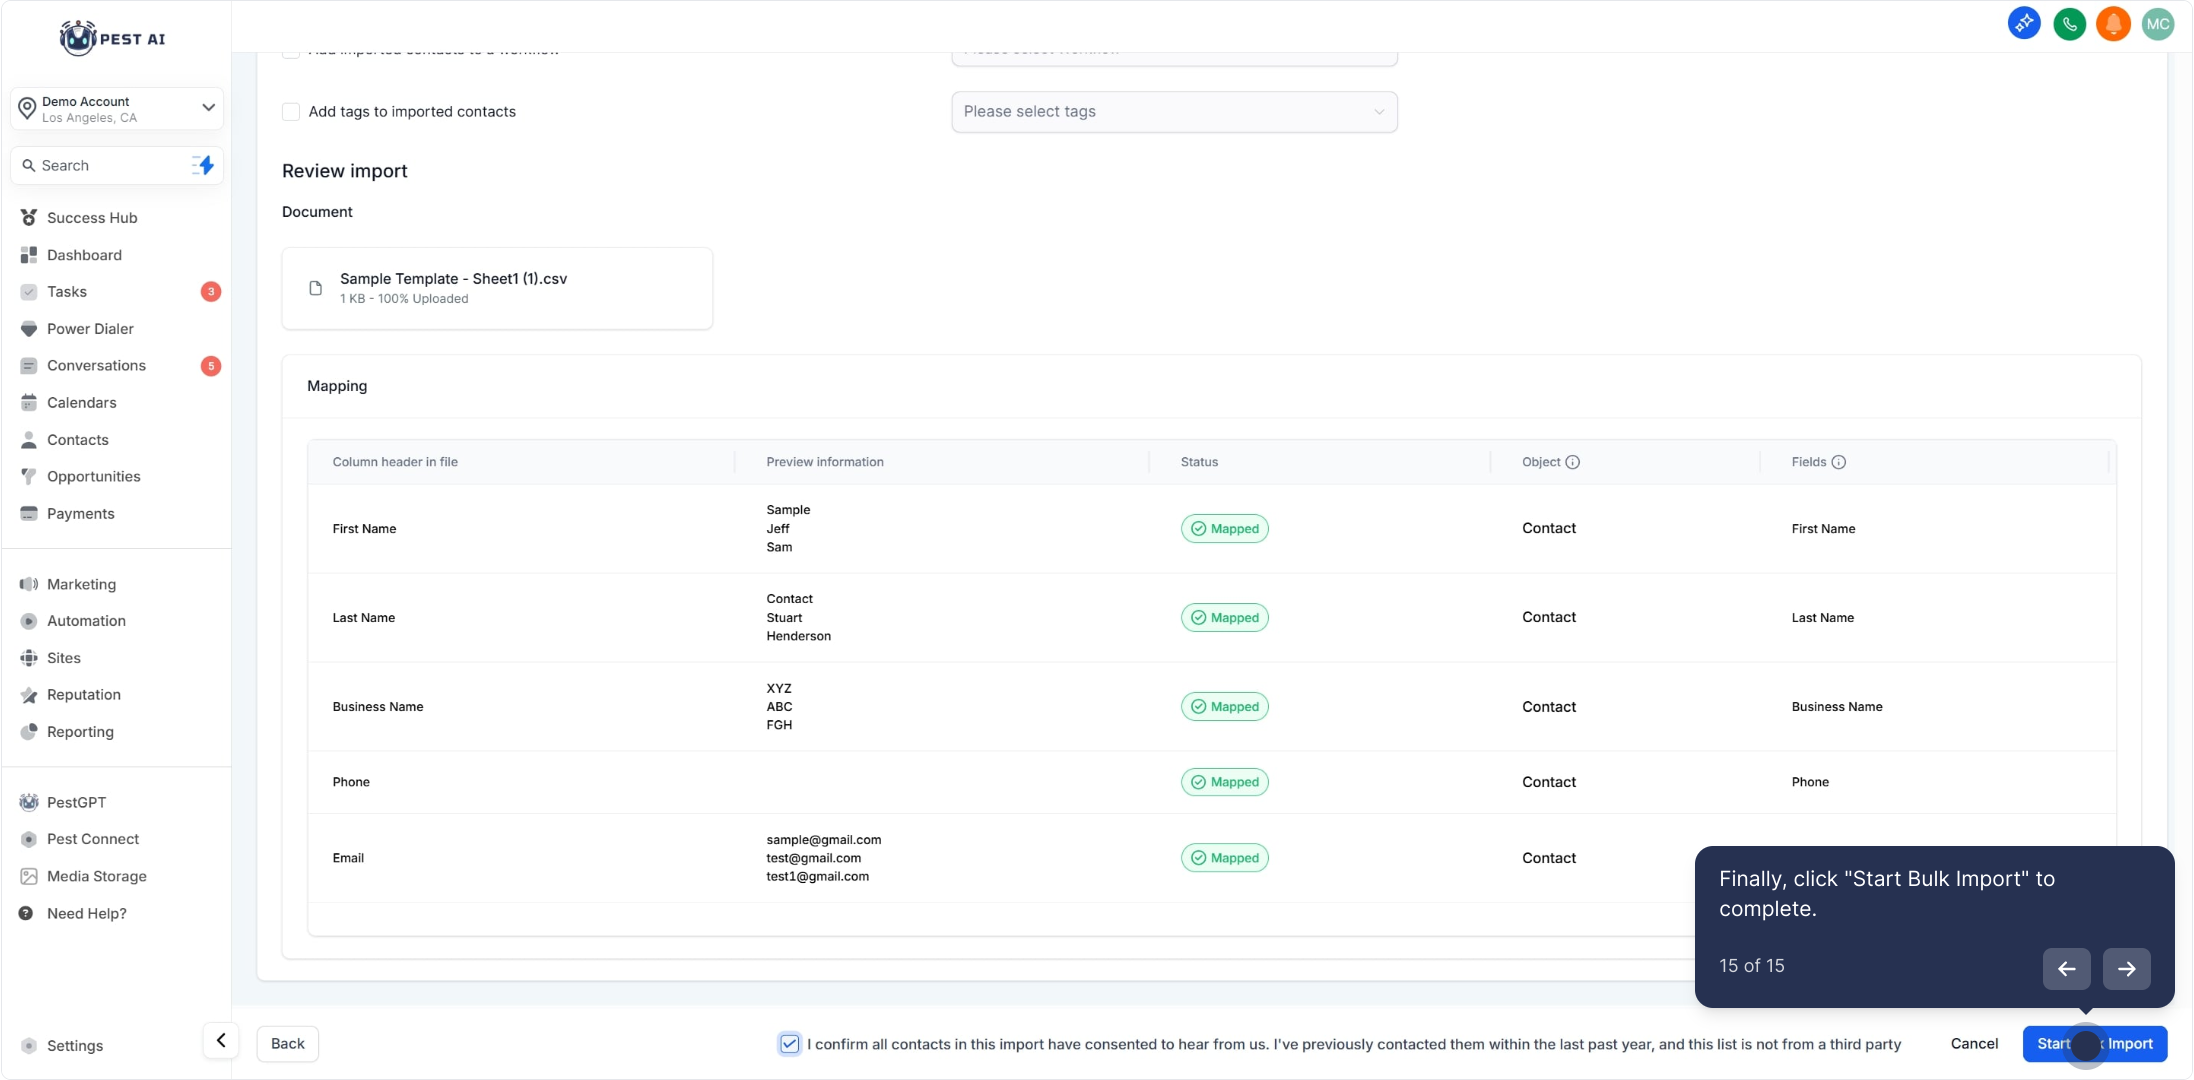
15. Finally, click "Start Bulk Import" to complete.