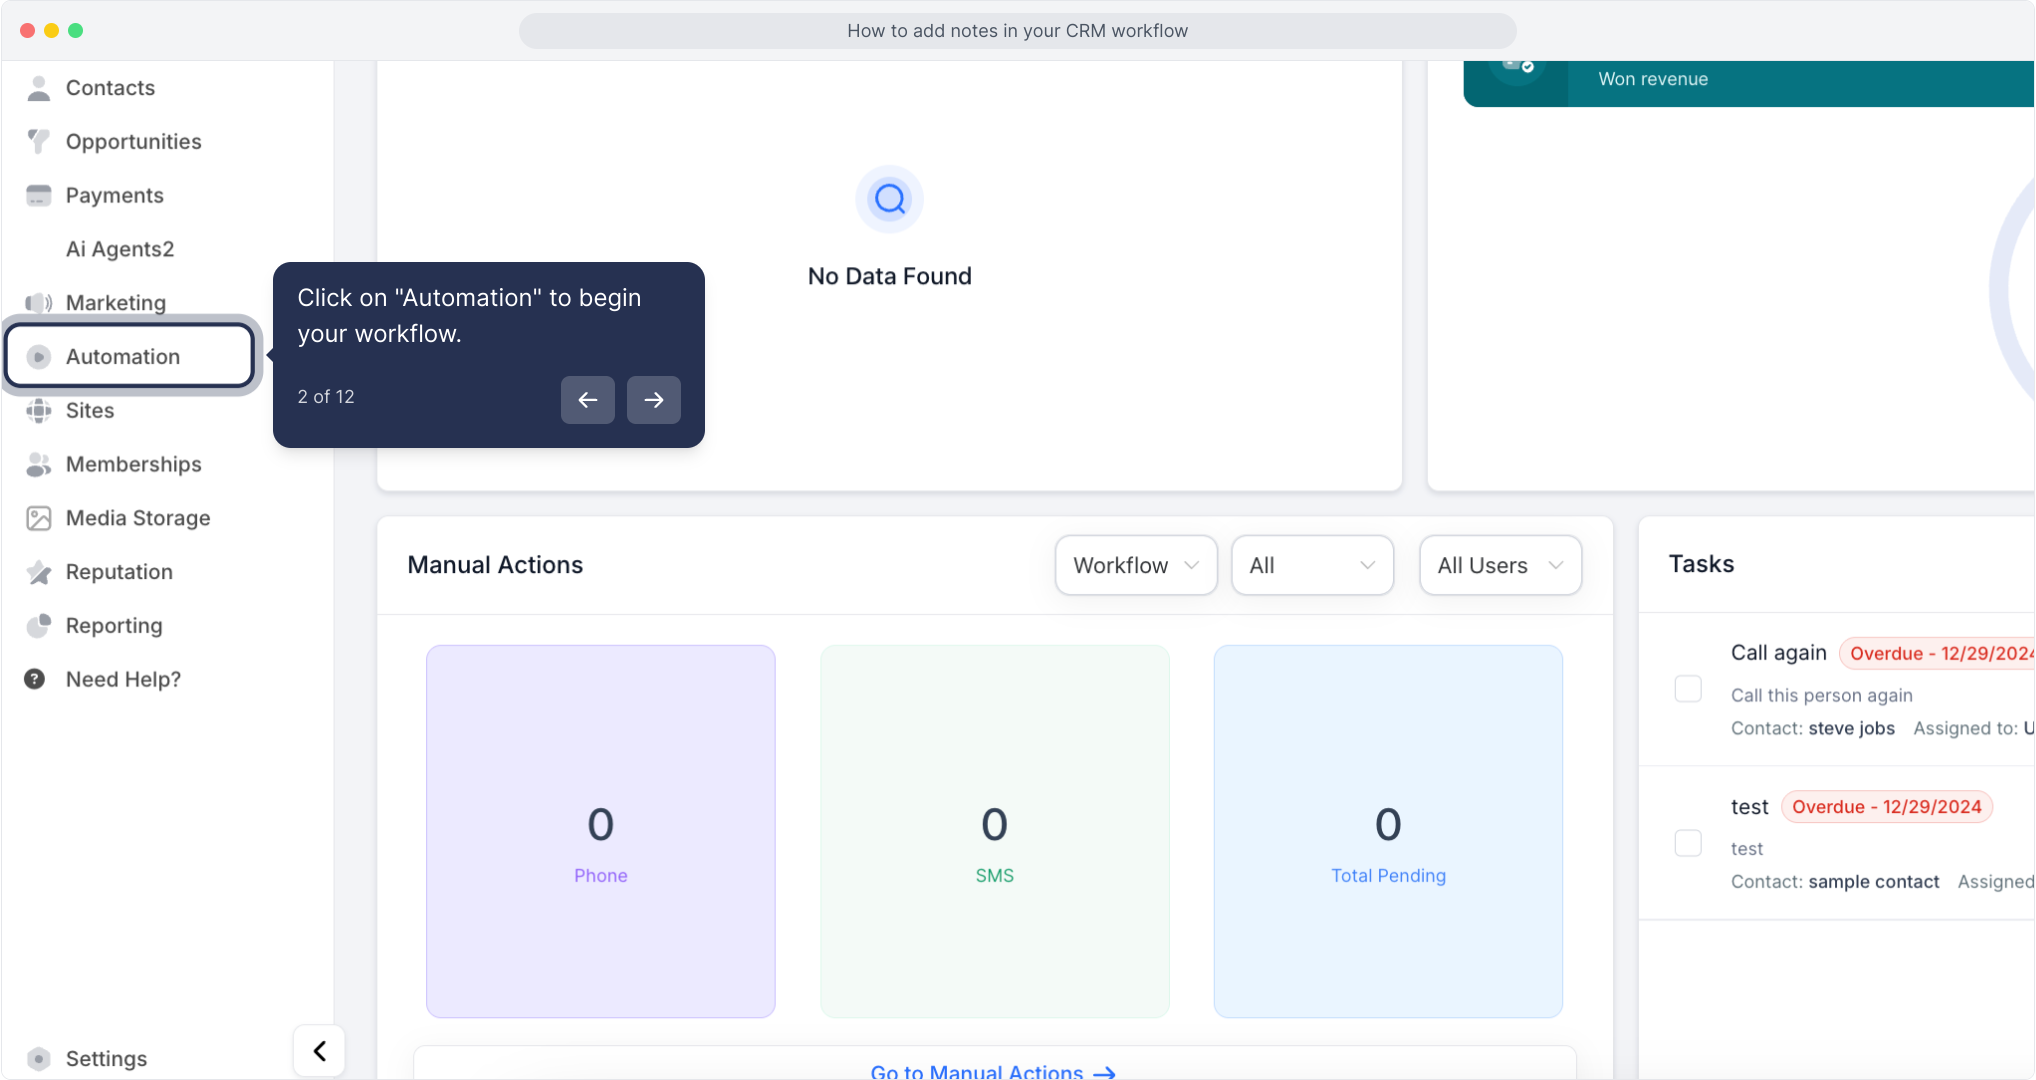
To publish workflows, it's essential to configure both a workflow trigger and a workflow action. Without both components, the workflow can only be saved, not published.2. Click on "Automation" to begin your workflow.
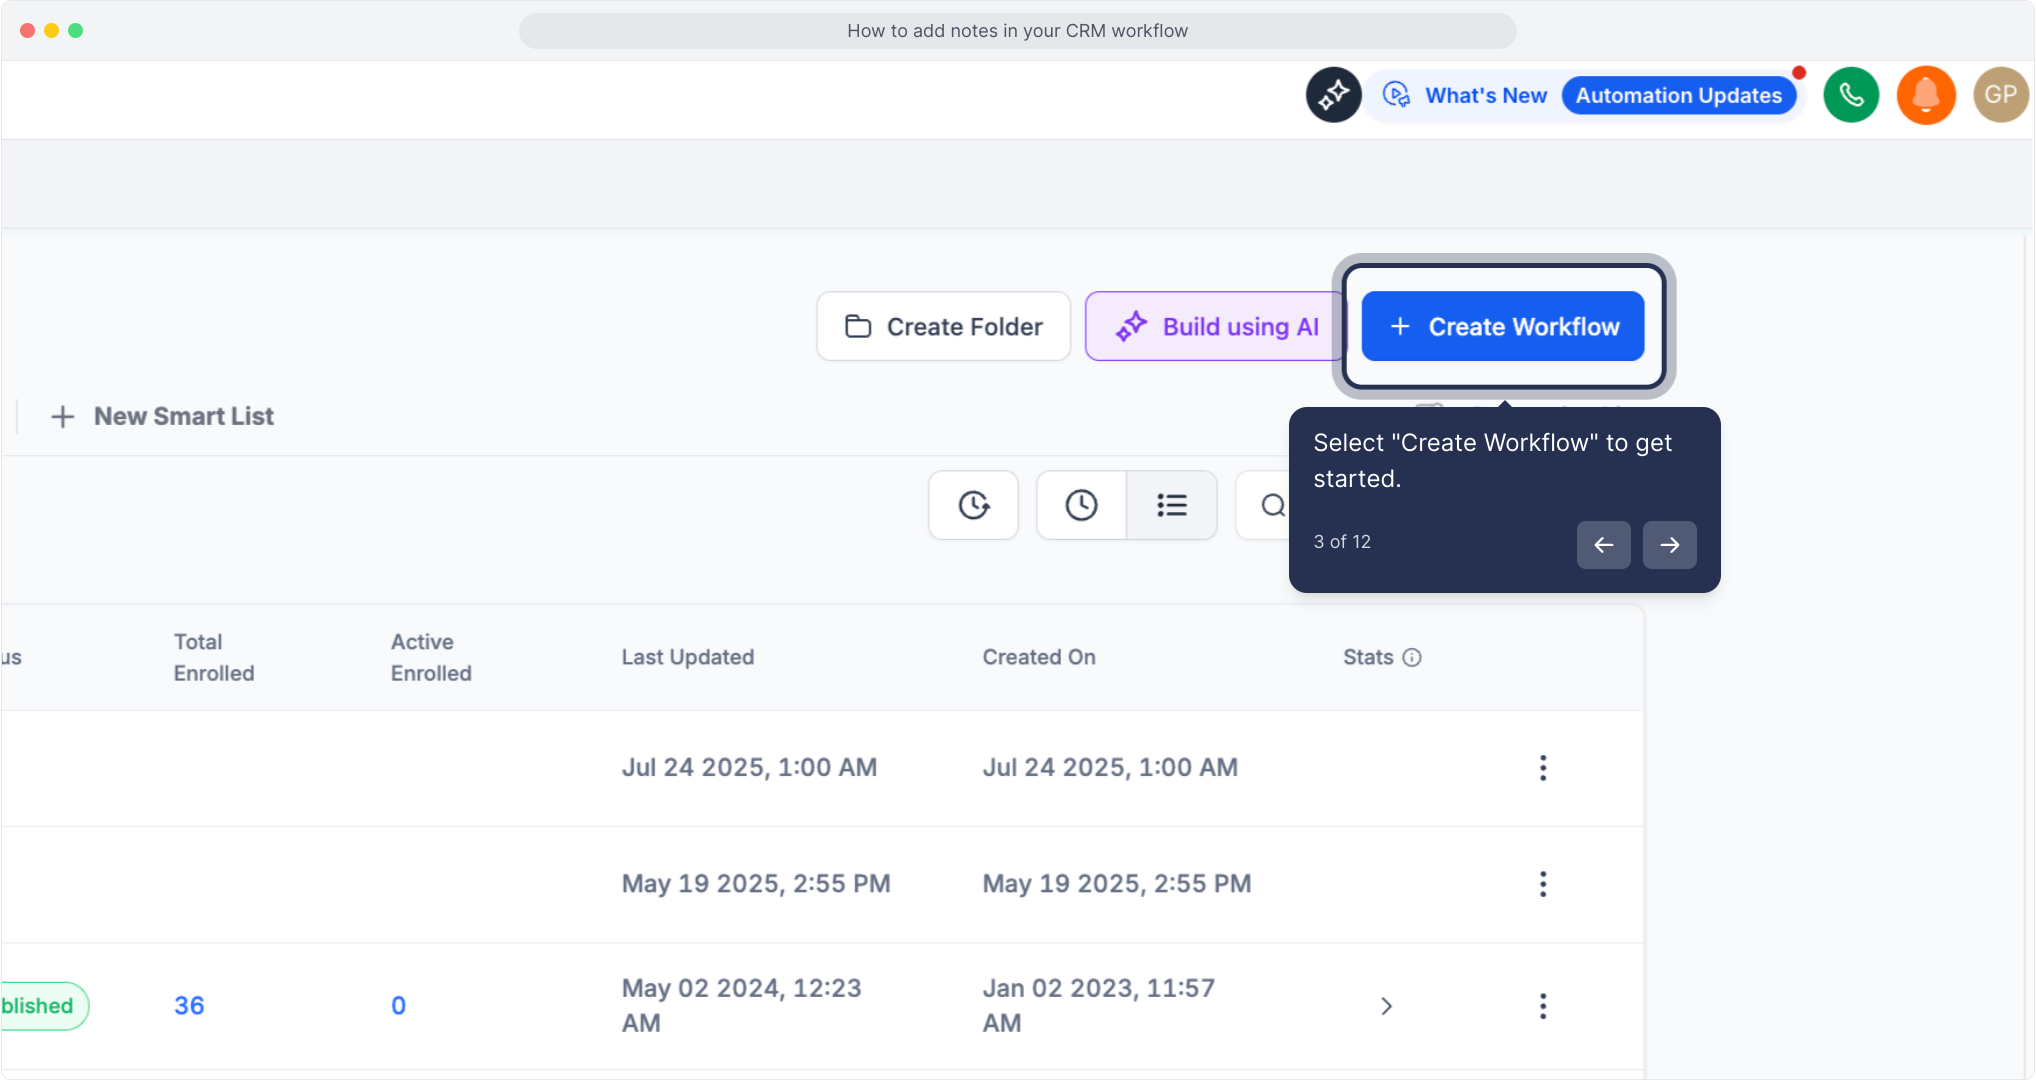
3. Select "Create Workflow" to get started.
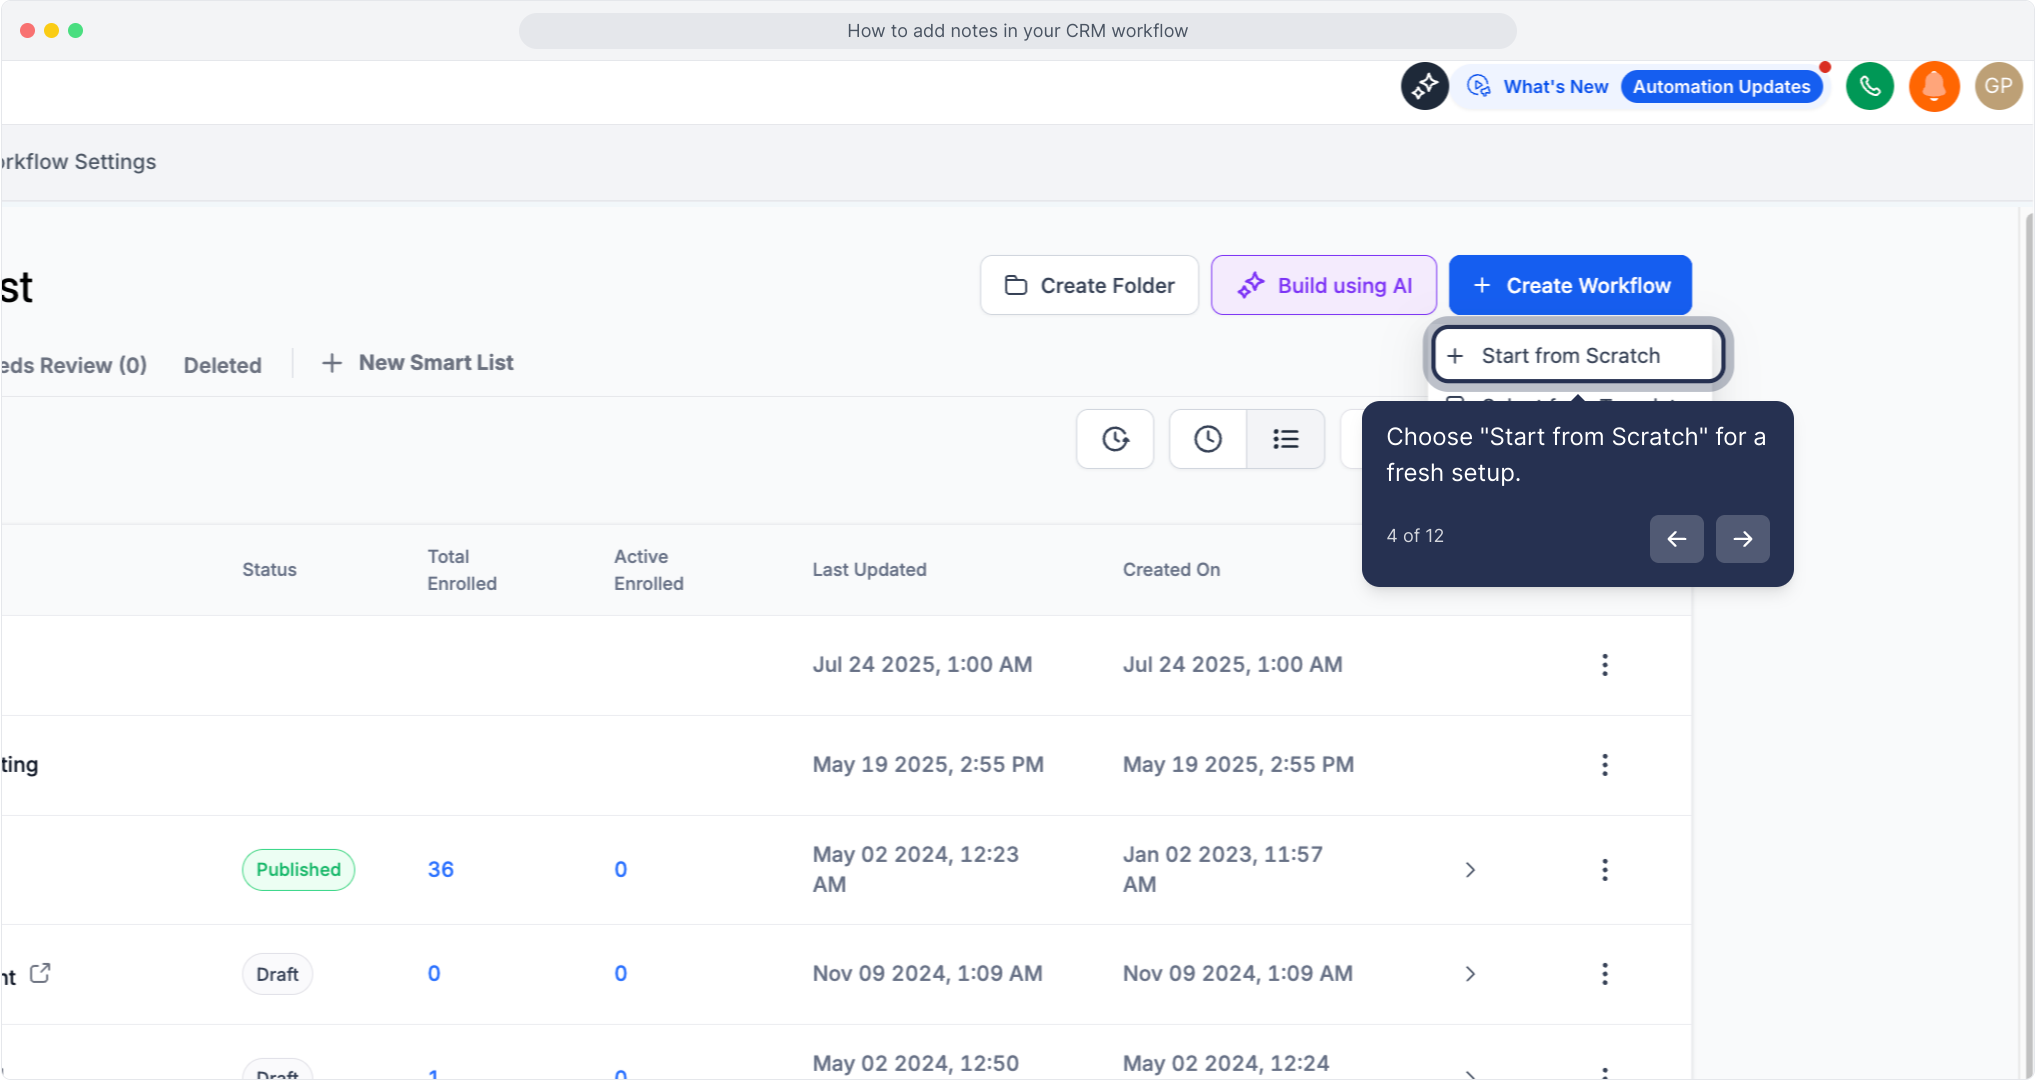
4. Choose "Start from Scratch" for a fresh setup.
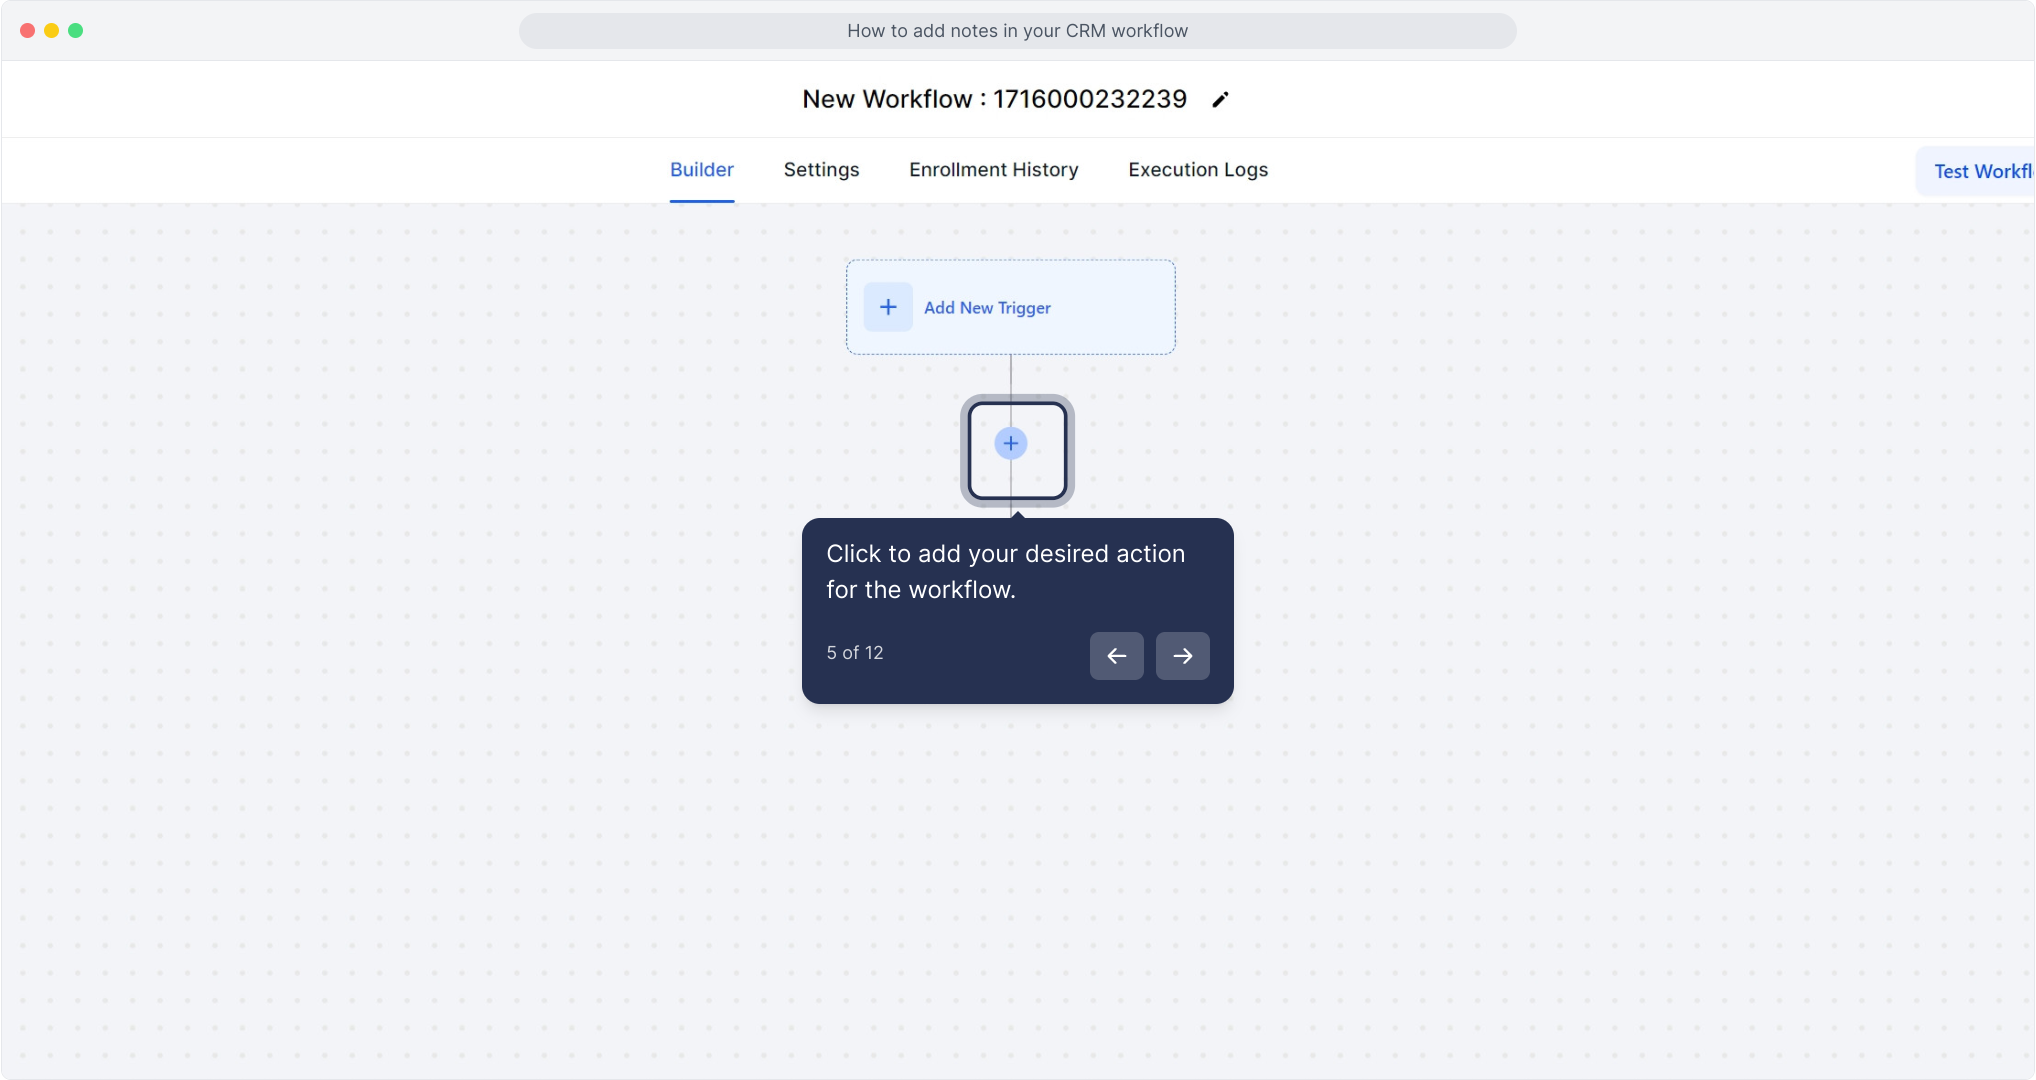
5. Click to add your desired action for the workflow.
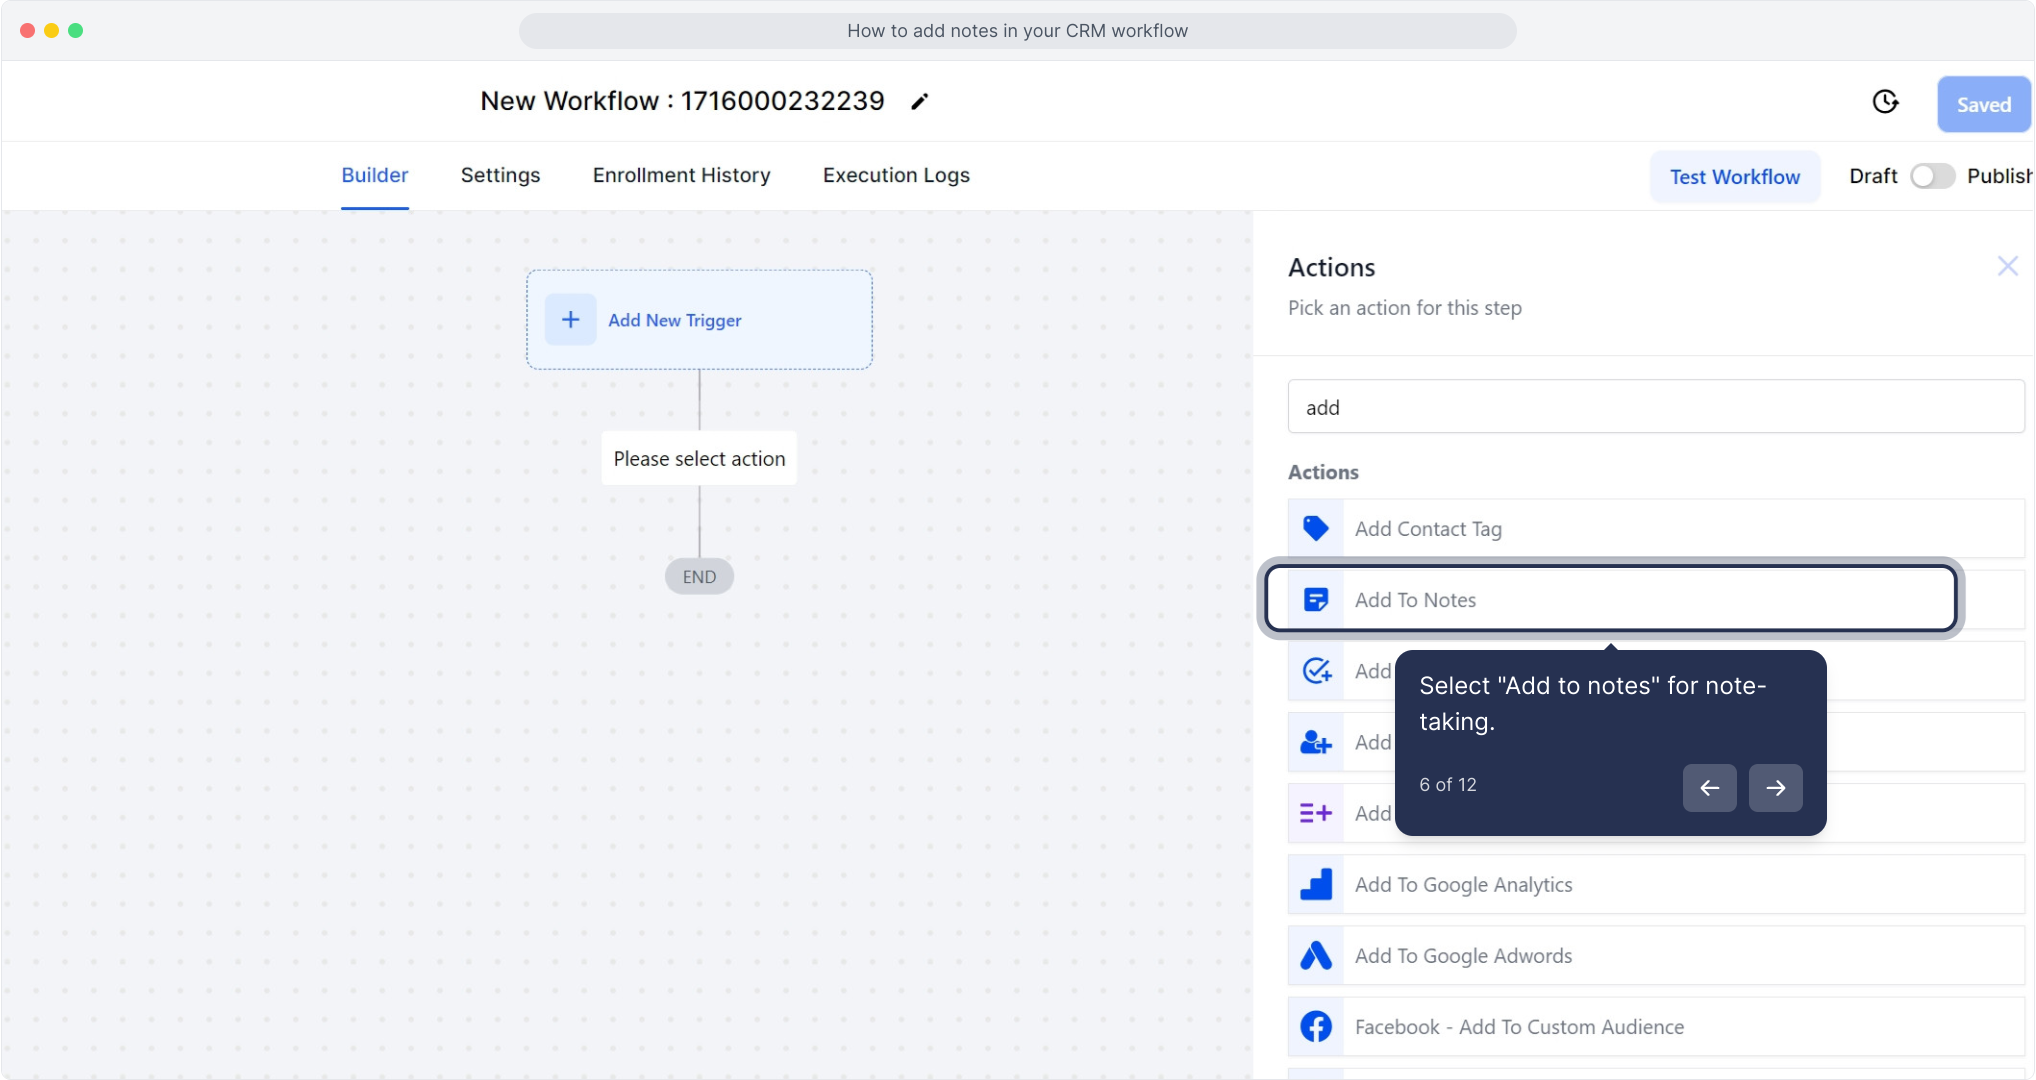
6. Select "Add to notes" for note-taking.
This action appends a note to the contact record.
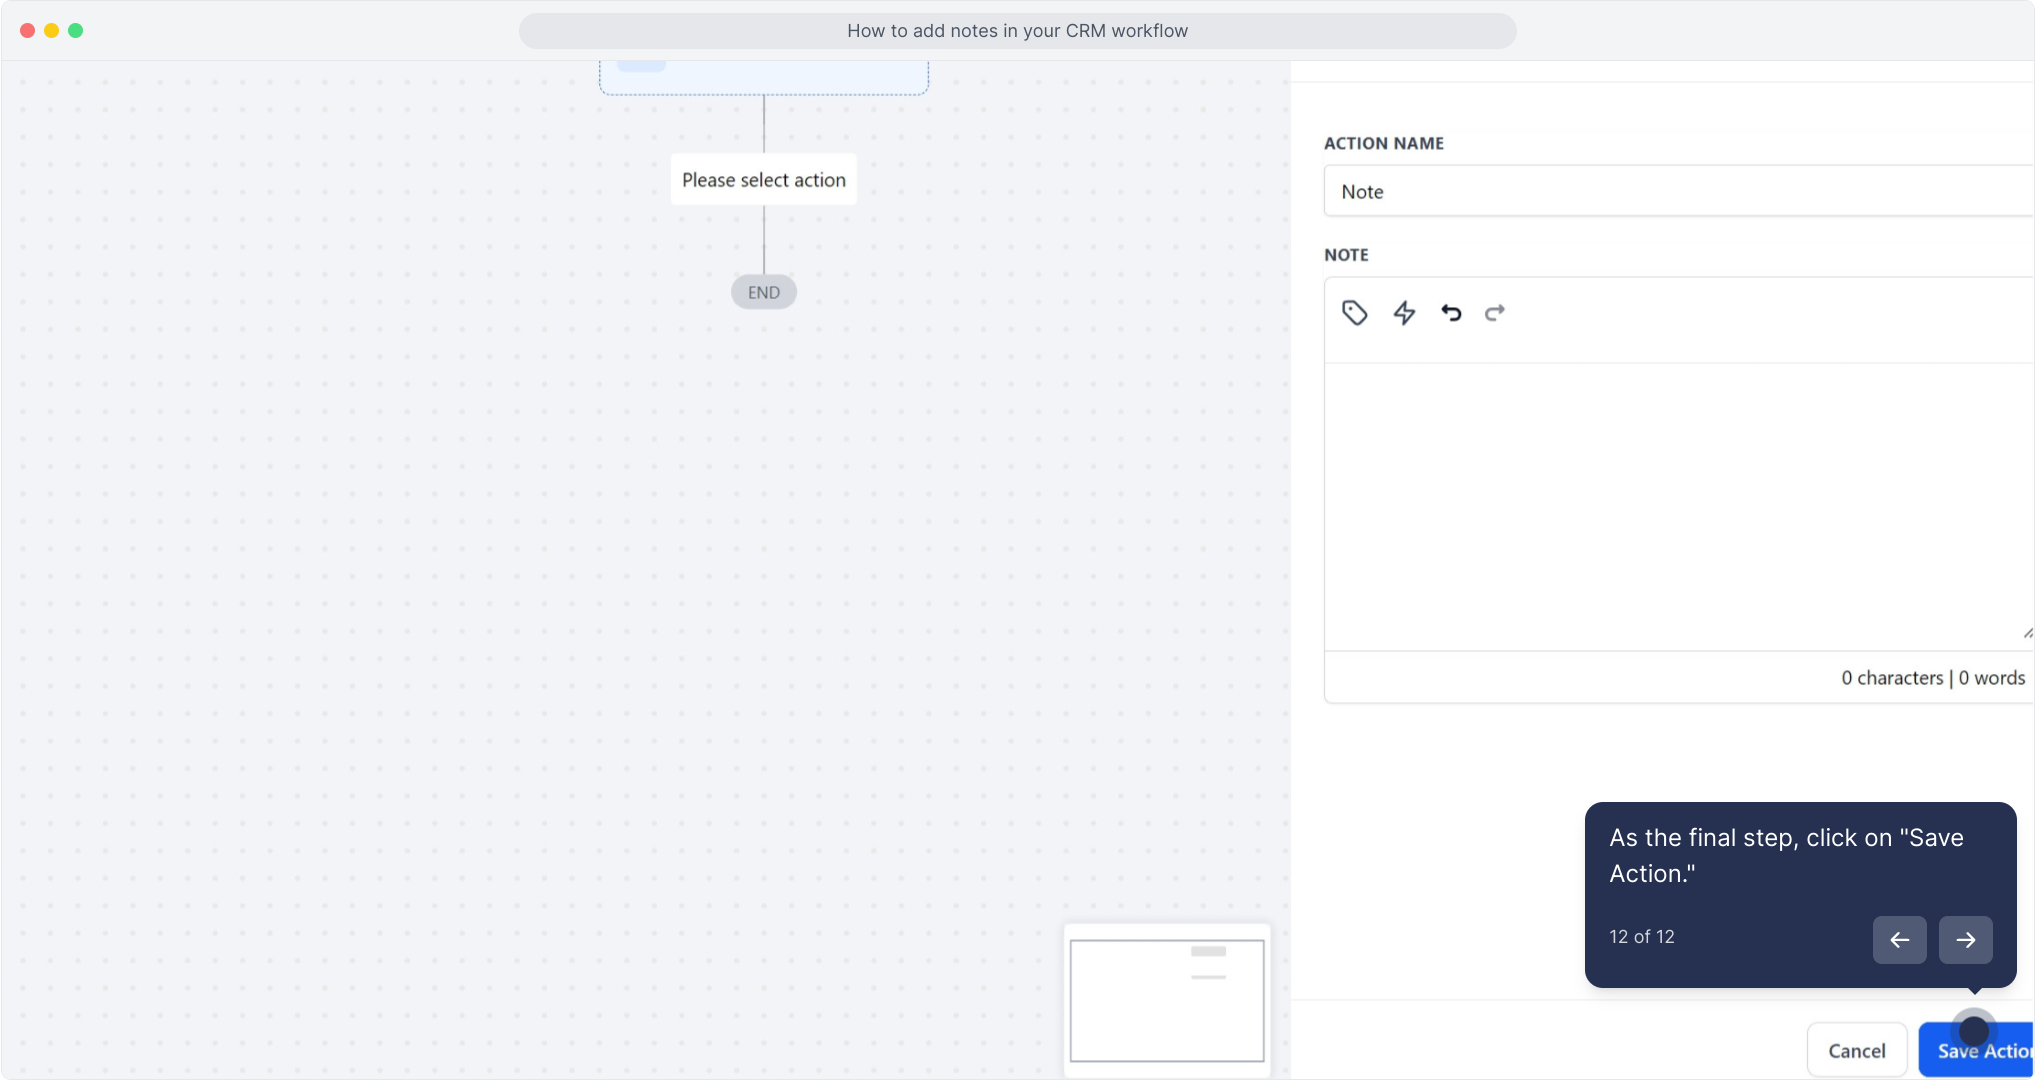
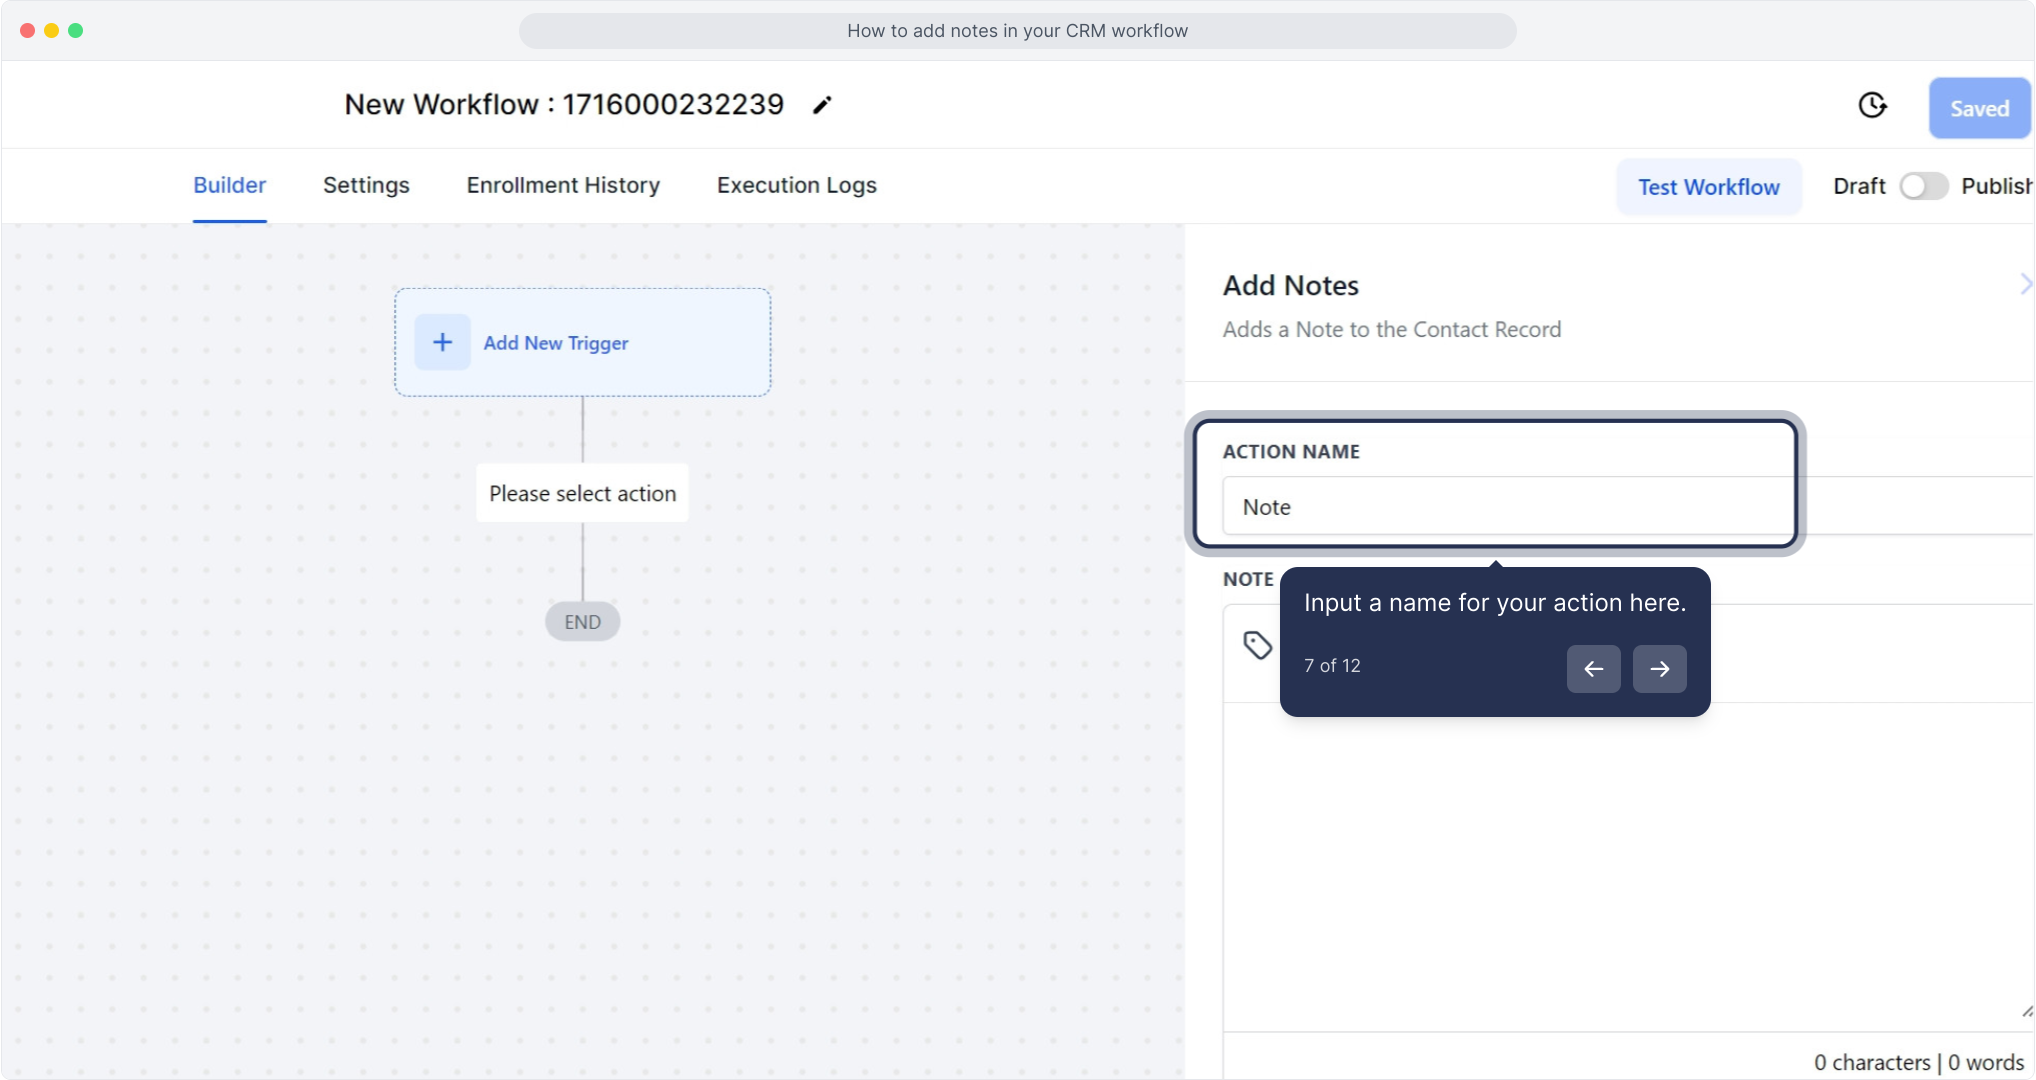
7. Input a name for your action here.
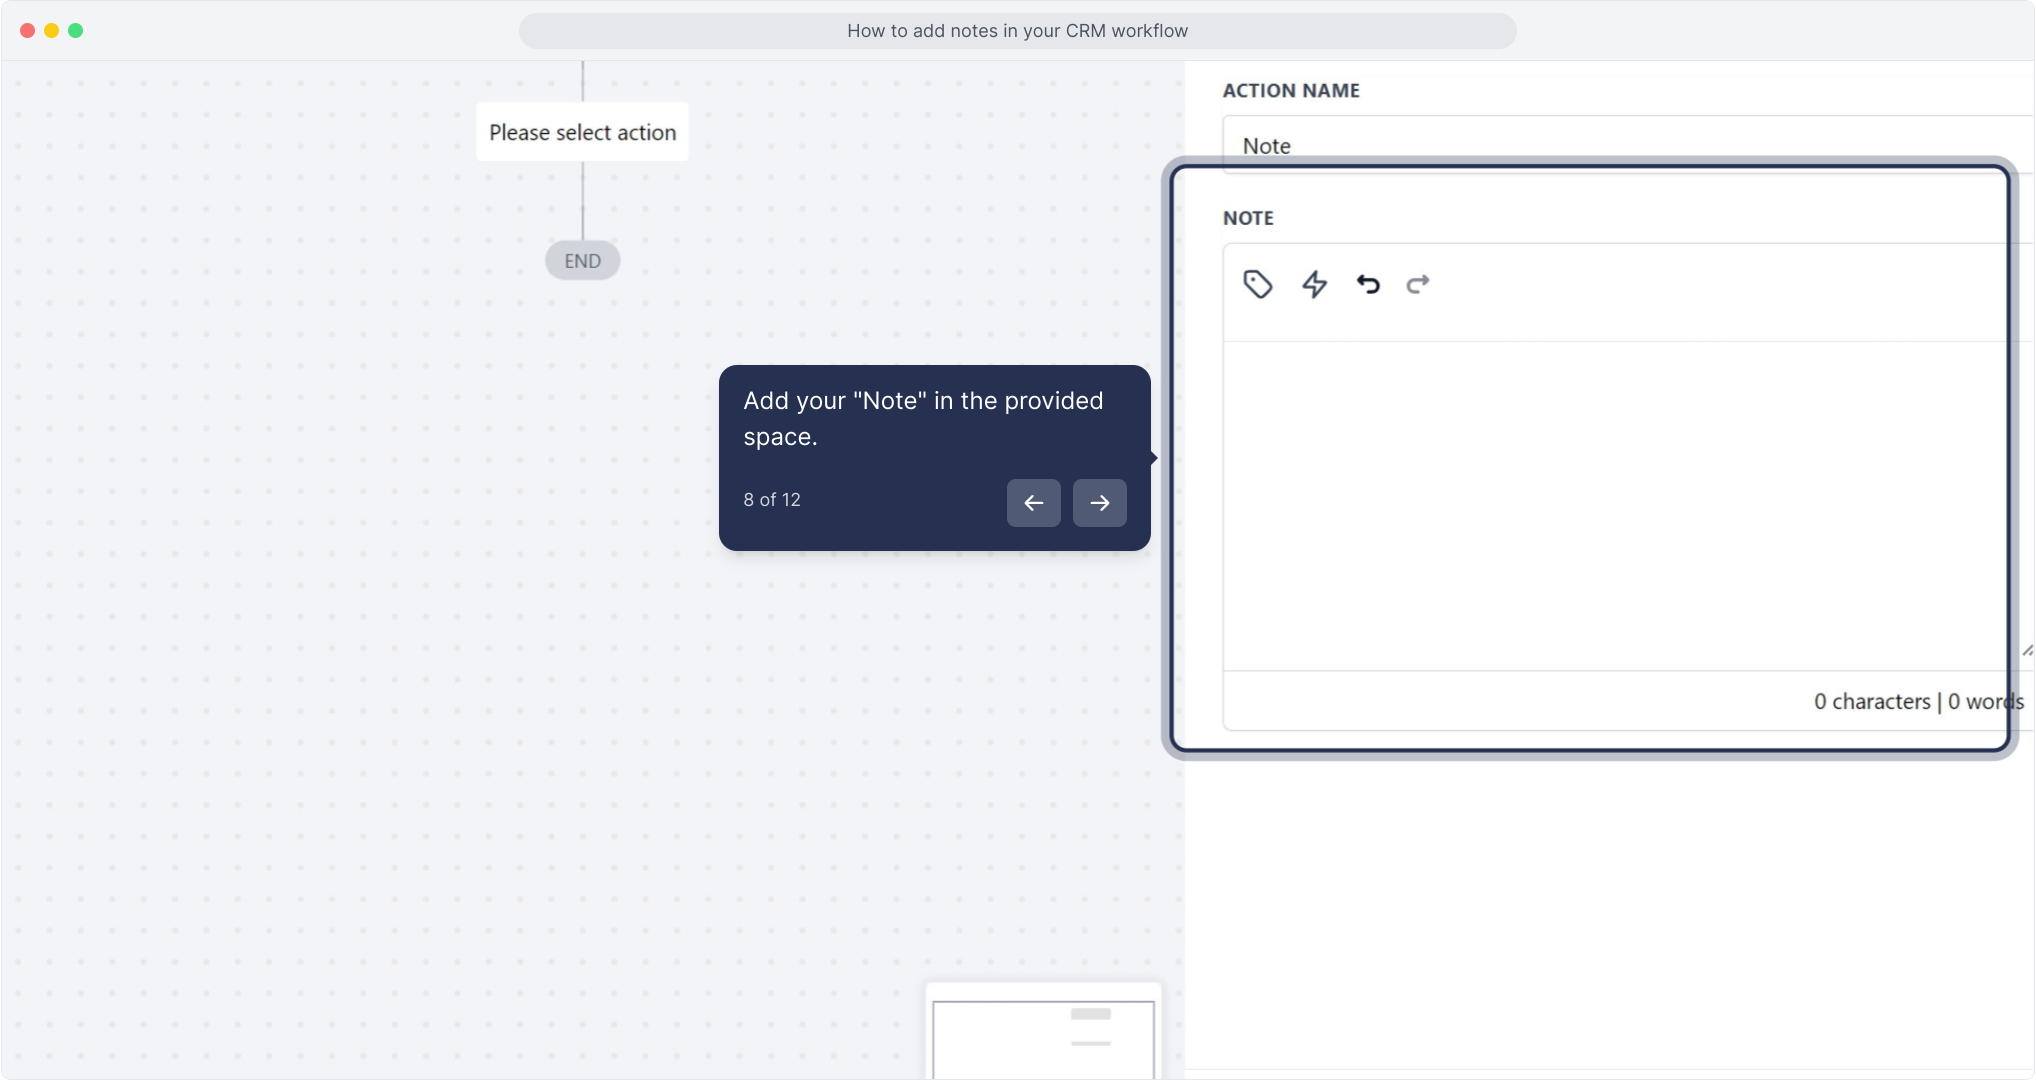
8. Add your "Note" in the provided space.
At this stage, you can include a note in the contact record. This feature helps other users understand any relevant details about the contact that you want to share.
9. Click here if you want to use custom values.
You can use custom values when adding notes within the workflow.
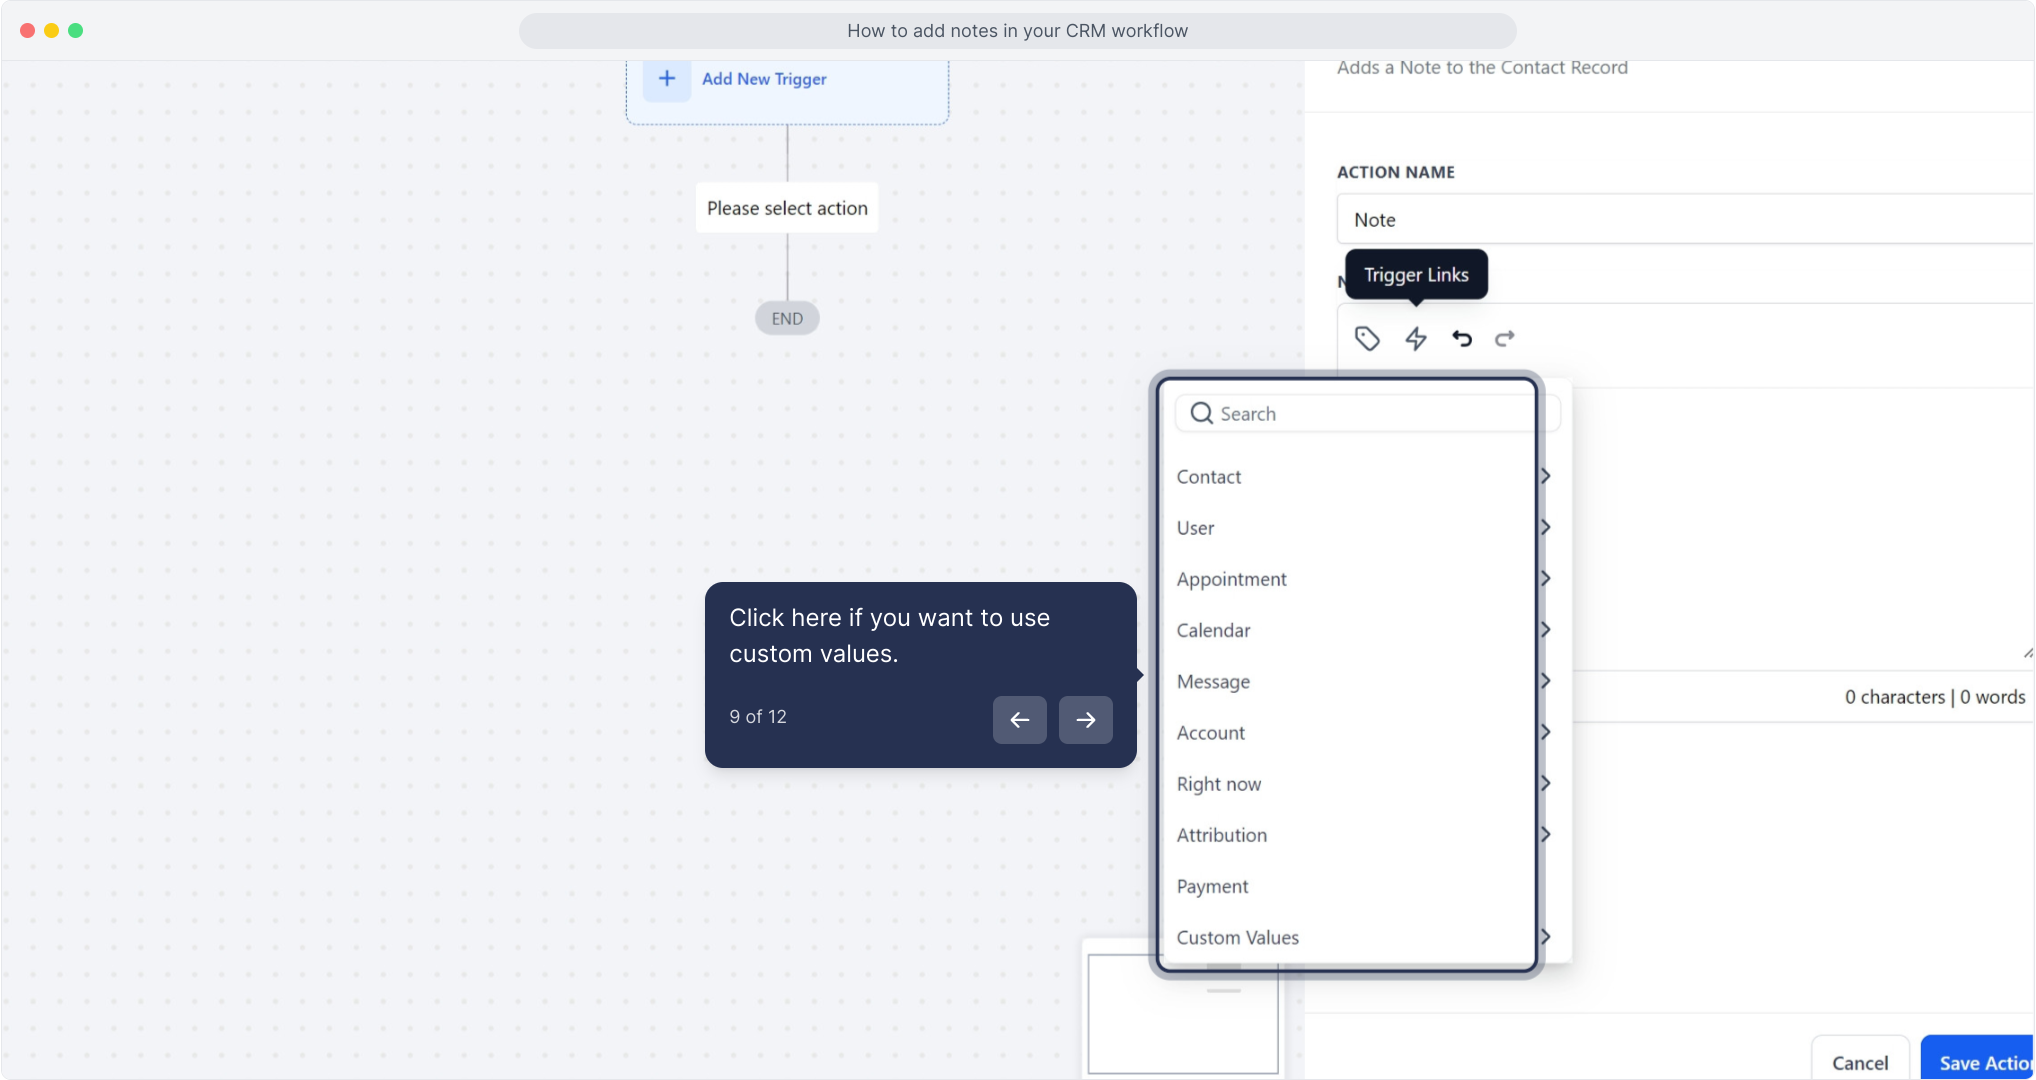
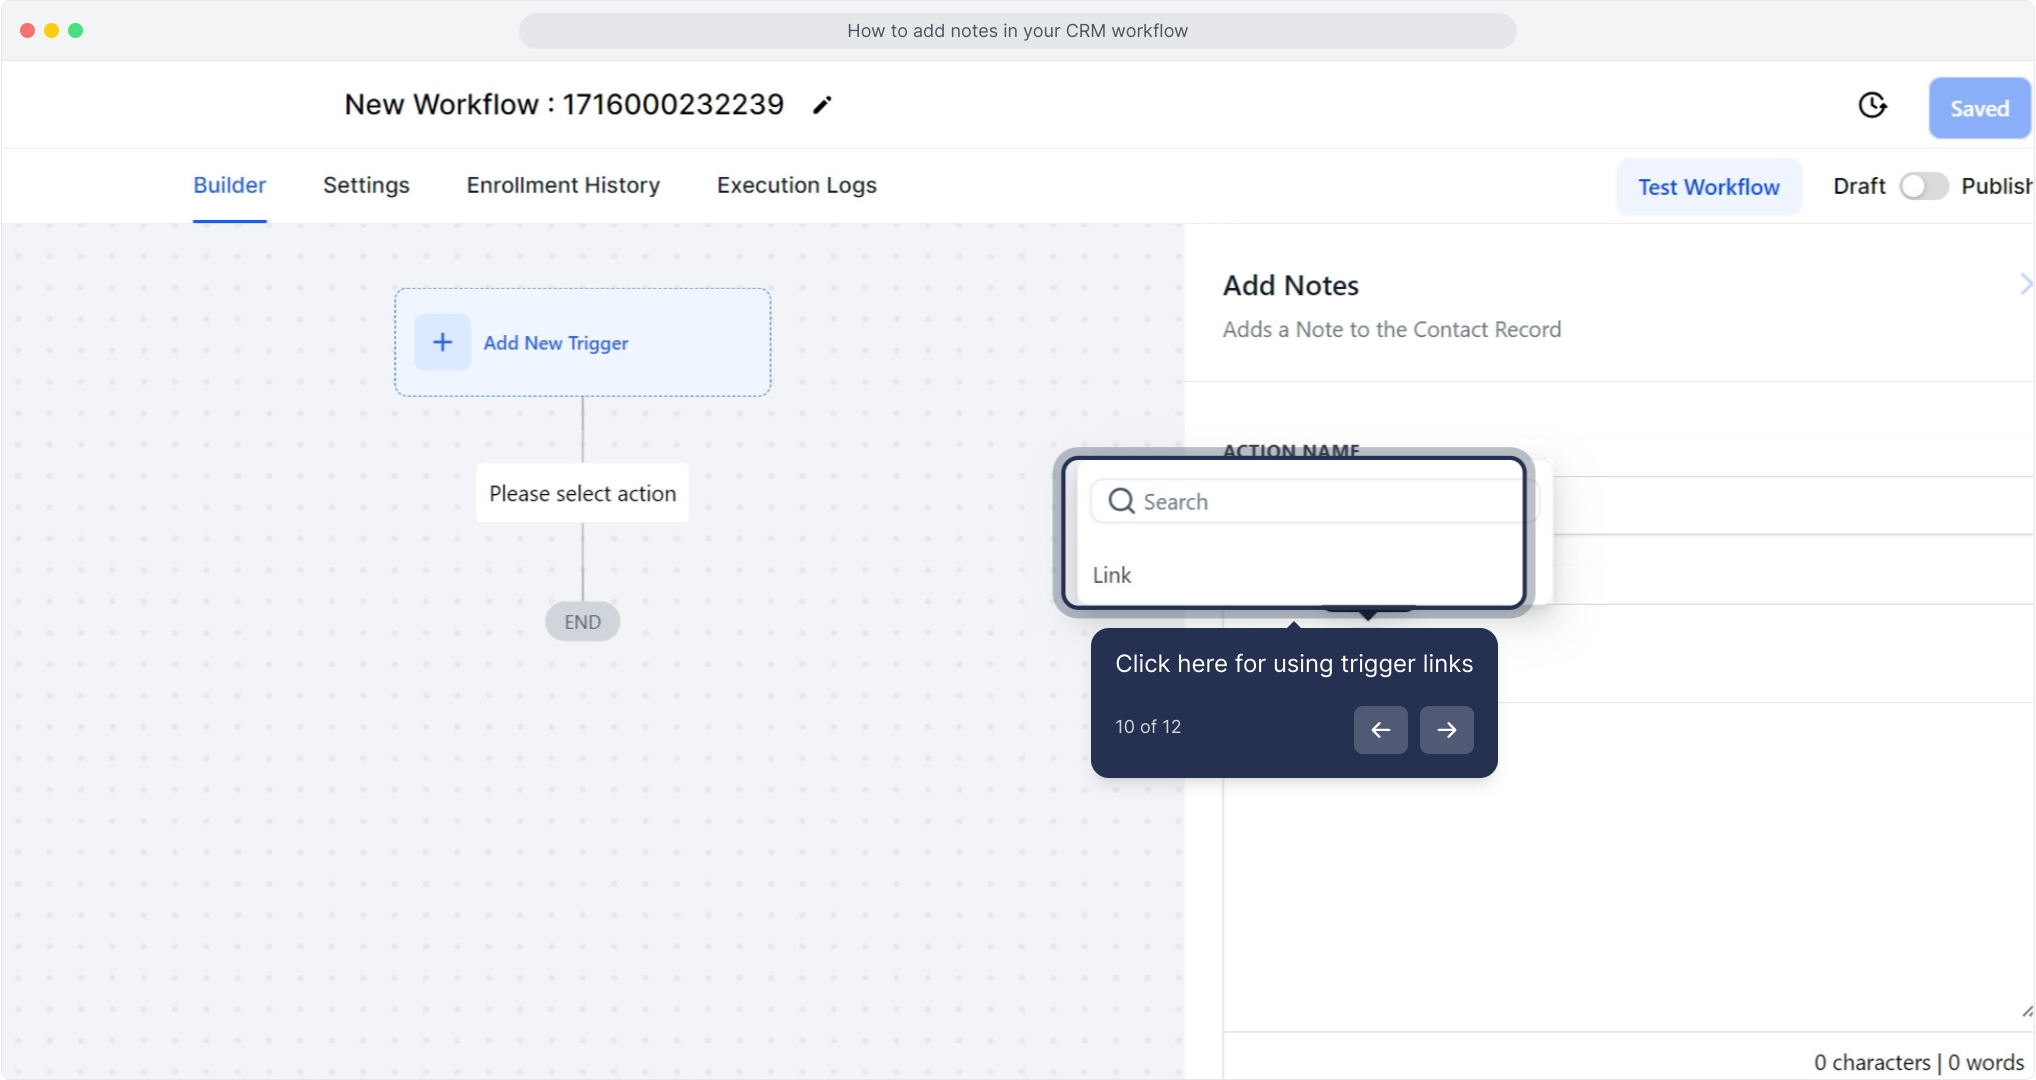
10. Click here for using trigger links
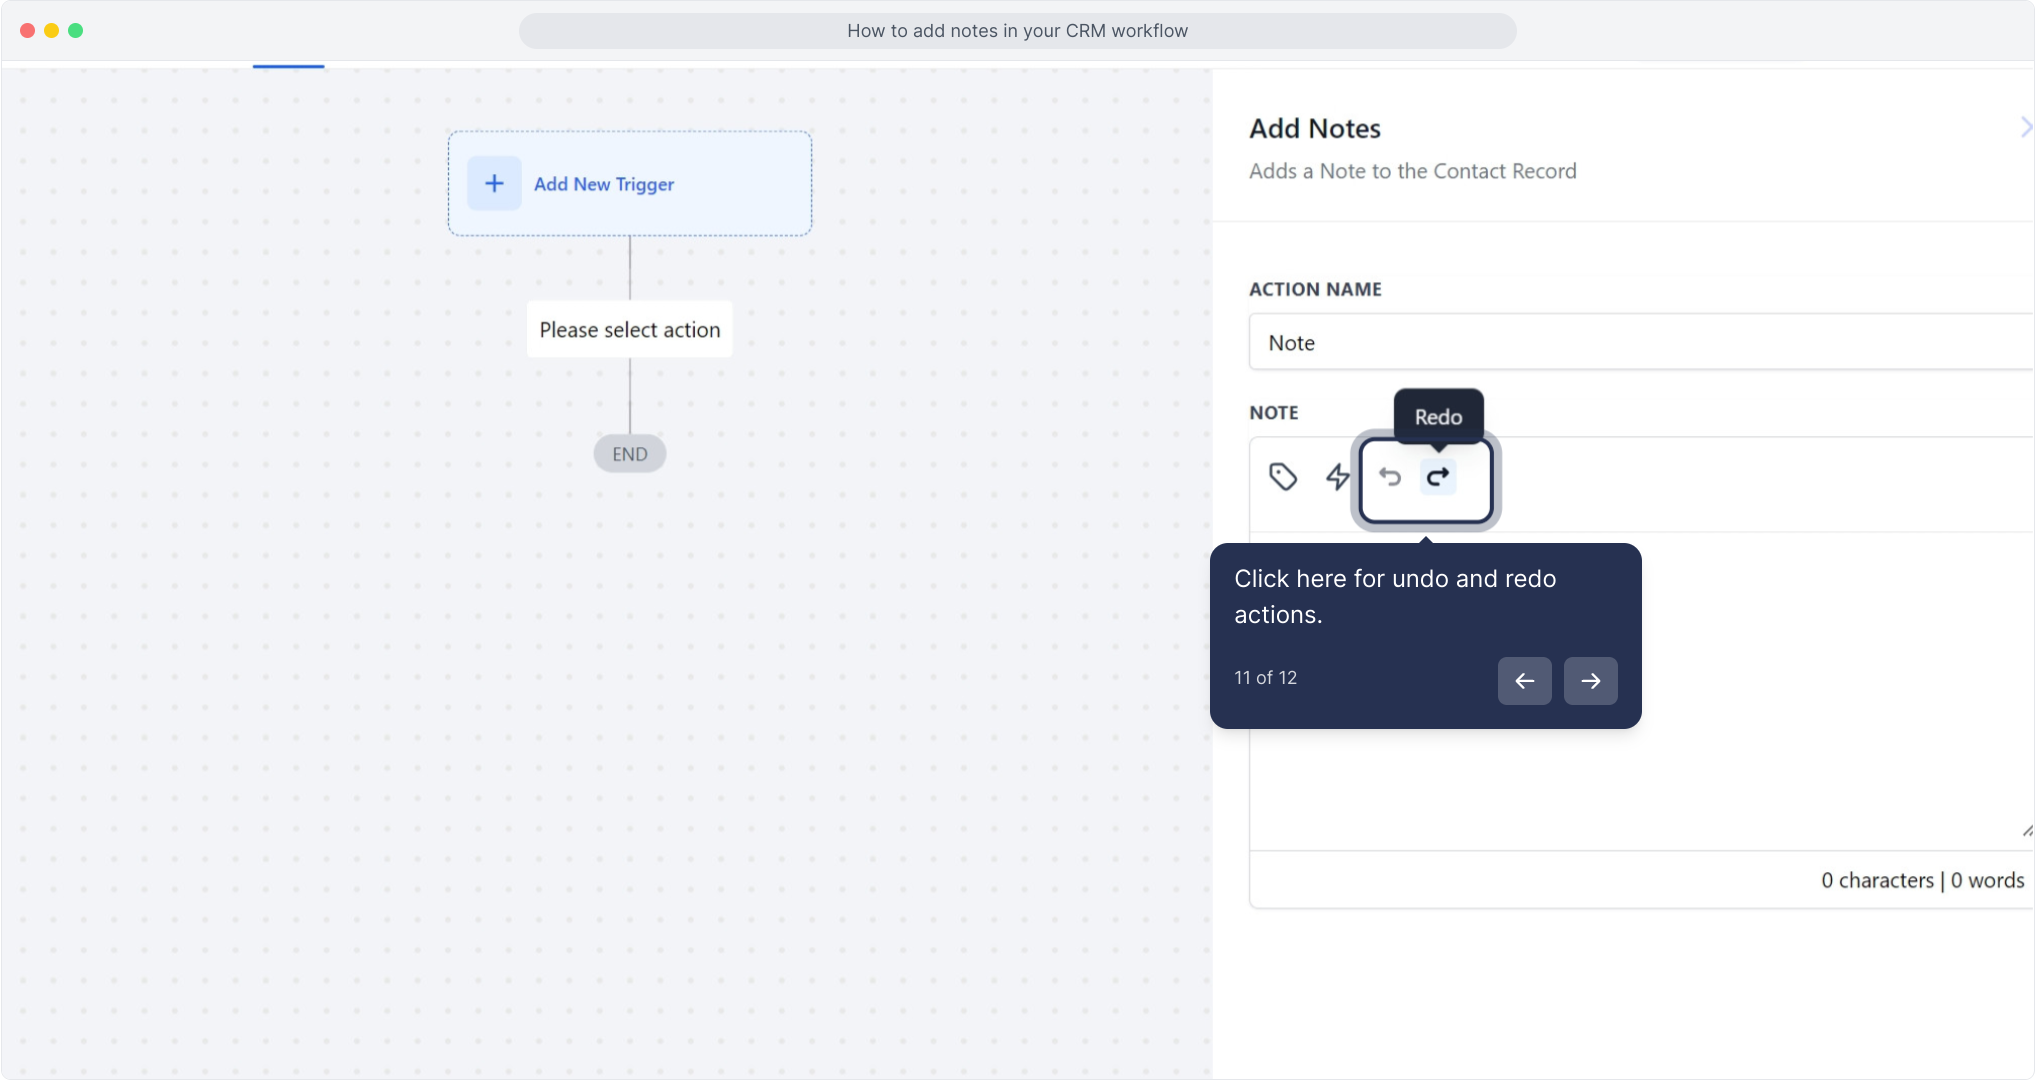
11. Click here for undo and redo actions.
12. As the final step, click on "Save Action."