If you'd like to use your own phone number as the caller ID for voice calls, Pest AI offers a streamlined setup process. Follow this step-by-step guide to configure your verified caller ID. Note that this feature is supported only for Pest AI Phone and not for accounts using personal Twilio numbers.
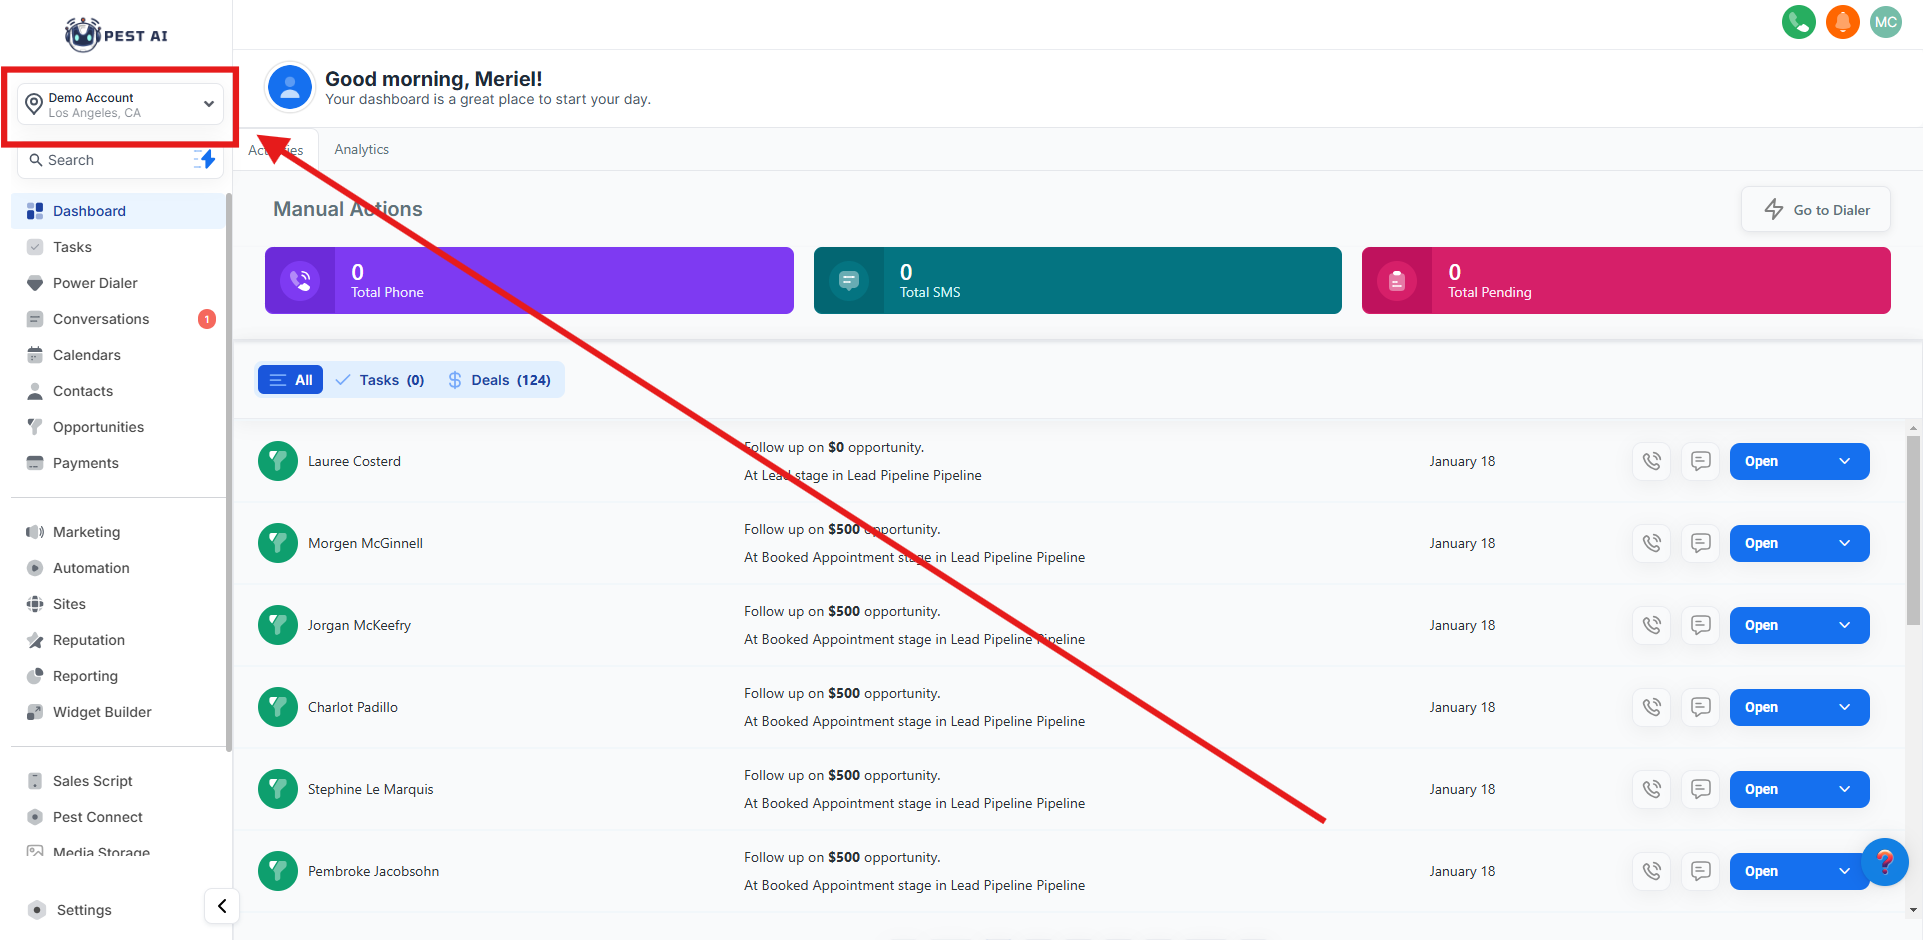
Click on the Switch Account option in the top-left menu.
Search for and select the sub-account where you want to configure the verified caller ID.
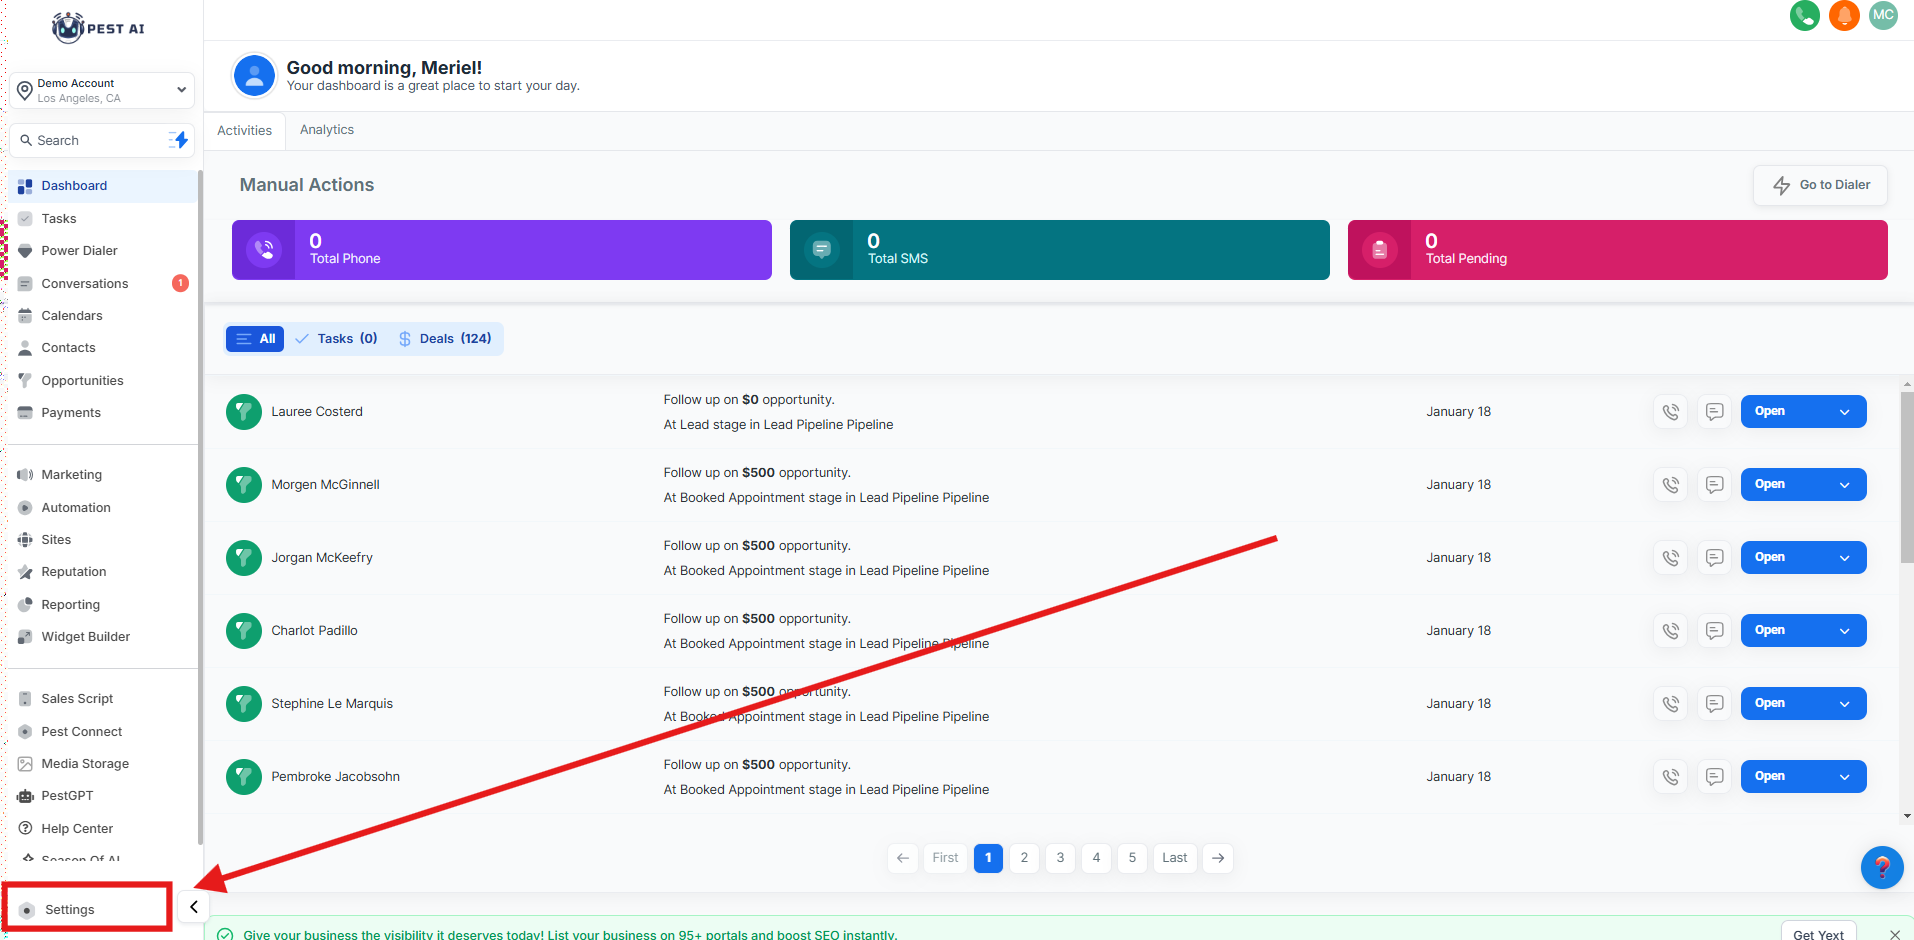
Once inside the chosen sub-account, click on the Settings tab.
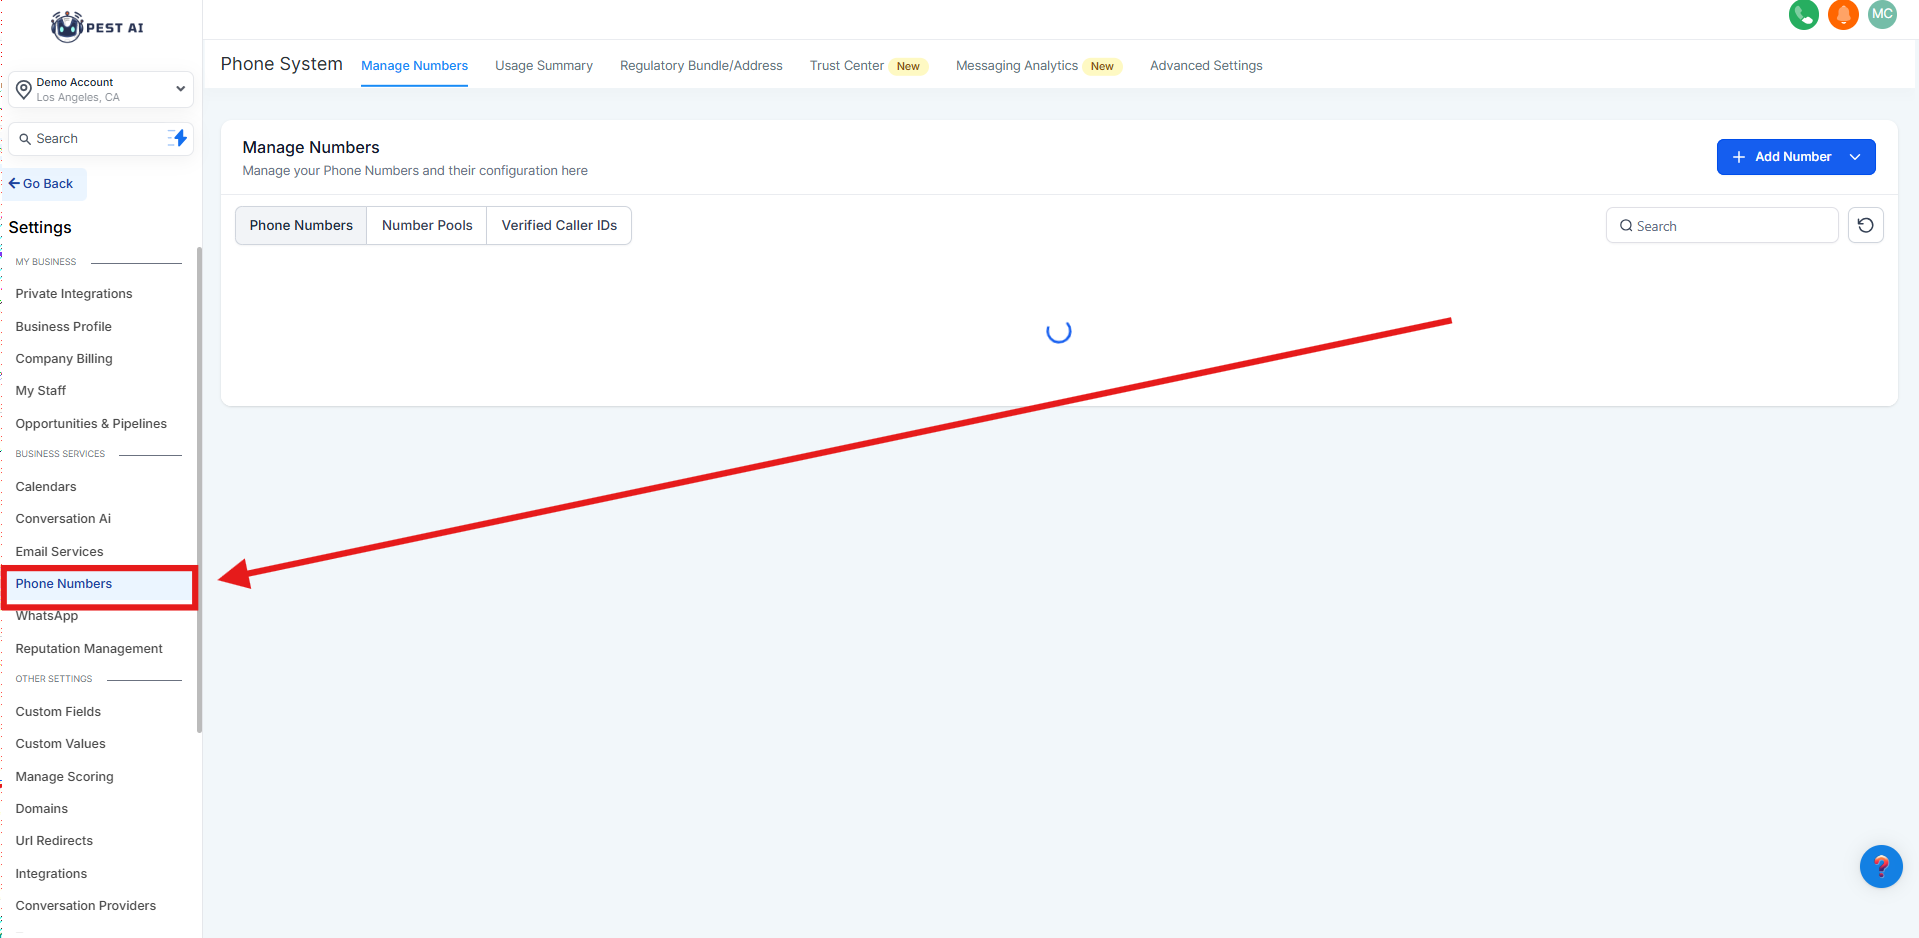
In the Settings menu, click on Phone Numbers.
Under the Add Number tab, click on Add Verified Caller ID.
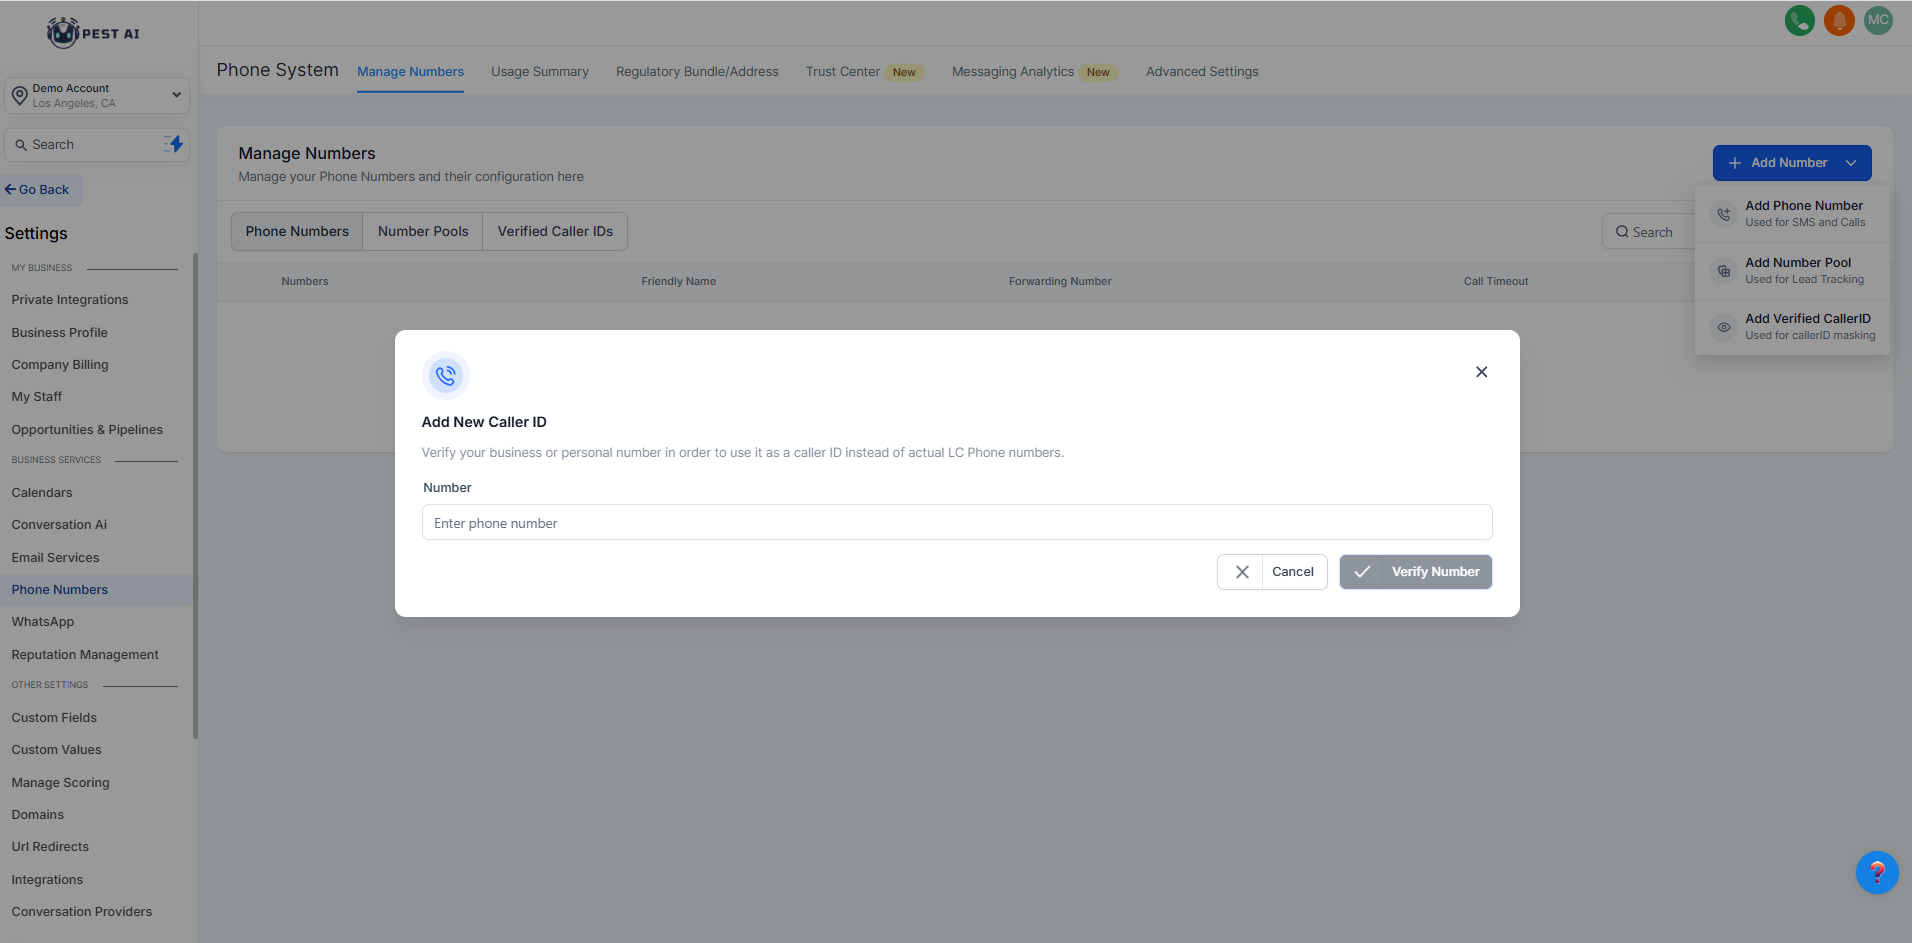
Enter the phone number you want to verify as your caller ID.
Click Verify Number.
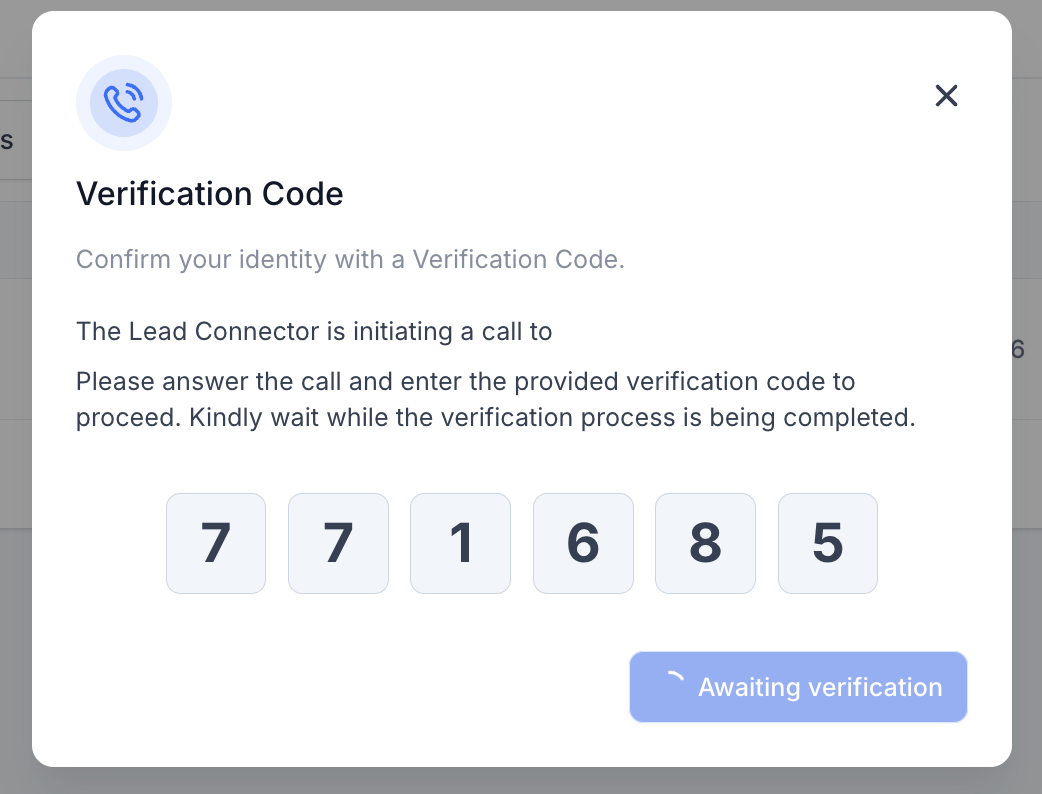
You'll receive a call with a verification code. Answer the call and enter the code when prompted.
Once verified, your number will be added under the Verified Caller ID tab.
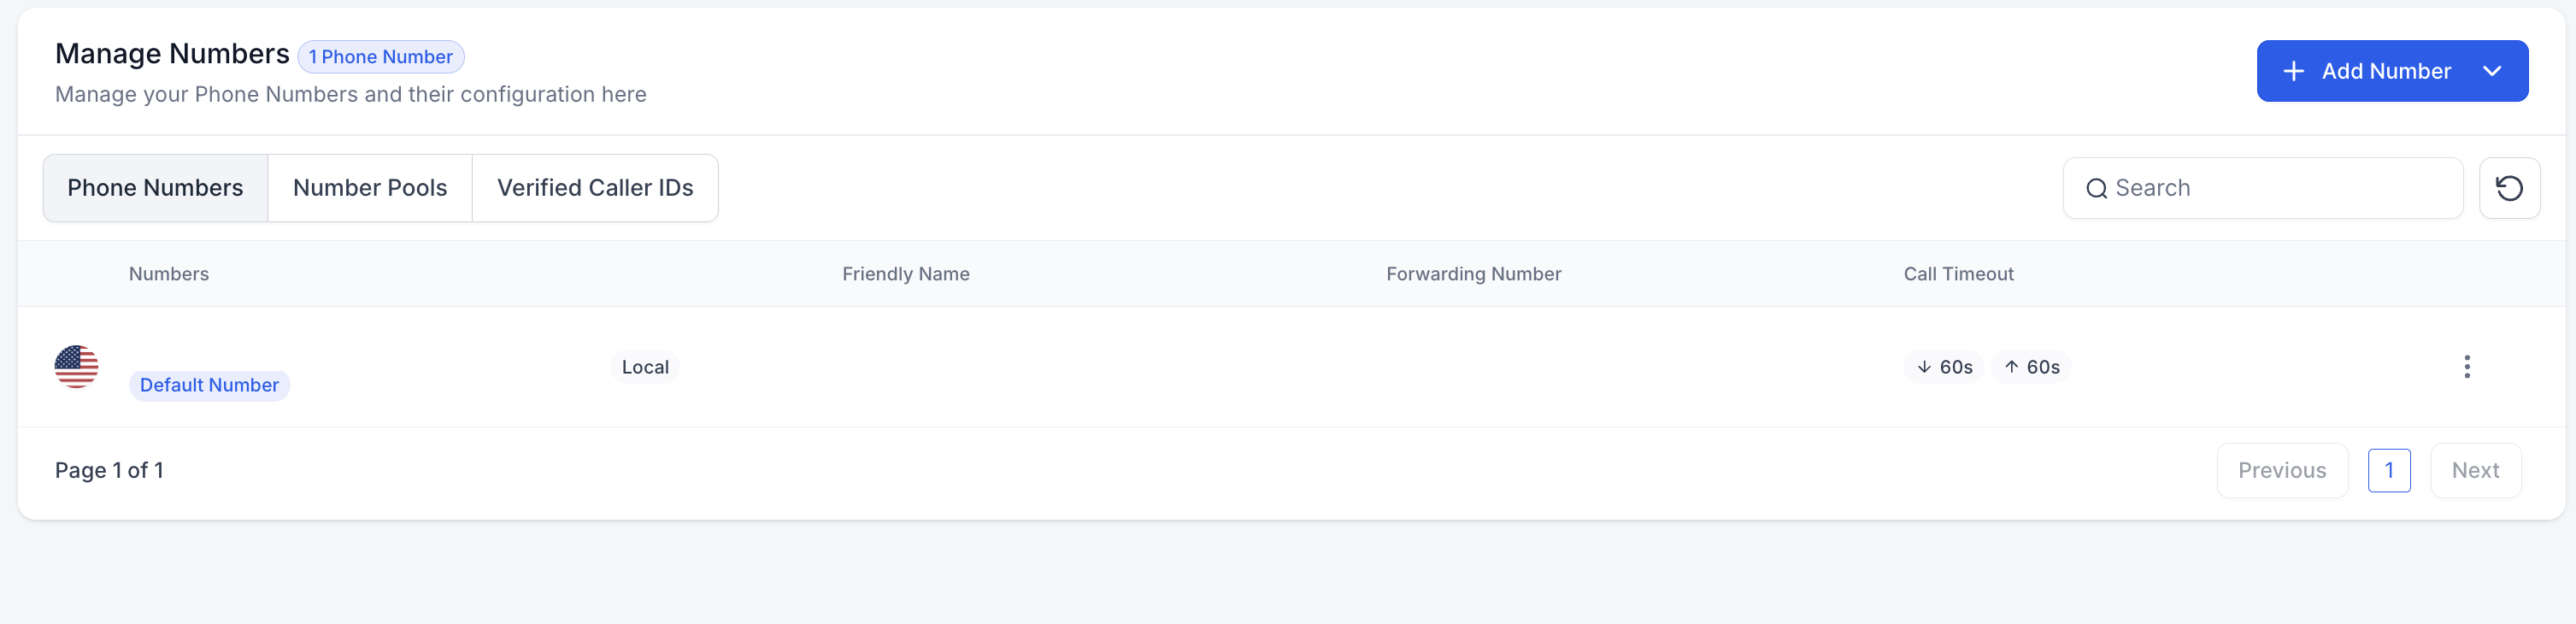
In the Phone Numbers section, locate the Twilio number you wish to configure.
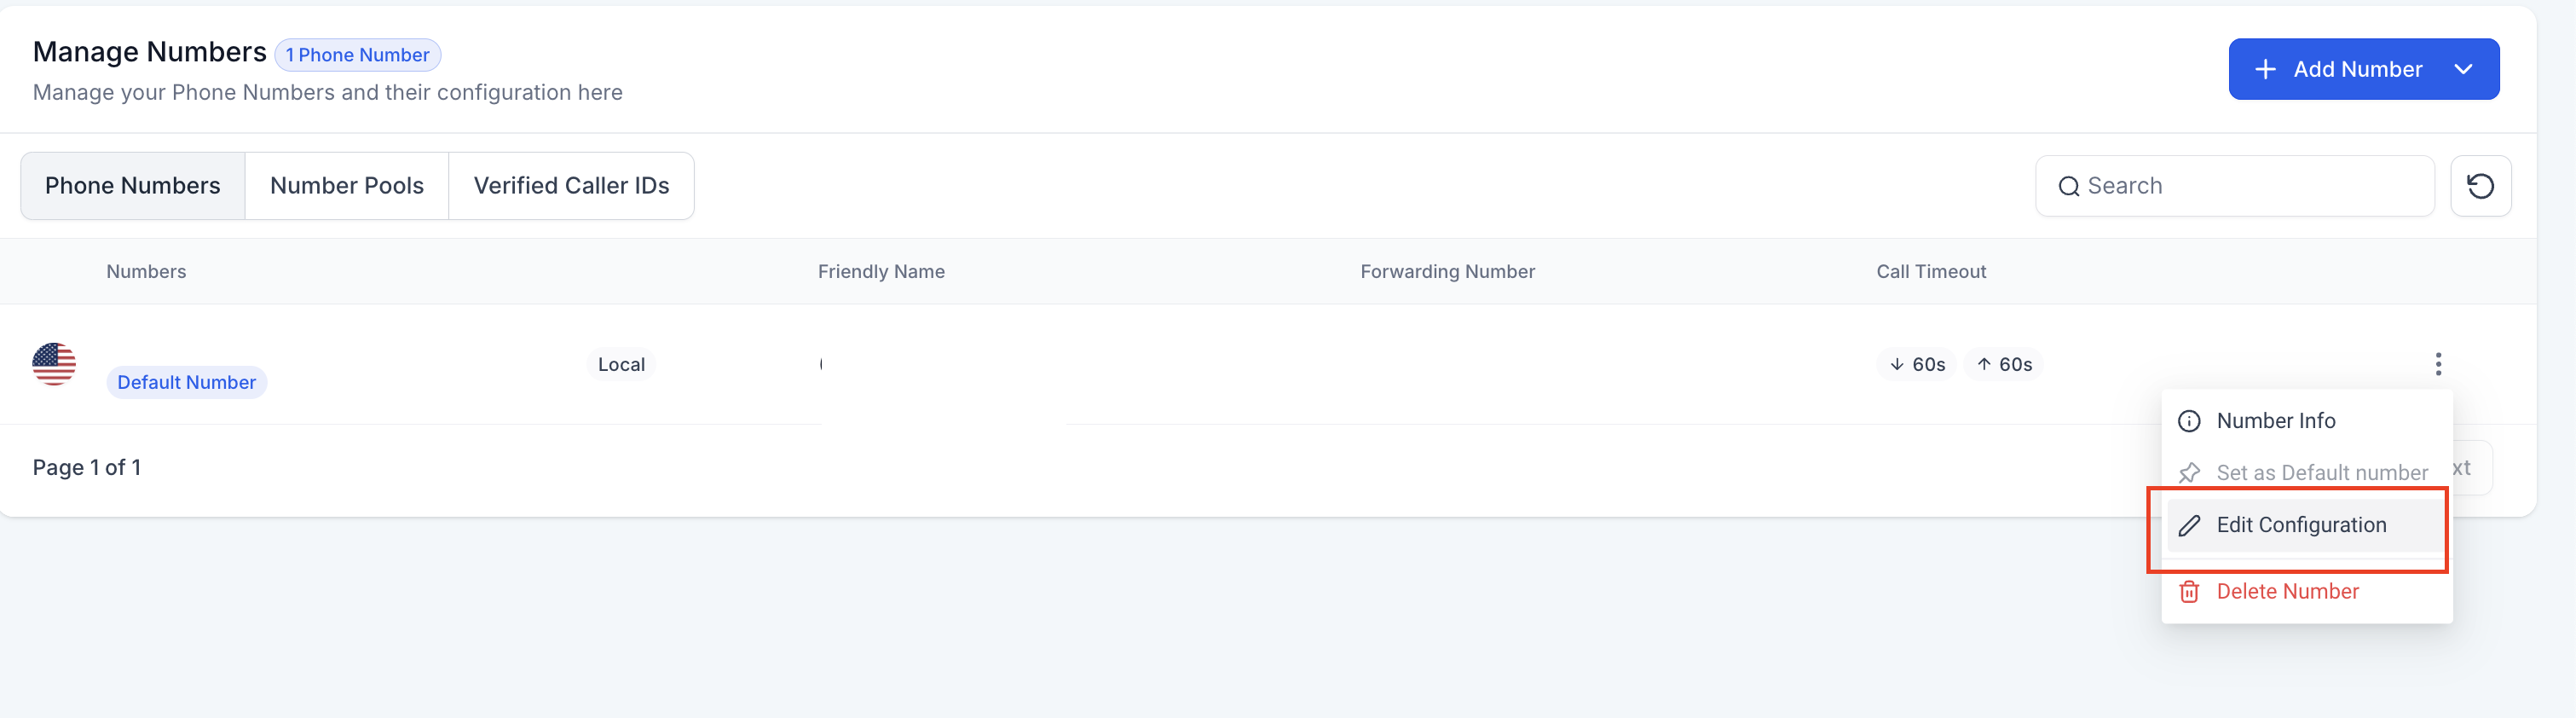
Click the three dots next to the number and select Edit Configuration.
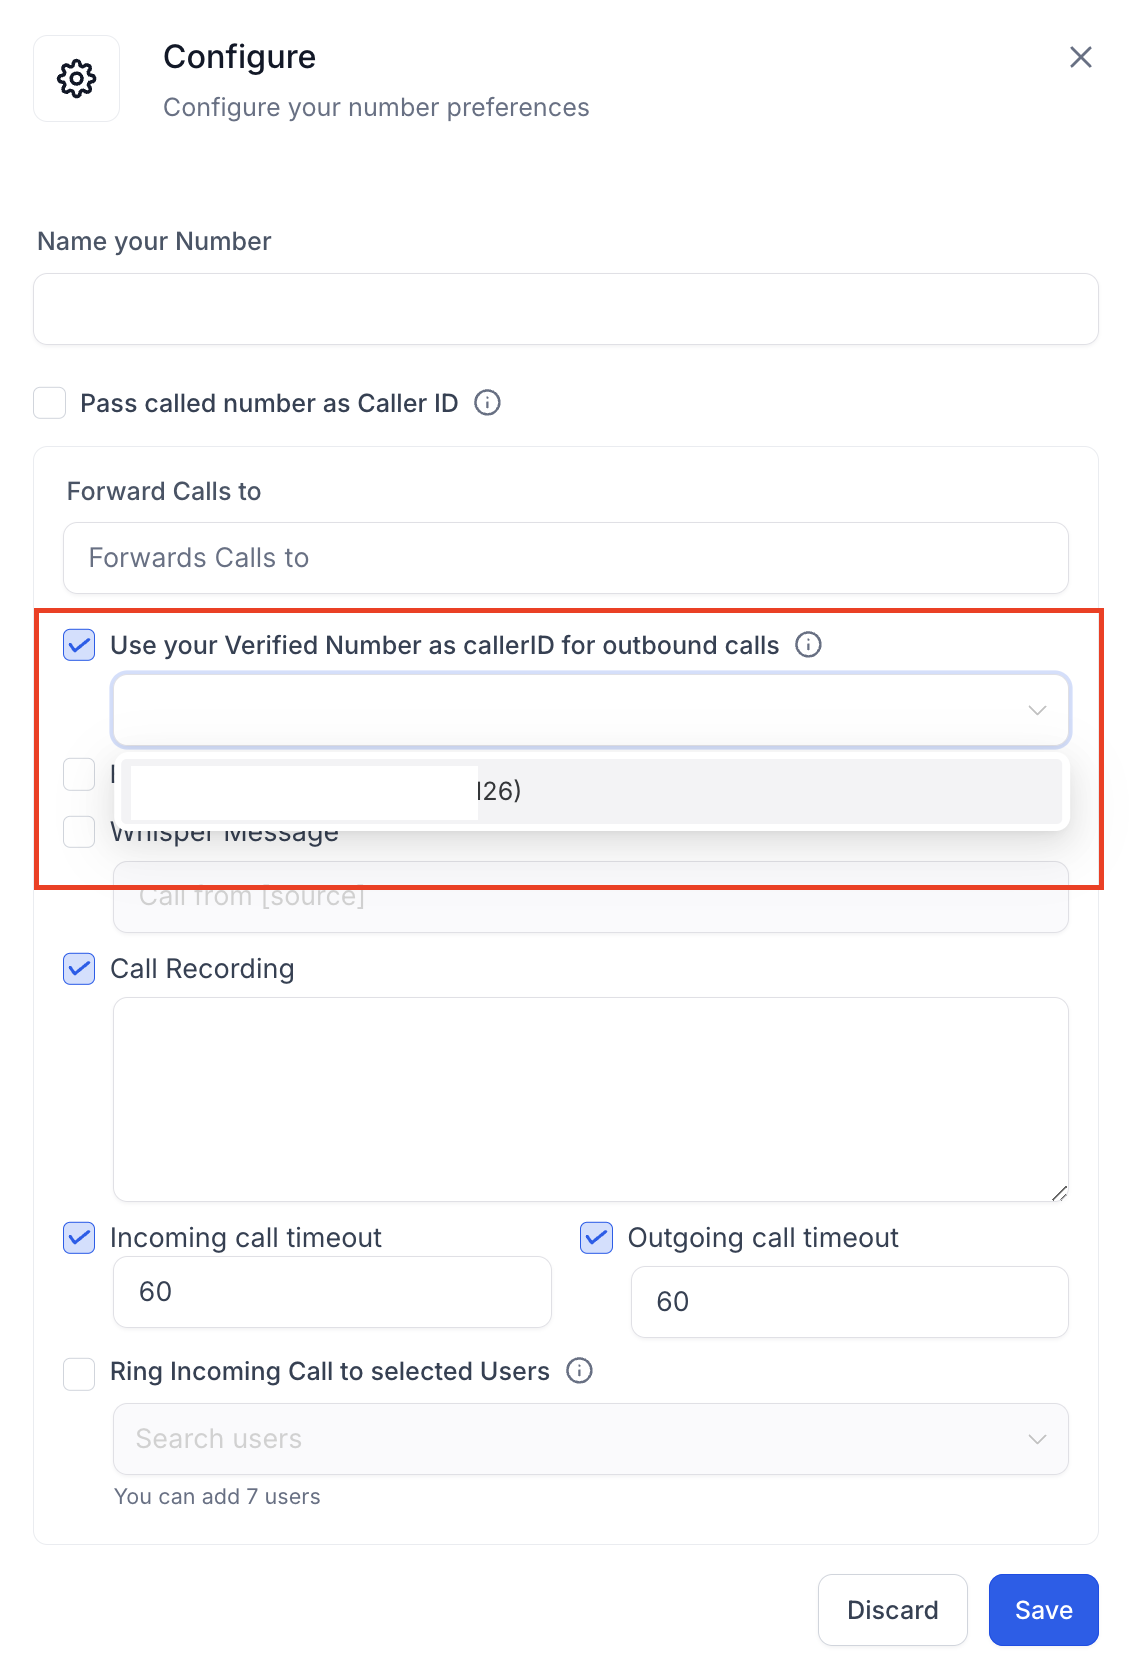
Choose the Use Verified Number as Caller ID for Outbound Calls option, select your verified number, and save the changes.
Your verified number will now be used as the caller ID for outgoing calls.
Each sub-account is limited to 10 verified caller IDs by default. Contact support to request an increase in this limit.
Due to Indian telecom regulations effective August 1, 2024, calls using +91 caller IDs to +91 destinations are restricted.
