
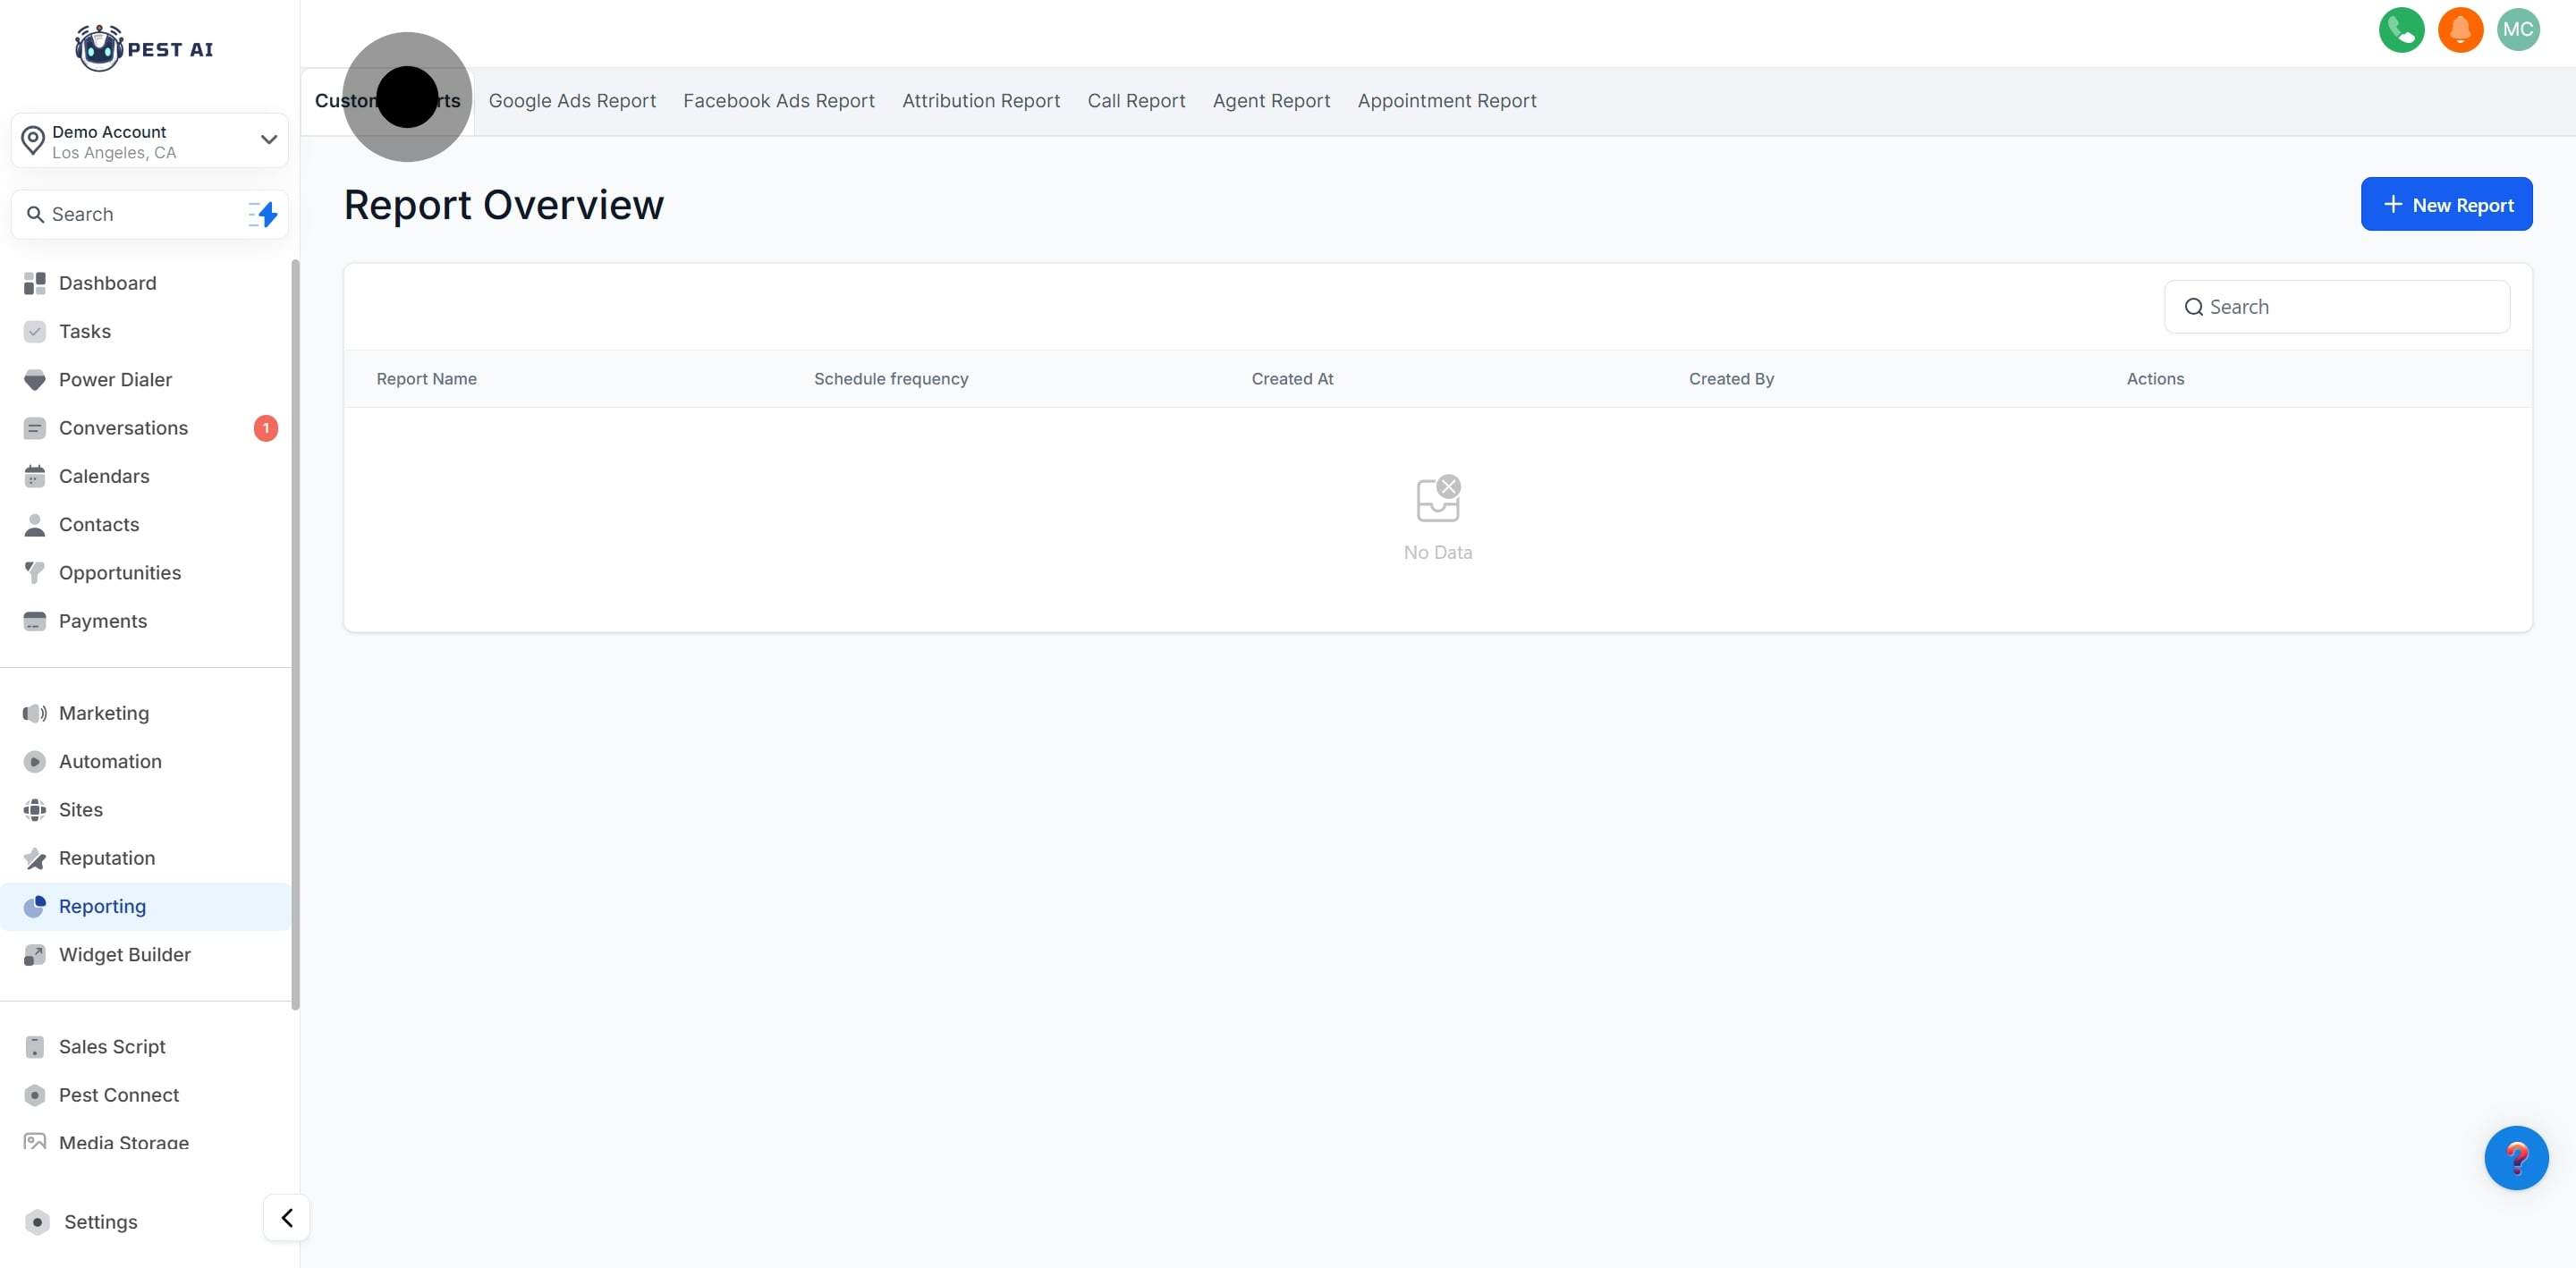
You can either create a report from scratch or convert an existing dashboard into a report.
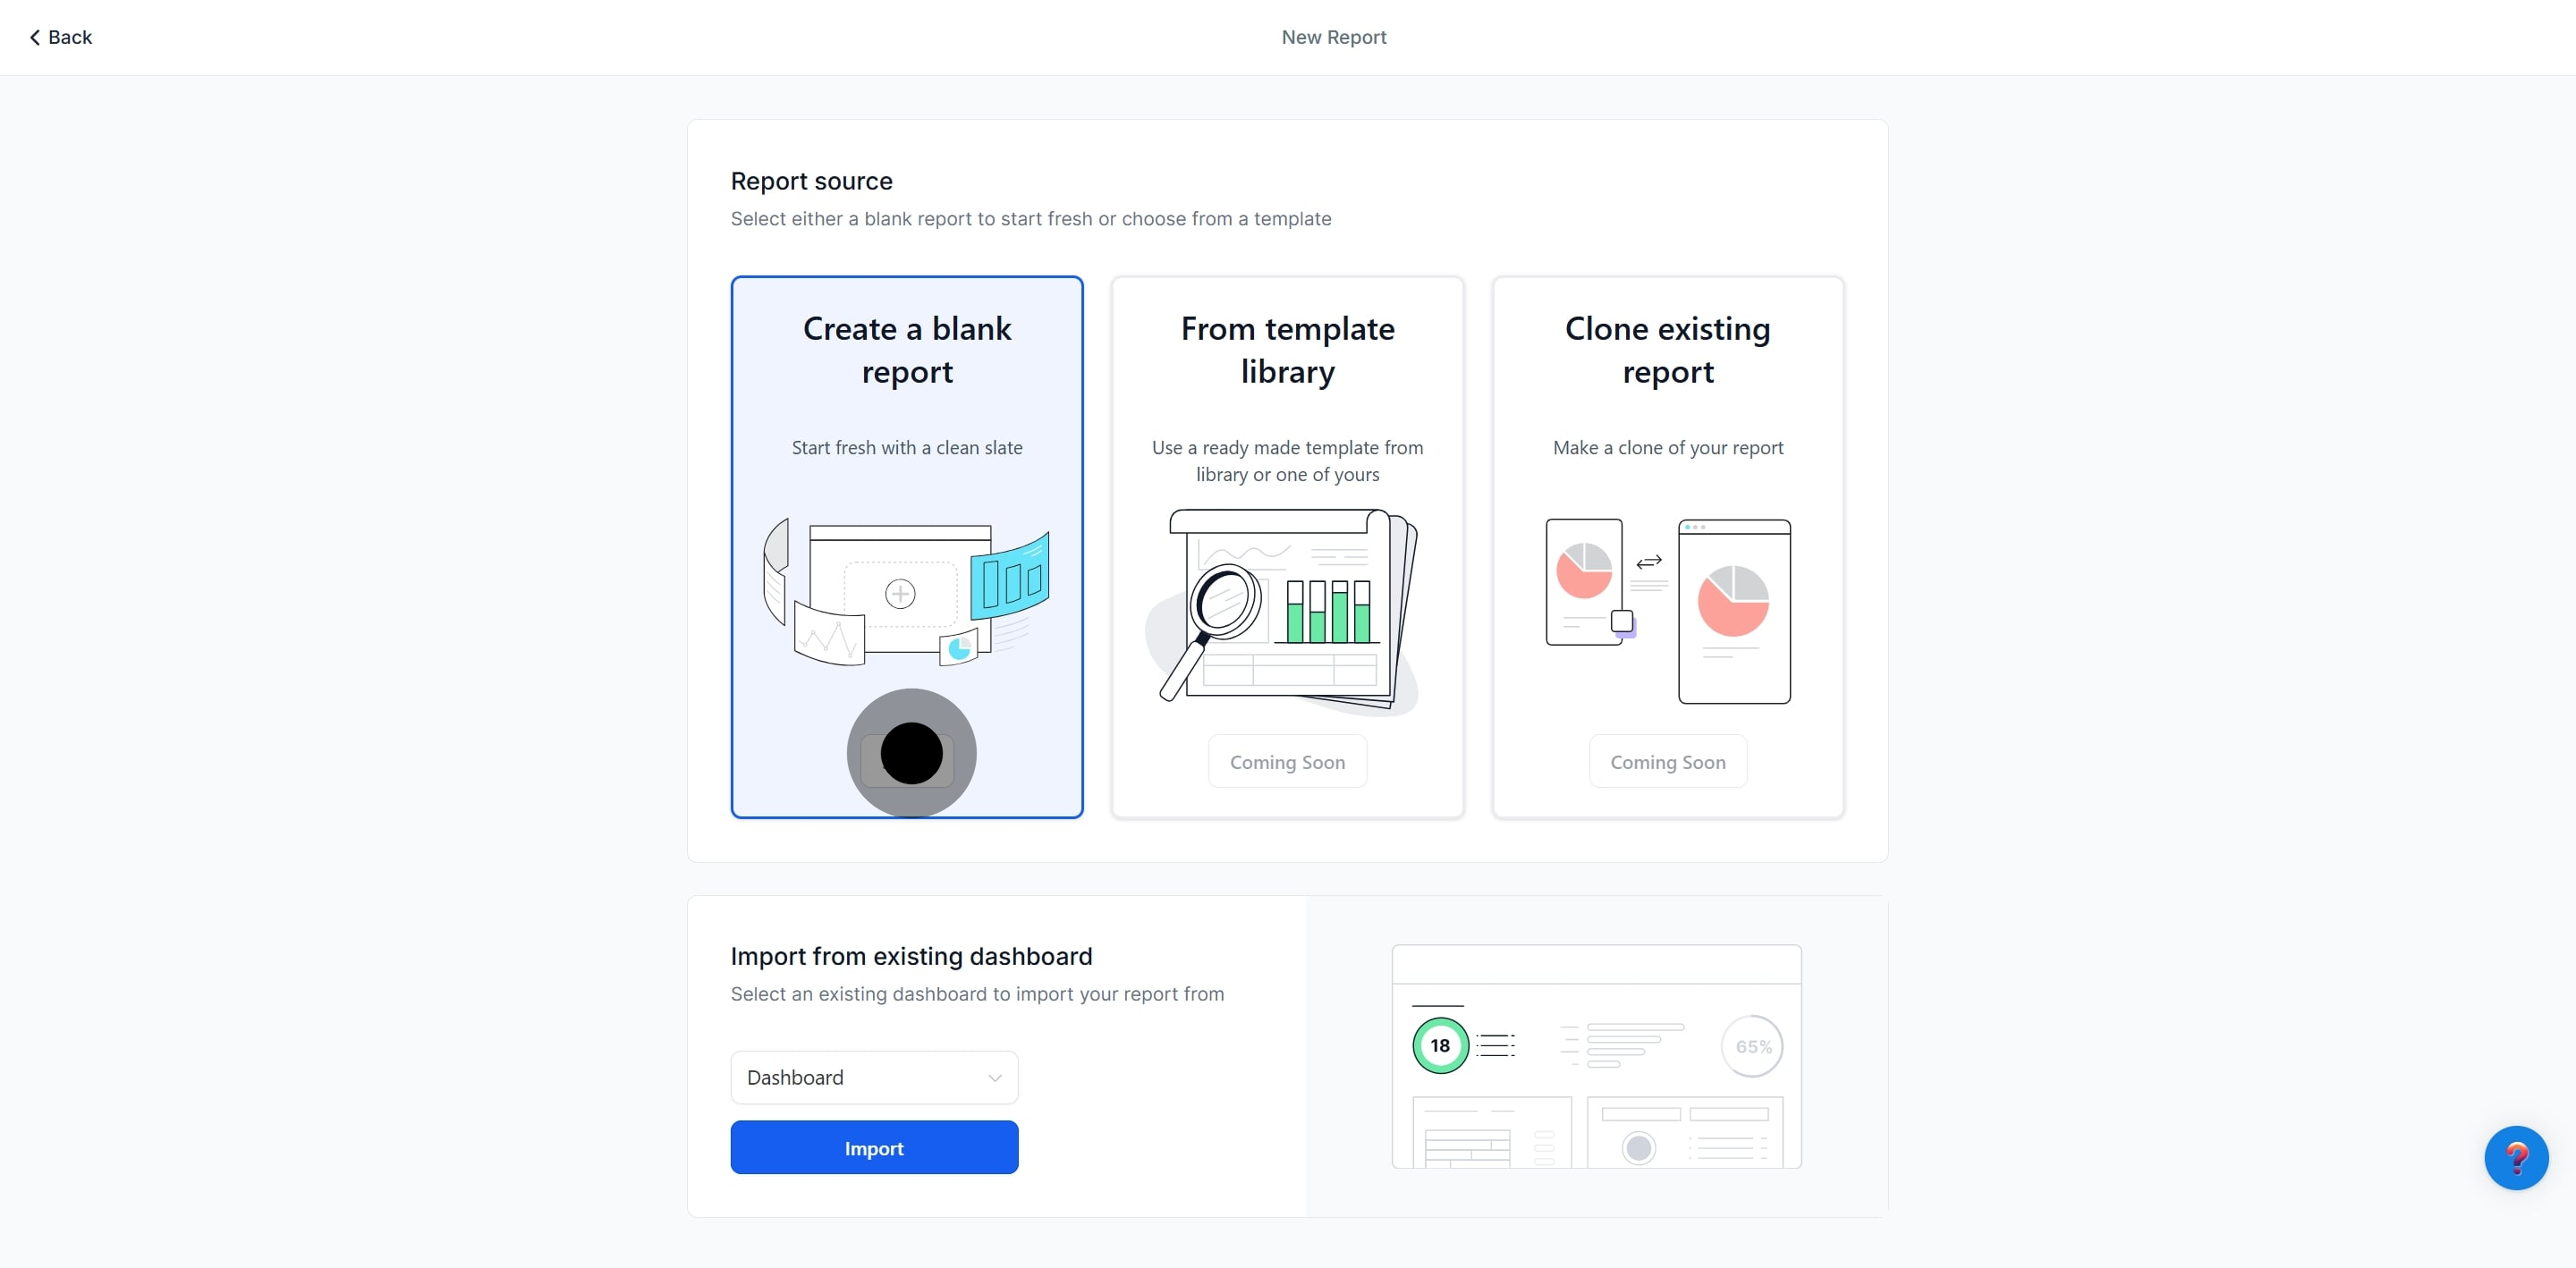
If starting from scratch, you'll be taken to the Report Builder.
At the top, you can rename your report to reflect its purpose.
The first page of your report is the cover page, which you can customize or remove through the Page Properties menu on the right.
Page Properties Options:
Upload your company logo.
Configure headers for each page.
Adjust the background color of the report pages.
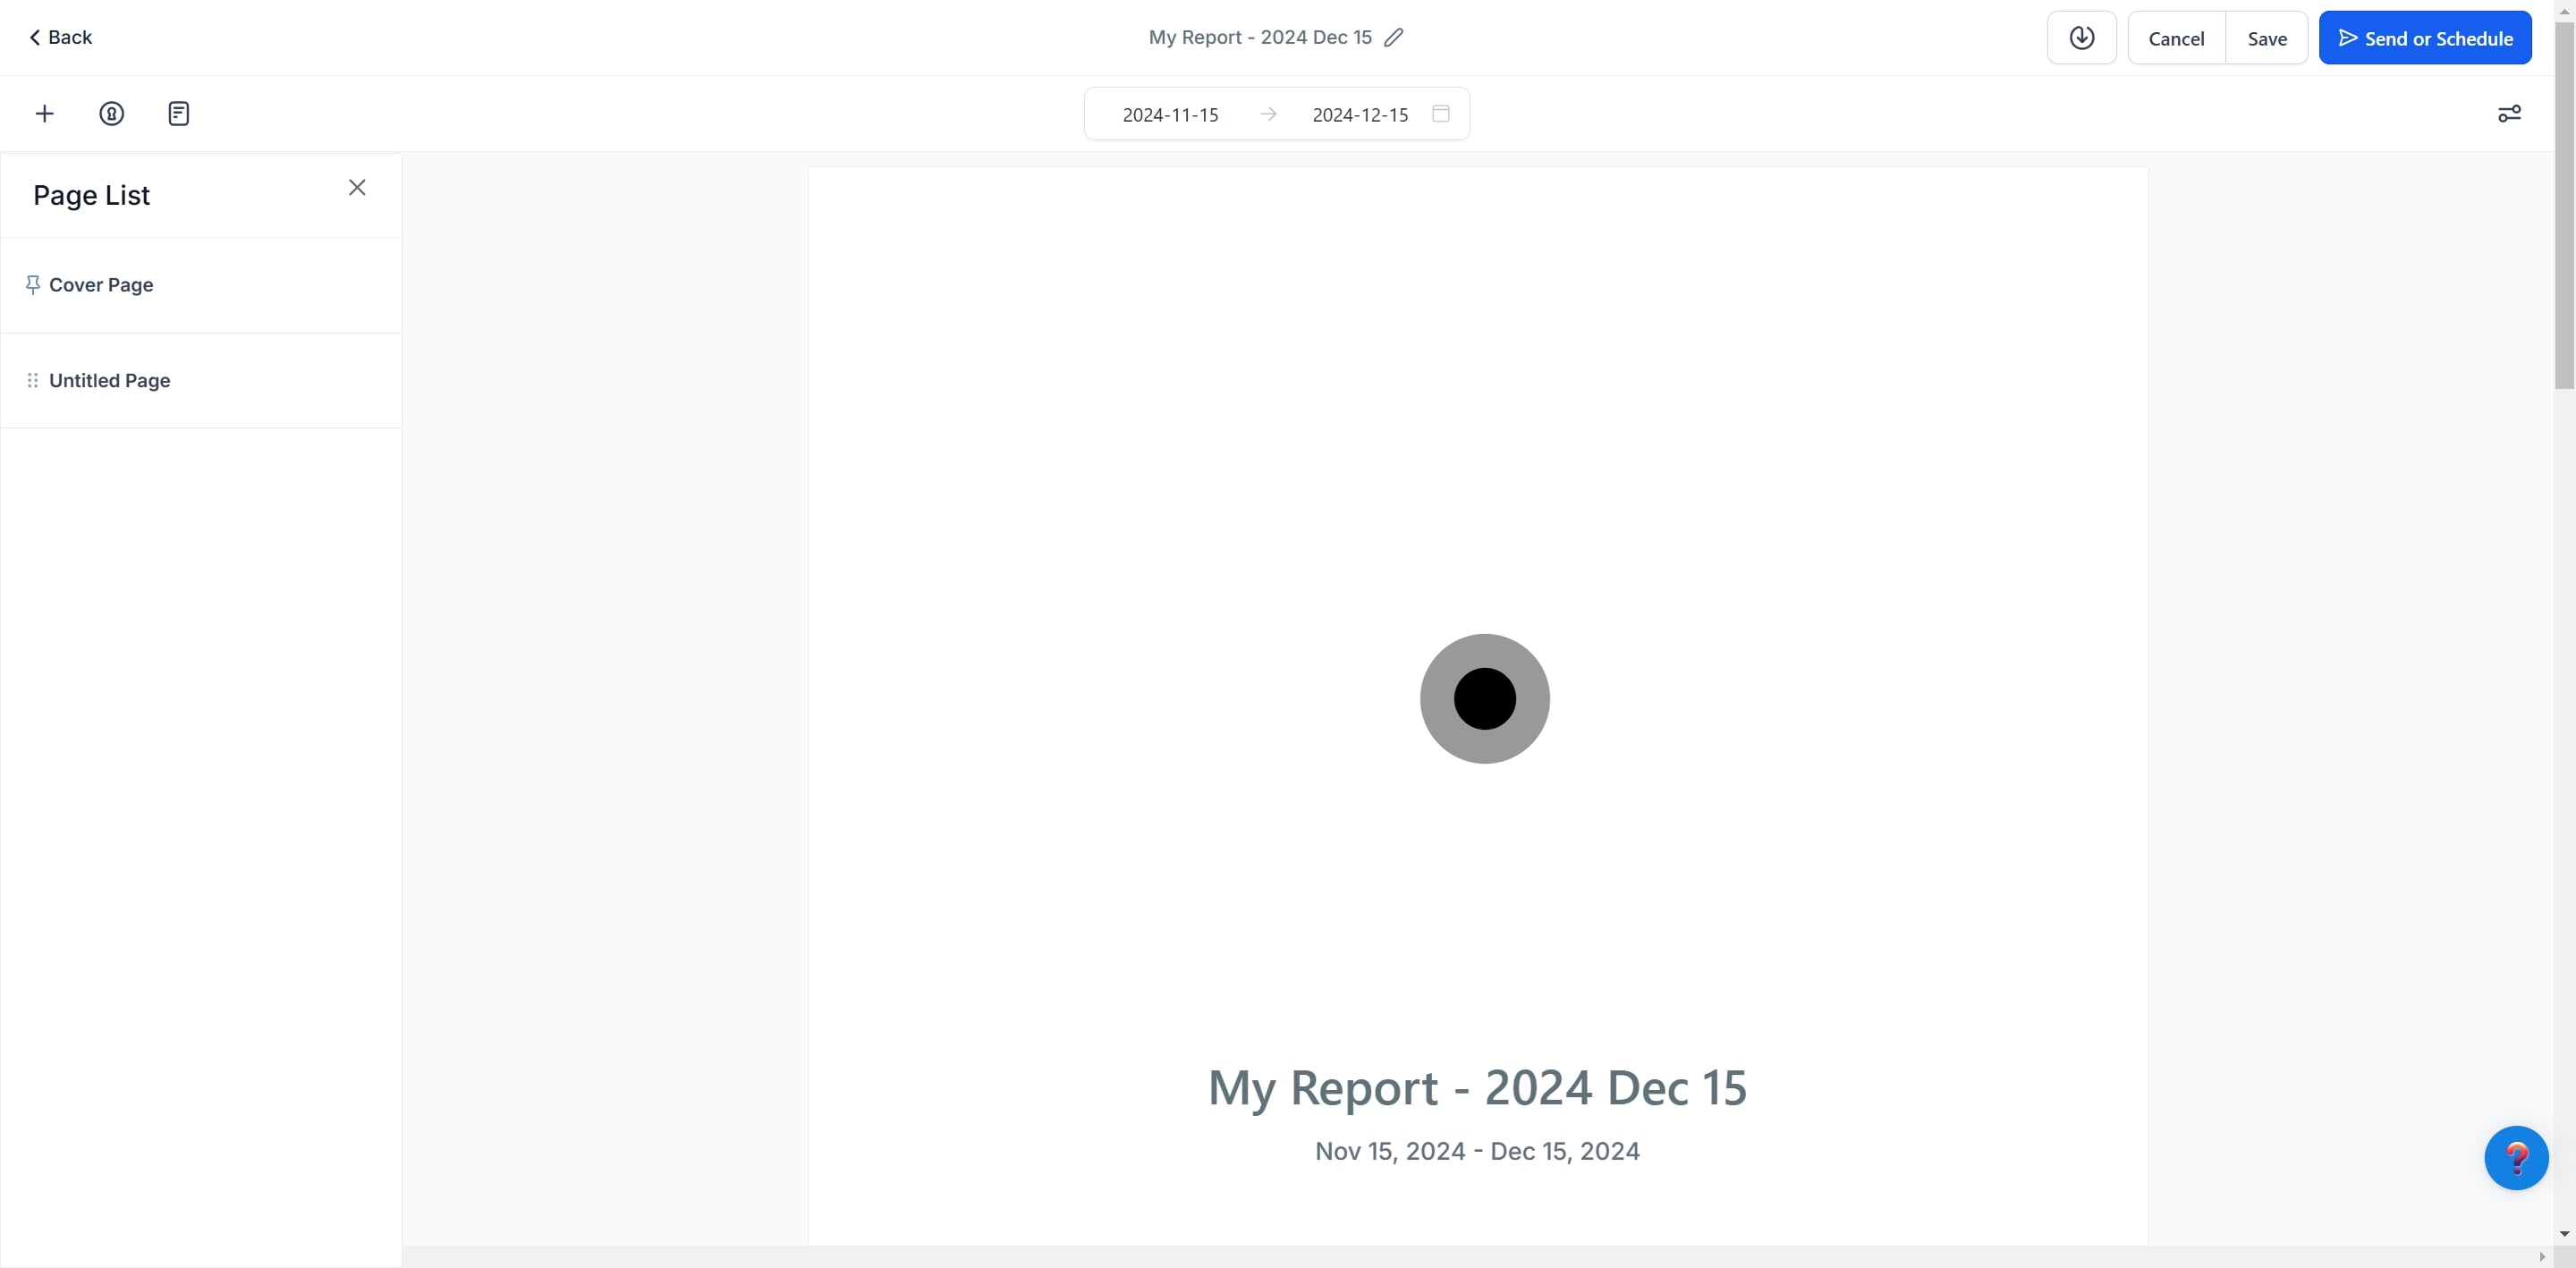
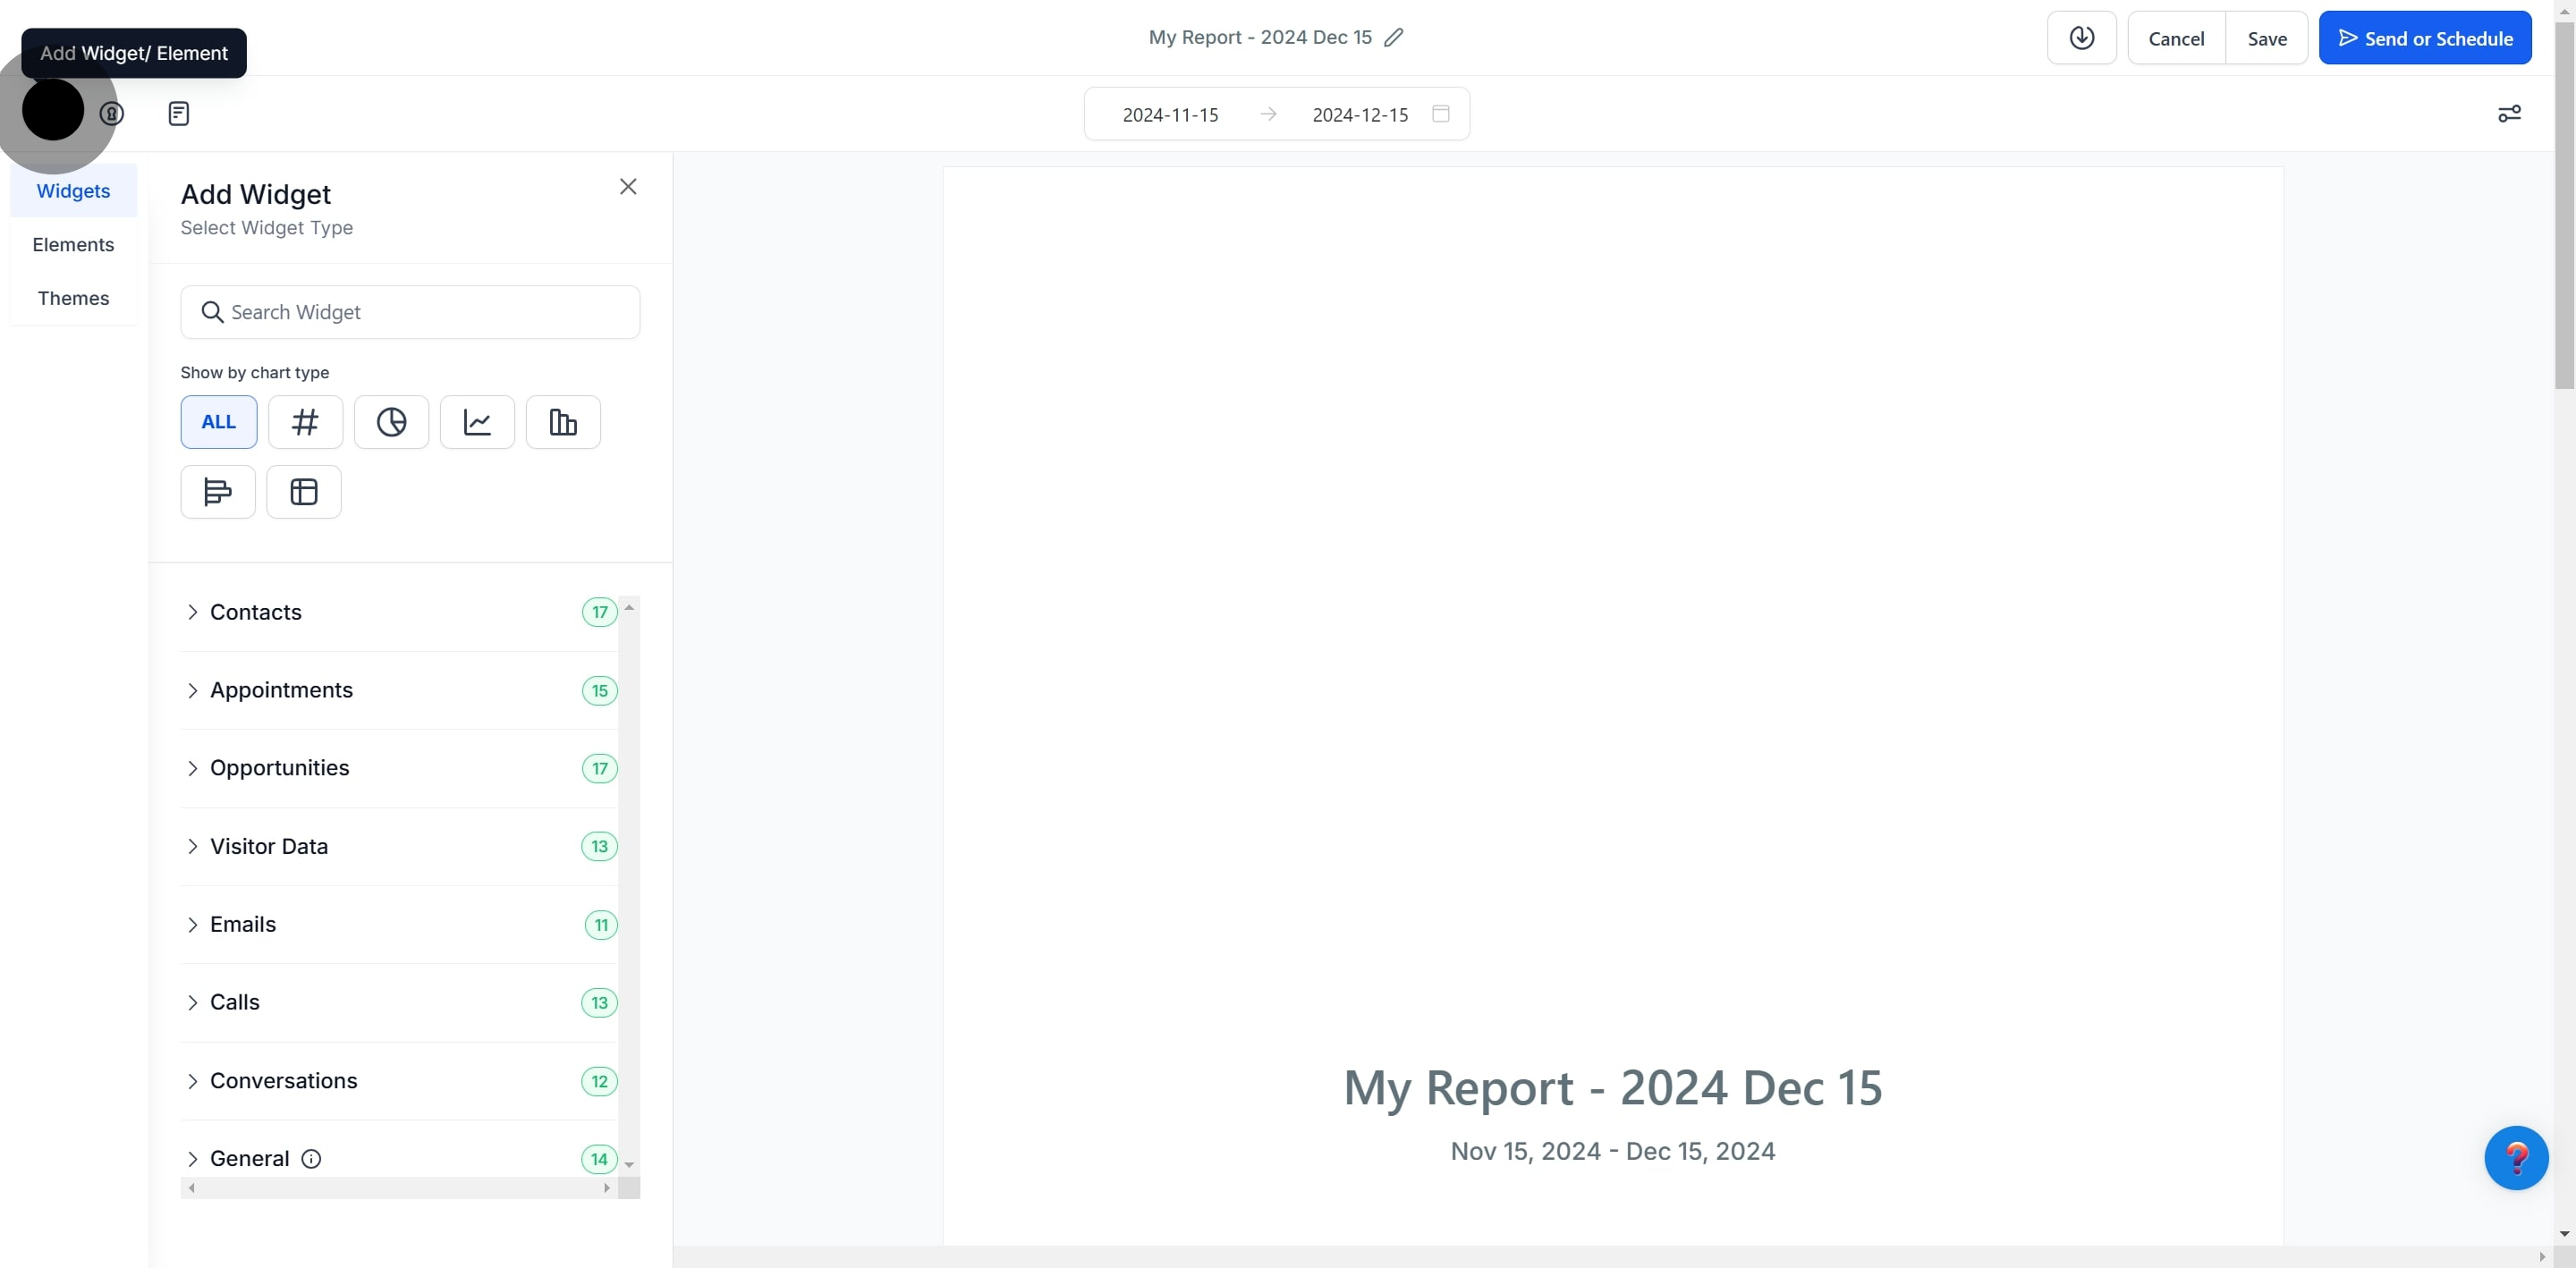
Once your cover page is set, click the + icon on the left to begin adding widgets.
From the widget sidebar, upload or customize the widgets you want to include in the report.
Use the Elements Menu to add titles and organize your report into sections for easy readability.
Switch to the Themes section to configure one of the predefined themes or add your own custom theme to the report
To add a new page, click on the + icon at the top or bottom of an existing page.
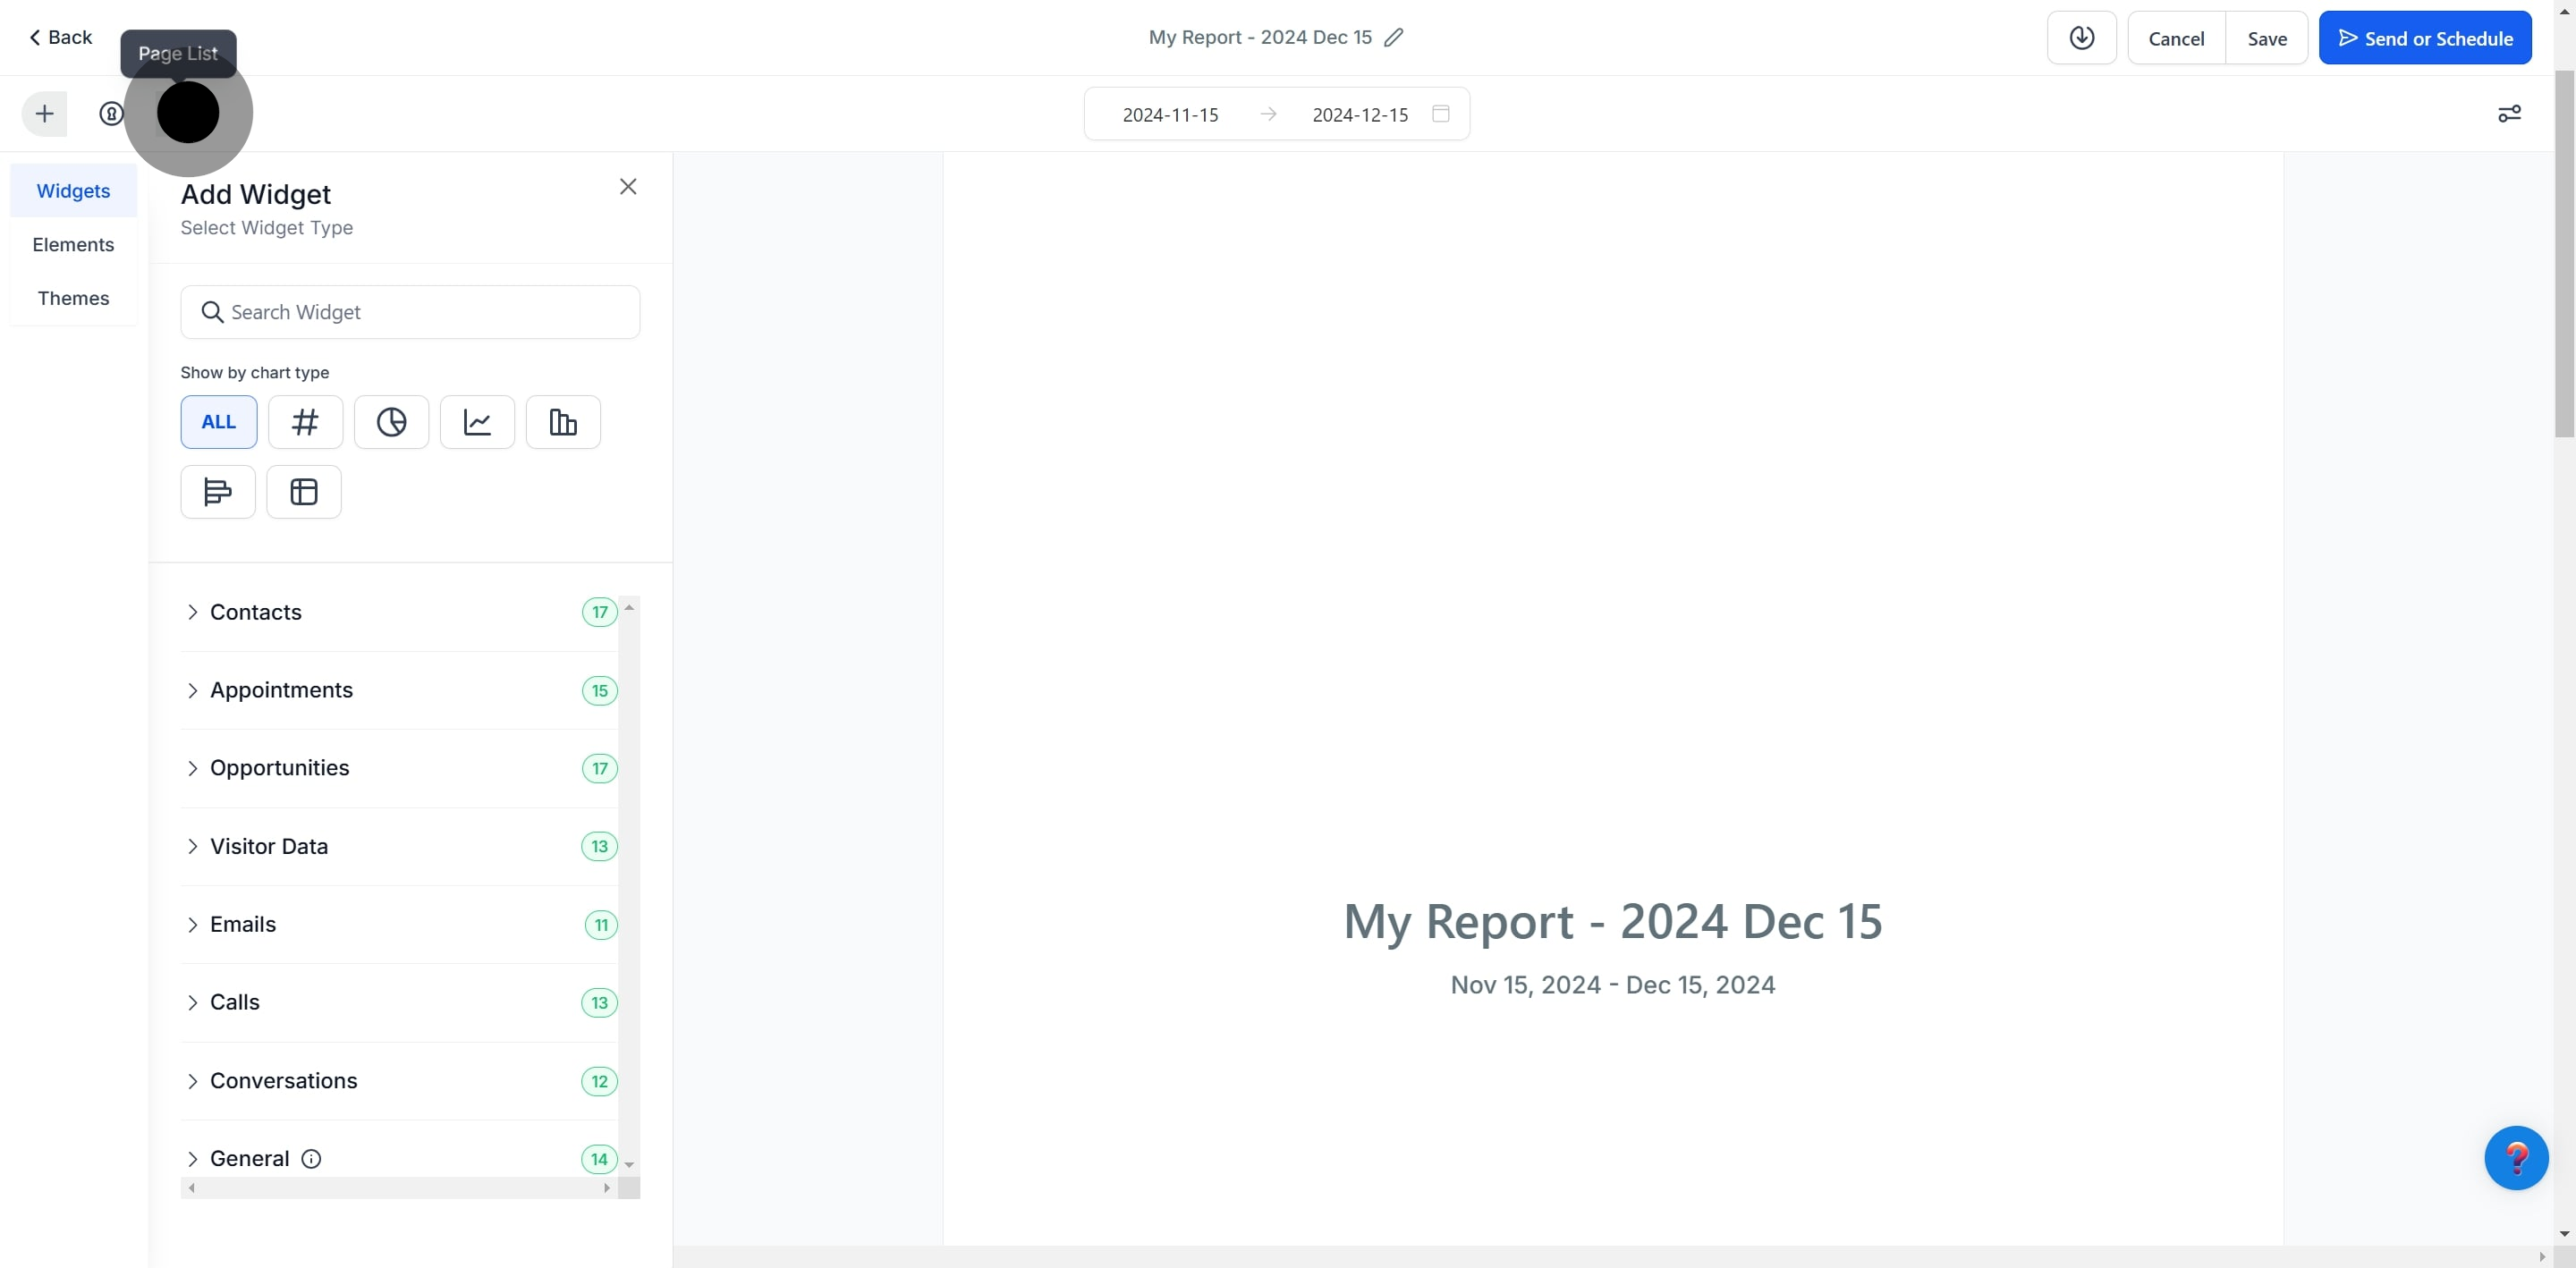
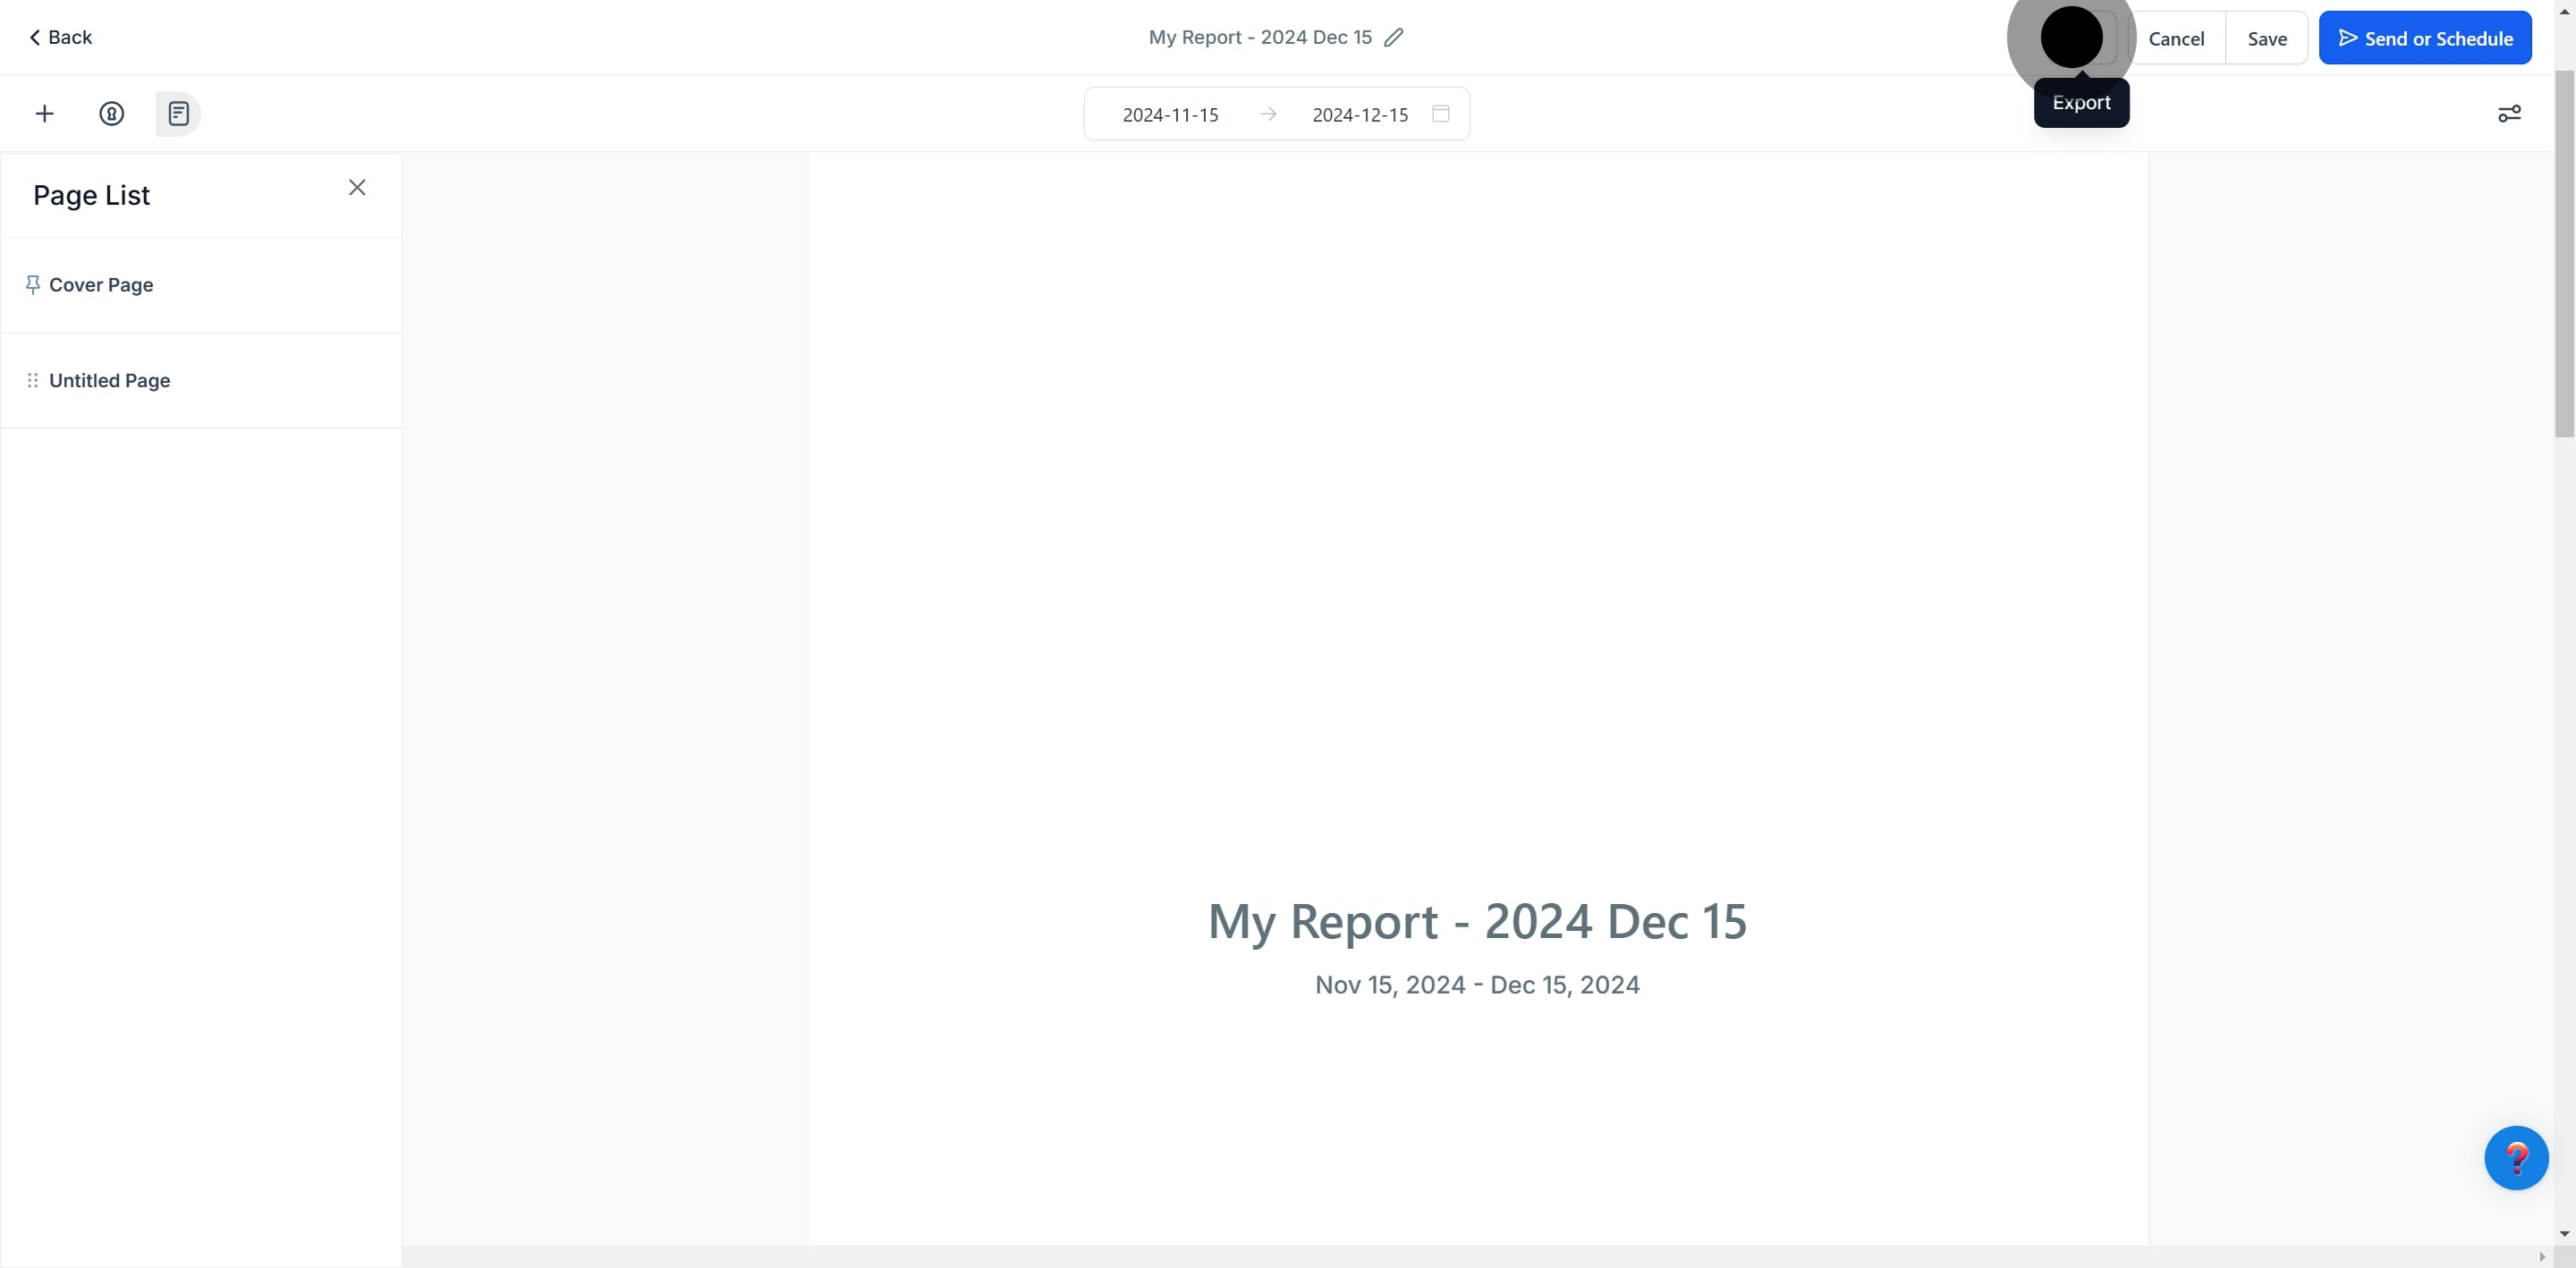
To see a list of all pages, click the Page Icon.
Drag and drop pages to reorder them and rename them as needed for better organization.
When you're done, you can download a PDF version of your report by clicking the Download button at the top.
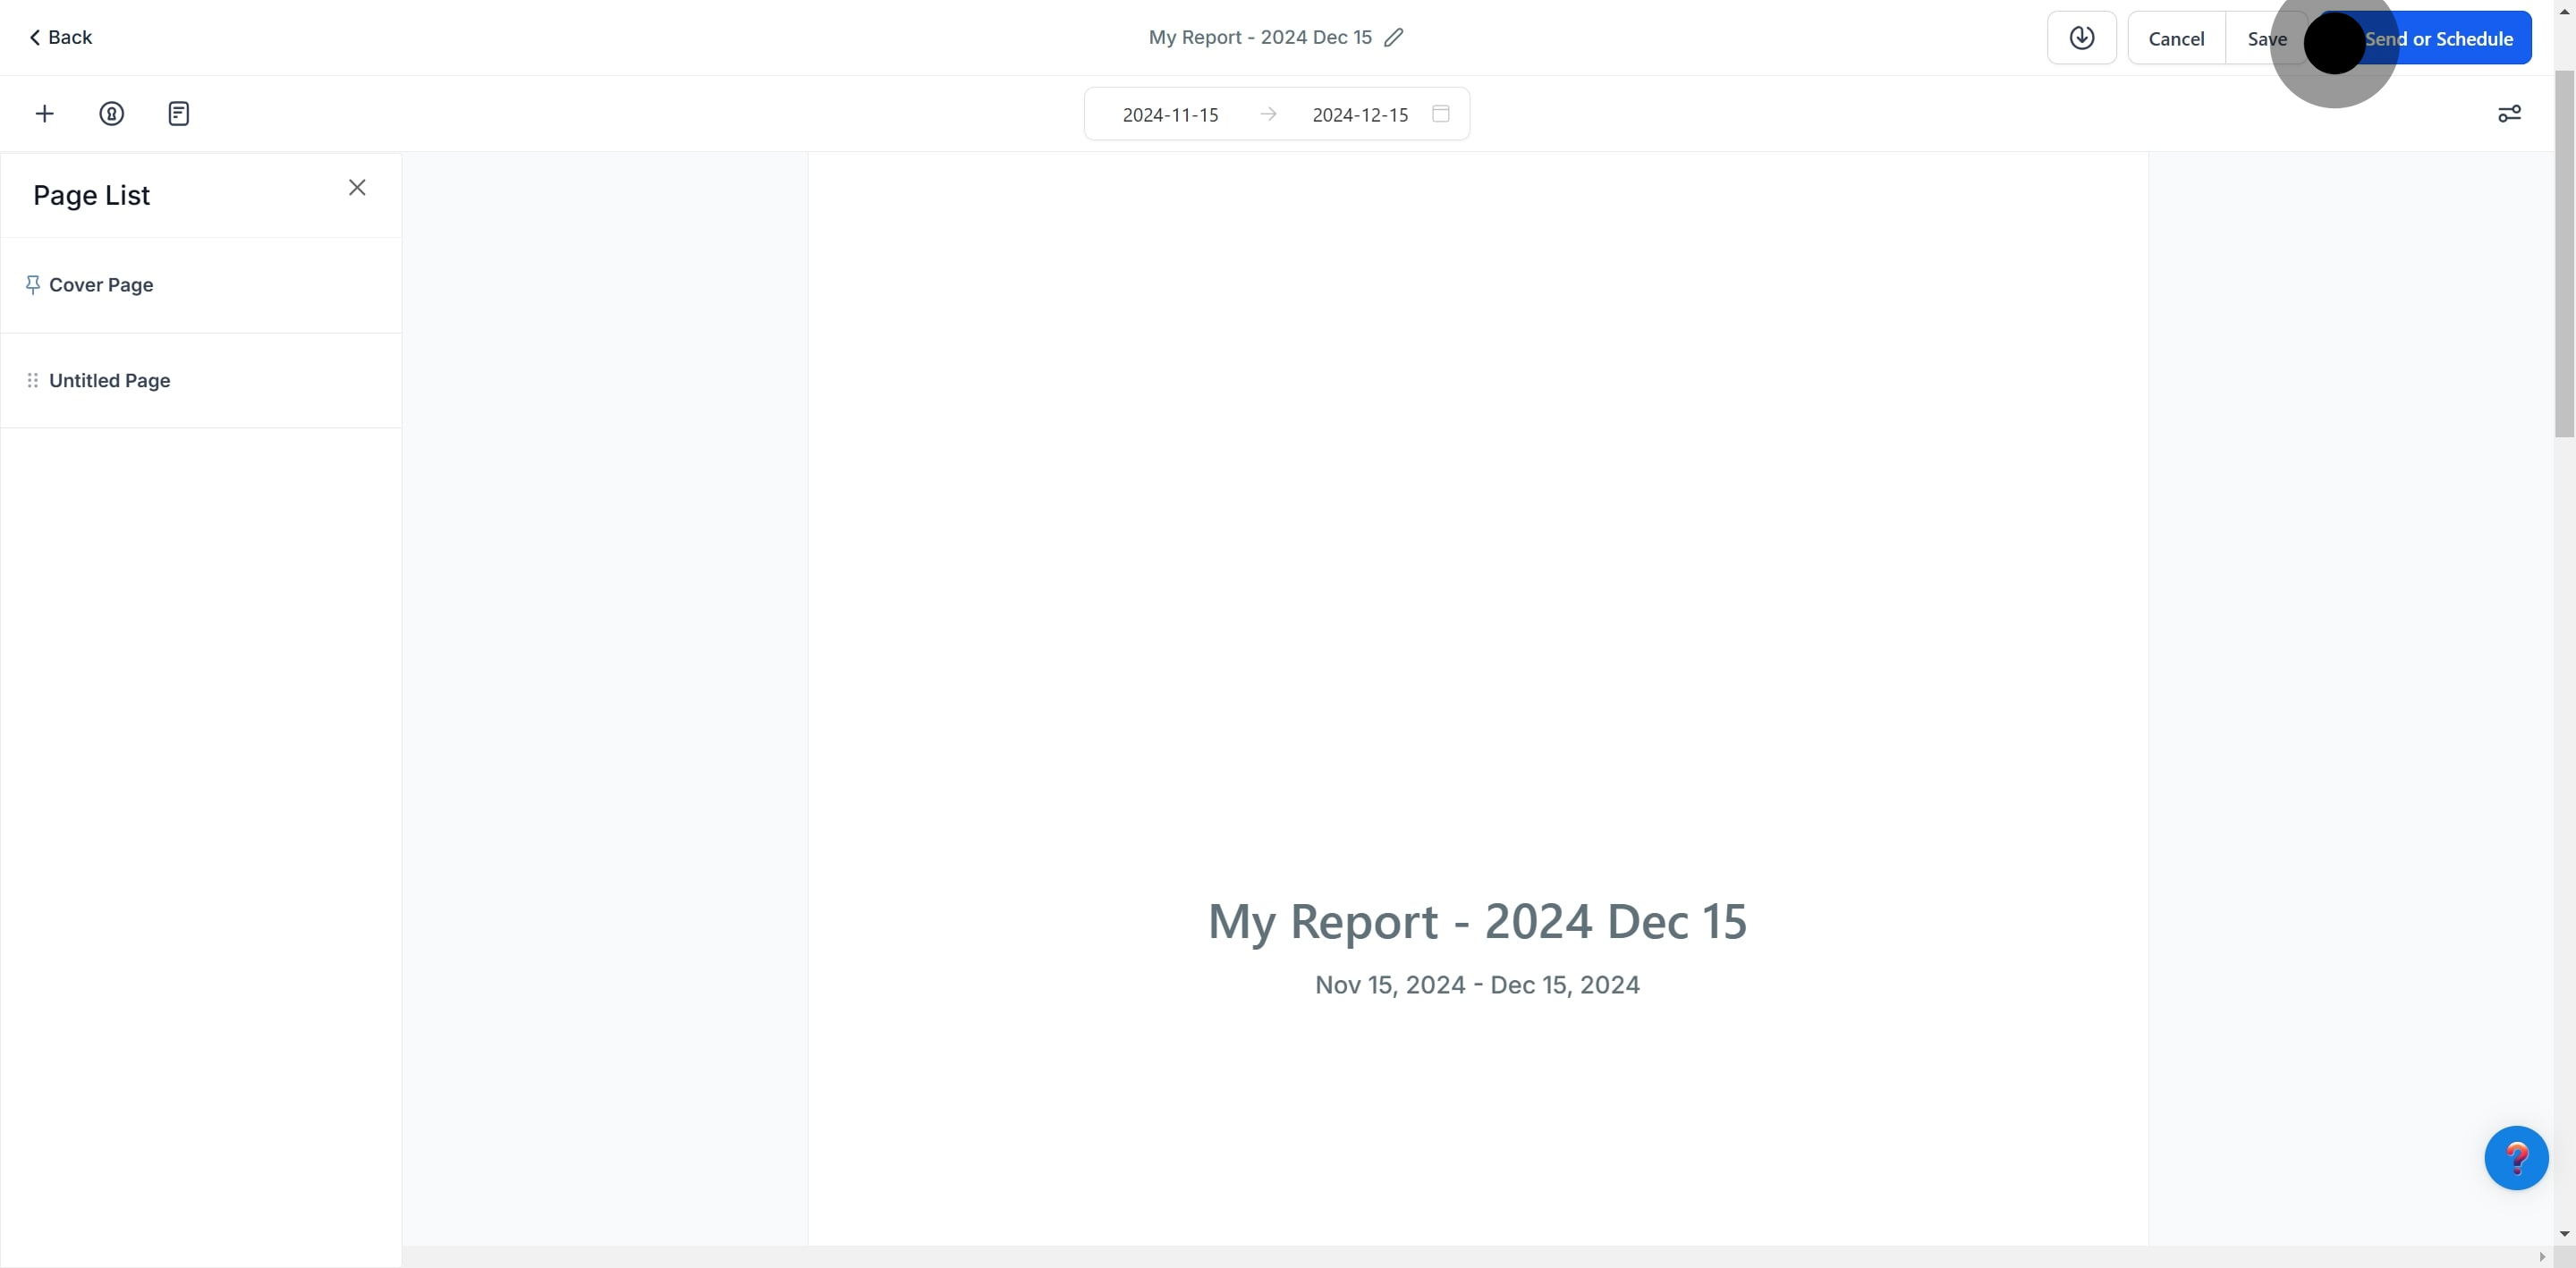
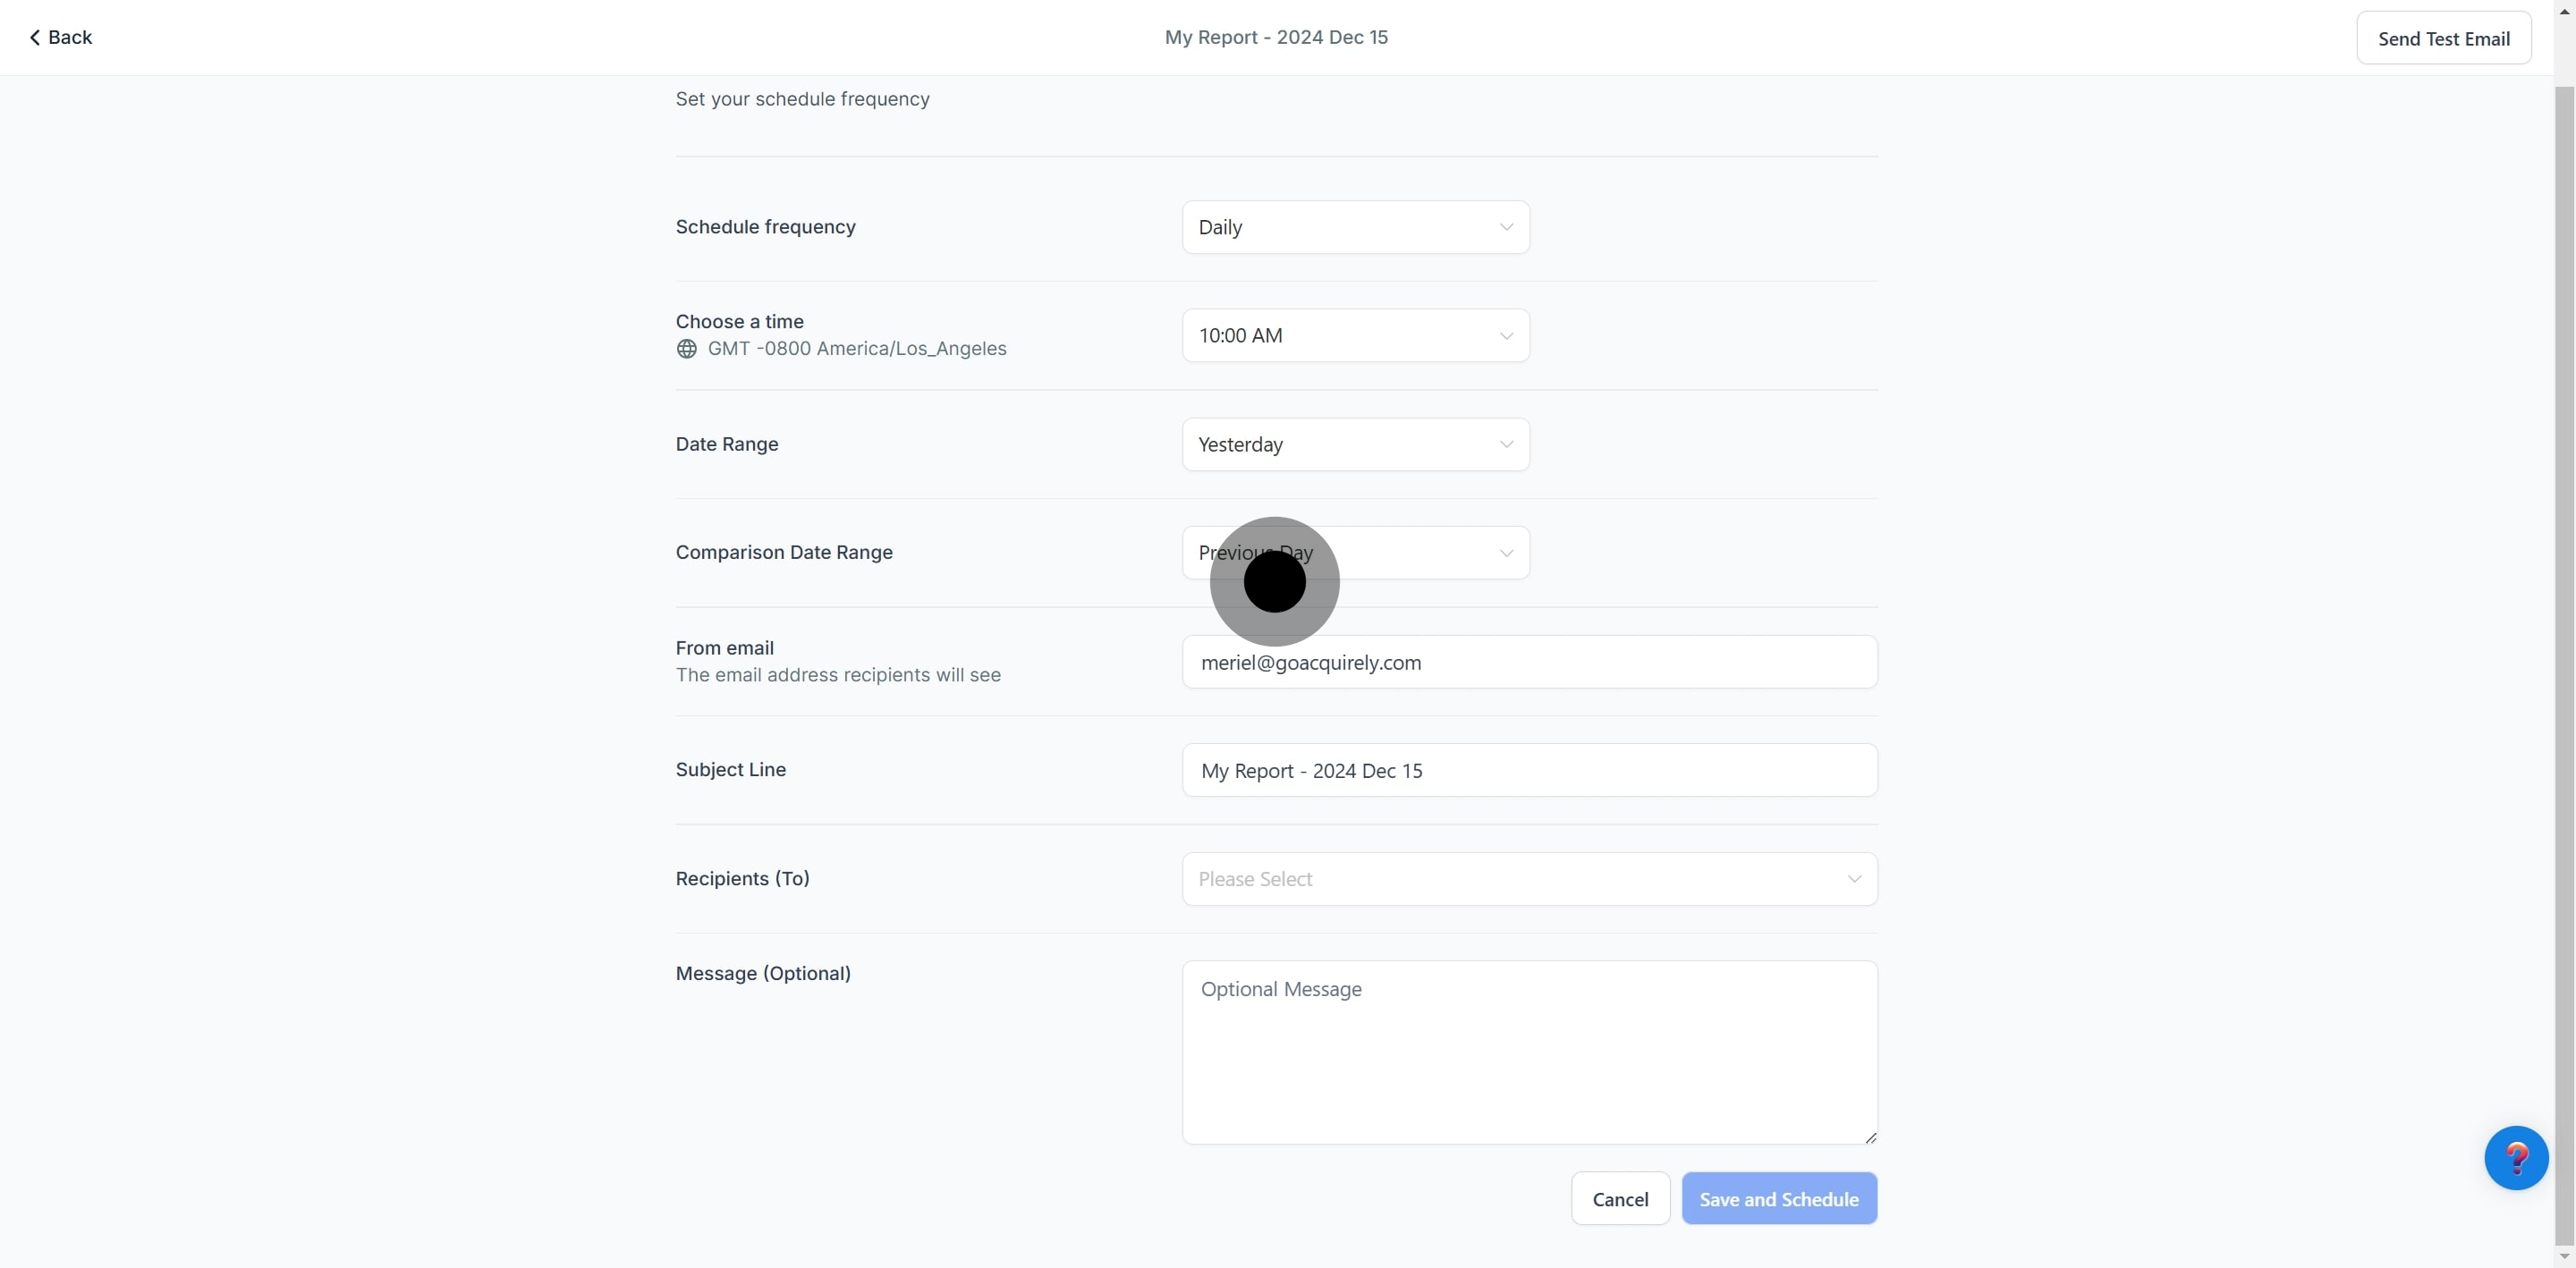
After creating your report, click on Save and then choose Send or Schedule.

Frequency: Set how often the report should be sent (daily, weekly, etc.).
Time: Select the exact time for the report to be delivered.
Date Range: Choose the data period to be included in the report.
Comparison Trends: Toggle the "Compare With" option to add trends and comparison data.
Sender Email: Customize the email address the report will be sent from.
Subject: Add a subject line for the report email.
Recipients: Enter the recipients' email addresses.
Optional Email Body: Add a custom message if needed.
Before finalizing, you can send a test email to check how your report will appear to recipients.
Once everything looks good, click Save and Schedule to have your report automatically sent based on your configured schedule.

