The Pause workflow feature is available in the "Global Workflow Settings"
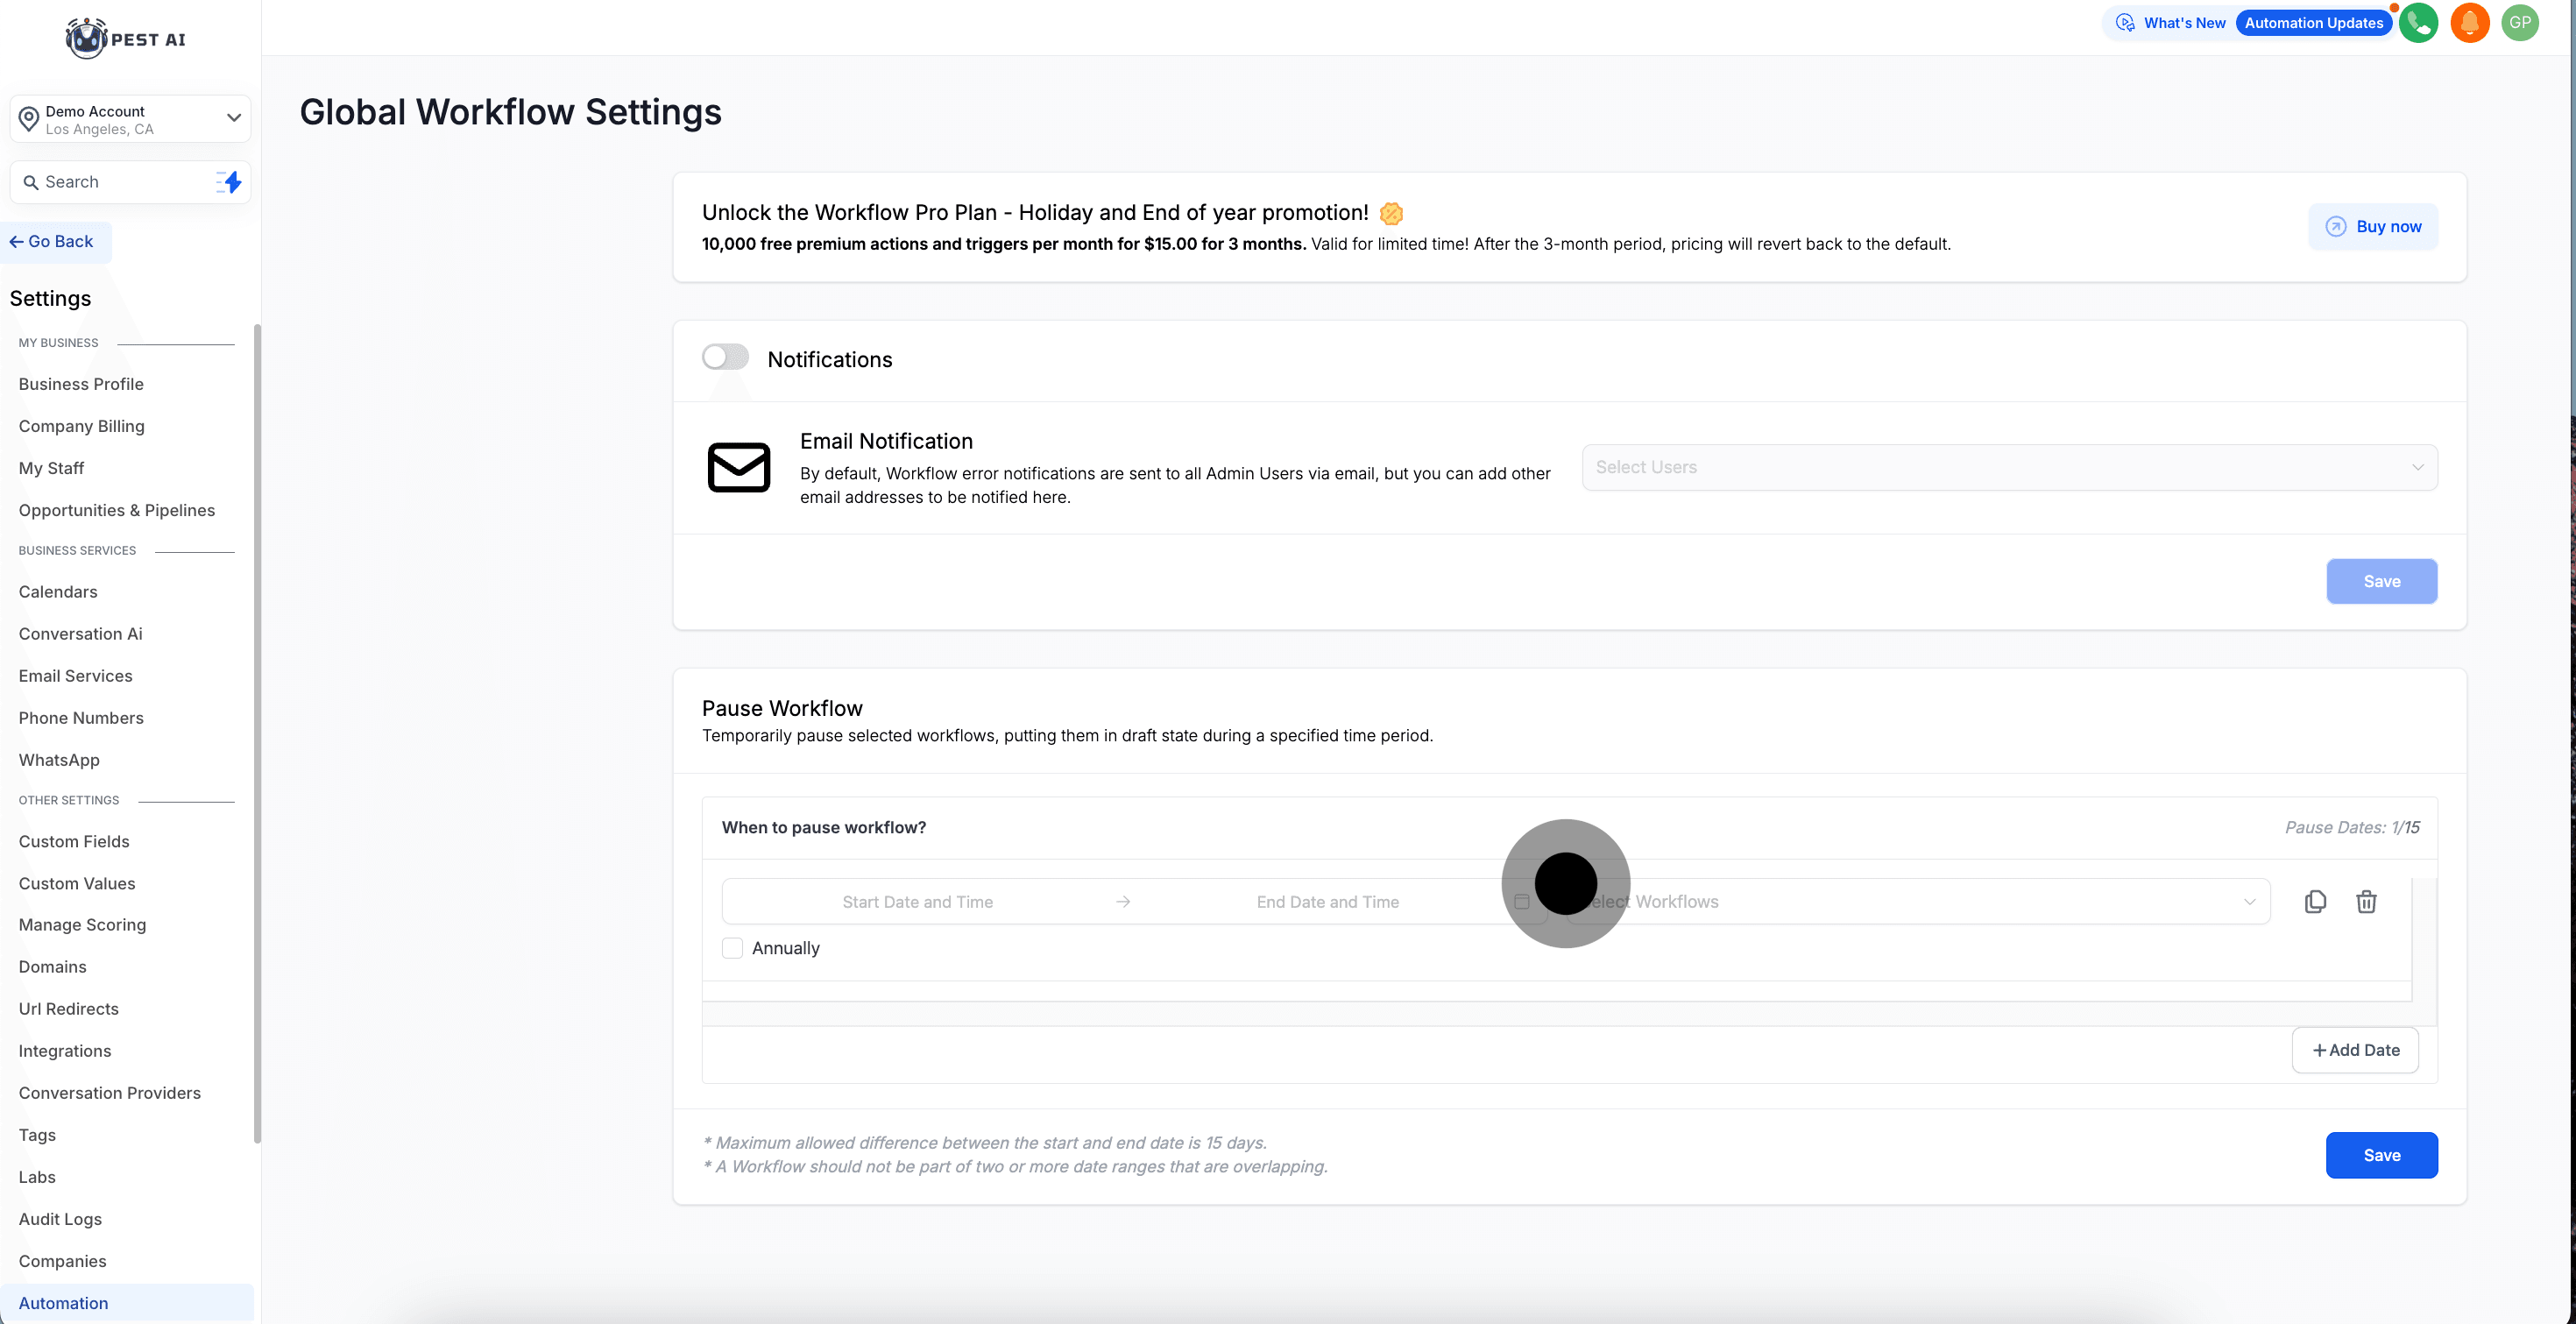
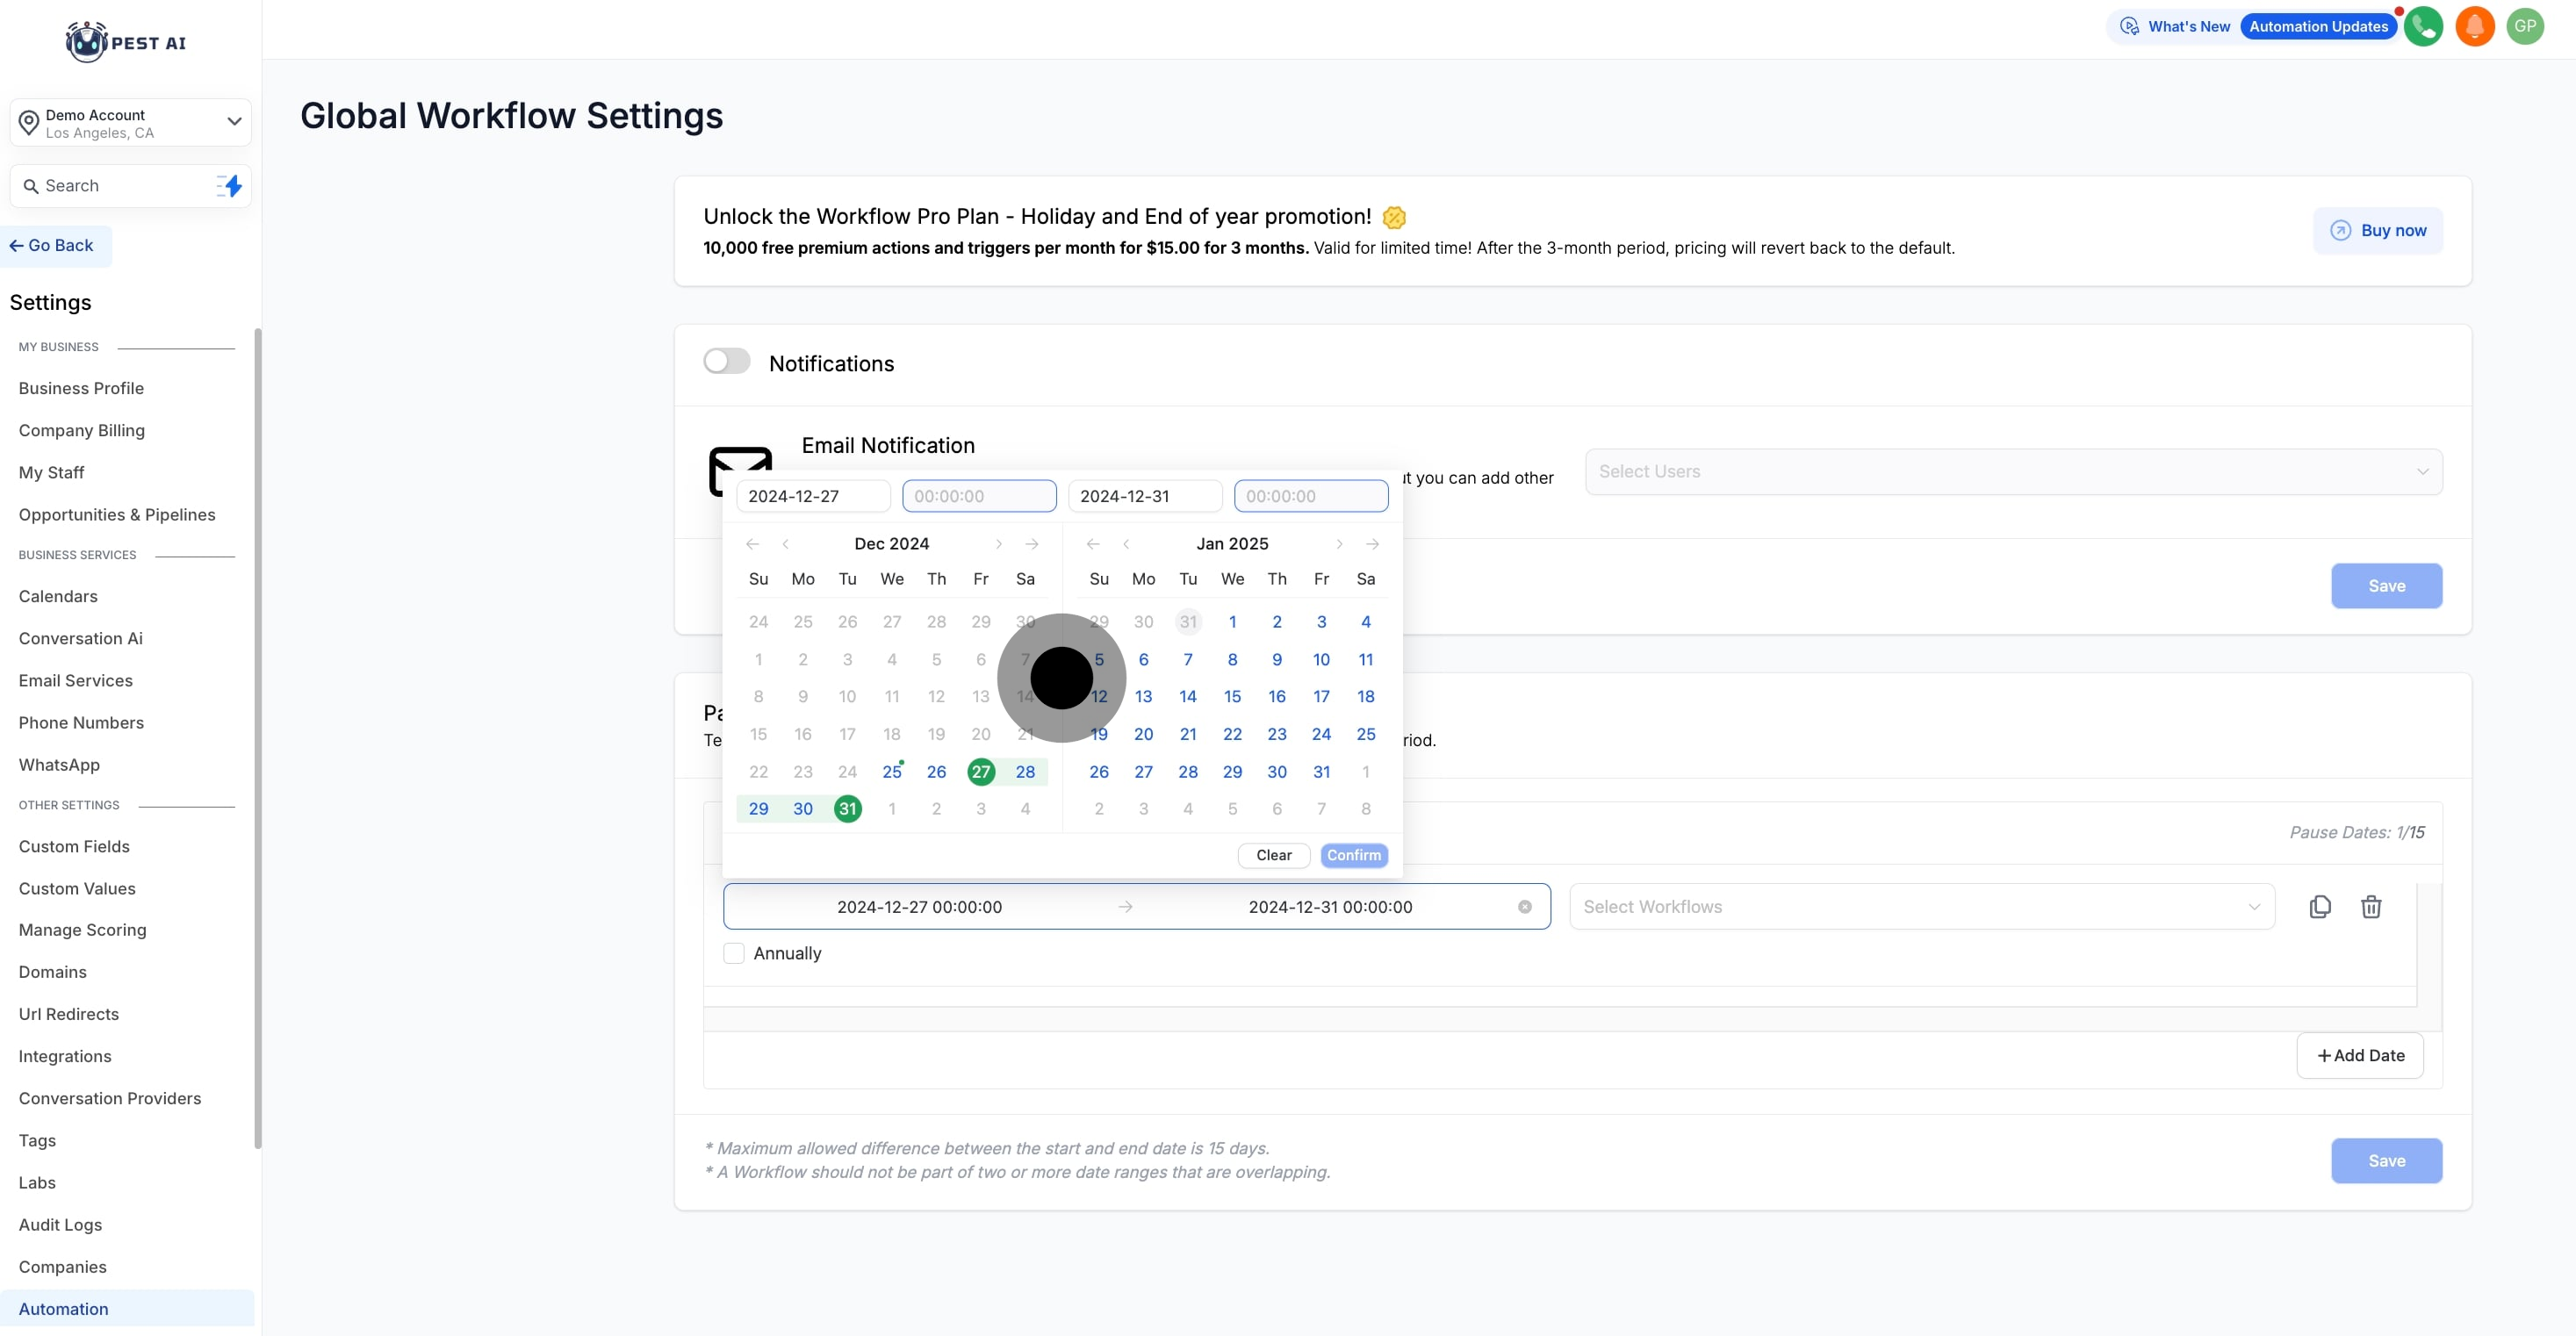
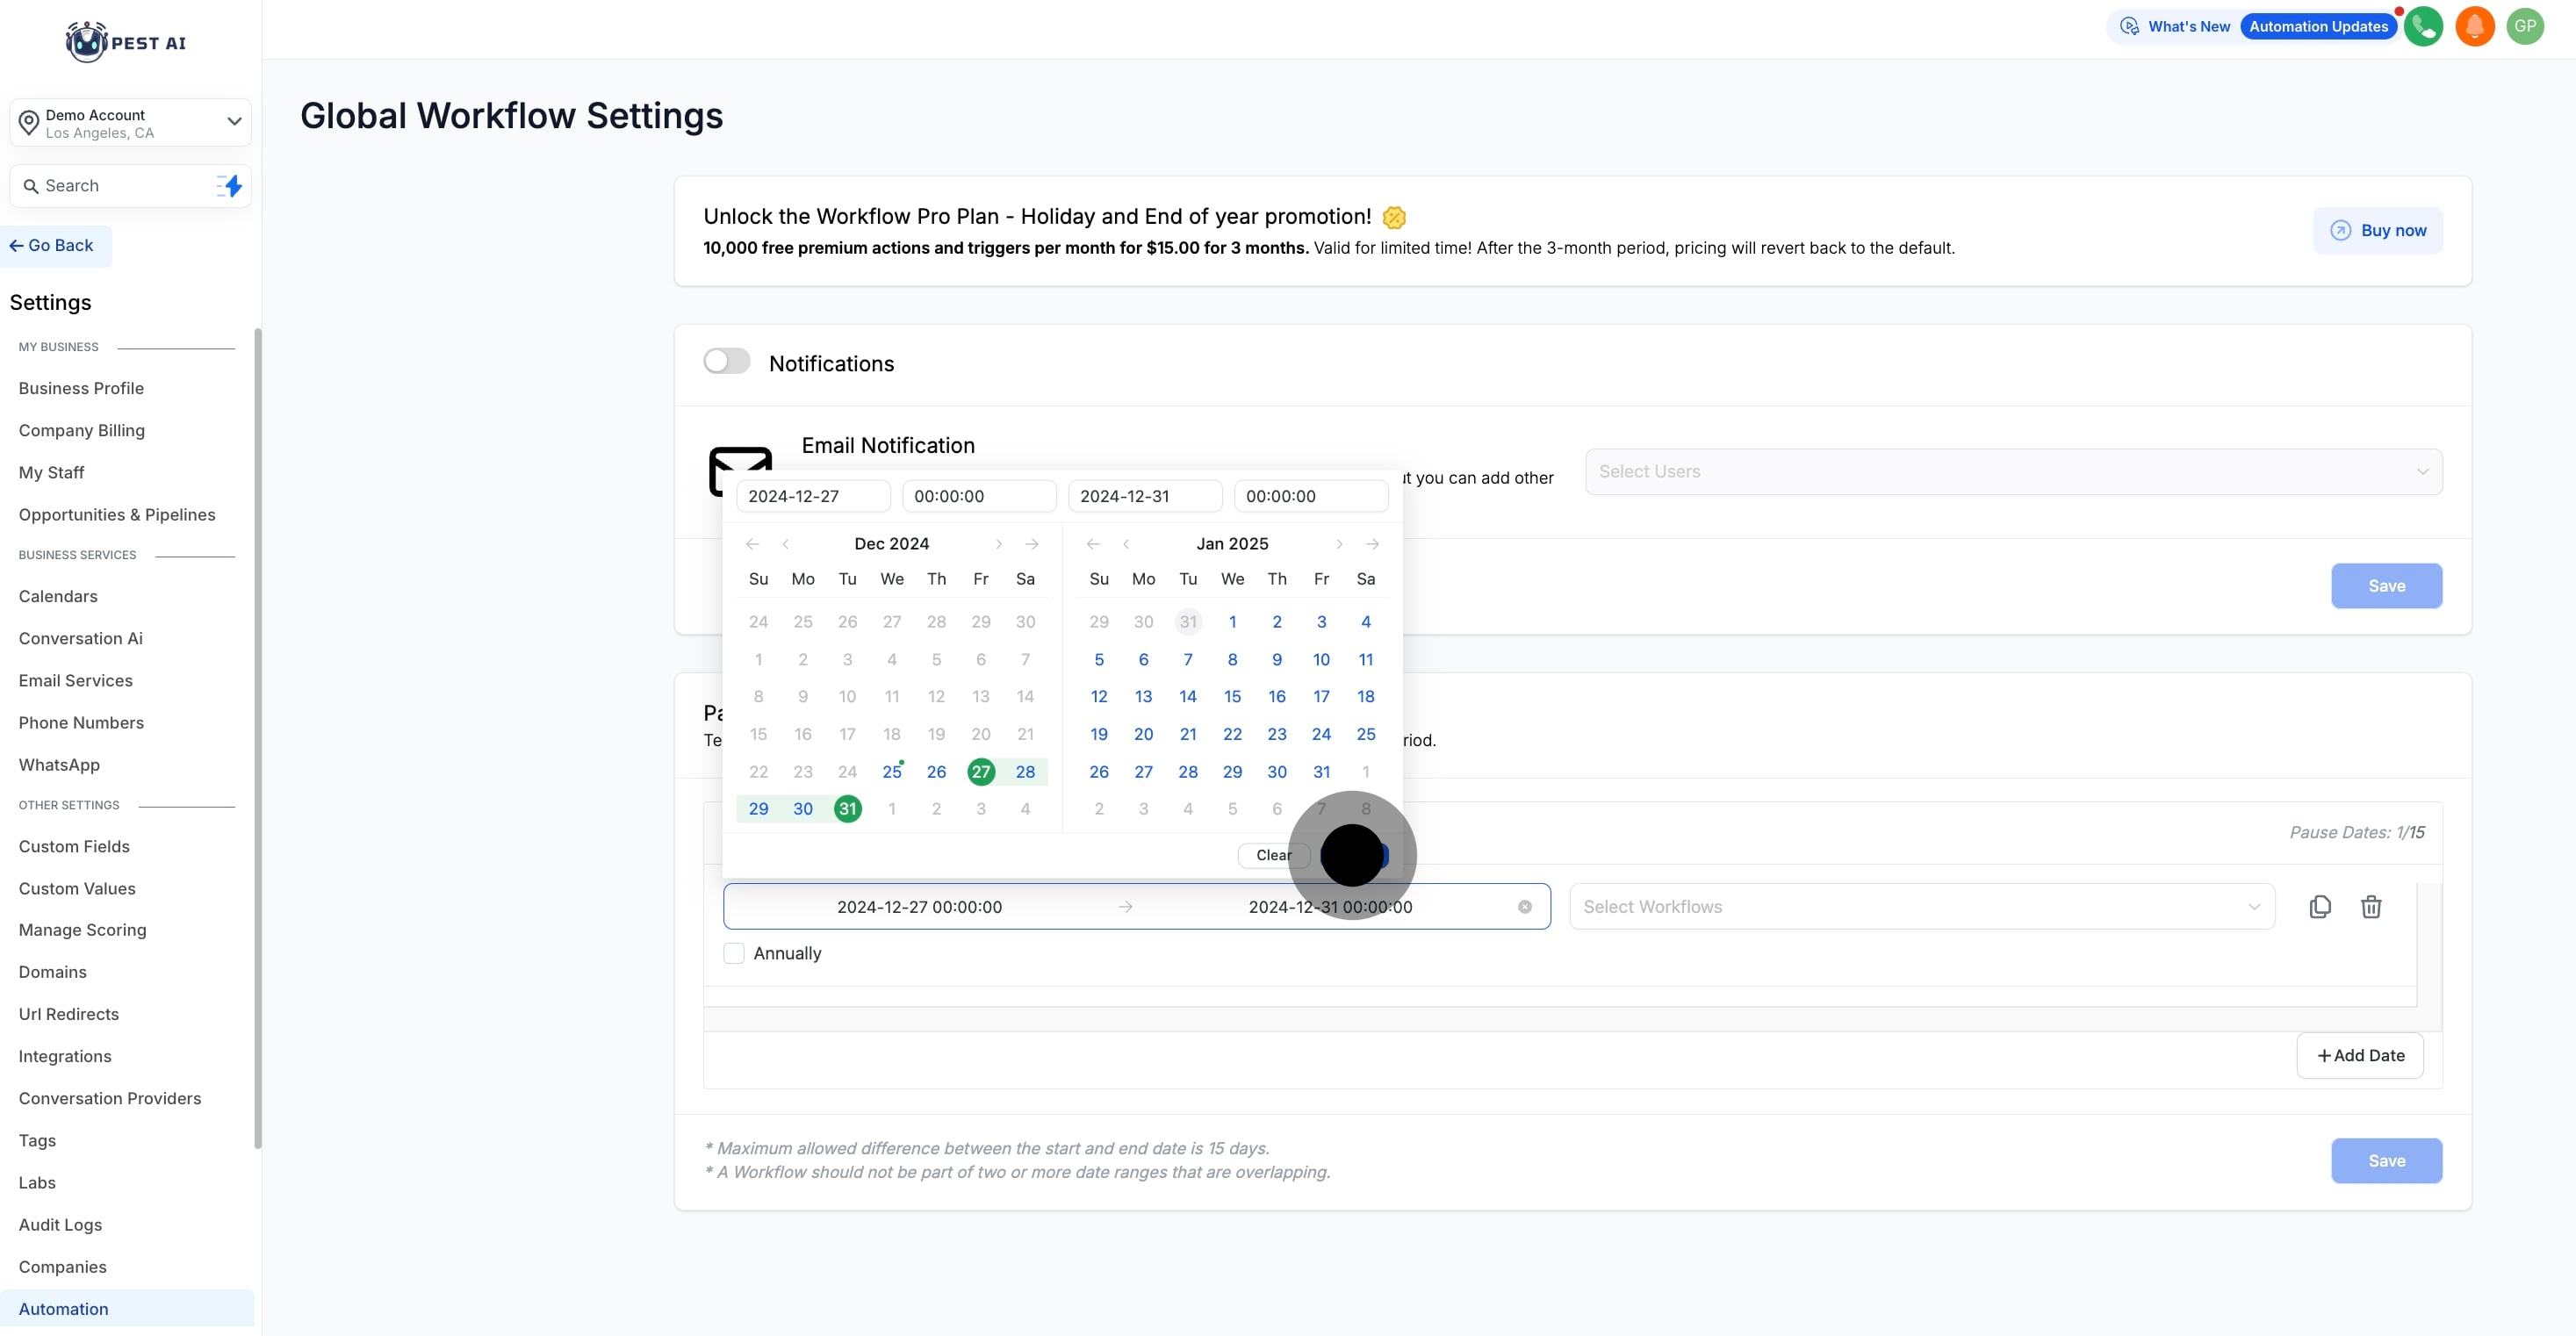
Click the "Start Date and Time" field to choose the start and end dates and times. Once selected, click the "Confirm" button.
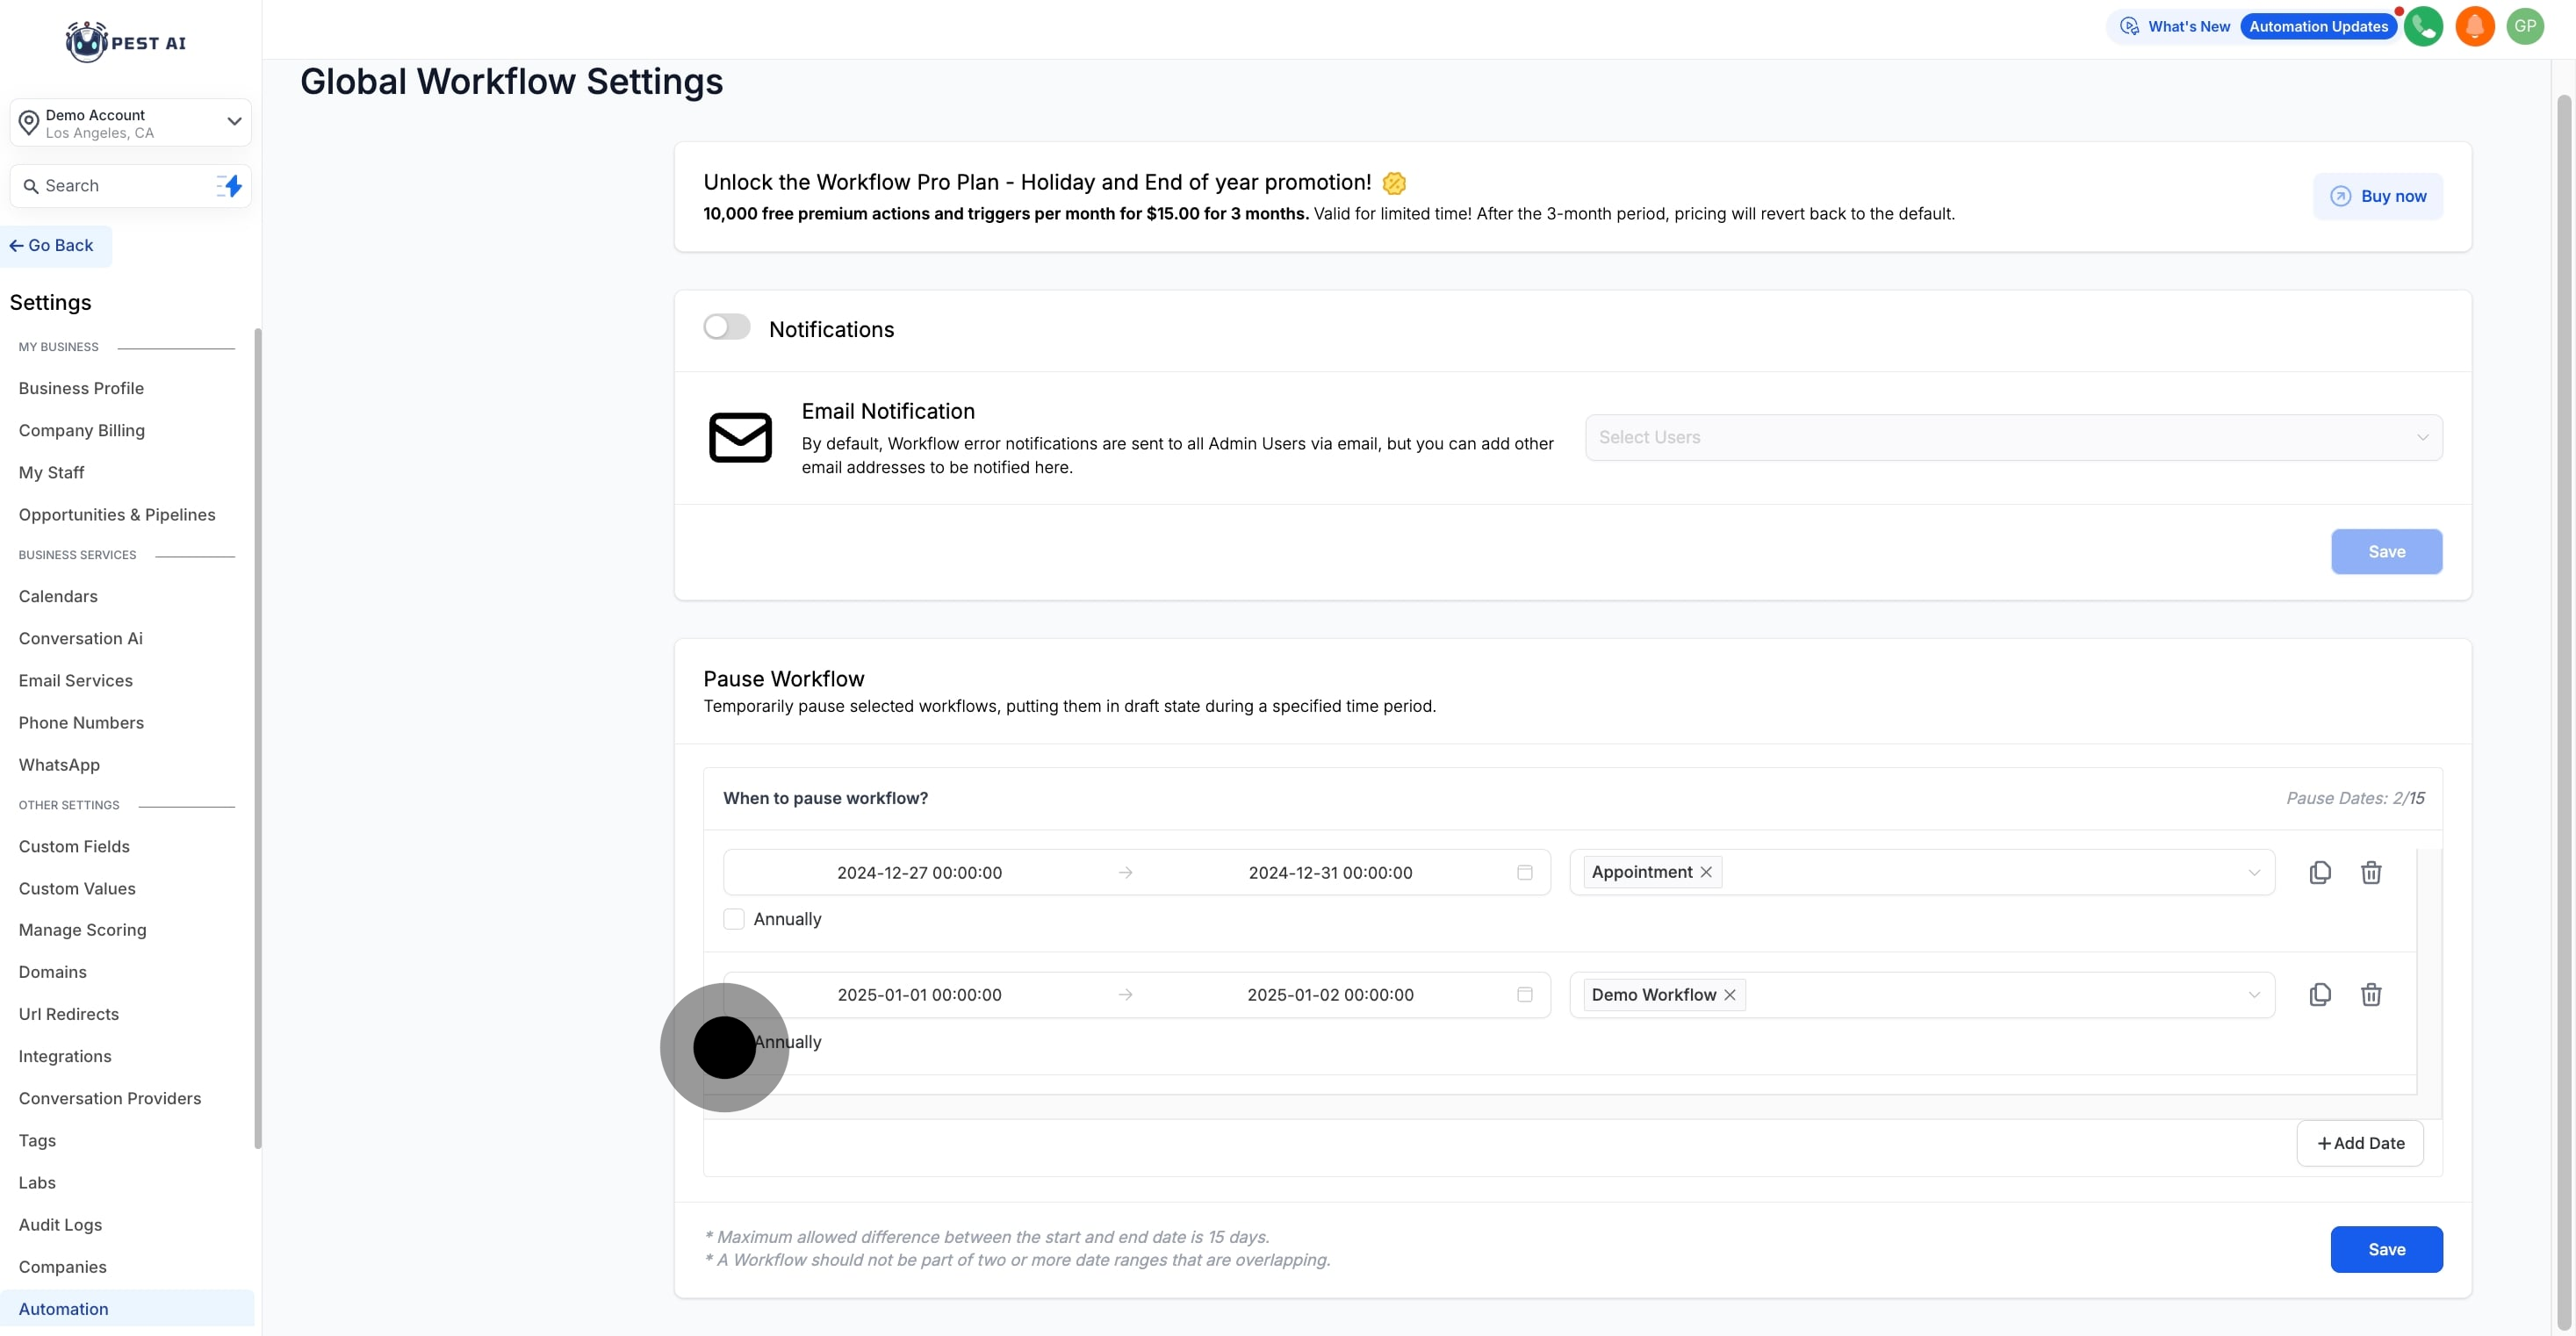
Click the "Select Workflows" field to choose one, multiple, or all published workflows. Note that only "Published" workflows will appear in the dropdown.

You can add multiple rows by clicking the "Add Date" button. Currently, users can add up to 15 different date ranges to pause workflows.

To pause certain workflows on the same dates each year, simply check the "Annually" box for each row. When selected, the workflows will automatically pause on the specified dates annually.
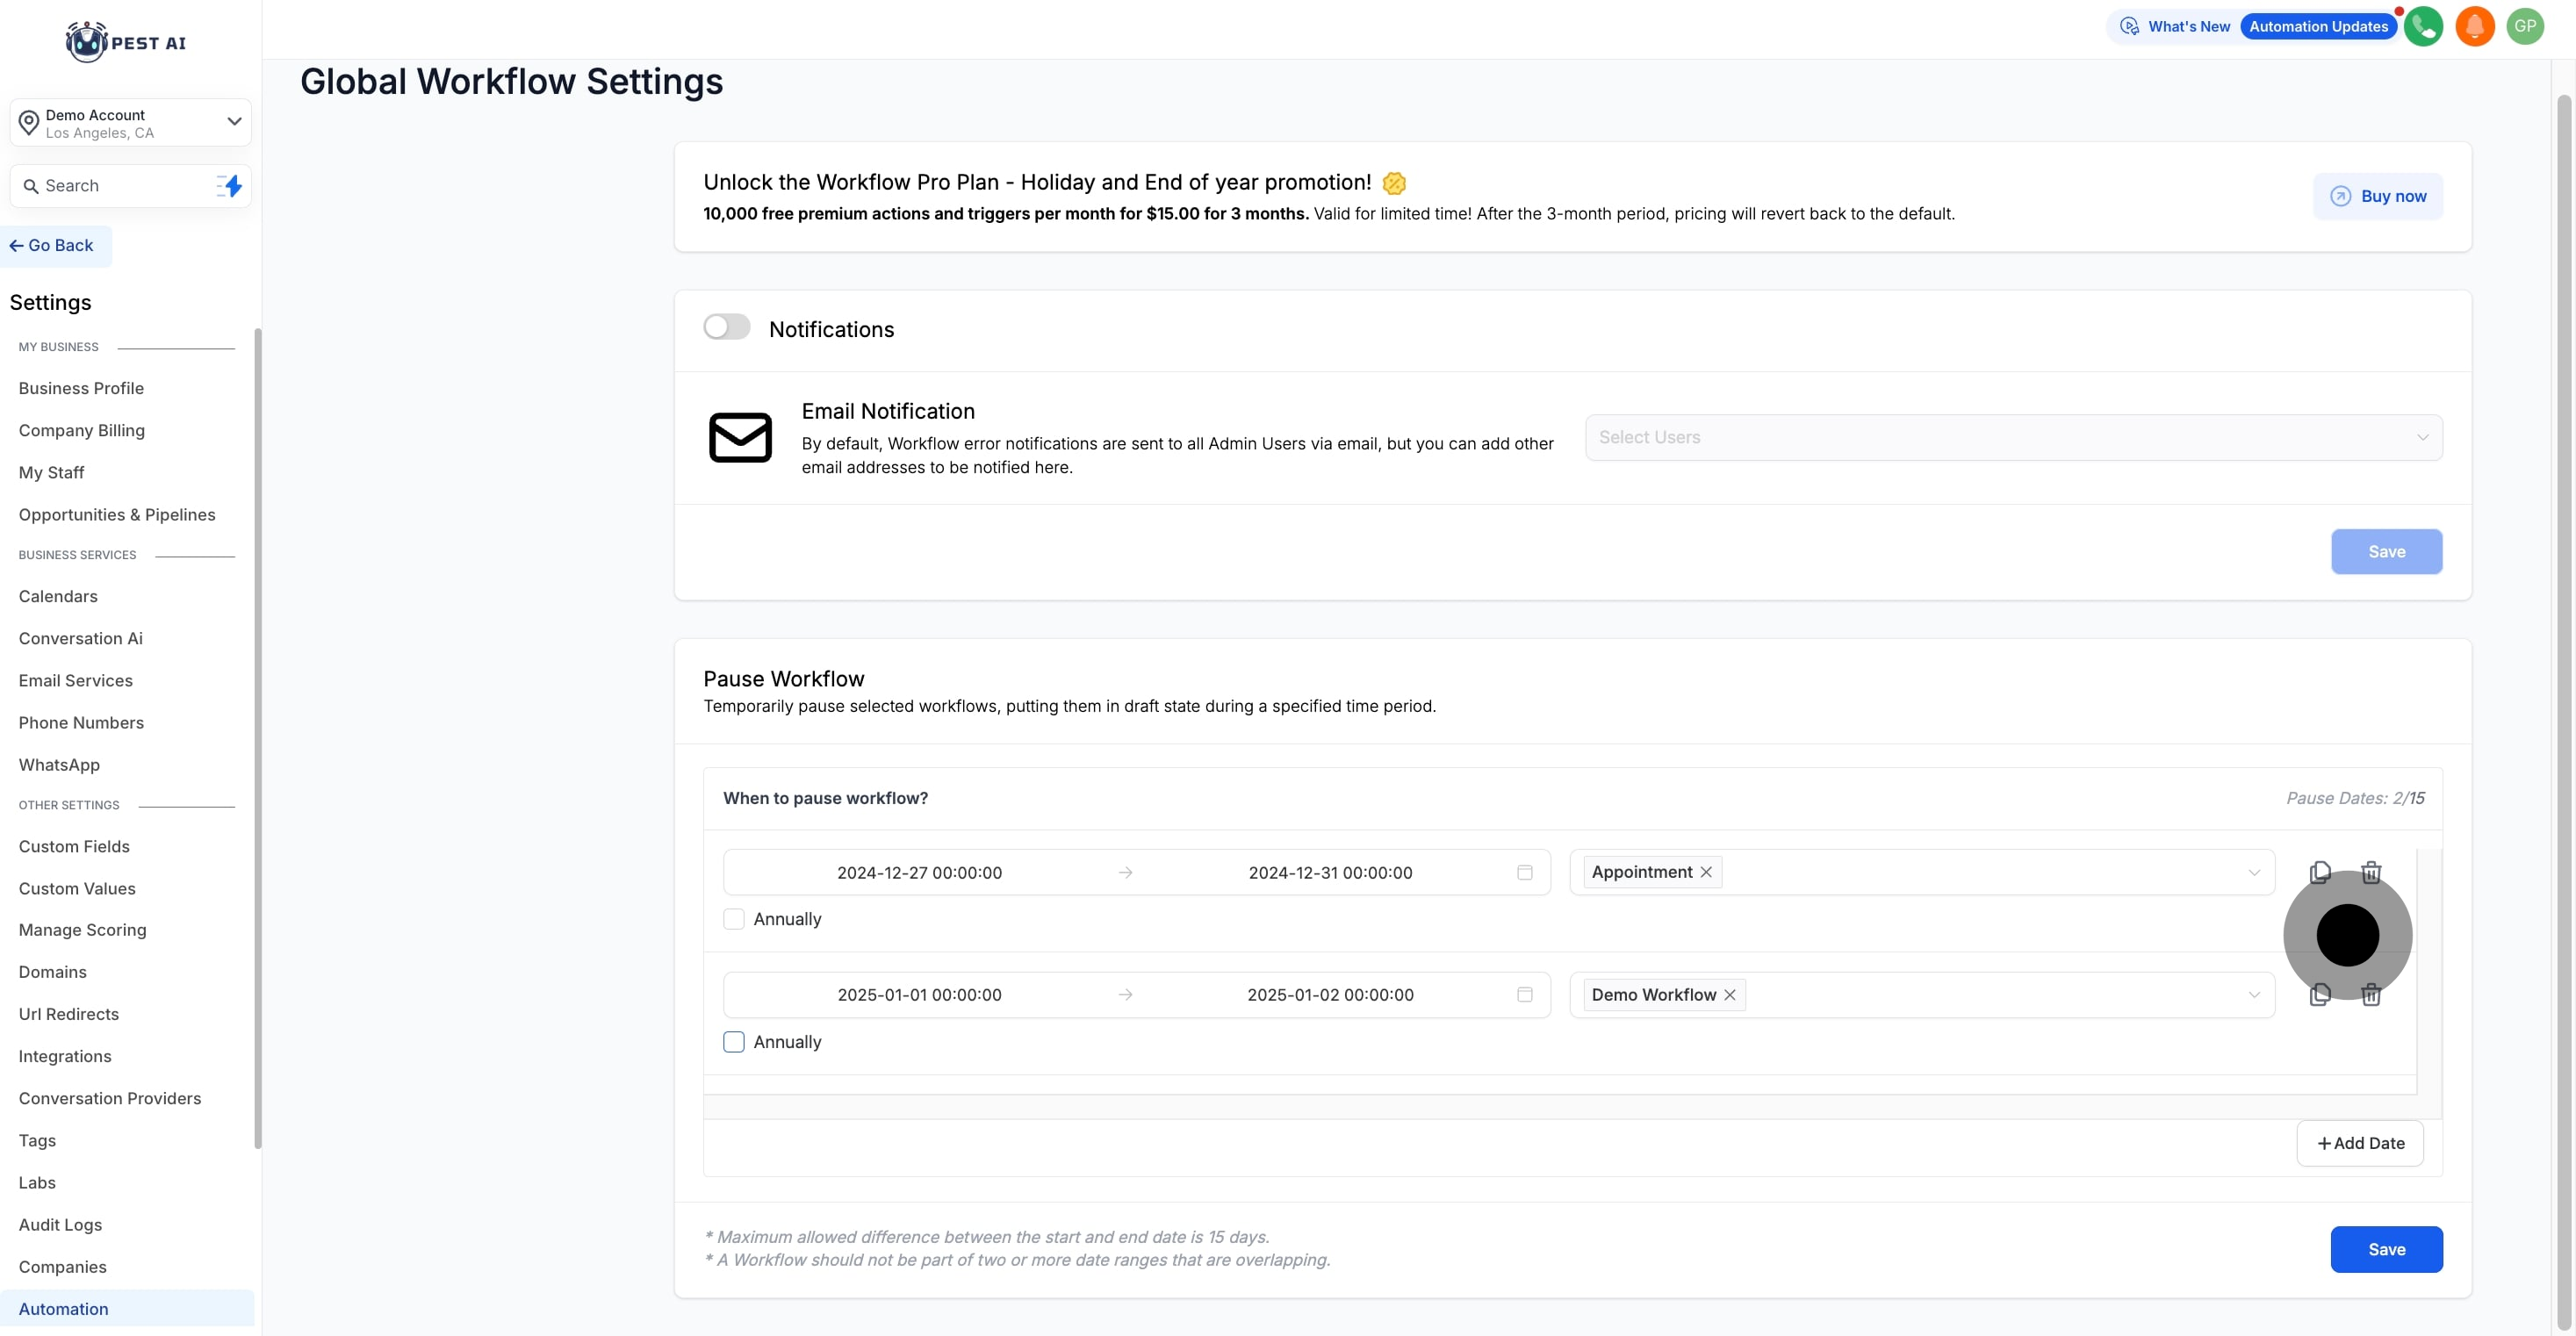
To clone a row, click the Clone icon next to it to duplicate the row. To delete a row, click the Delete icon to remove it.

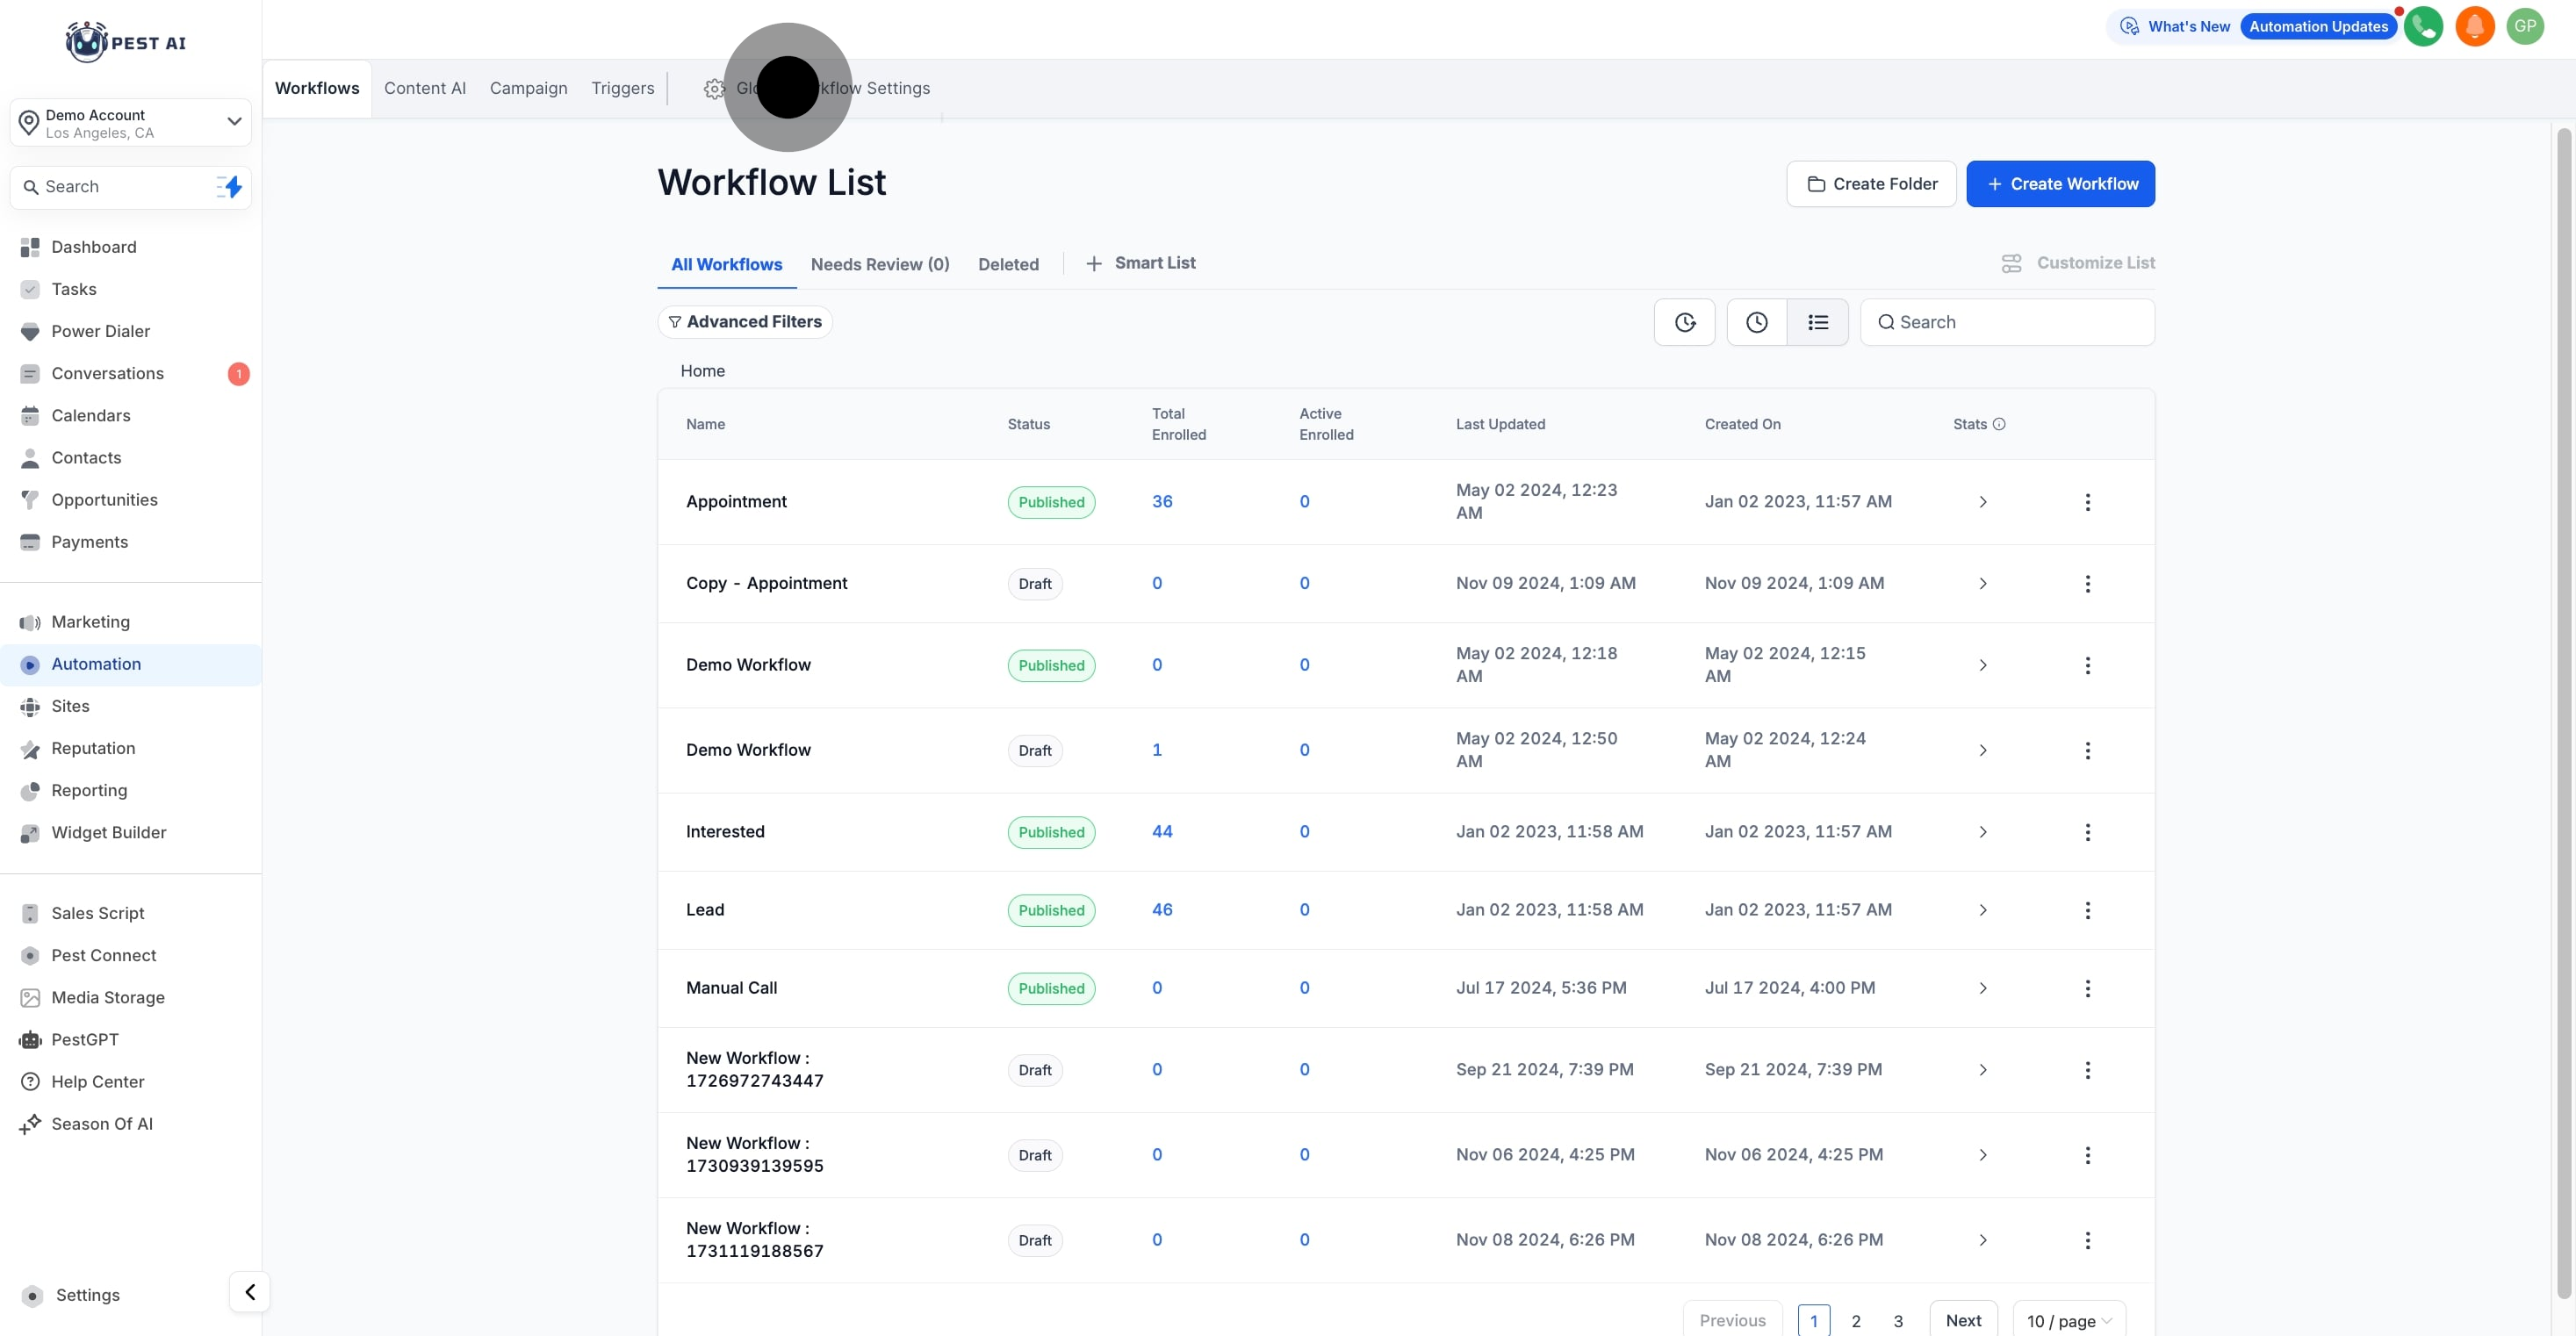
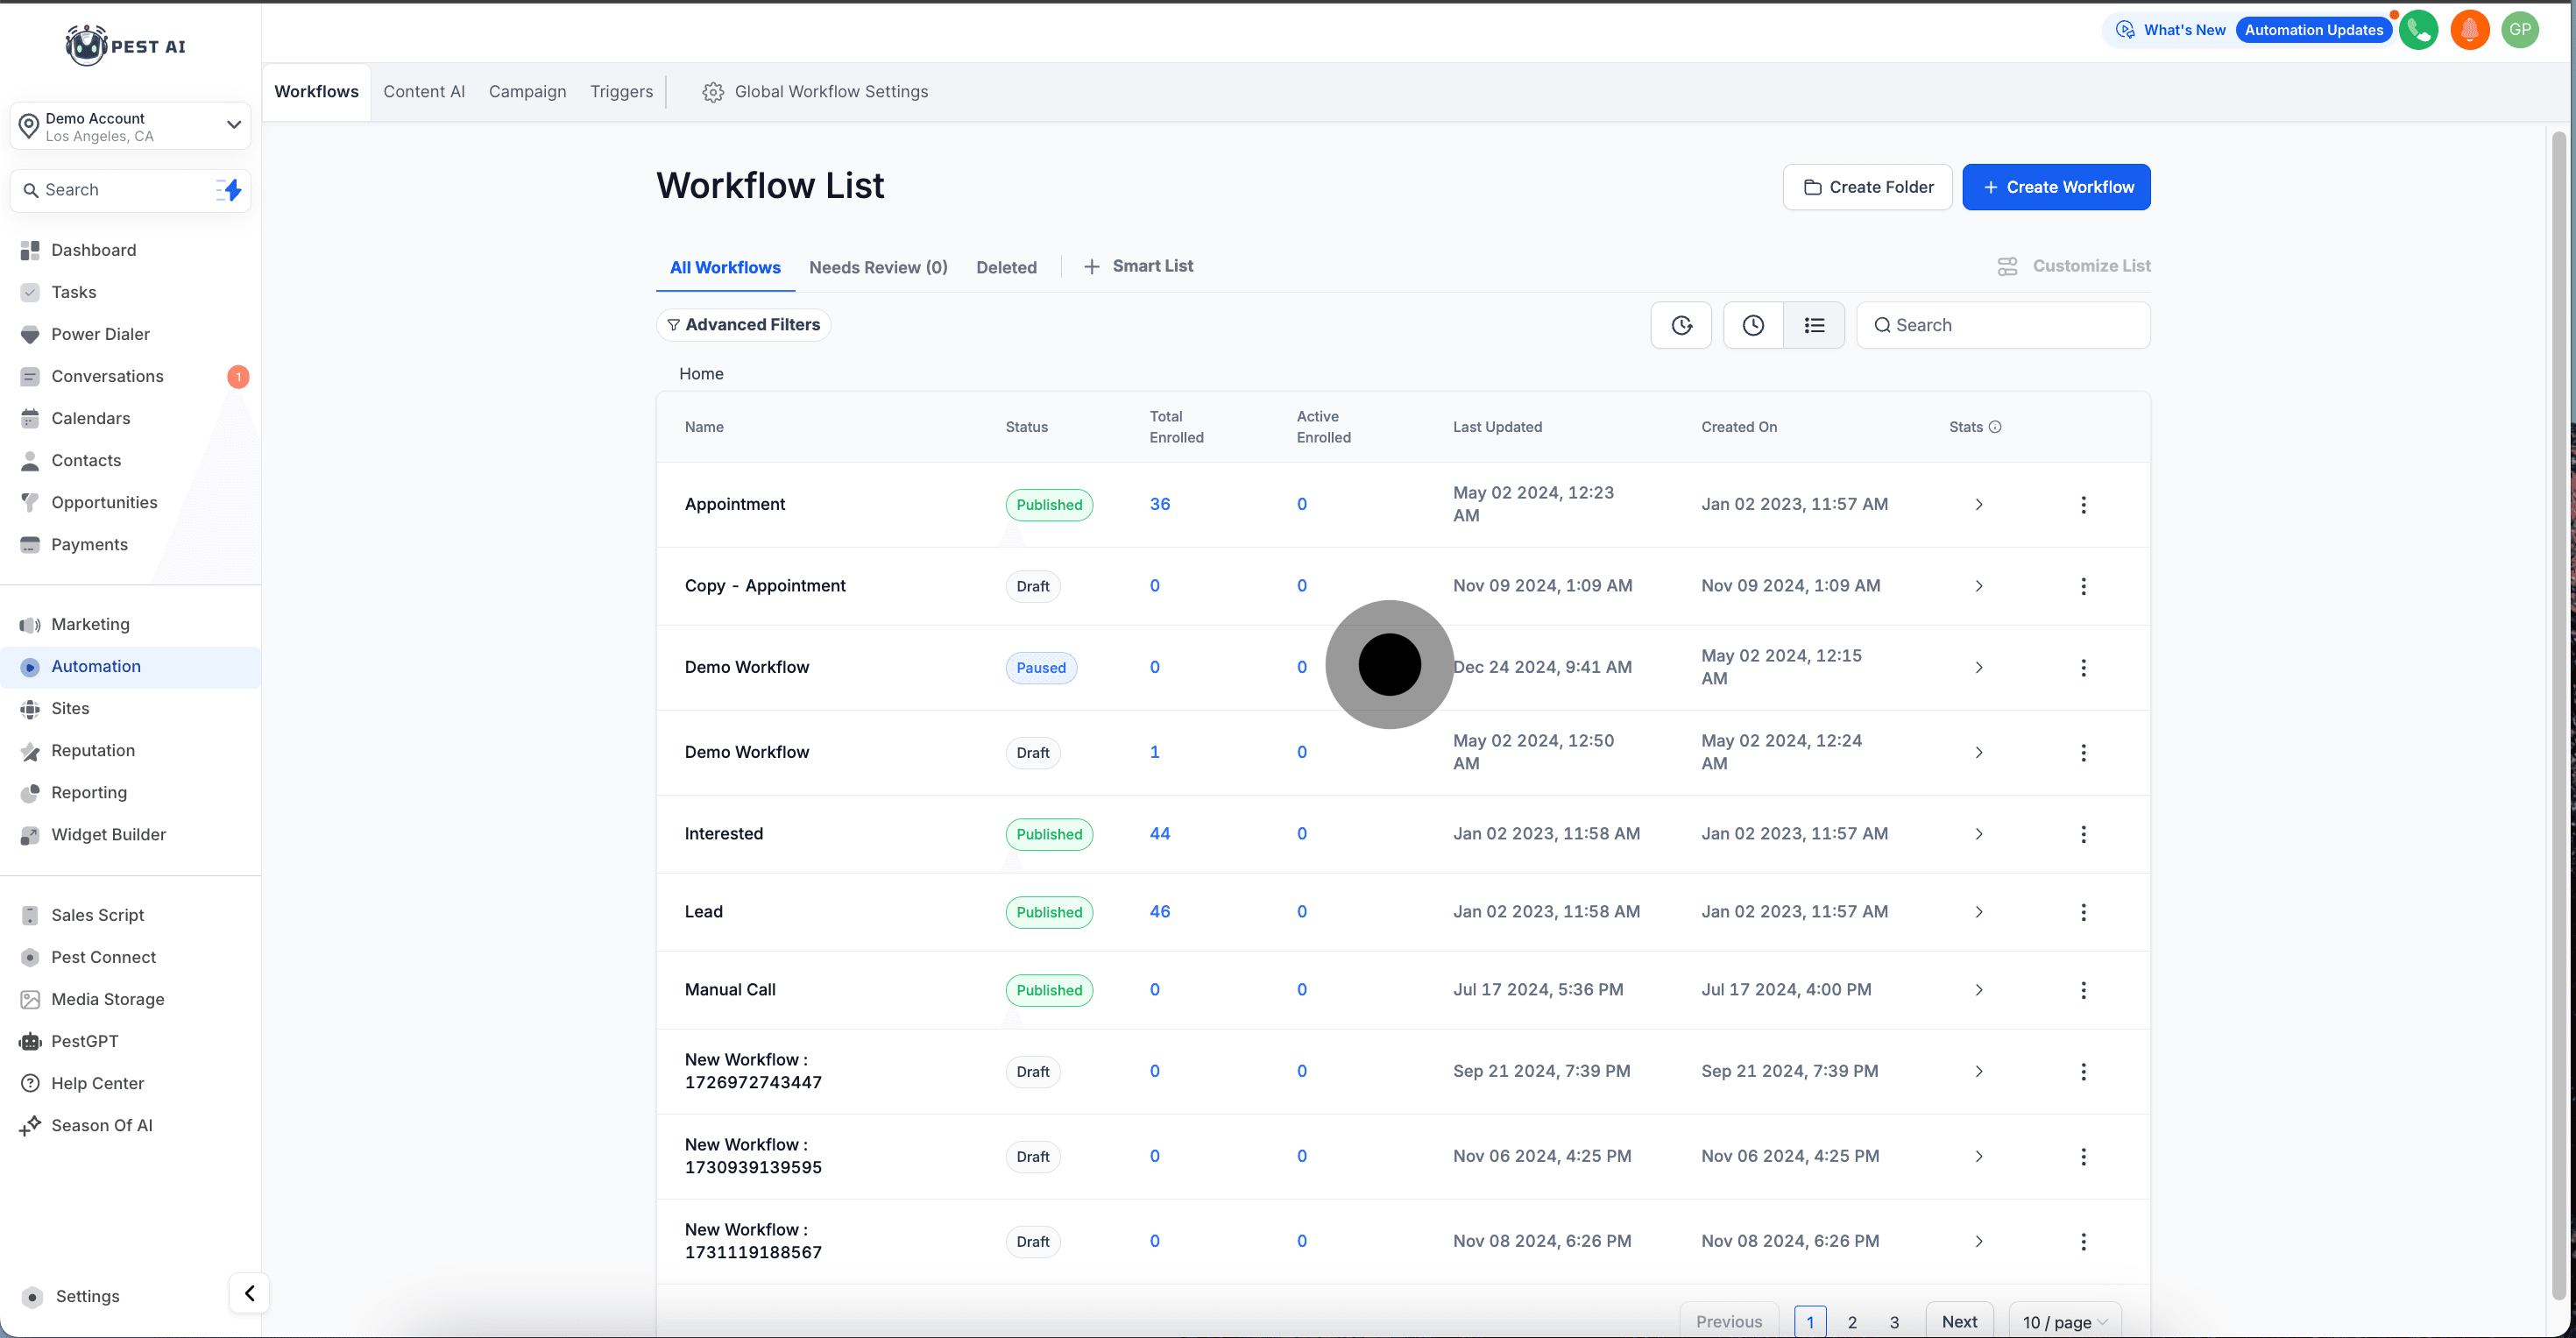
When workflows are in the "Paused" state, it will be displayed on the Workflow Landing Page. The status of each paused workflow will be marked as "Paused."
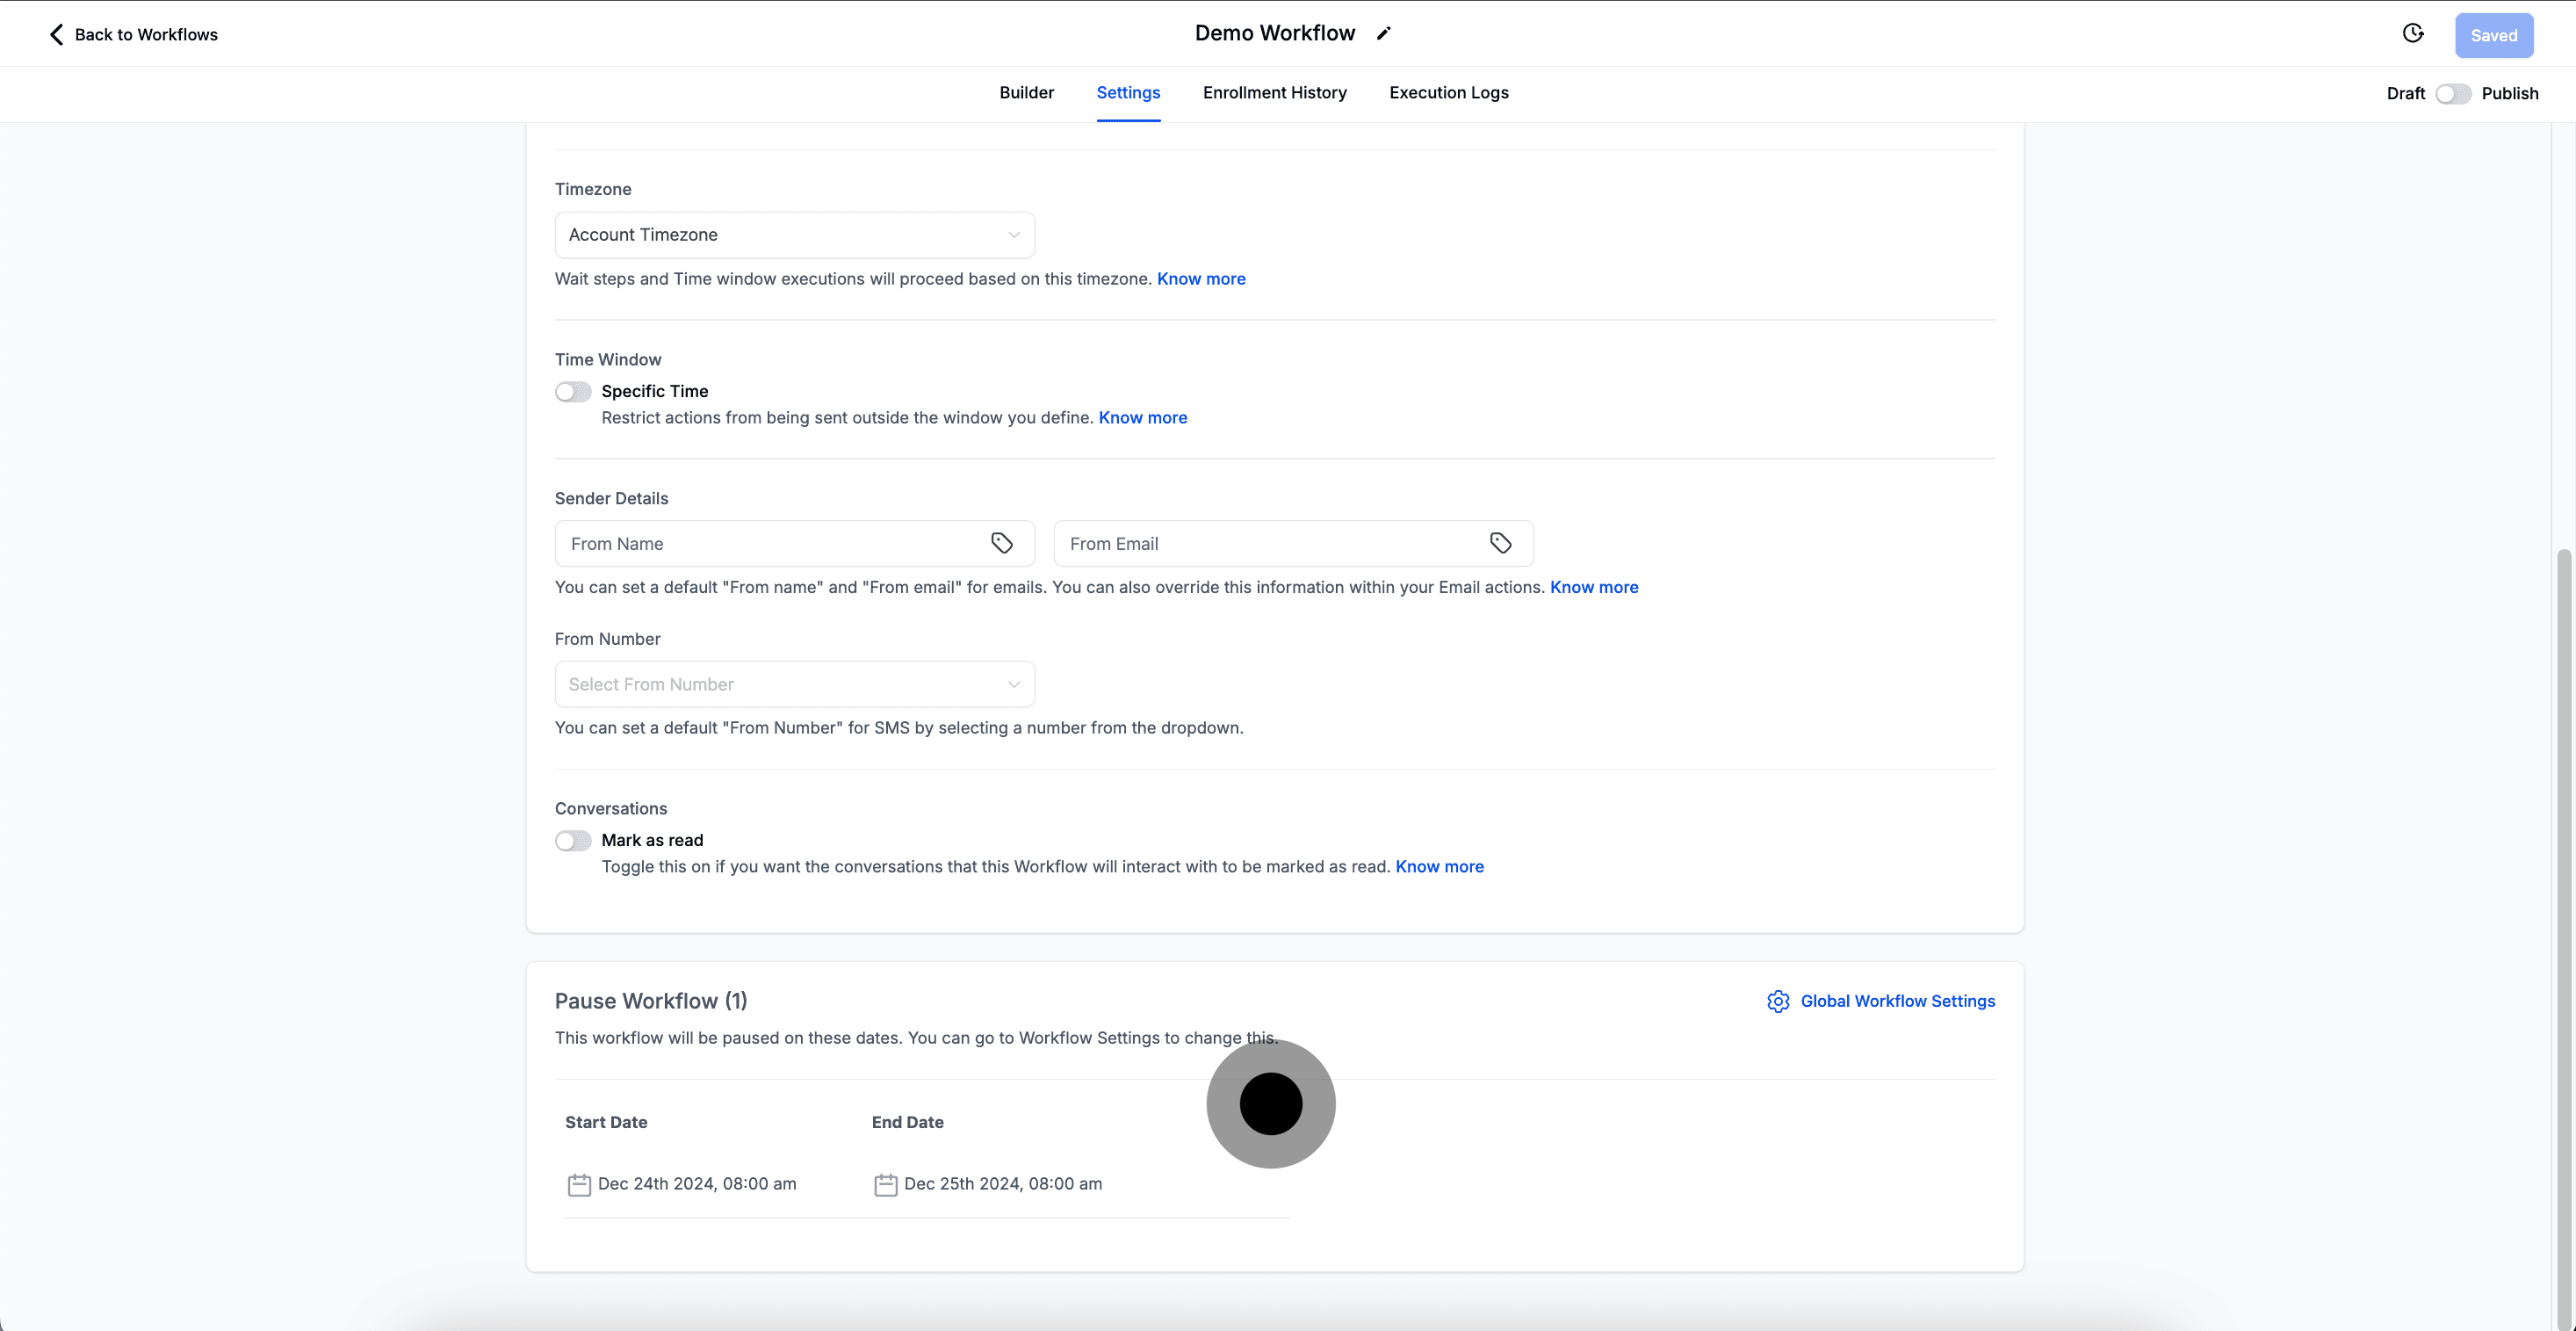
In the builder settings for each workflow, a new section called "Pause Workflow" is available. This section provides details about the date and time when the workflow is paused.
You can also access the "Global Workflow Settings" from this page if you need to make any changes to the pause dates.
The contacts will get enrolled even if the workflow is in Pause State.
Maximum allowed difference between the start and end date should not be more than 15 days.
A Workflow should not be part of two or more date ranges that are overlapping.
The contacts will go through the "Wait" and "If/Else" action, except these 2 the contact will be paused at the trigger or the subsequent actions.
For eg. In workflow 1 the first action is to send an Email, in this case if the workflow is "Paused" then contacts will get enrolled but will wait at the trigger until the "Pause" is ended. In workflow 2 the first action is either of "Wait" or "If/Else" in this case the contacts will get enrolled will go through the Wait or If/Else action and then pause at the subsequent action.
