The 'Set Event Start Date/Time' action in a workflow management system allows you to designate a specific date and time as a reference point for subsequent stages in your workflow. This feature is particularly useful for scheduling tasks, alerts, or actions to occur before or after a designated event.
Once this action is activated, you can use 'Wait' steps in your workflow to pause execution until the specified event date. For example, you could schedule reminders to be sent a few days before the event or plan actions to occur a few days afterward.
This tool enhances efficiency and automation, making it easier to manage time within your workflow. It is especially beneficial for organizing activities such as webinars, conferences, meetings, and other events.
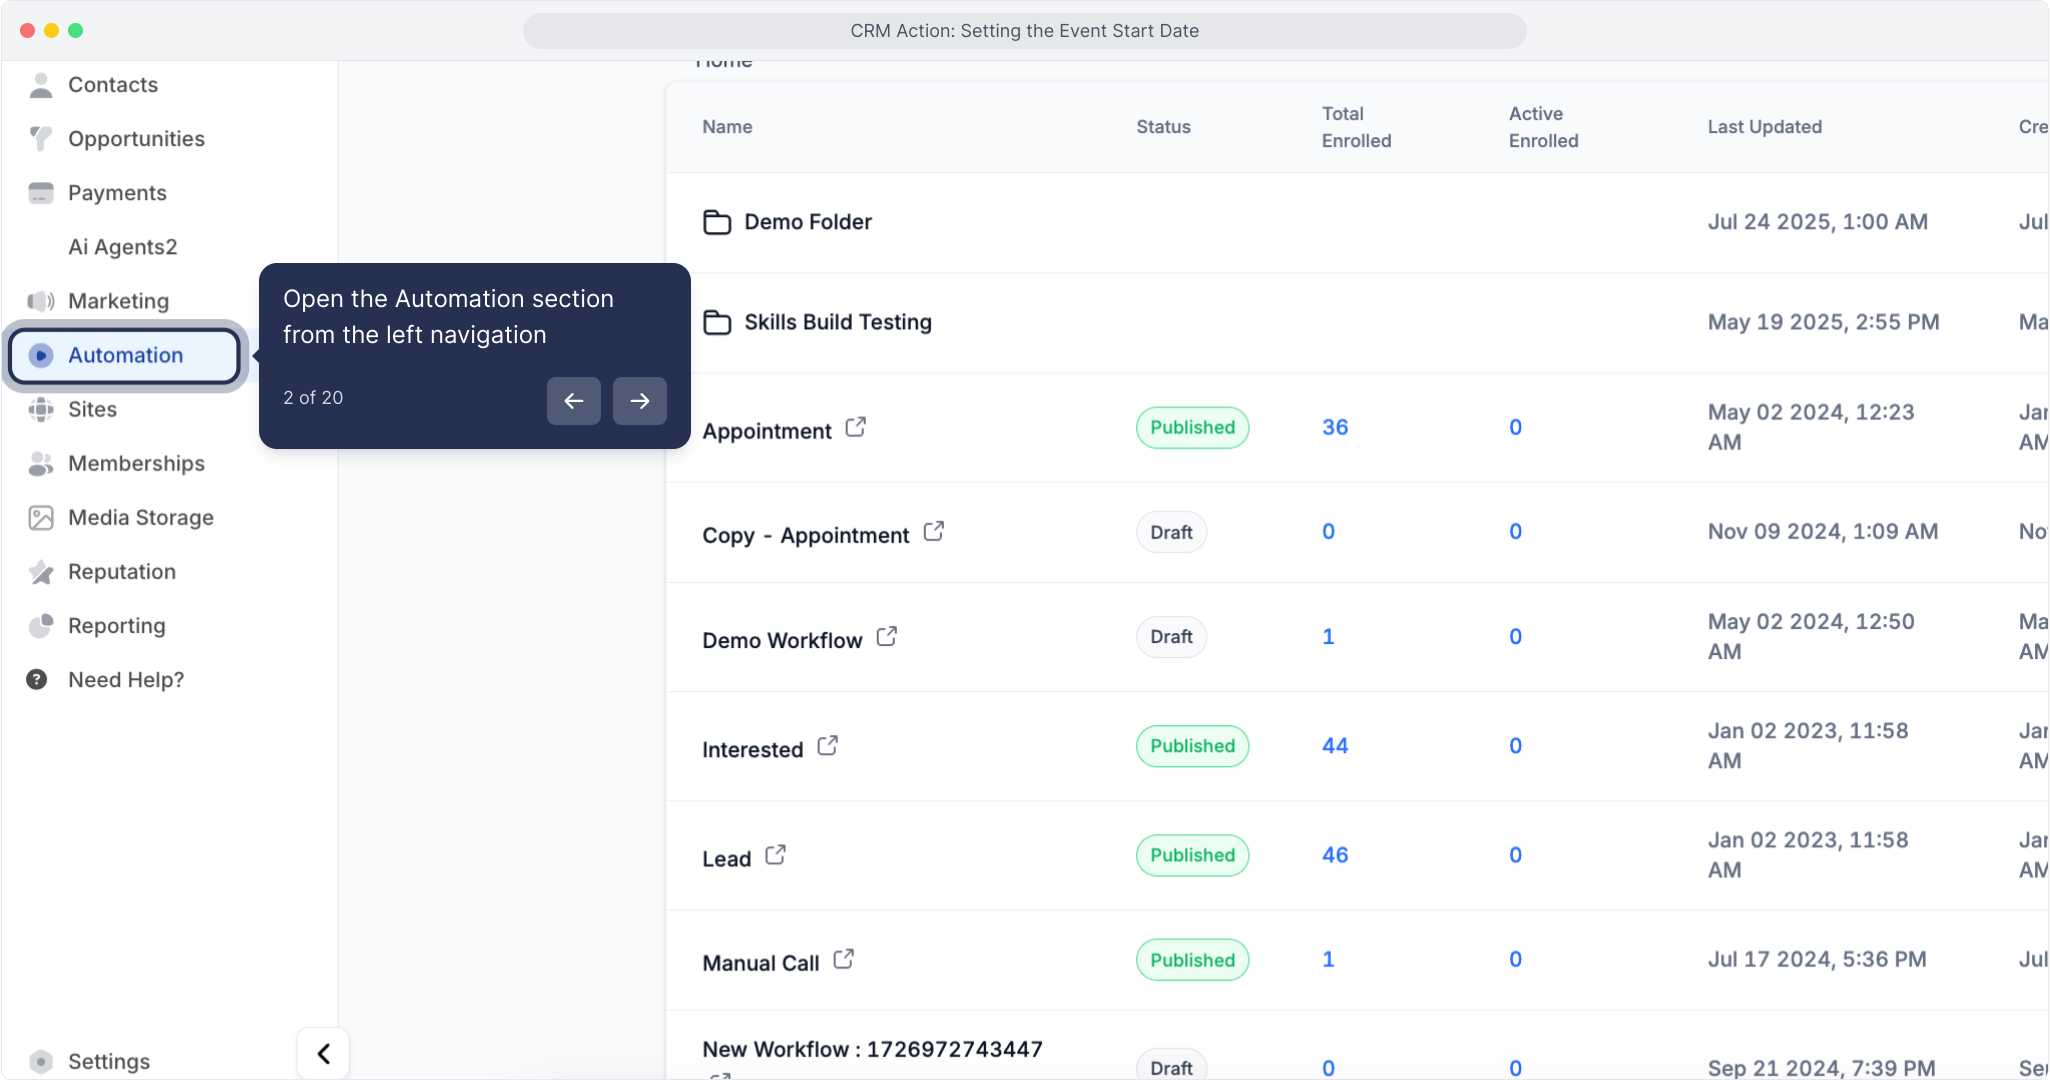
2. Open the Automation section from the left navigation
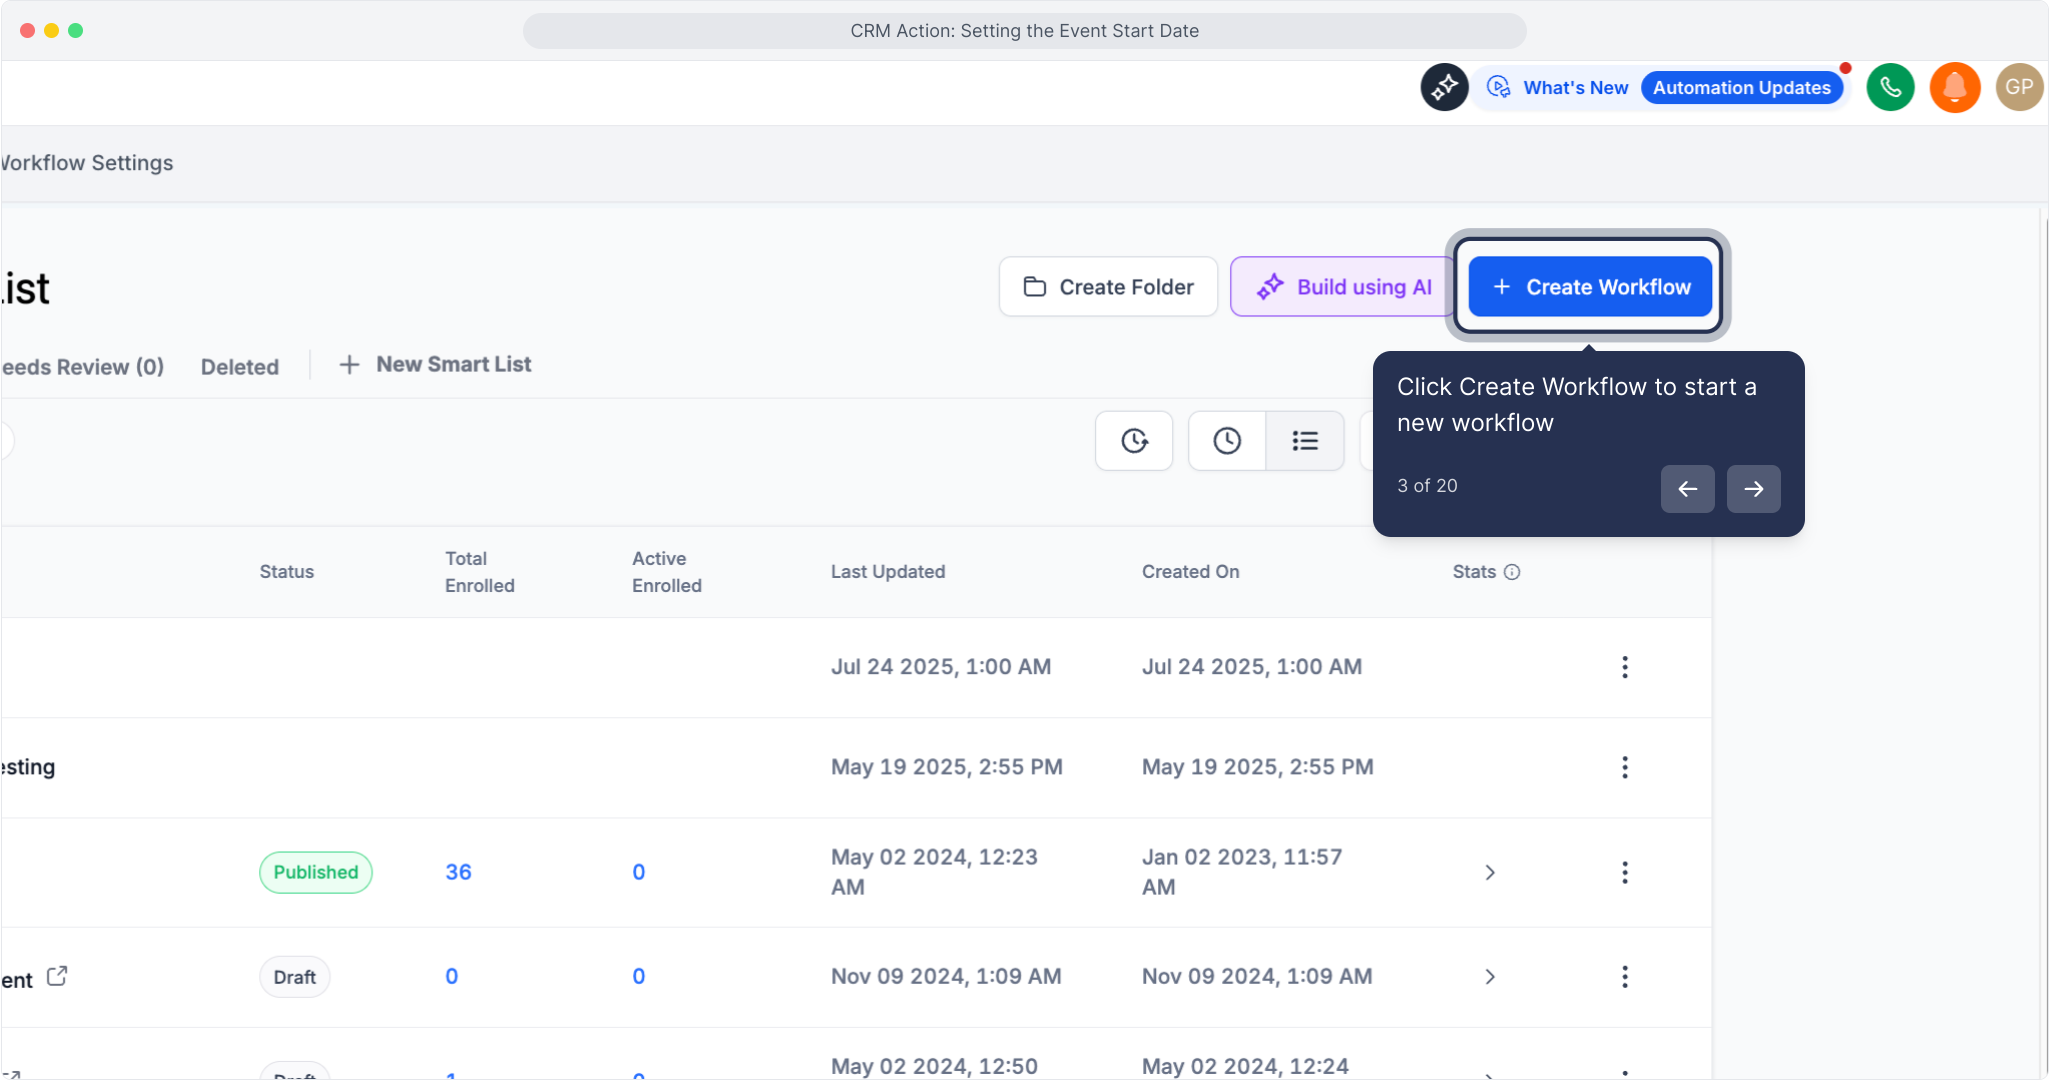
3. Click Create Workflow to start a new workflow
4. Choose Start from Scratch to build your workflow

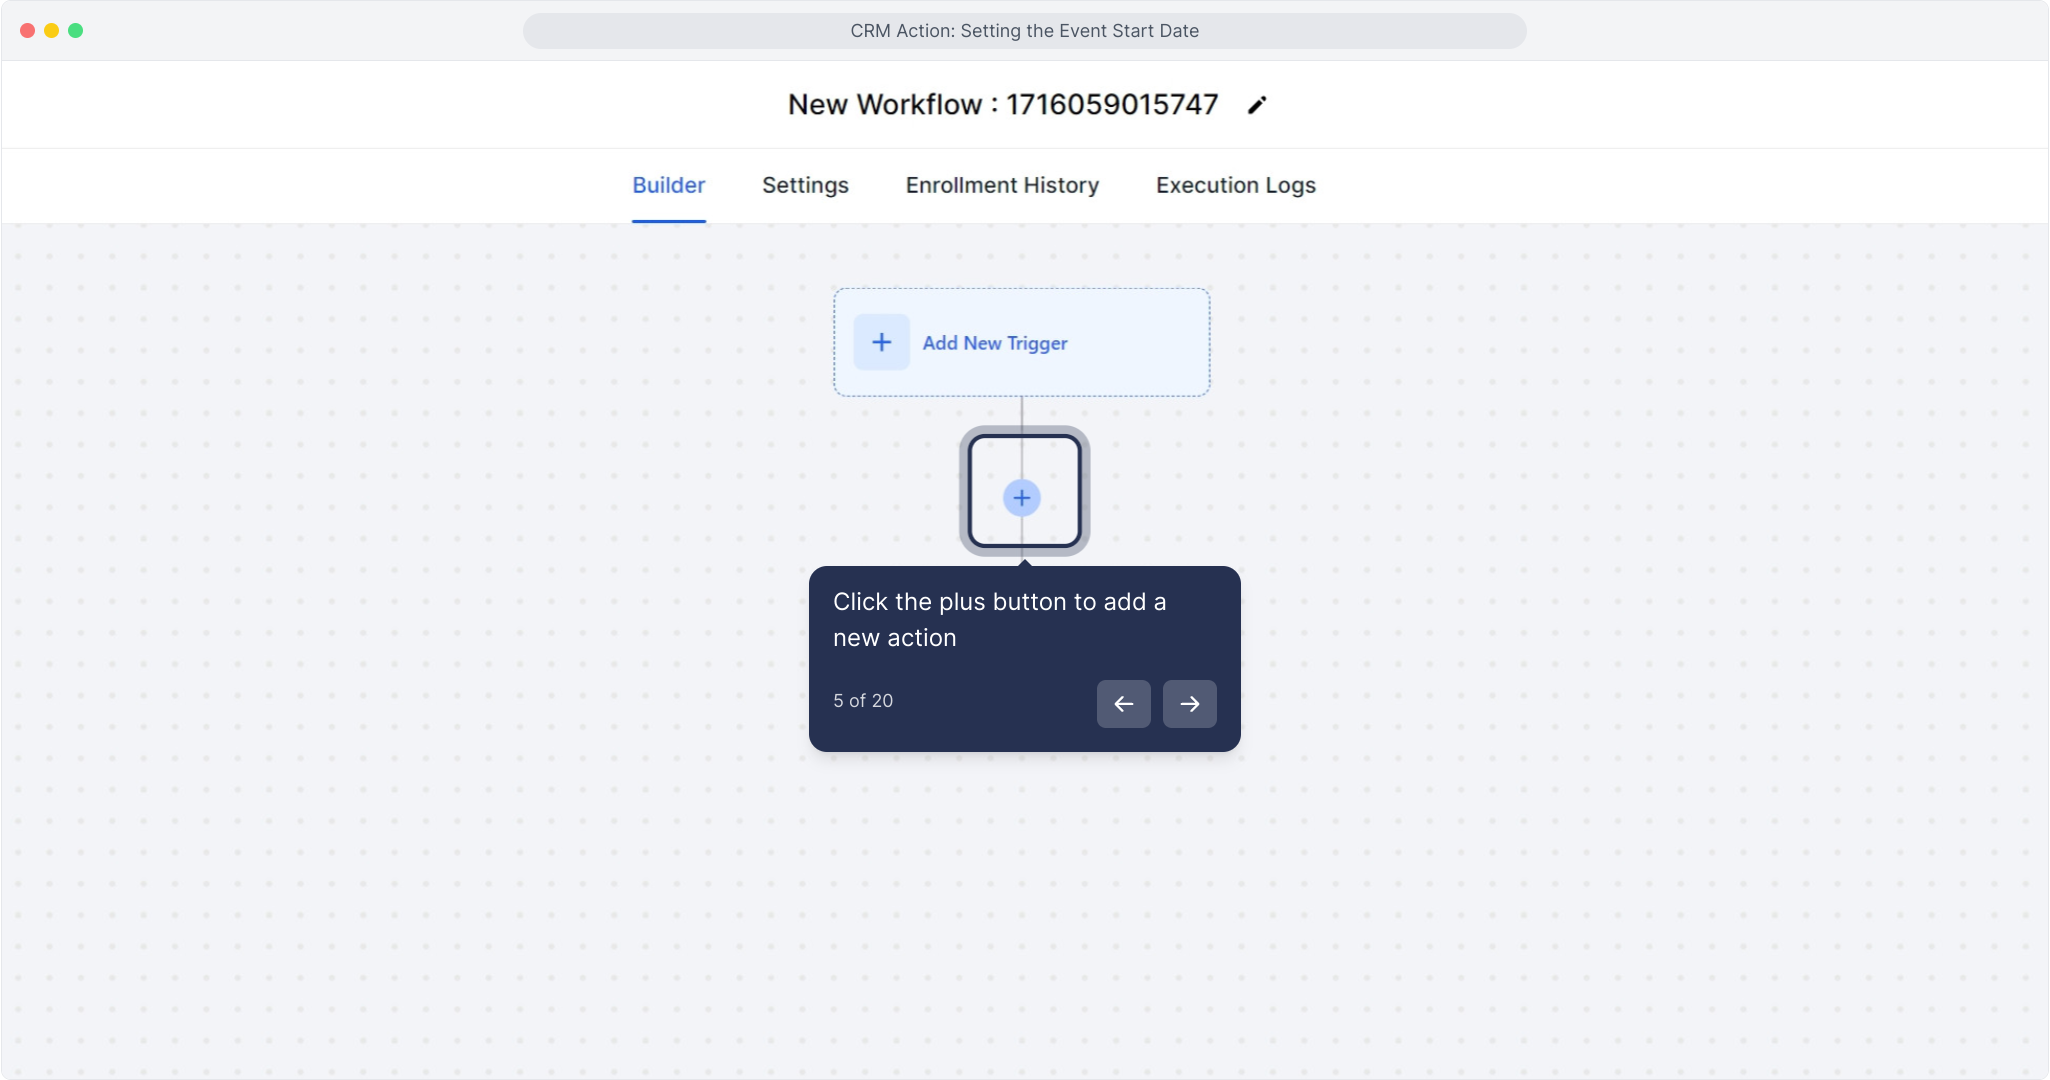
5. Click the plus button to add a new action
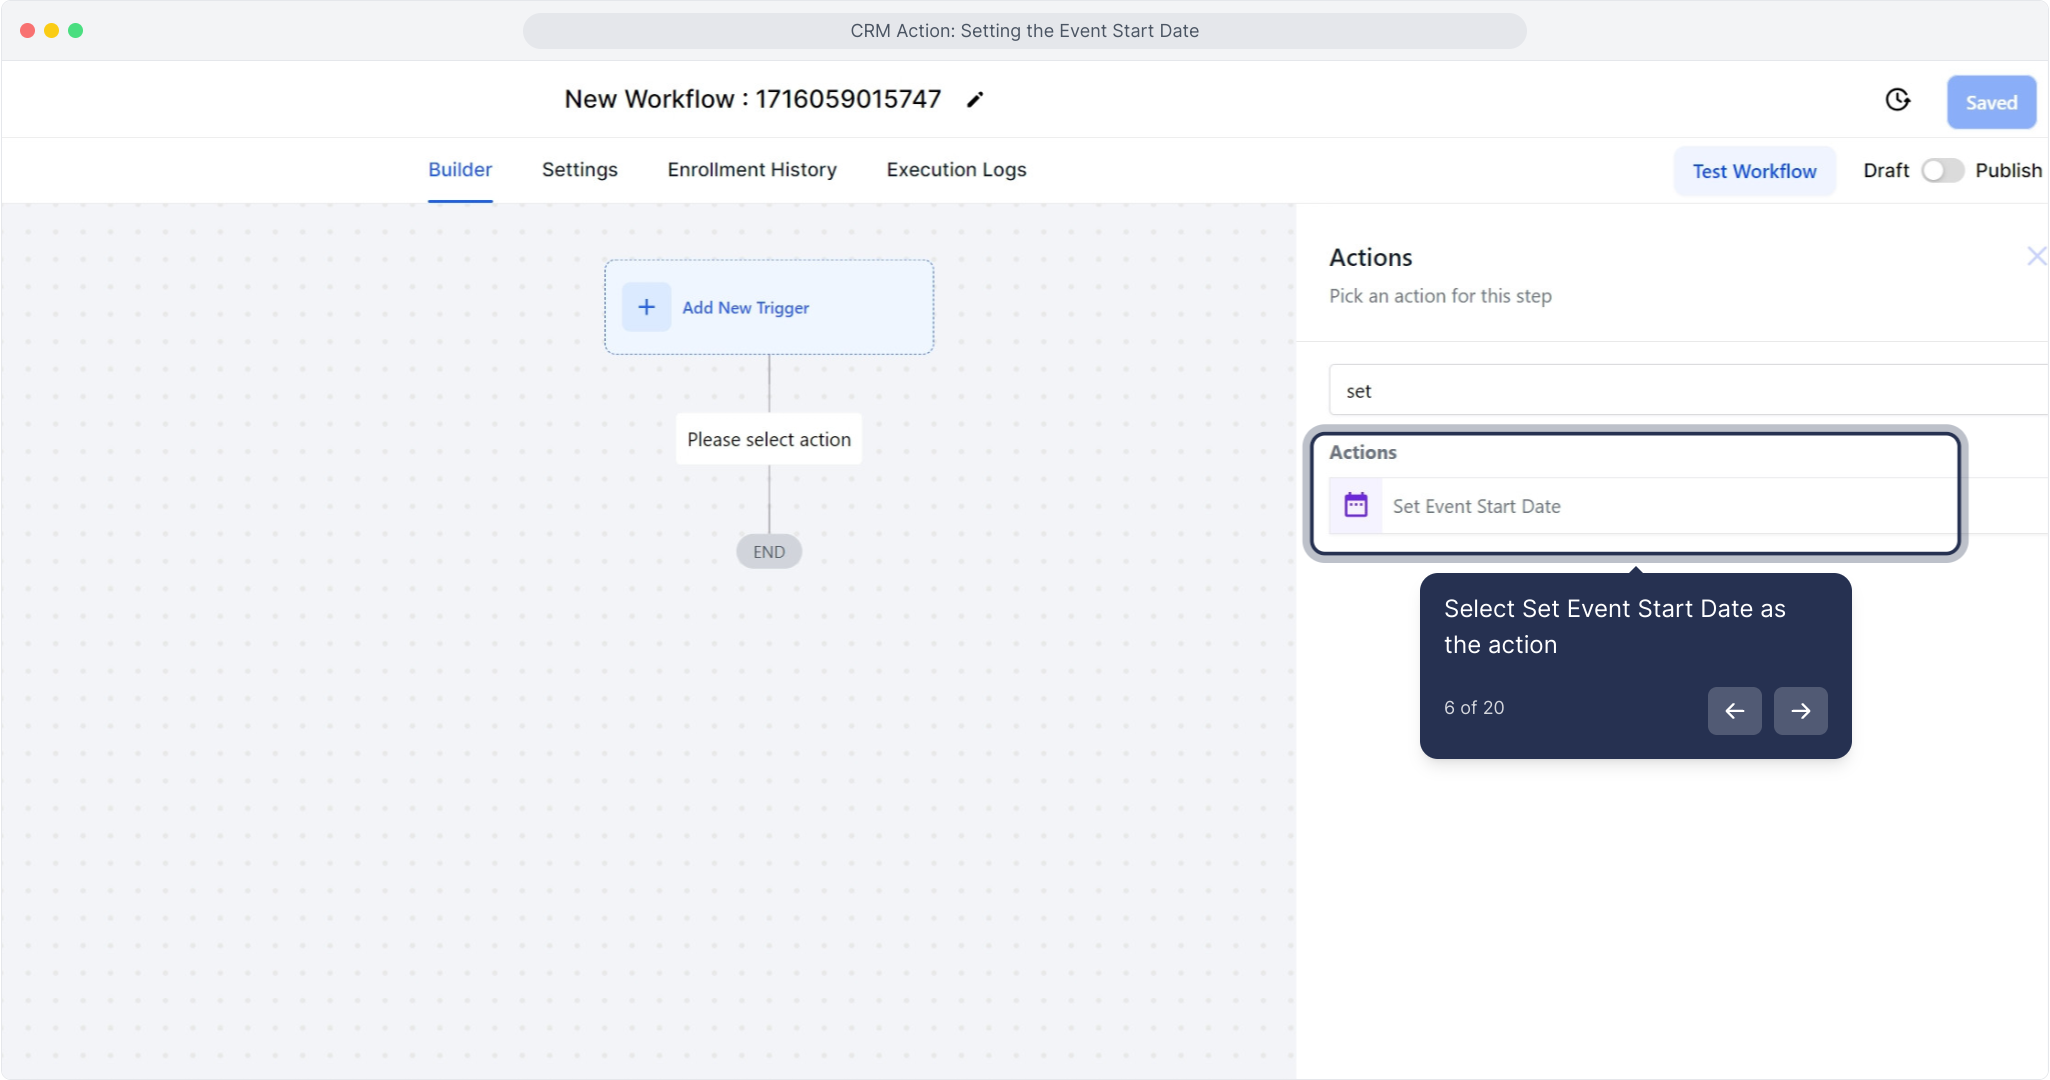
6. Select Set Event Start Date as the action
Add the 'Set Event Start Date/Time' action to your workflow and get ready to personalize it.
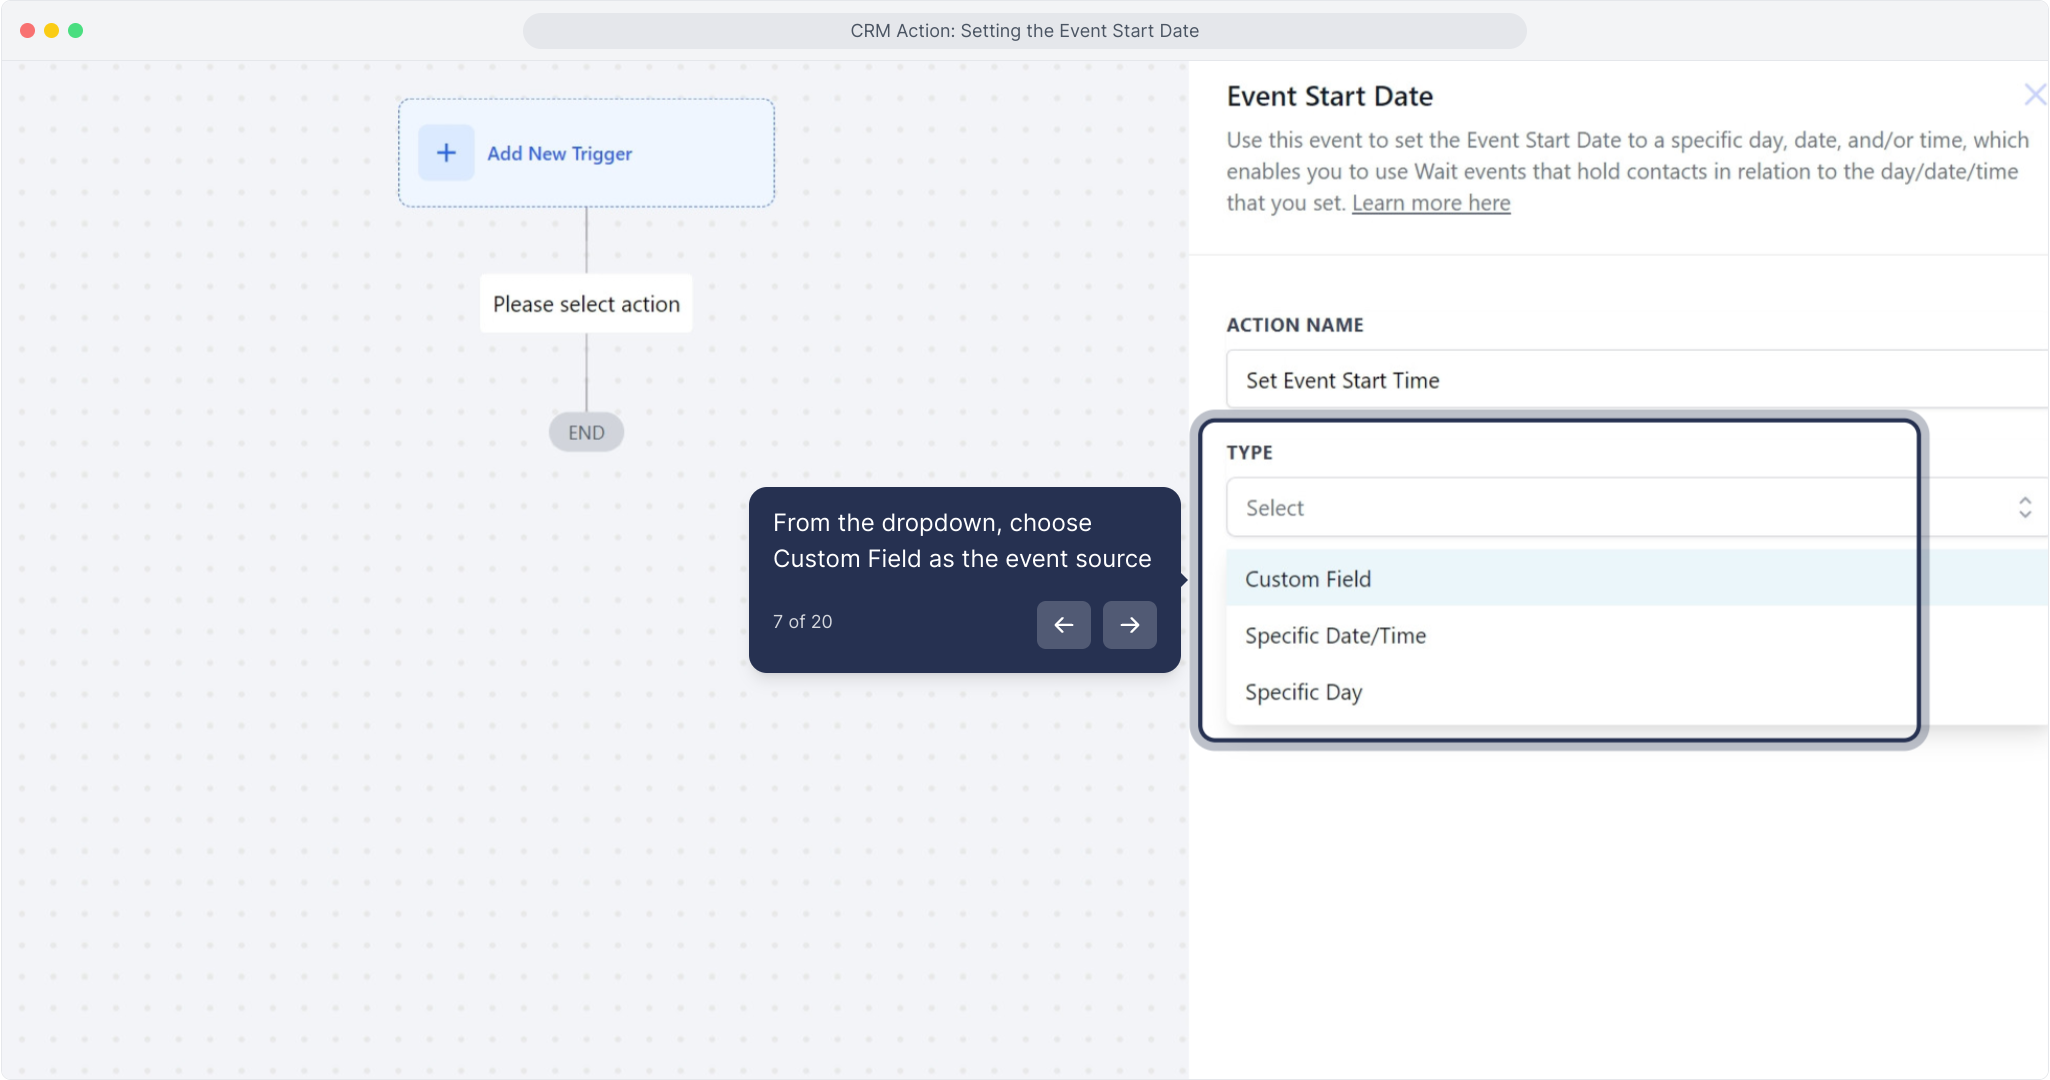
7. From the dropdown, choose Custom Field as the event source
You can choose from options like Custom Field, Specific Date/Time, or Specific Day.
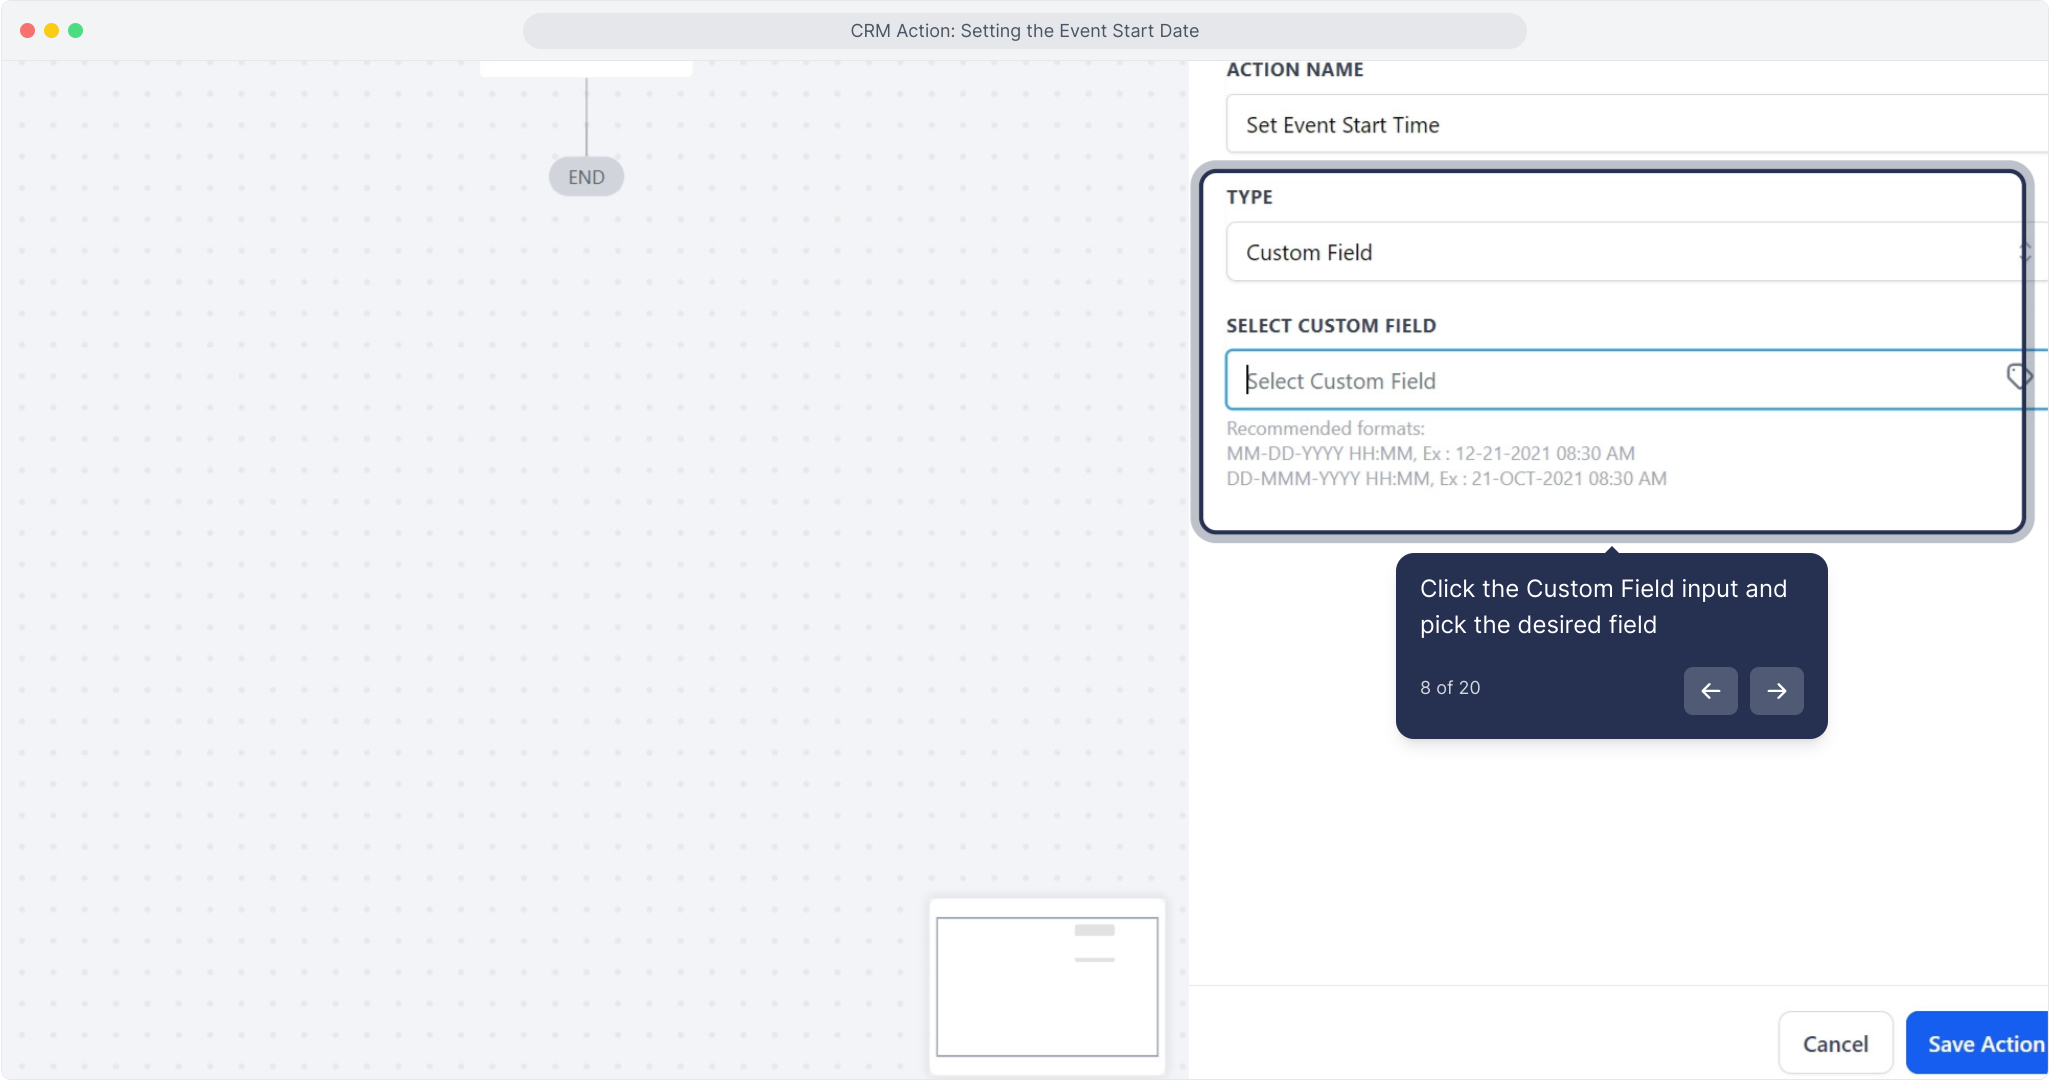
Important Note: The 'Set Event Start Date/Time' action supports various date and time formats. Here are some common examples:

MM-DD-YYYY HH:MM: This format includes the month (MM), day (DD), year (YYYY), followed by the time in 24-hour notation (HH:MM). For example, December 21, 2021, at 8:30 AM would be recorded as 12-21-2021 08:30.

DD-MMM-YYYY HH:MM: This format includes the day (DD), abbreviated month (MMM), and year (YYYY), followed by the time in 24-hour notation (HH:MM). For example, October 21, 2021, at 8:30 AM would be recorded as 21-OCT-2021 08:30.
Choose the format that suits your needs and provide the necessary details. If selecting a specific date and time, input the exact values required.
8. Click the Custom Field input and pick the desired field
For Custom Fields, you can use previously created Custom Date Field values to inform the workflow of the desired event date.
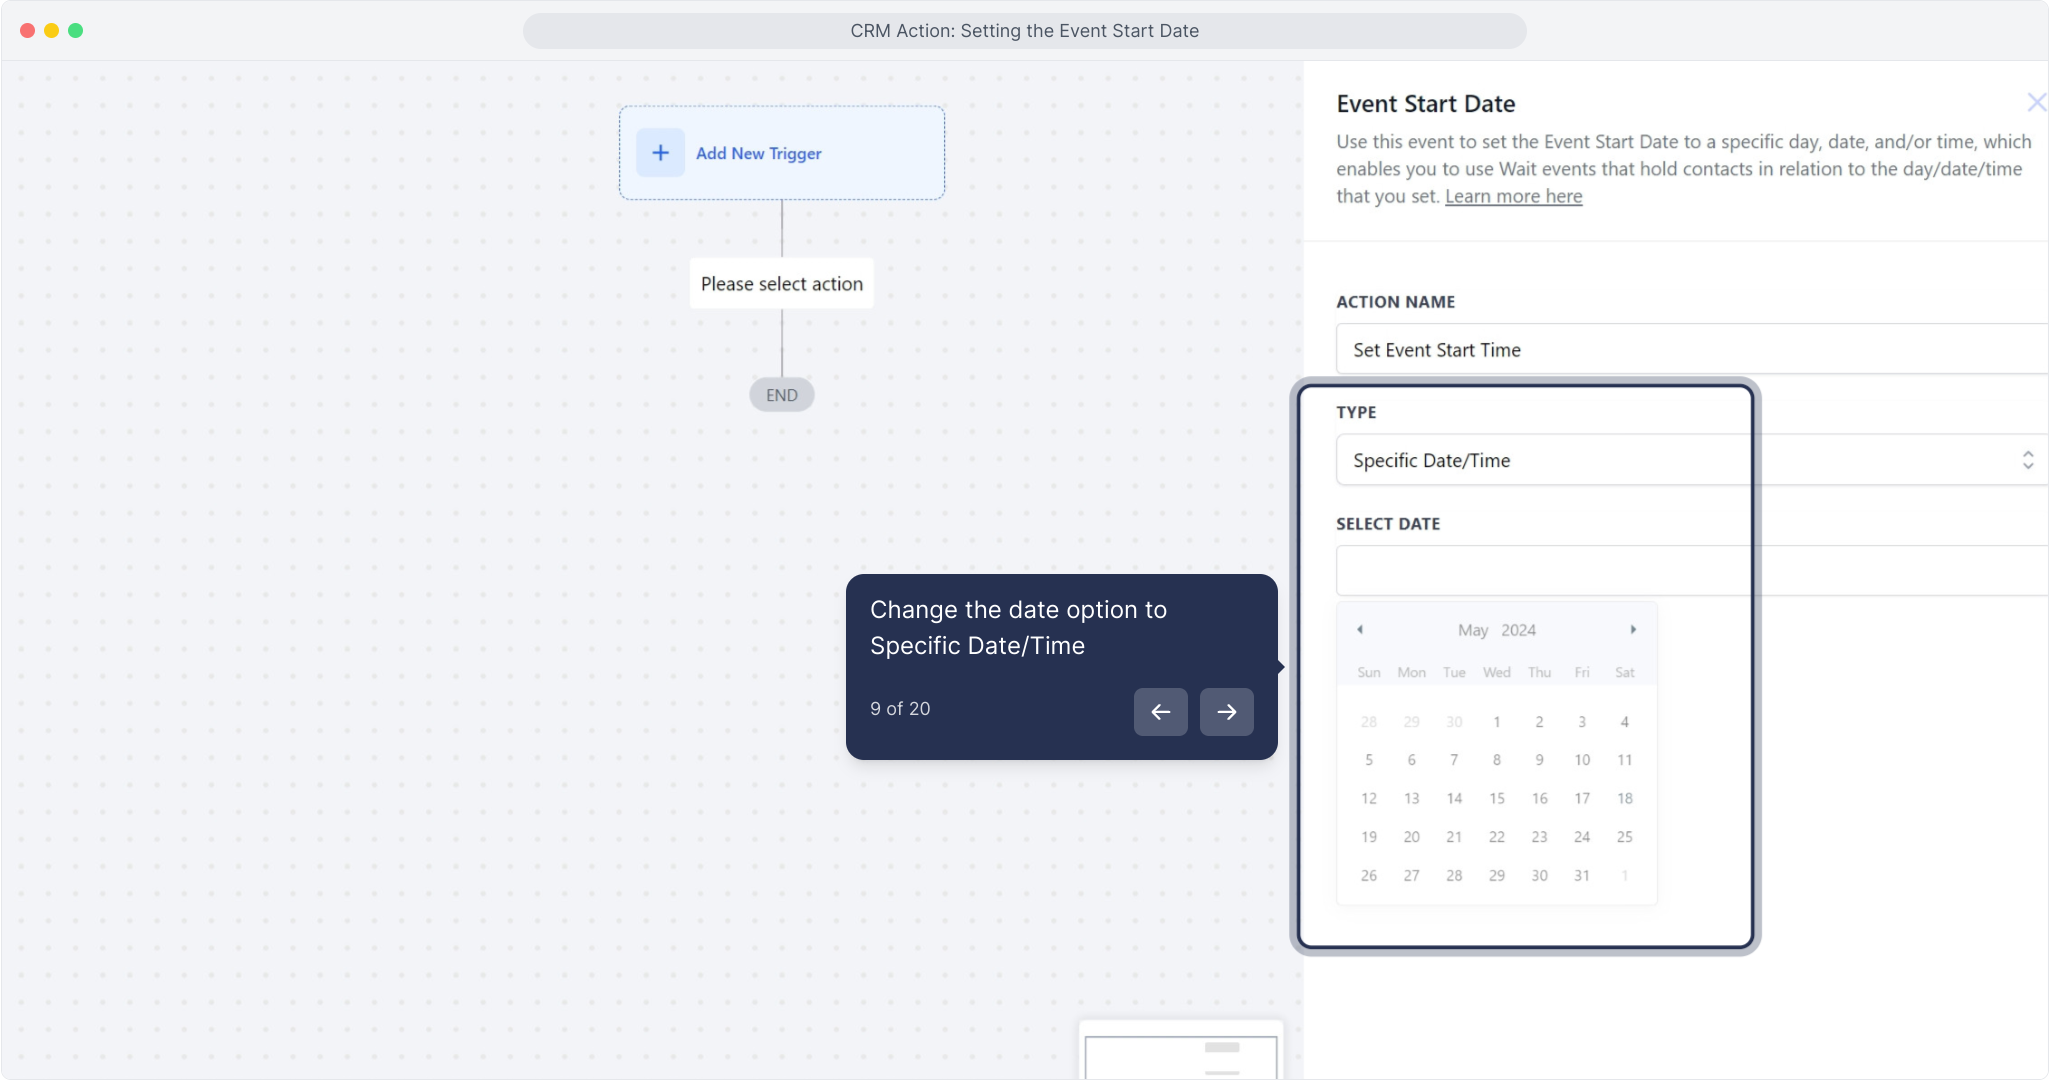
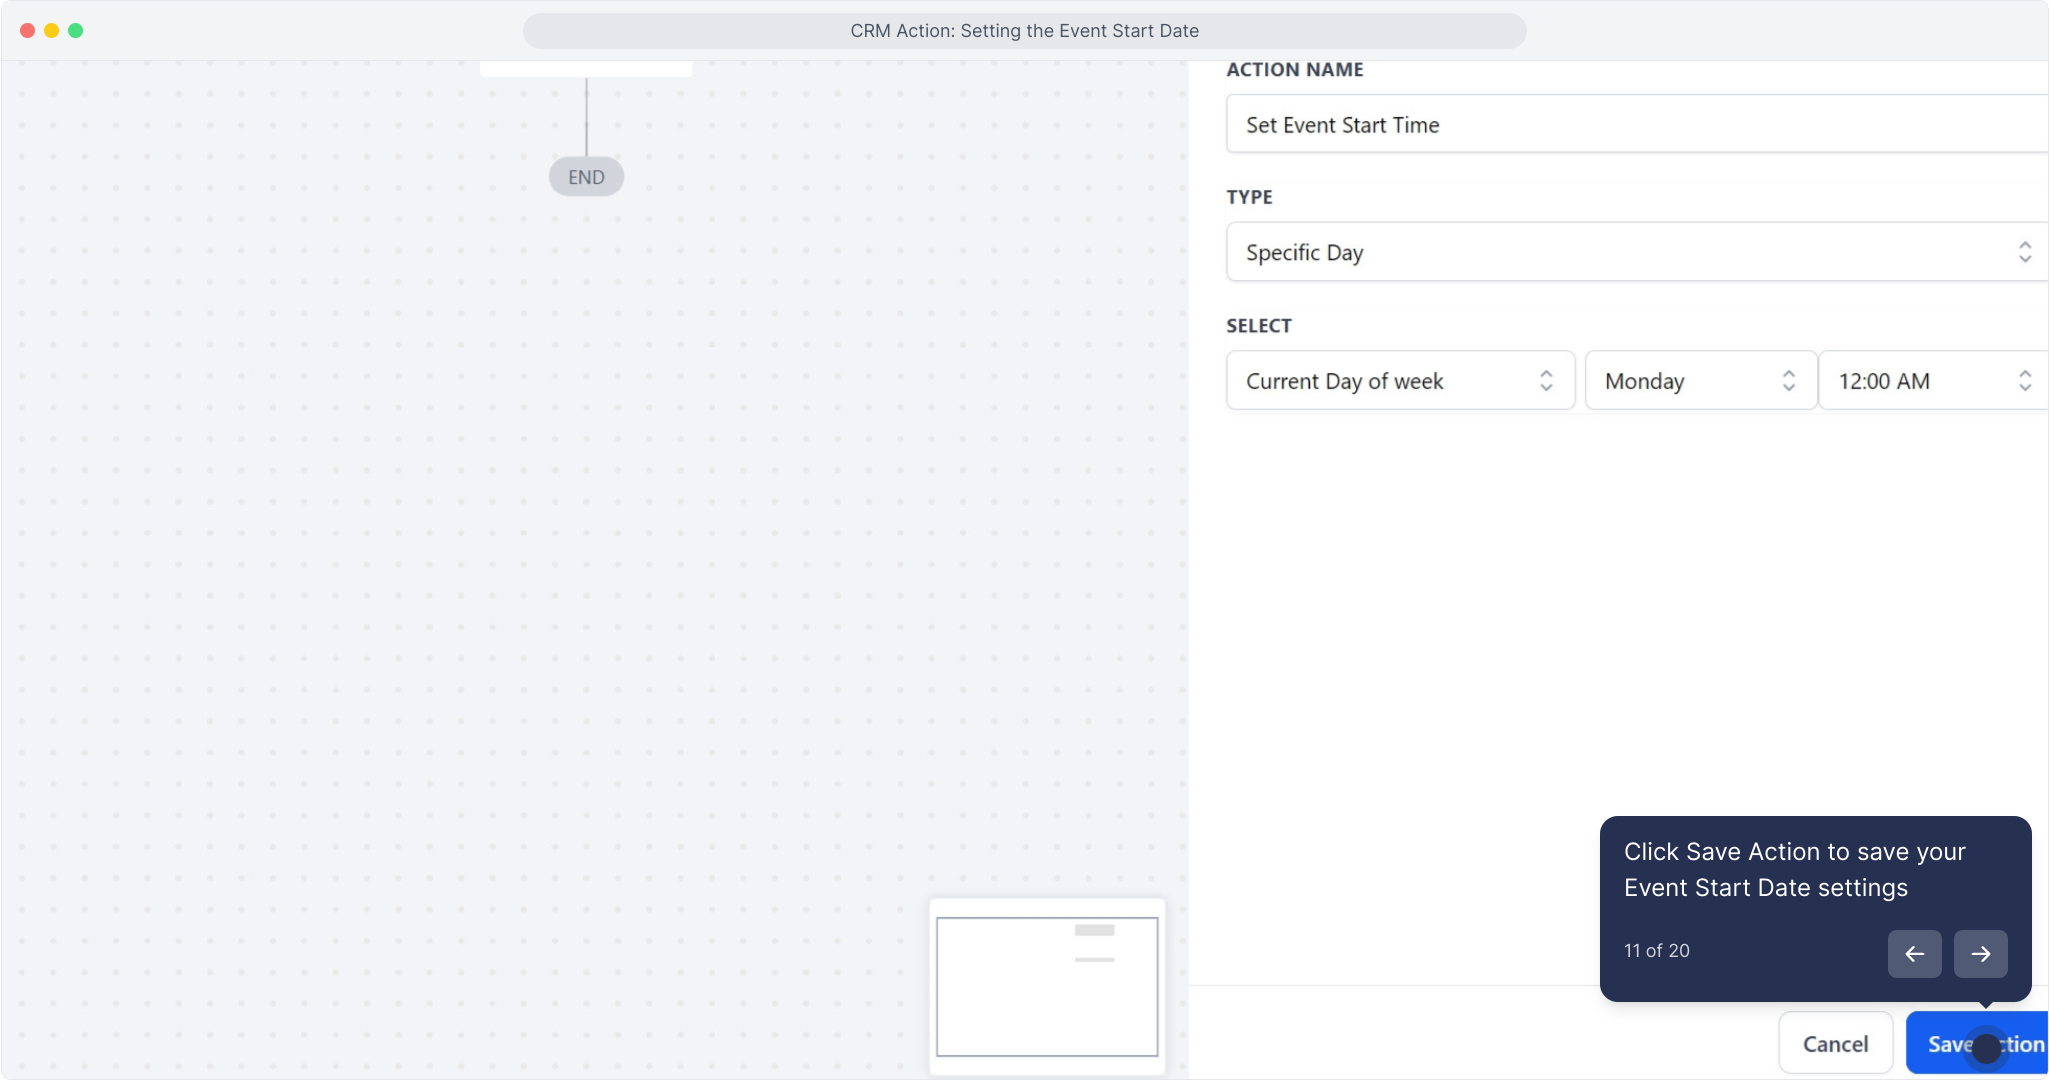
9. Change the date option to Specific Date/Time
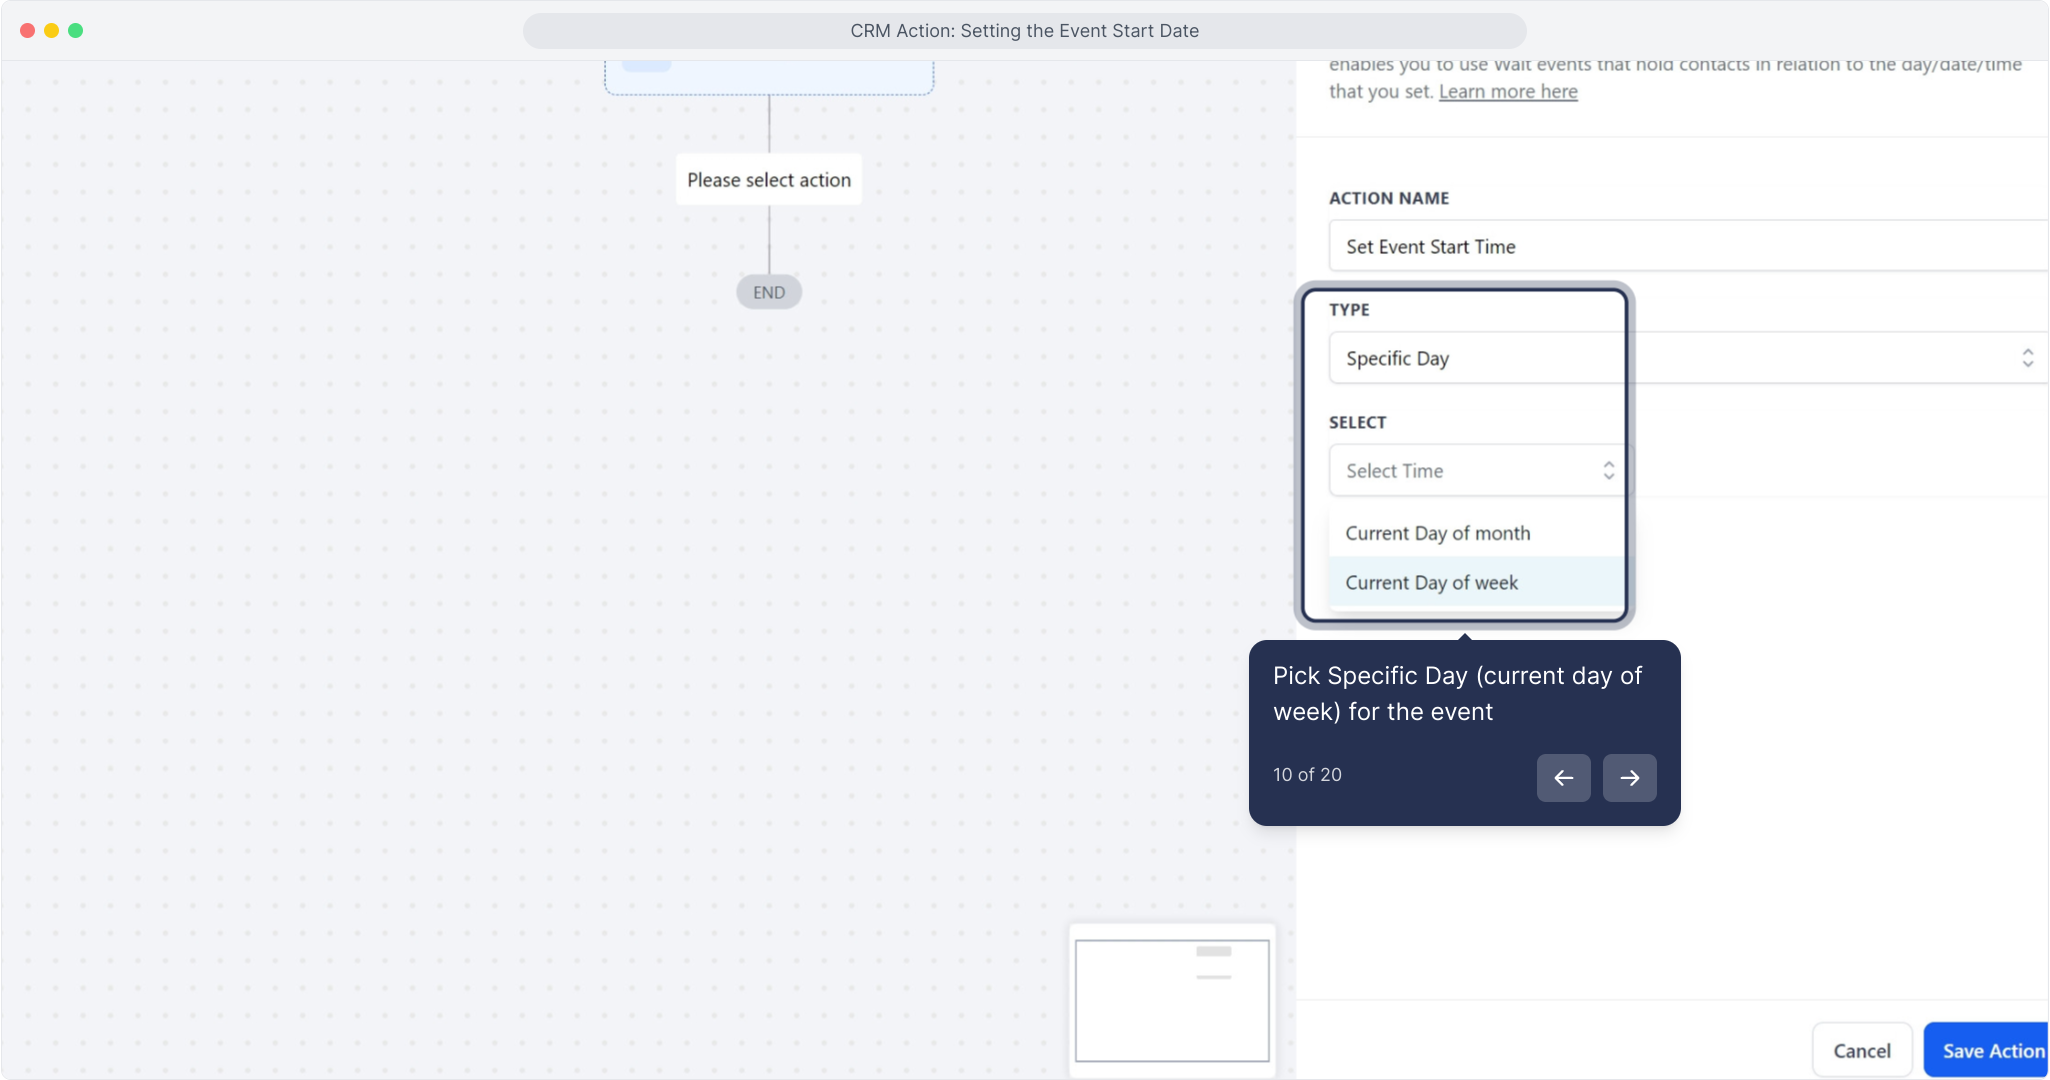
10. Pick Specific Day (current day of week) for the event
11. Click Save Action to save your Event Start Date settings
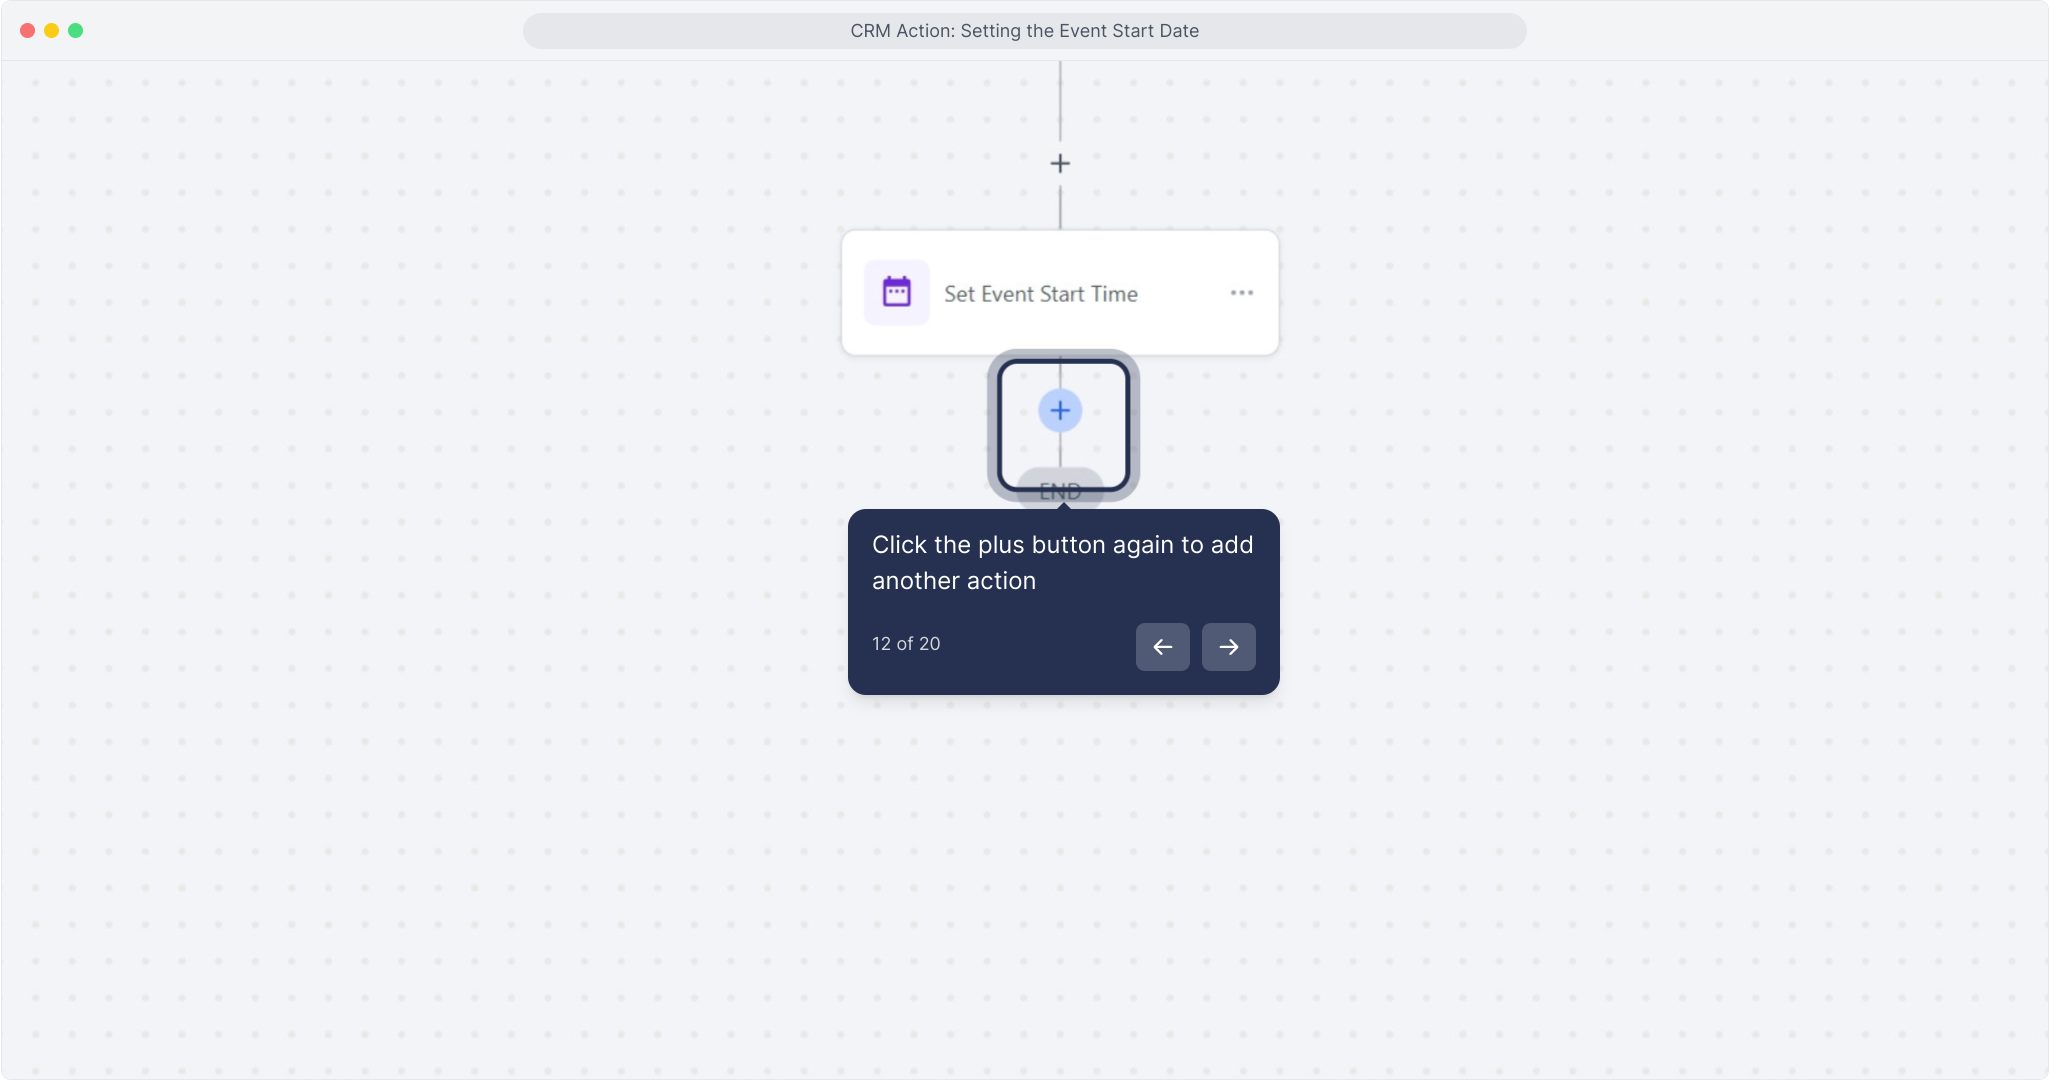
12. Click the plus button again to add another action
13. Select Wait to add a waiting period action
After setting the event start date/time, add a 'Wait for Event/Appointment Time' action to your workflow.
Configure this action to pause the workflow until a specific number of days/hours/minutes before or after the event start date/time.
For example, if set to 2 days before, the workflow will pause and initiate the next action 2 days prior to the event start date.

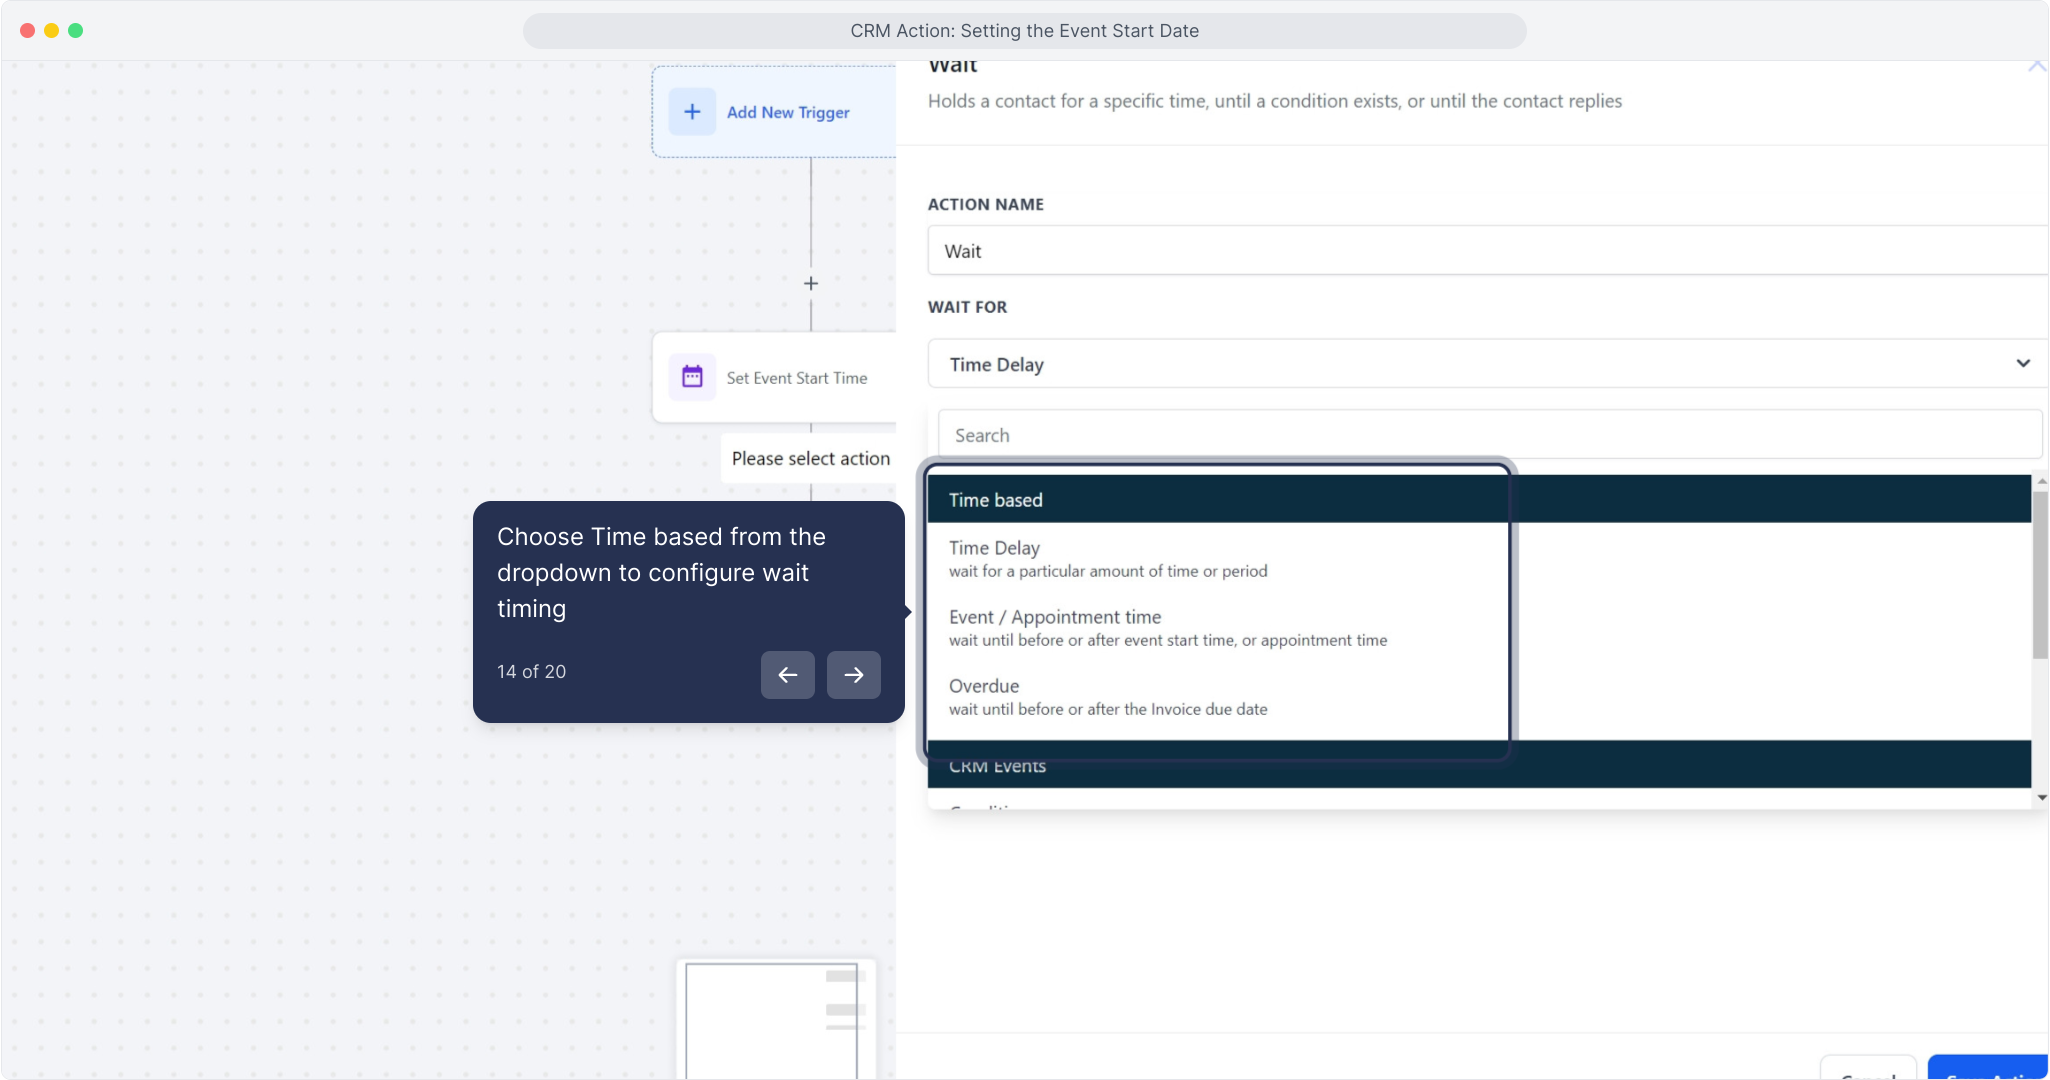
14. Choose Time based from the dropdown to configure wait timing
15. Select Event/Appointment time as the wait reference
Configure the waiting period for the next action by setting the duration in months, days, hours, and minutes.
For example, you might set it to wait until 2 days and 3 hours before the event time. Values exceeding the maximum in one unit will be converted accordingly (e.g., 60 minutes becomes 1 hour).
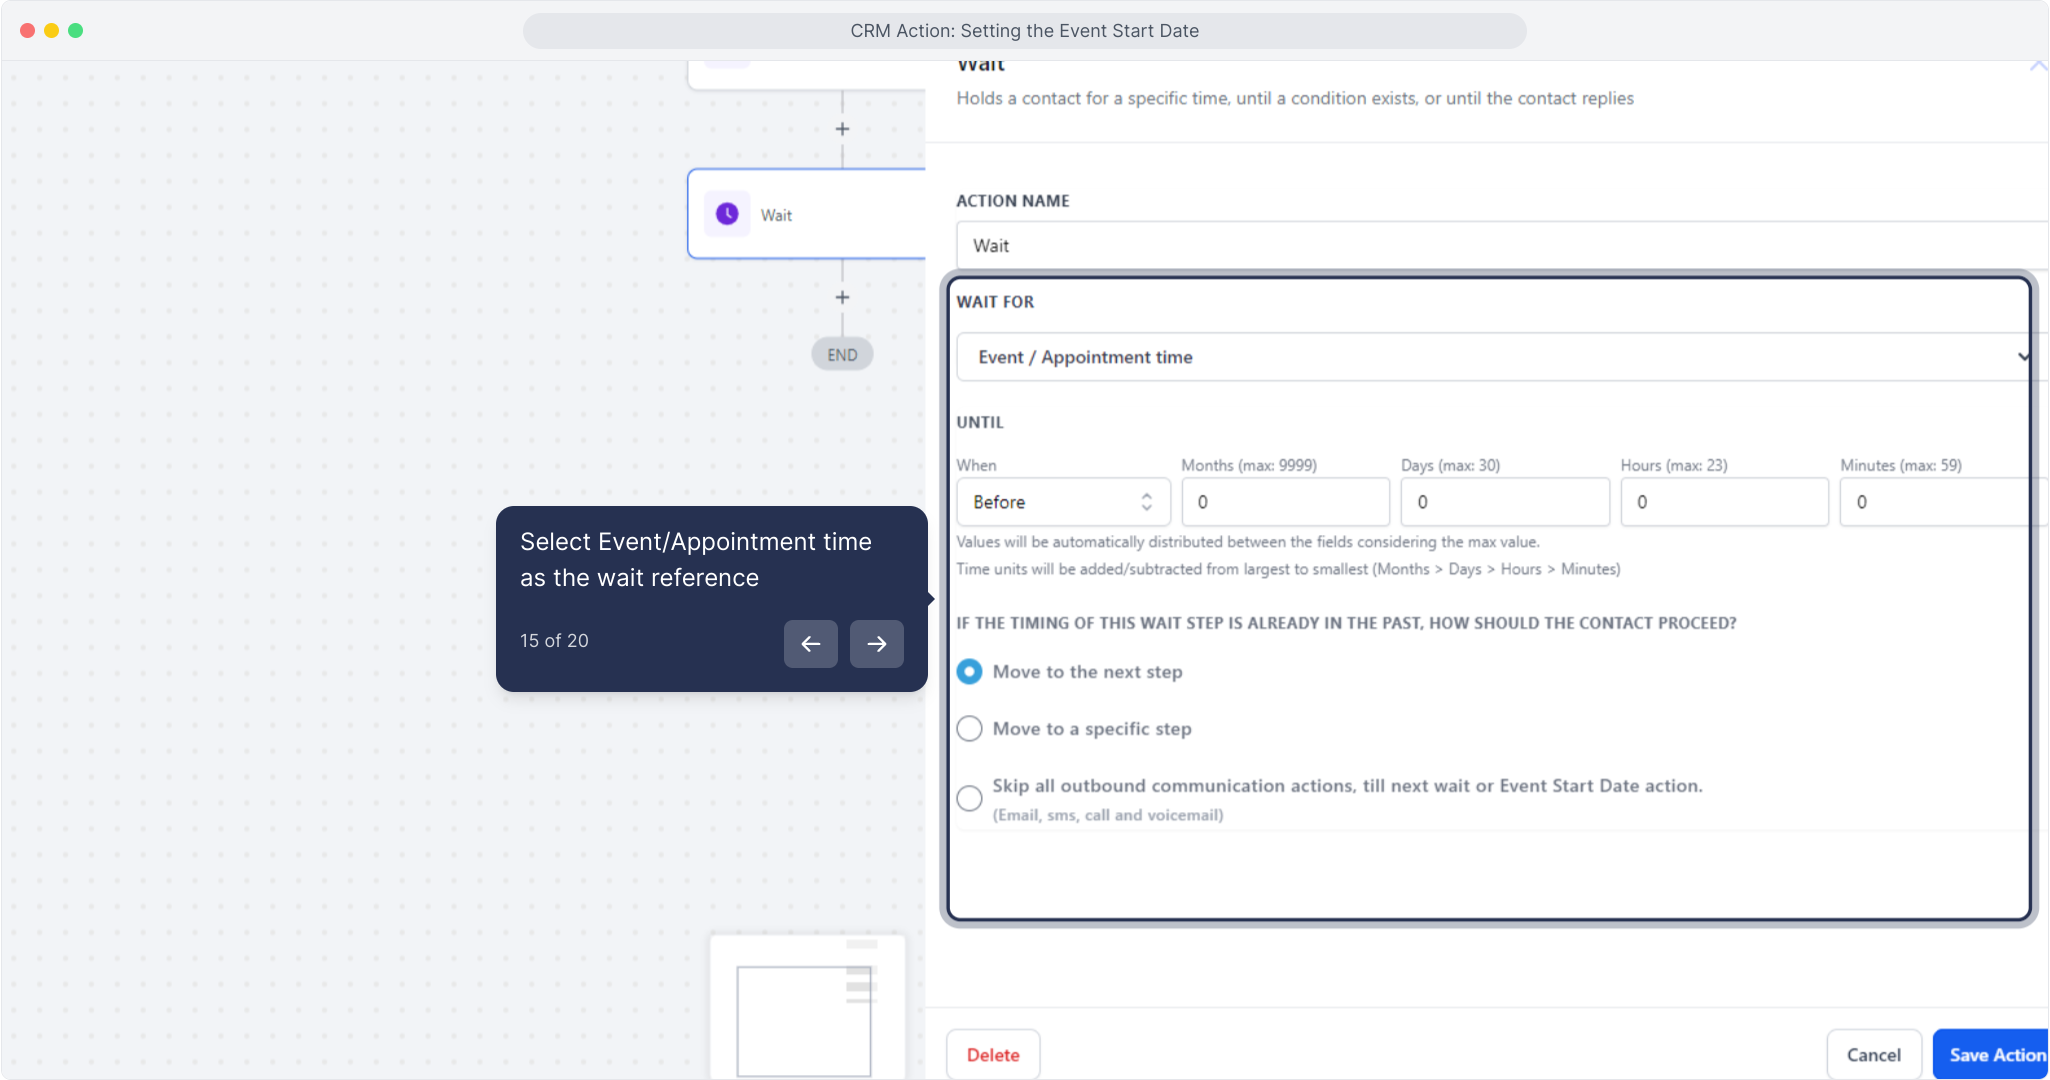
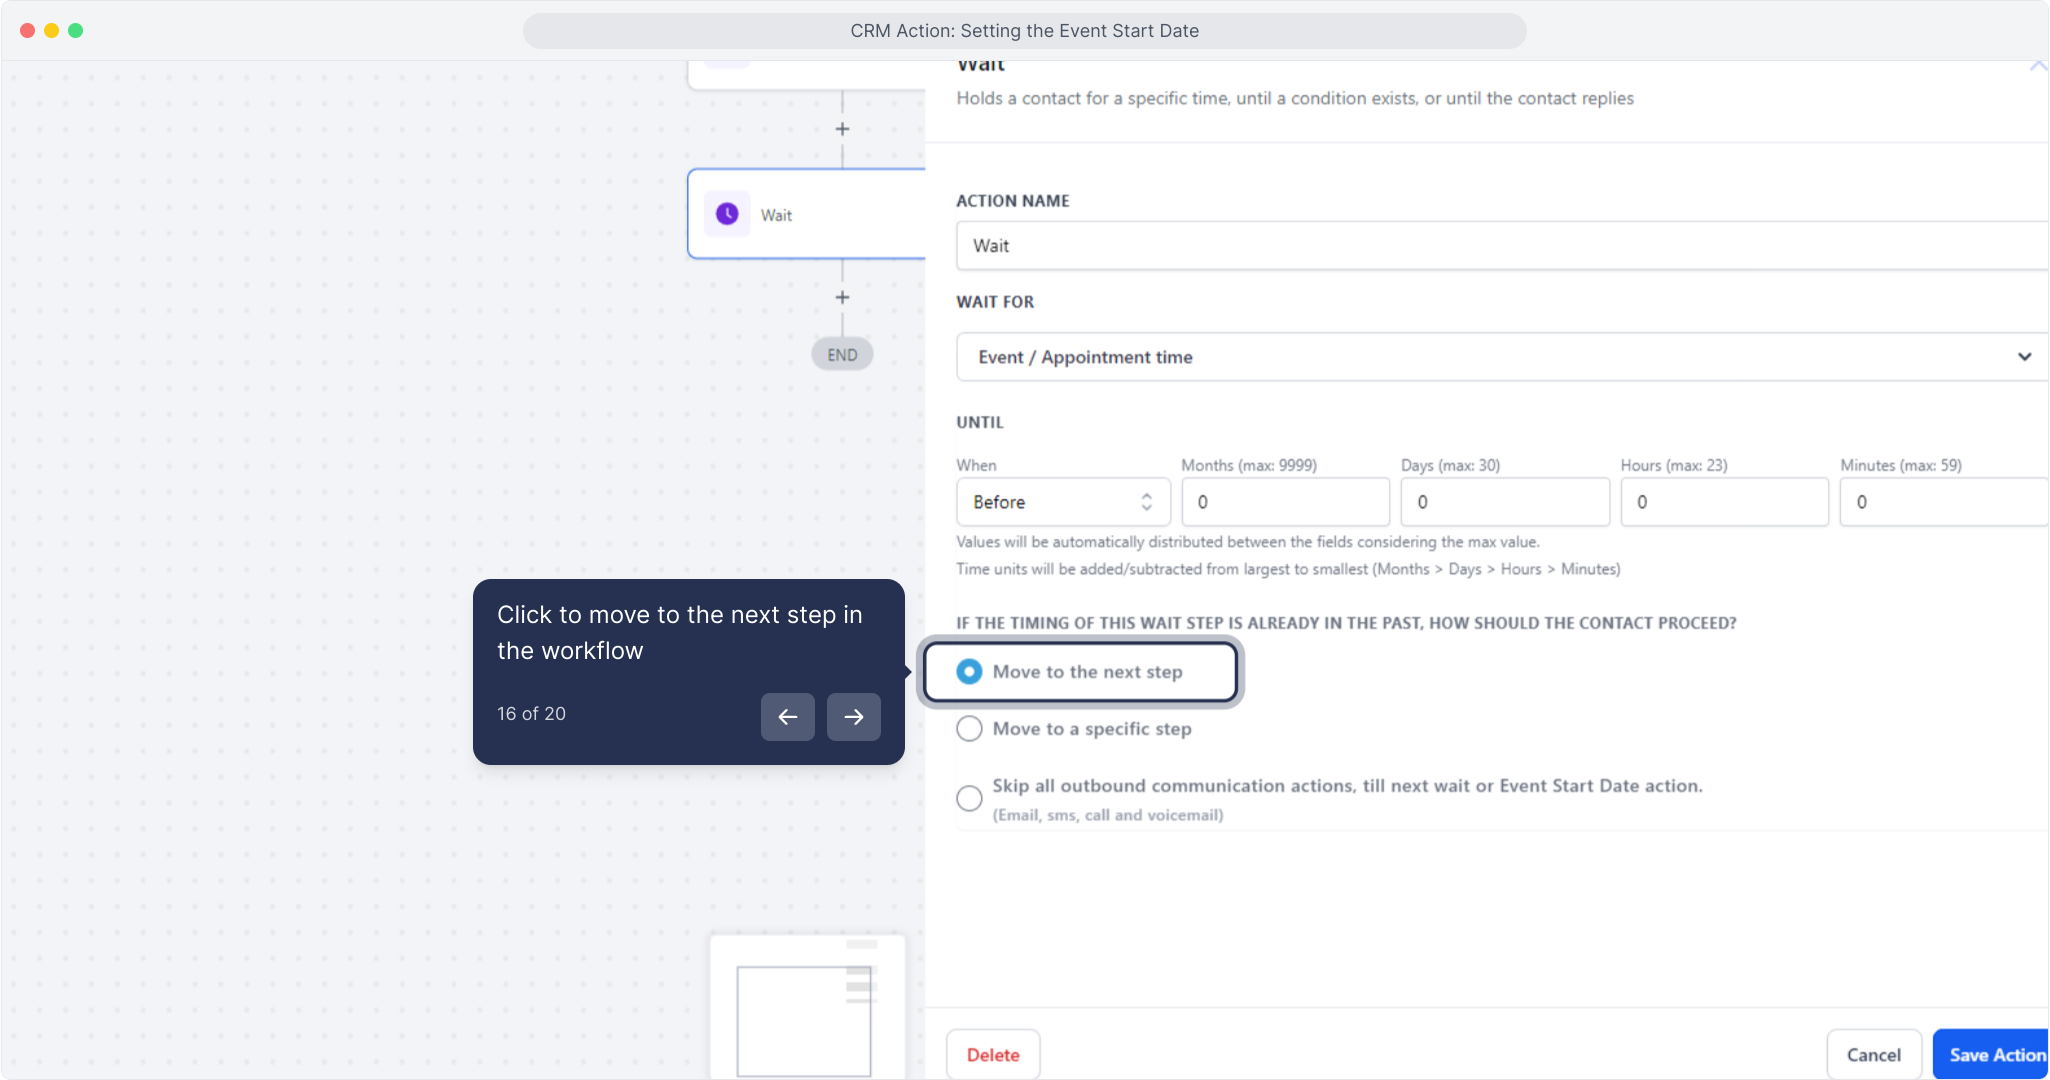
16. Click to move to the next step in the workflow
17. Or choose Move to a specific step if needed
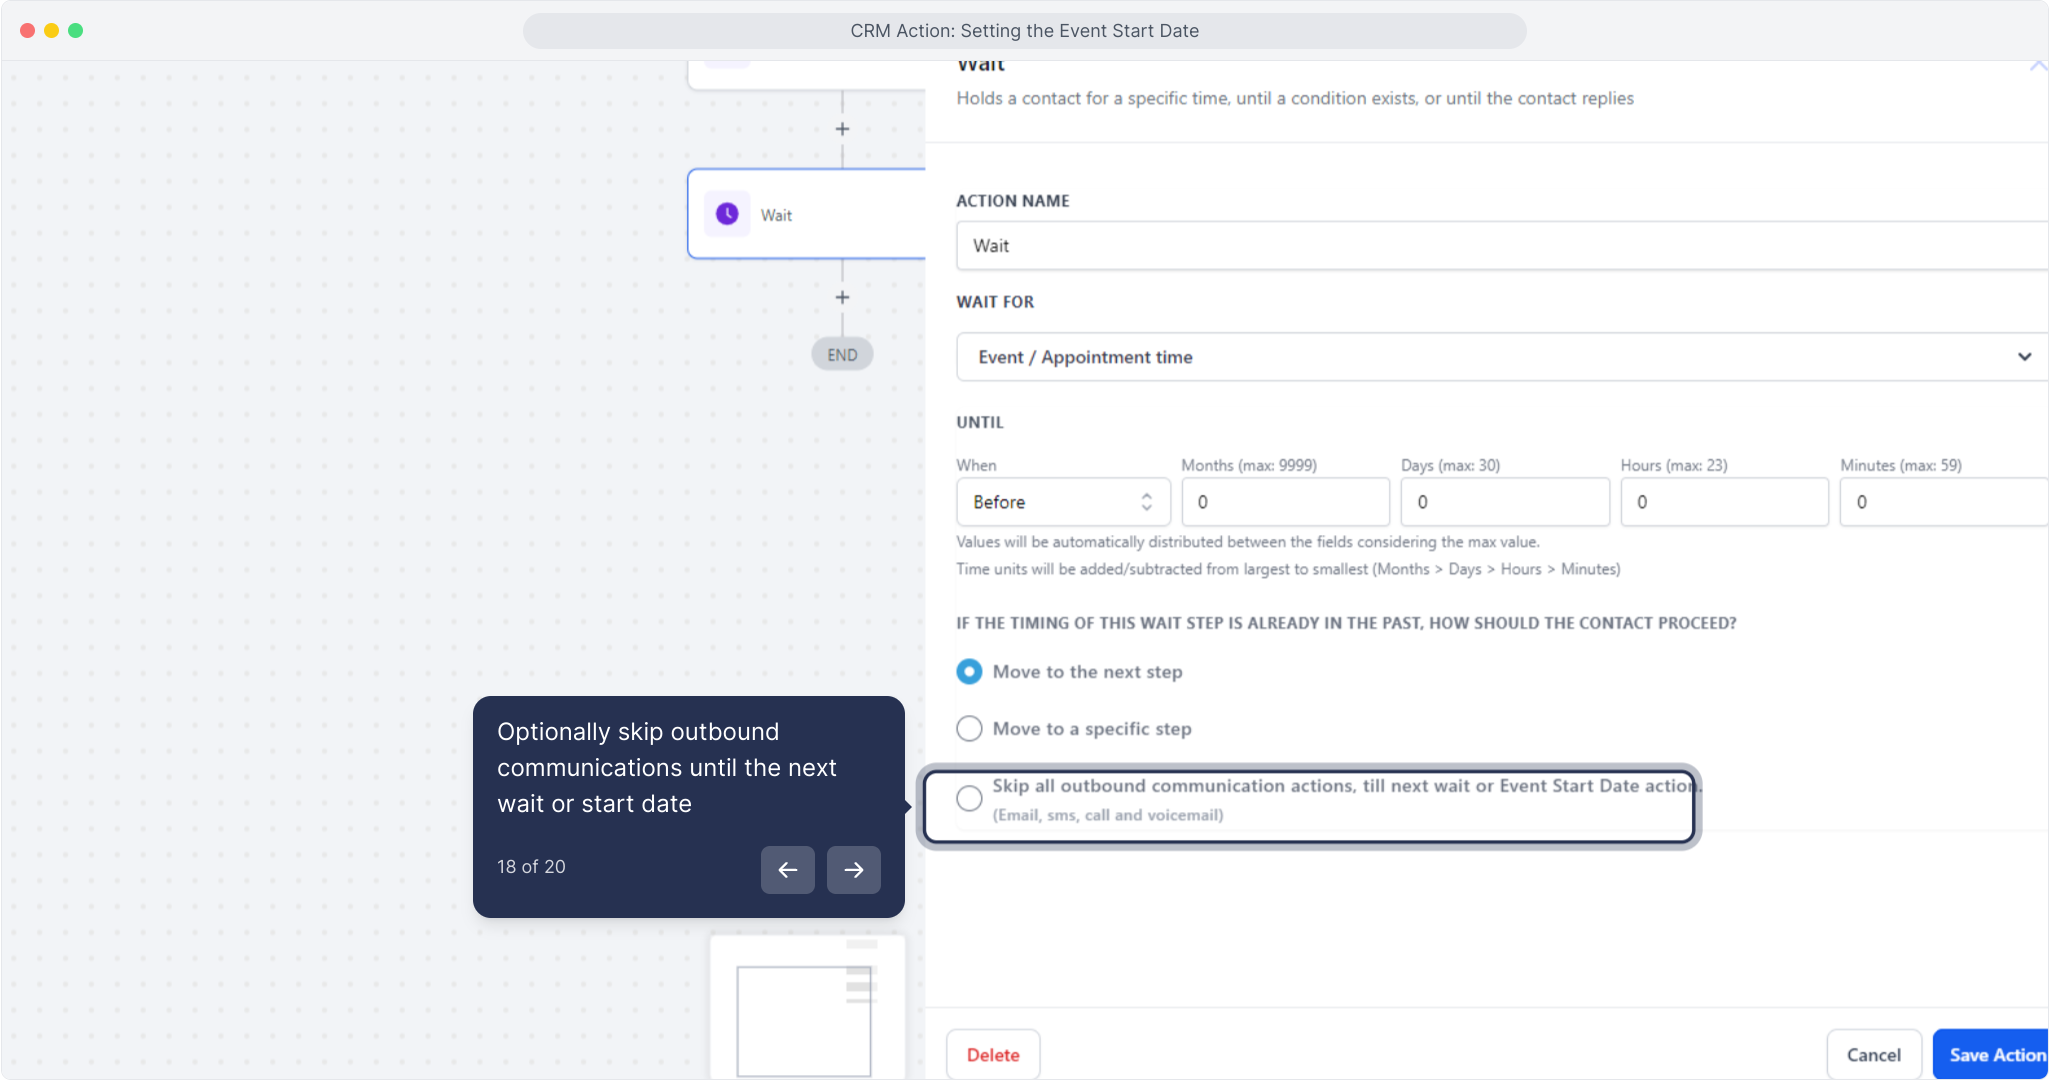
18. Optionally skip outbound communications until the next wait or start date
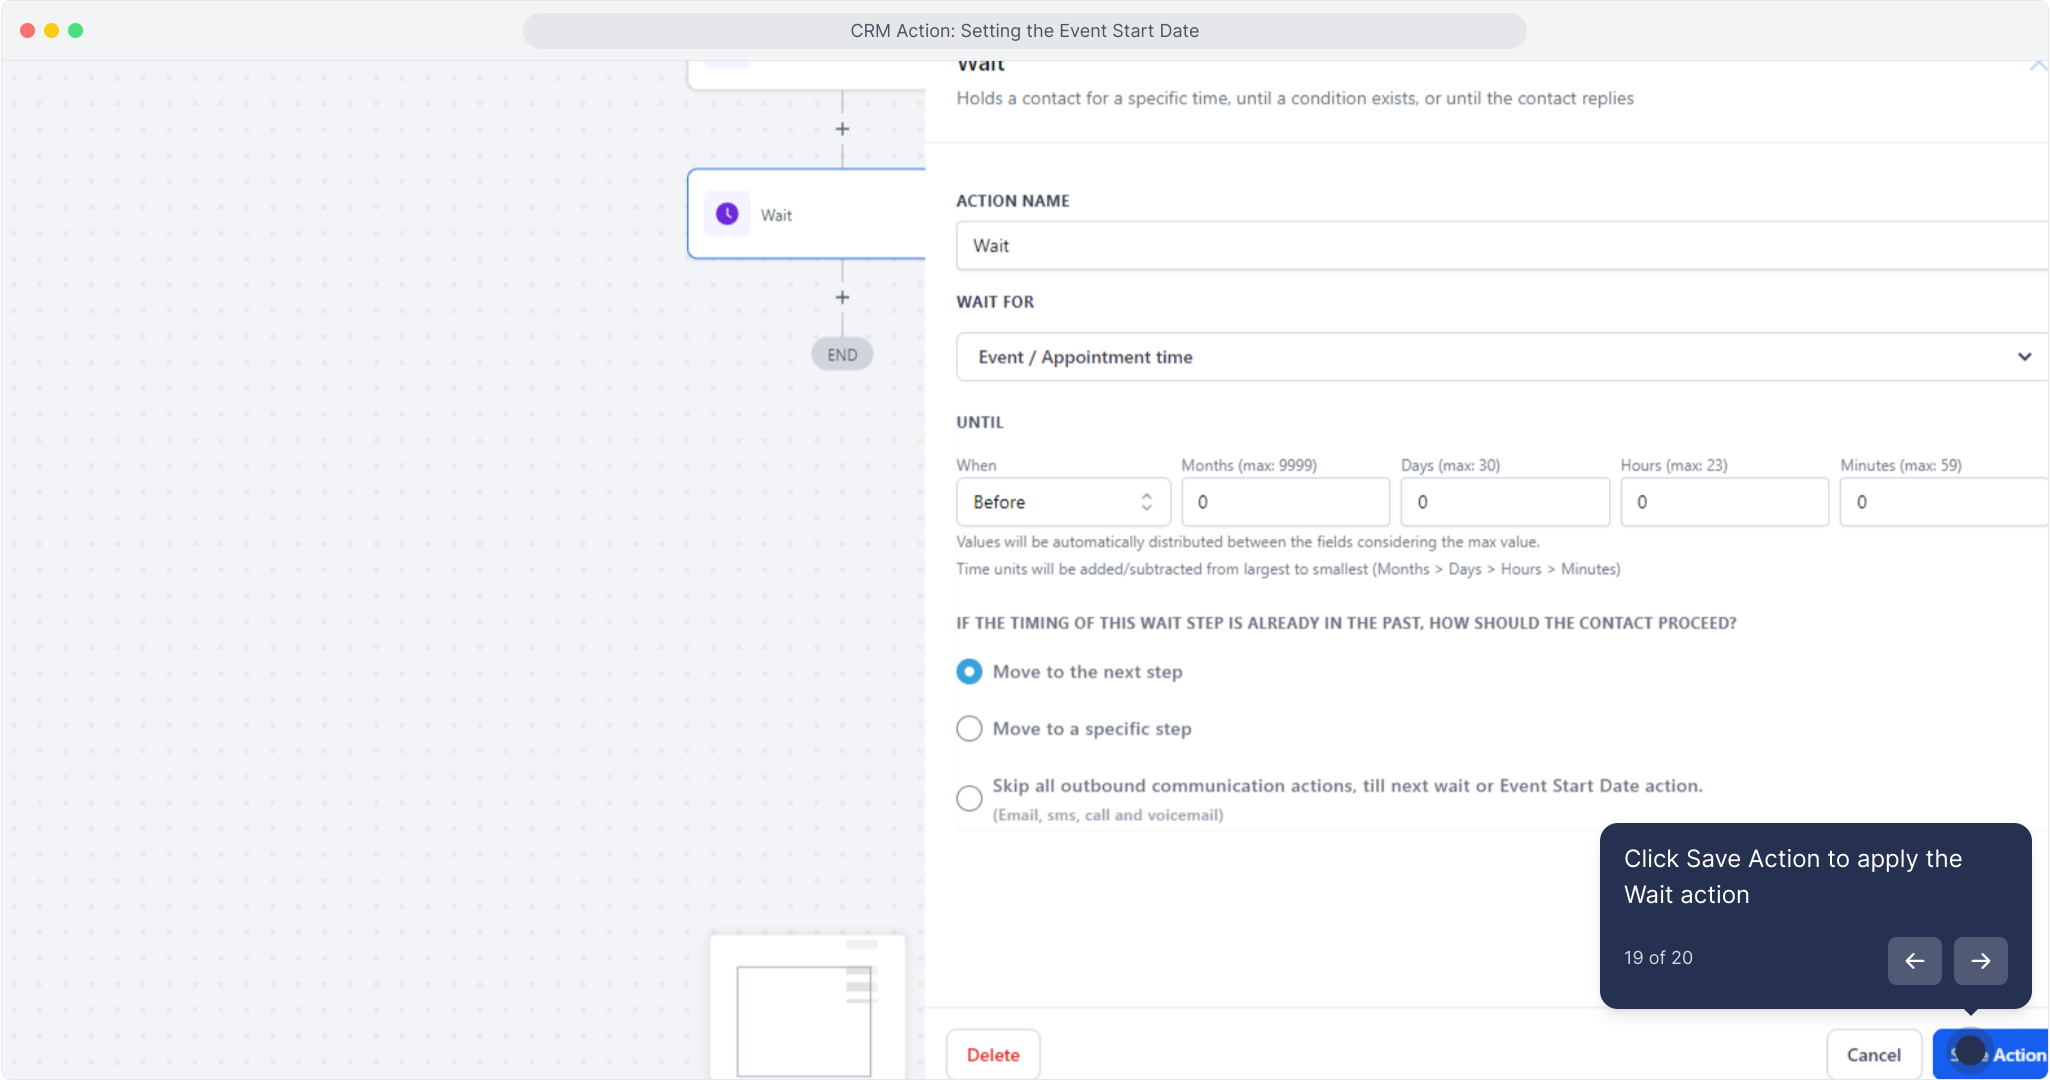
19. Click Save Action to apply the Wait action
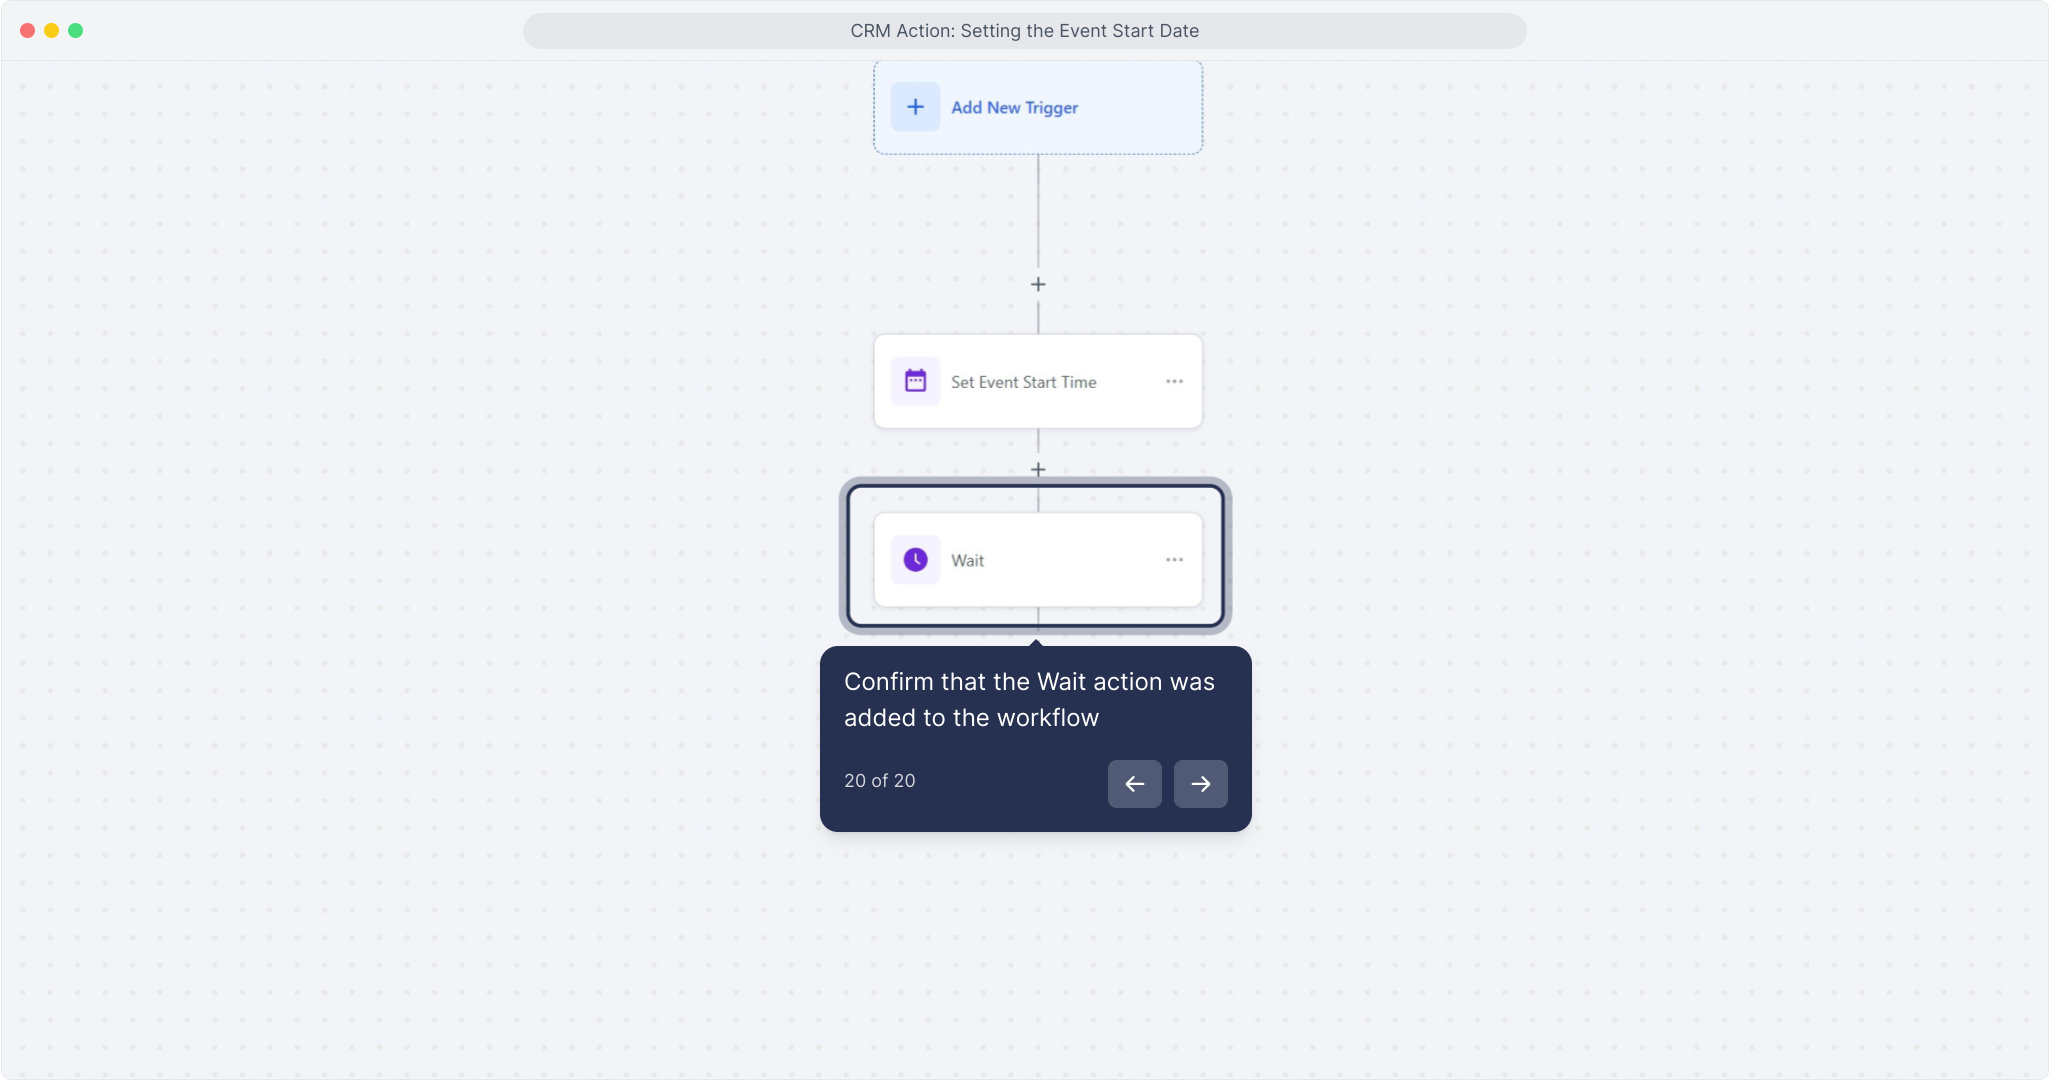
20. Confirm that the Wait action was added to the workflow
