The Product Access Granted Workflow Trigger allows you to build a workflow that will trigger whenever a contact is given access to your membership products. The contact who receives access to your applicable membership products will be added to the workflow. This article will give an overview of how to build a workflow using the Product Access Granted Workflow Trigger.
Note that this article will assume that you have already built Membership Products. For an overview of how to create Membership Products, see our article “How to Create and Edit Categories in Memberships”
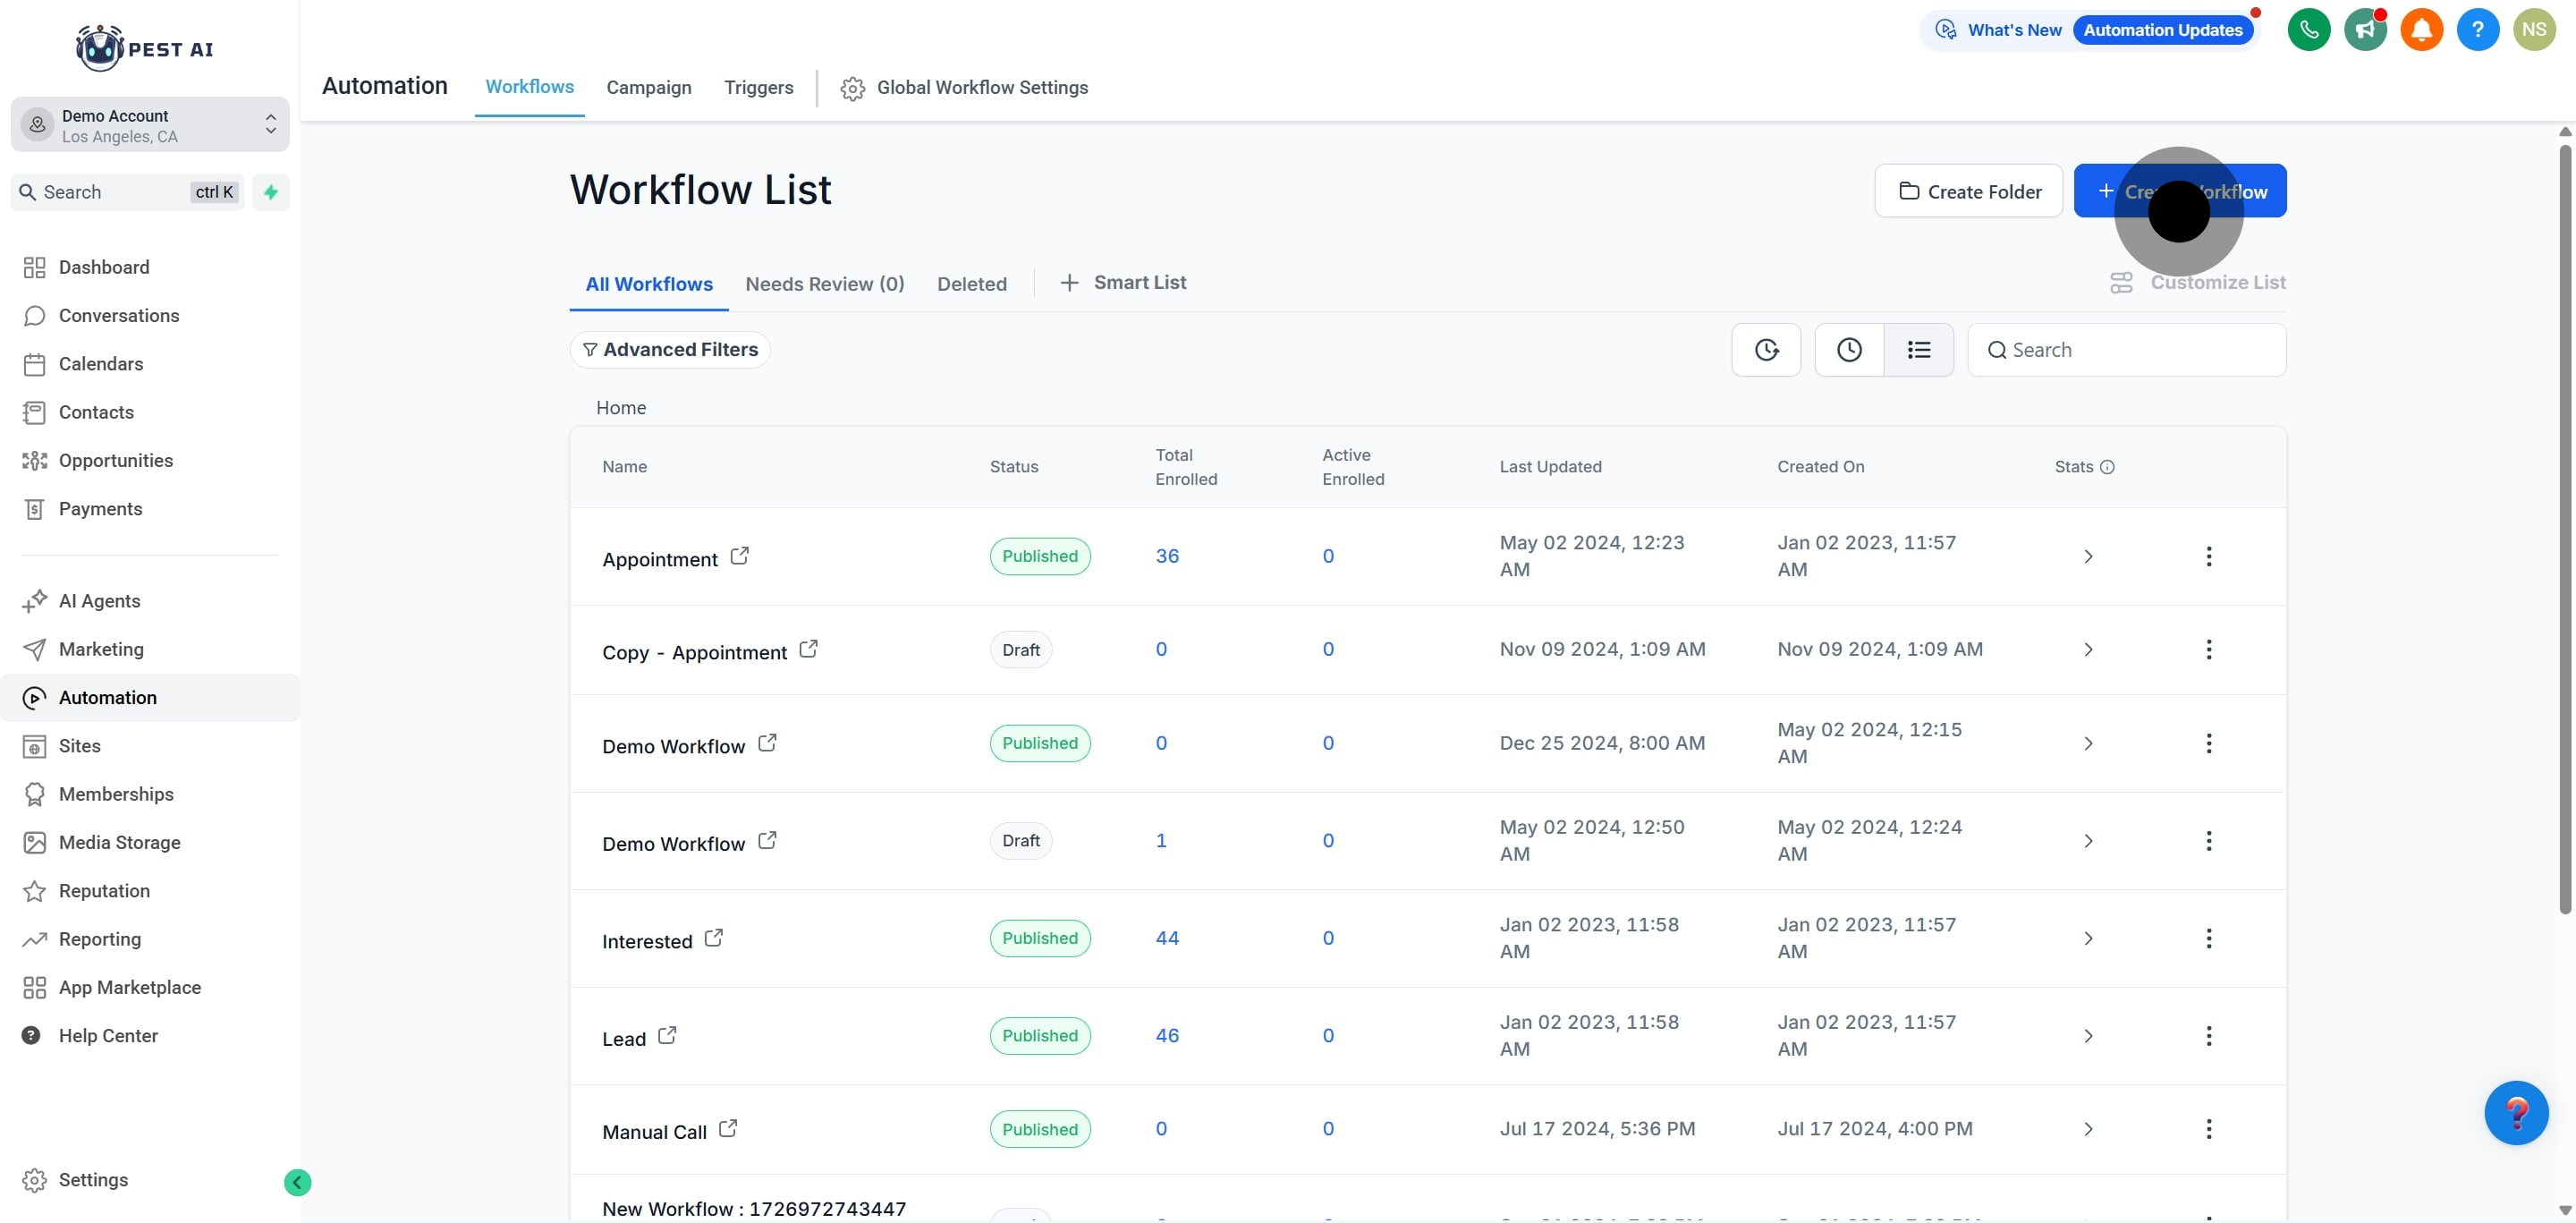
1. Click on "Automation" to access automation features.
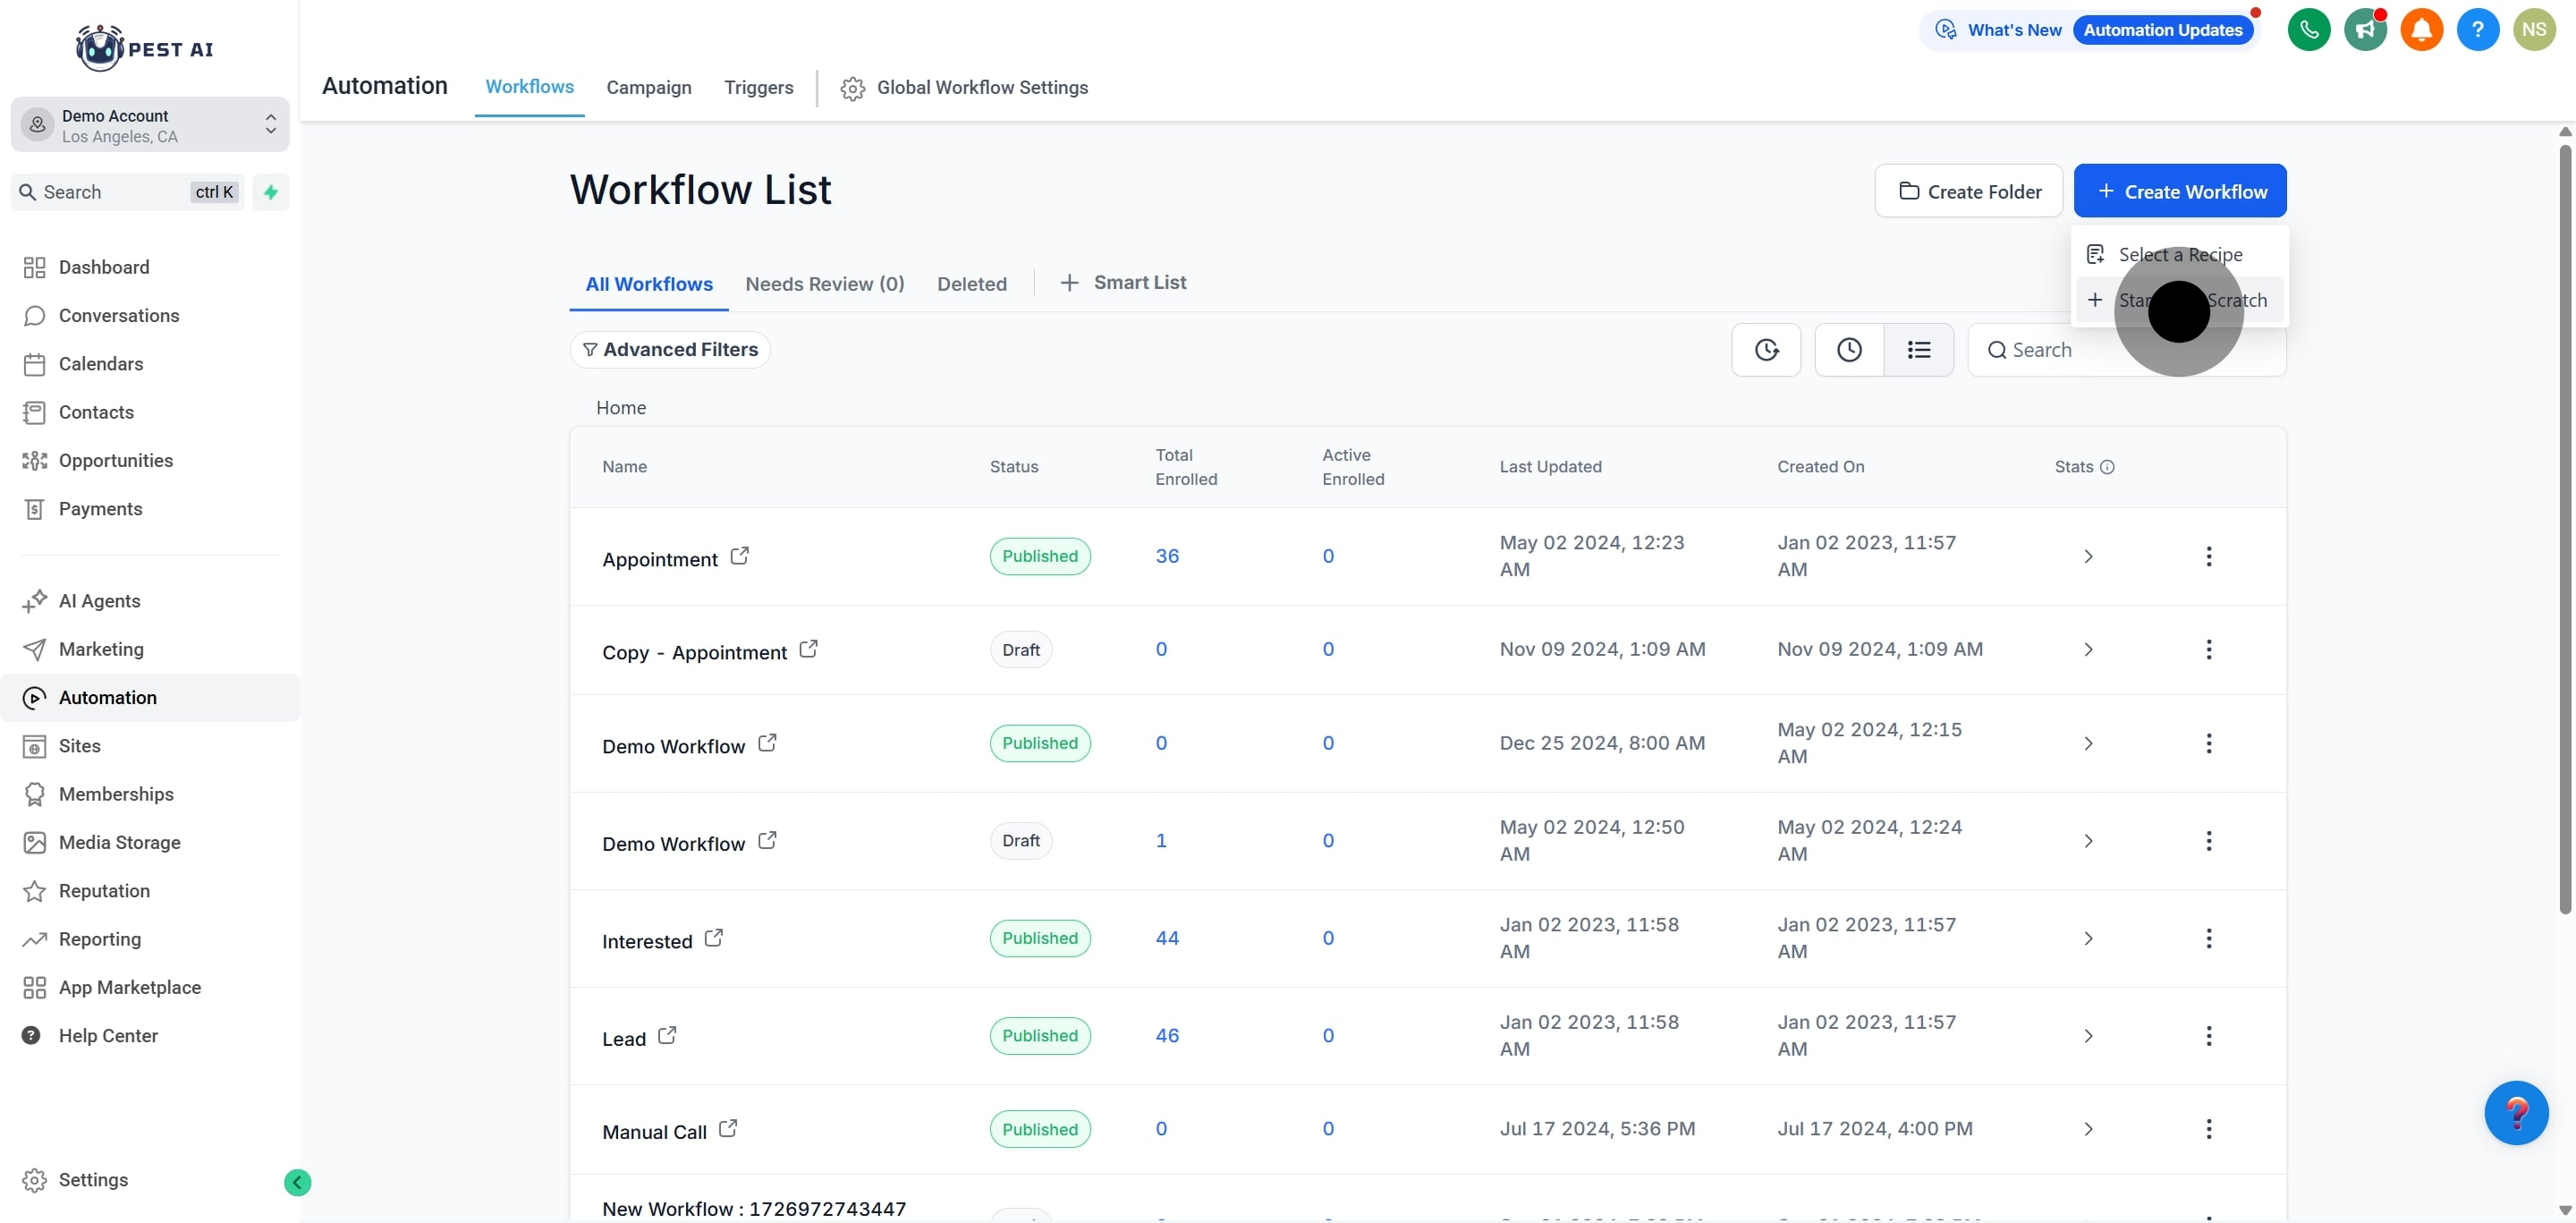
2. Click on "Create Workflow" to start a new project.
3. Next, click on "Start from Scratch" to begin fresh.
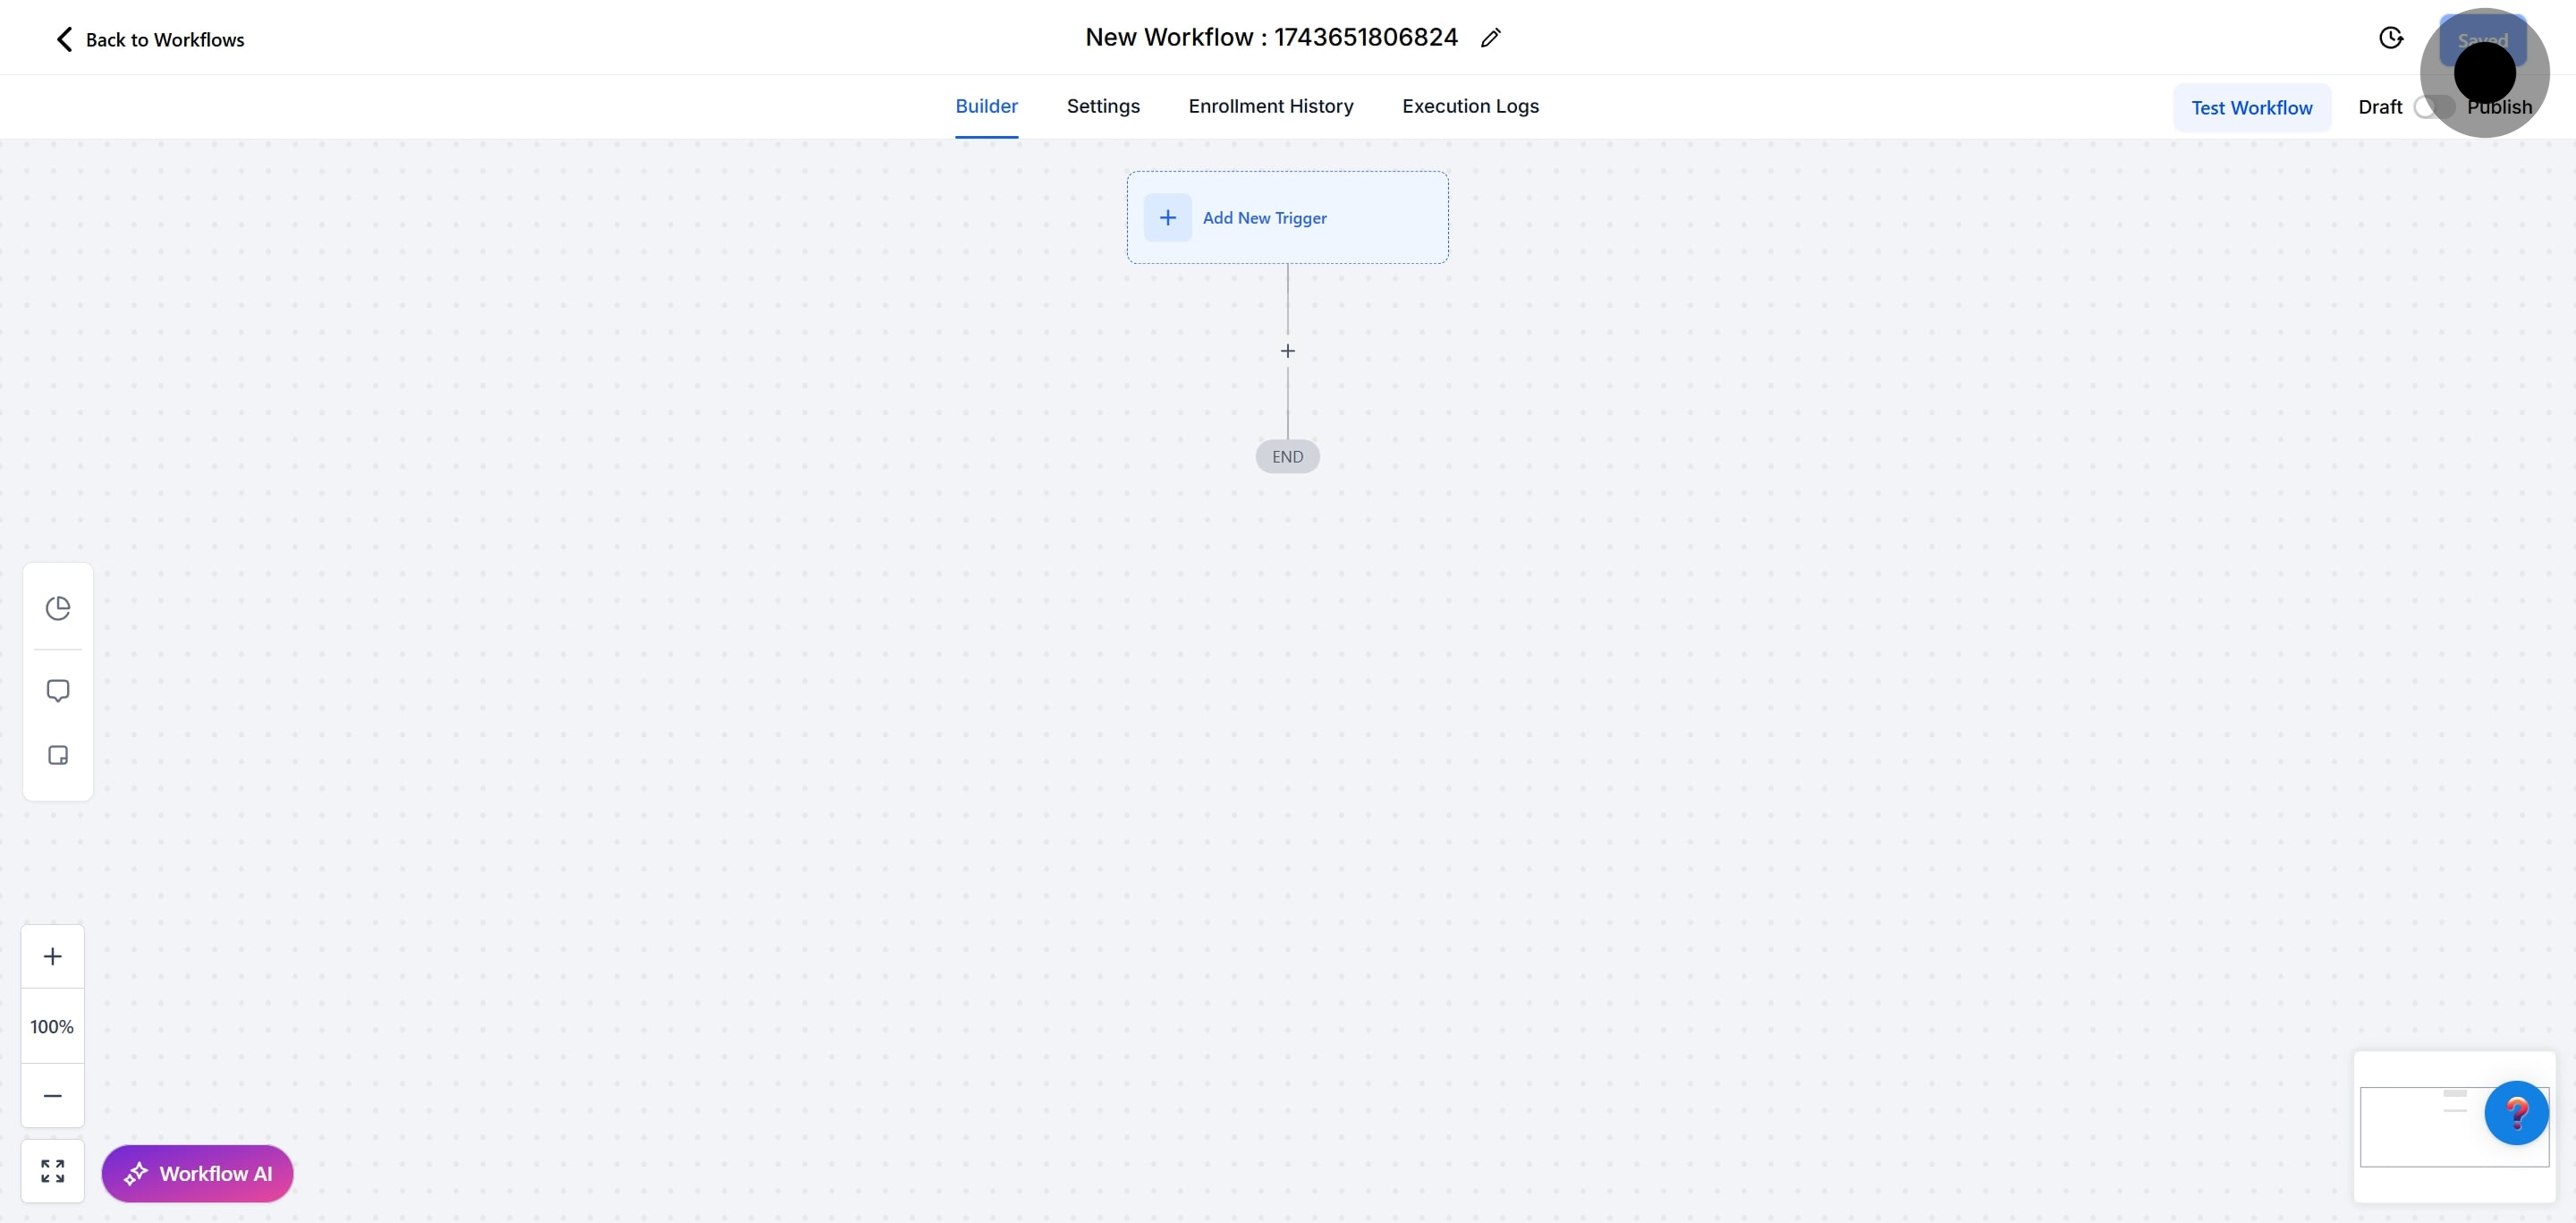
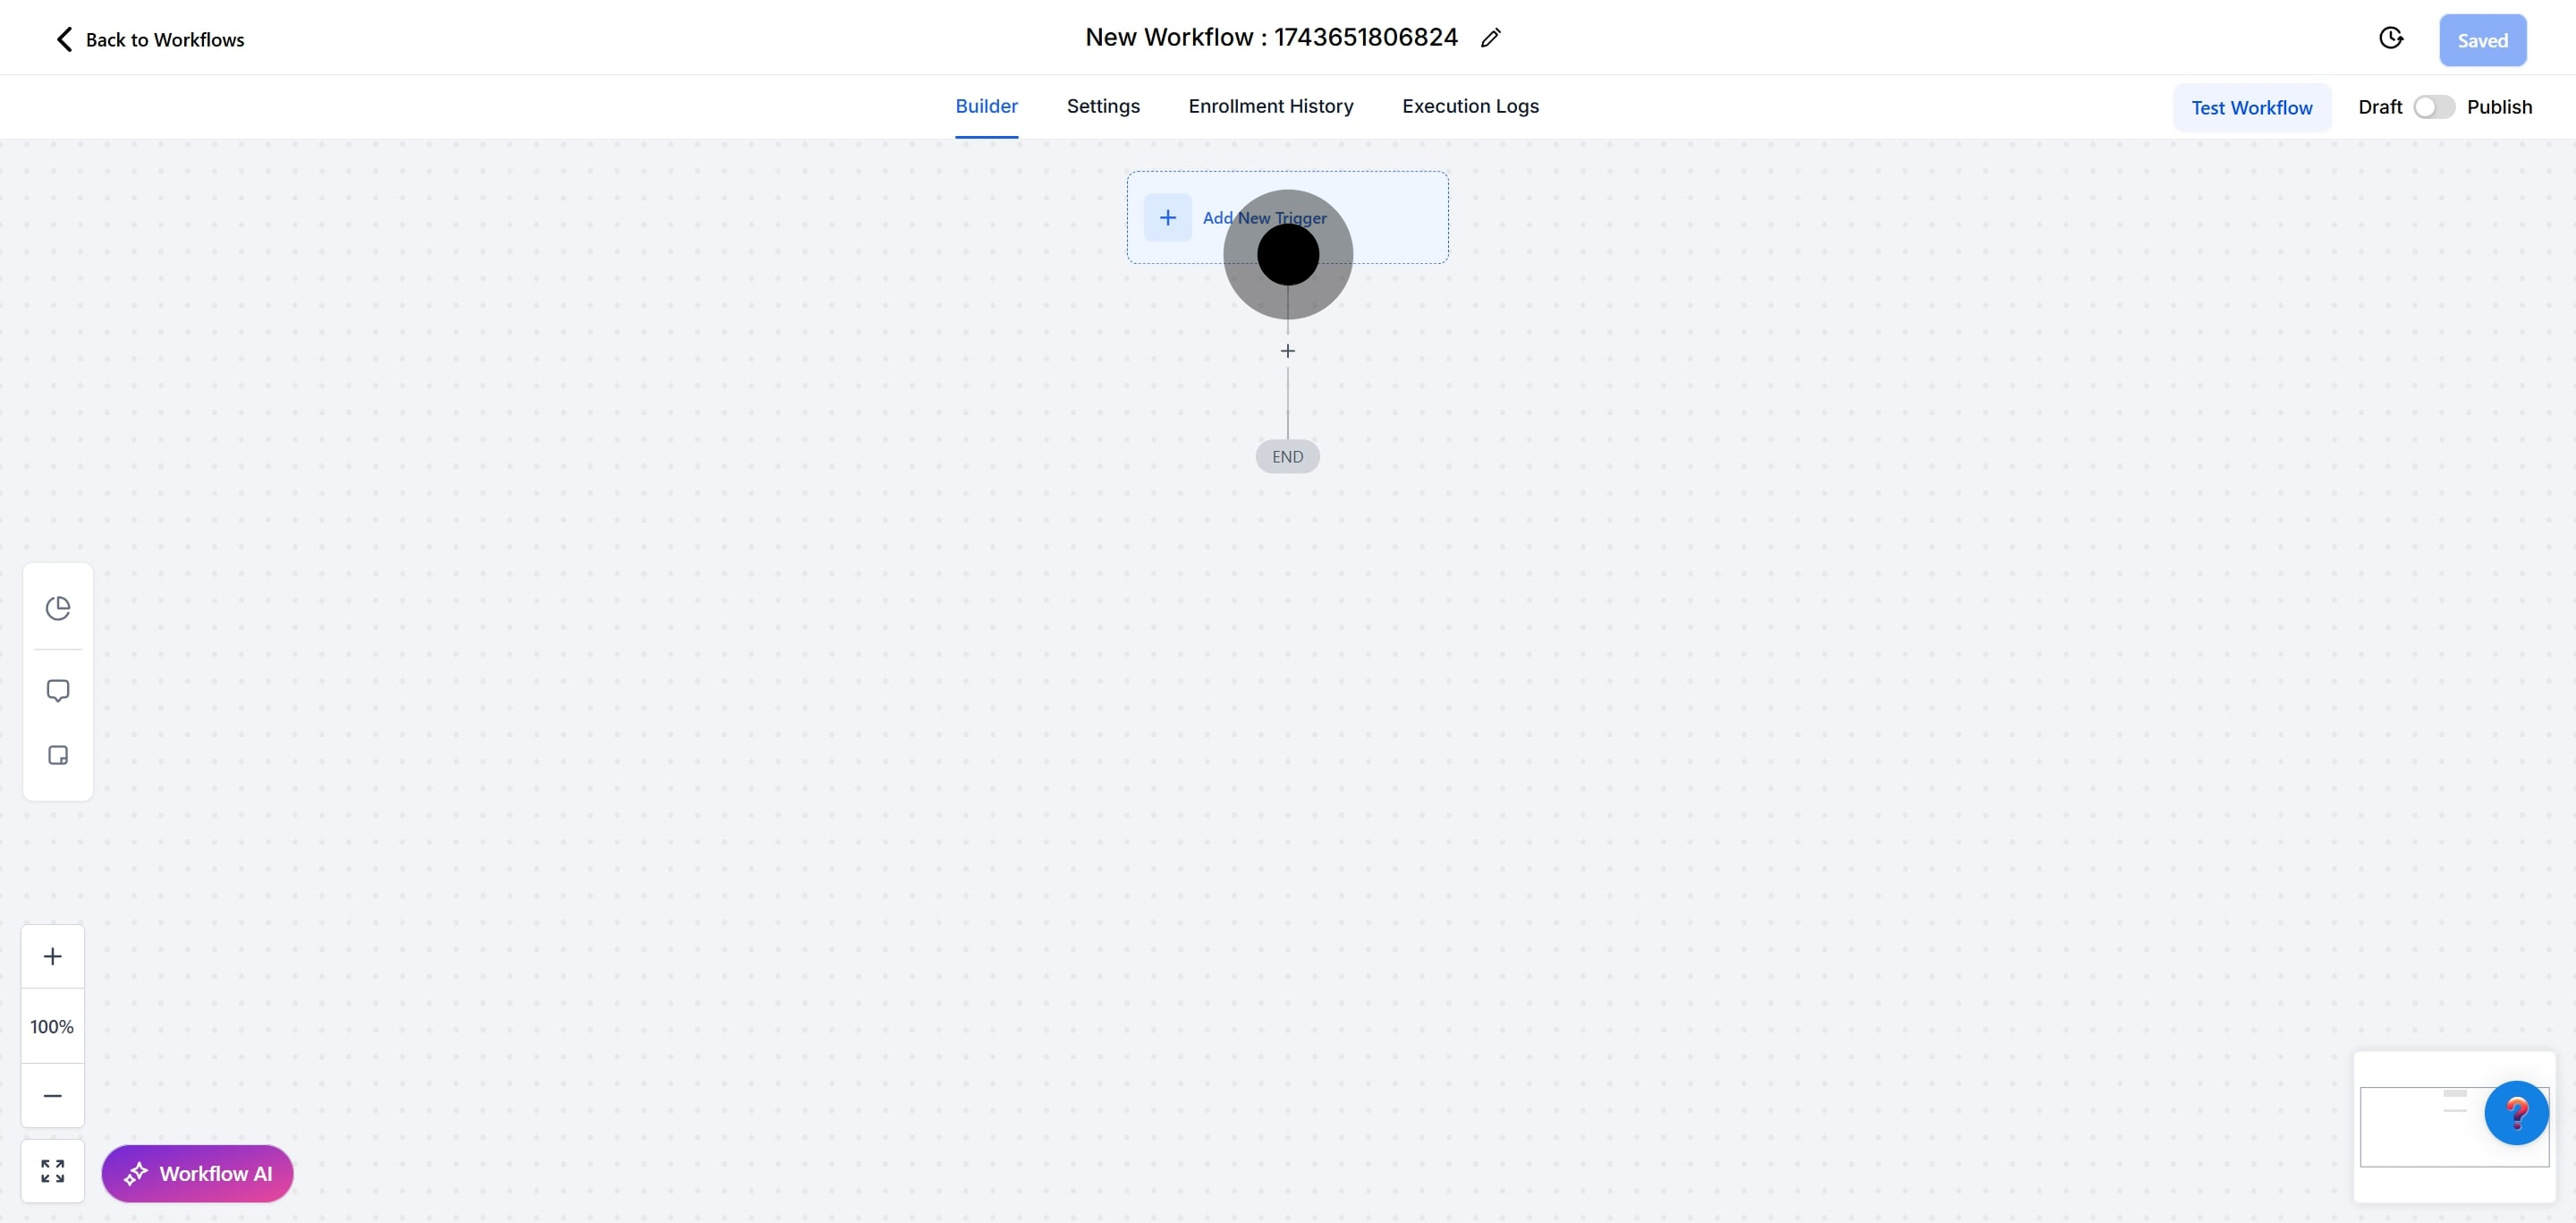
4. Next, click on "Add New Trigger" to set up automation.
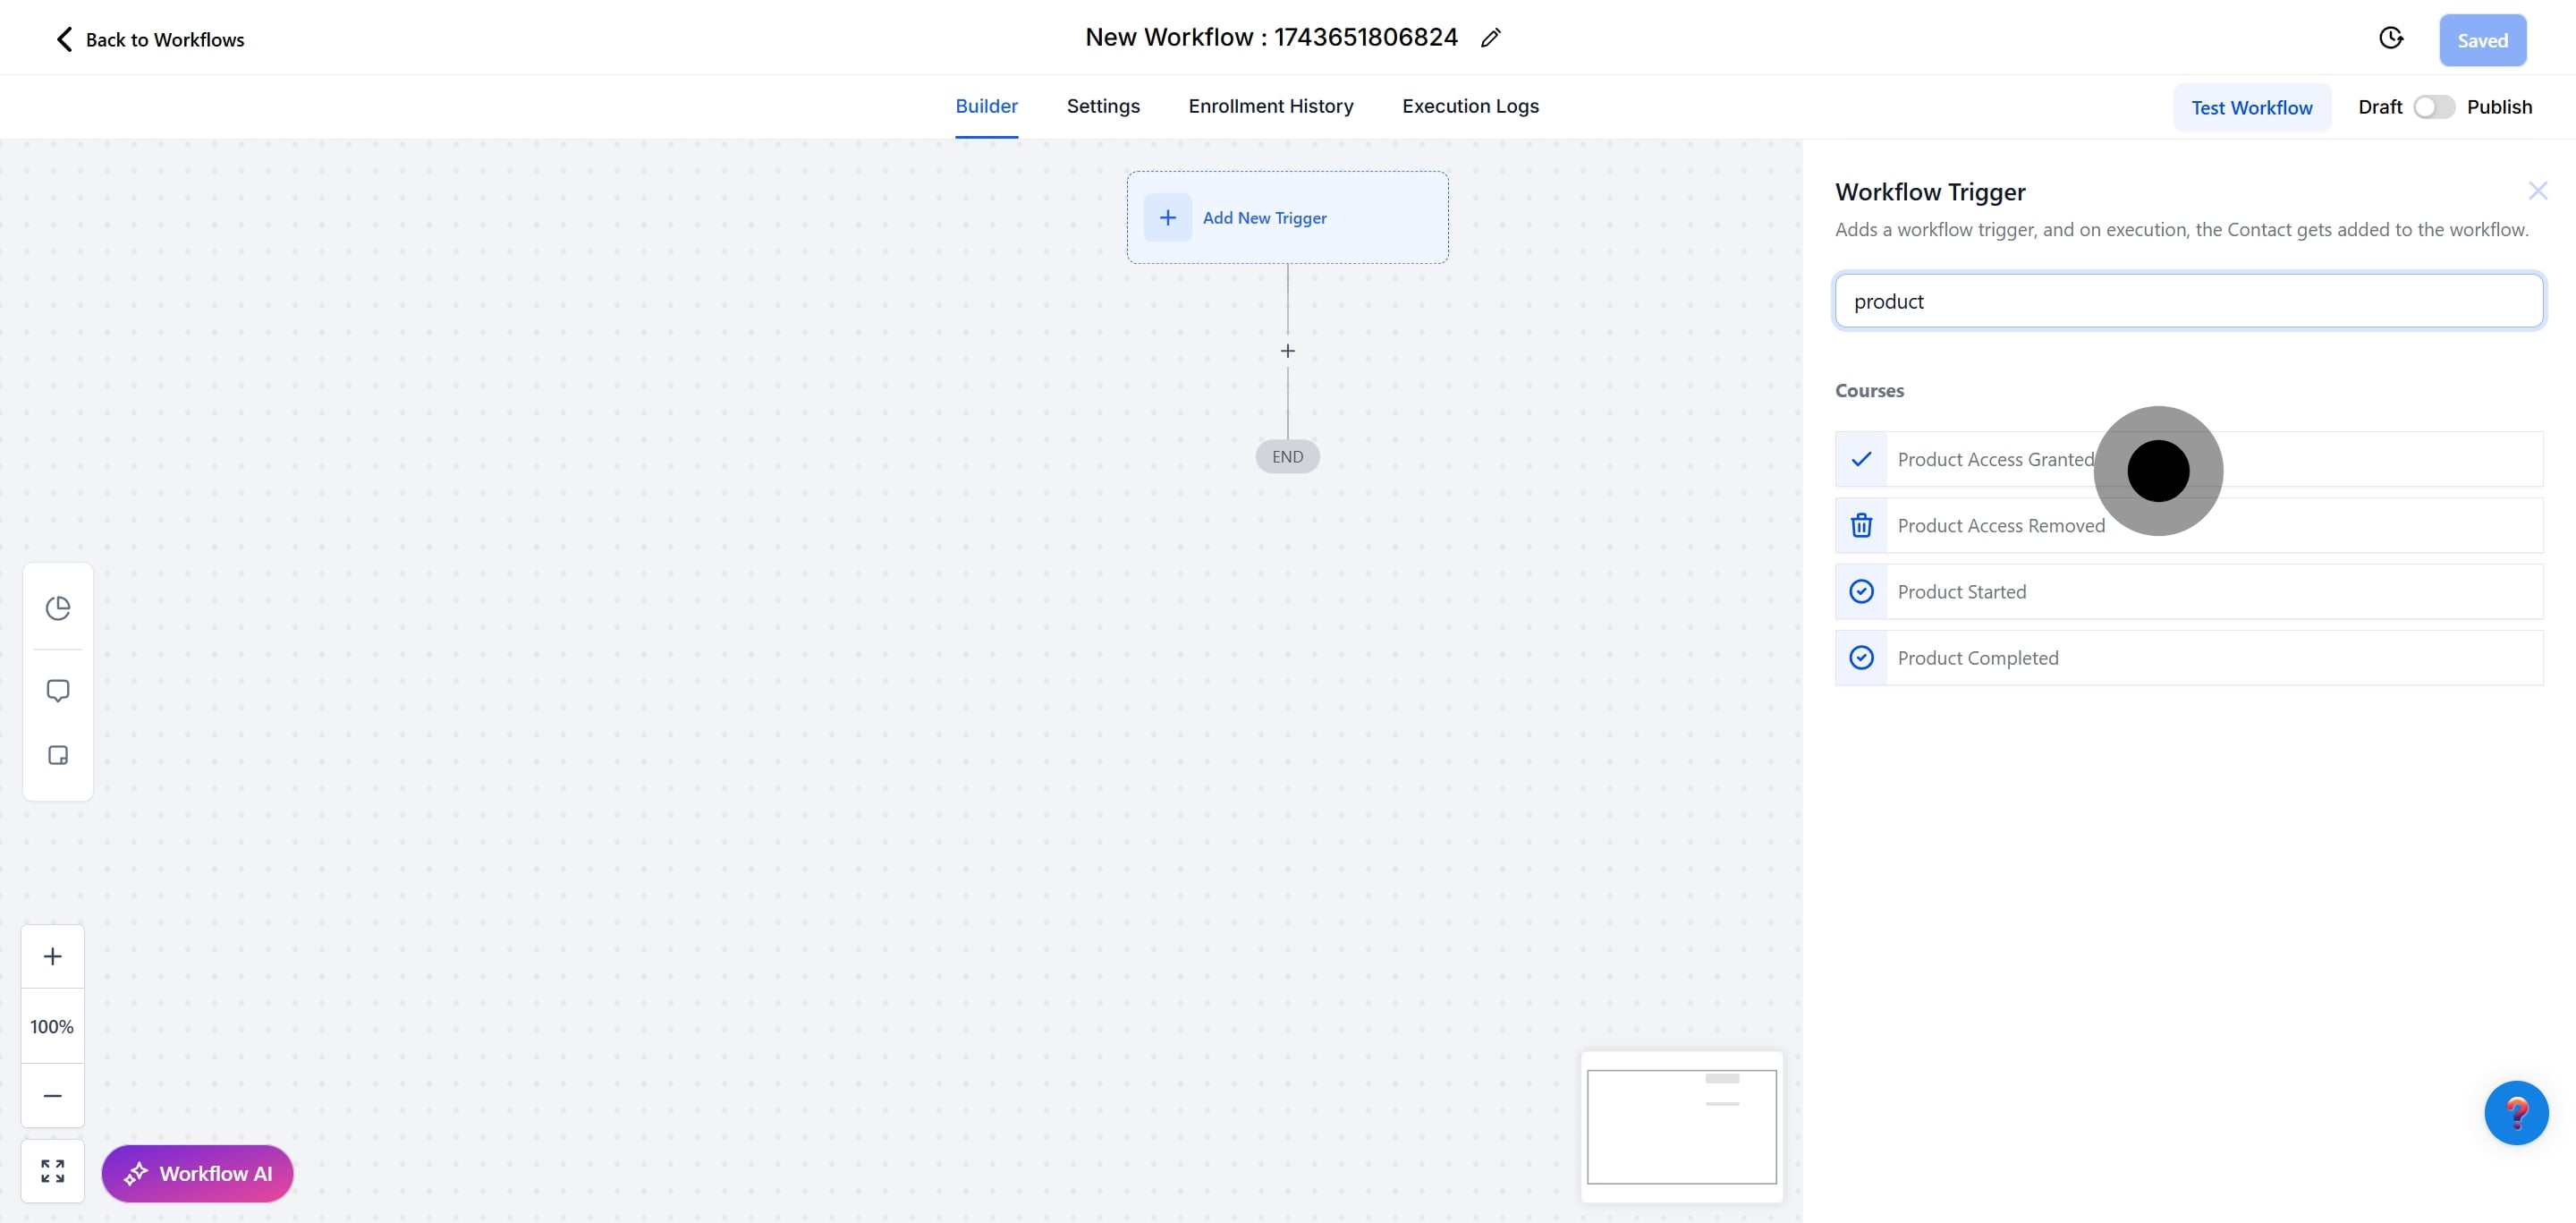
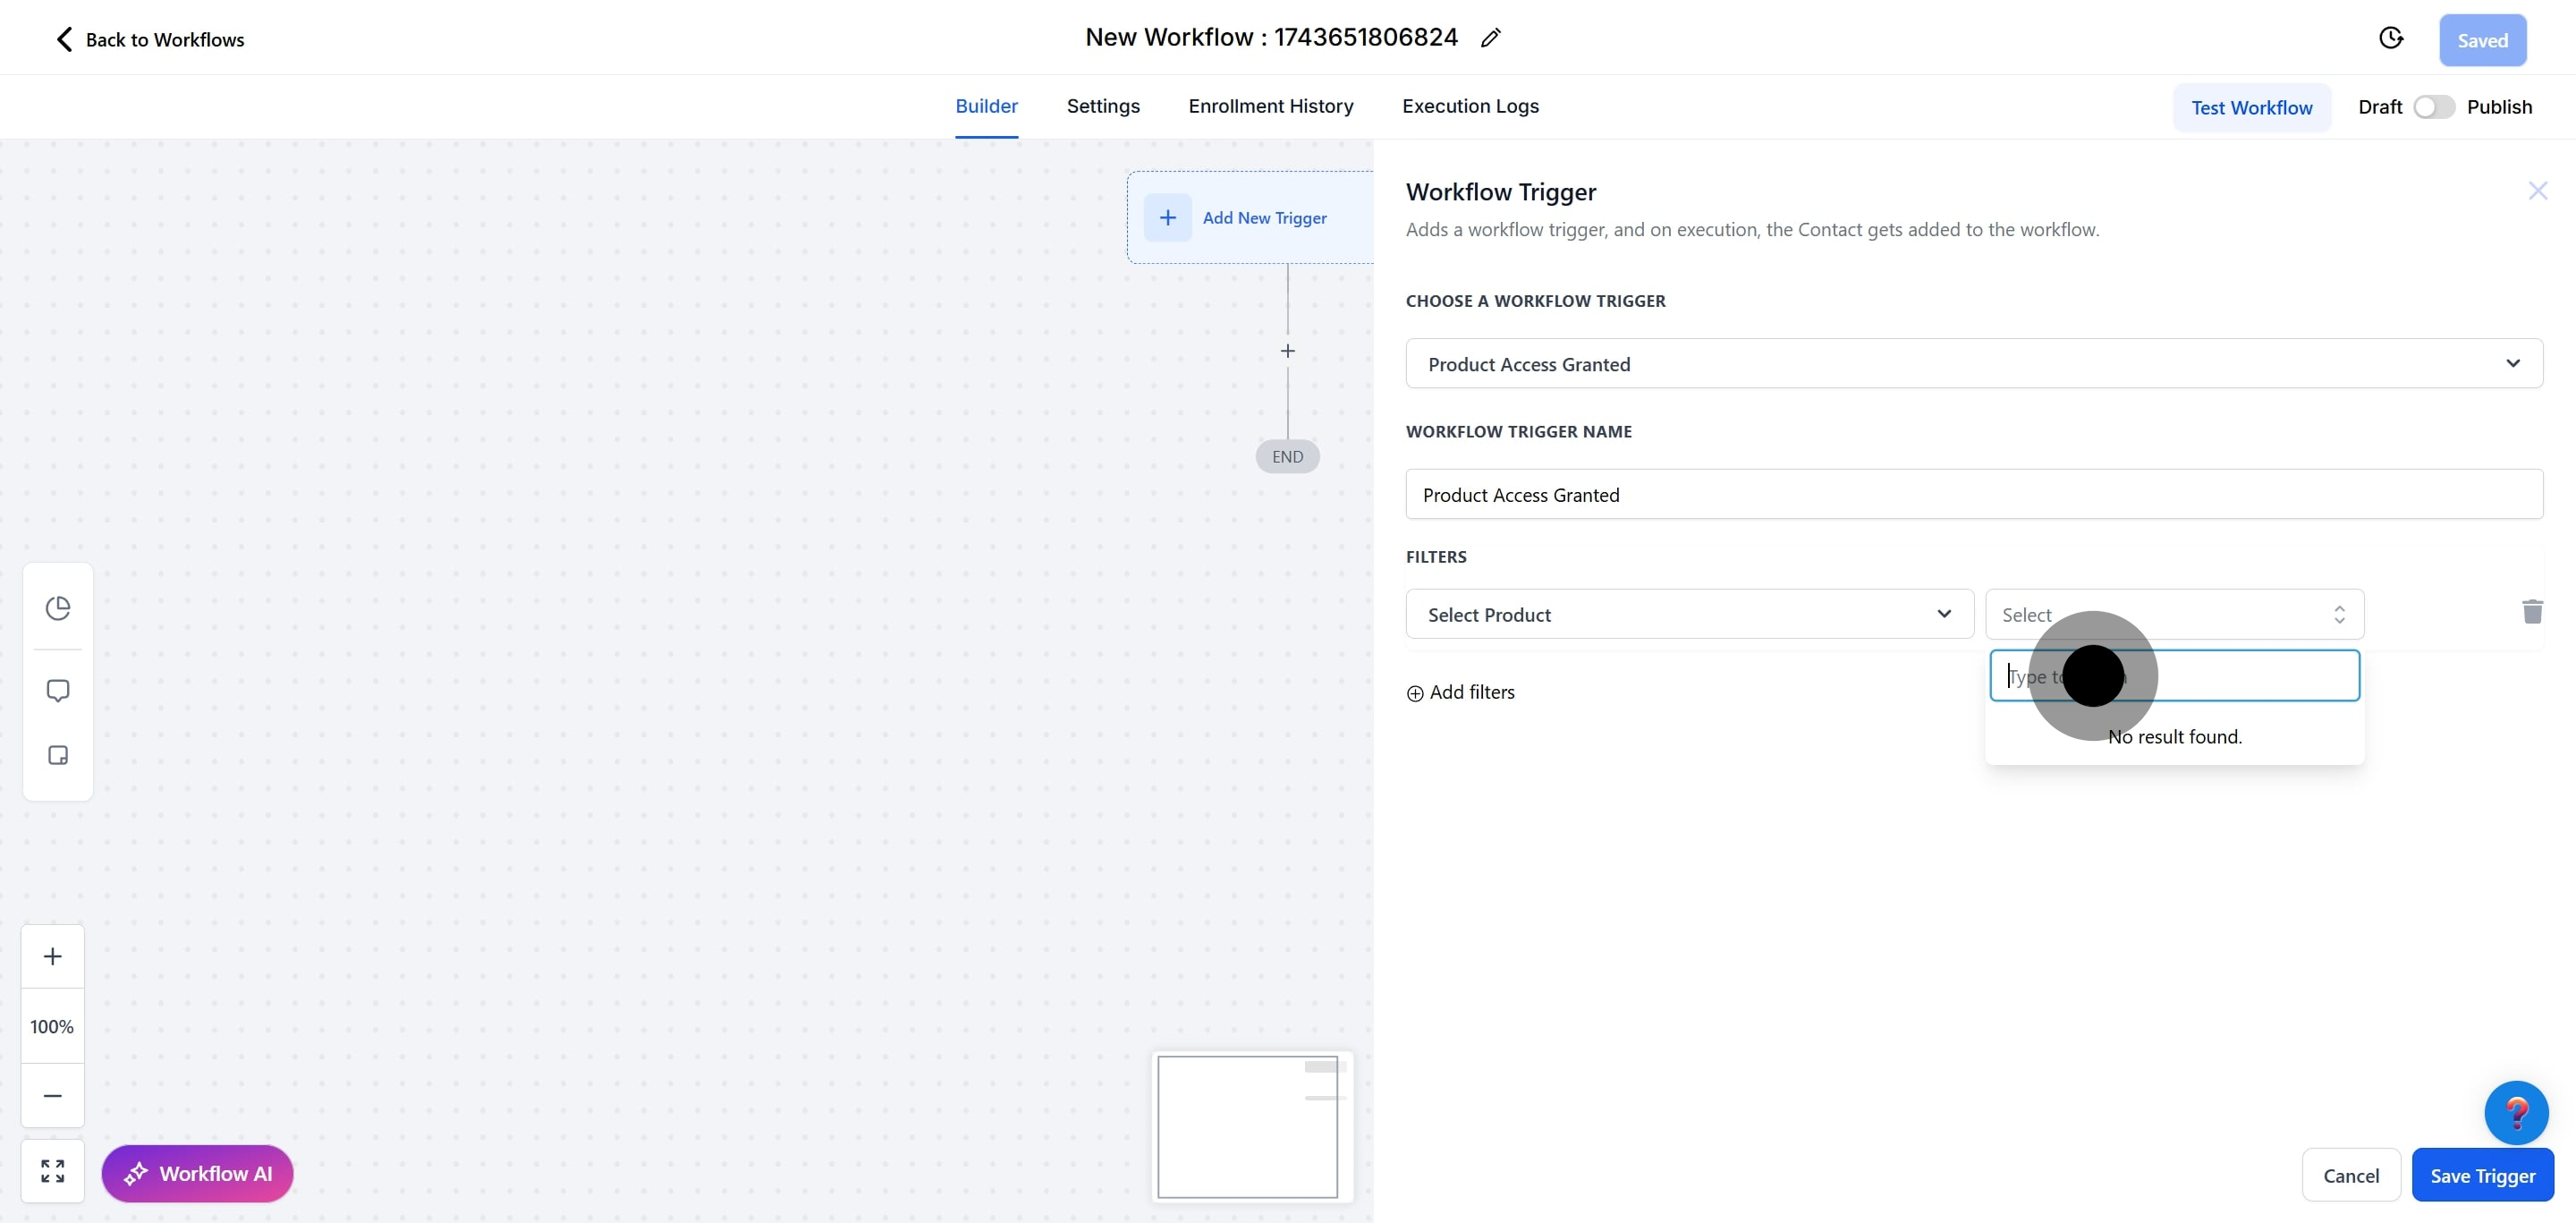
5. Click here to search for the Product Access Granted trigger.
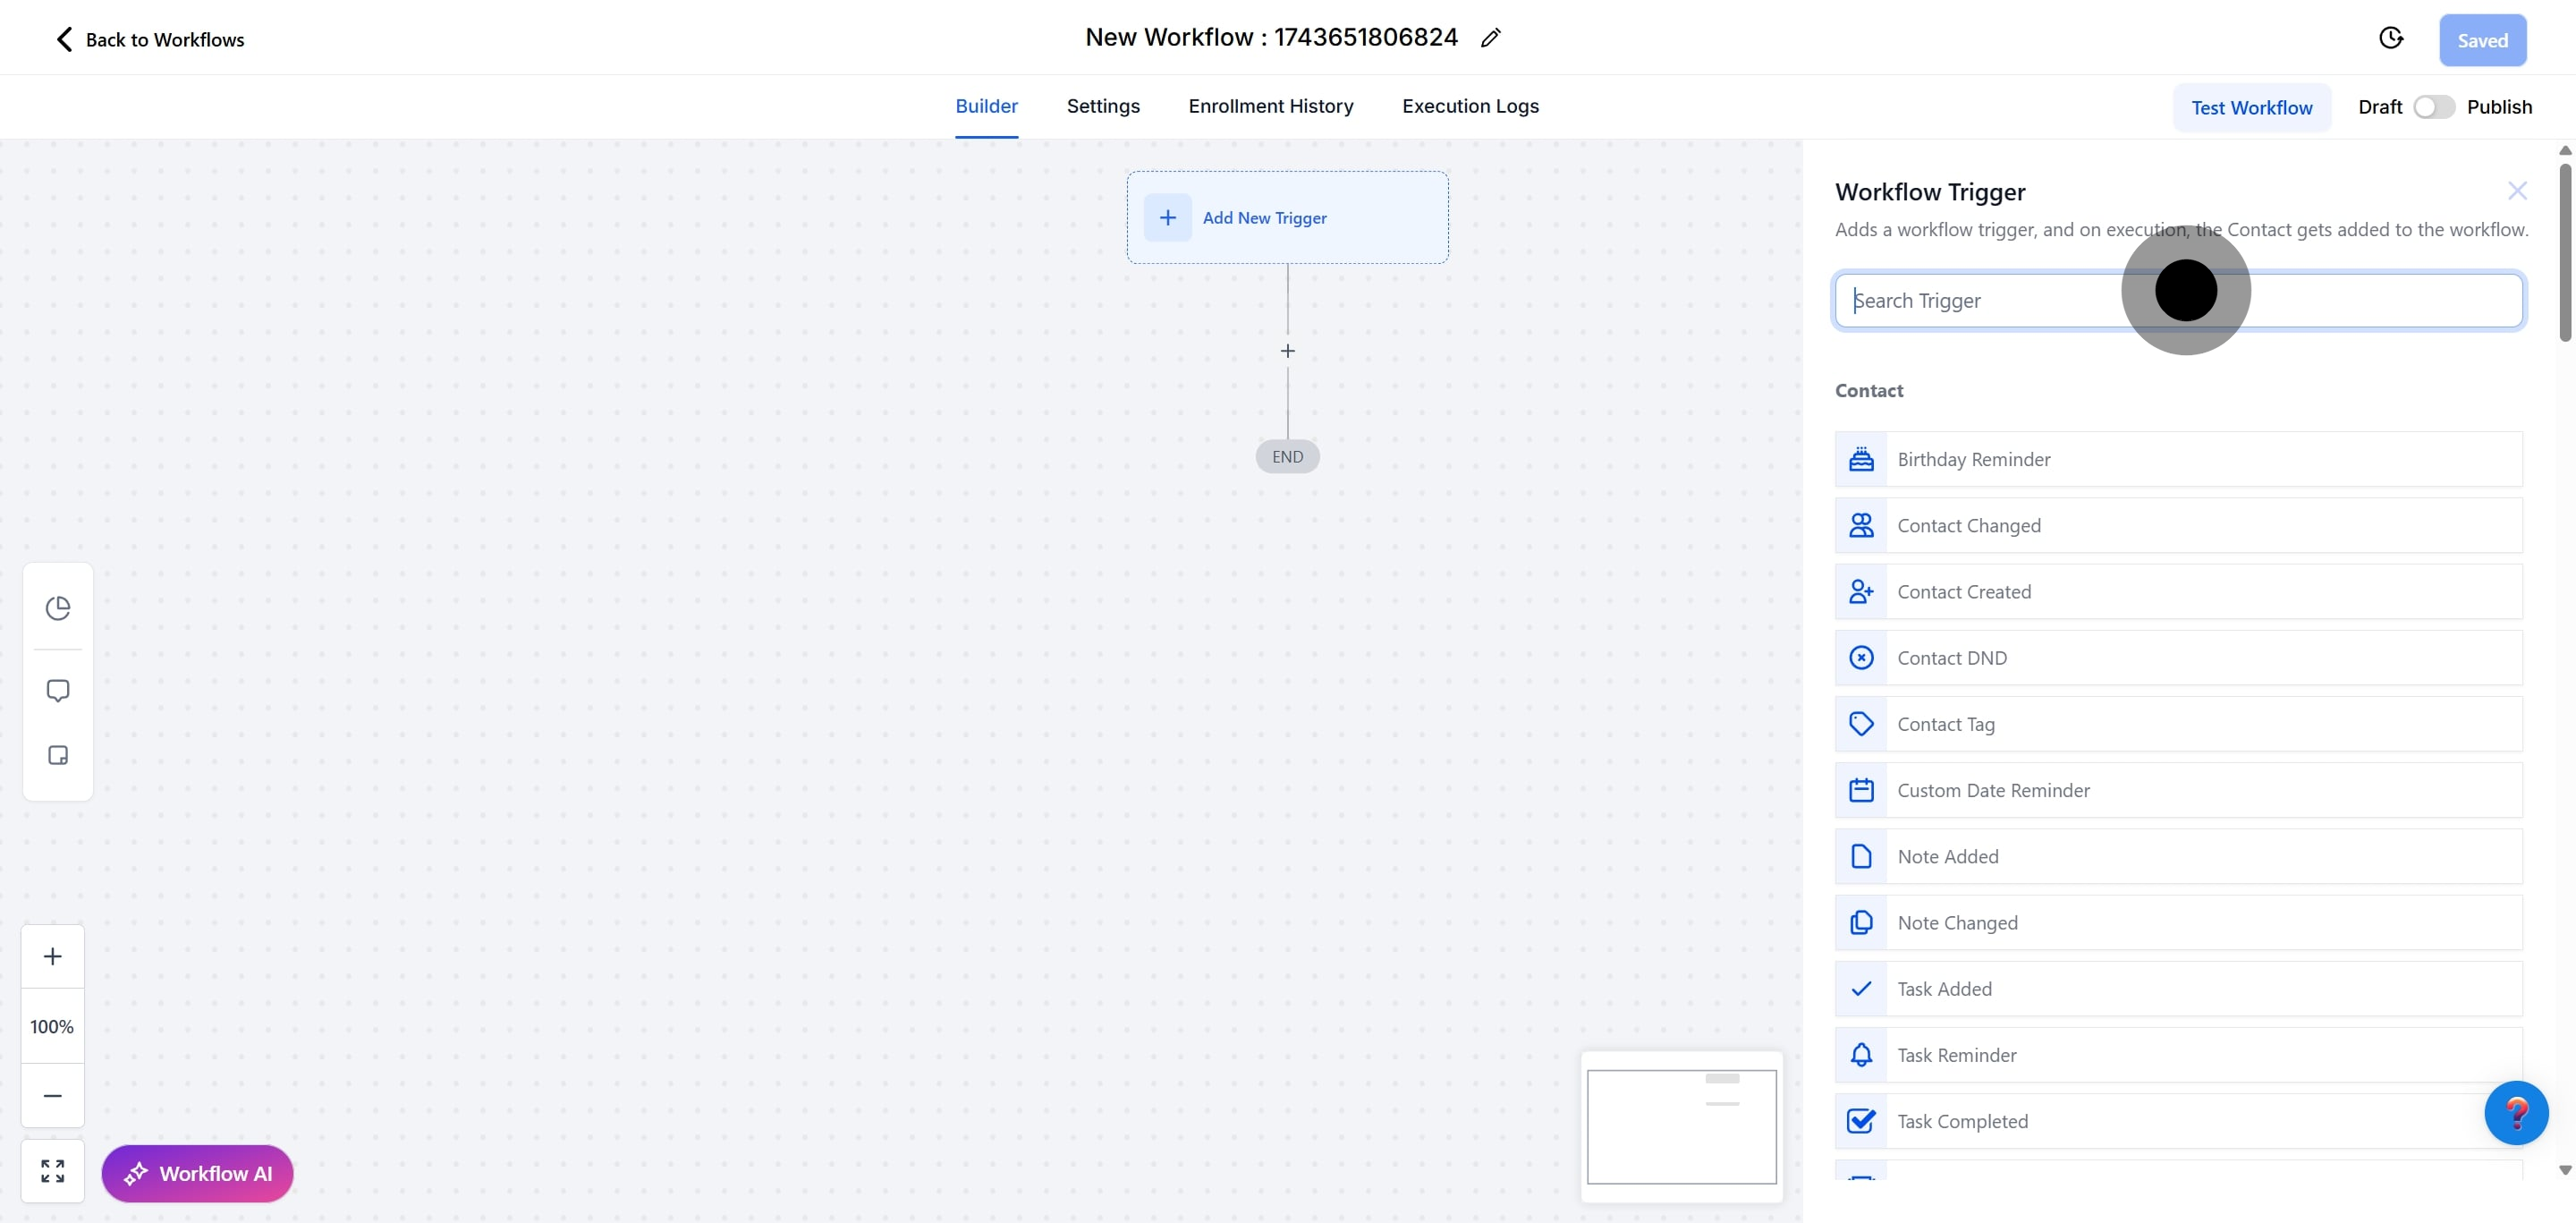
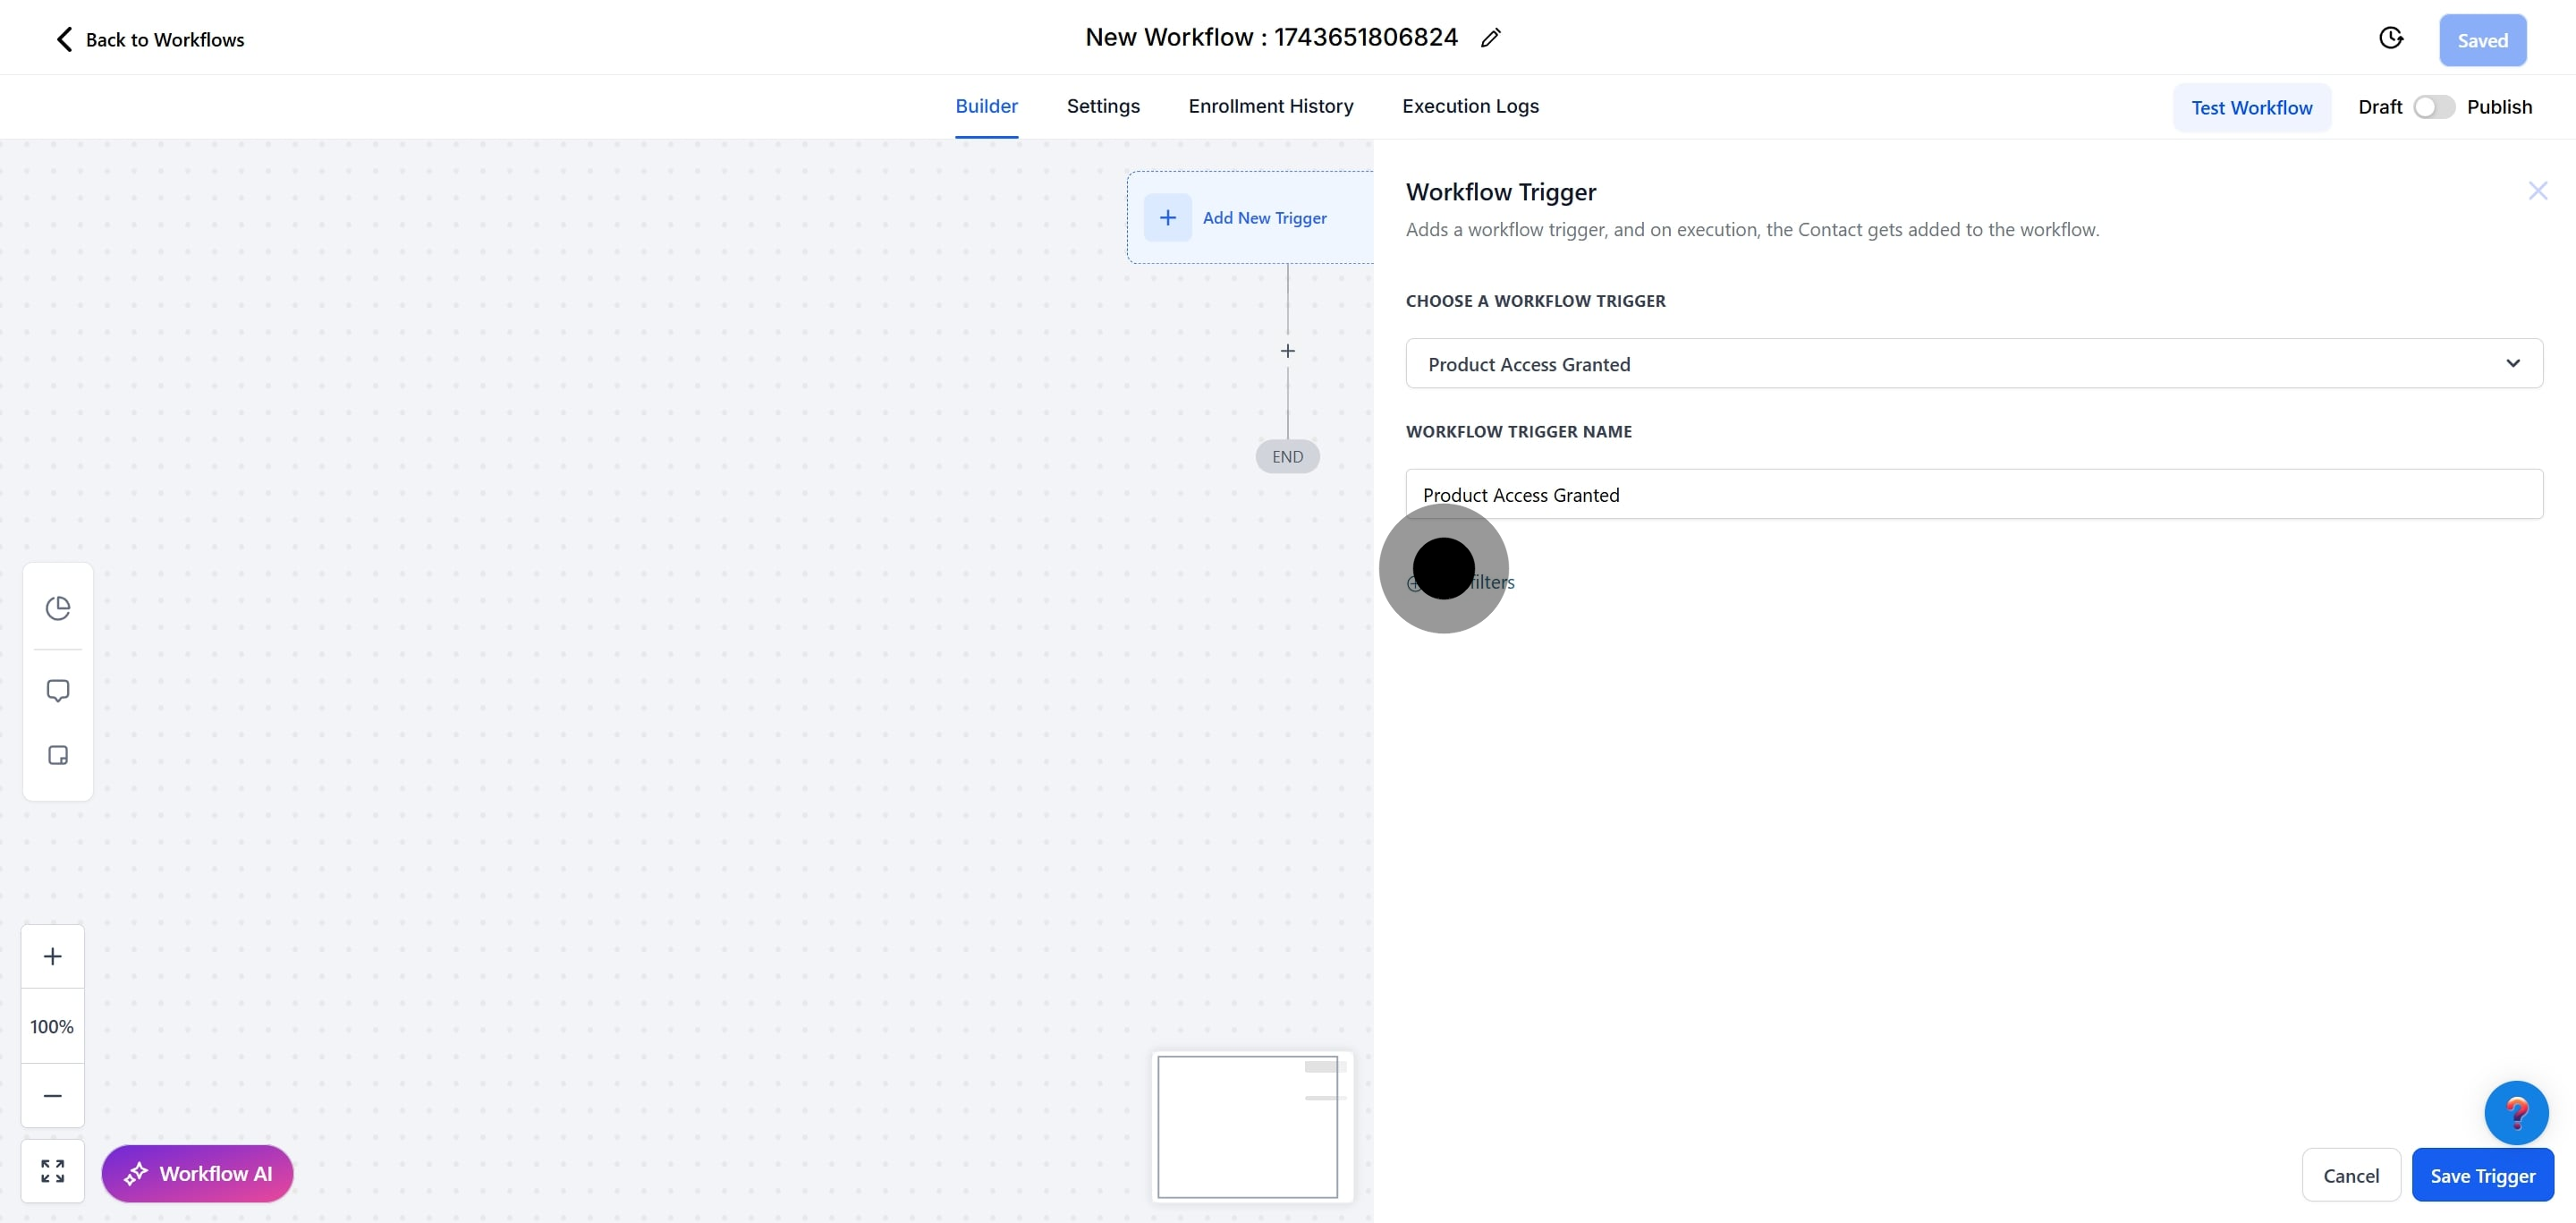
6. Once that's done, click on "Product Access Granted" to select it.
7. Click here to rename the trigger to something meaningful.
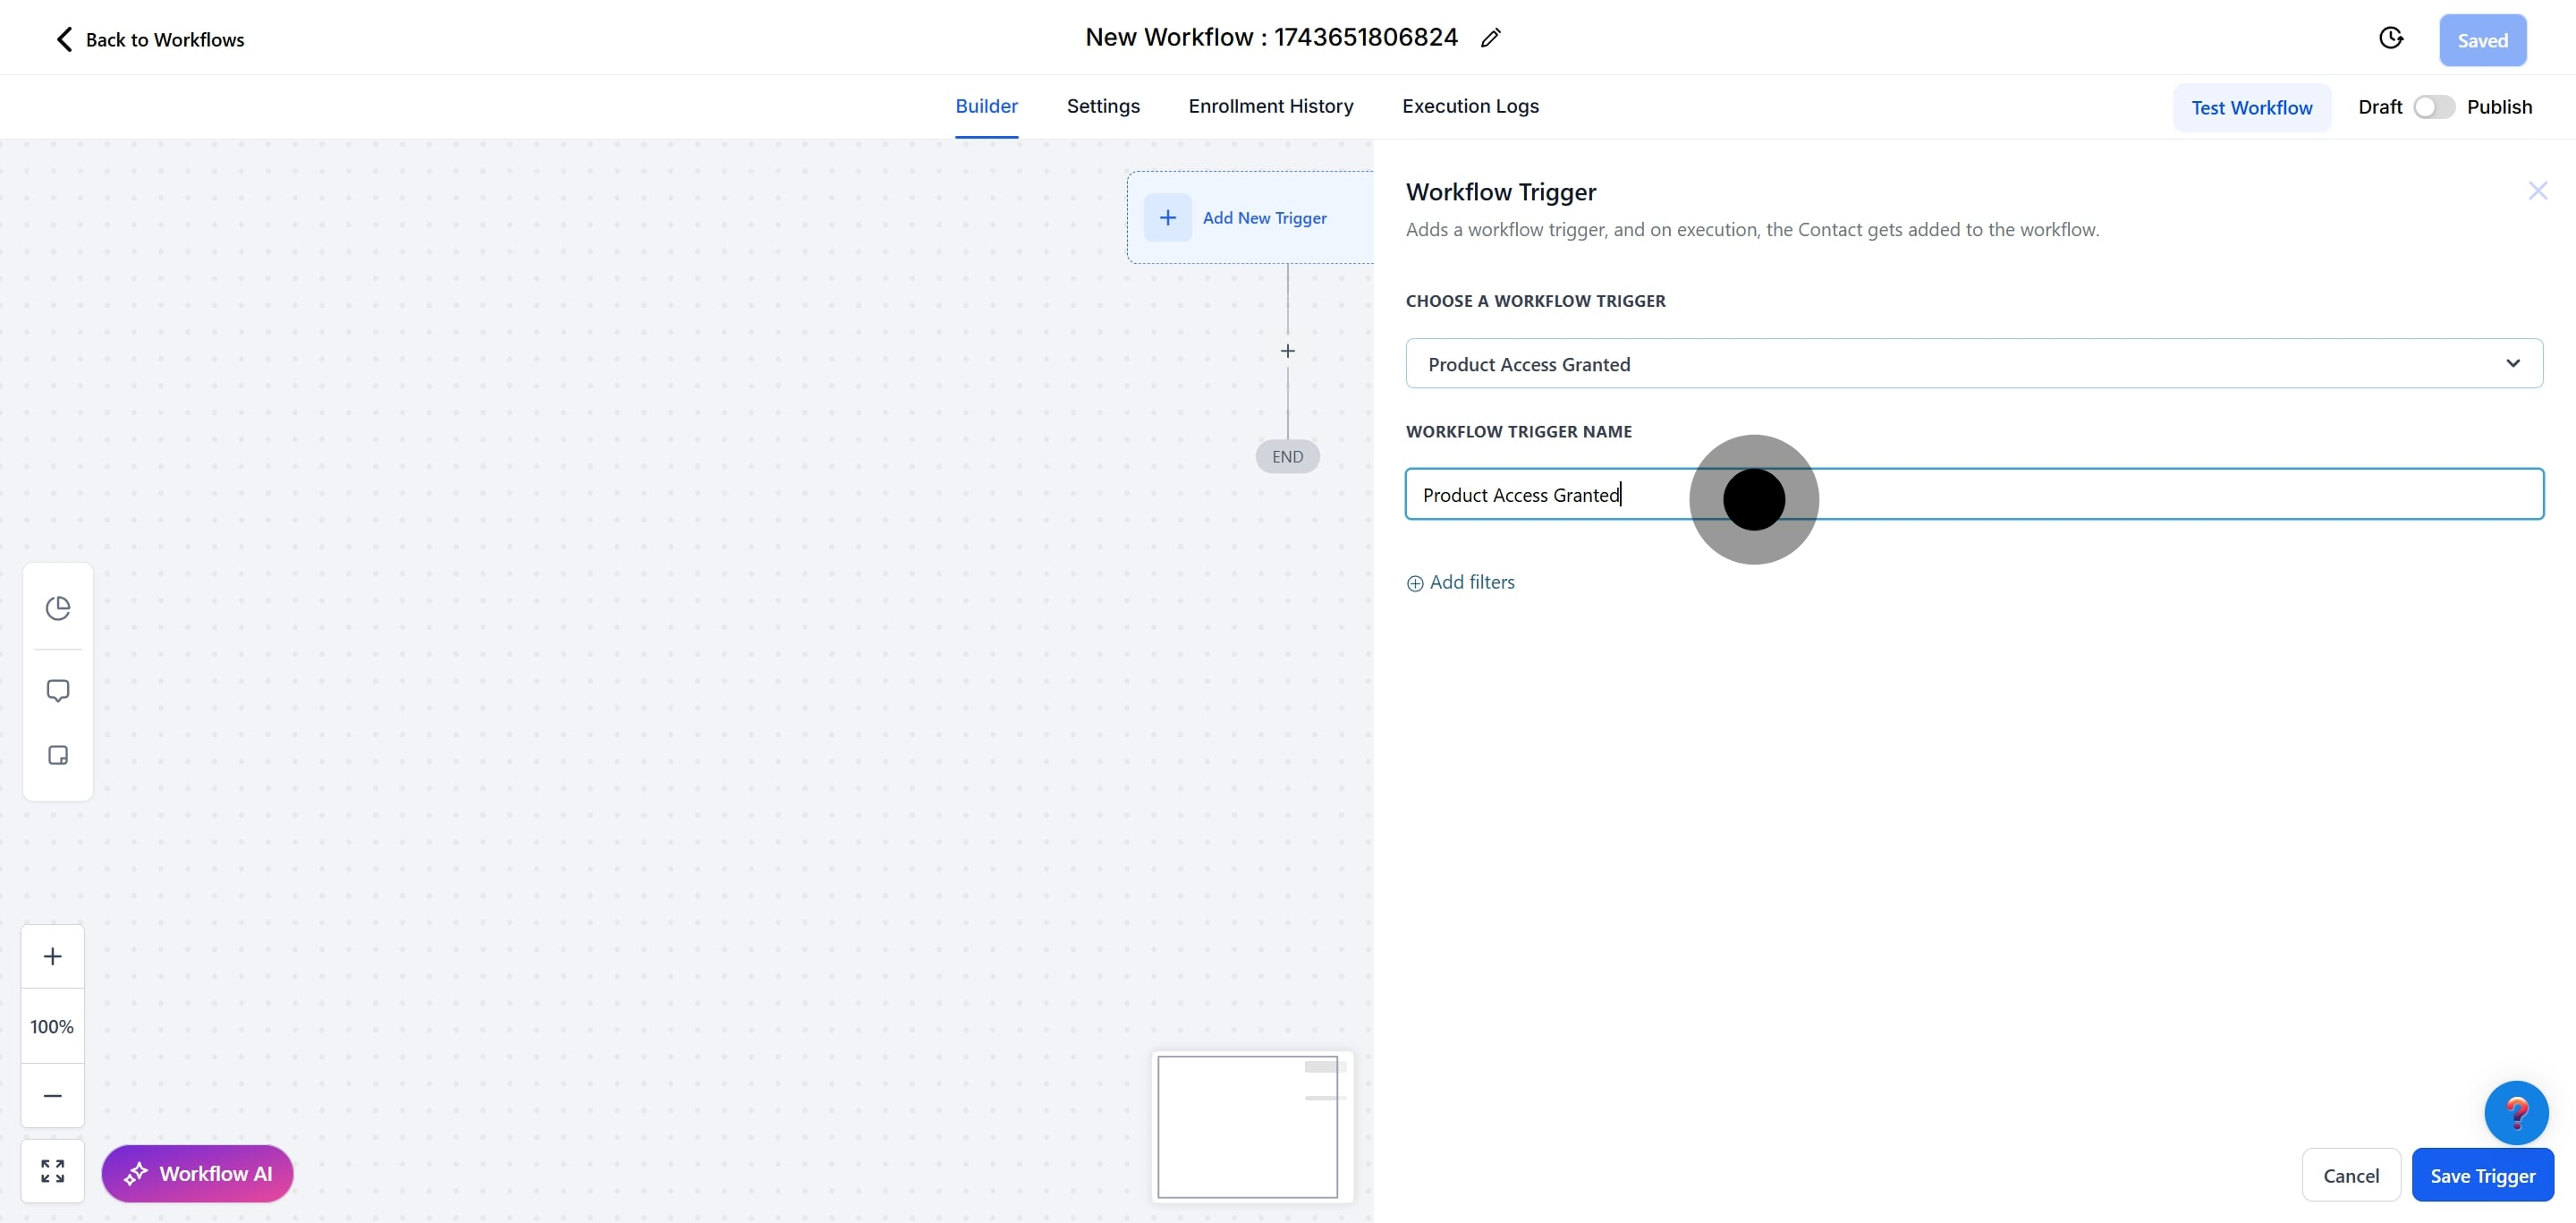
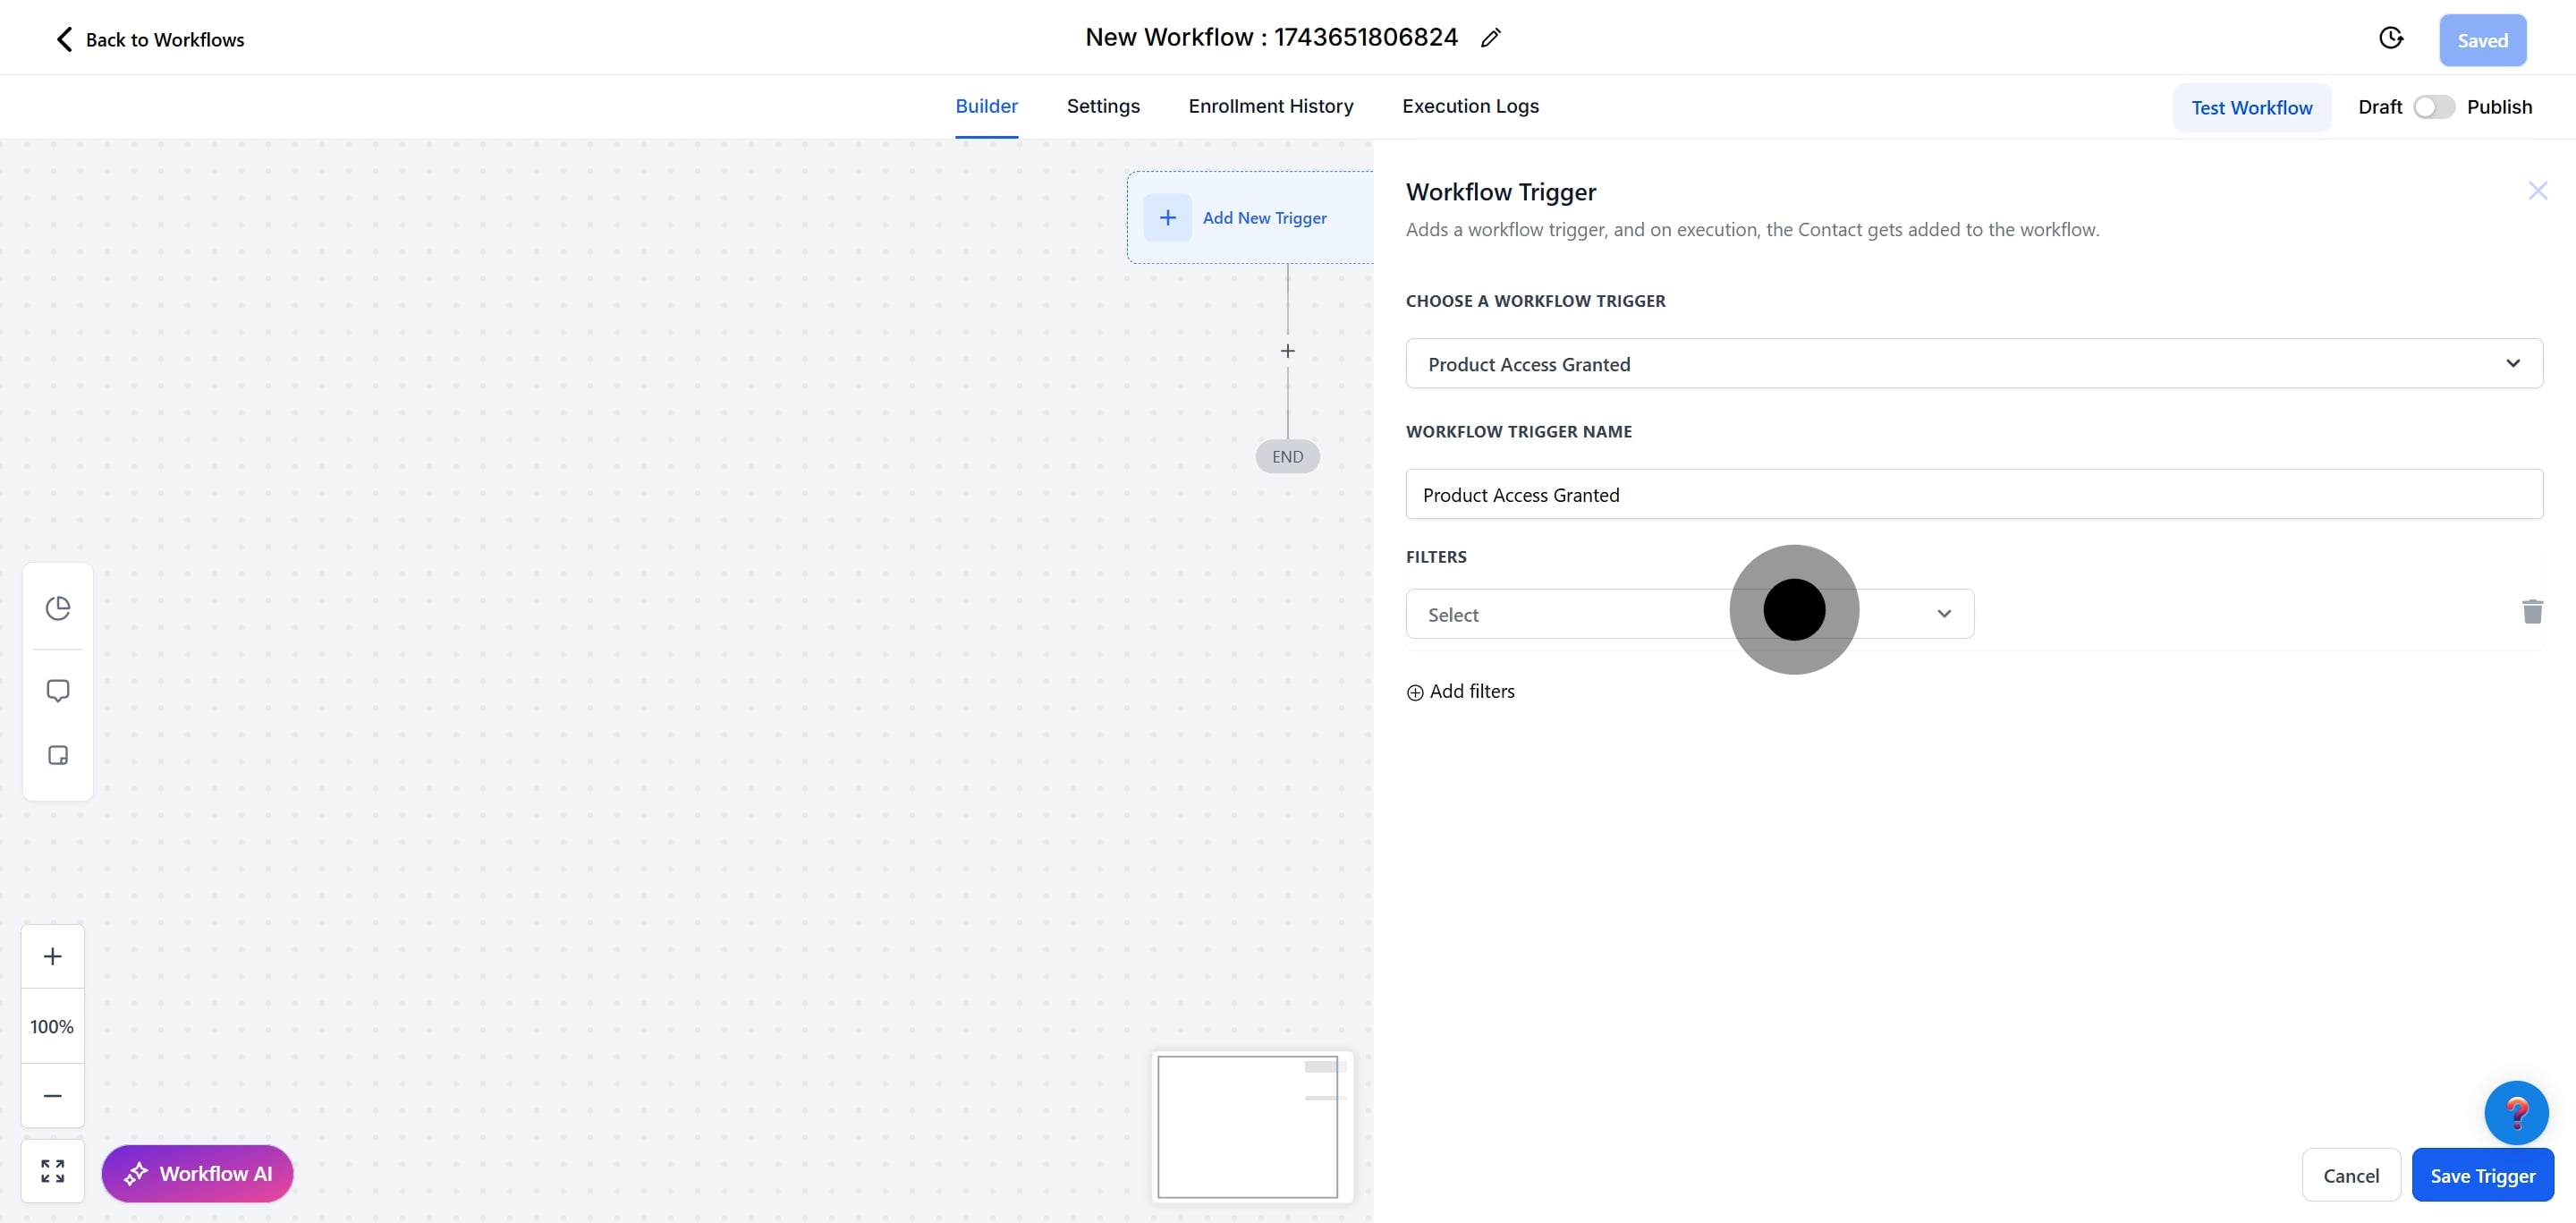
8. After that, click on "Add filters" to refine your selection.
9. Next up, click on "Select" to open the sub-menu options.
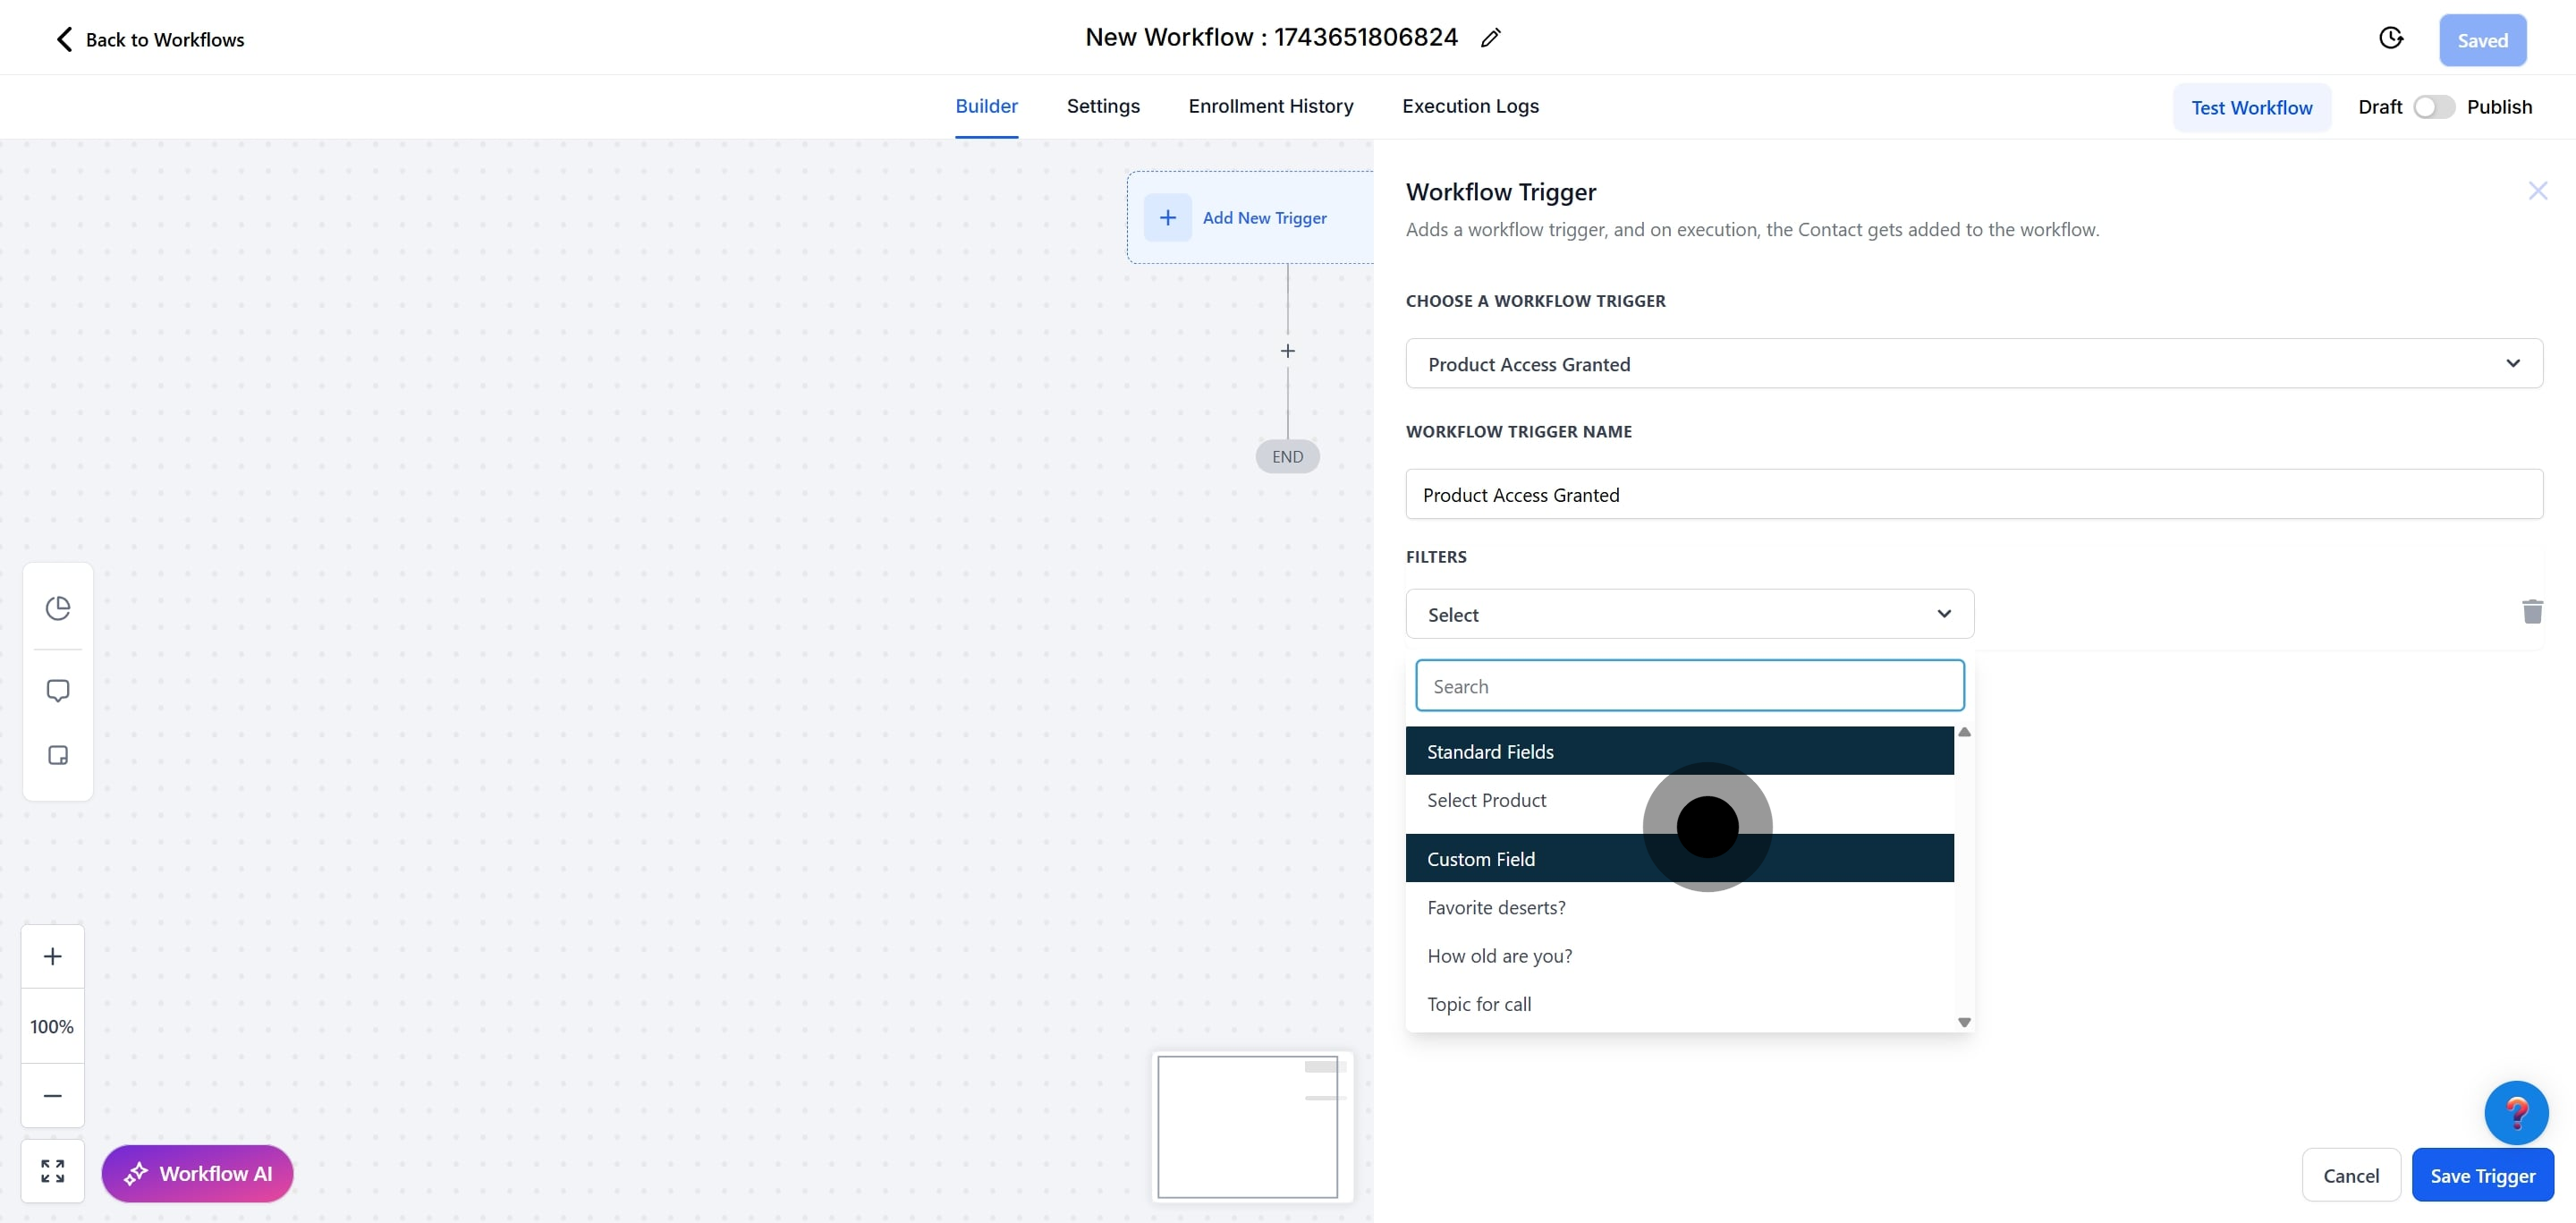
10. Afterwards, click here to select a filter from the list.
11. Click on "Select" to open a sub-menu for choices.
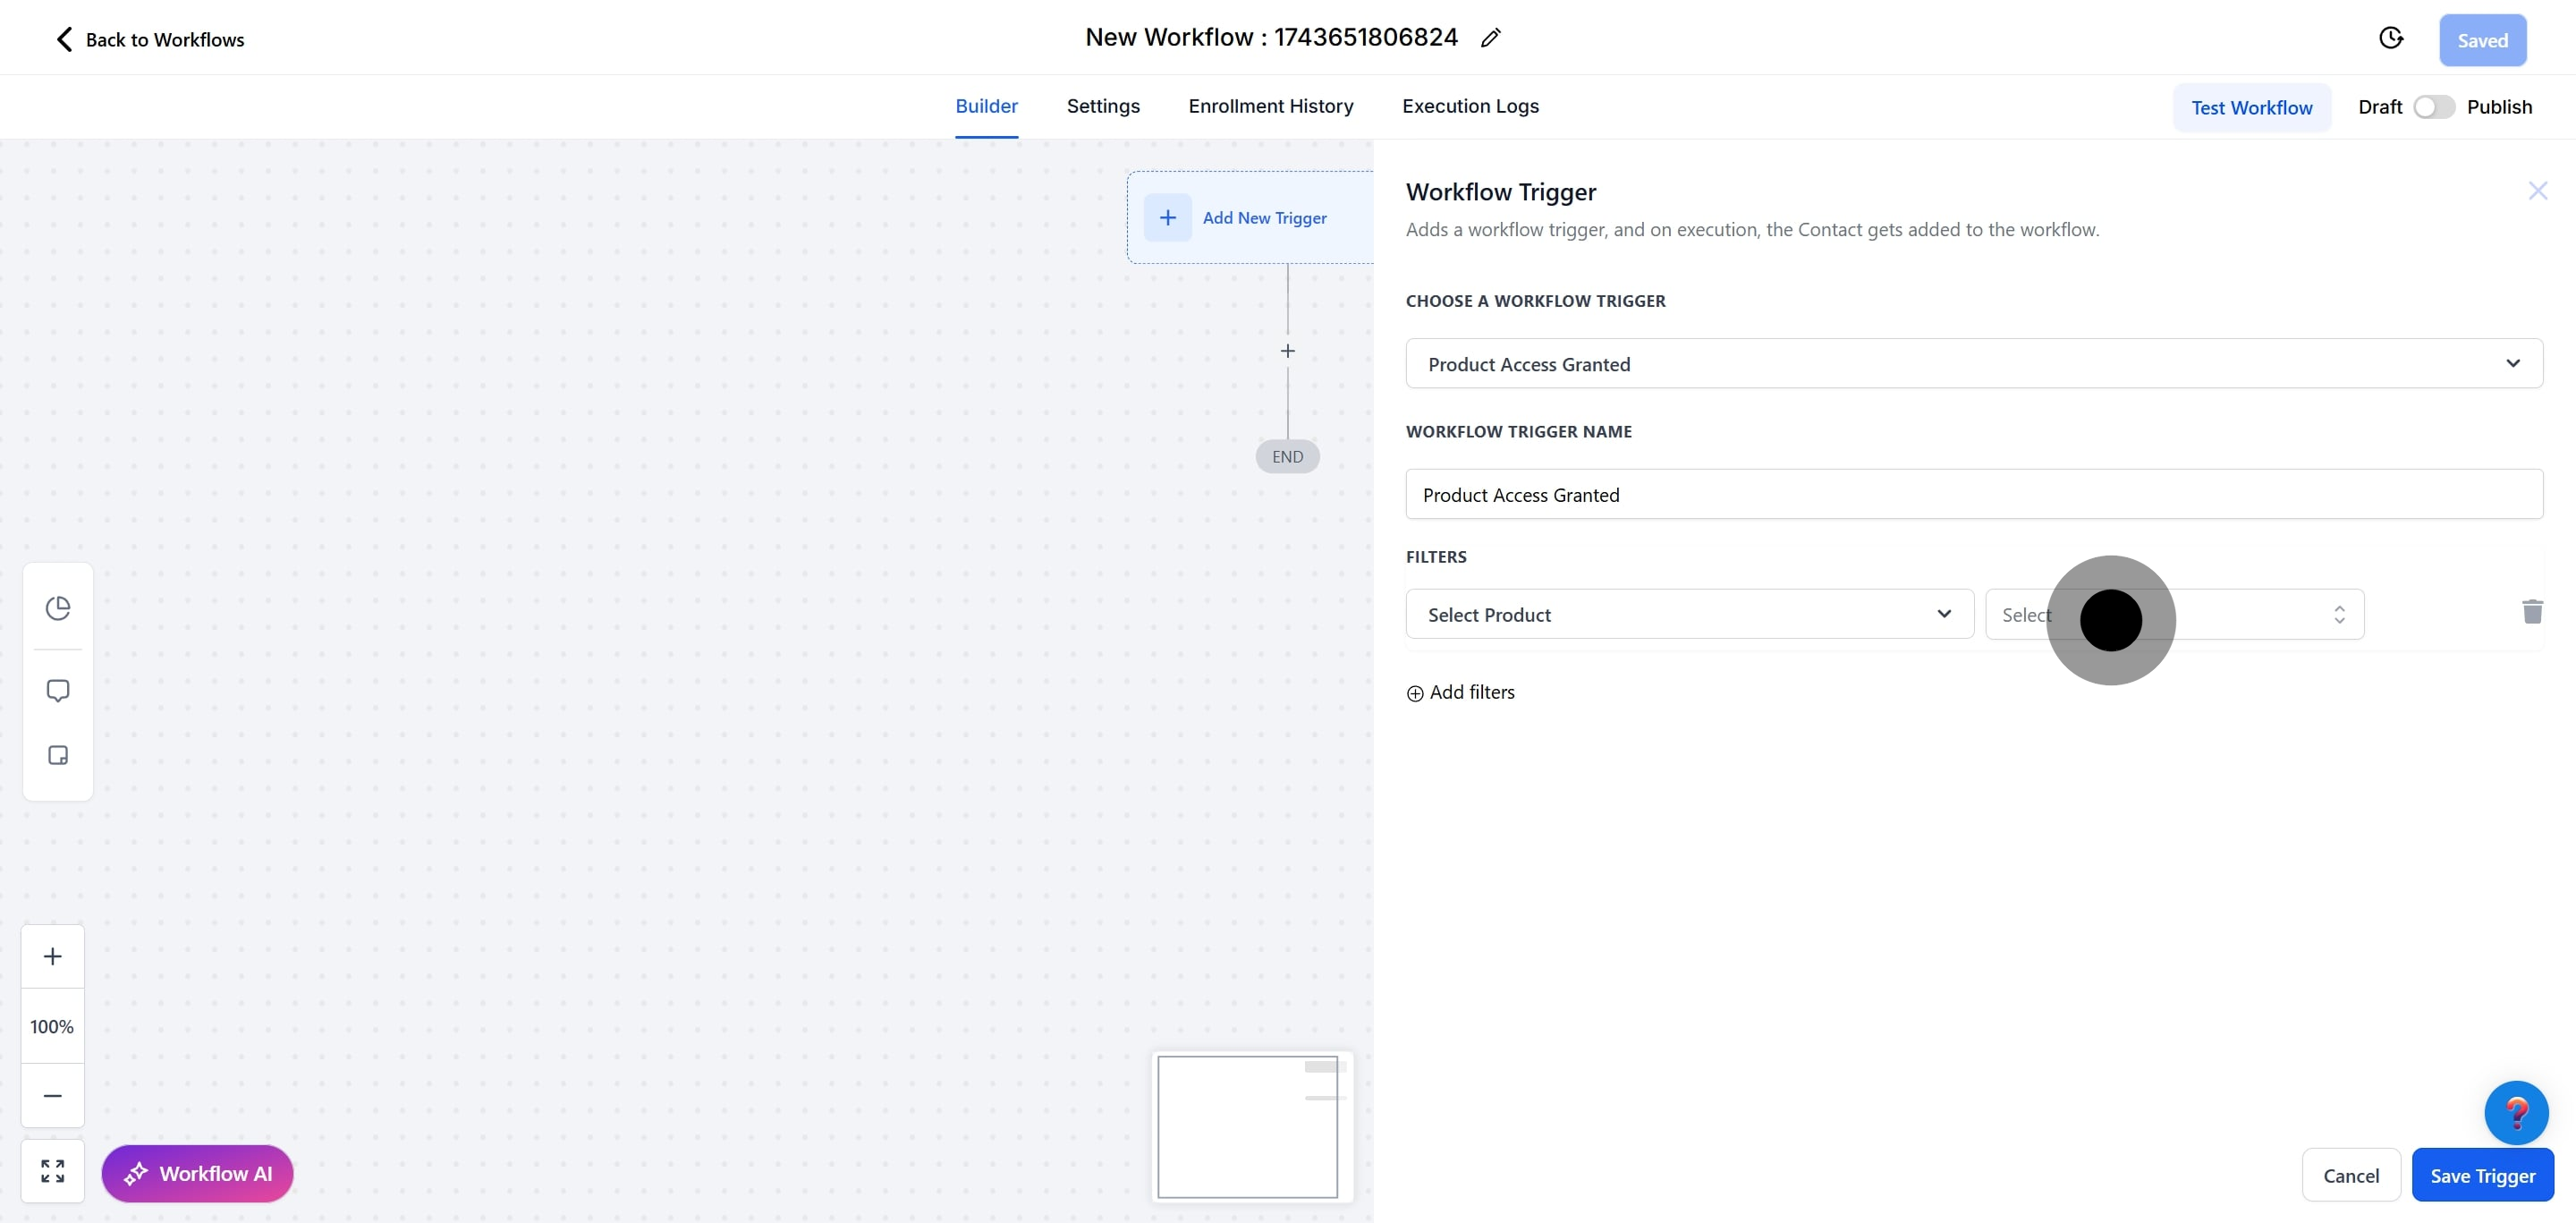
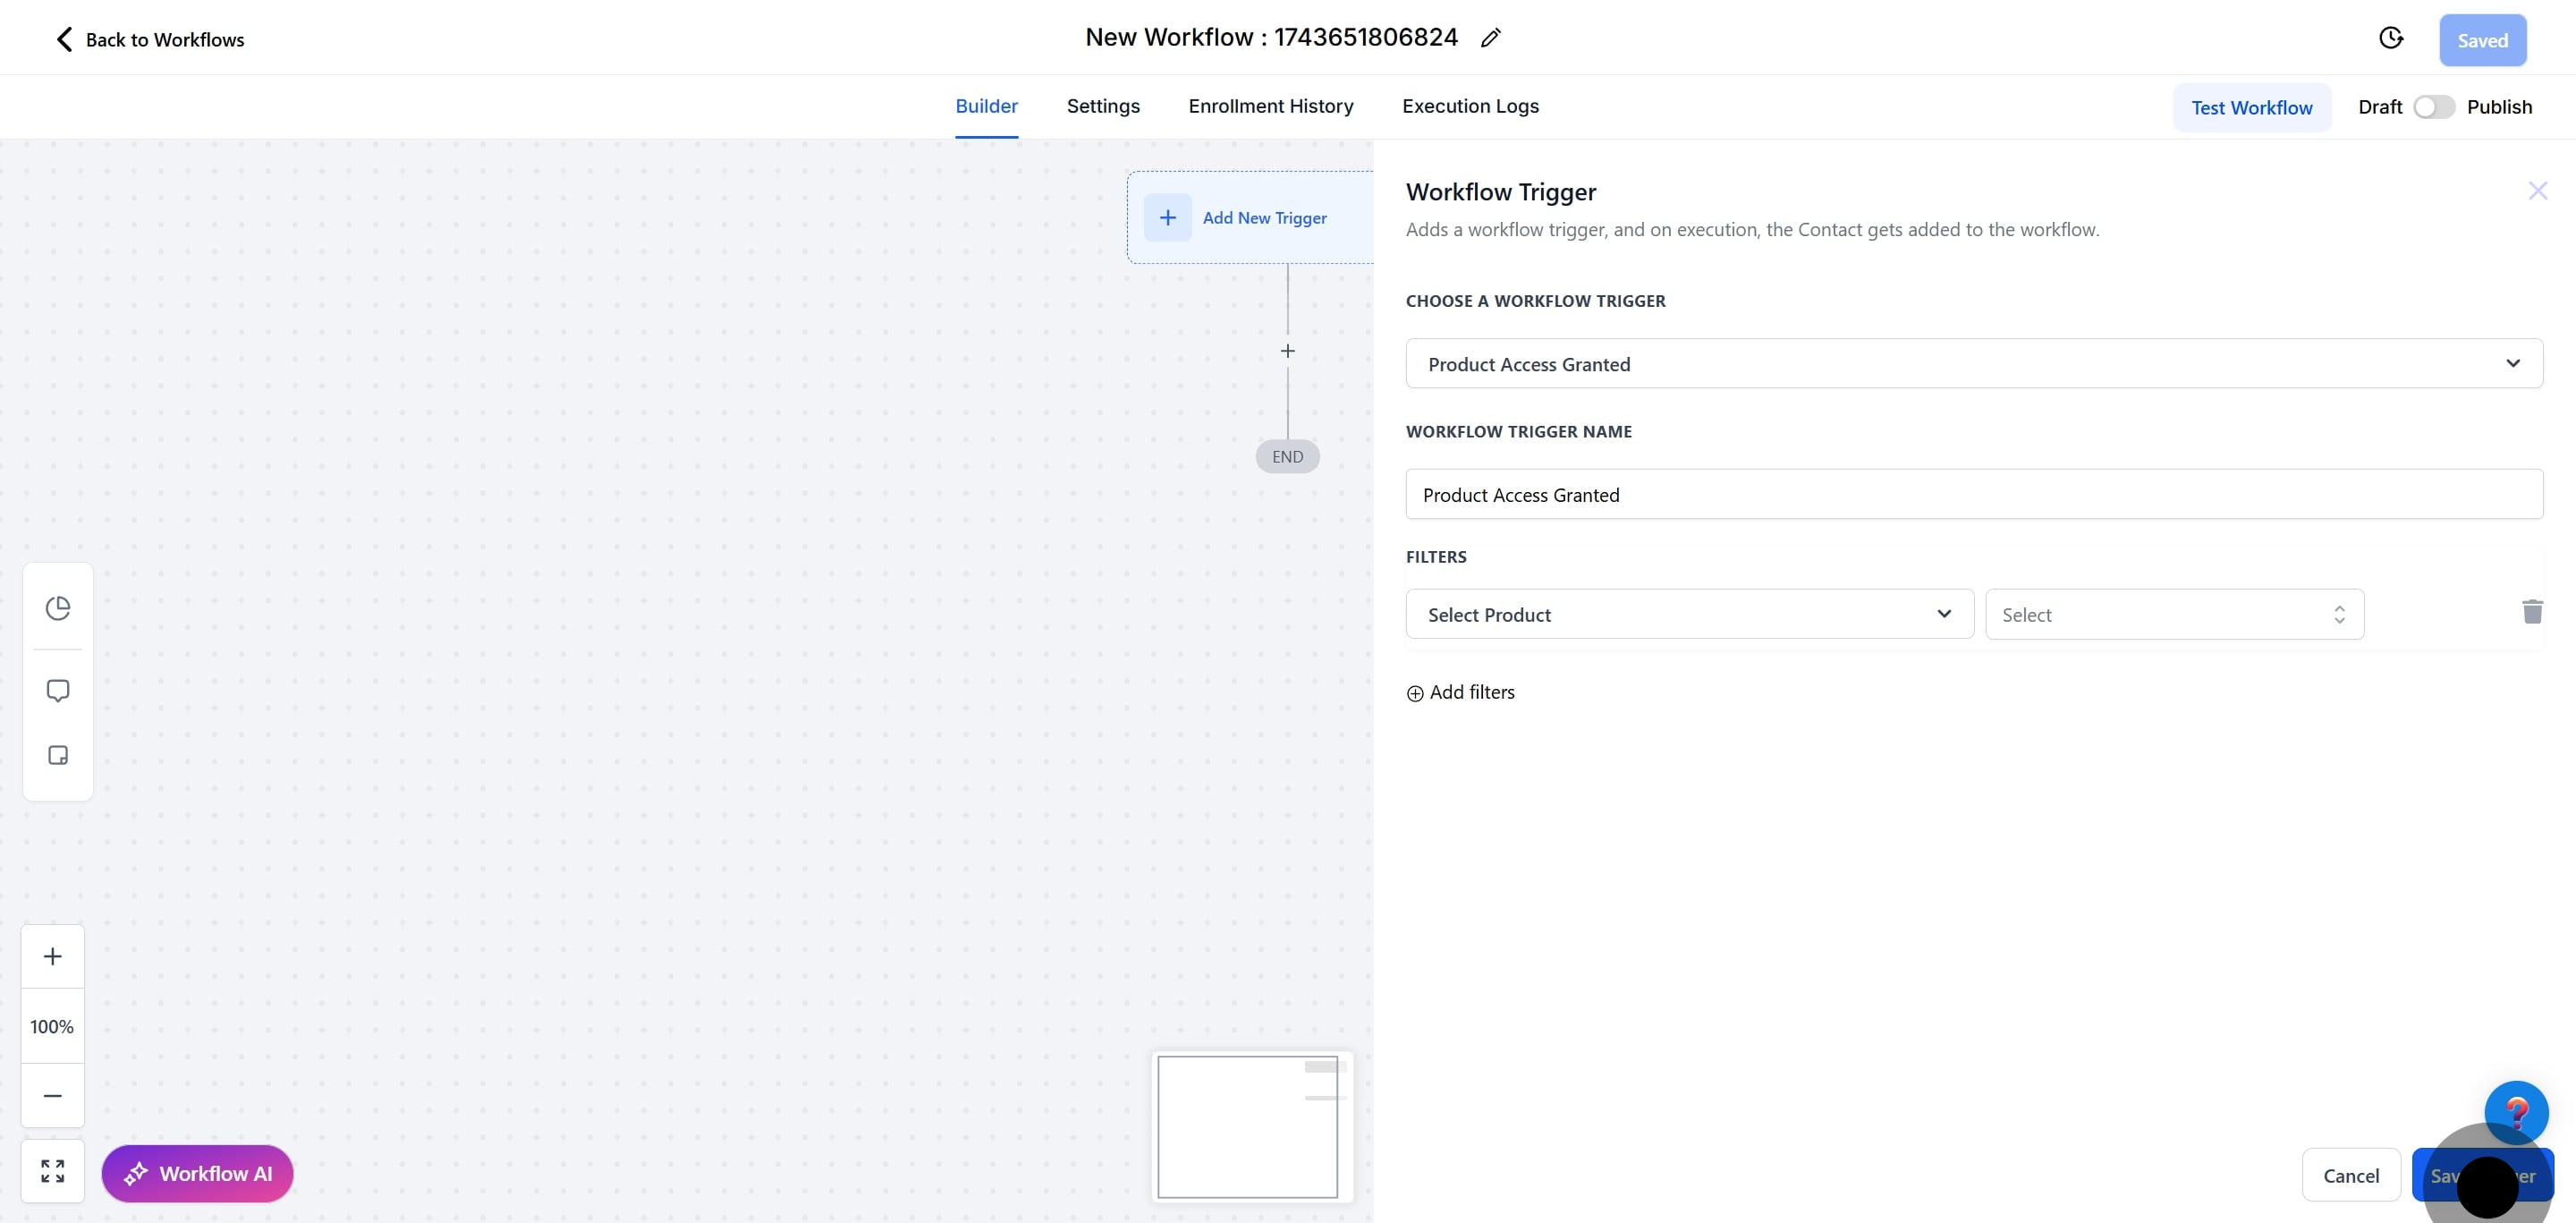
12. Click here to select a product from your options.
13. Click here to save the trigger and finalize your setup.
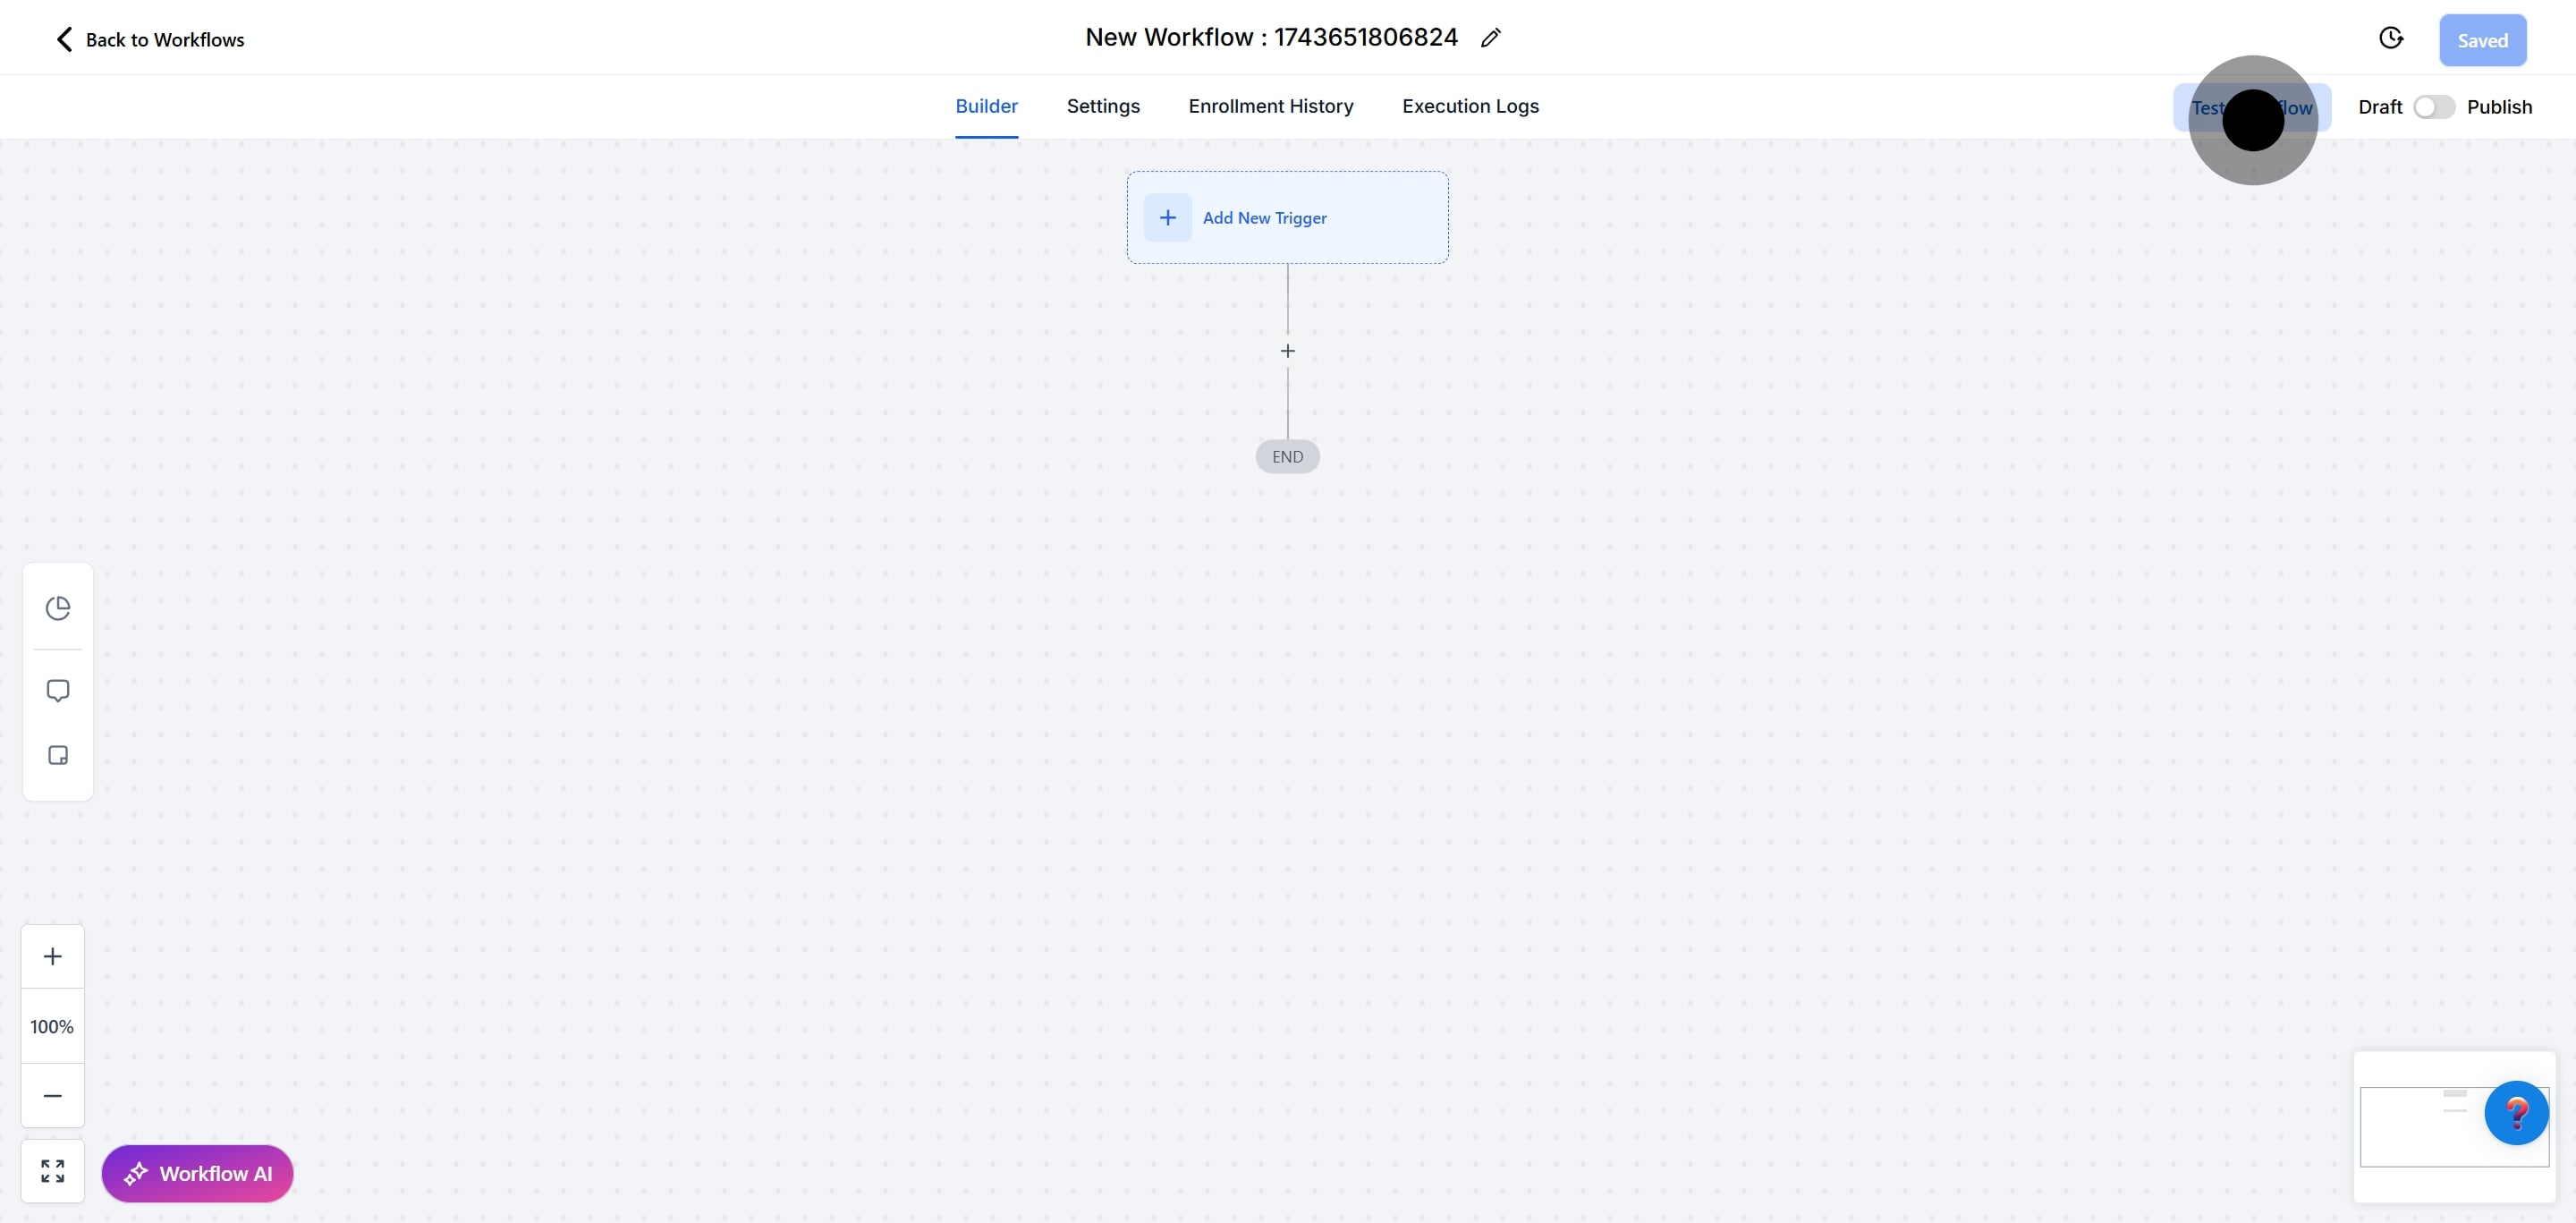
14. Click on "Test Workflow" to ensure everything works smoothly.
15. Next up, click here to open the contact list
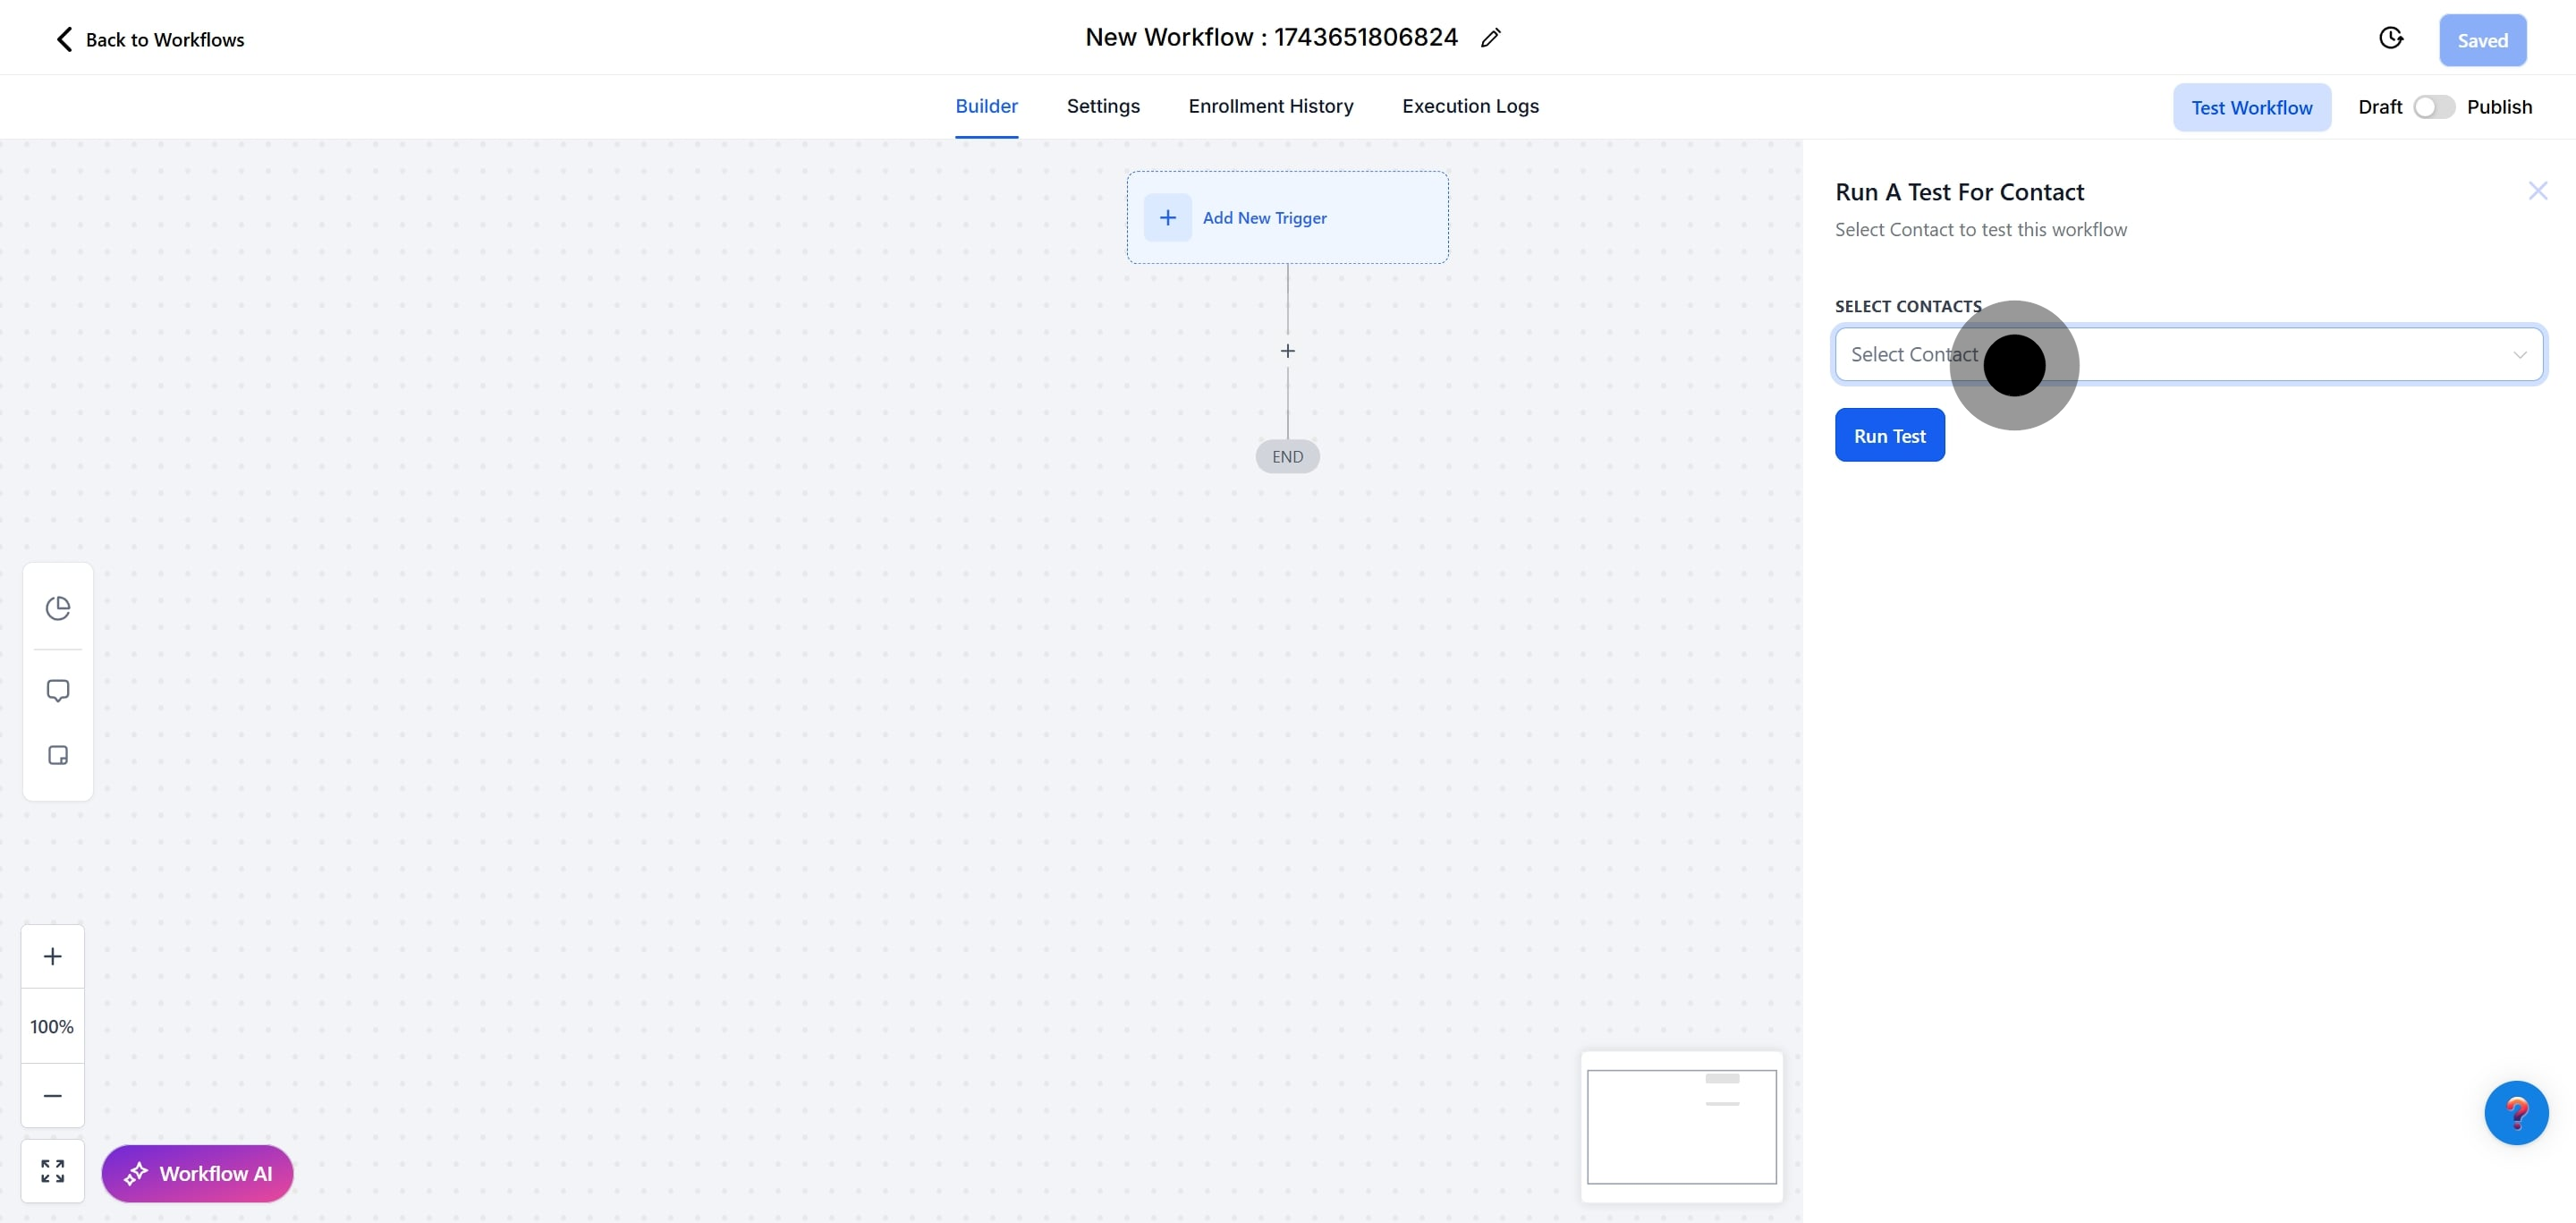
16. Next up, click here to select a contact for testing.
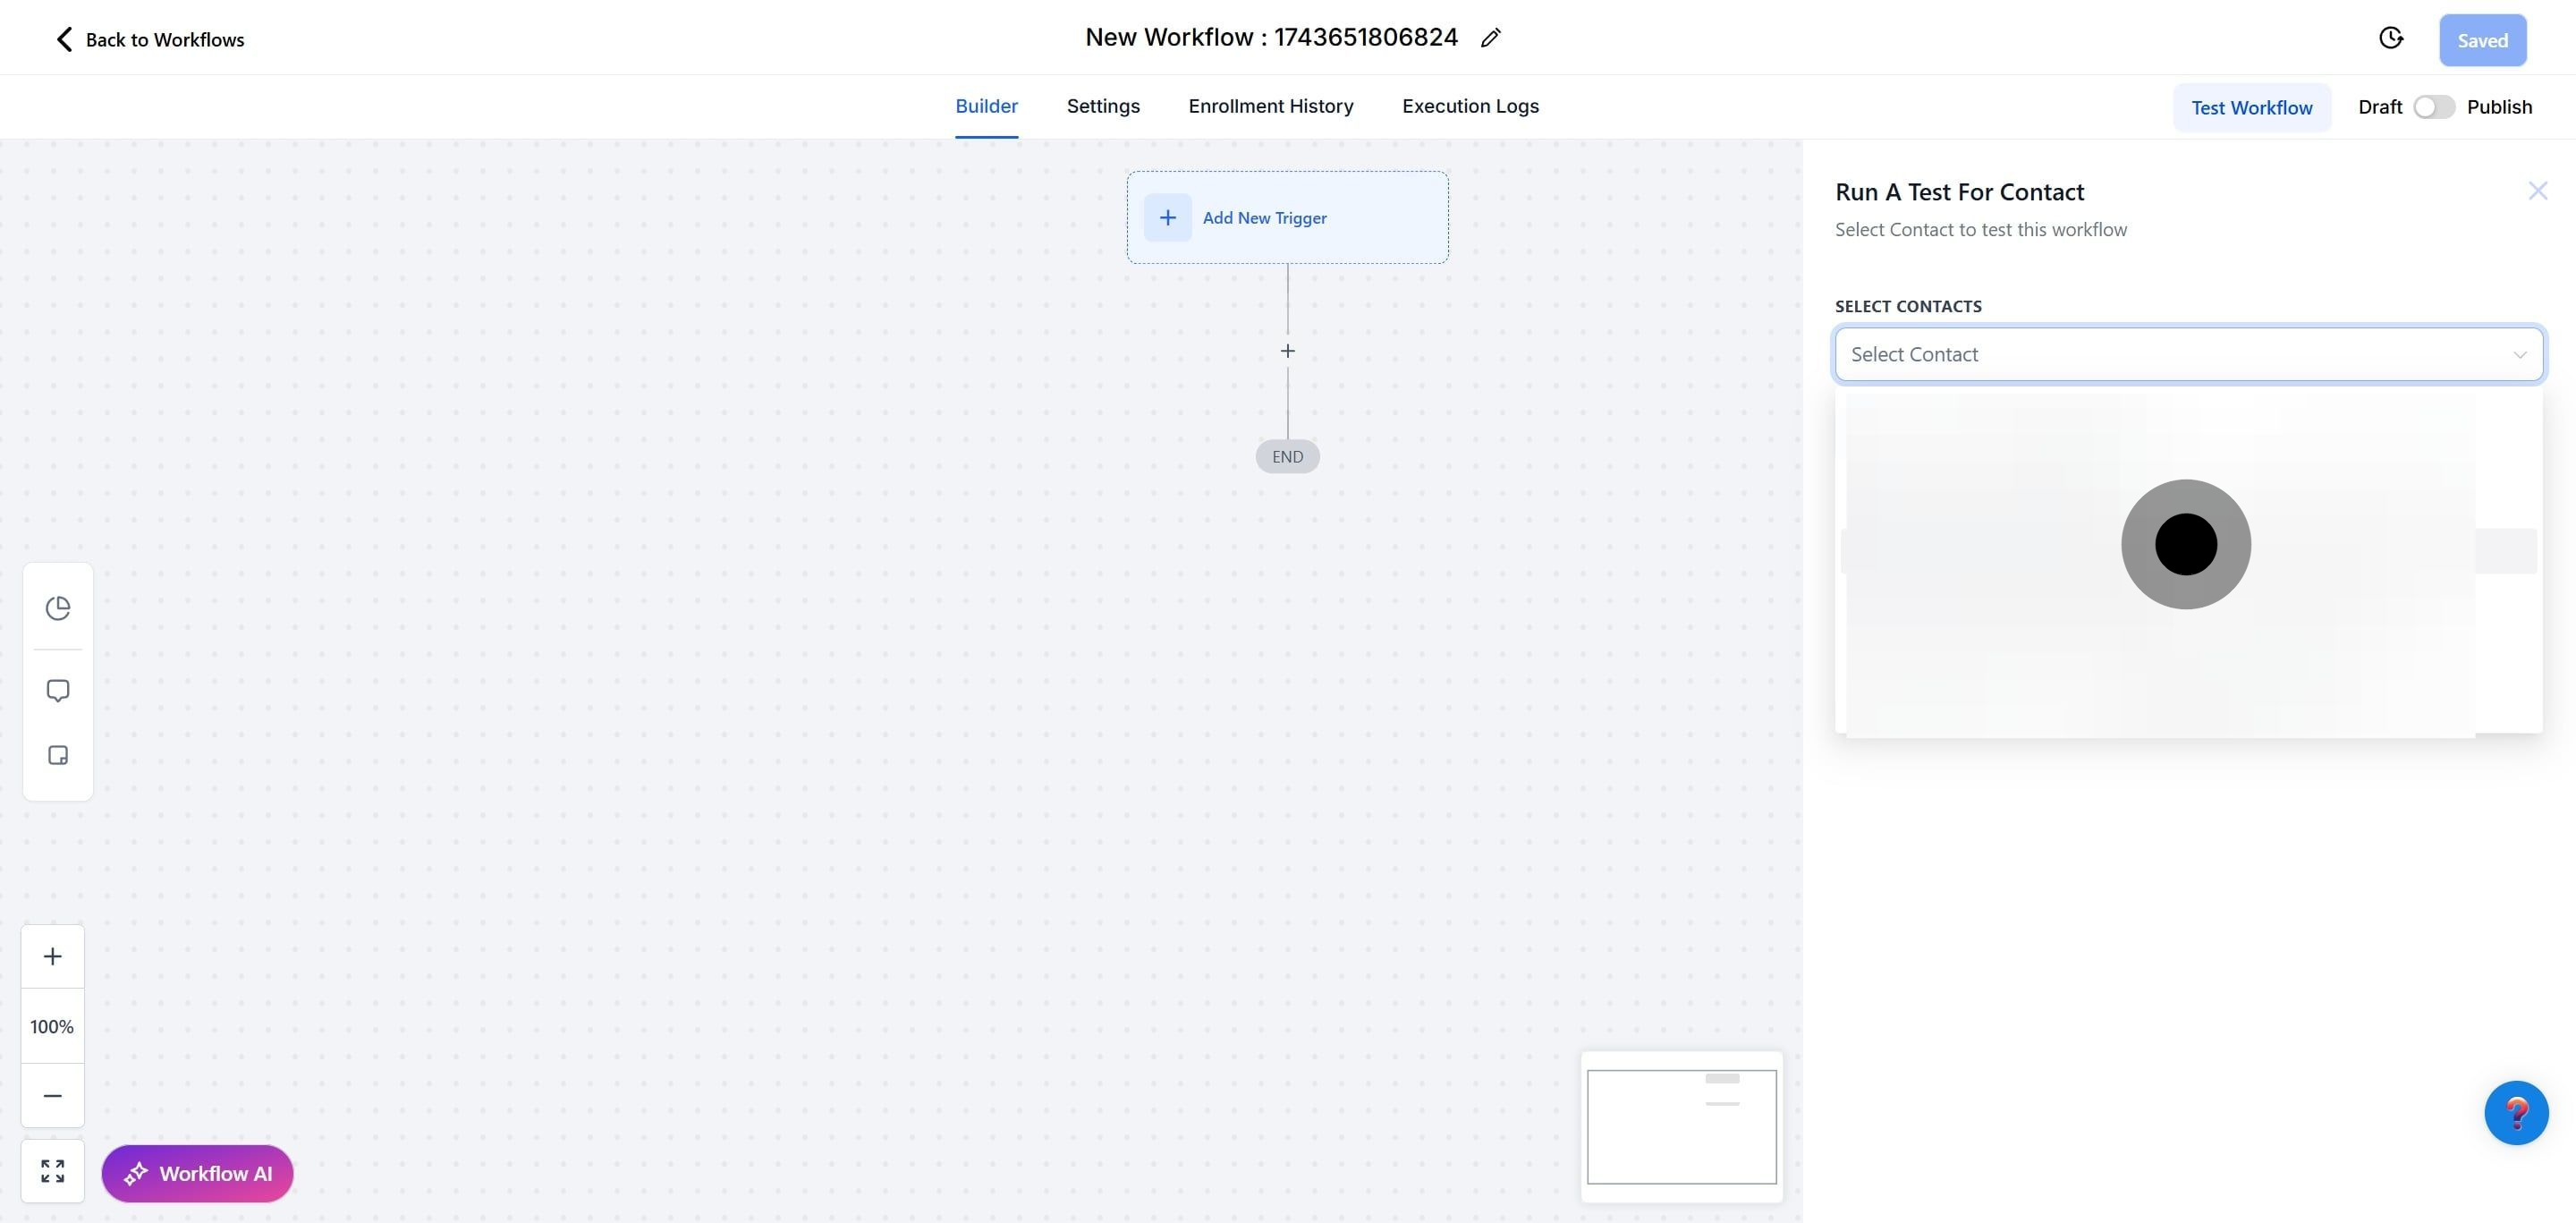
17. After, click on "Run a test for Contact" to proceed with testing.

18. Afterwards, click here to toggle between draft or publish options.
19. Click here to save your changes and complete the process.