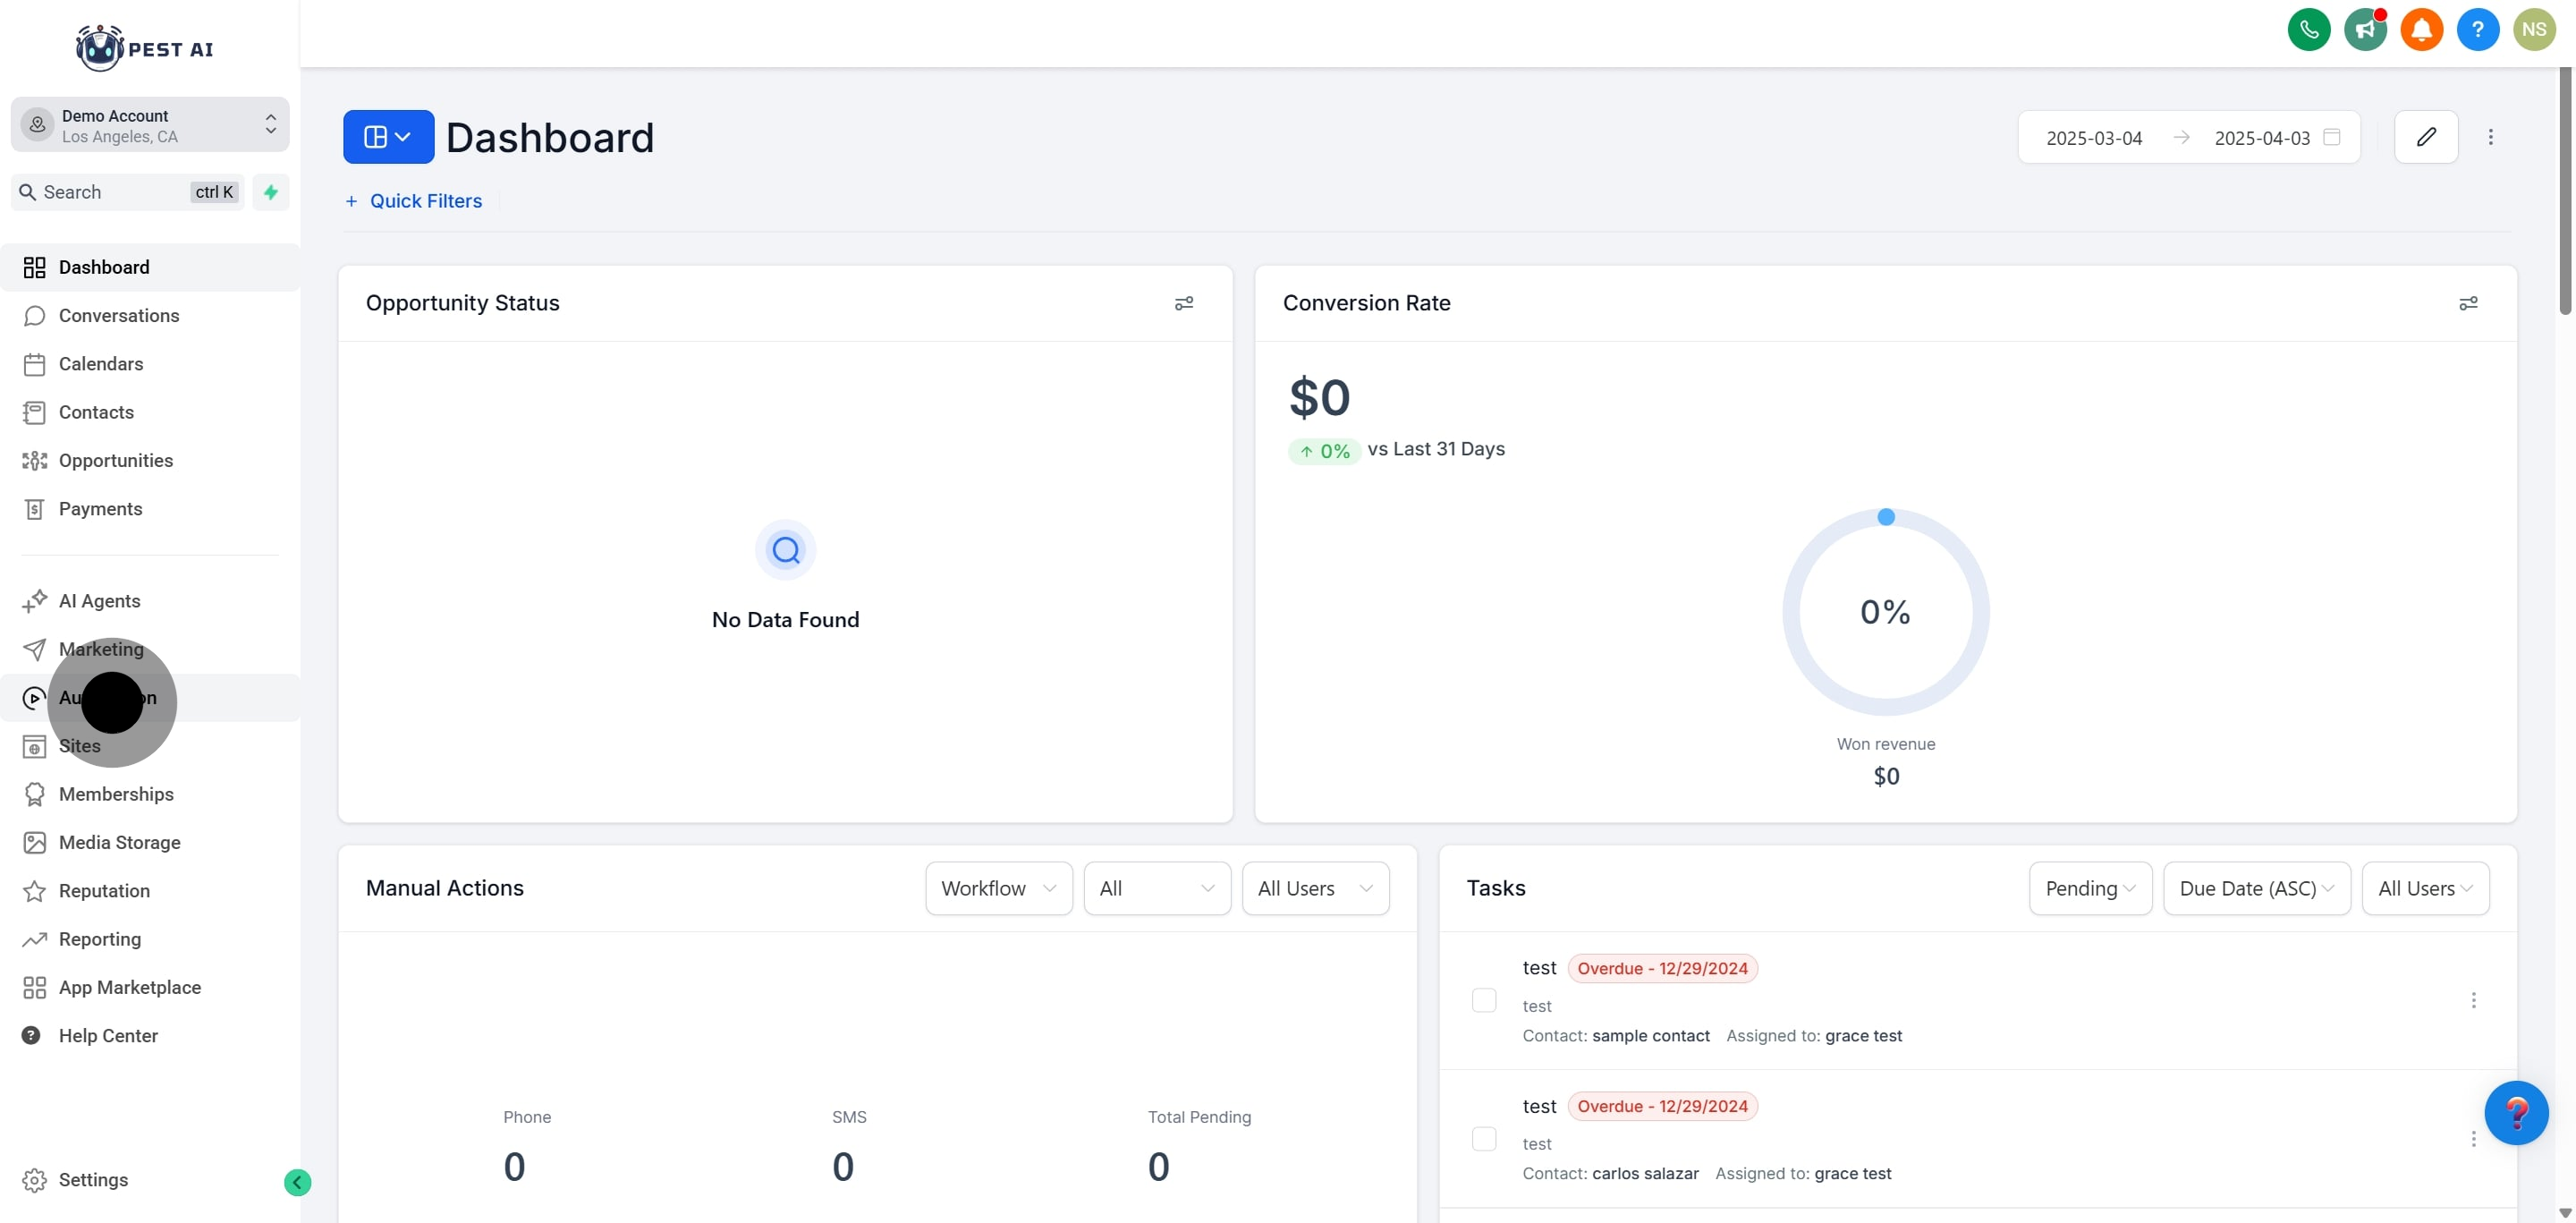
1. Click on "Automation" to access automation features.
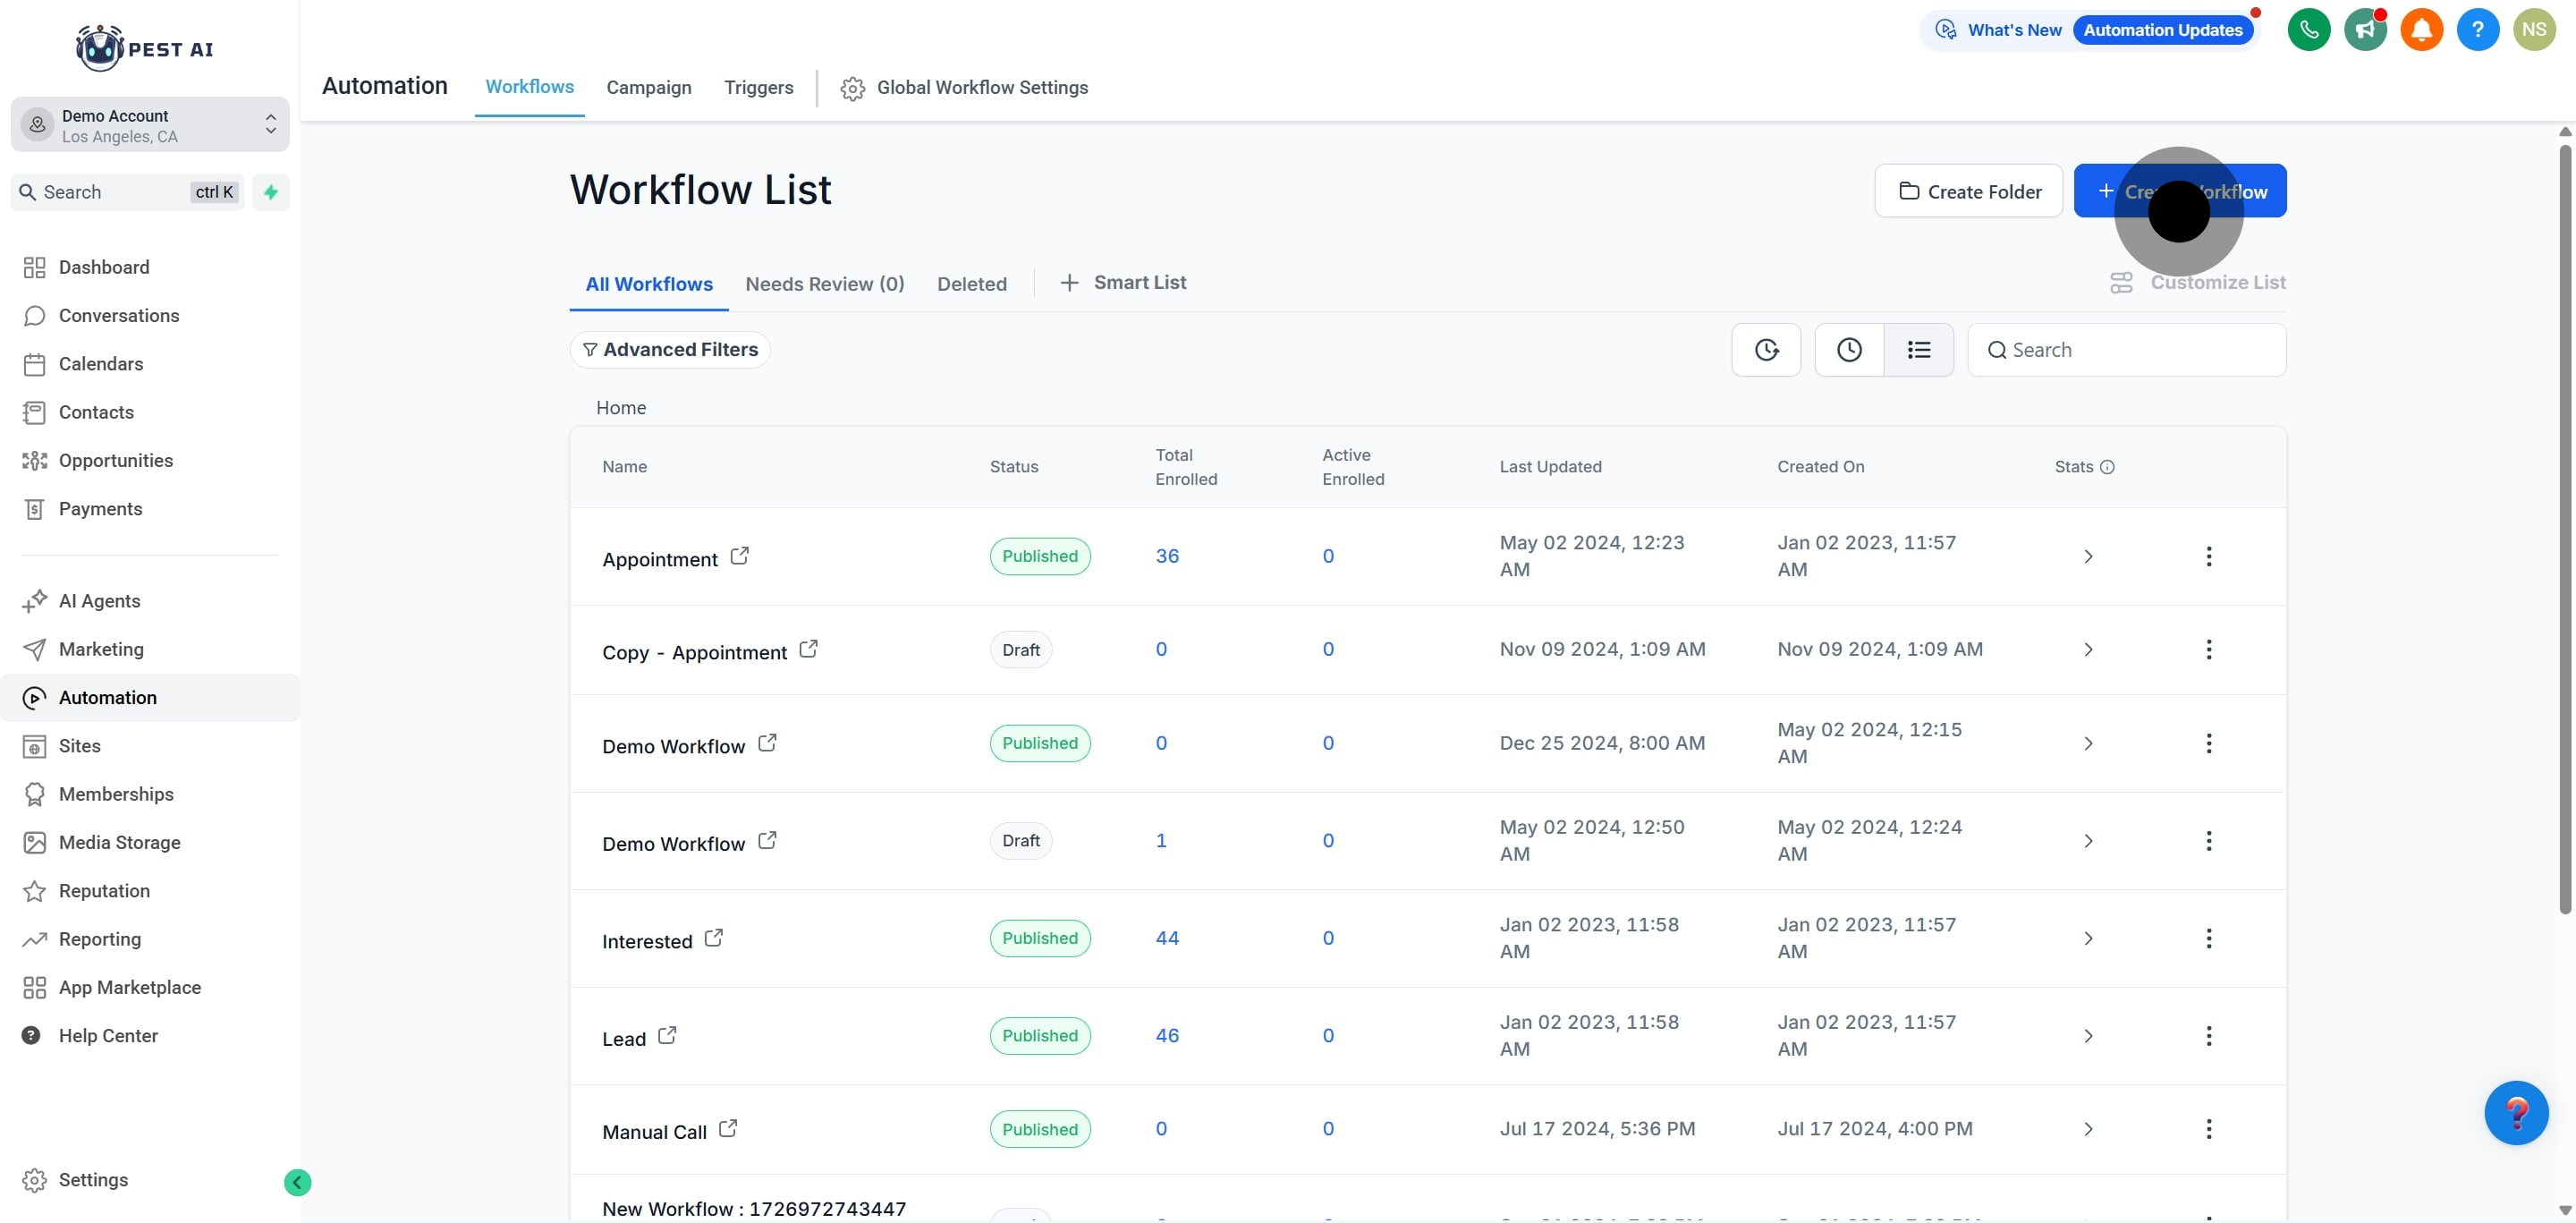
2. Click on "Create Workflow" to start a new project.
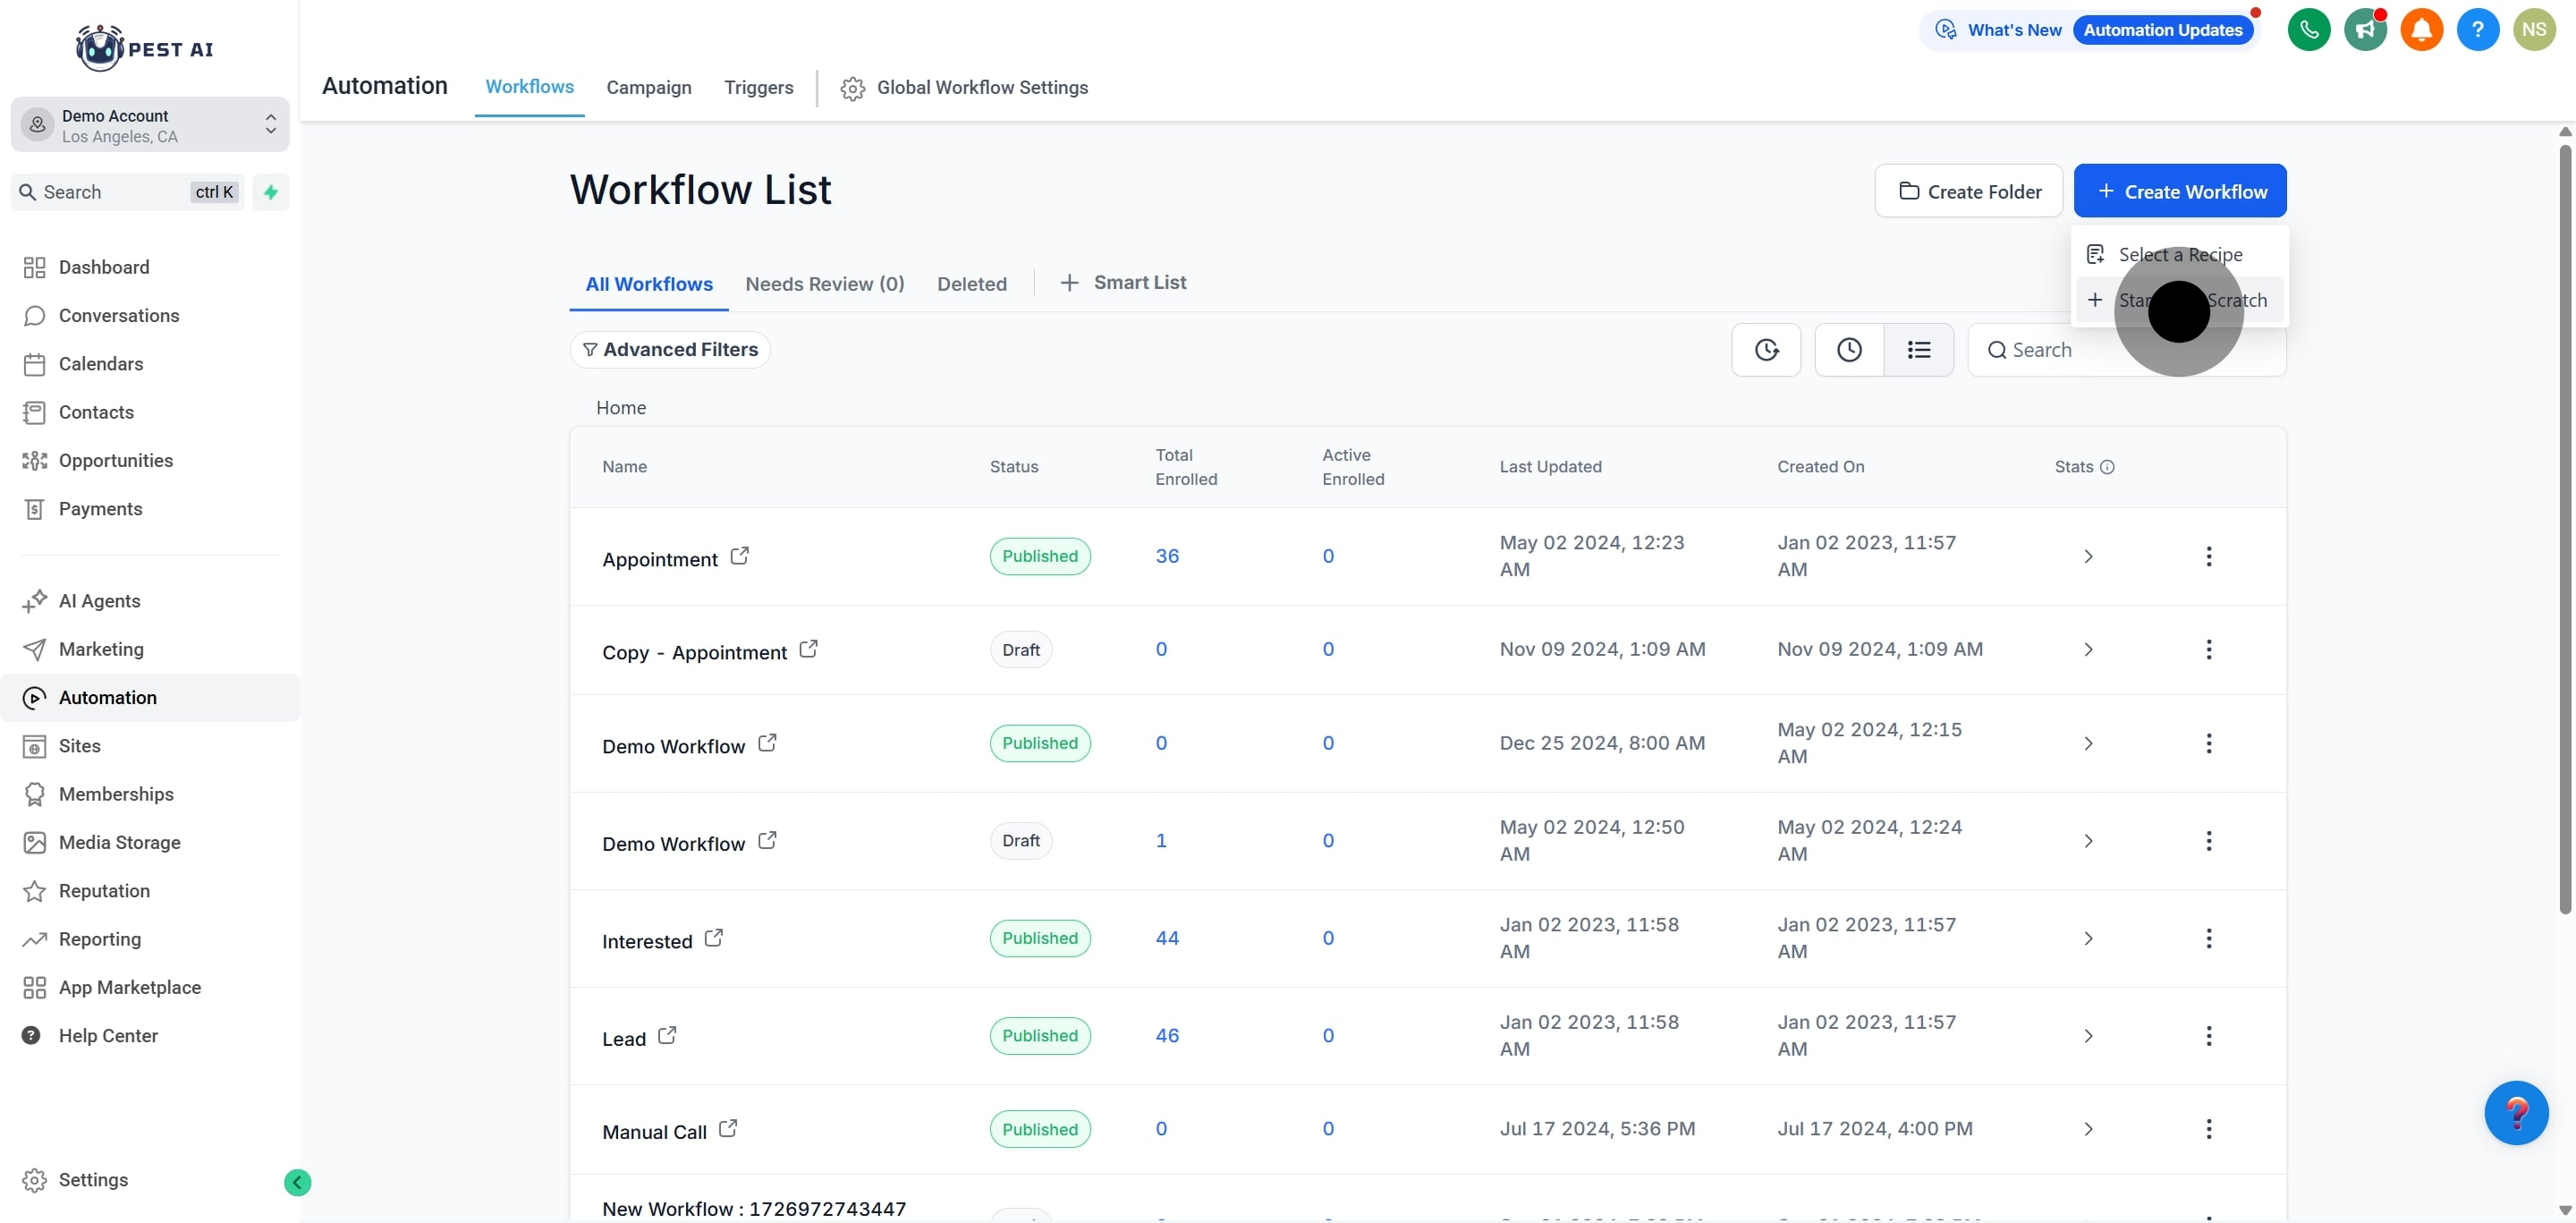
3. Next, click on "Start from Scratch" to begin fresh.
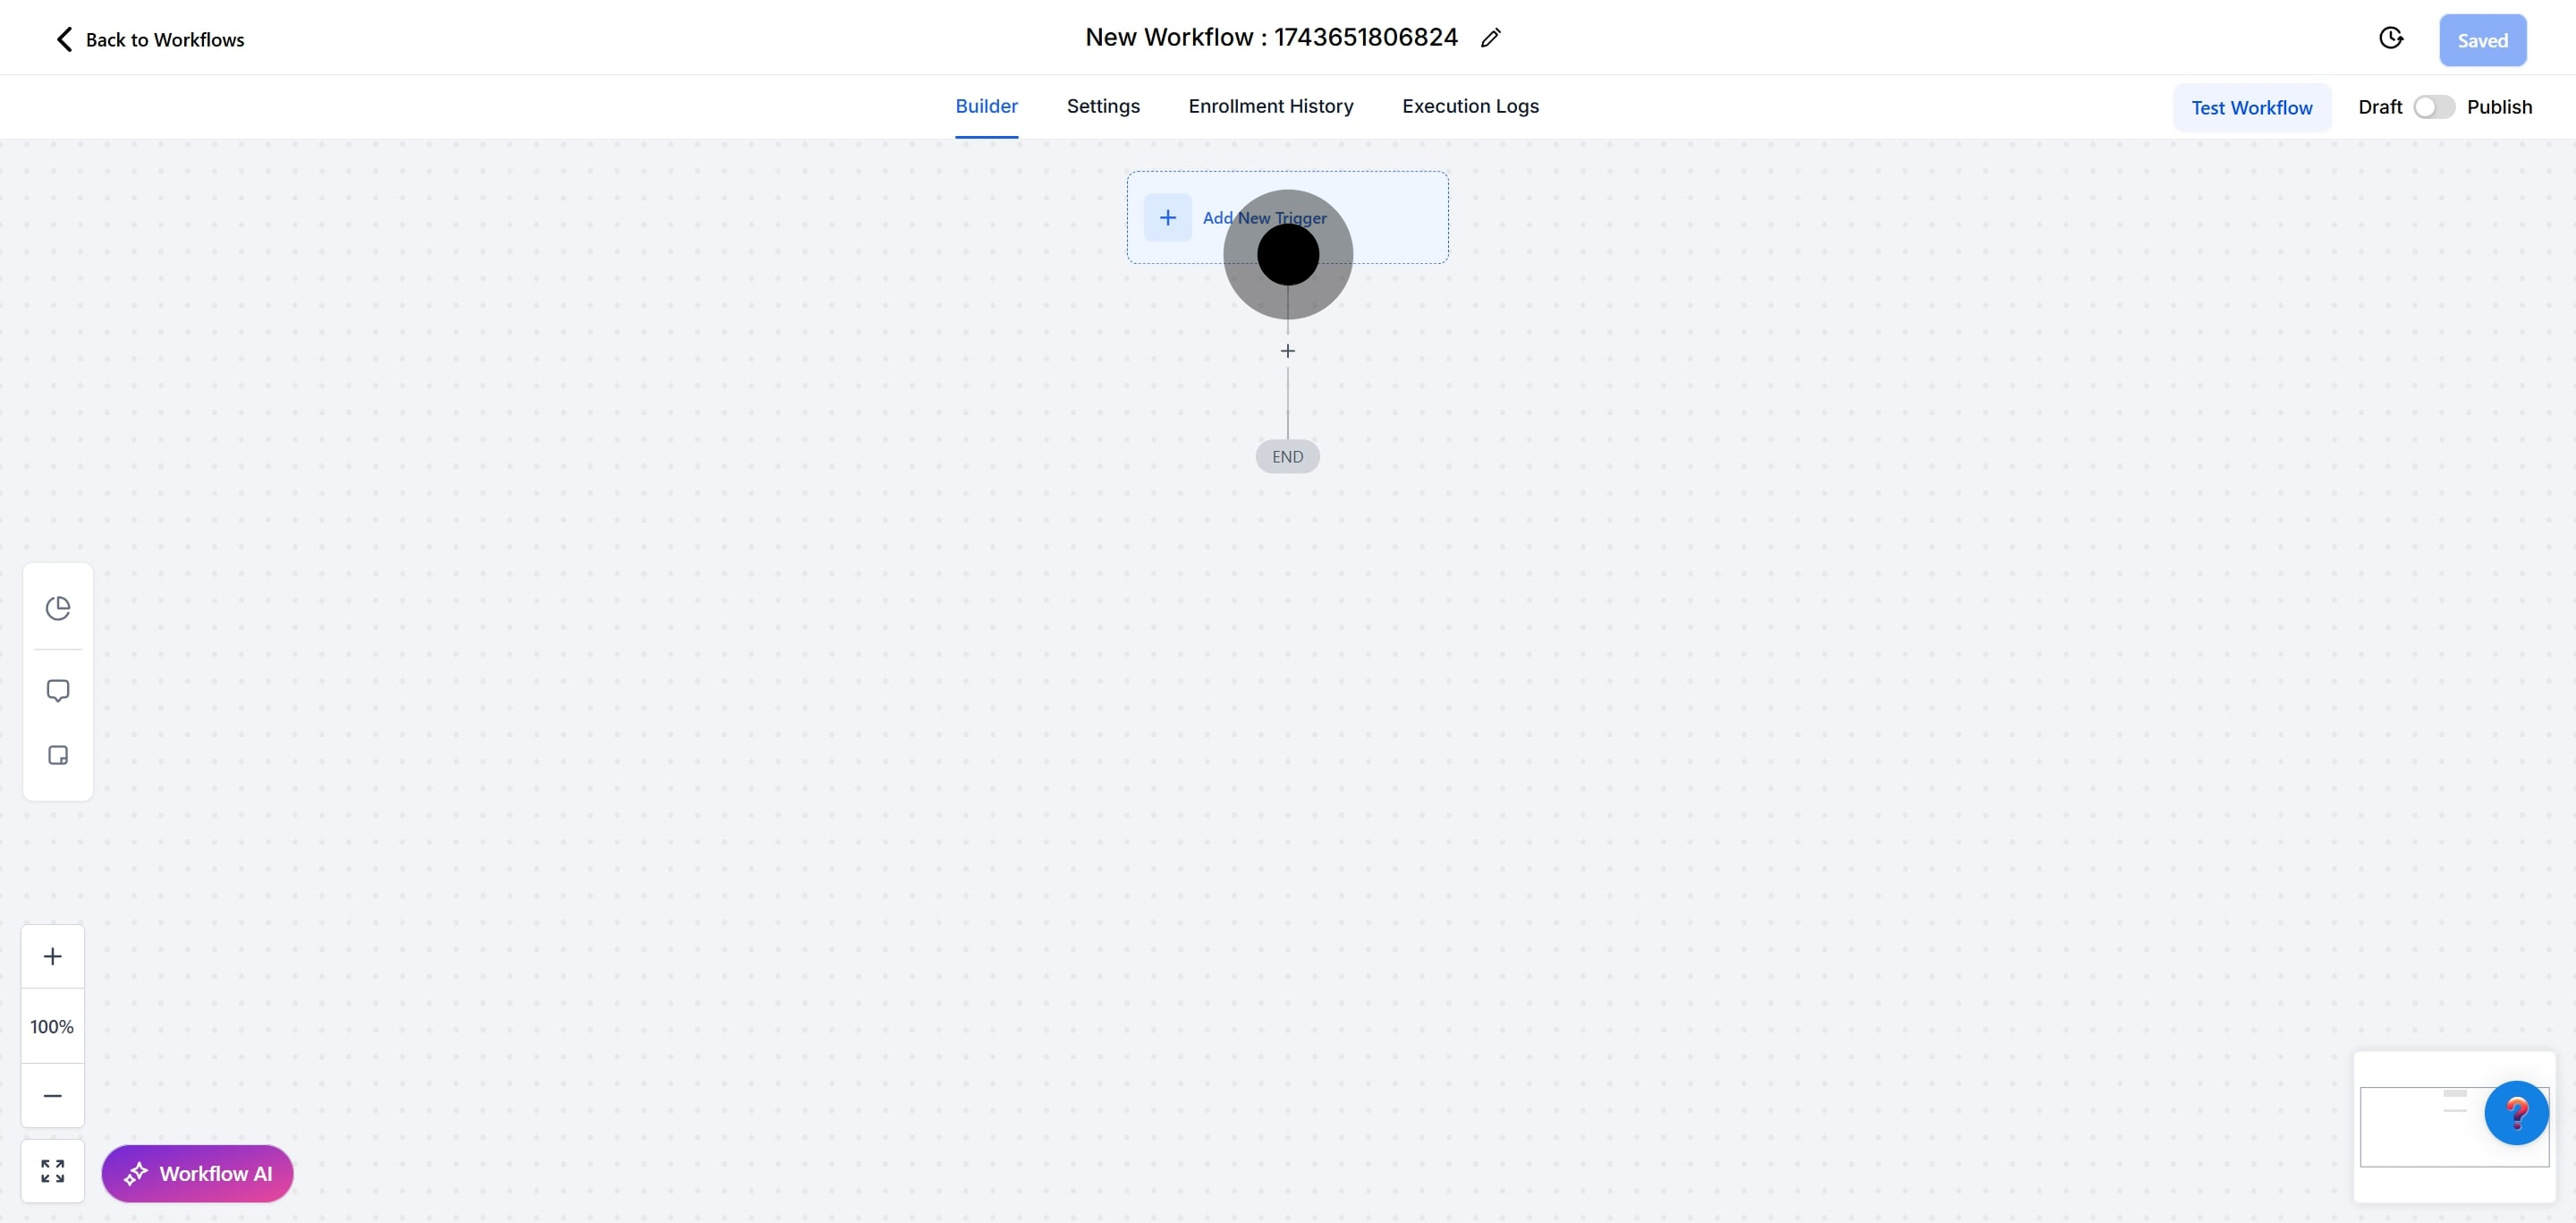
4. Next, click on "Add New Trigger" to set up automation.
5. Click here to search for "Contact Engagement Score".
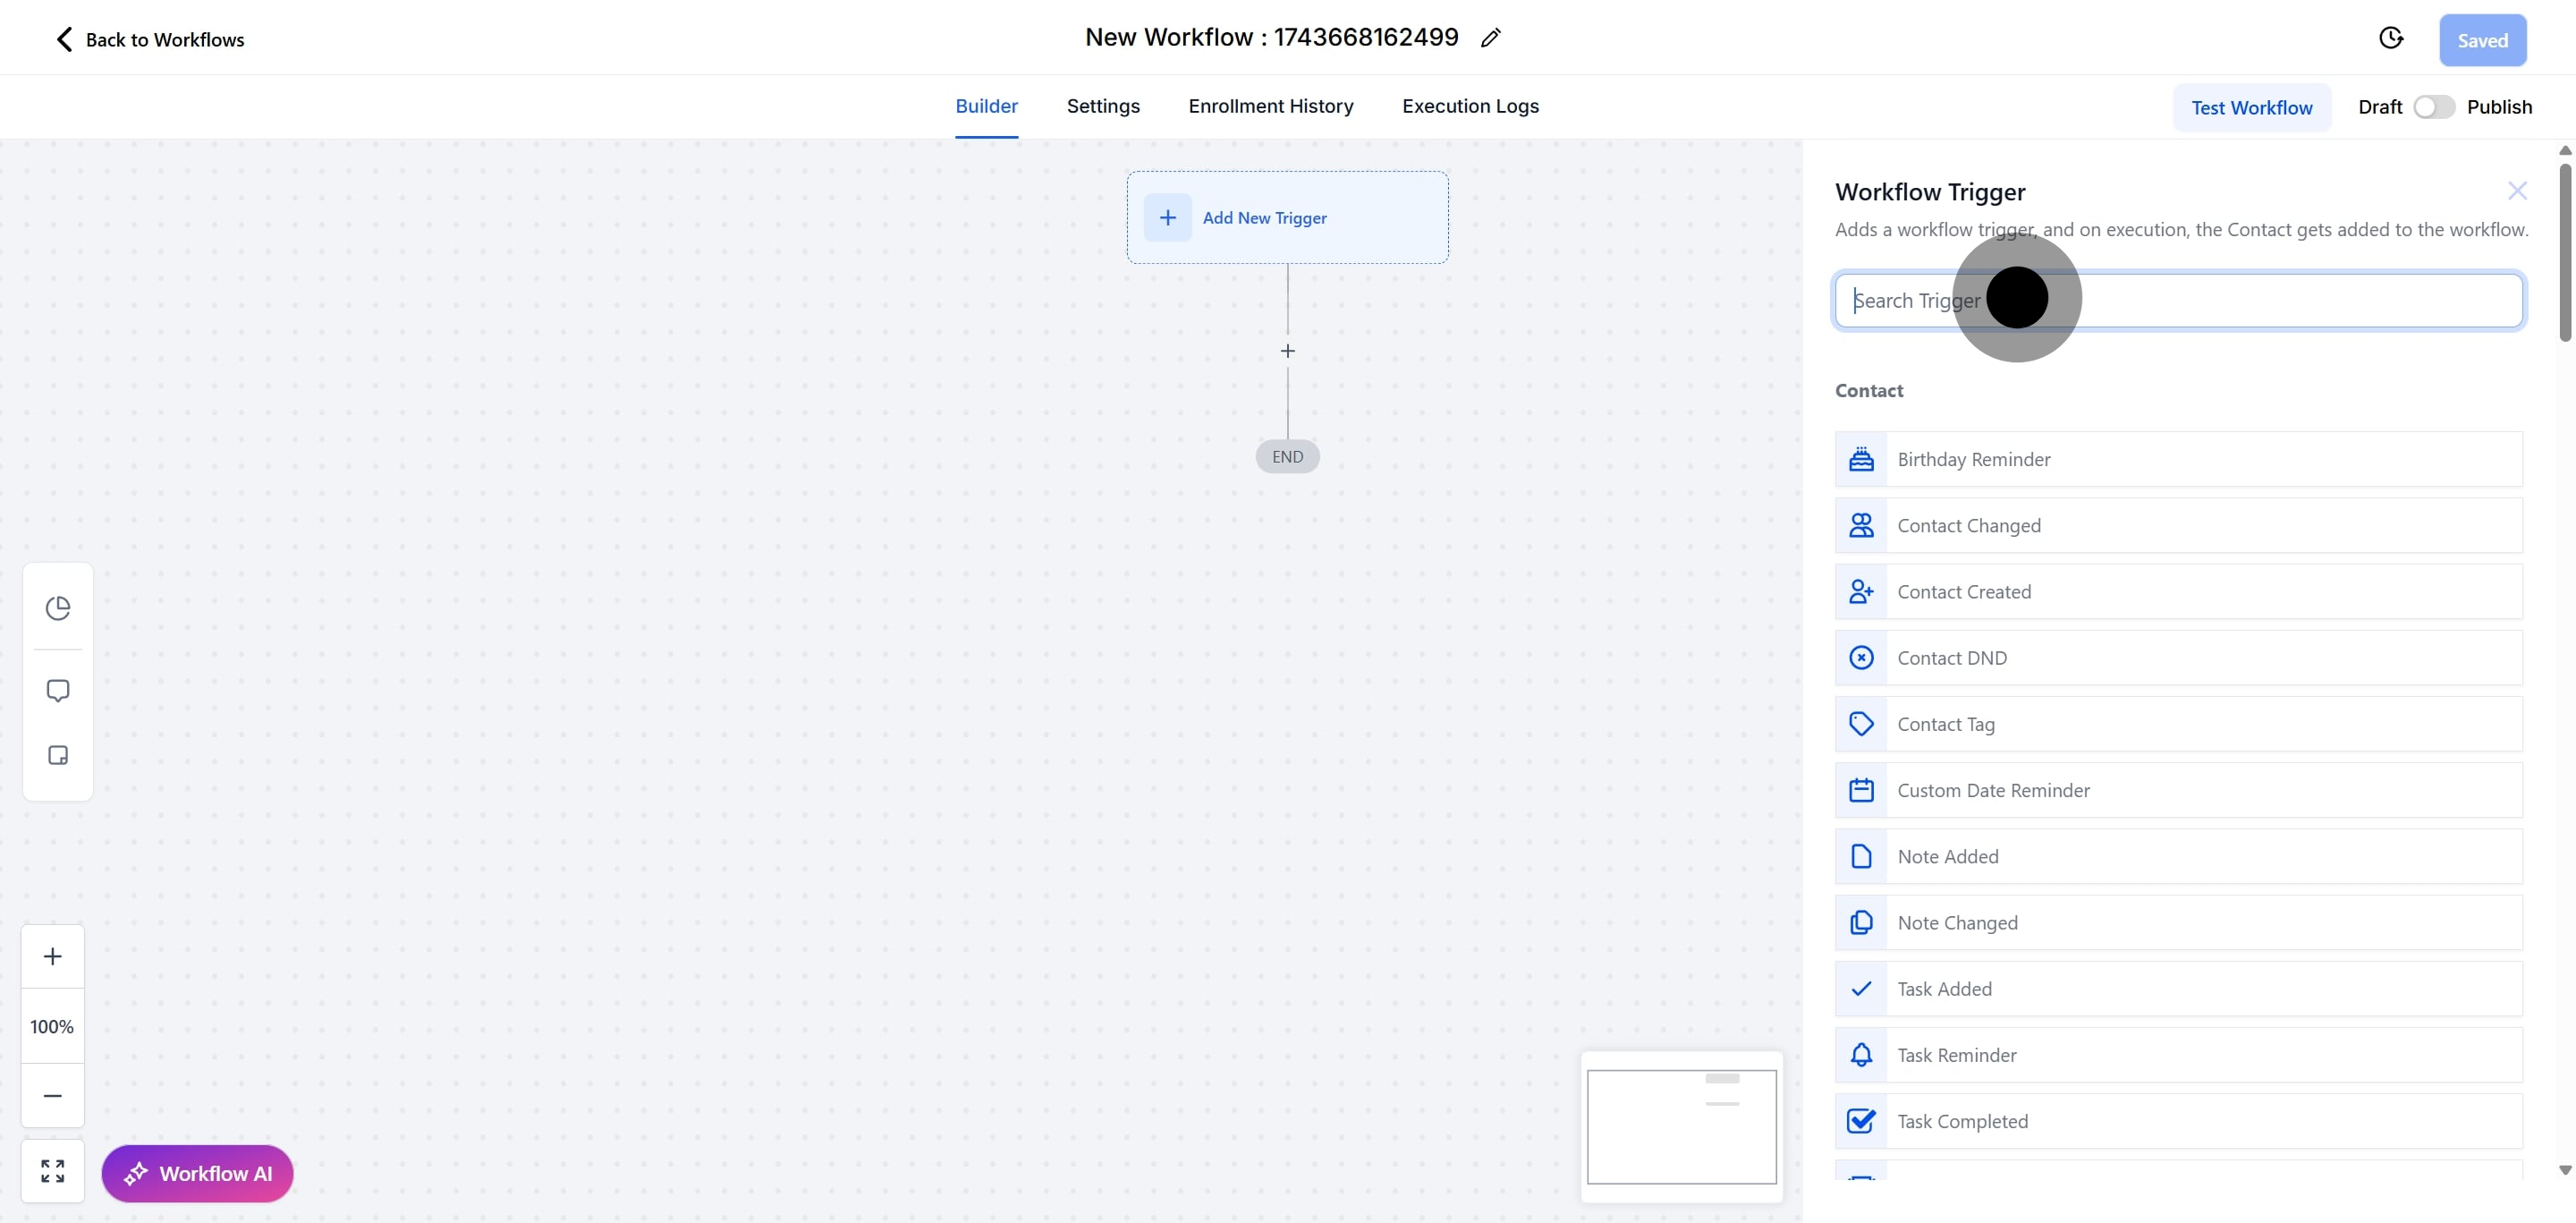
6. Select "Contact Engagement Score" from the list.
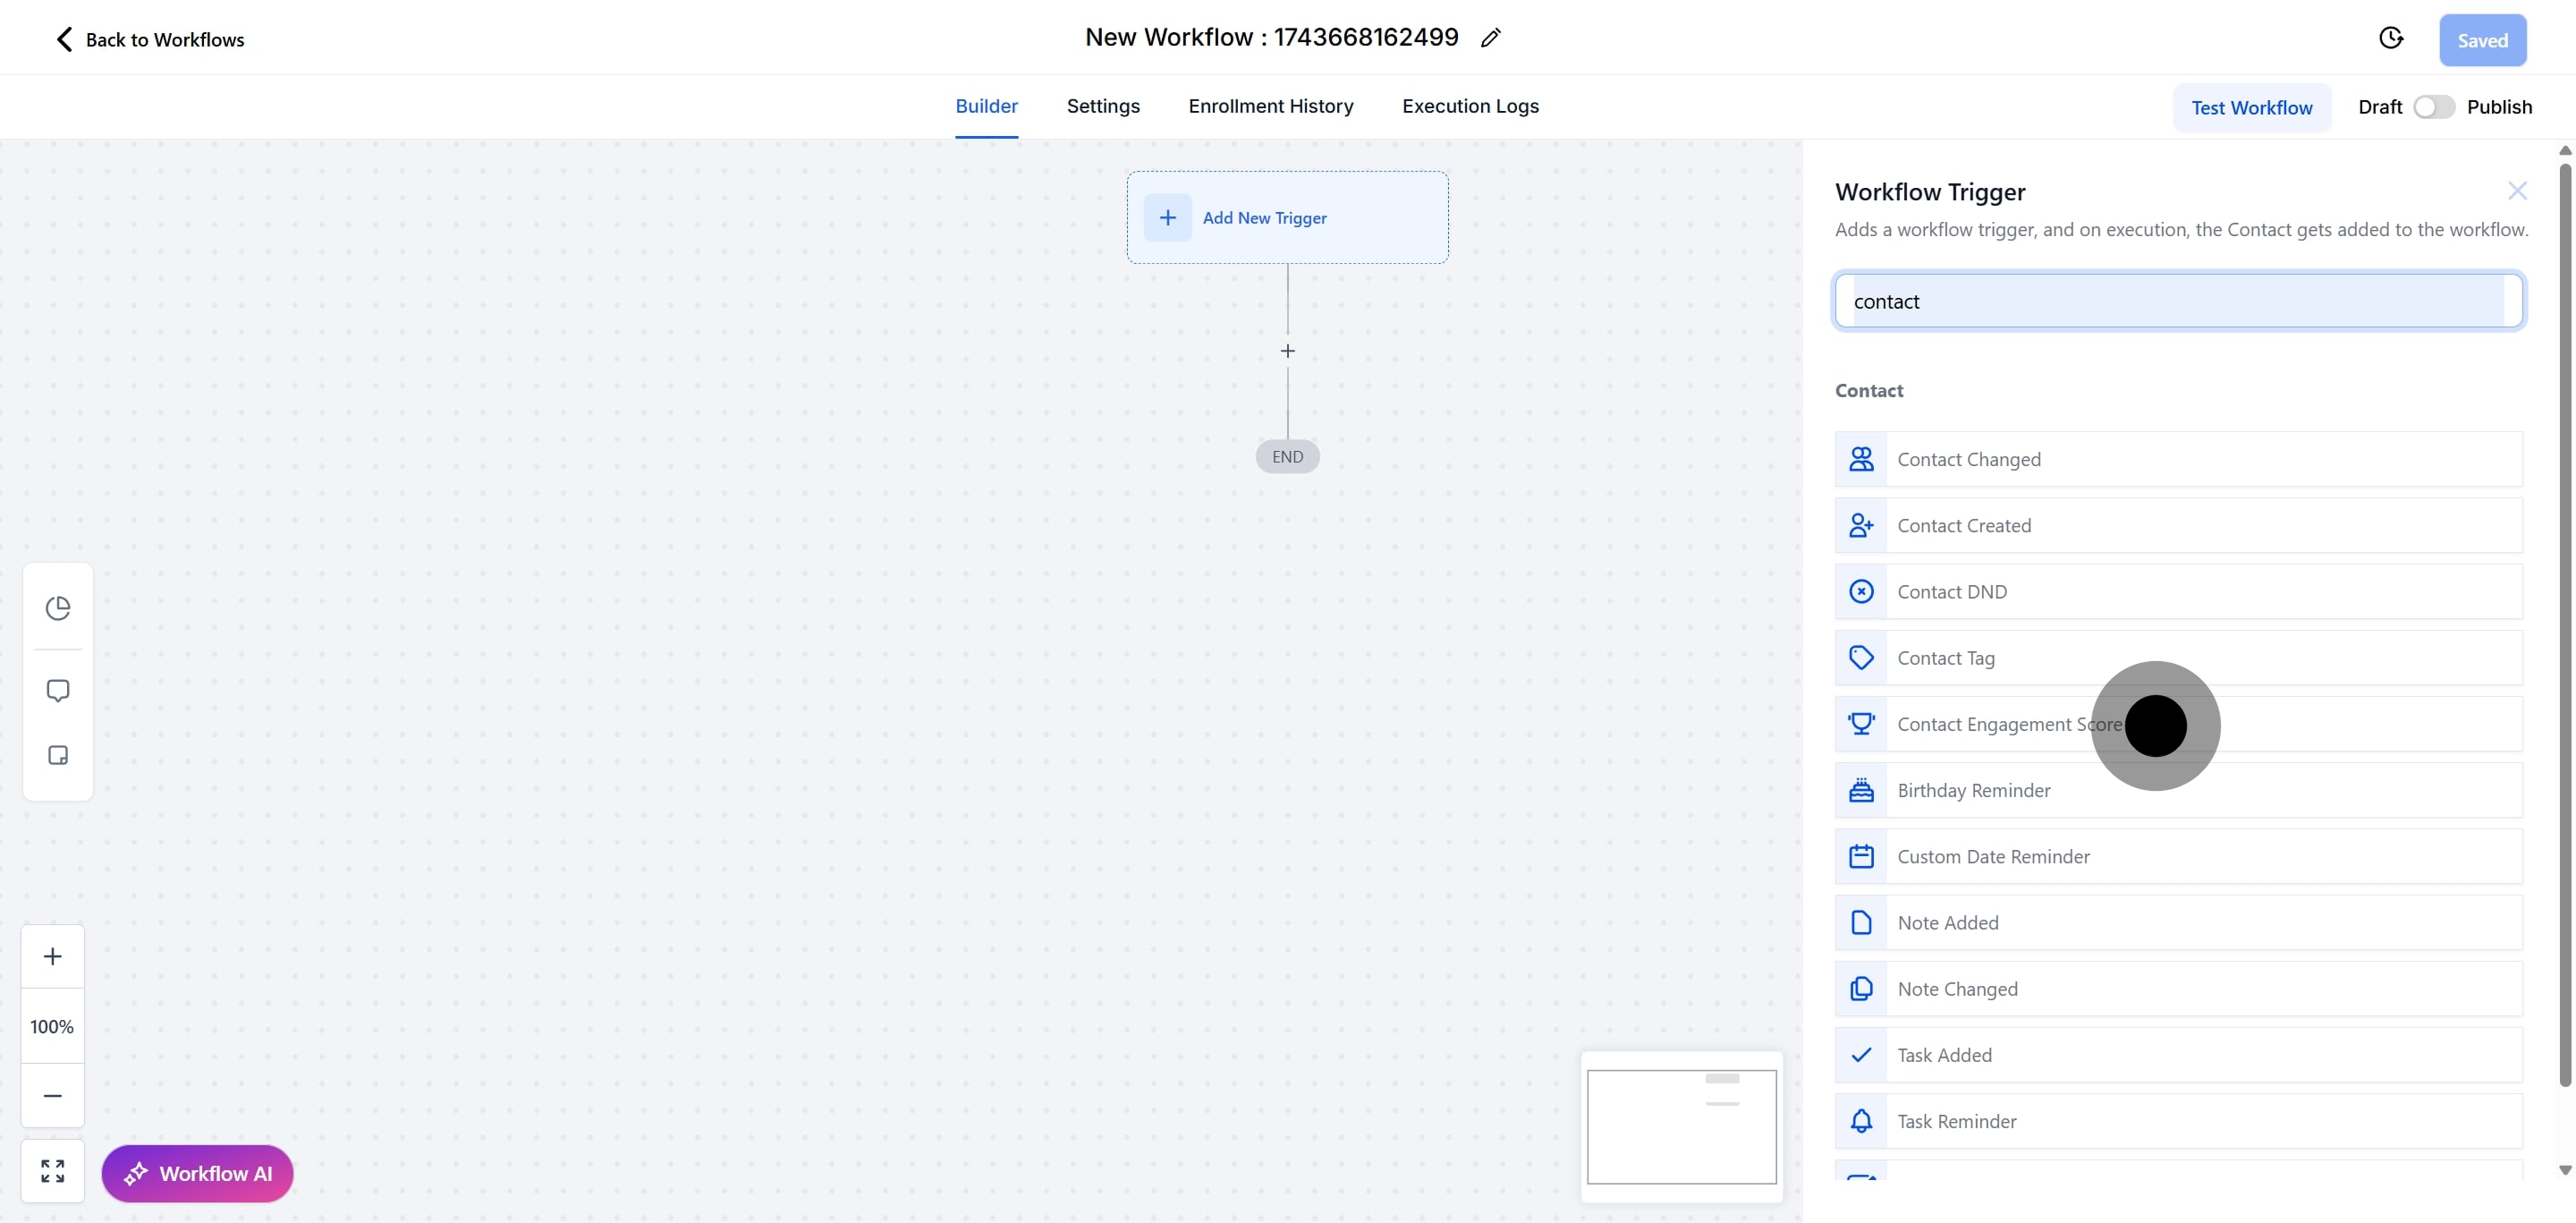
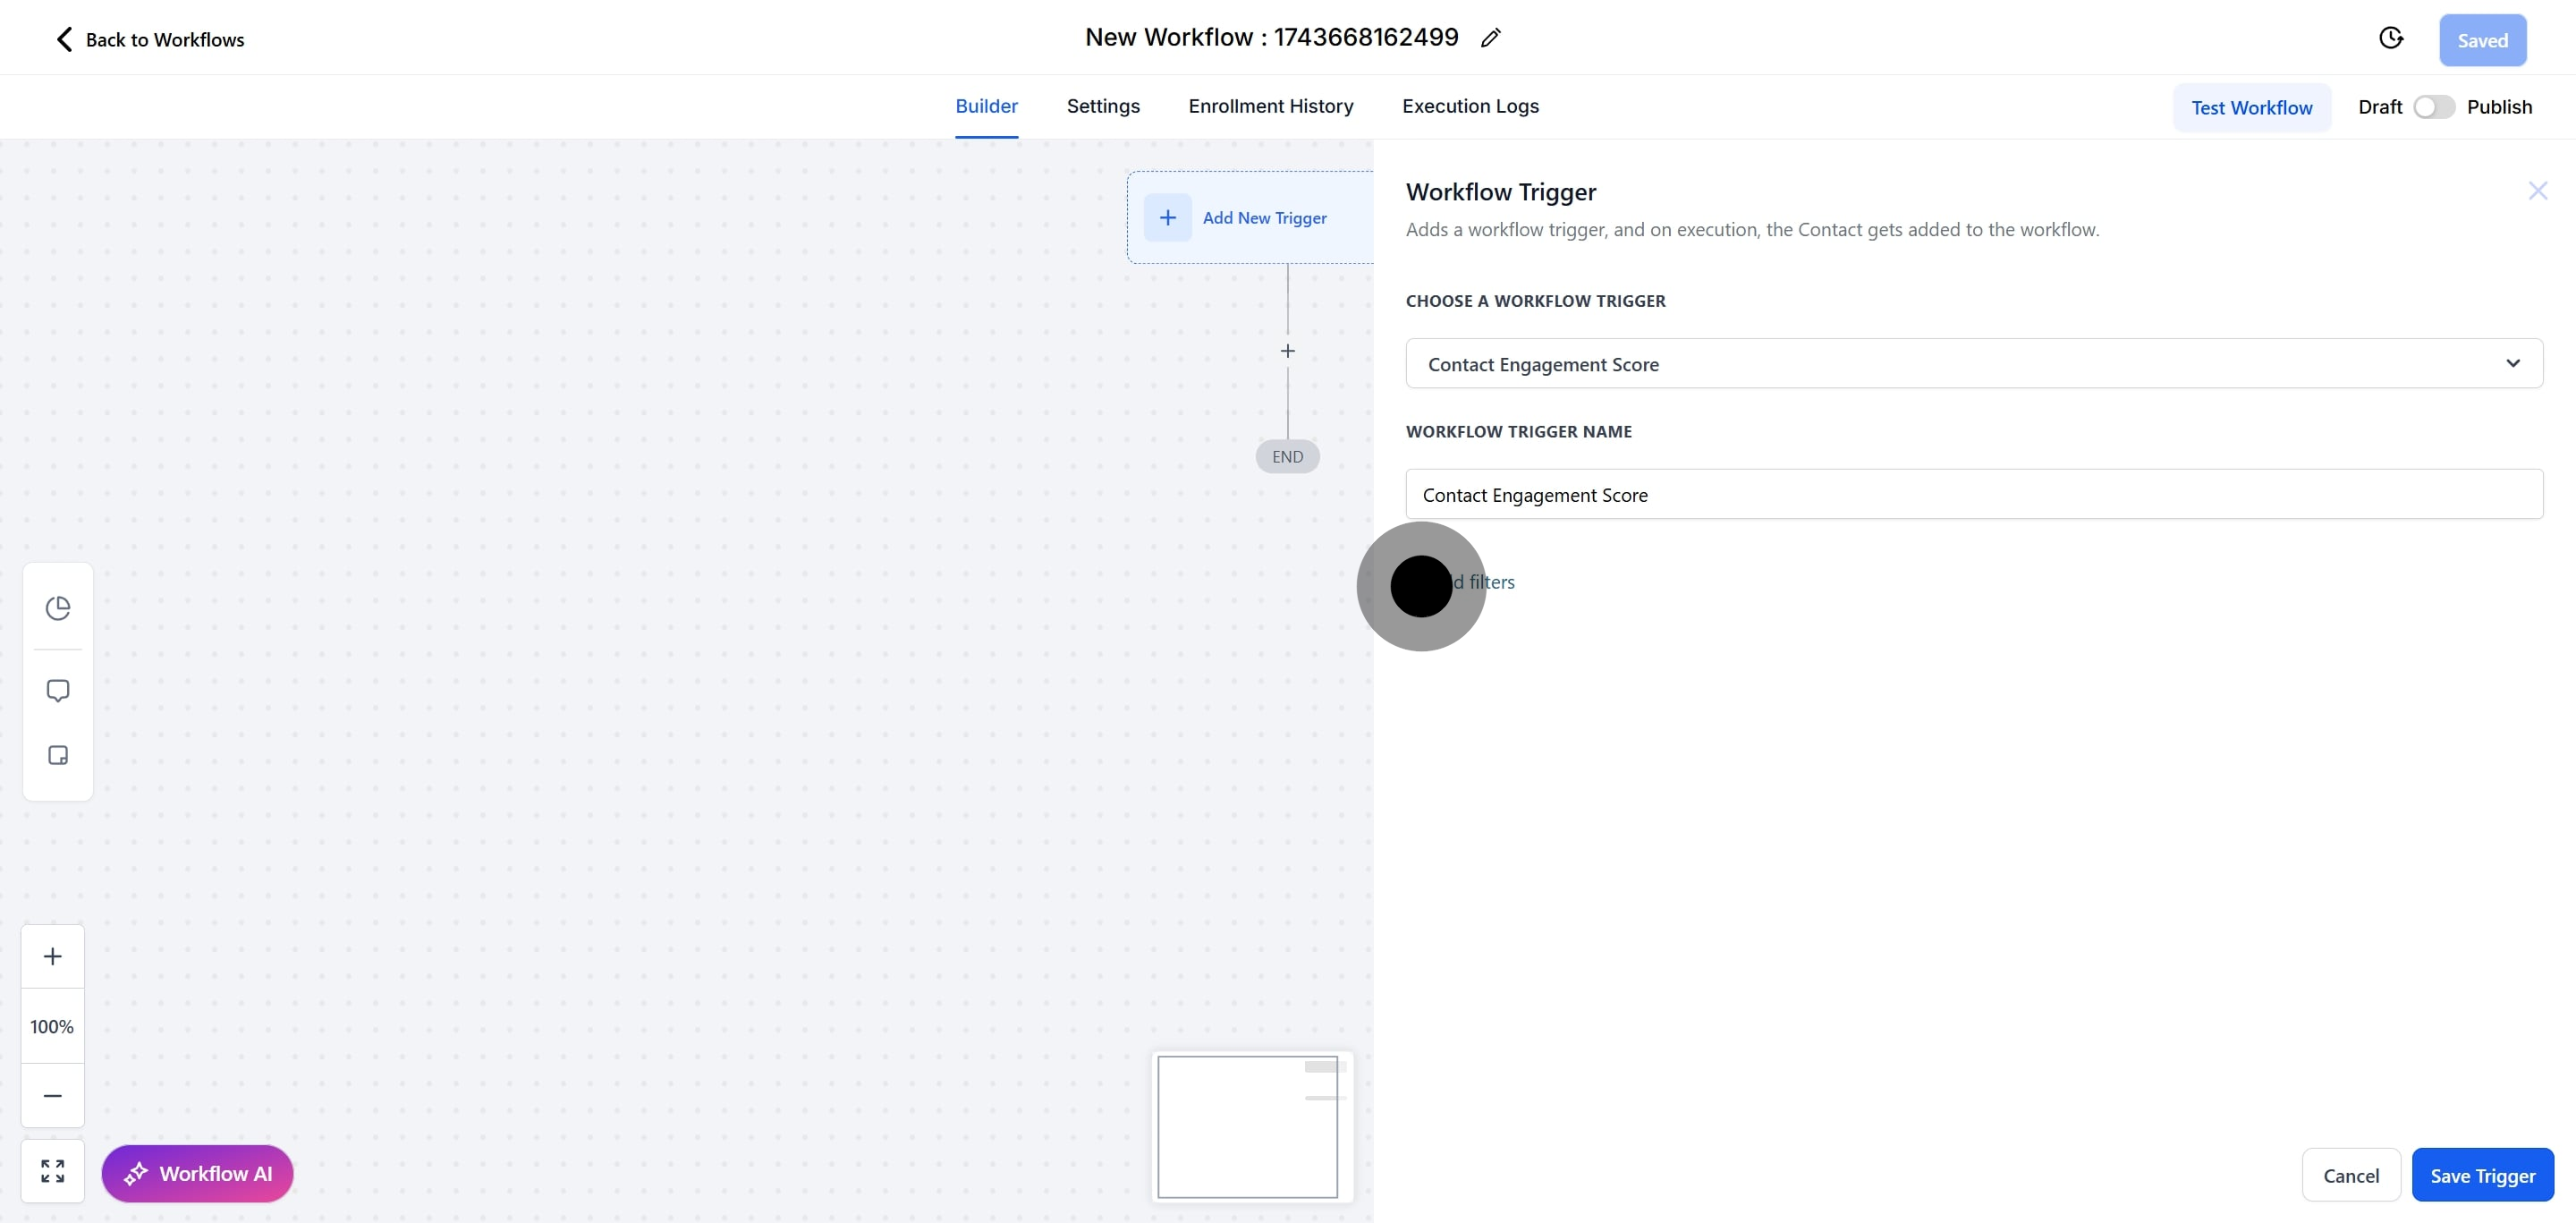
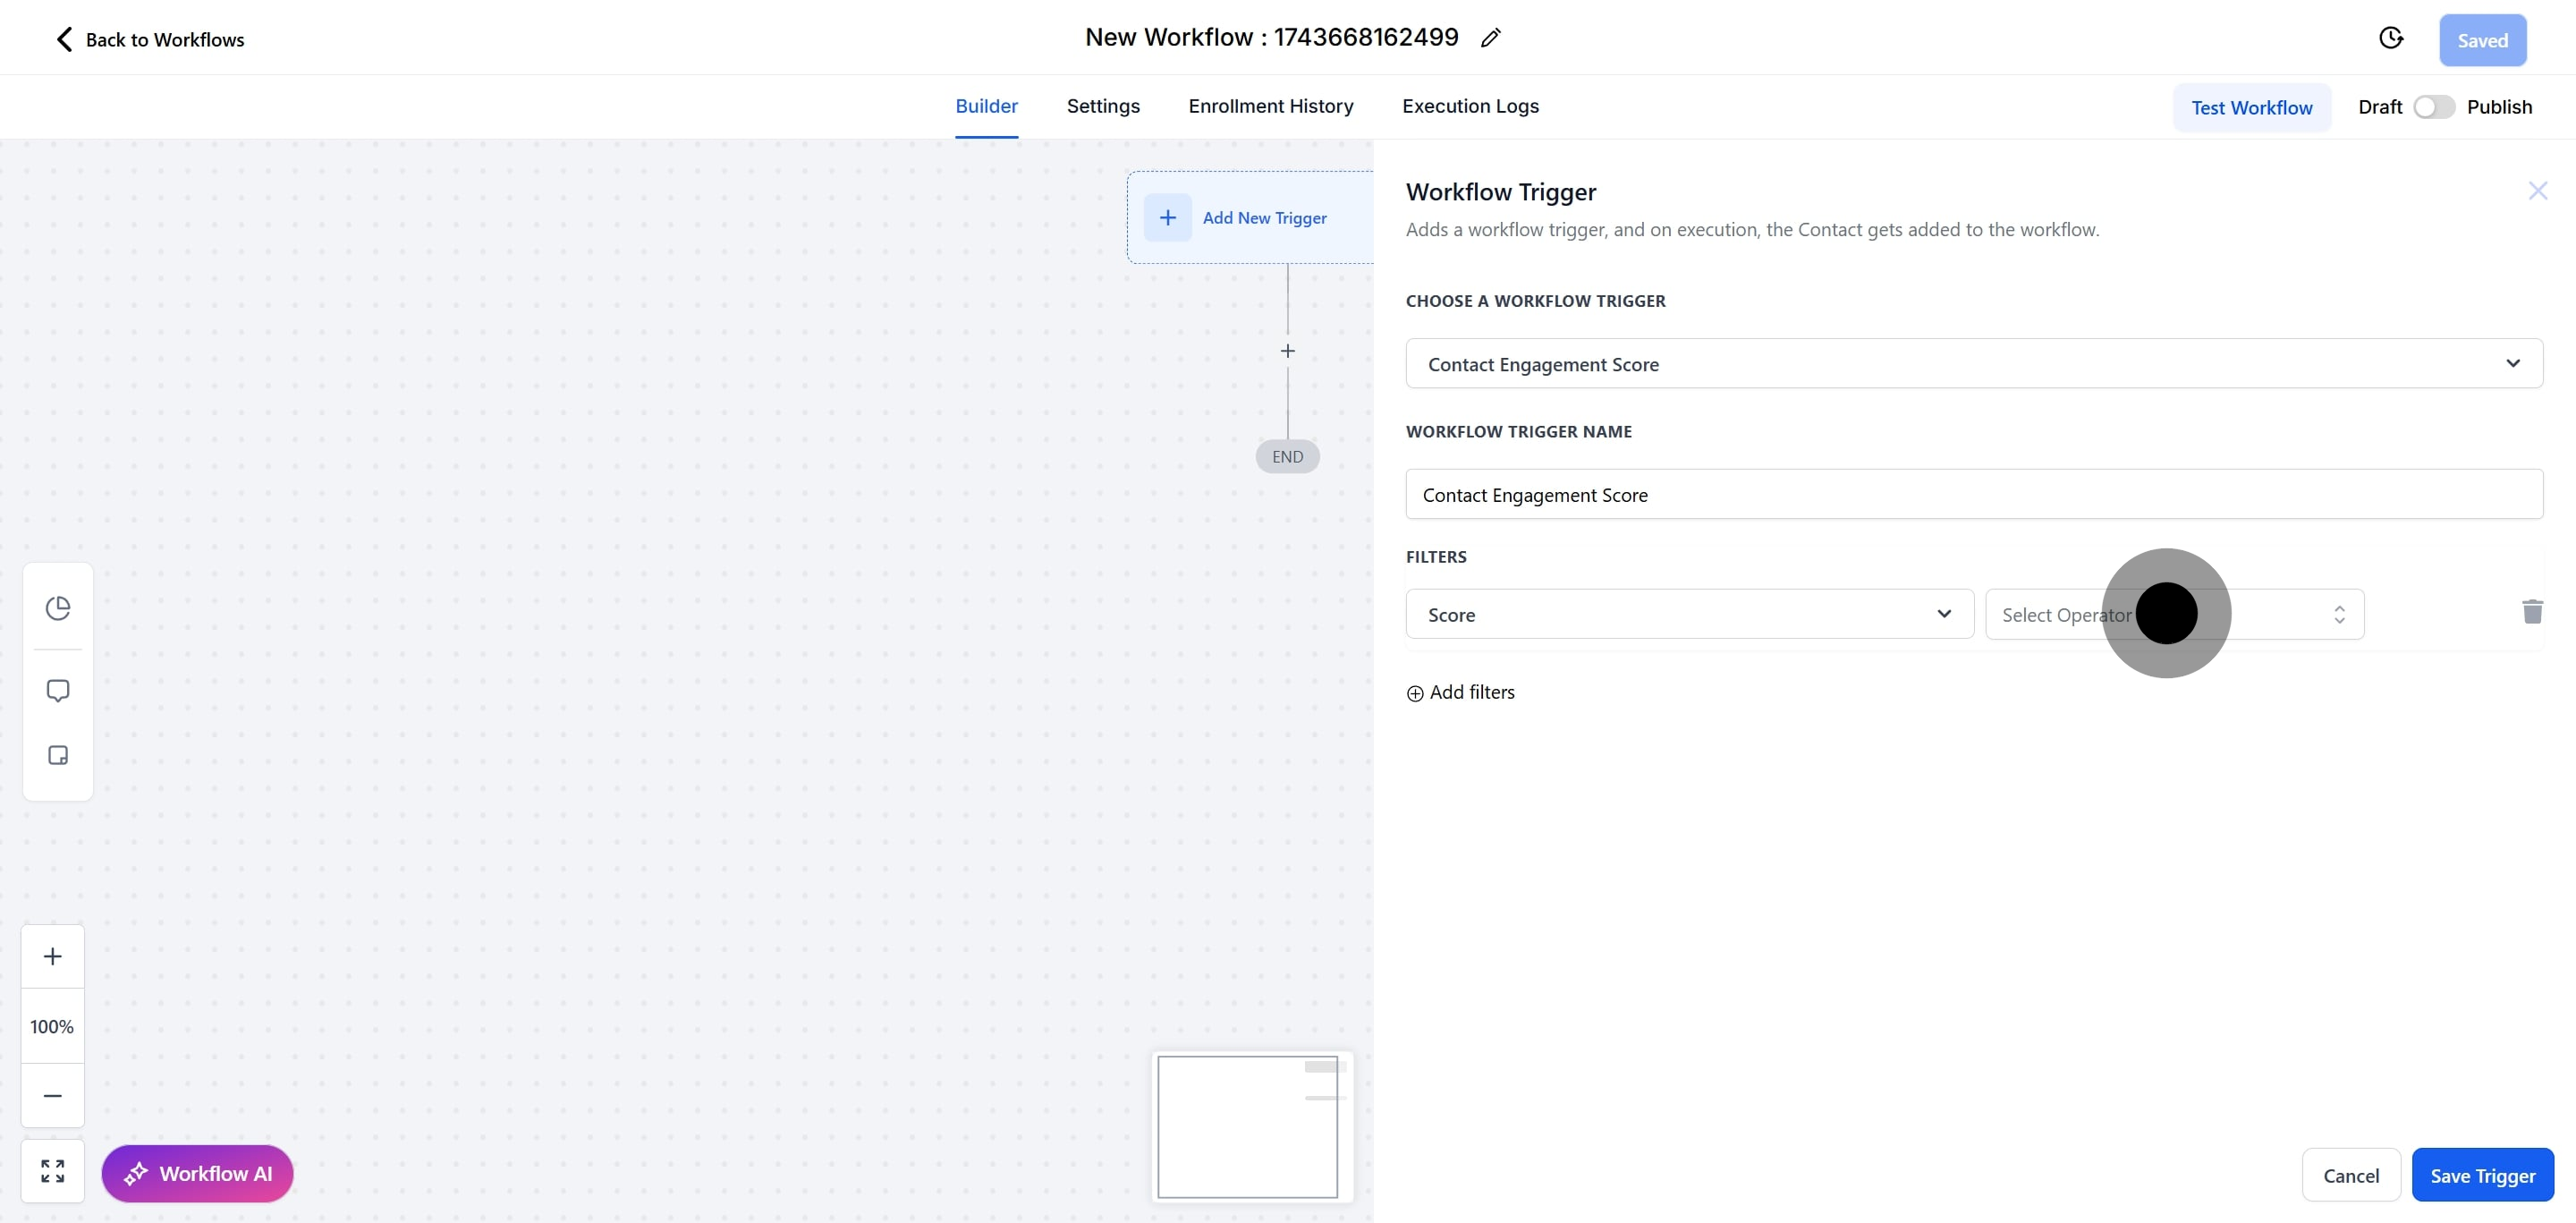
7. Click here to rename your workflow trigger.

8. Click on "Add filters" to refine your search.
9. Click "Select" to bring up the options menu.

10. Choose "Score" from the available options.
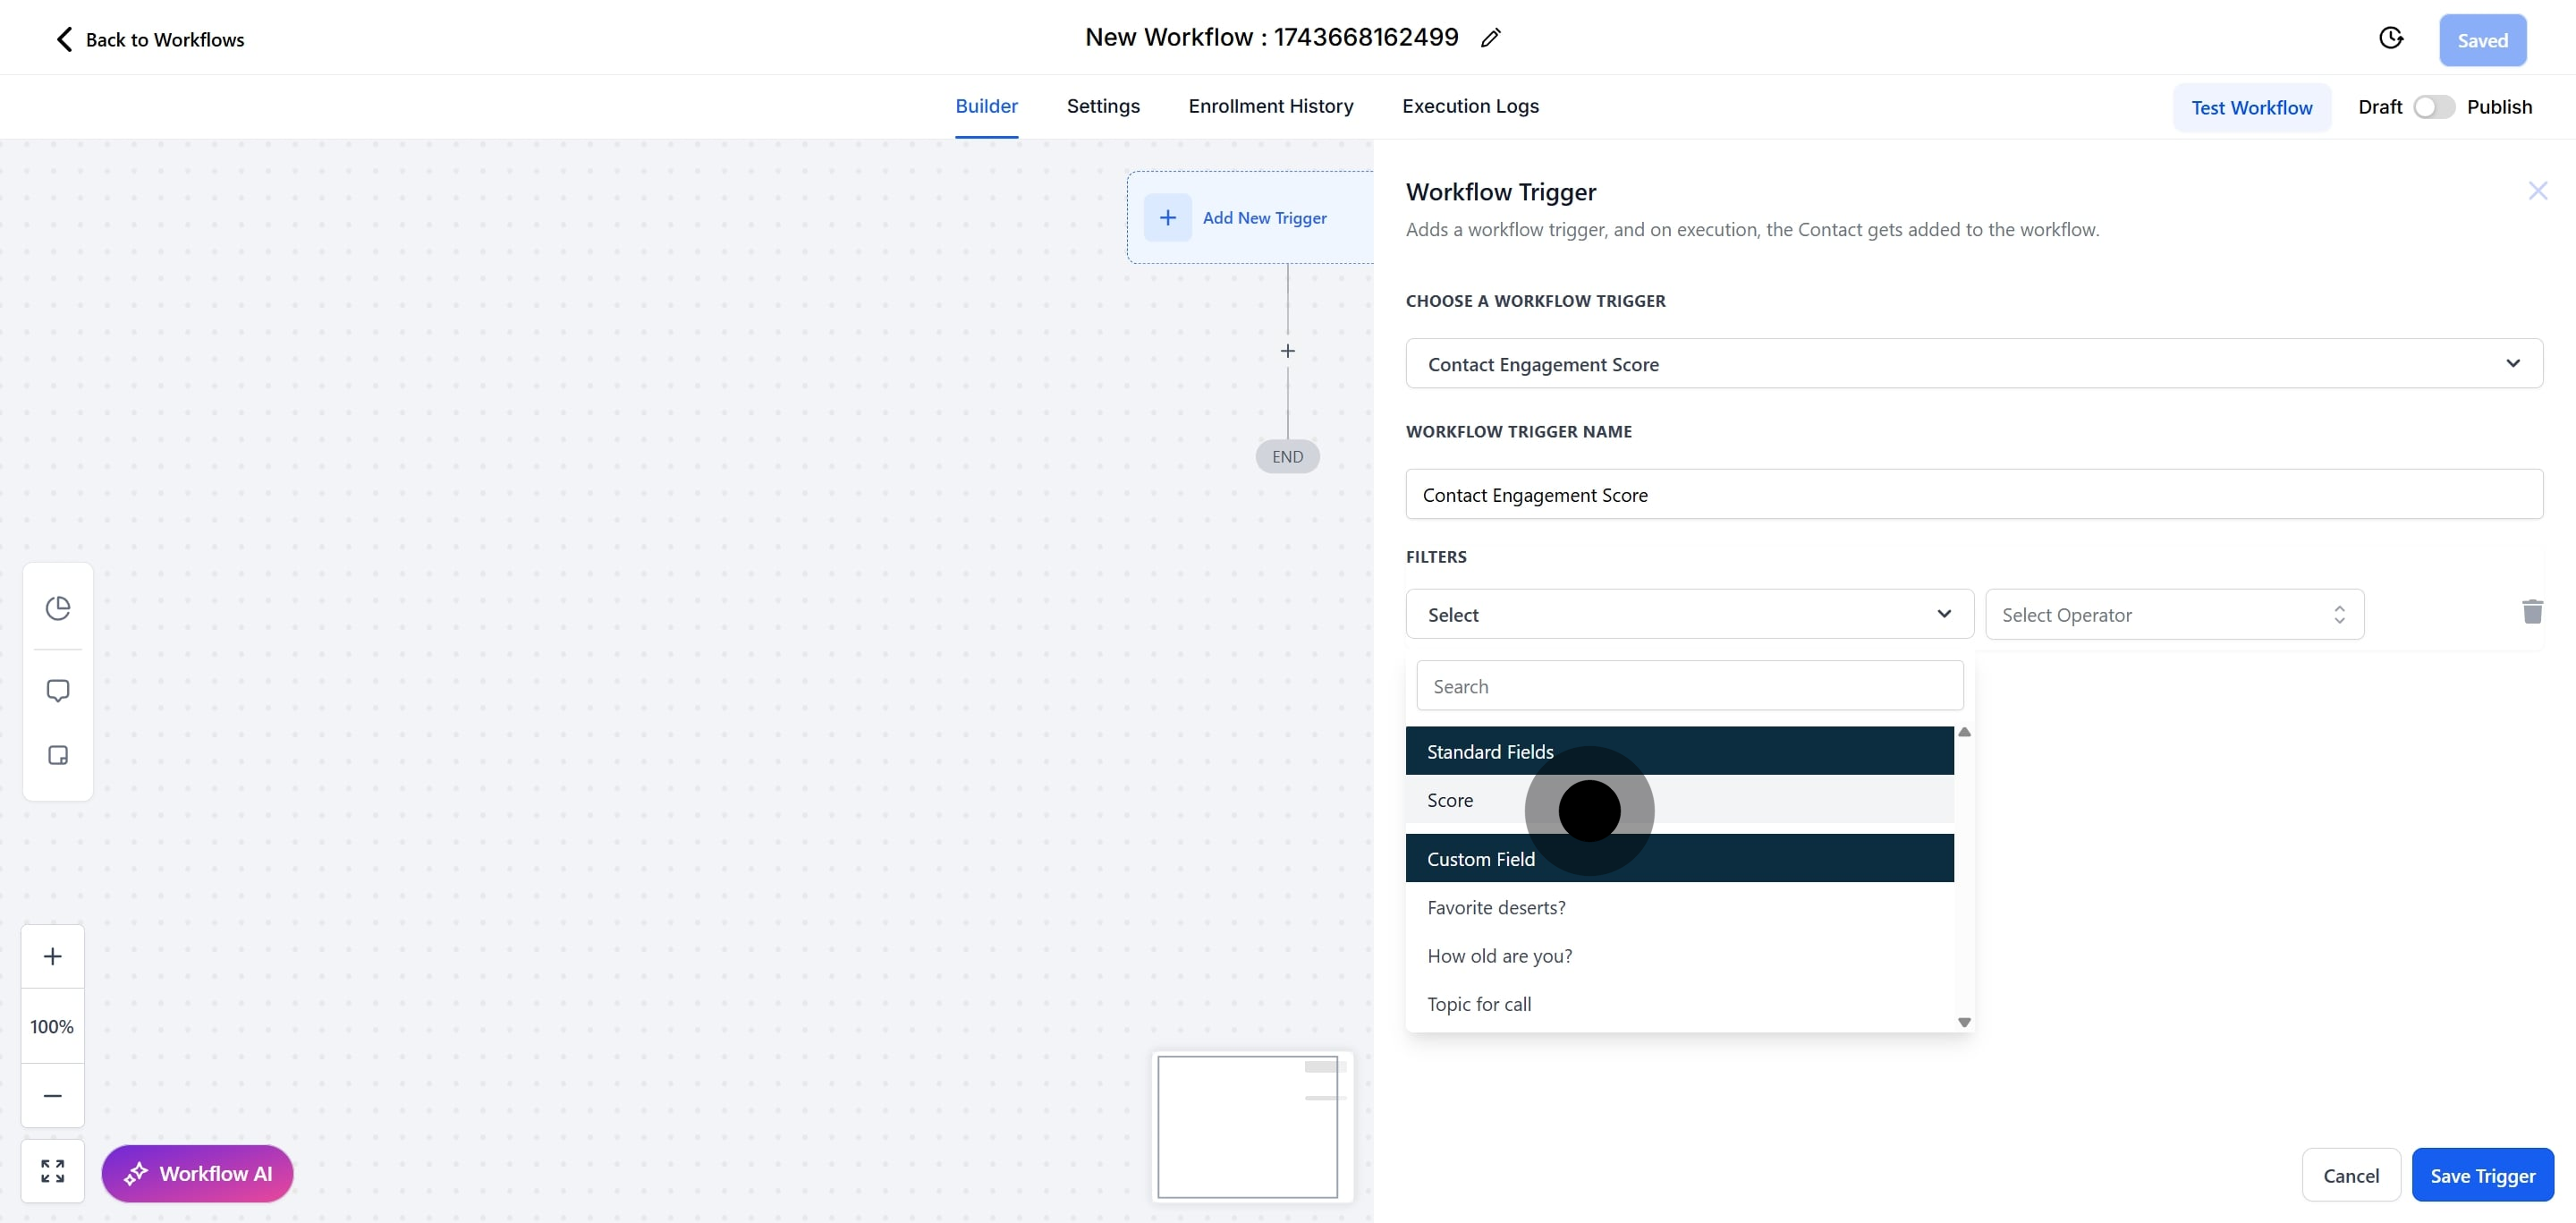
11. Click on "Select Operator" to see more choices.
12. Choose the operator you need from the list.
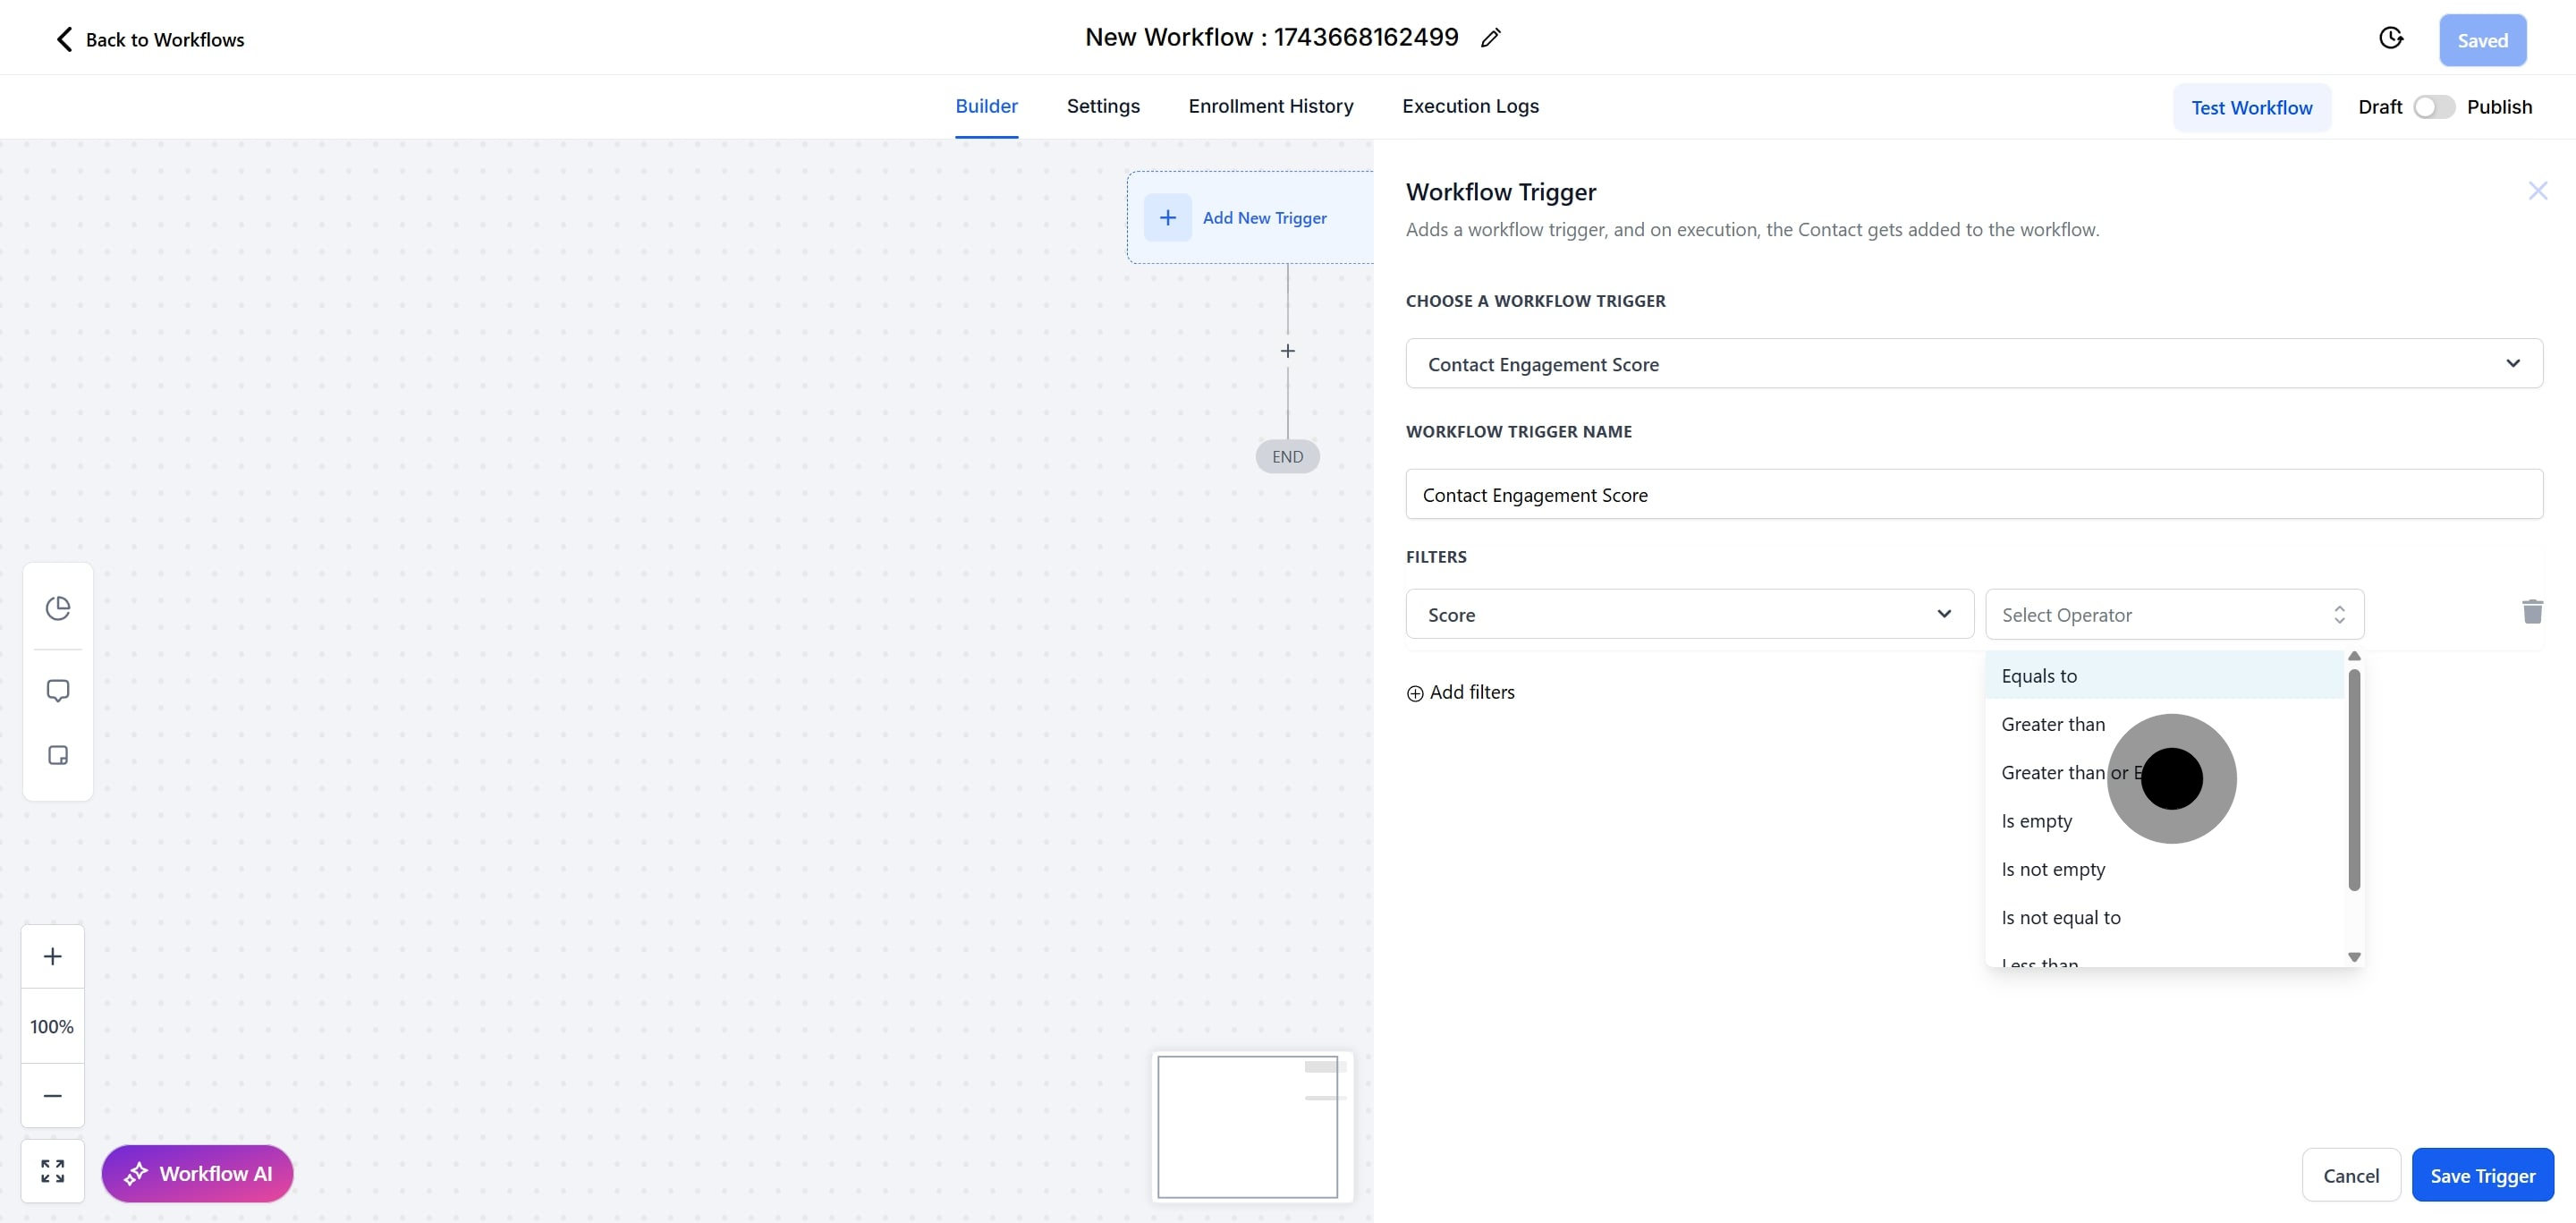
13. Enter a number, like "1", in the input box.
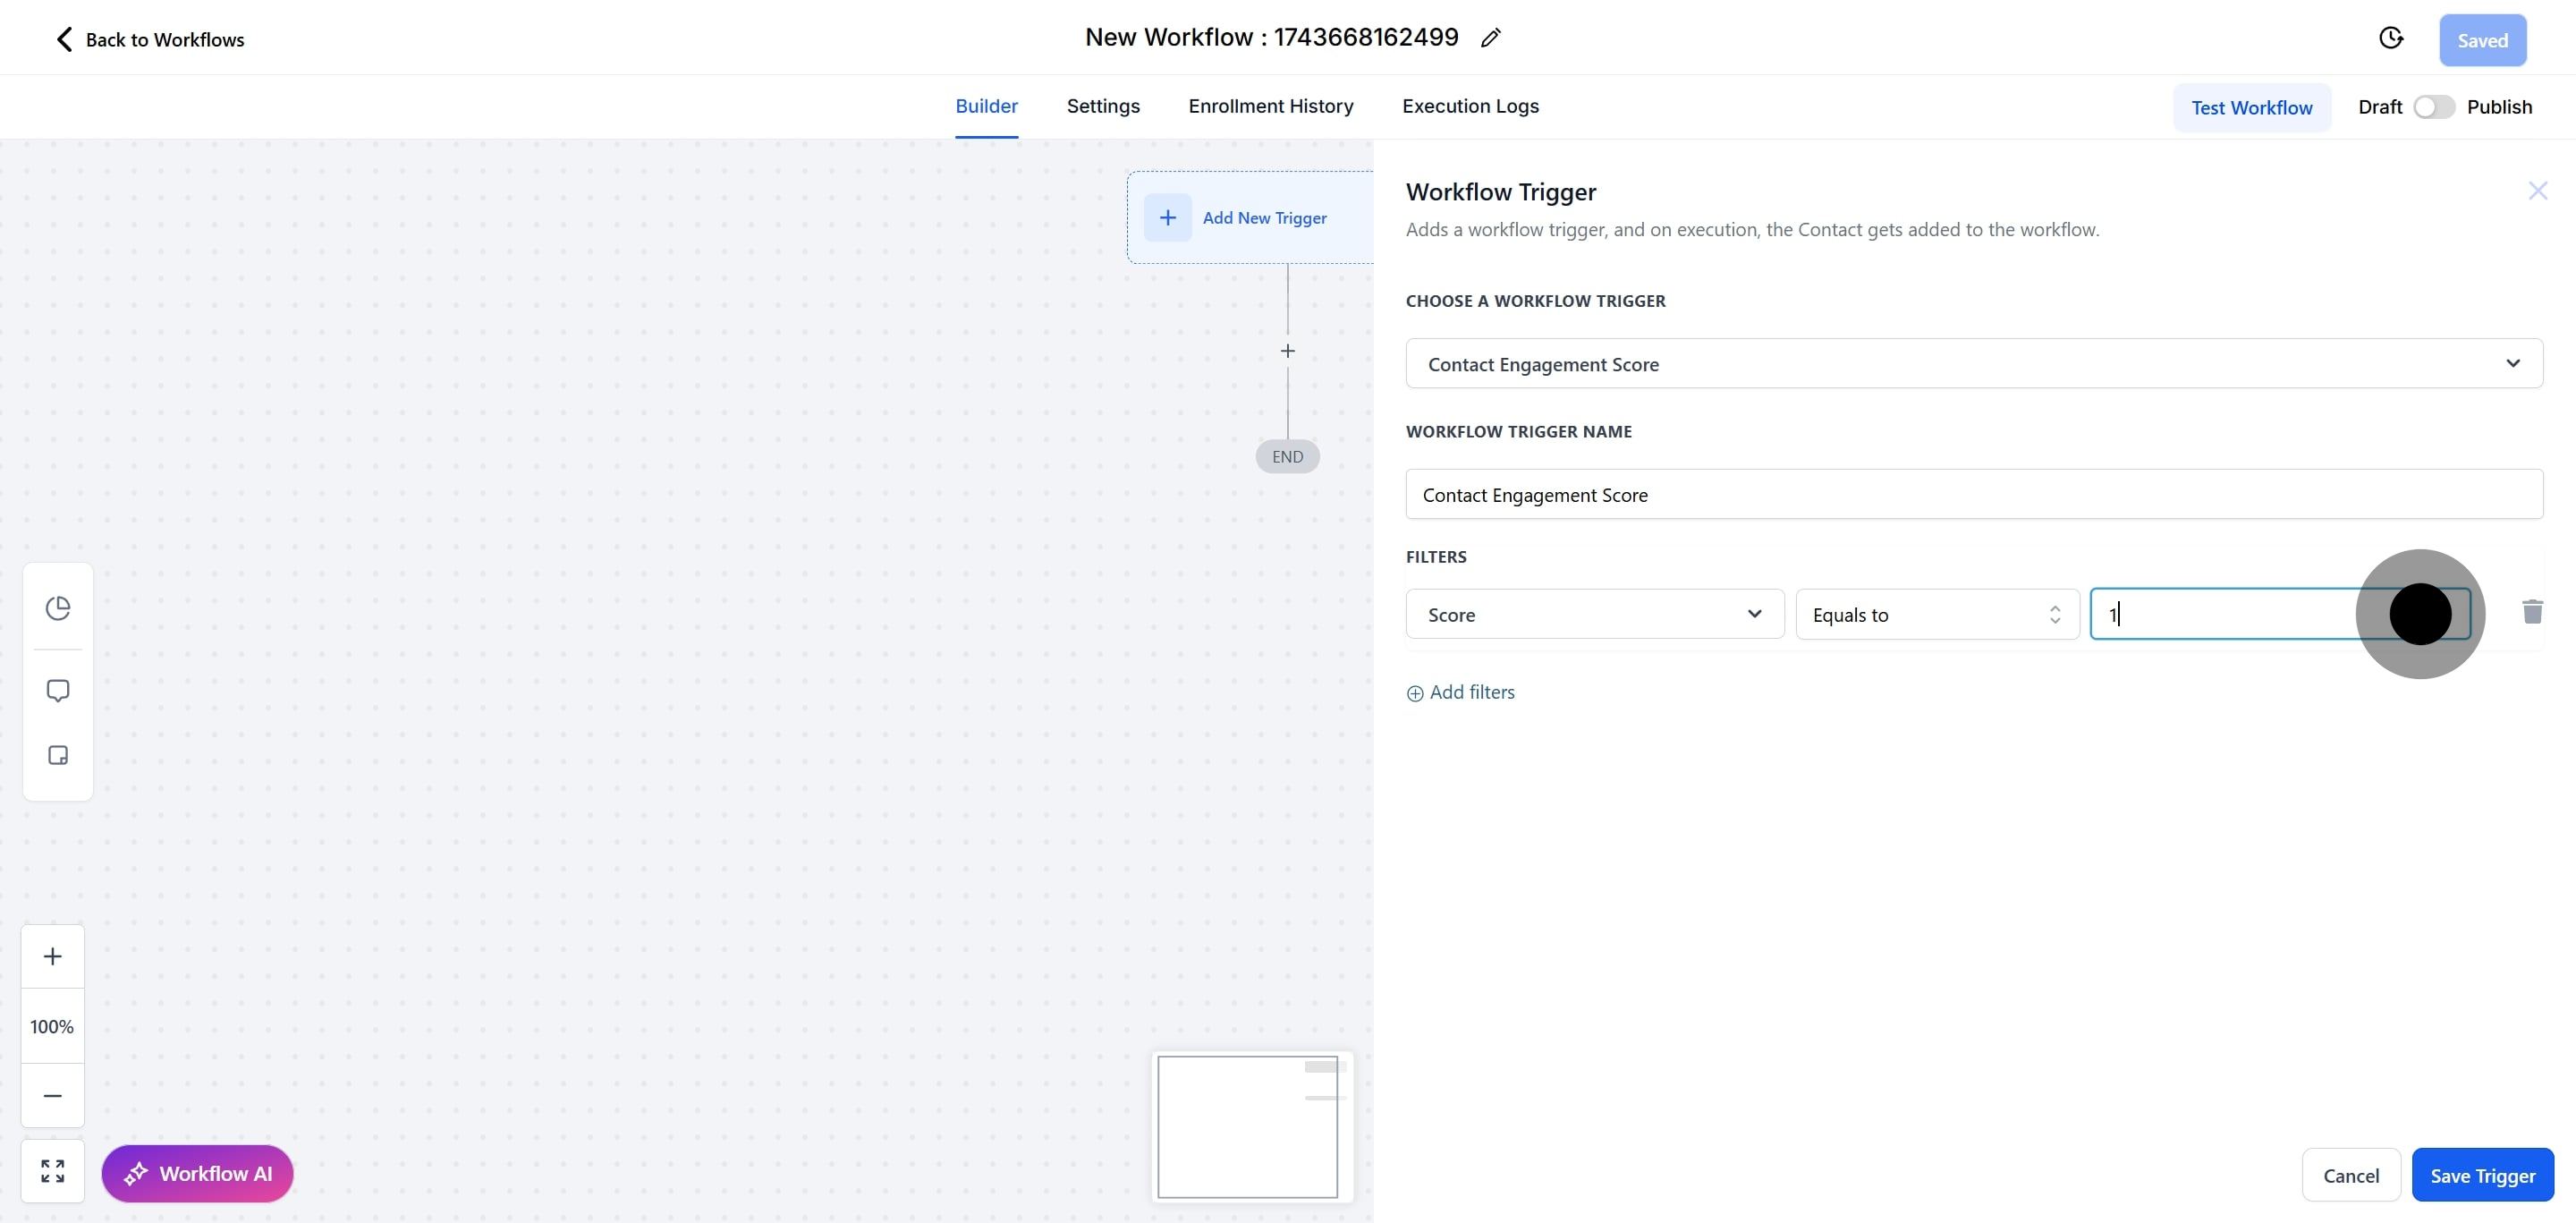
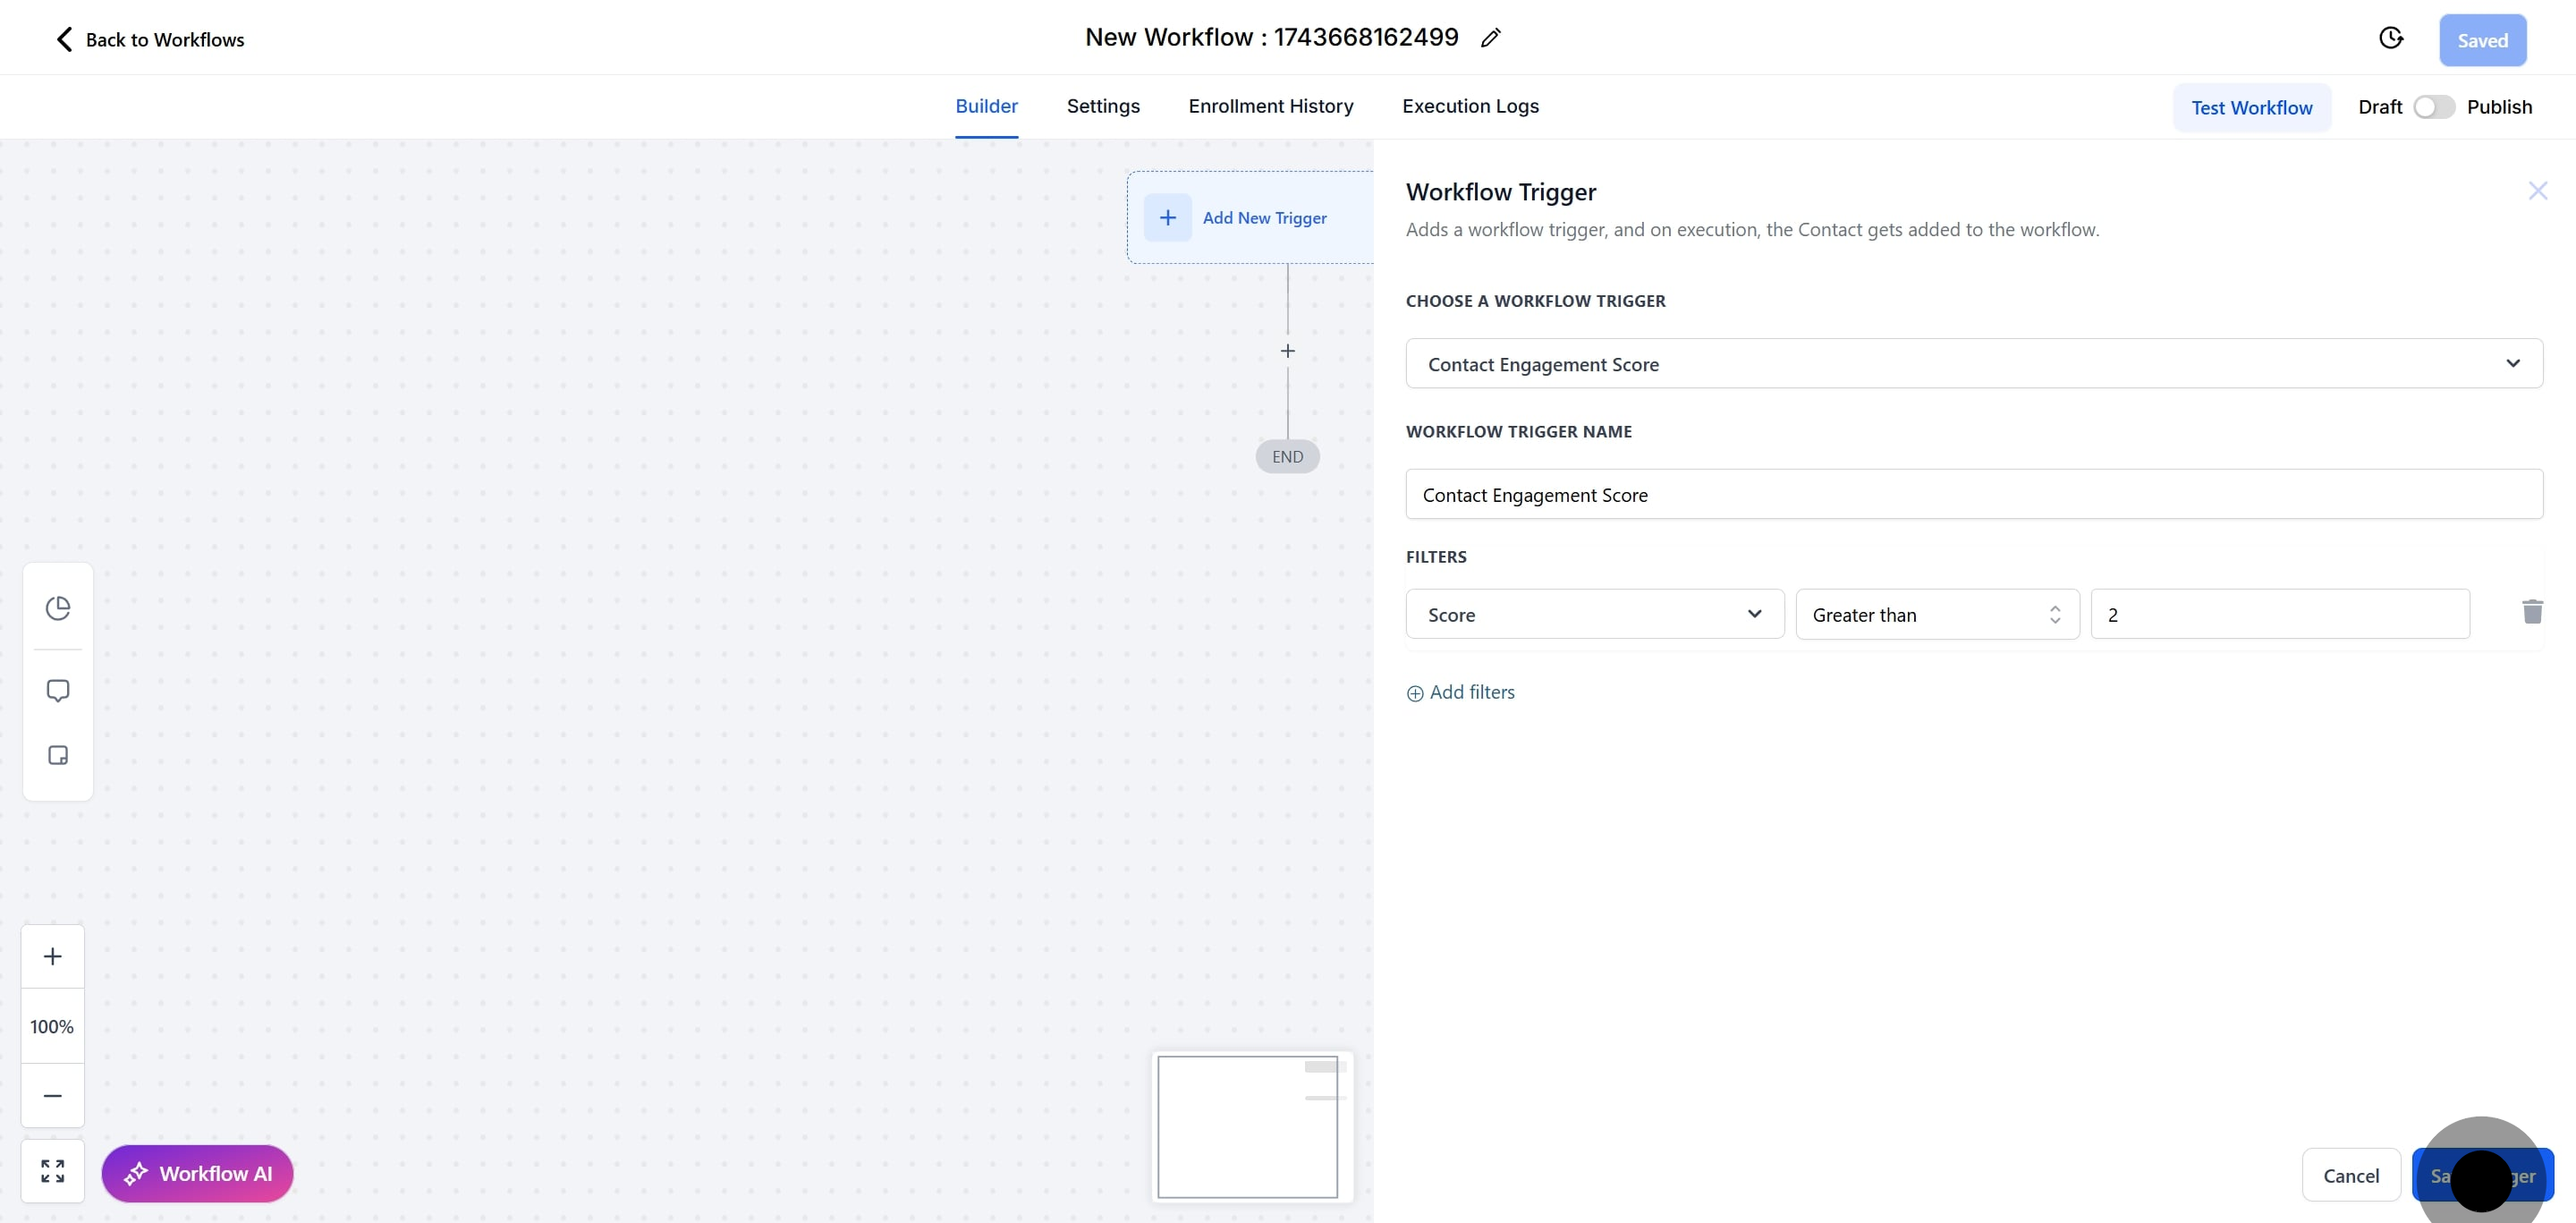
14. Finally, click "Save Trigger" to finish up.
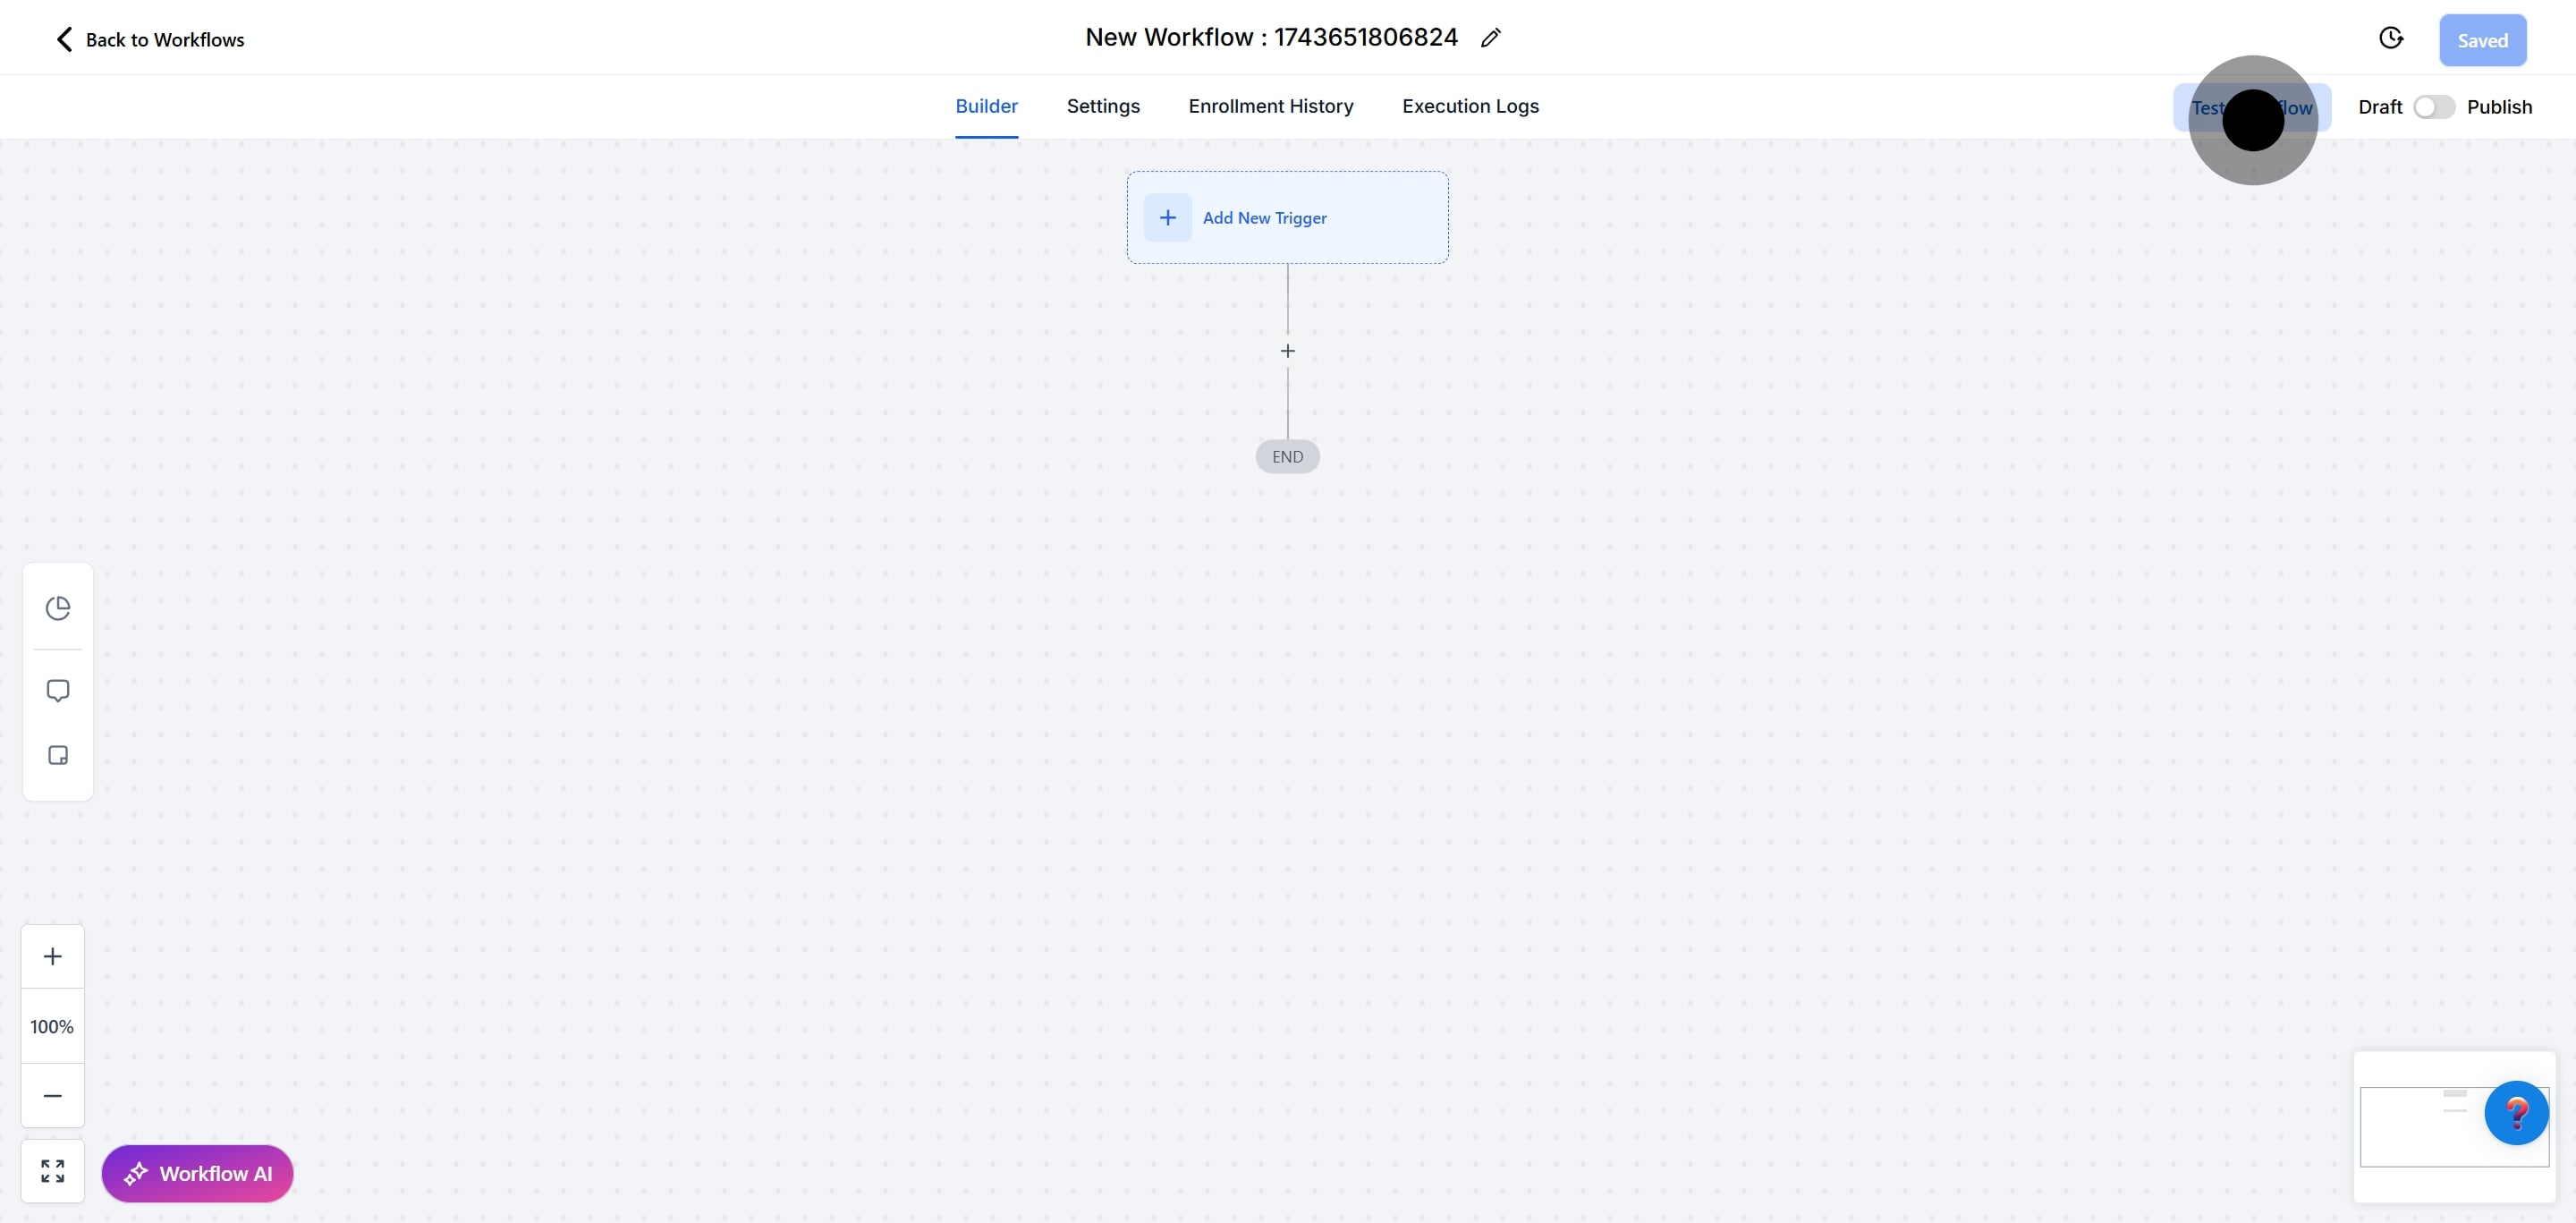
15. Click on "Test Workflow" to ensure everything works smoothly.
16. Next up, click here to open the contact list
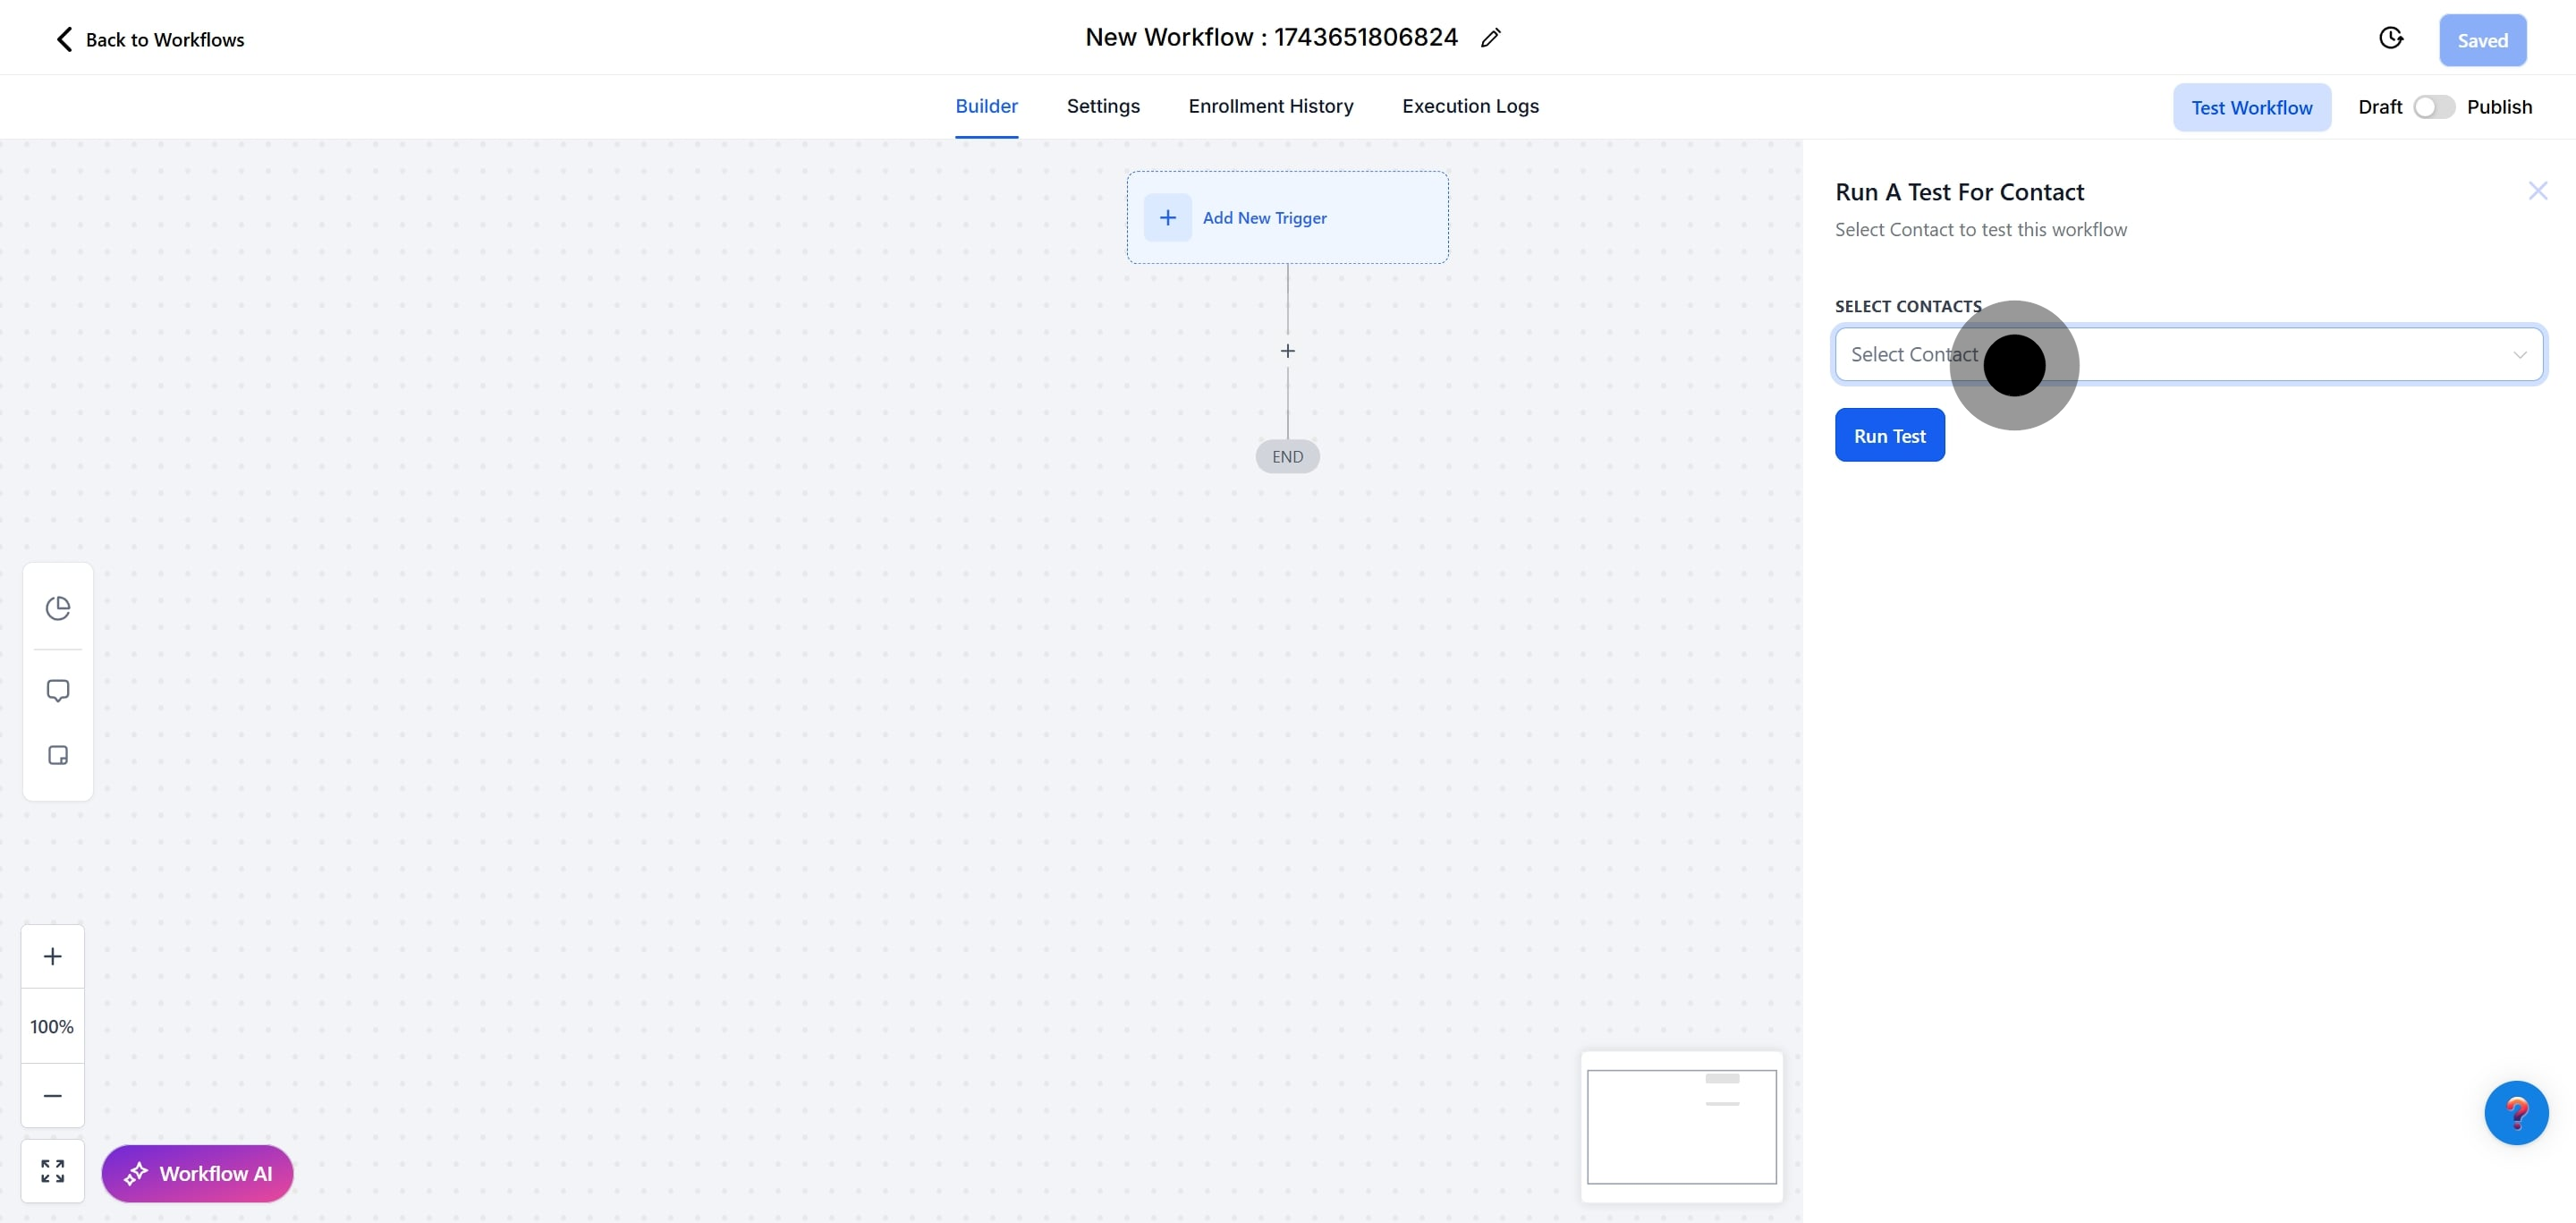
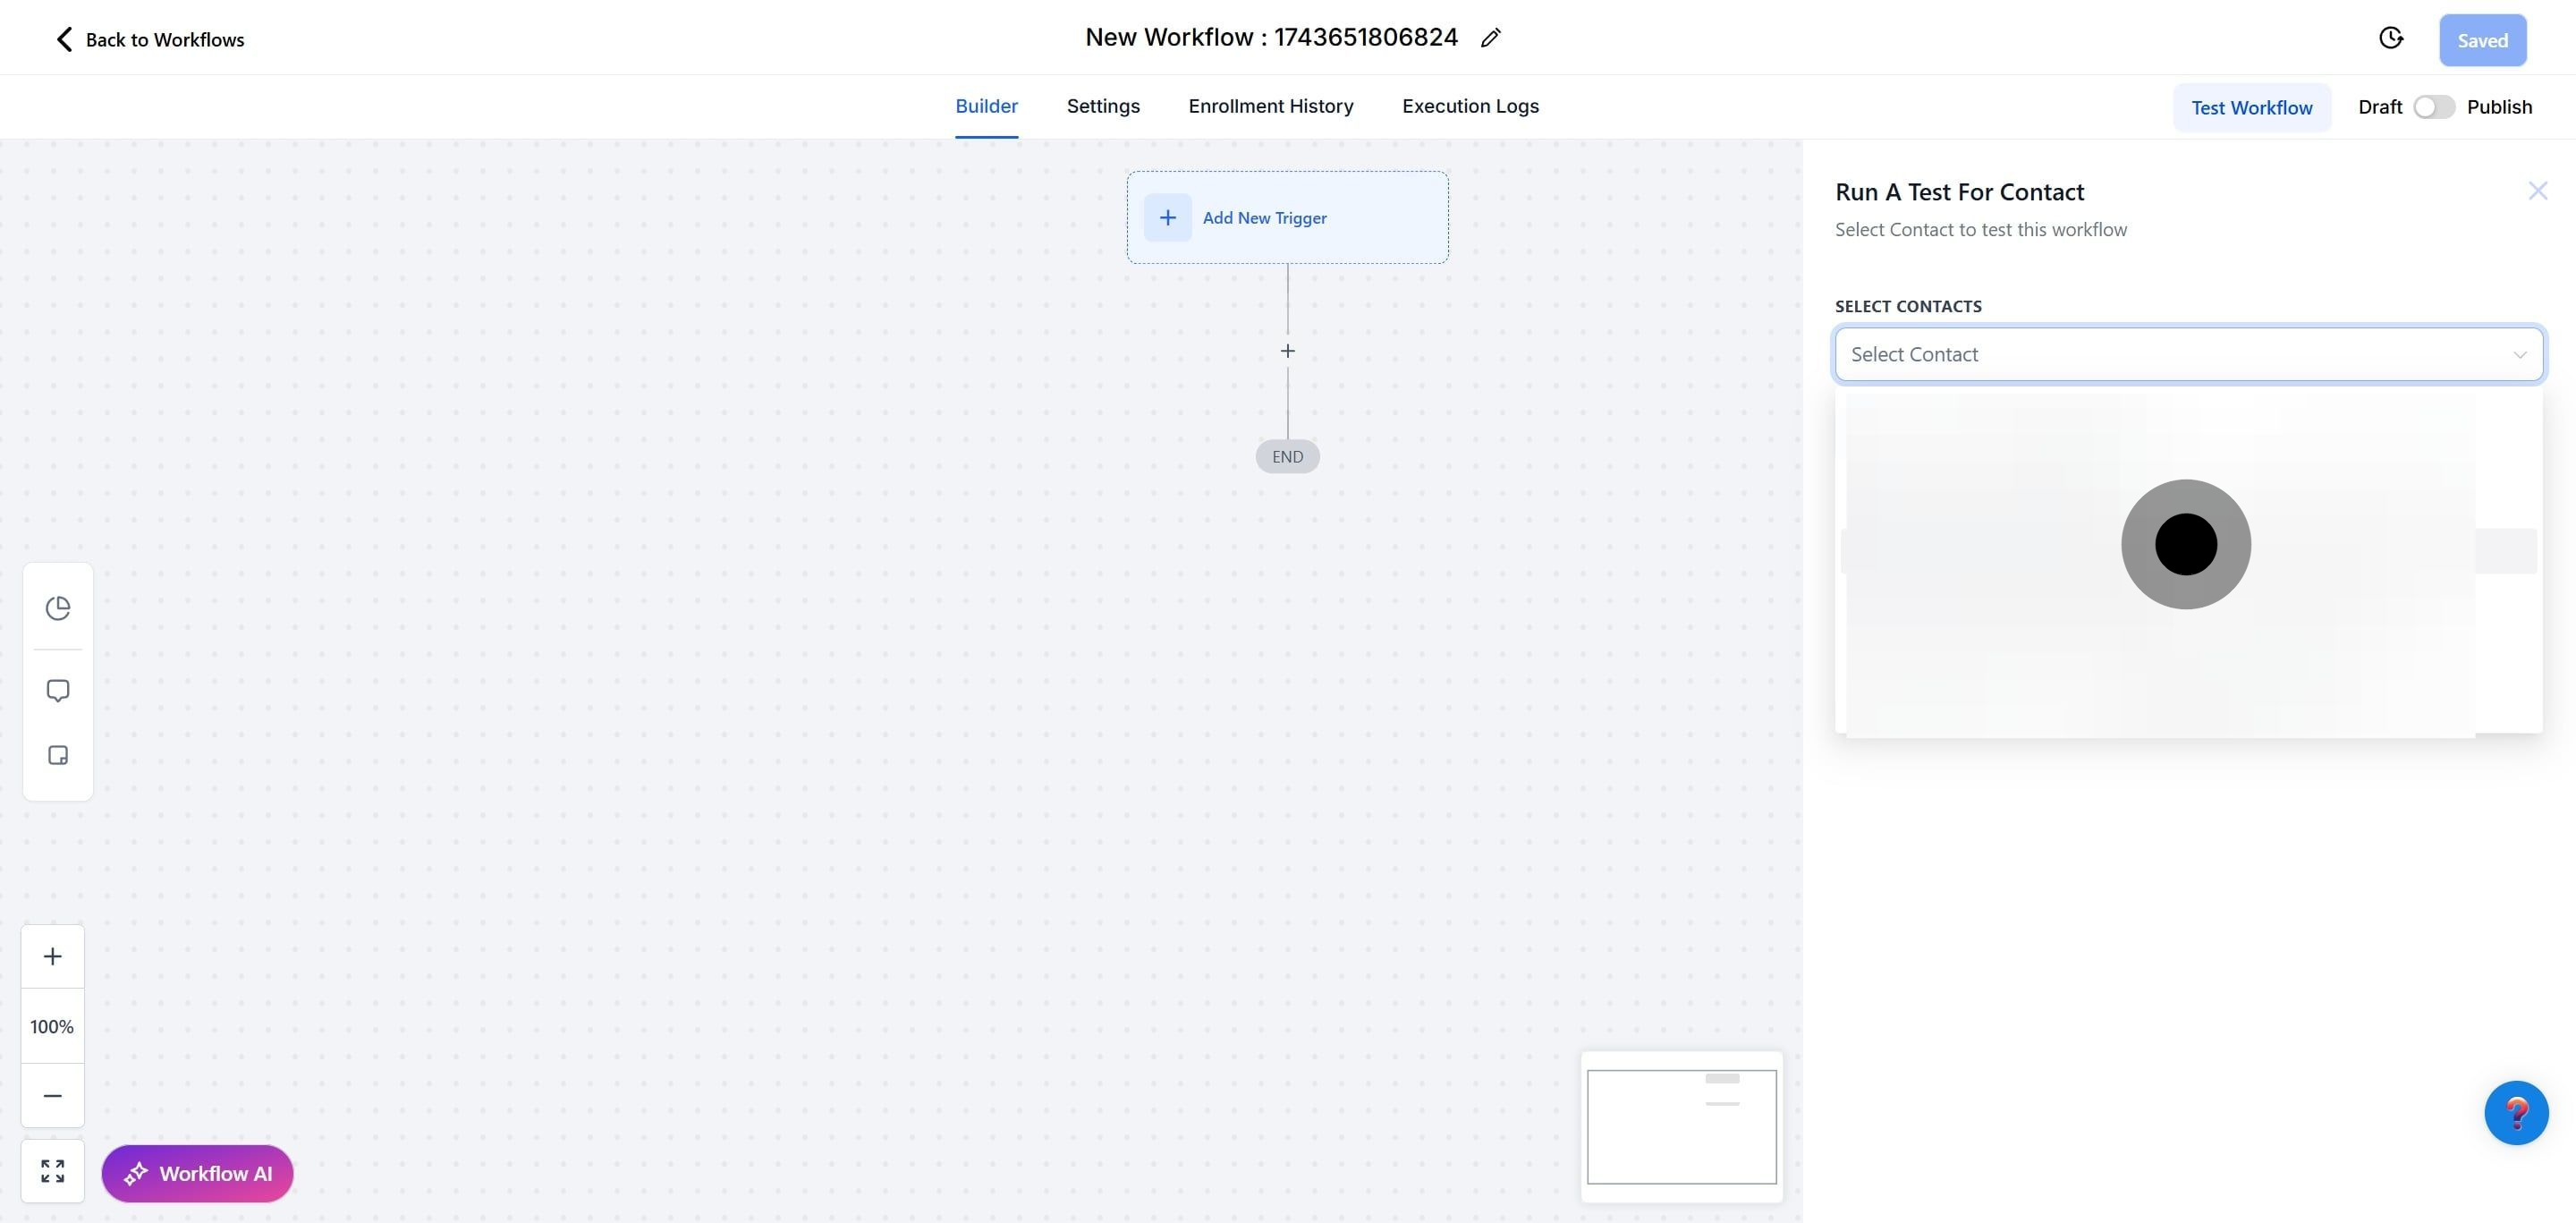
17. Next up, click here to select a contact for testing.
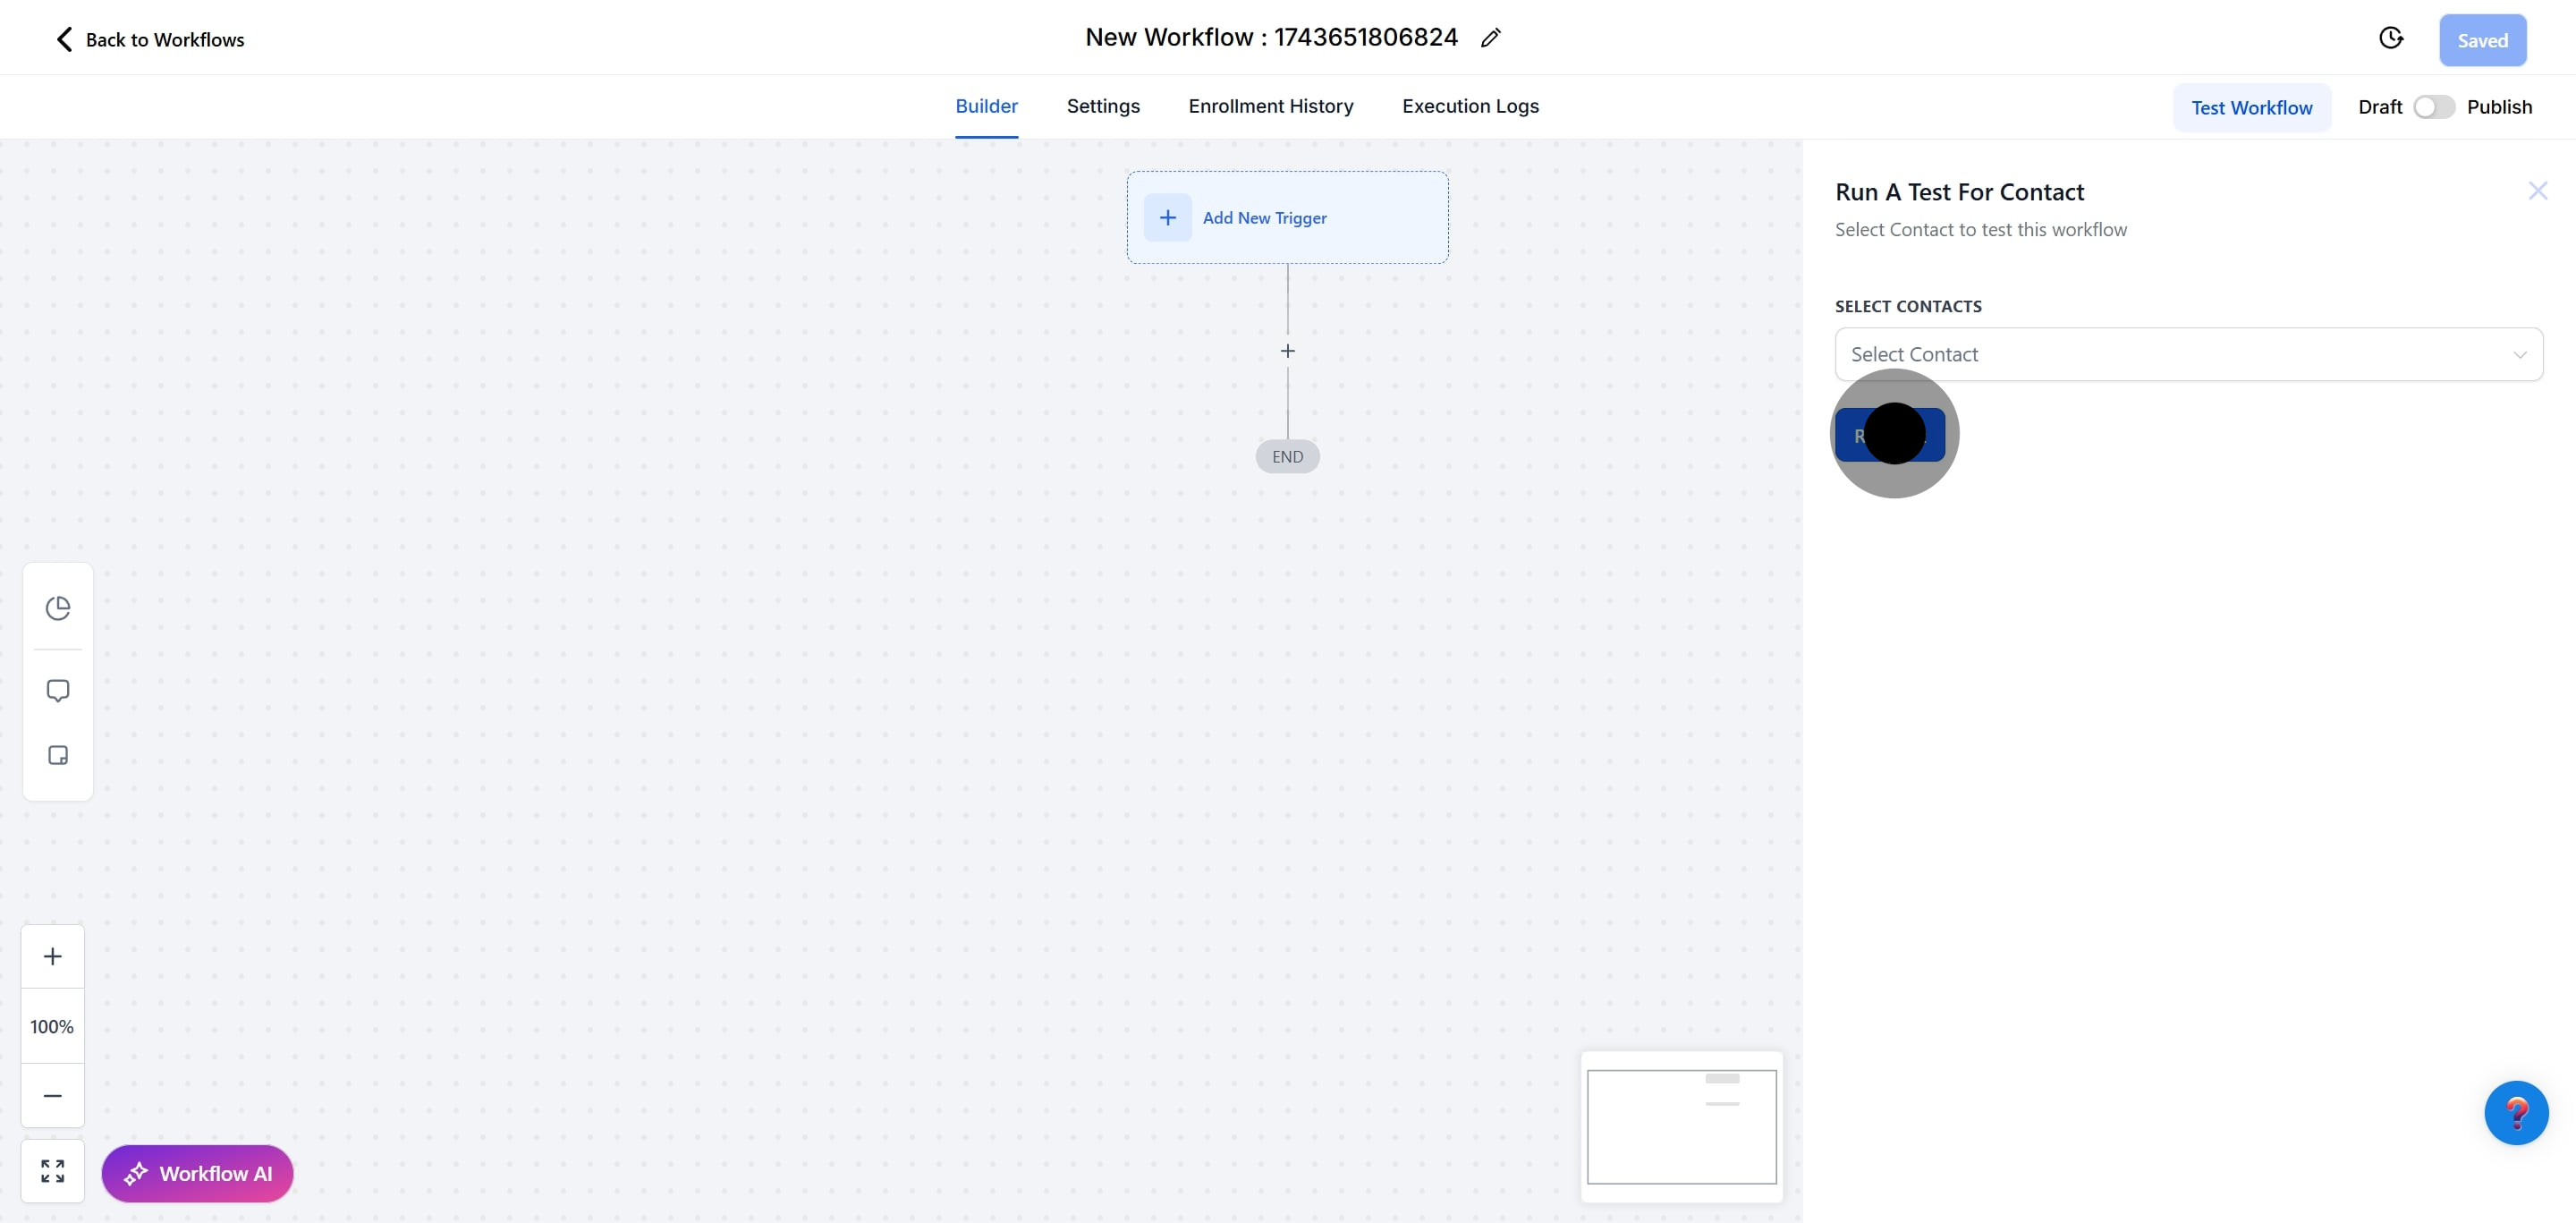
18. After, click on "Run a test for Contact" to proceed with testing.
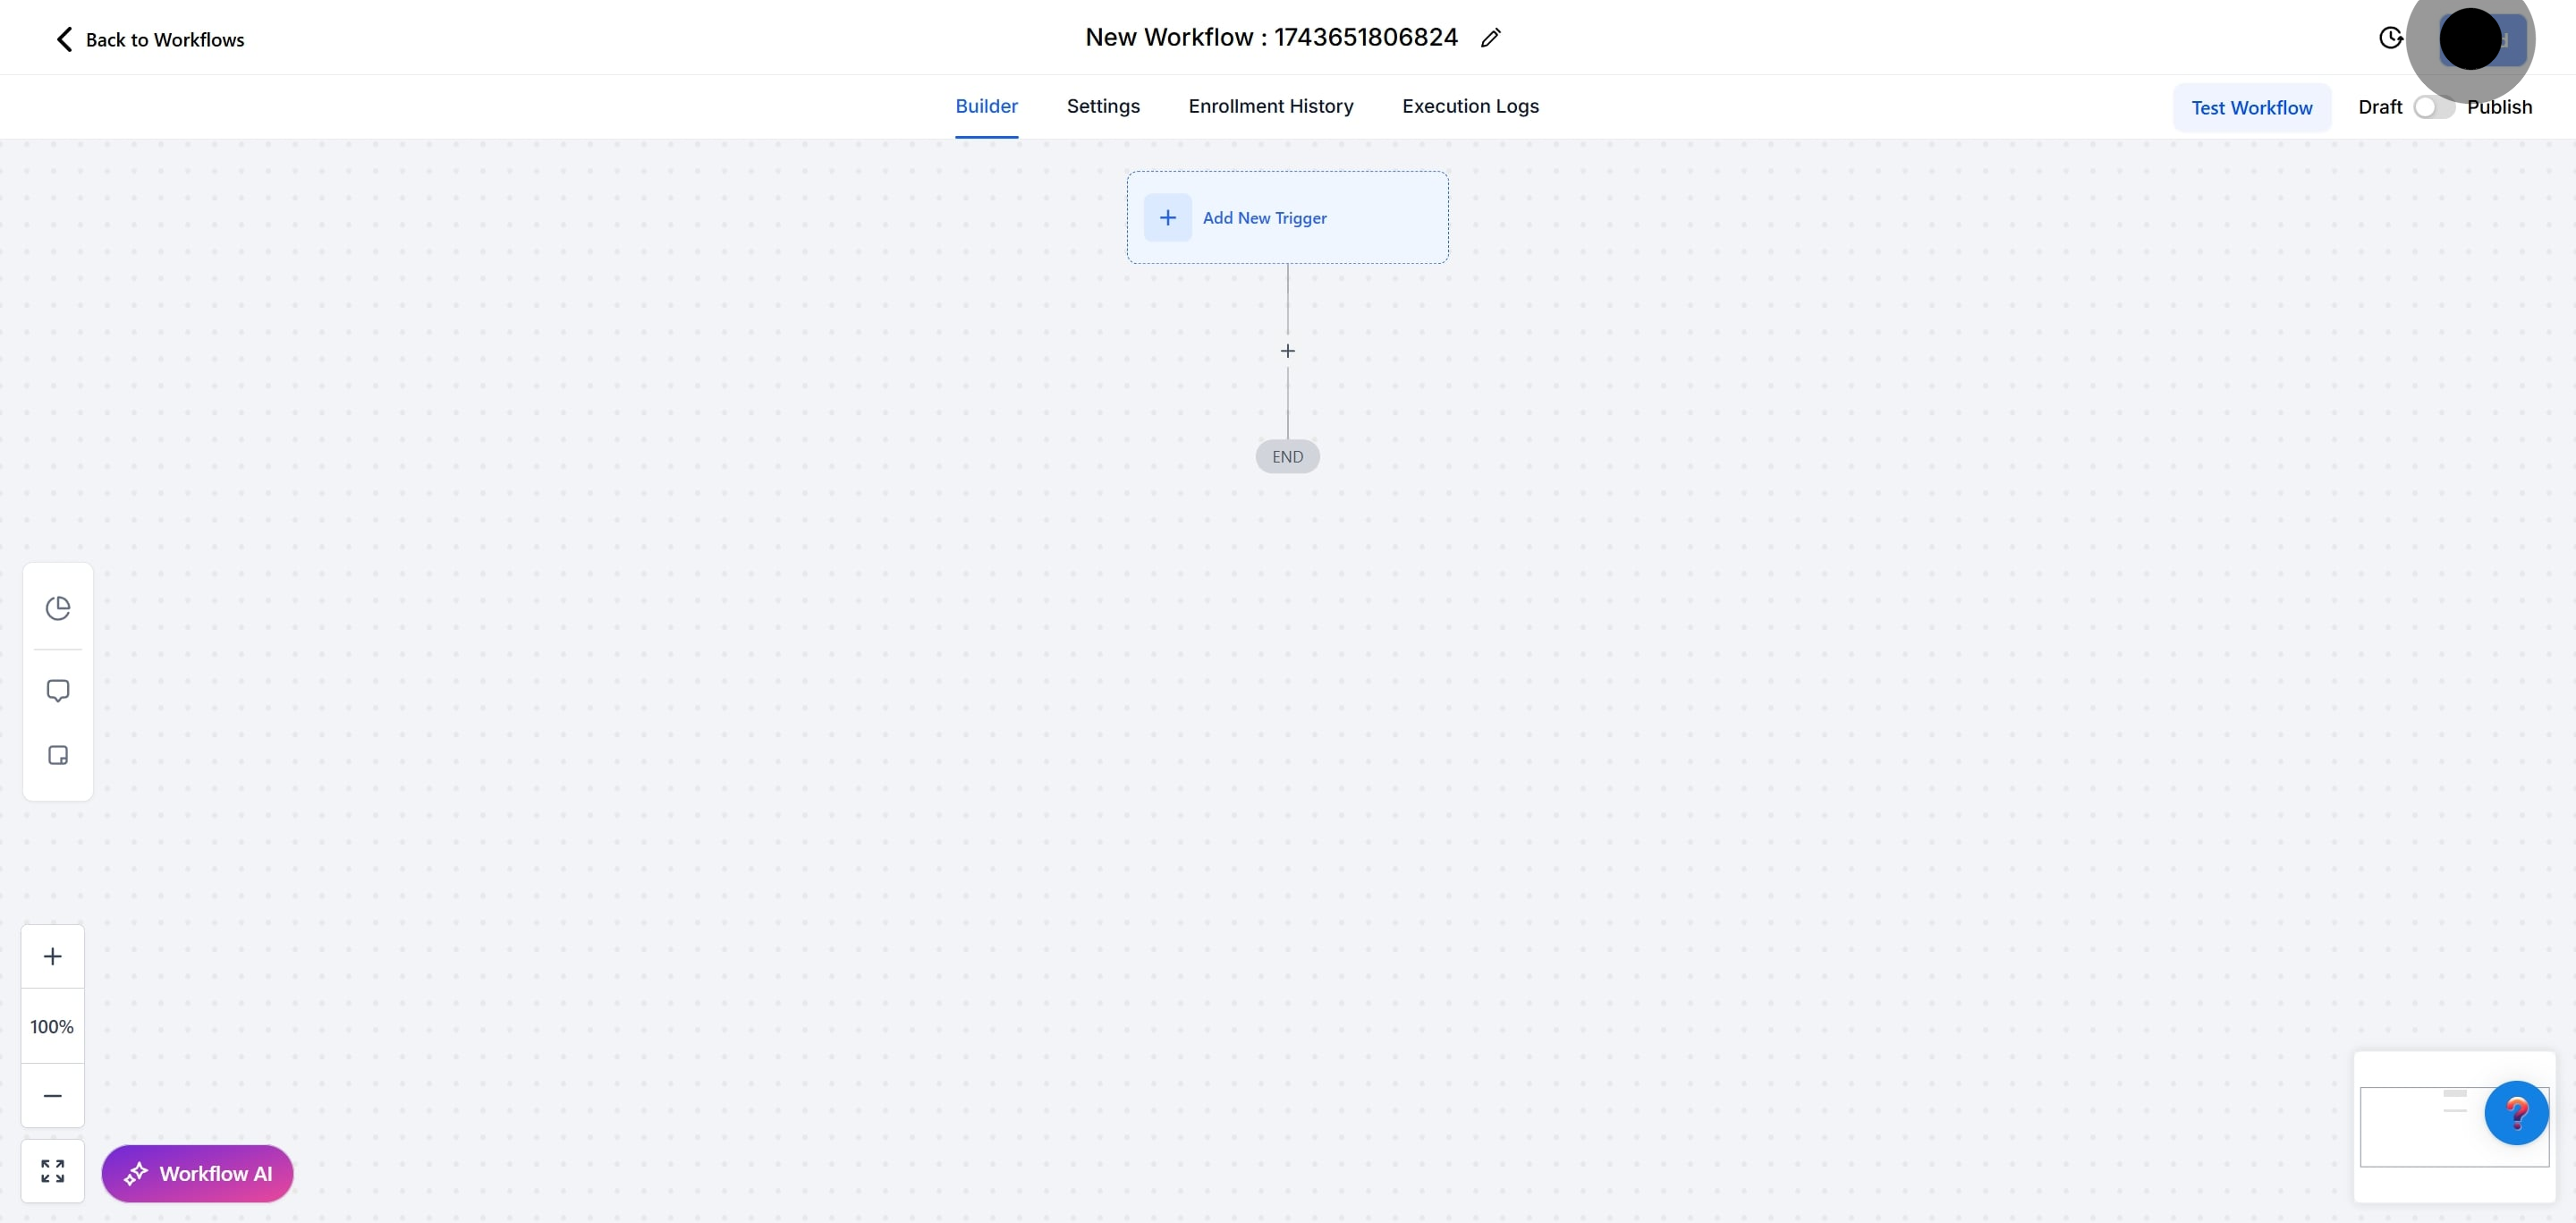
19. Afterwards, click here to toggle between draft or publish options.
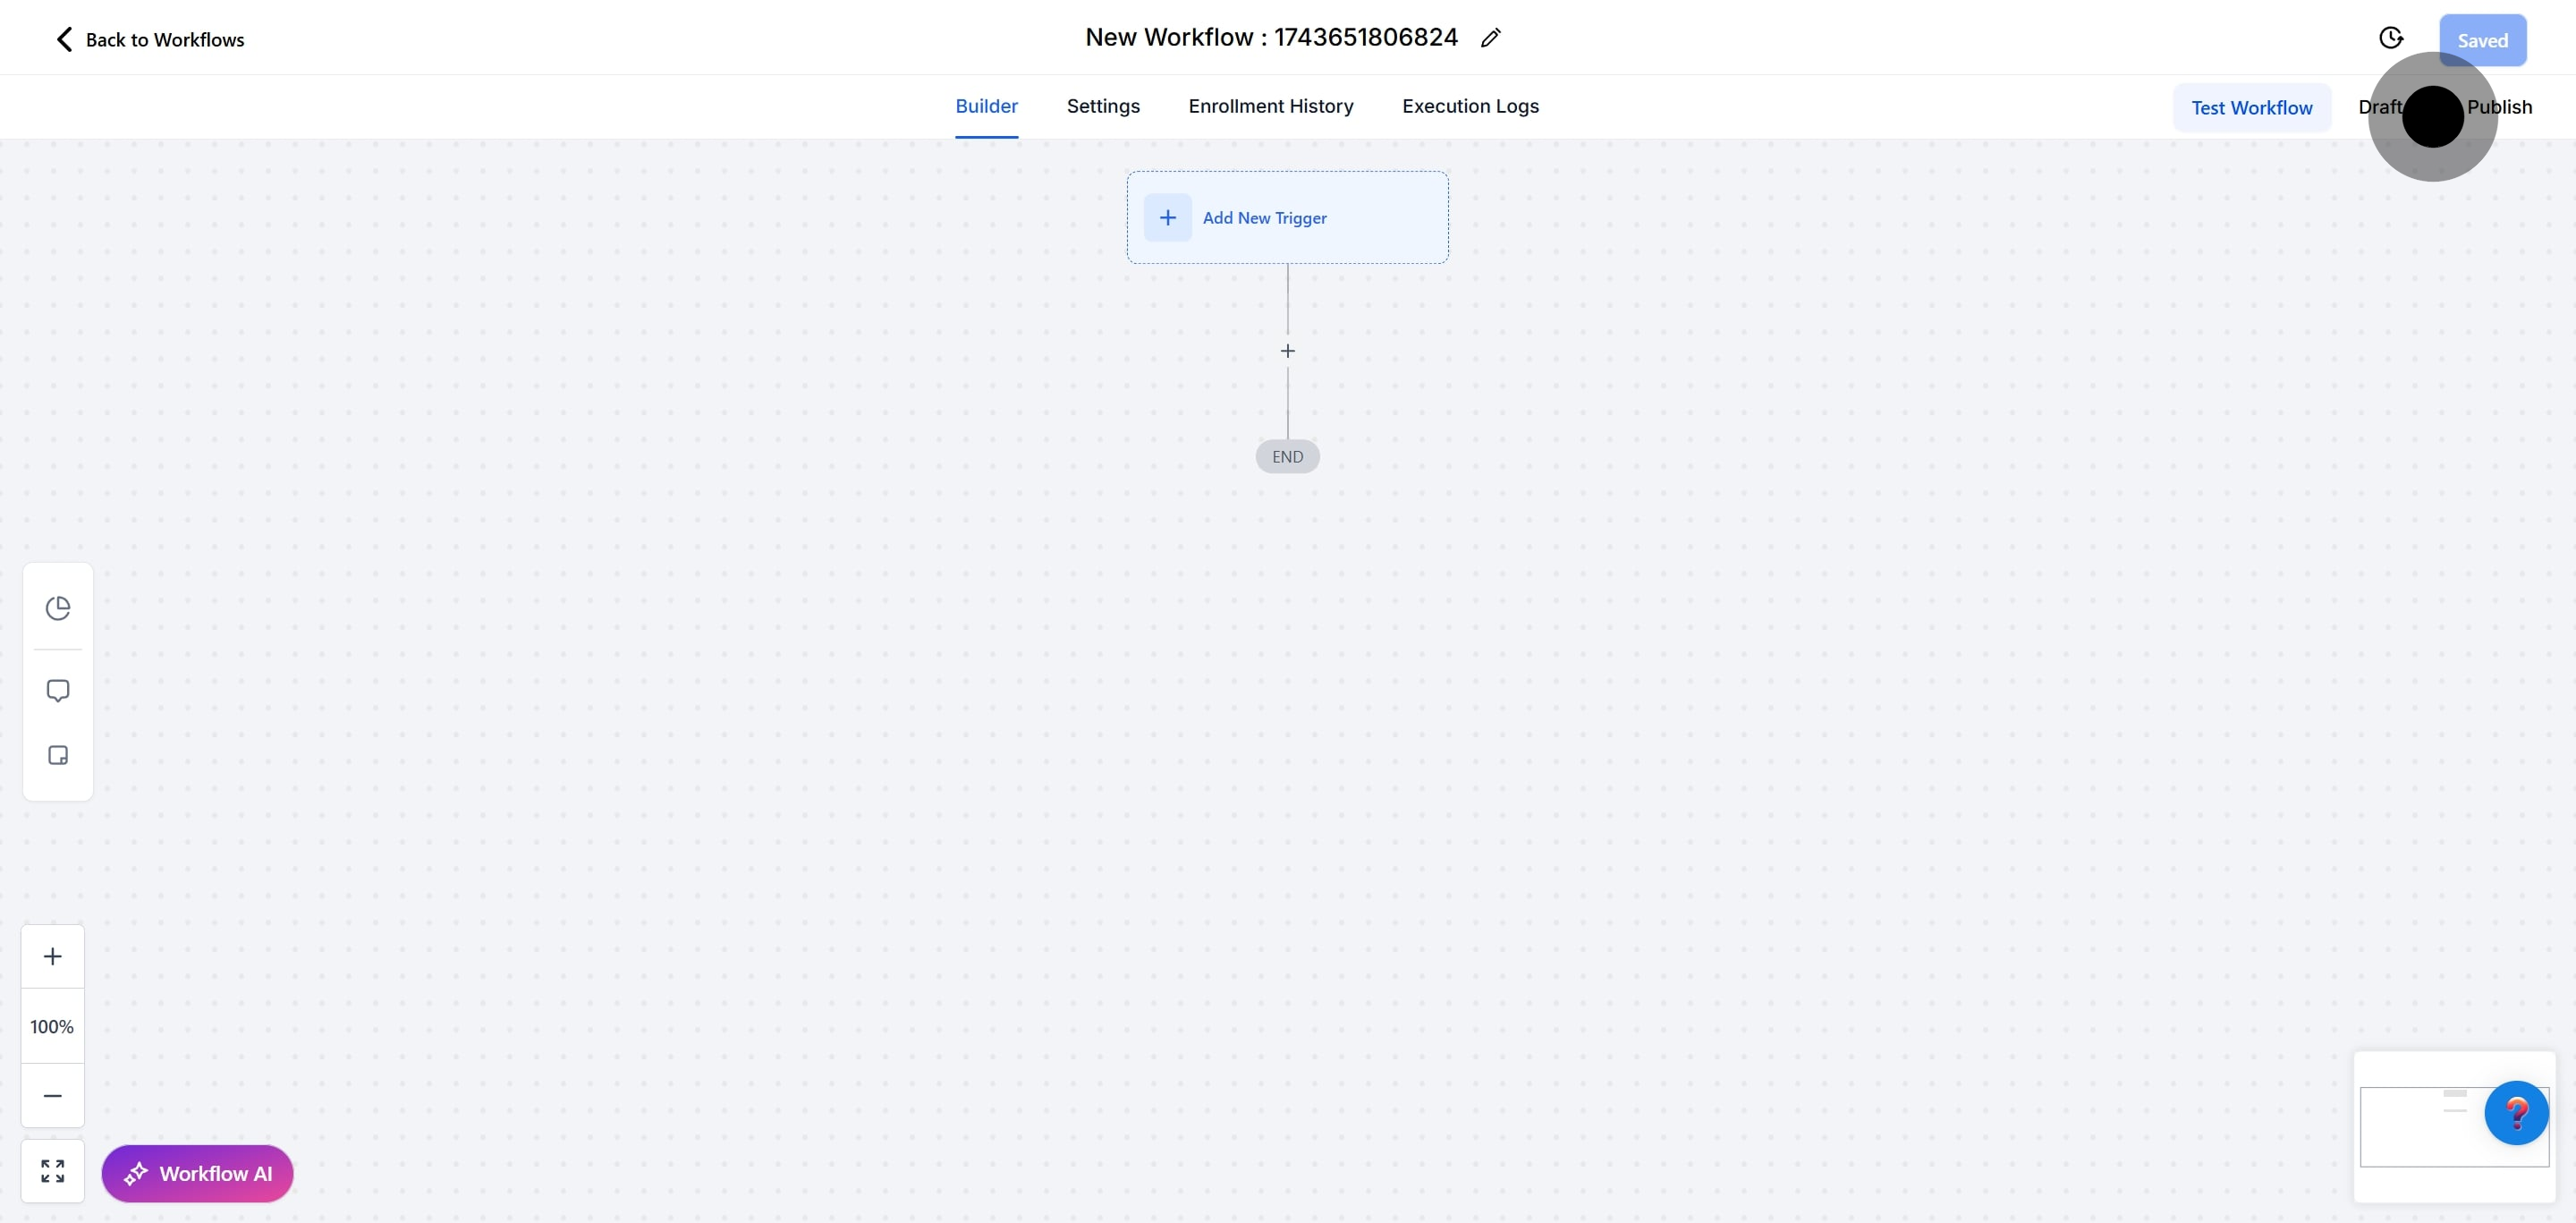
20. Click here to save your changes and complete the process.
NOTE: For an in-depth overview of Workflow Testing see our article, “Using the Testing Features in Workflows”
Monitor and Iterate: Continuously monitor the impact of Contact Engagement Score Triggers on your engagement metrics. Analyse feedback and data to identify areas for improvement and refine your workflows accordingly.
Key Features of Contact Engagement Score Triggers:
Automated Activation: Contact Engagement Score Triggers automate the initiation of workflow actions based on fluctuations in Engagement Scores. This automation eliminates the need for manual intervention, allowing businesses to maintain consistent engagement levels effortlessly.
Customizable Filters: Users can apply customizable filters to tailor workflow triggers based on specific numerical conditions of the Engagement Score. These filters provide granular control over when workflows are activated, ensuring precision in engagement strategies.
