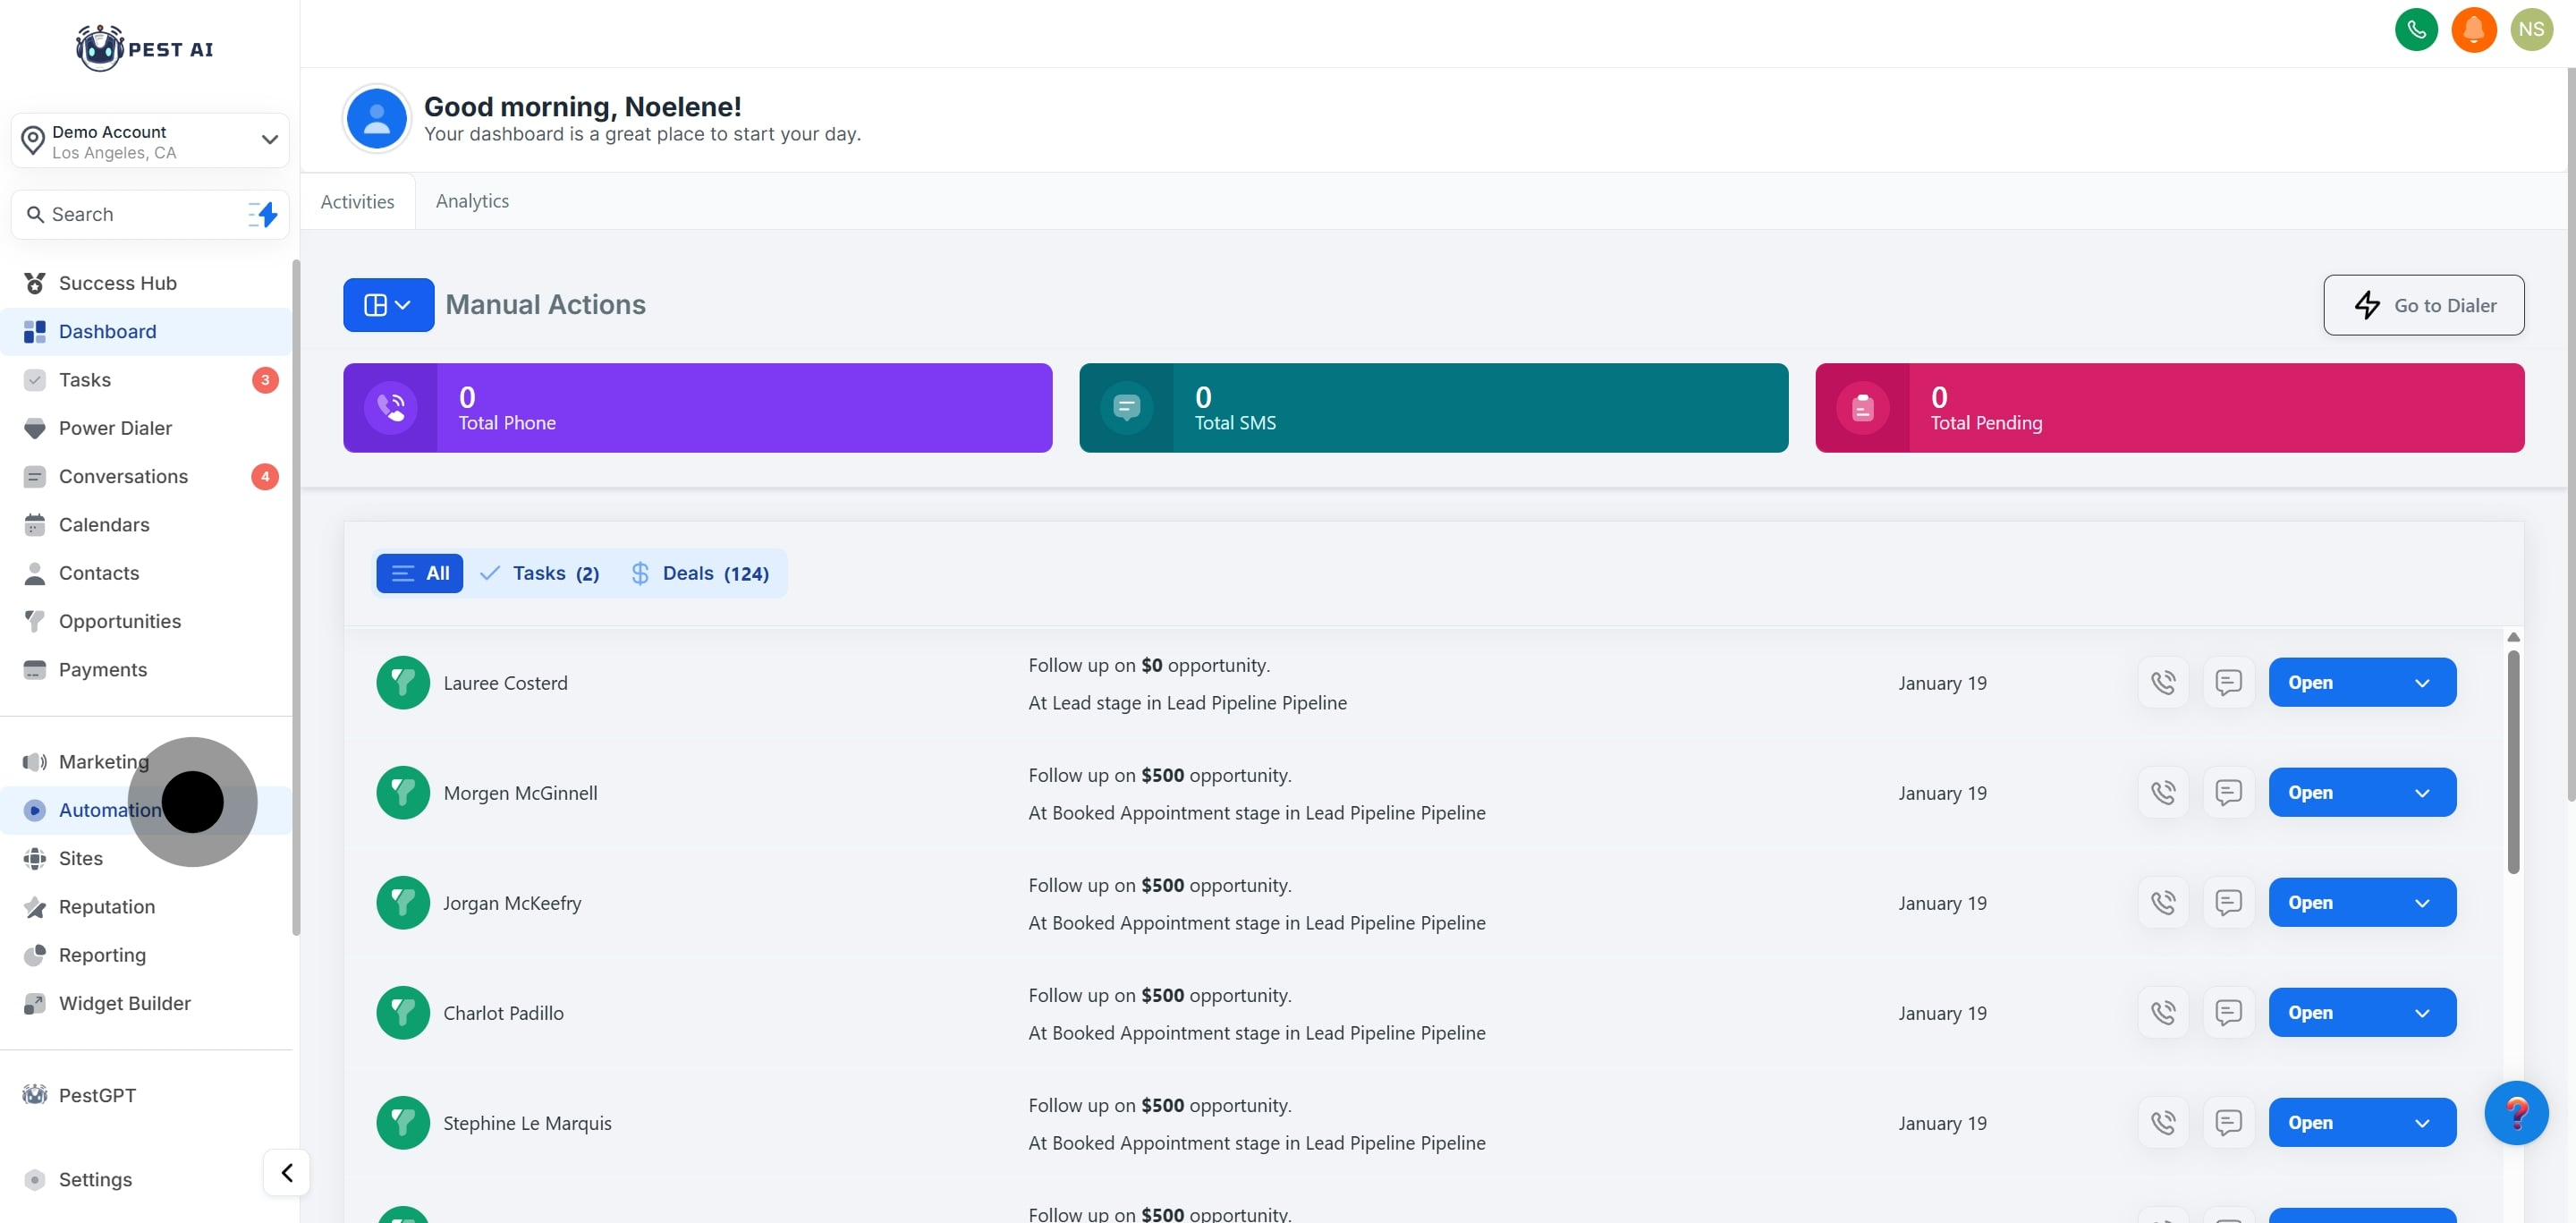
1. First, click on "Automation" to begin your workflow.
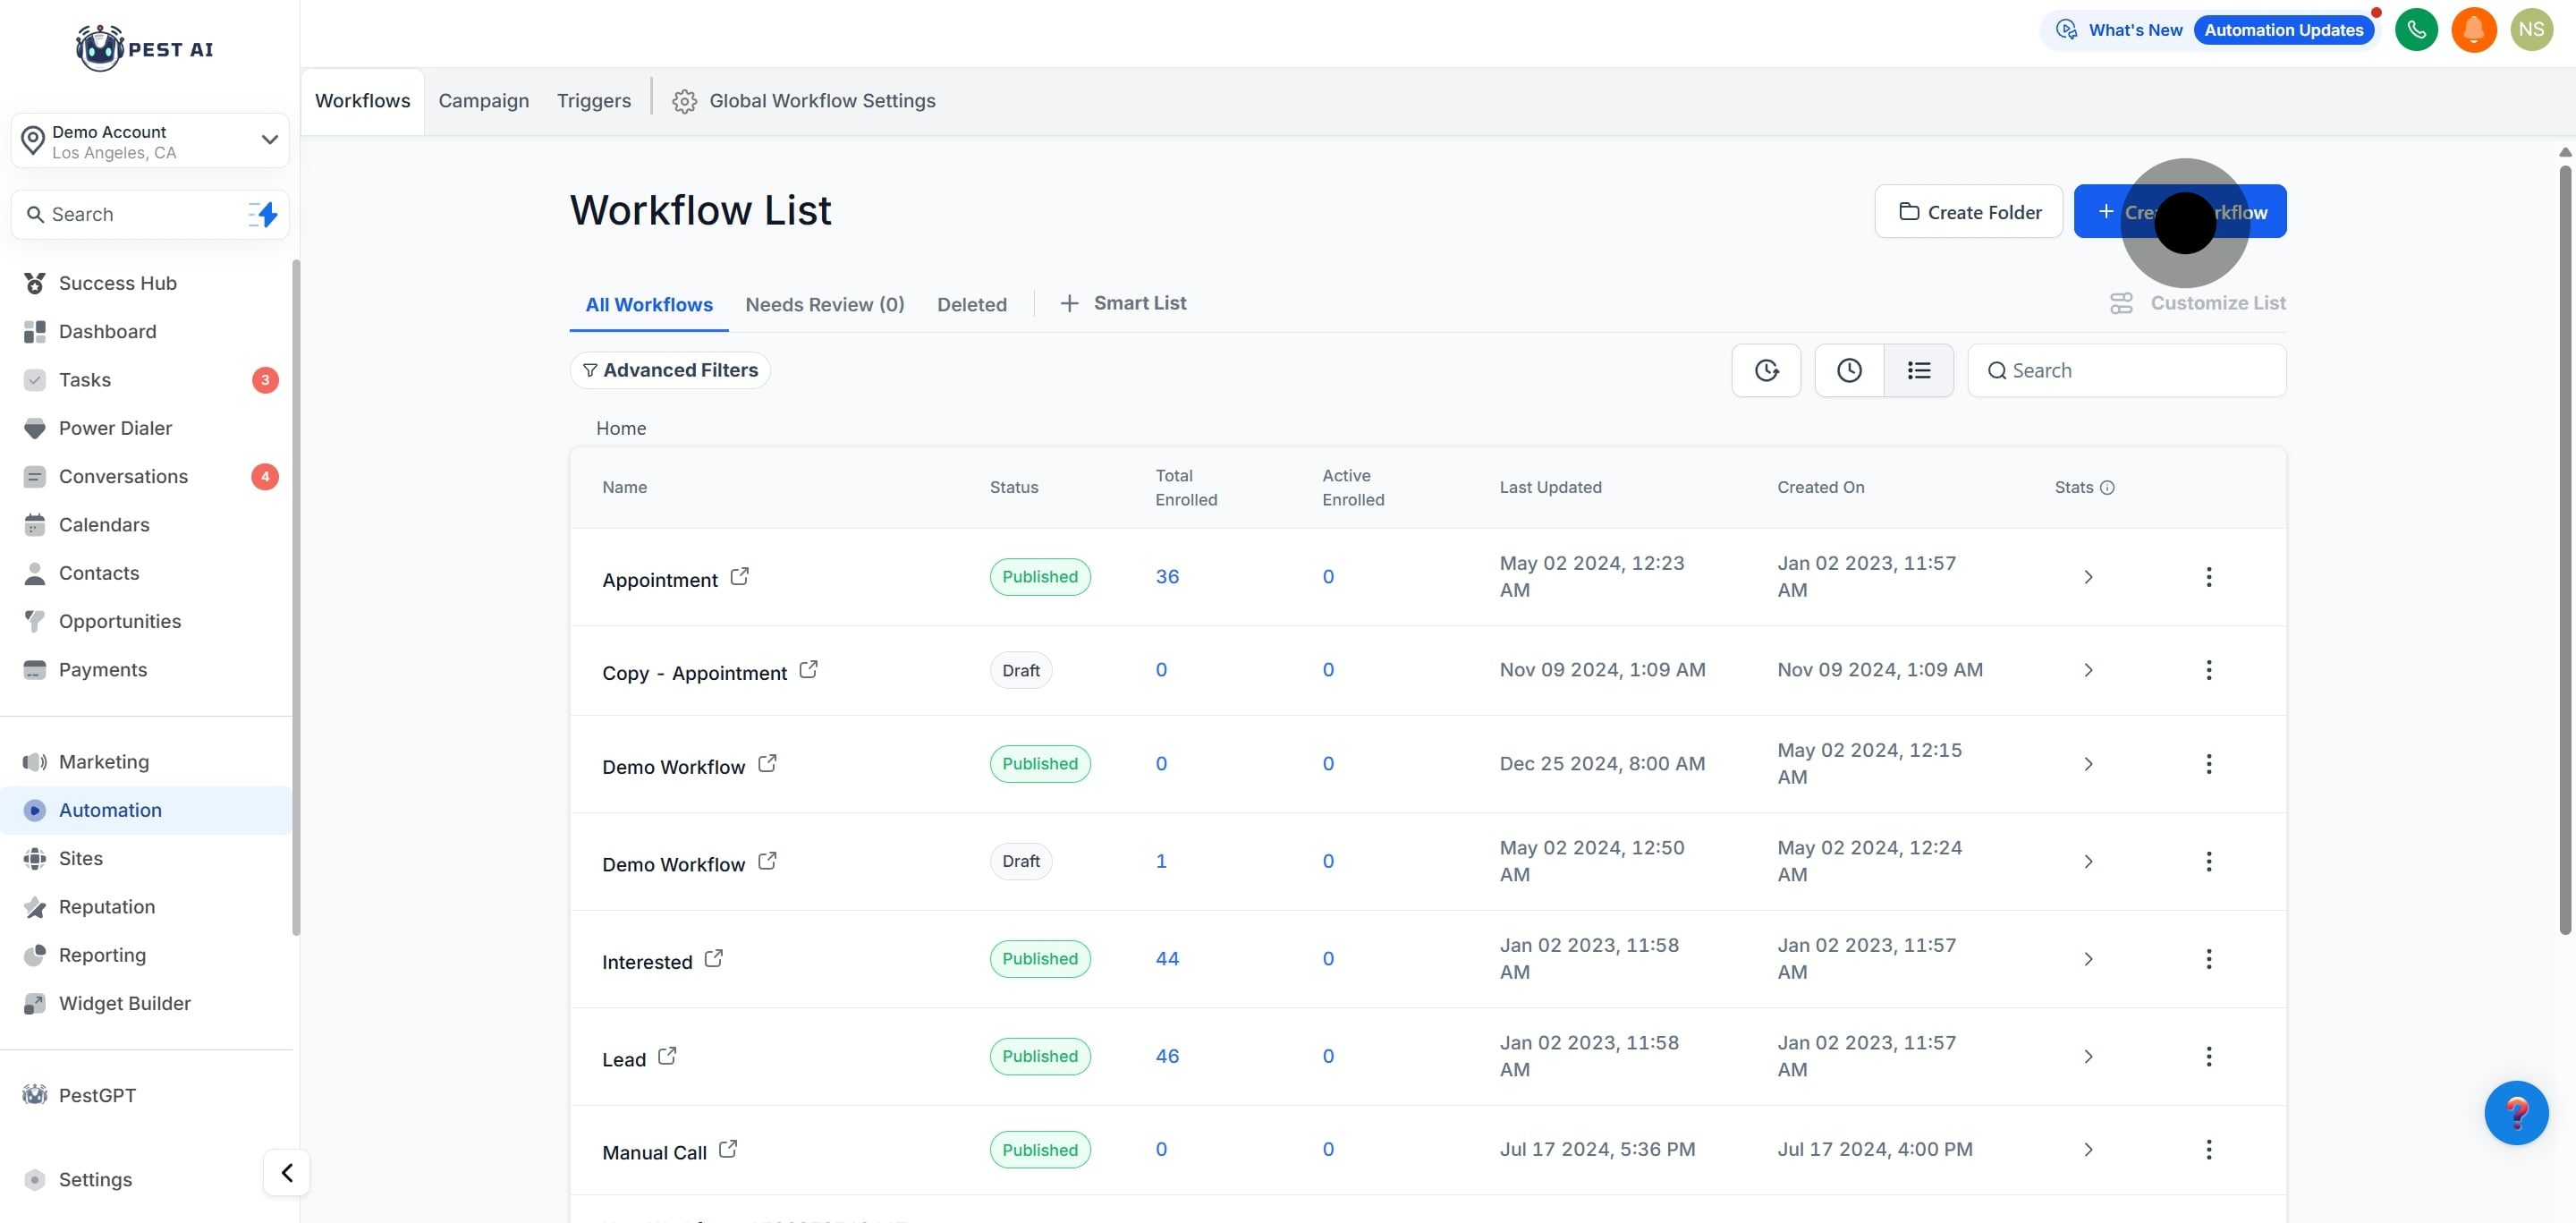
2. Following that, click on "Create Workflow" to start a new project.
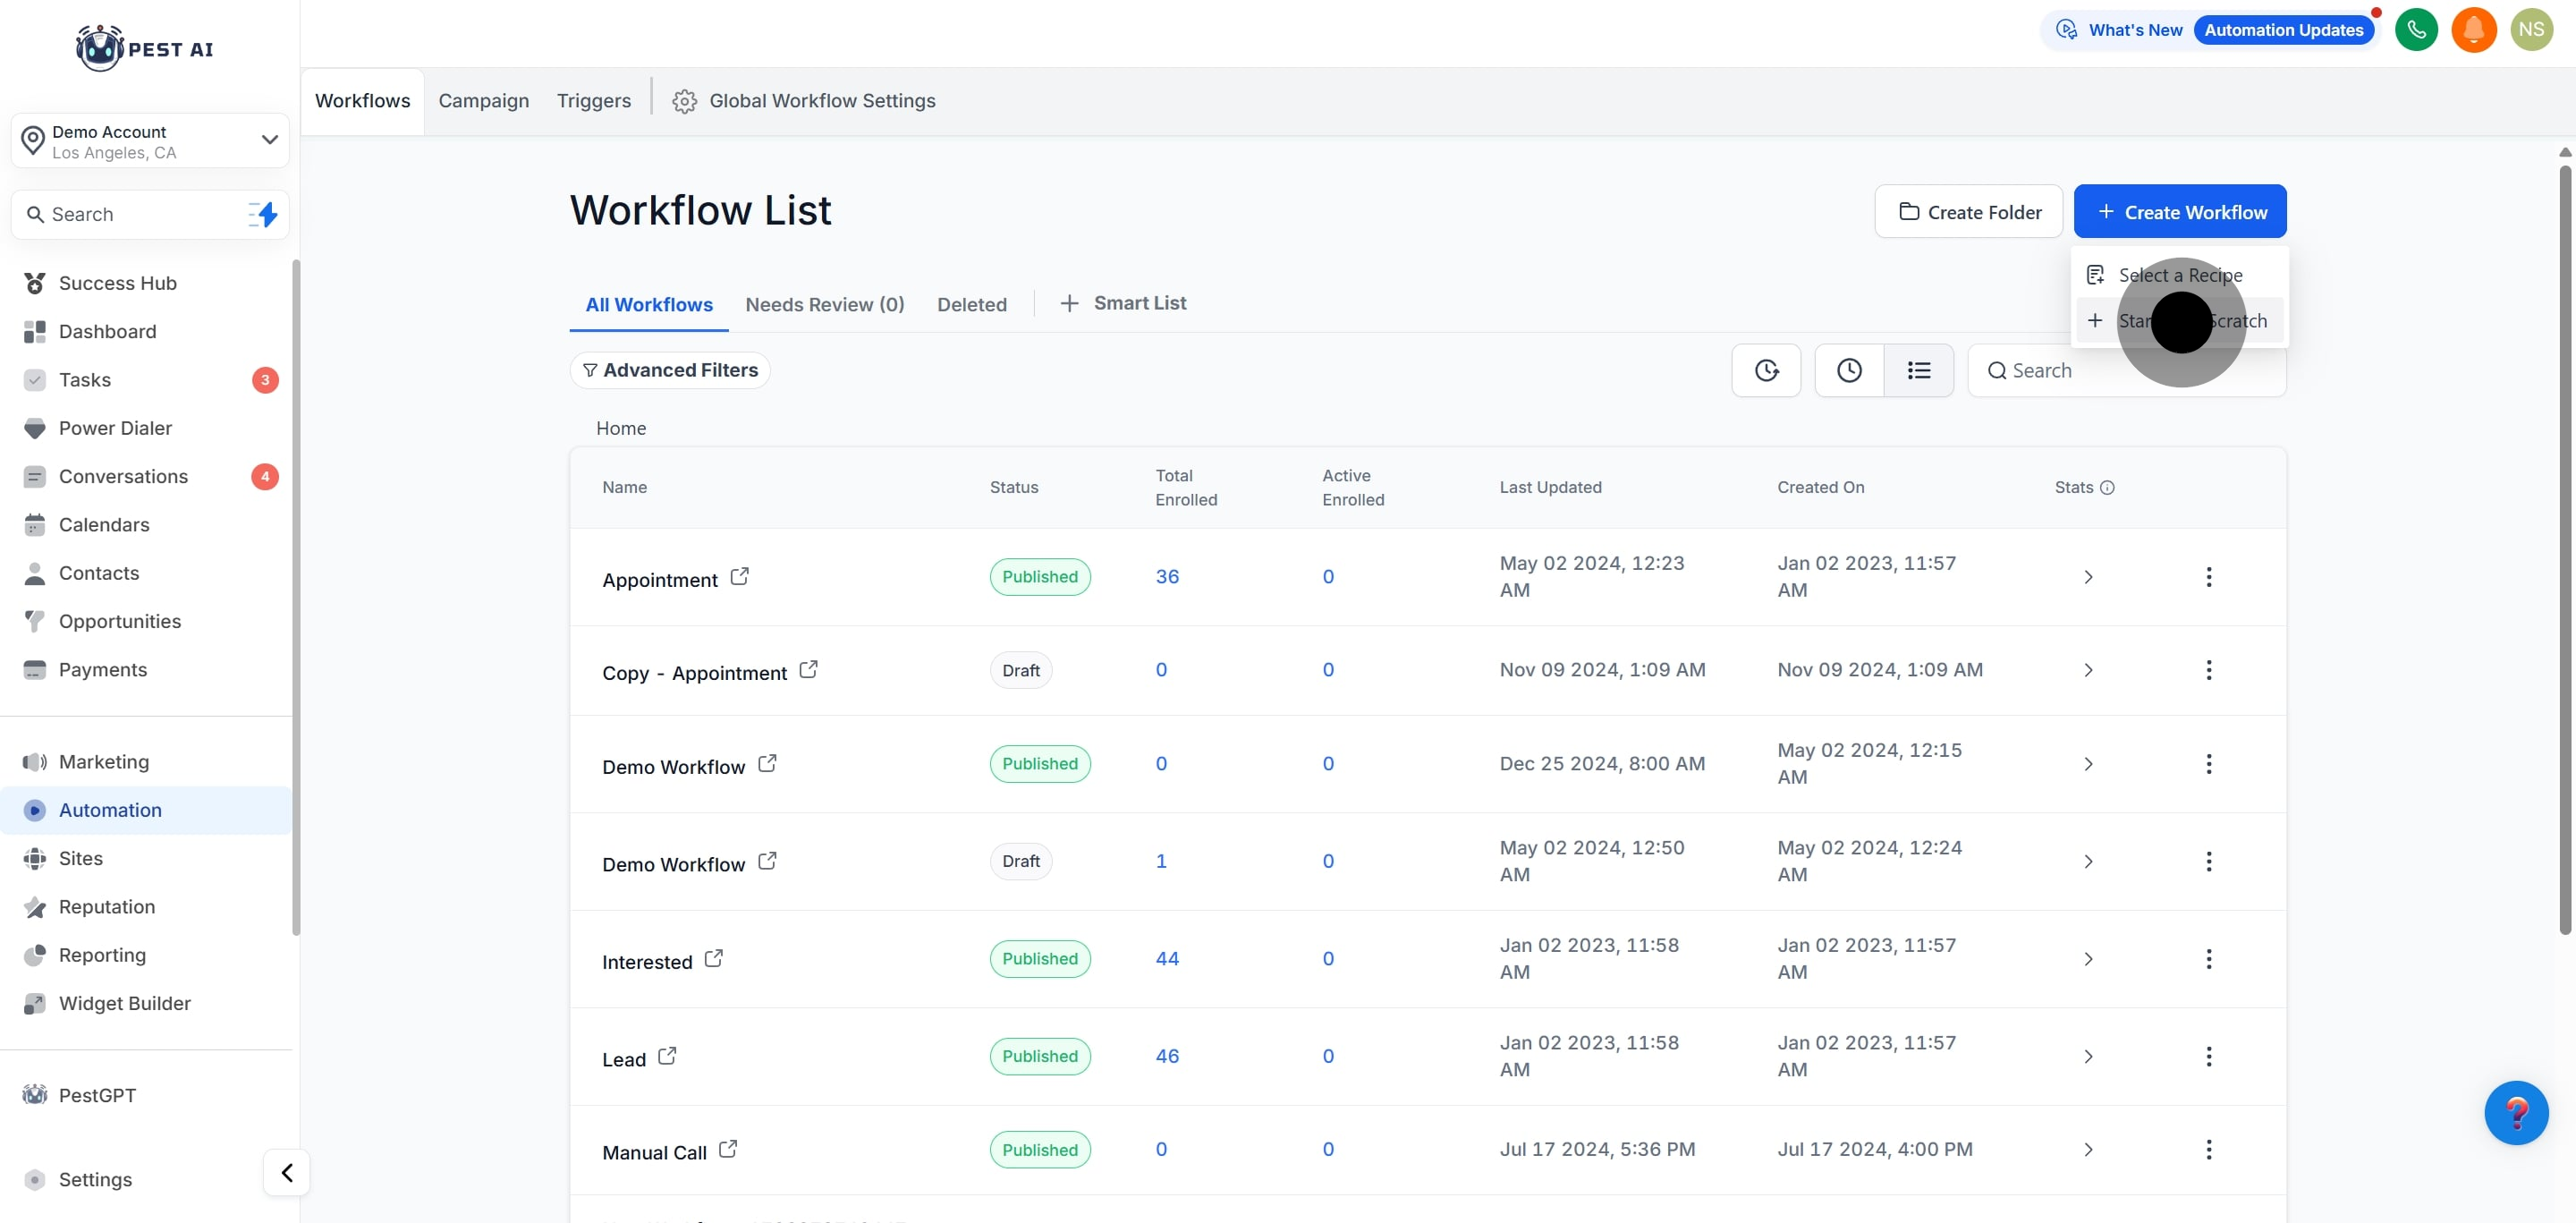
3. Then, click on "Start from Scratch" to build your workflow from the ground up.
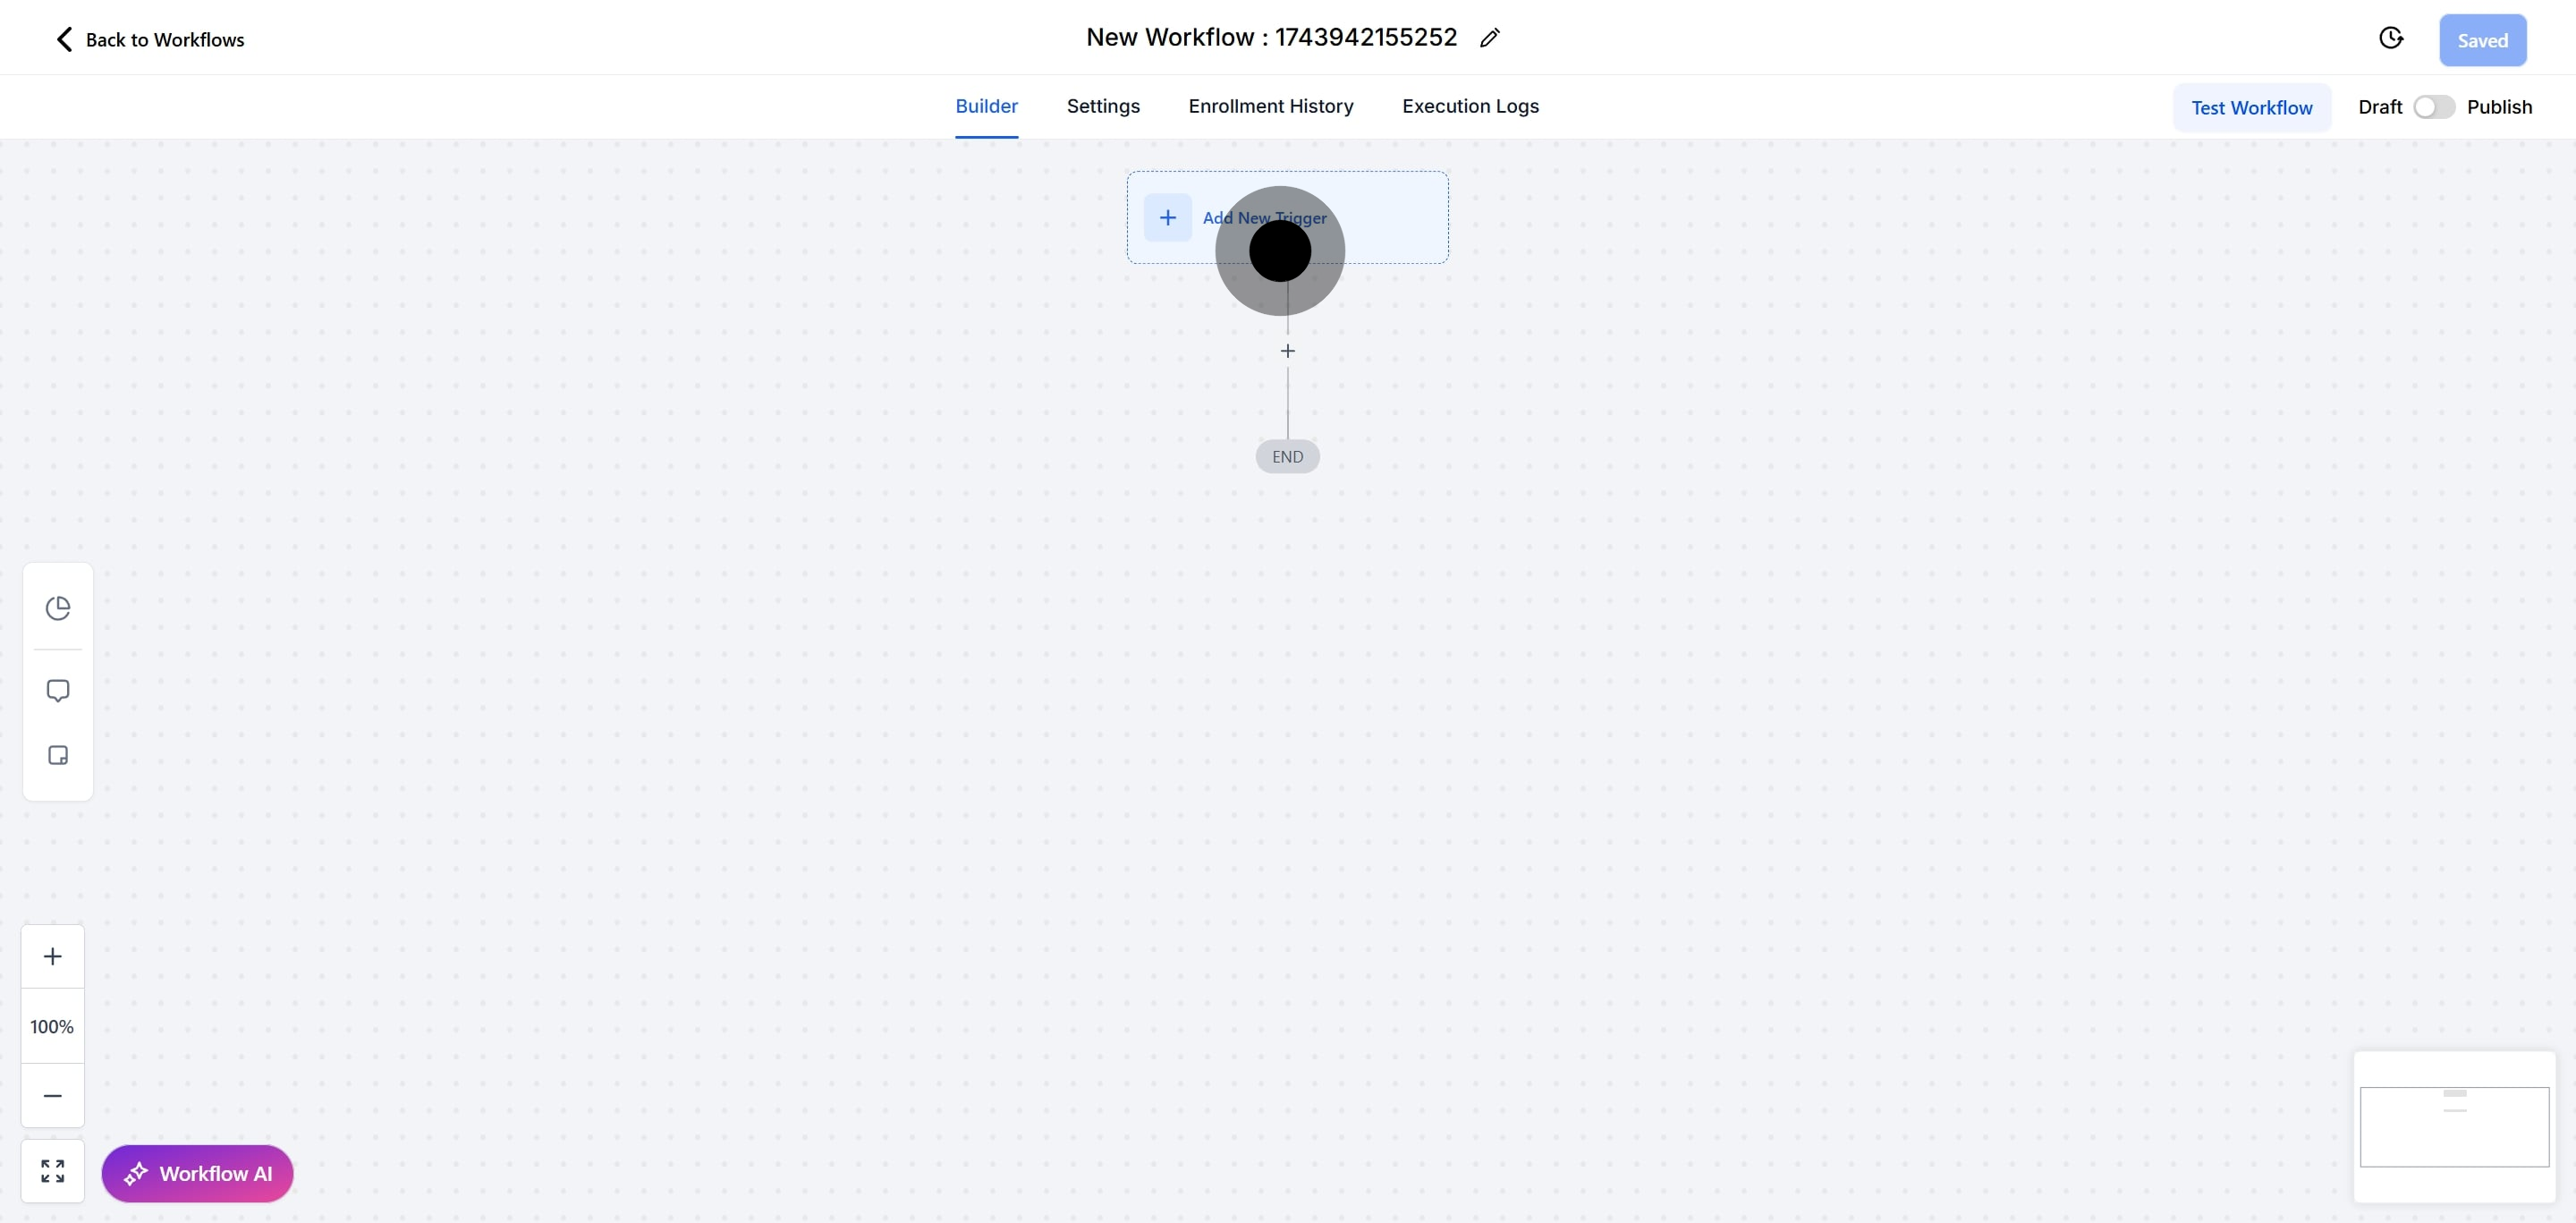
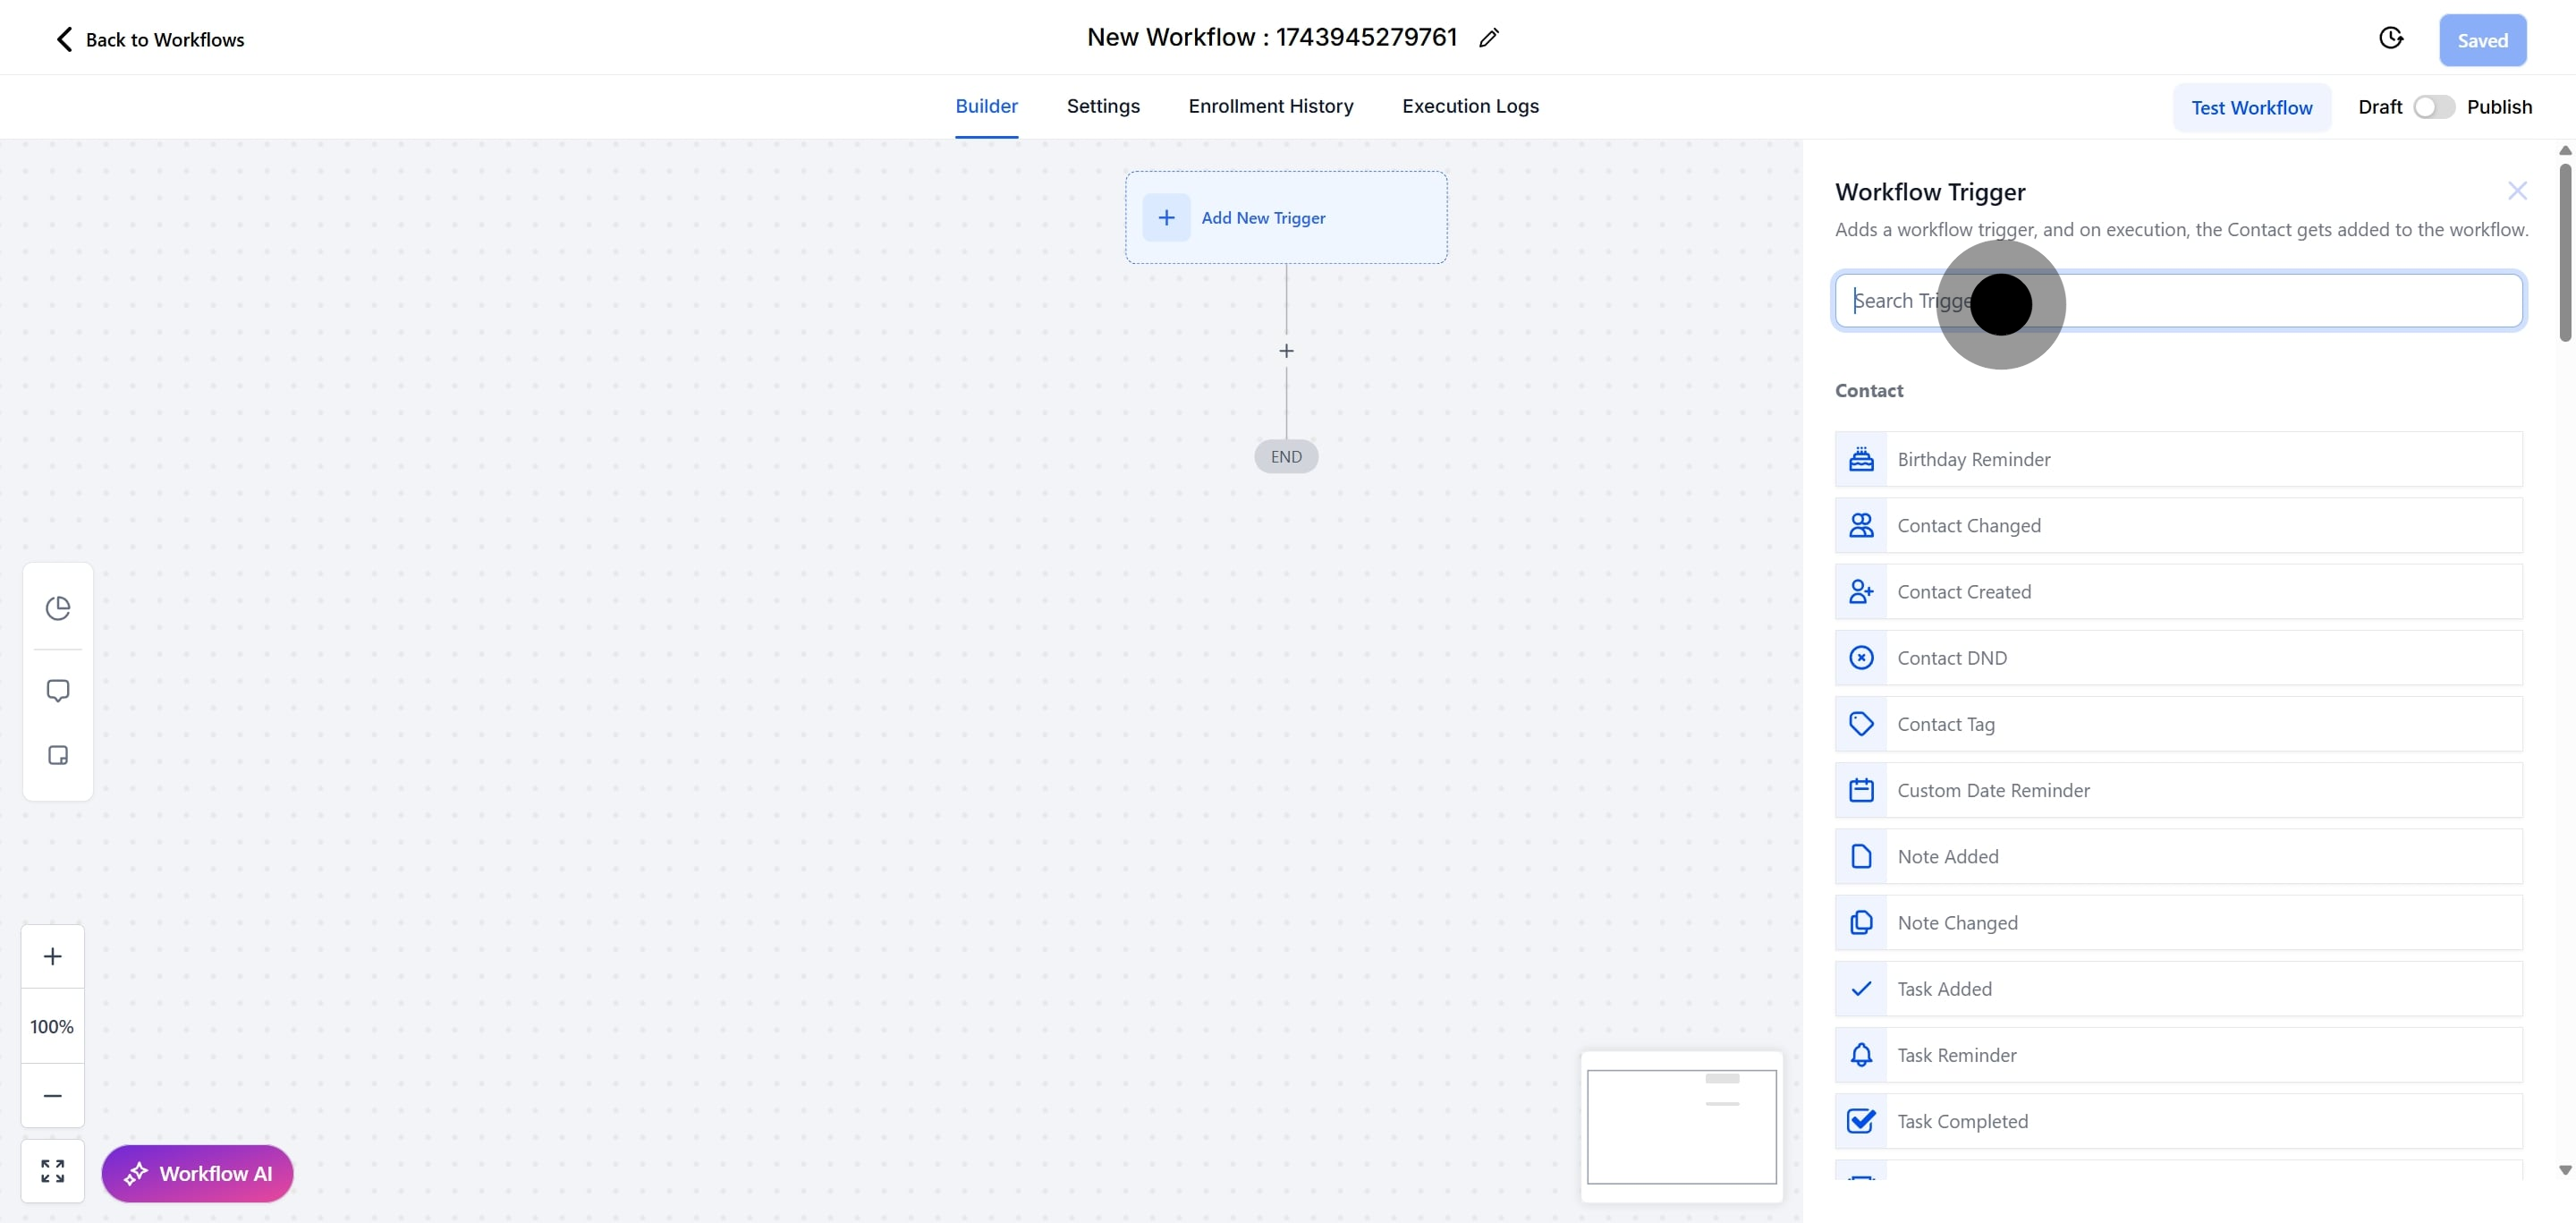
4. Next up, click here to add a new trigger for your workflow.
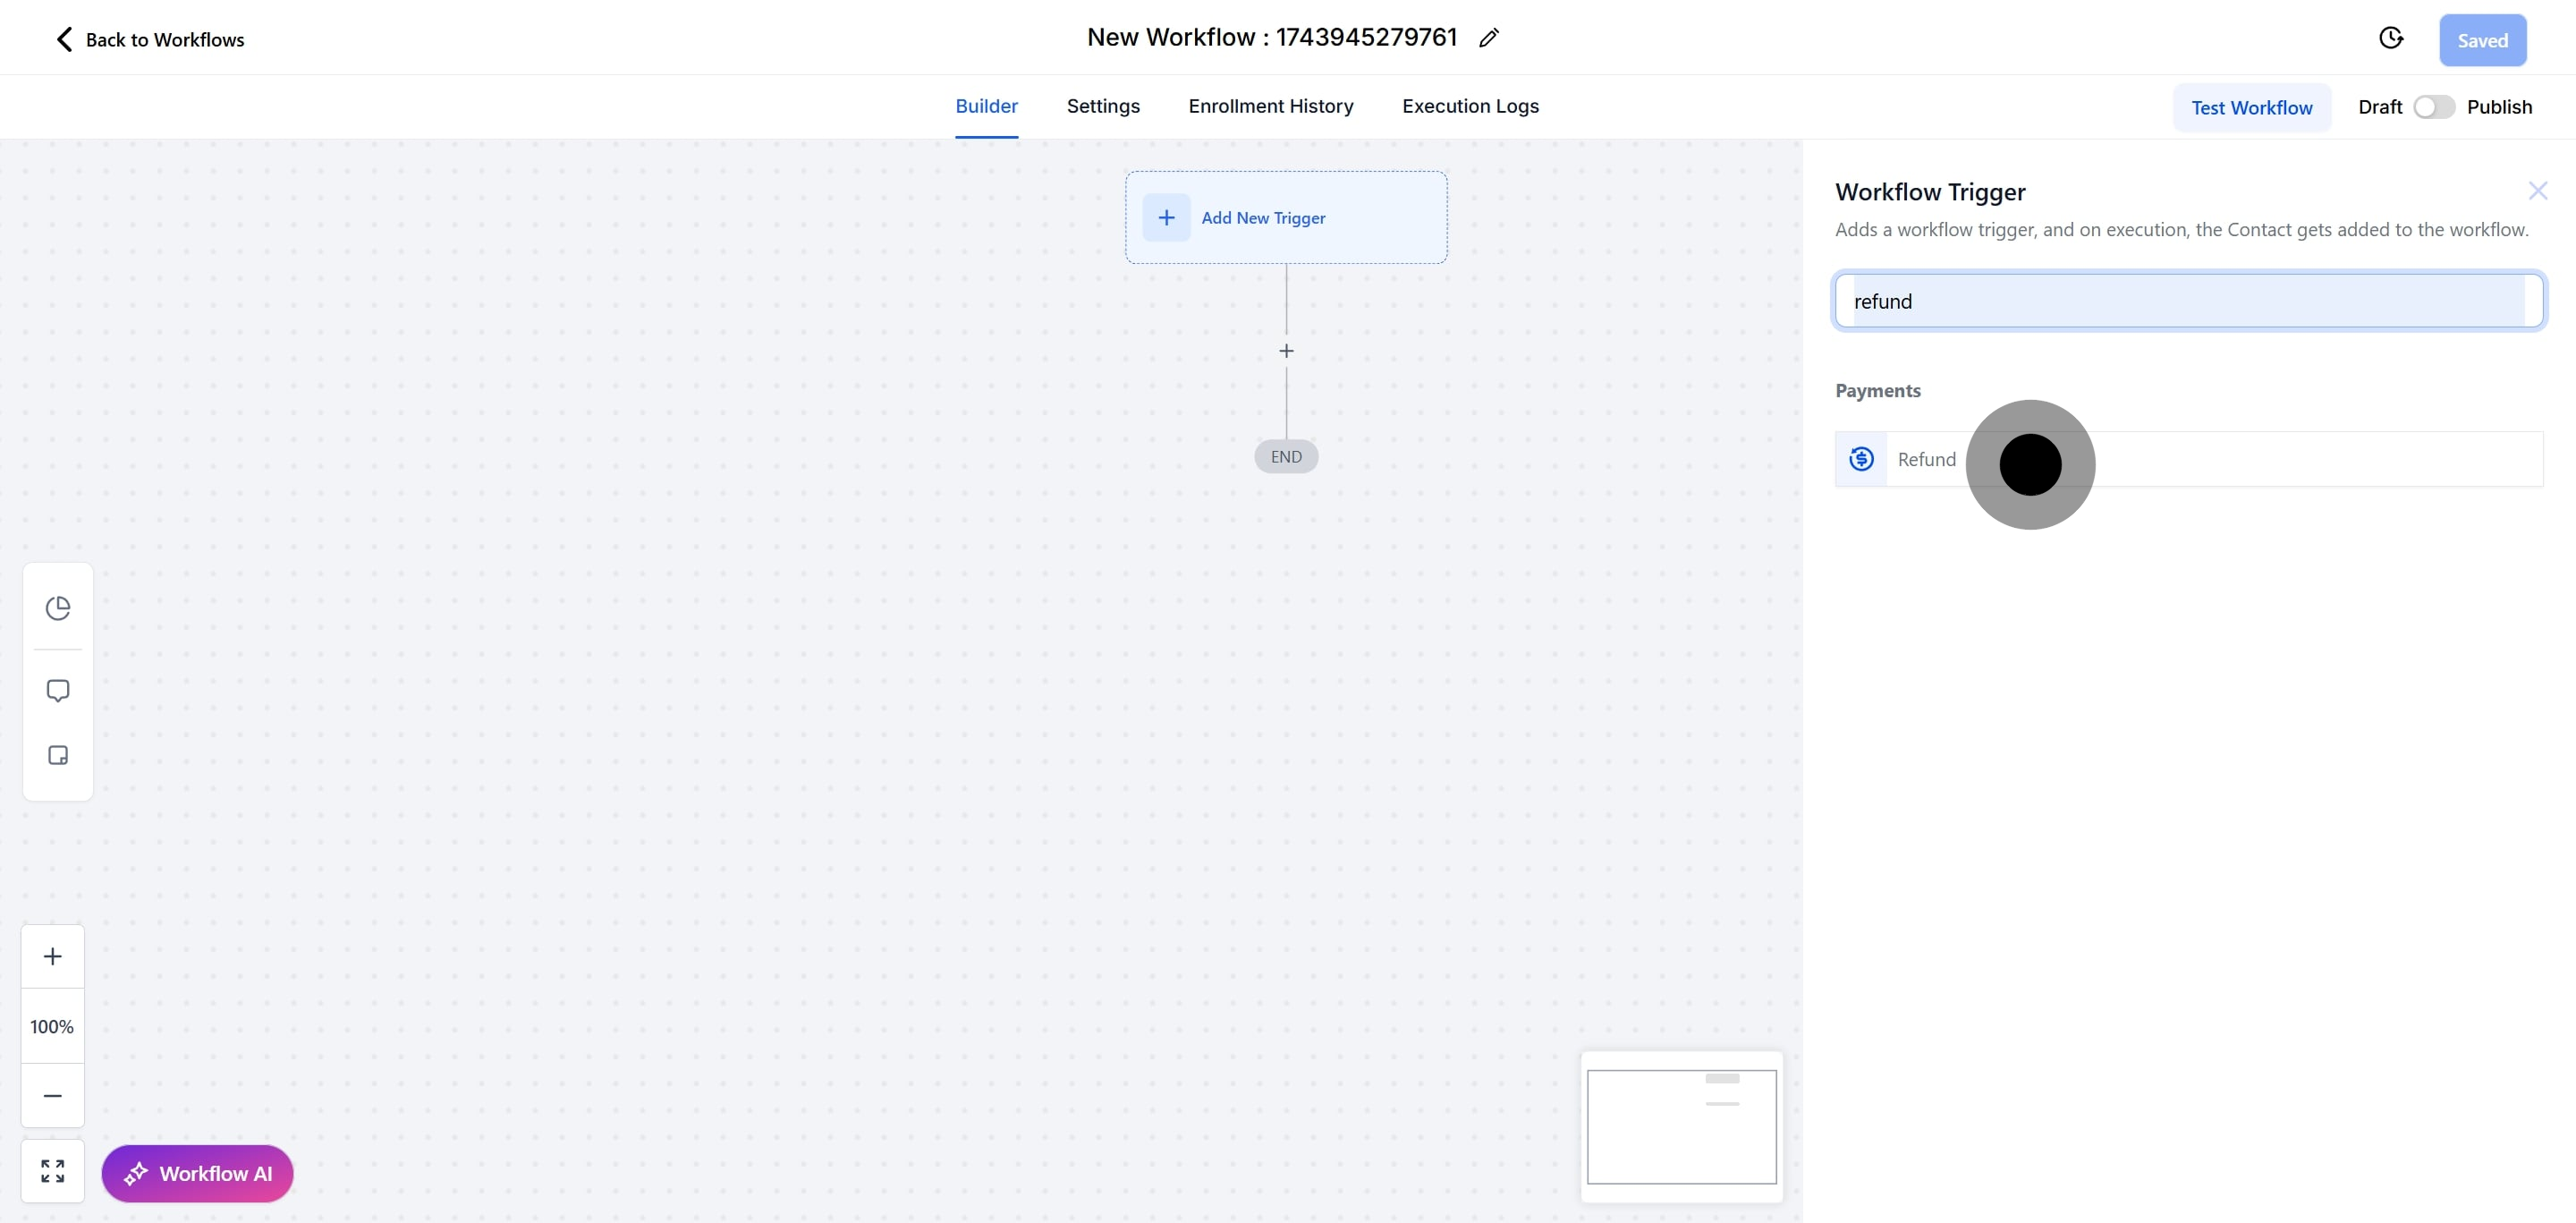
5. Click here to search for "Refund."
6. Now, select "Refund" from the options.
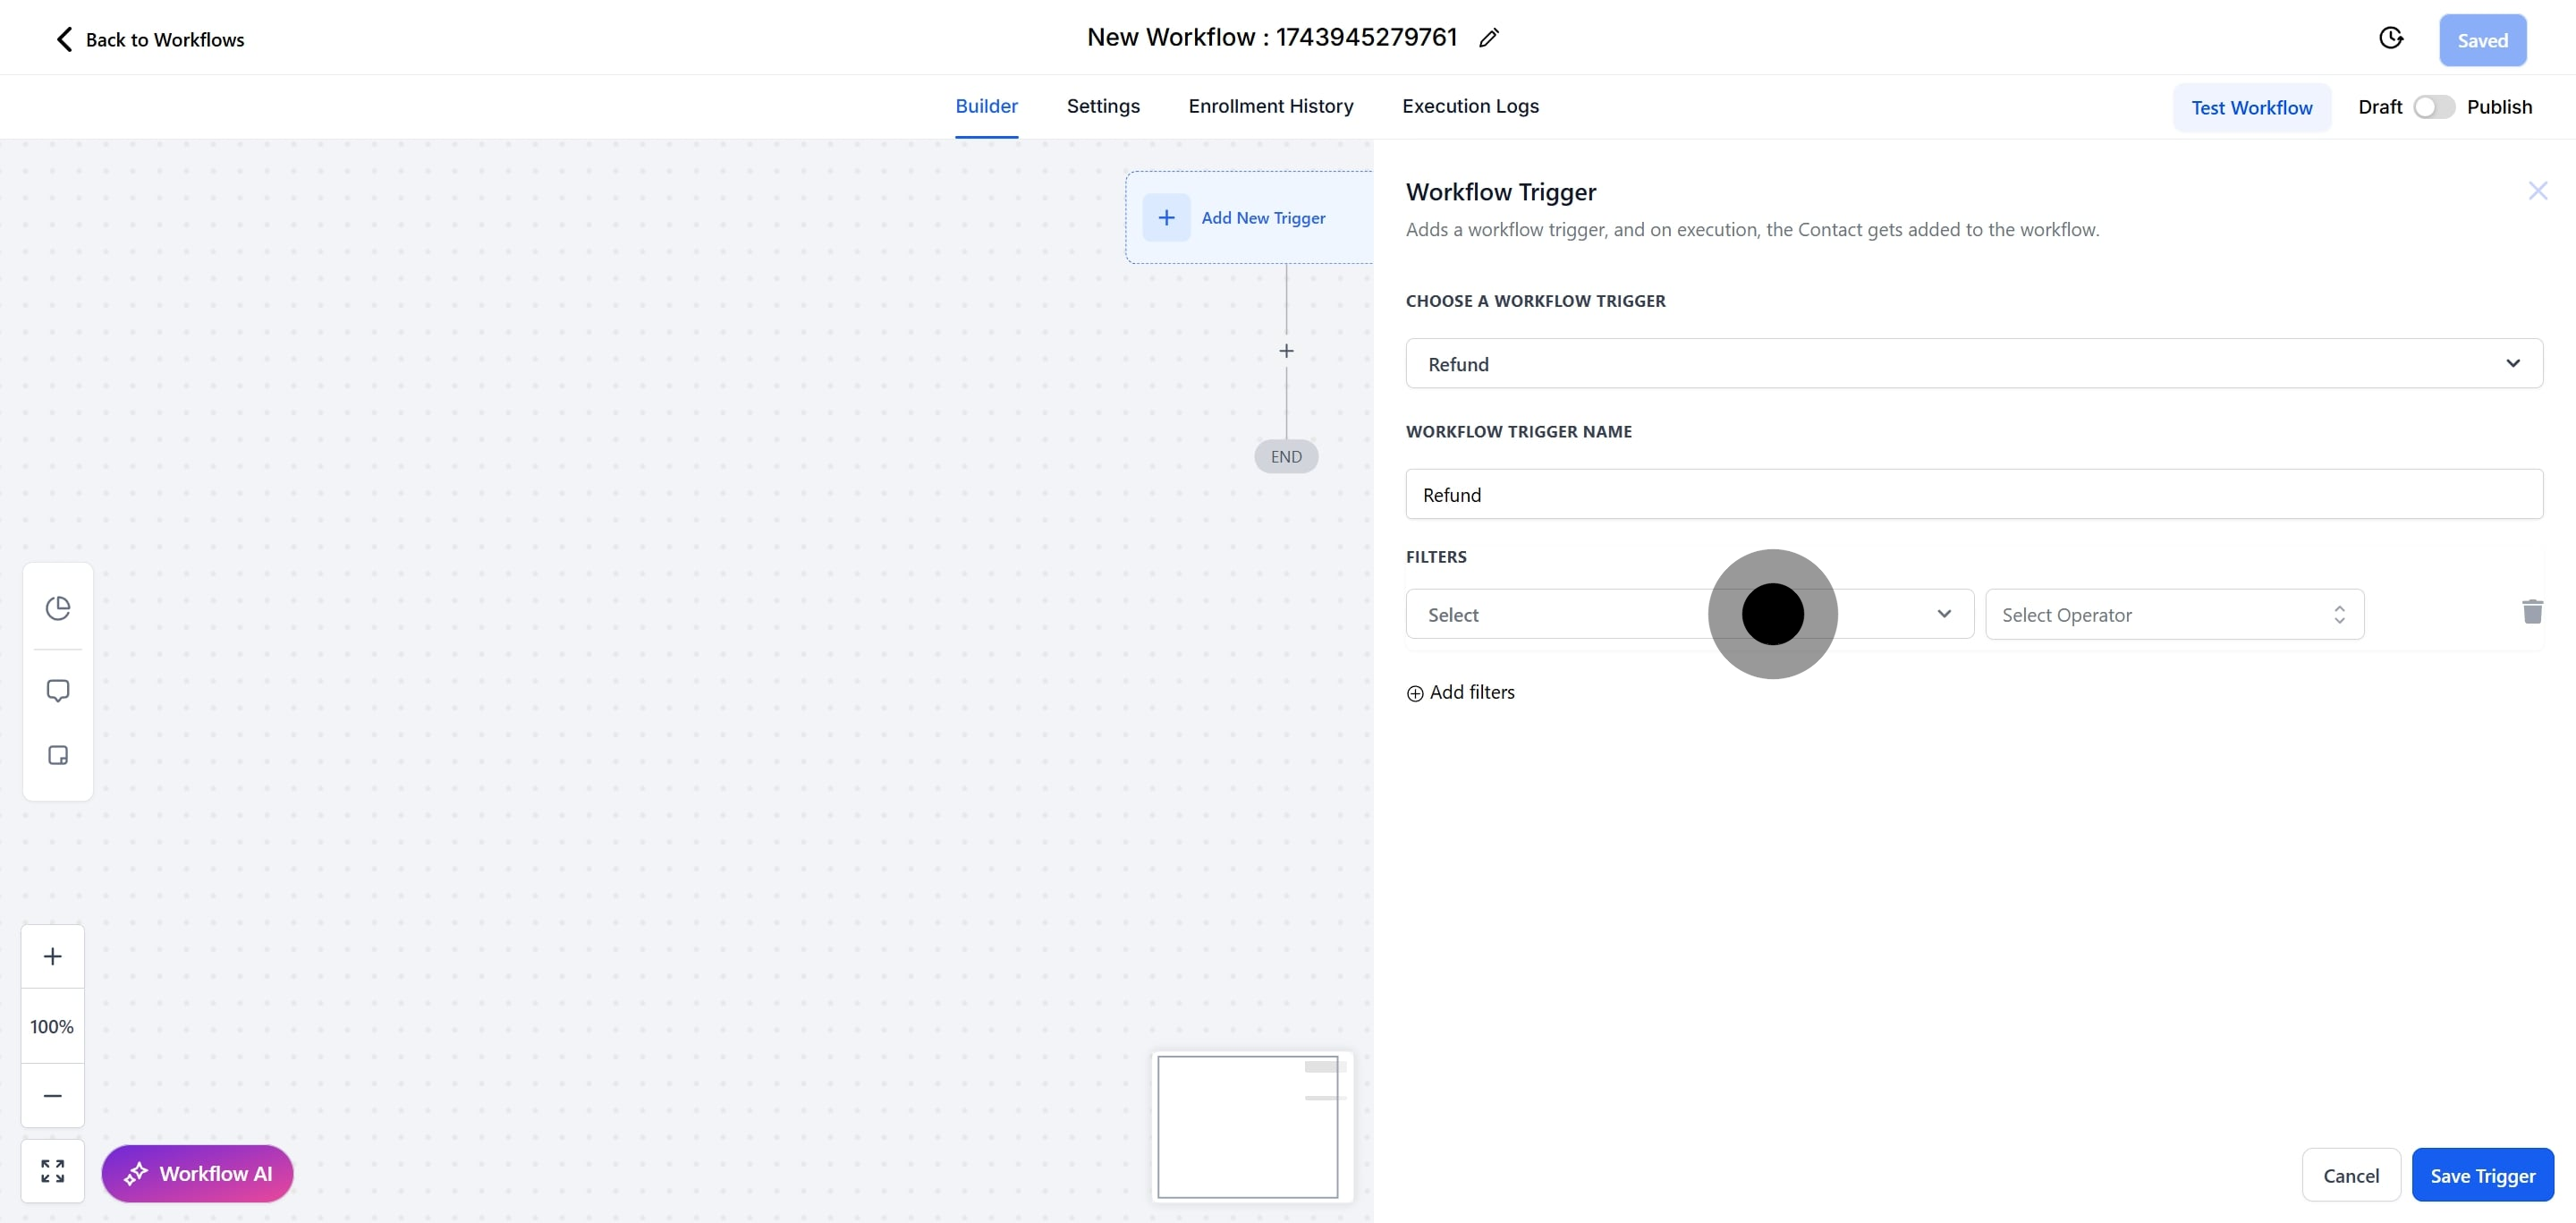
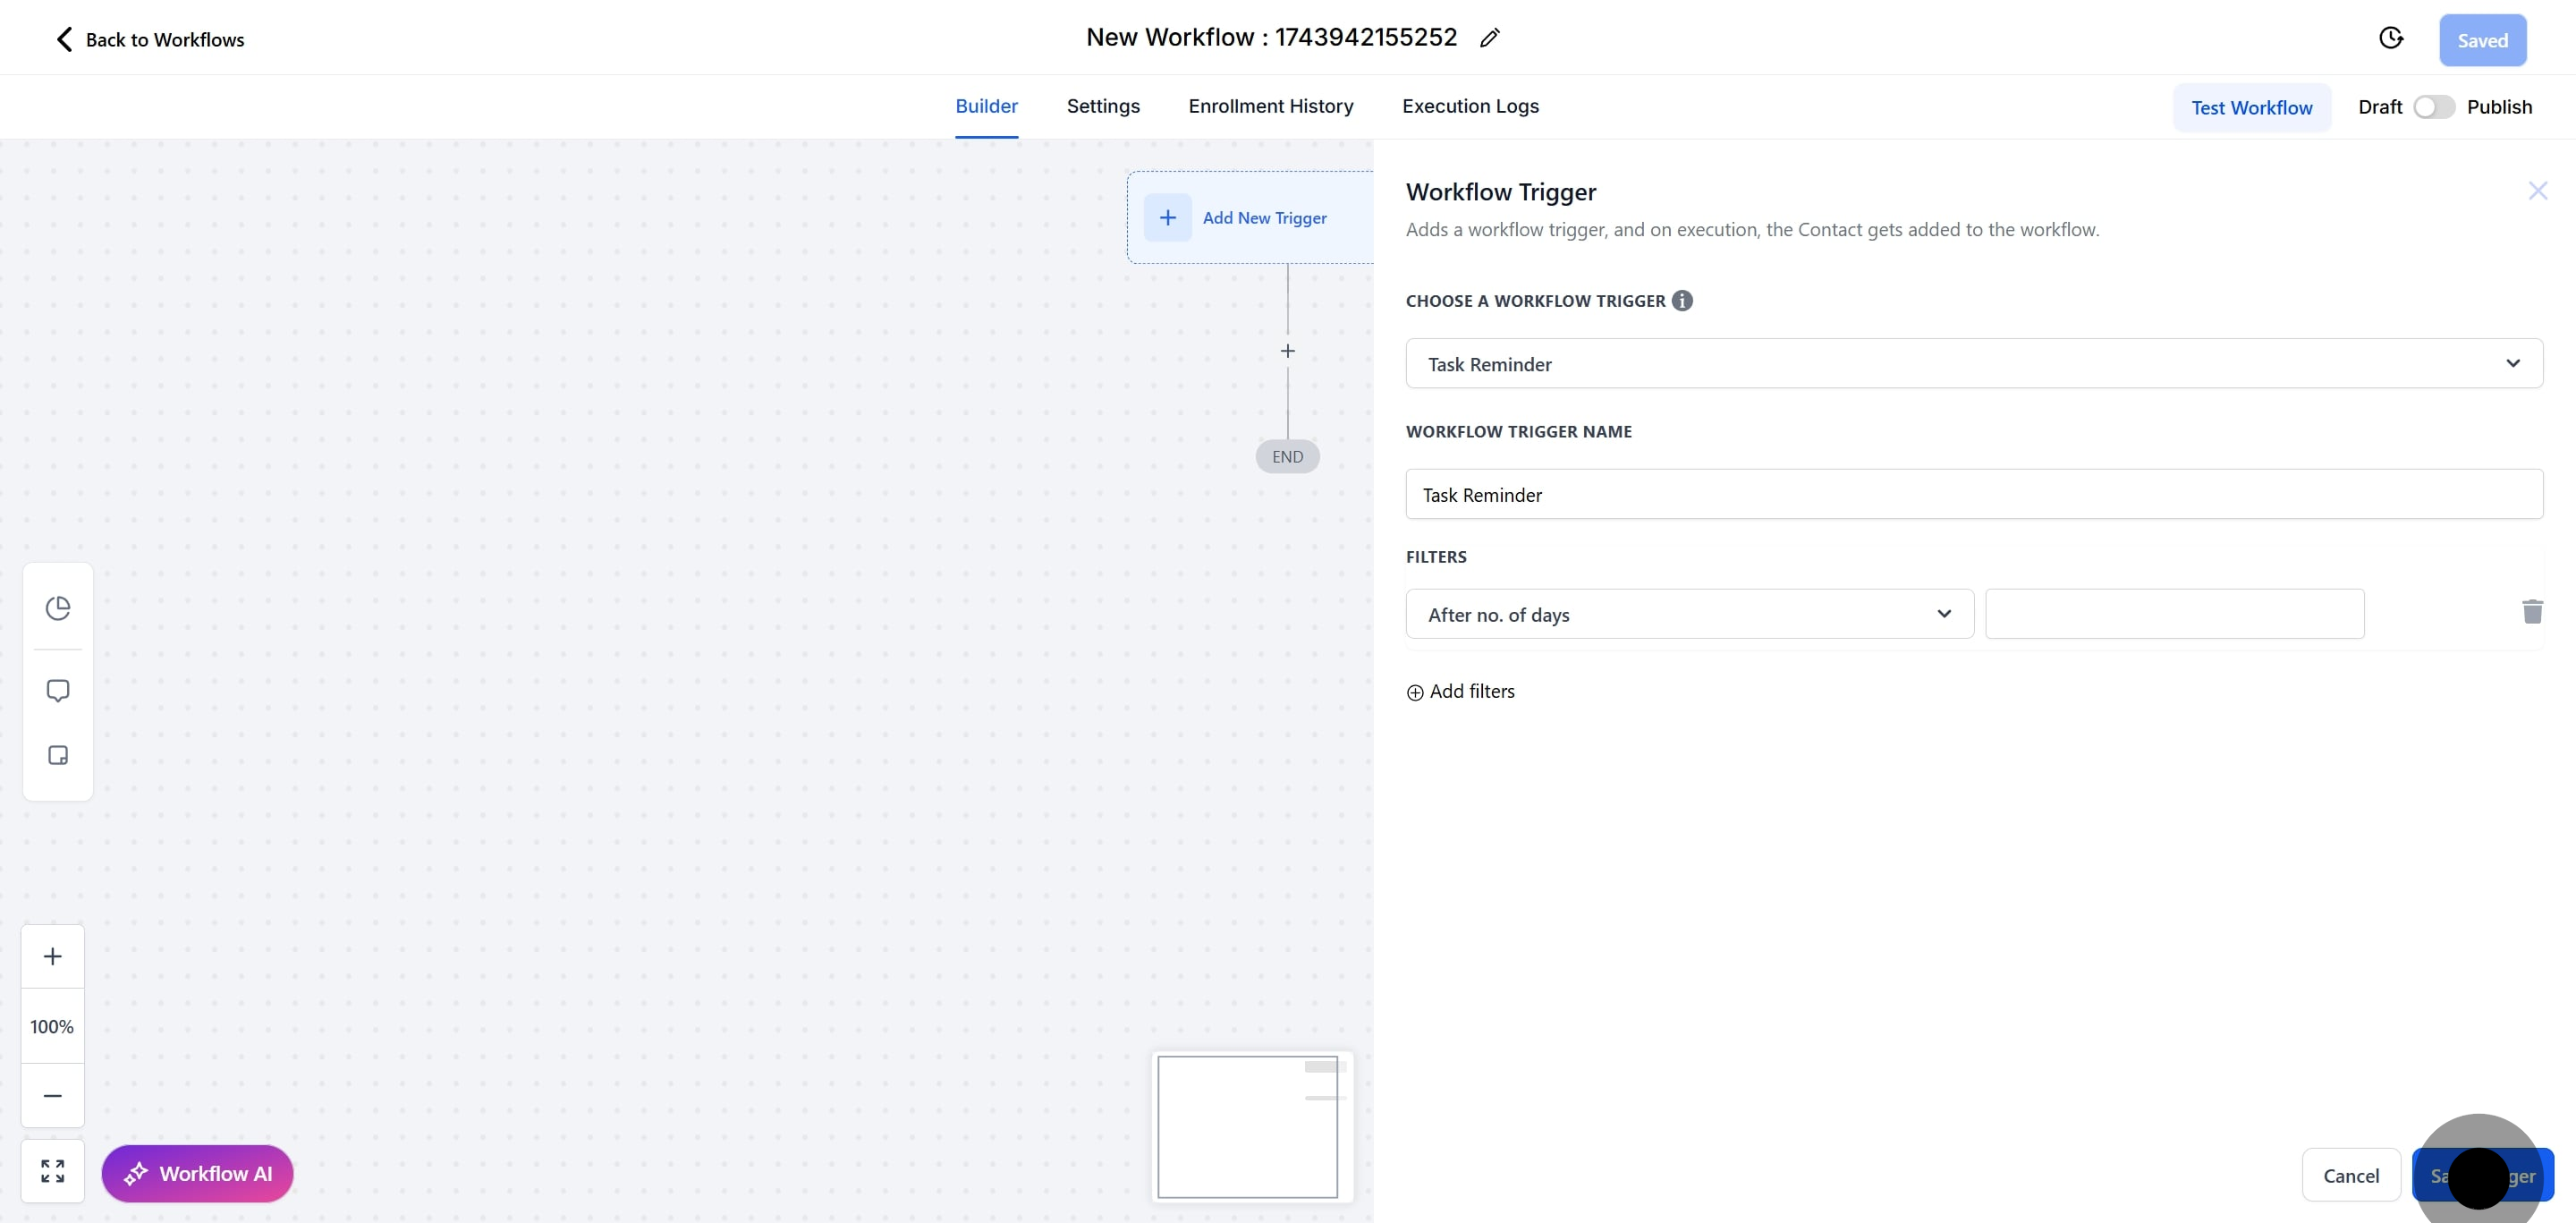
7. Enter a name for the workflow trigger.
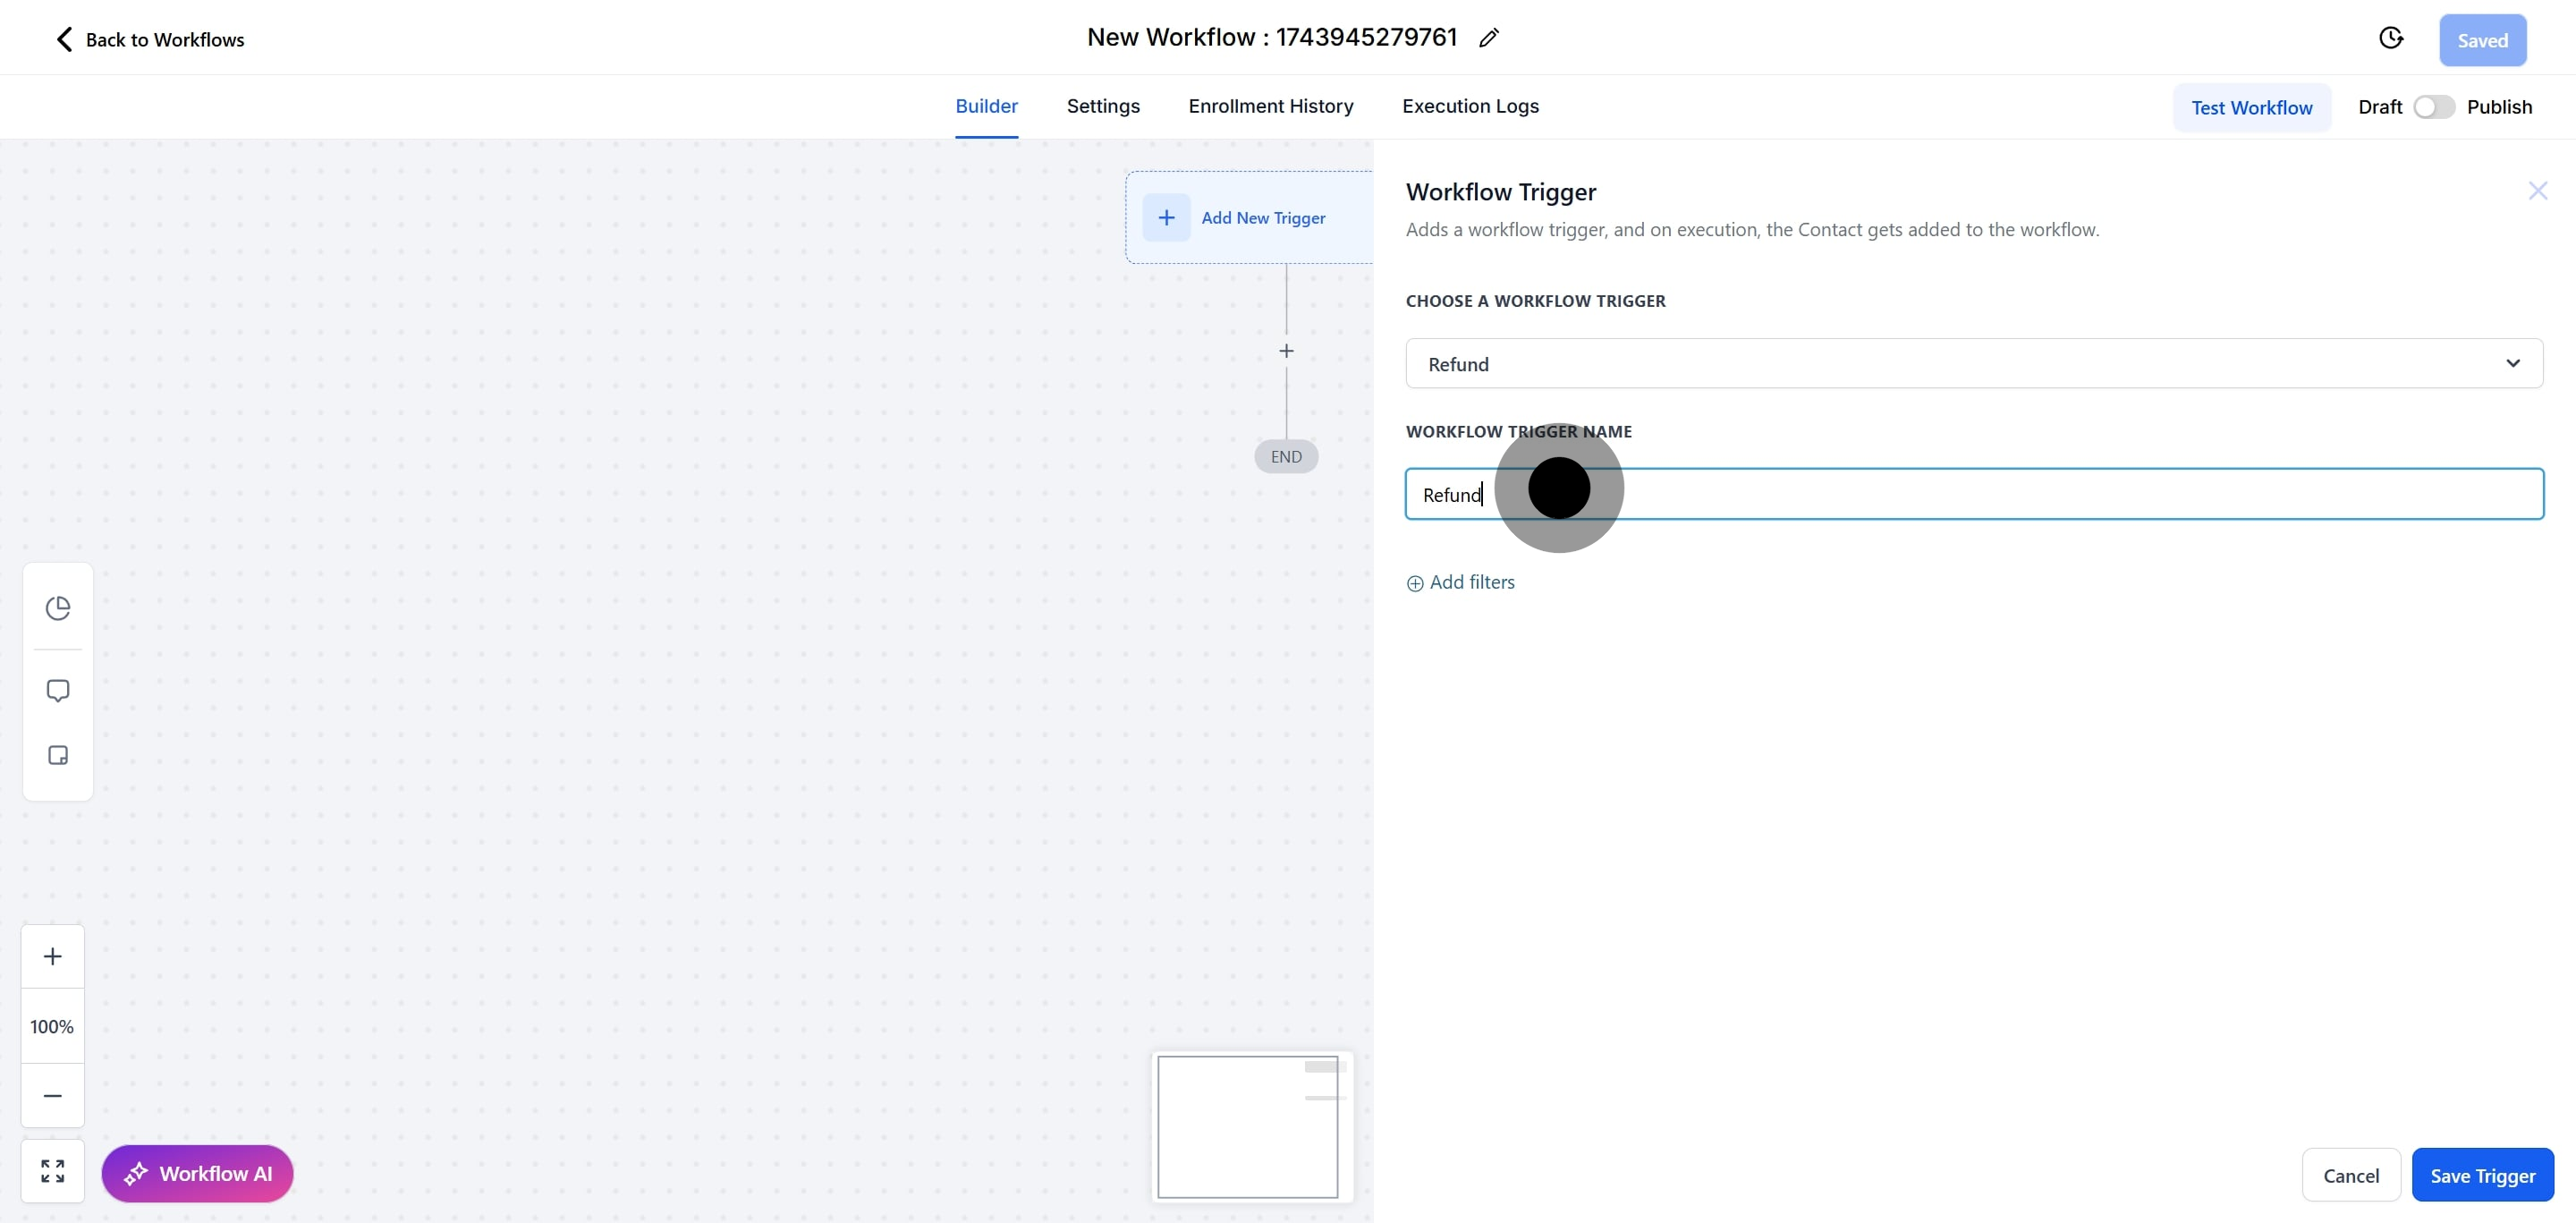
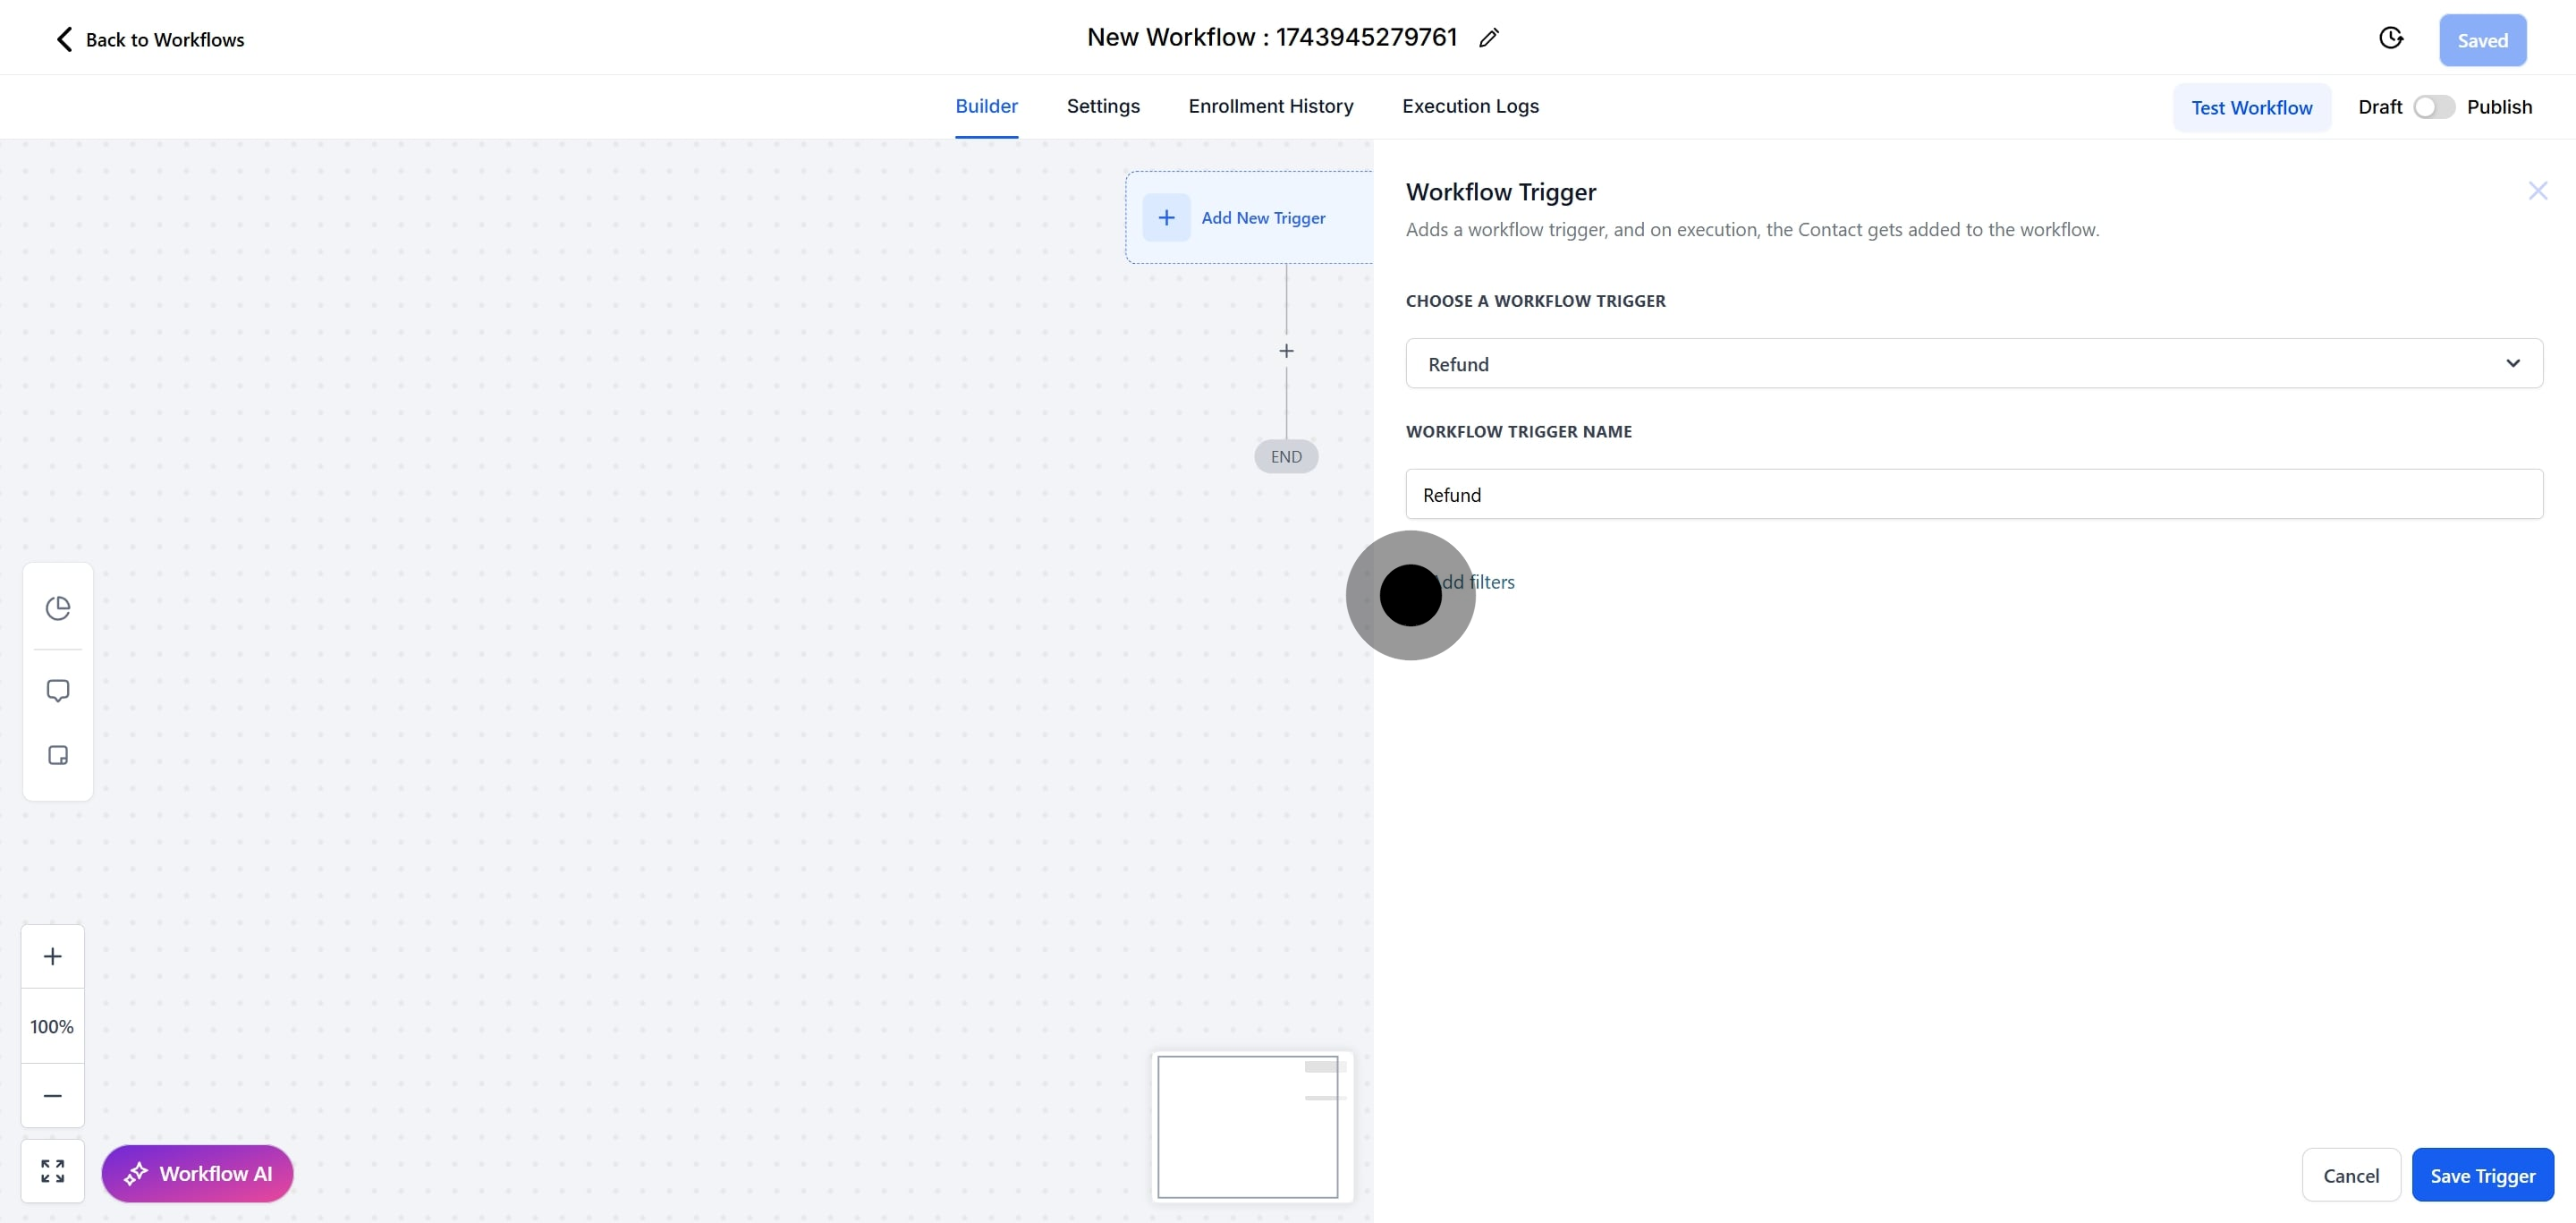
8. Next, click on "Add filters" to proceed.
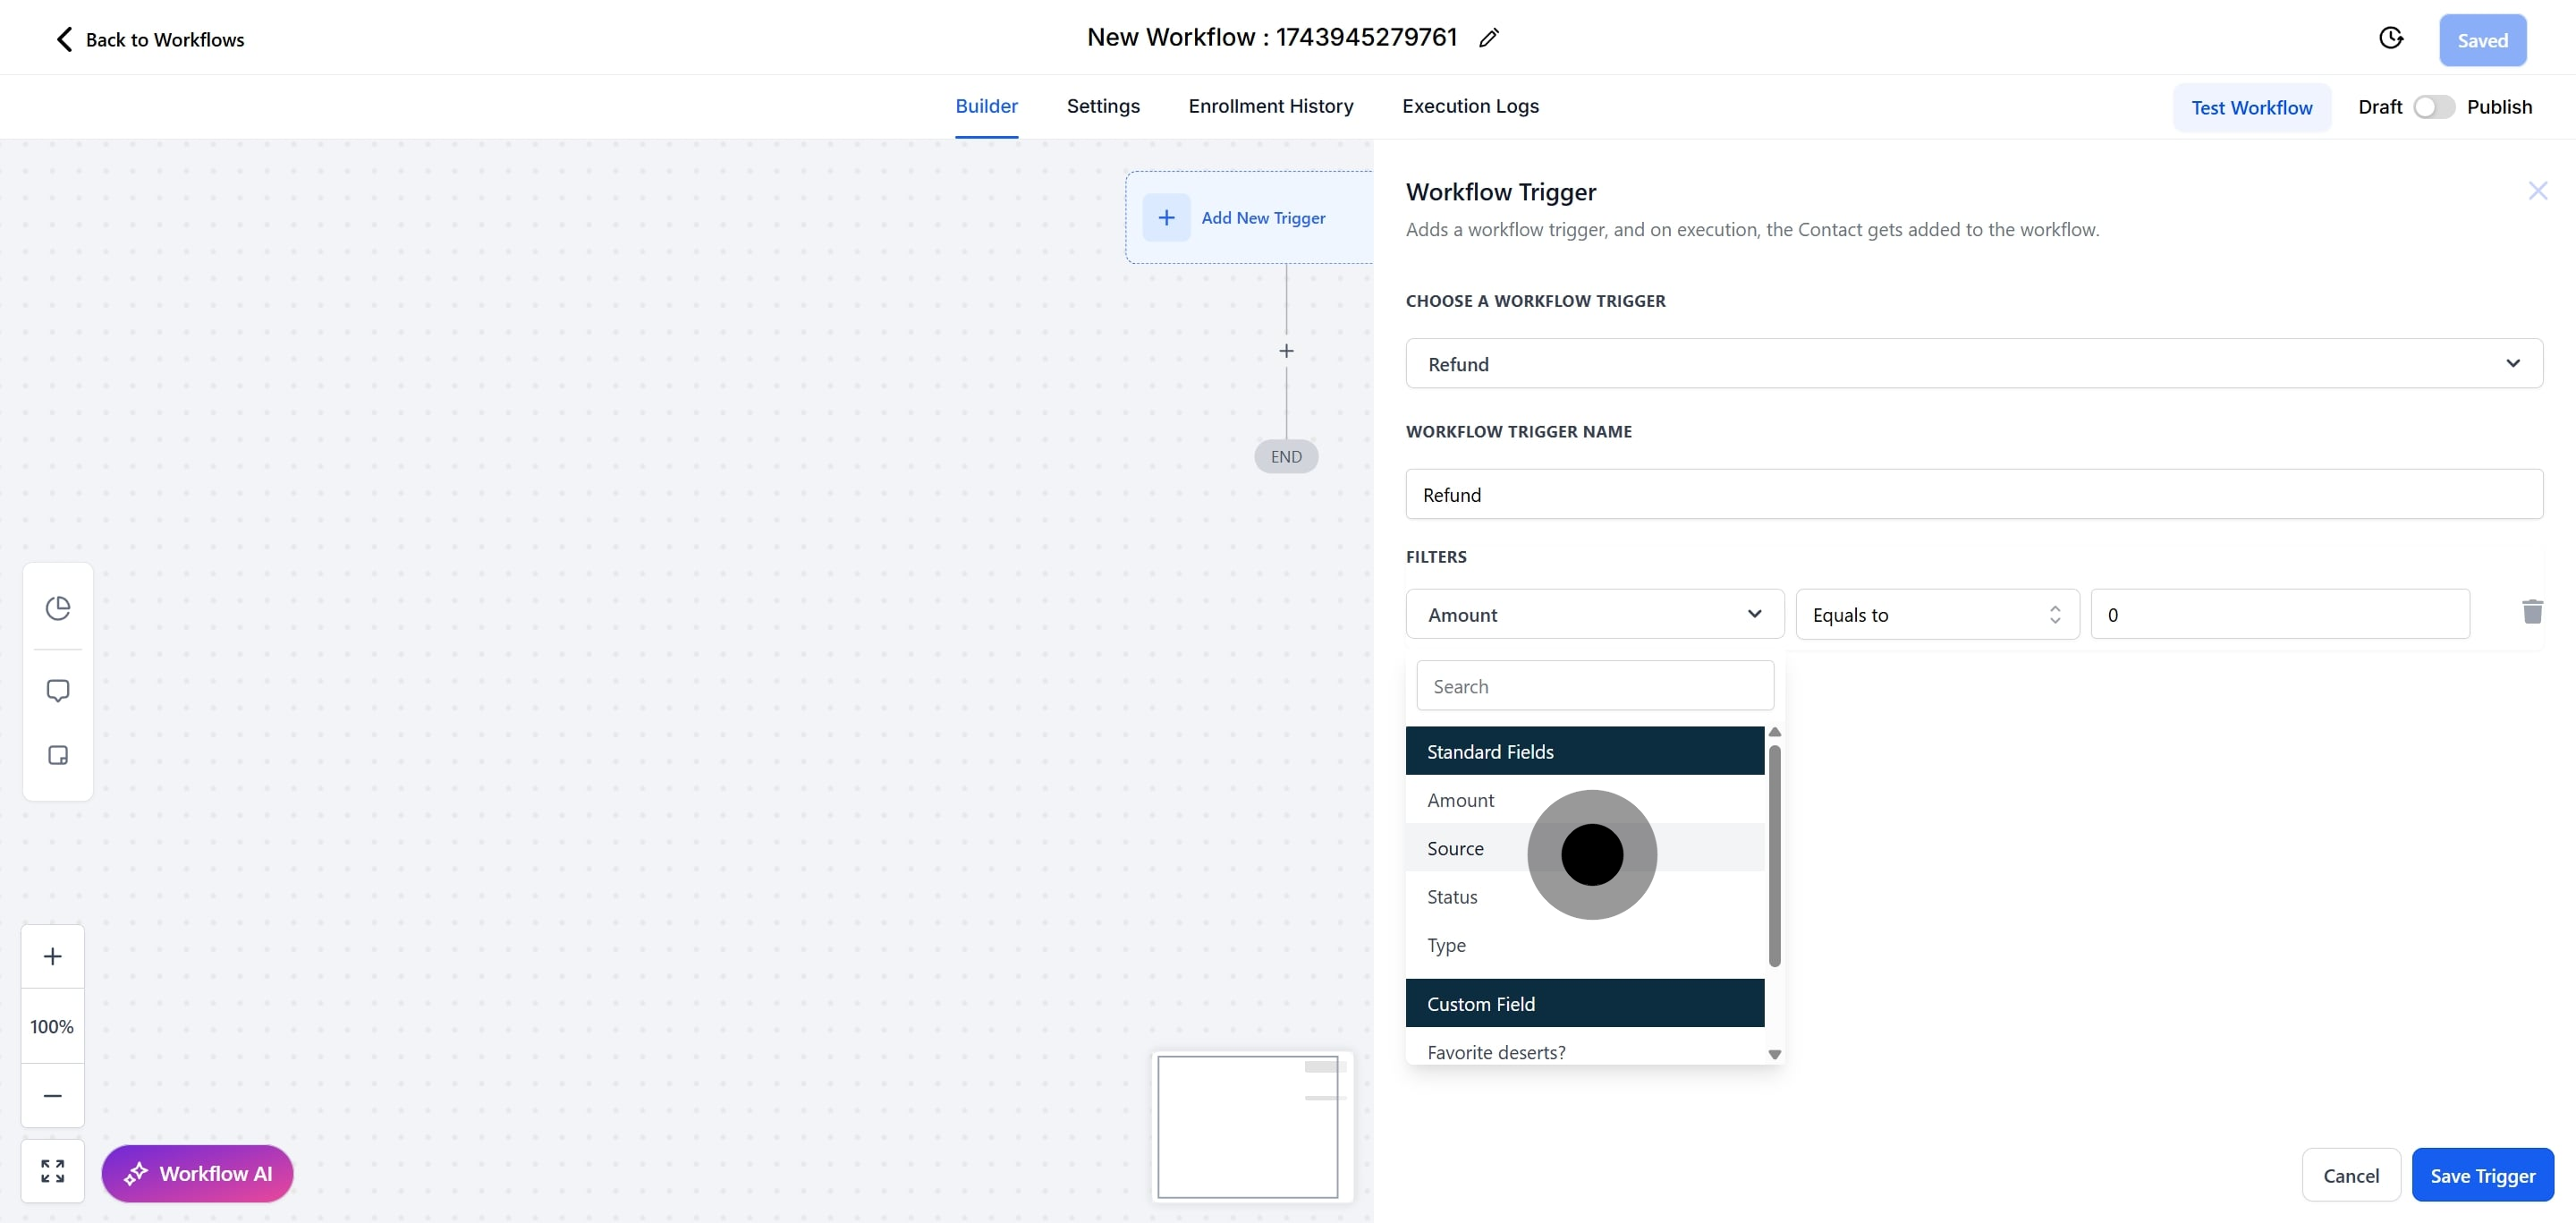
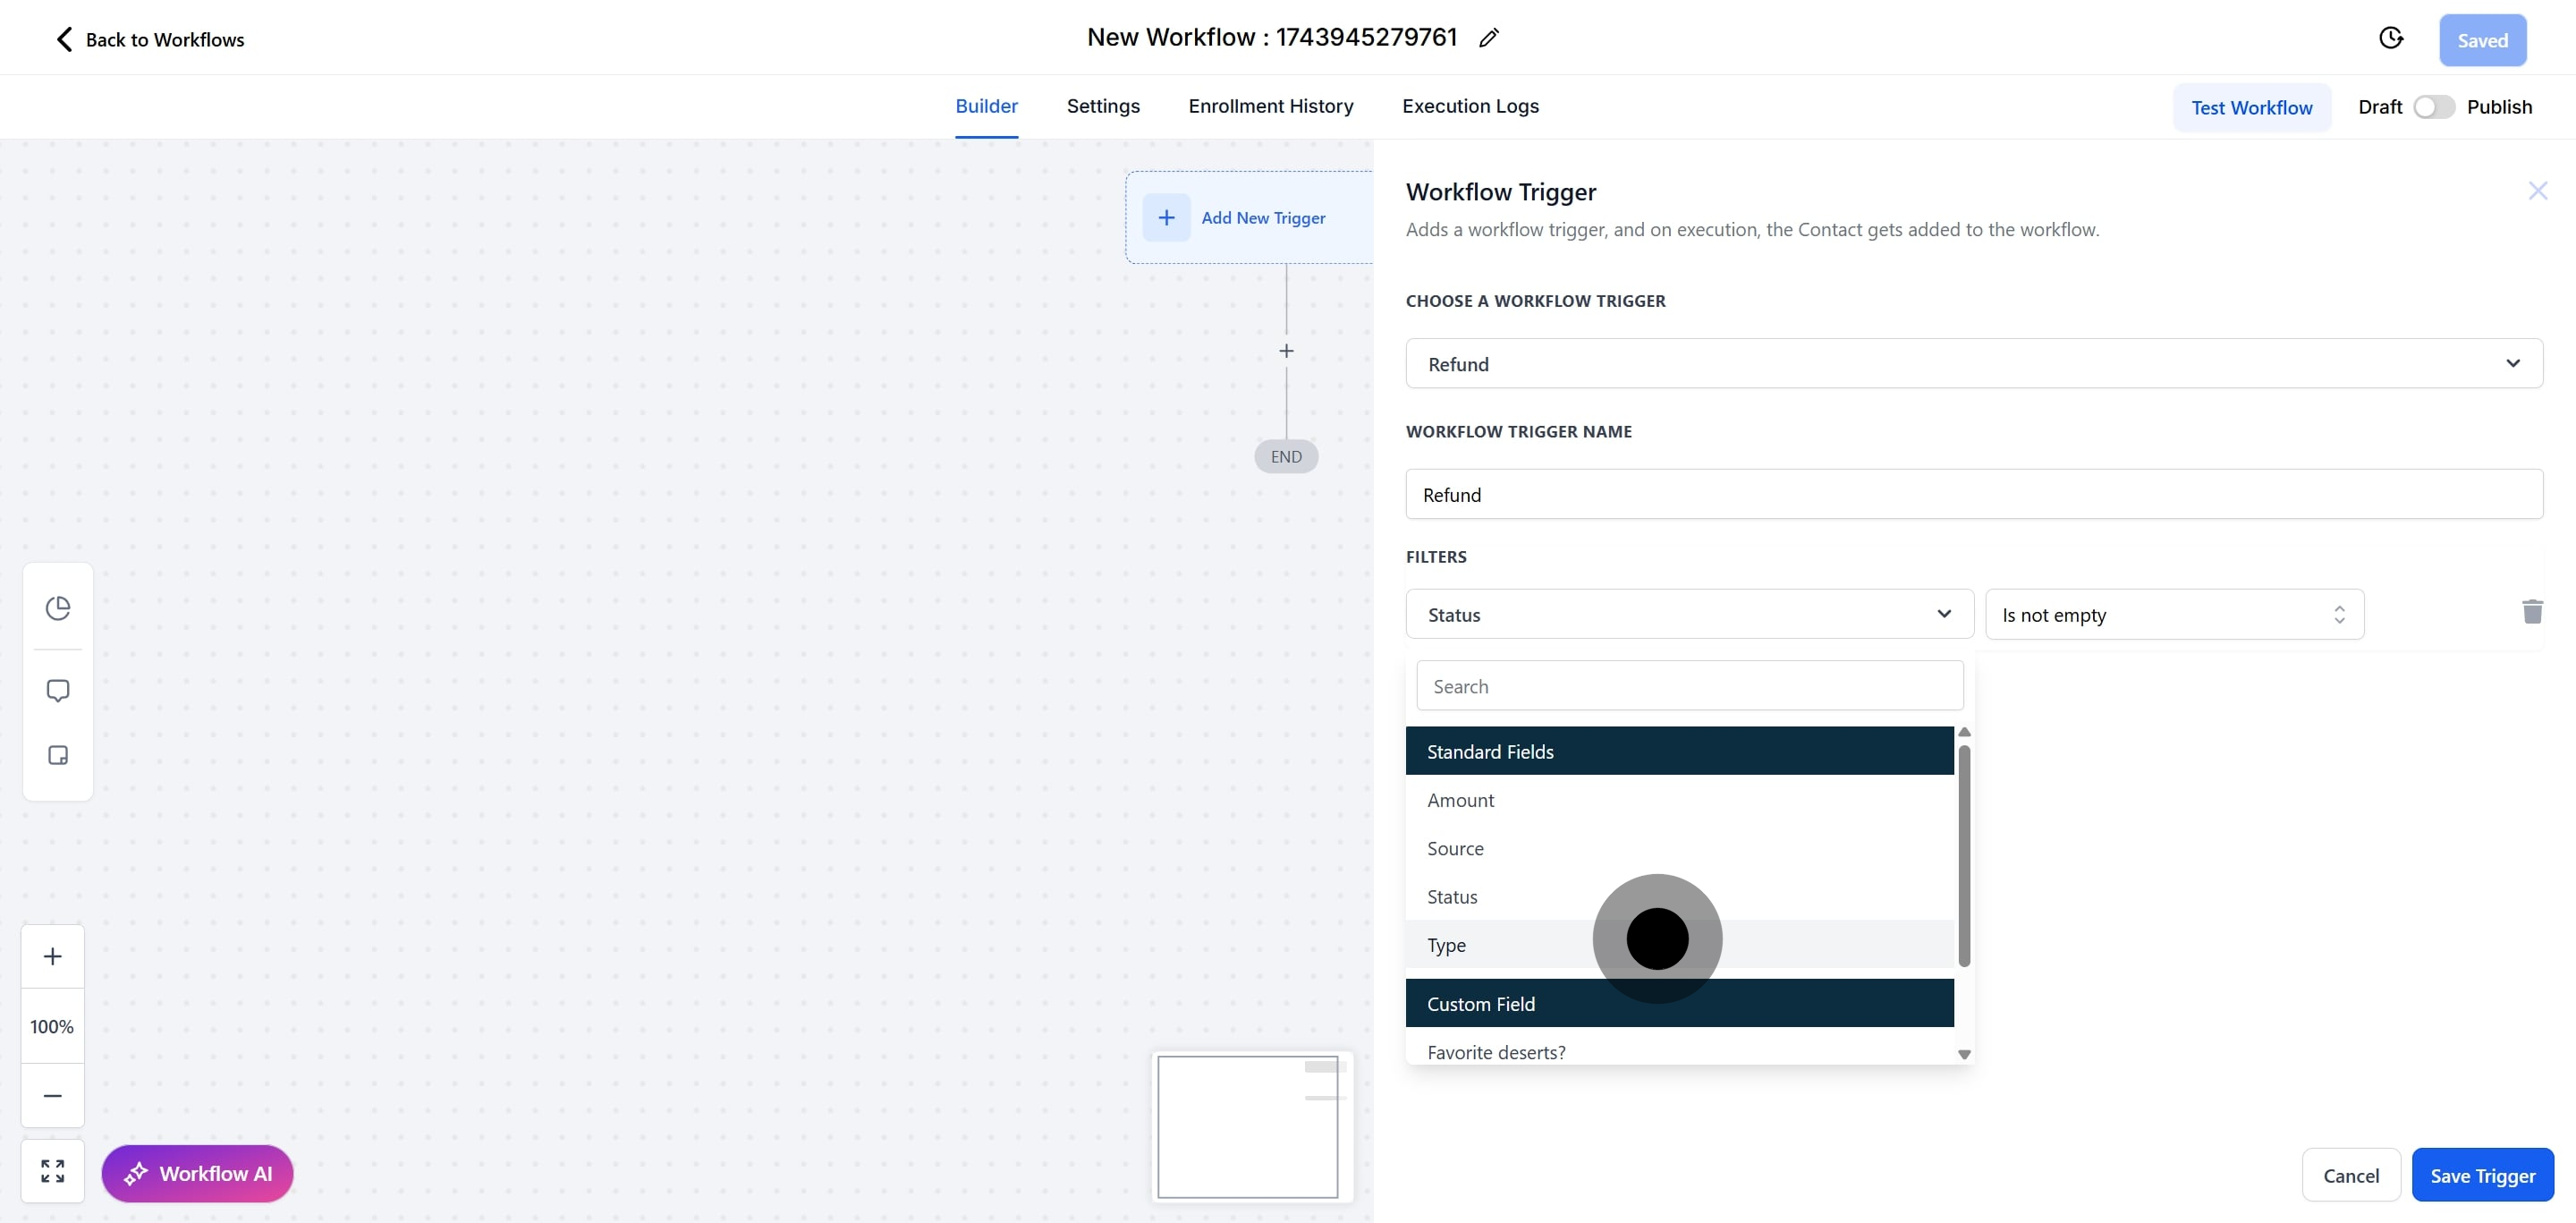
9. Click on "Select" to reveal the sub-menu.
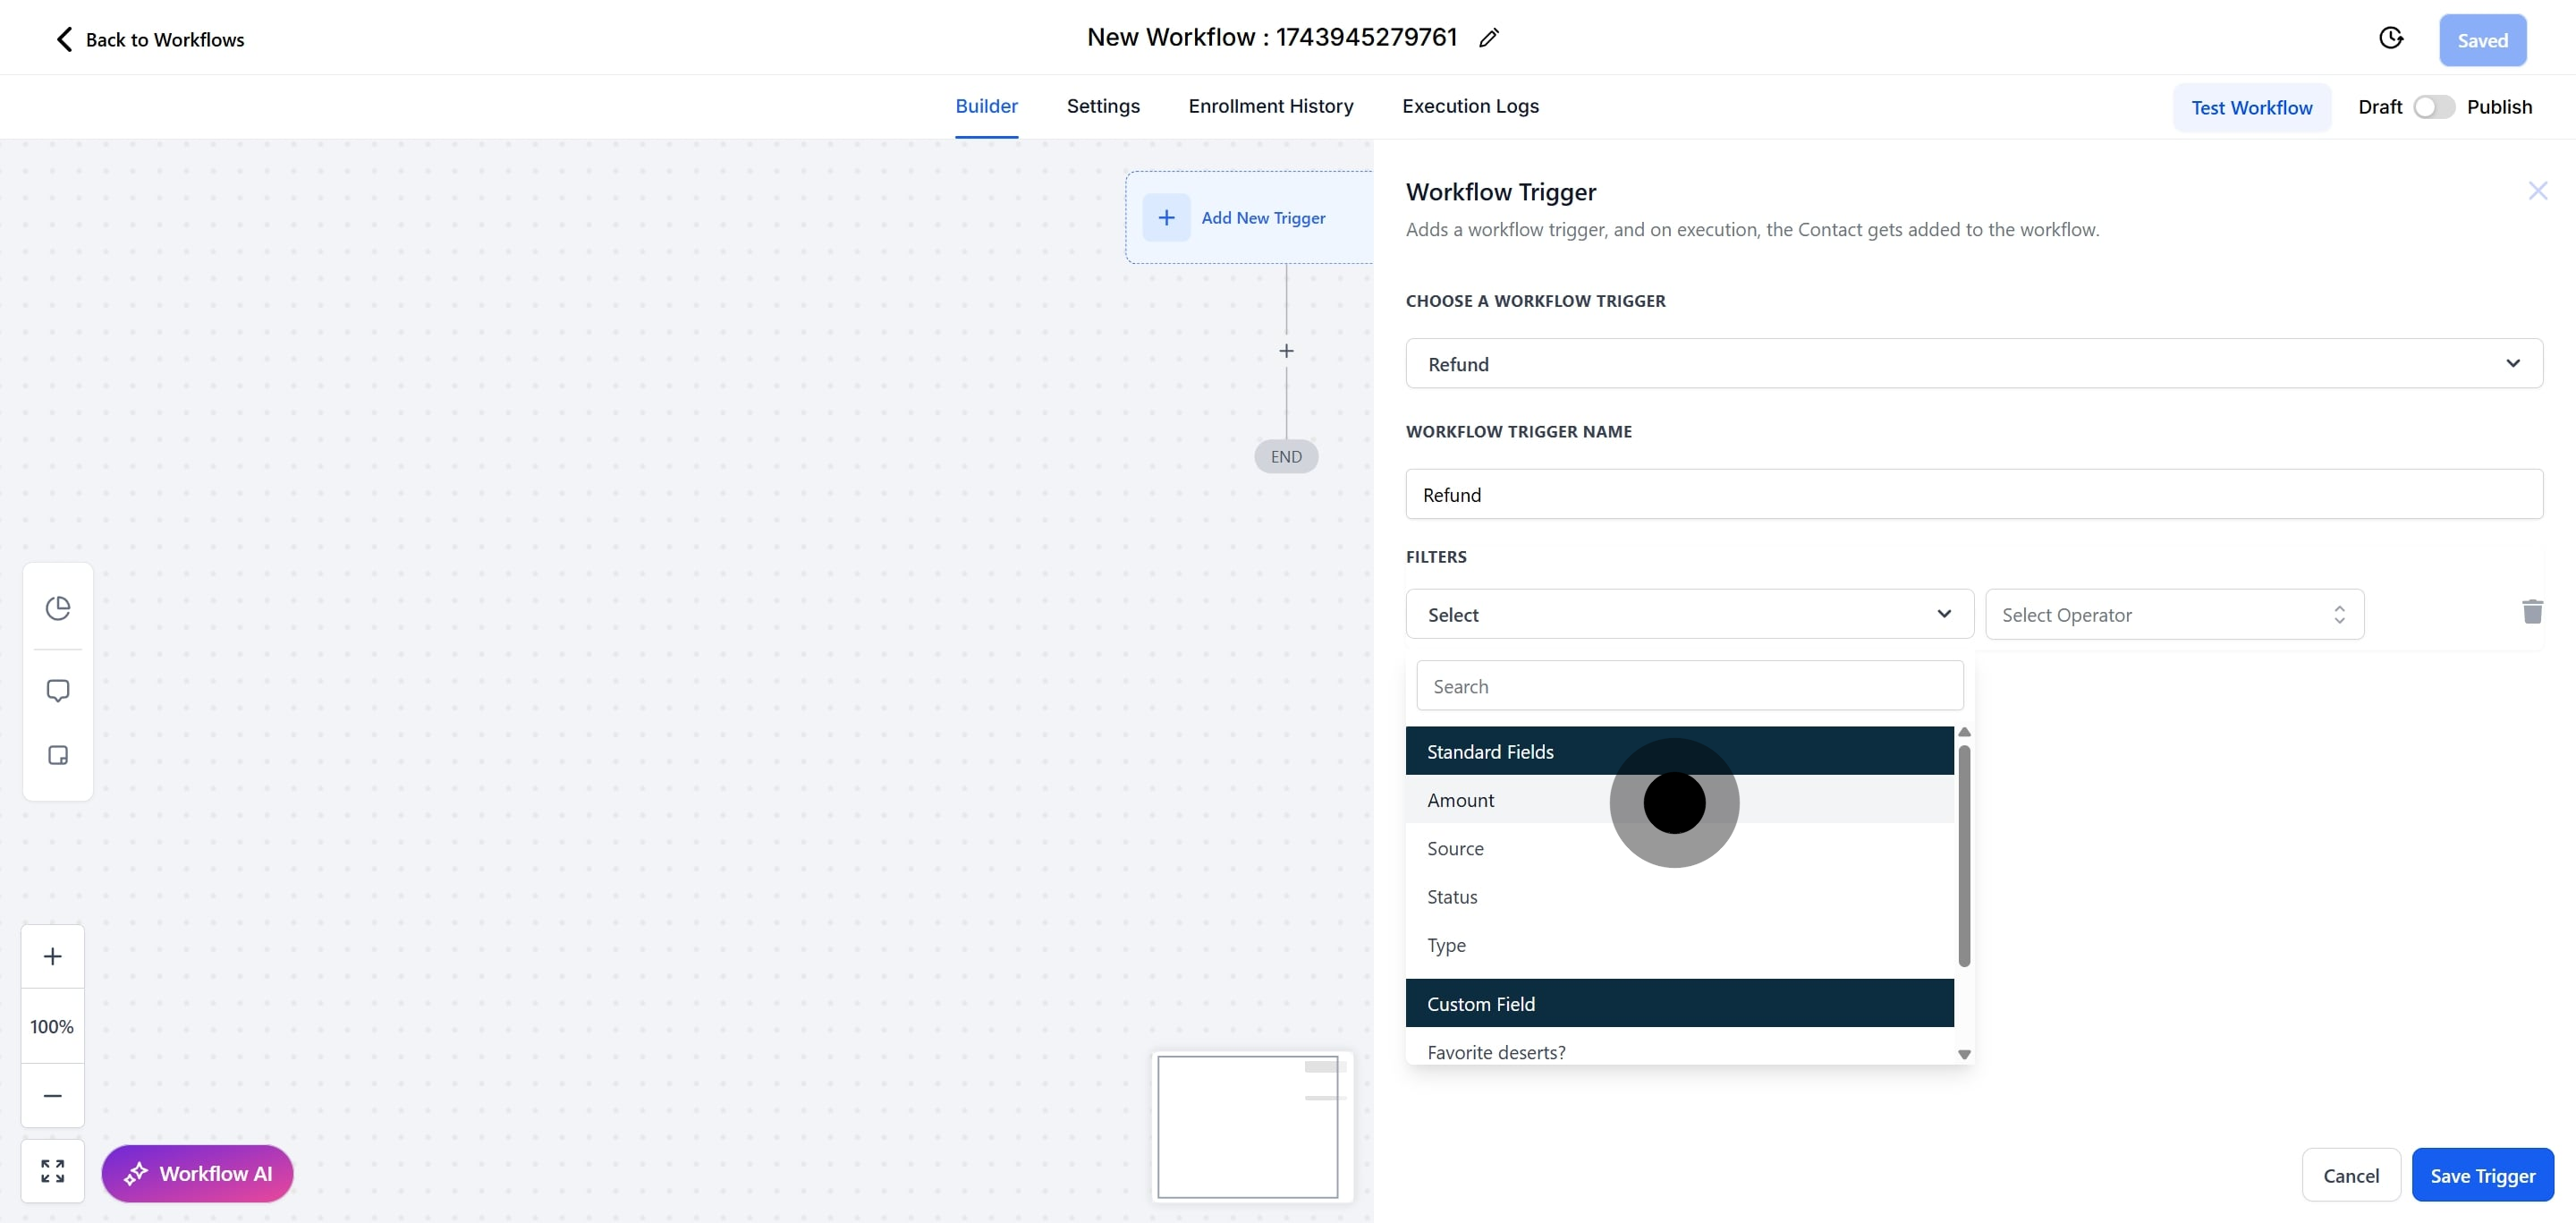
10. Choose a filter from the displayed sub-menu.
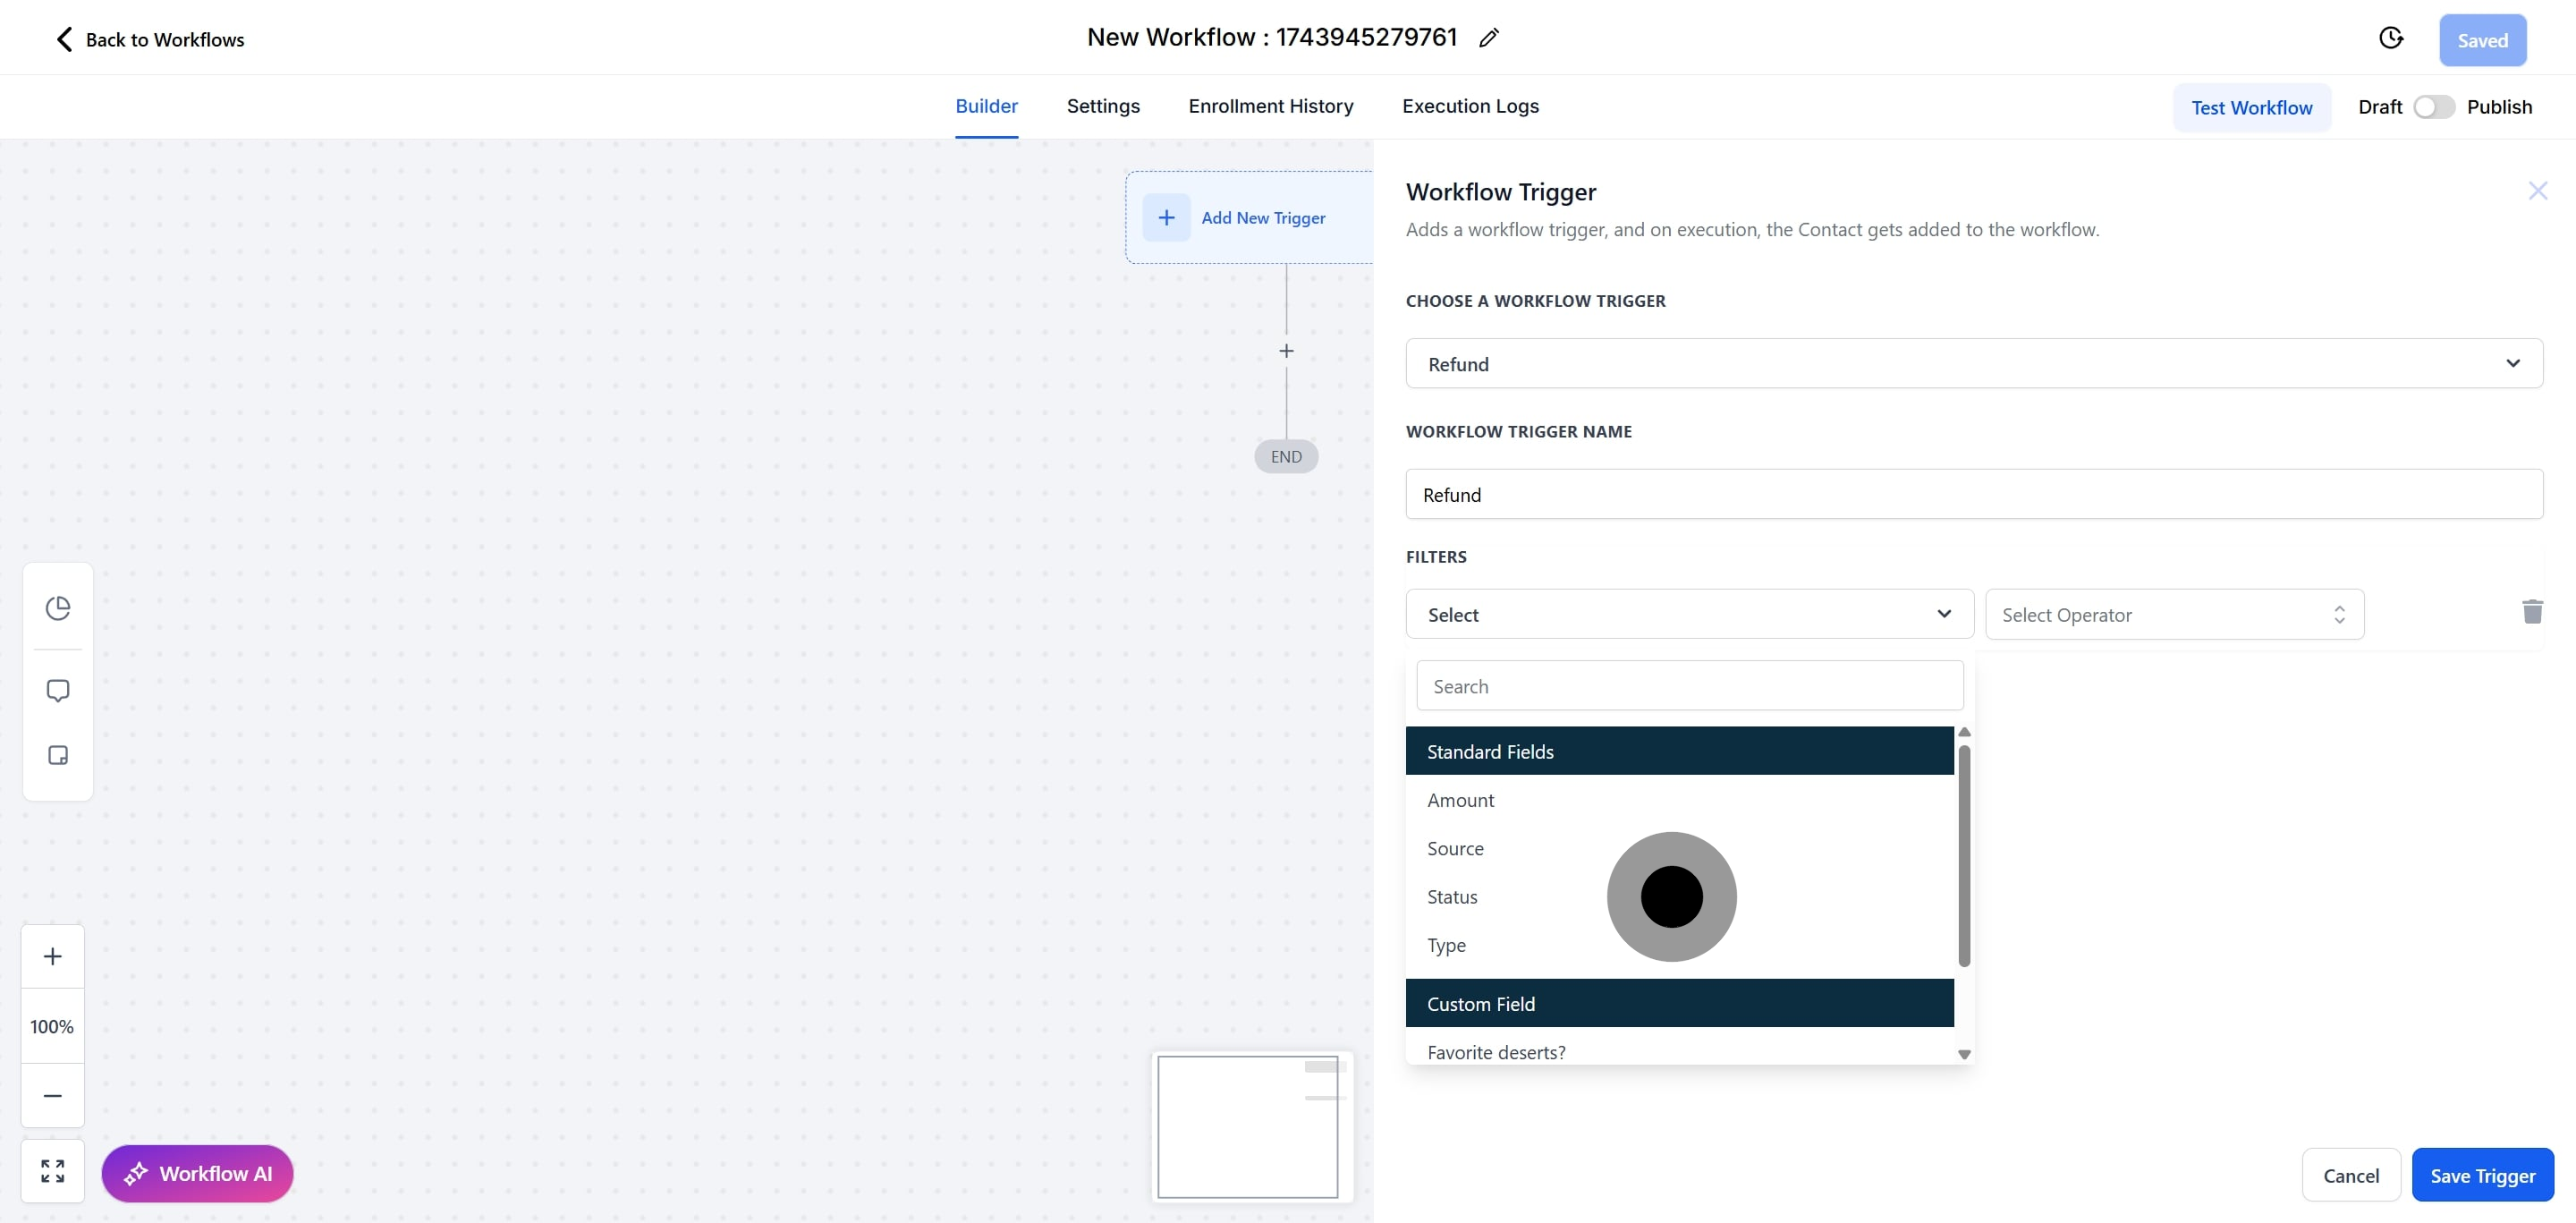
11. Click on "Amount" to apply this filter.
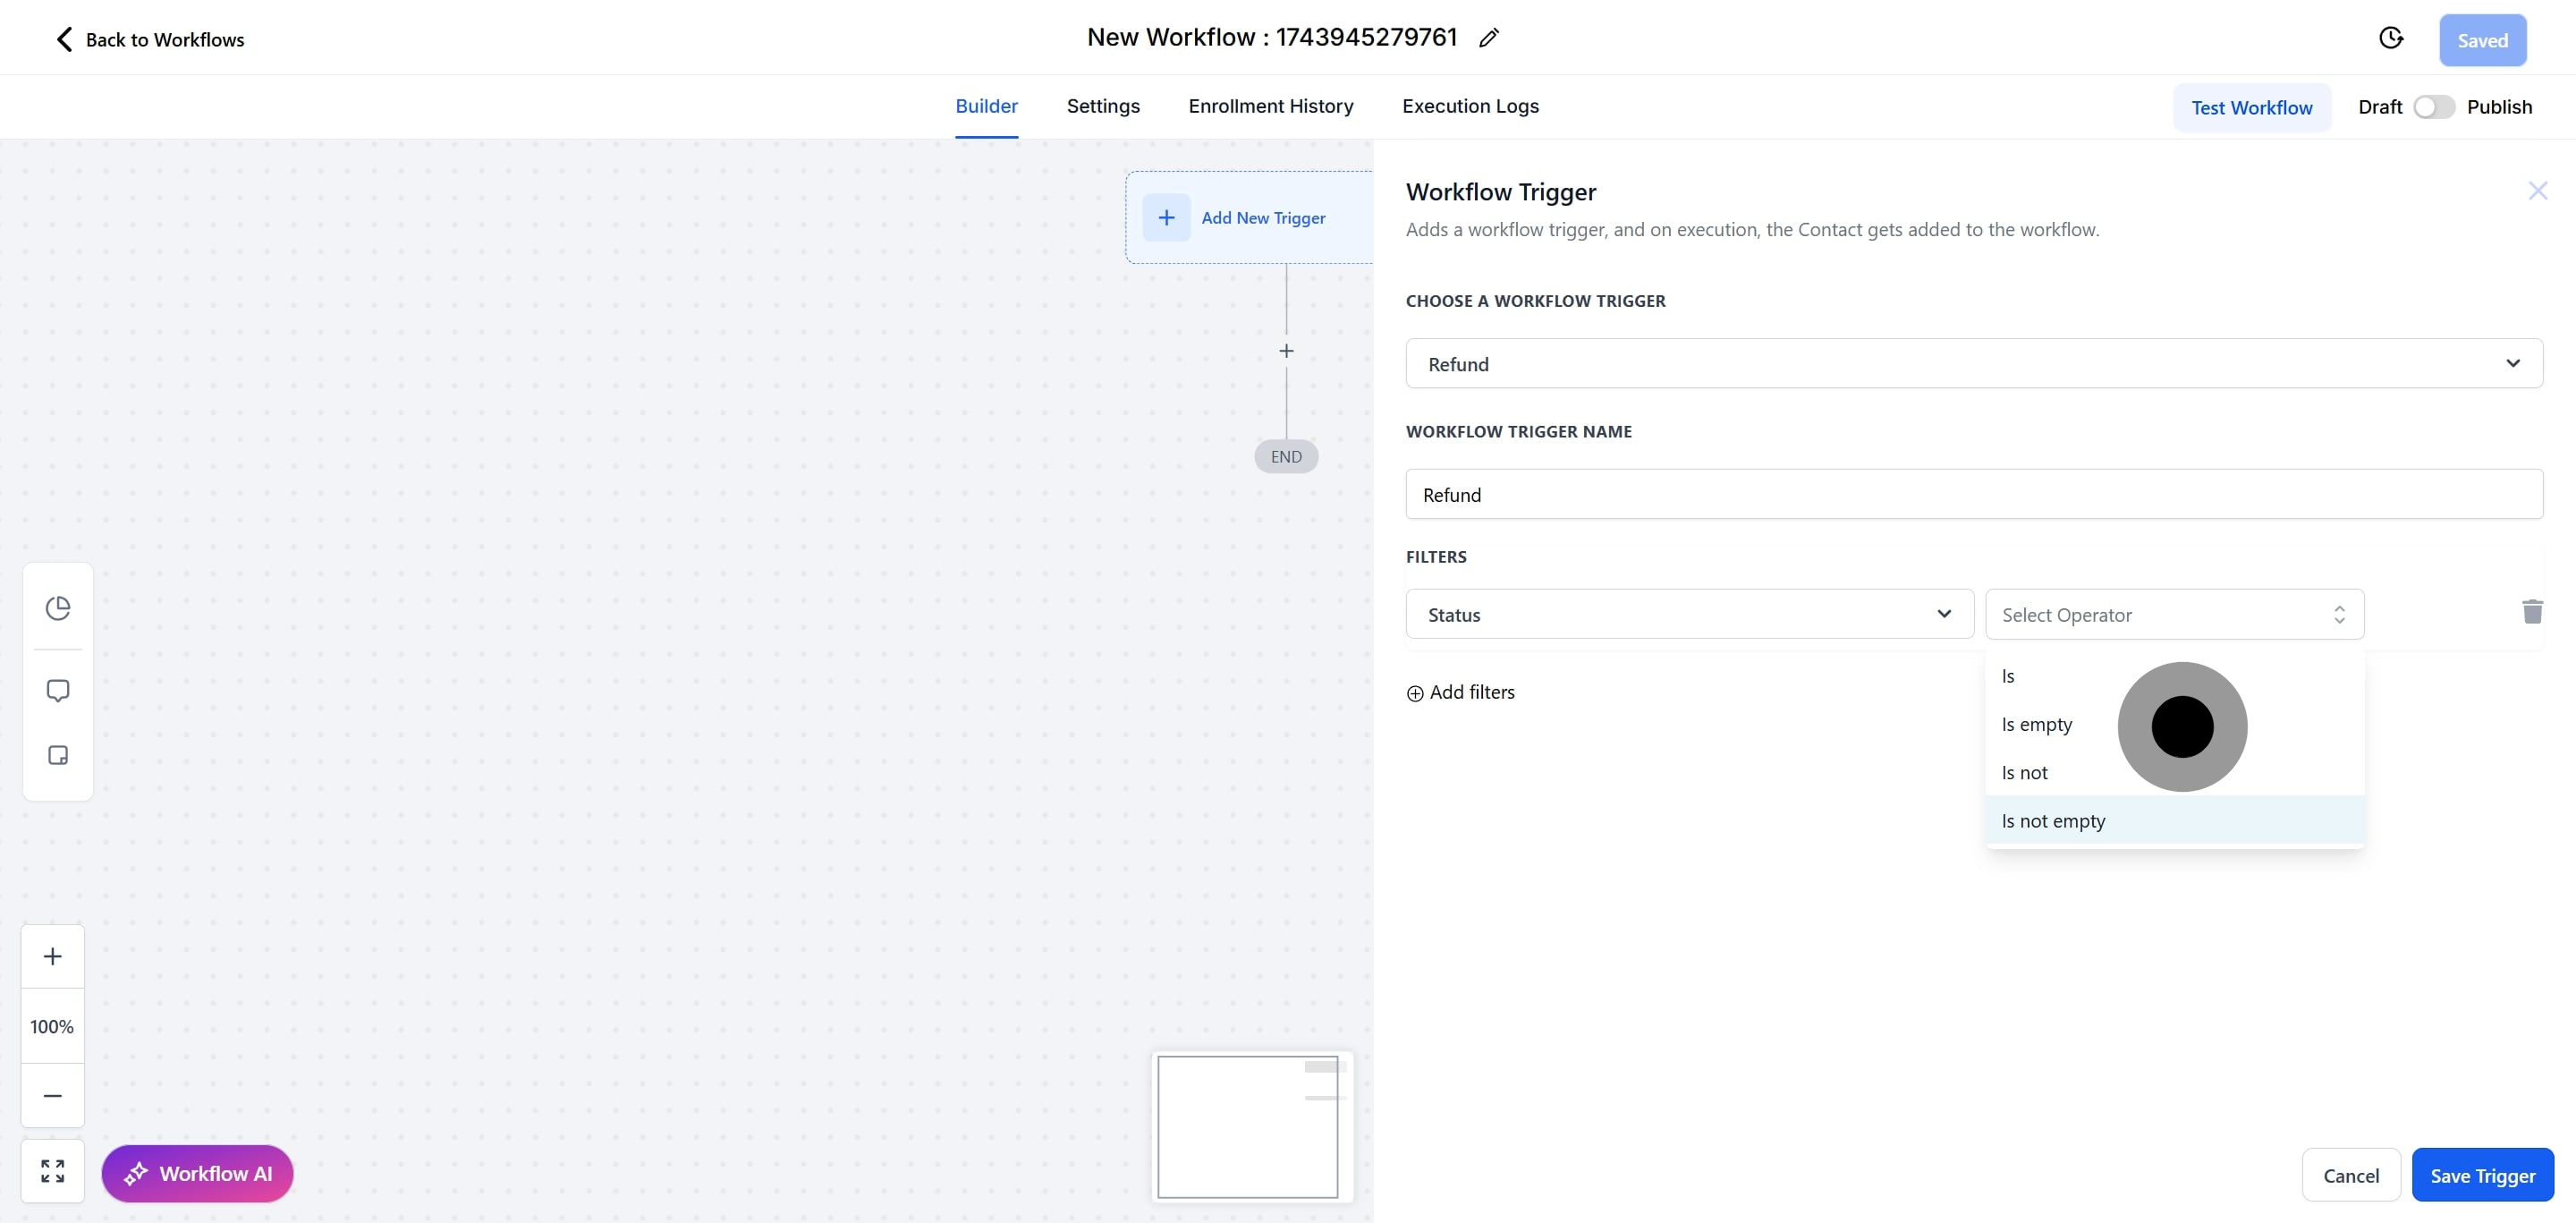
12. Select "Select Operator" to open the options.

13. Pick an operator that fits your criteria.
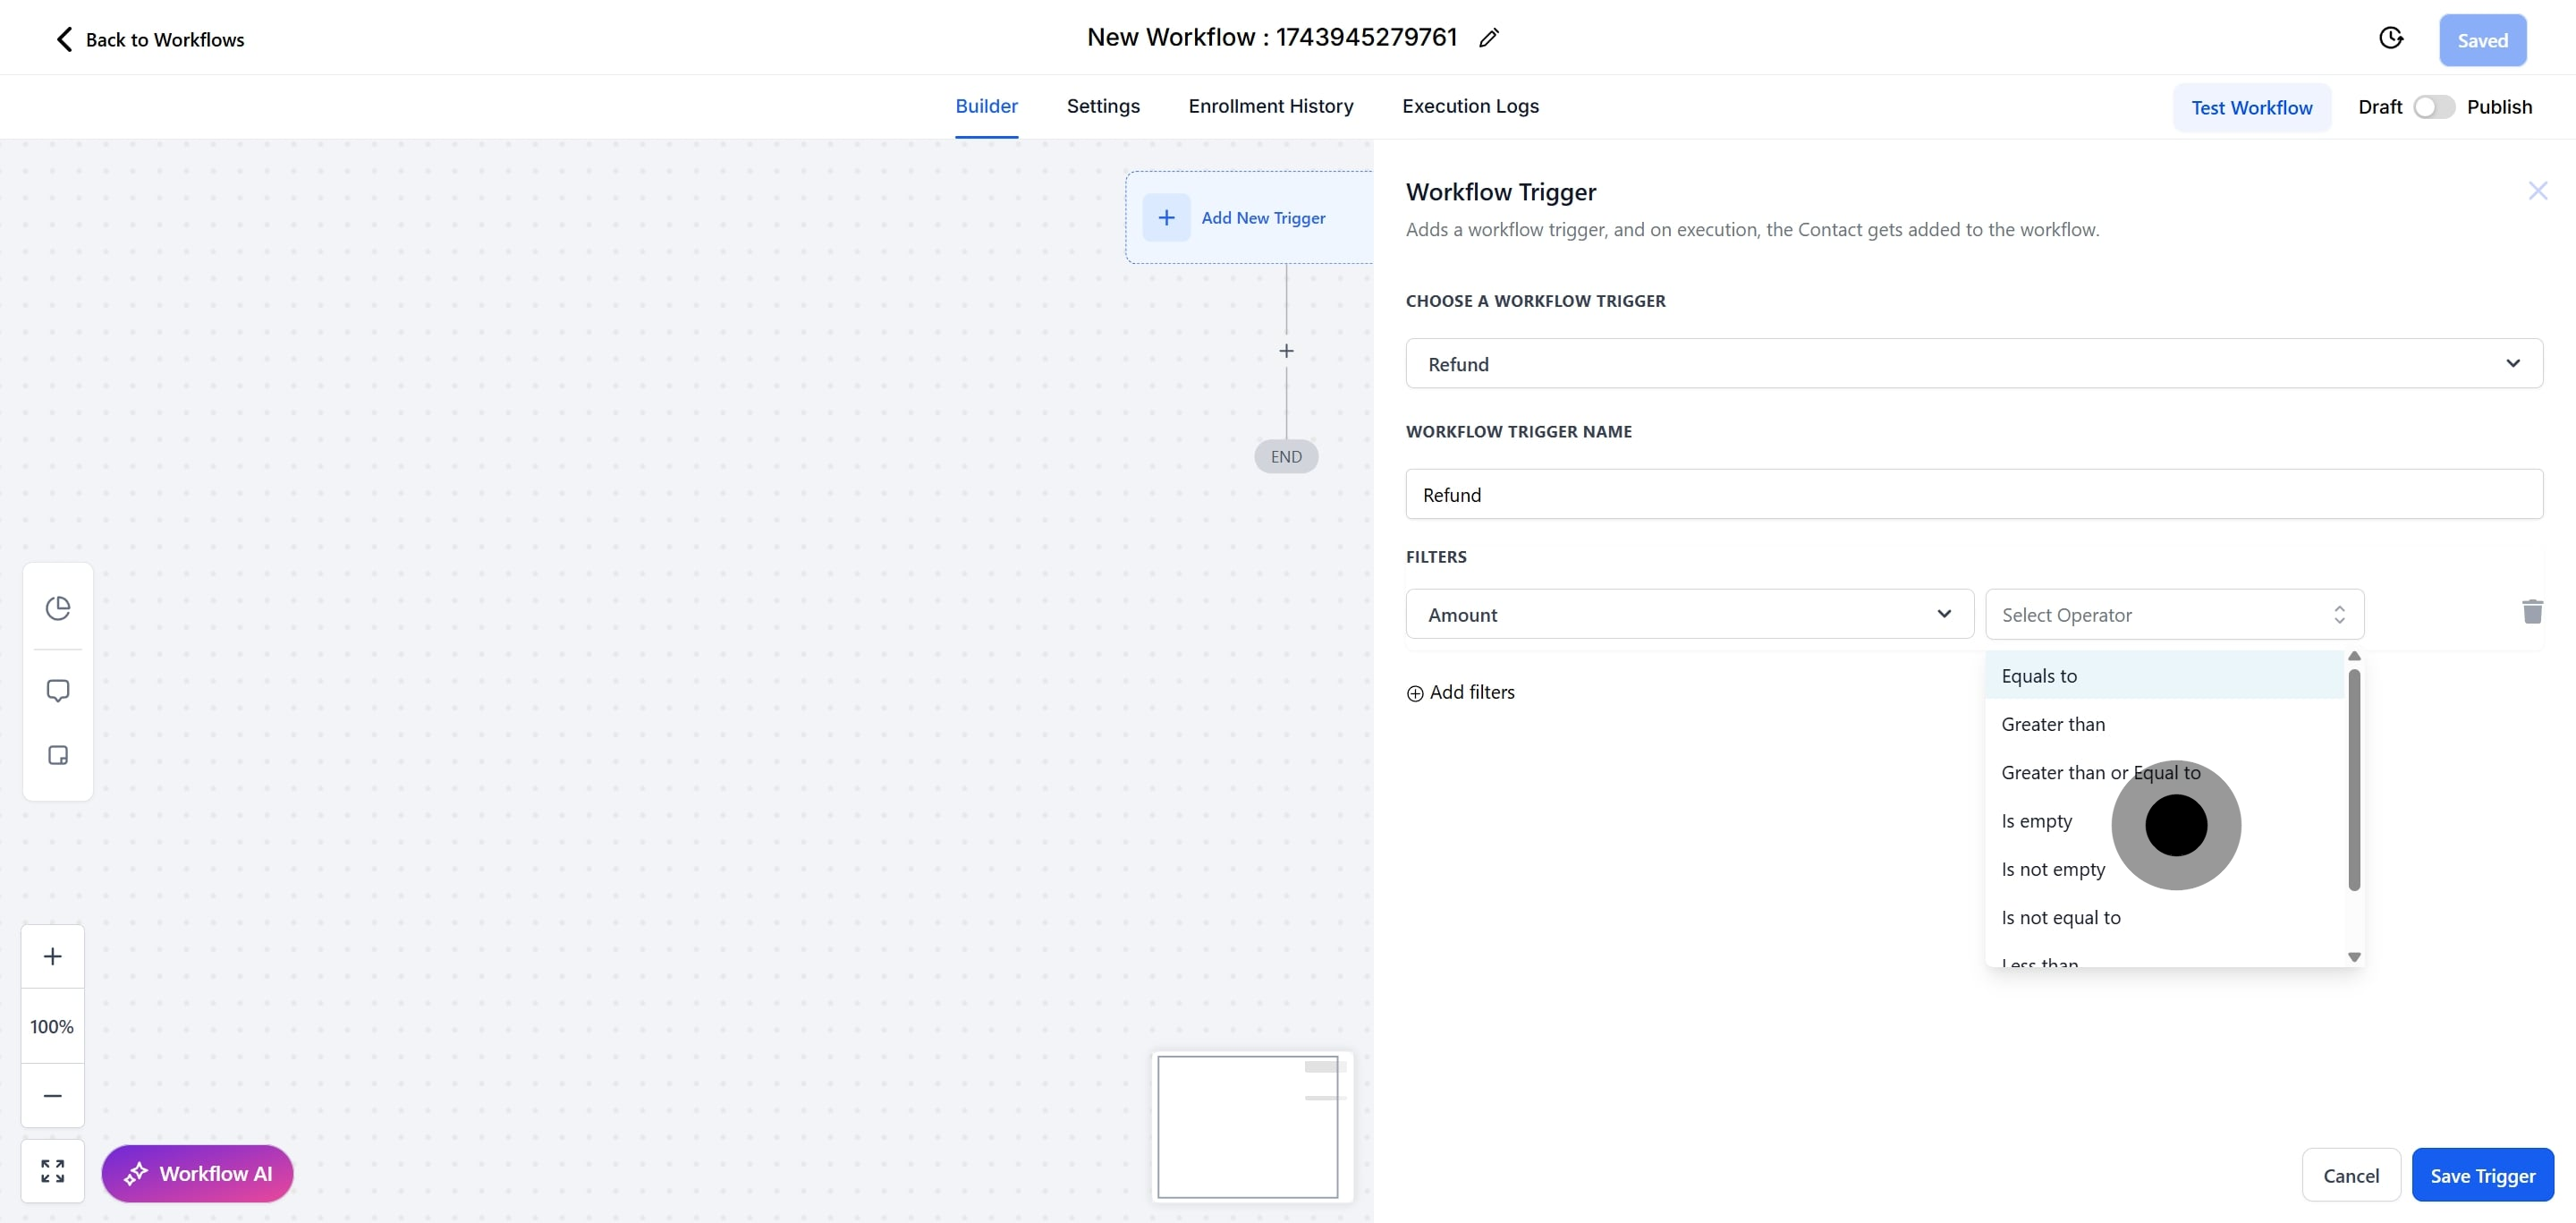
14. Adjust the number using the up or down buttons.
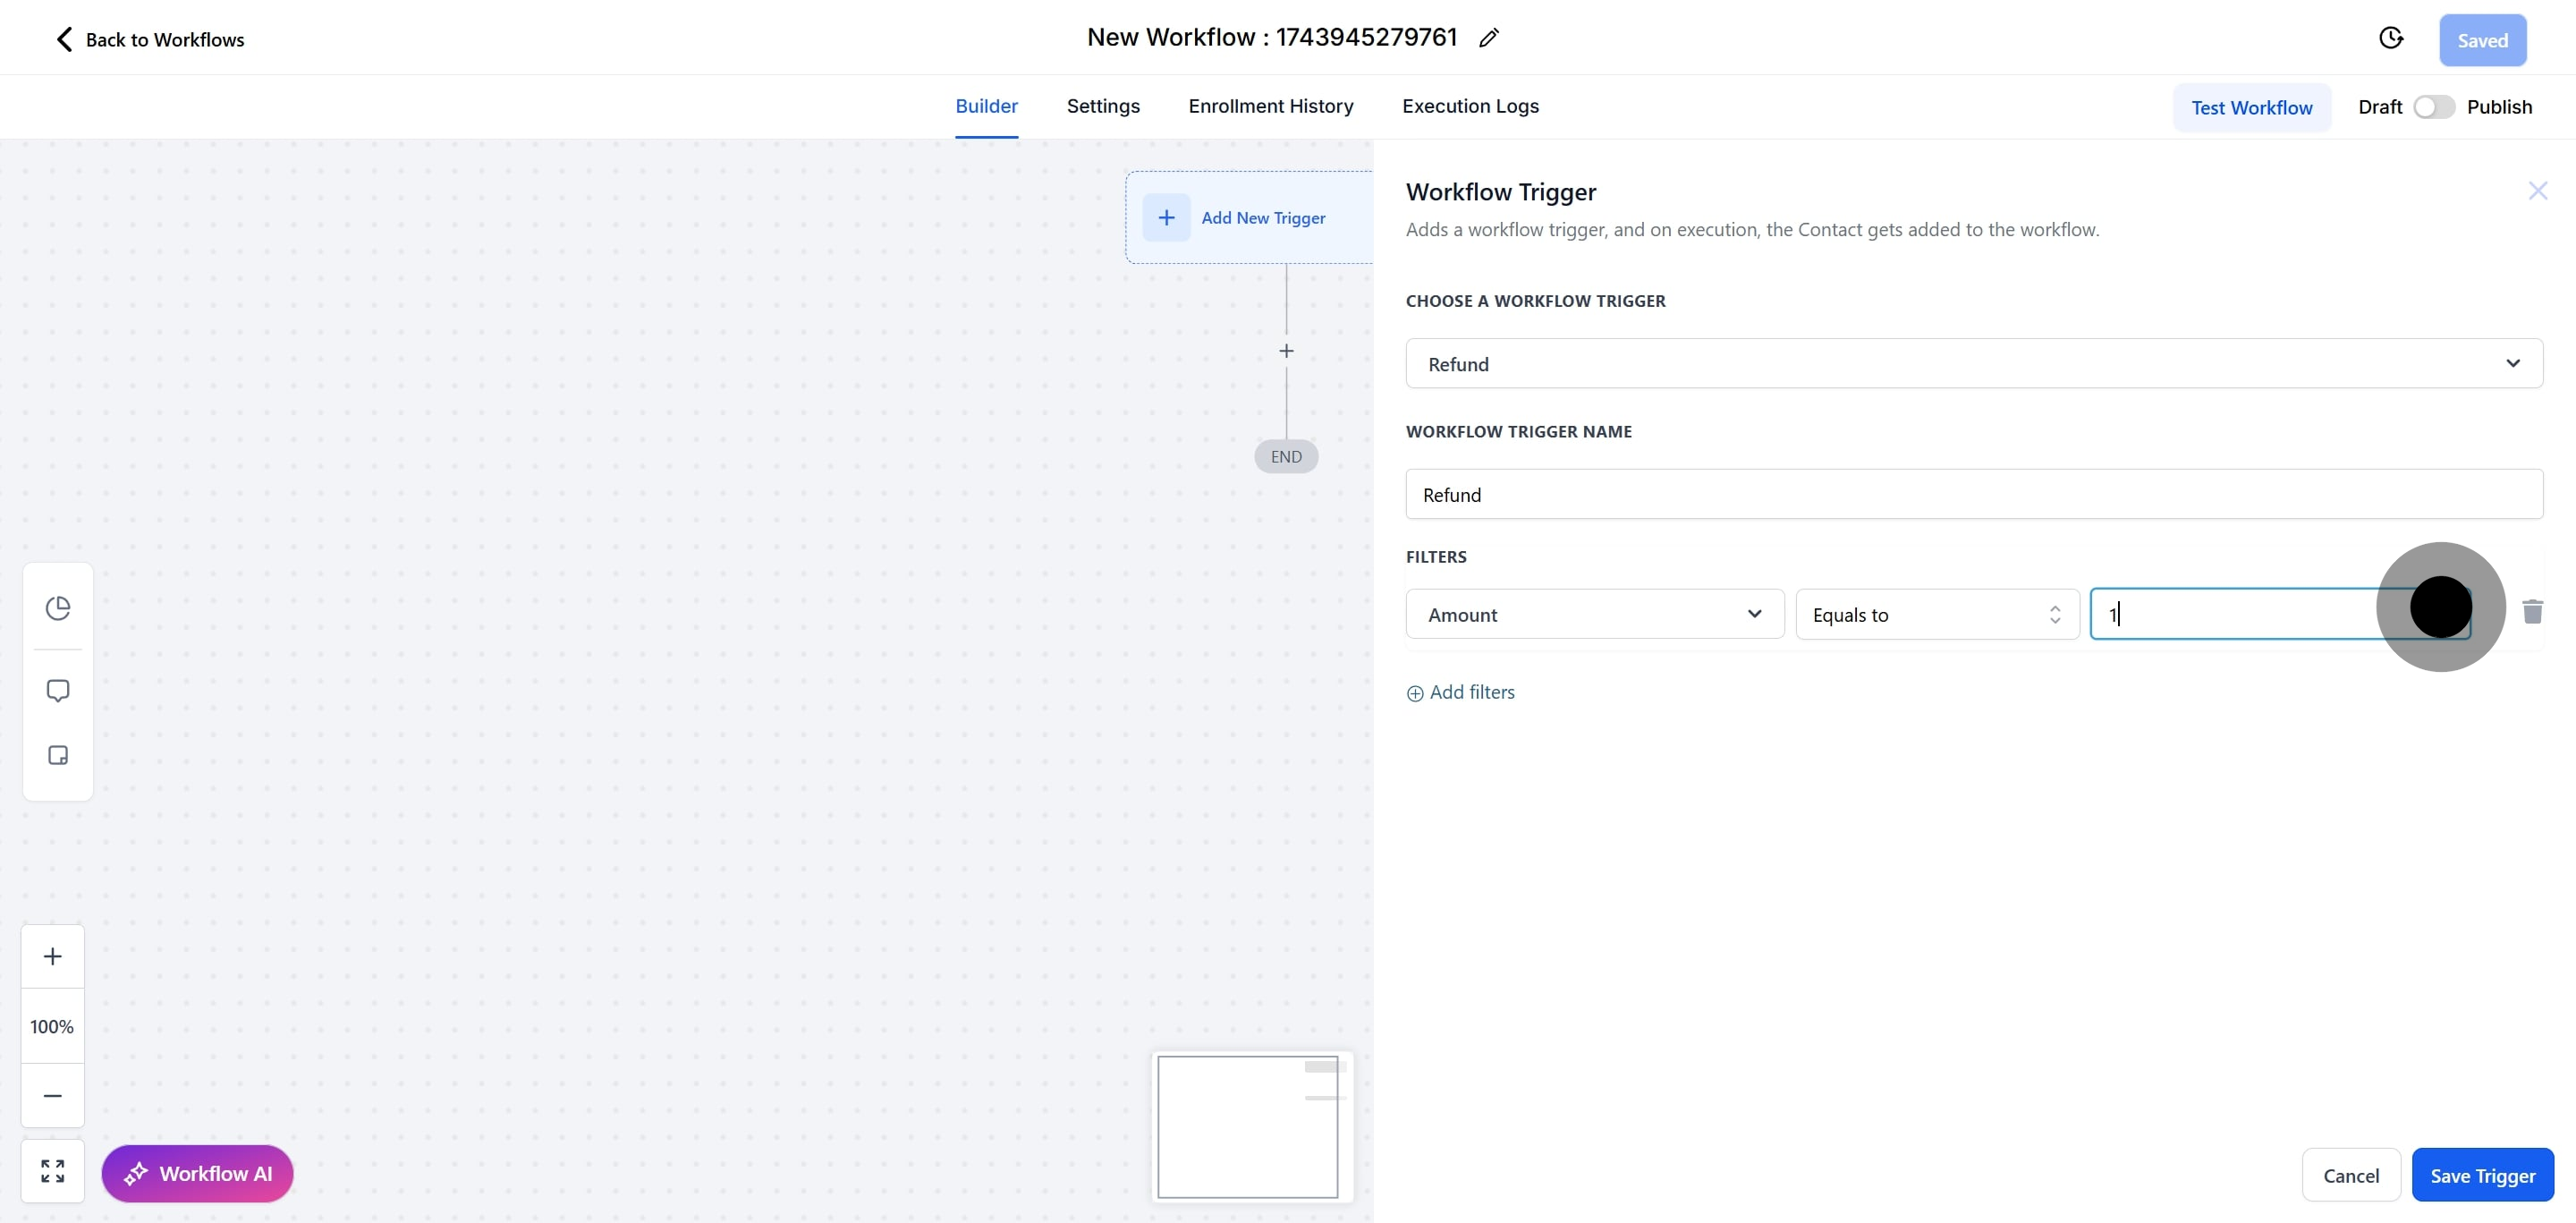
15. Alternatively, click on "Source" for another option.
16. Click on "Select Operator" to access more choices.

17. Choose the operator that appears in the sub-menu.

18. Or, select "Status" for filtering options.
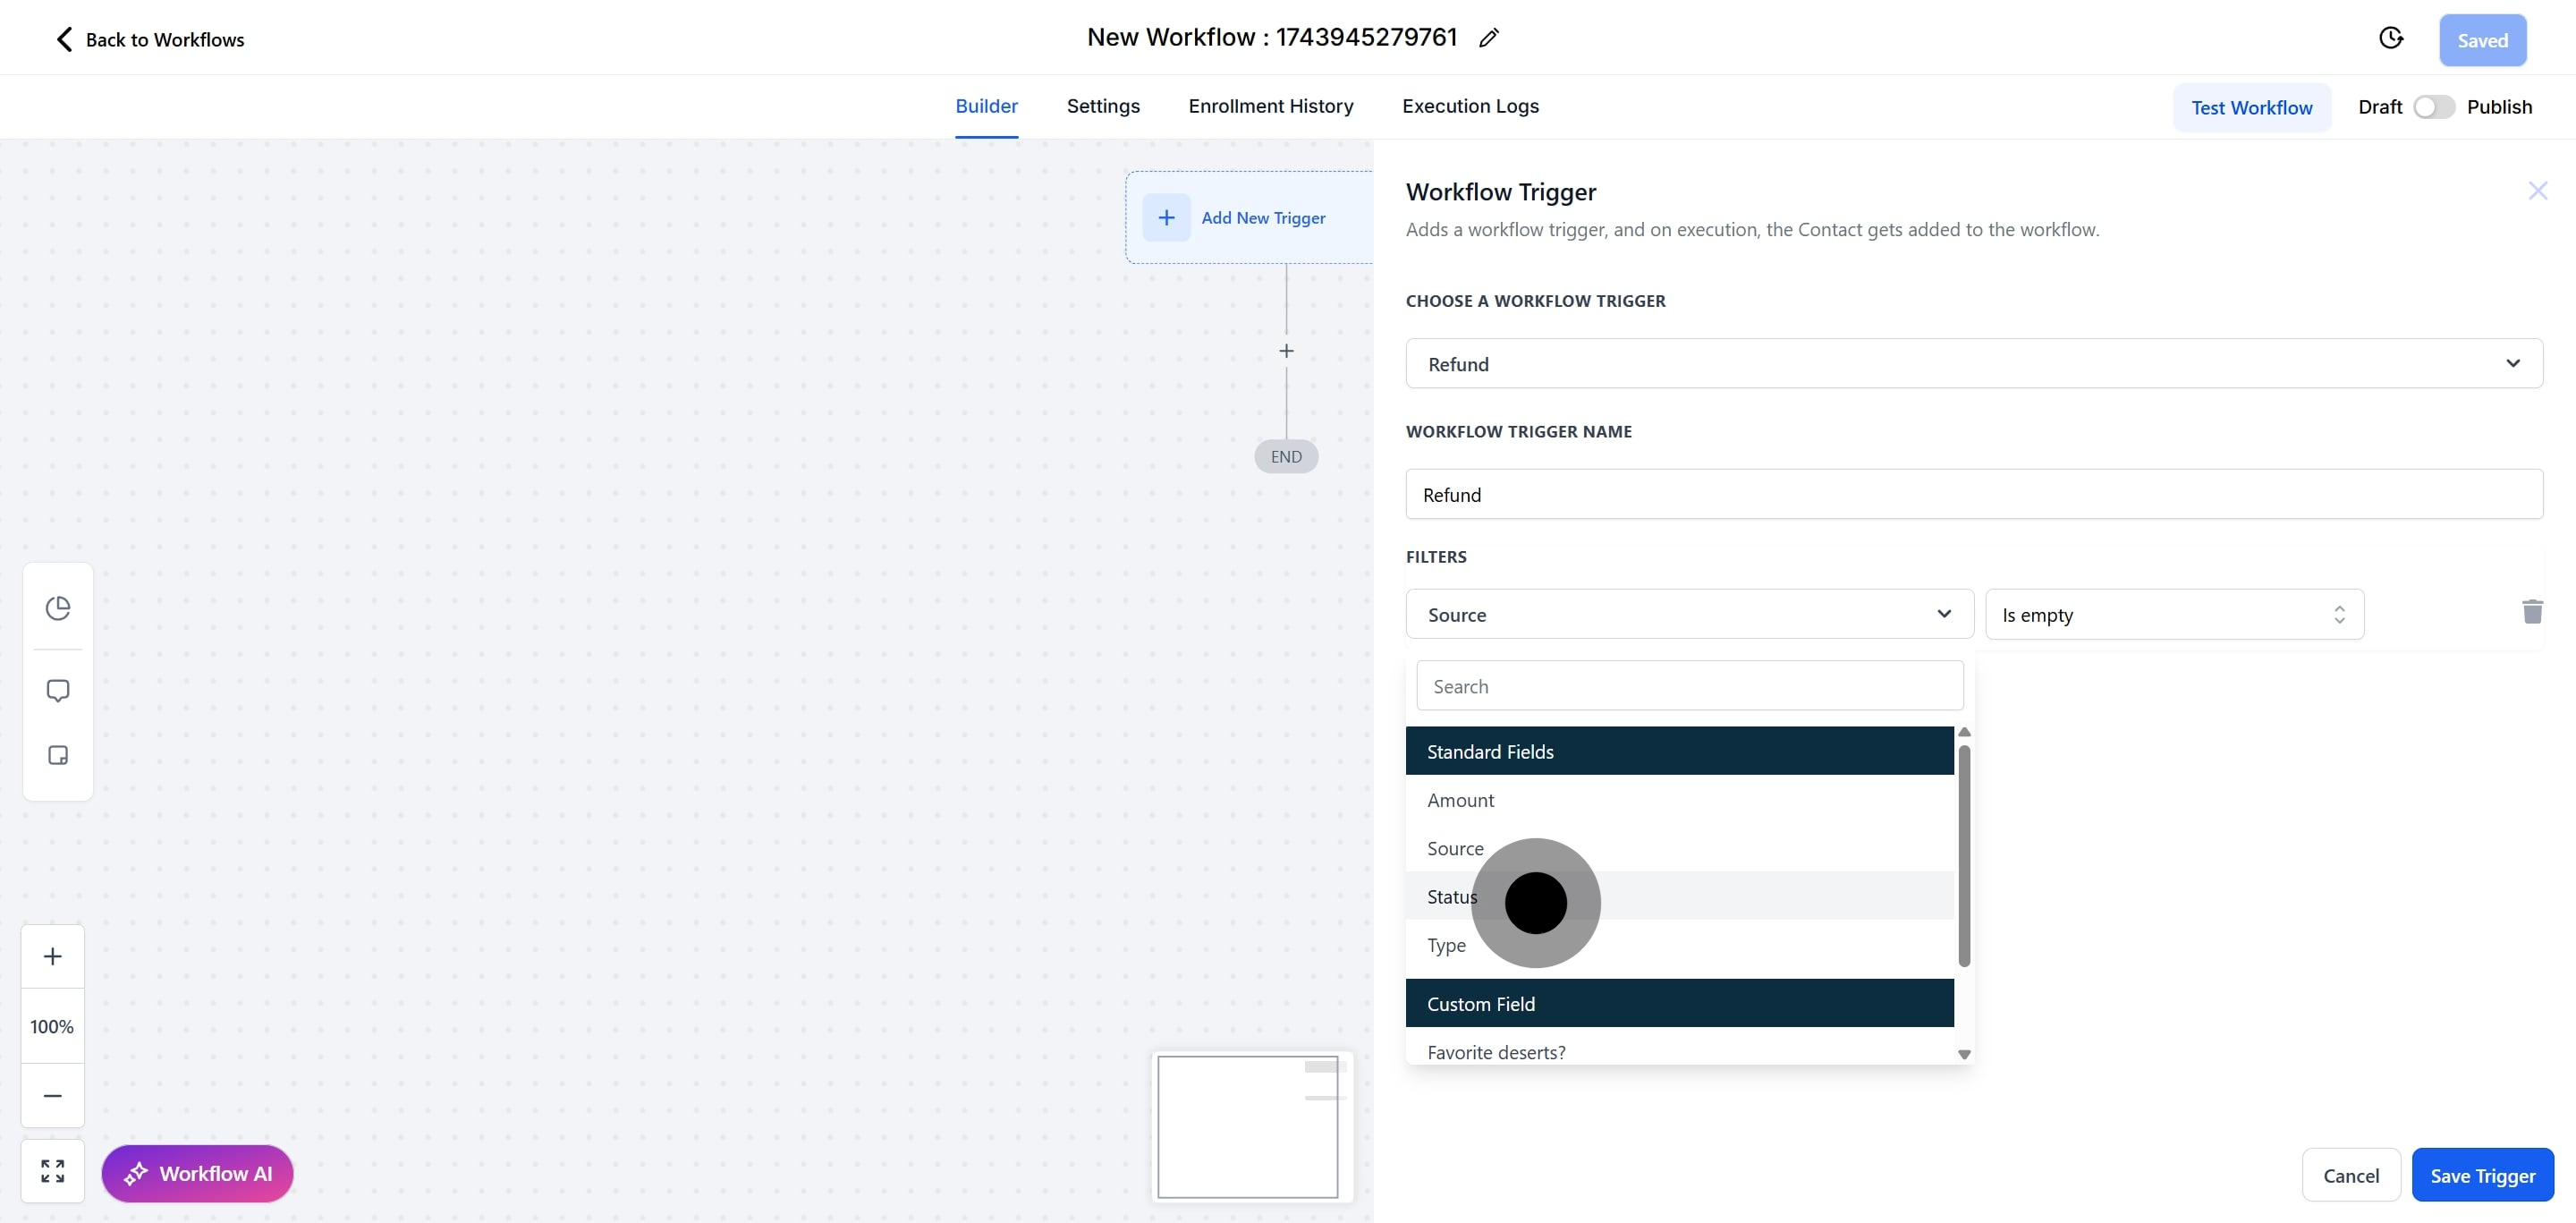
19. After, click on "Select Operator" to see the sub-menu.
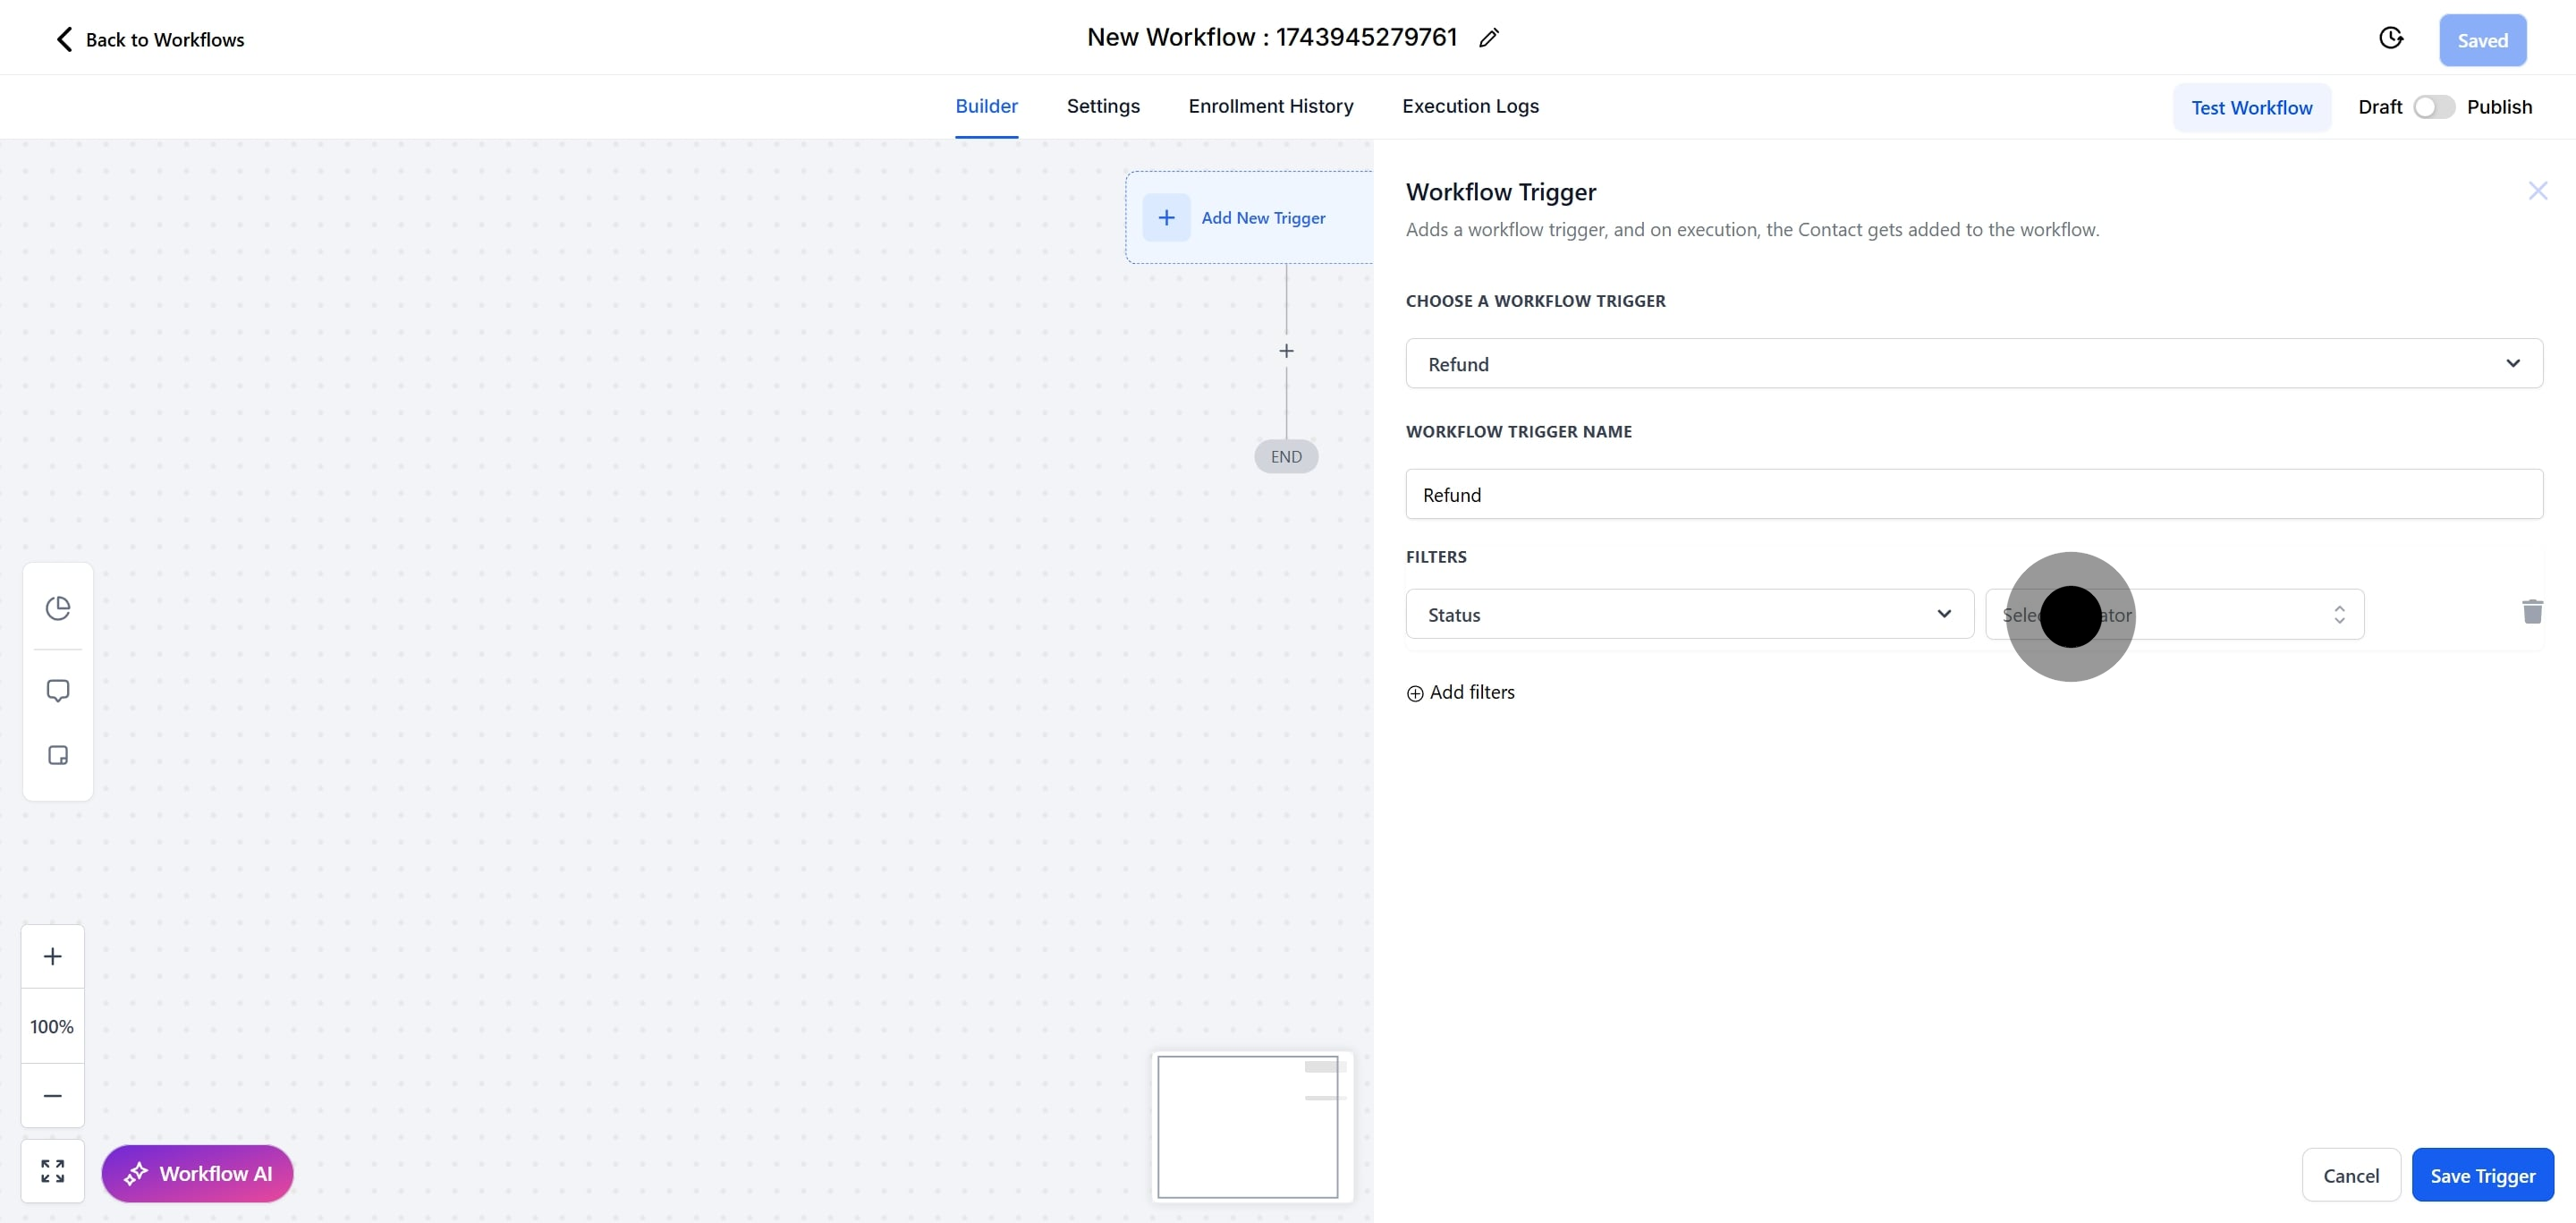
20. Then, click on the operator from the sub-menu.
21. Or, choose "Type" for additional filtering options.
22. Click on "Select Operator" to display the options again.
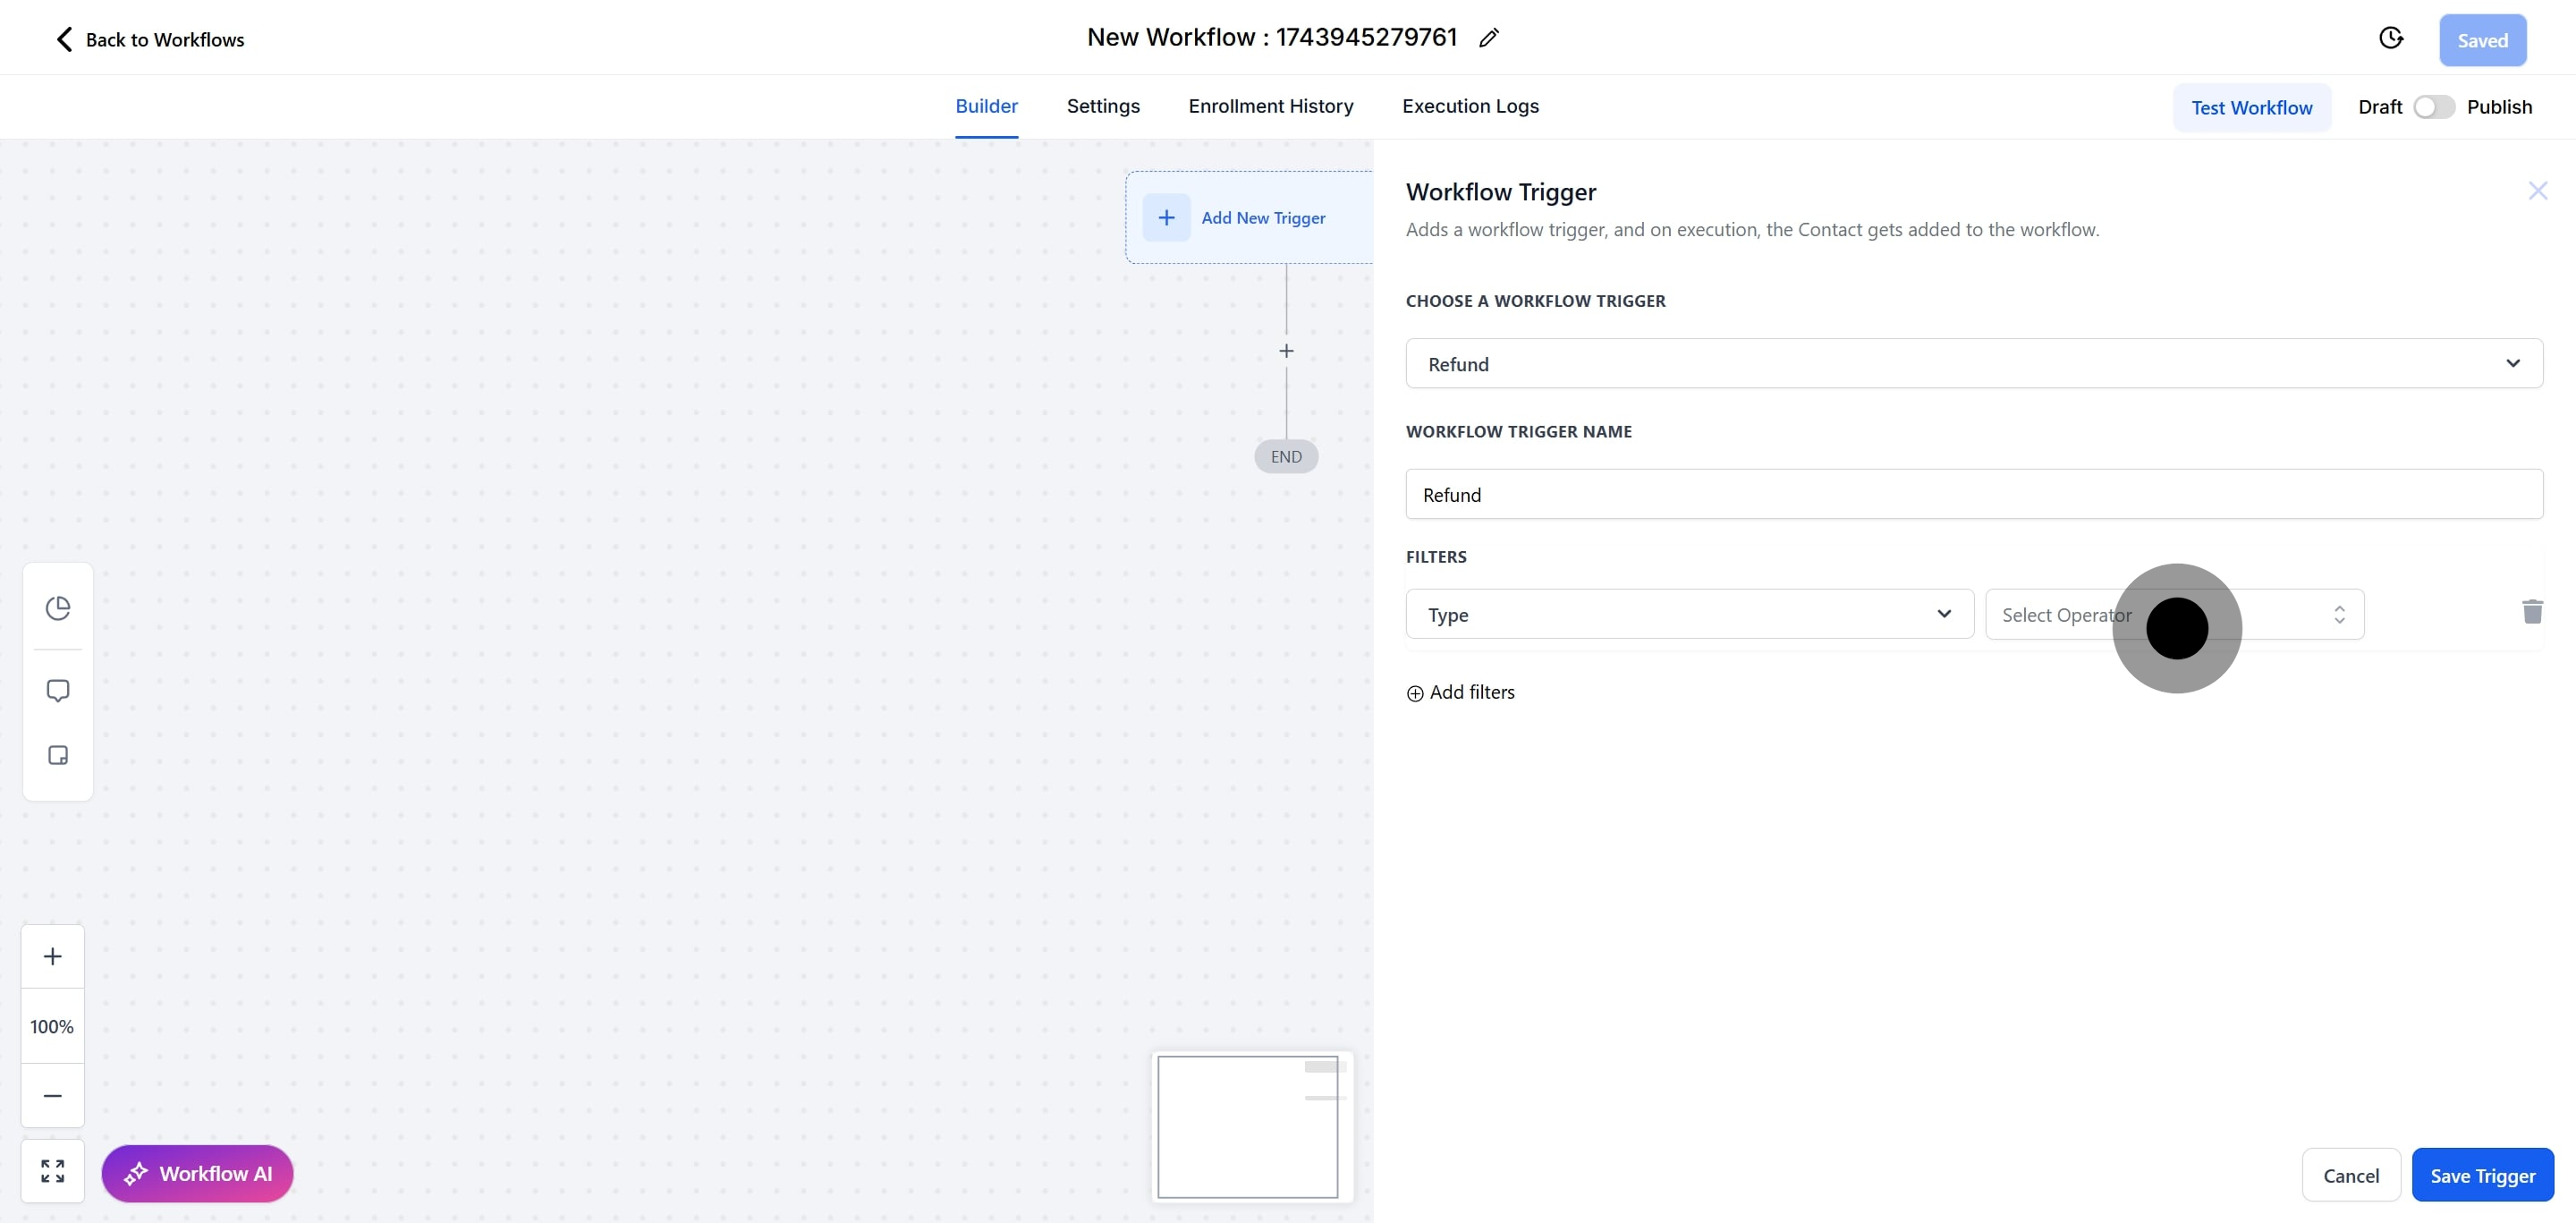
23. Finally, select the operator shown in the sub-menu.

24. Then, click on "Save Trigger" to confirm your changes to the trigger setup.
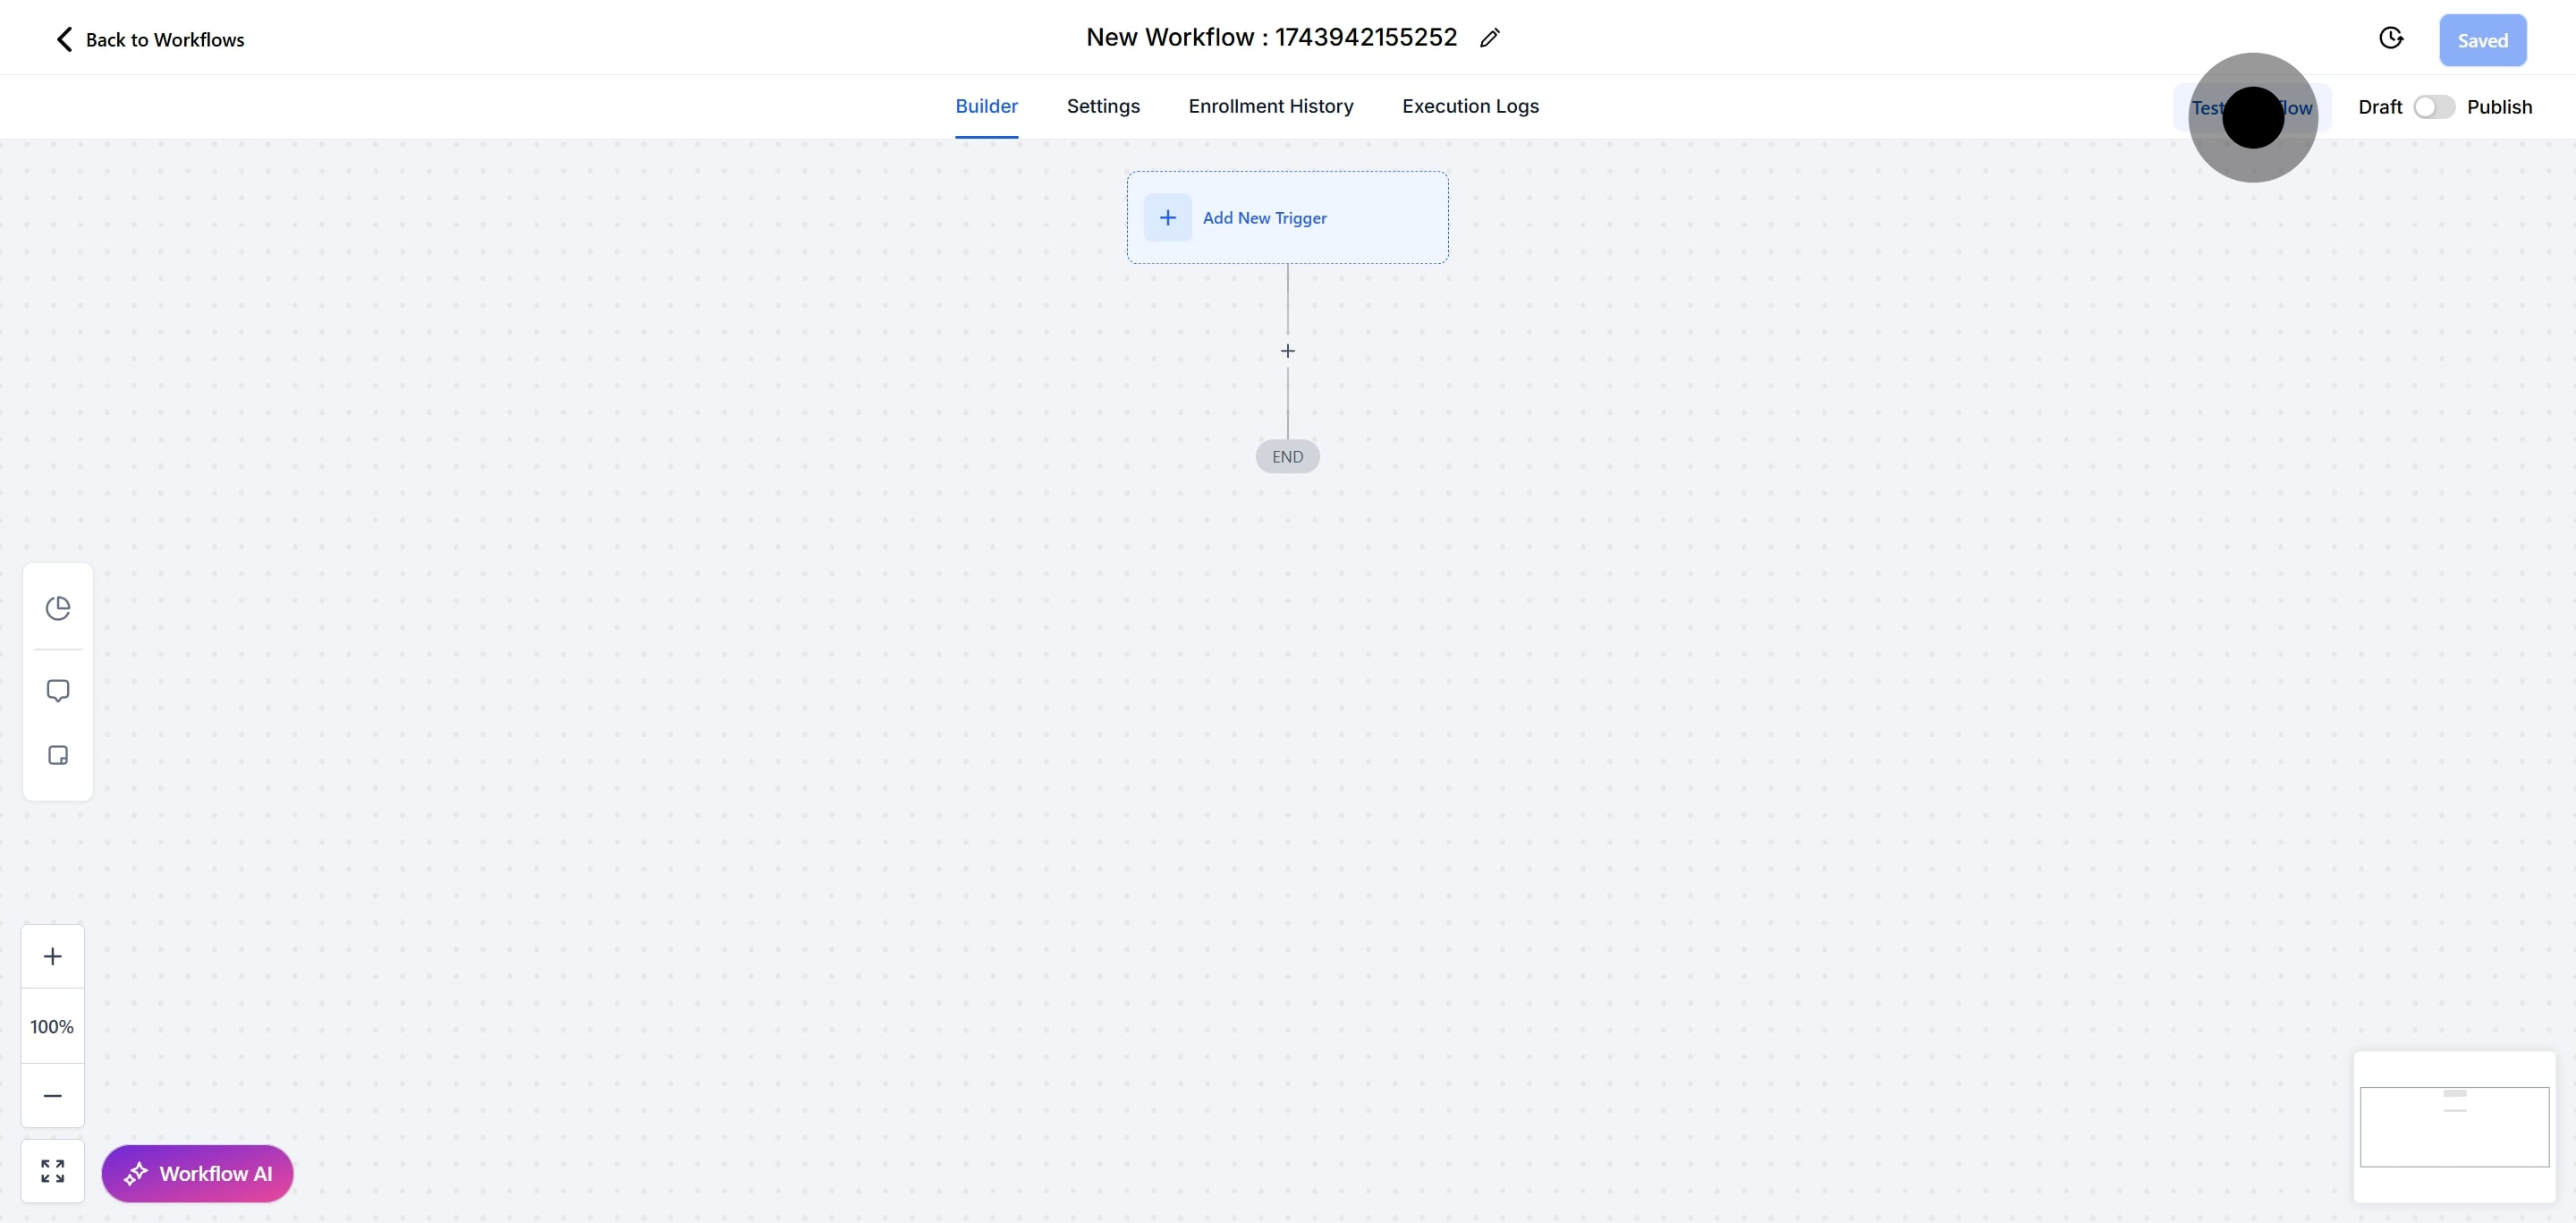
25. Click here to test your workflow and ensure everything works as expected.
26. Click here to open a sub-menu for contacts you may want to test.
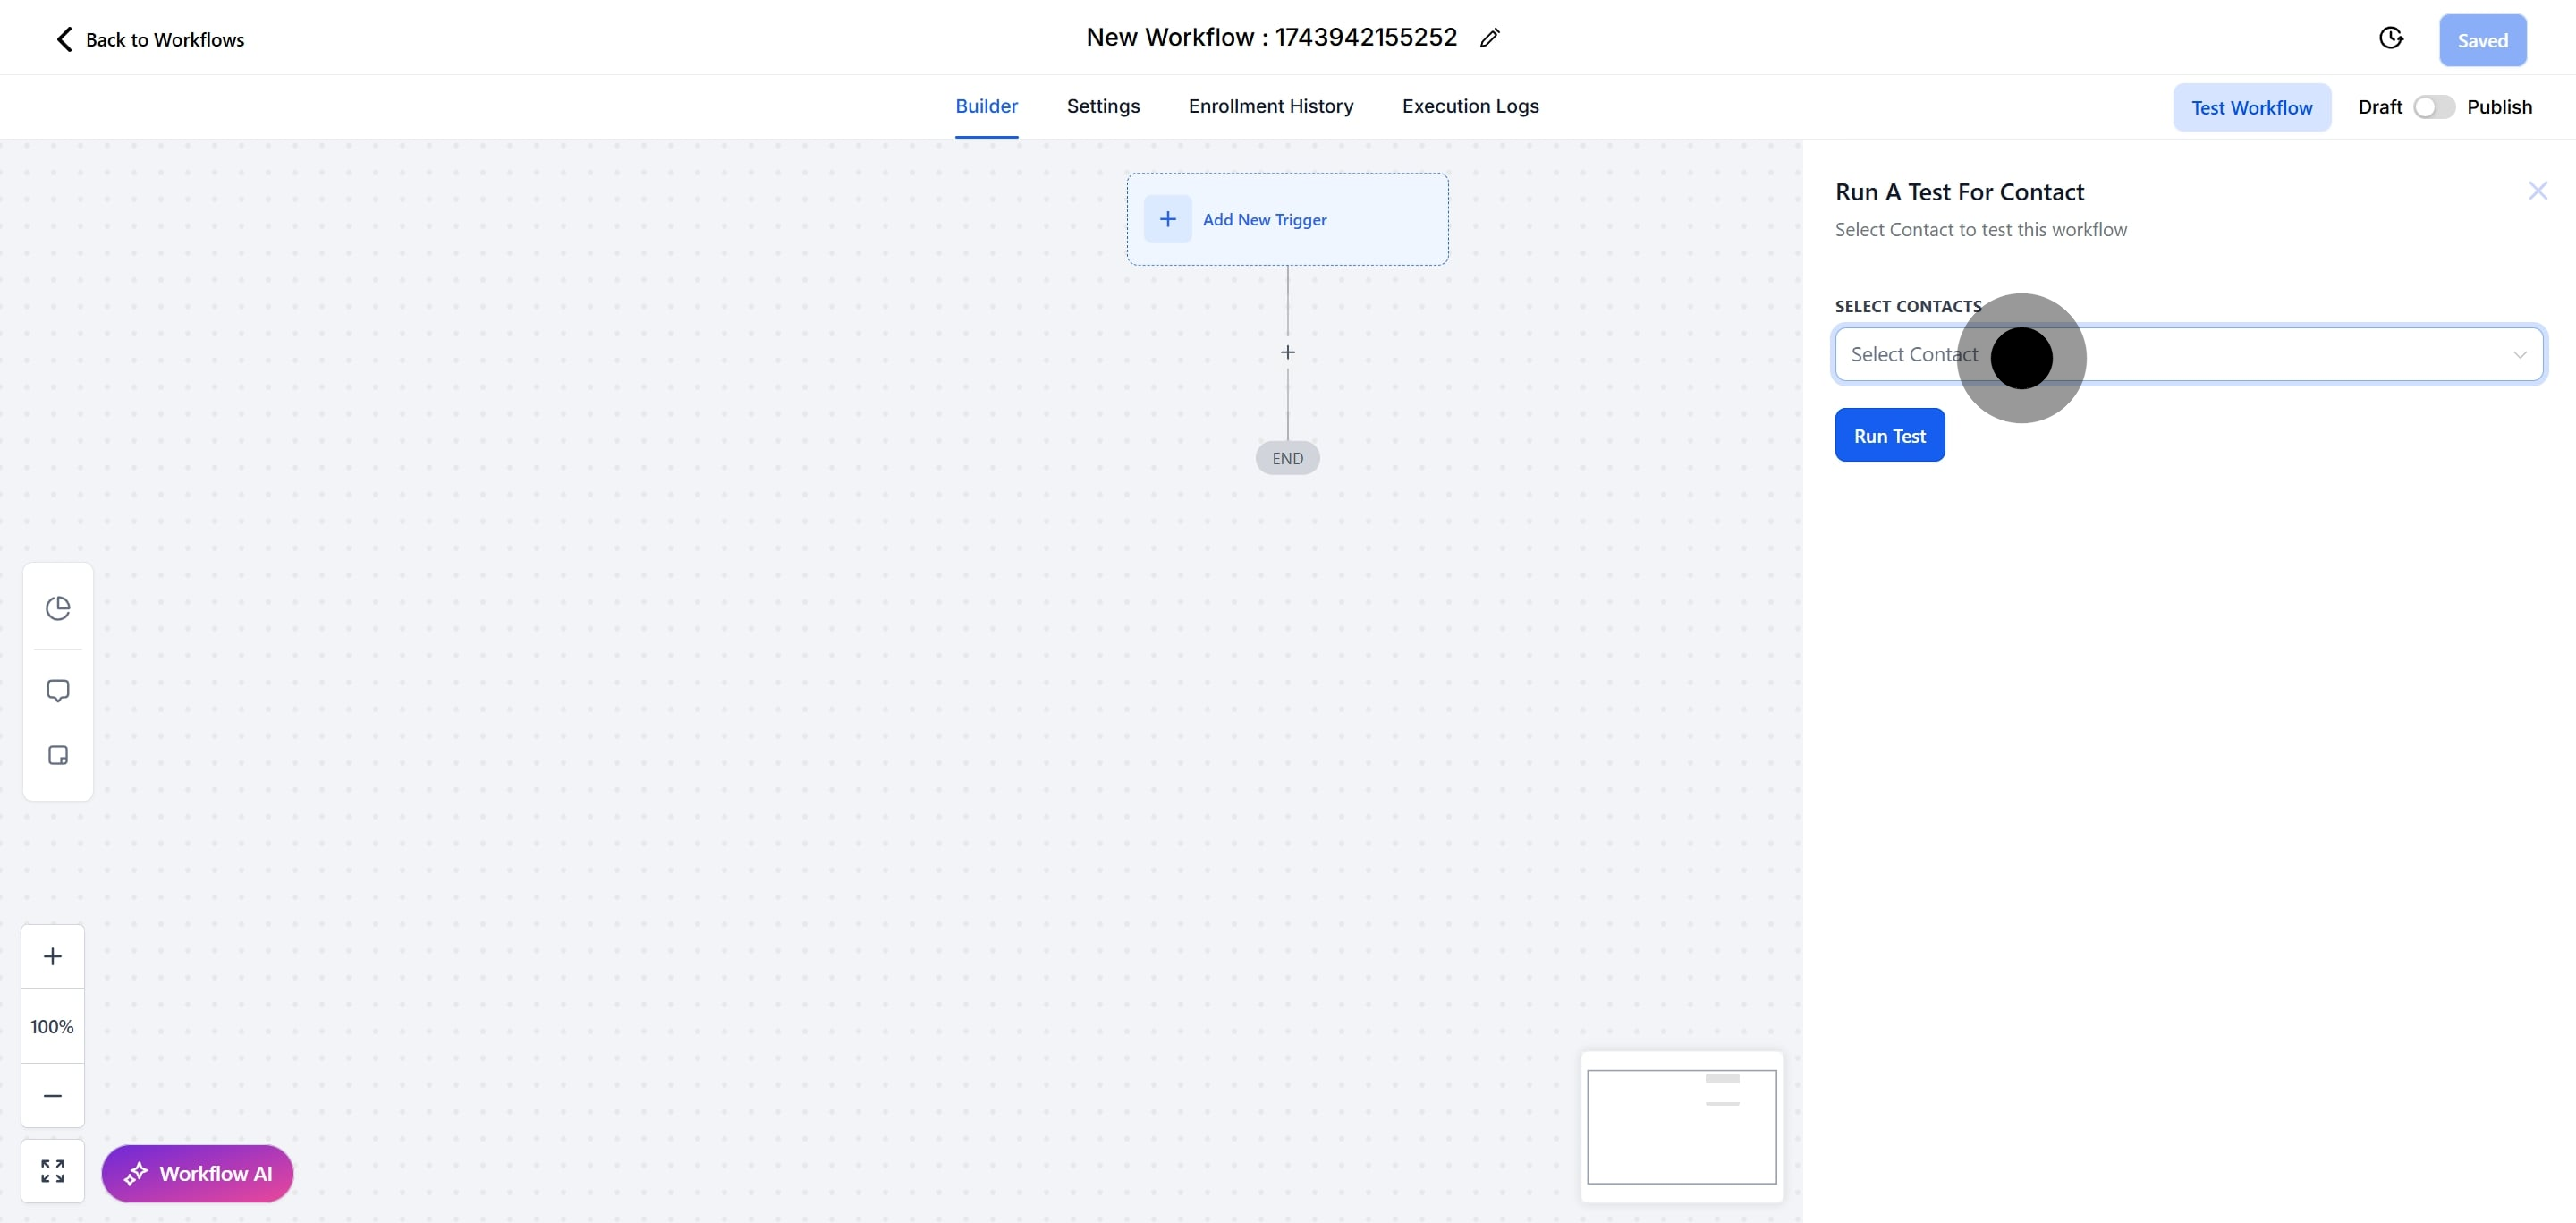
27. Click here to select a contact to test within your workflow.
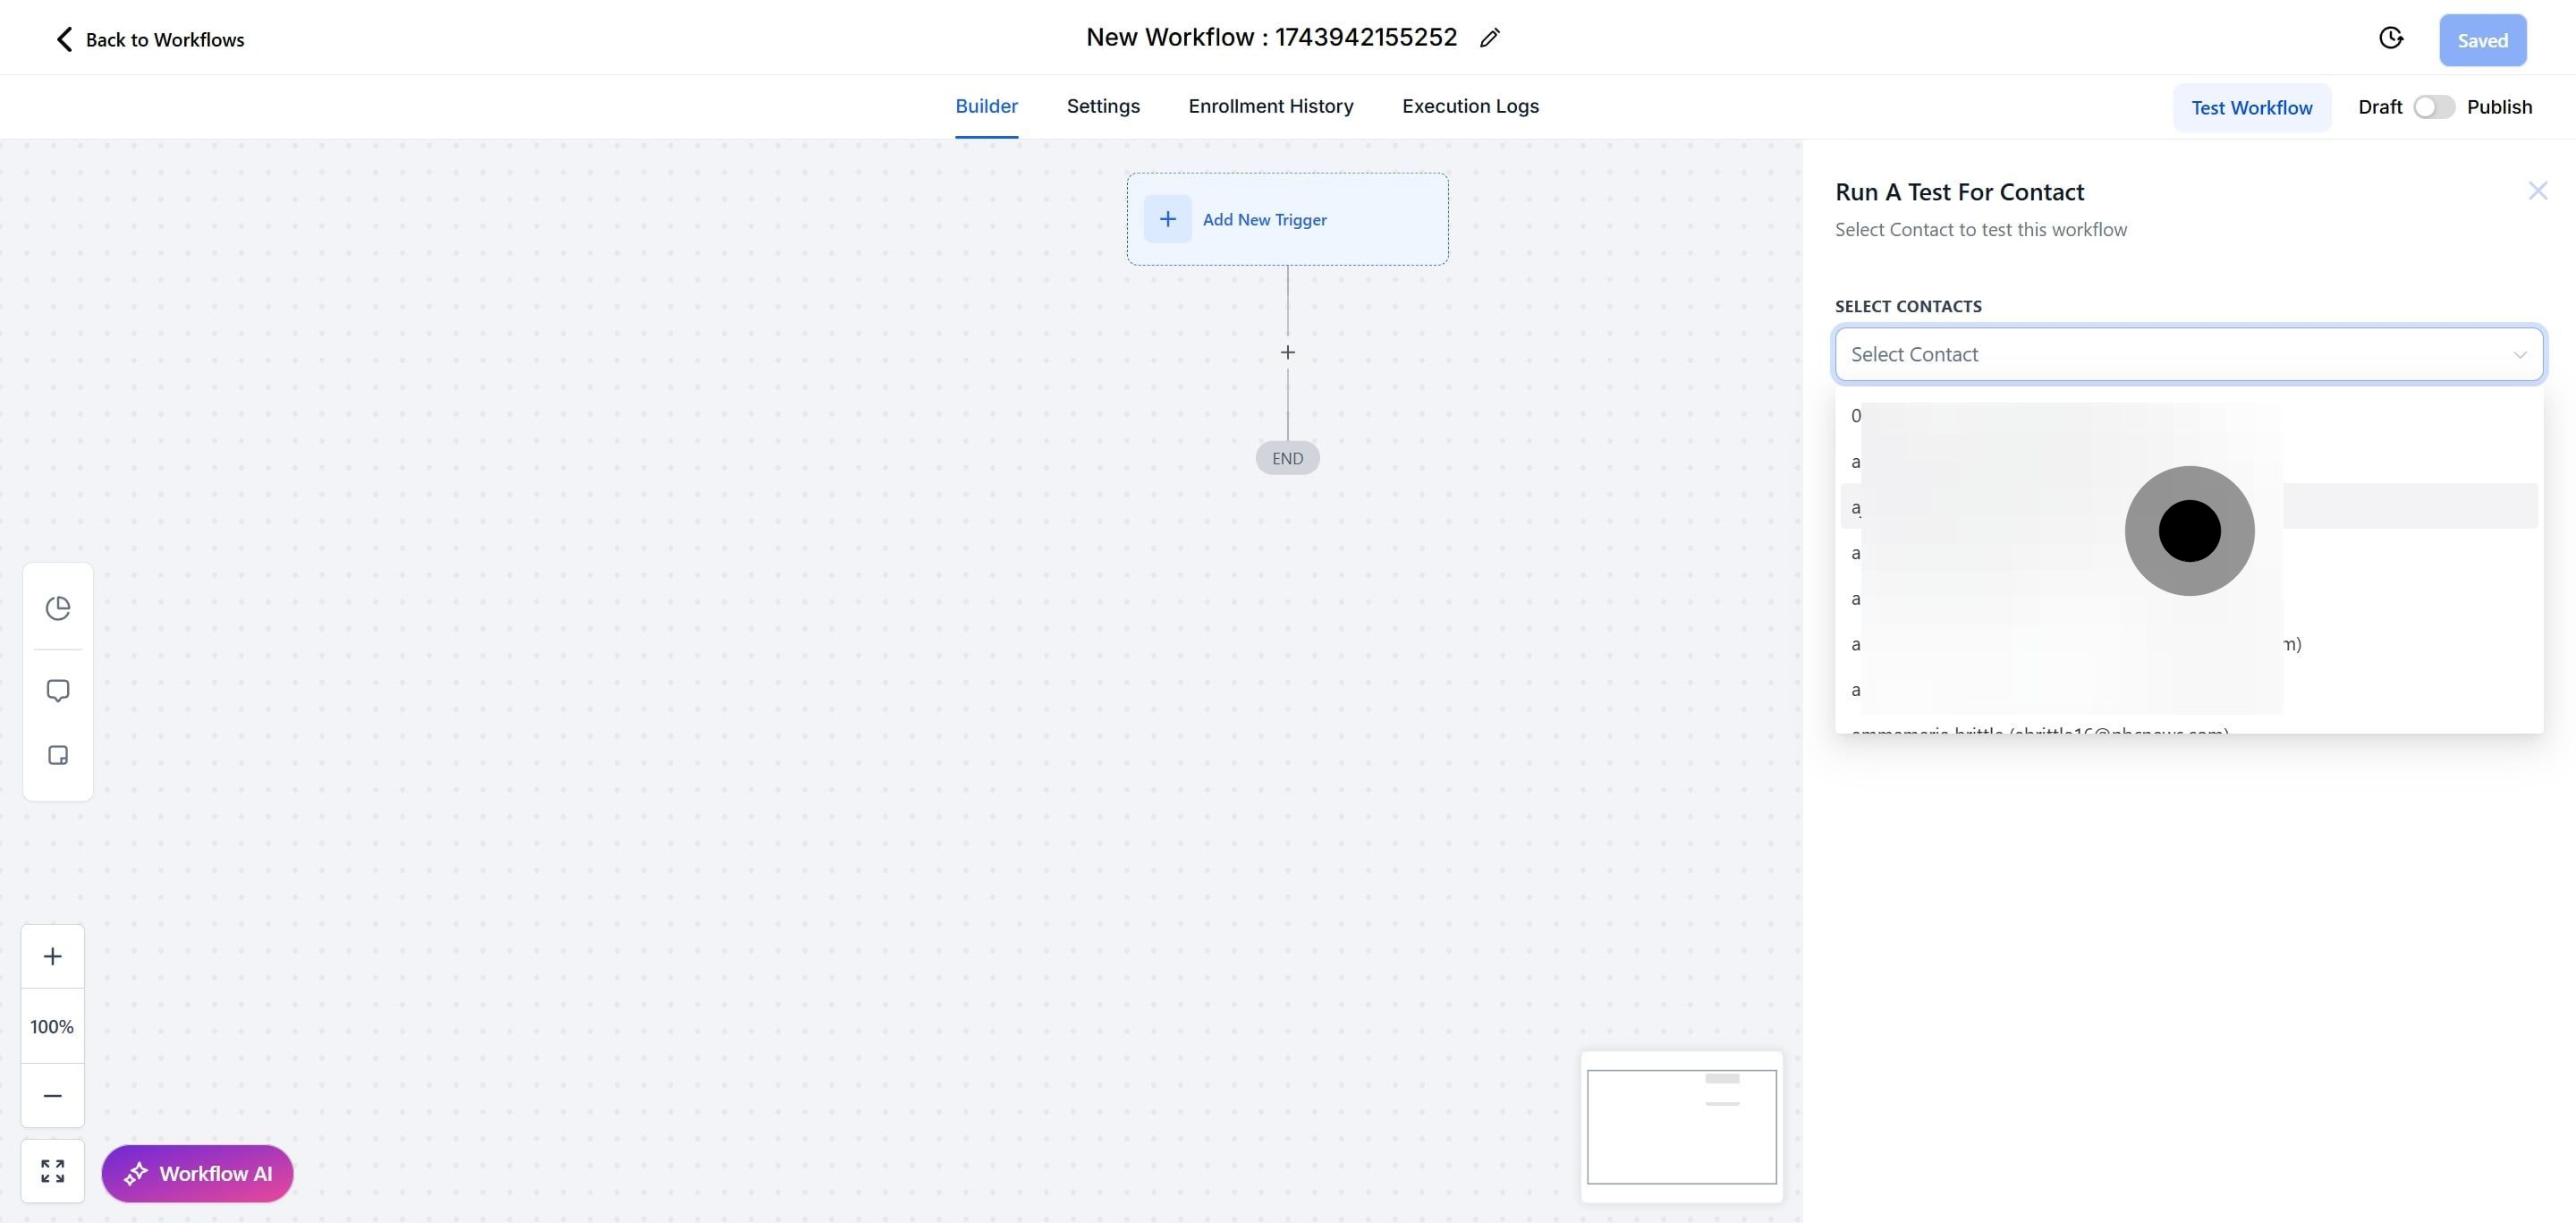
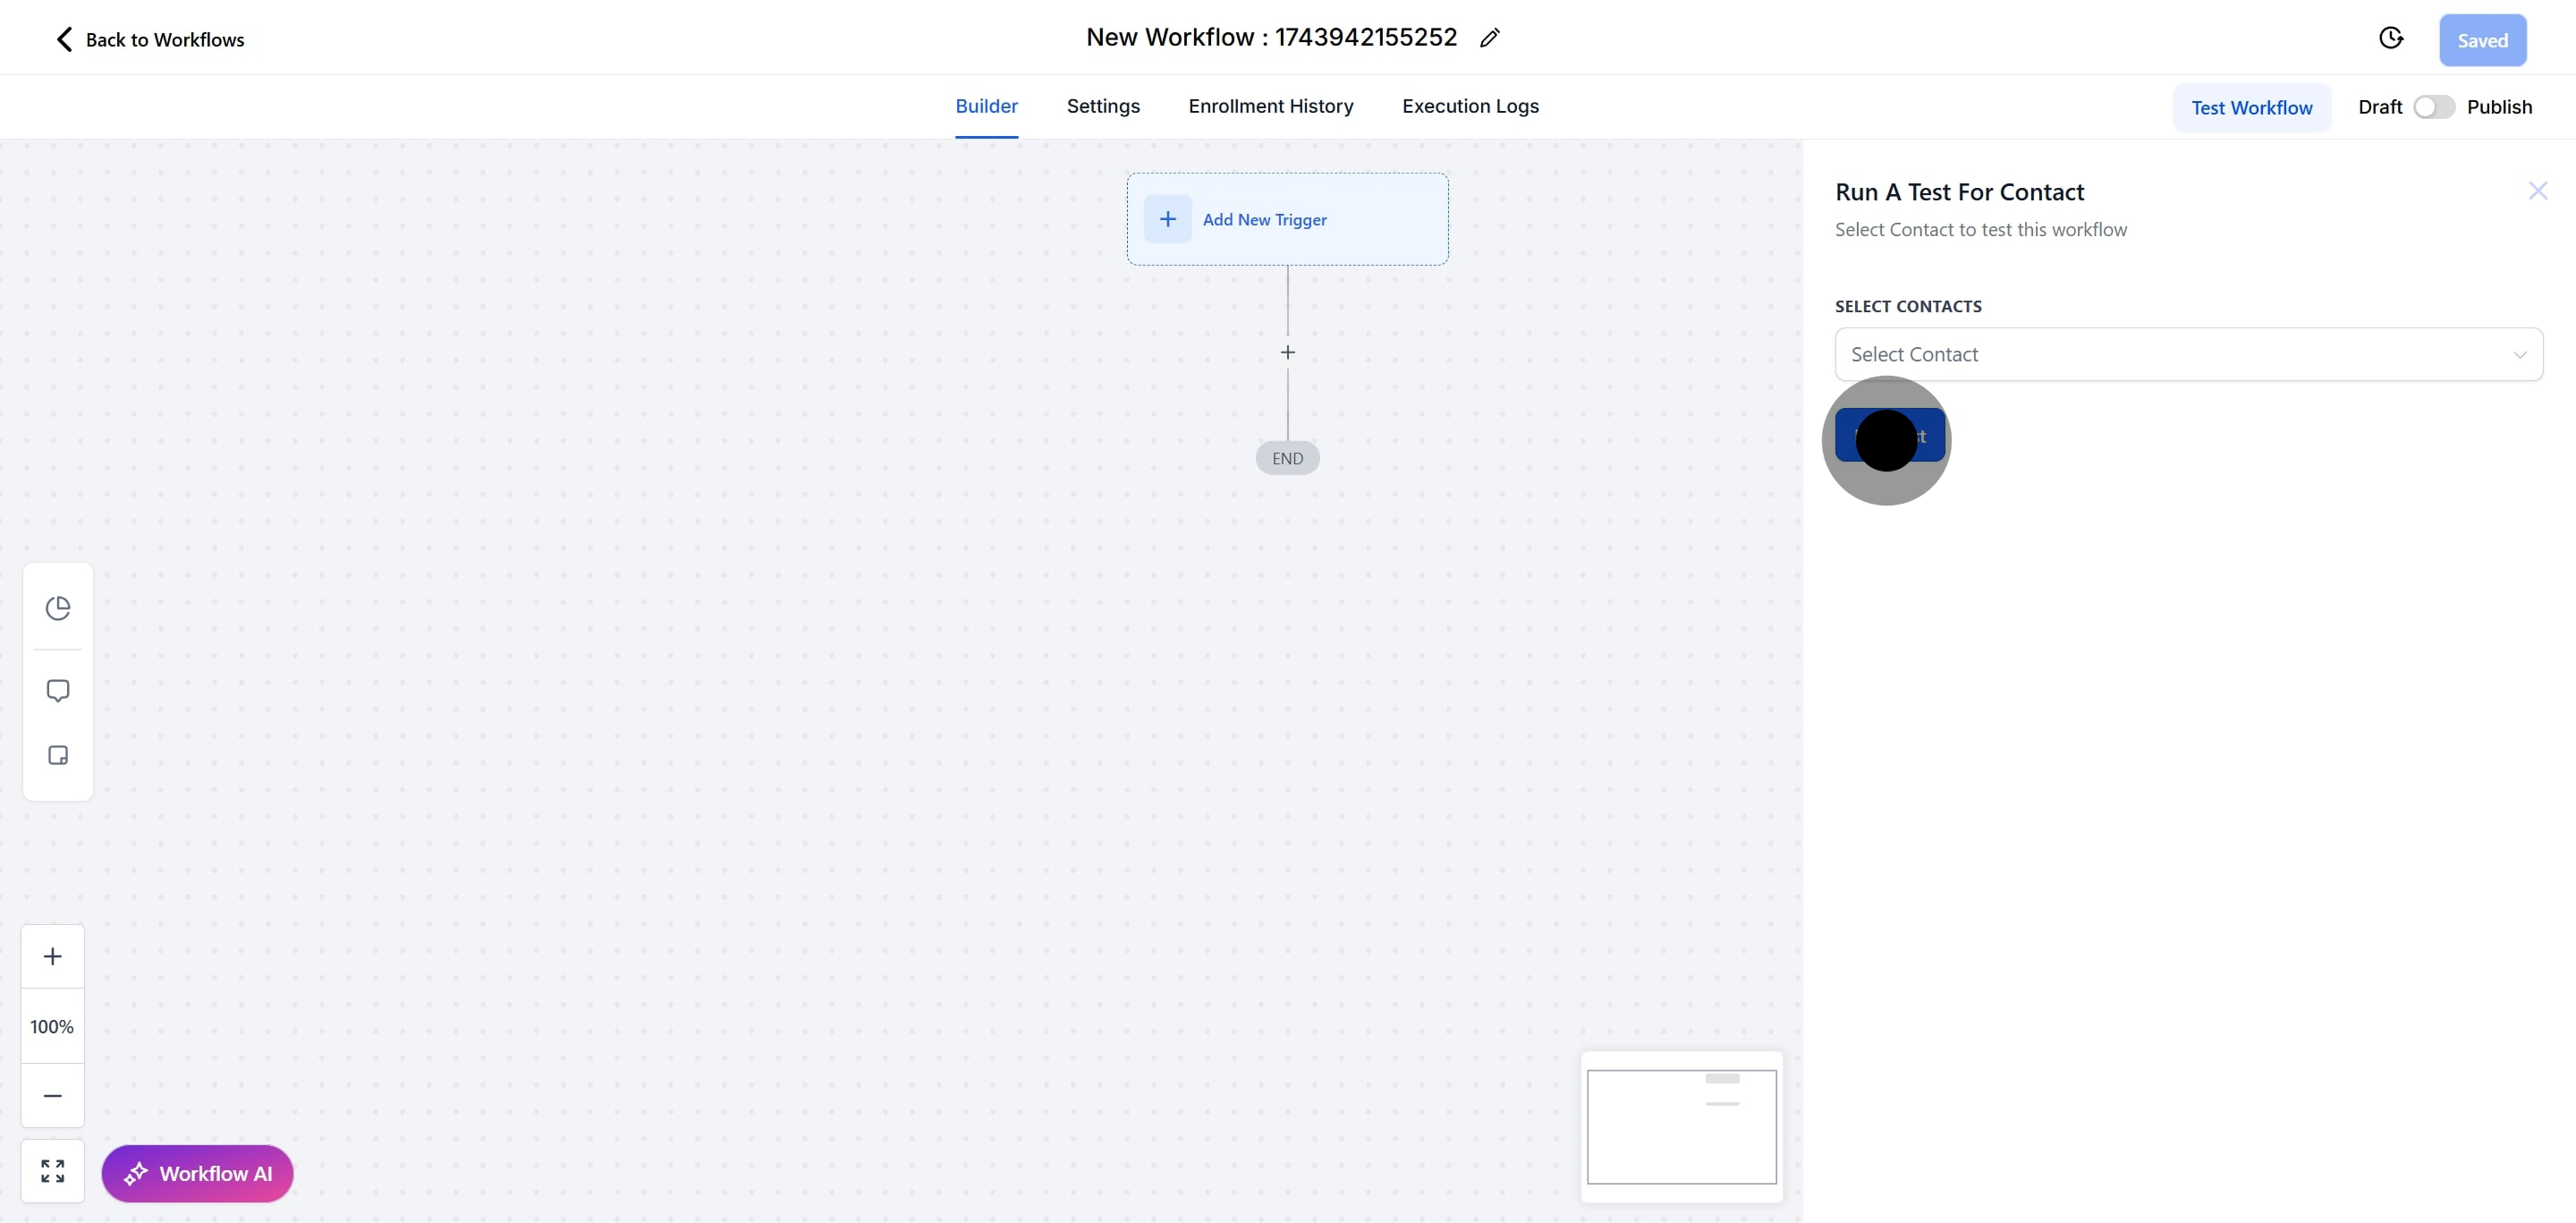
28. Click on "Run a test for Contact" to initiate the testing process.
29. Click here to toggle "Draft or Publish" according to your workflow status.
30. And lastly, click "Save" to finalize.
Here are some detailed functionalities and use cases:
Customizing Communication and Workflows with Refund Triggers
Refund triggers enable users to personalize communication with customers throughout the refund process. By accessing refund information within email templates and conditional logic, users can create tailored messages based on refund statuses and conditions. This level of customization allows businesses to maintain transparent and proactive communication with customers, enhancing overall satisfaction and trust.
Enhancing User Journey and Experience
By integrating refund triggers into workflows, businesses can enhance the overall user journey and experience. Automation streamlines refund processes, reducing the burden on staff and ensuring timely resolution for customers. Additionally, personalized communication fosters a positive customer experience, even in the event of a refund, by providing clarity and reassurance throughout the process.
FAQ Section:
Q: Can I customize the conditions for refund triggers?
A: Yes, Pest AI allows users to define custom conditions based on refund statuses, amounts, and sources, providing flexibility to tailor workflows to specific business requirements.
Q: How can I access refund information within email templates?
A: Refund information, including refund values, statuses, and sources, can be accessed within email templates using custom variables provided by Pest AI 's workflow automation tools.
Q: Can I automate actions based on refund events other than success or failure?
A: Absolutely, Pest AI offers a range of trigger conditions, allowing users to automate actions based on various refund-related events, such as partial refunds or refunds from specific sources.
Q: Is there a limit to the number of refund triggers I can set up?
A: No, users can create multiple refund triggers within their workflows, allowing for comprehensive automation of refund-related processes to suit their business needs.
