Important Notes:
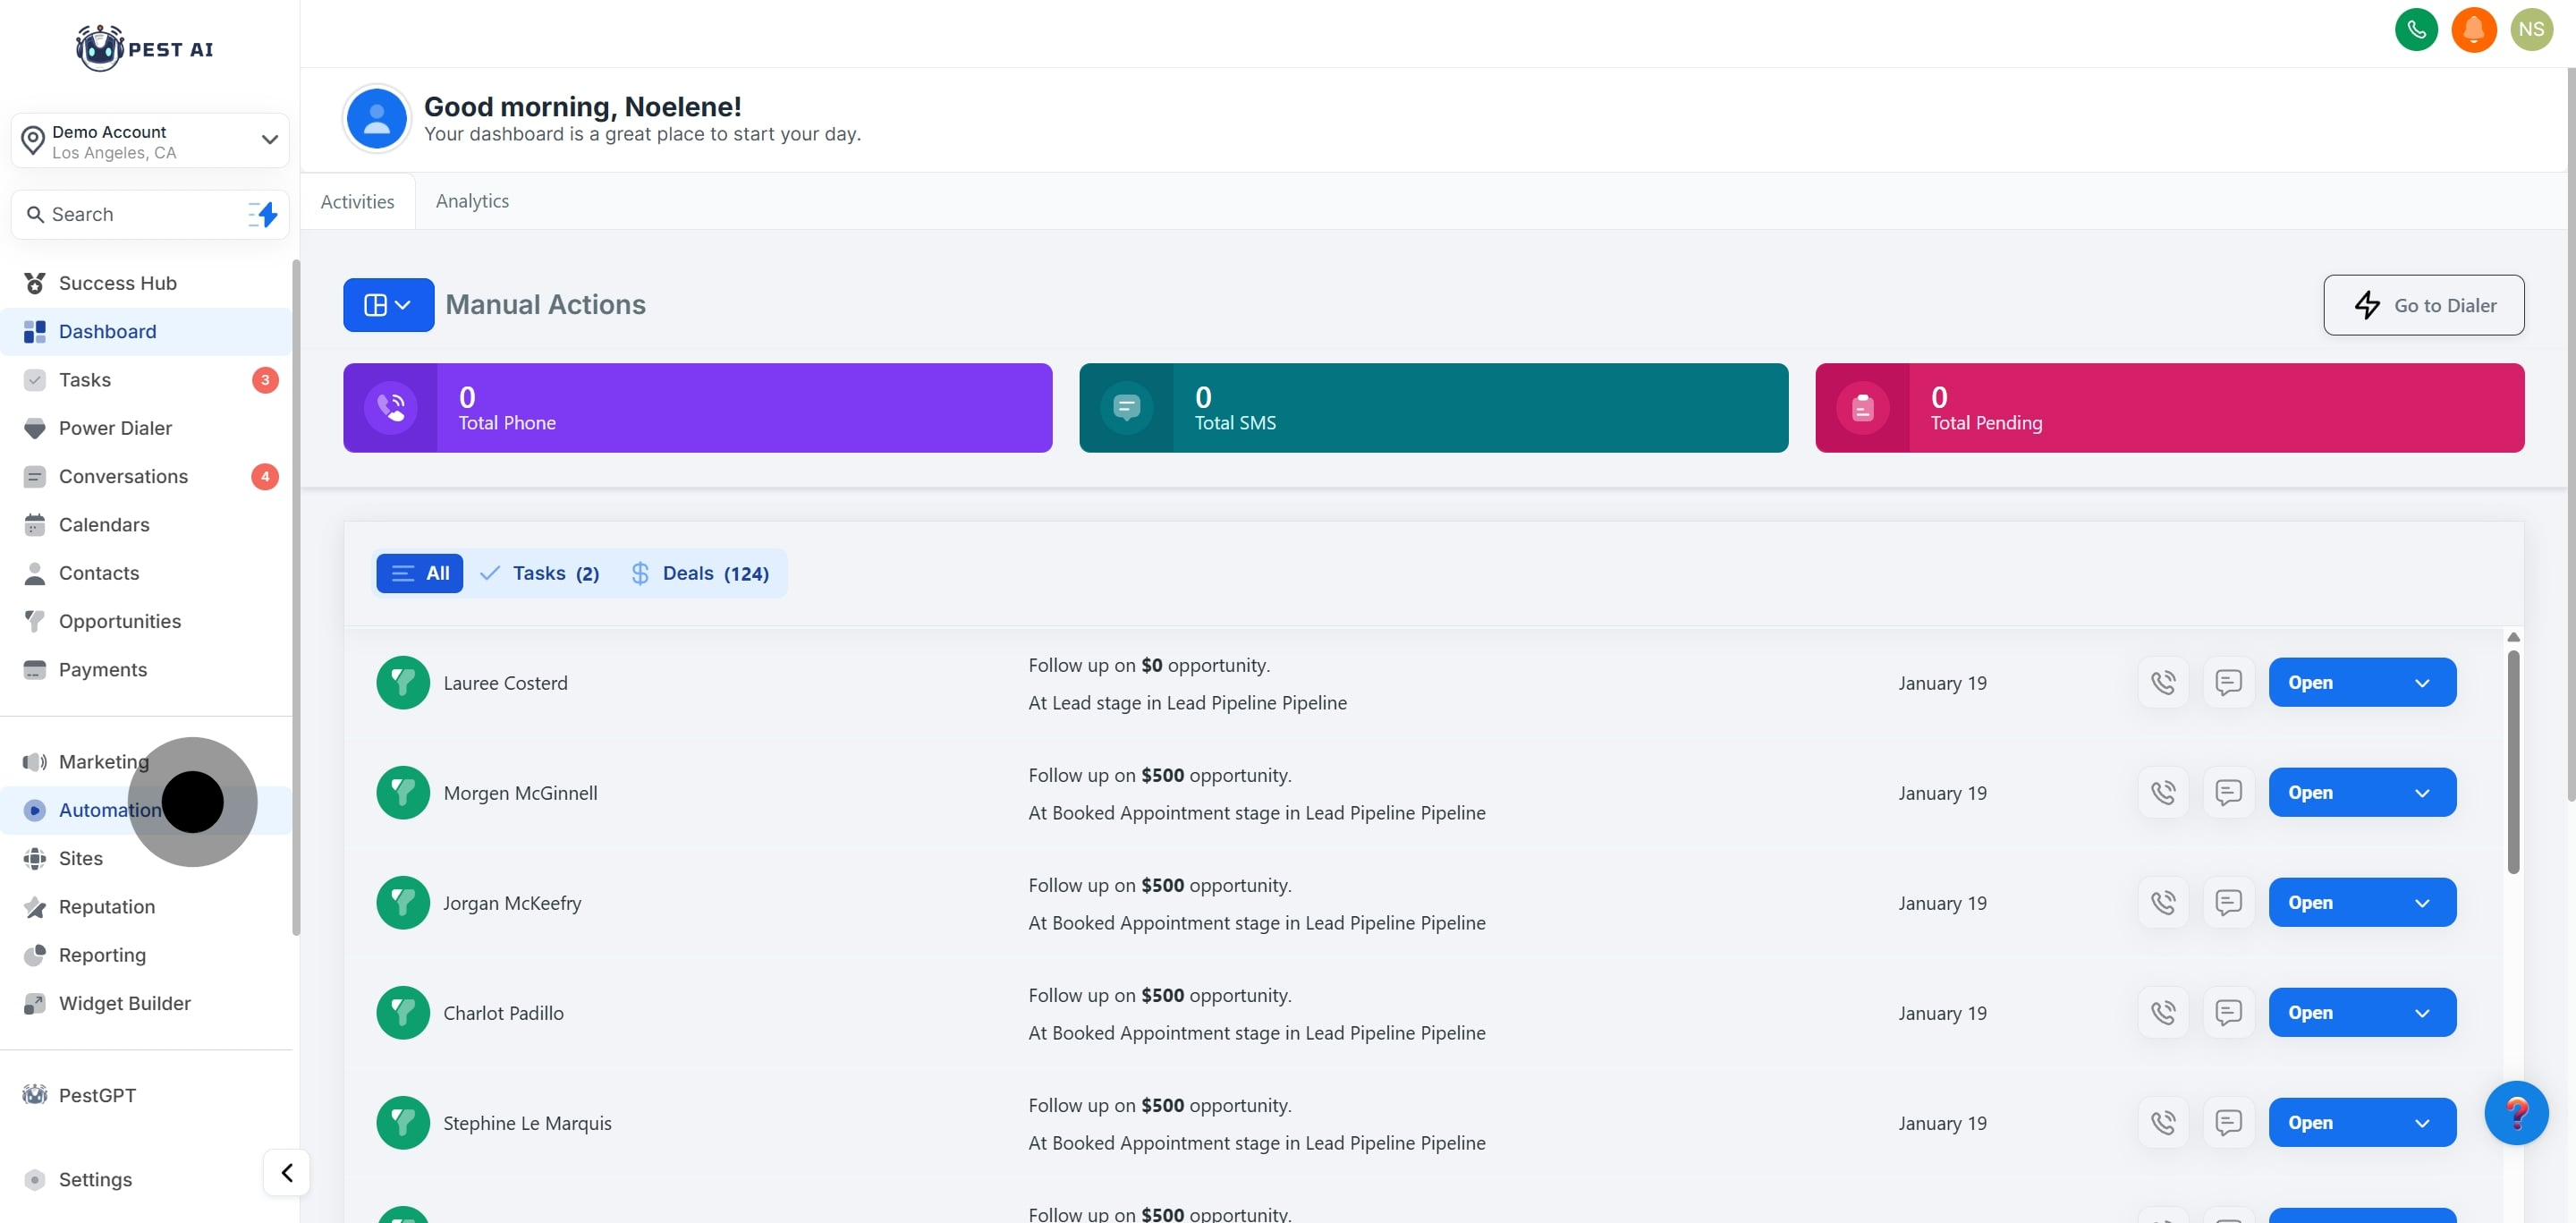
1. First, click on "Automation" to begin your workflow.
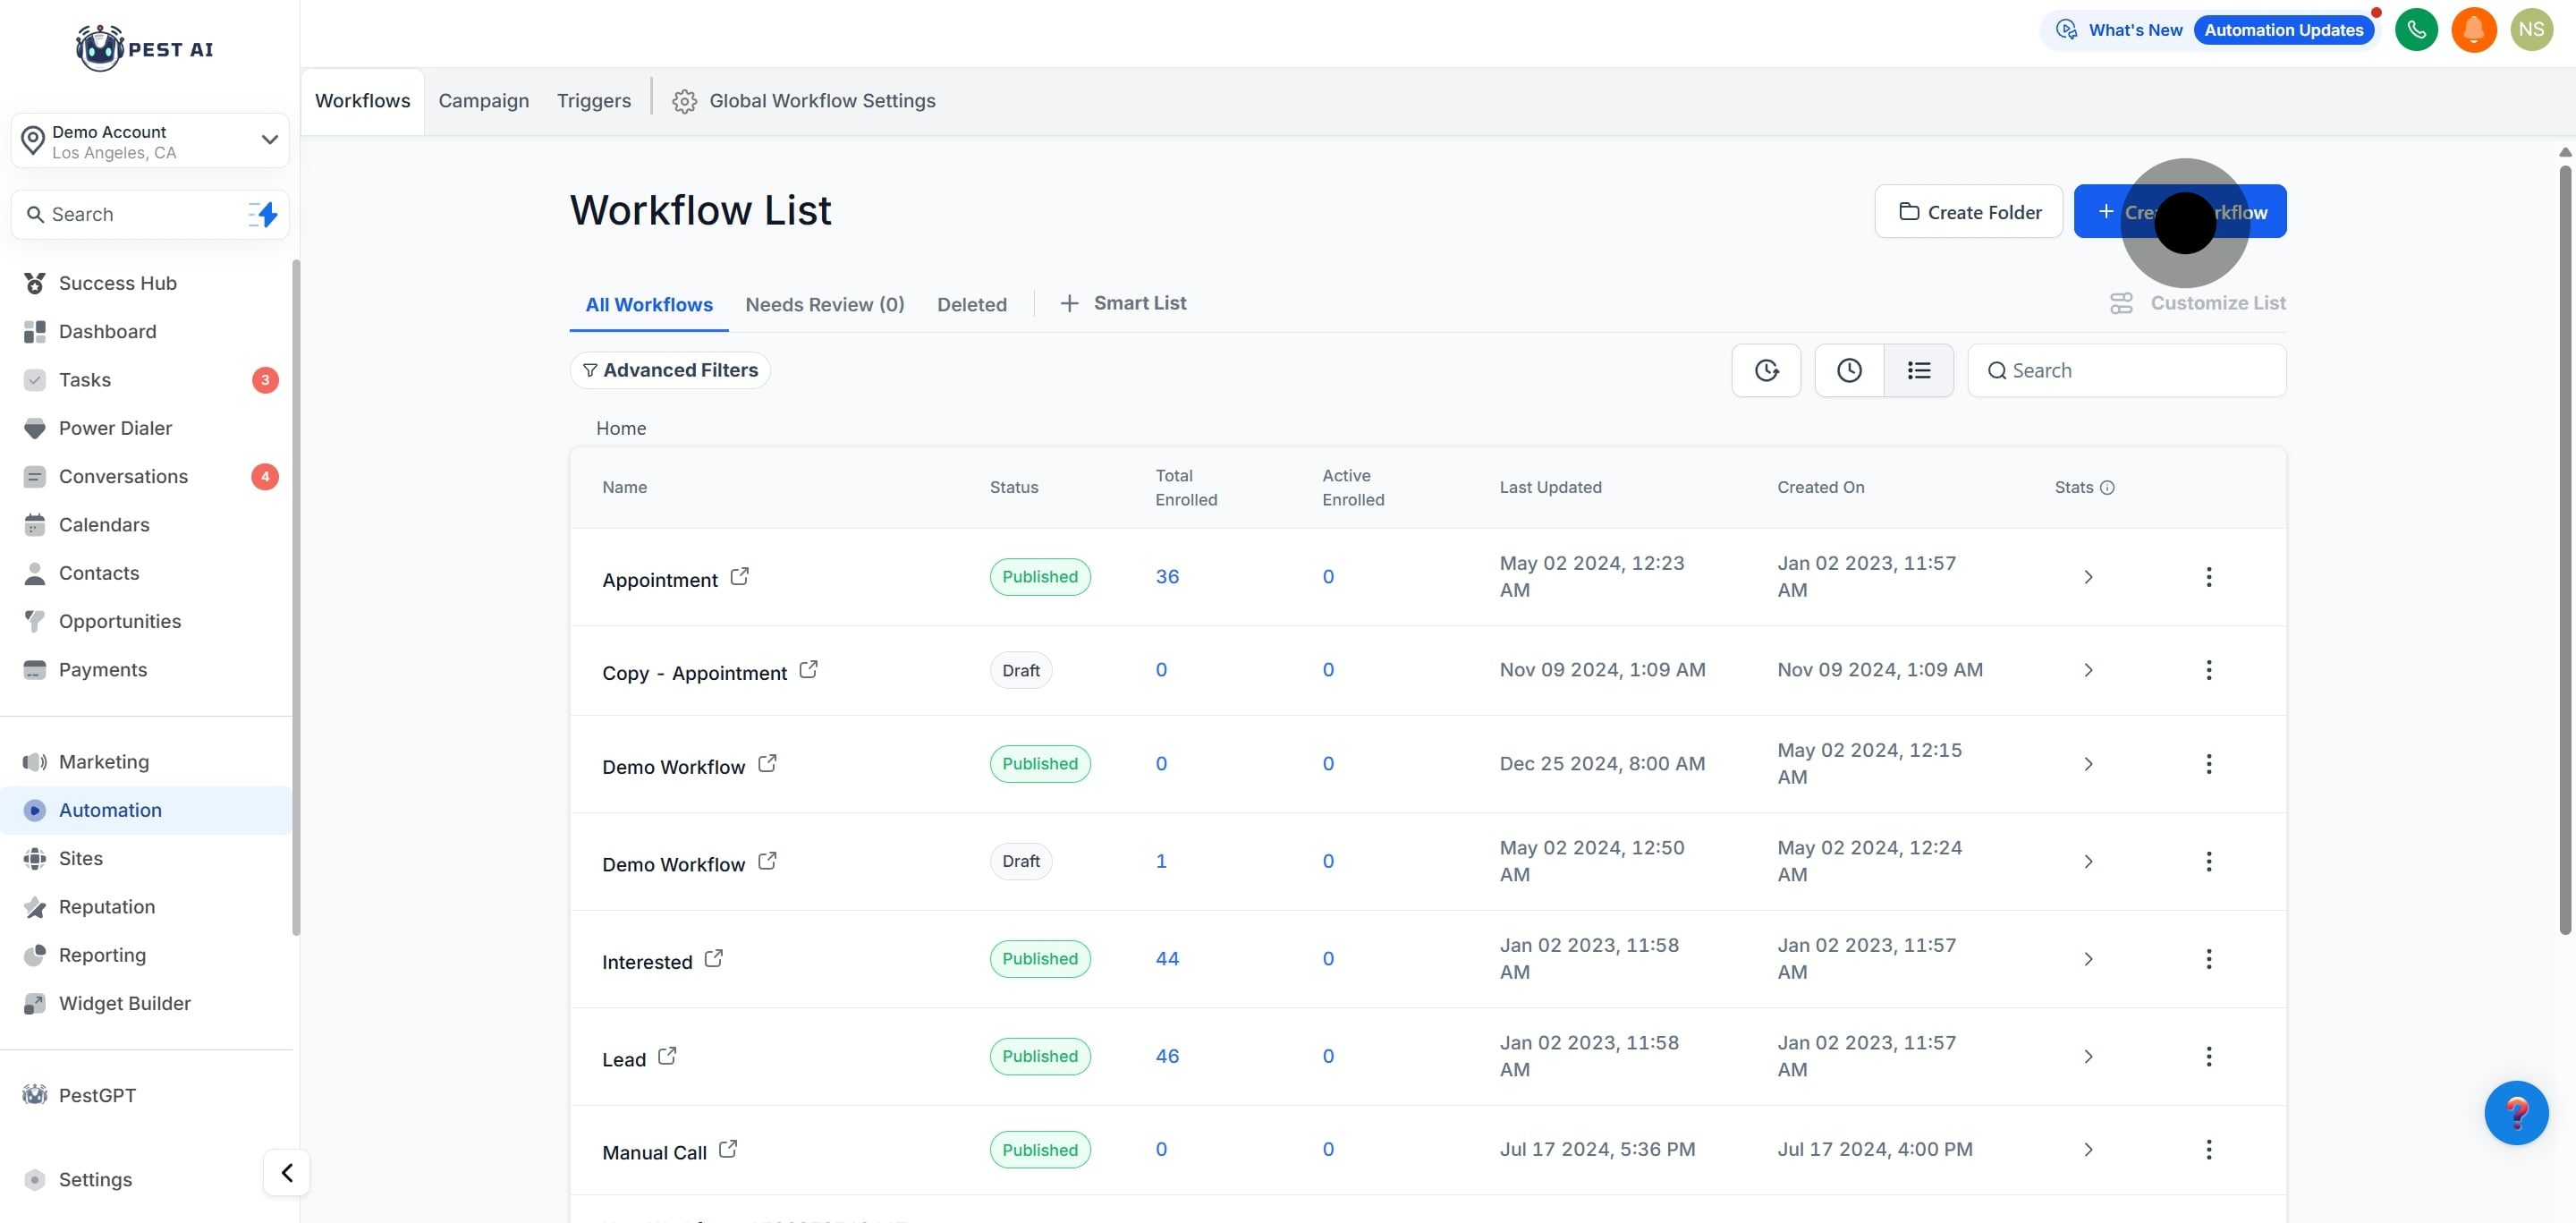
2. Following that, click on "Create Workflow" to start a new project.
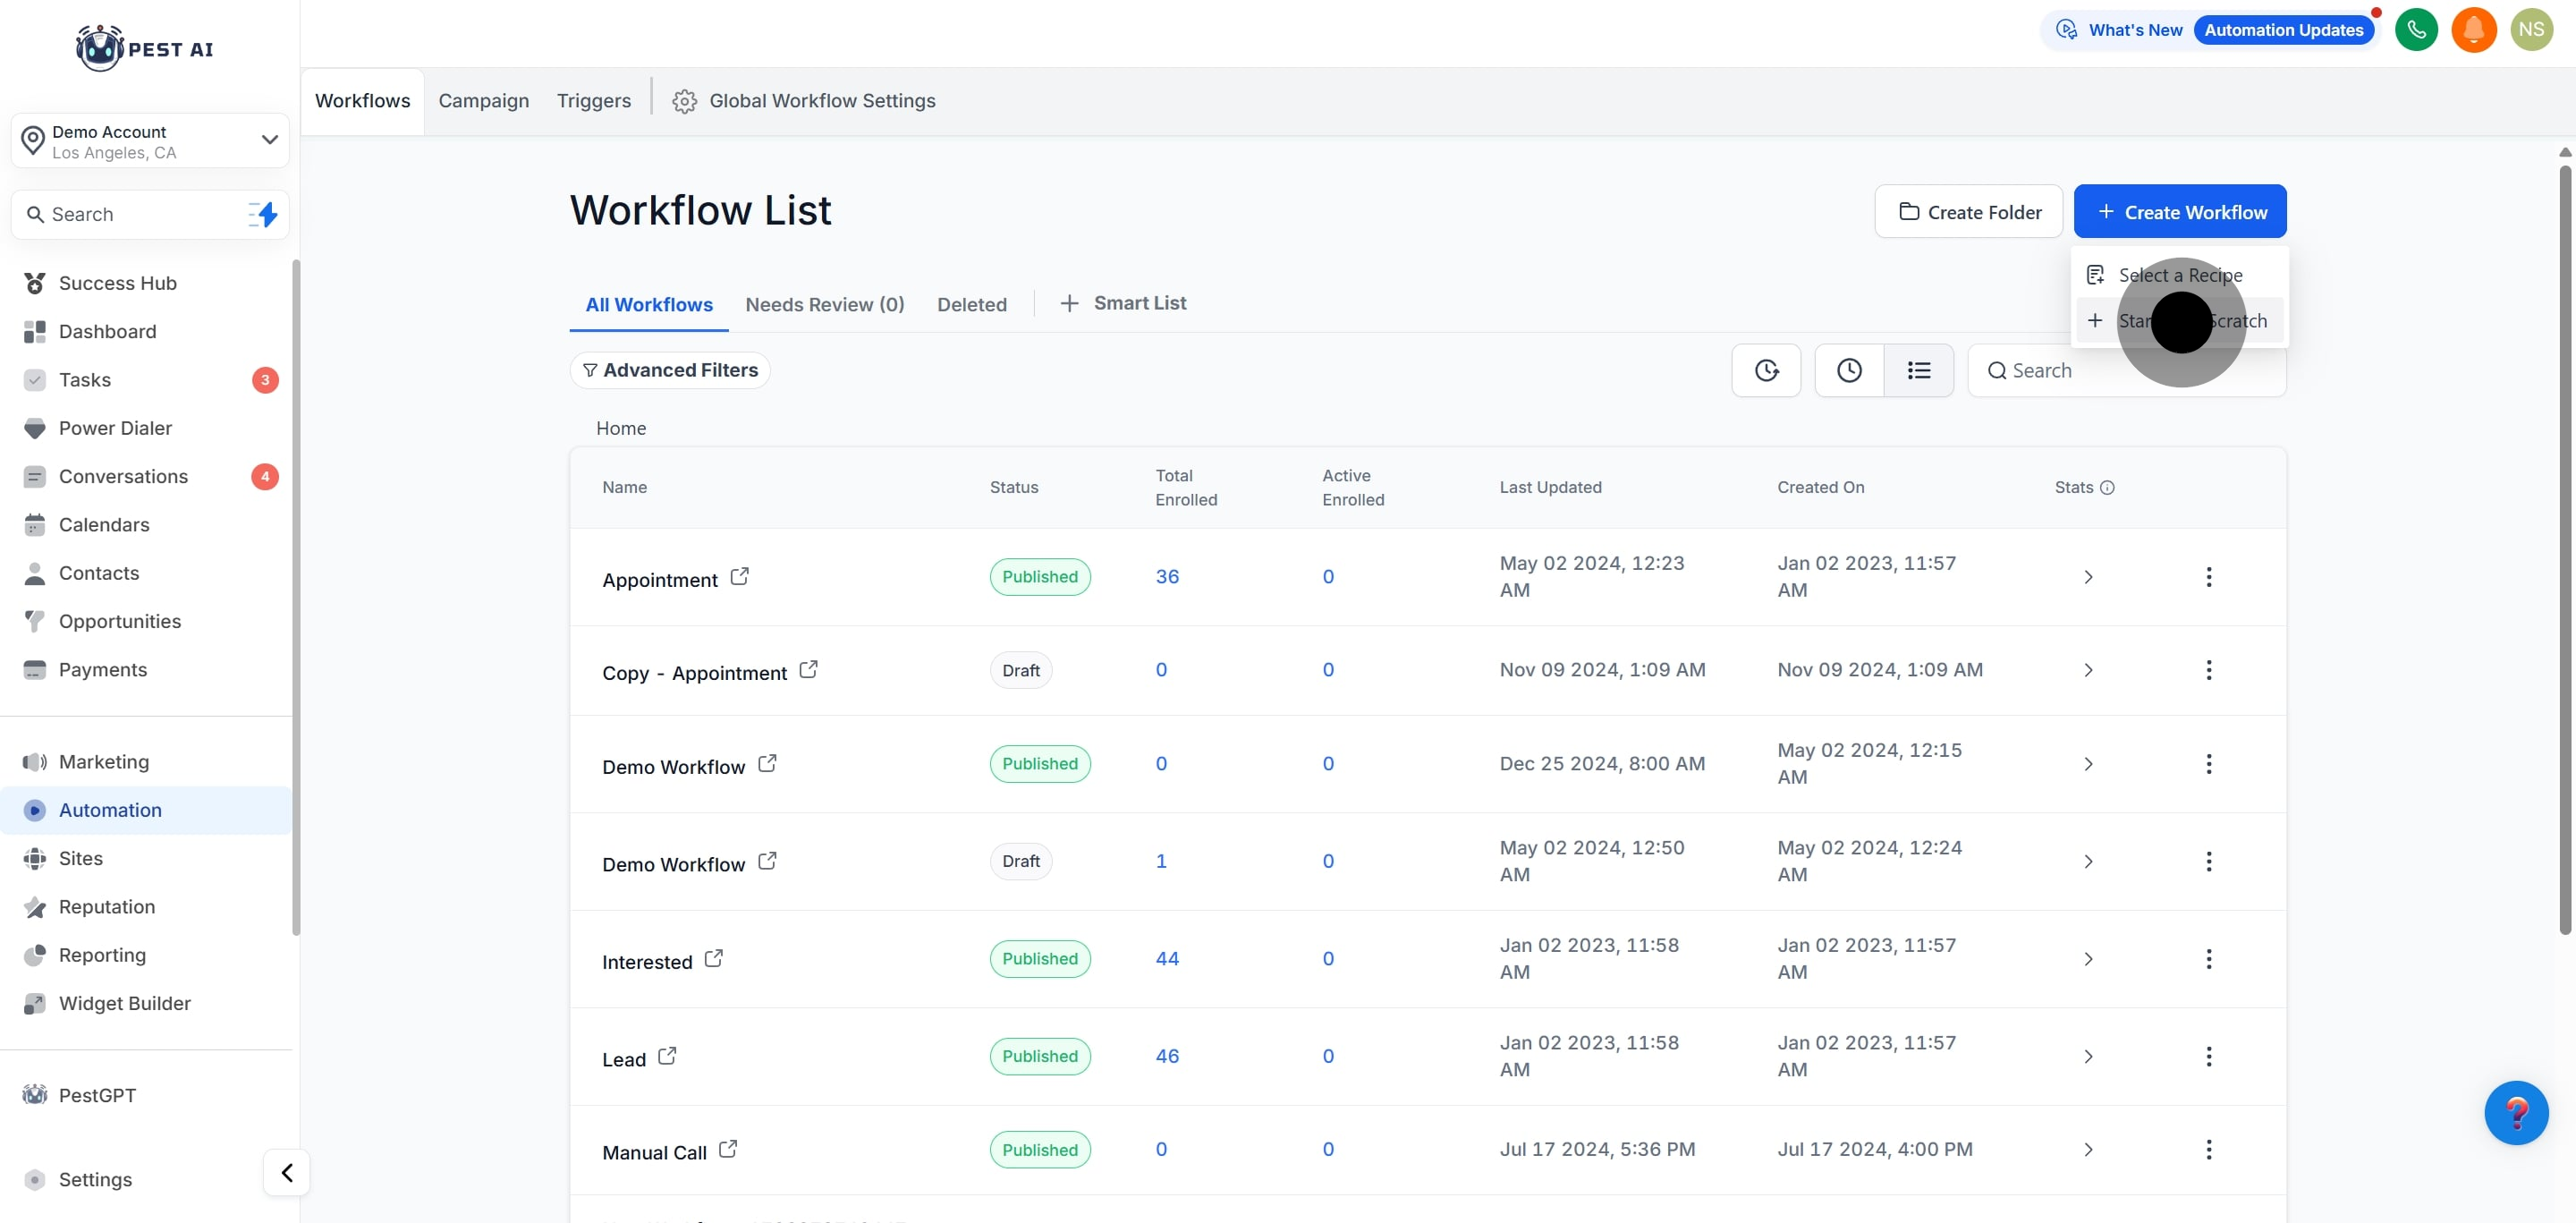
3. Then, click on "Start from Scratch" to build your workflow.
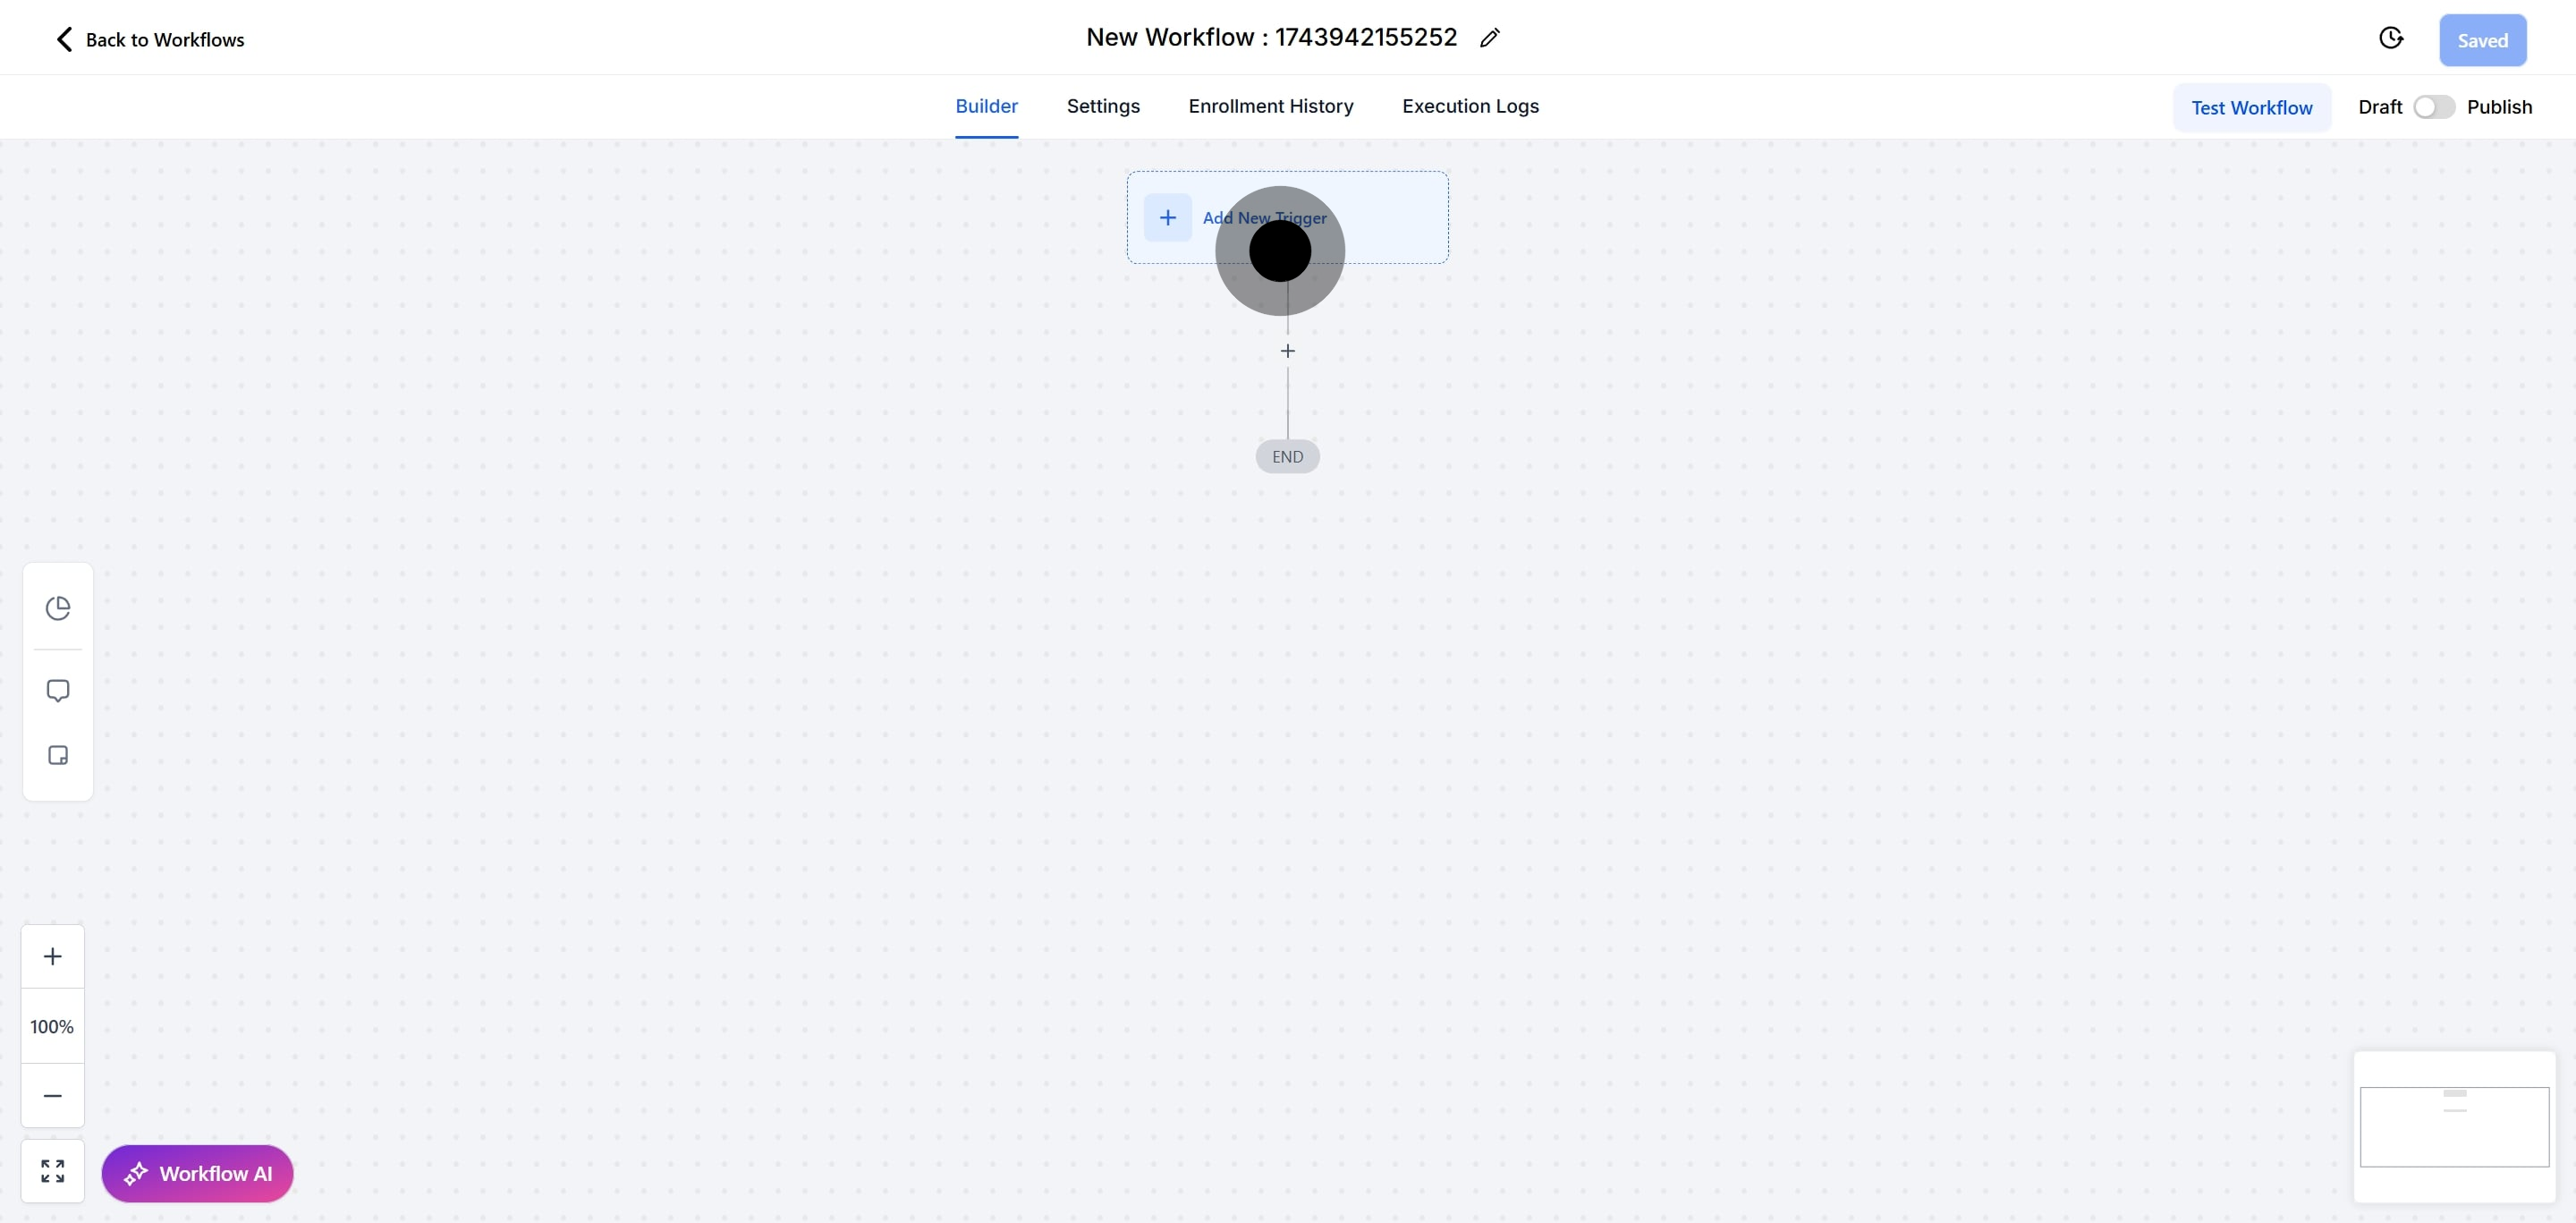
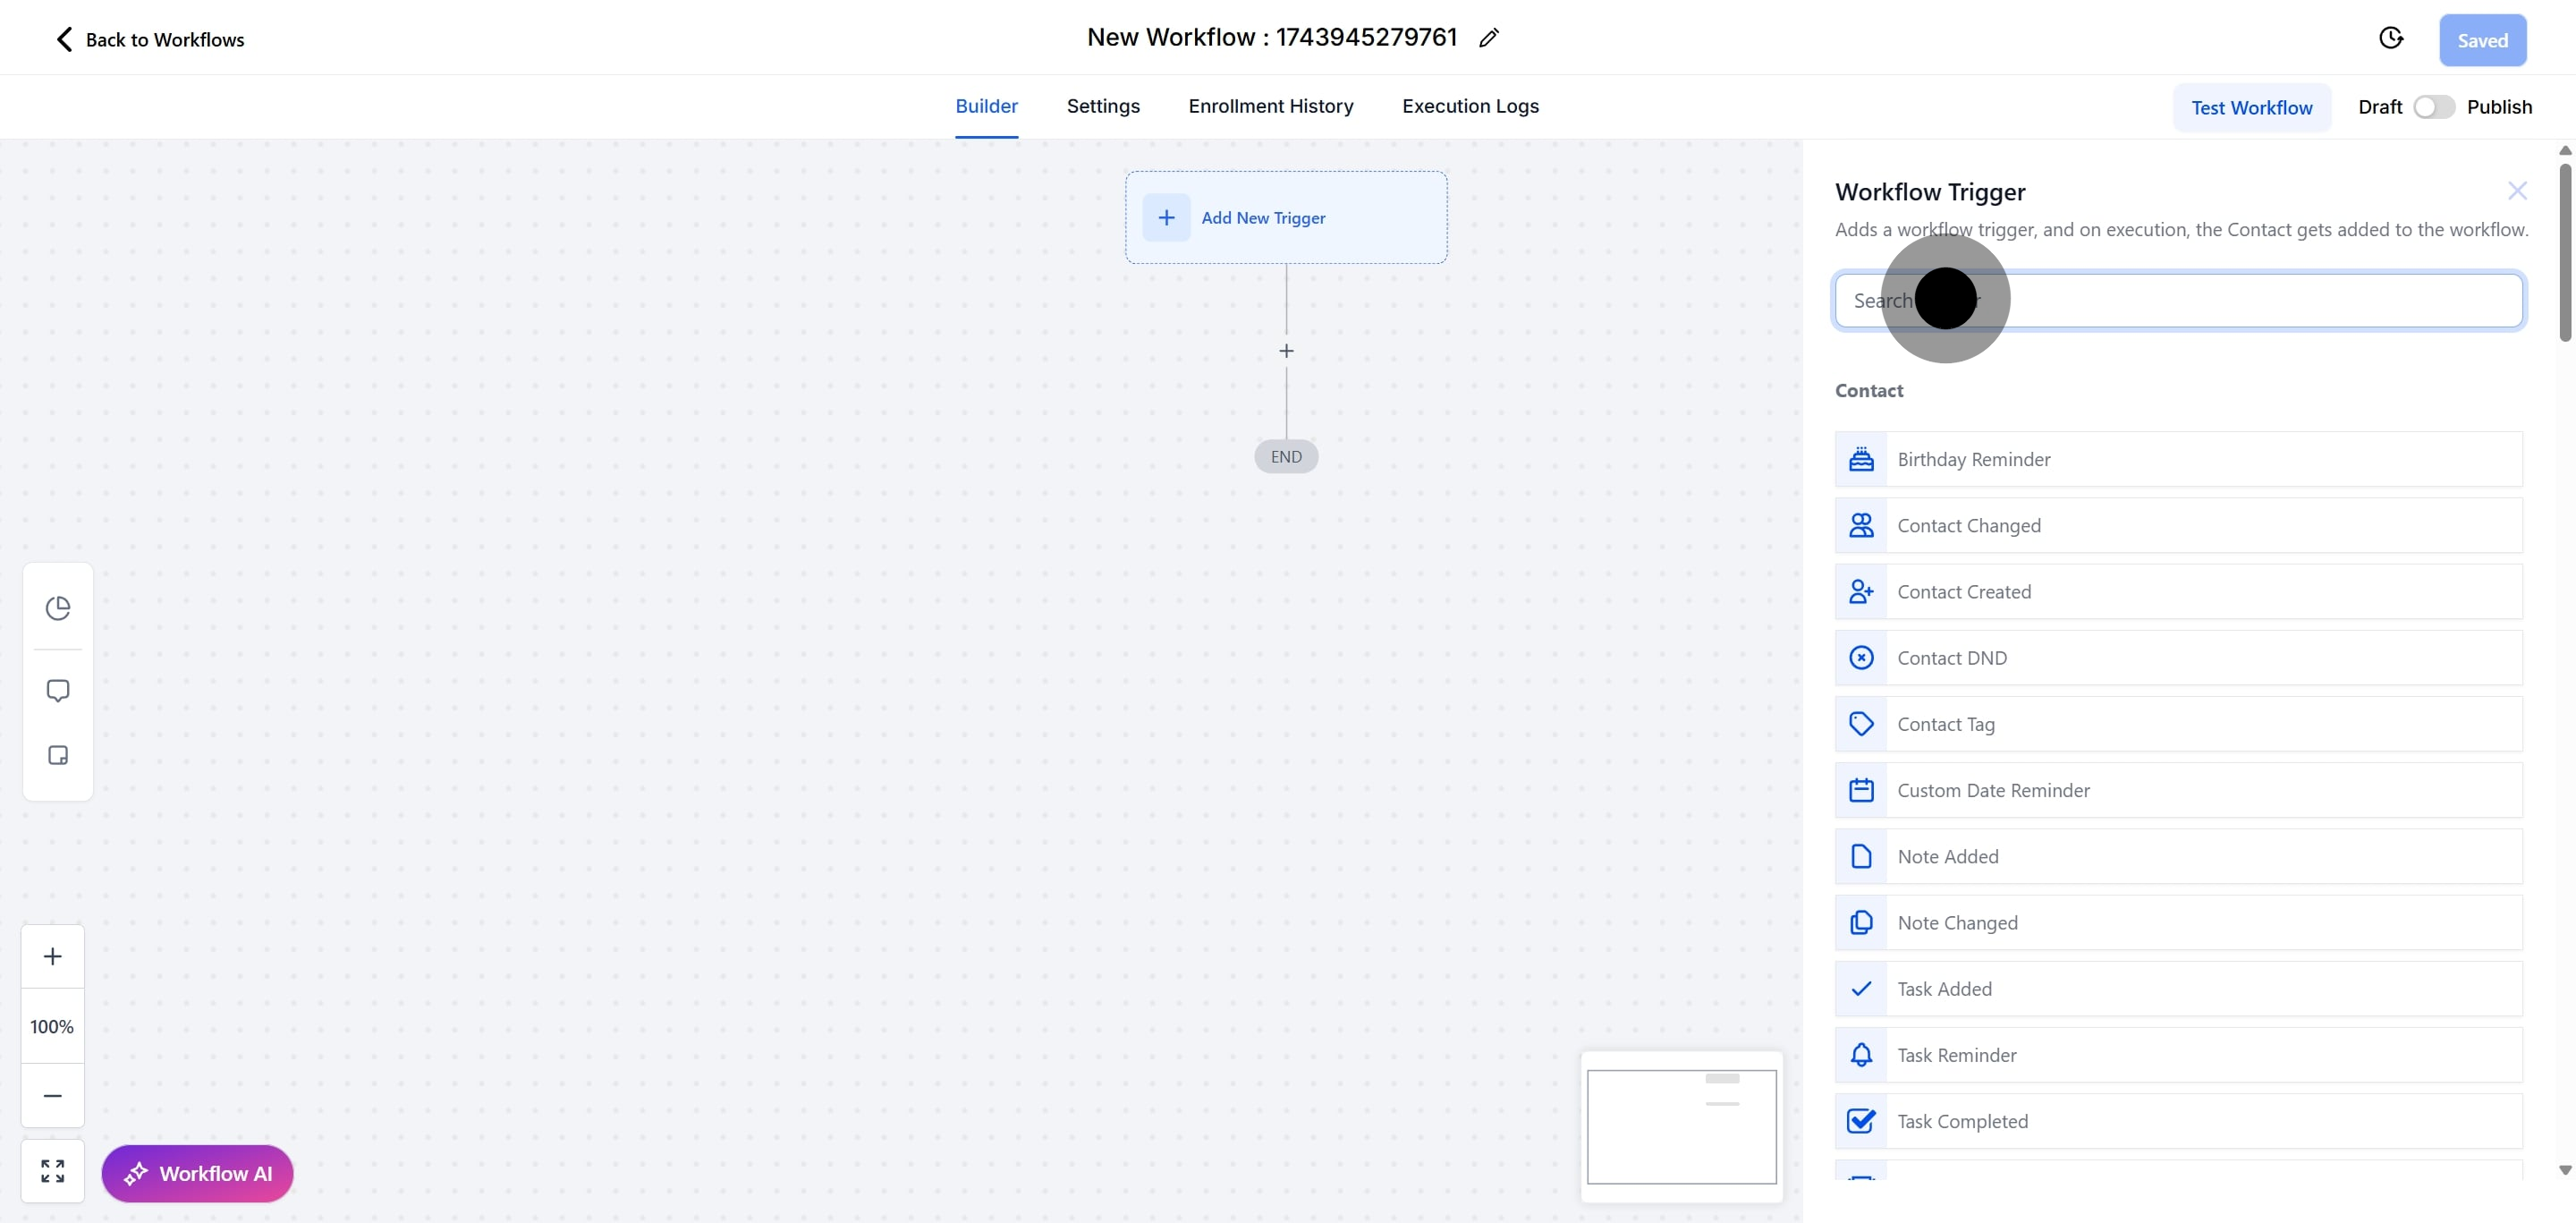
4. Next up, click here to add a new trigger for your workflow.
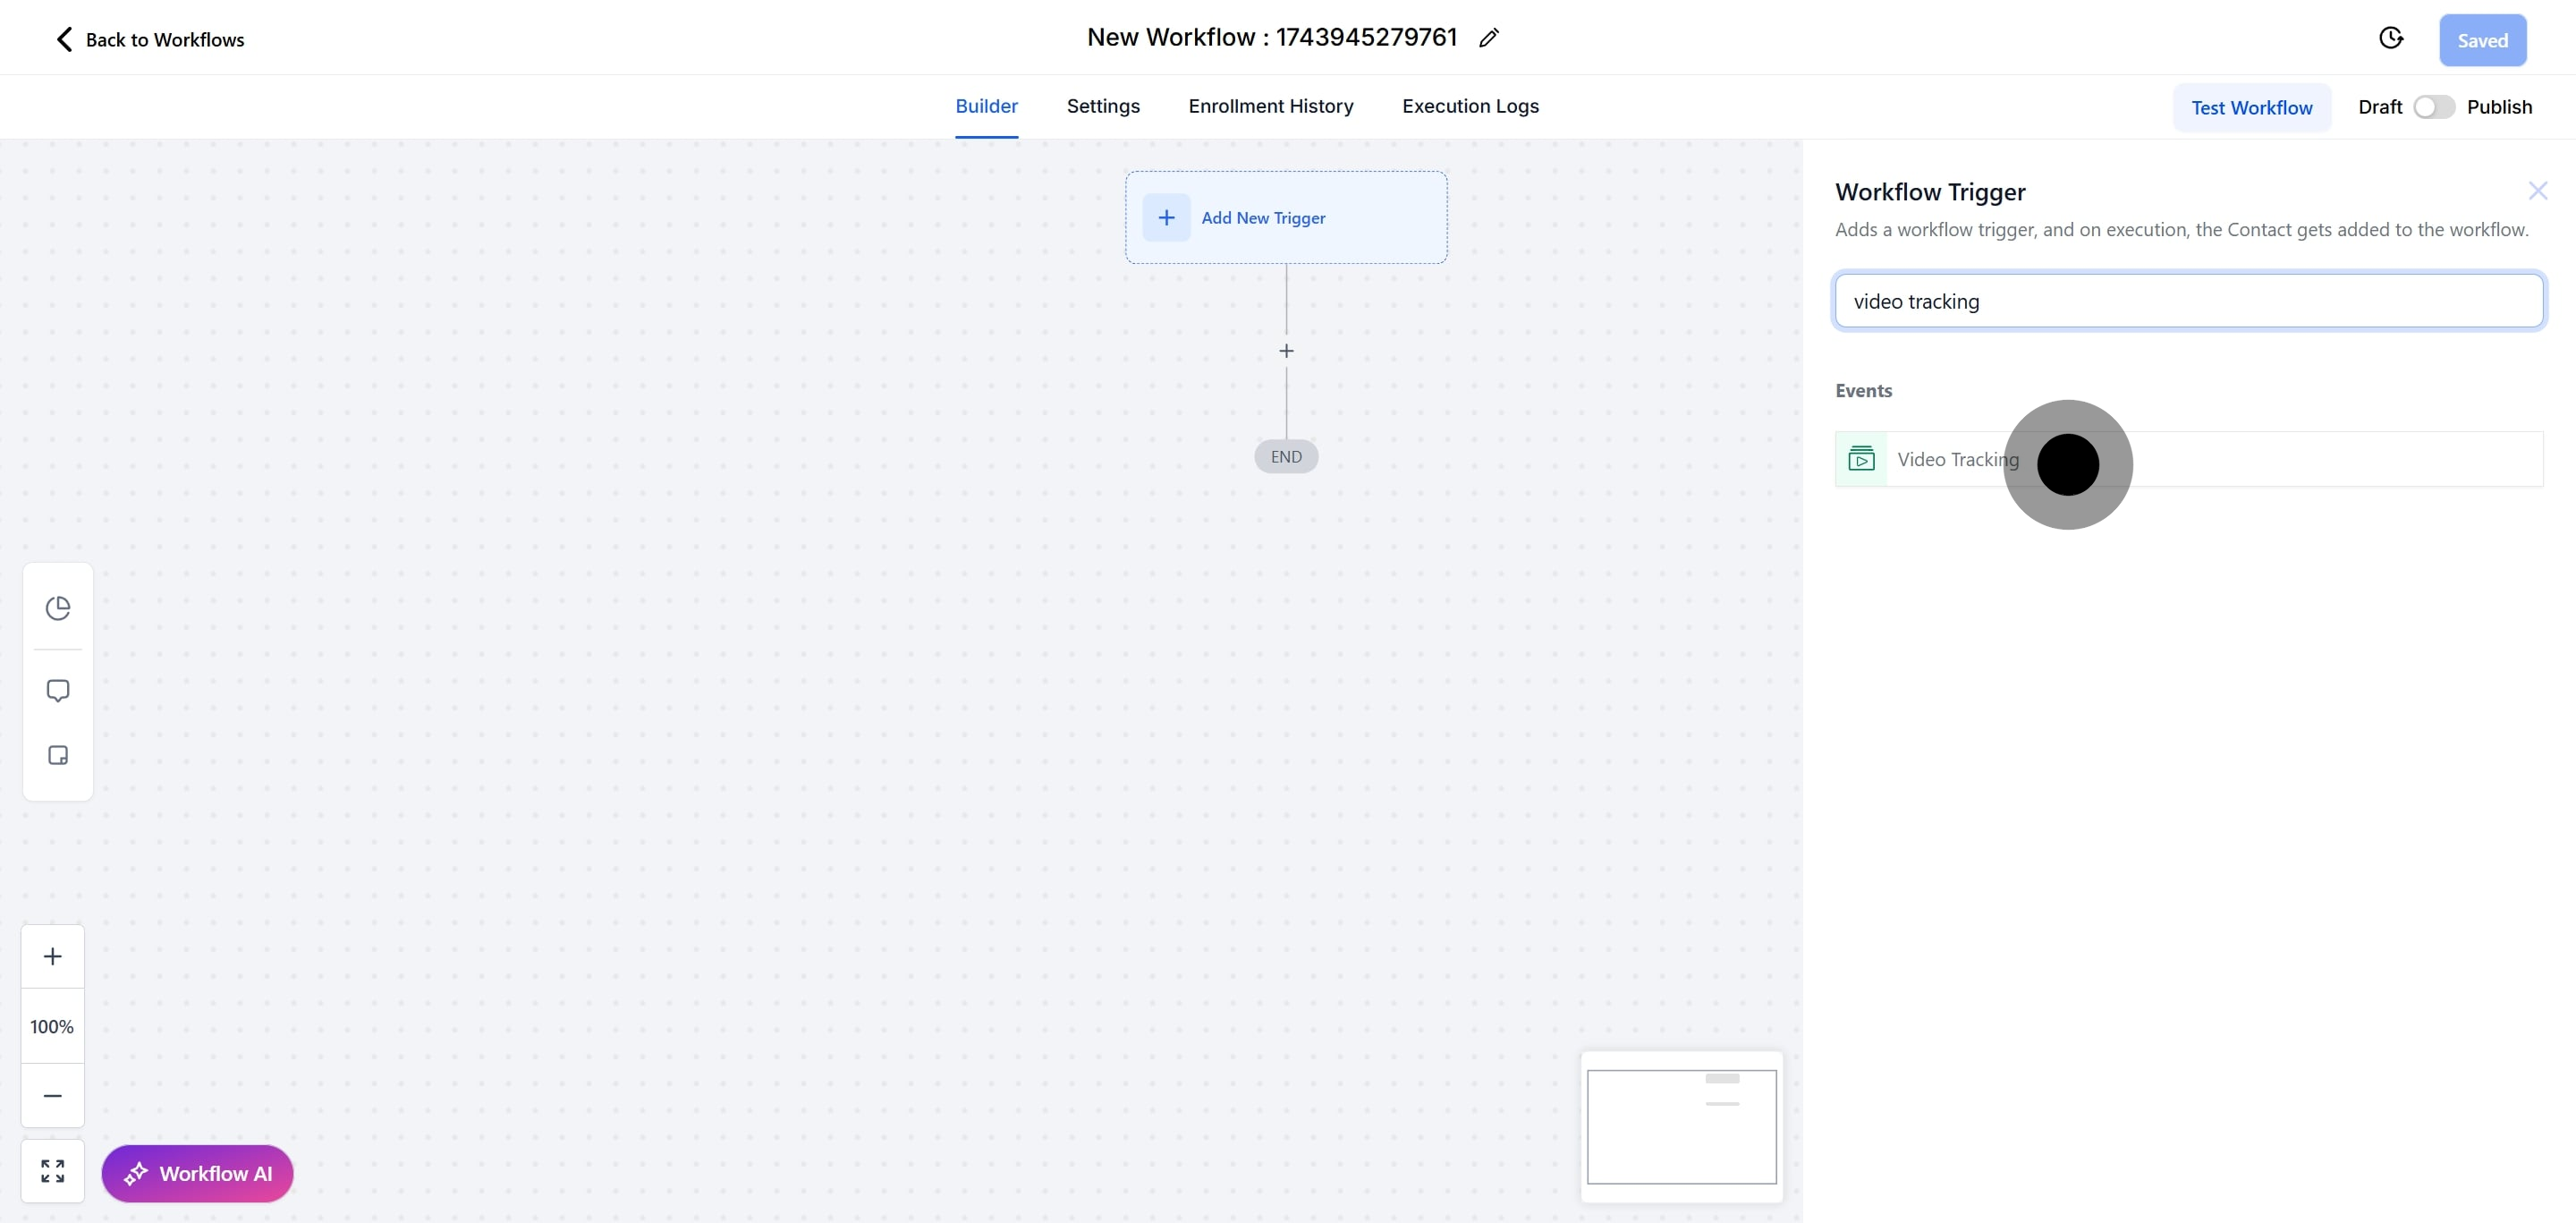
5. Click here to search for "Video Tracking."
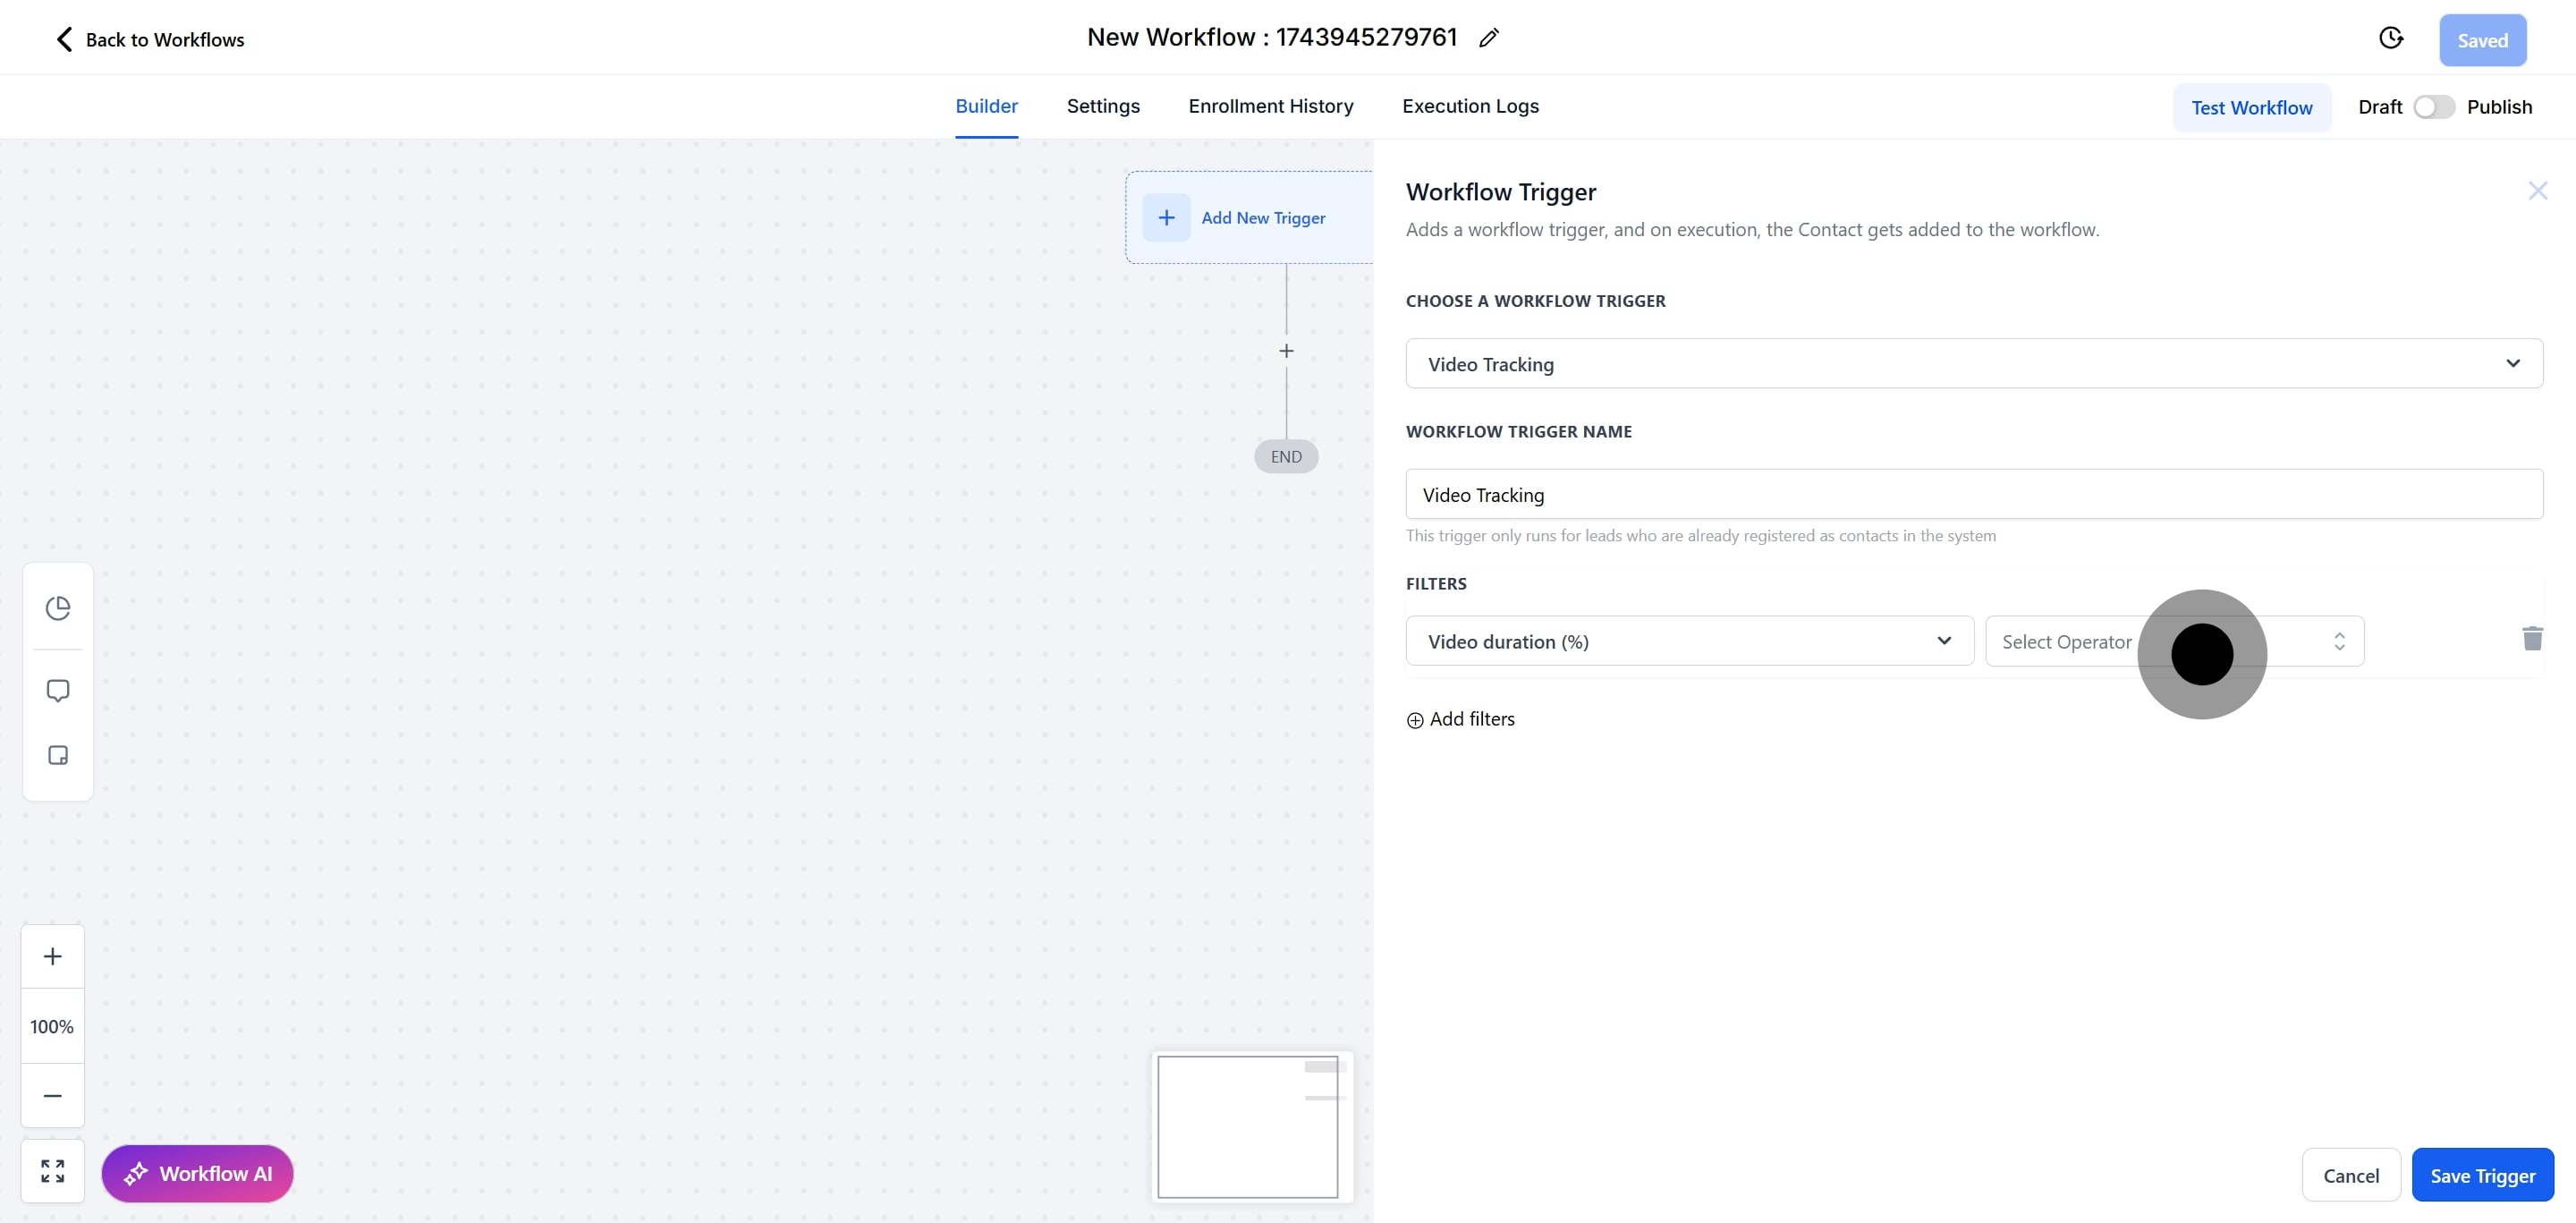
6. Next, click on "Video Tracking" to proceed.
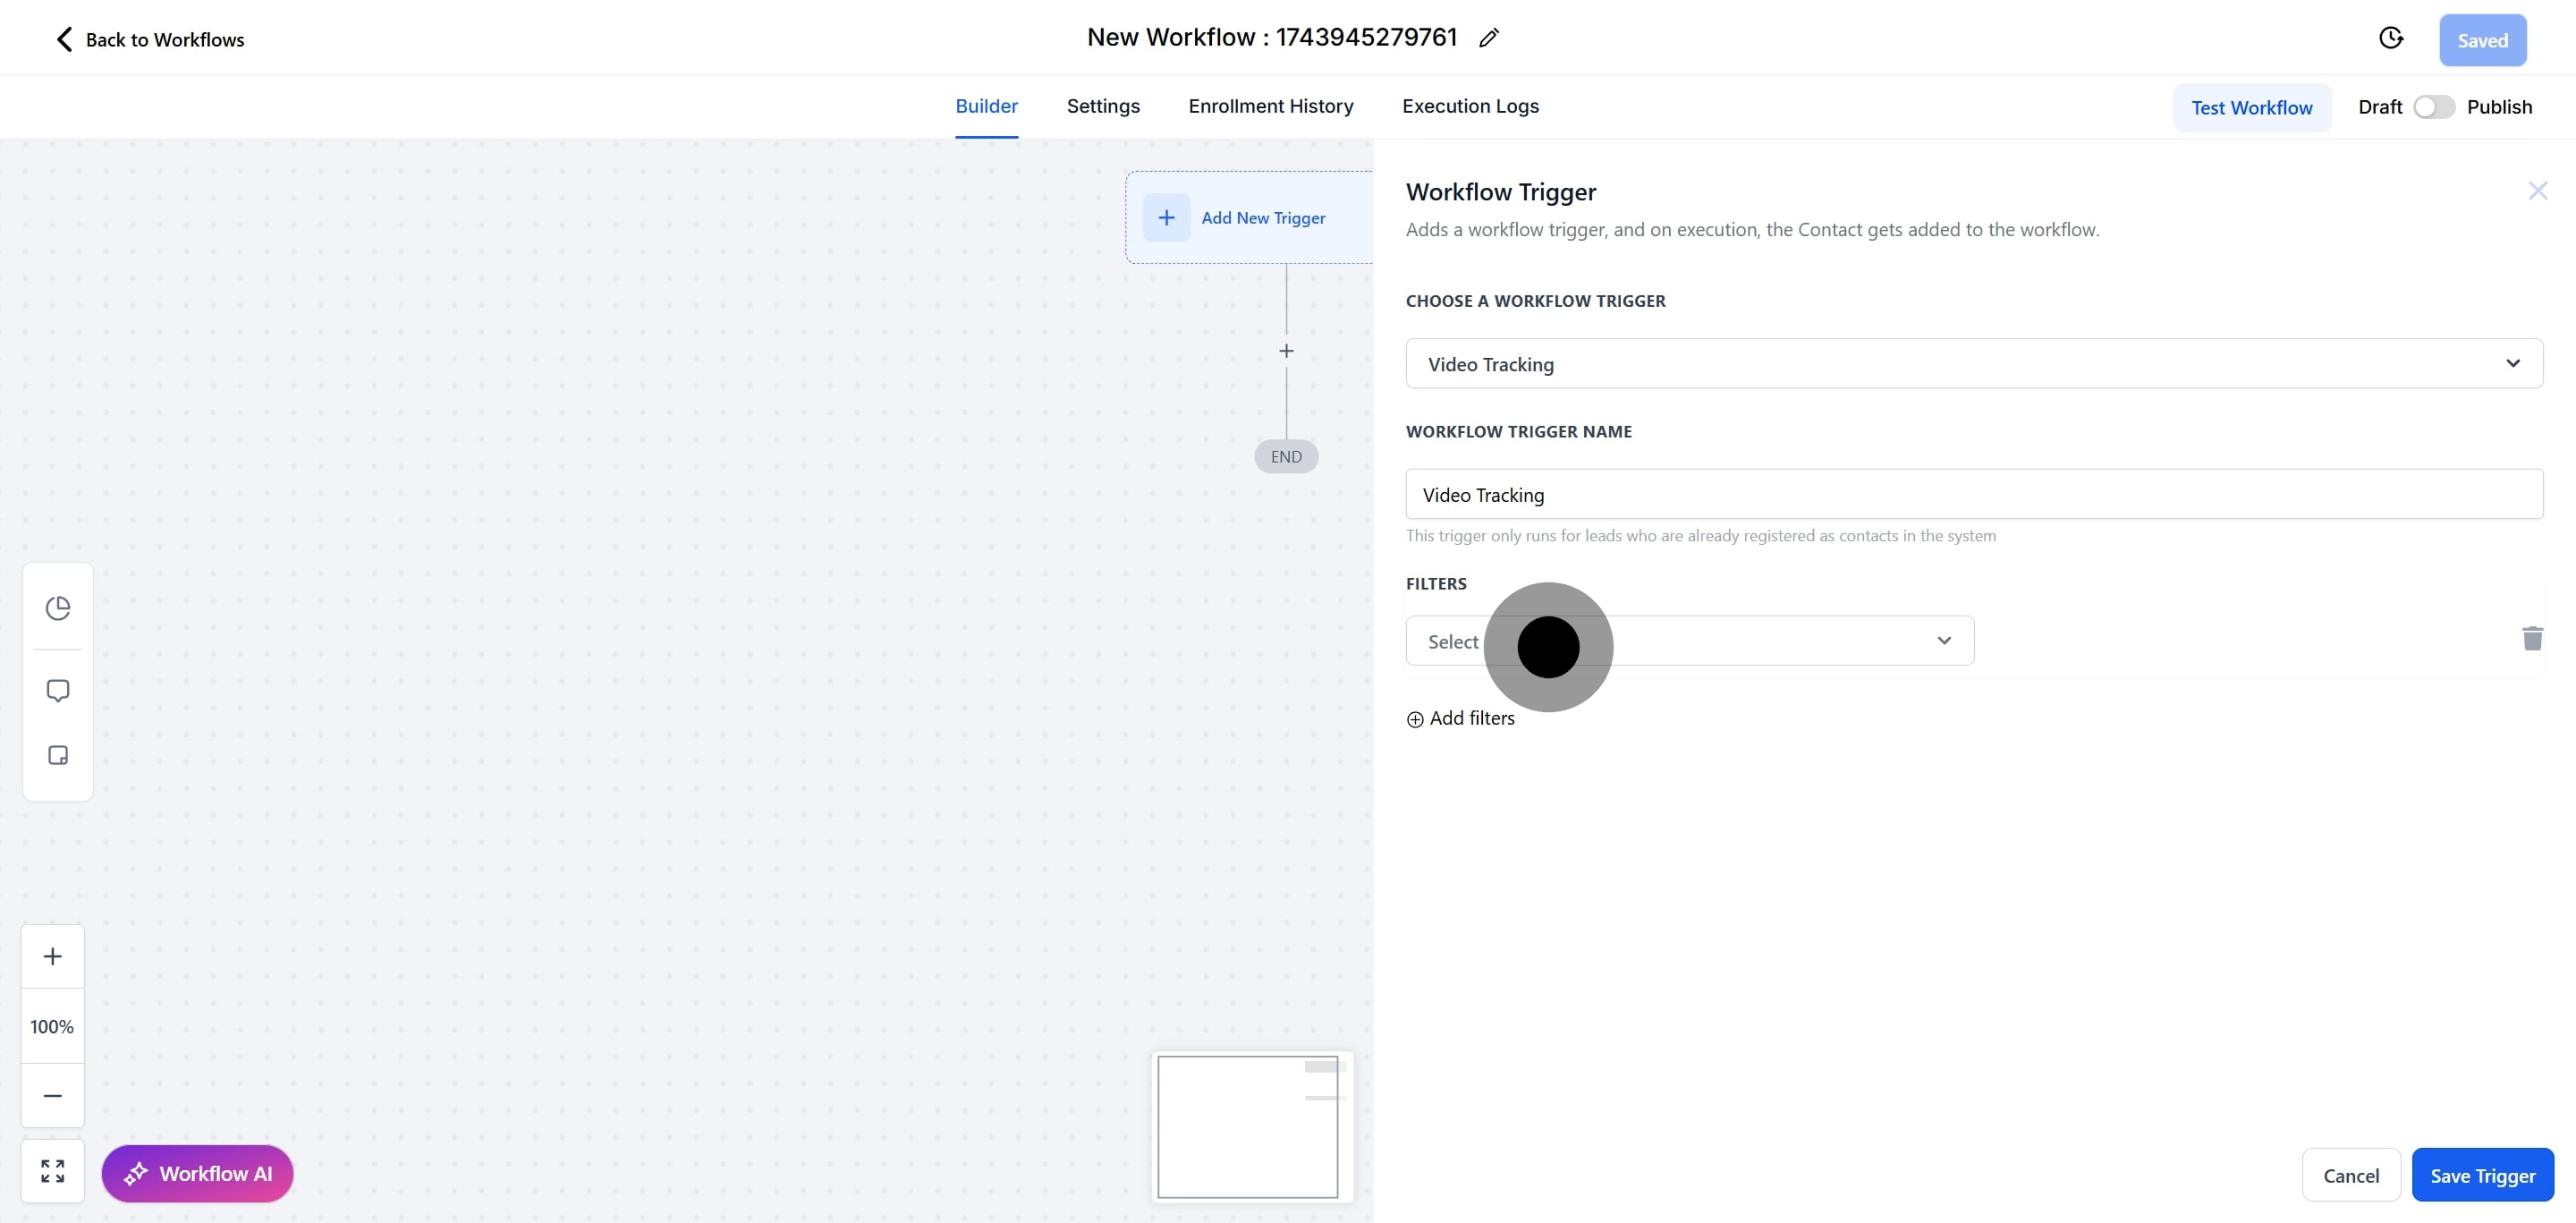
7. Click here to rename your workflow trigger.
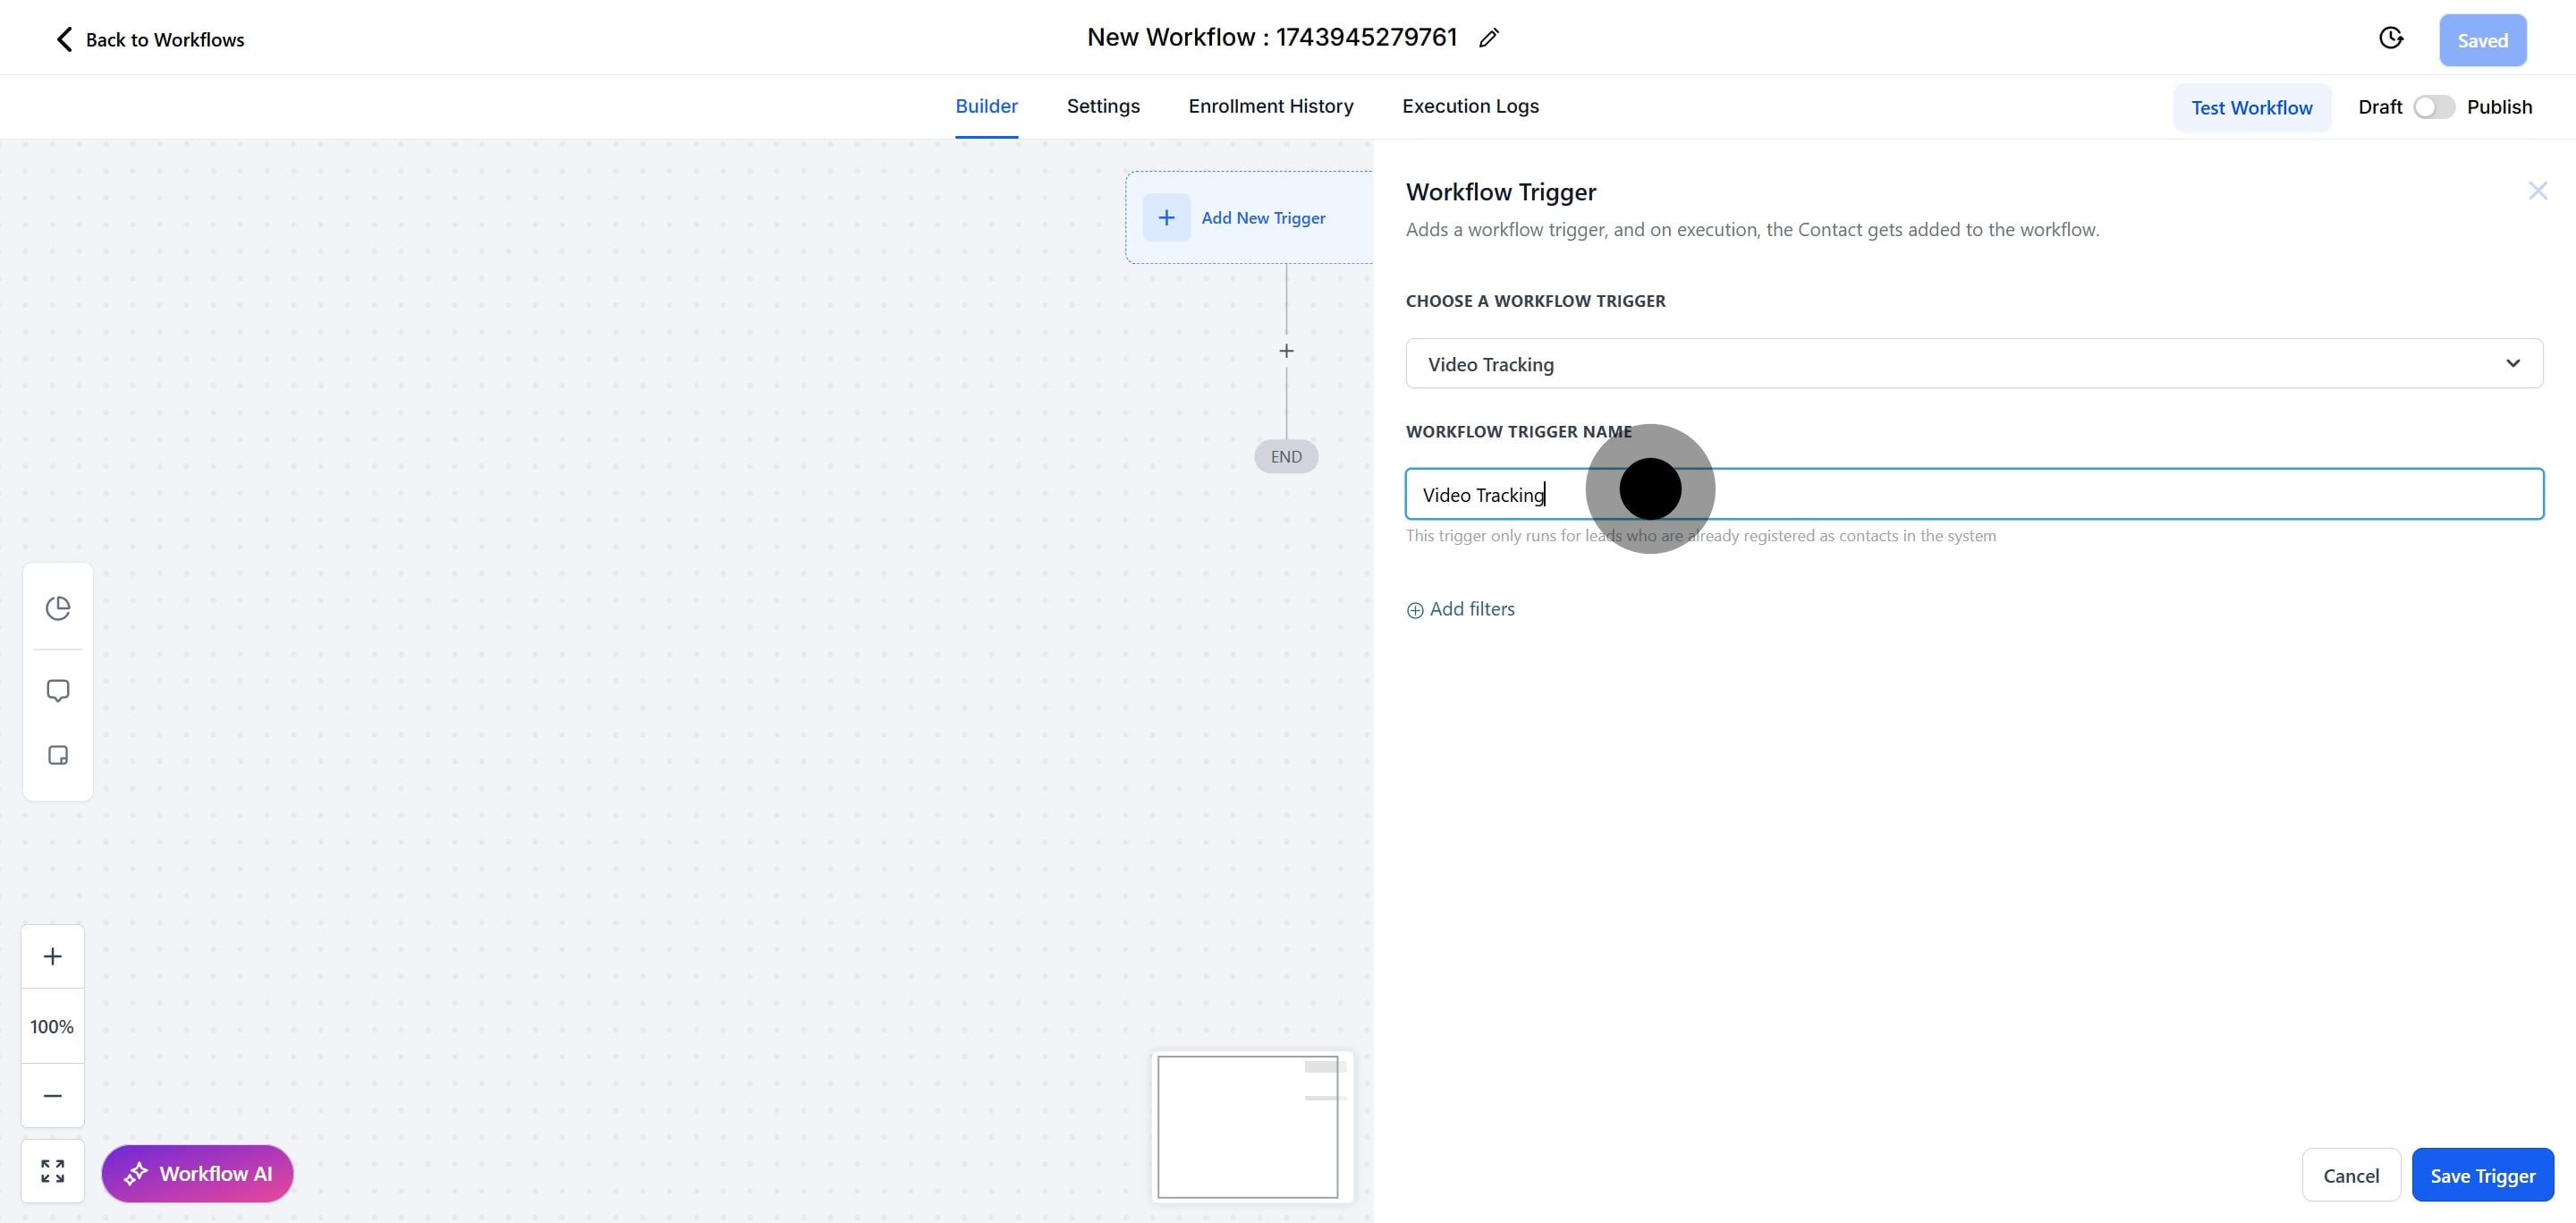
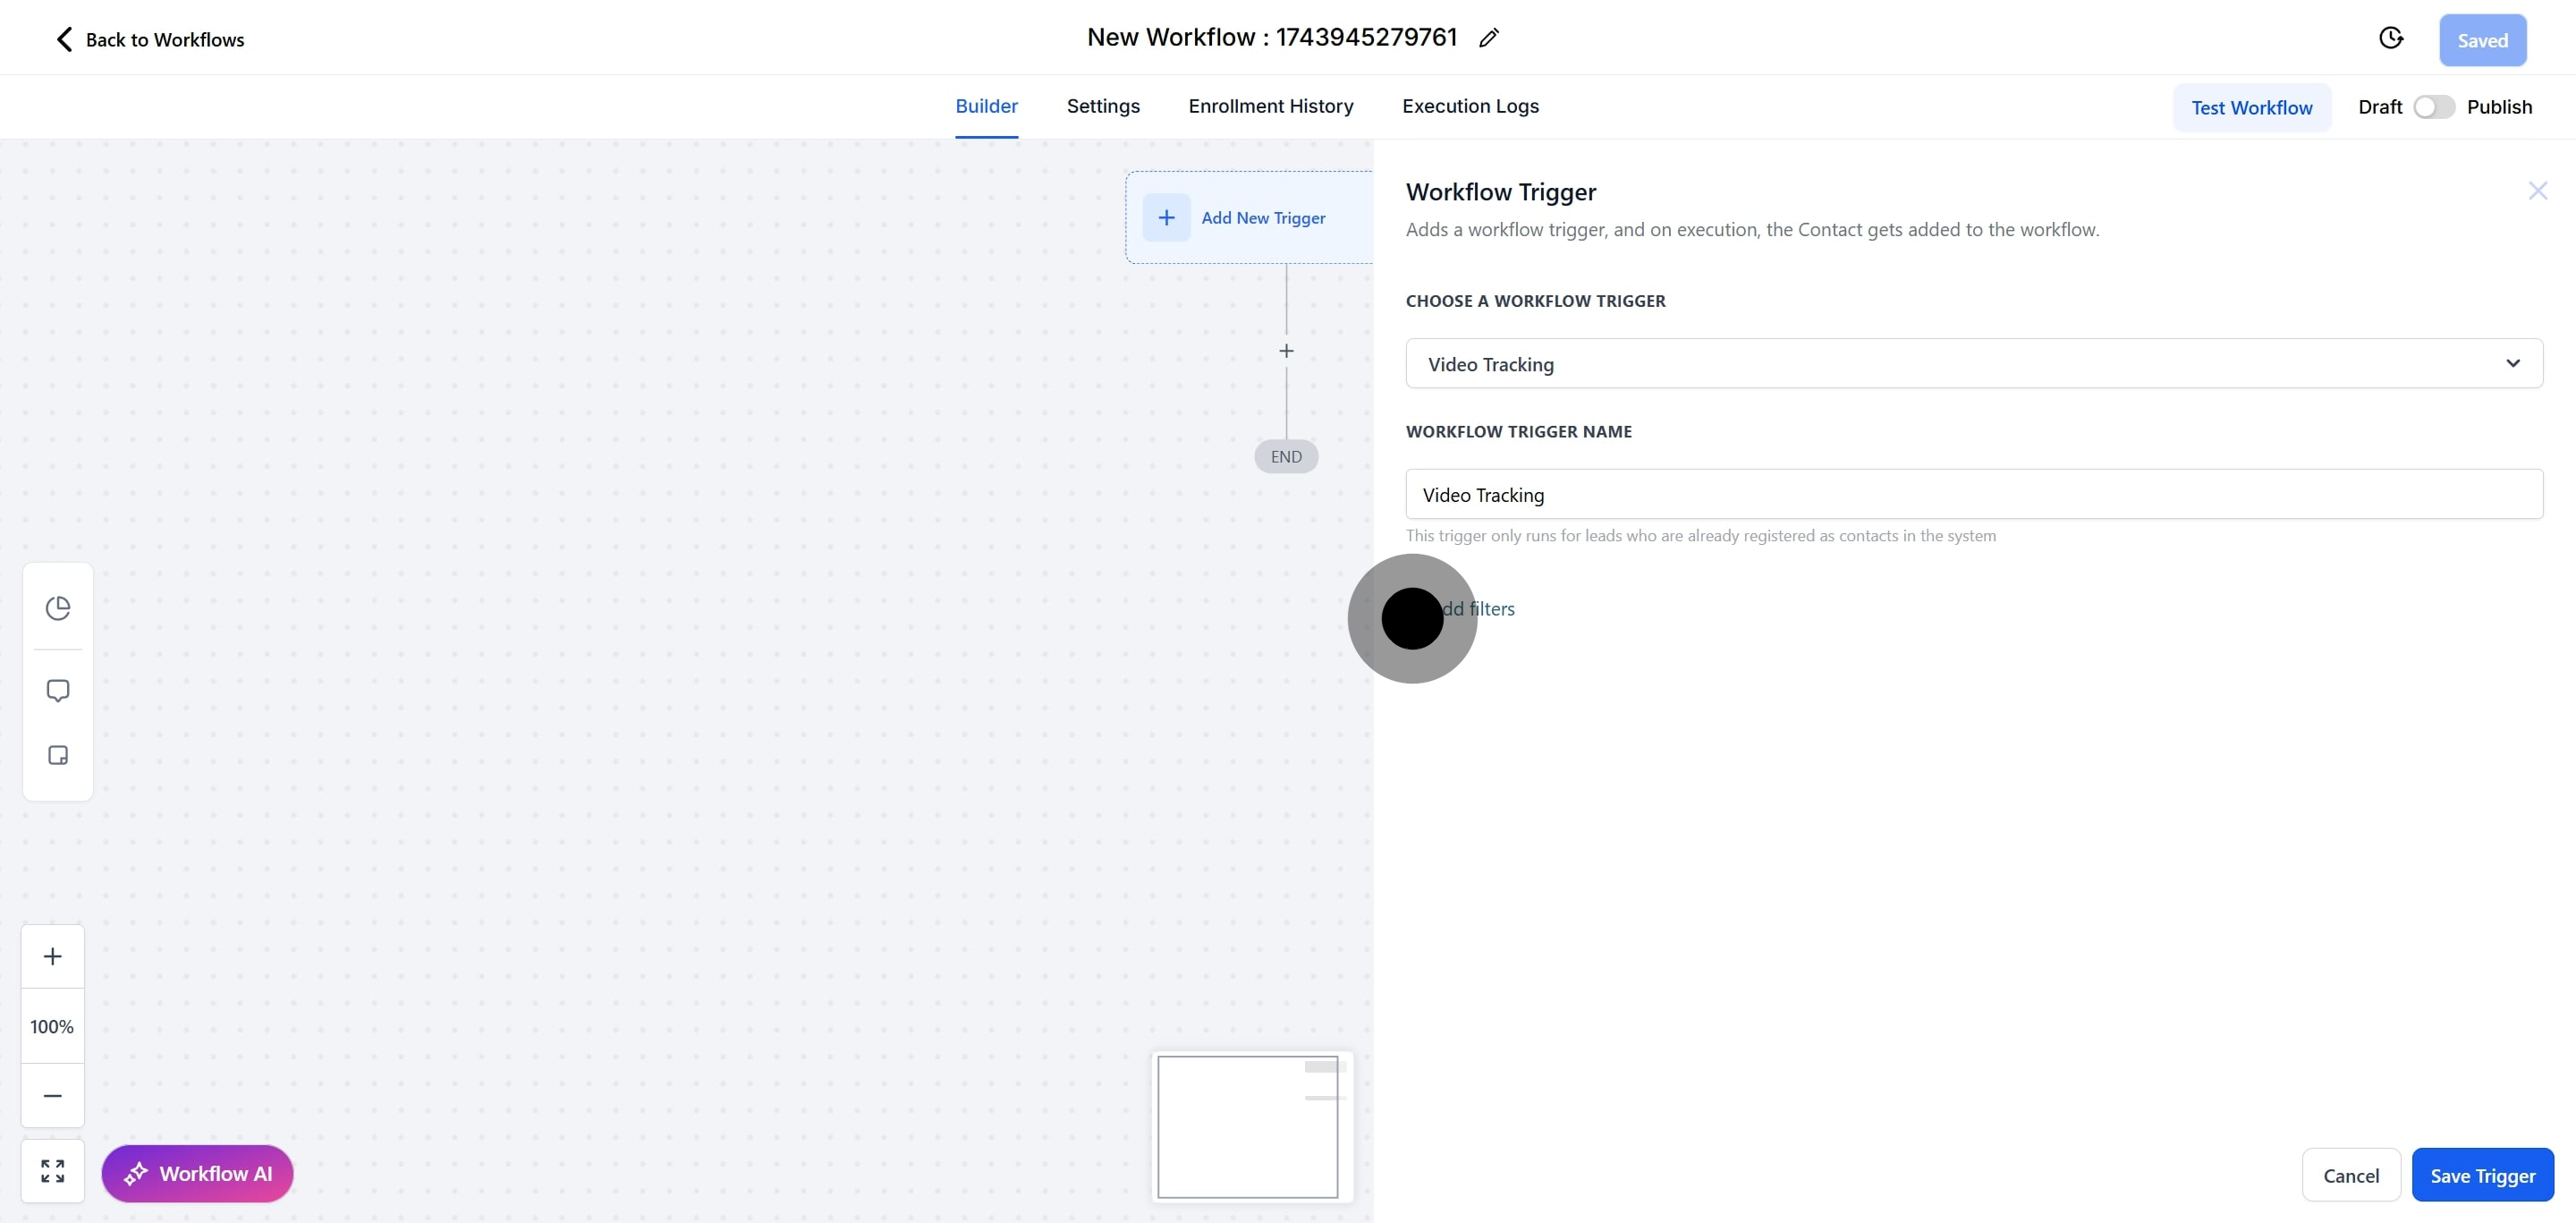
8. Now, click on "Add filters" to refine your options.
9. Click on "Select" to open the sub-menu.
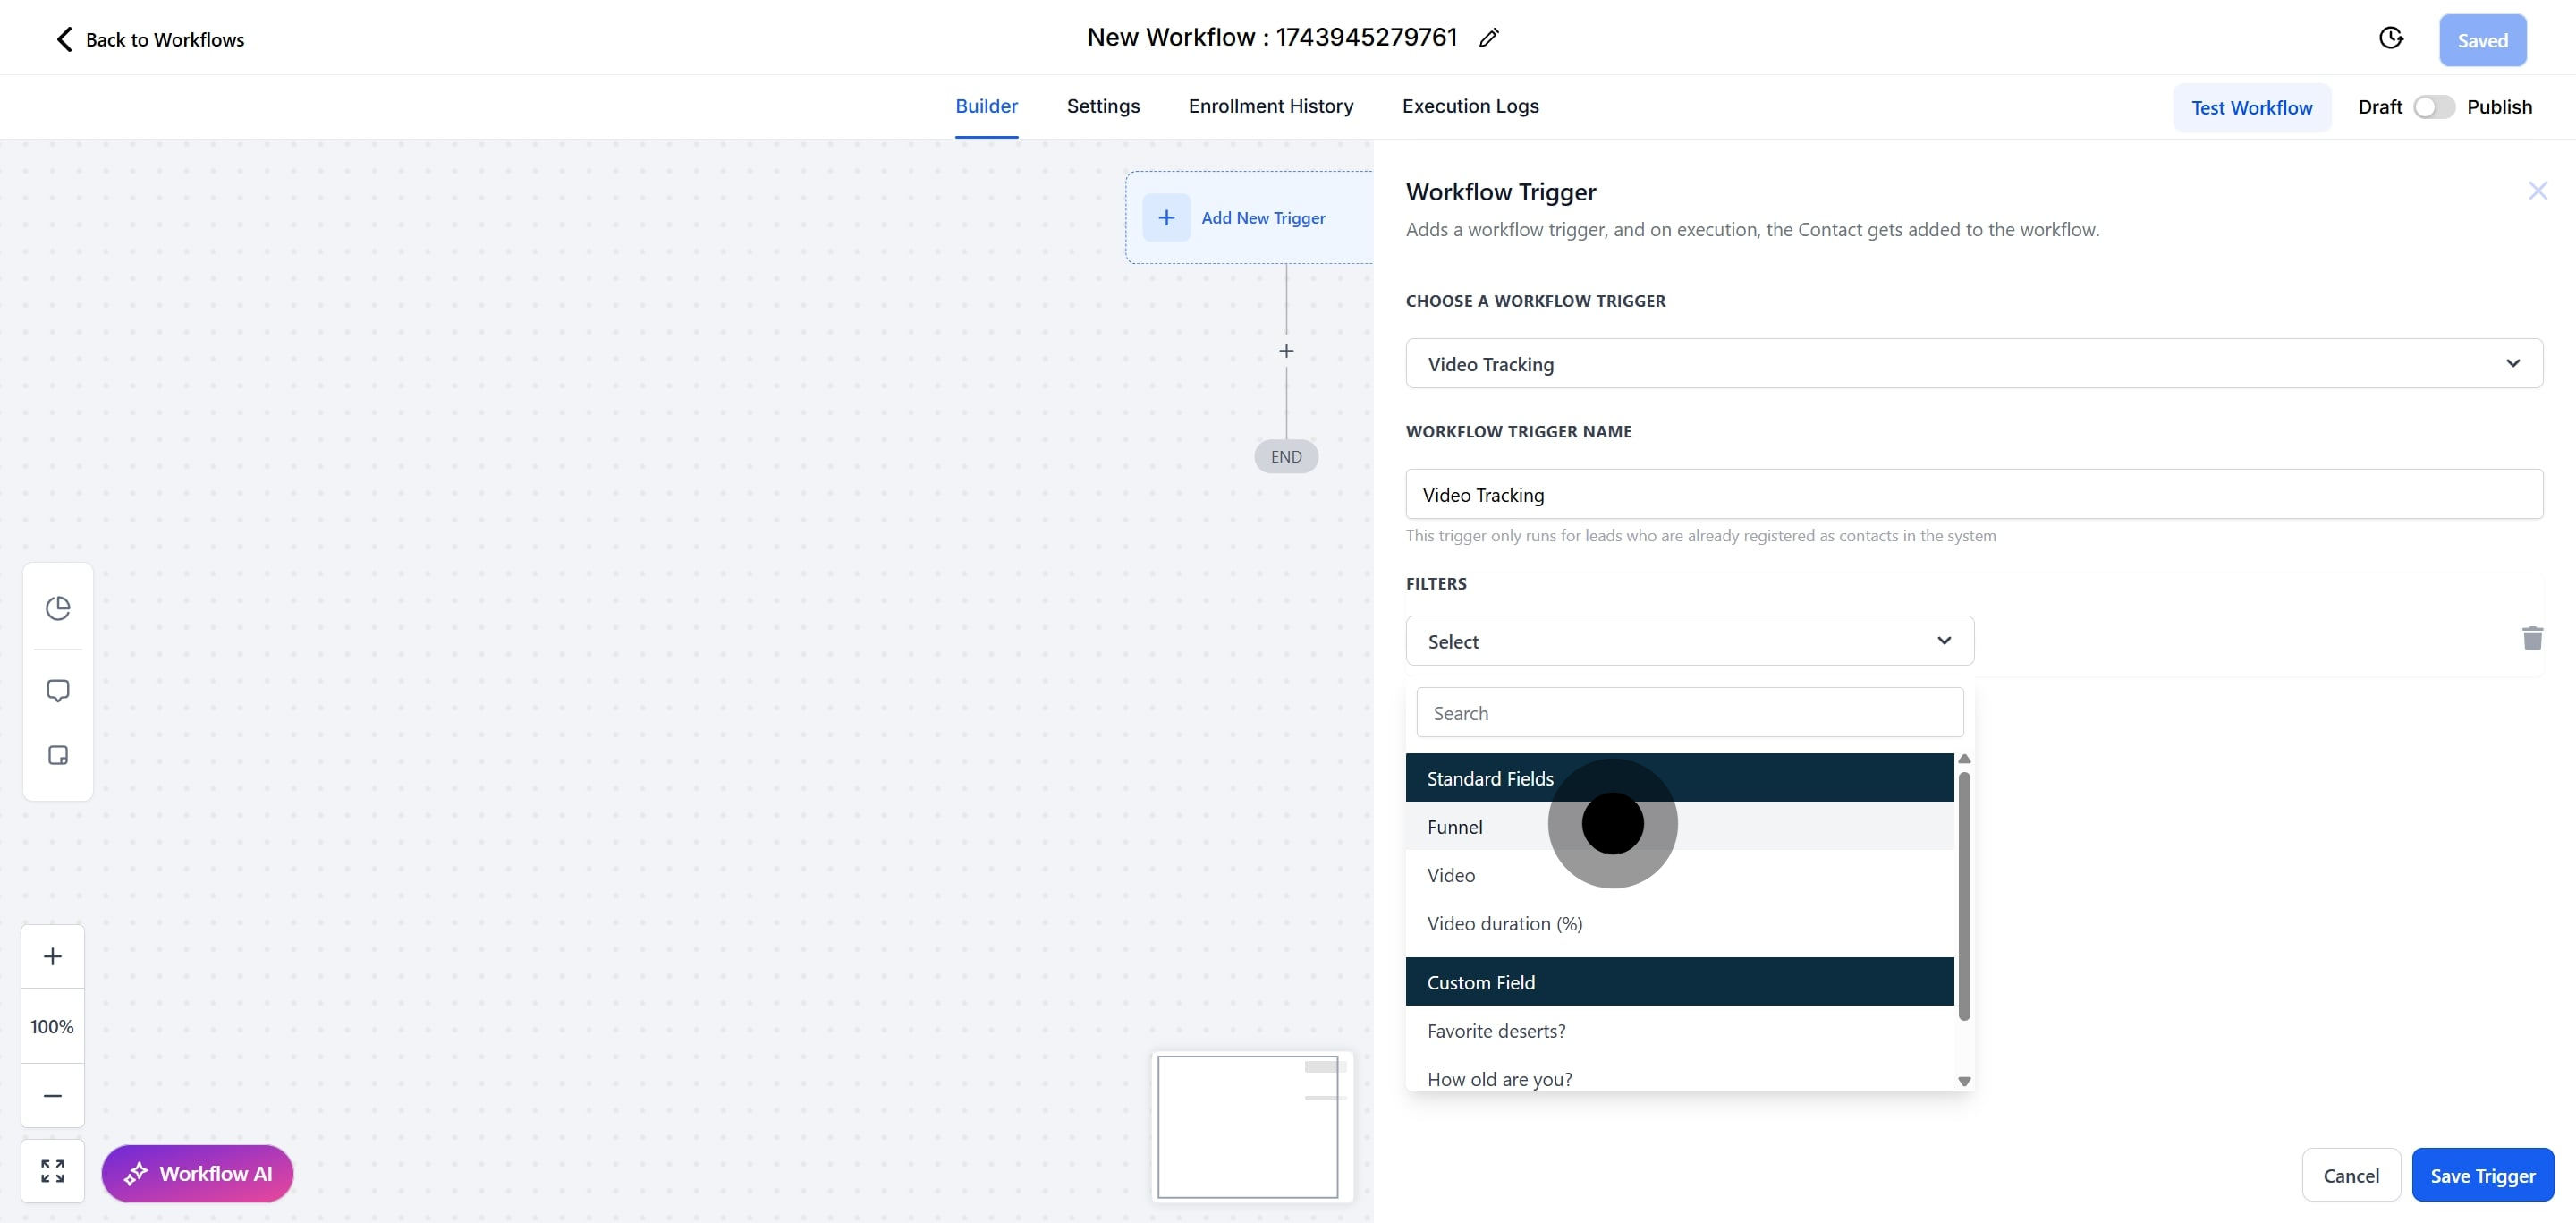
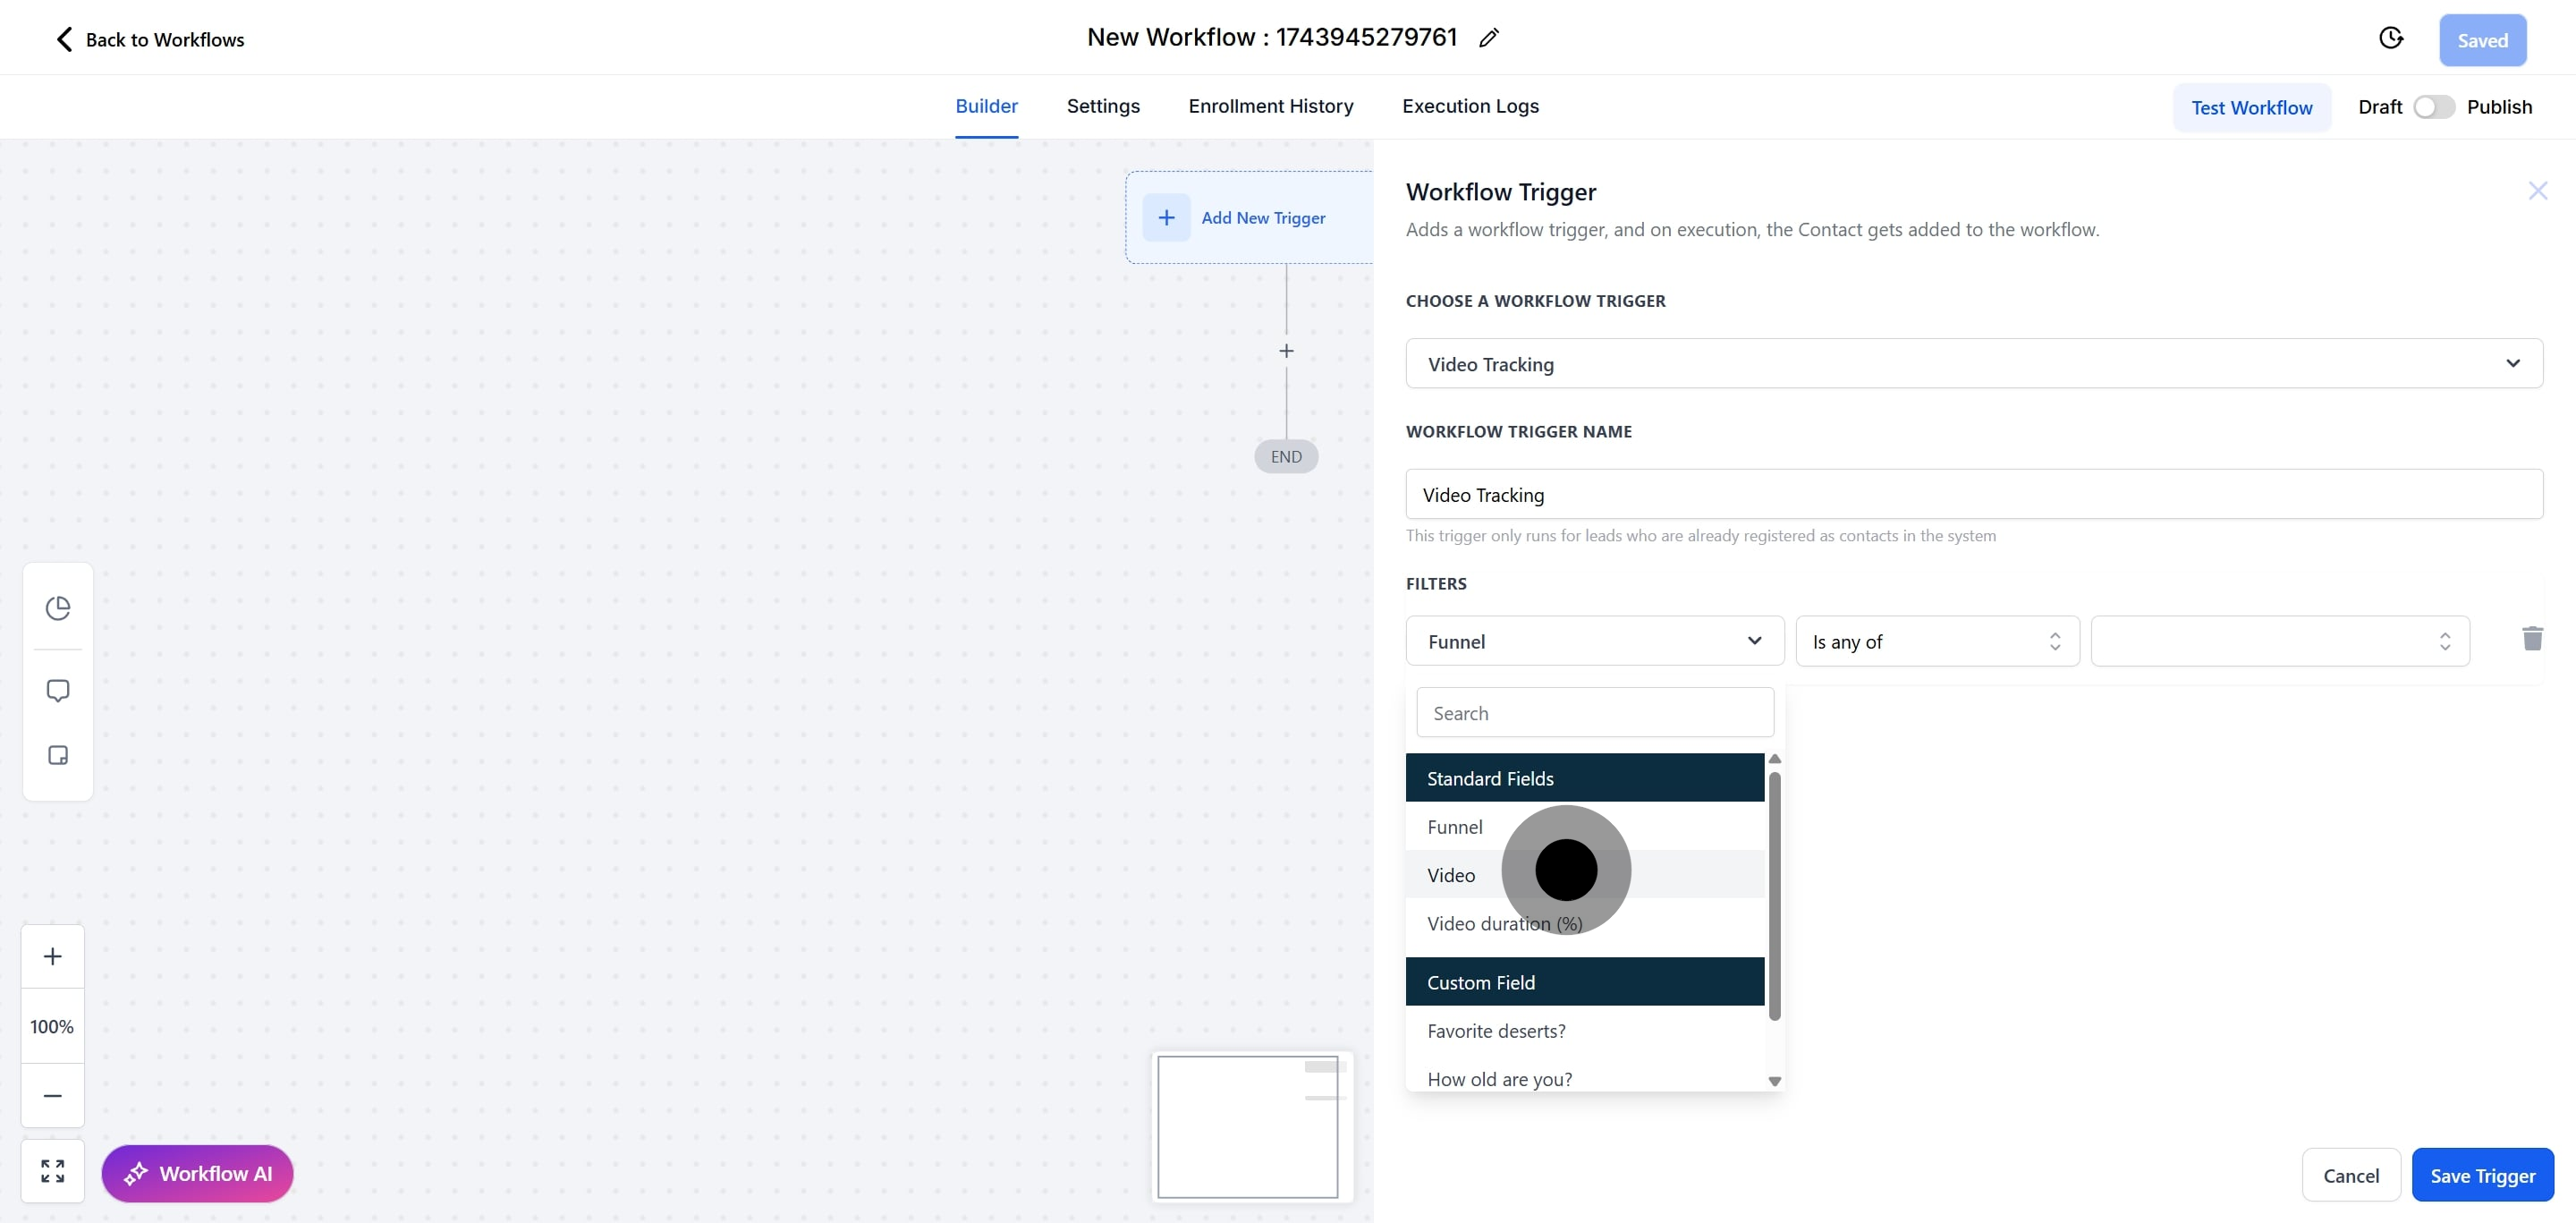
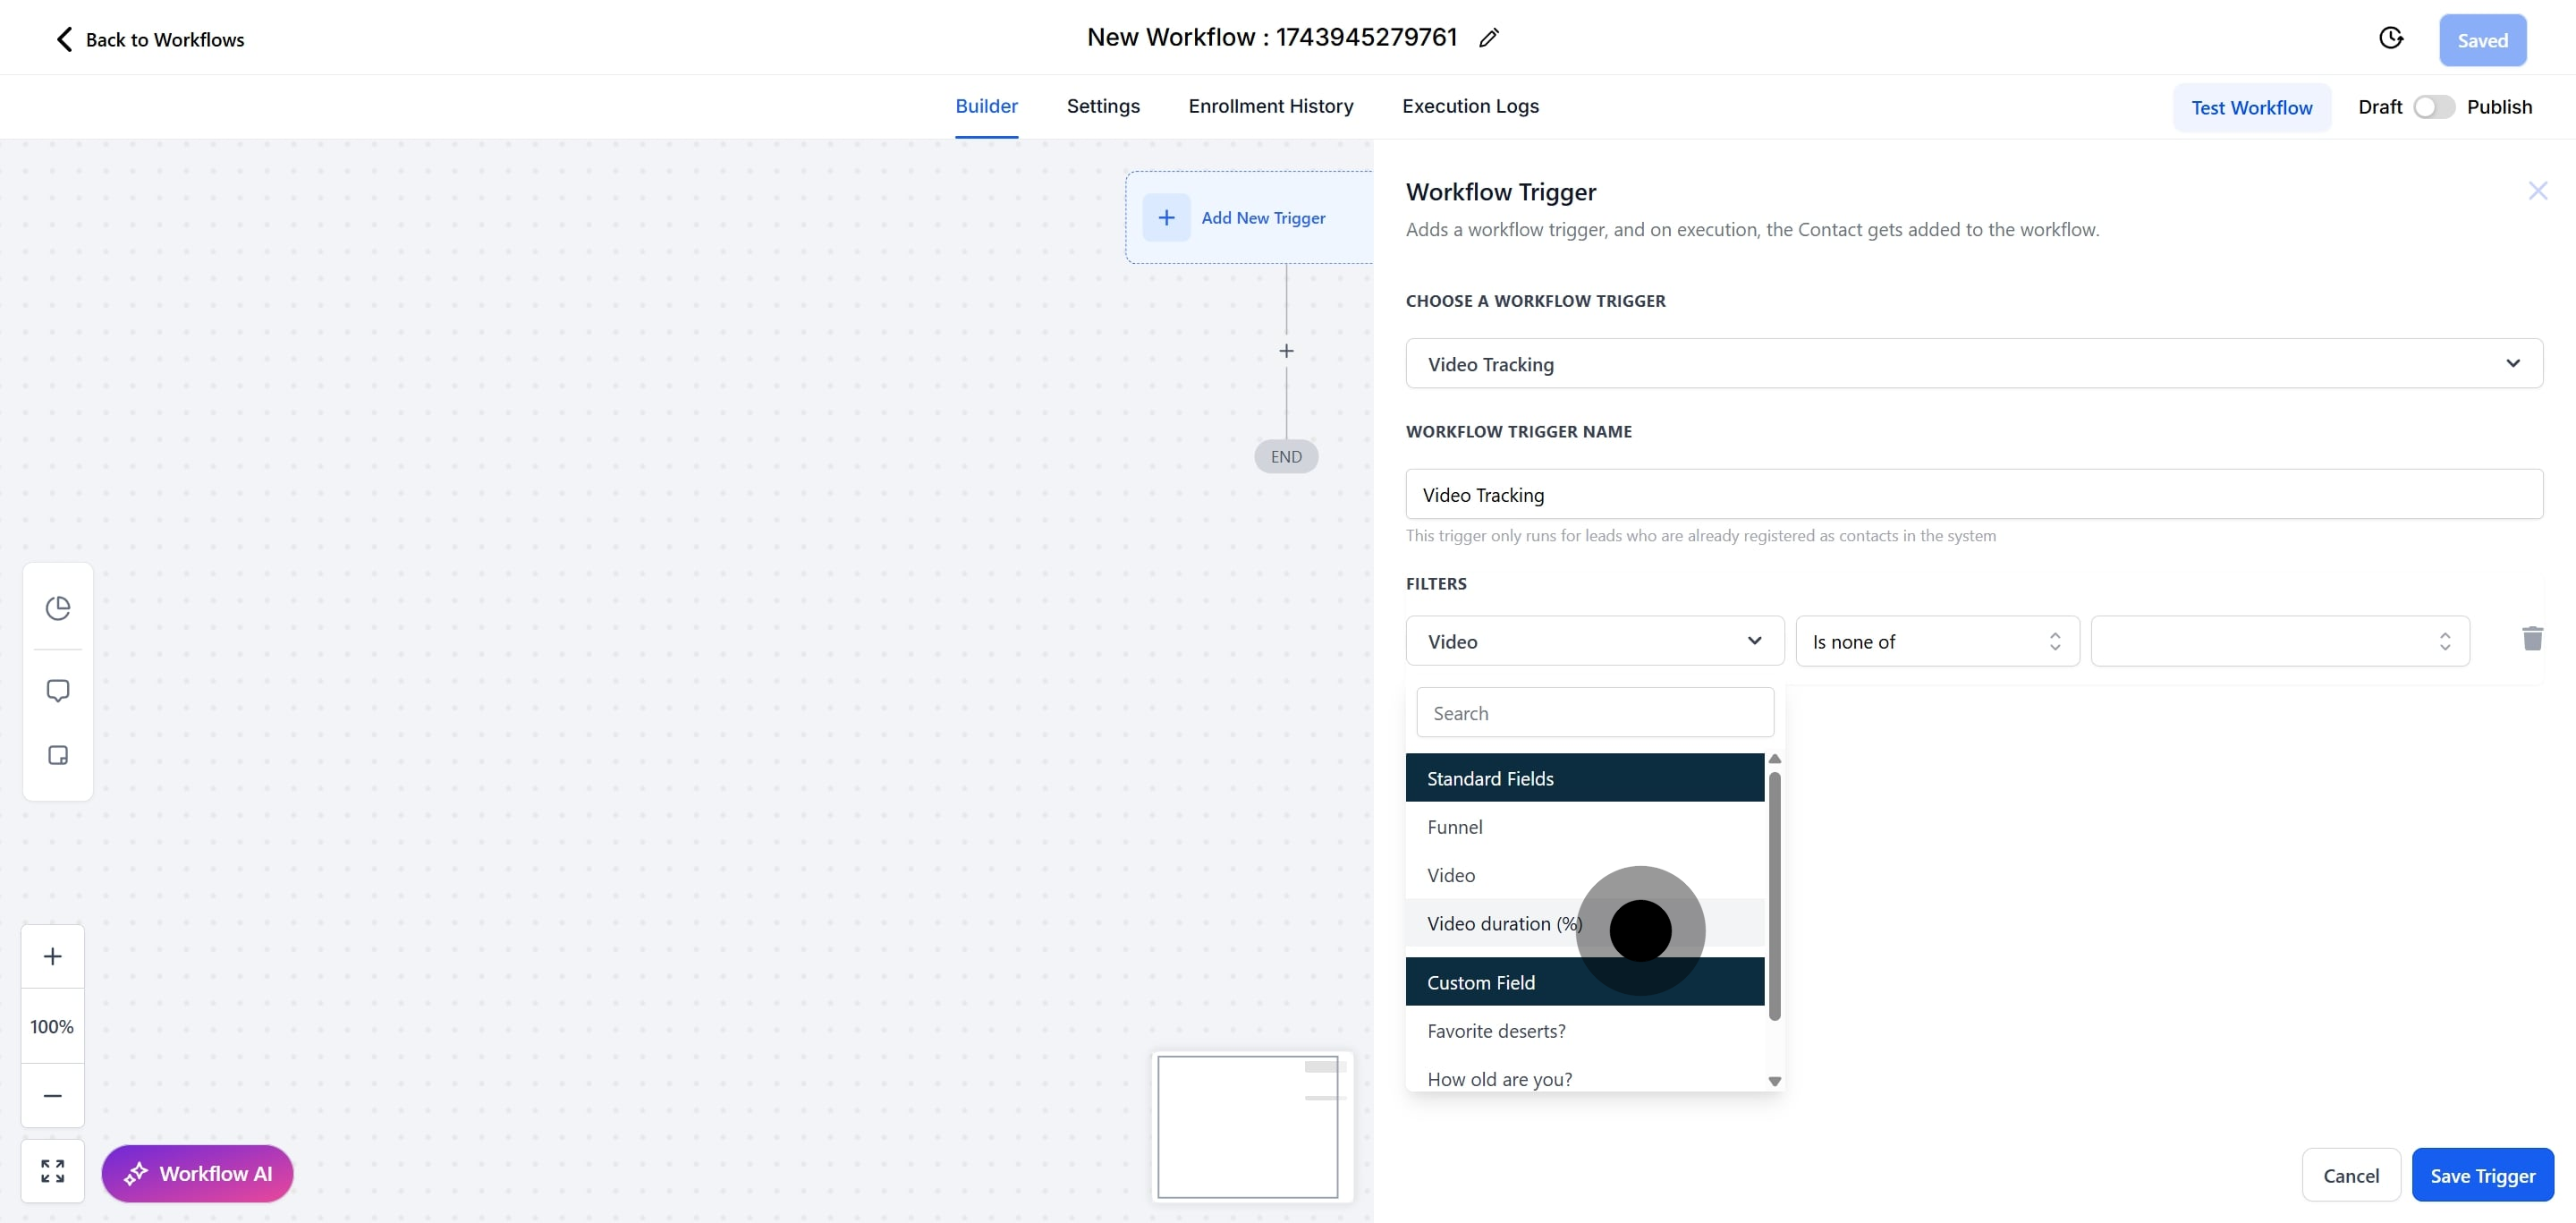
10. Choose a field from the options in the sub-menu.
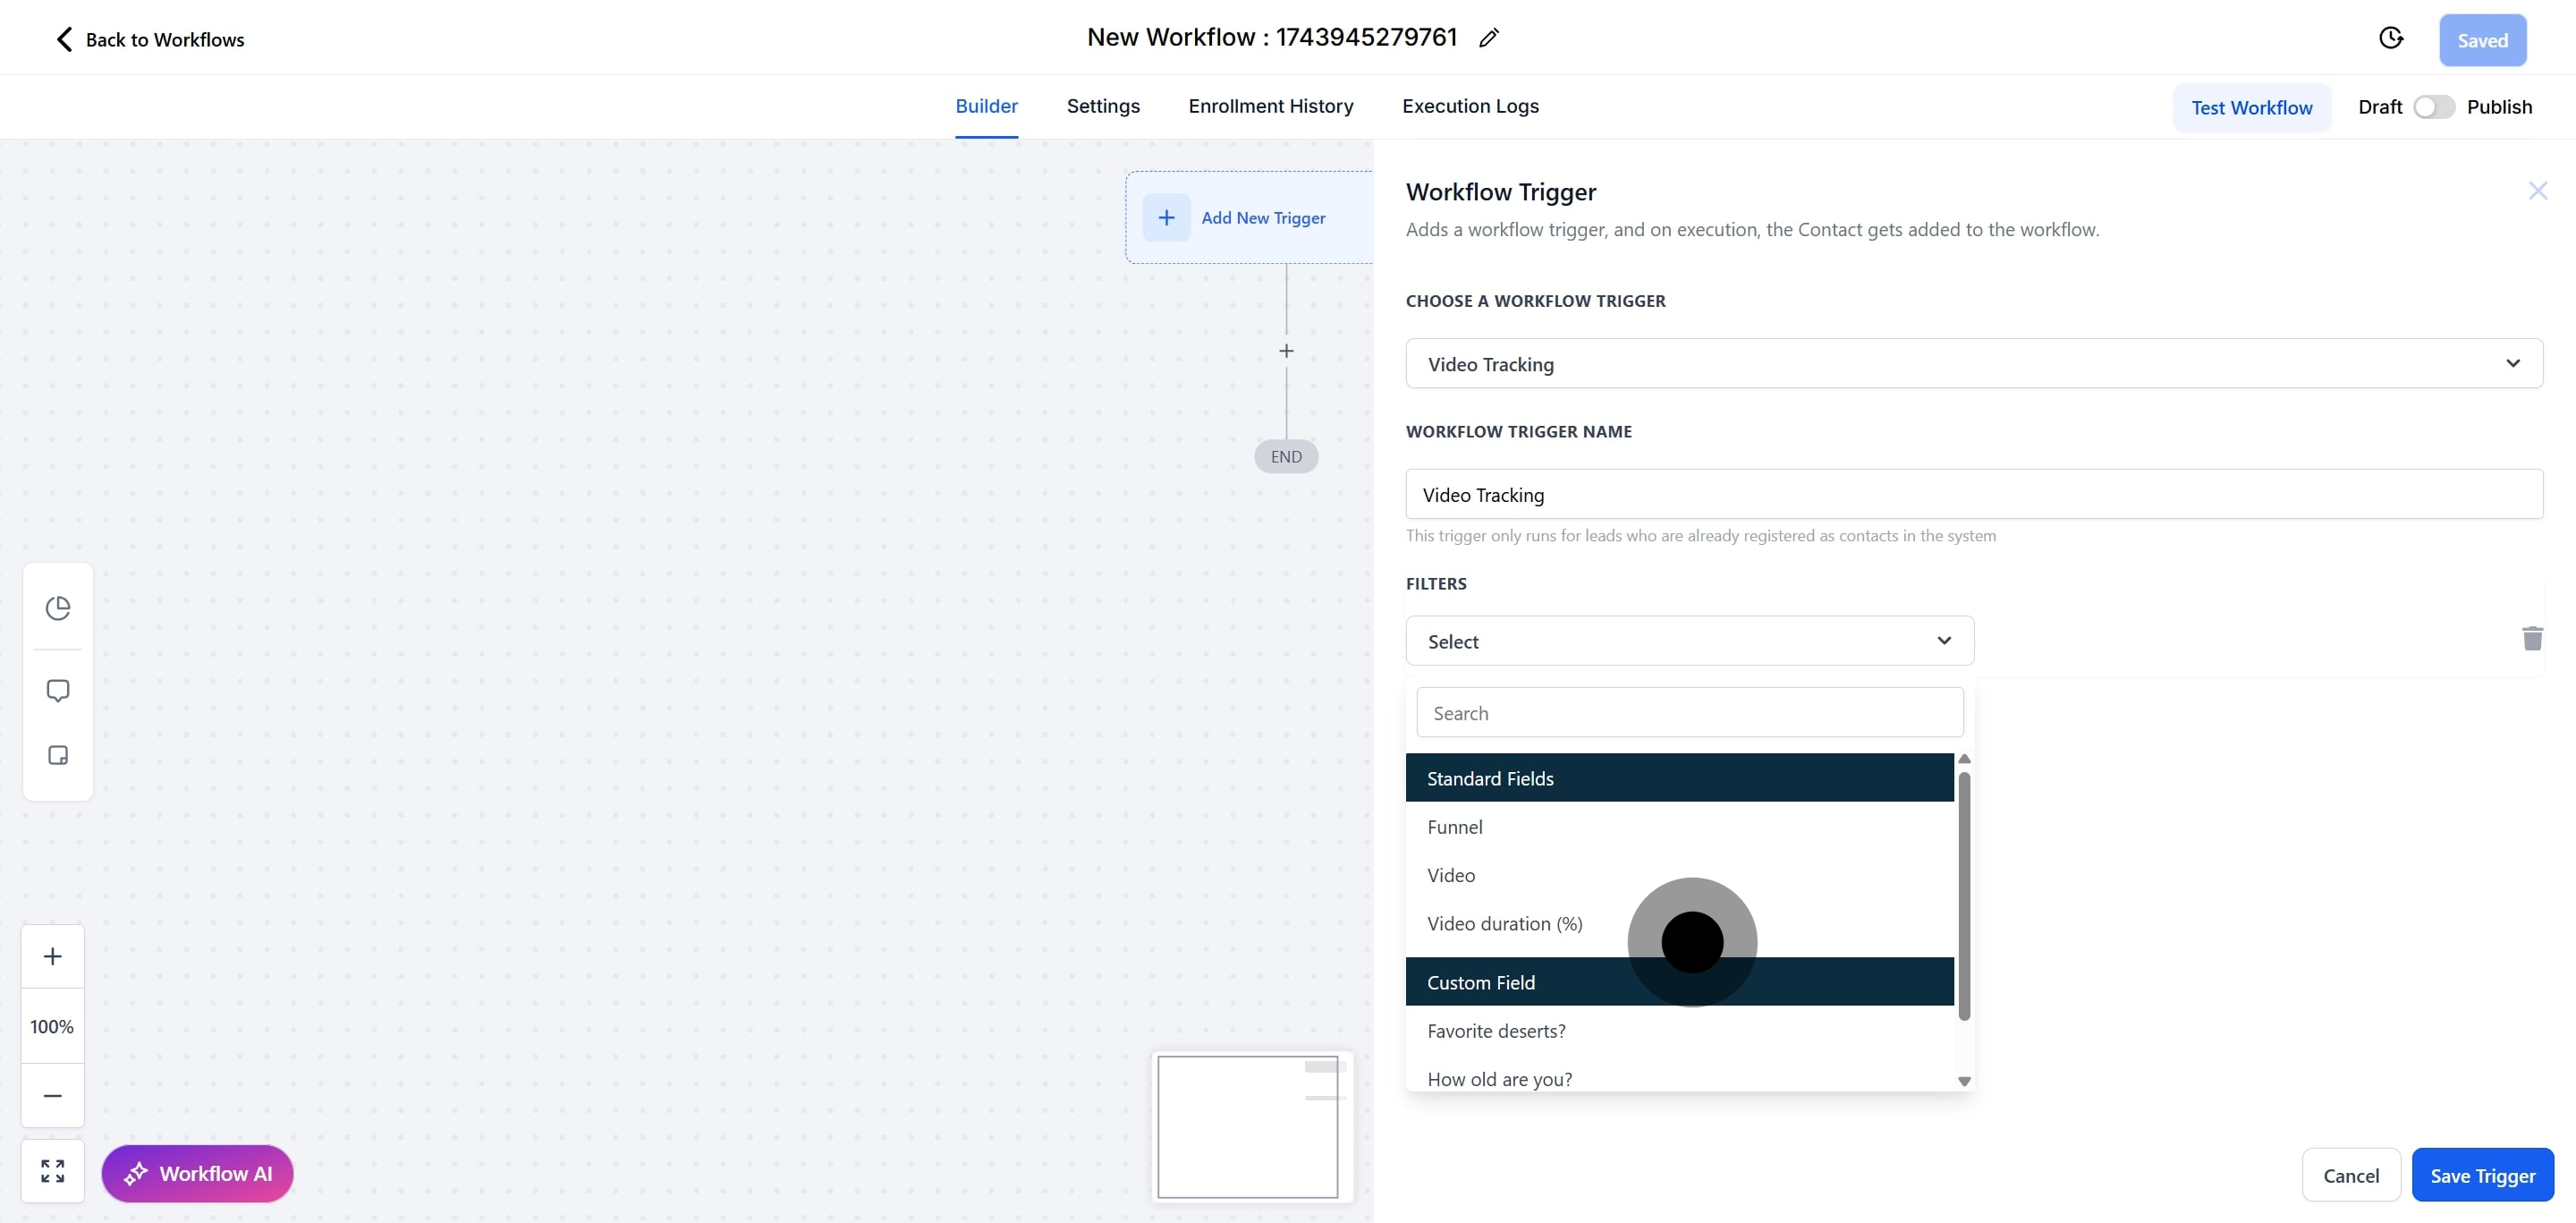
11. Click on "Funnel" to select it.
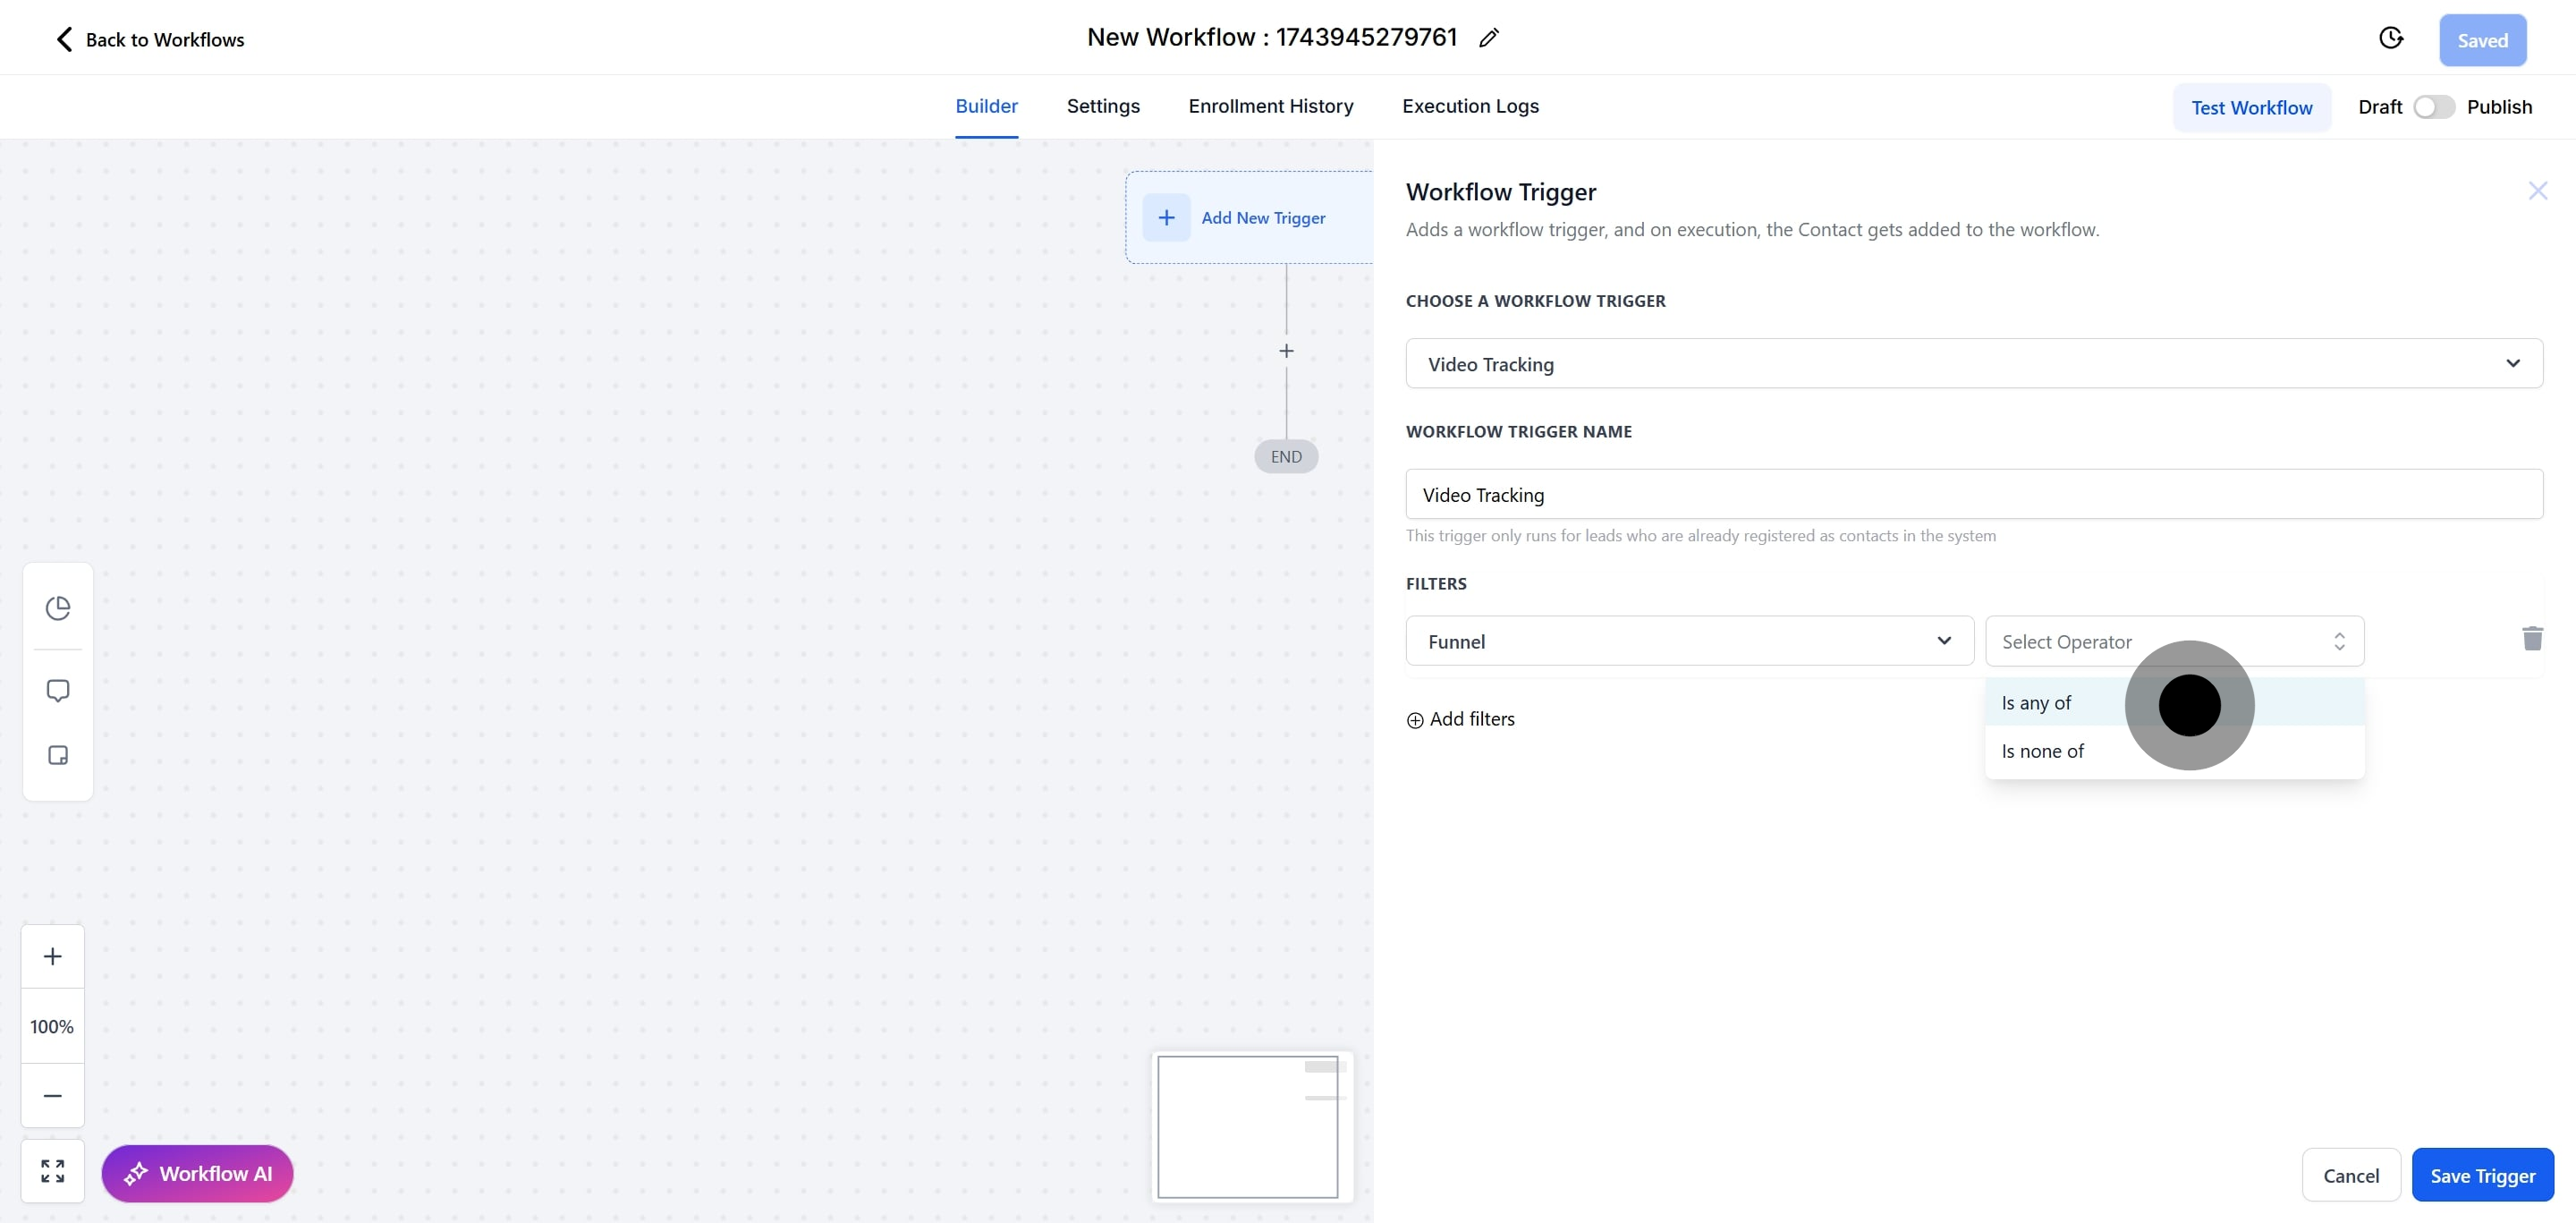
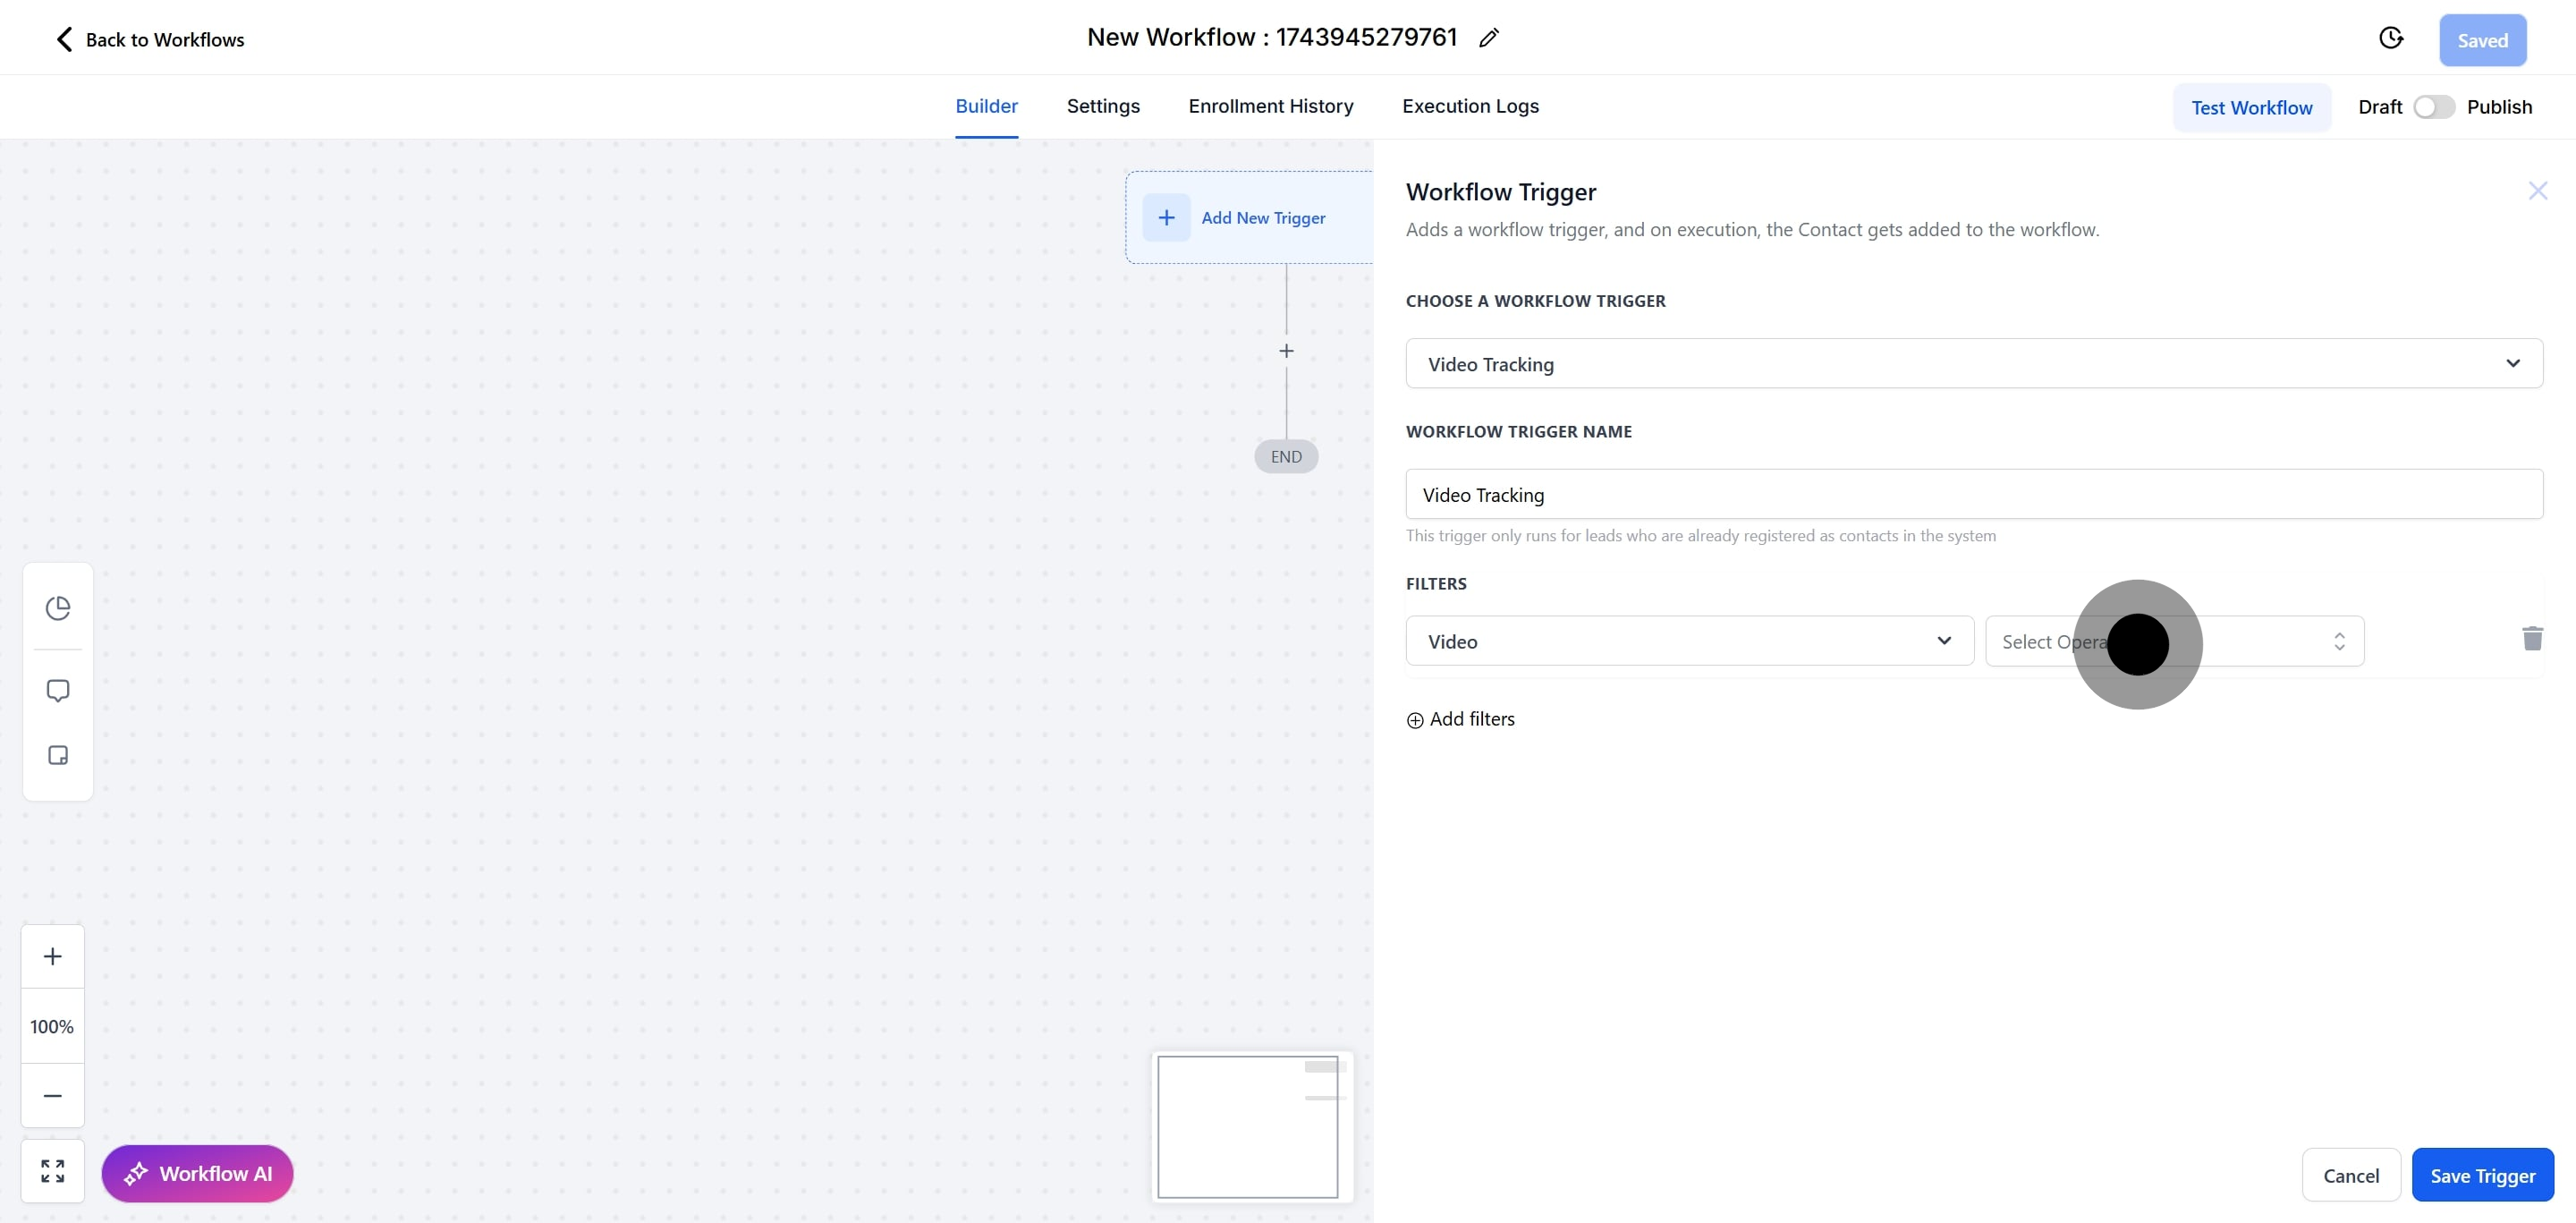
12. Click on "Select Operator" to view more choices.
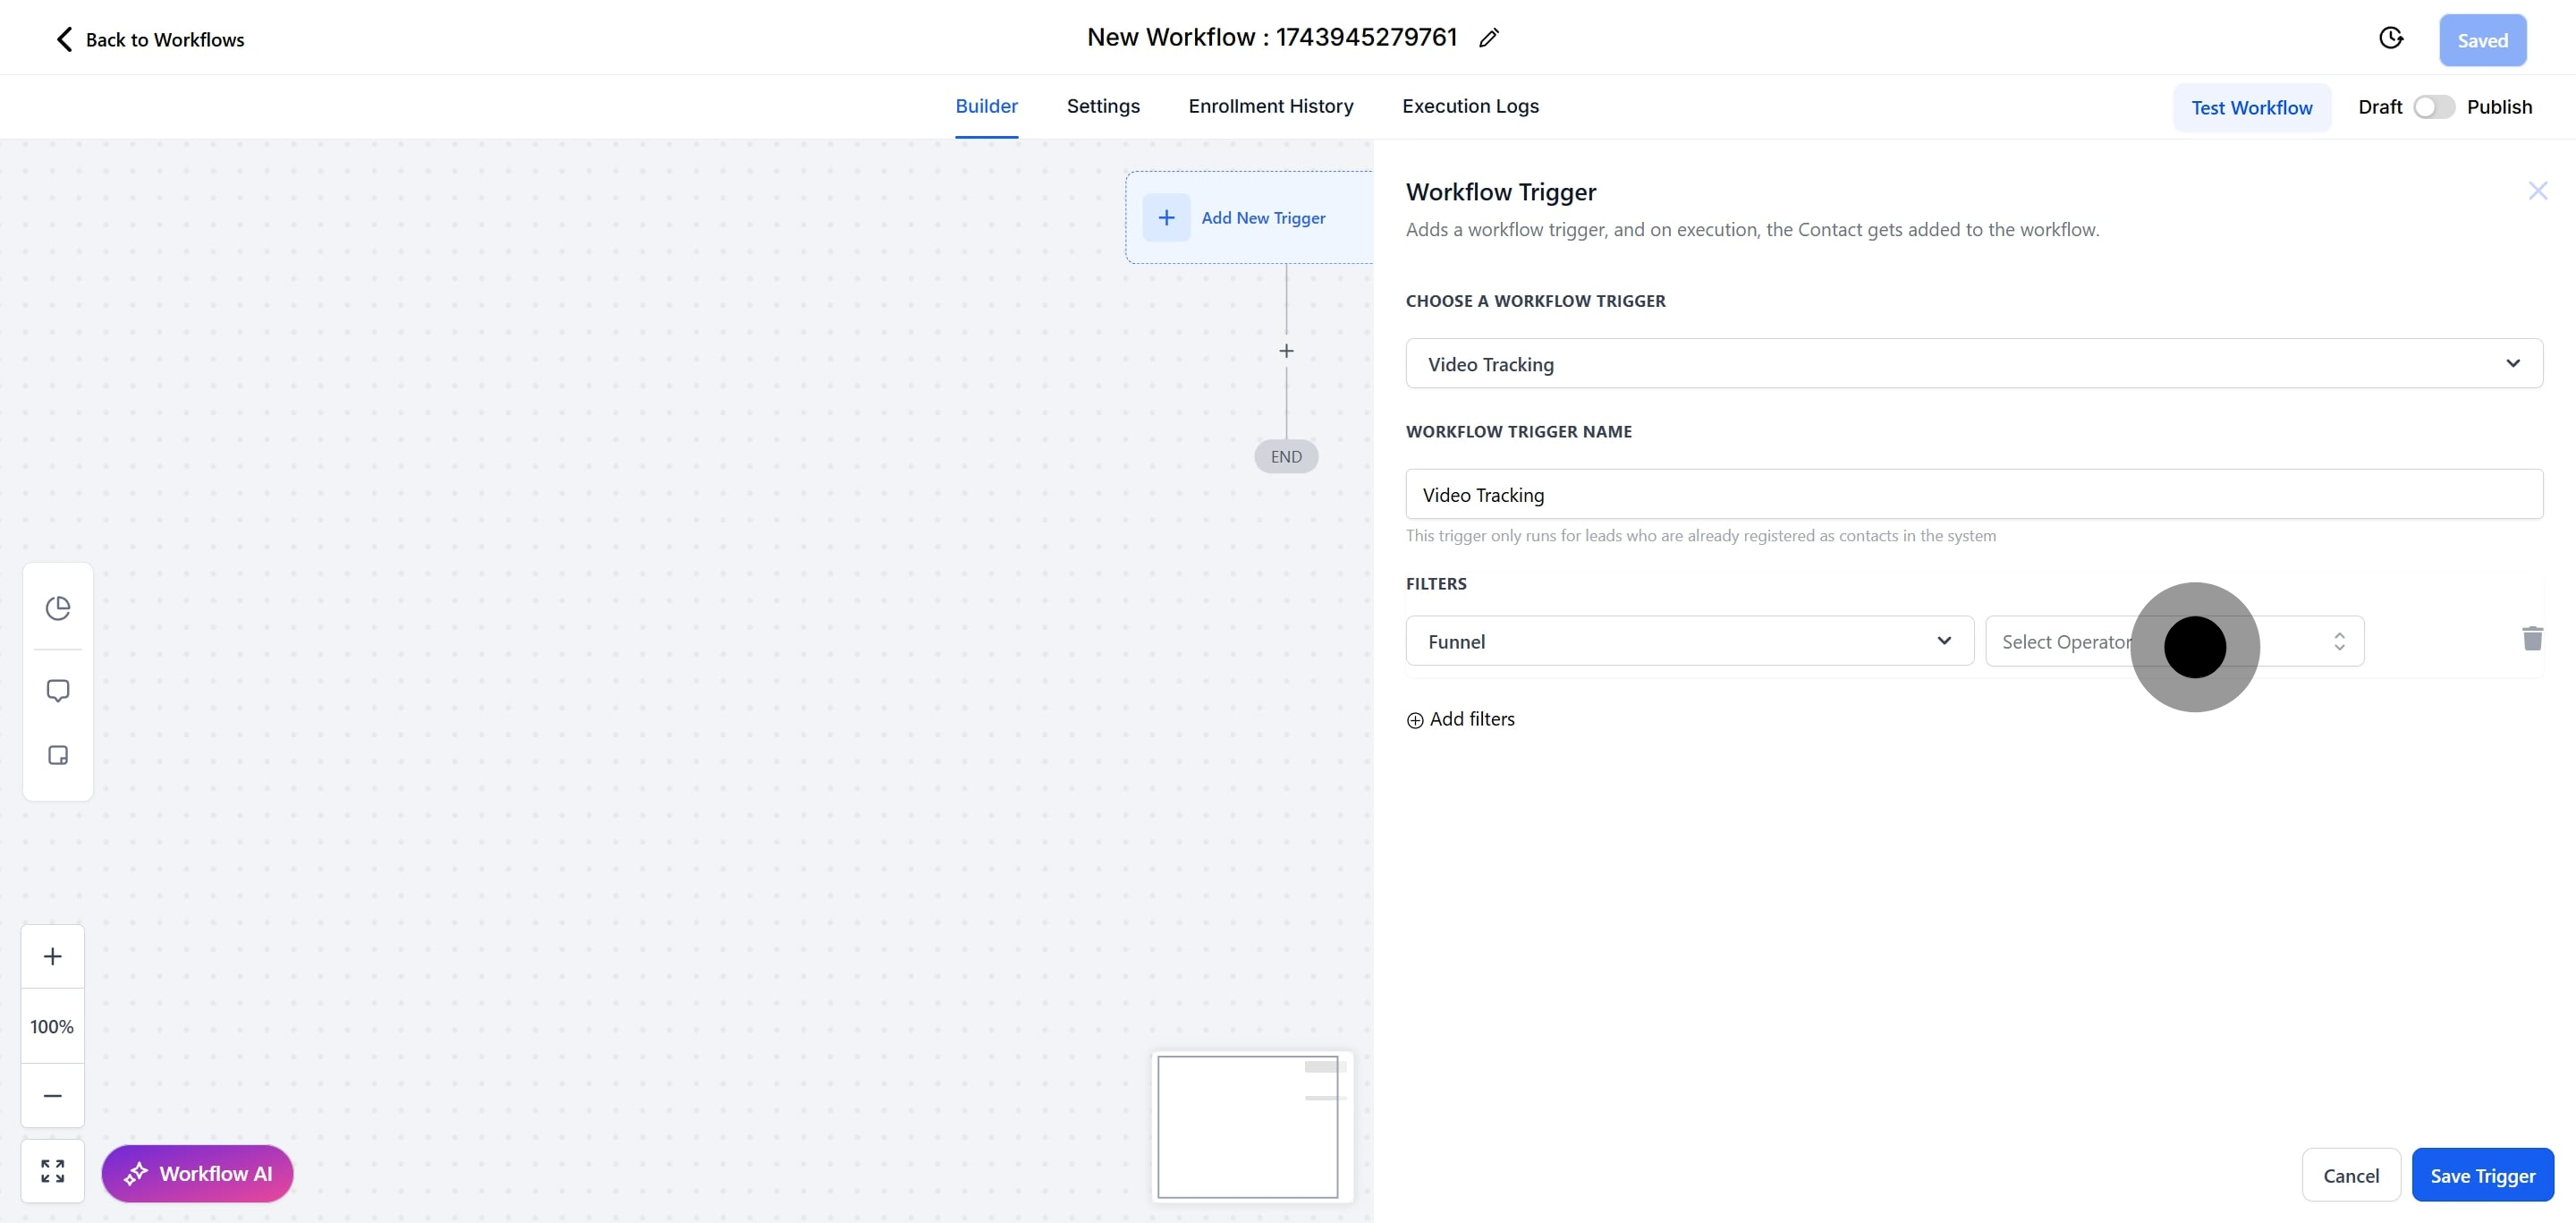
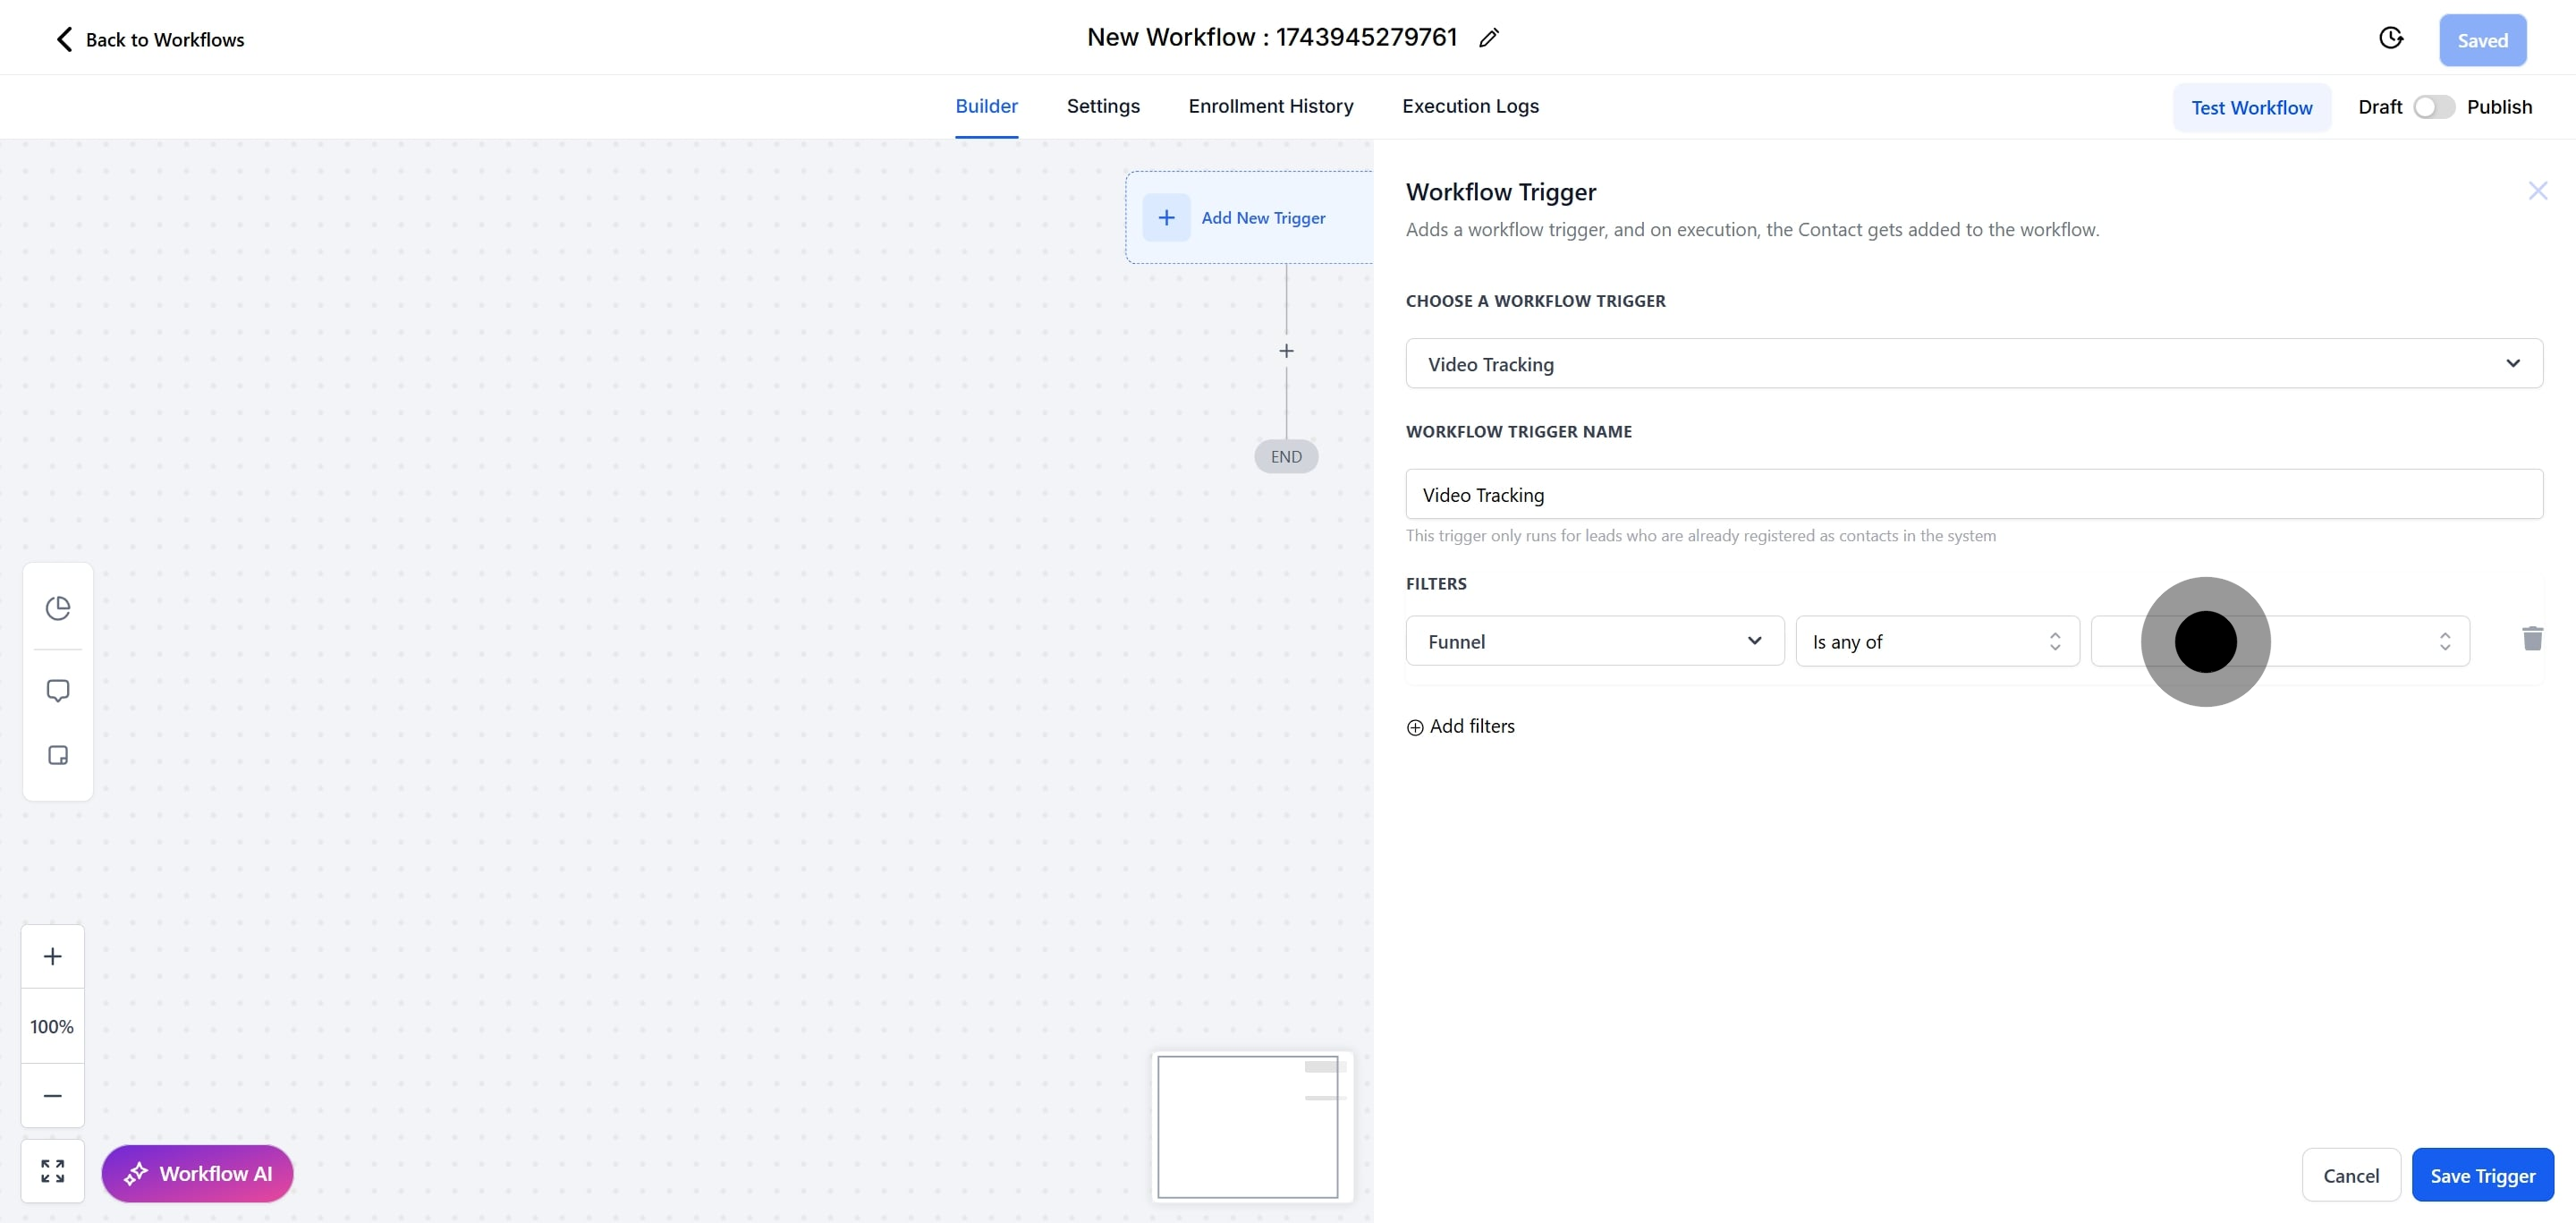
13. Select an operator that appears in the sub-menu.
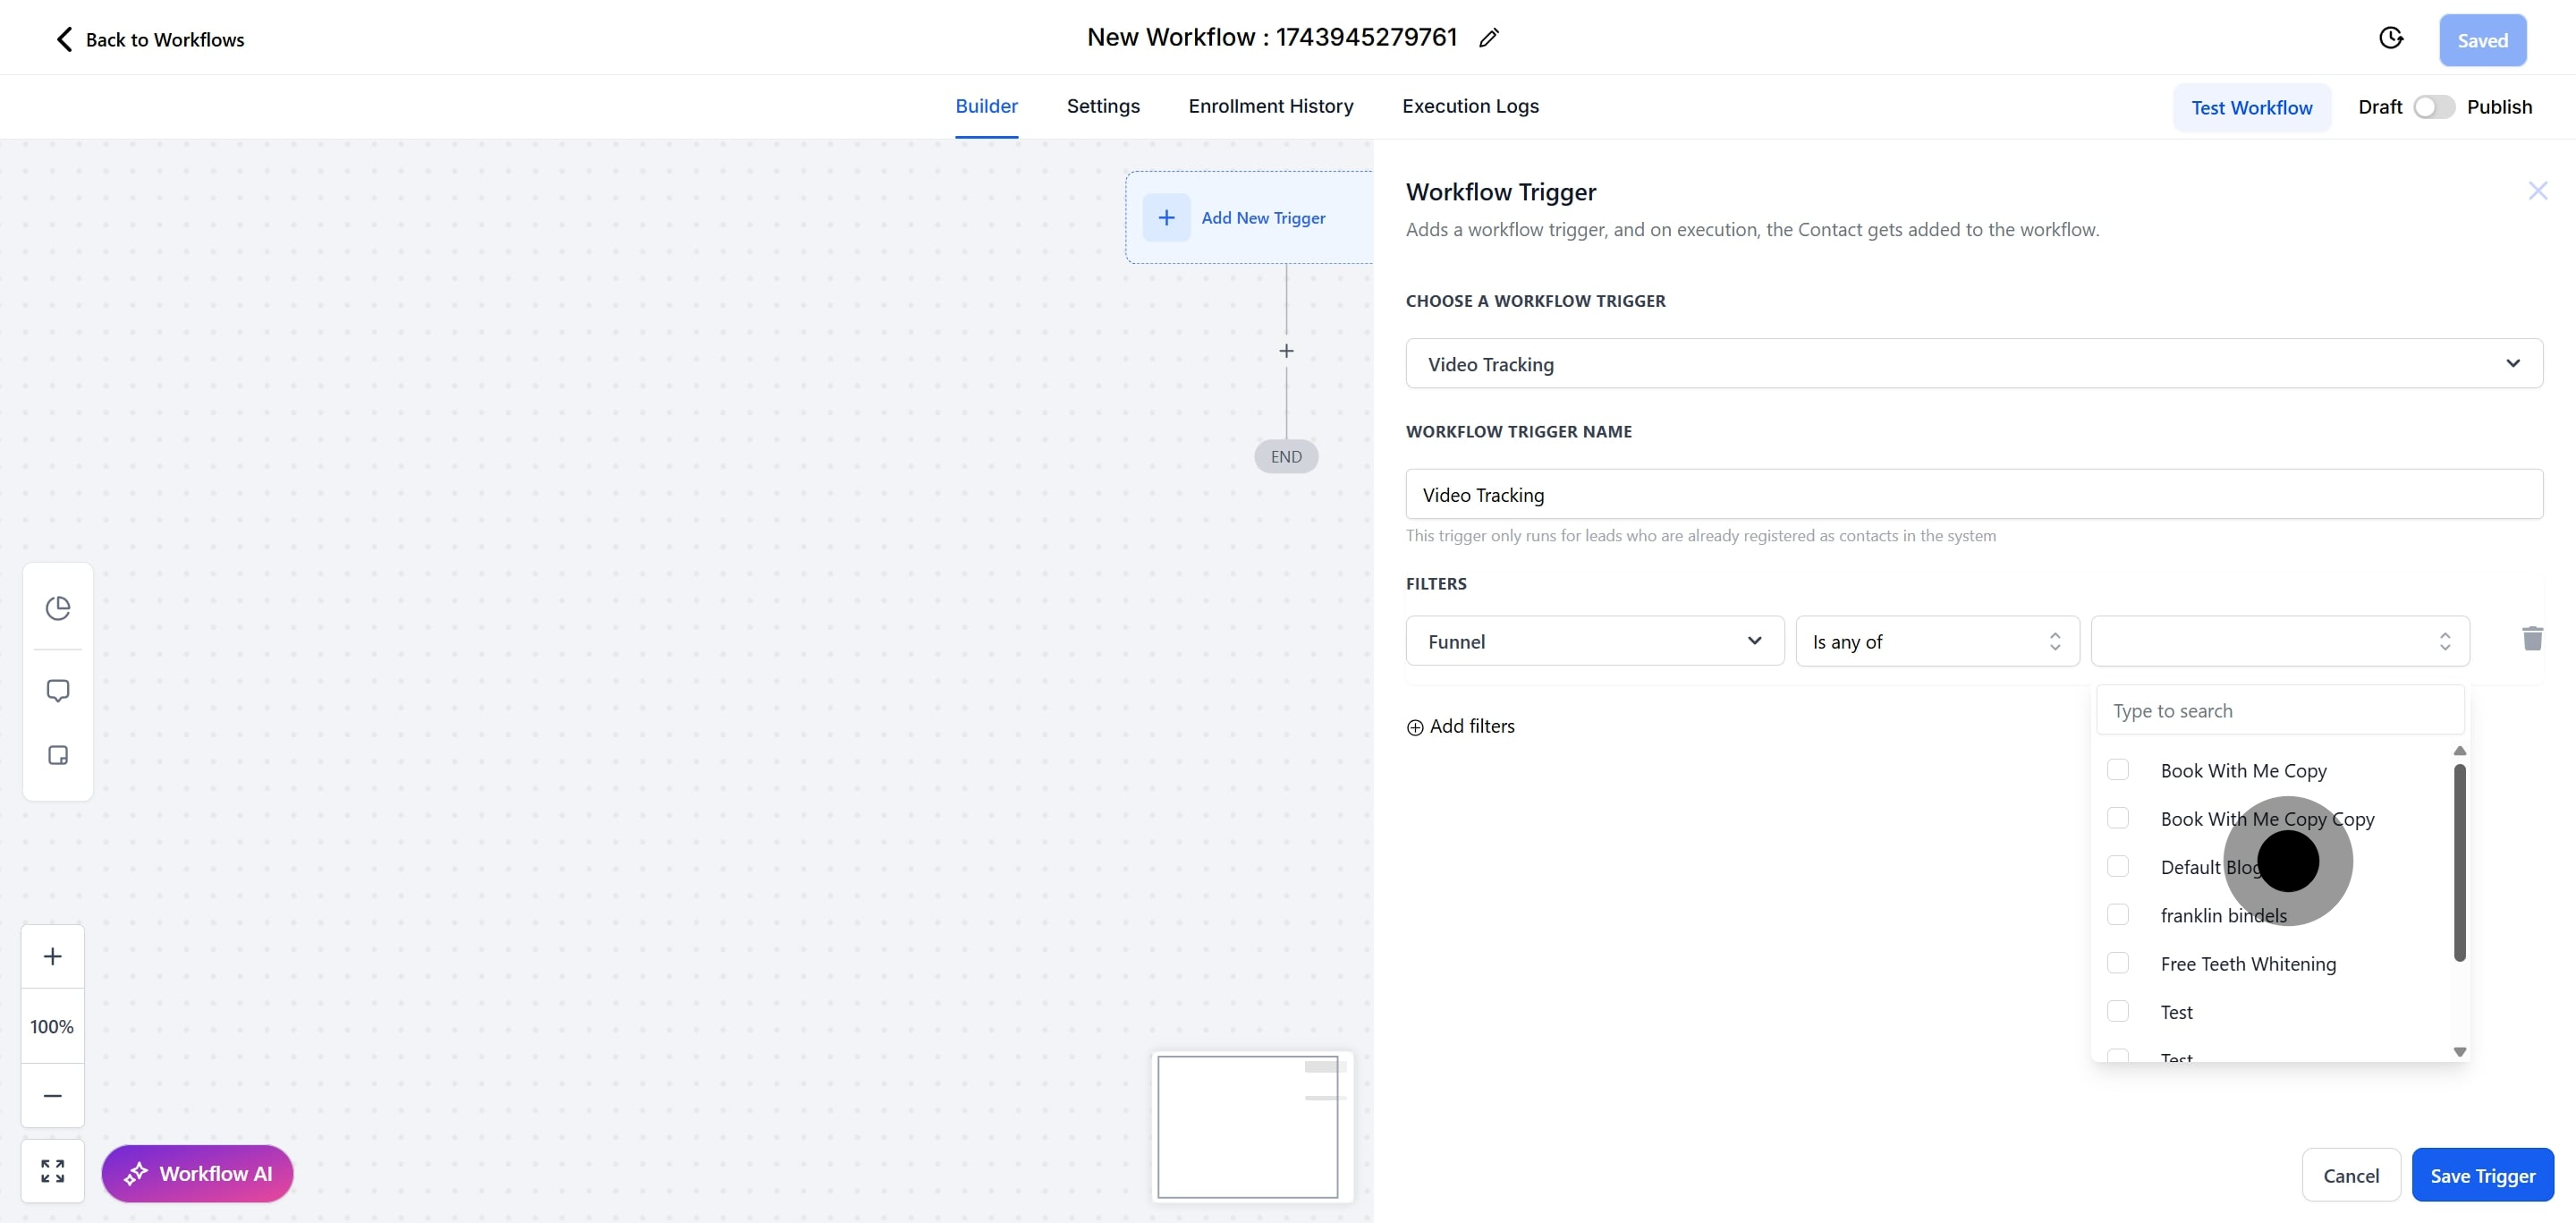
14. Click here to access the sub-menu options.
15. Then, select the option from the sub-menu.
16. Alternatively, click on "Video" for another option.
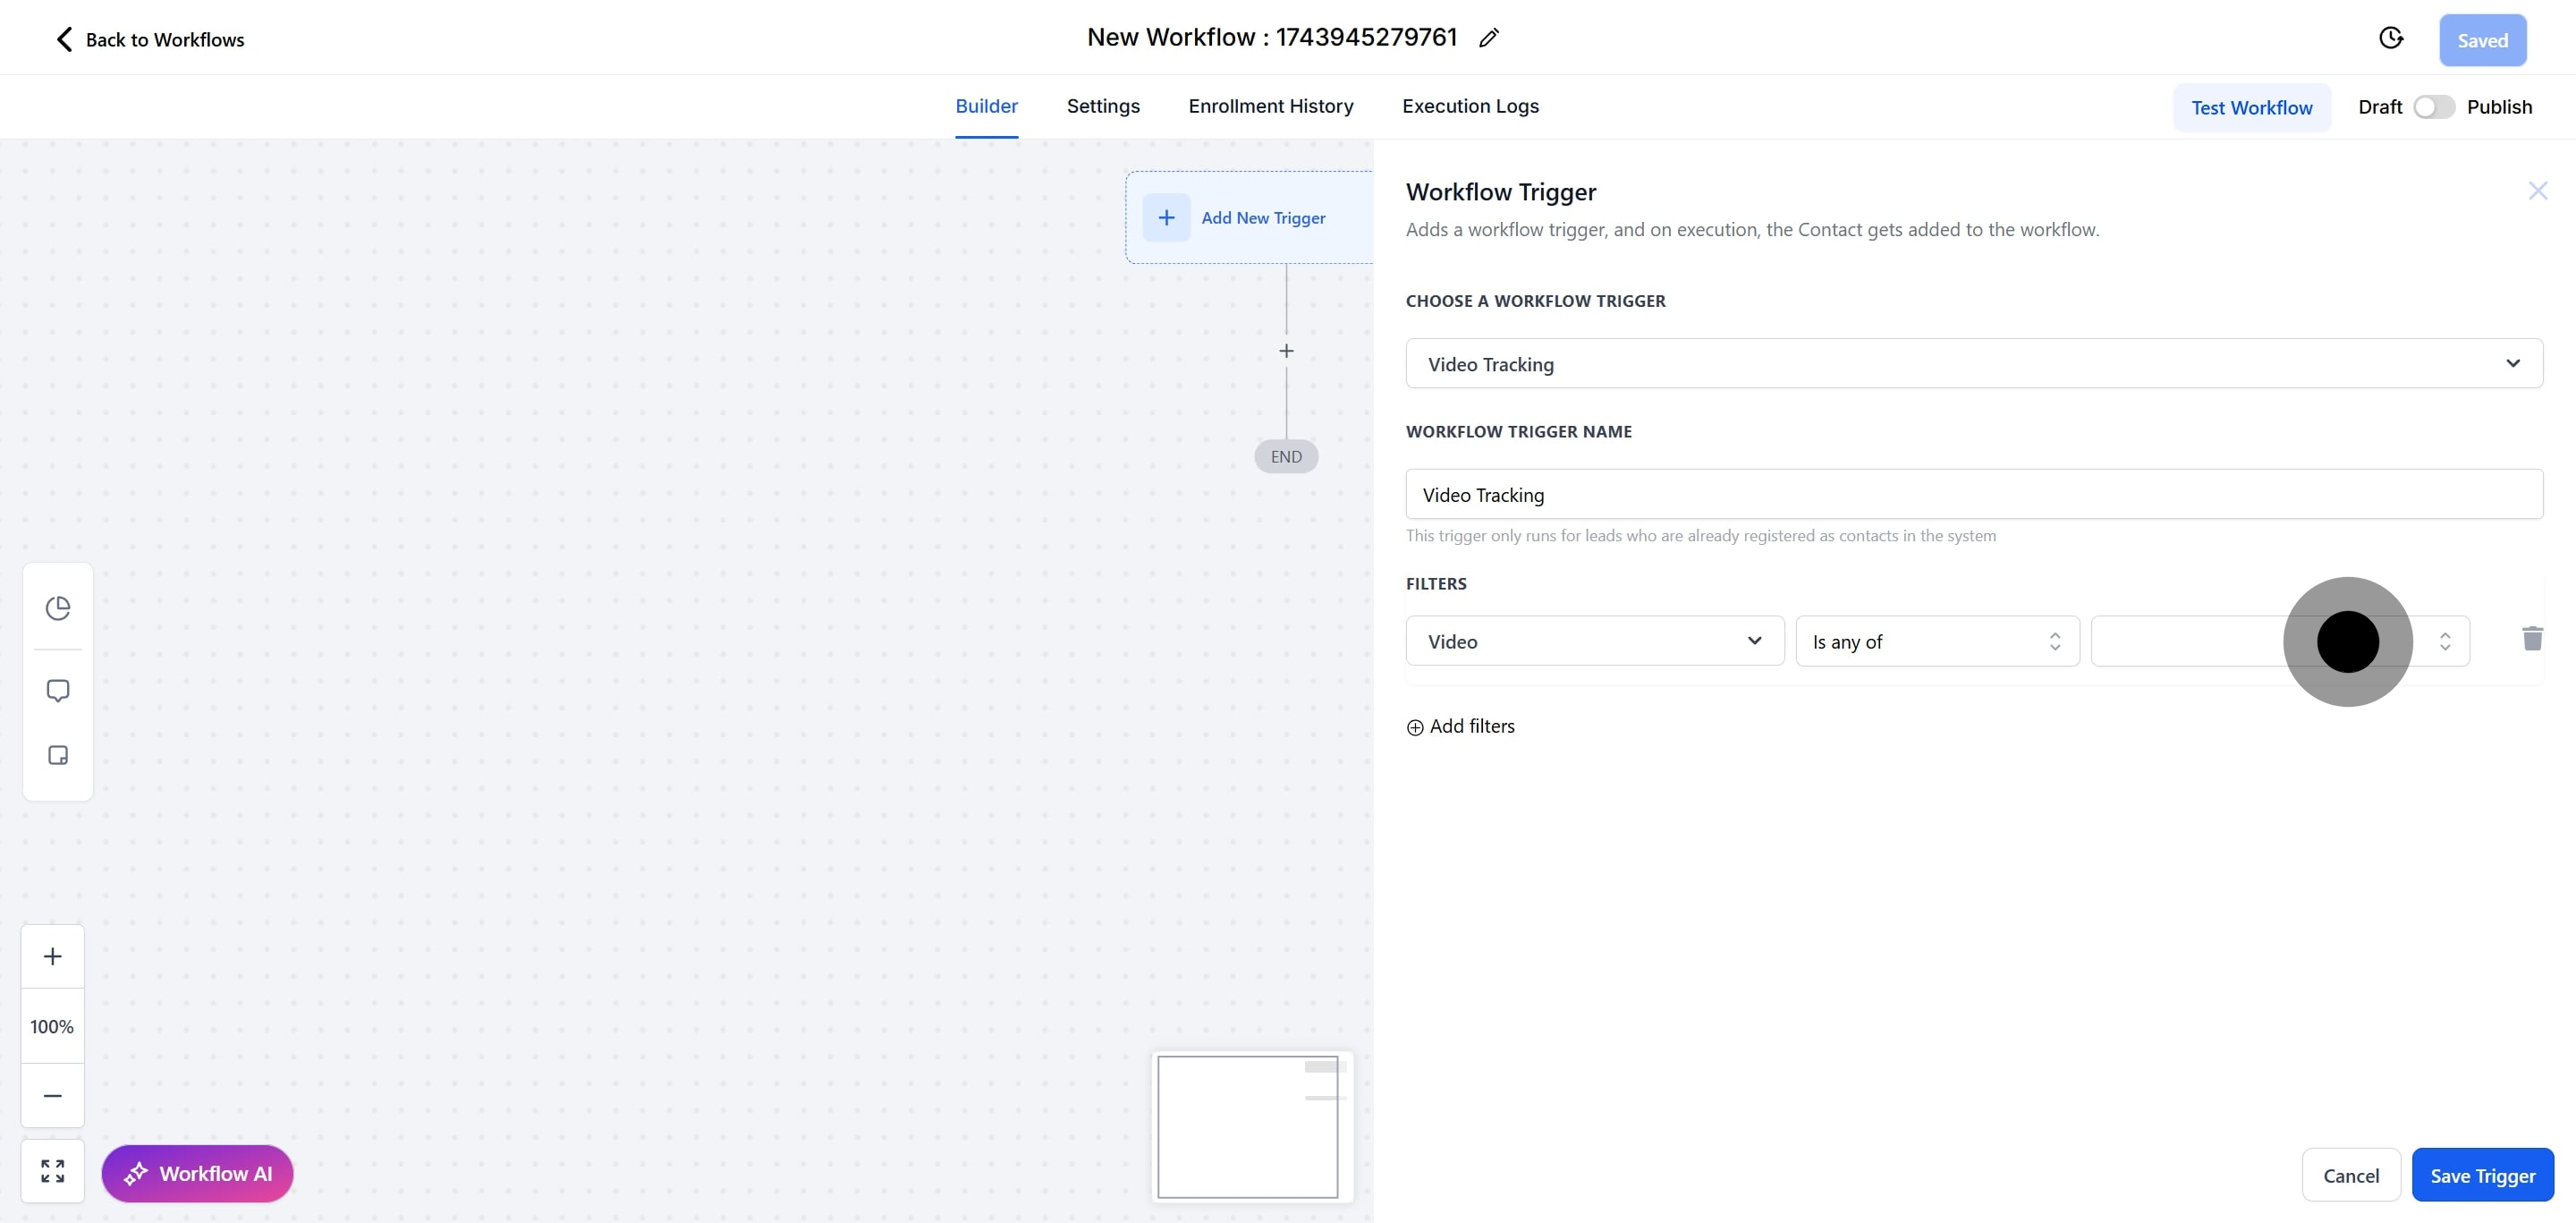
17. Click on "Select Operator" to reveal the sub-menu.
18. Choose an operator from the sub-menu that appears.

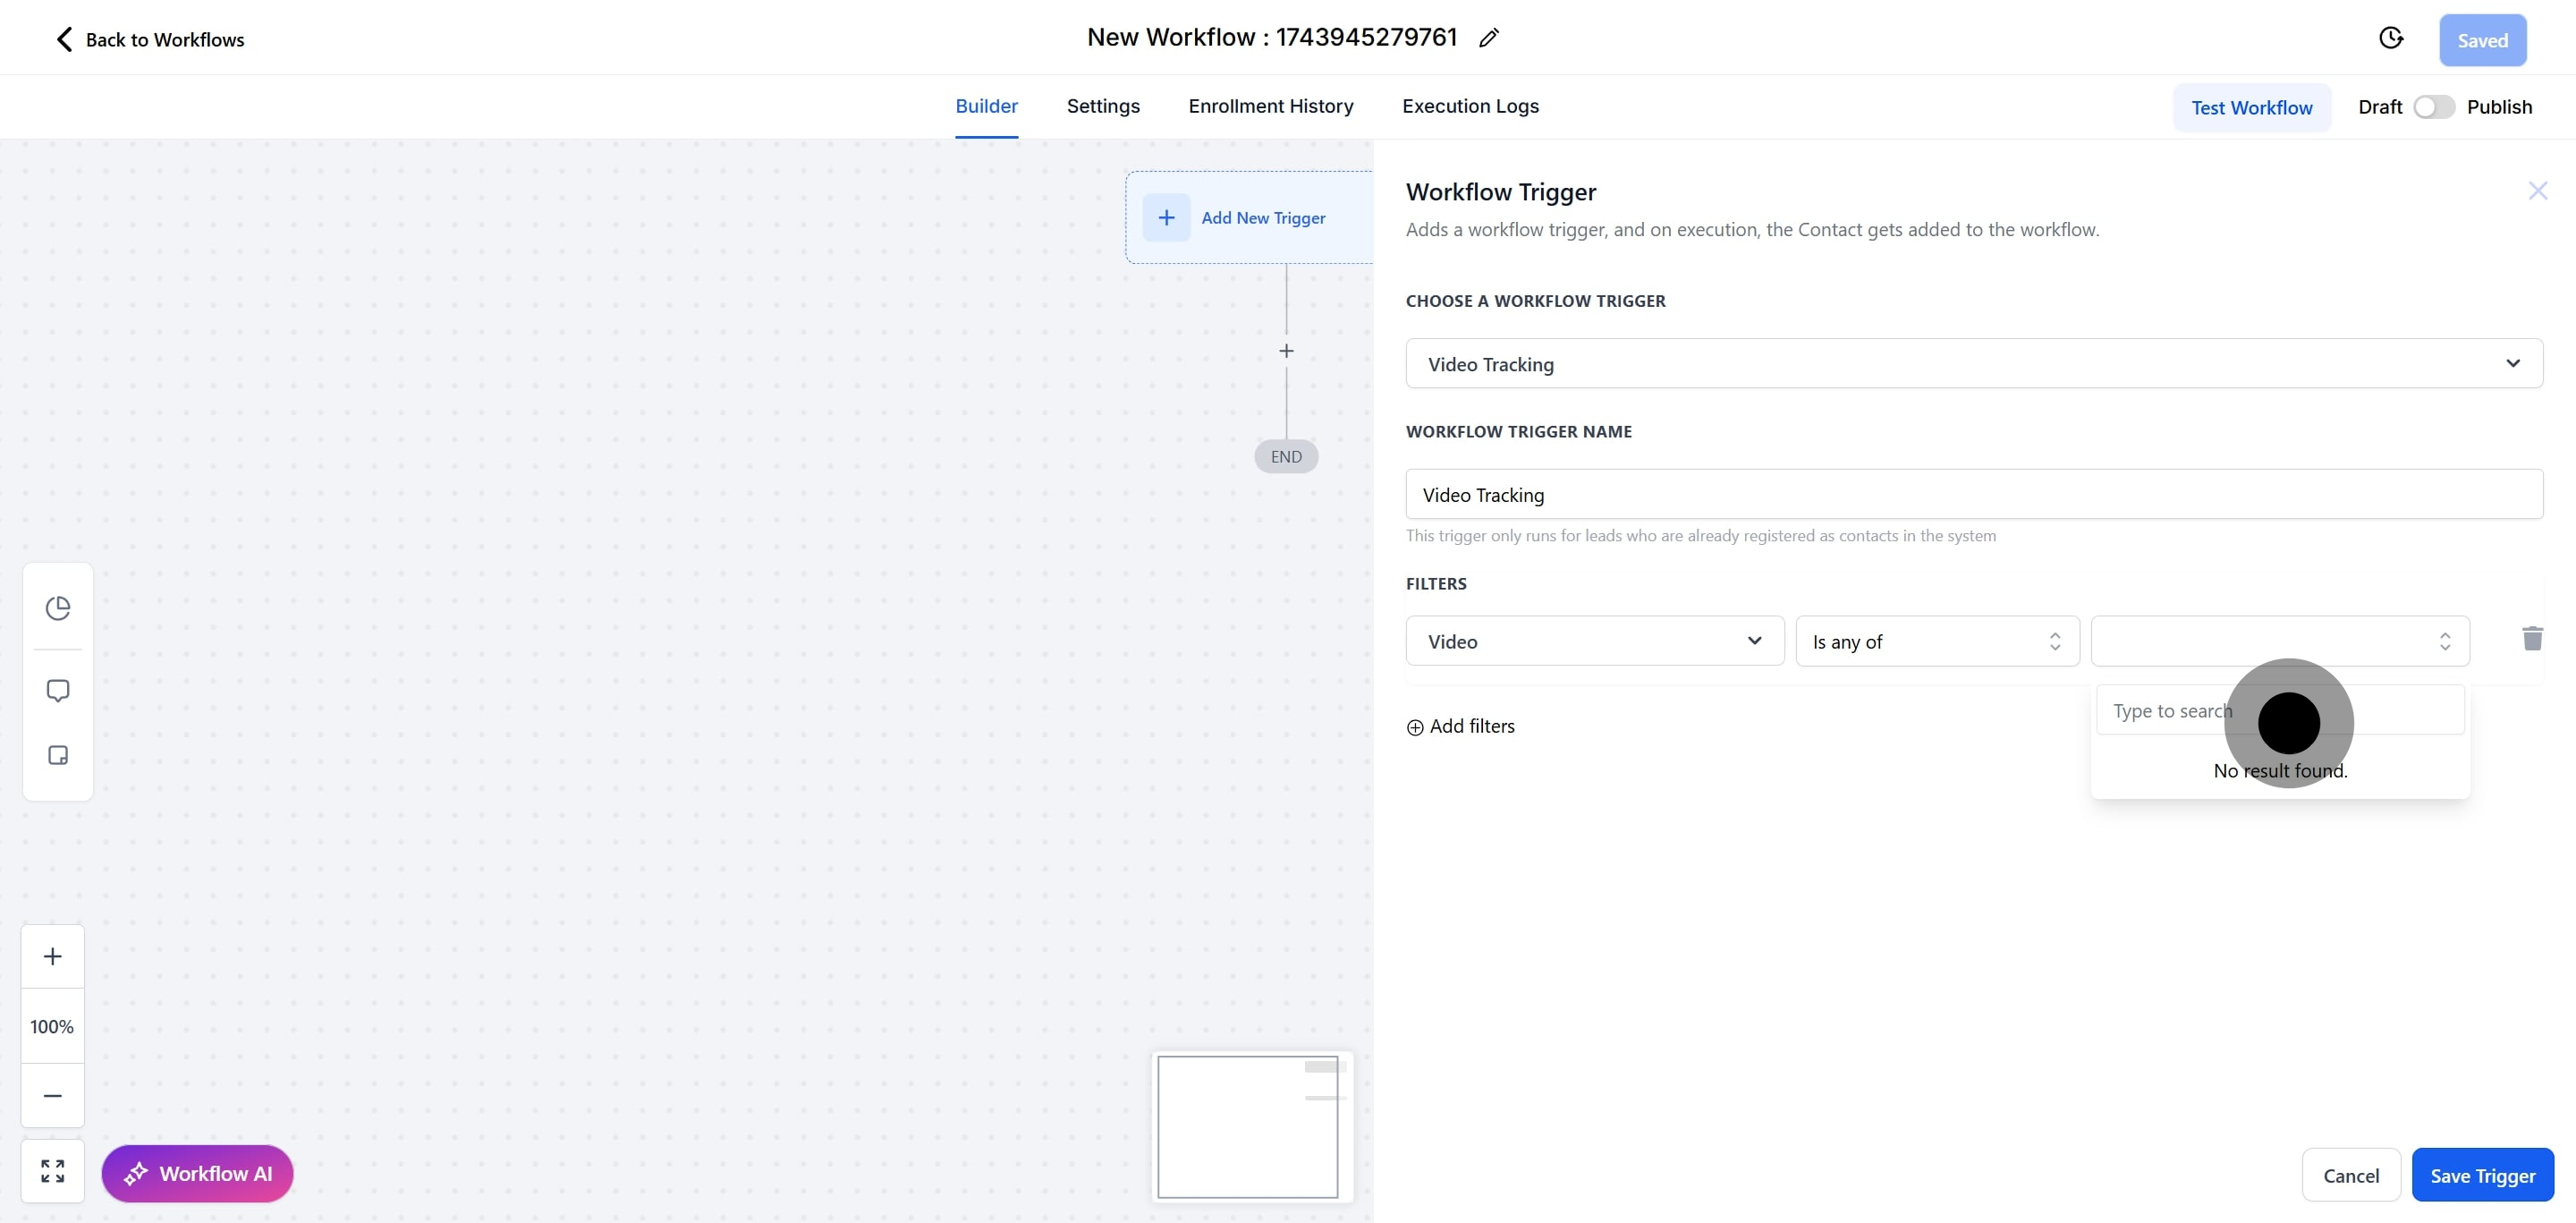
19. After that, click here to open the sub-menu.
20. Select from the options displayed in the sub-menu.
21. Or click on "Video duration (%)" as another choice.
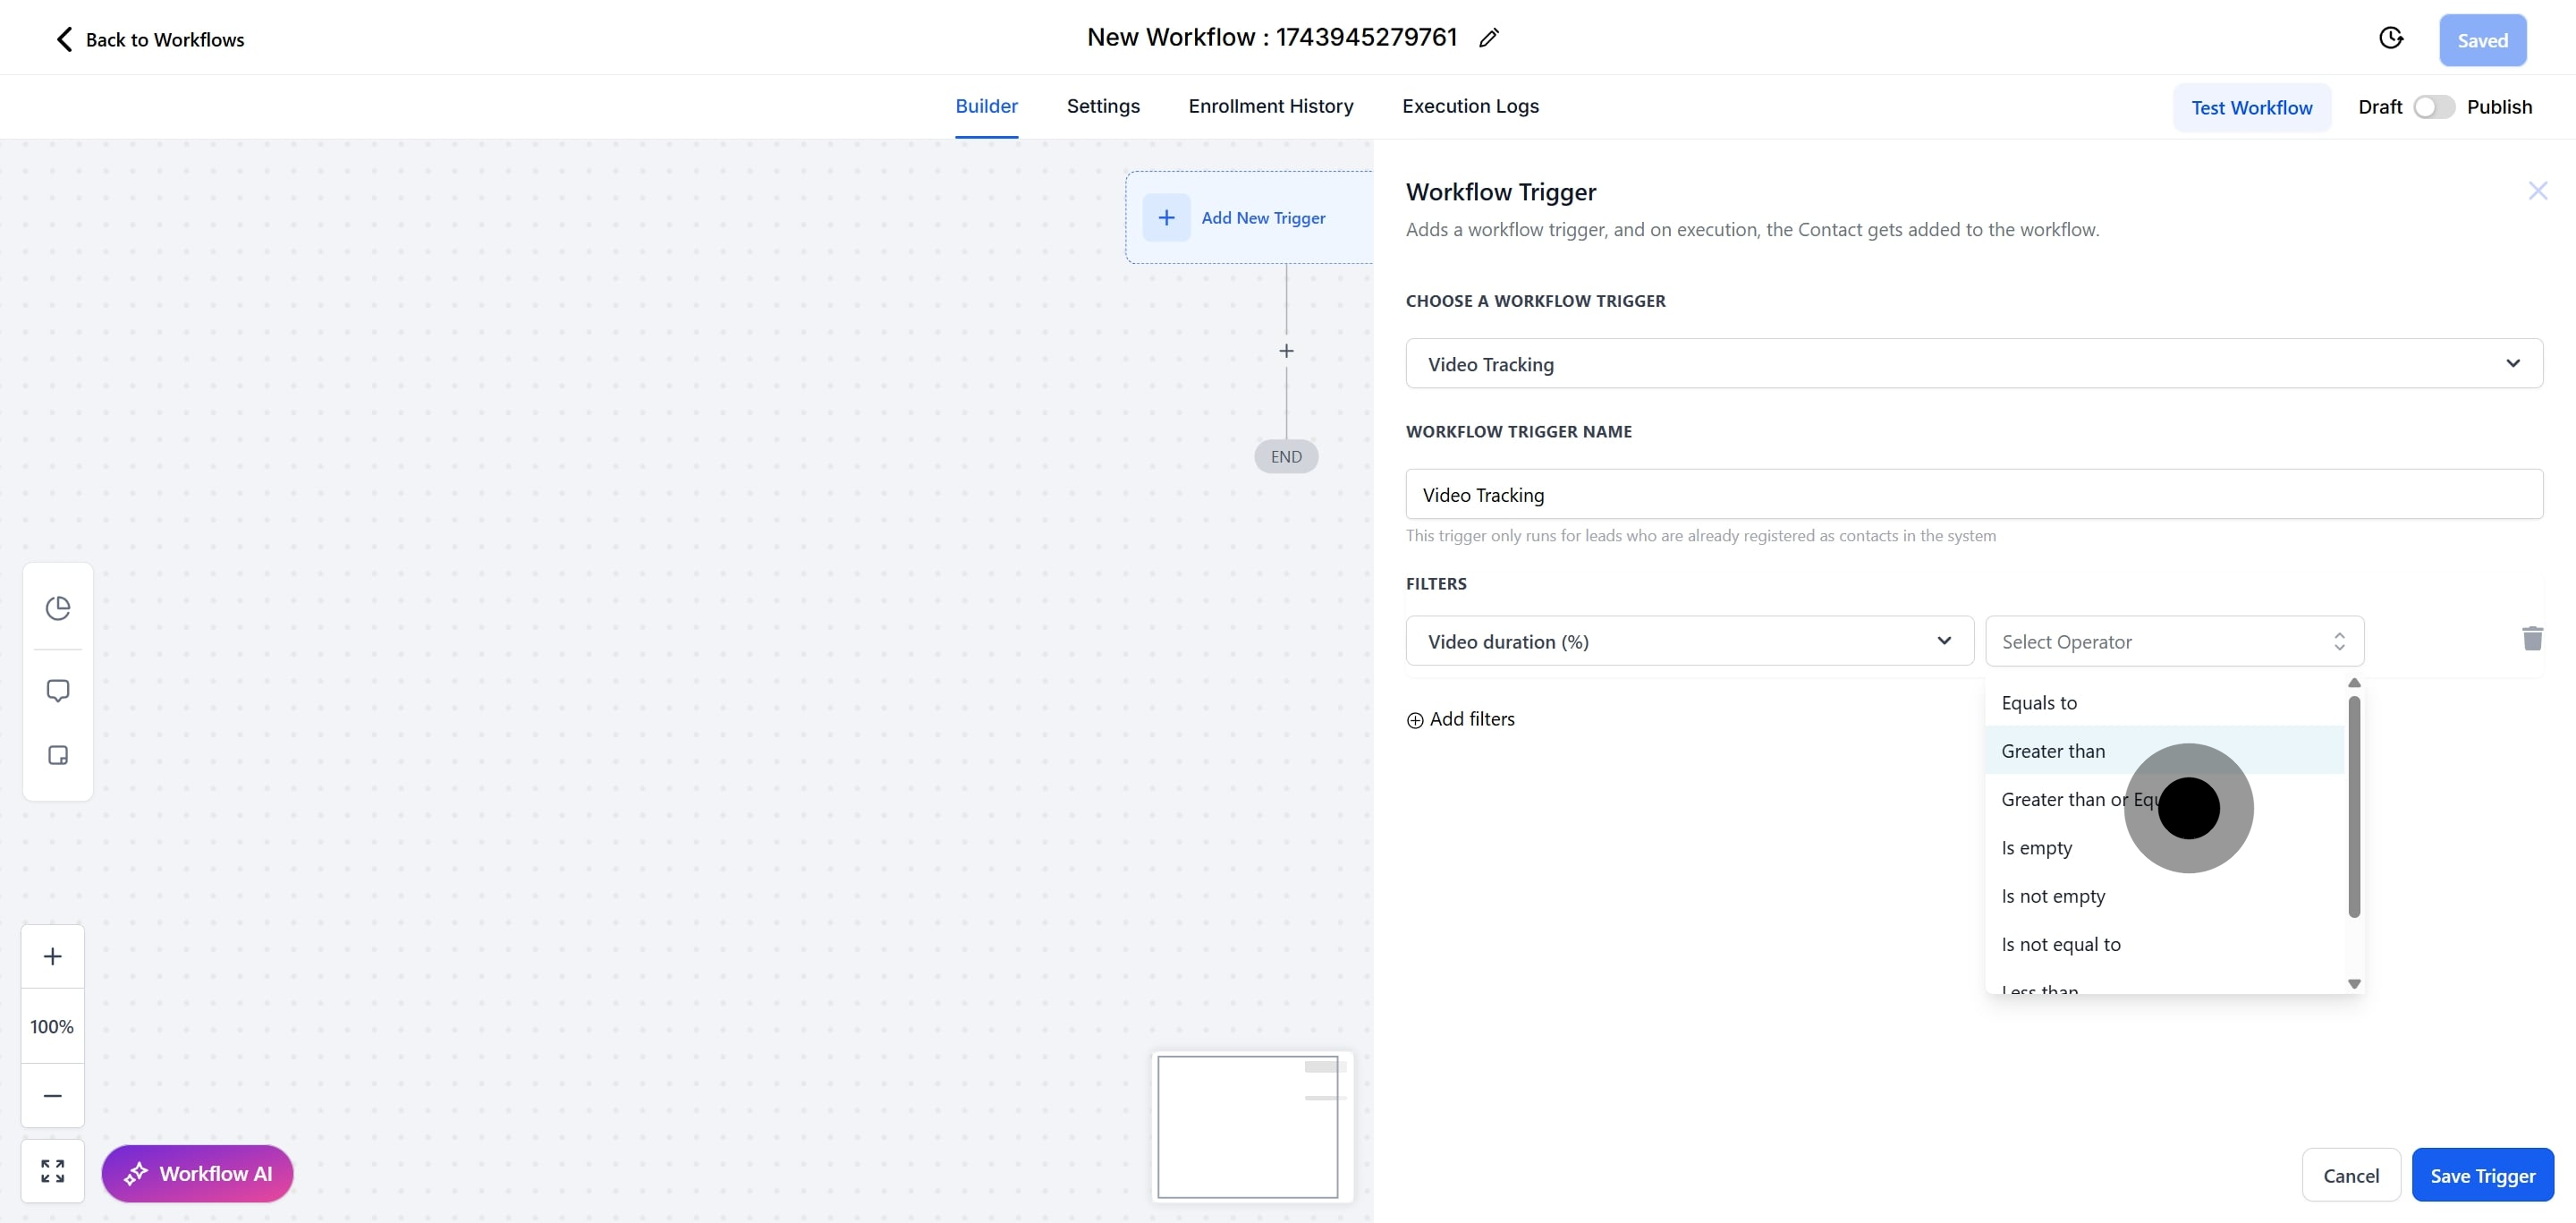
22. After that, click on "Select Operator" to view more options.
23. Select an operator from the list below.
24. Click "Up or Down" or type in your number.
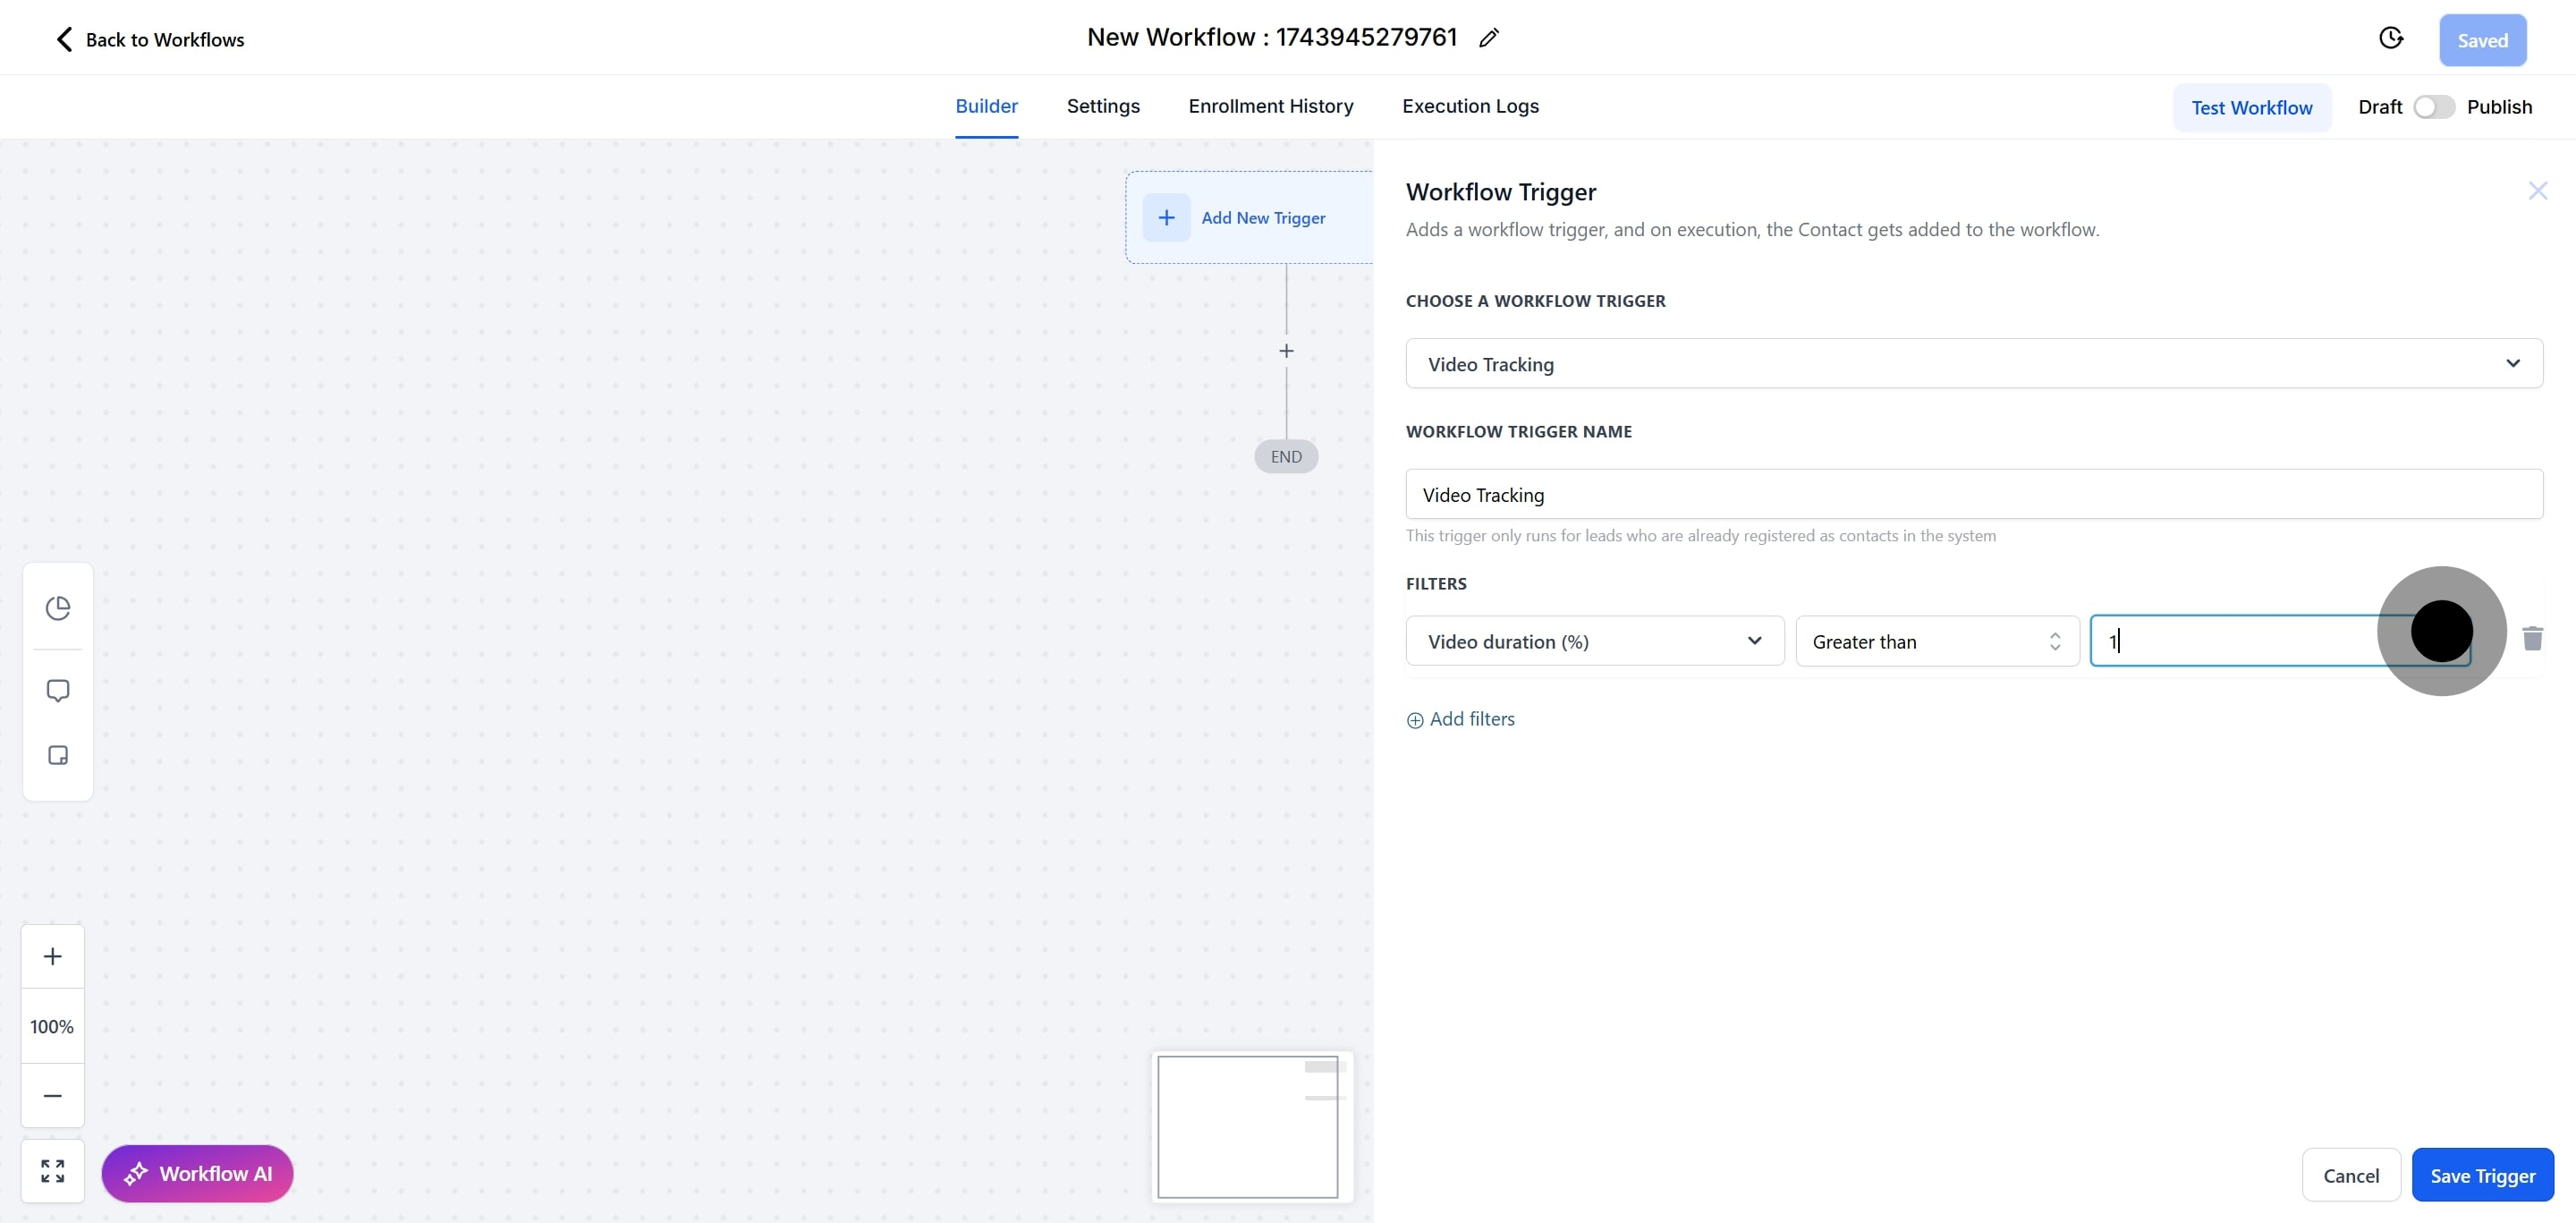
25. Then, click on "Save Trigger".
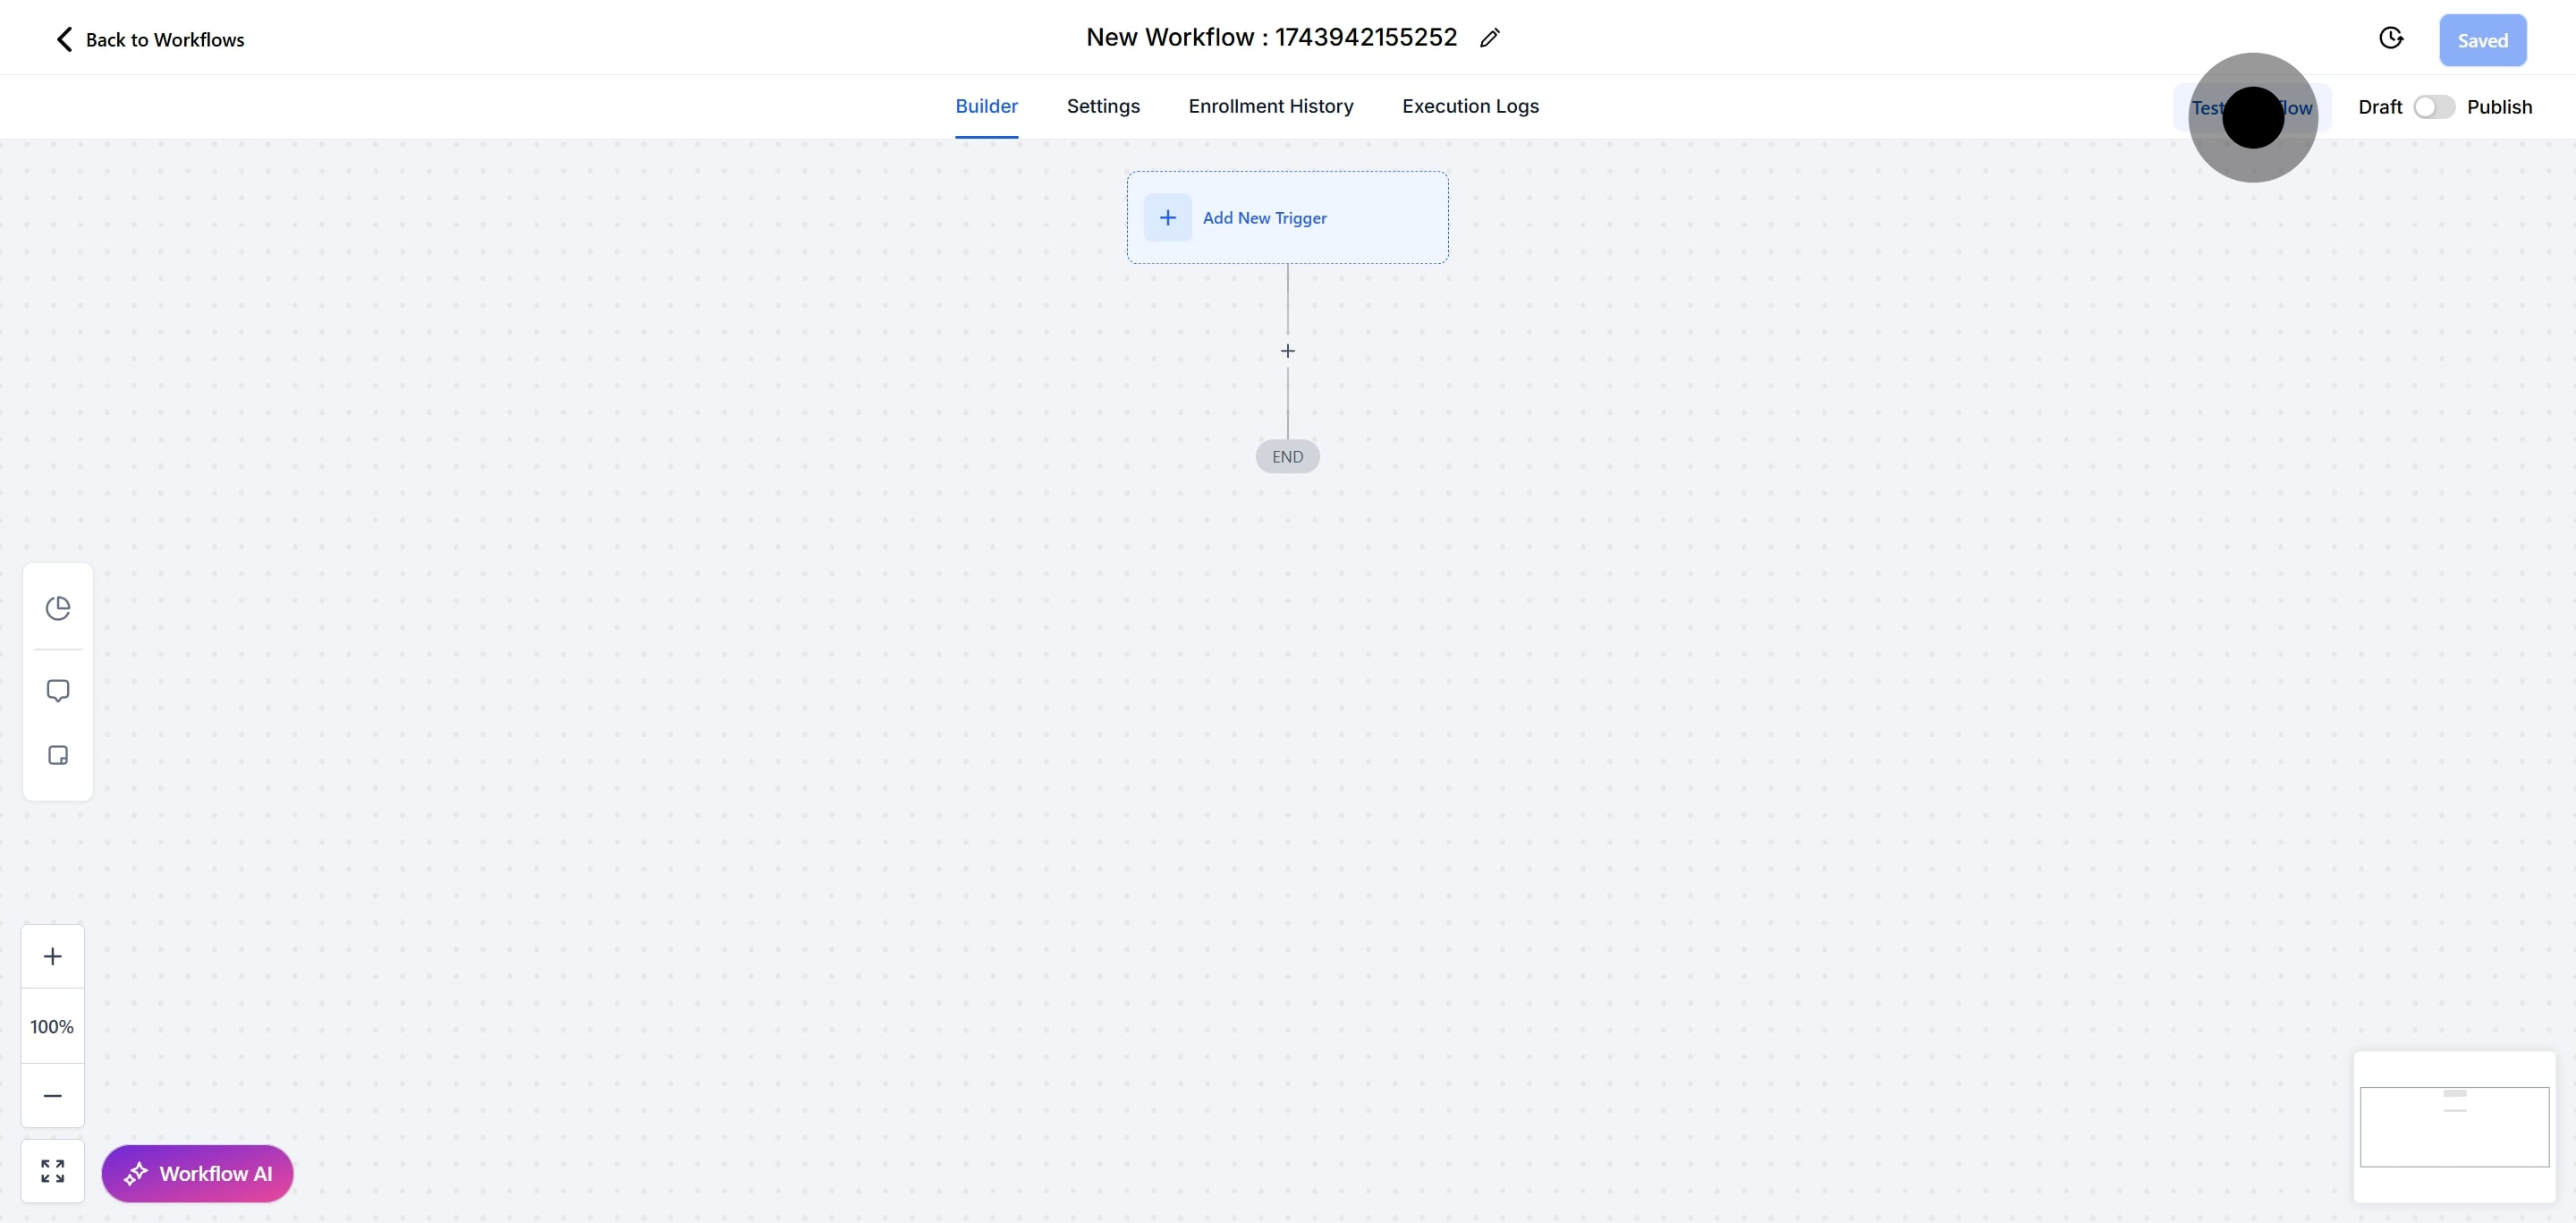
26. Click here to test your workflow and ensure everything works as expected.
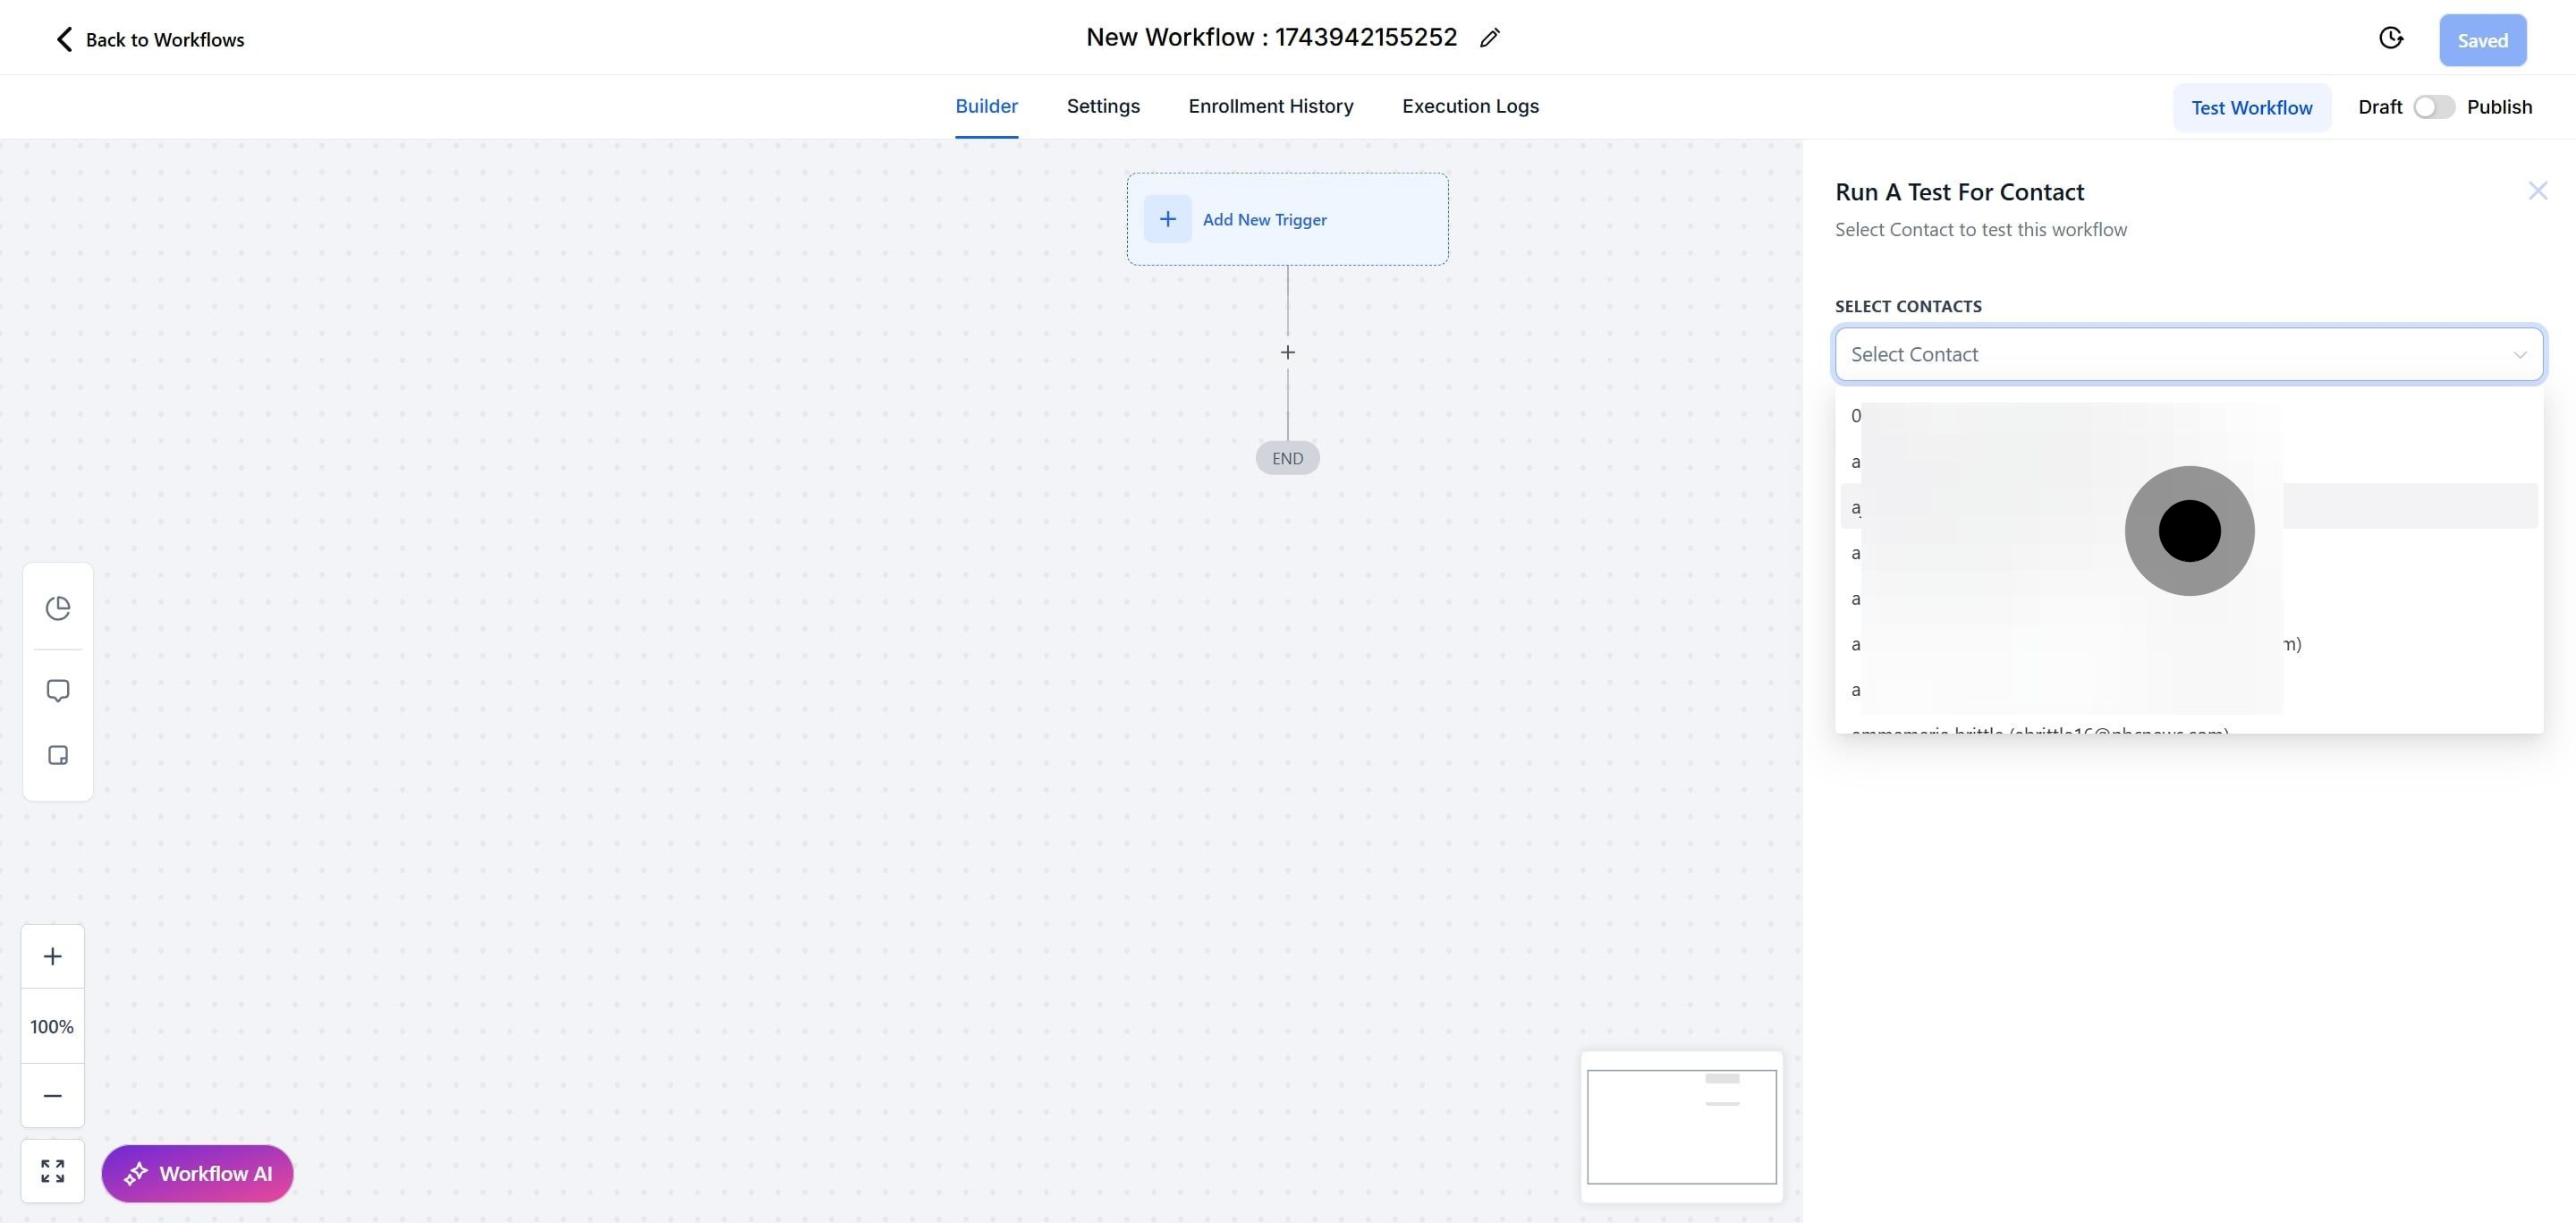
27. Click here to open a sub-menu for contacts you may want to test.
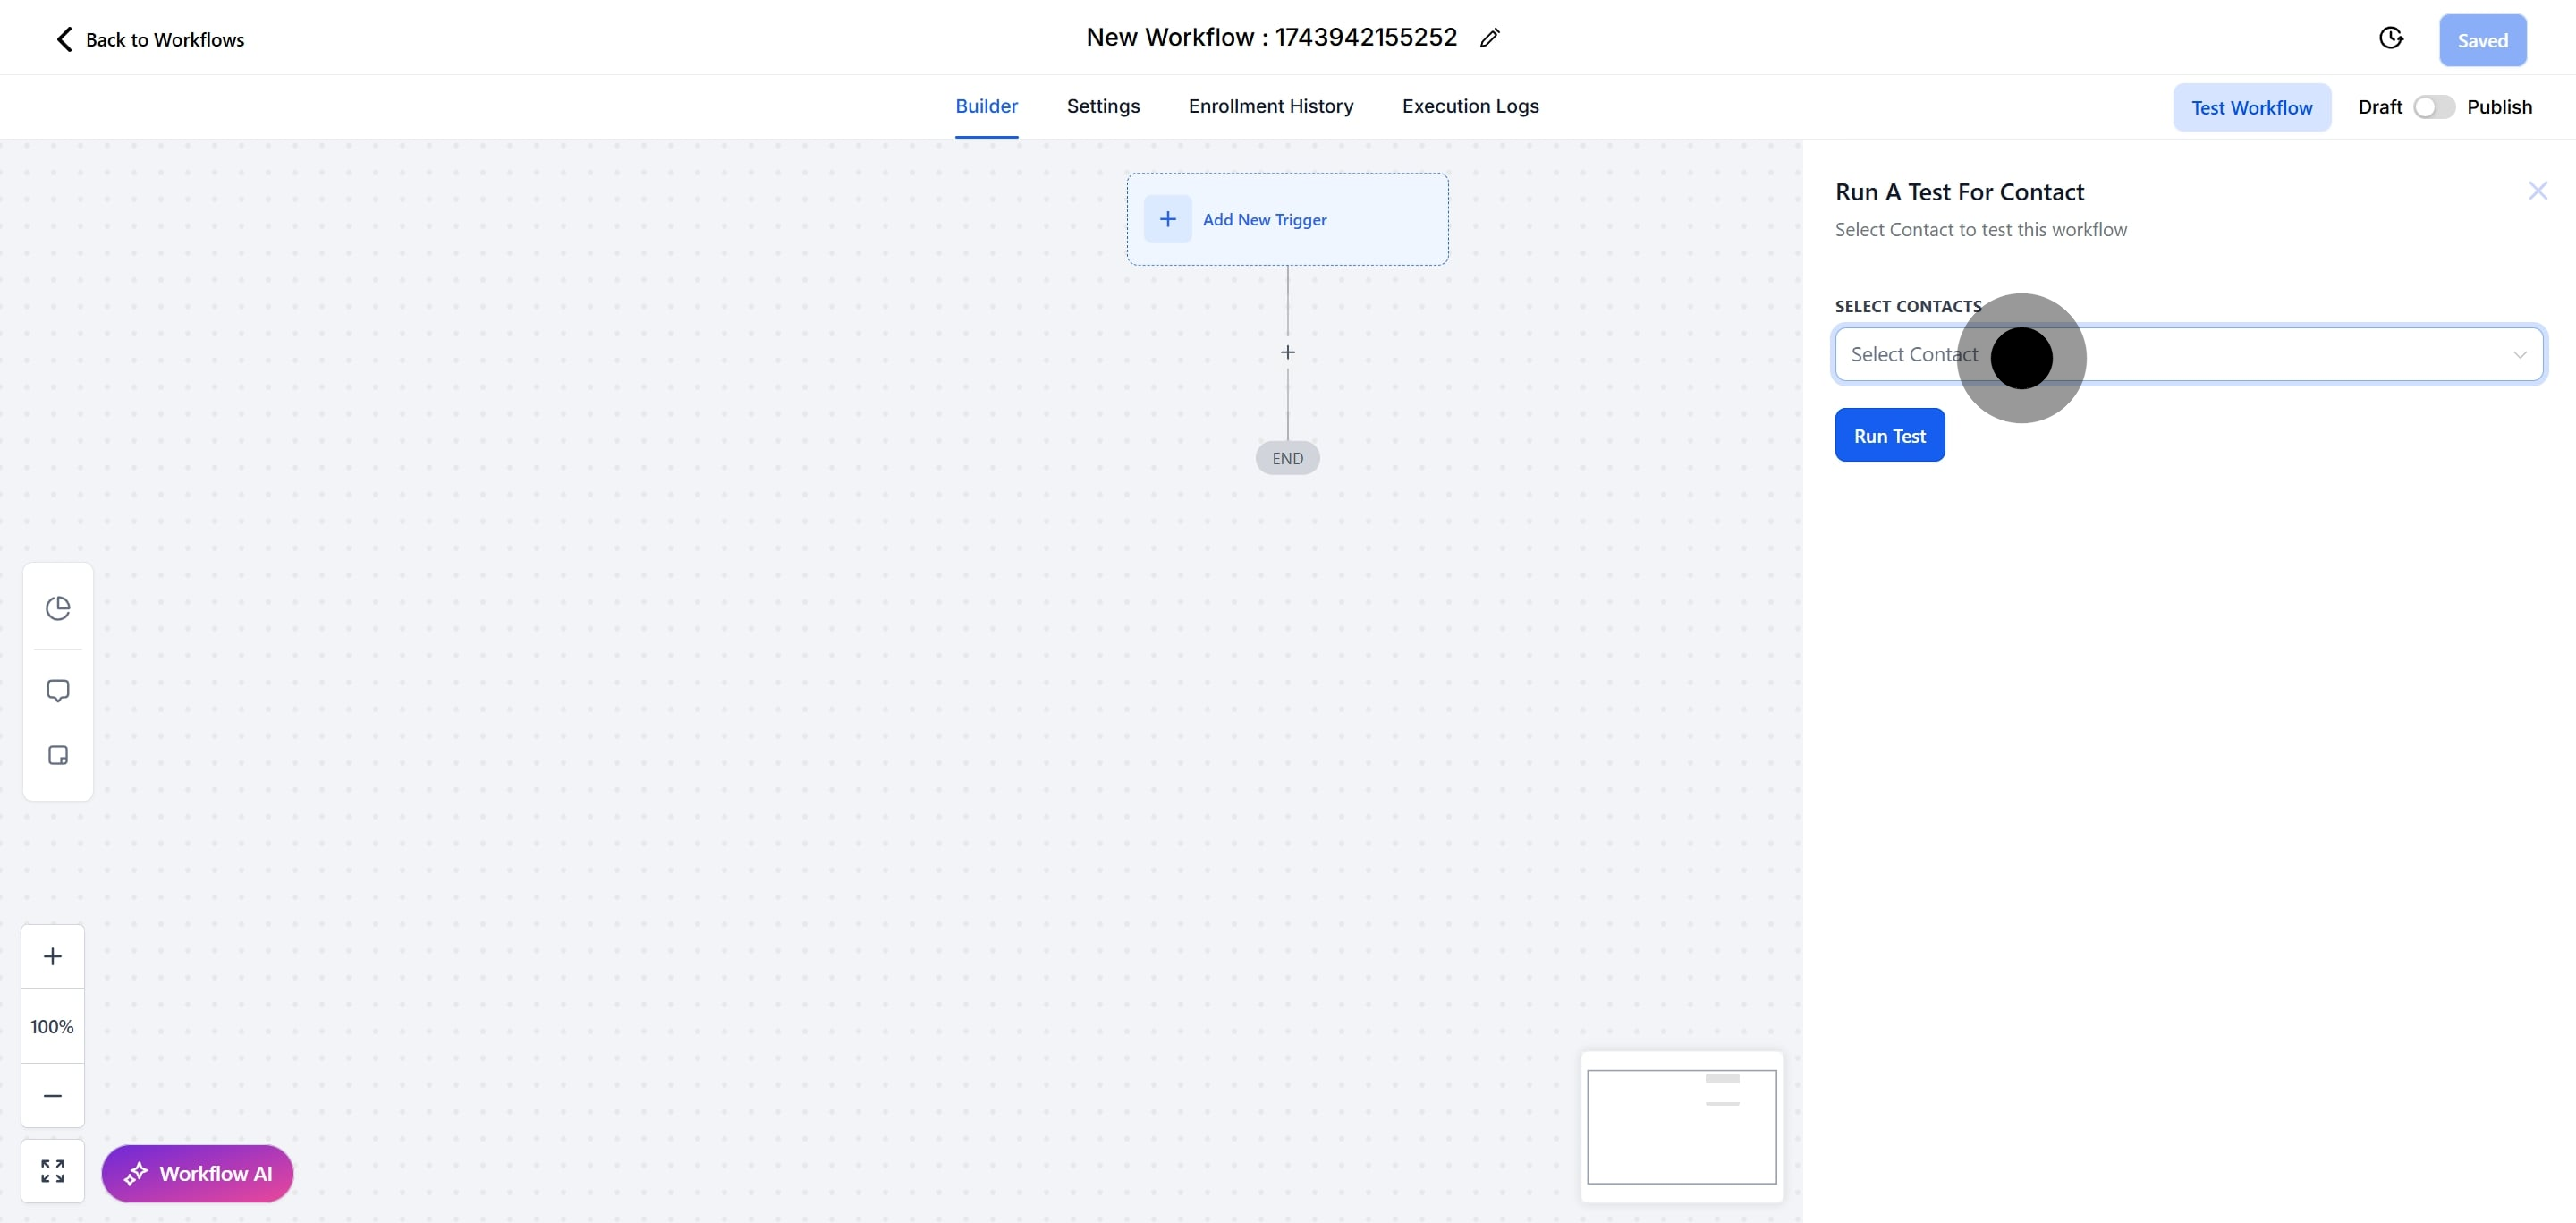
28. Click here to select a contact to test within your workflow.
29. Click on "Run a test for Contact" to initiate the testing process.
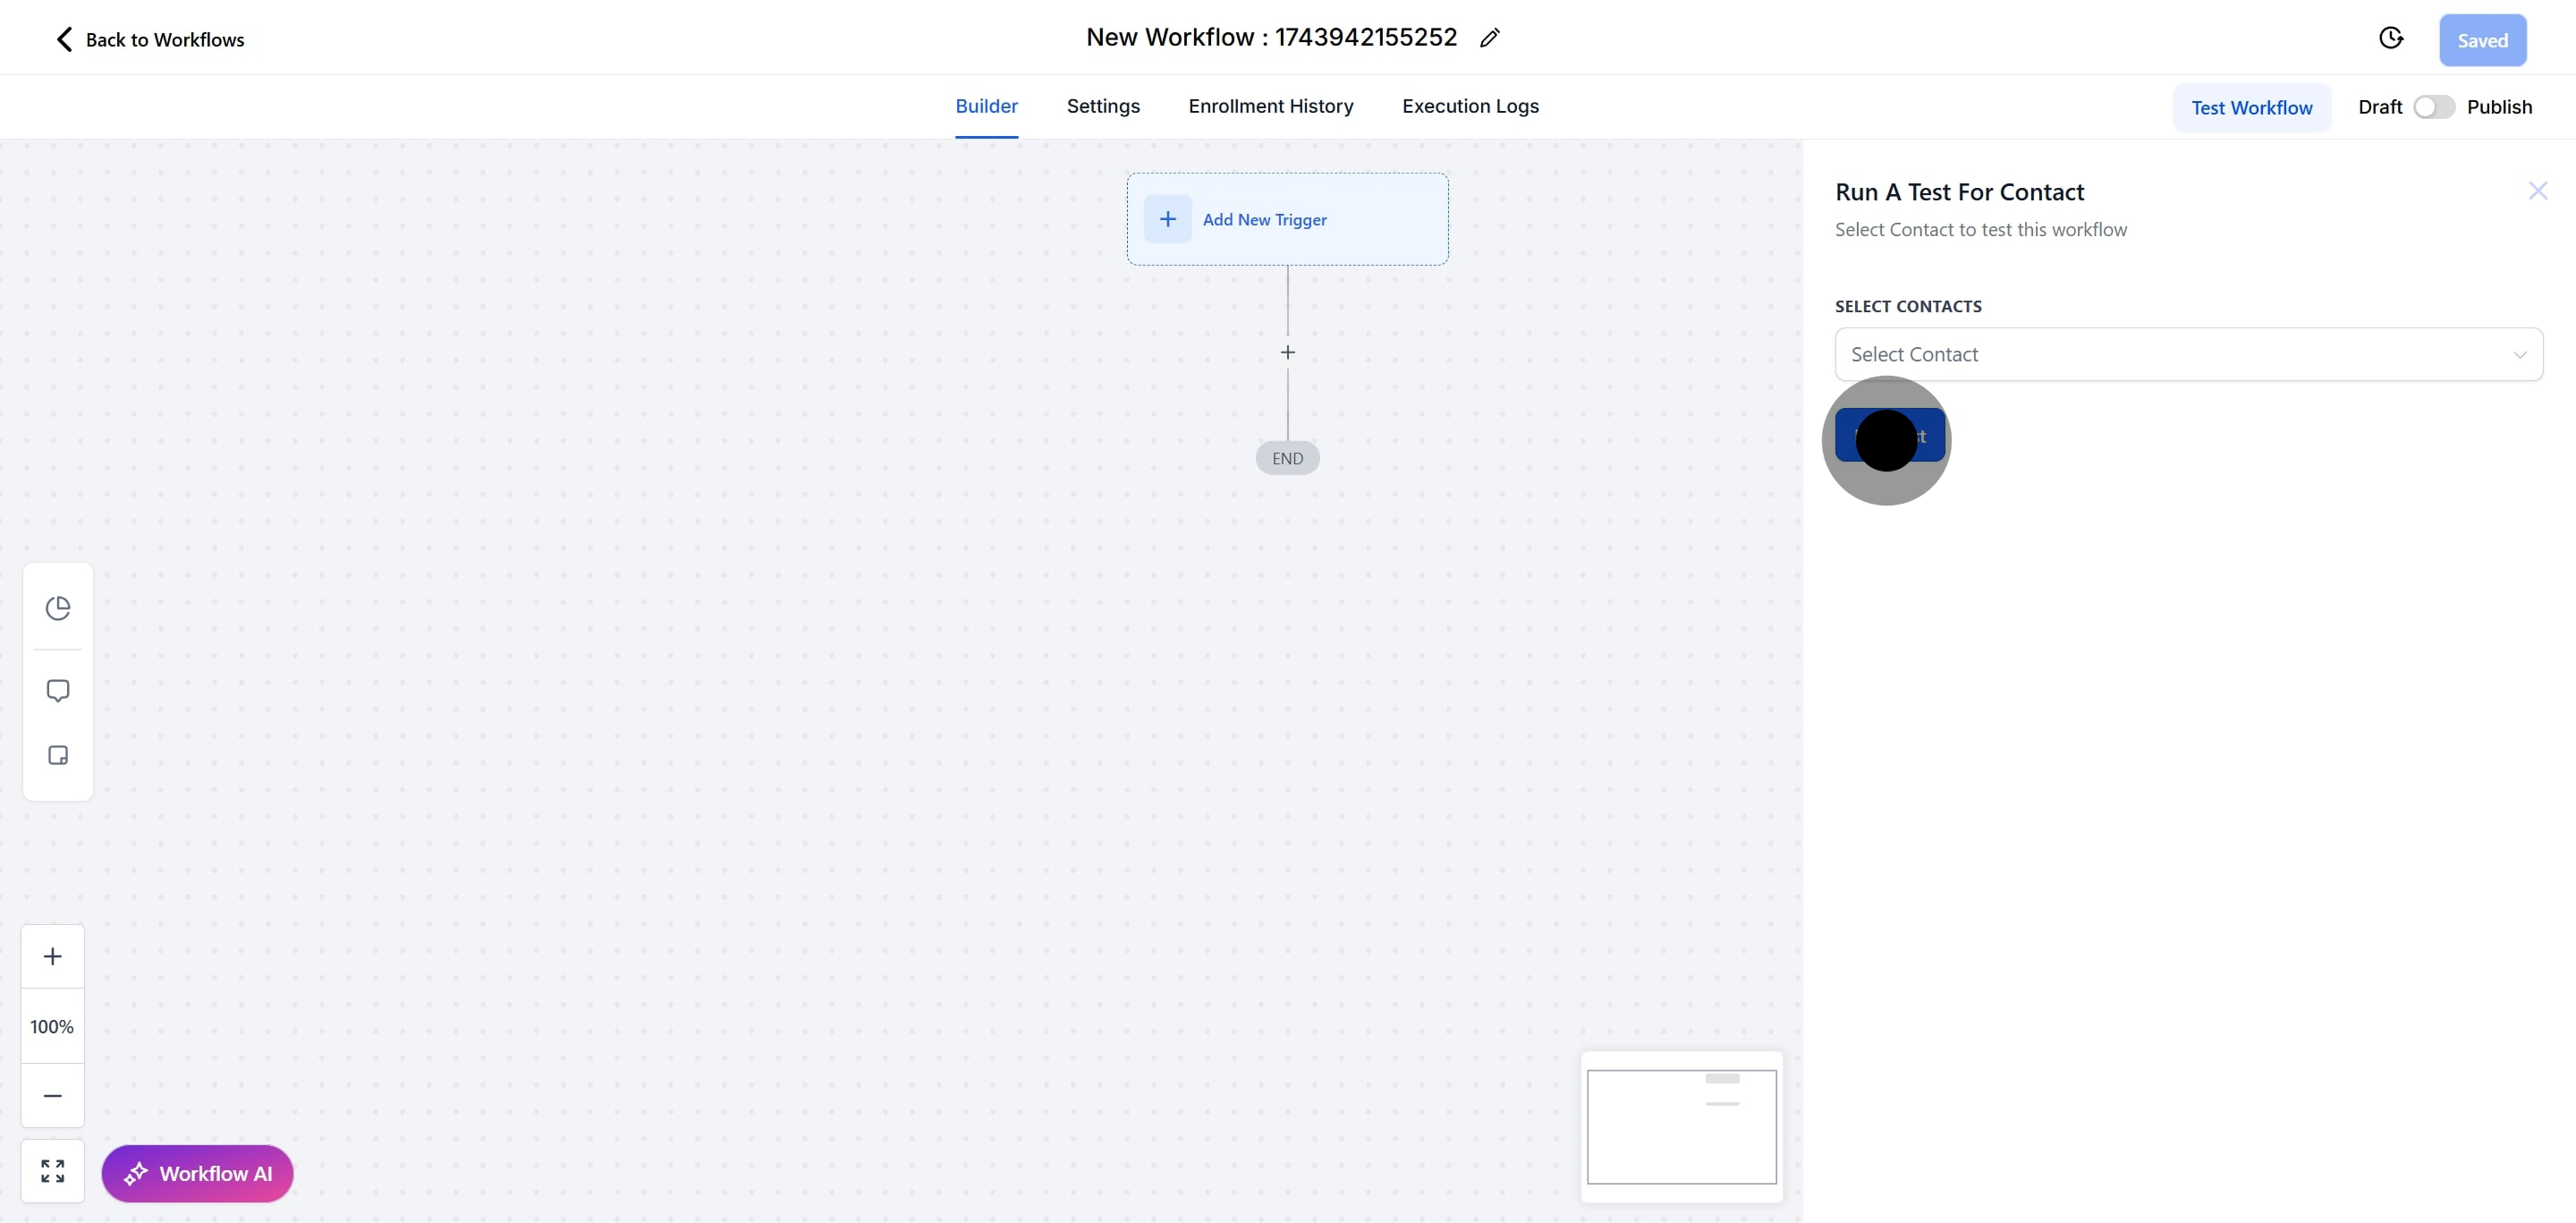
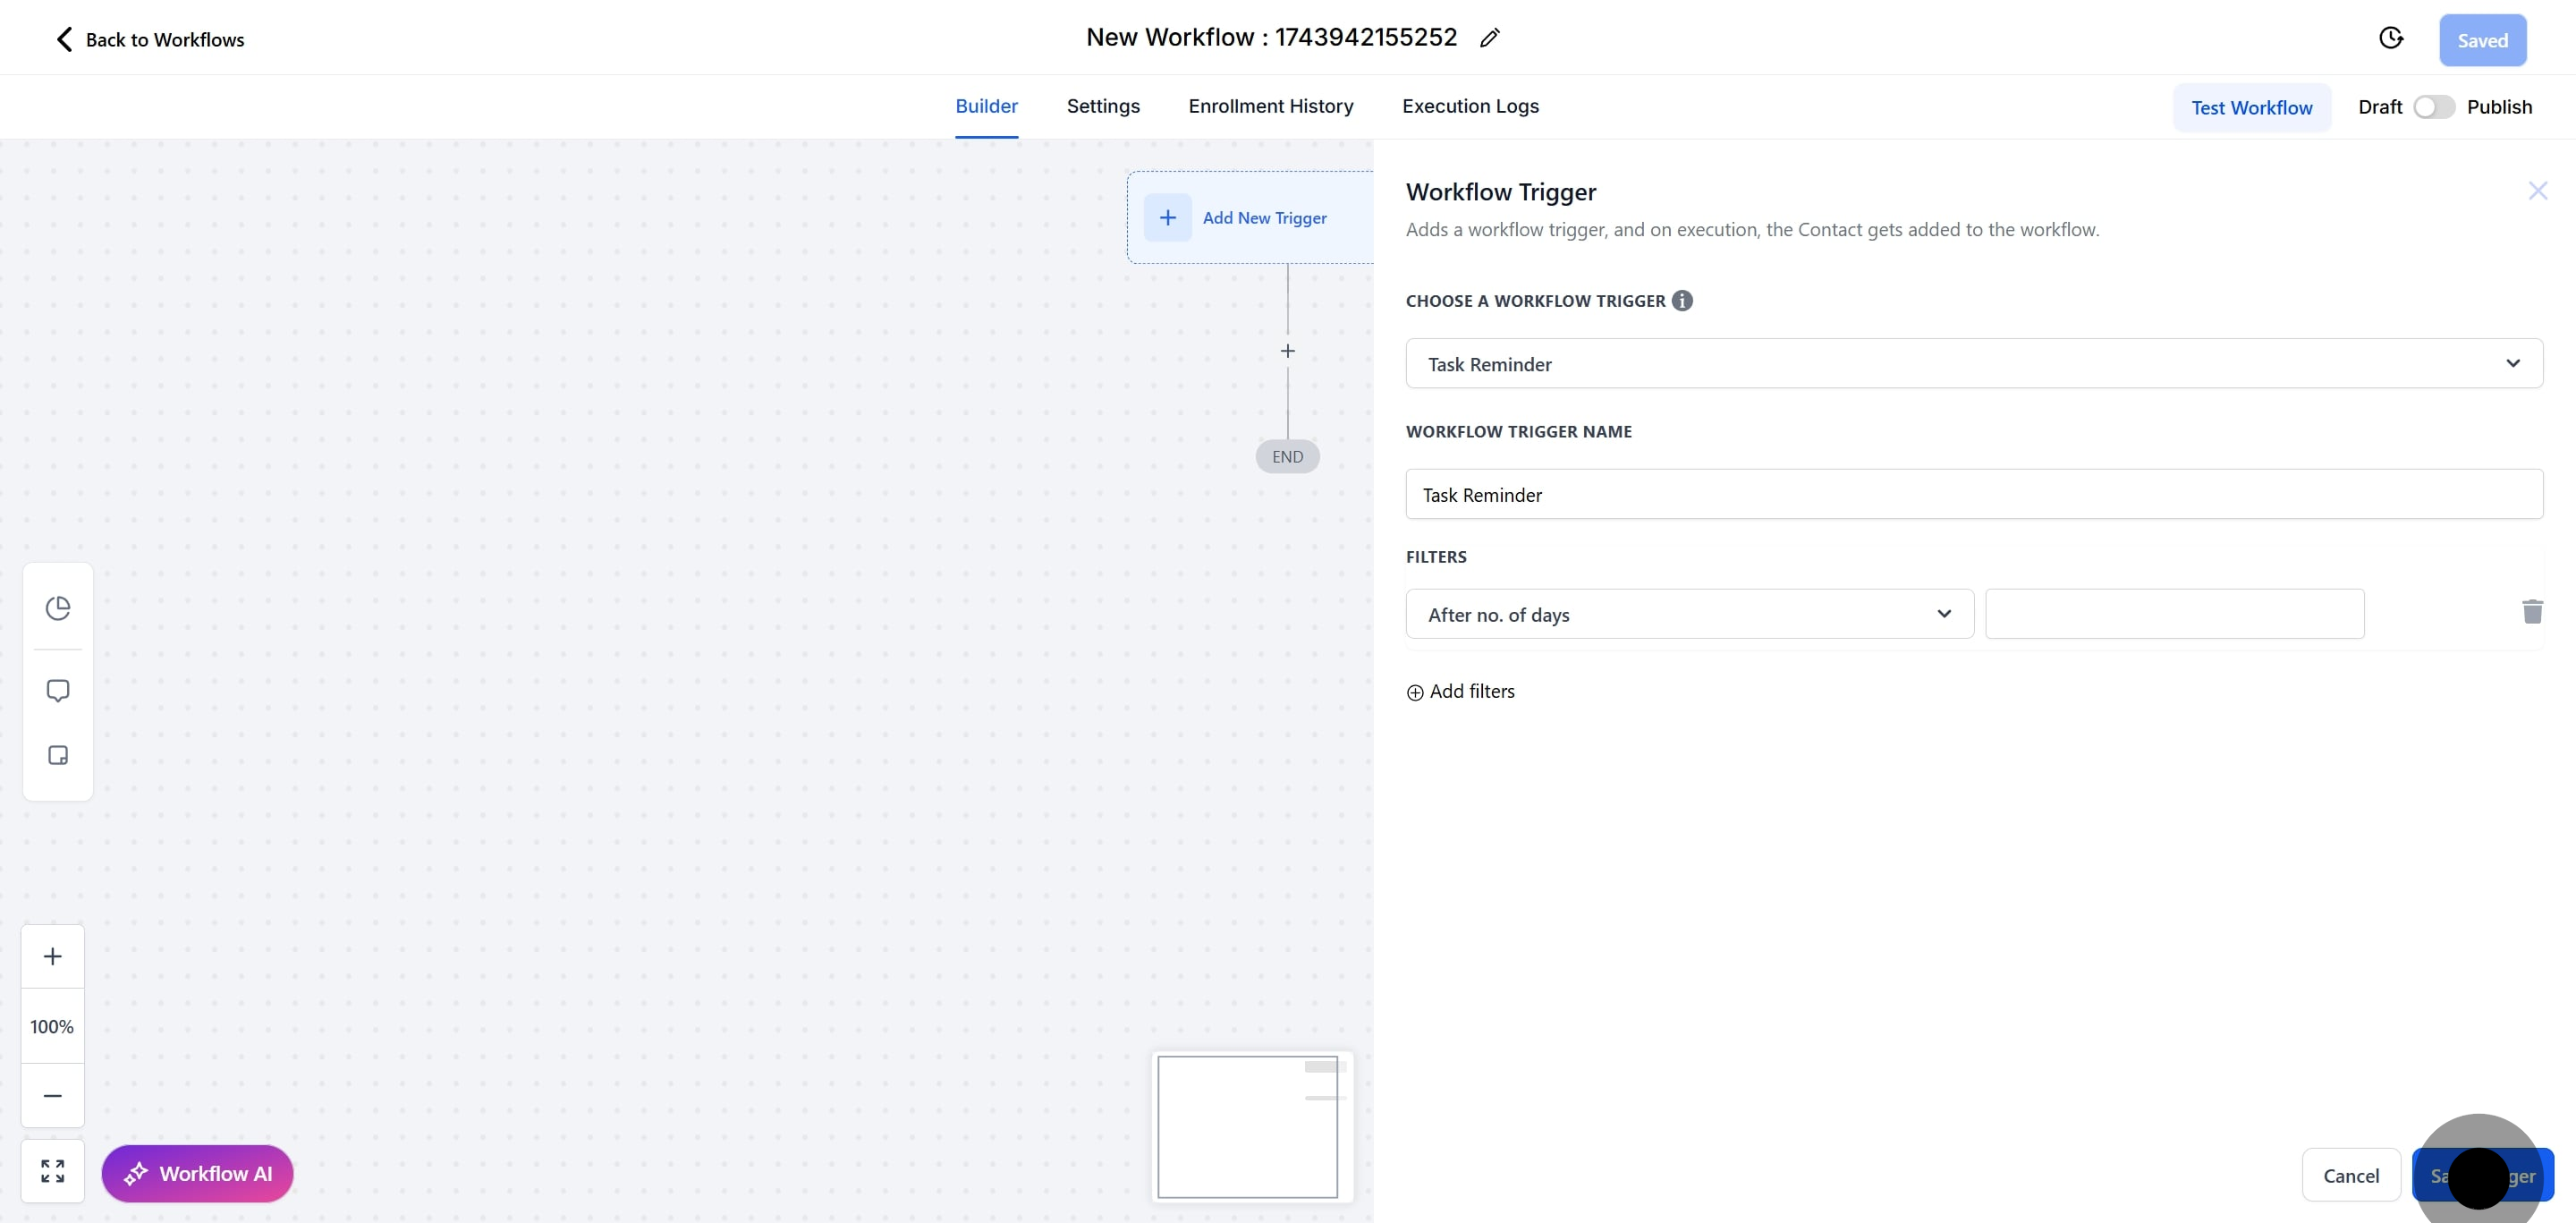
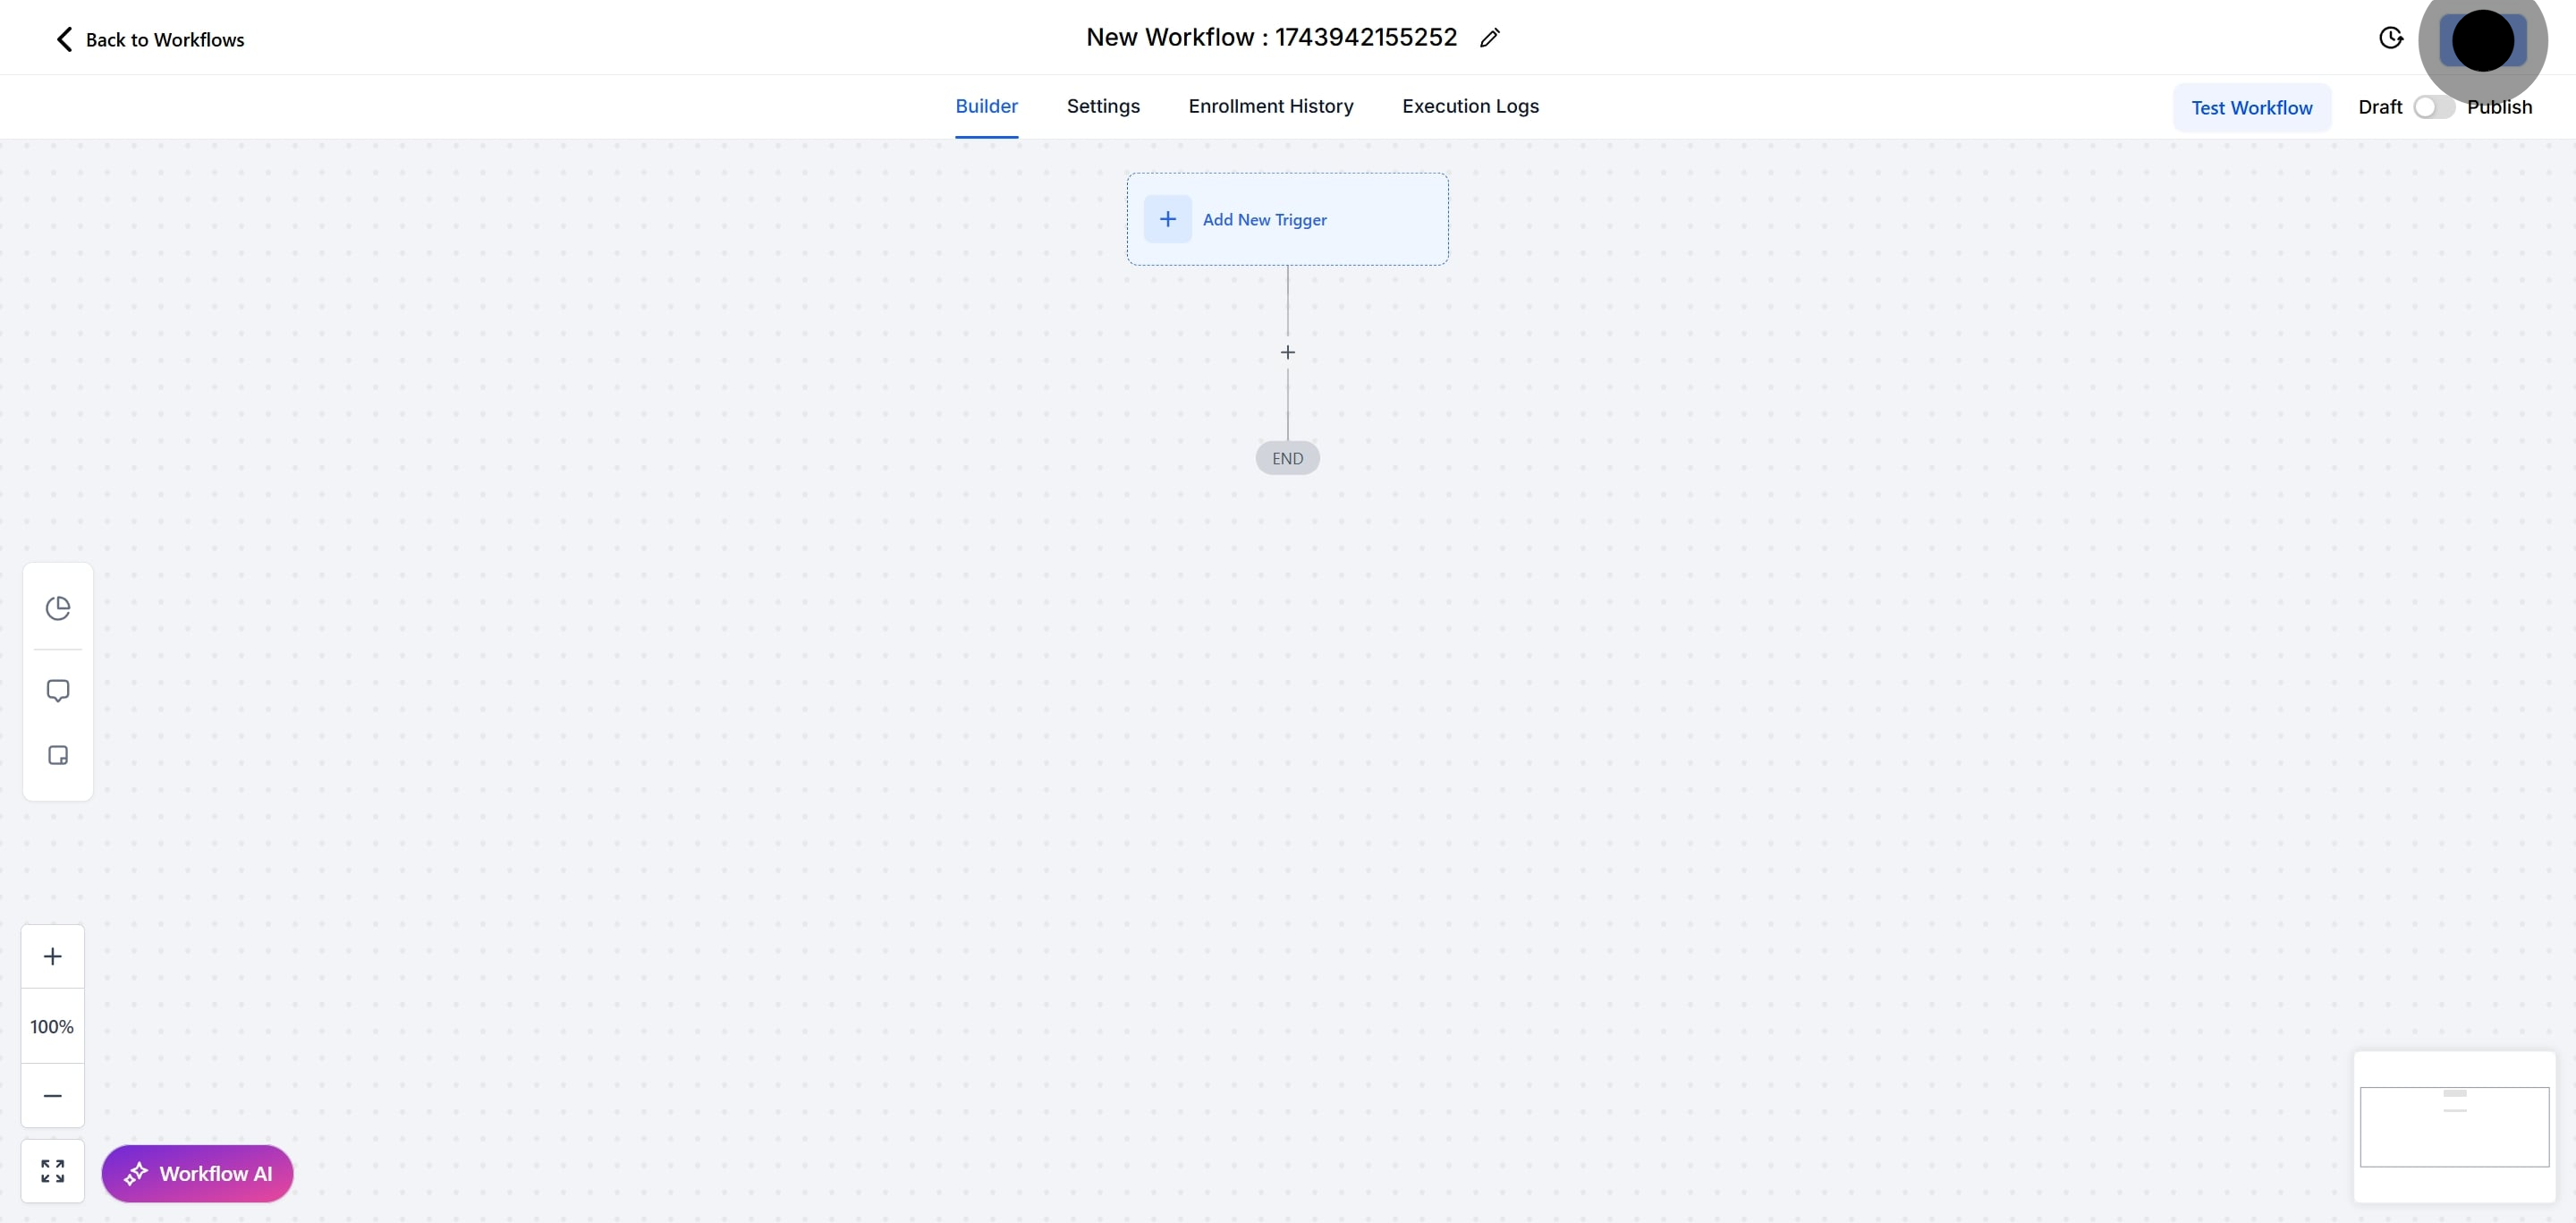
30. Click here to toggle "Draft or Publish" according to your workflow status.
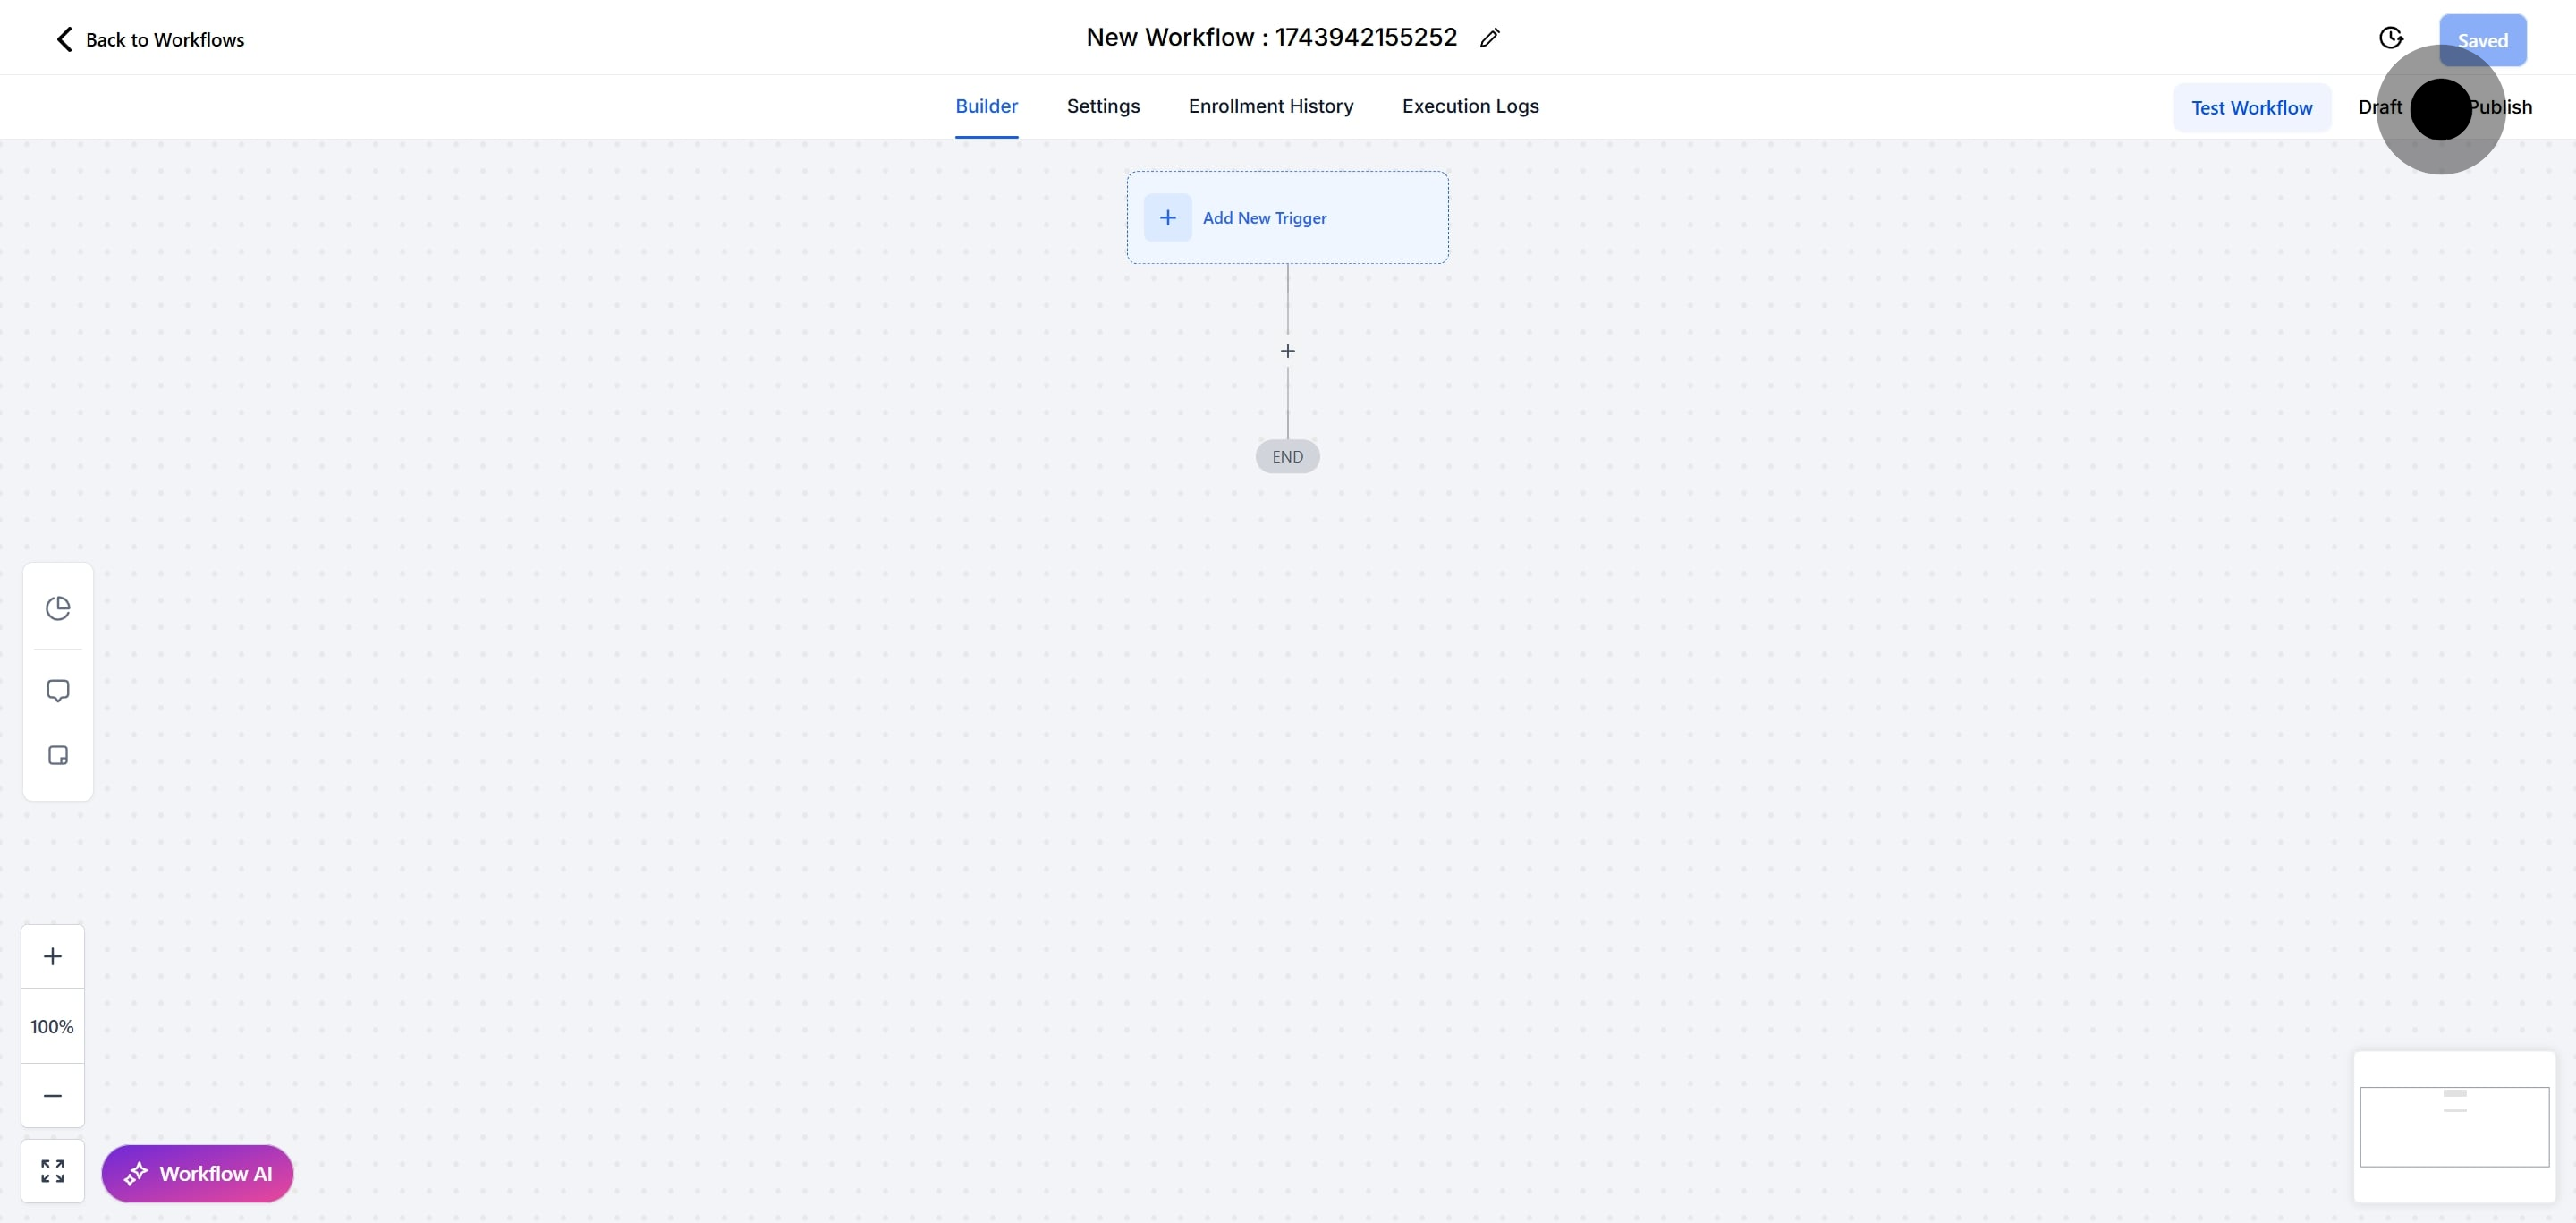
31. And lastly, click "Save" to finalize.
Pro Tip: You can use any Workflow Actions to be triggered by the Video Tracking trigger or you can leave this workflow without any actions.
