


1. What does the "Note Added" Workflow Trigger do?
The "Note Added" Workflow Trigger activates a workflow whenever a note is added to a contact’s profile. This means that any time a new note is logged for a contact, that contact is added to the workflow associated with this trigger.
2. How can I use the "Note Added" trigger in a workflow?
To use this trigger, start by creating a new workflow or editing an existing one. Add the "Note Added" trigger from the Contact section of the Workflow Triggers Menu. This will start the workflow whenever a new note is added to a contact.
3. Can I filter which contacts the trigger applies to?
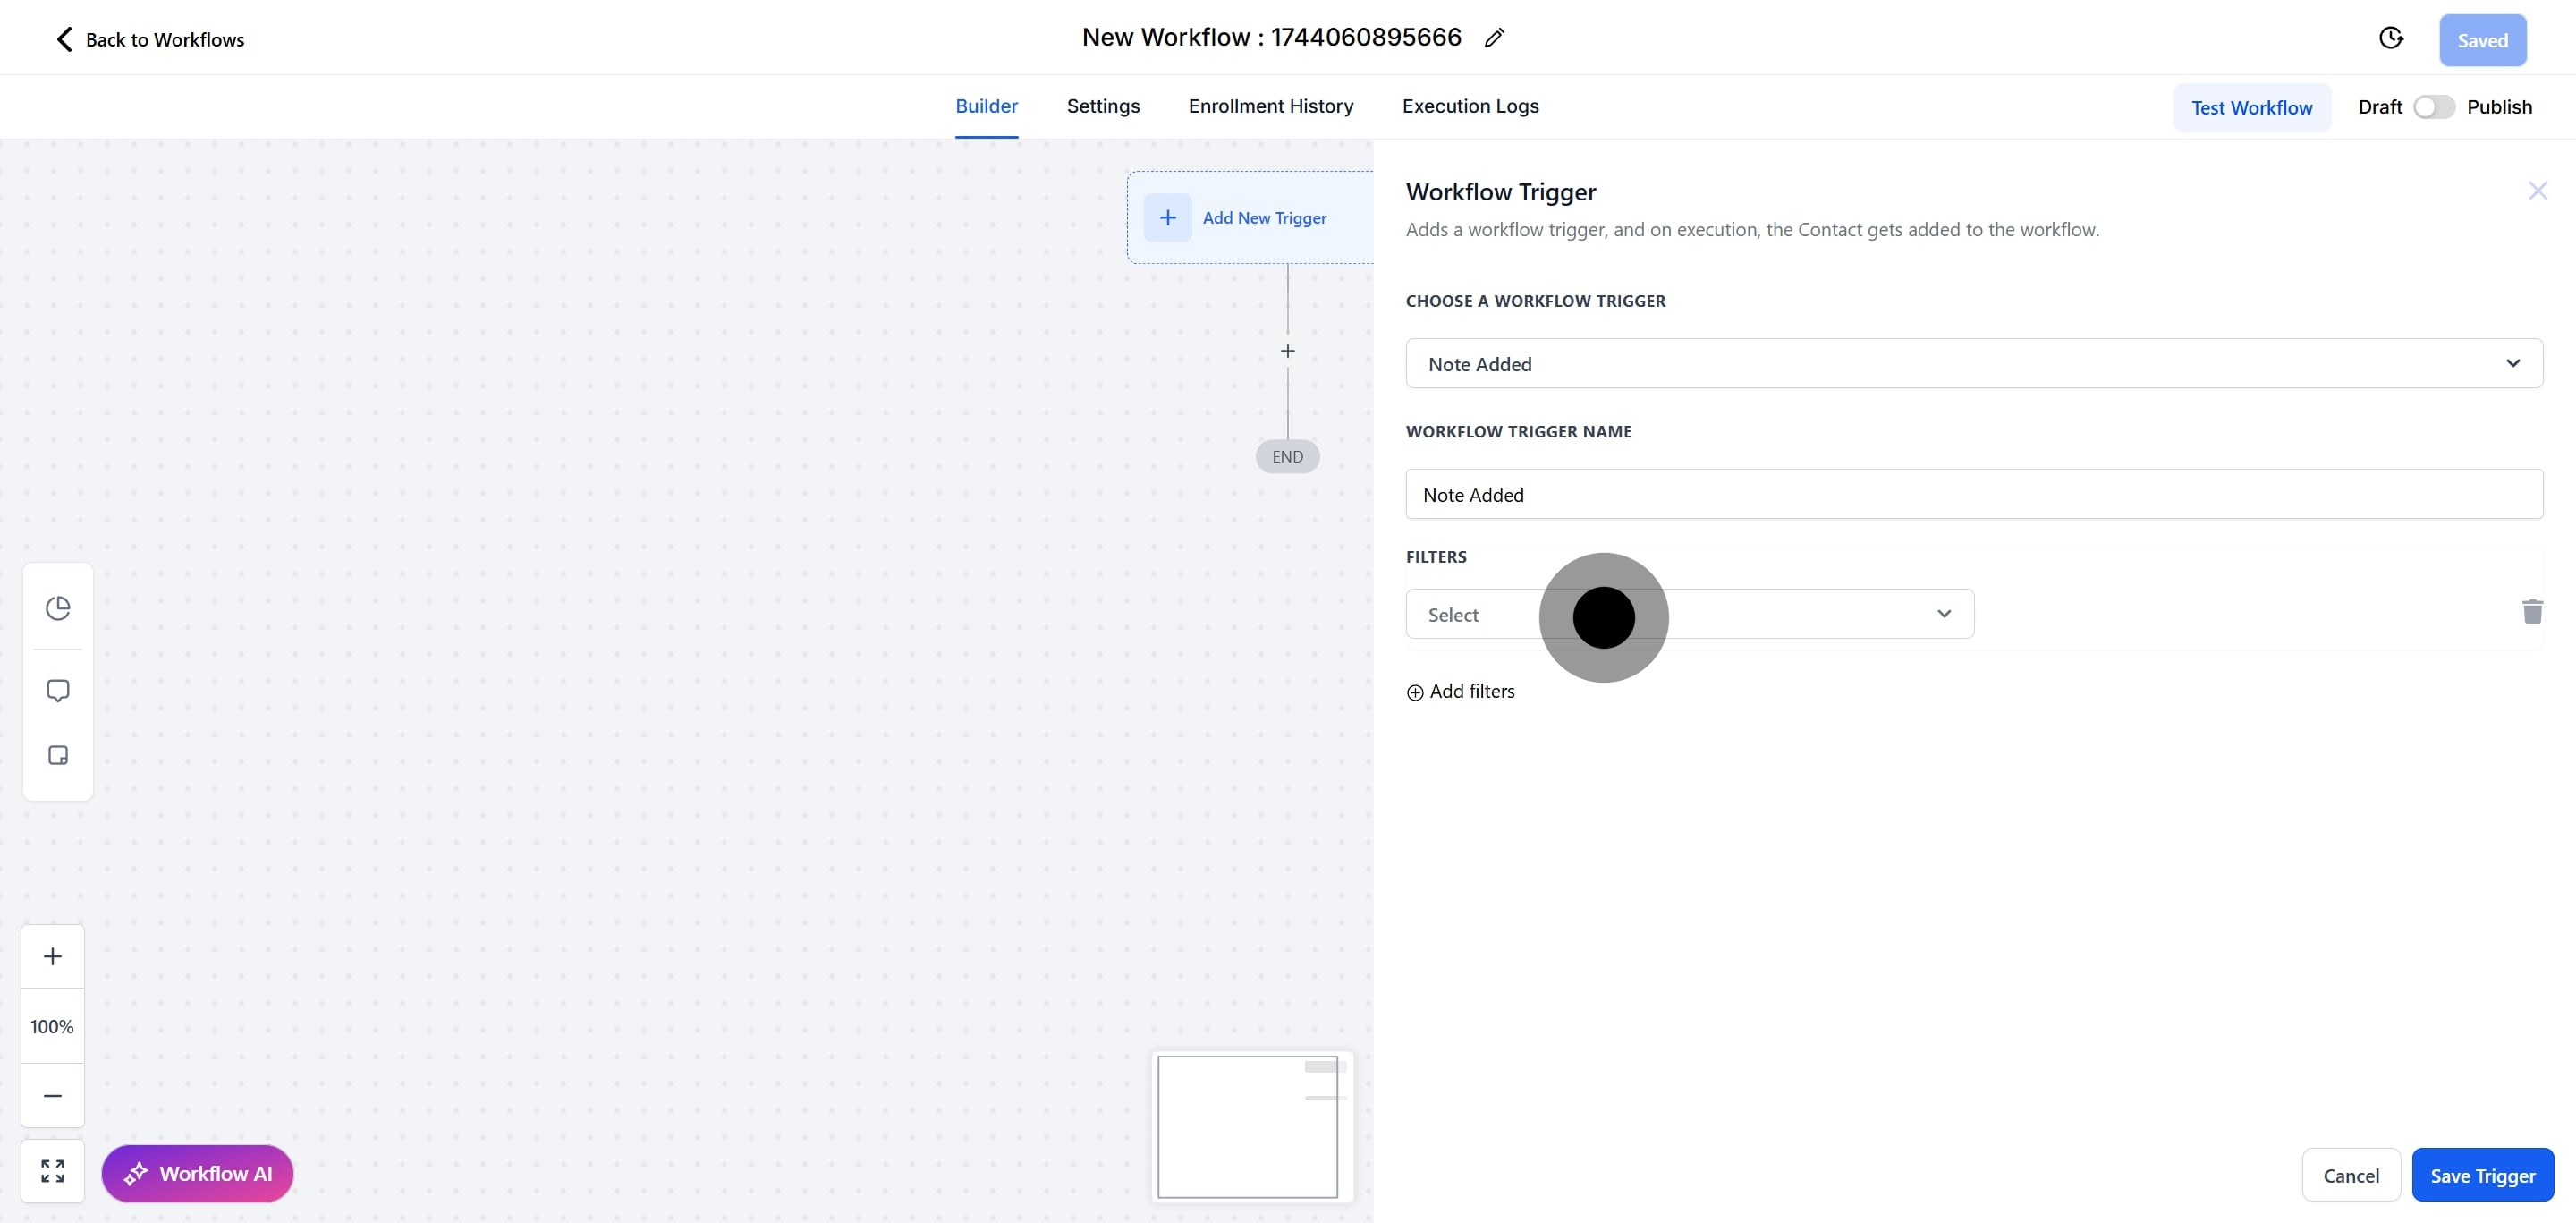
Yes, you can filter contacts based on tags and custom fields:
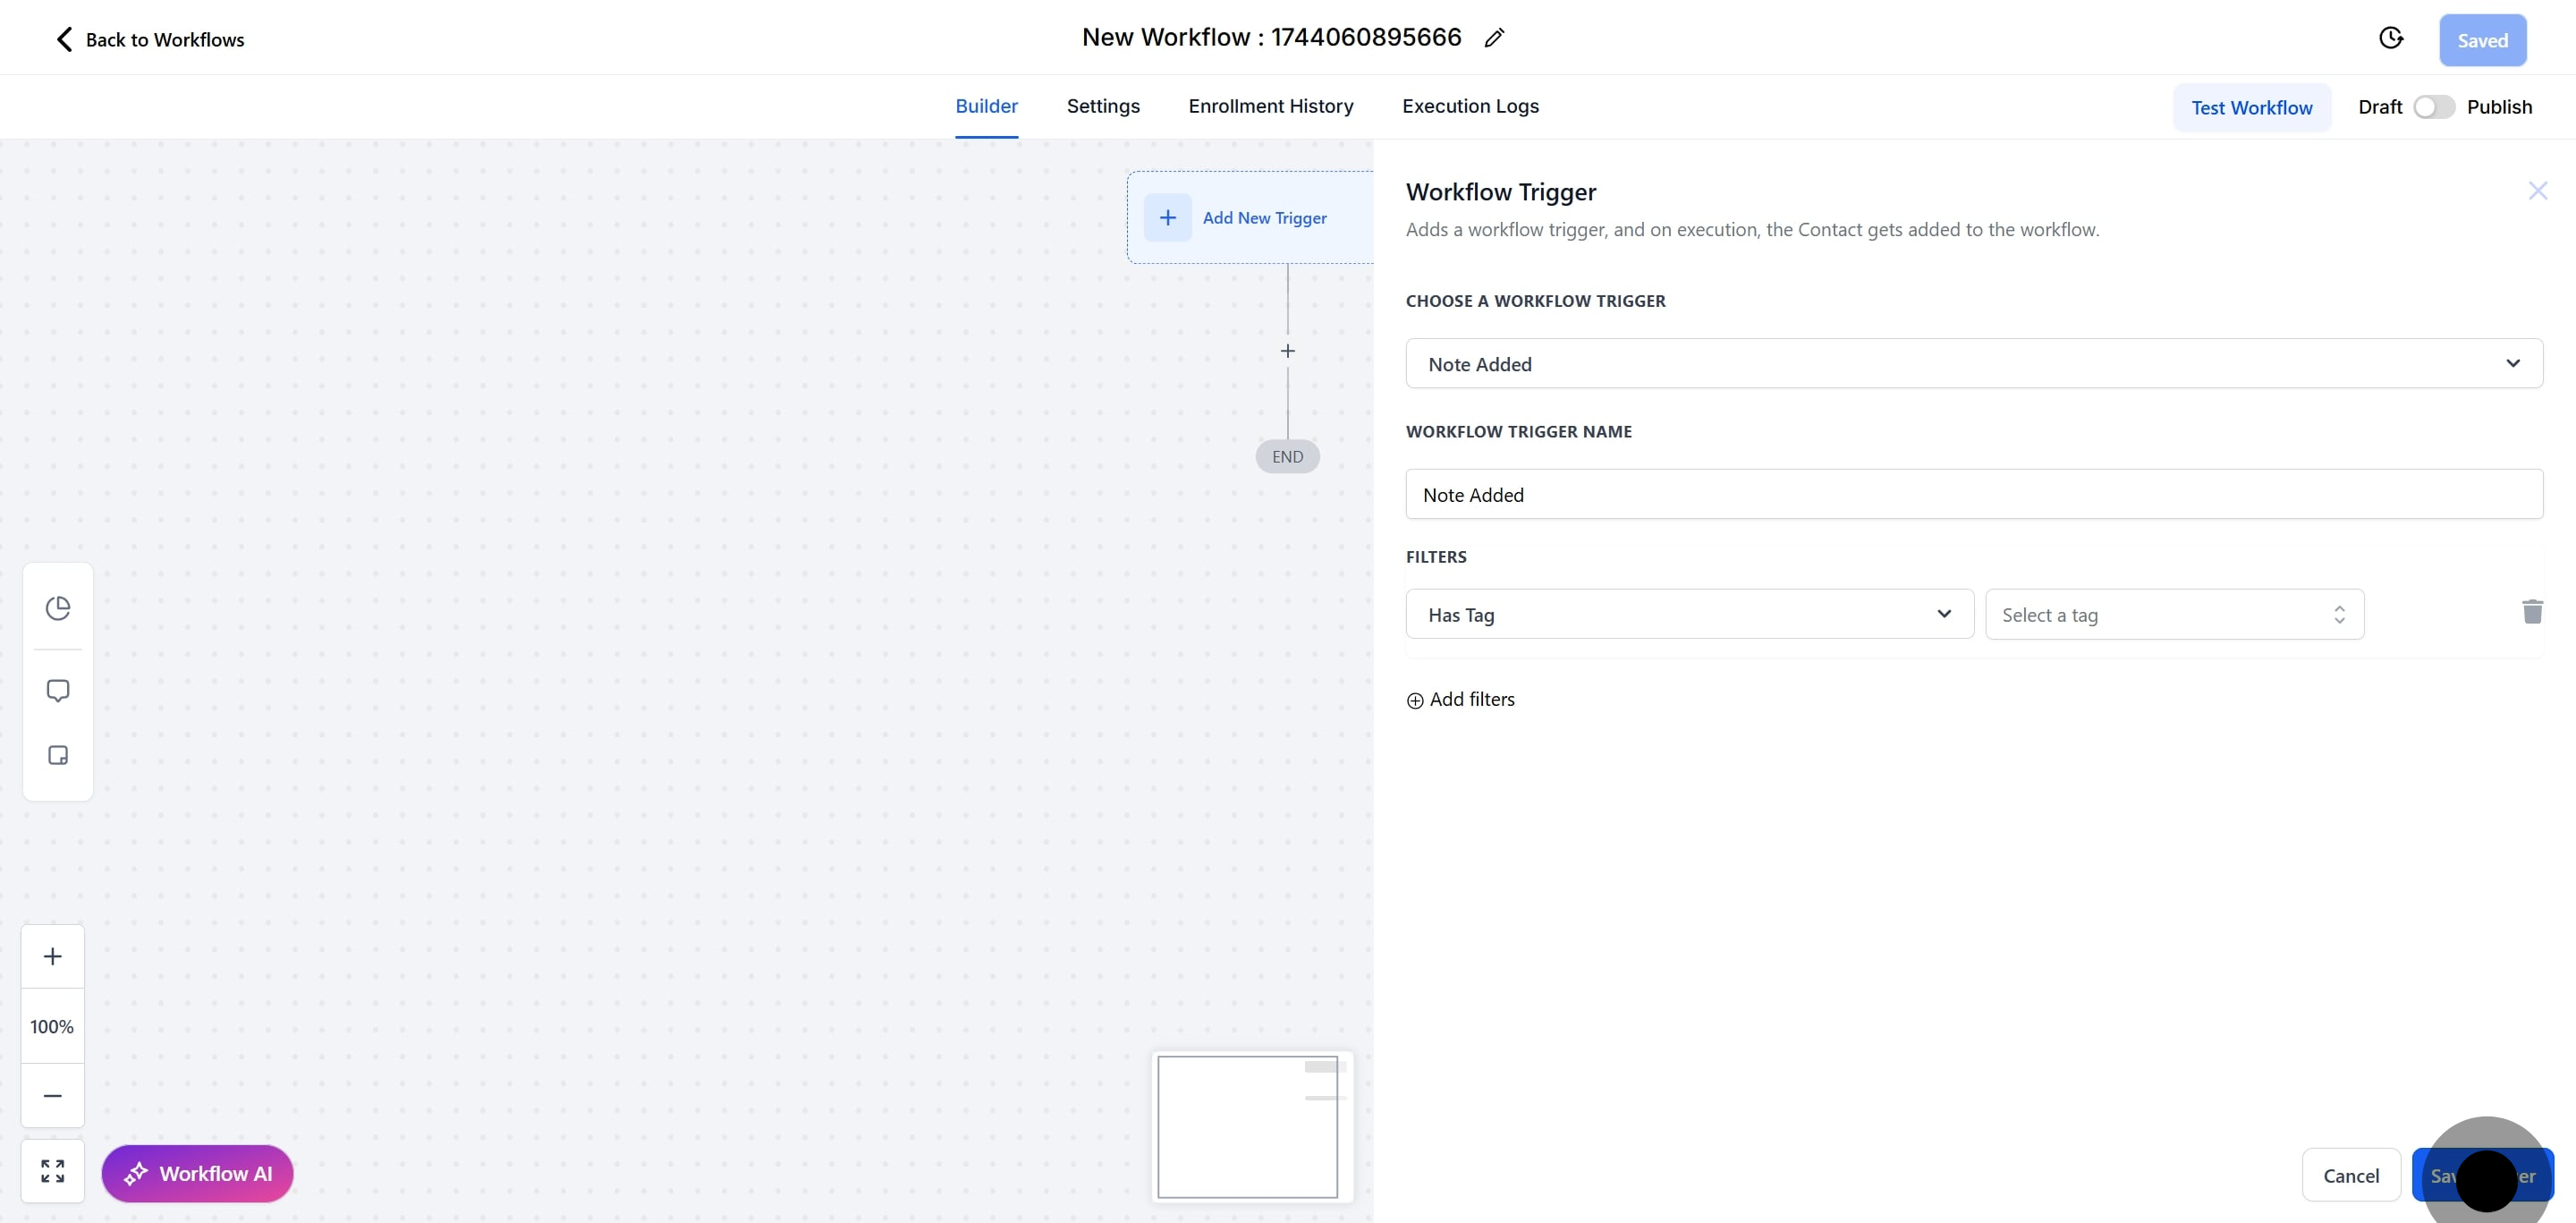
Has Tag: The workflow will only trigger for contacts that have a specific tag.
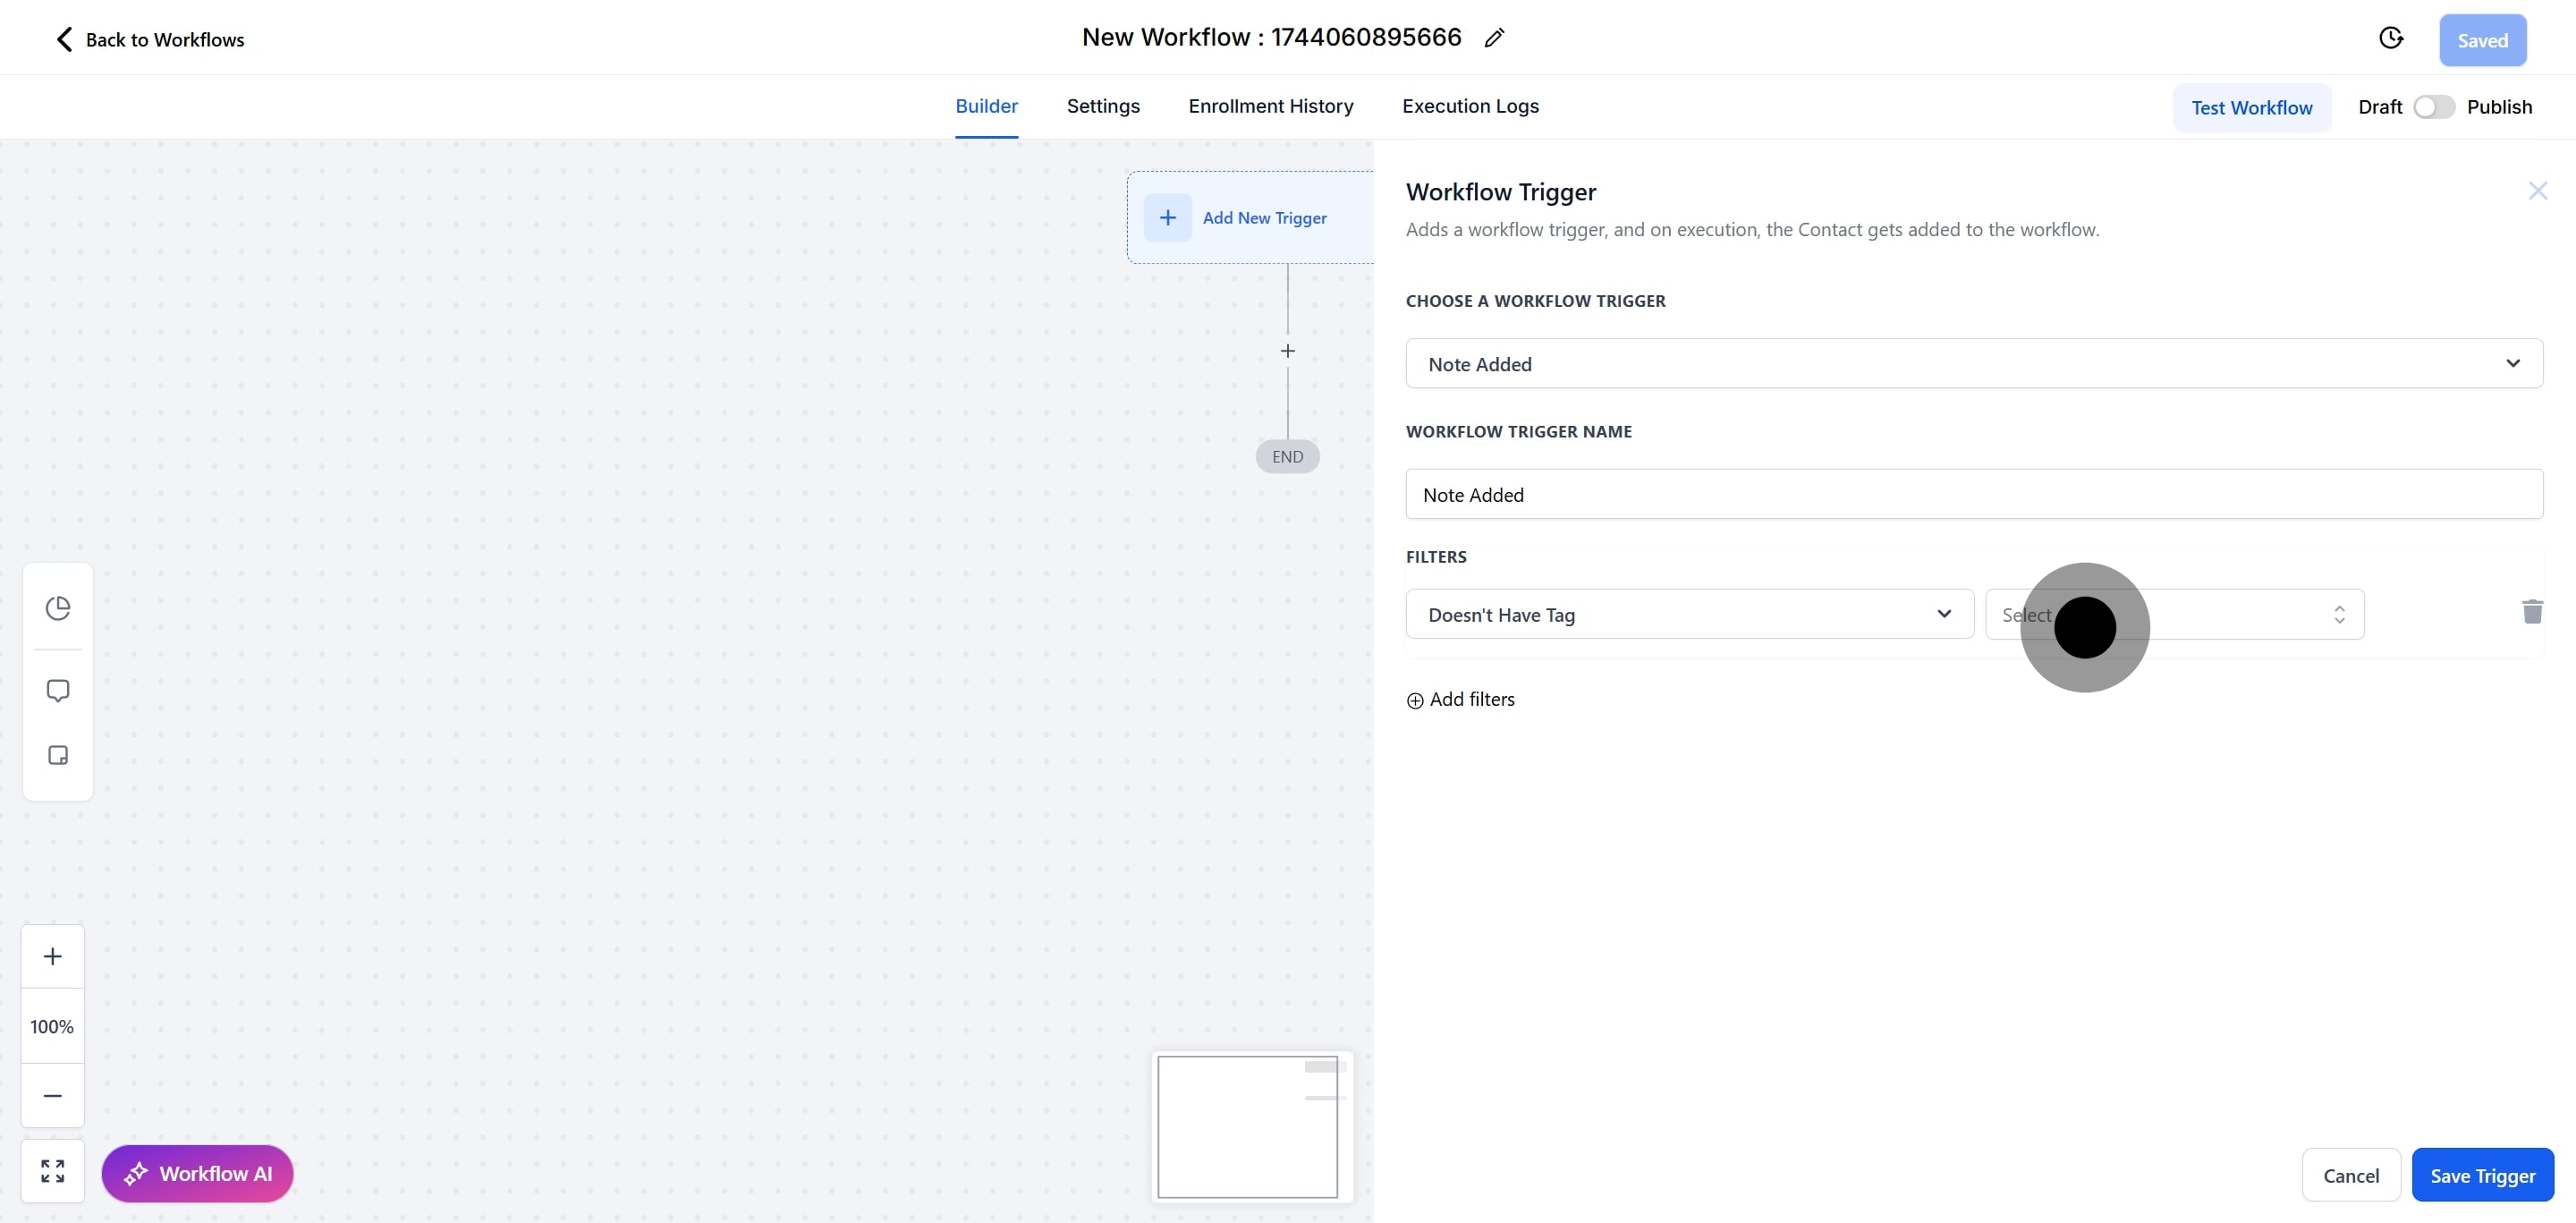
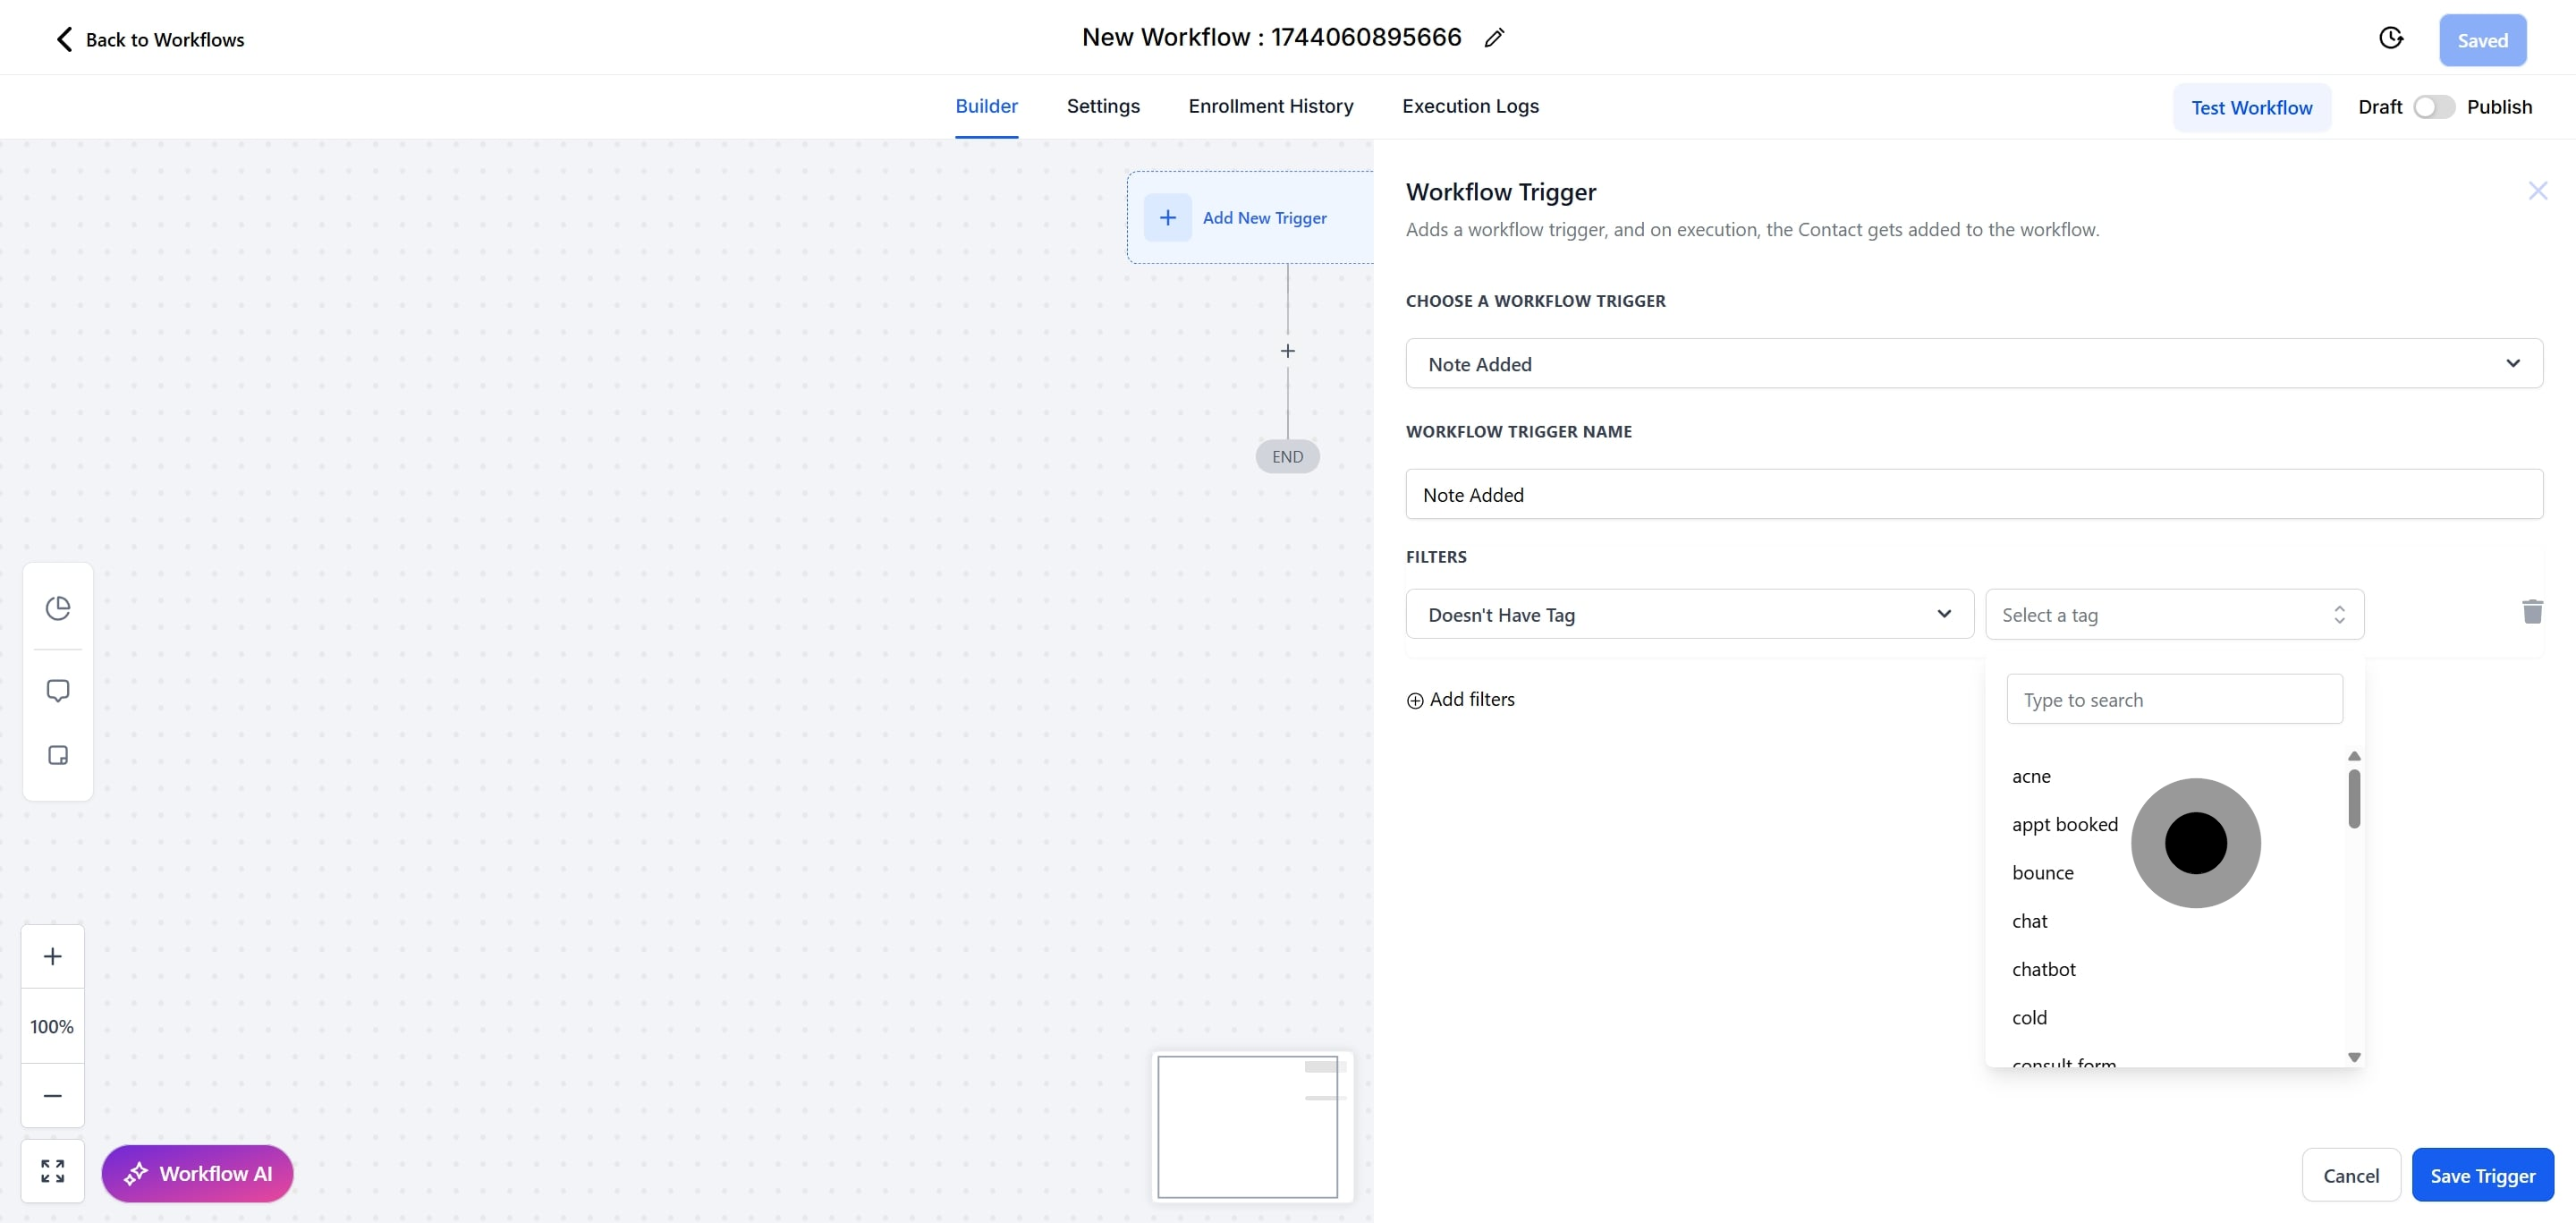
Doesn’t Have Tag: The workflow will trigger for contacts that do not have a specific tag.
Custom Fields: Filter contacts based on custom values assigned to them.
4. What are the limitations when using filters with the "Note Added" trigger?
Applying both "Has Tag" and "Doesn’t Have Tag" filters simultaneously can often lead to conflicts, as contacts cannot both have and not have the same tag. It’s best to use one type of filter to ensure clarity and effectiveness.
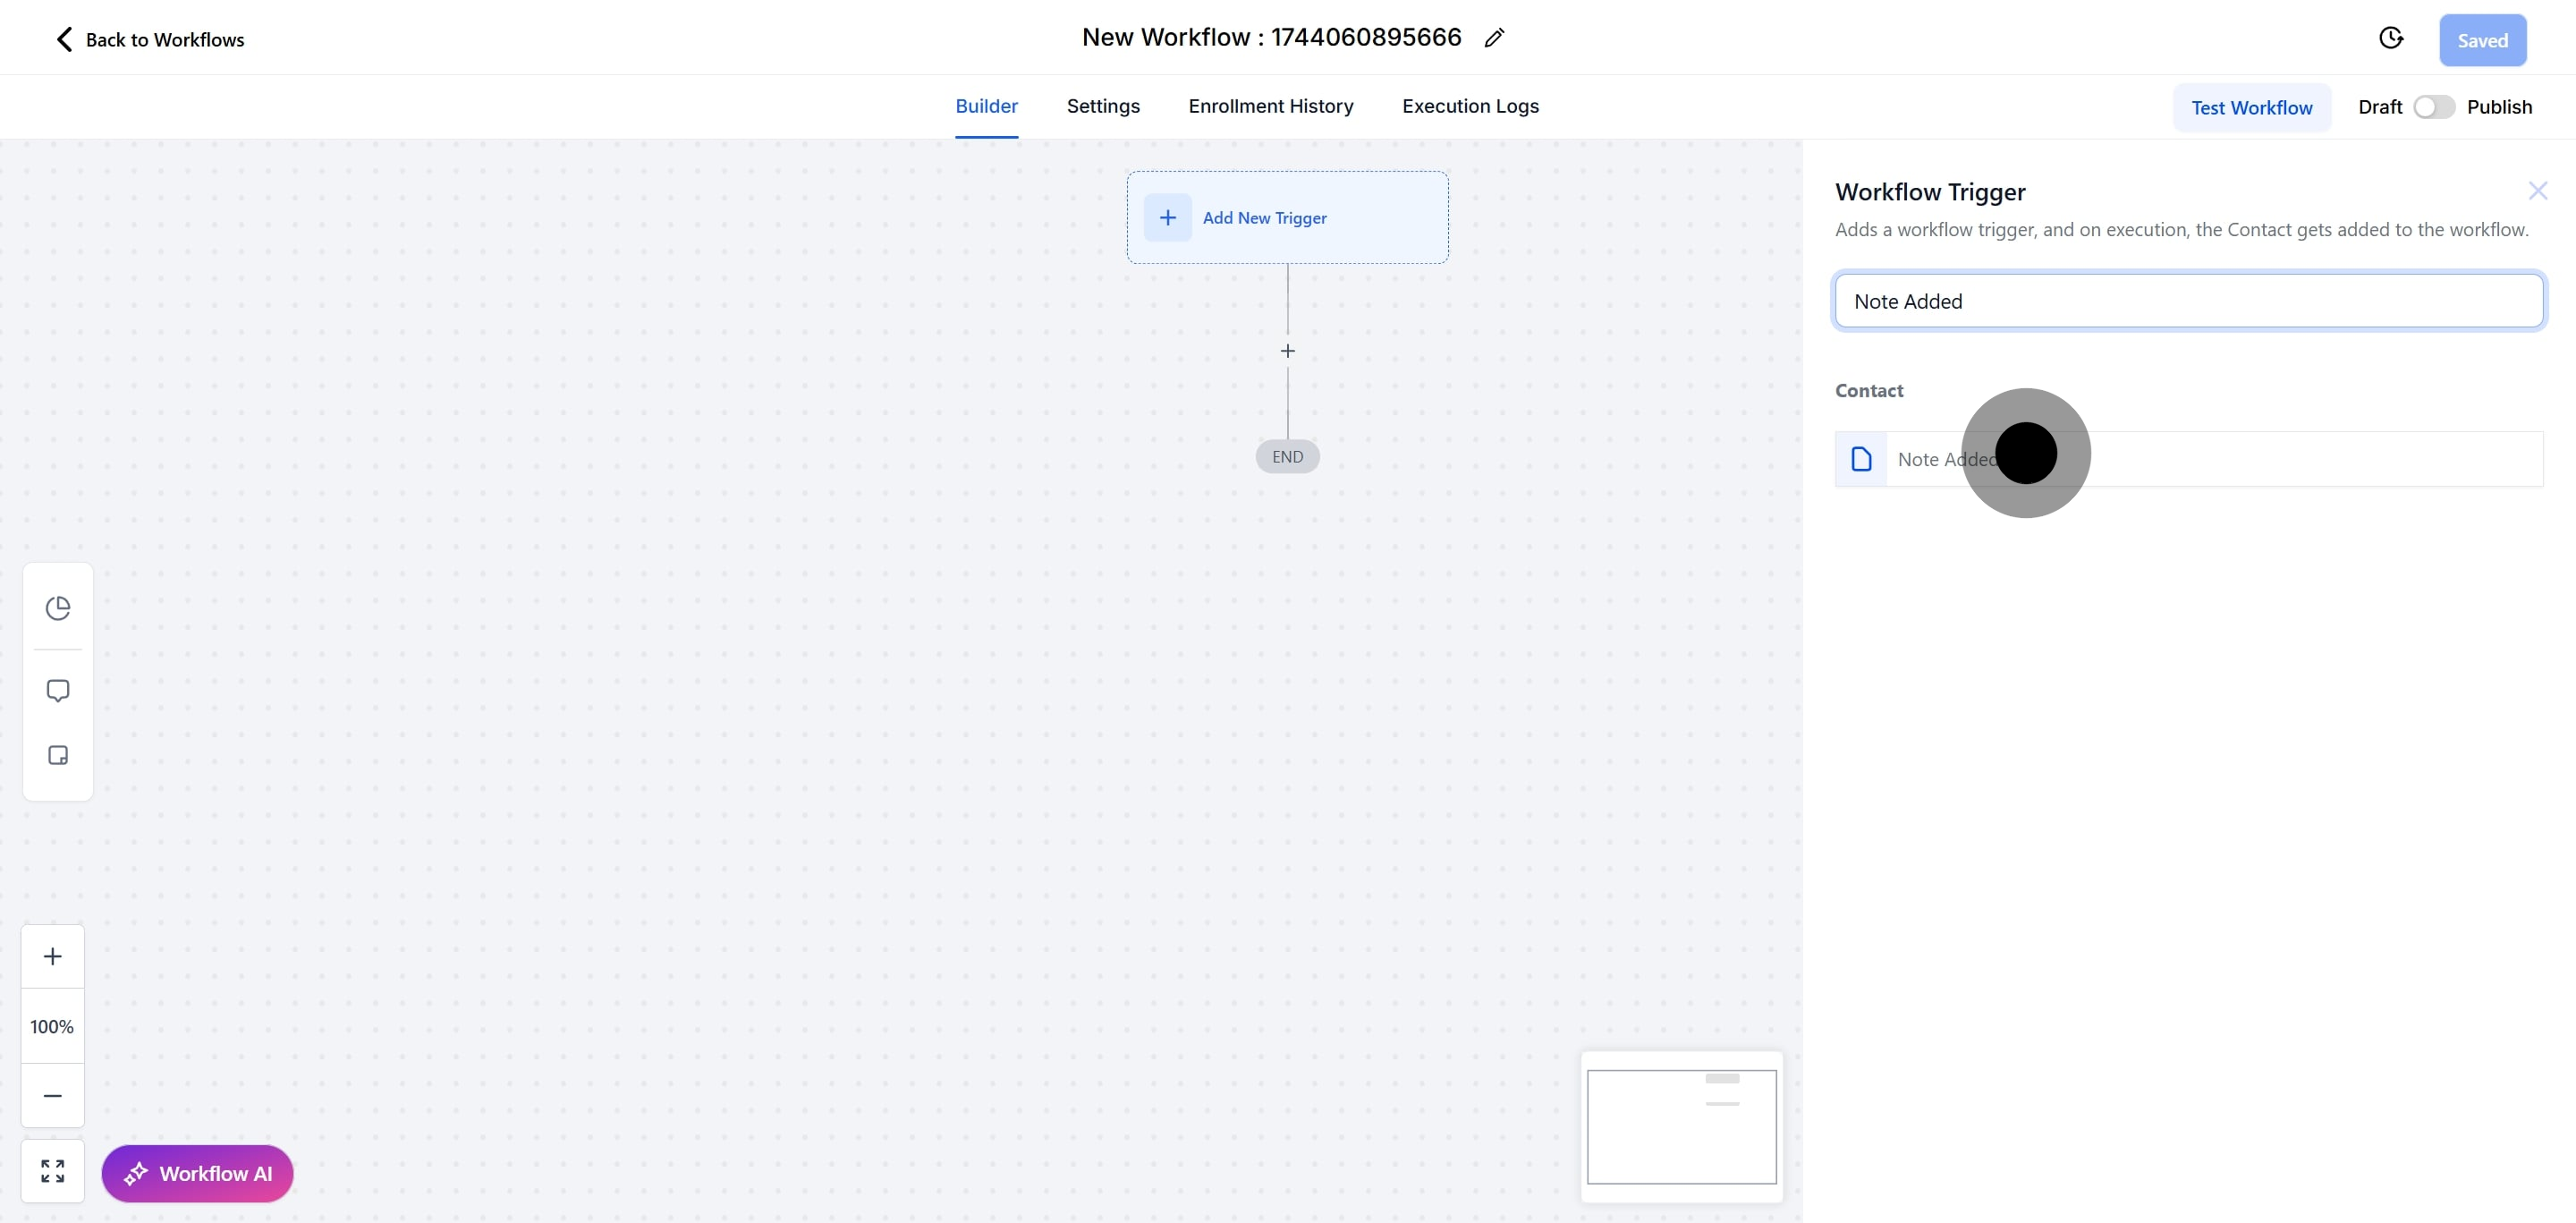
5. How do I set up the "Note Added" Workflow Trigger?
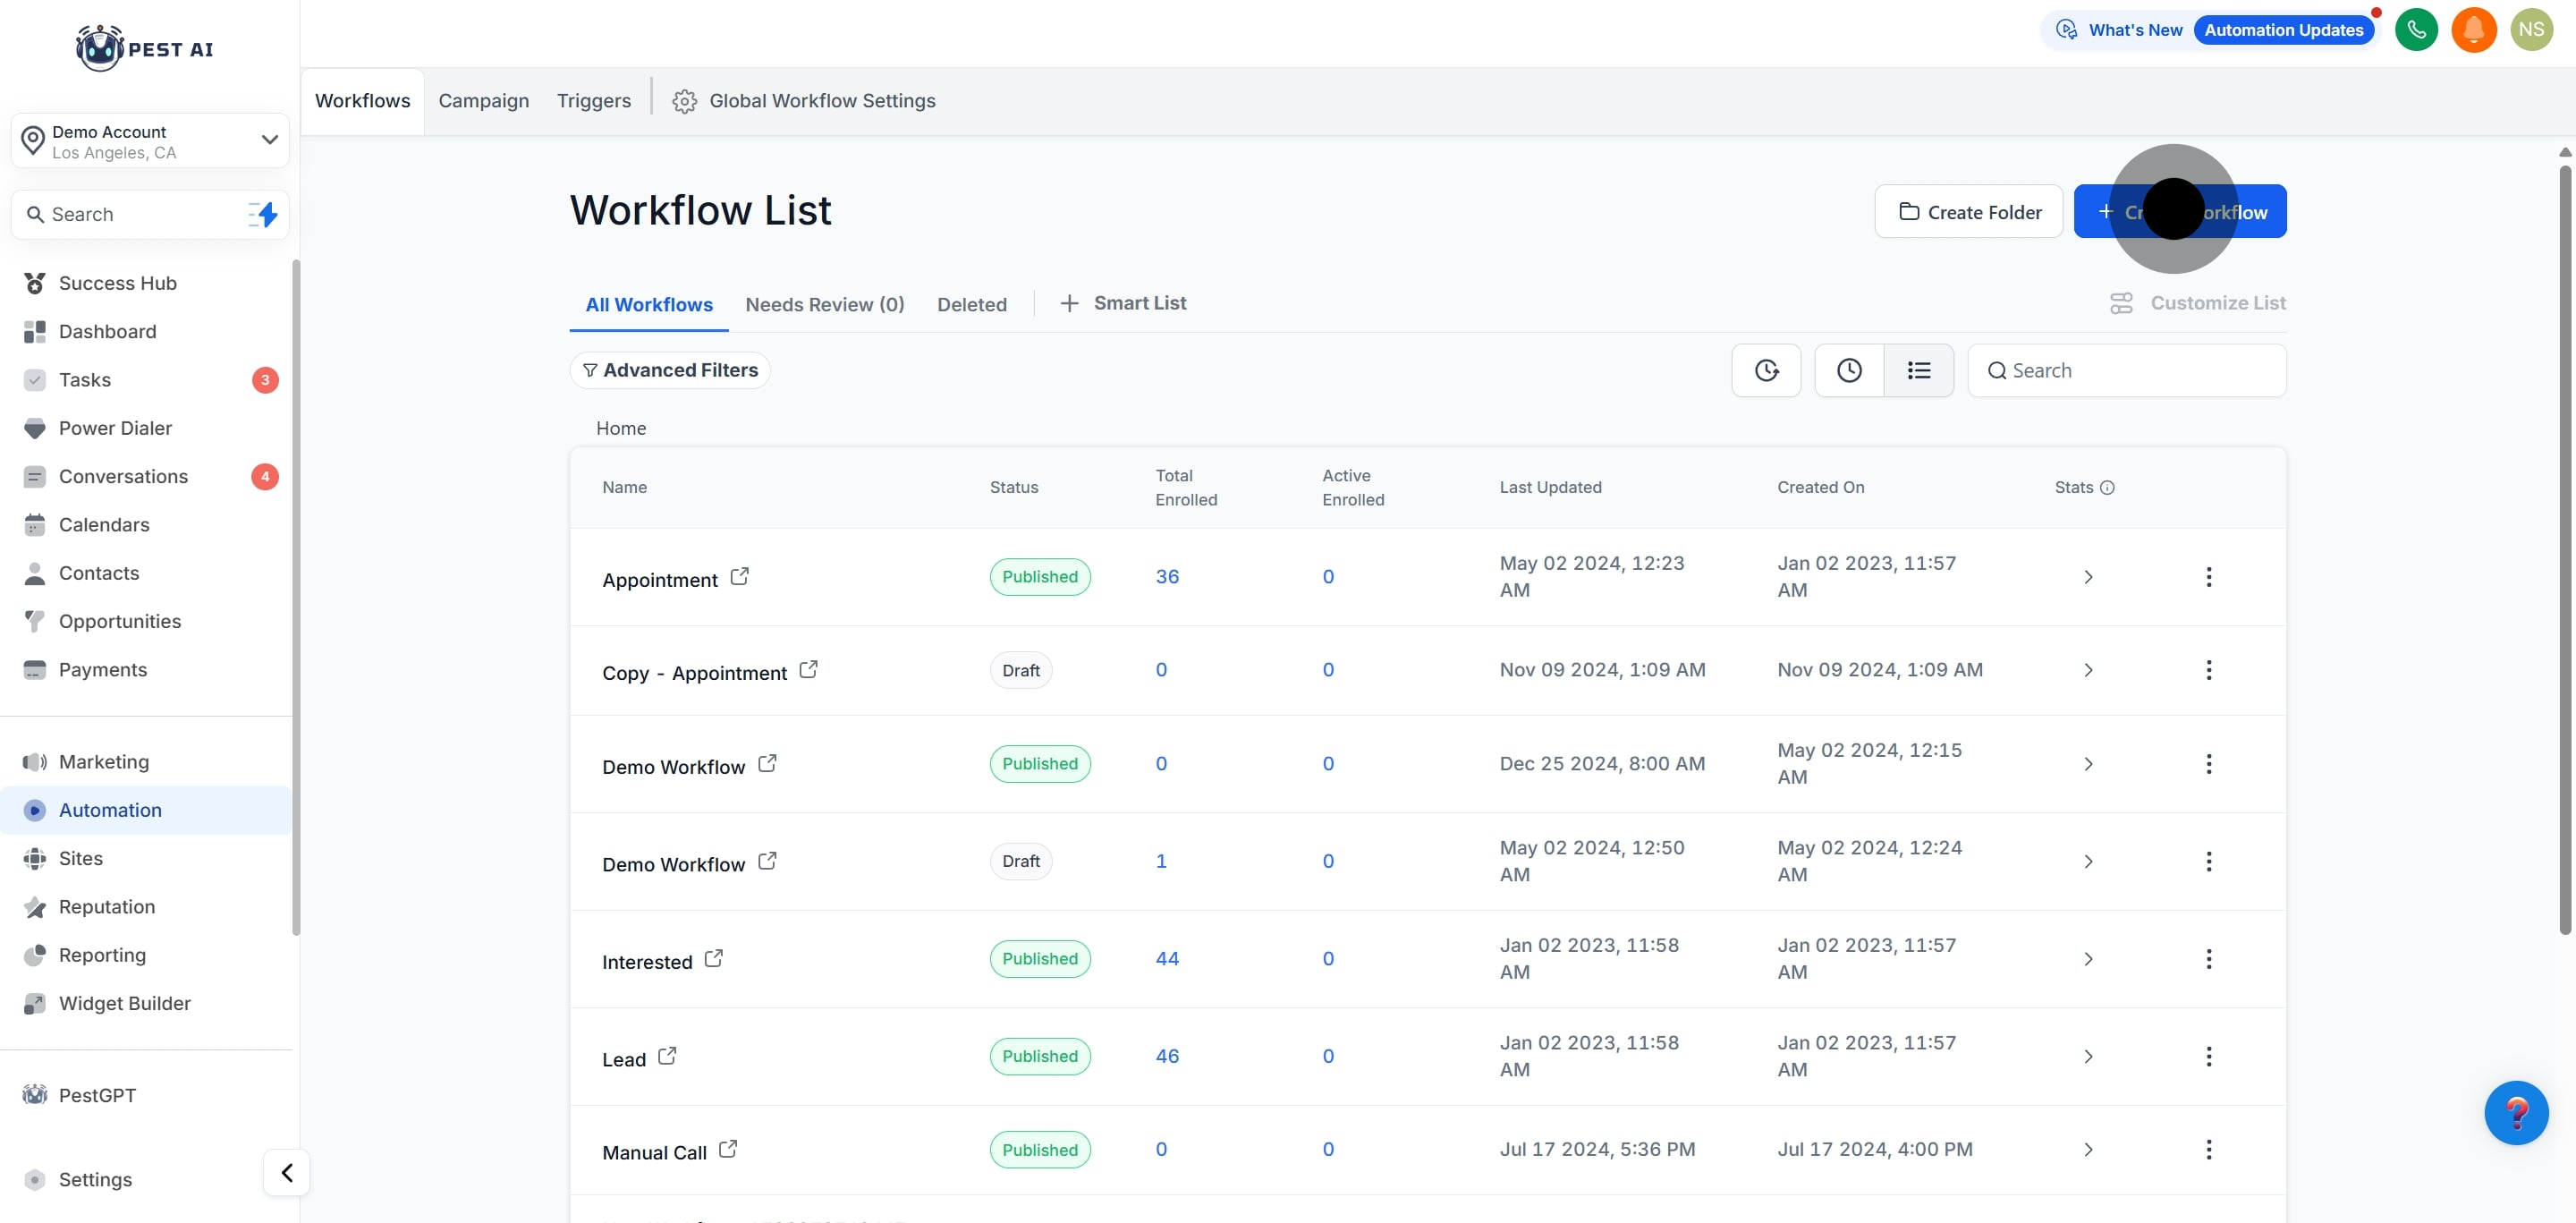
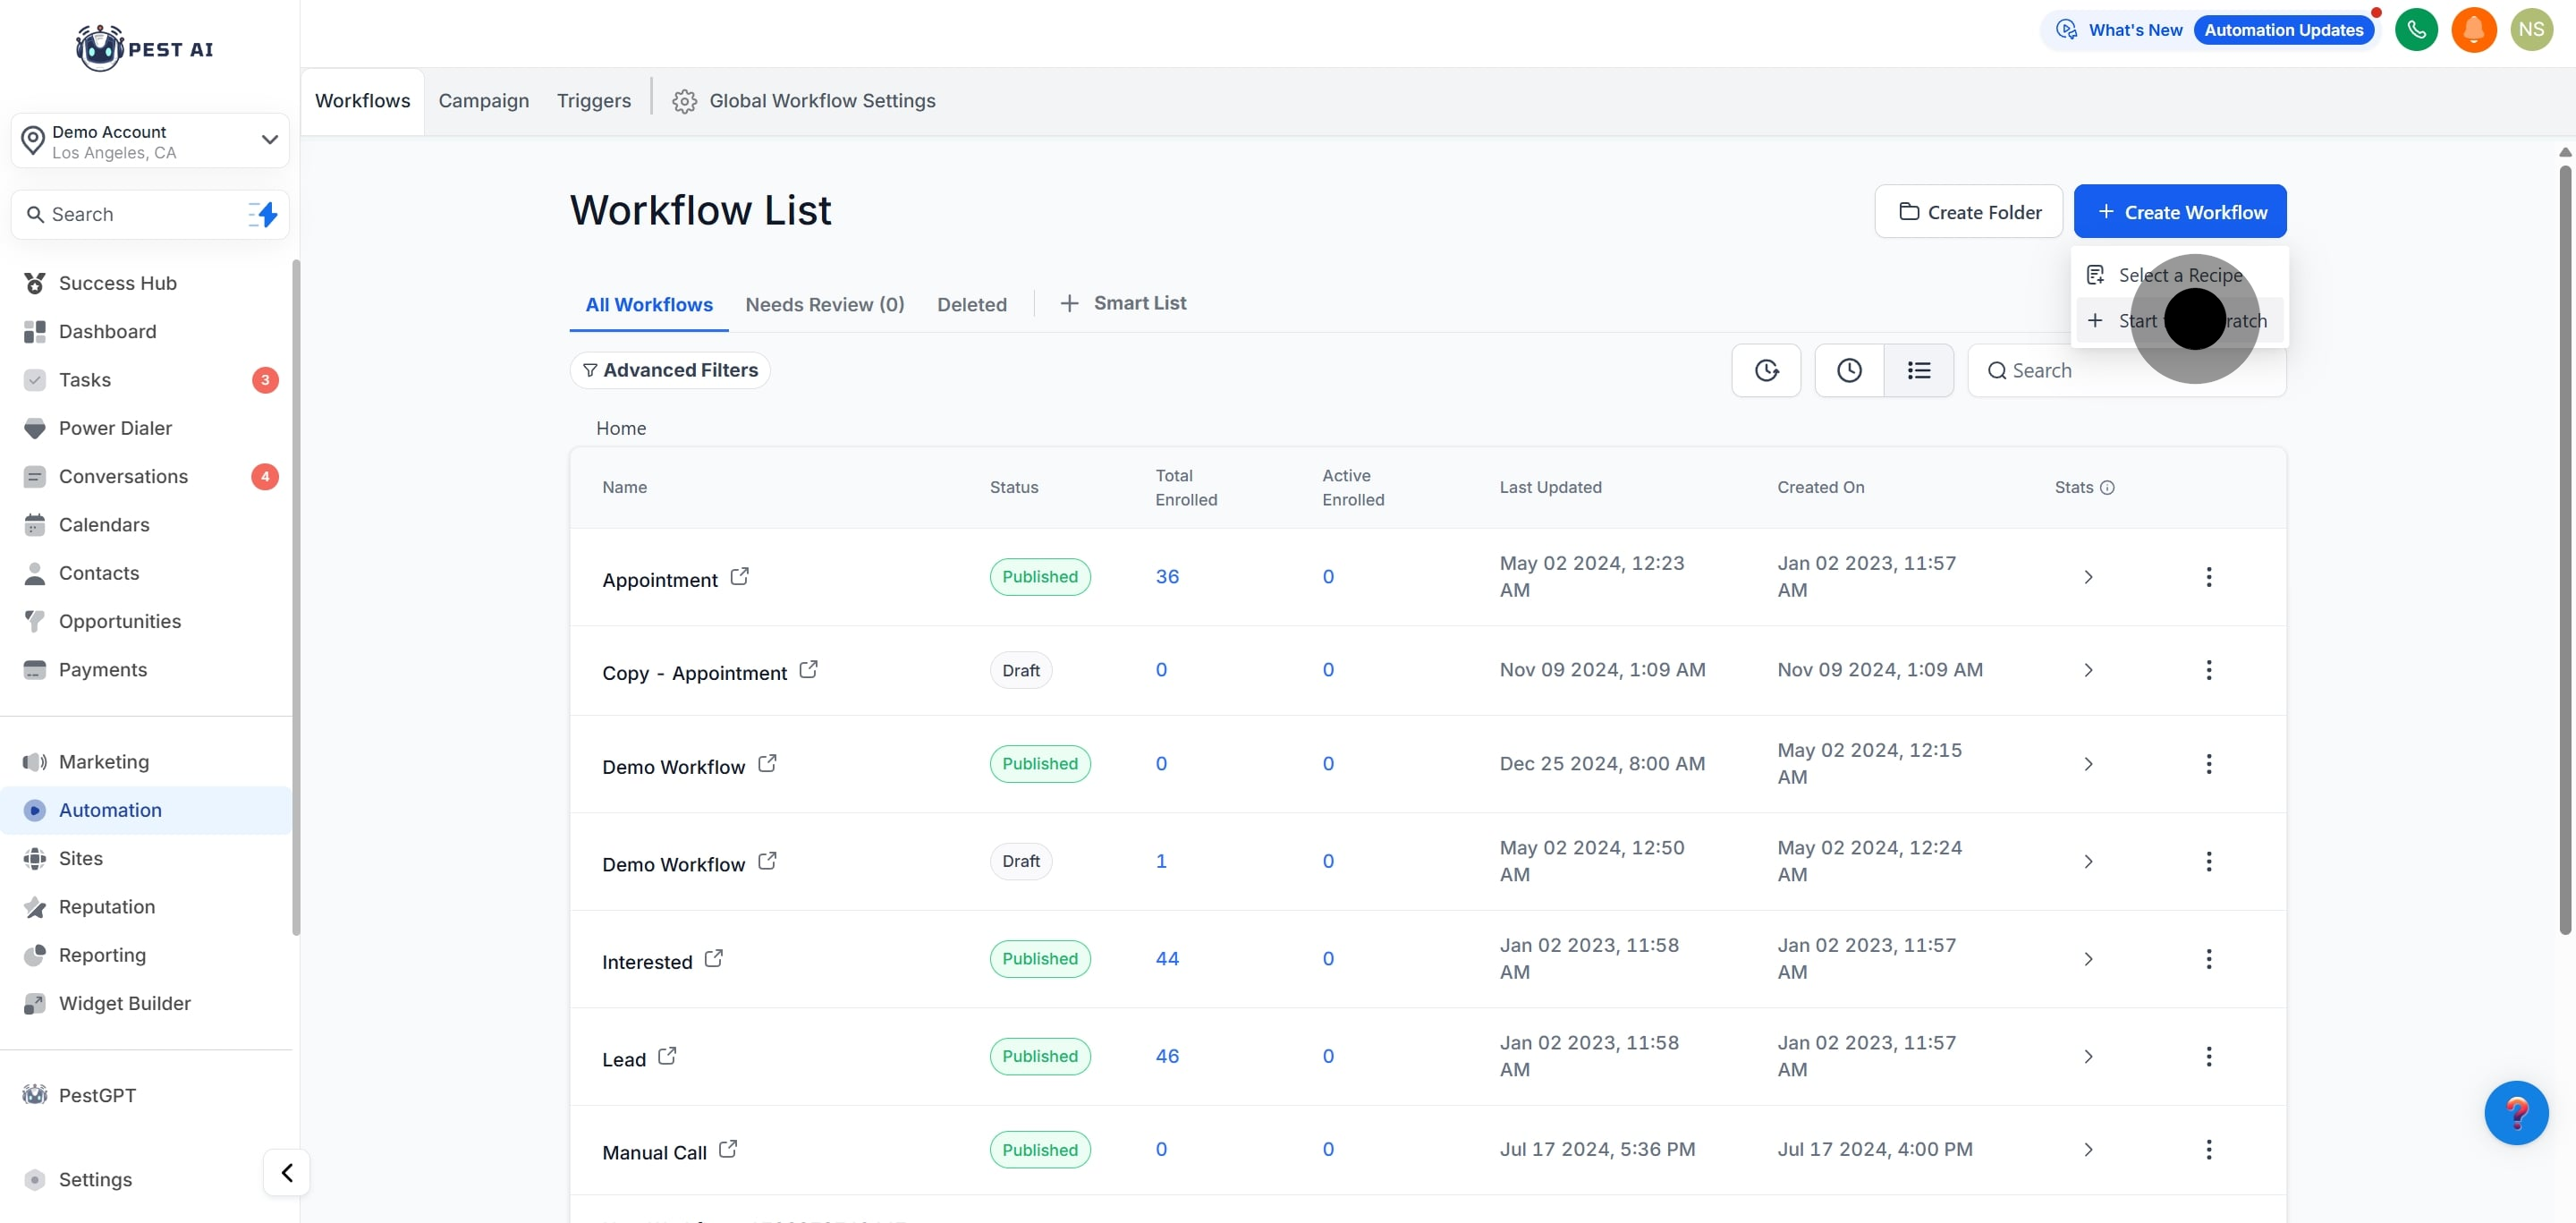
Step 1: Start a new workflow or edit an existing one.
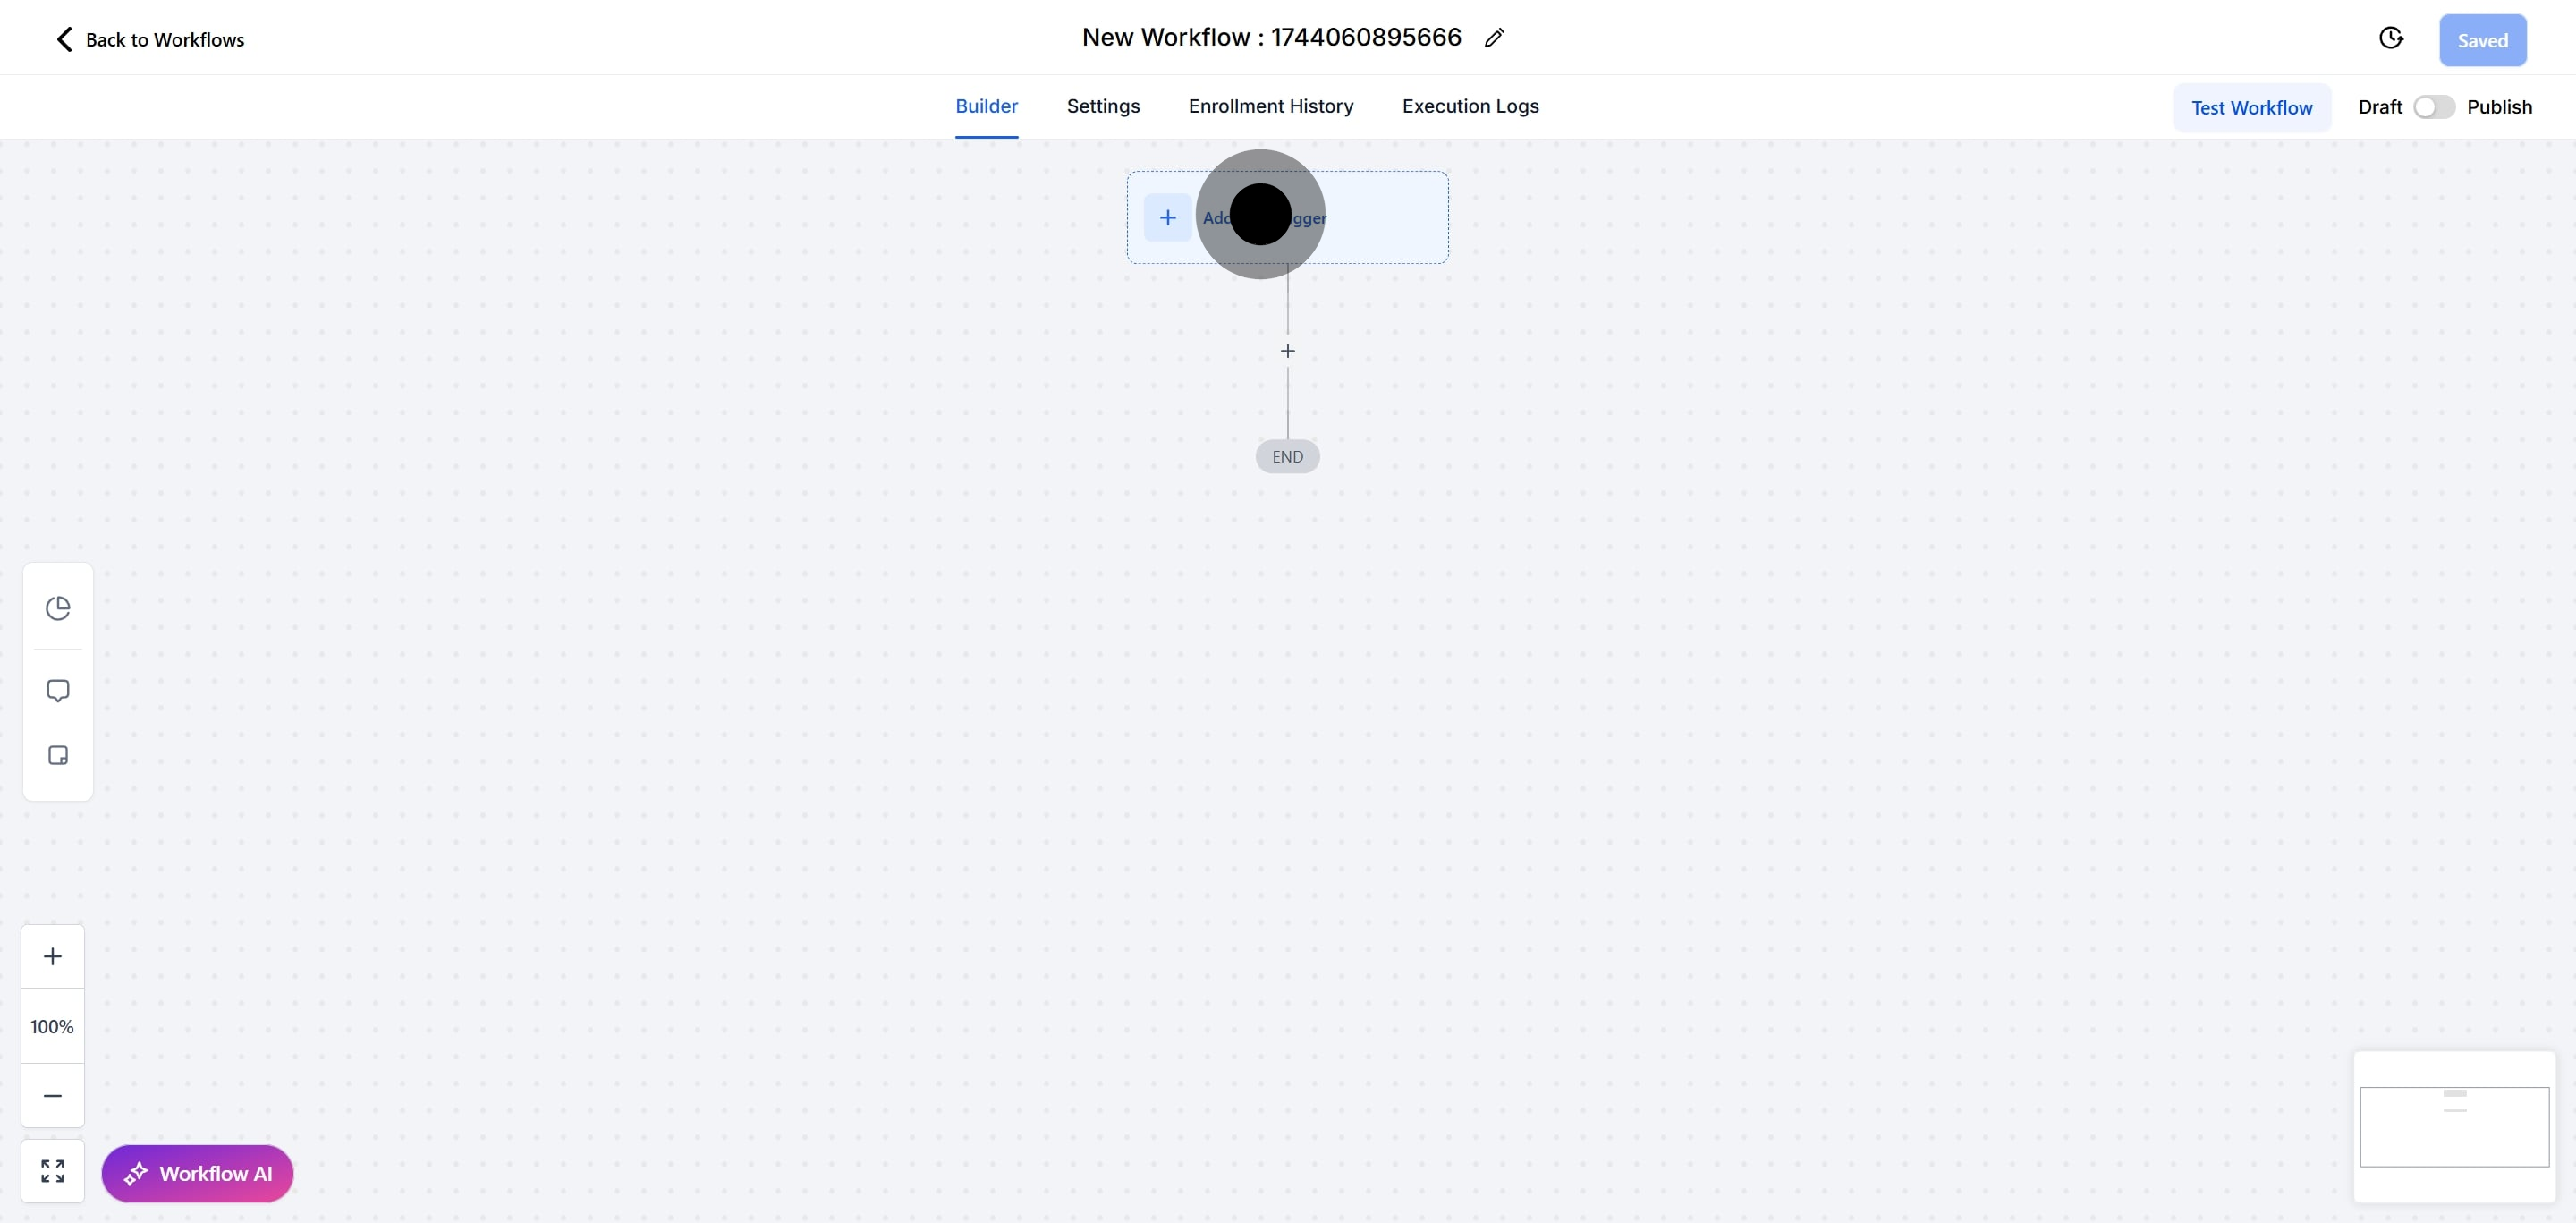
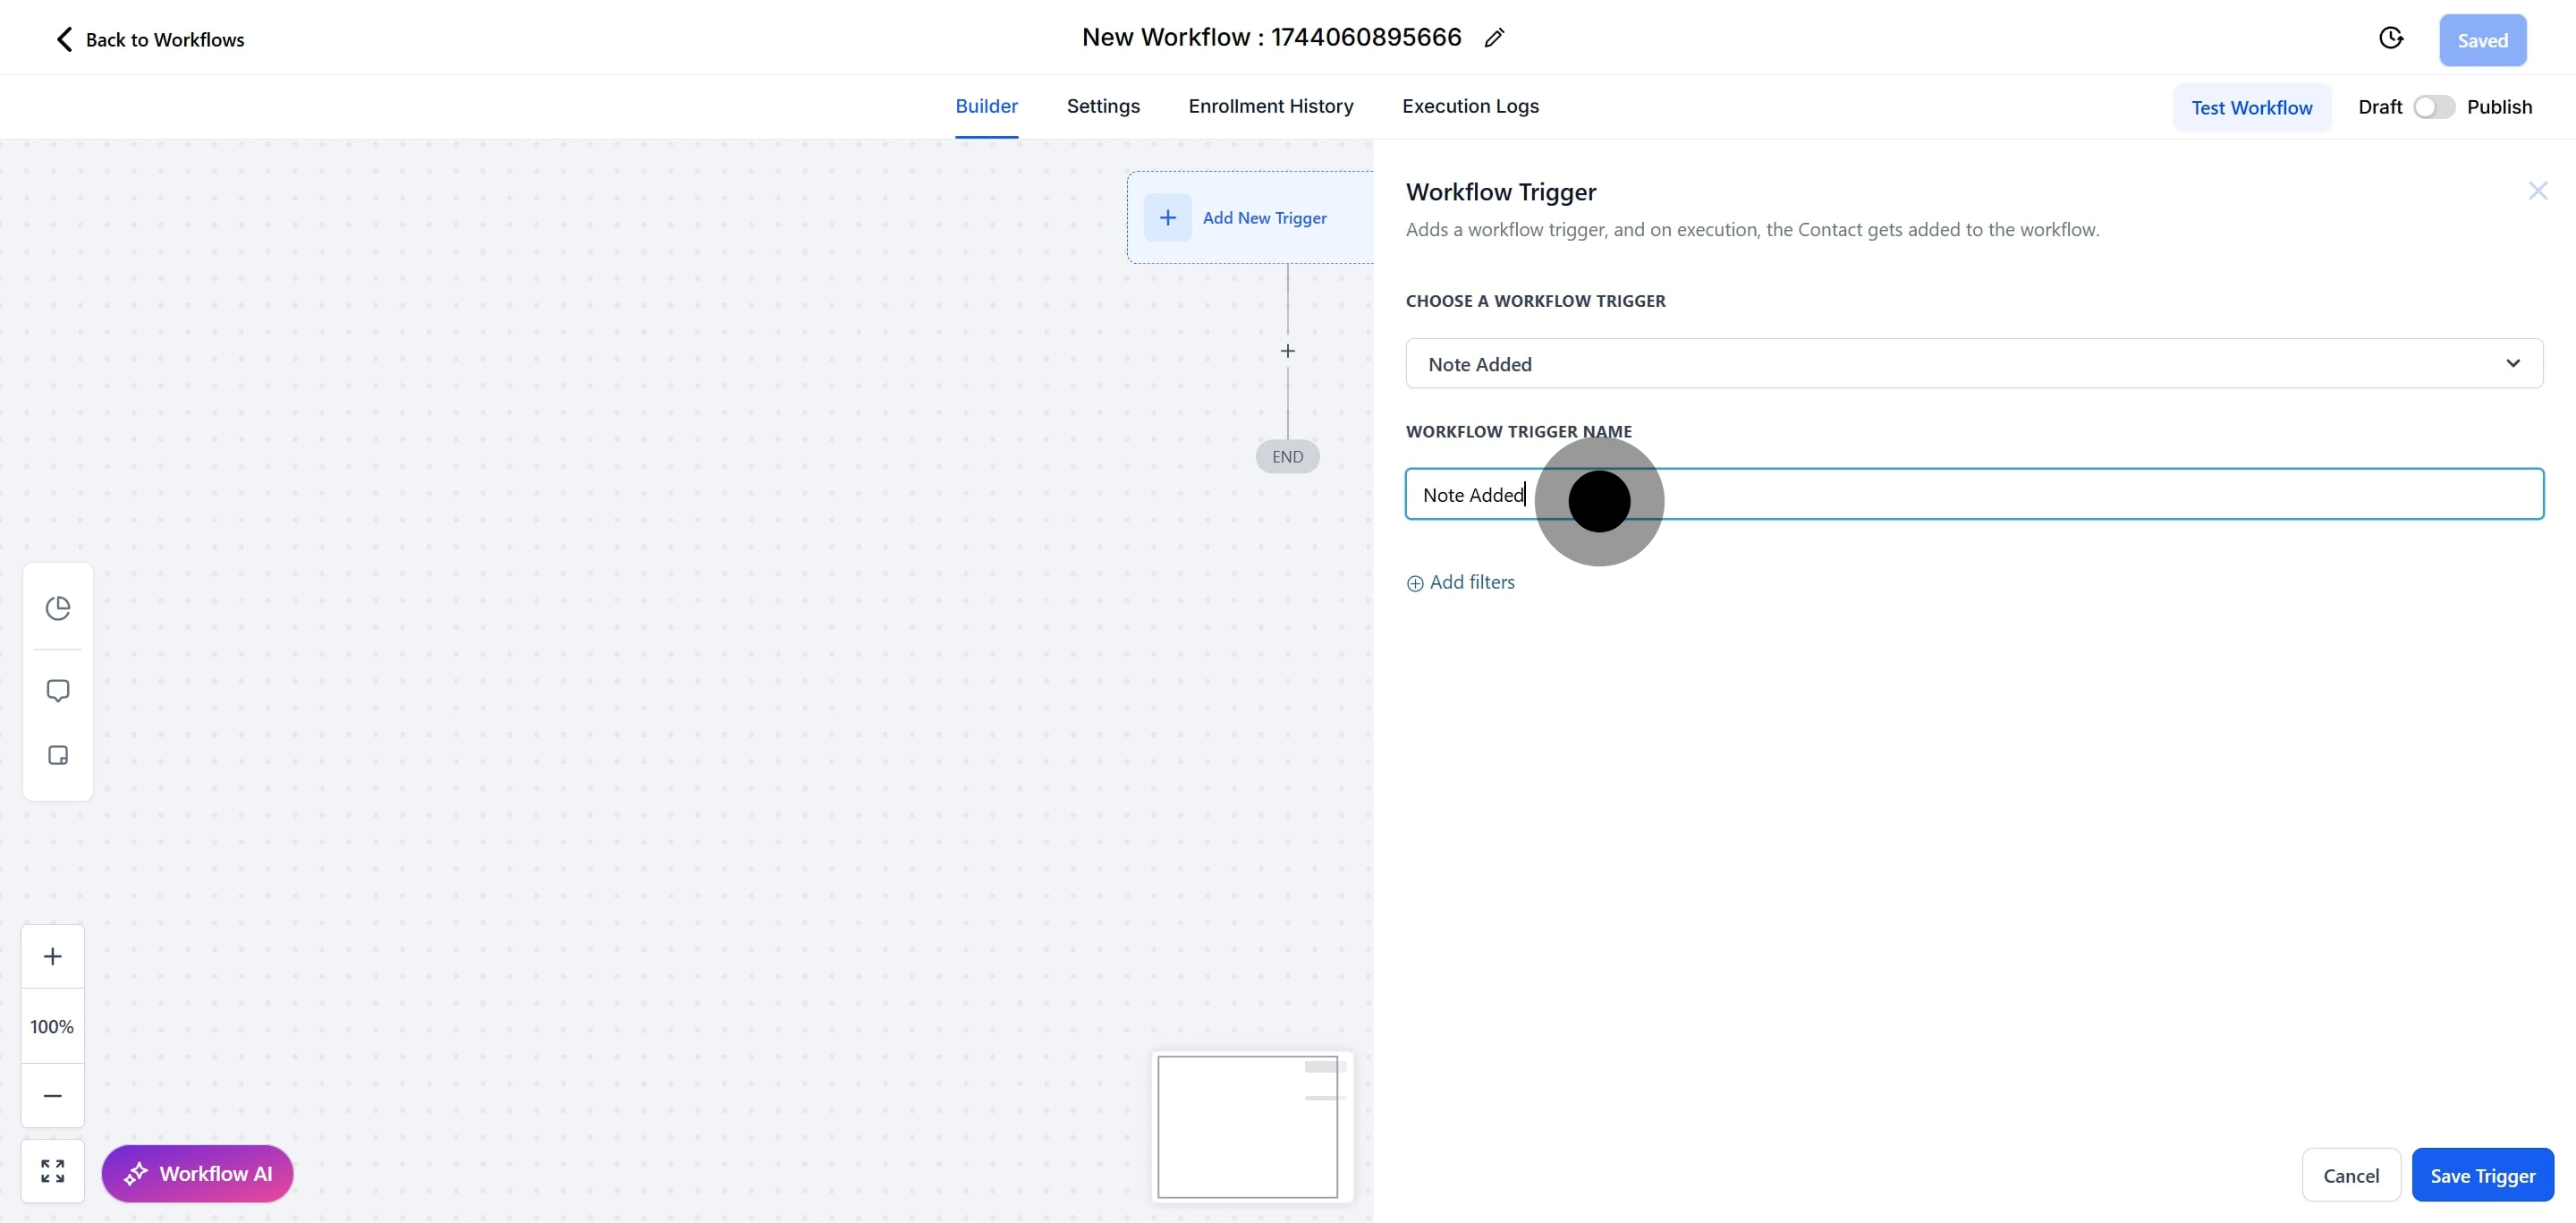
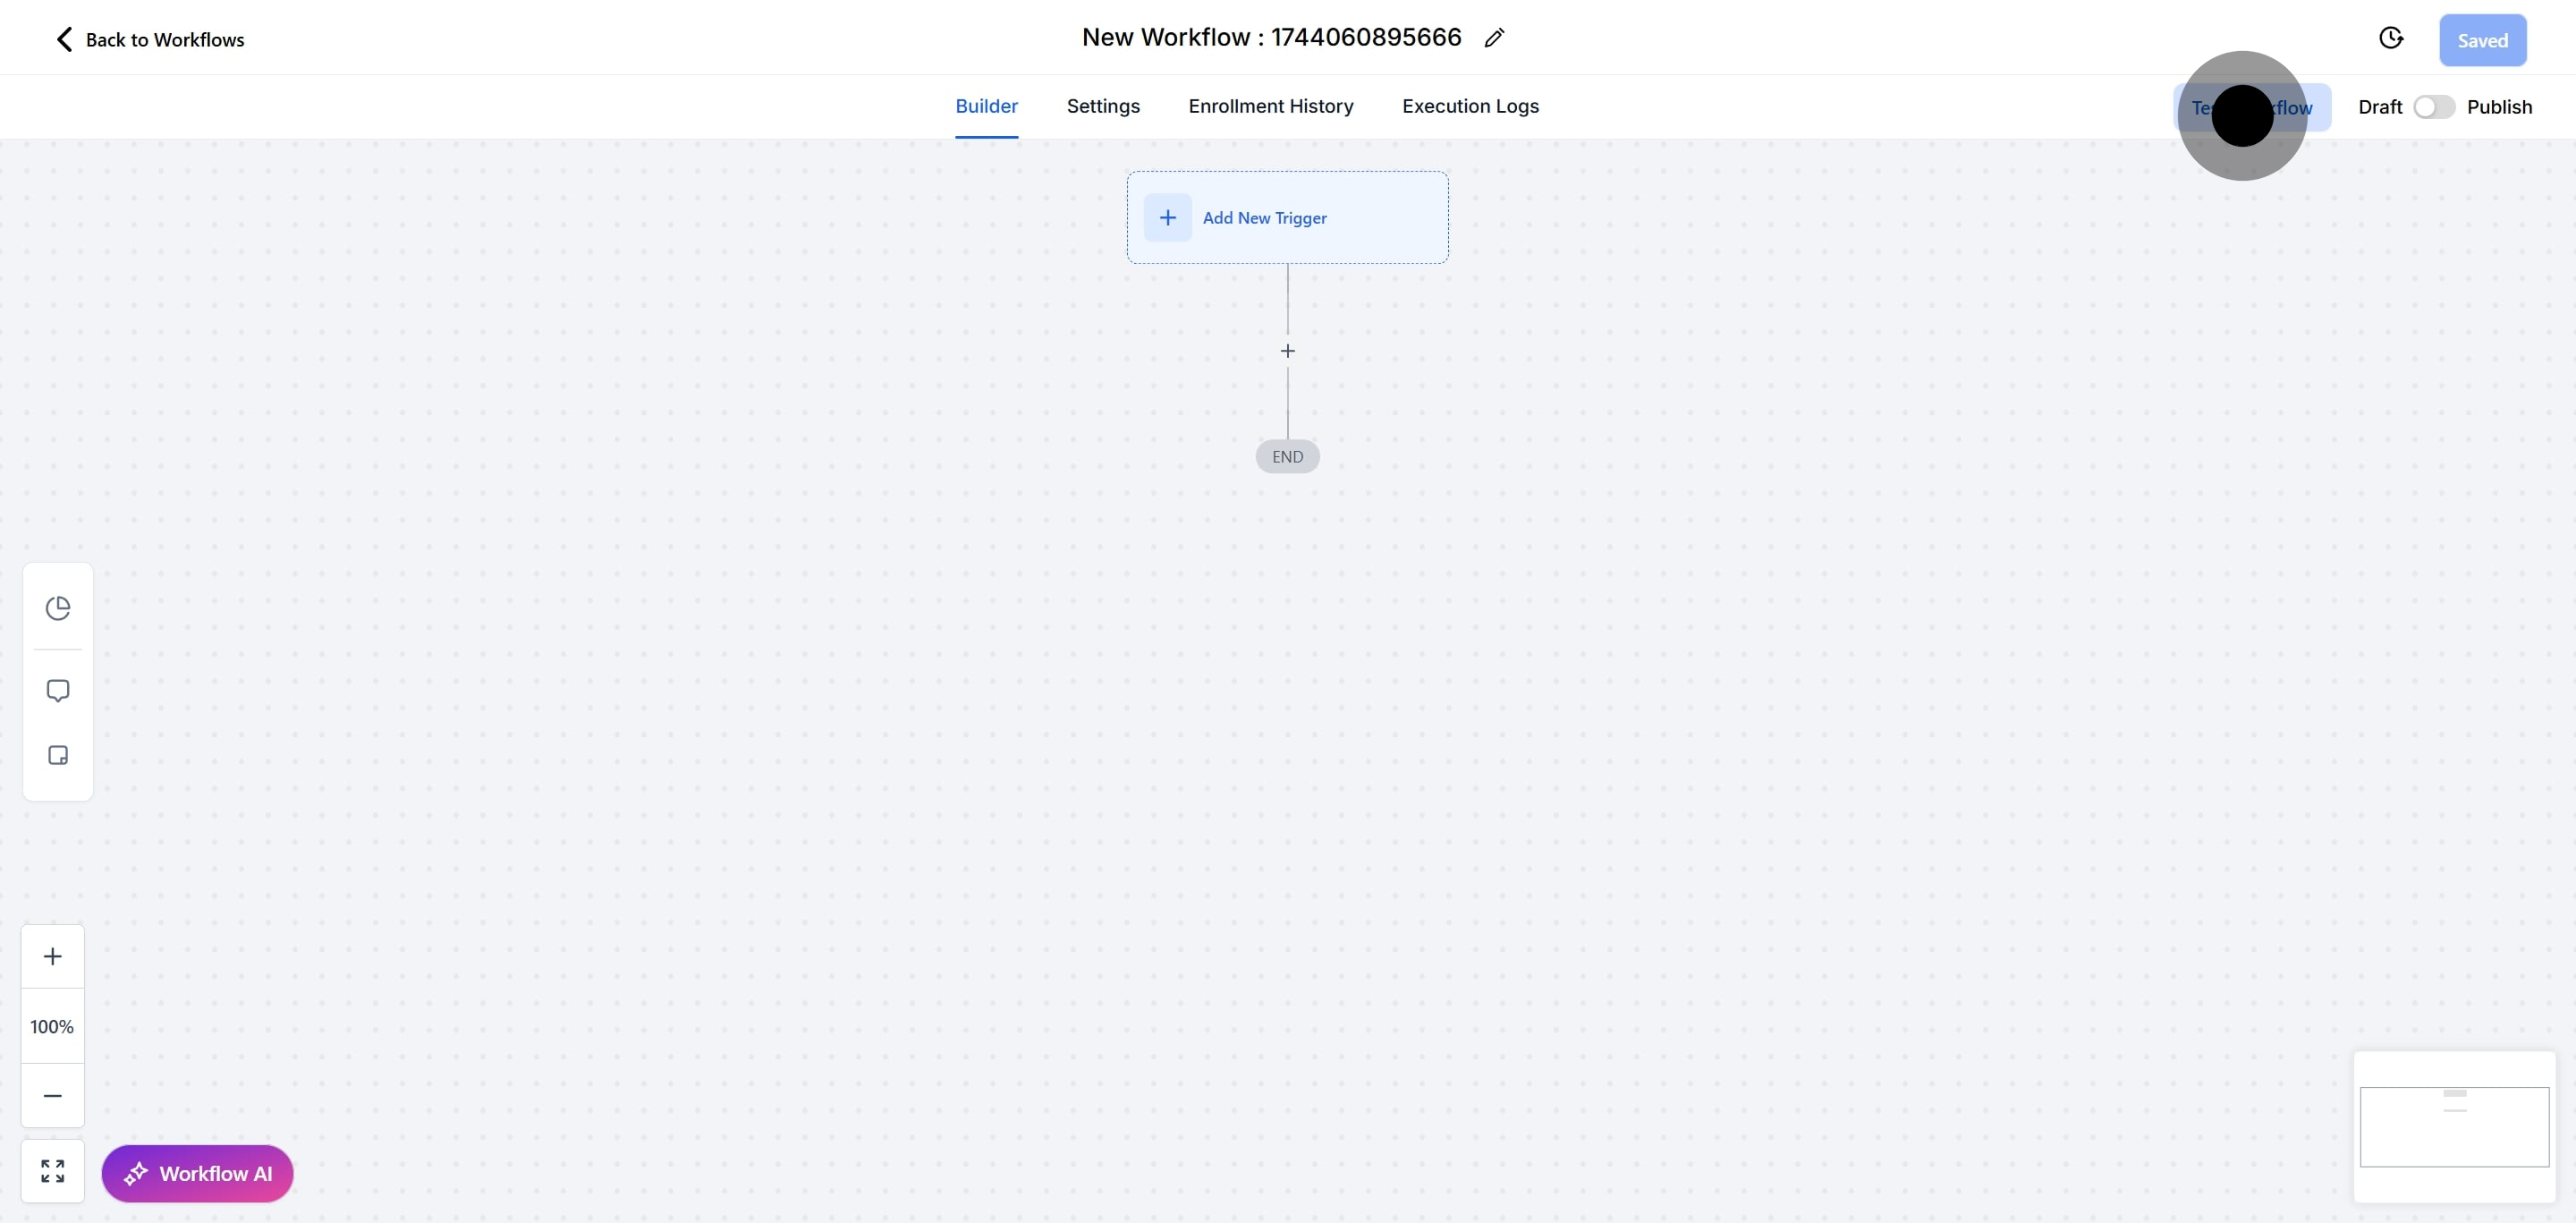
Step 2: Click “Add New Workflow Trigger” and select "Note Added" from the Contact section.
Step 3: Optionally, change the display name for the trigger for easier identification.
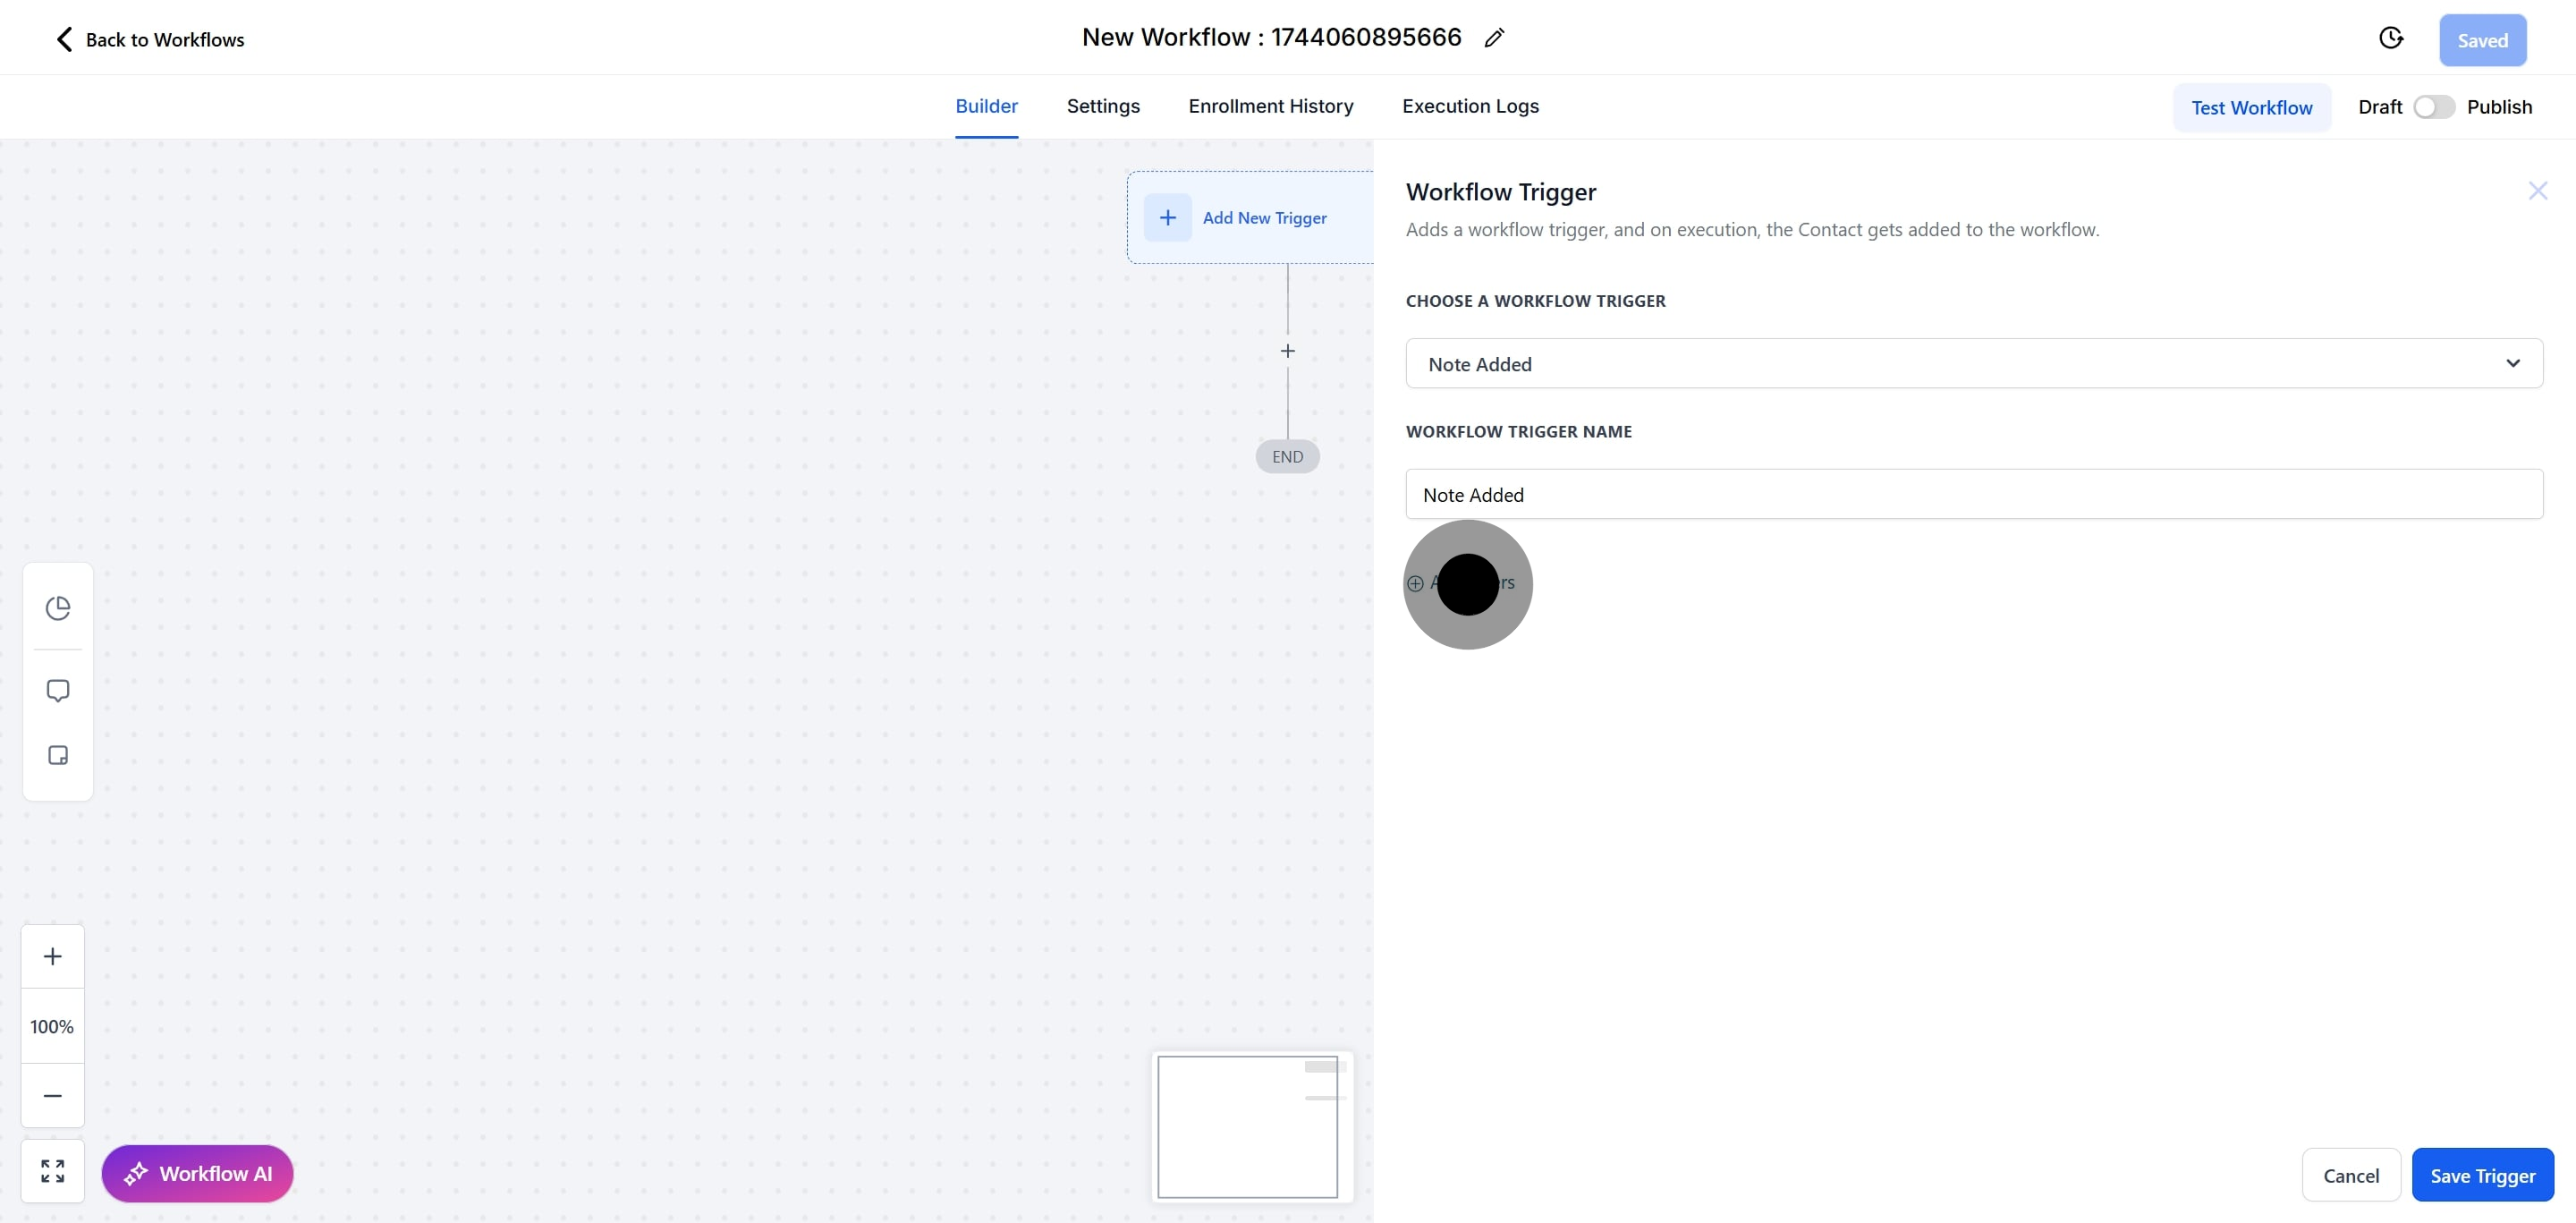
Step 4: Add filters as needed and press “Save Trigger” to apply the changes.
6. What actions can I set up with the "Note Added" trigger?
You can set up any workflow actions that you need to occur when a note is added. For example, you might want to send an email notification, update a contact field, or add the contact to a list.
Pro Tip: You can leave the workflow without actions if you simply want to track when notes are added.
7. How do I ensure my workflow is functioning correctly after setting up the trigger?
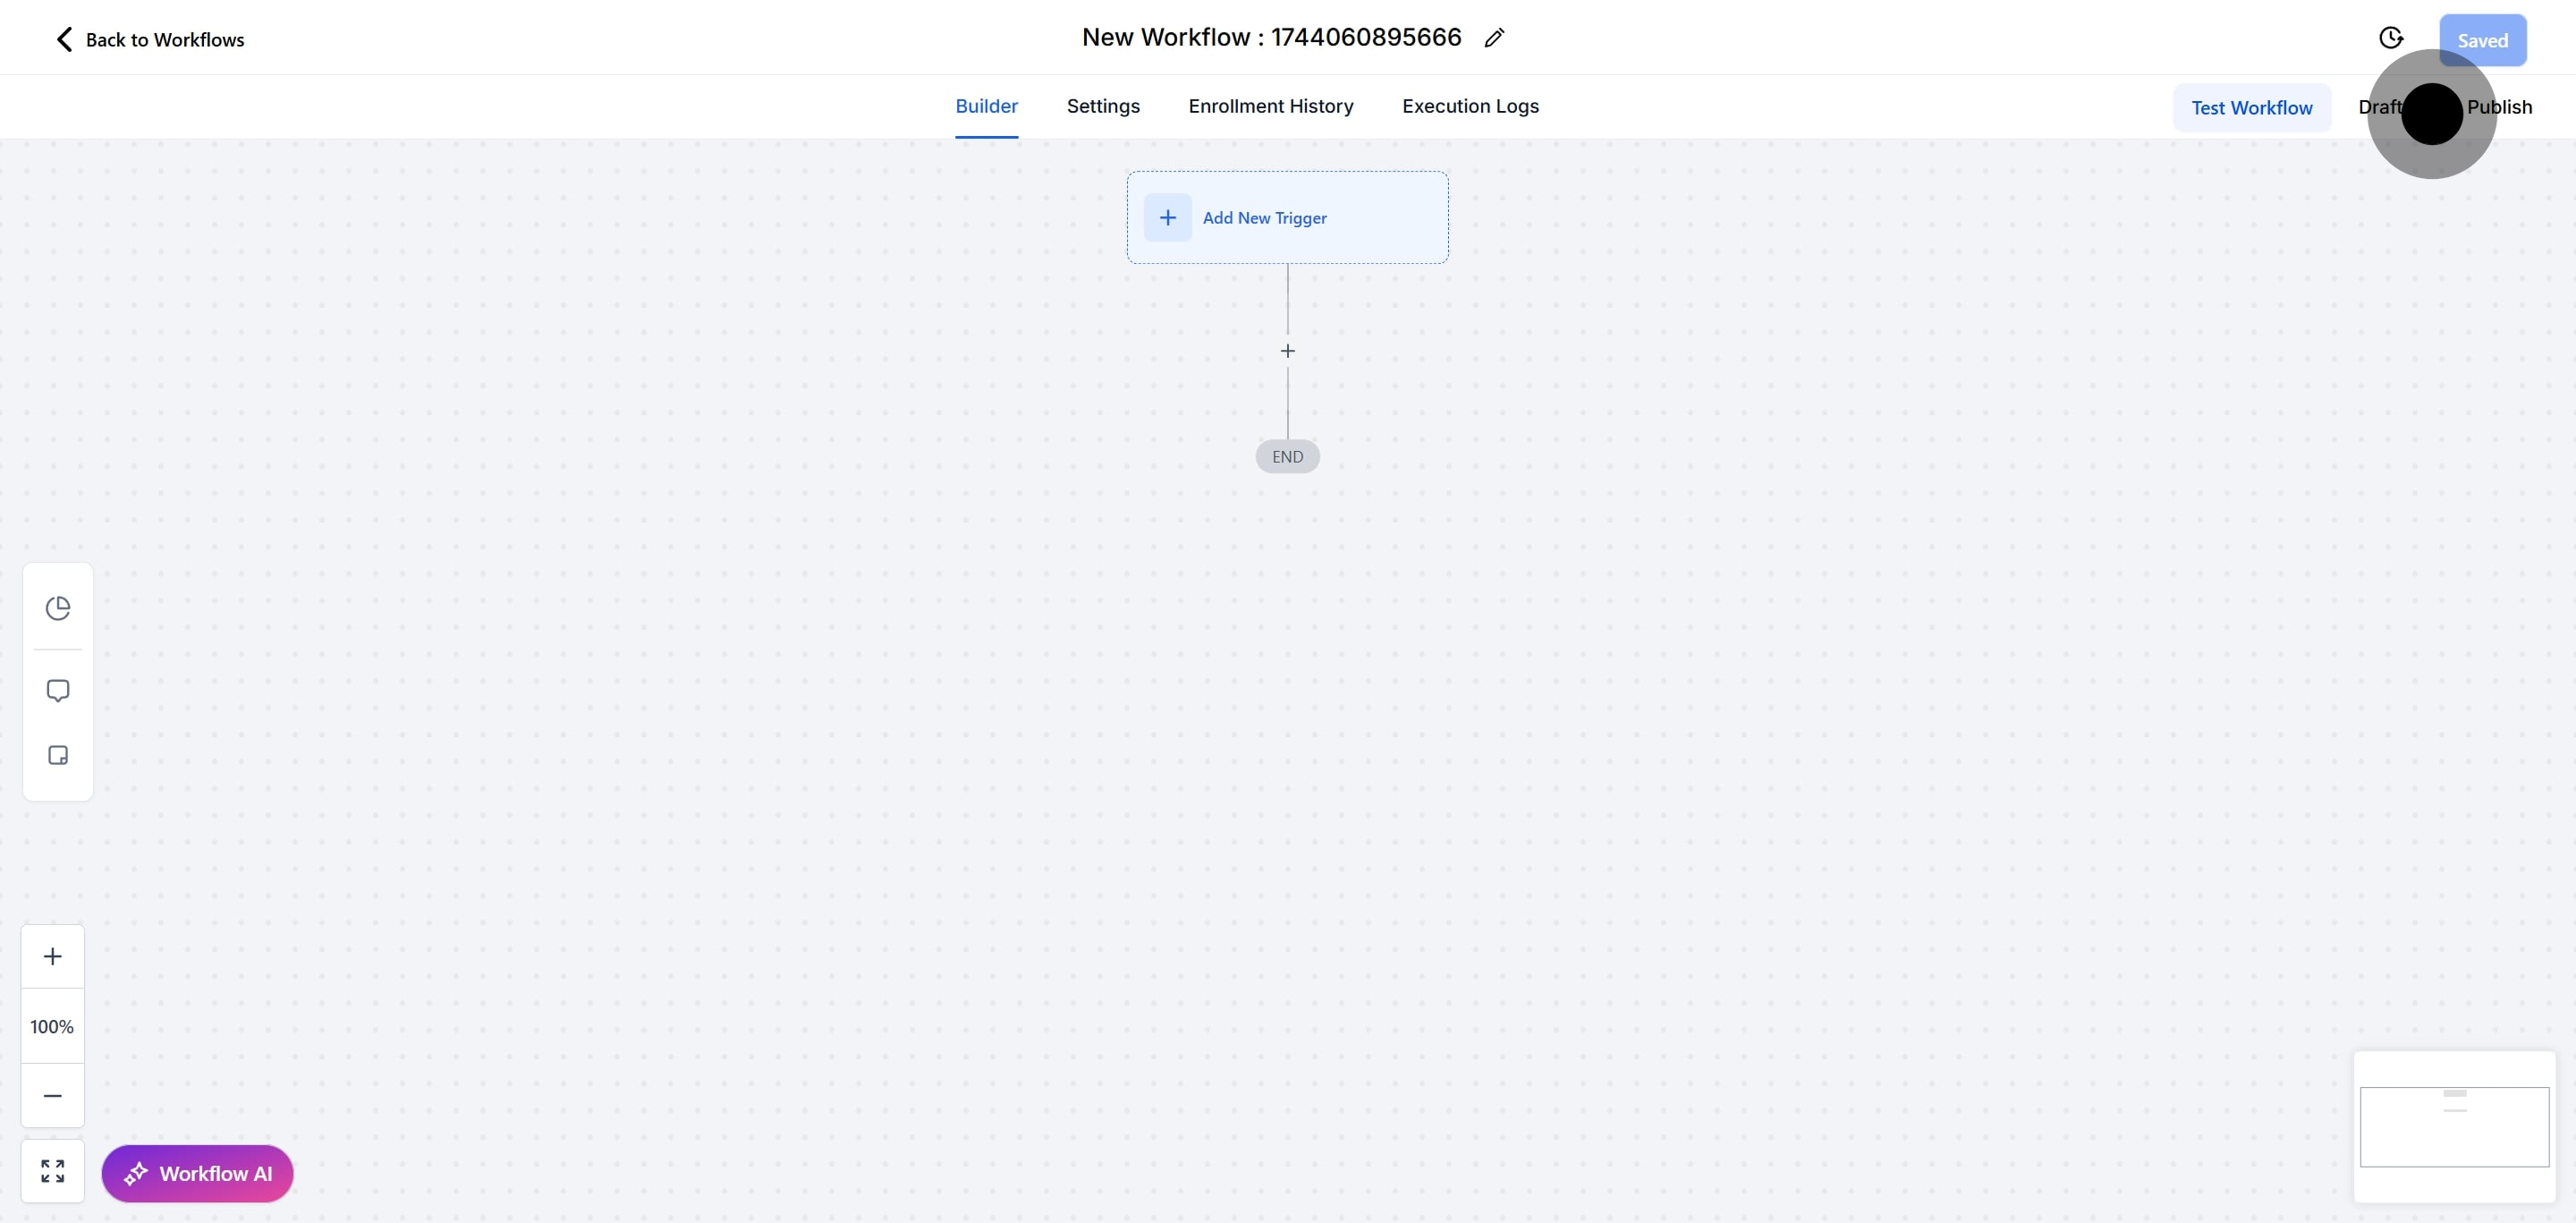
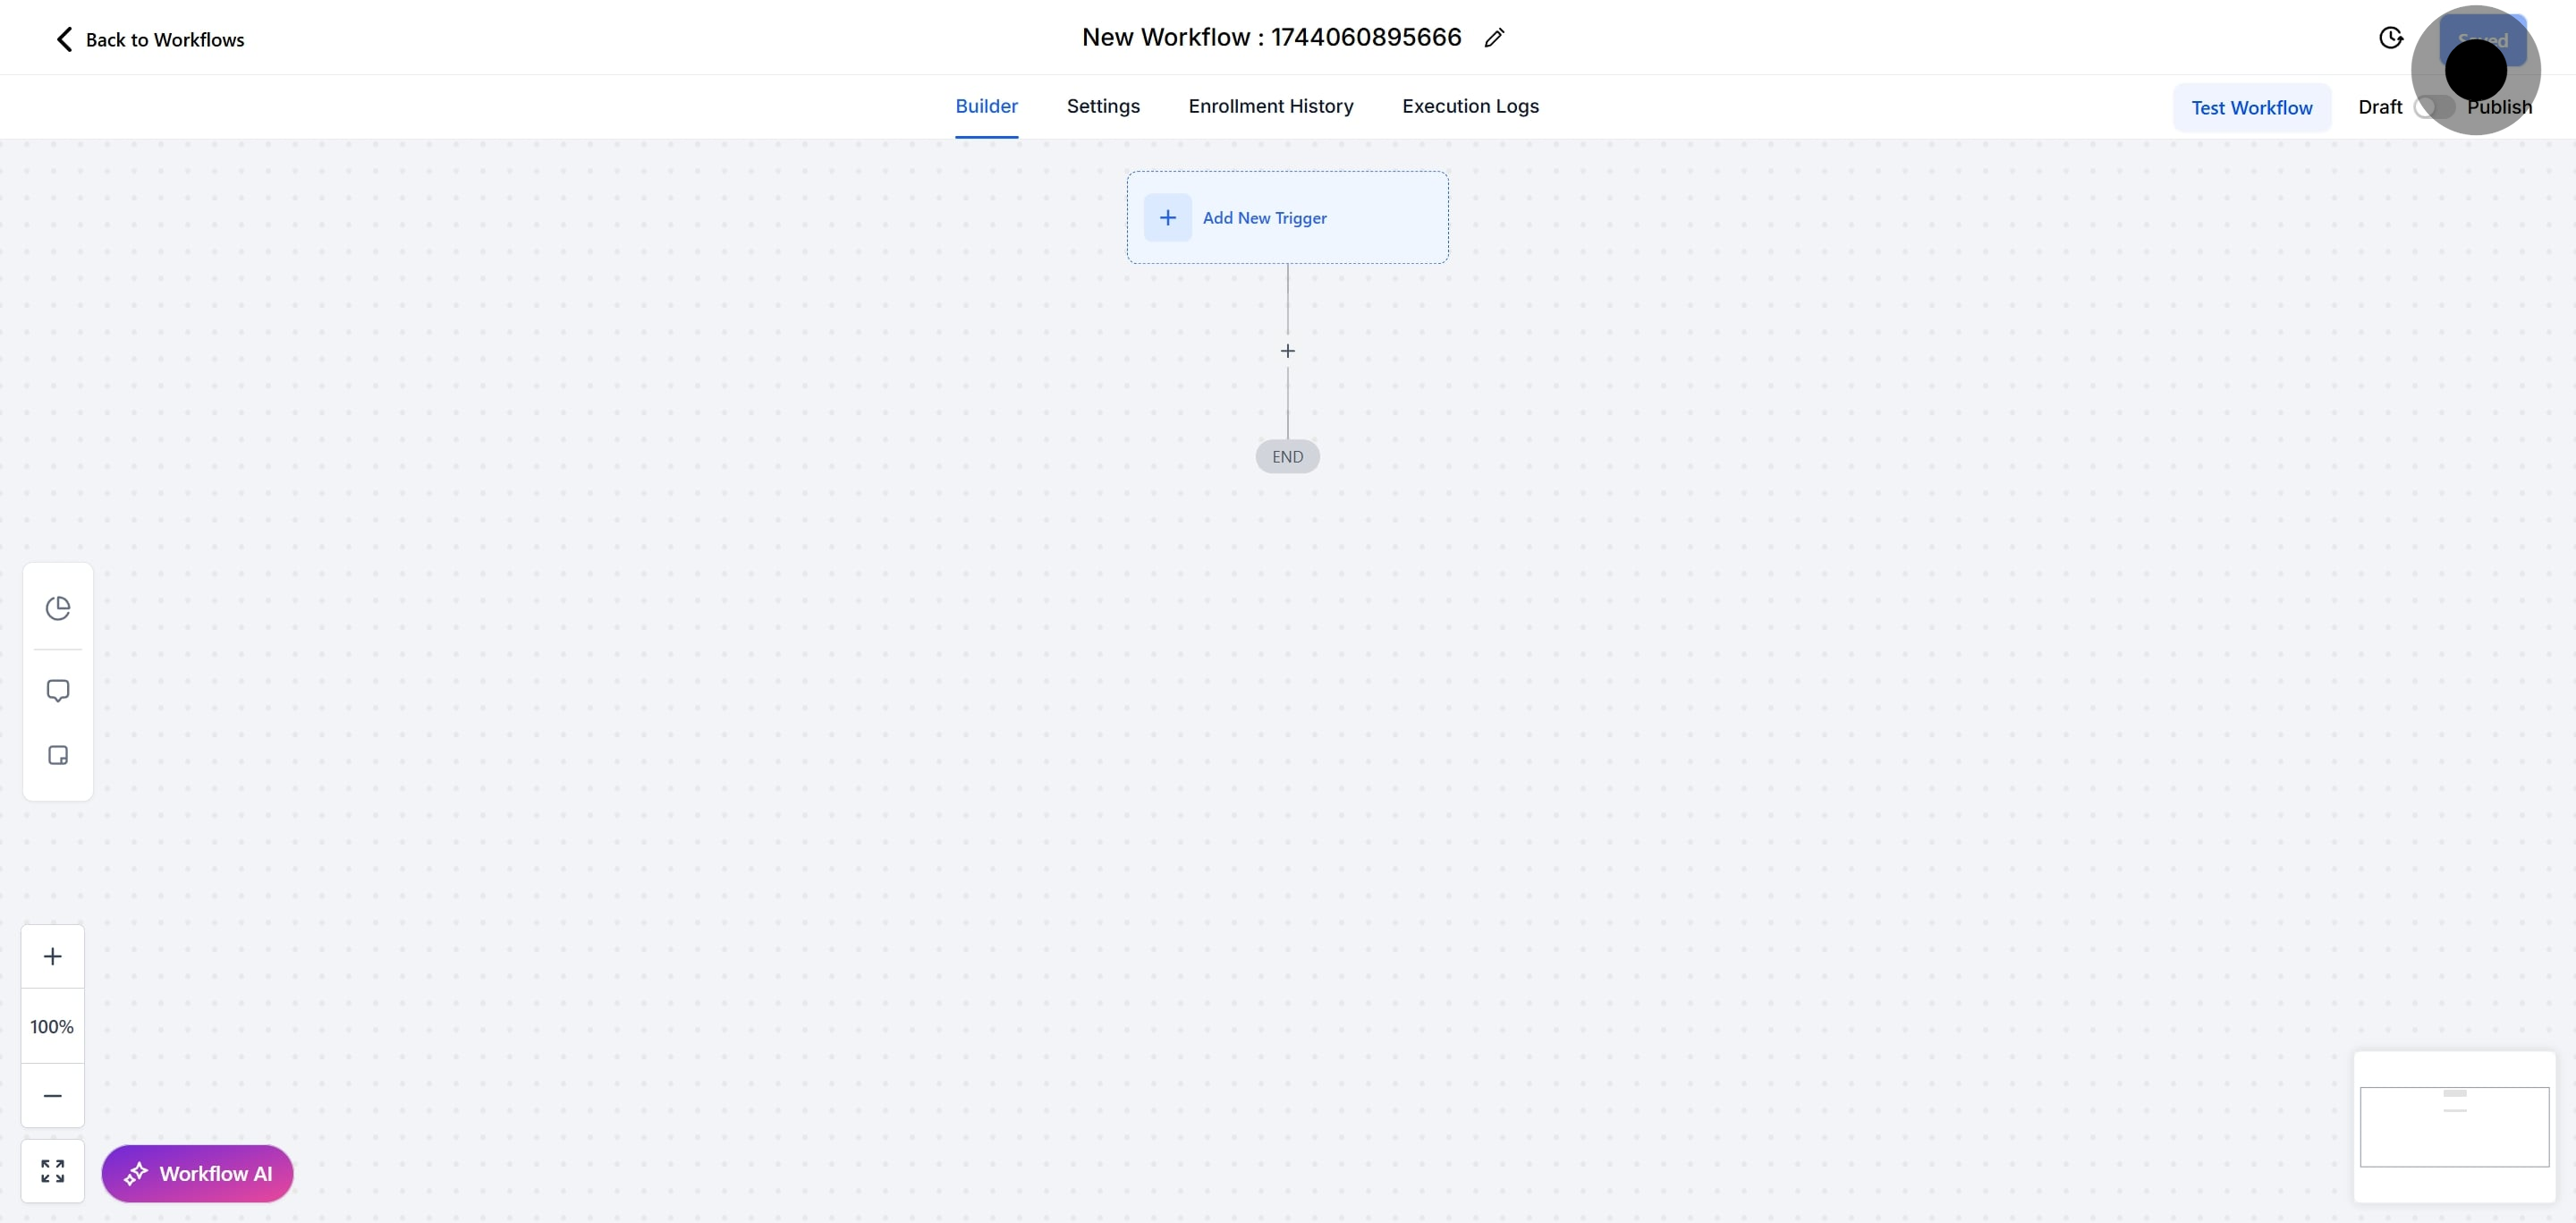
After setting up the workflow, be sure to save your changes and enable the workflow by toggling the switch to "Publish."
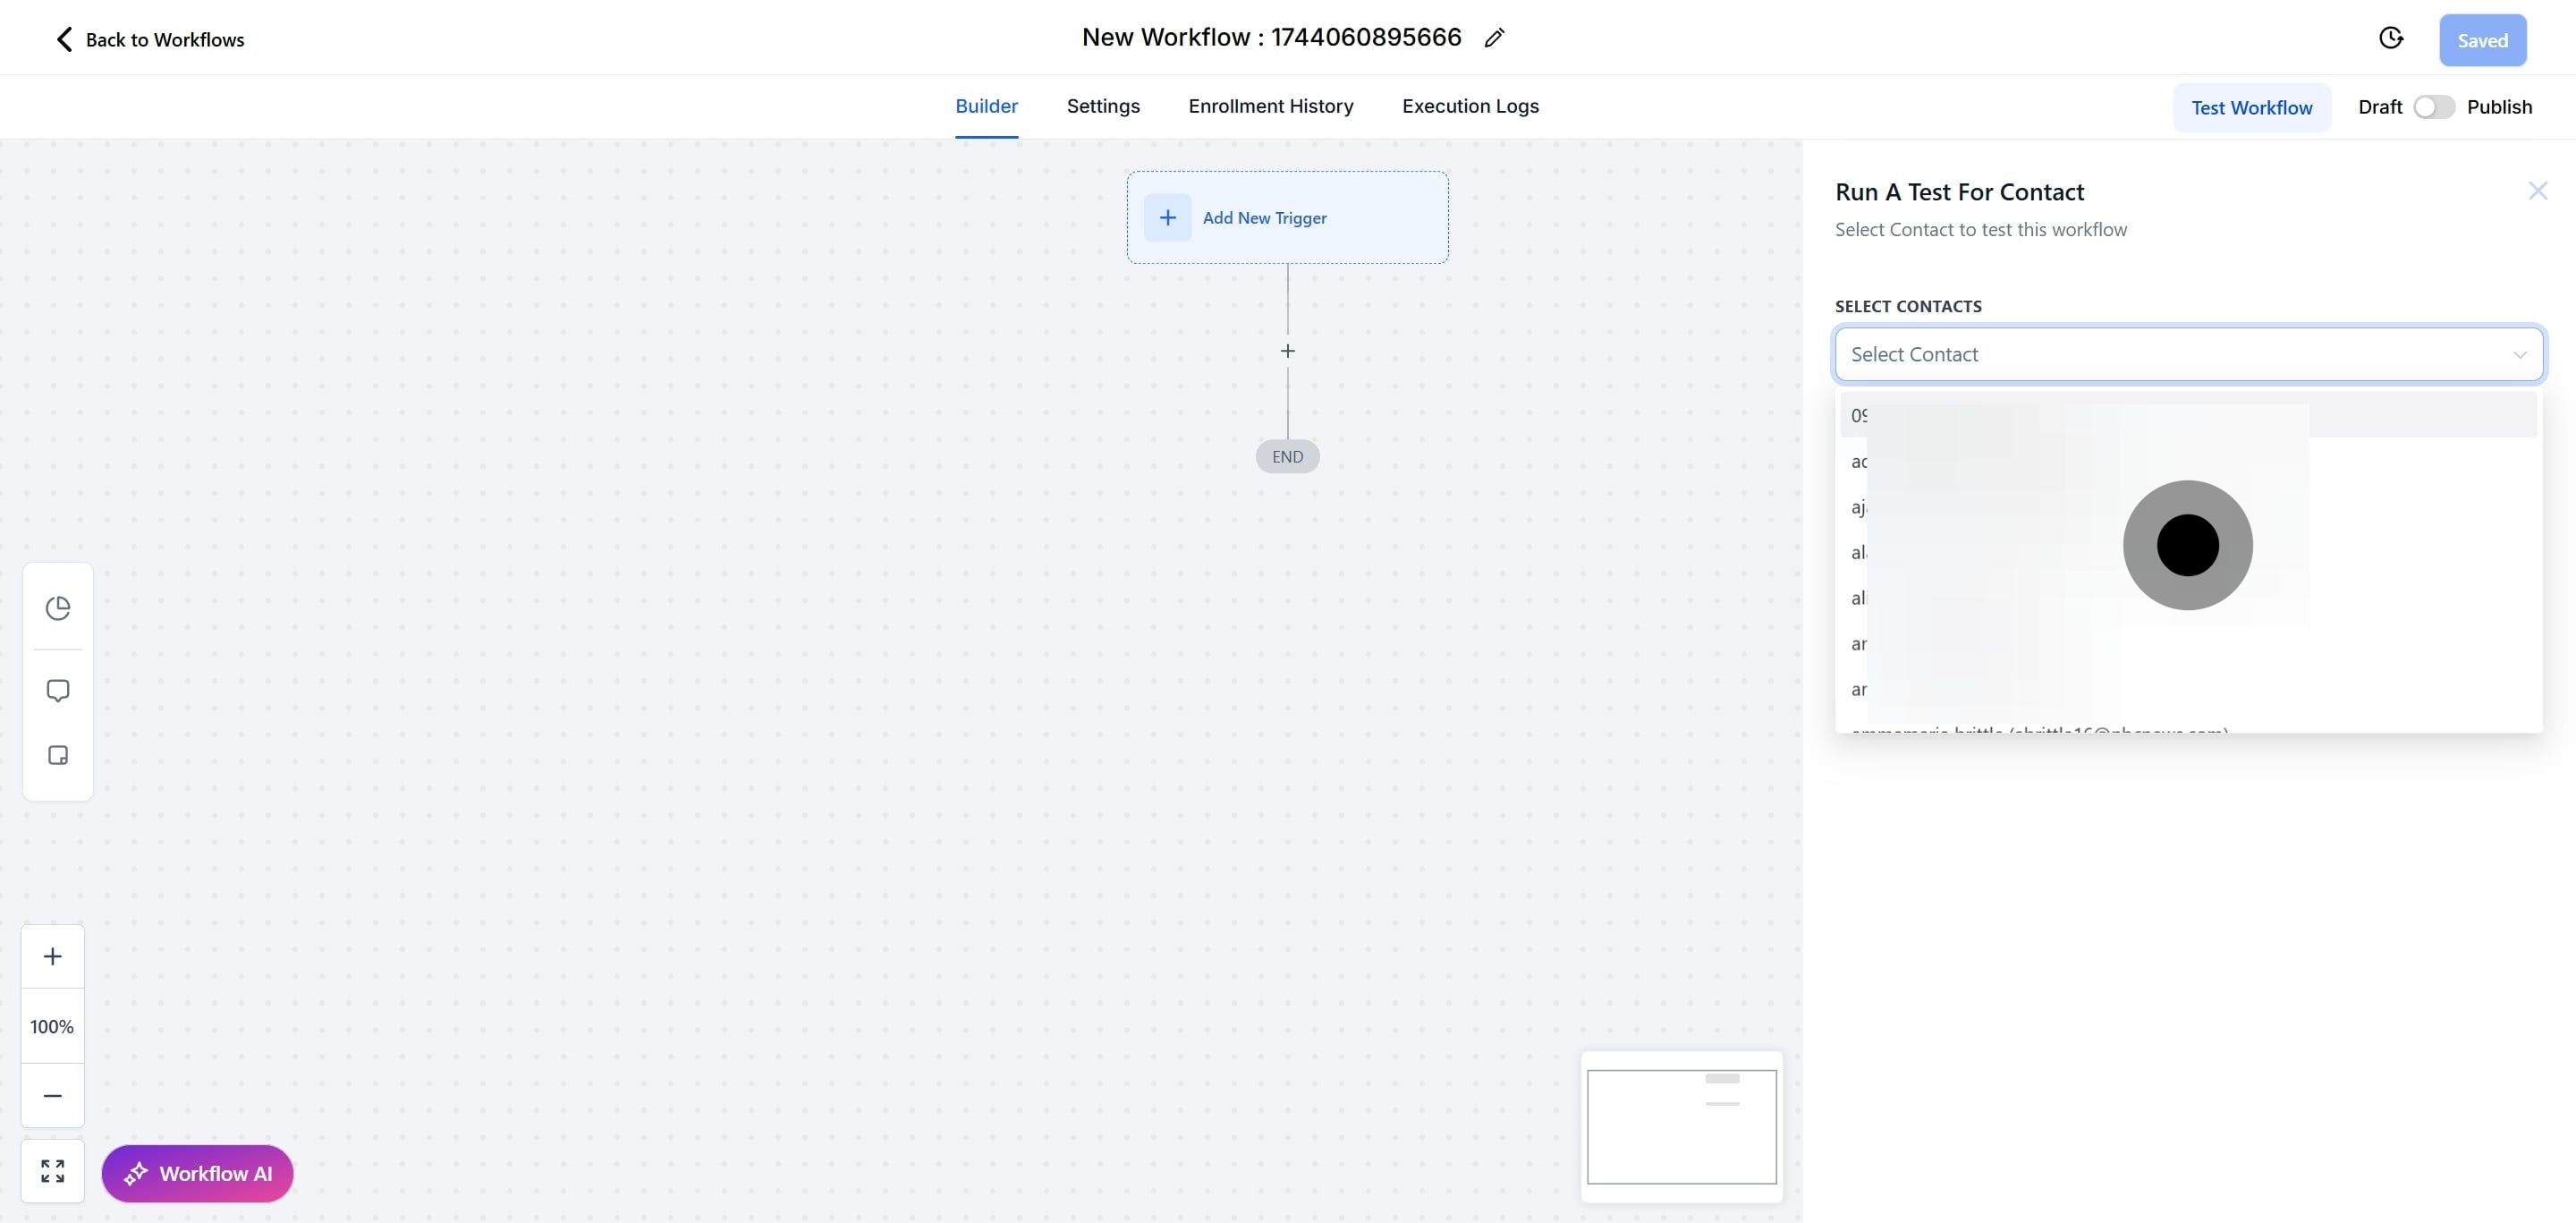
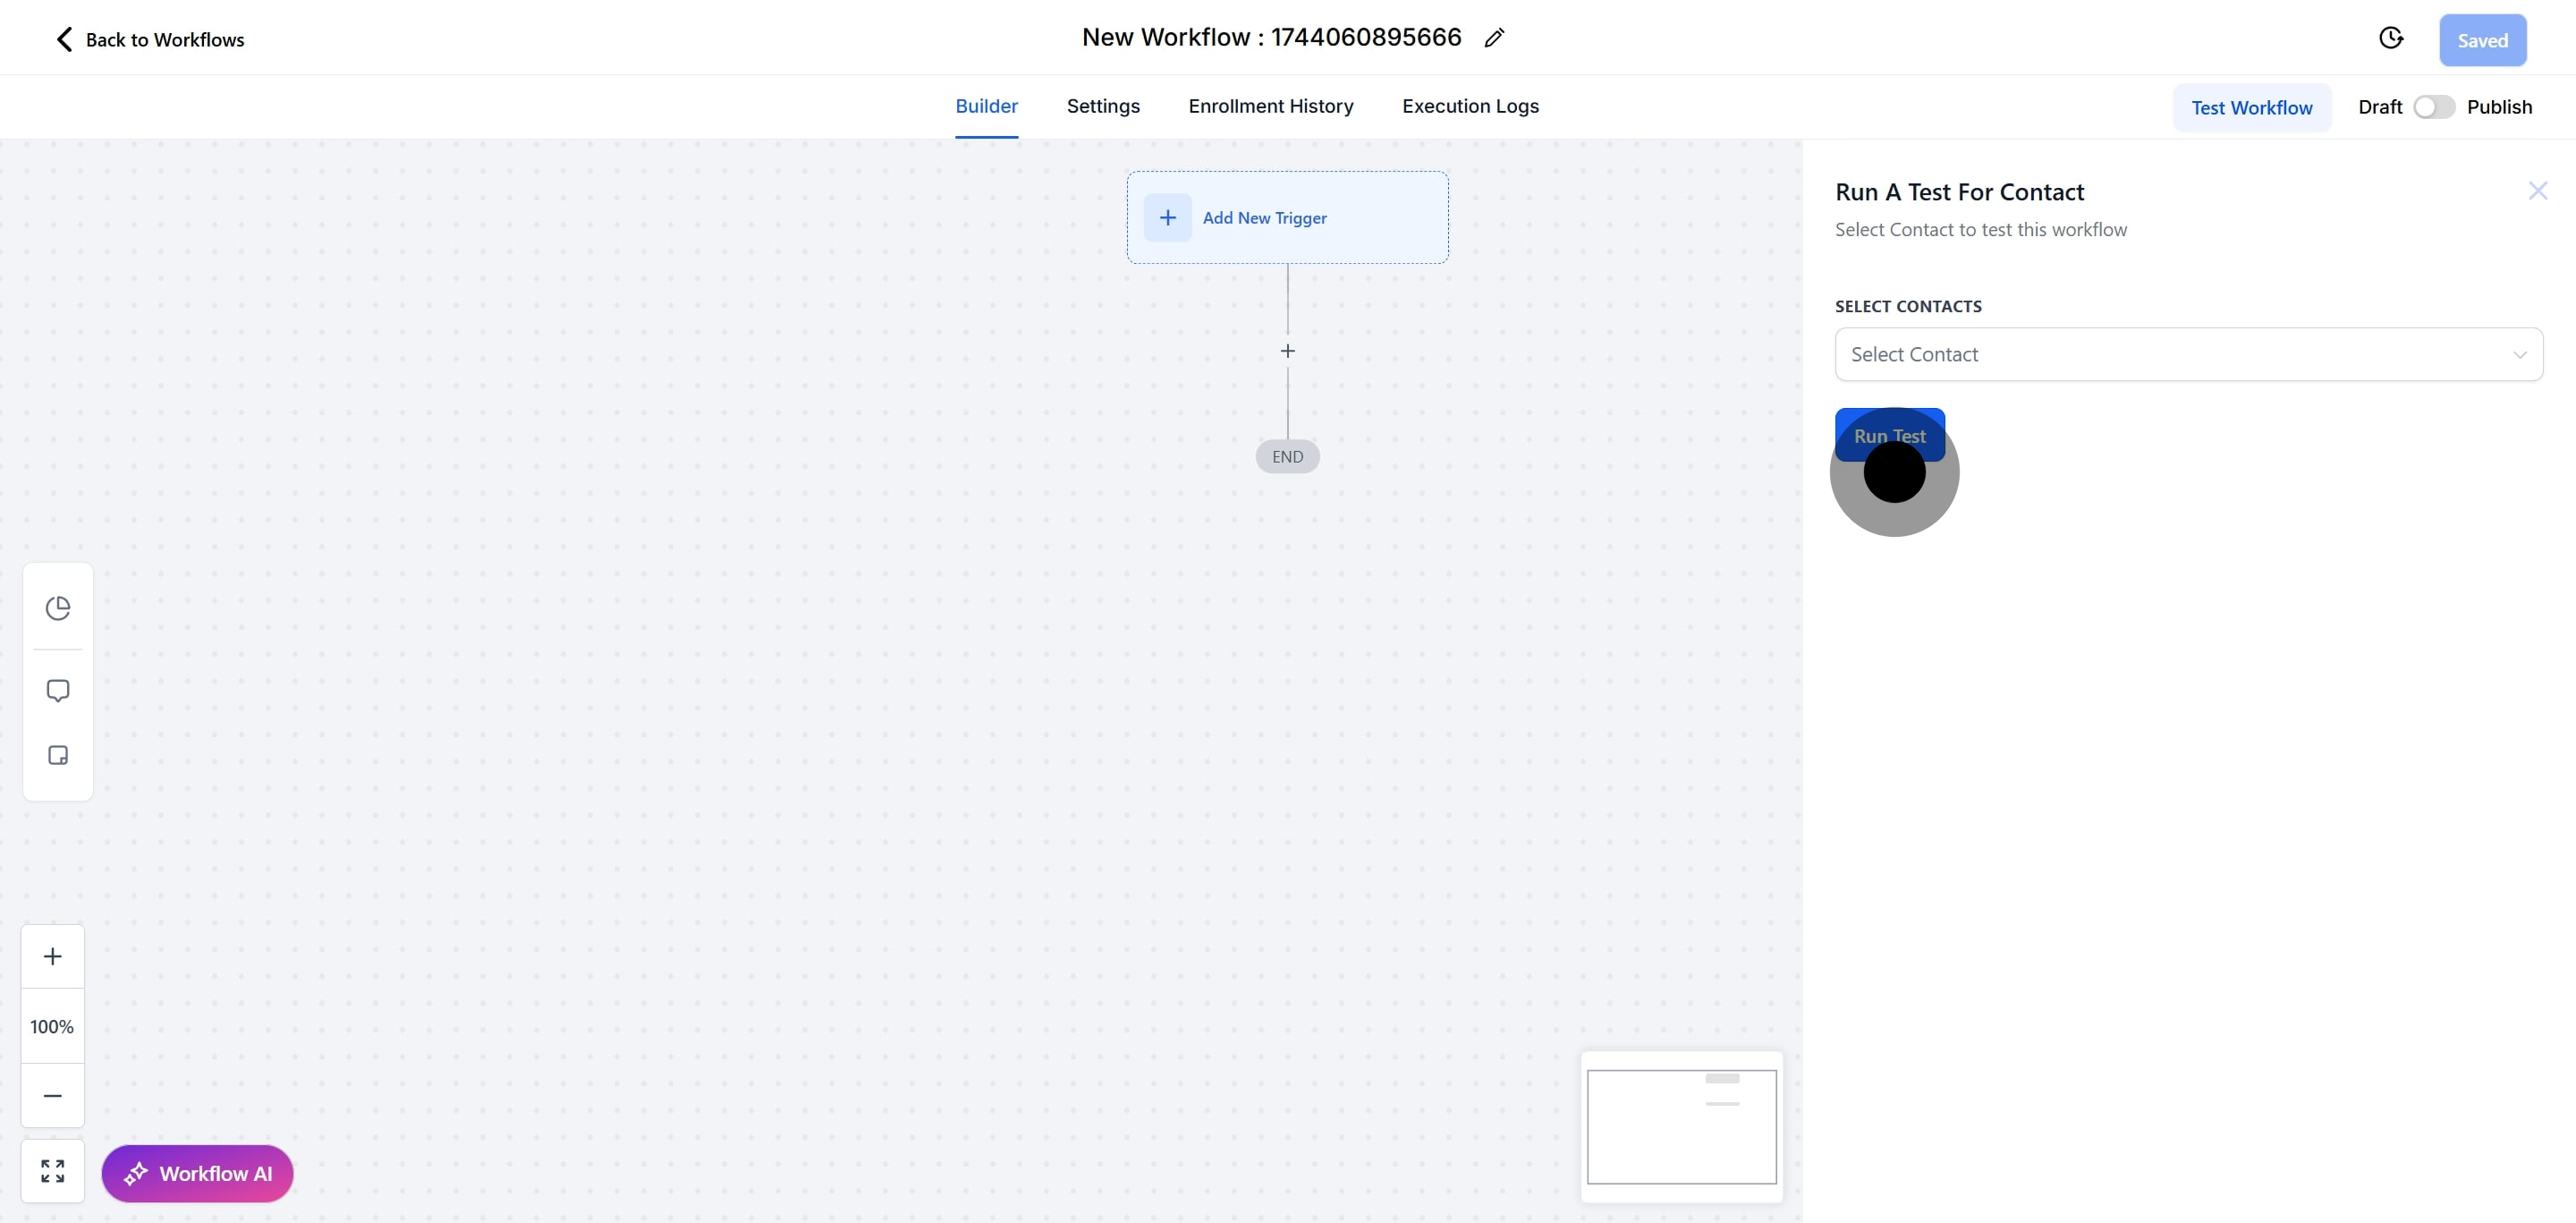
Test the workflow using the Test Workflow button to confirm that it operates as intended when notes are added.
