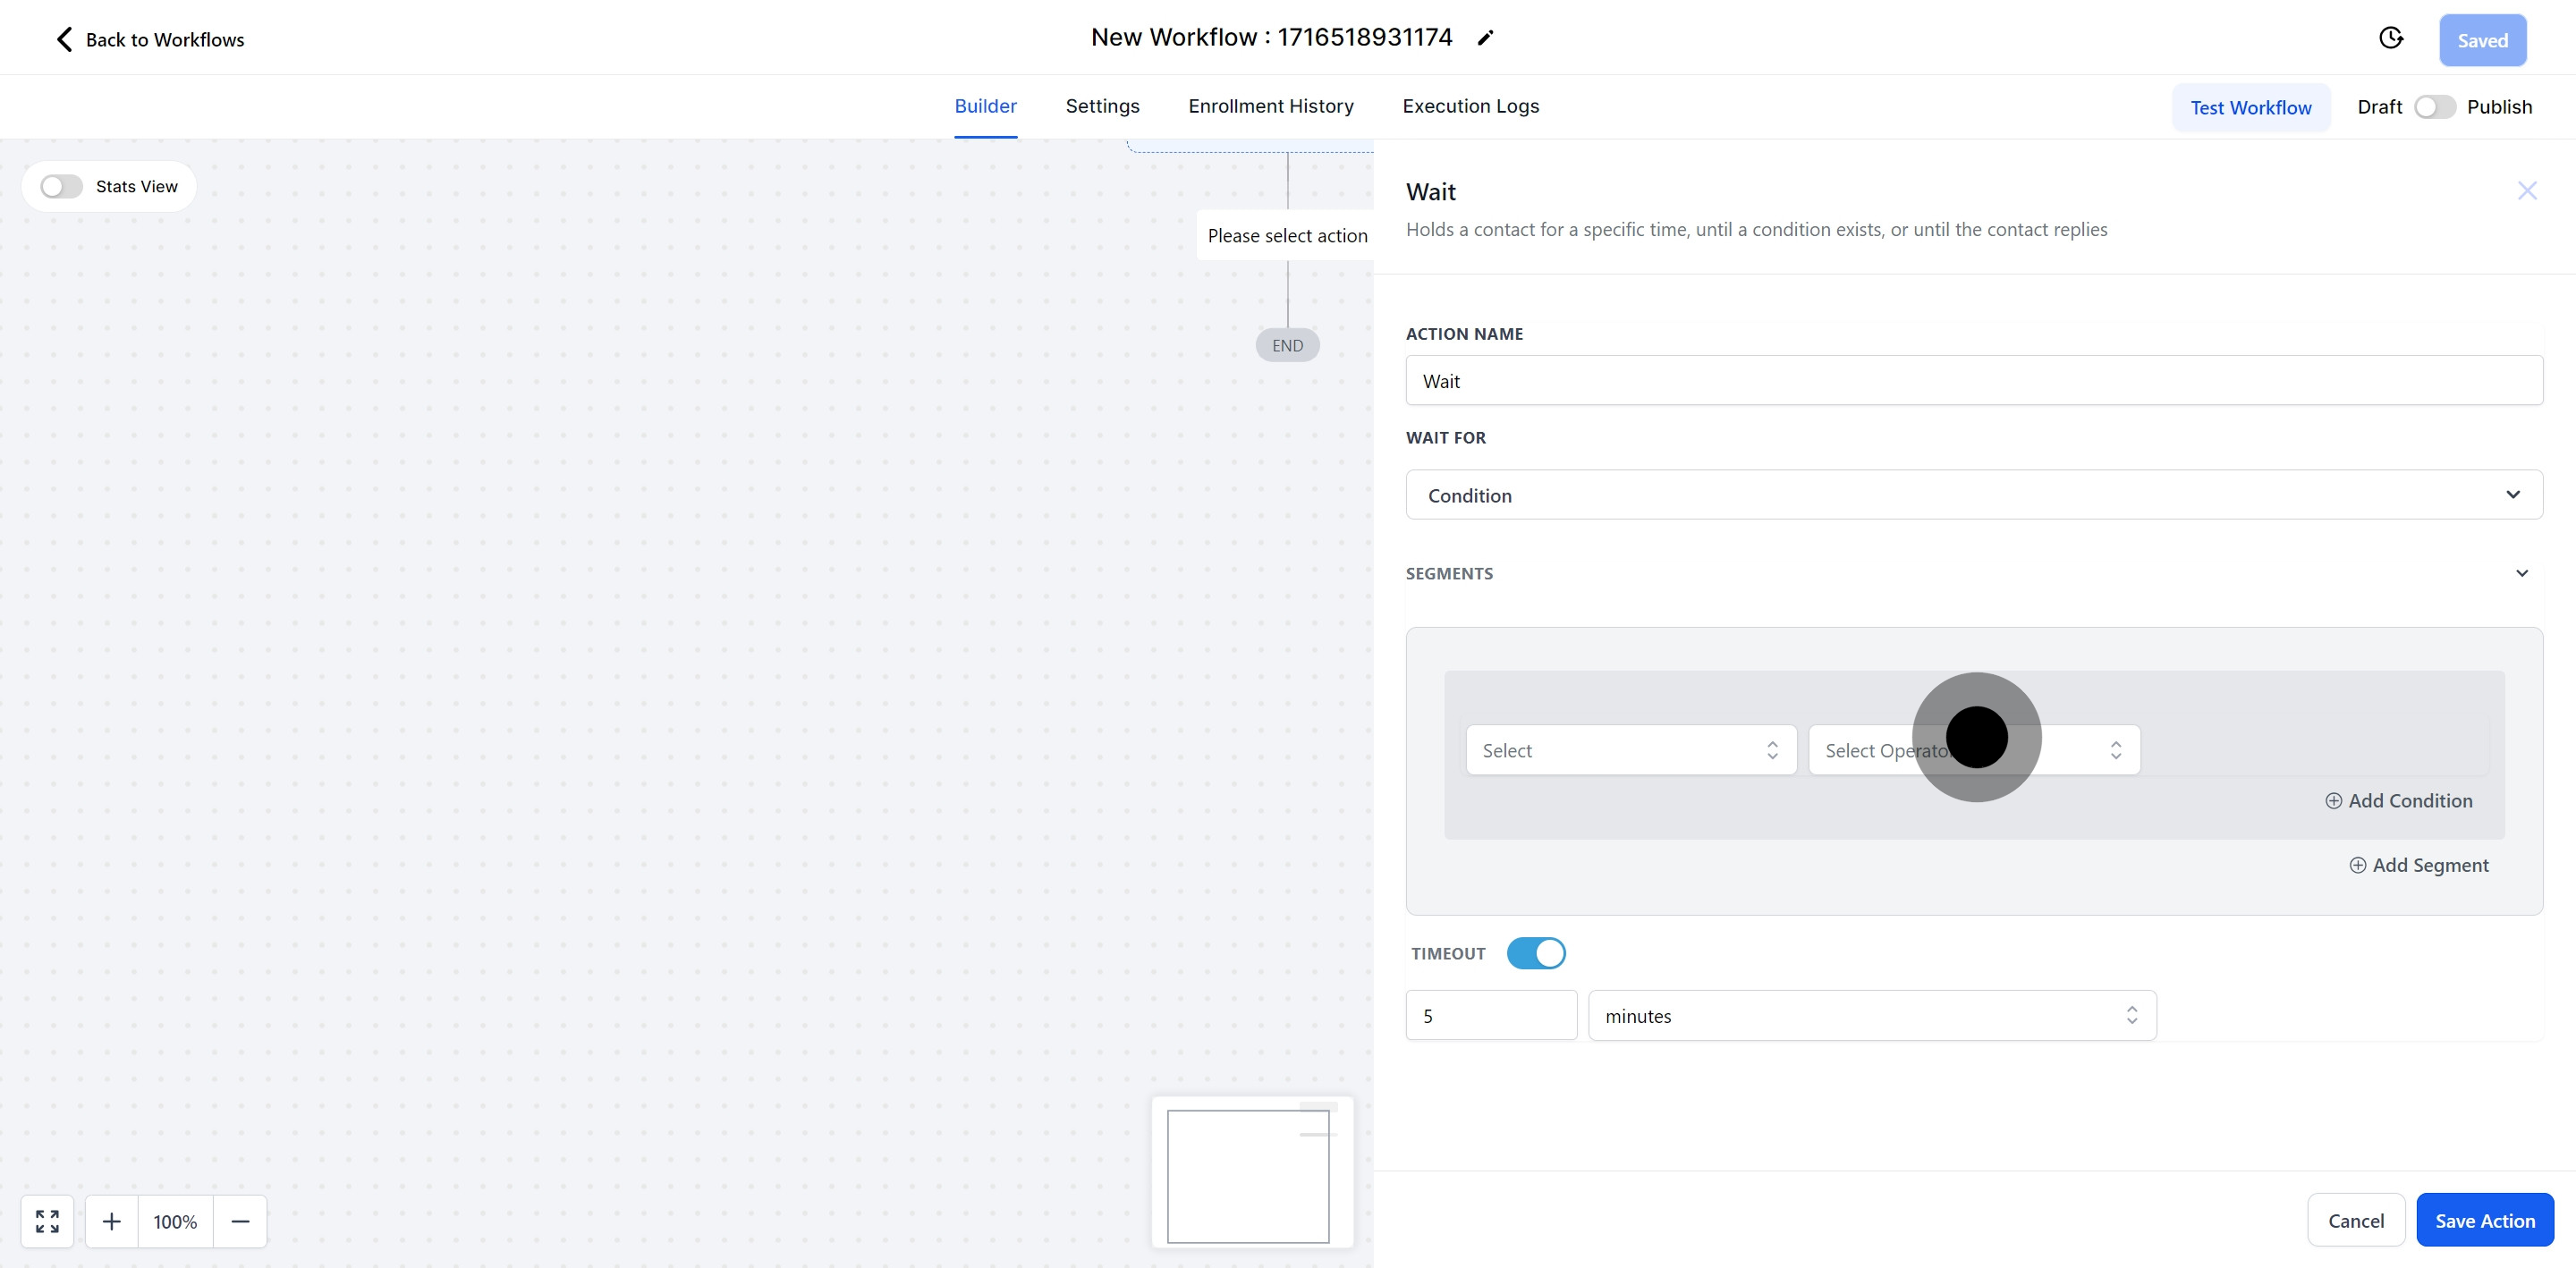
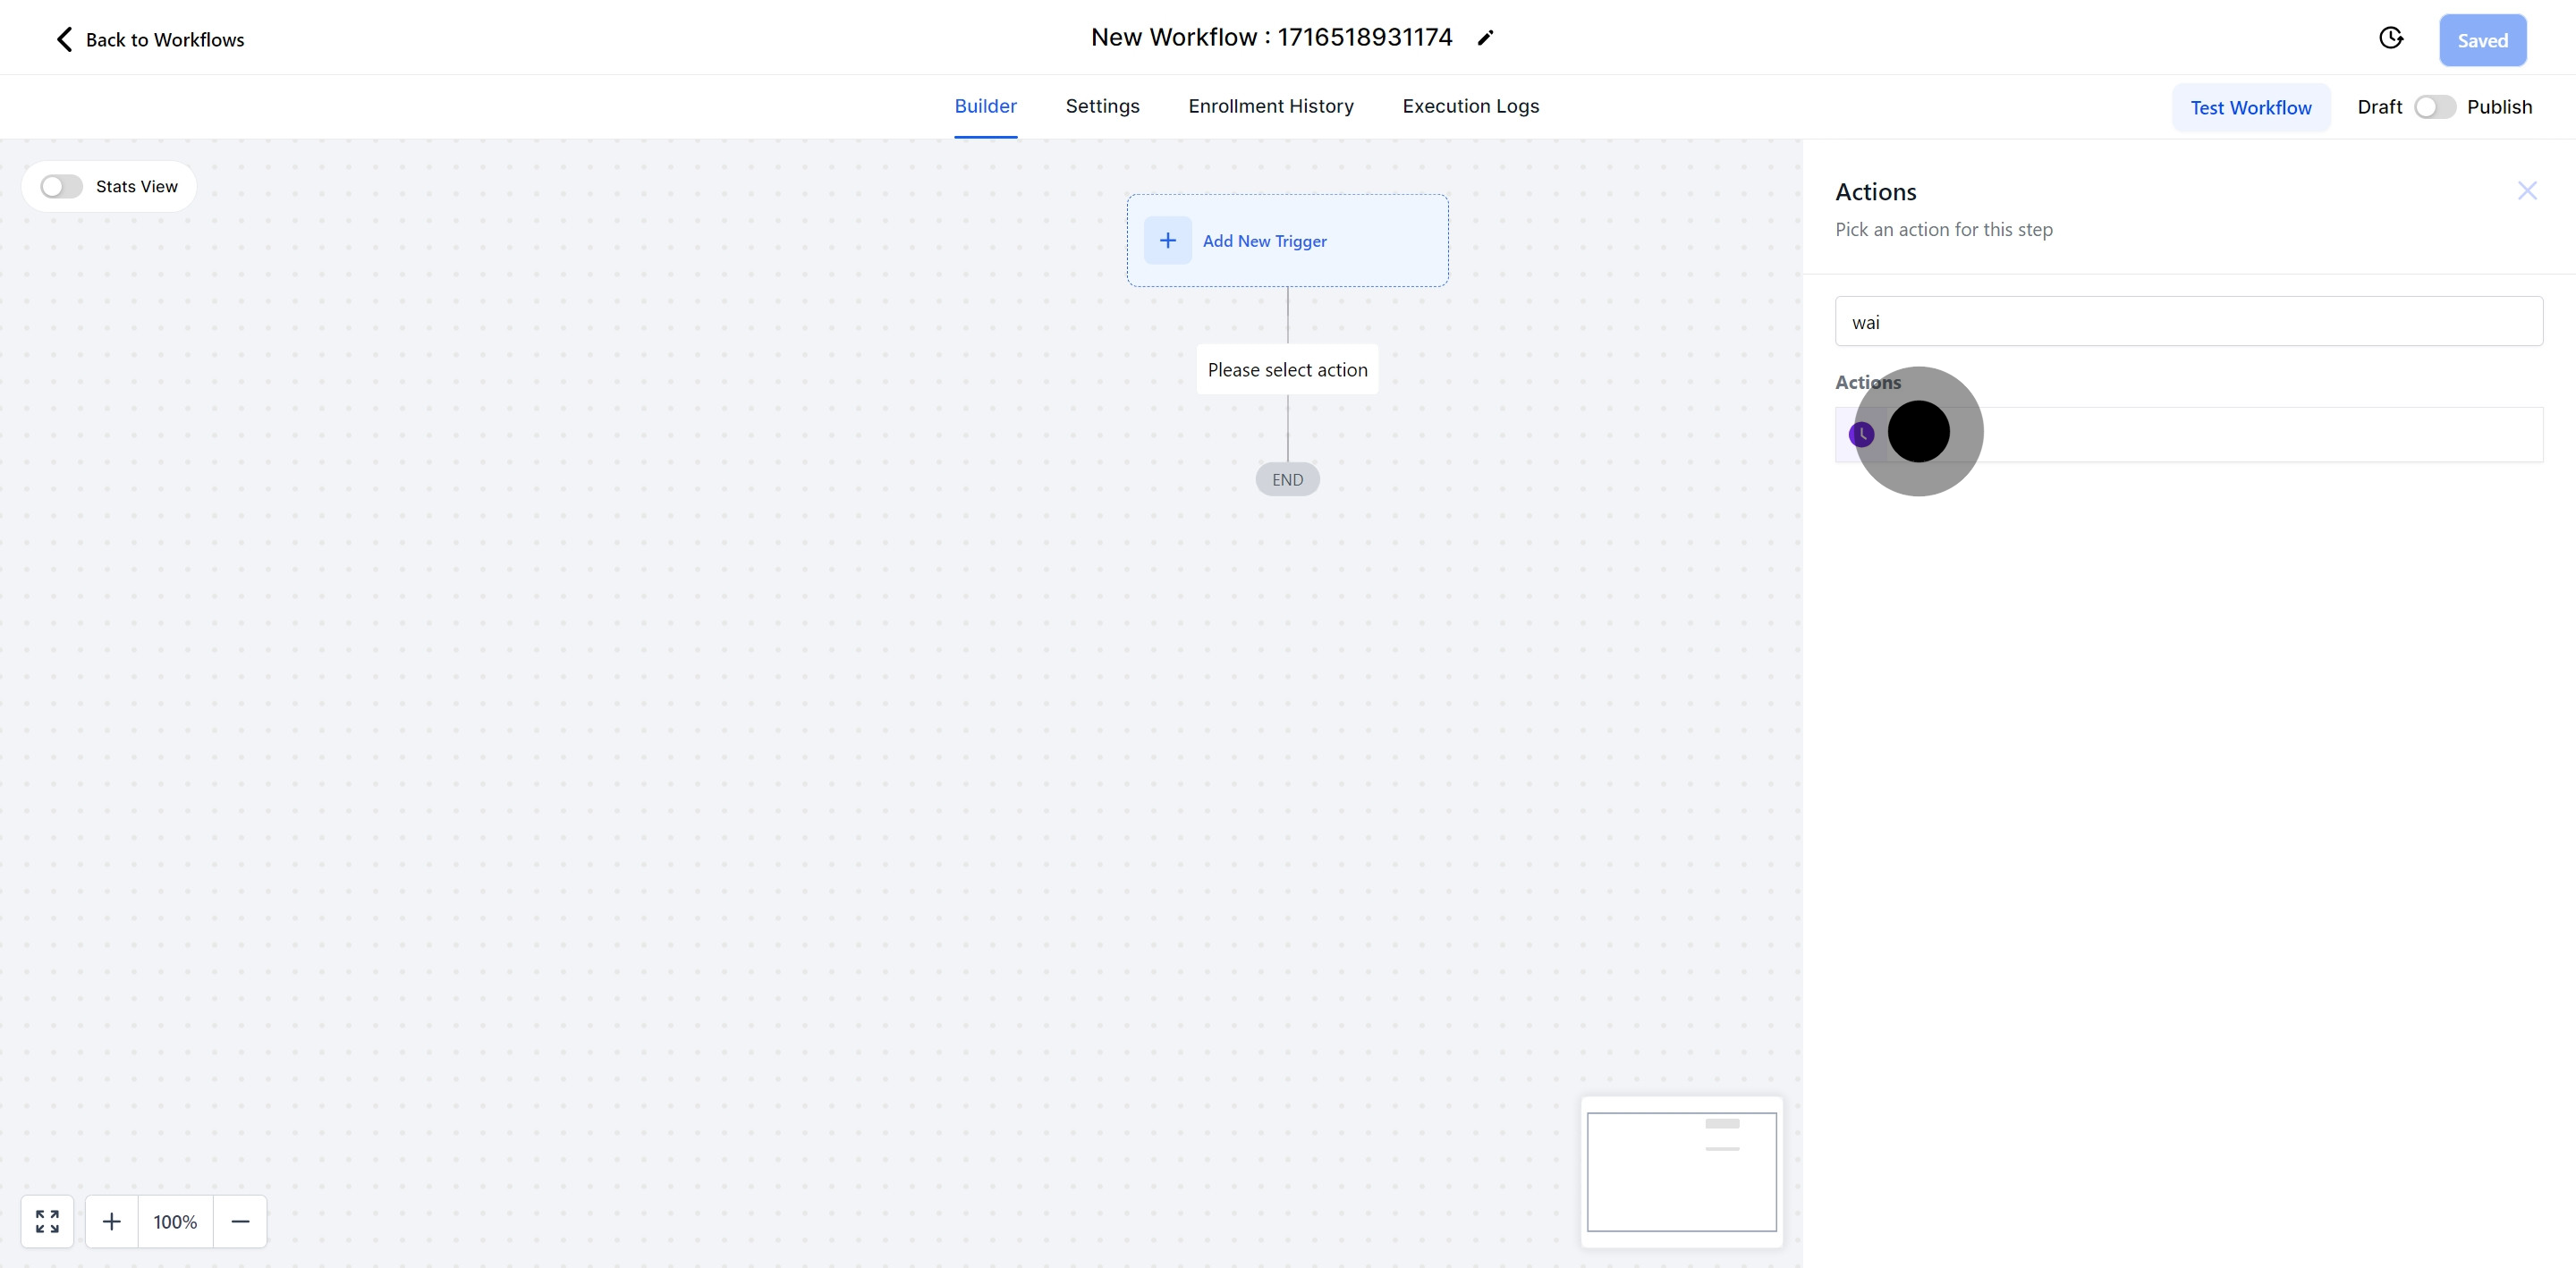
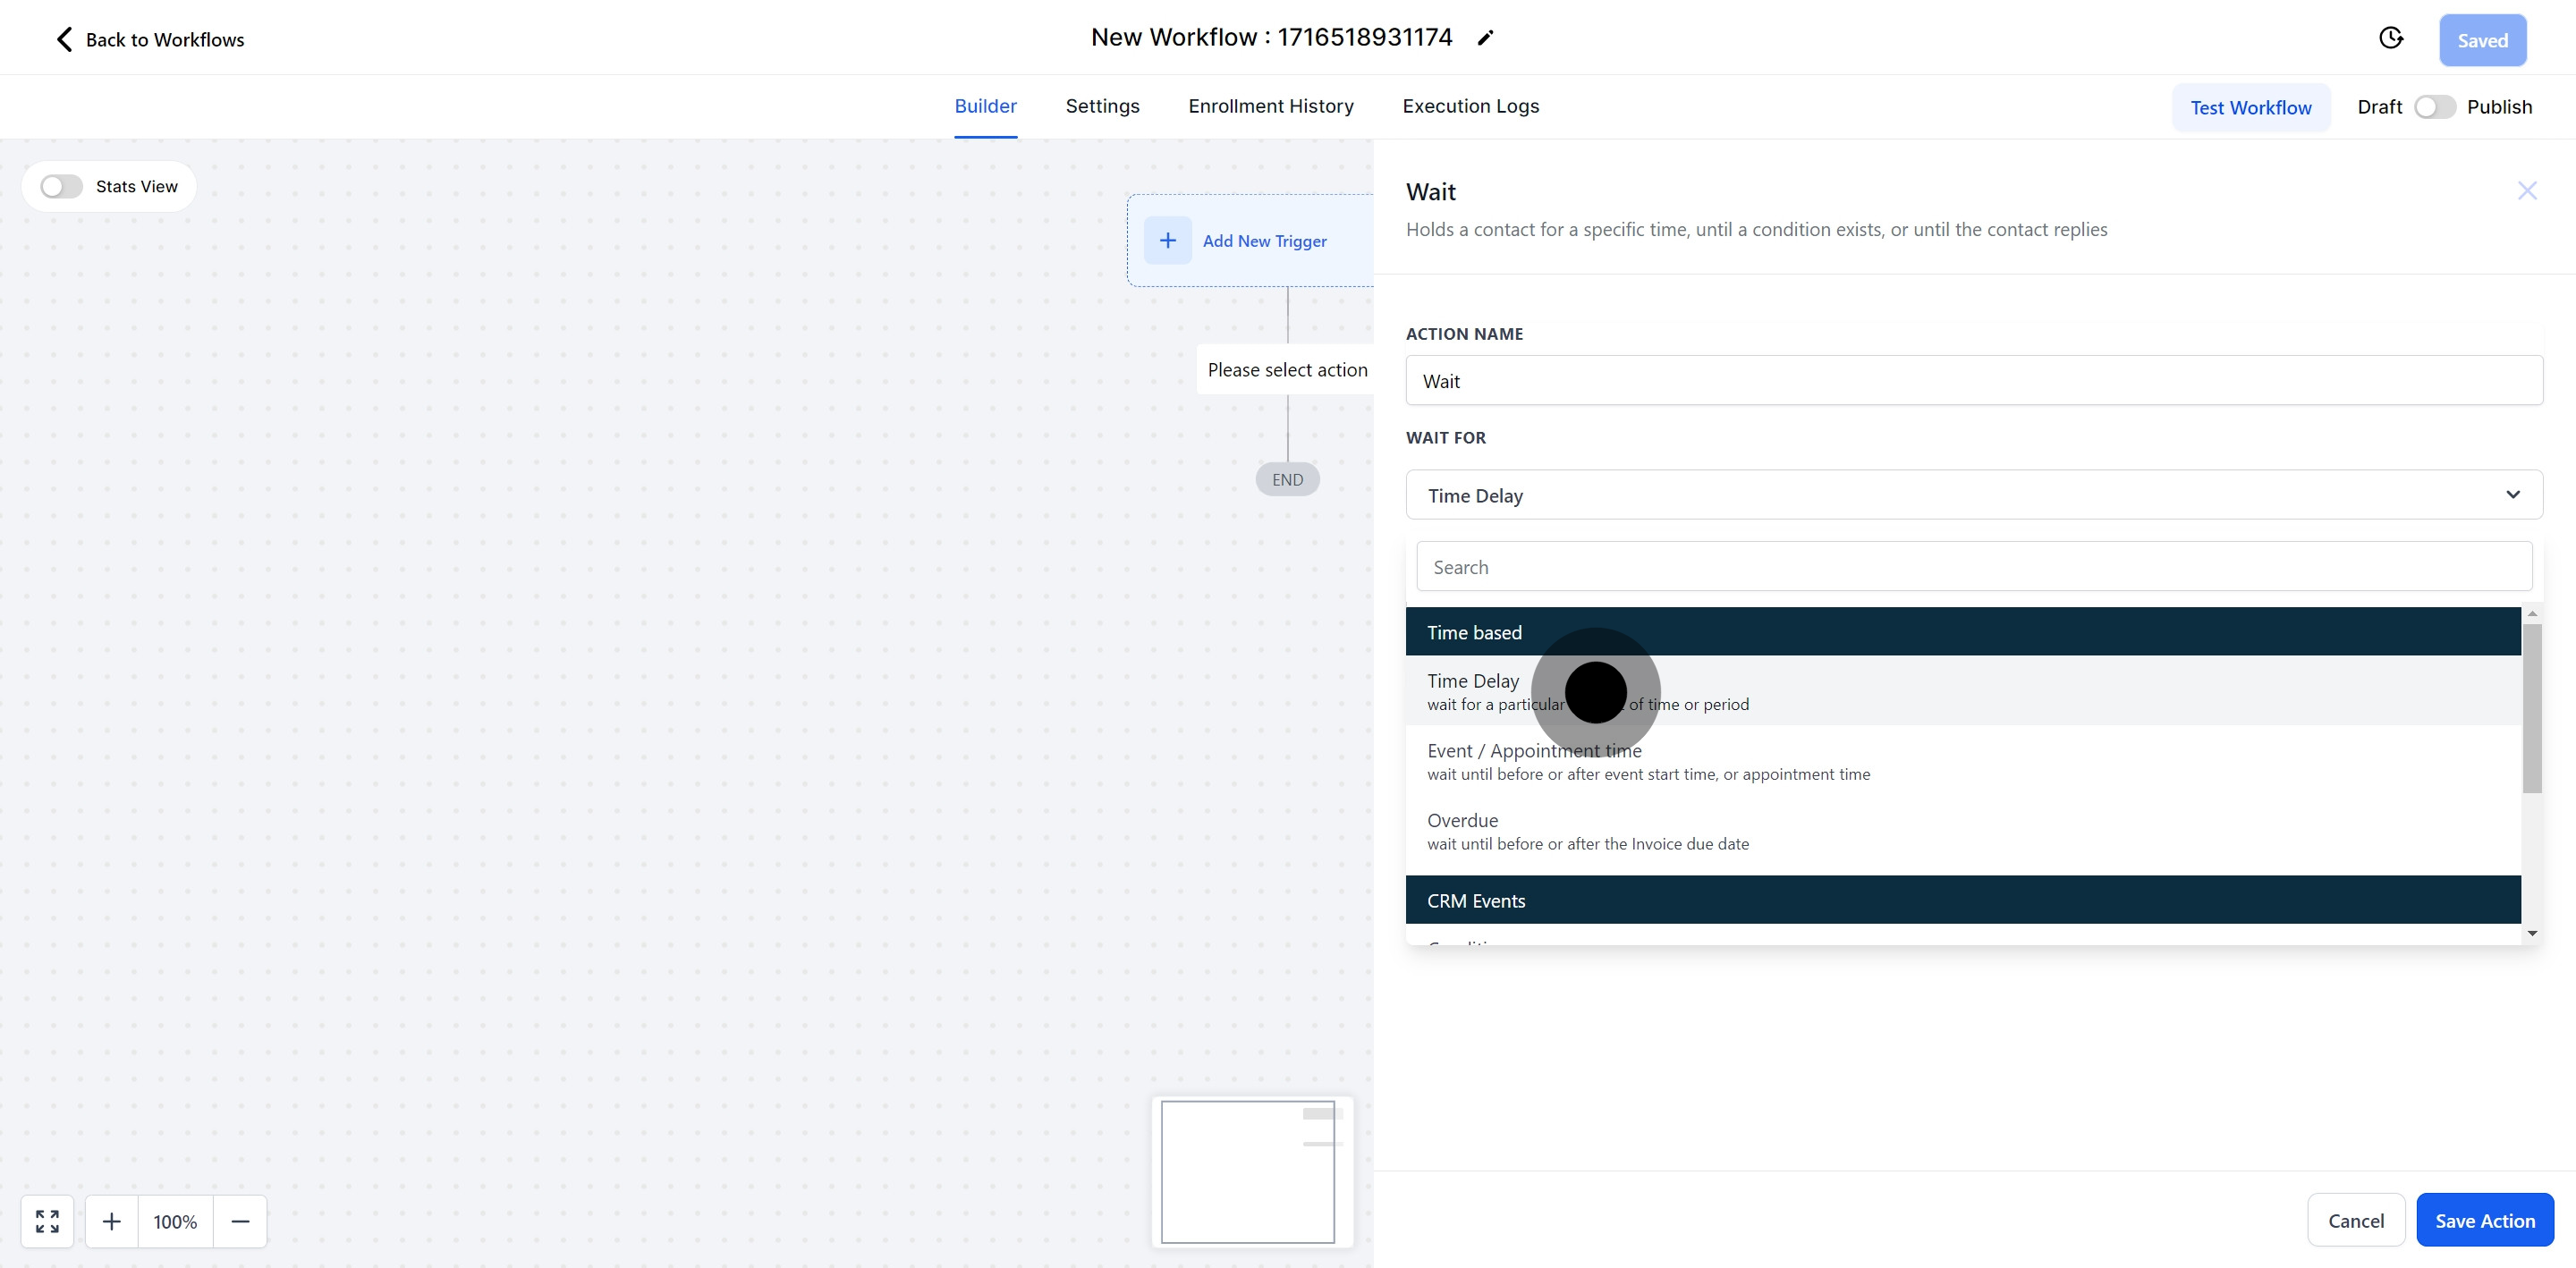
To publish workflows in Pest AI, you need to set up both a workflow trigger and a workflow action. Without these, you can only save the workflow, not publish it.The 'Wait' action is a special type of workflow action that allows you to pause a contact at a specific stage until a particular condition is met. This can be useful for pausing the workflow for a tag, appointment, specific time or event, or a contact's response, among other conditions.


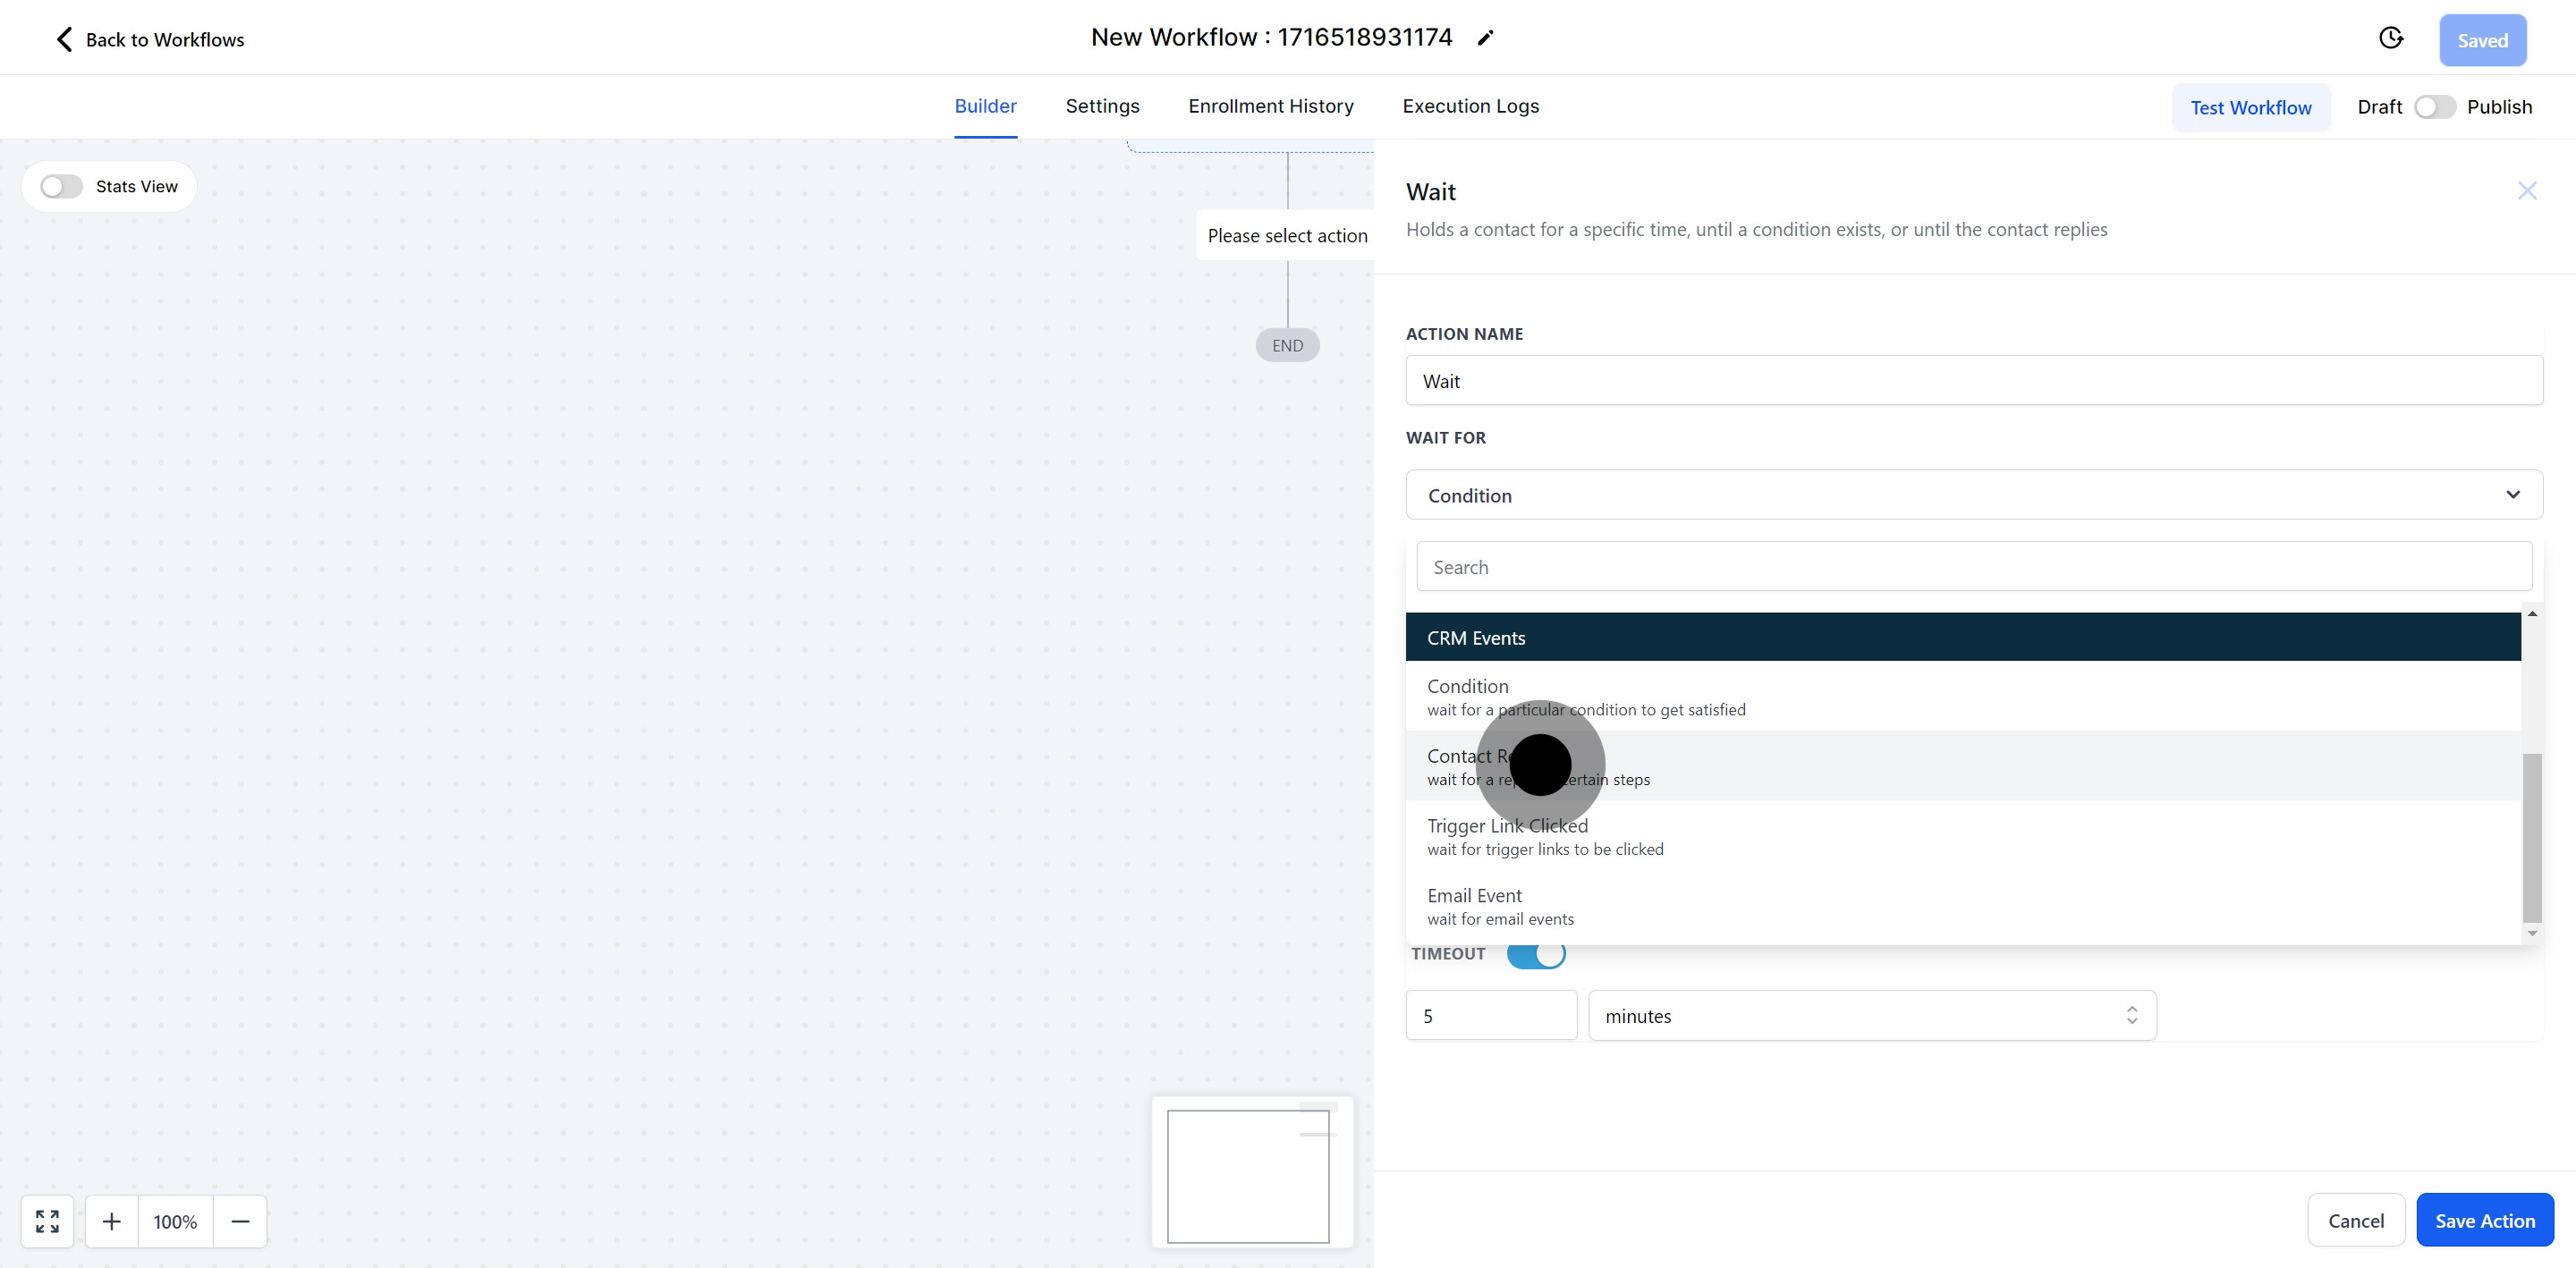
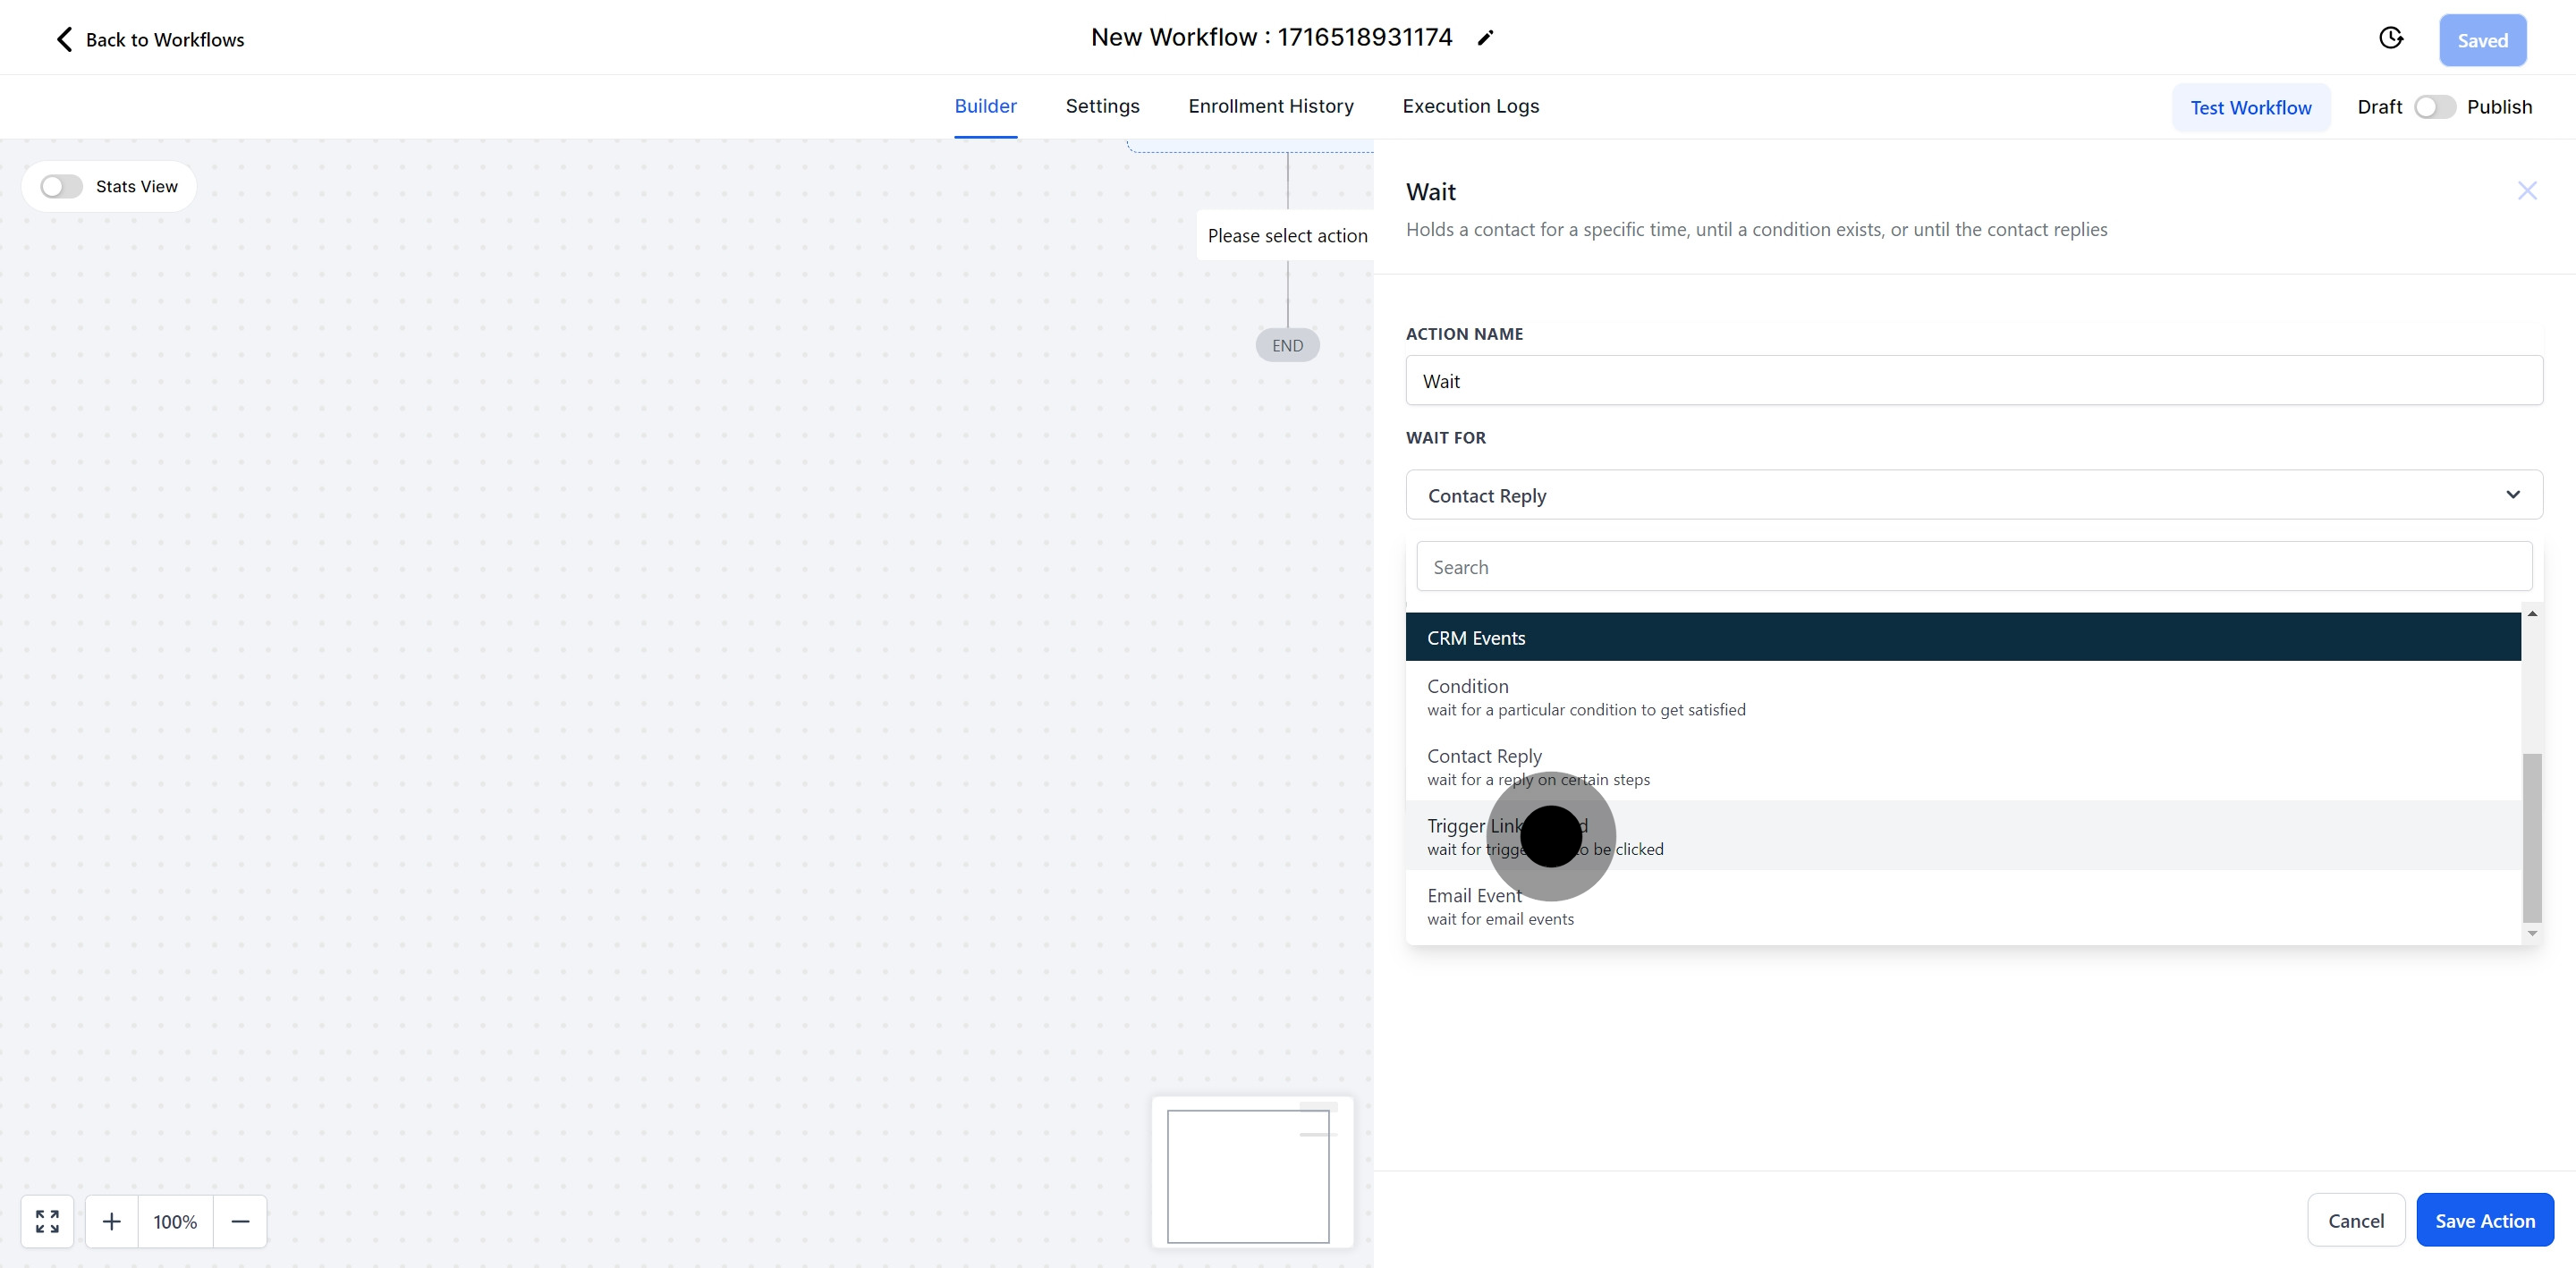
Deploy various pause events based on your desired outcome:
Temporal-Based Events:
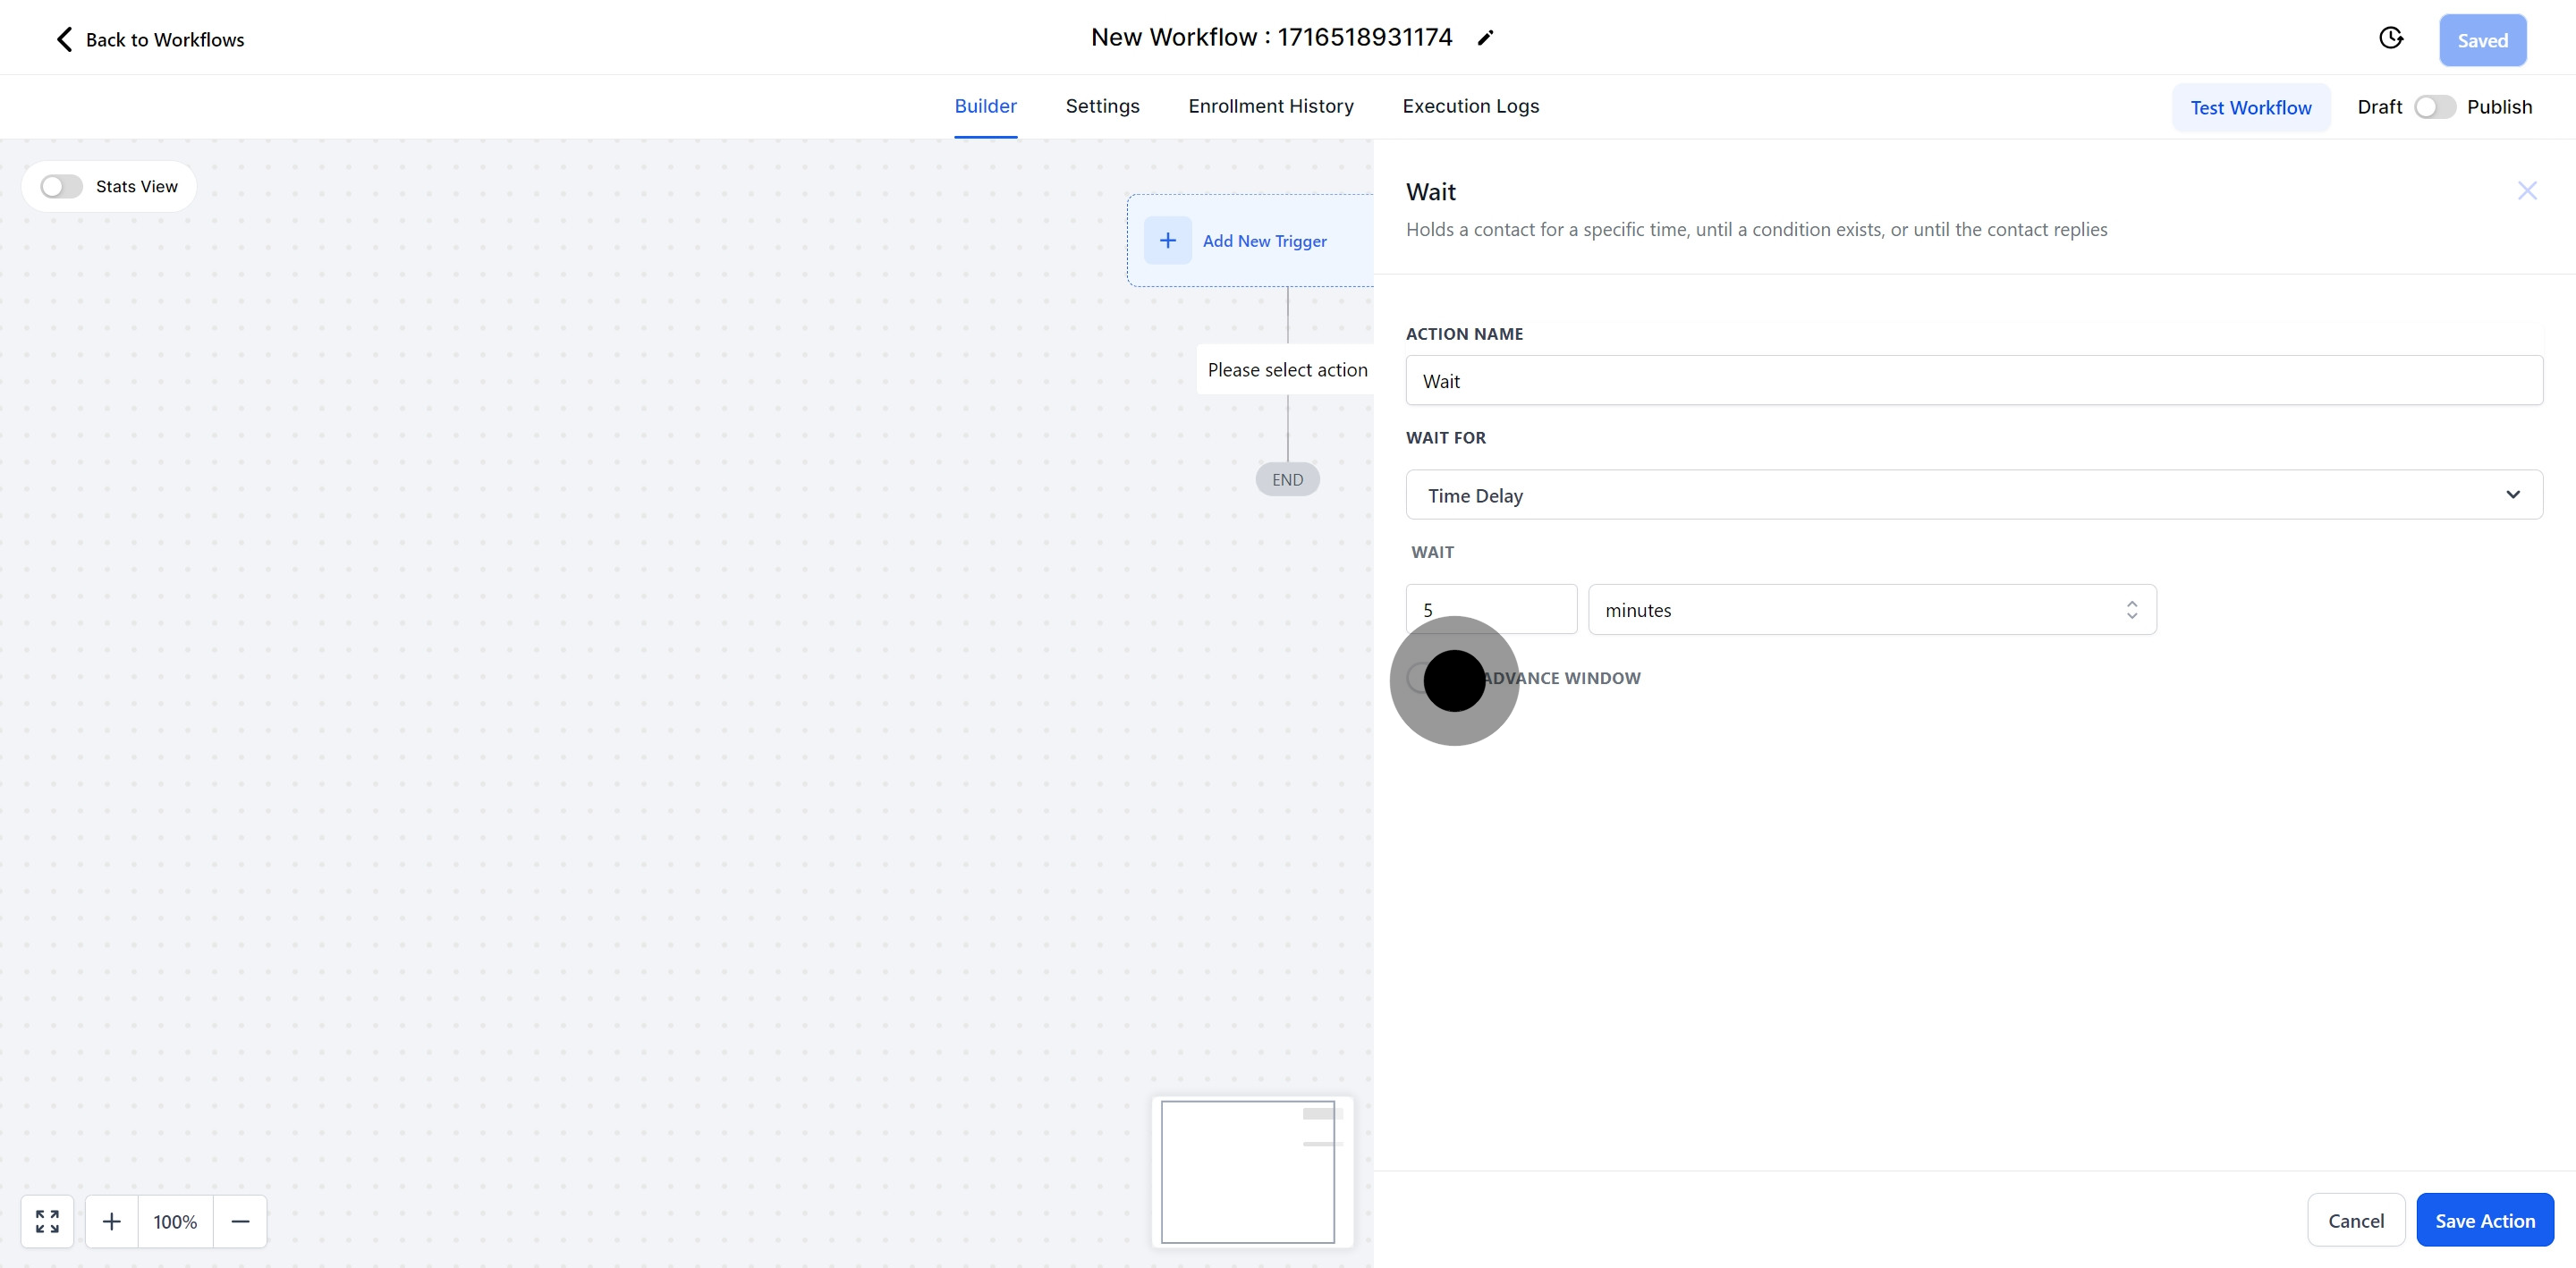
Time-Lagged: Introduce delays based on a set time period.
Scheduled Time: Pause until a specific date and time.
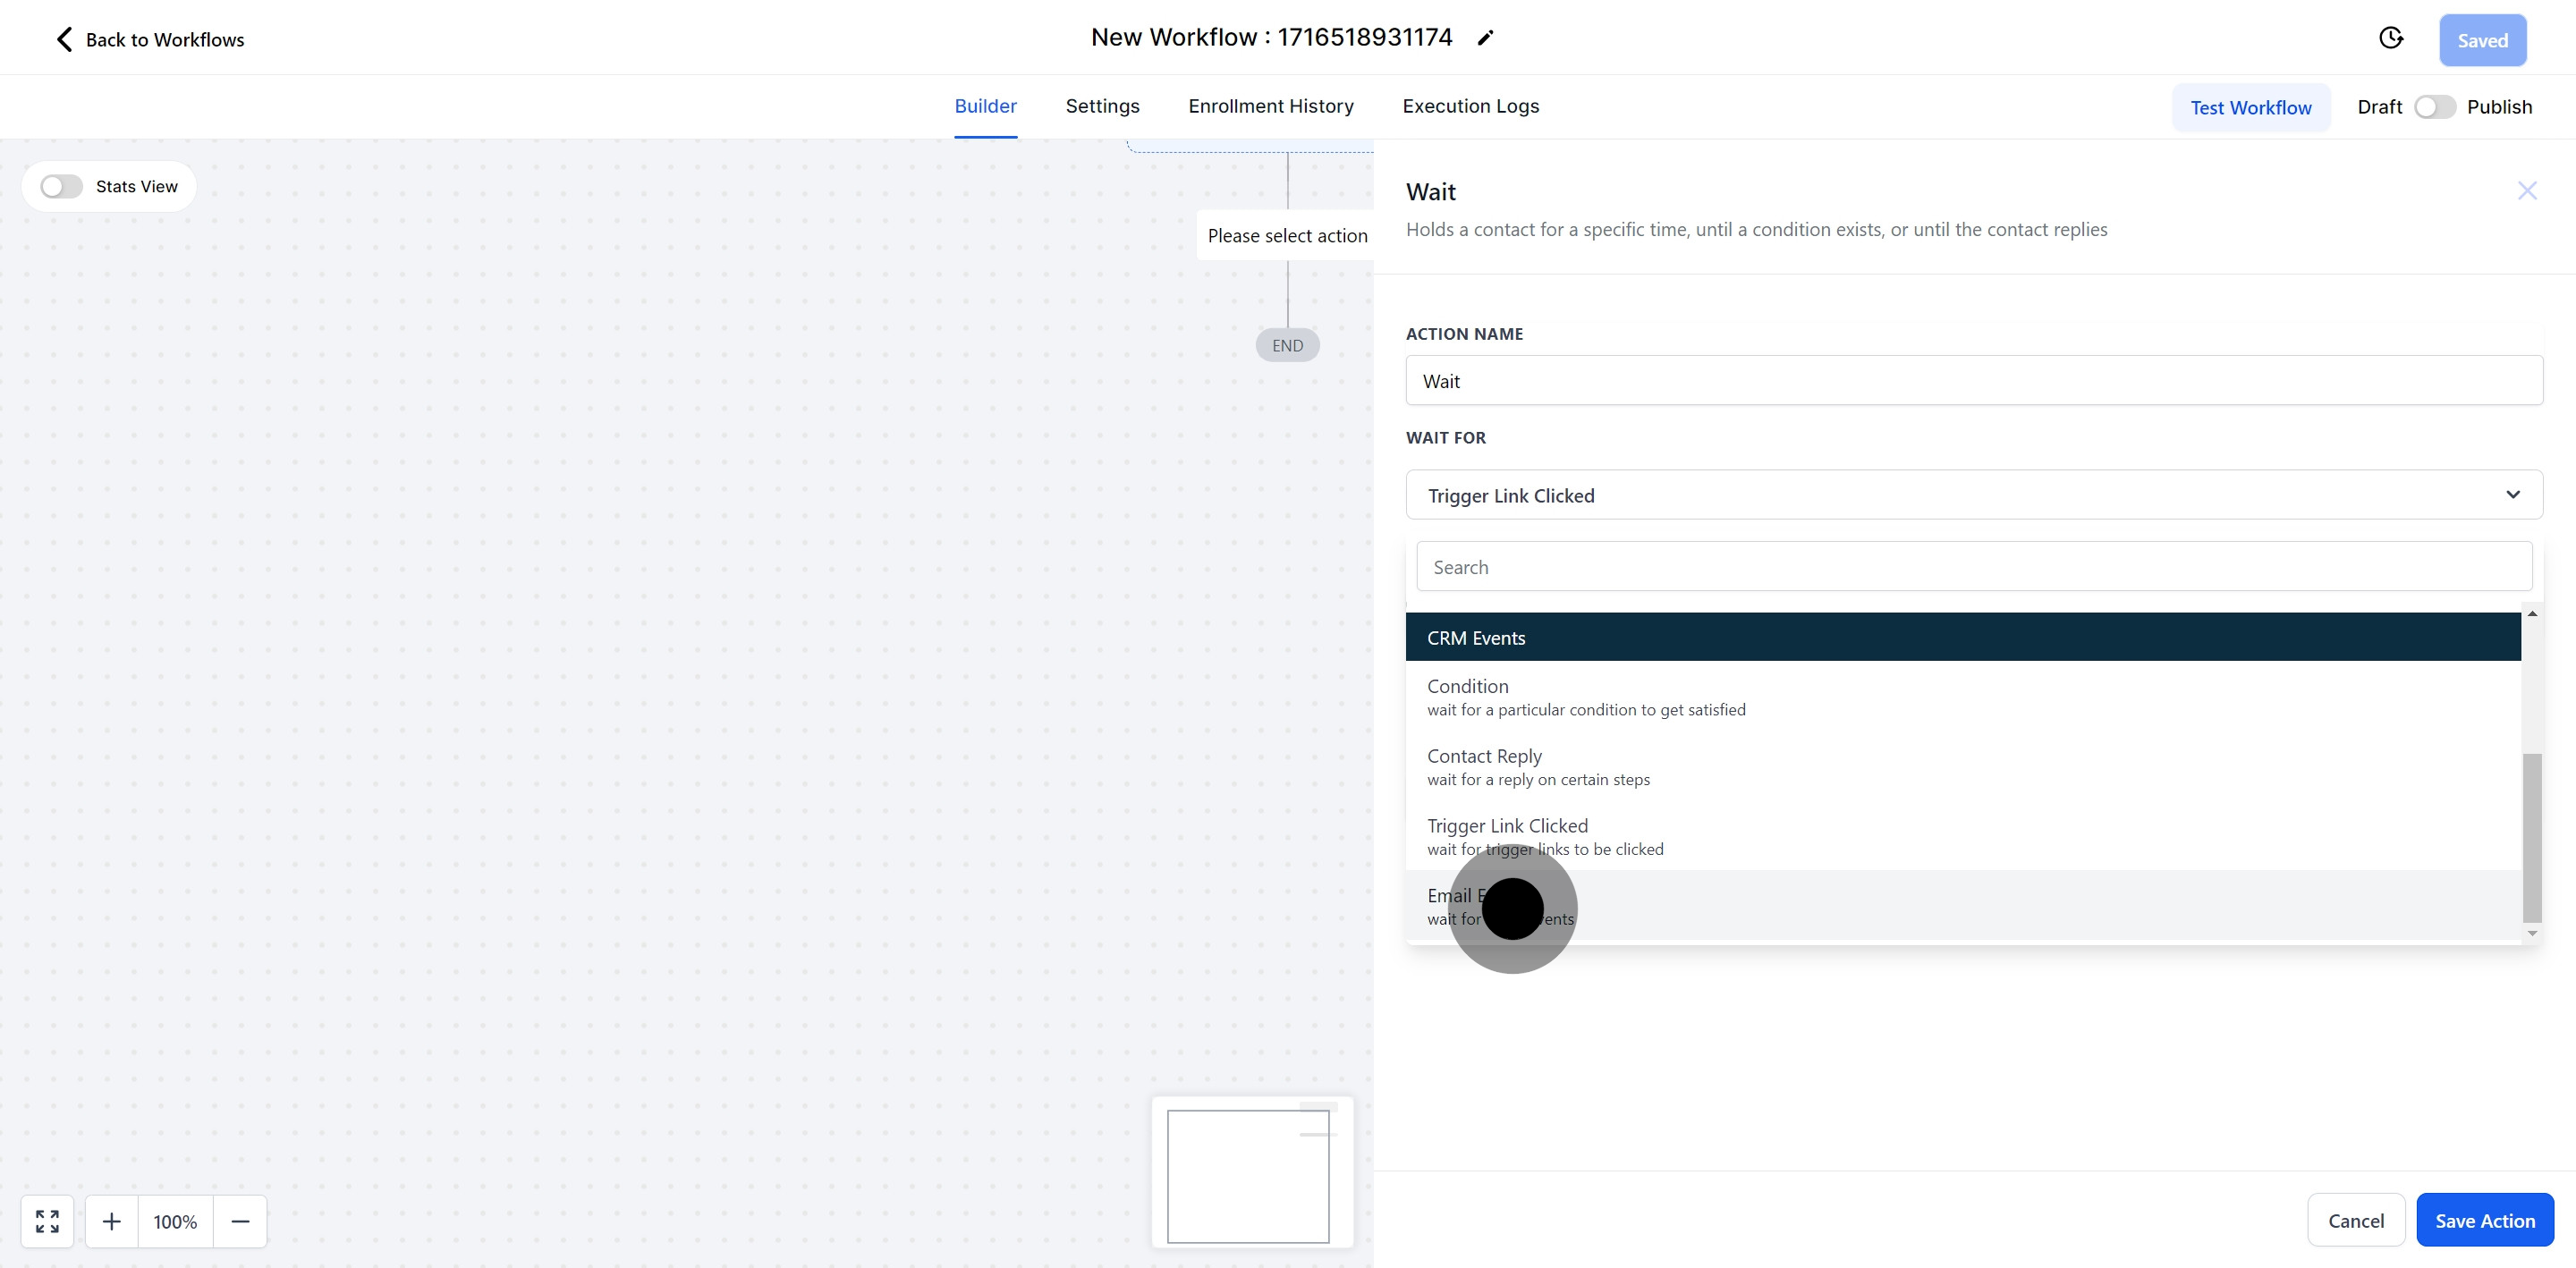
CRM Oriented Events:
Condition: Halt until certain conditions are met.
Contact Reply: Wait for a response from the contact.
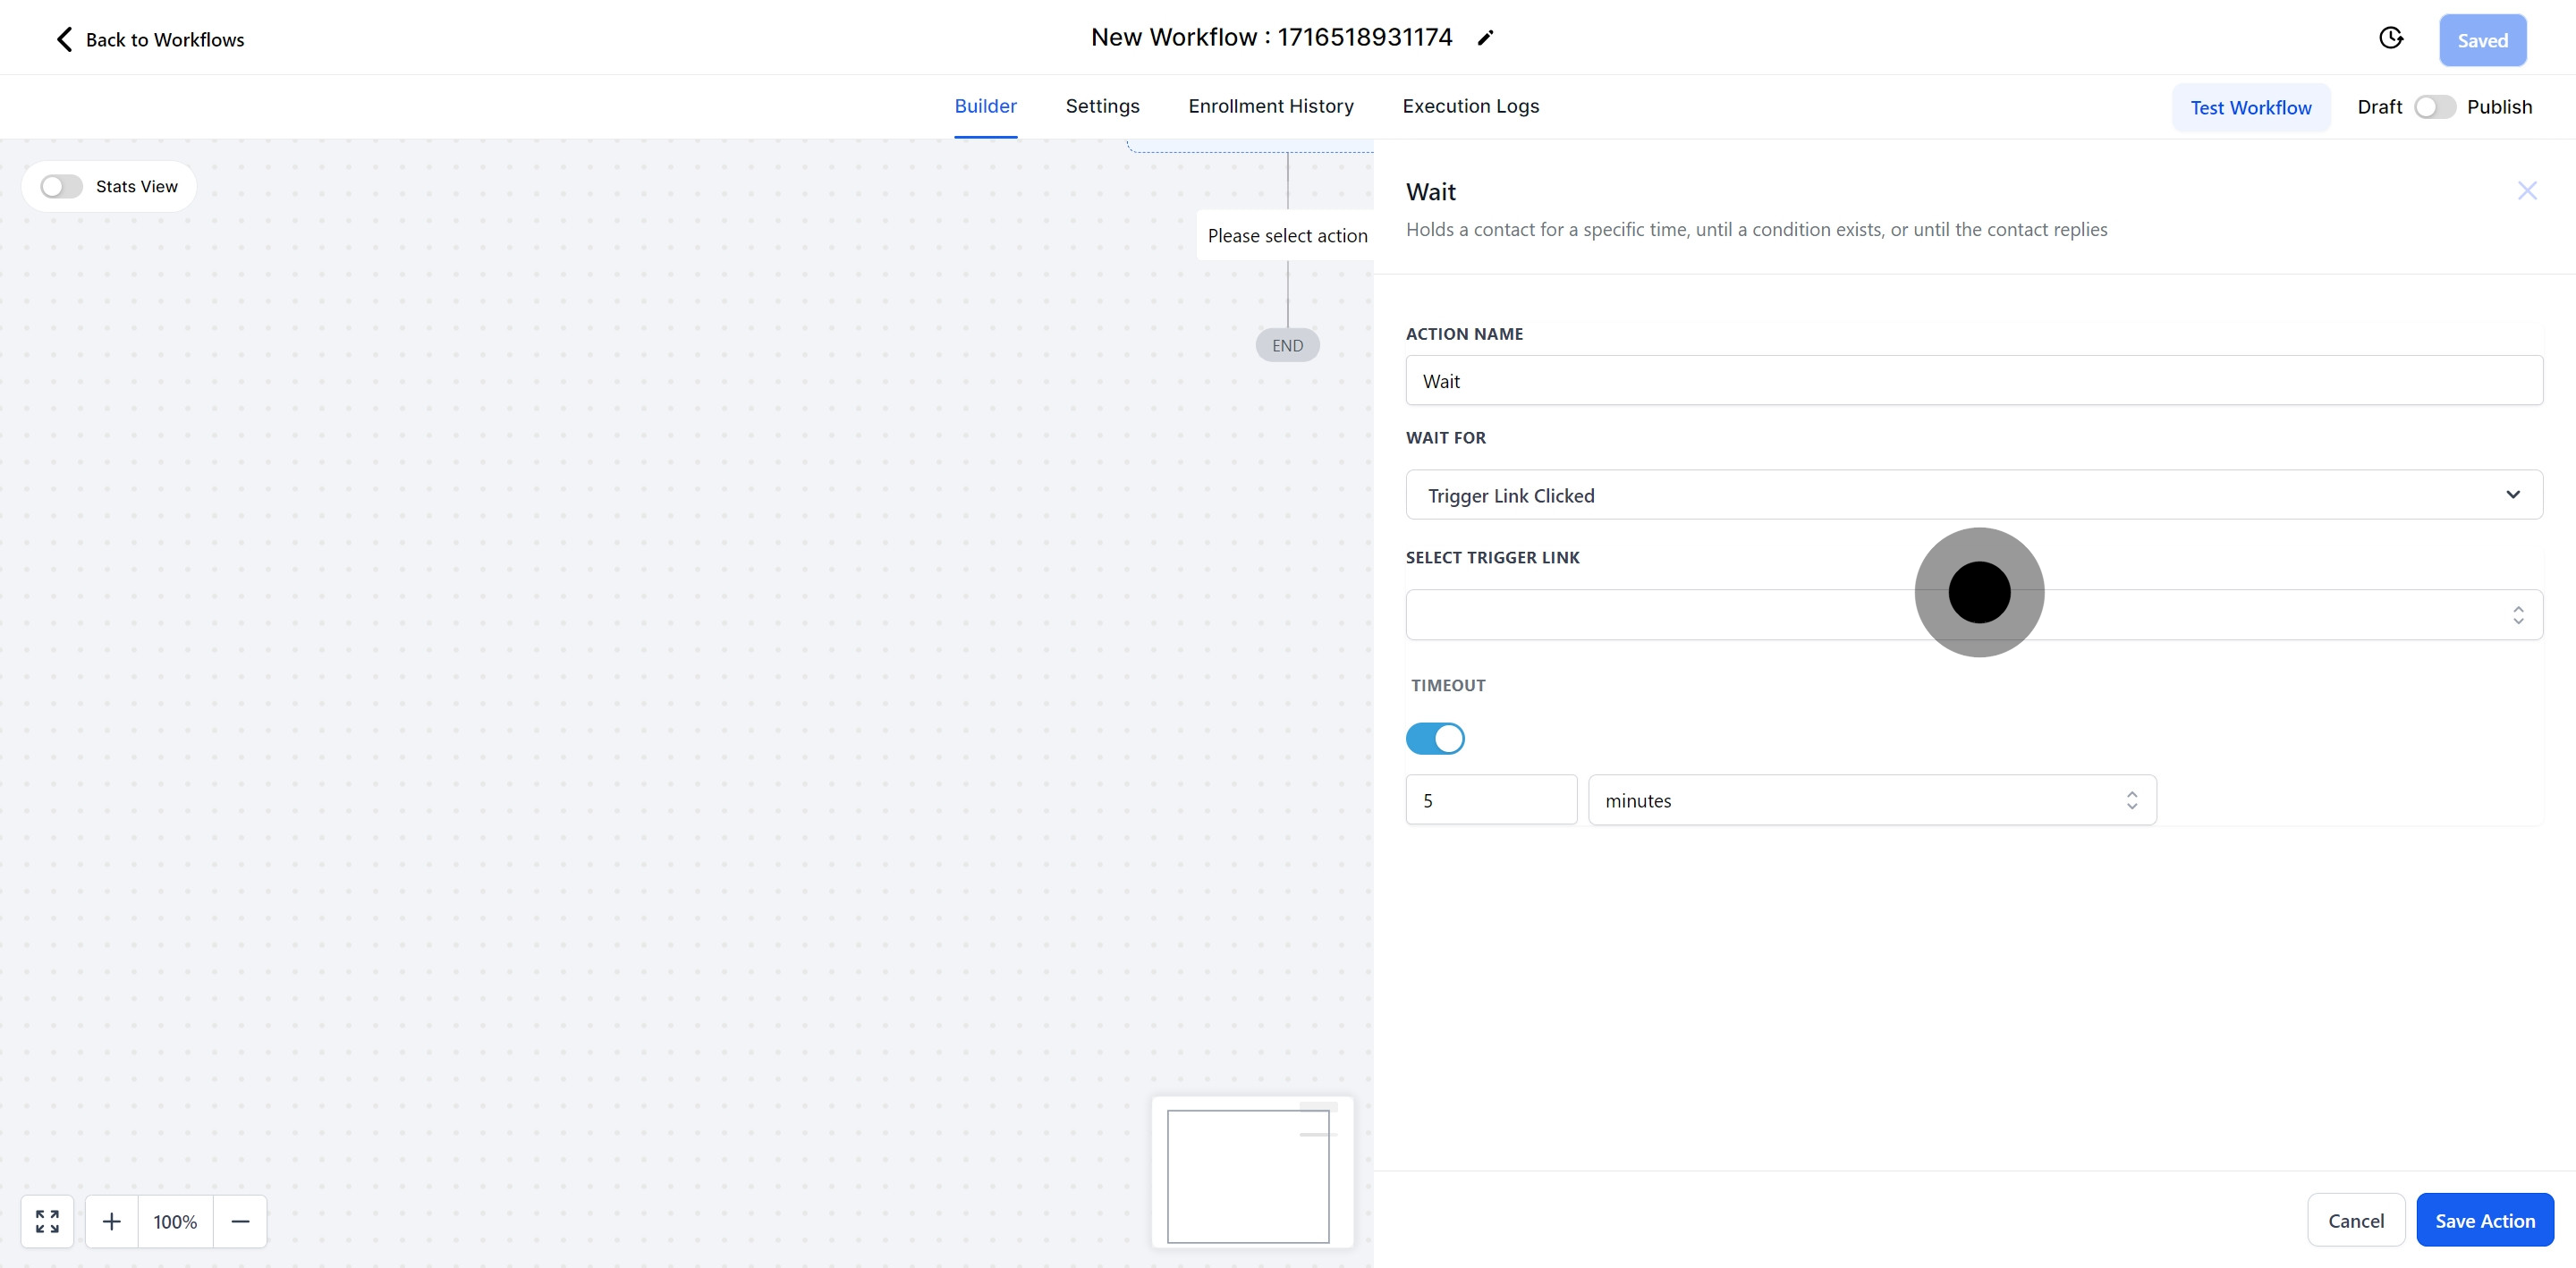
Trigger Link Clicked: Pause until a specific link is clicked.
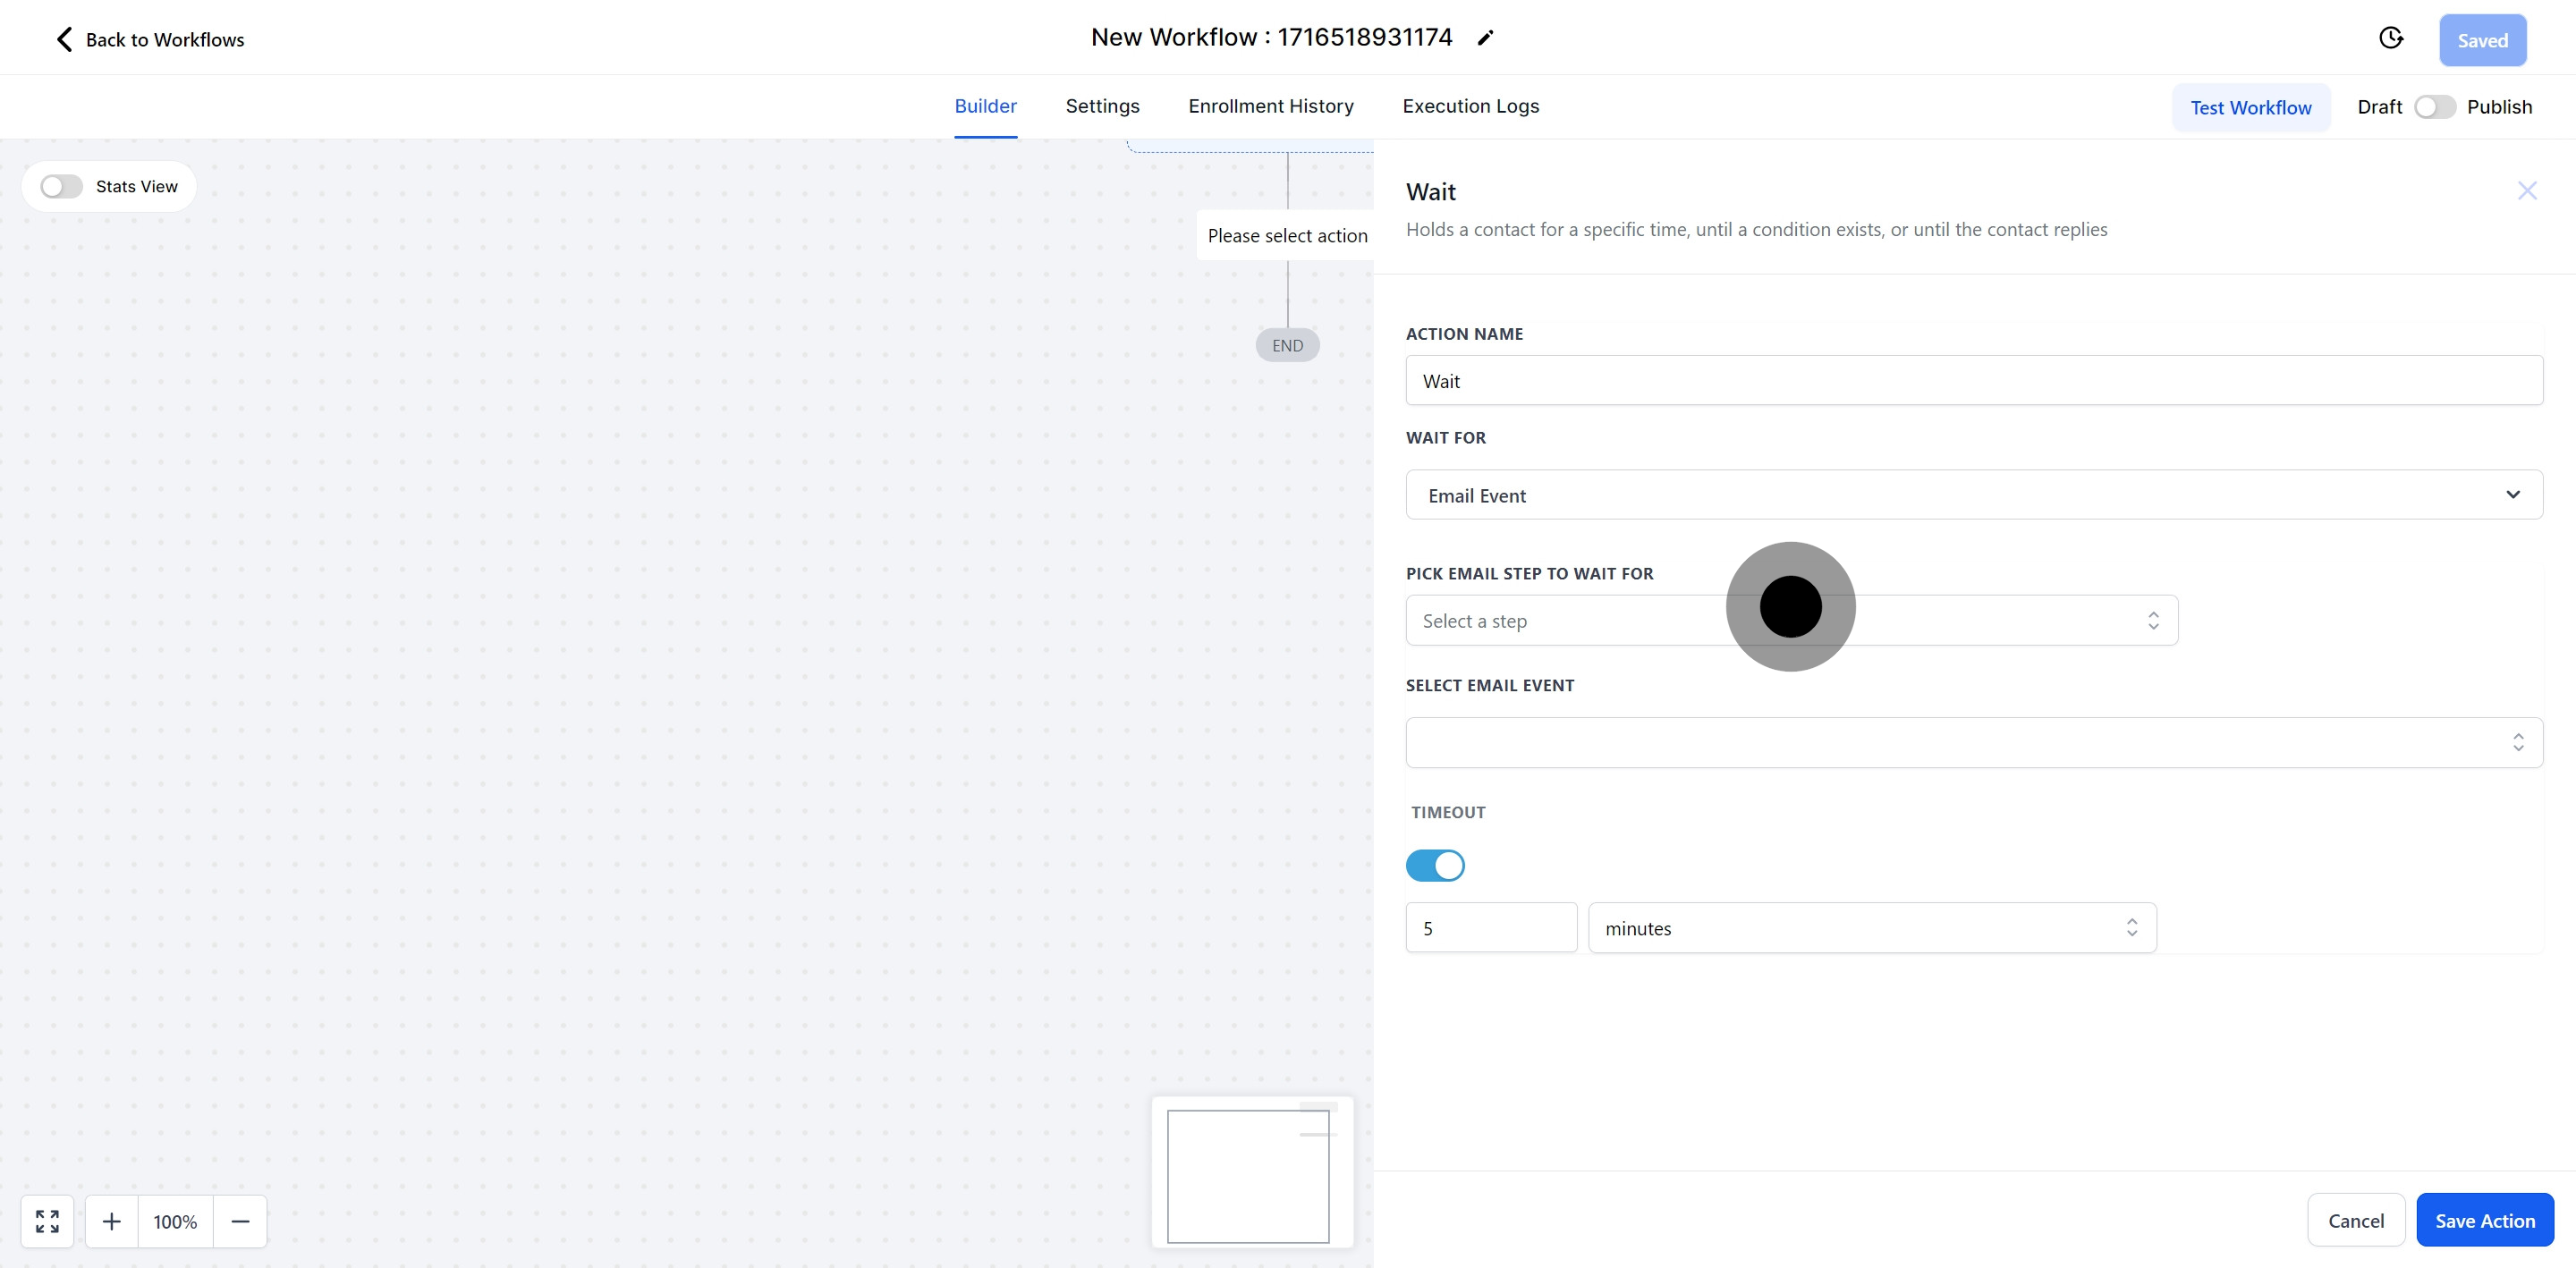
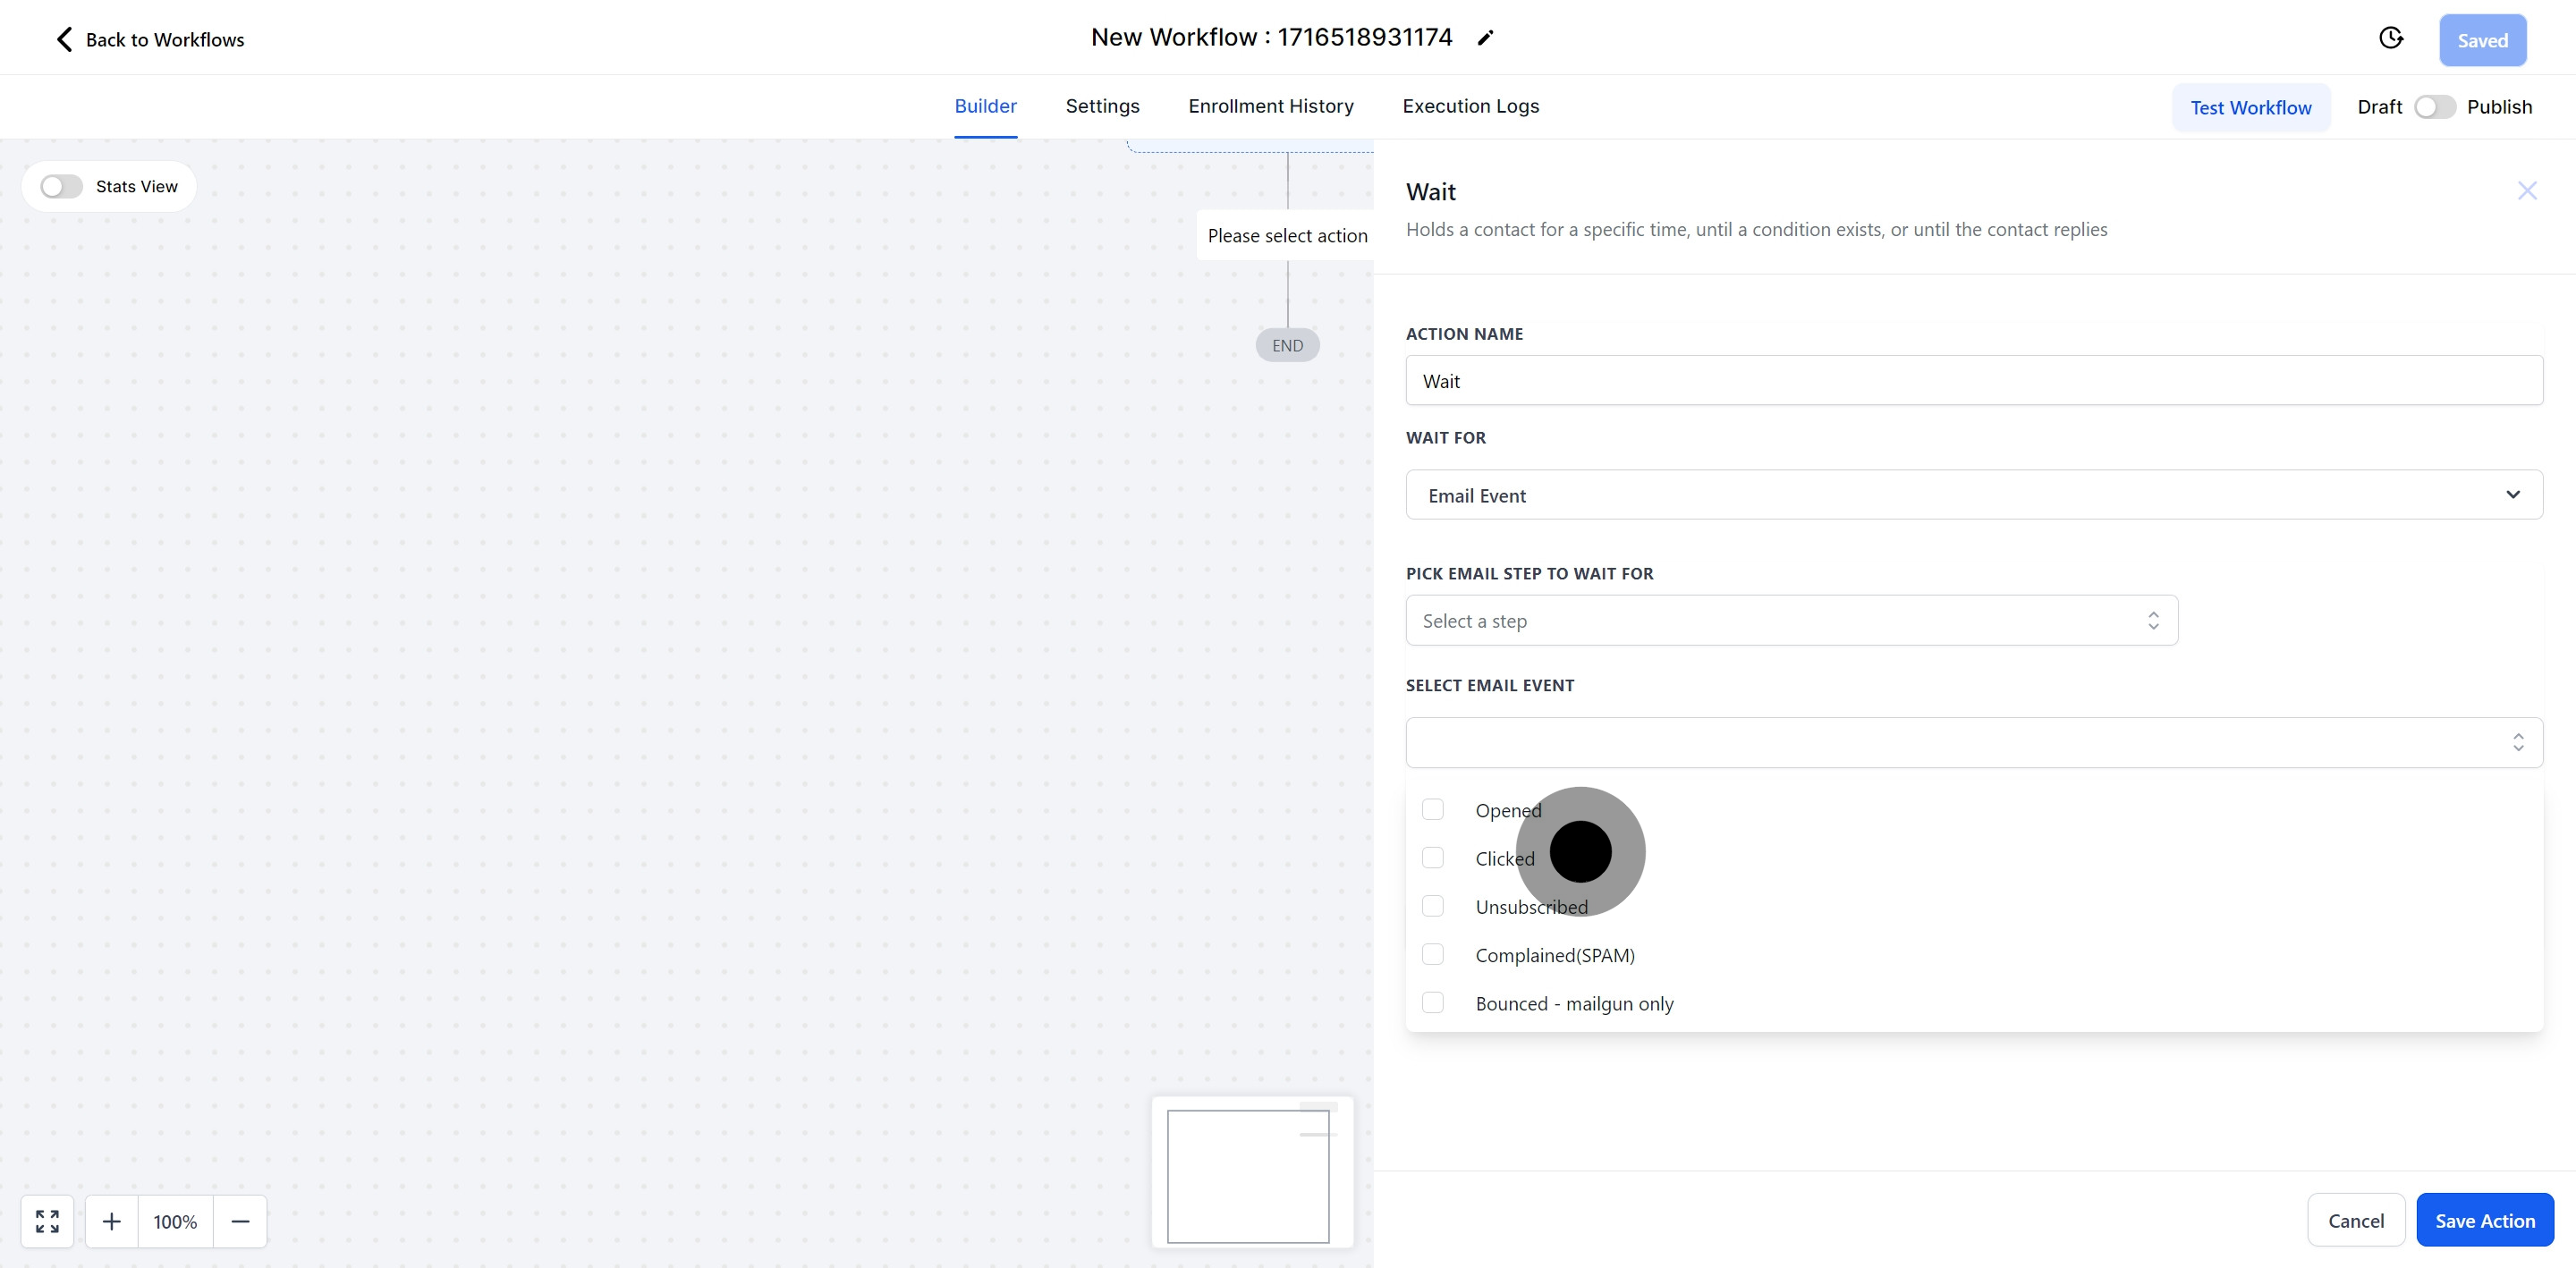
Email Event: Wait based on email interactions.


The contact's progress is paused based on specific events or appointments.
Example:
To move to the next stage, a contact must respond to a Yes or No query. Alternatively, a reminder for an upcoming appointment is scheduled to be sent at a designated time. Until these conditions are met, the contacts remain in their current phase.

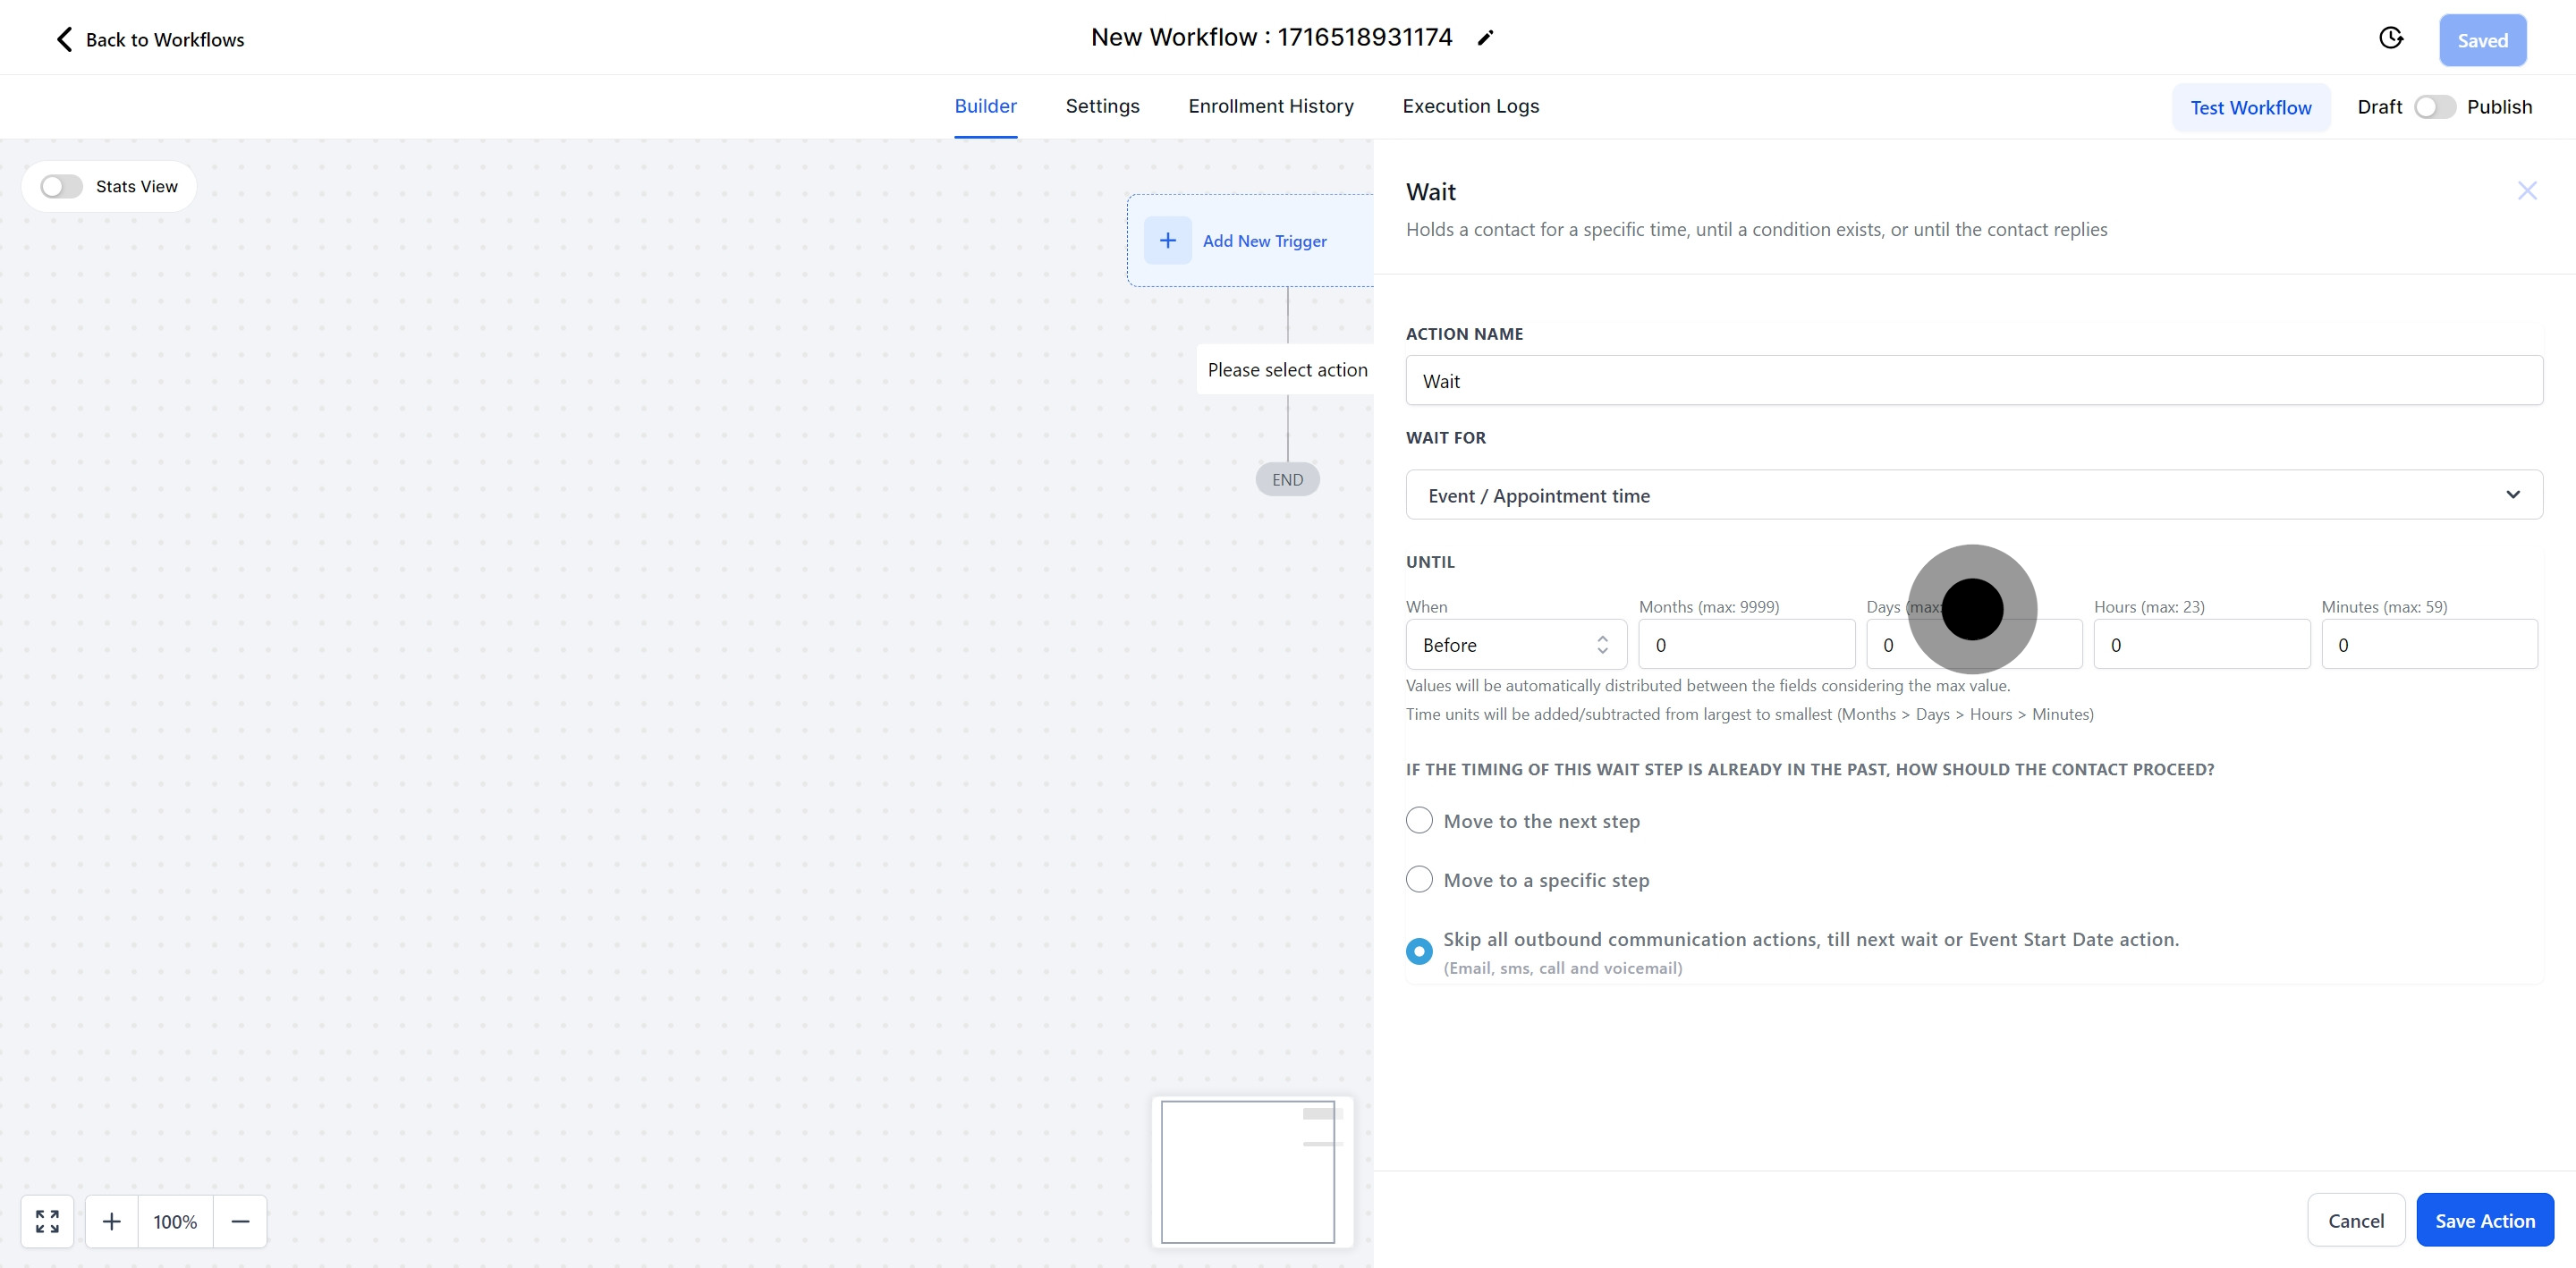
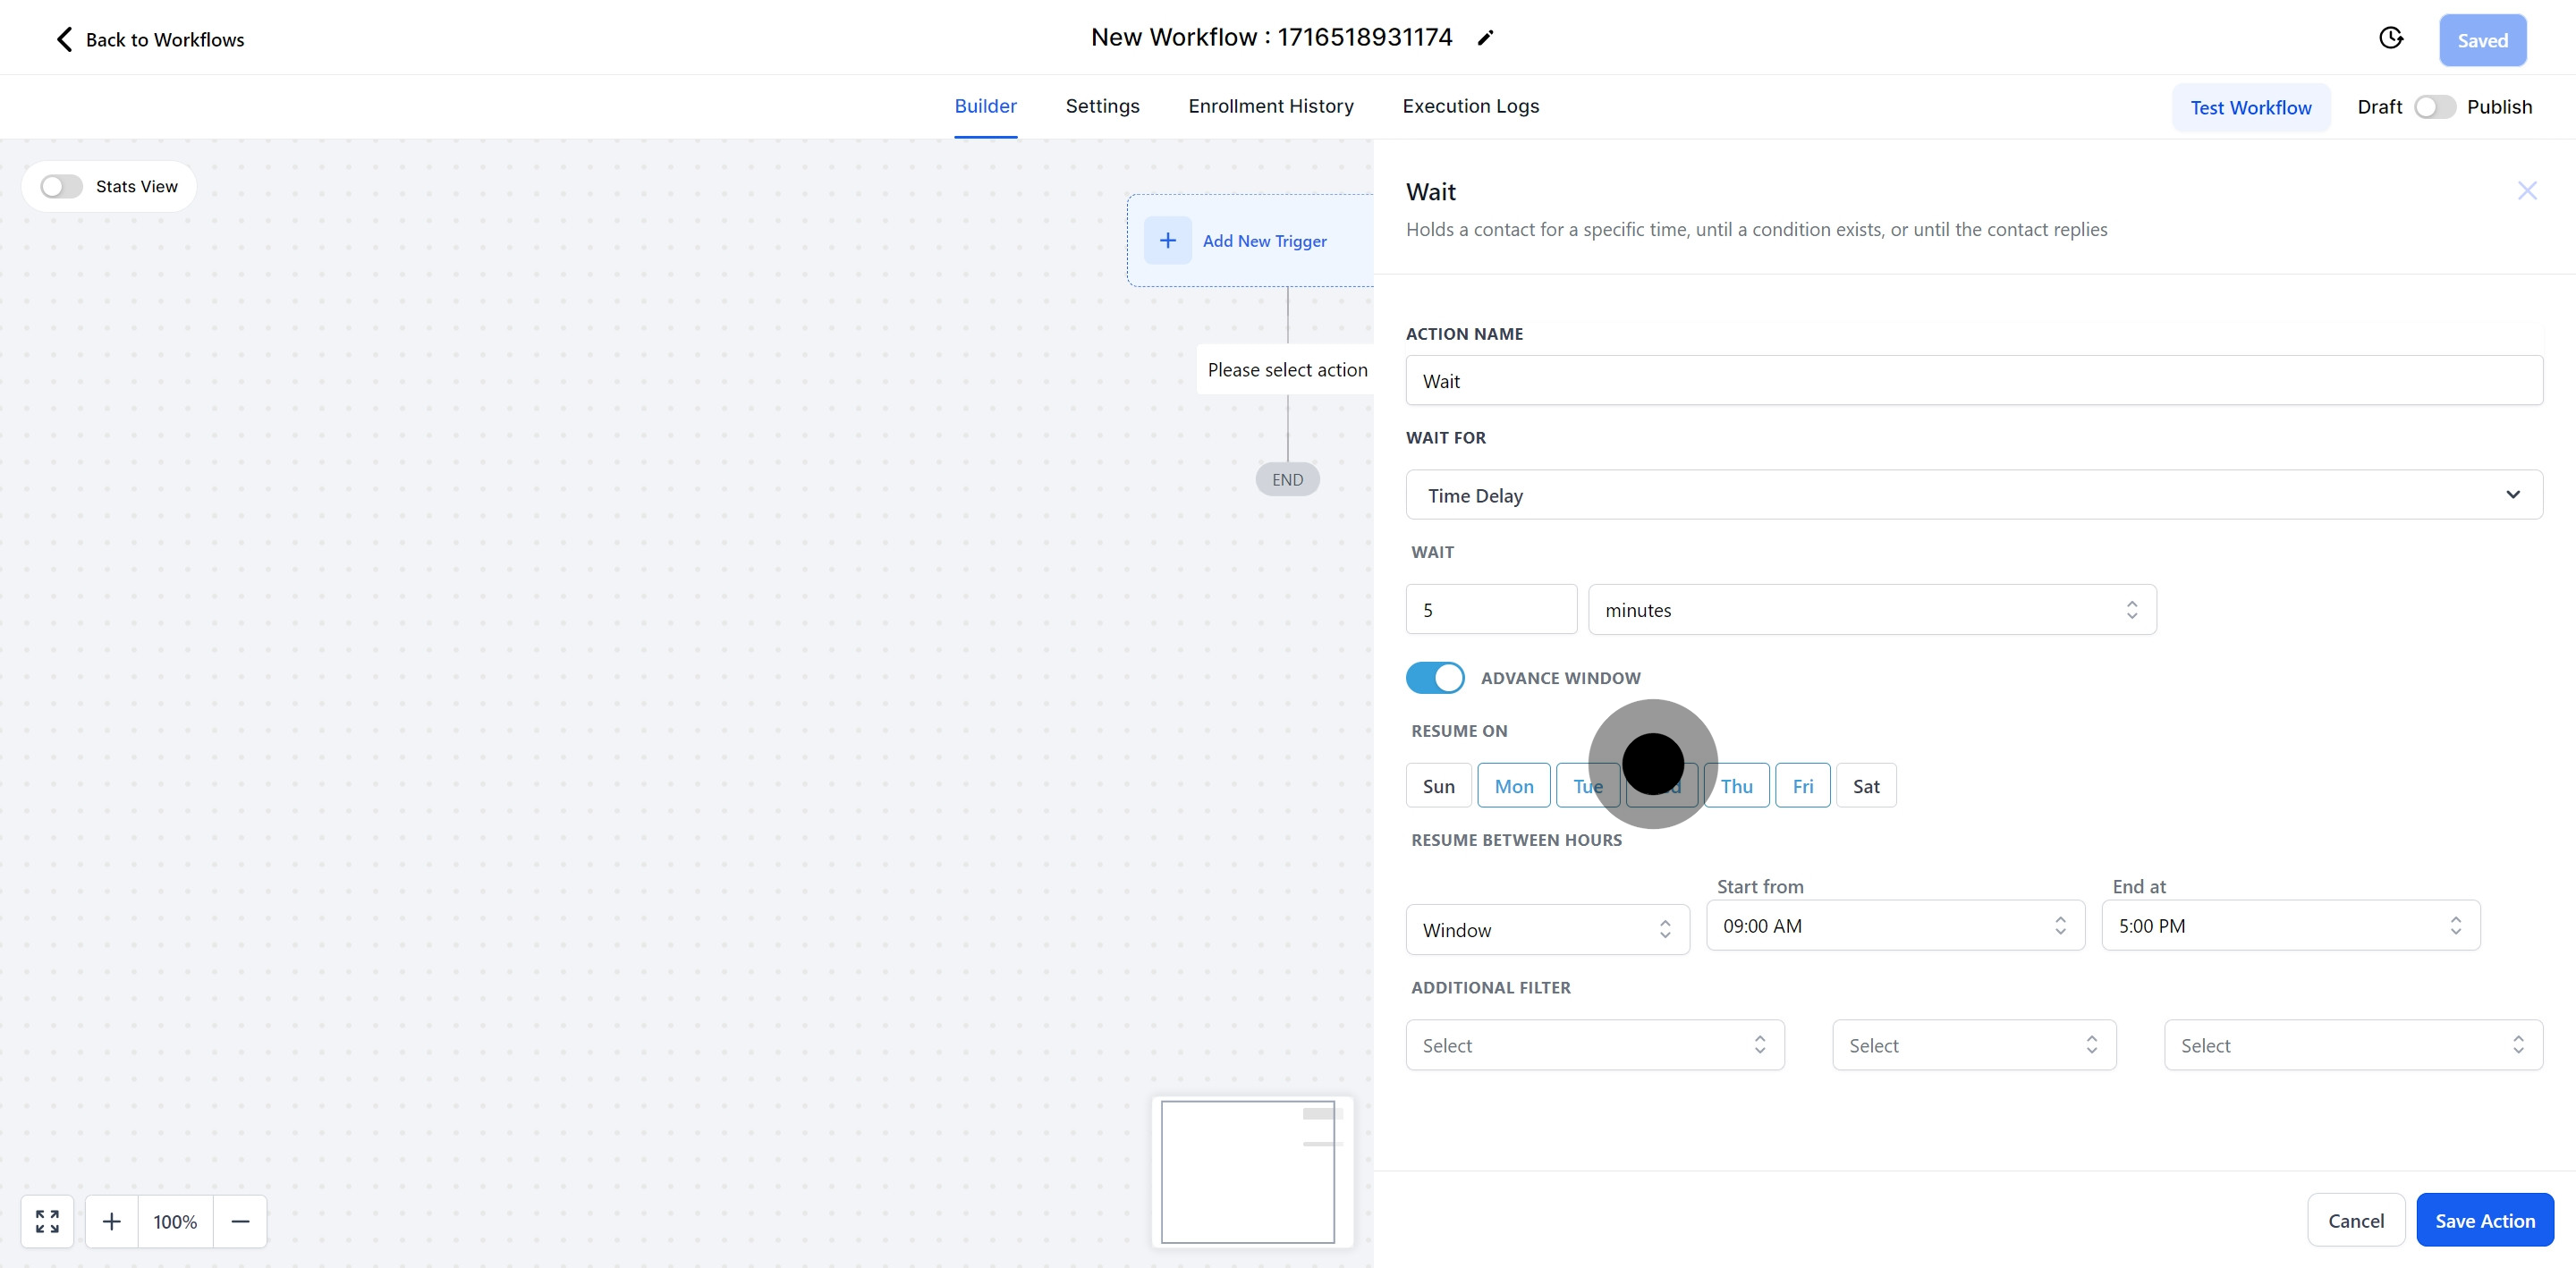
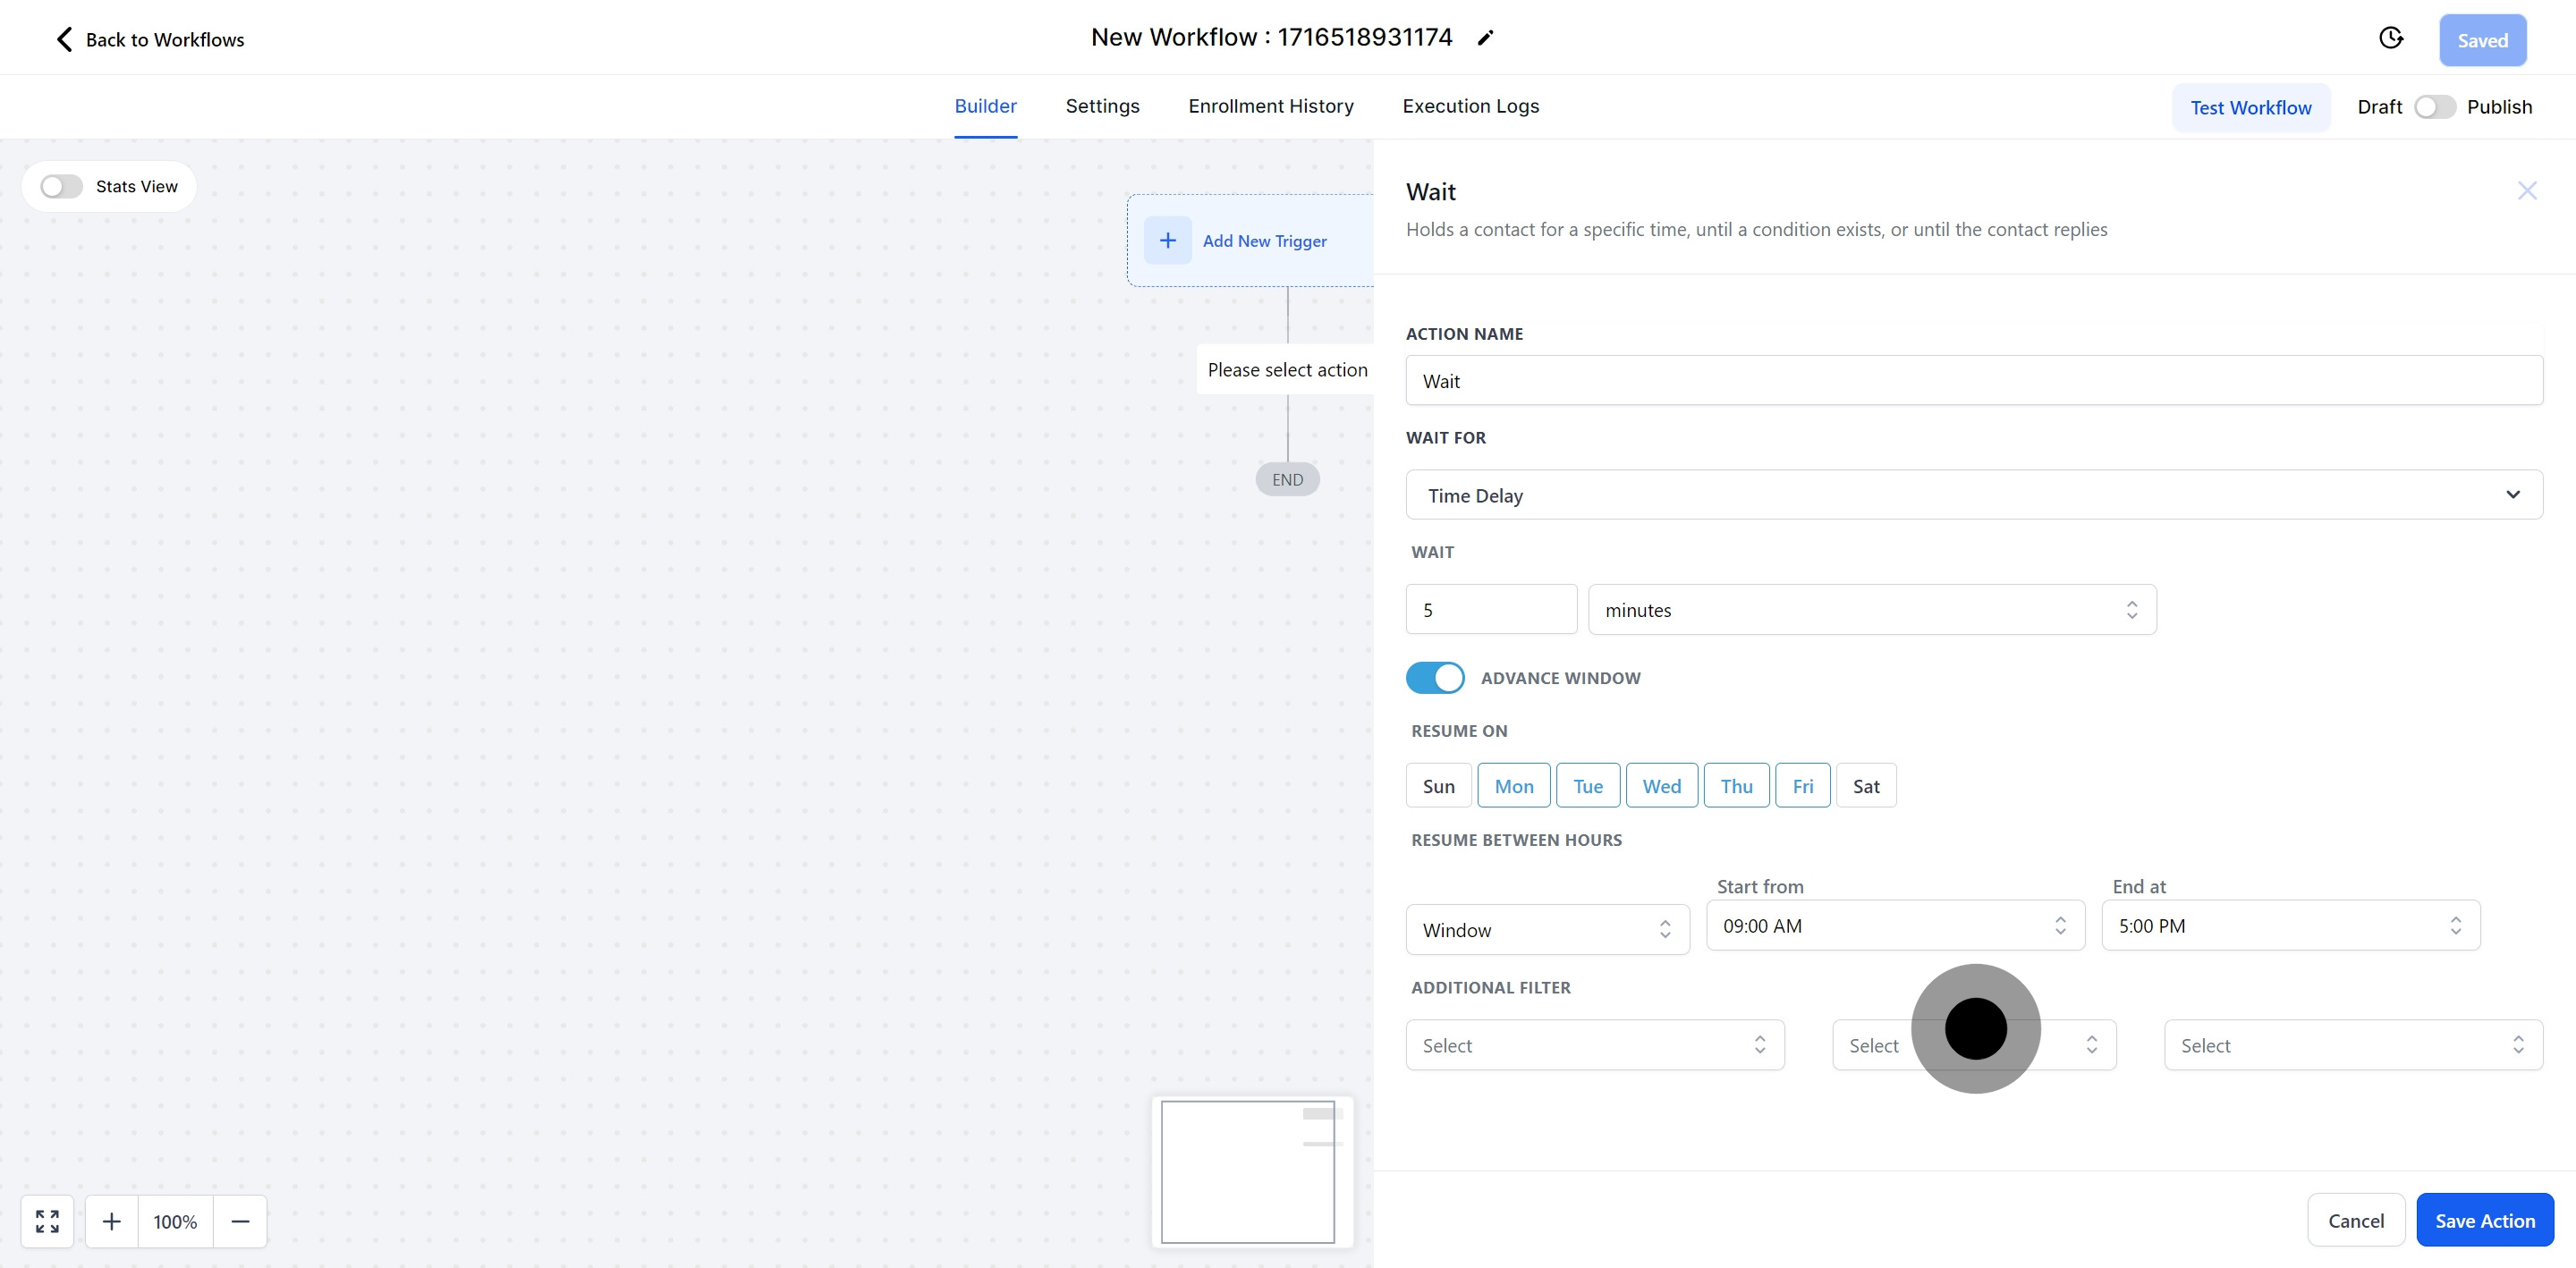
NOTE: If the scheduled time for the Wait step has already passed, you can decide how to proceed with the contact by either:

Advancing to the next step.
Moving to a specific step.
Omitting all outbound communication actions (email, SMS, call, voicemail) until the next Wait or Event Start Date action.
The Wait functionality in Pest AI allows you to hold a contact at a specific stage until a certain condition is met.
For example, a contact can only proceed to the next step if they reside in Texas, USA.