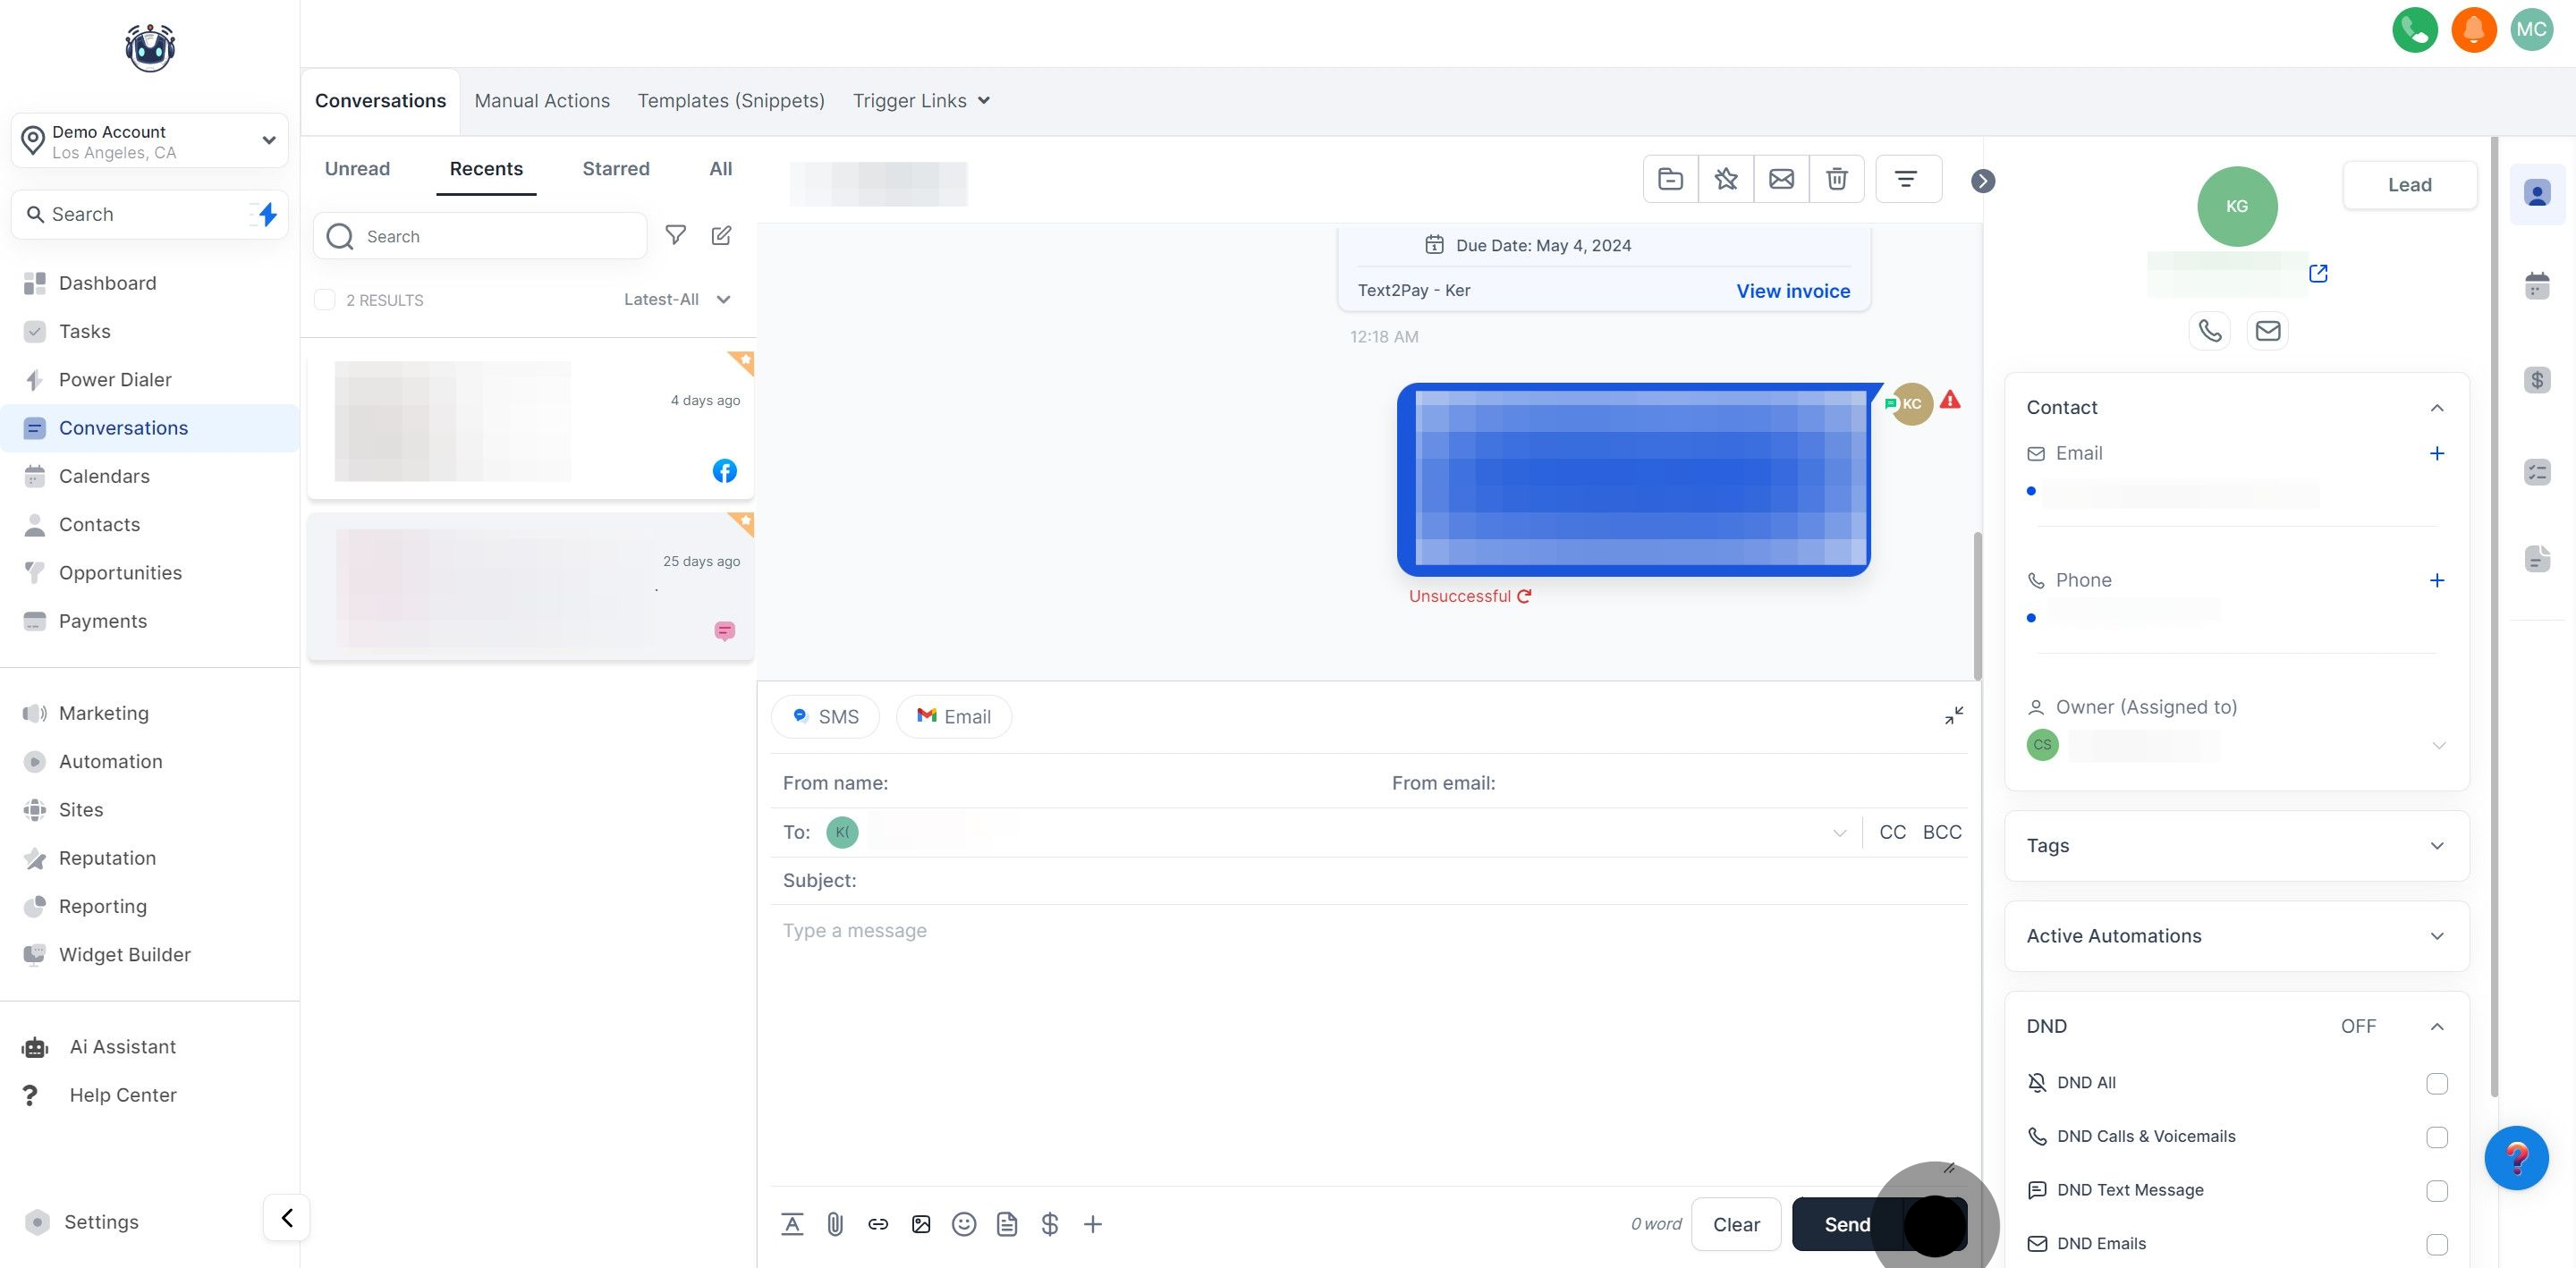
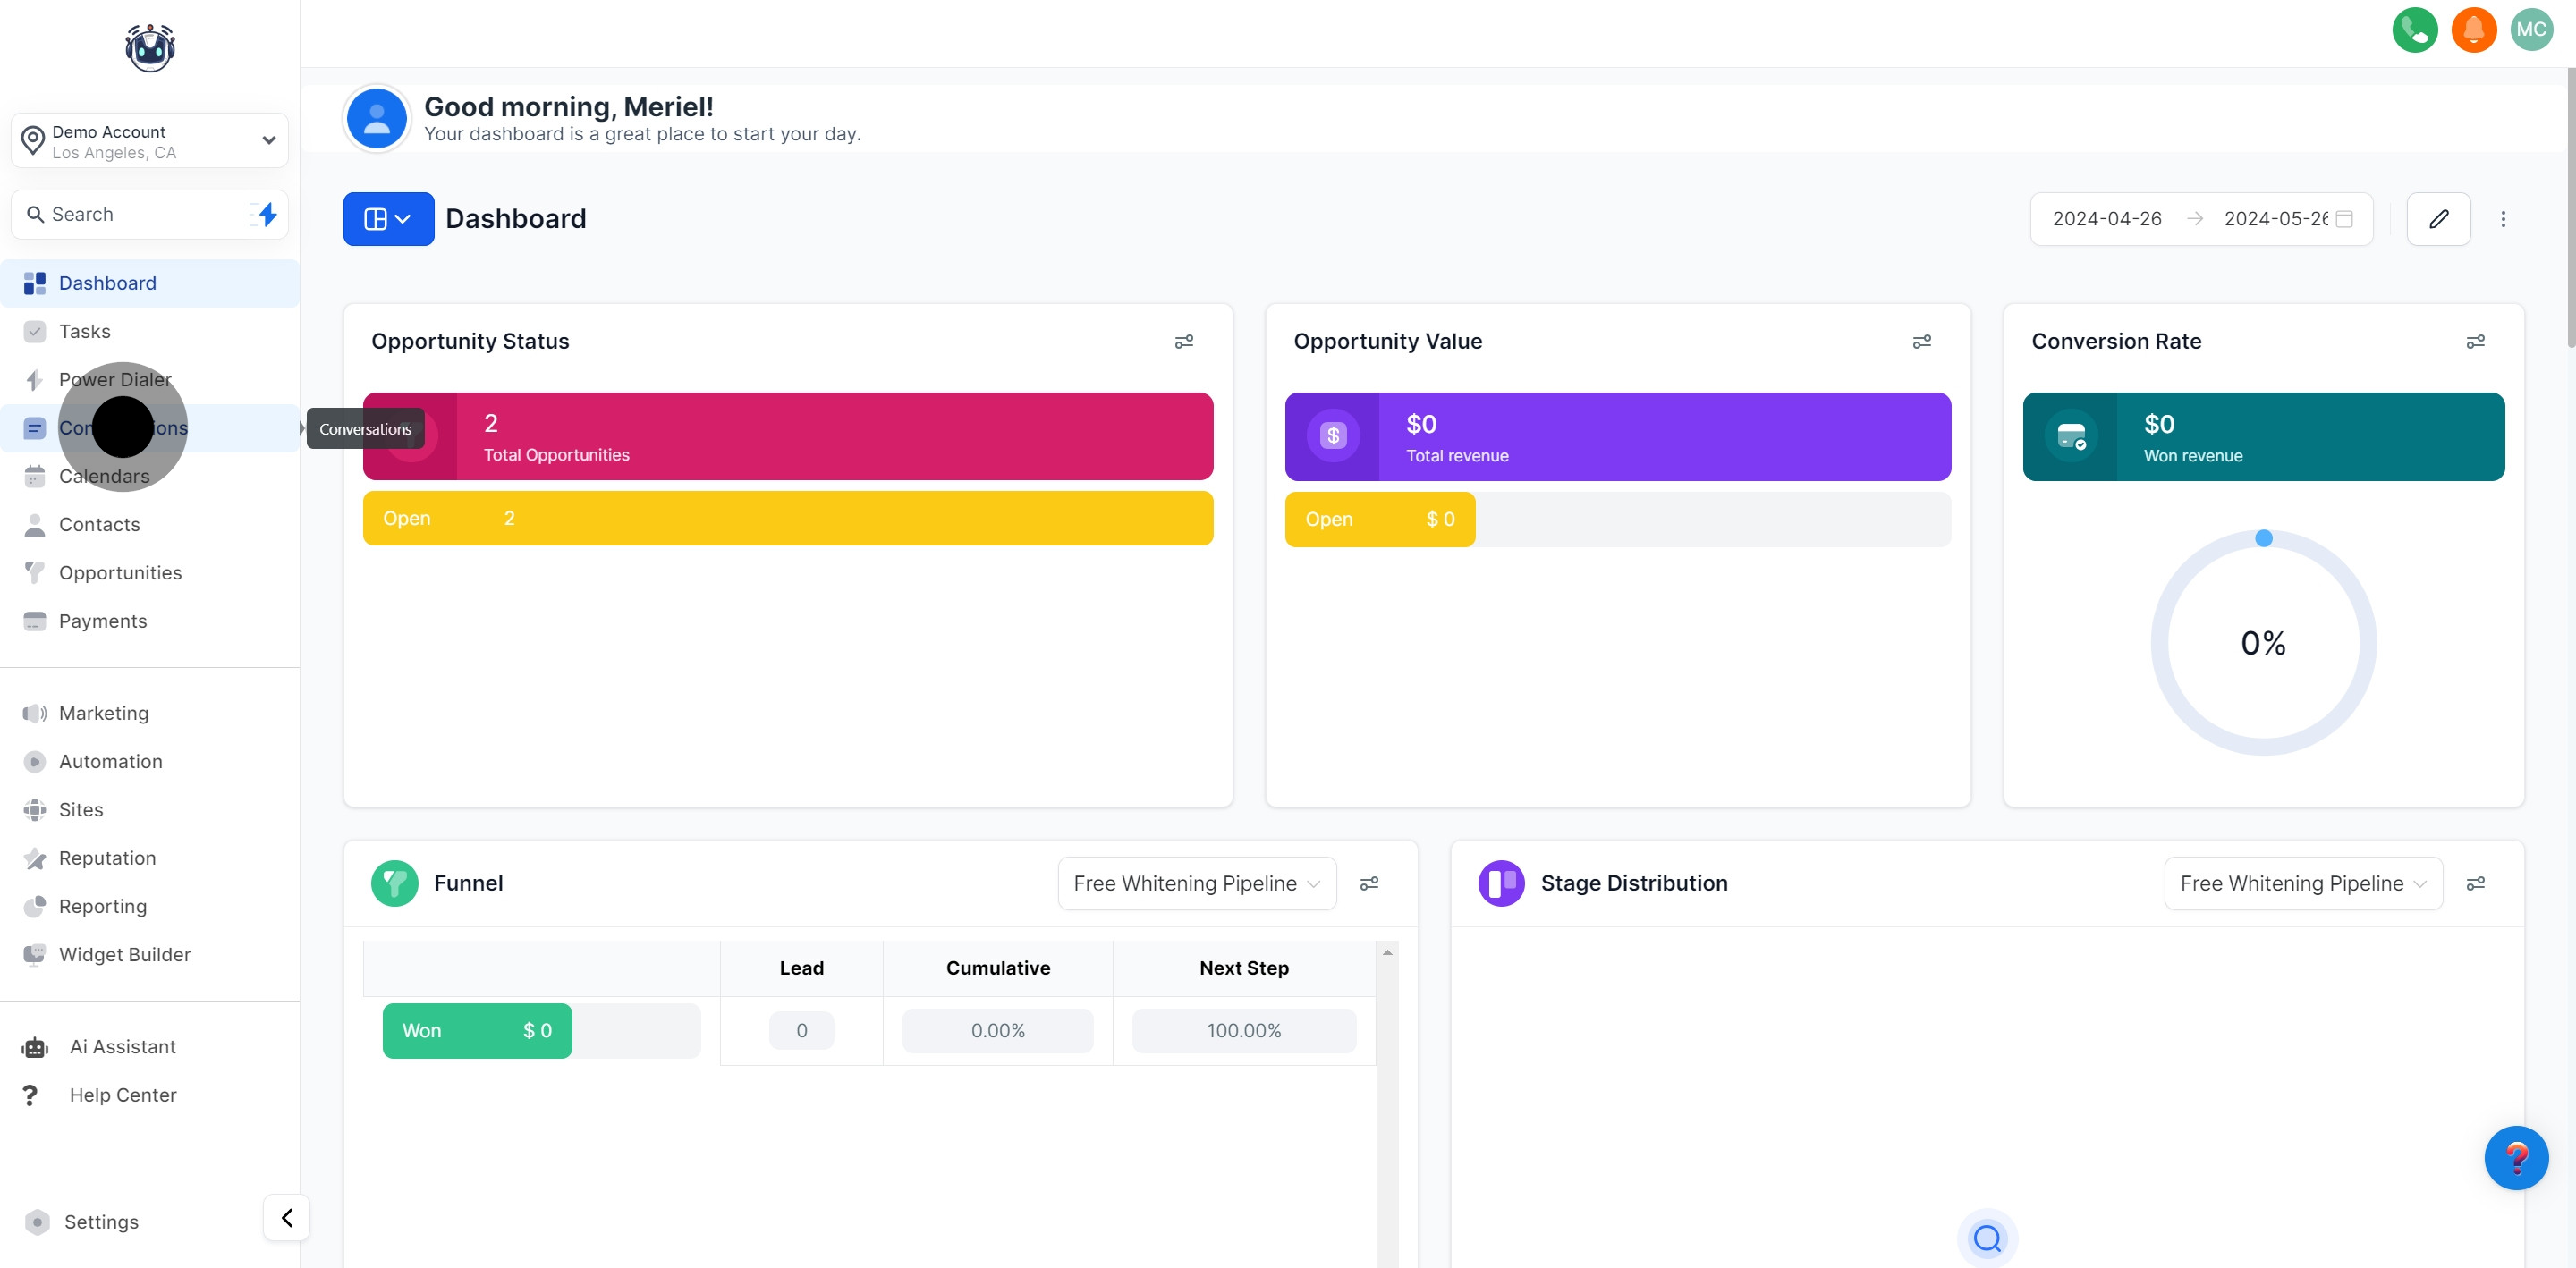
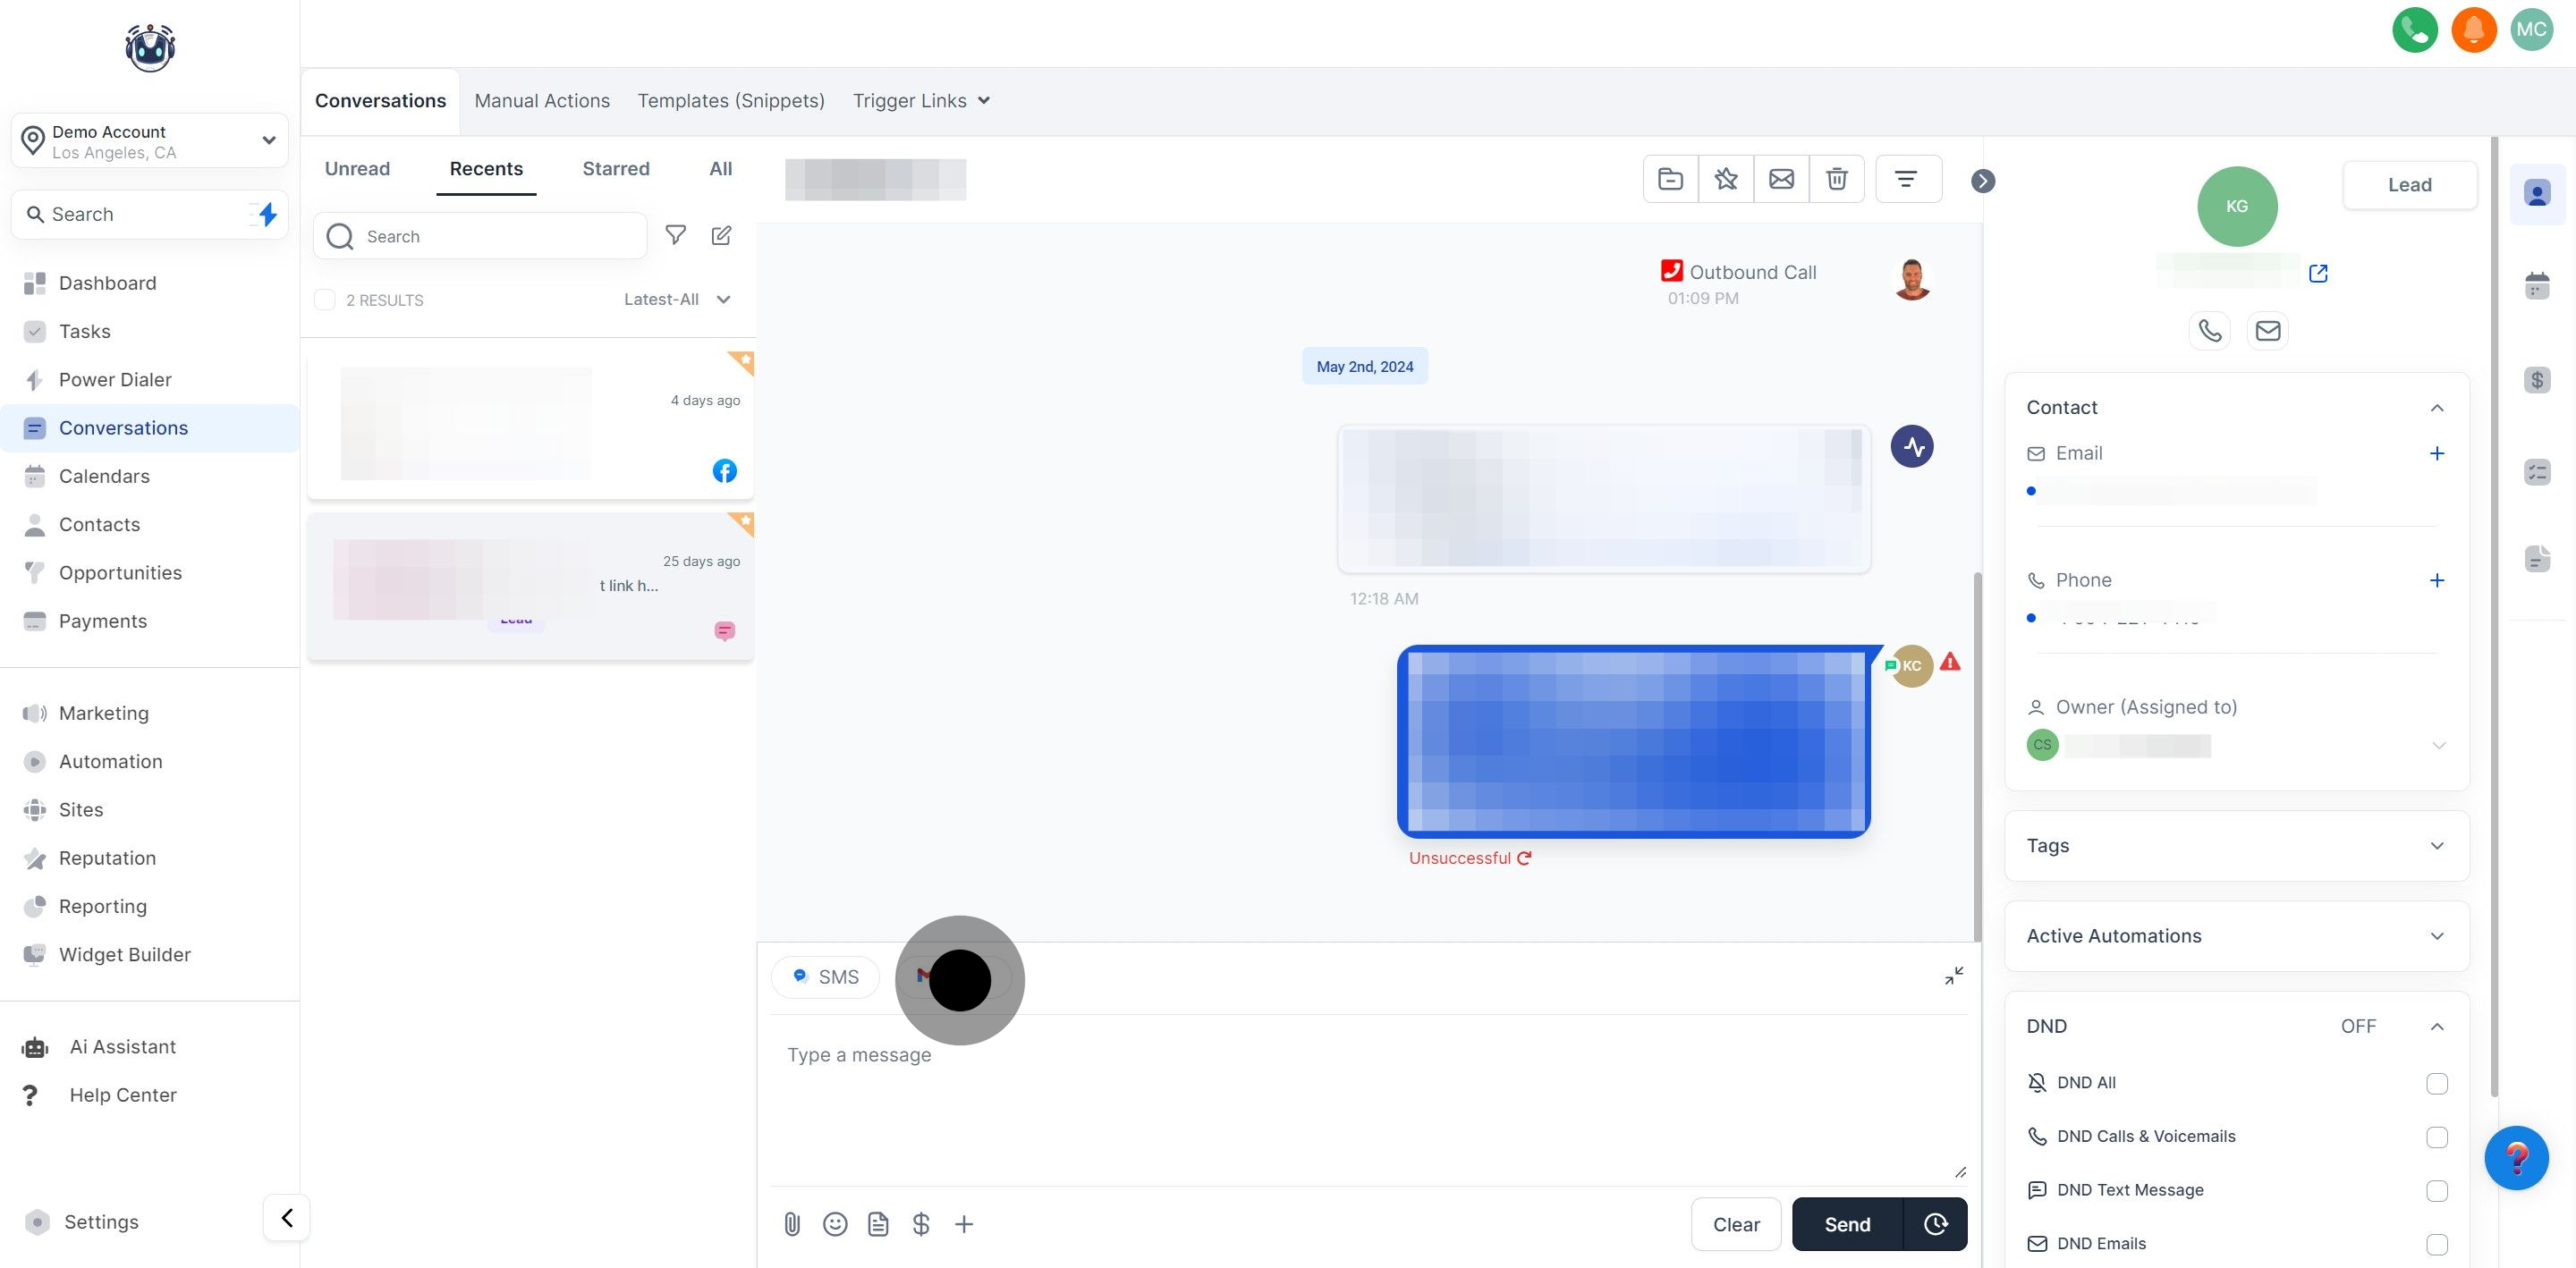
To send an email, start by opening the conversation thread where you want to send the email. Navigate to the “Inbox” tab on the left-hand side, and then select the conversation you want to open.
The screen below outlines the areas of your Email Composer. Verify all the information on the Email Composer screen before sending your email to your contact.
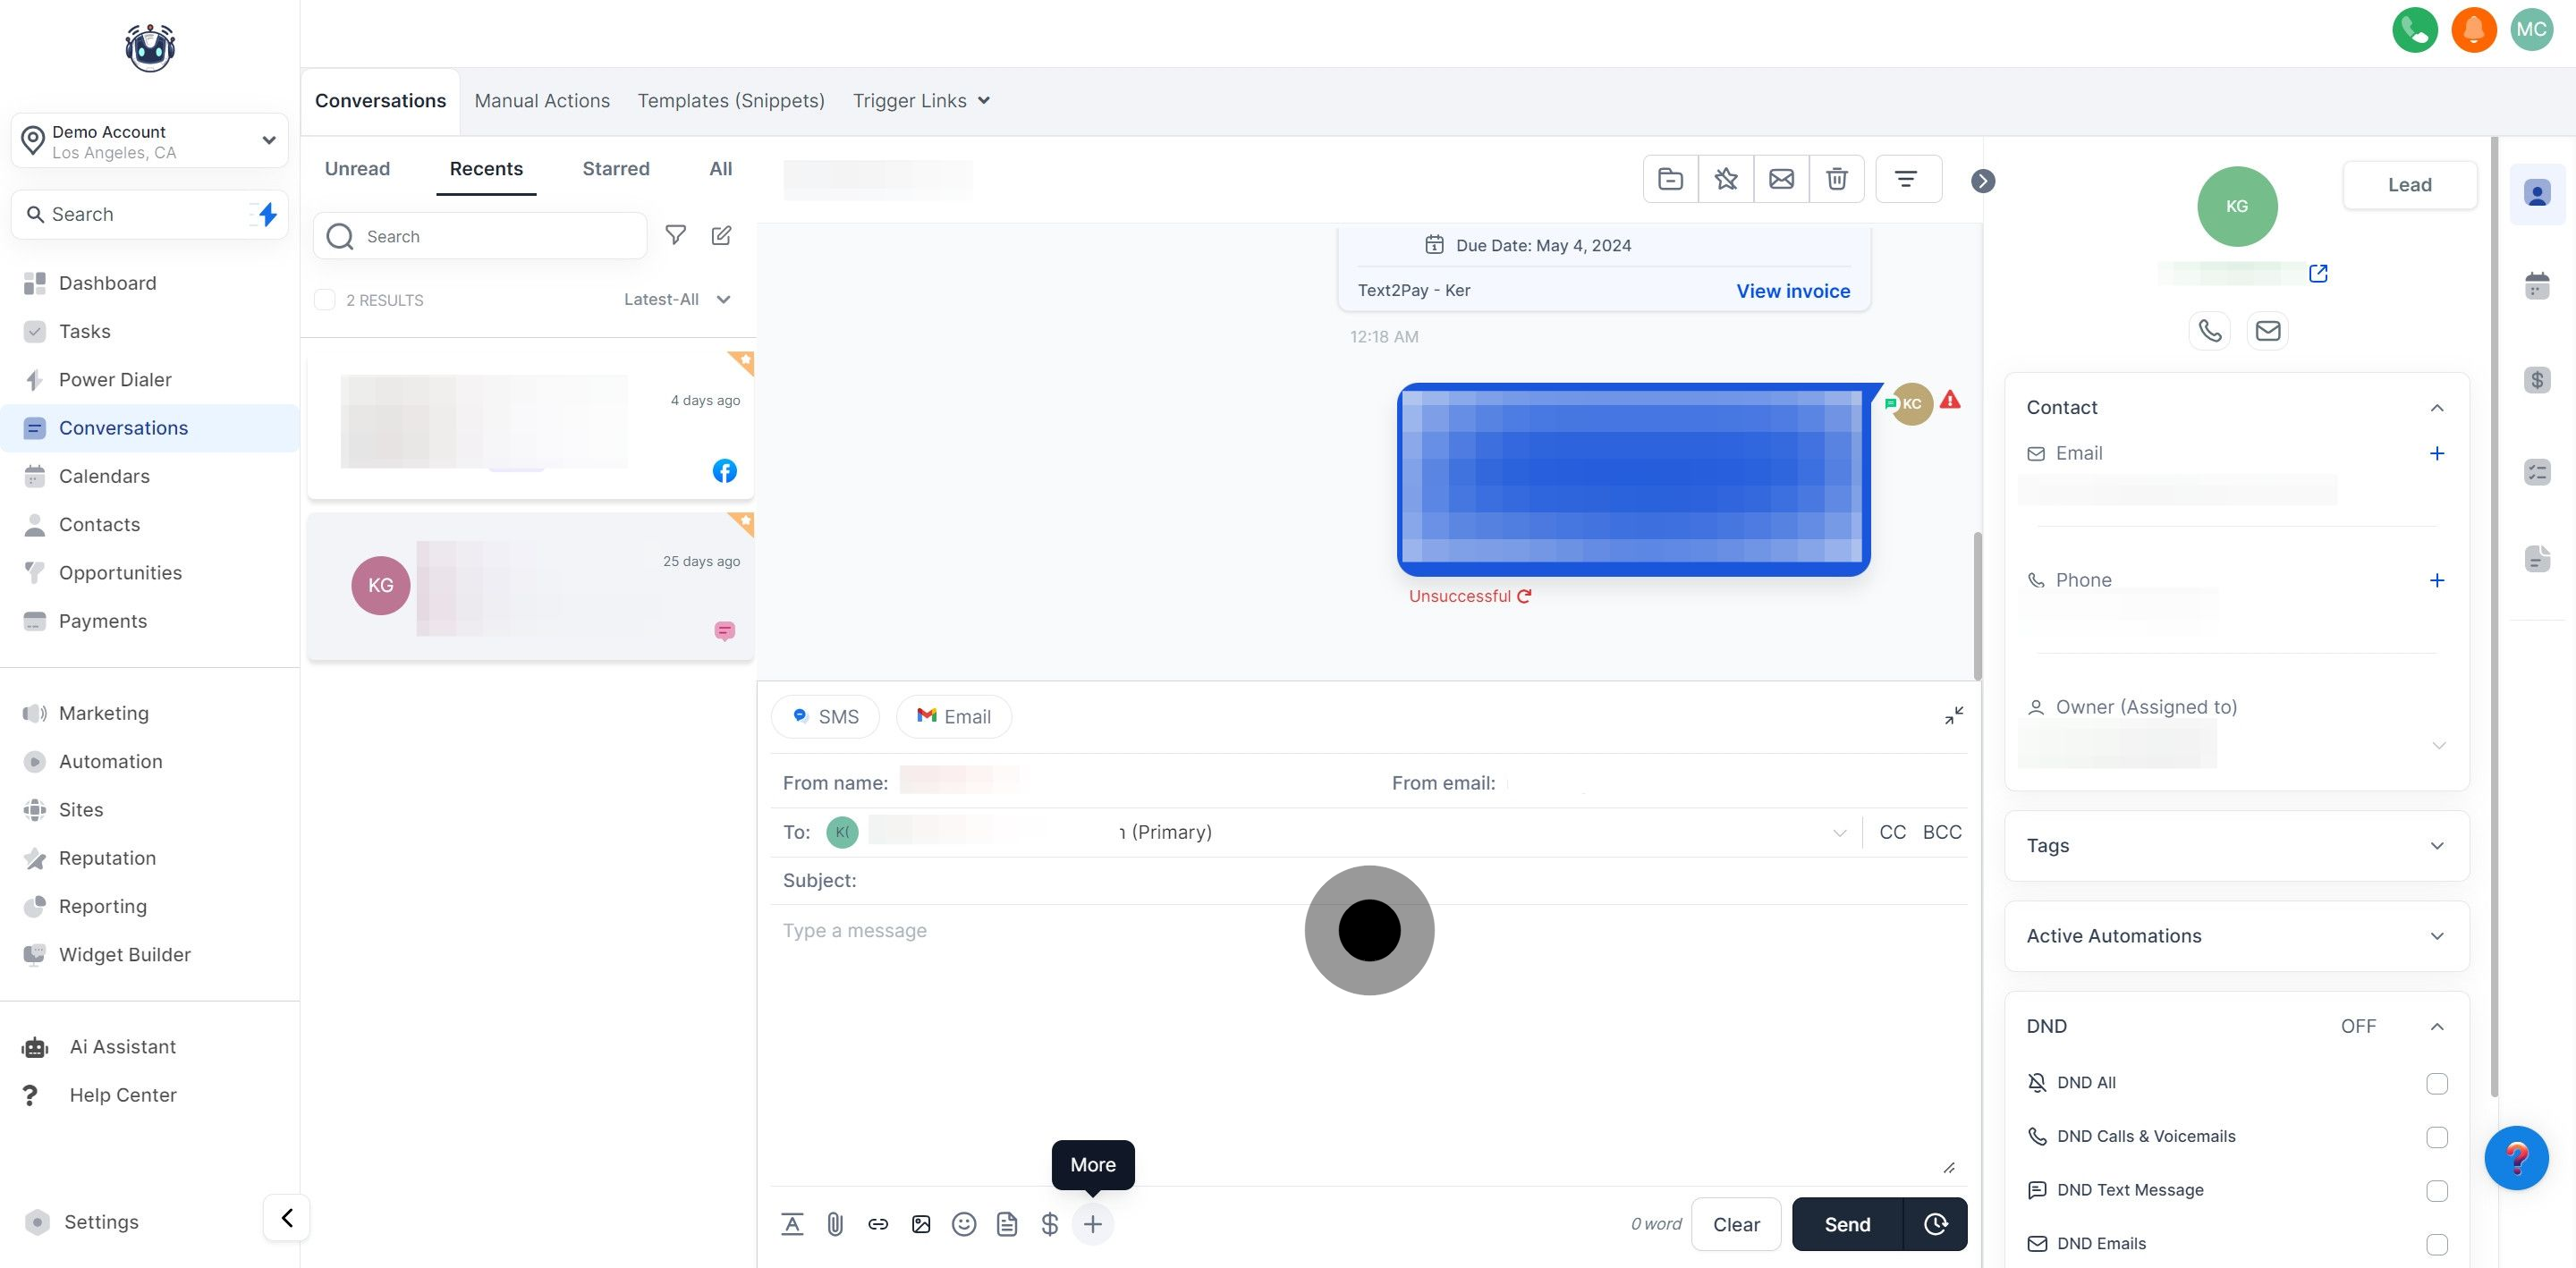
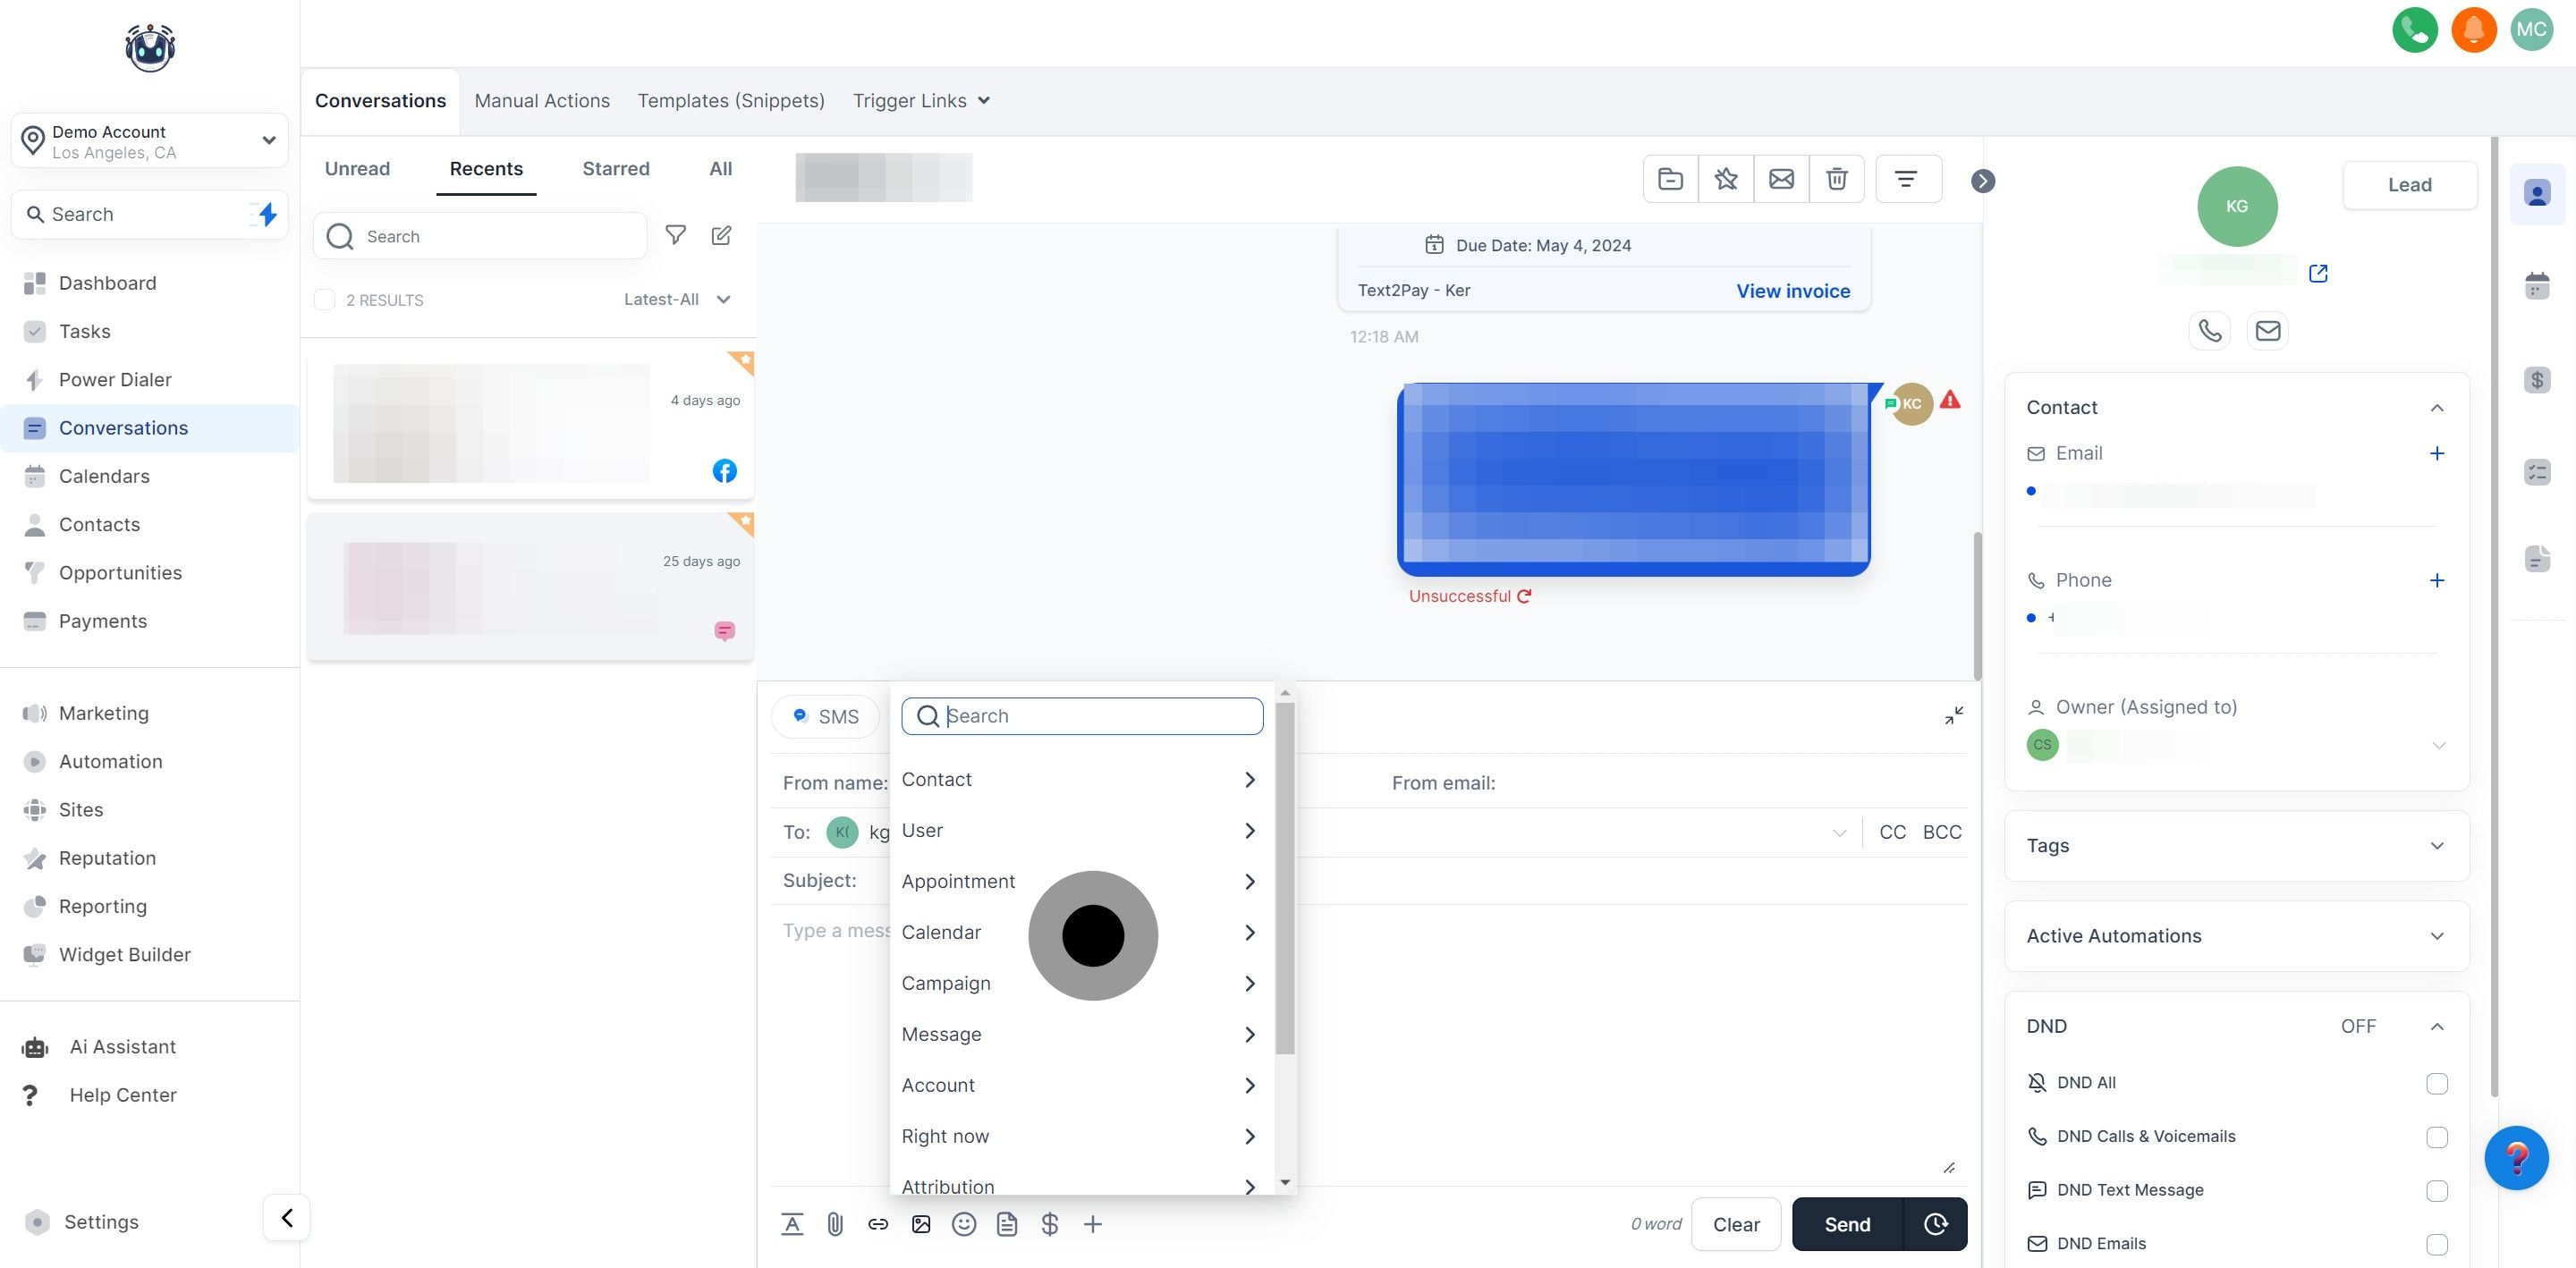
Customize your emails with Custom Values (variables) to incorporate relevant contact information and add a personalized touch.
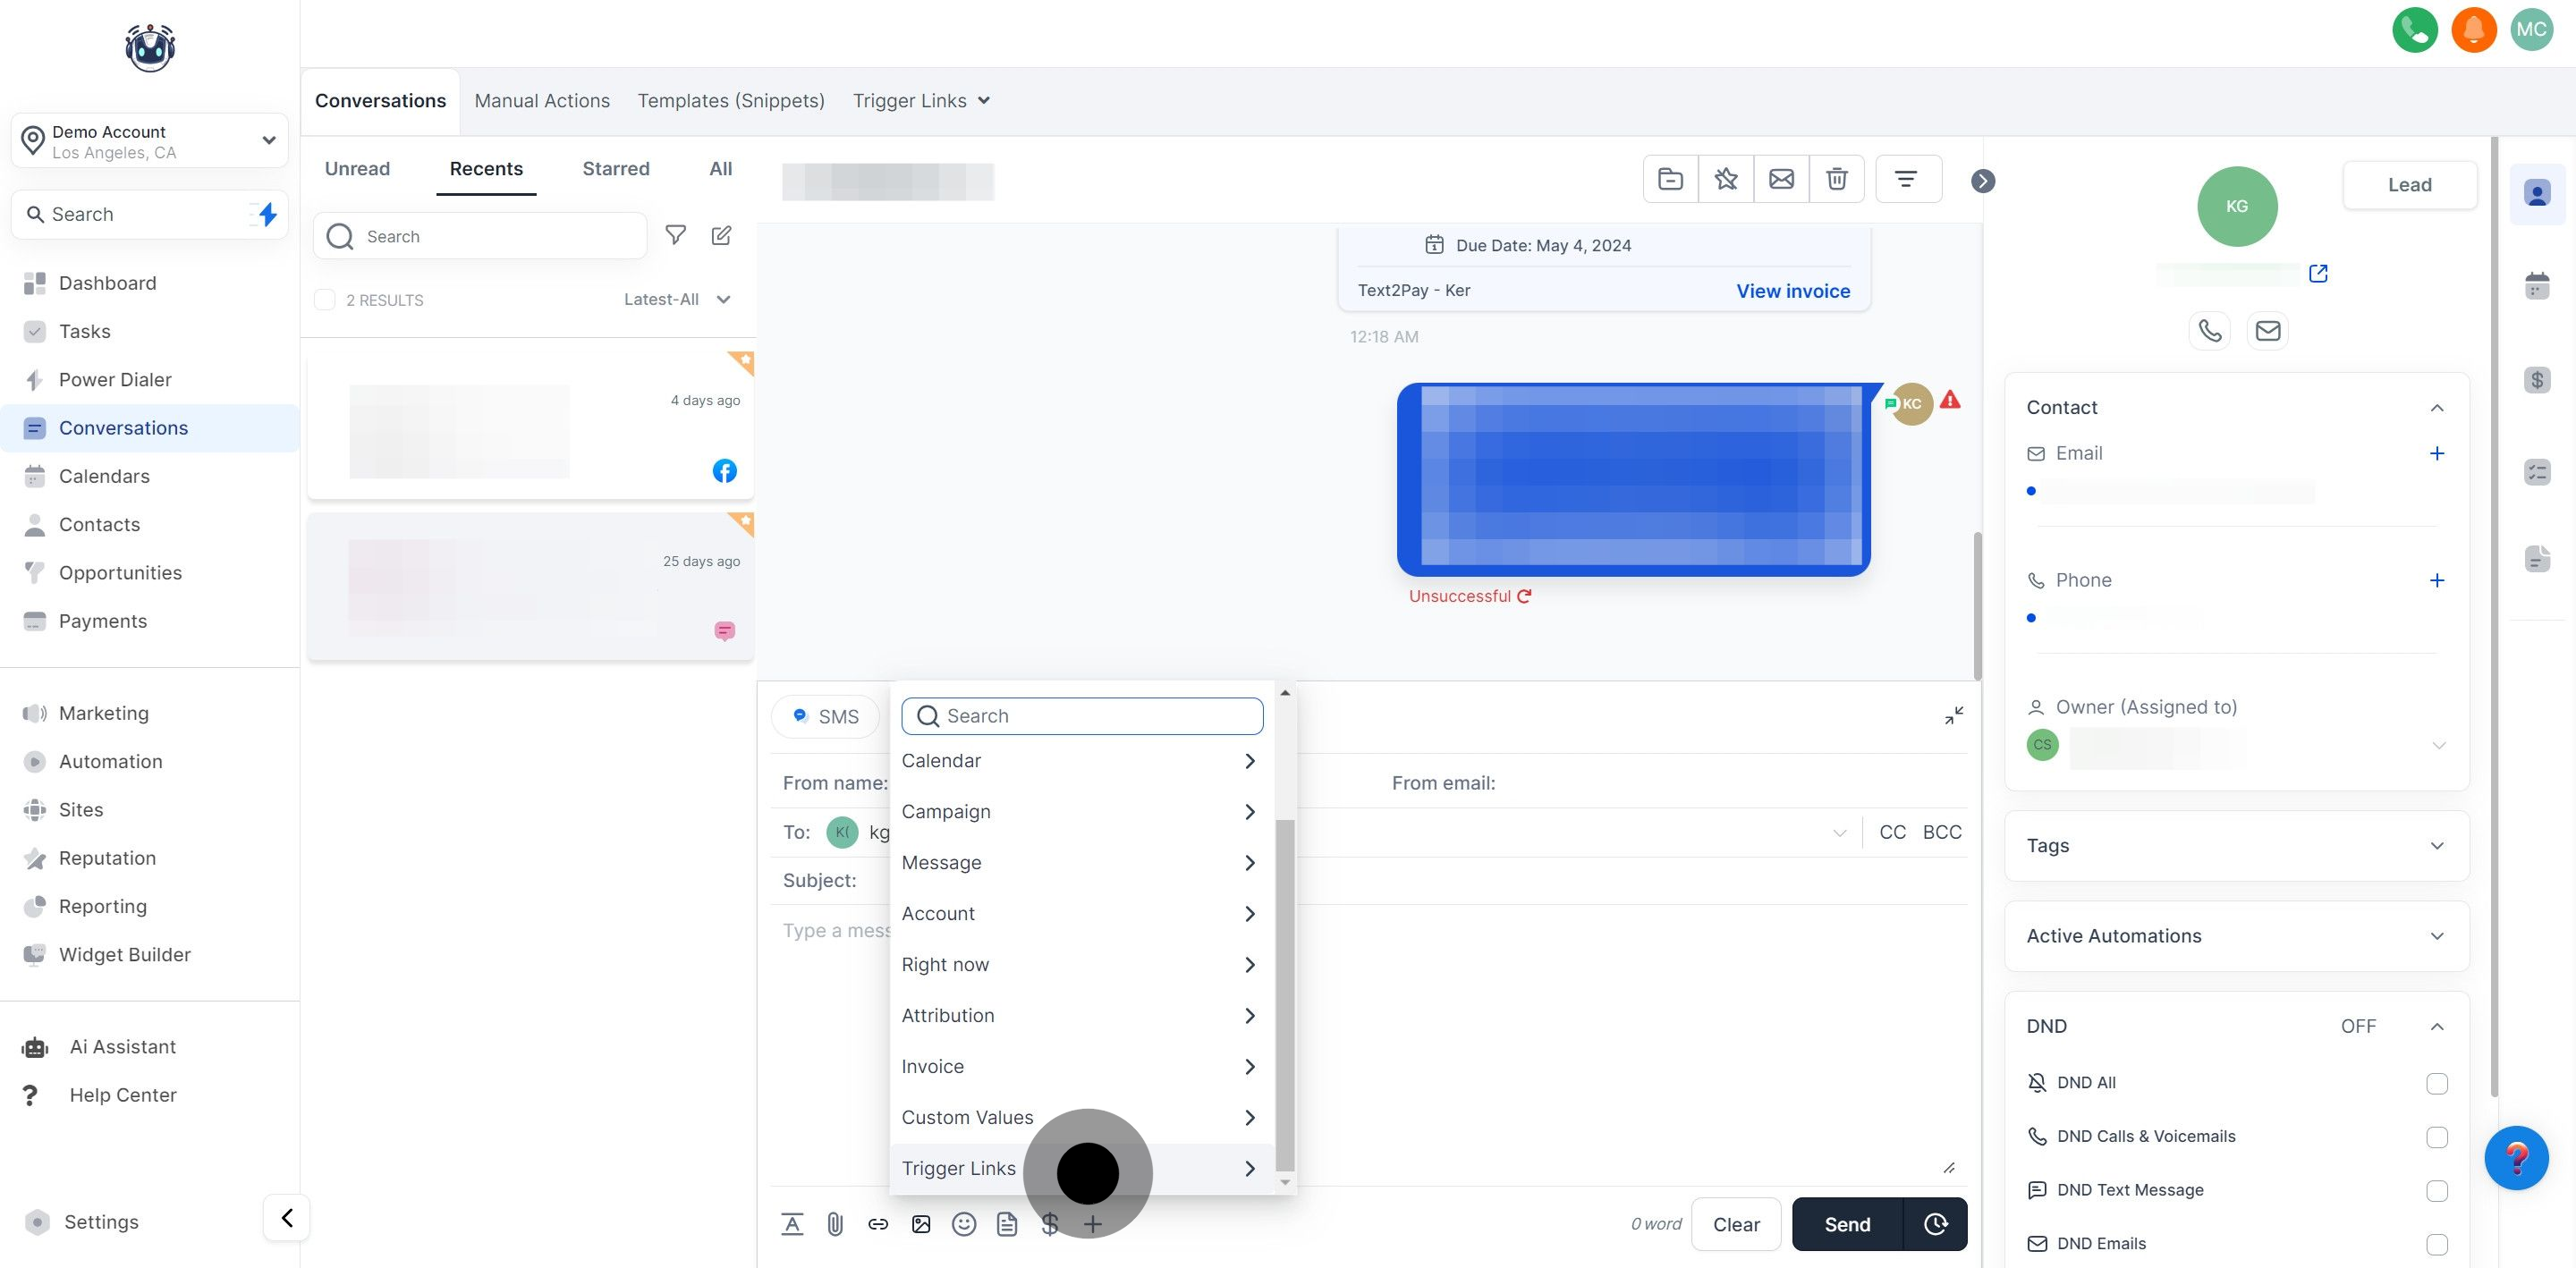
Add trigger links to your email to initiate automations based on click events.
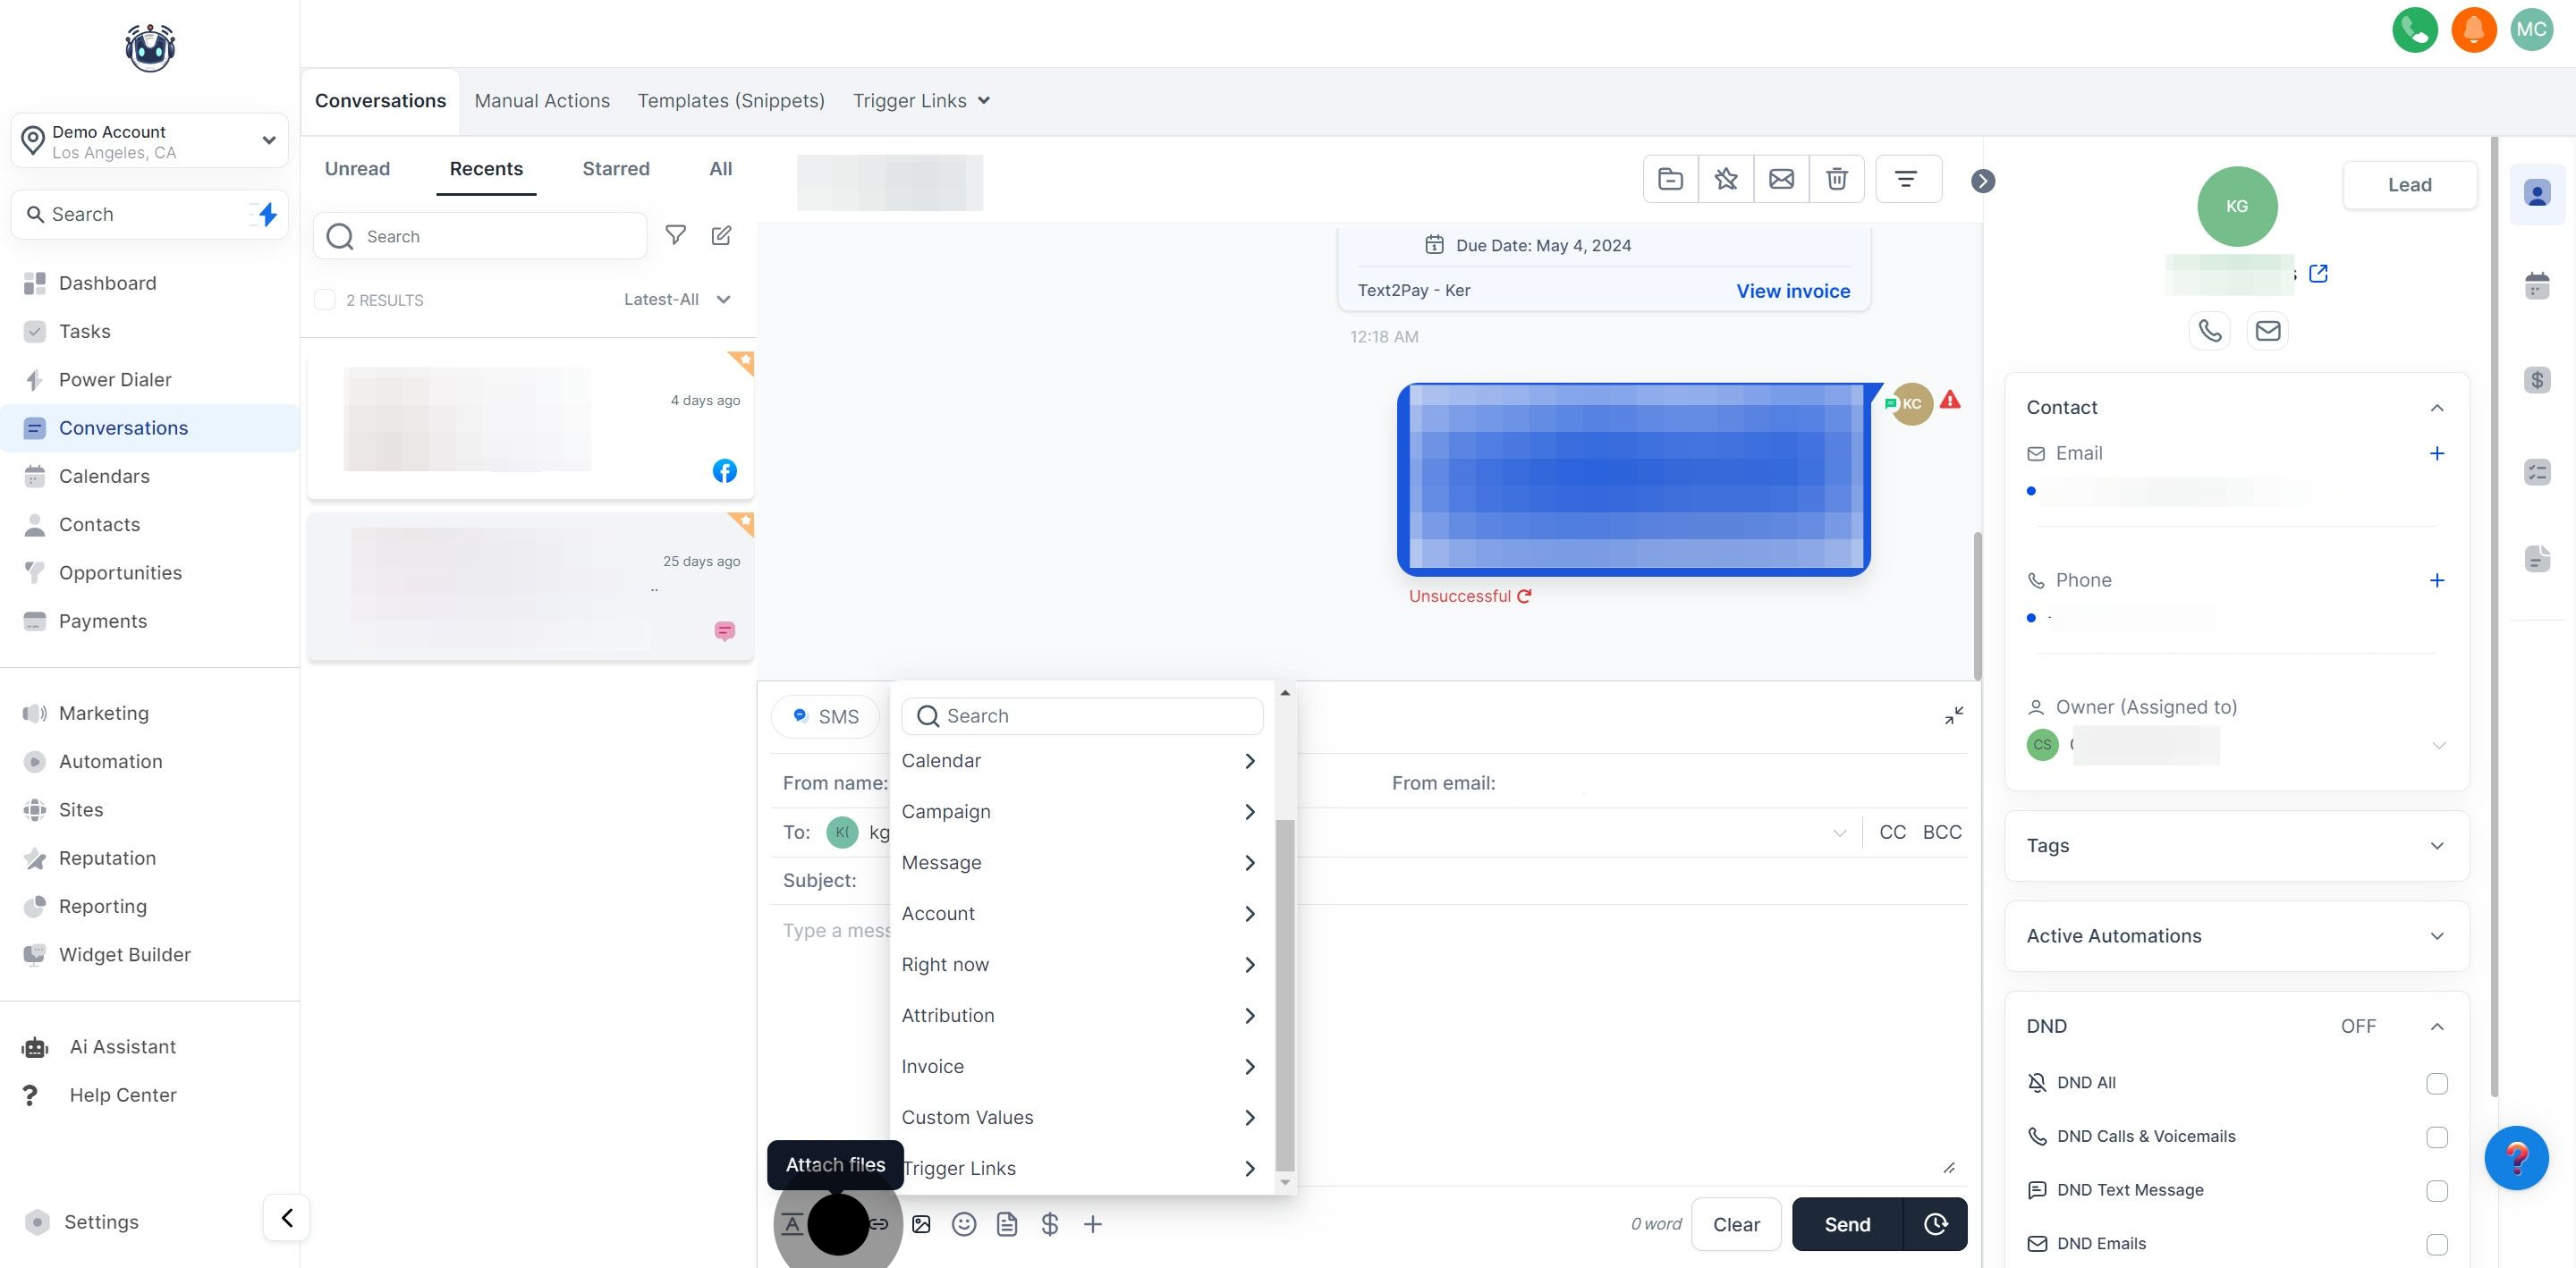
To include a file in your email, click the Attachments button.
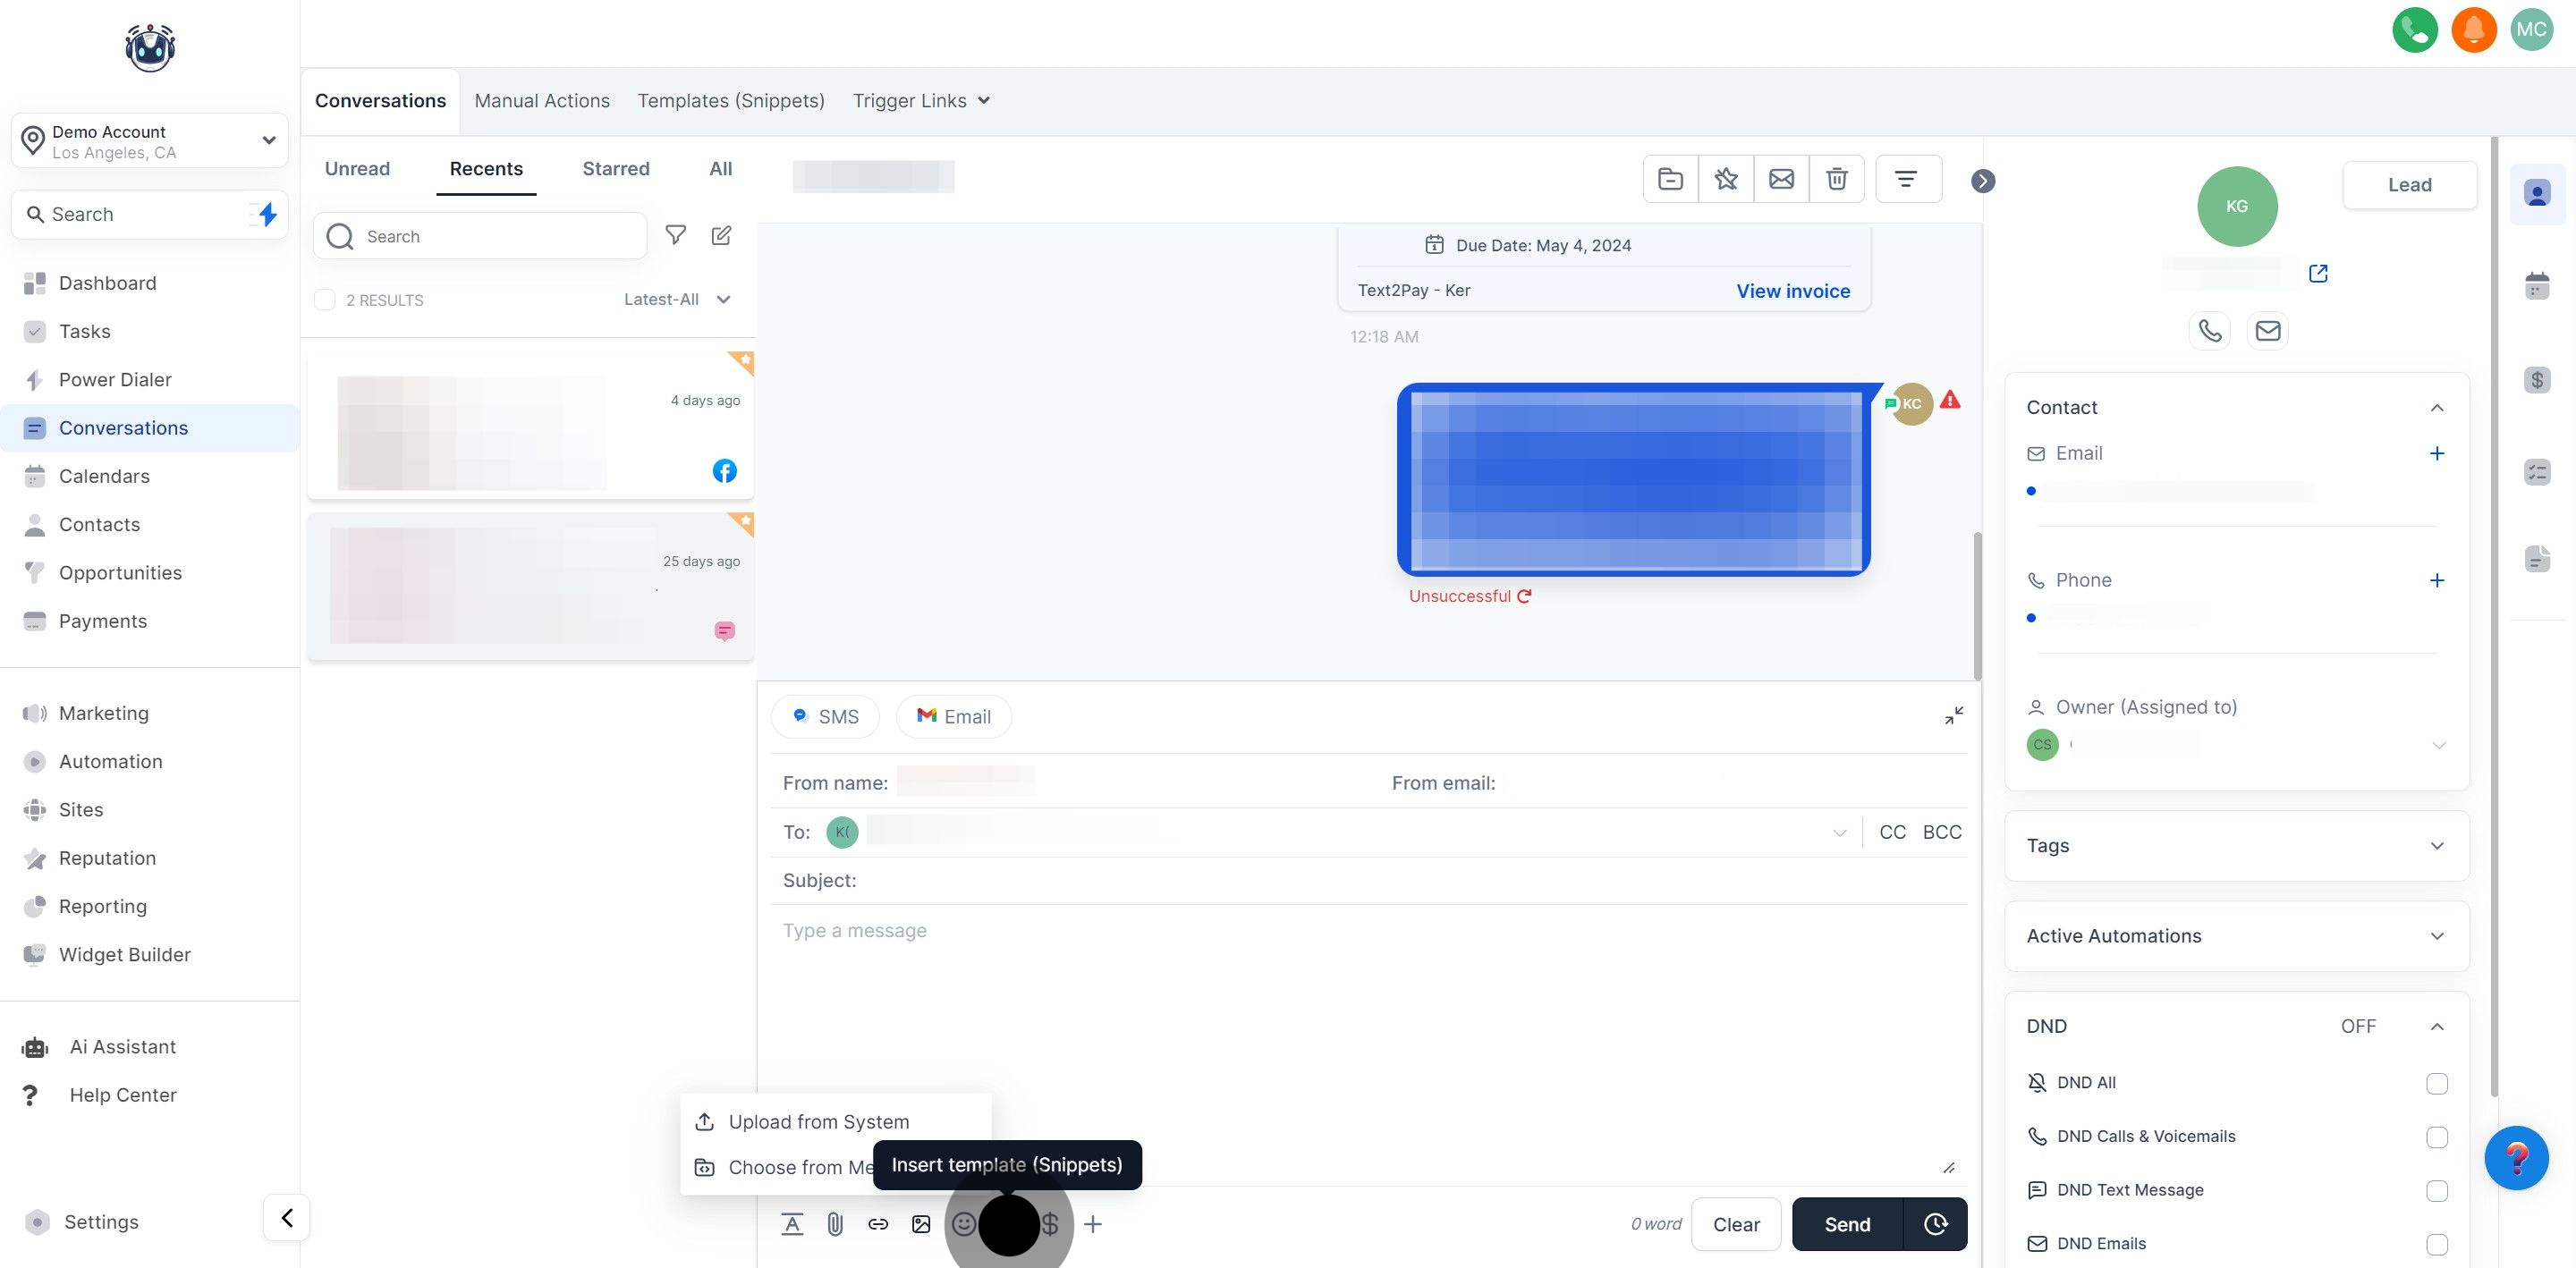
Insert pre-made templates to compose emails quickly or respond to contacts without starting from scratch.
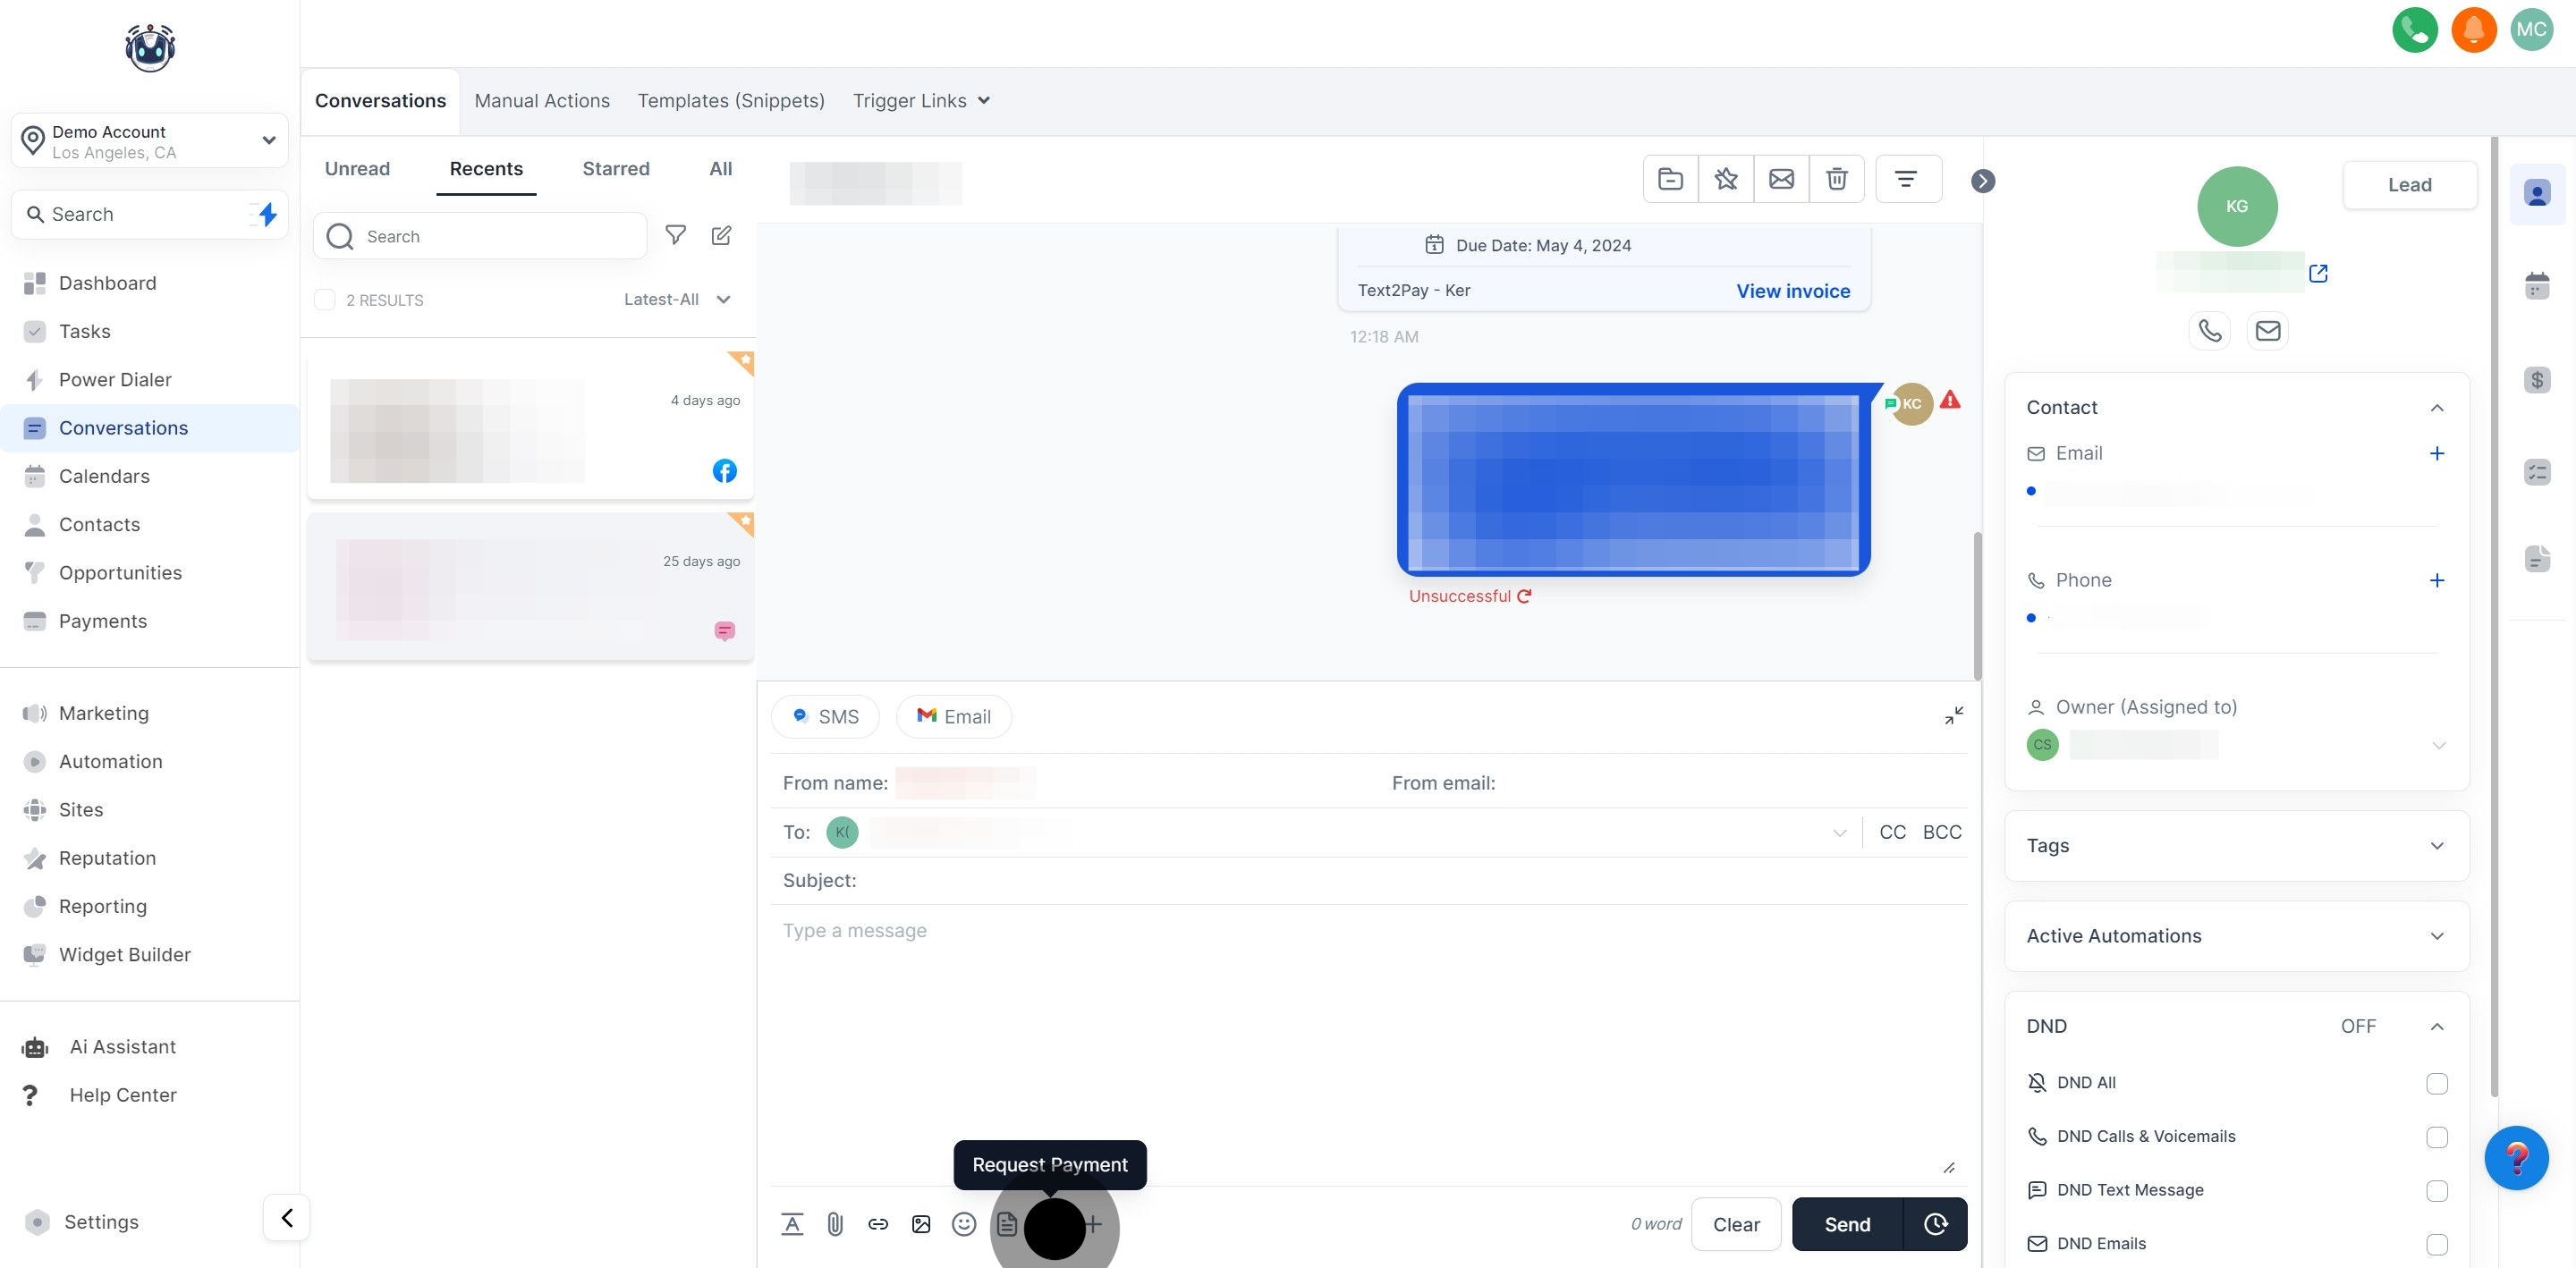
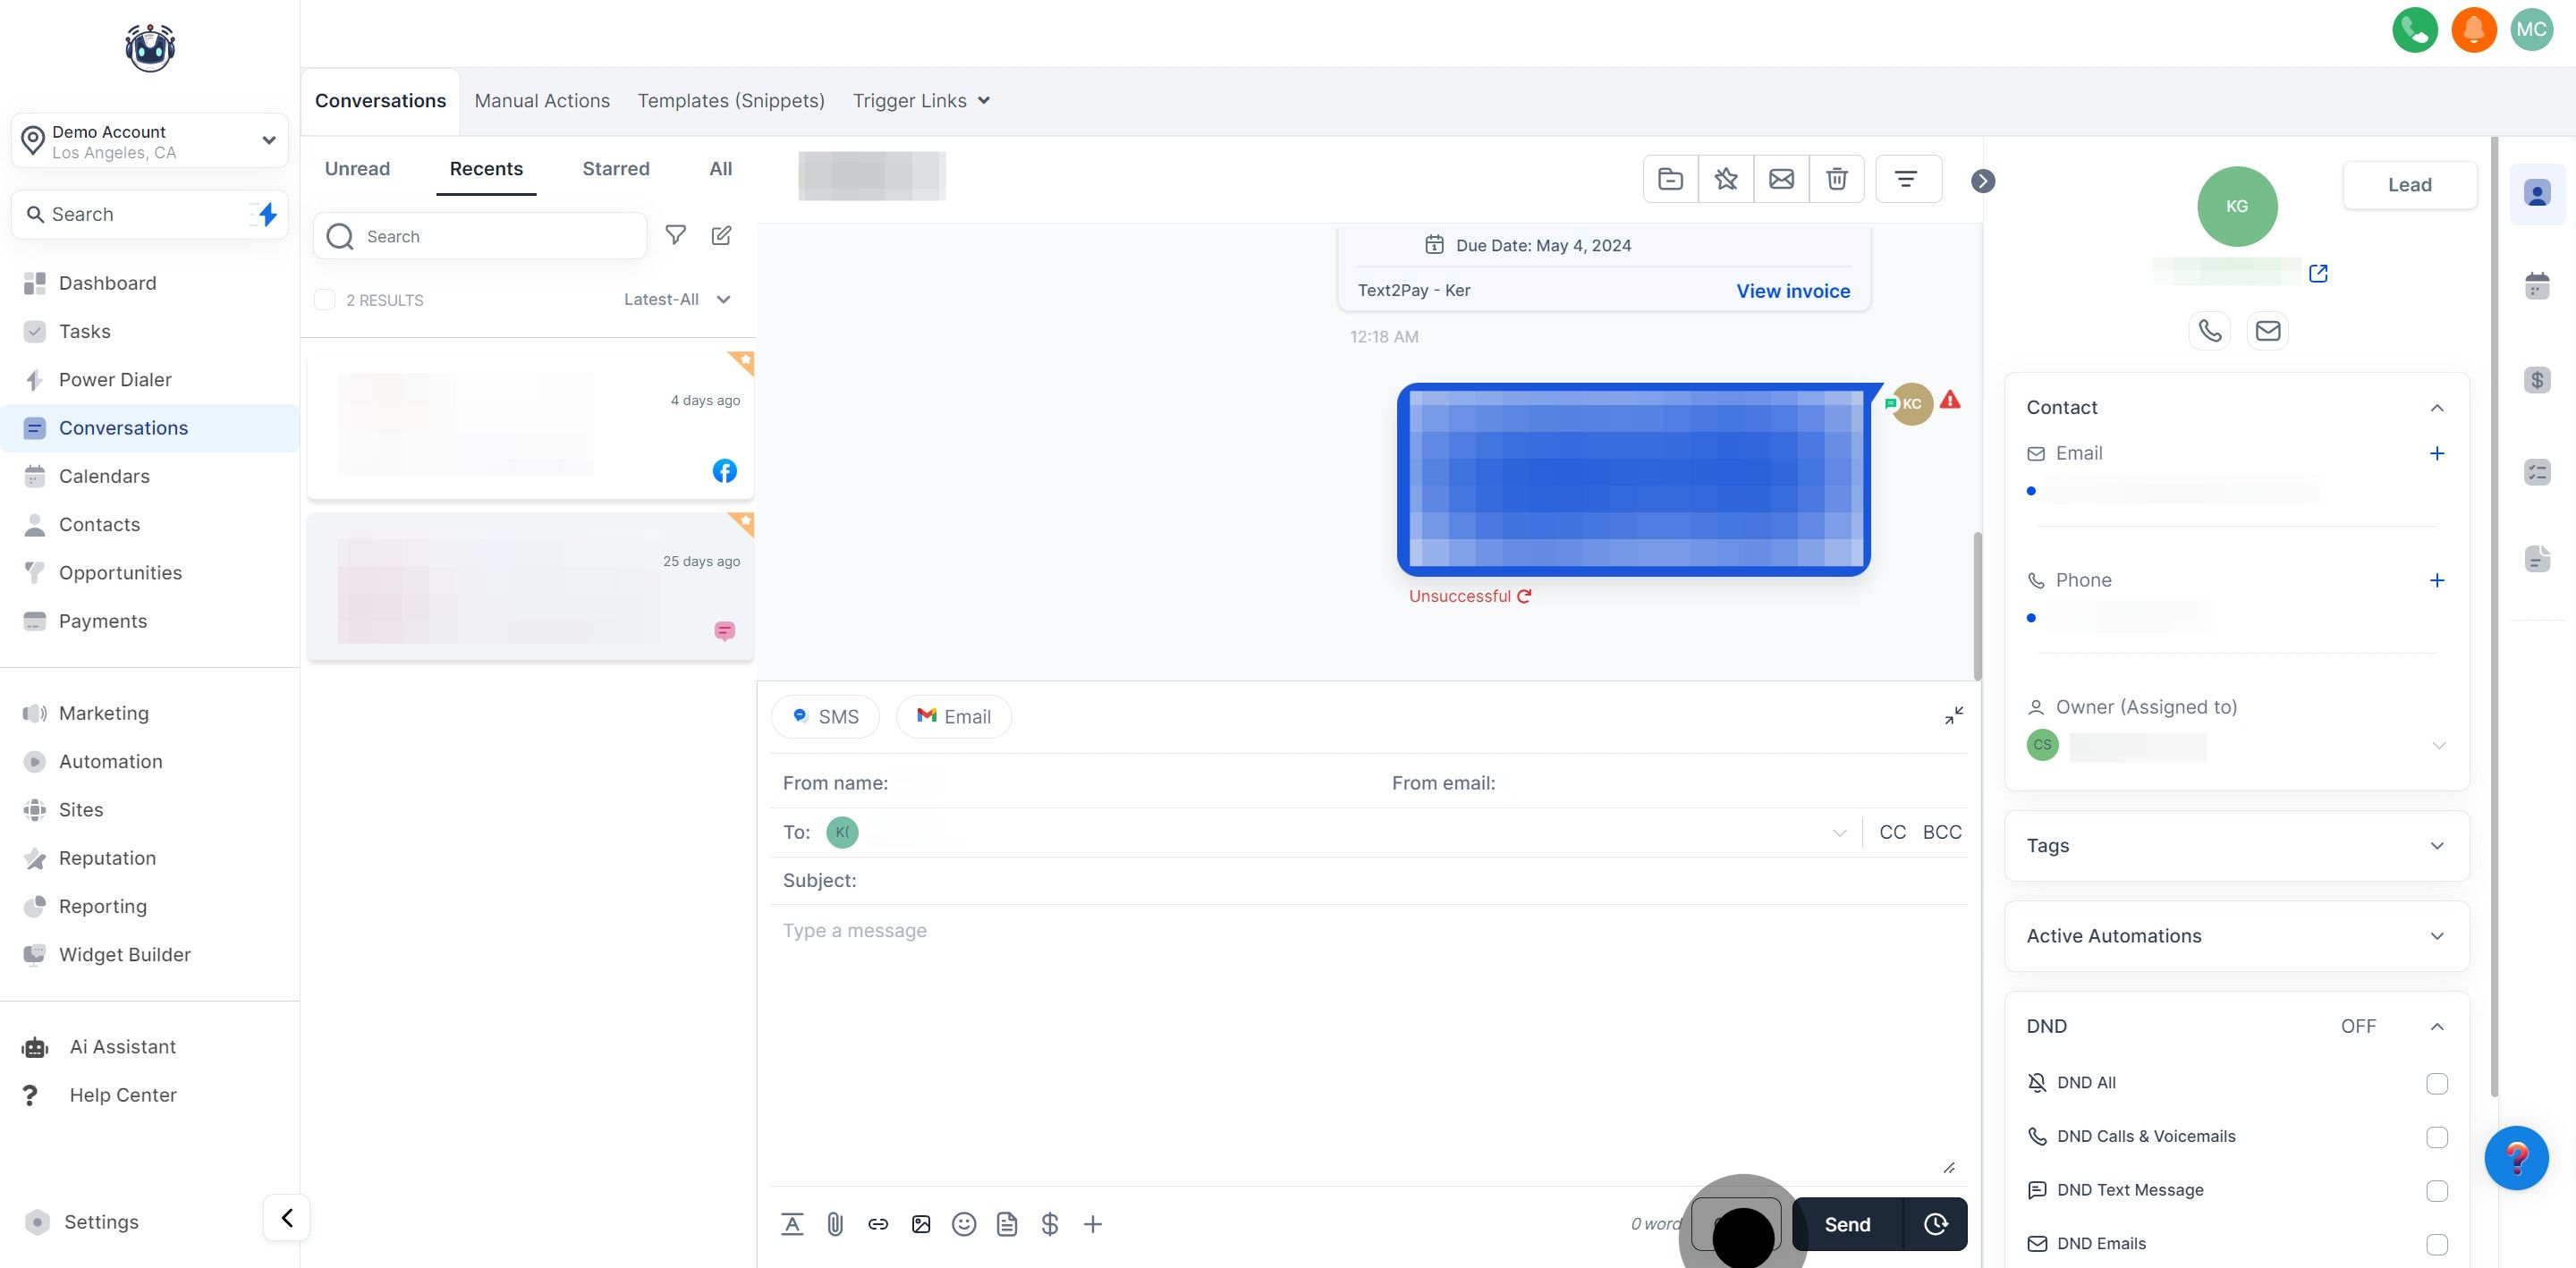
Request a payment from your contact by clicking this button. The system generates a payment link and automatically inserts it into your email once the payment steps are completed.
To start fresh with an empty message box, click this button to clear your current text.
To send your email, click the "Send Now" button.

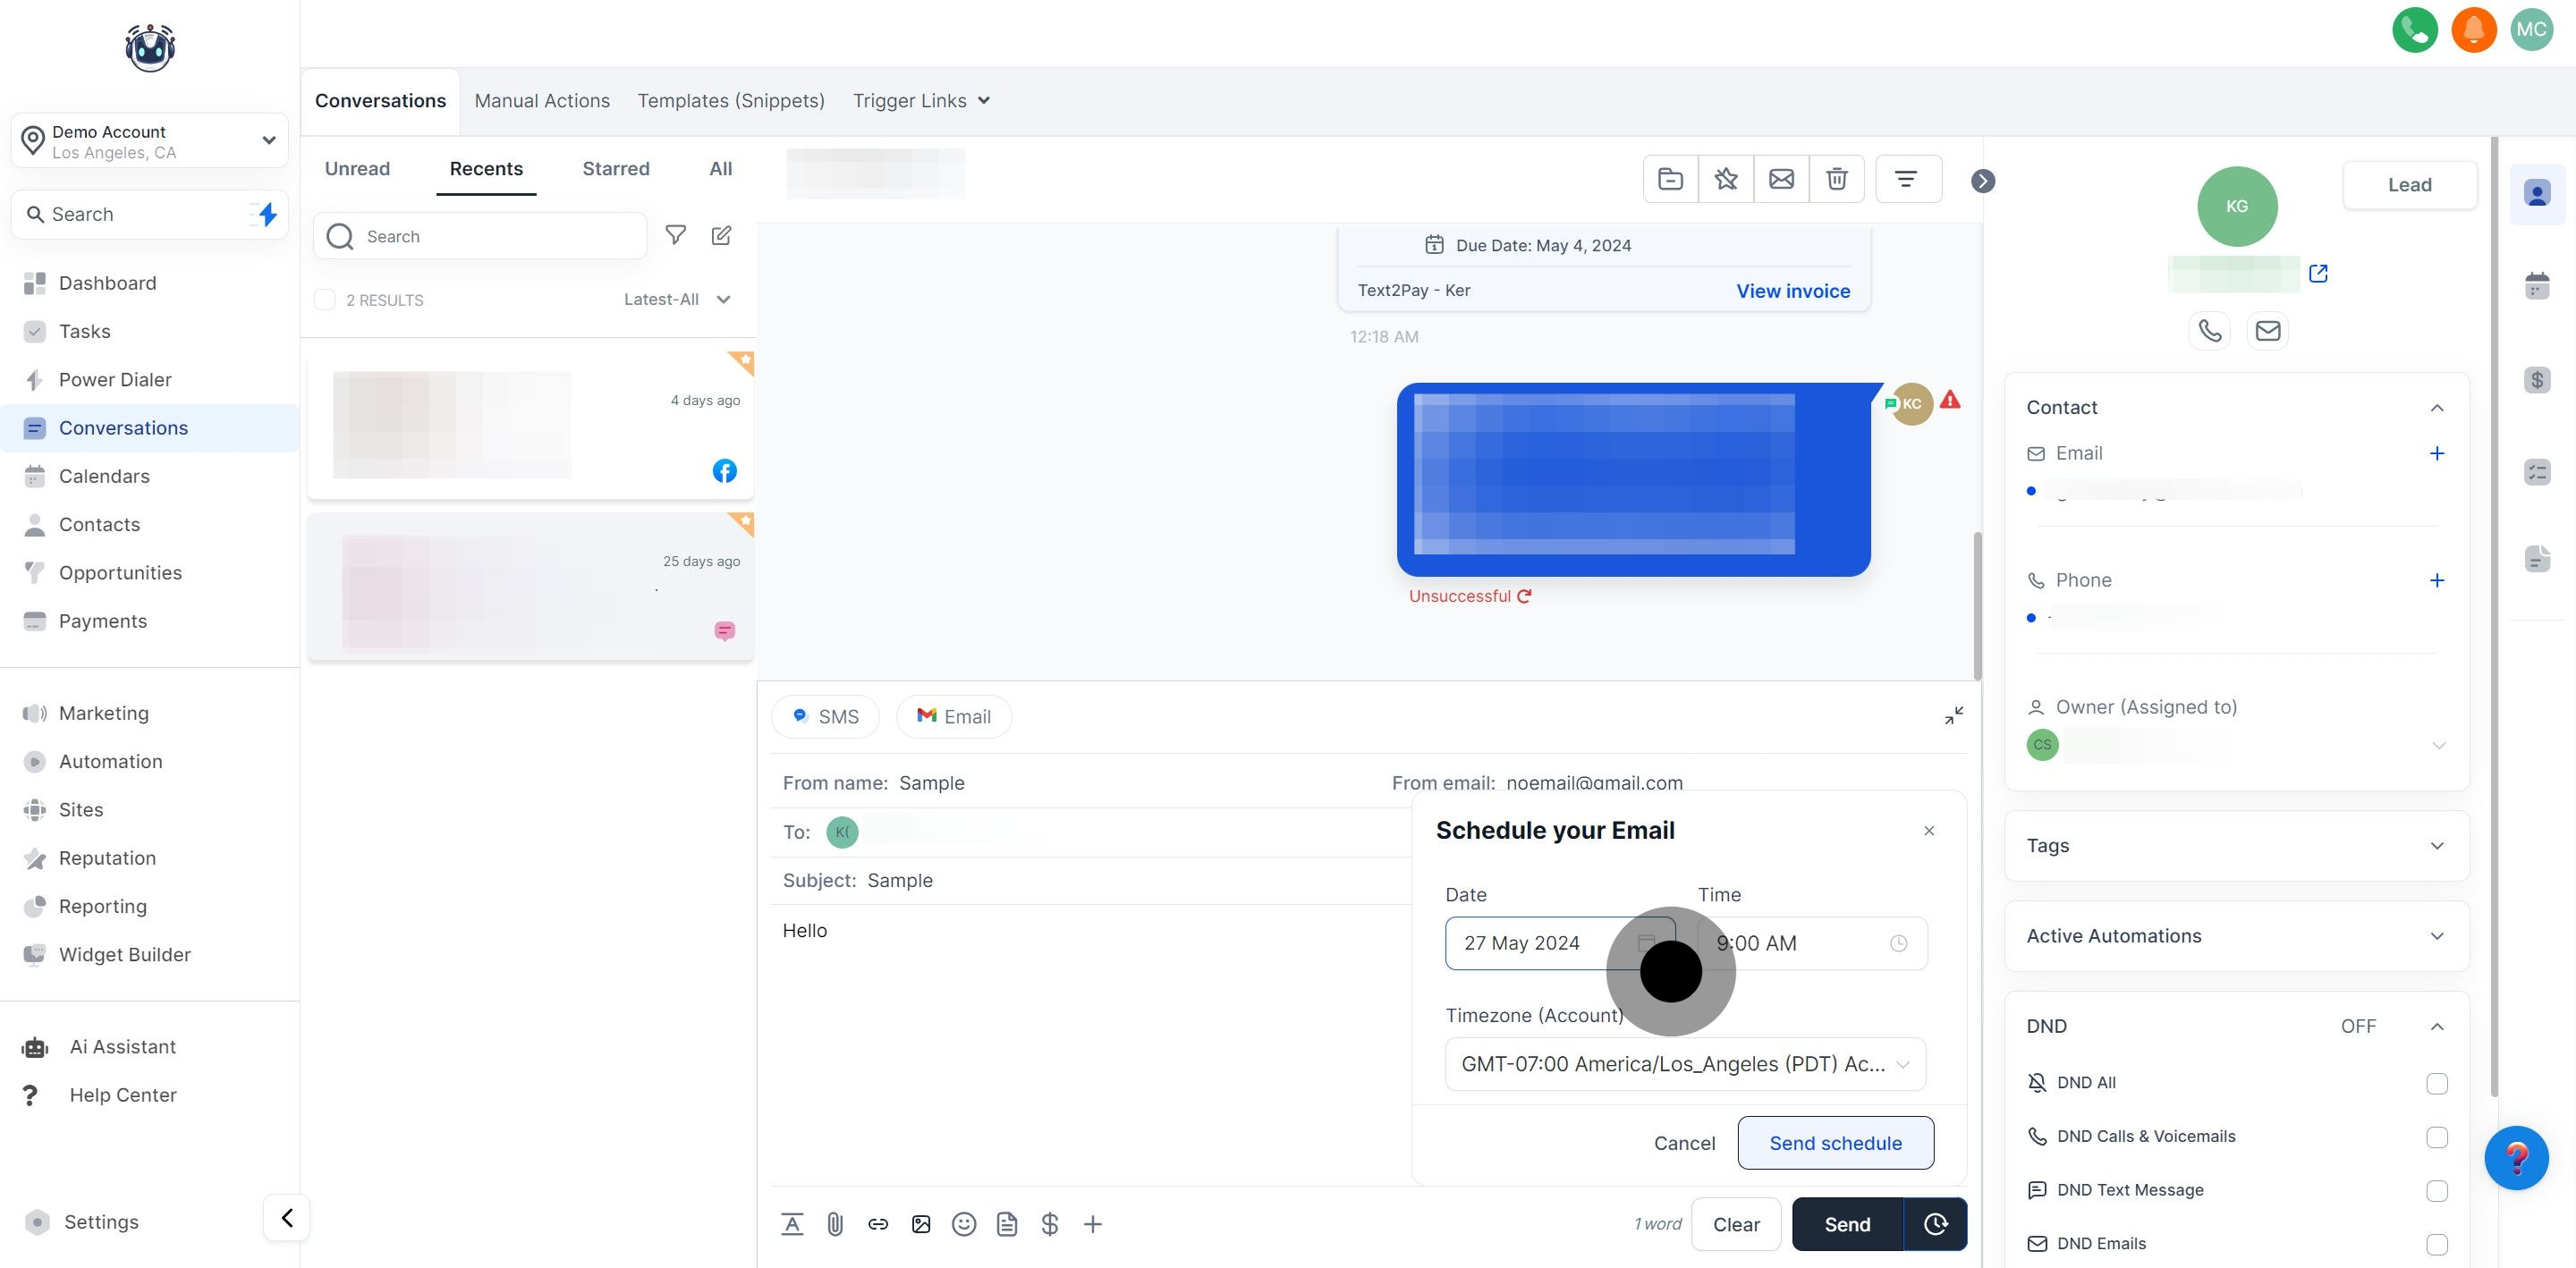
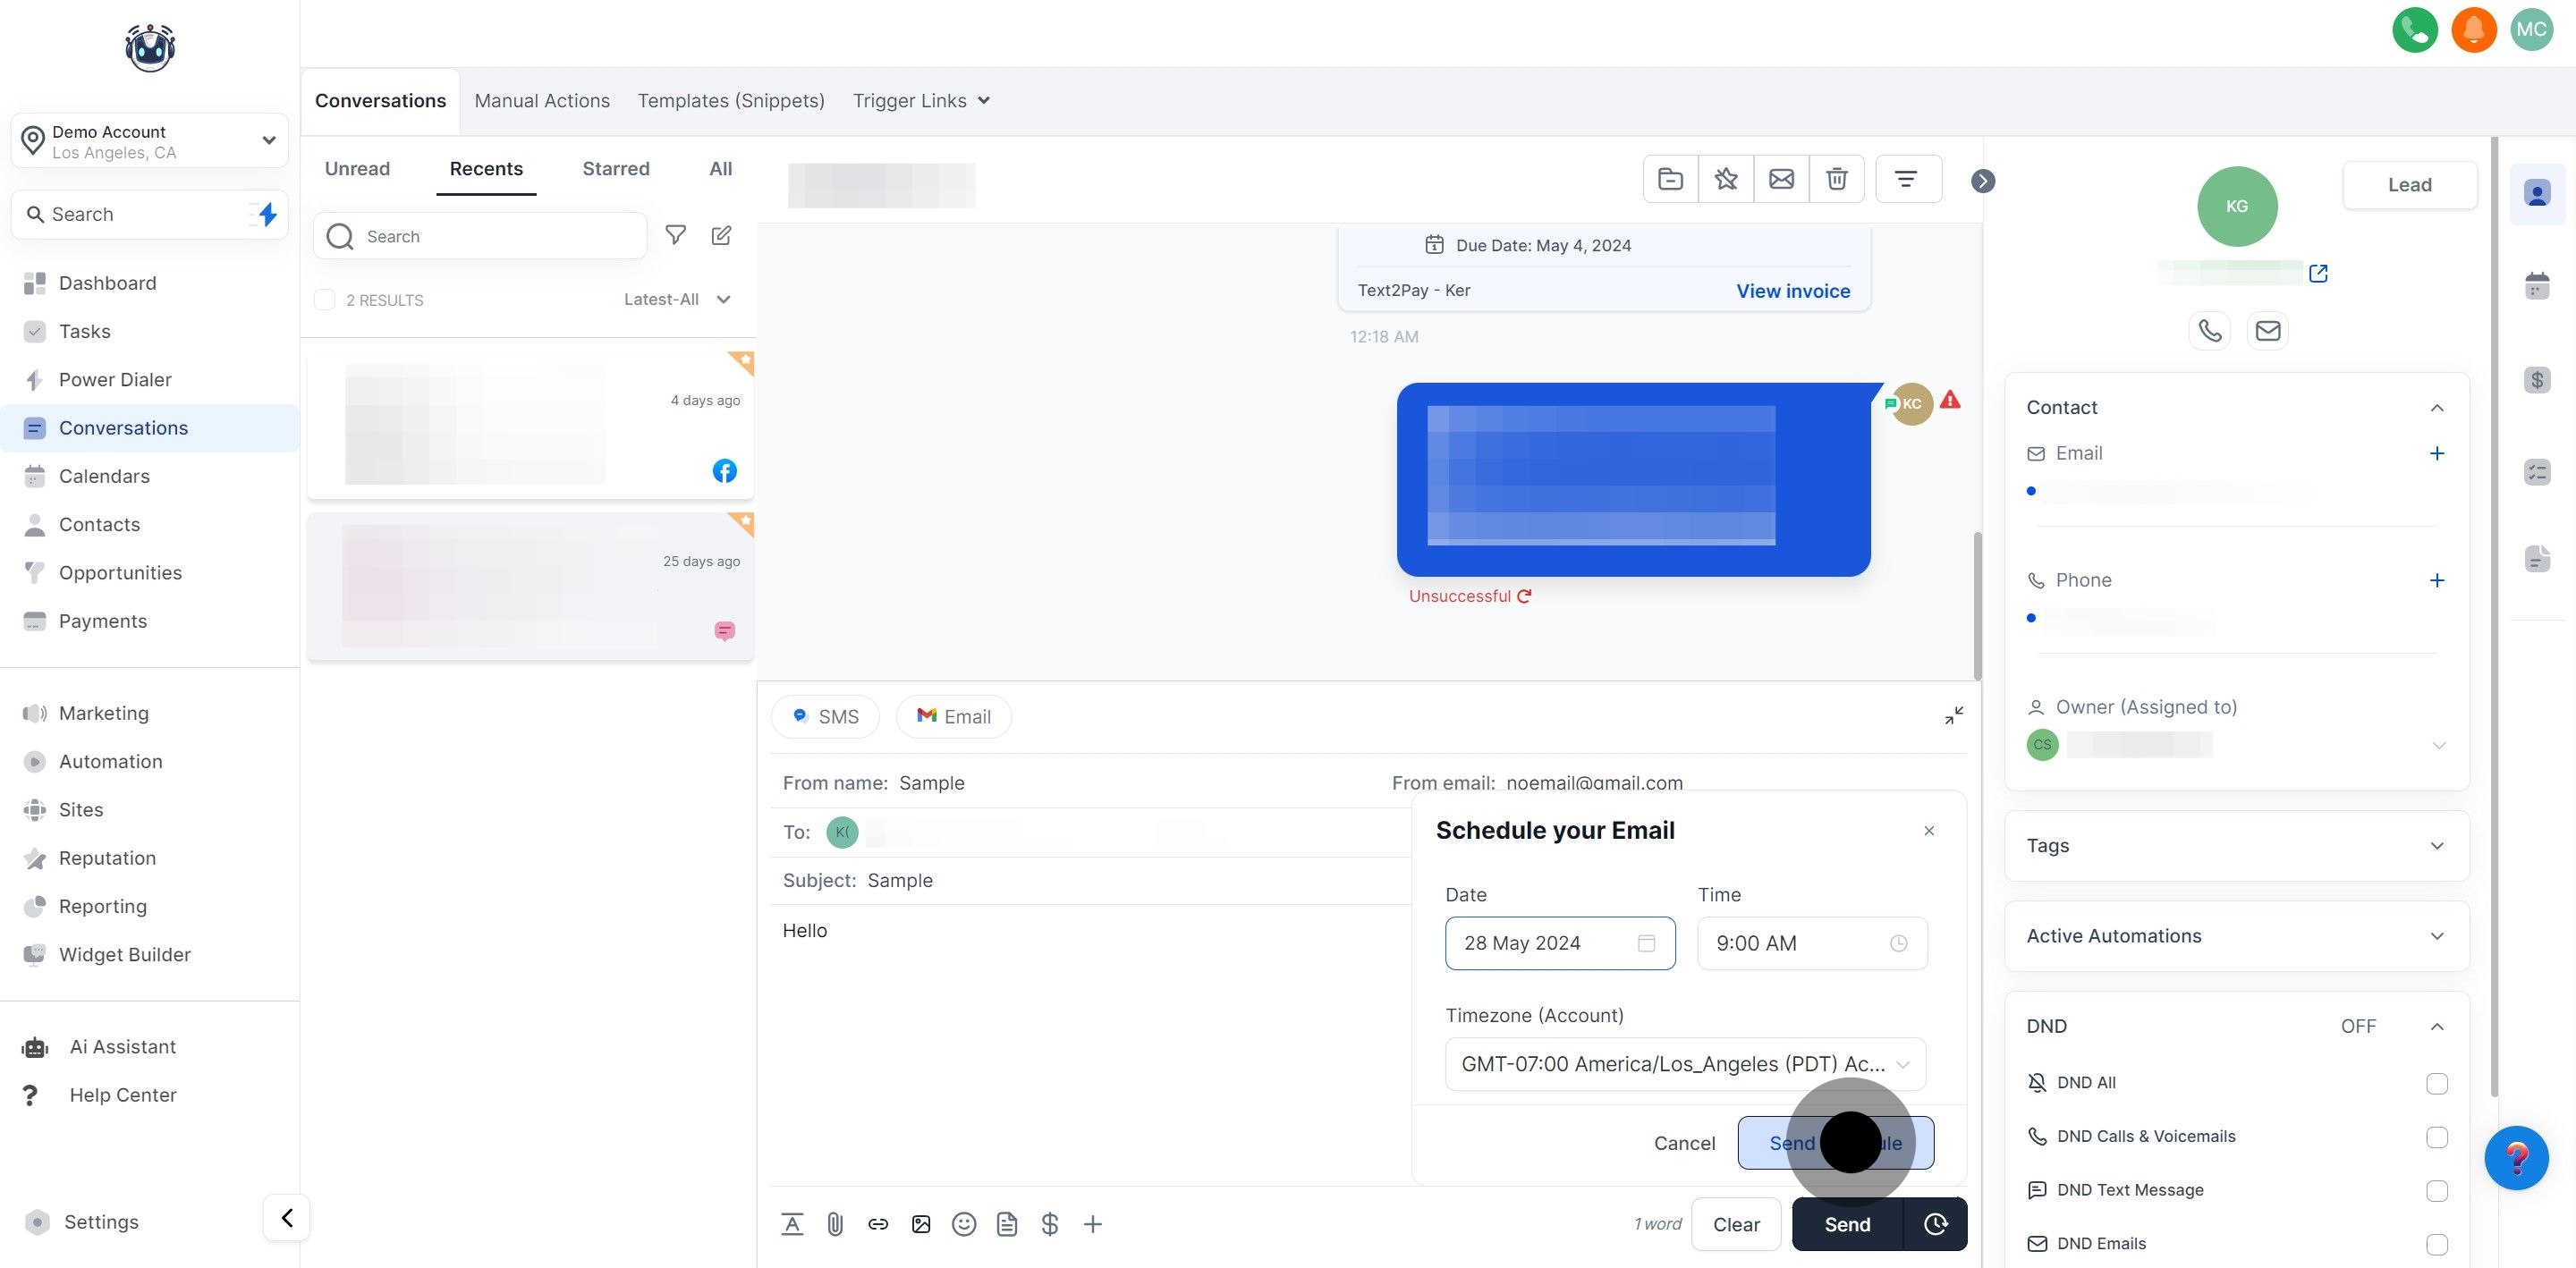
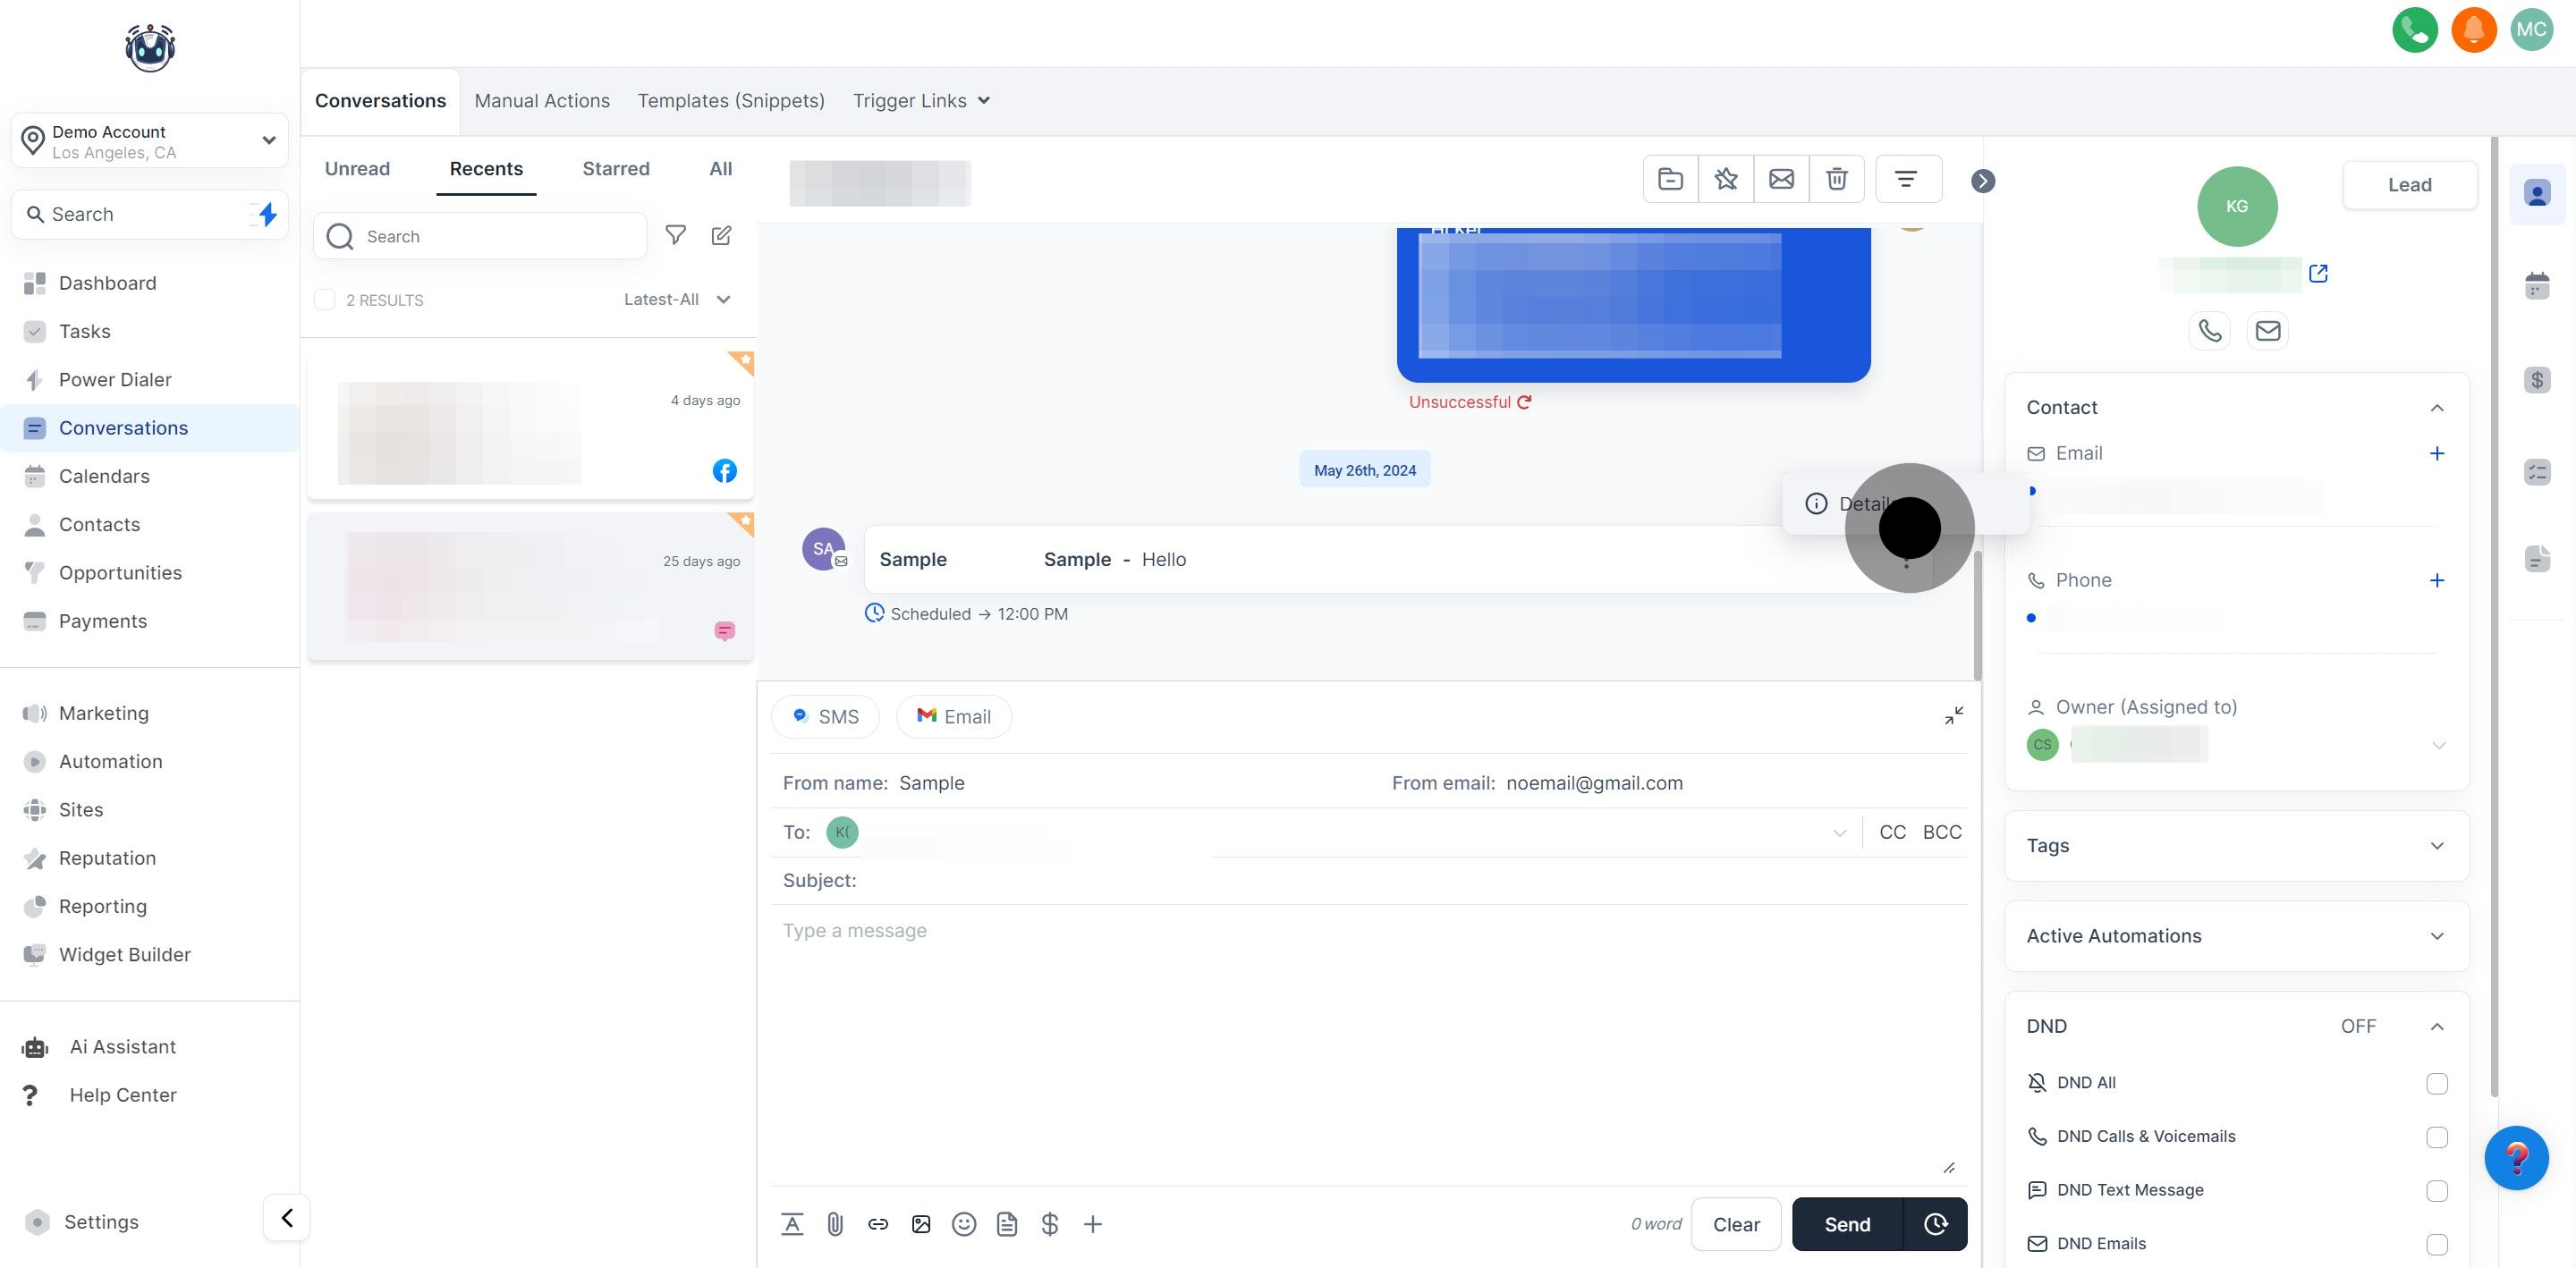
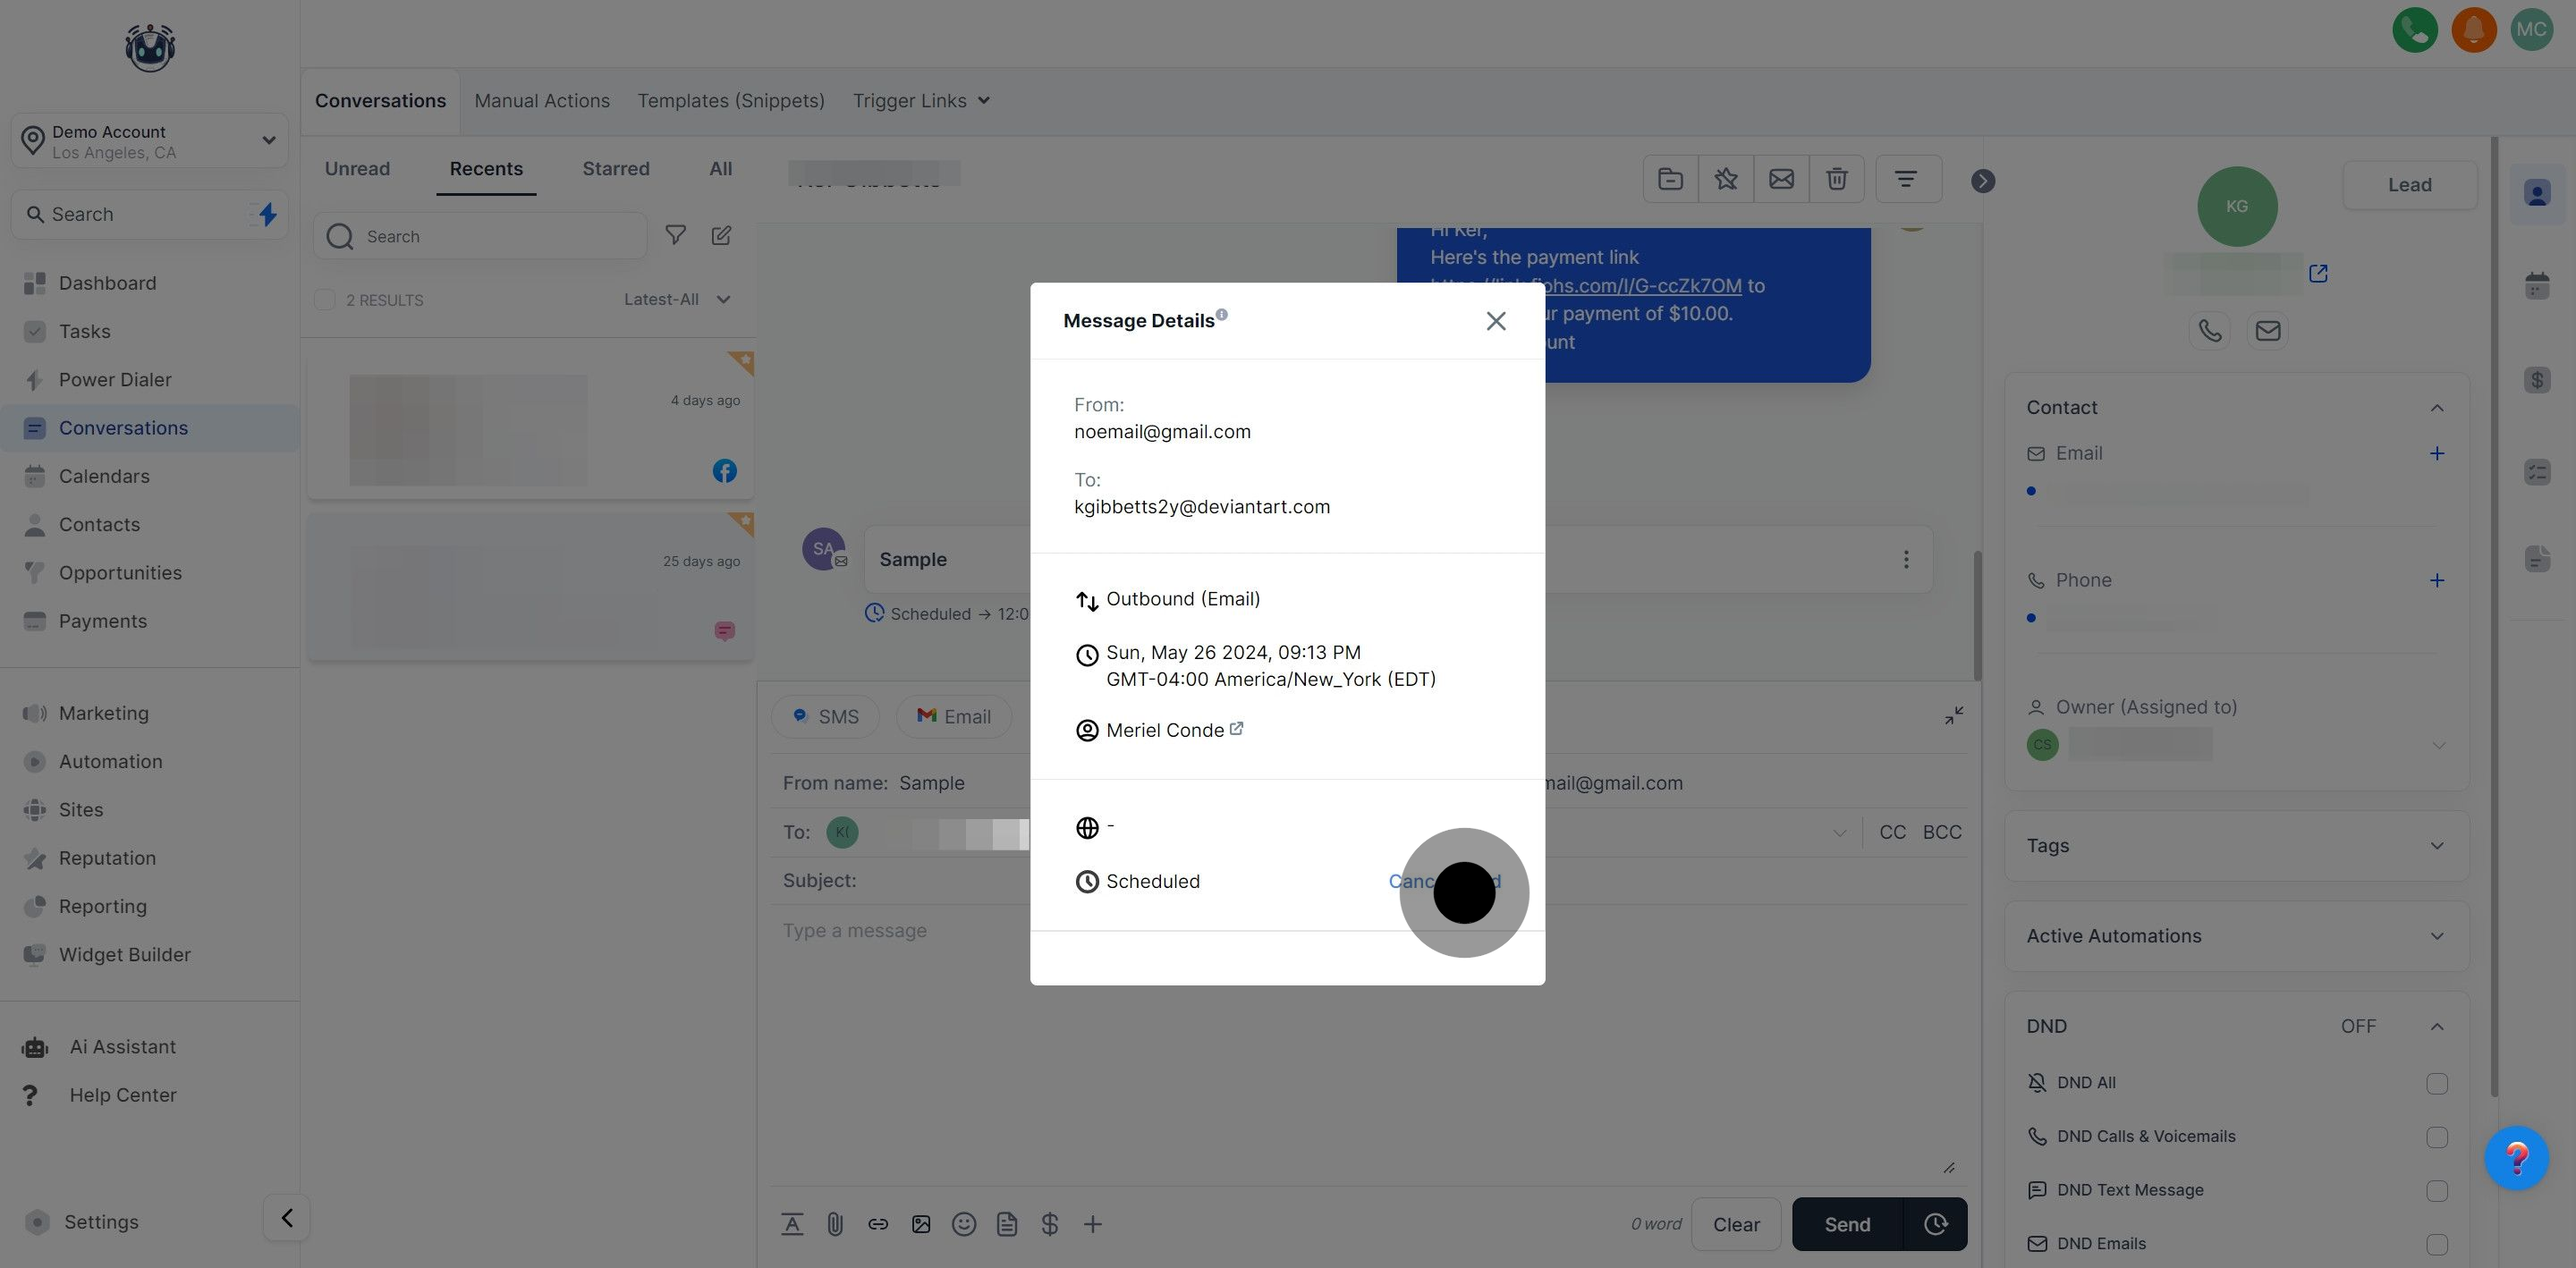
To schedule your email, click the Timer icon next to the Send button. This will open a scheduling slot where you can choose the:
Date: The date you wish to send the message
Time: The specific time you want the email to be sent
Time Zone: Choose between recommended time zones (account or system time zone) or select from a list of options.