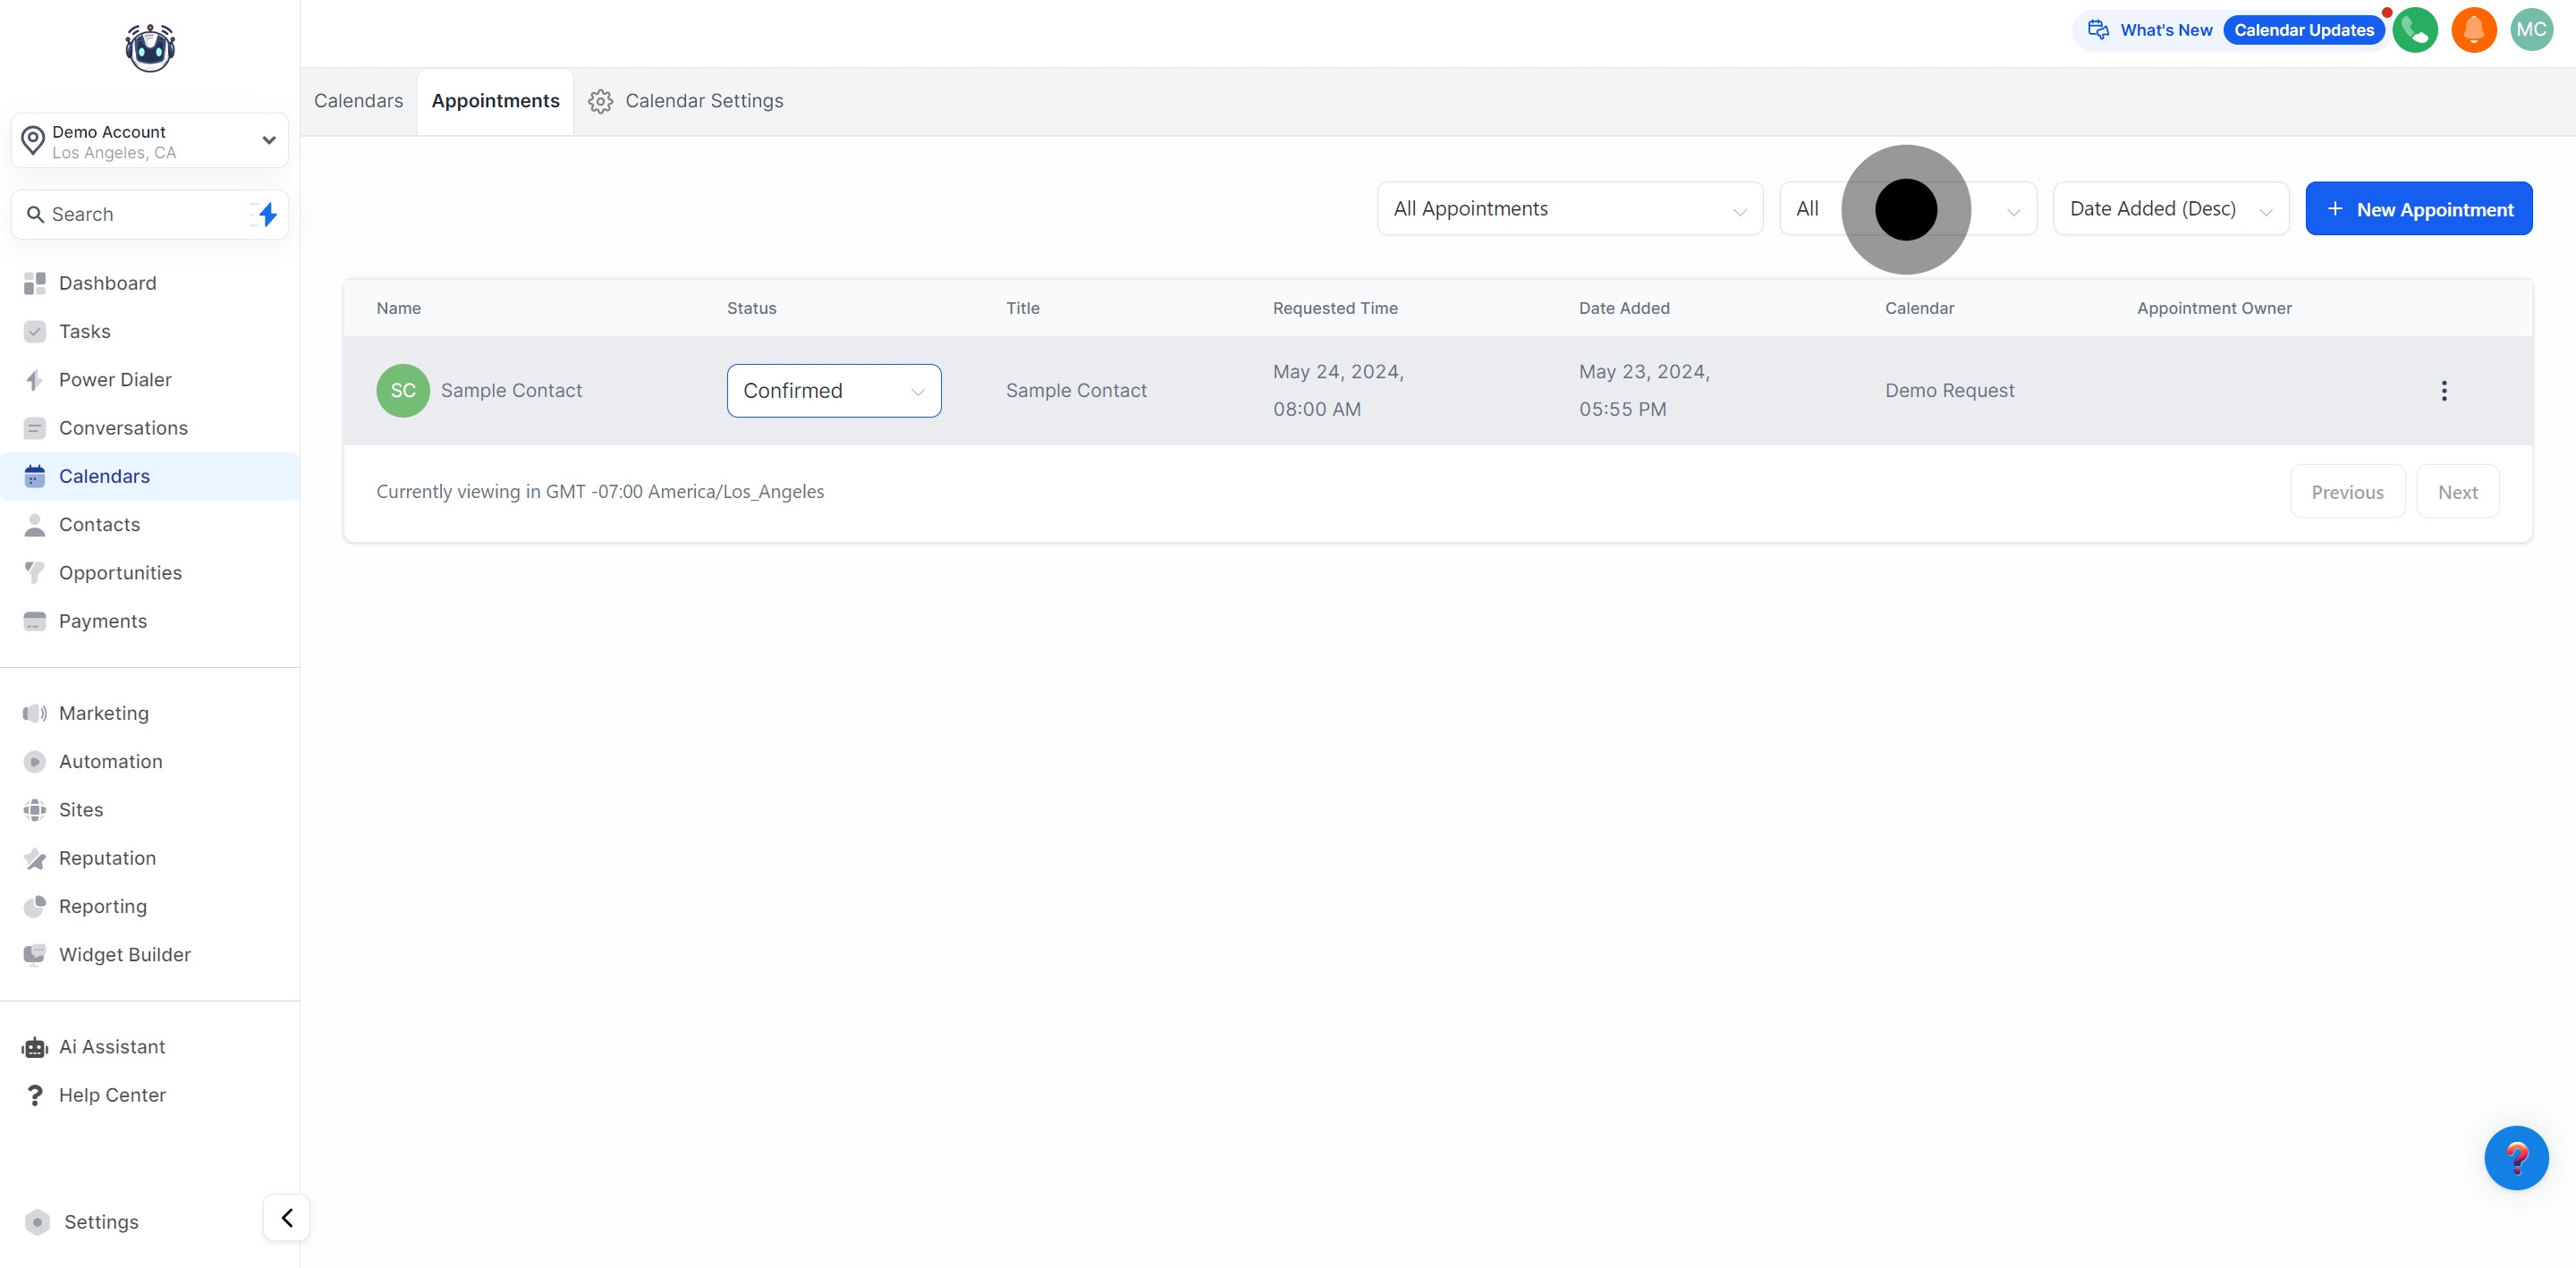
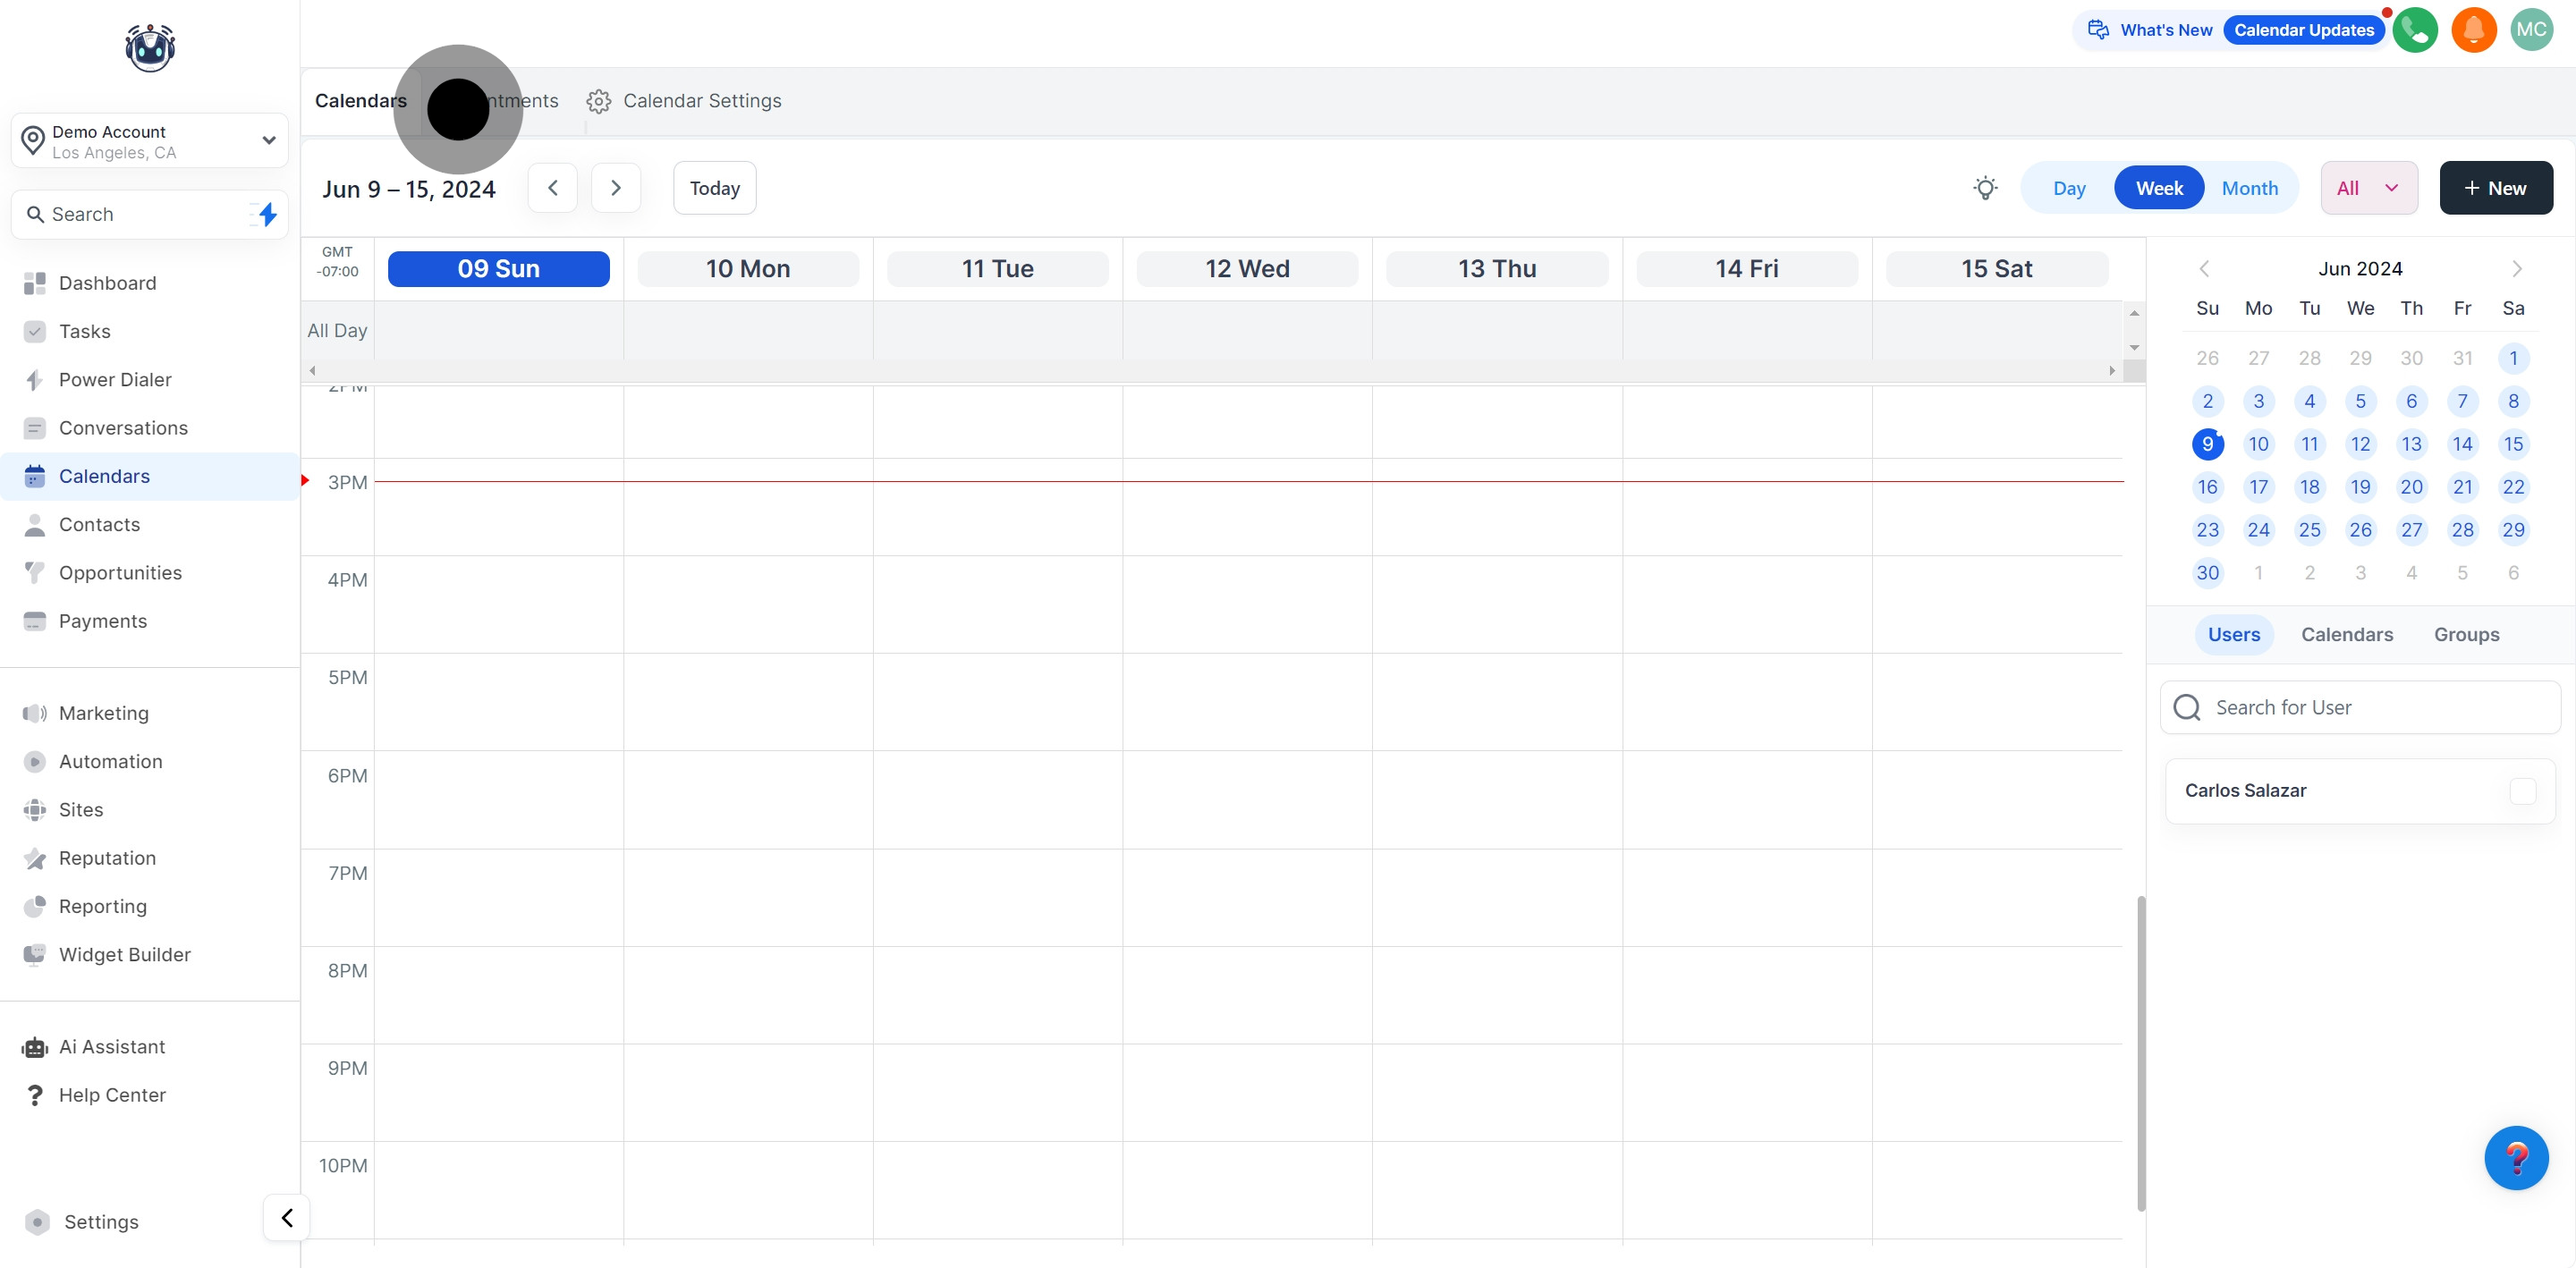
This section within your Pest AI software streamlines the process of managing appointments, allowing you to effortlessly organize existing ones and create new ones.
This column displays the name of the person who booked the appointment with you or your team.
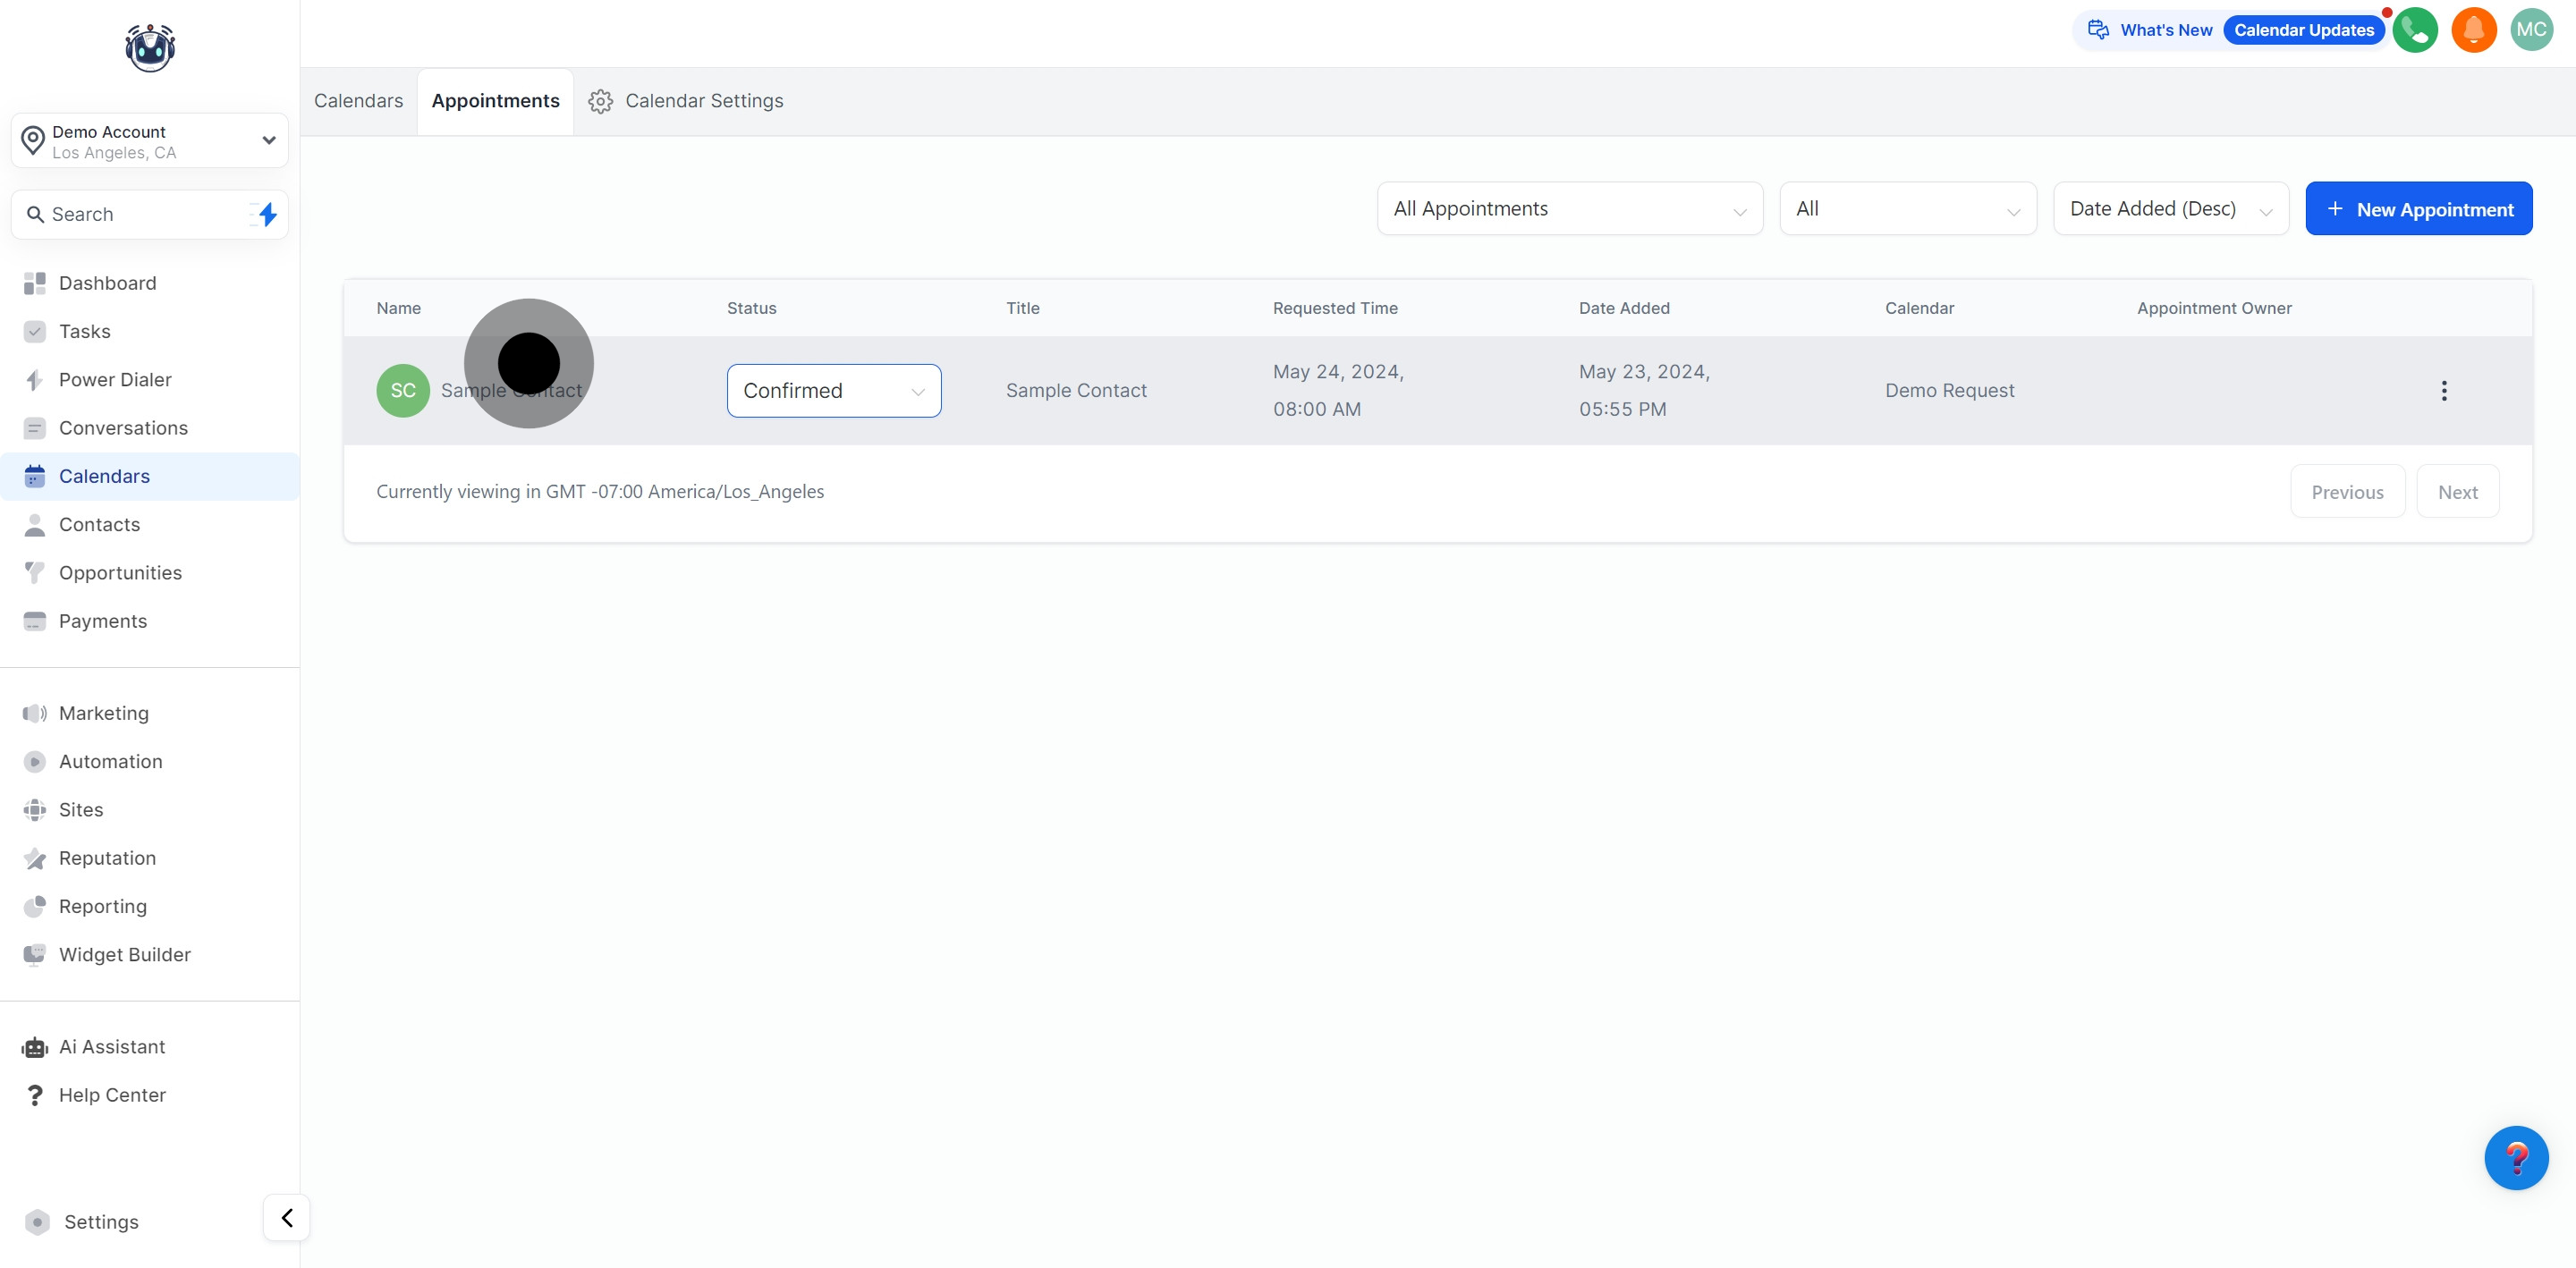
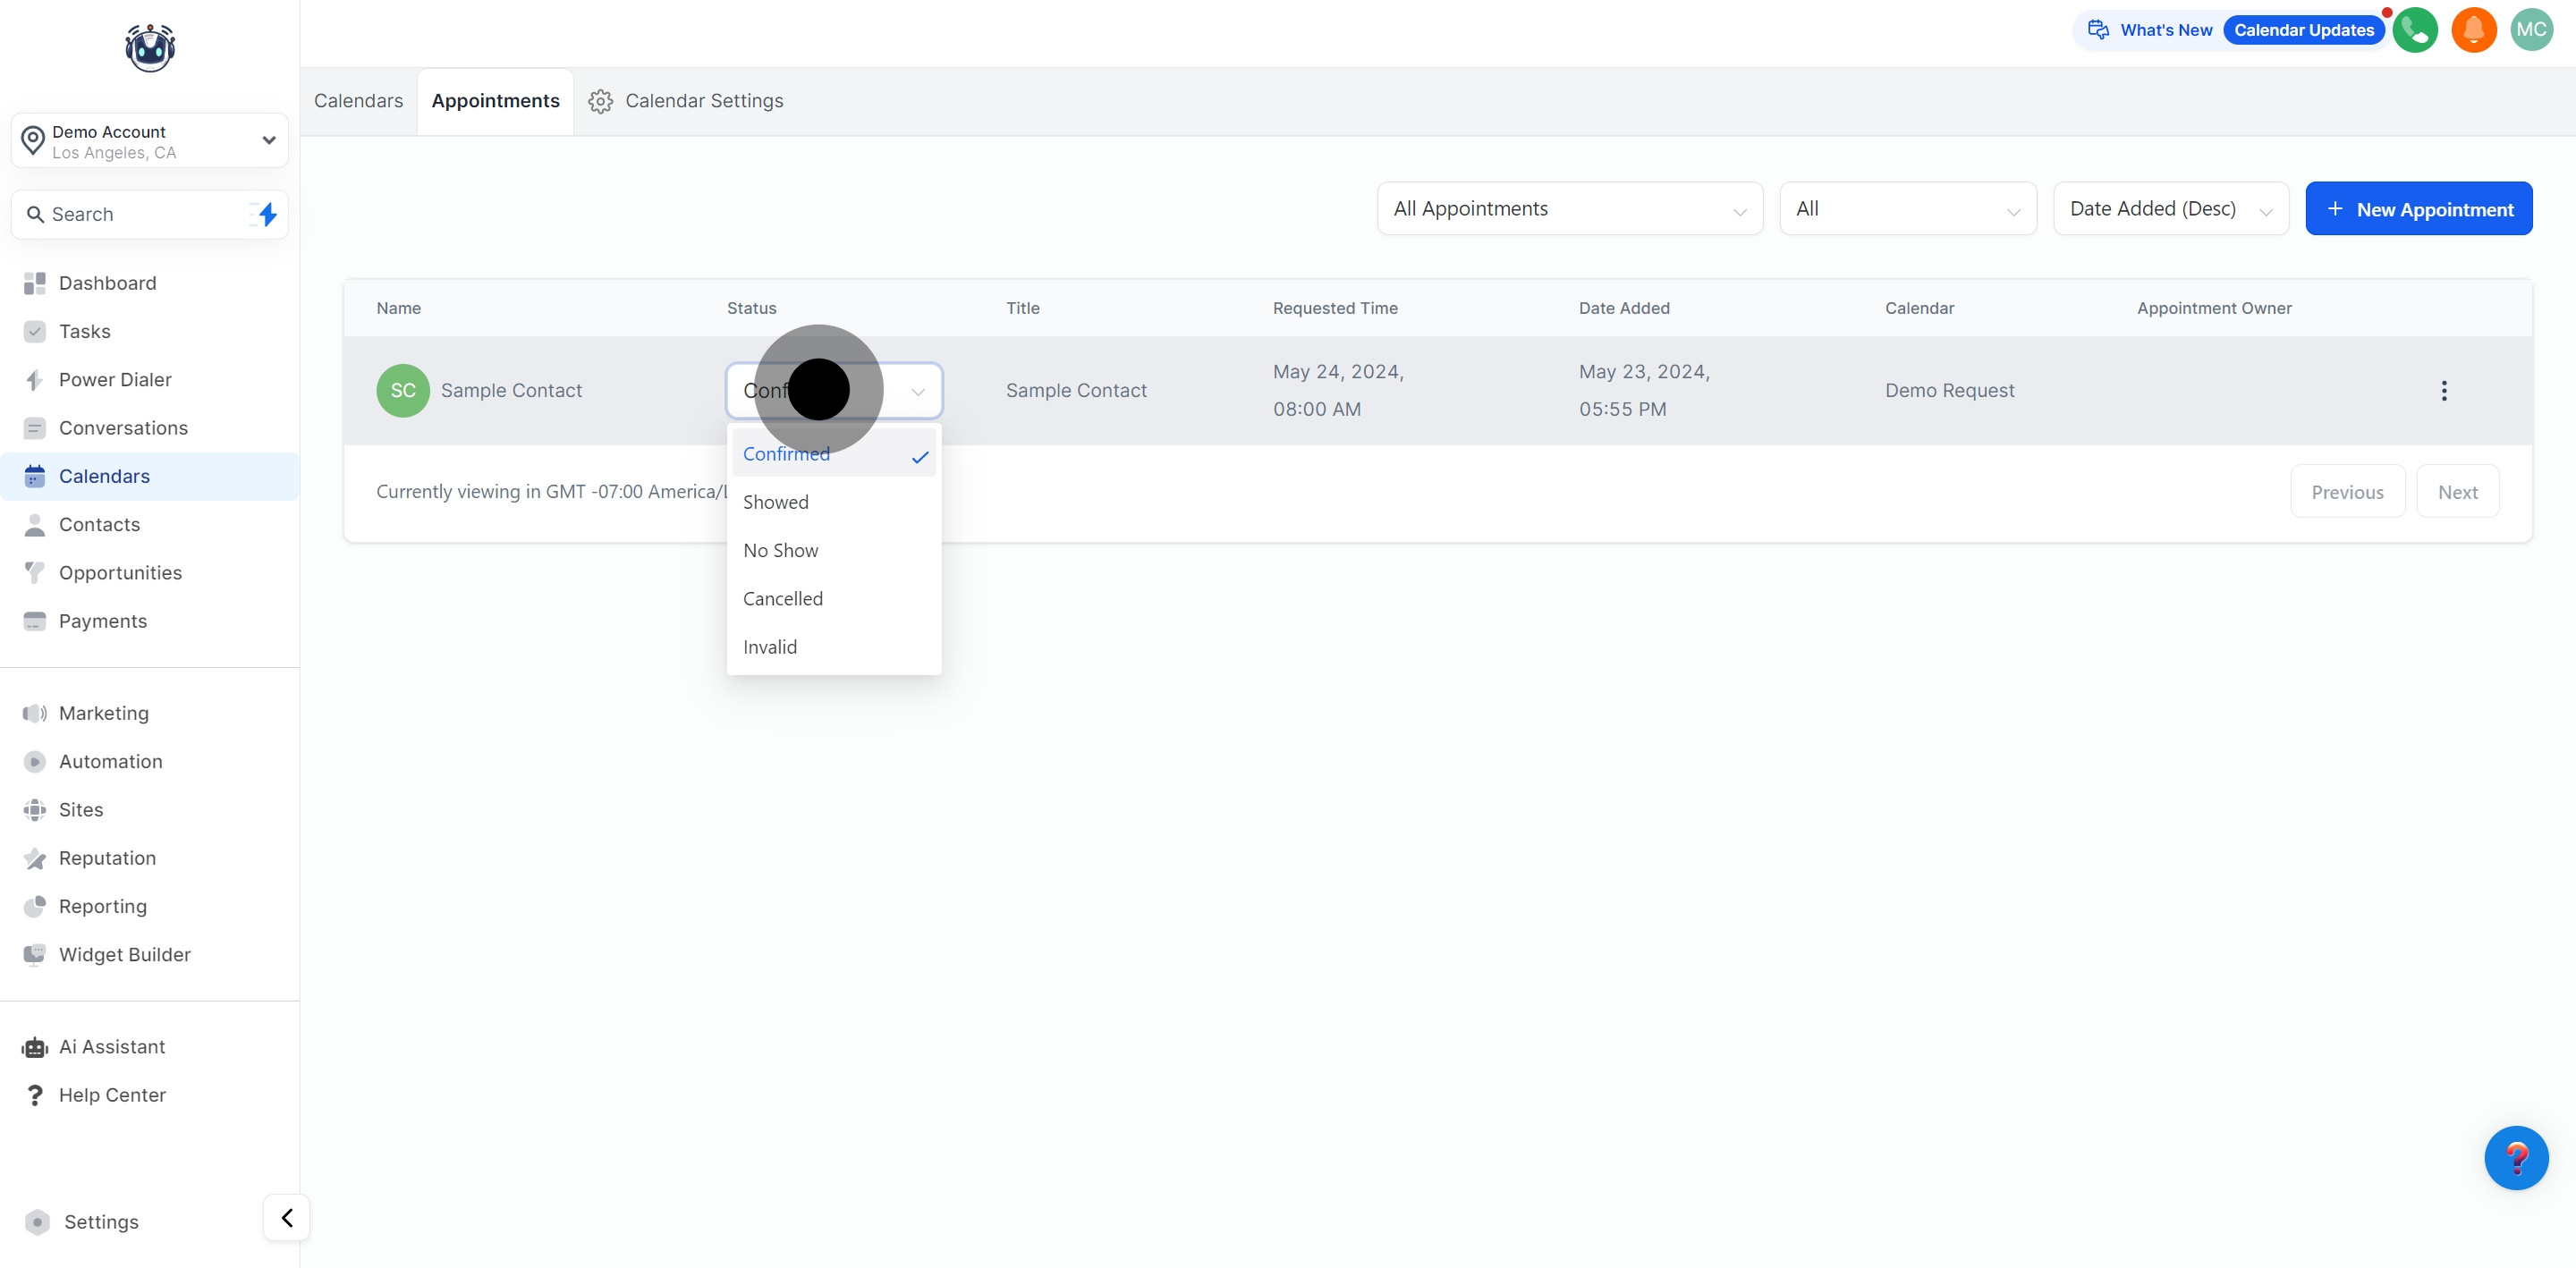
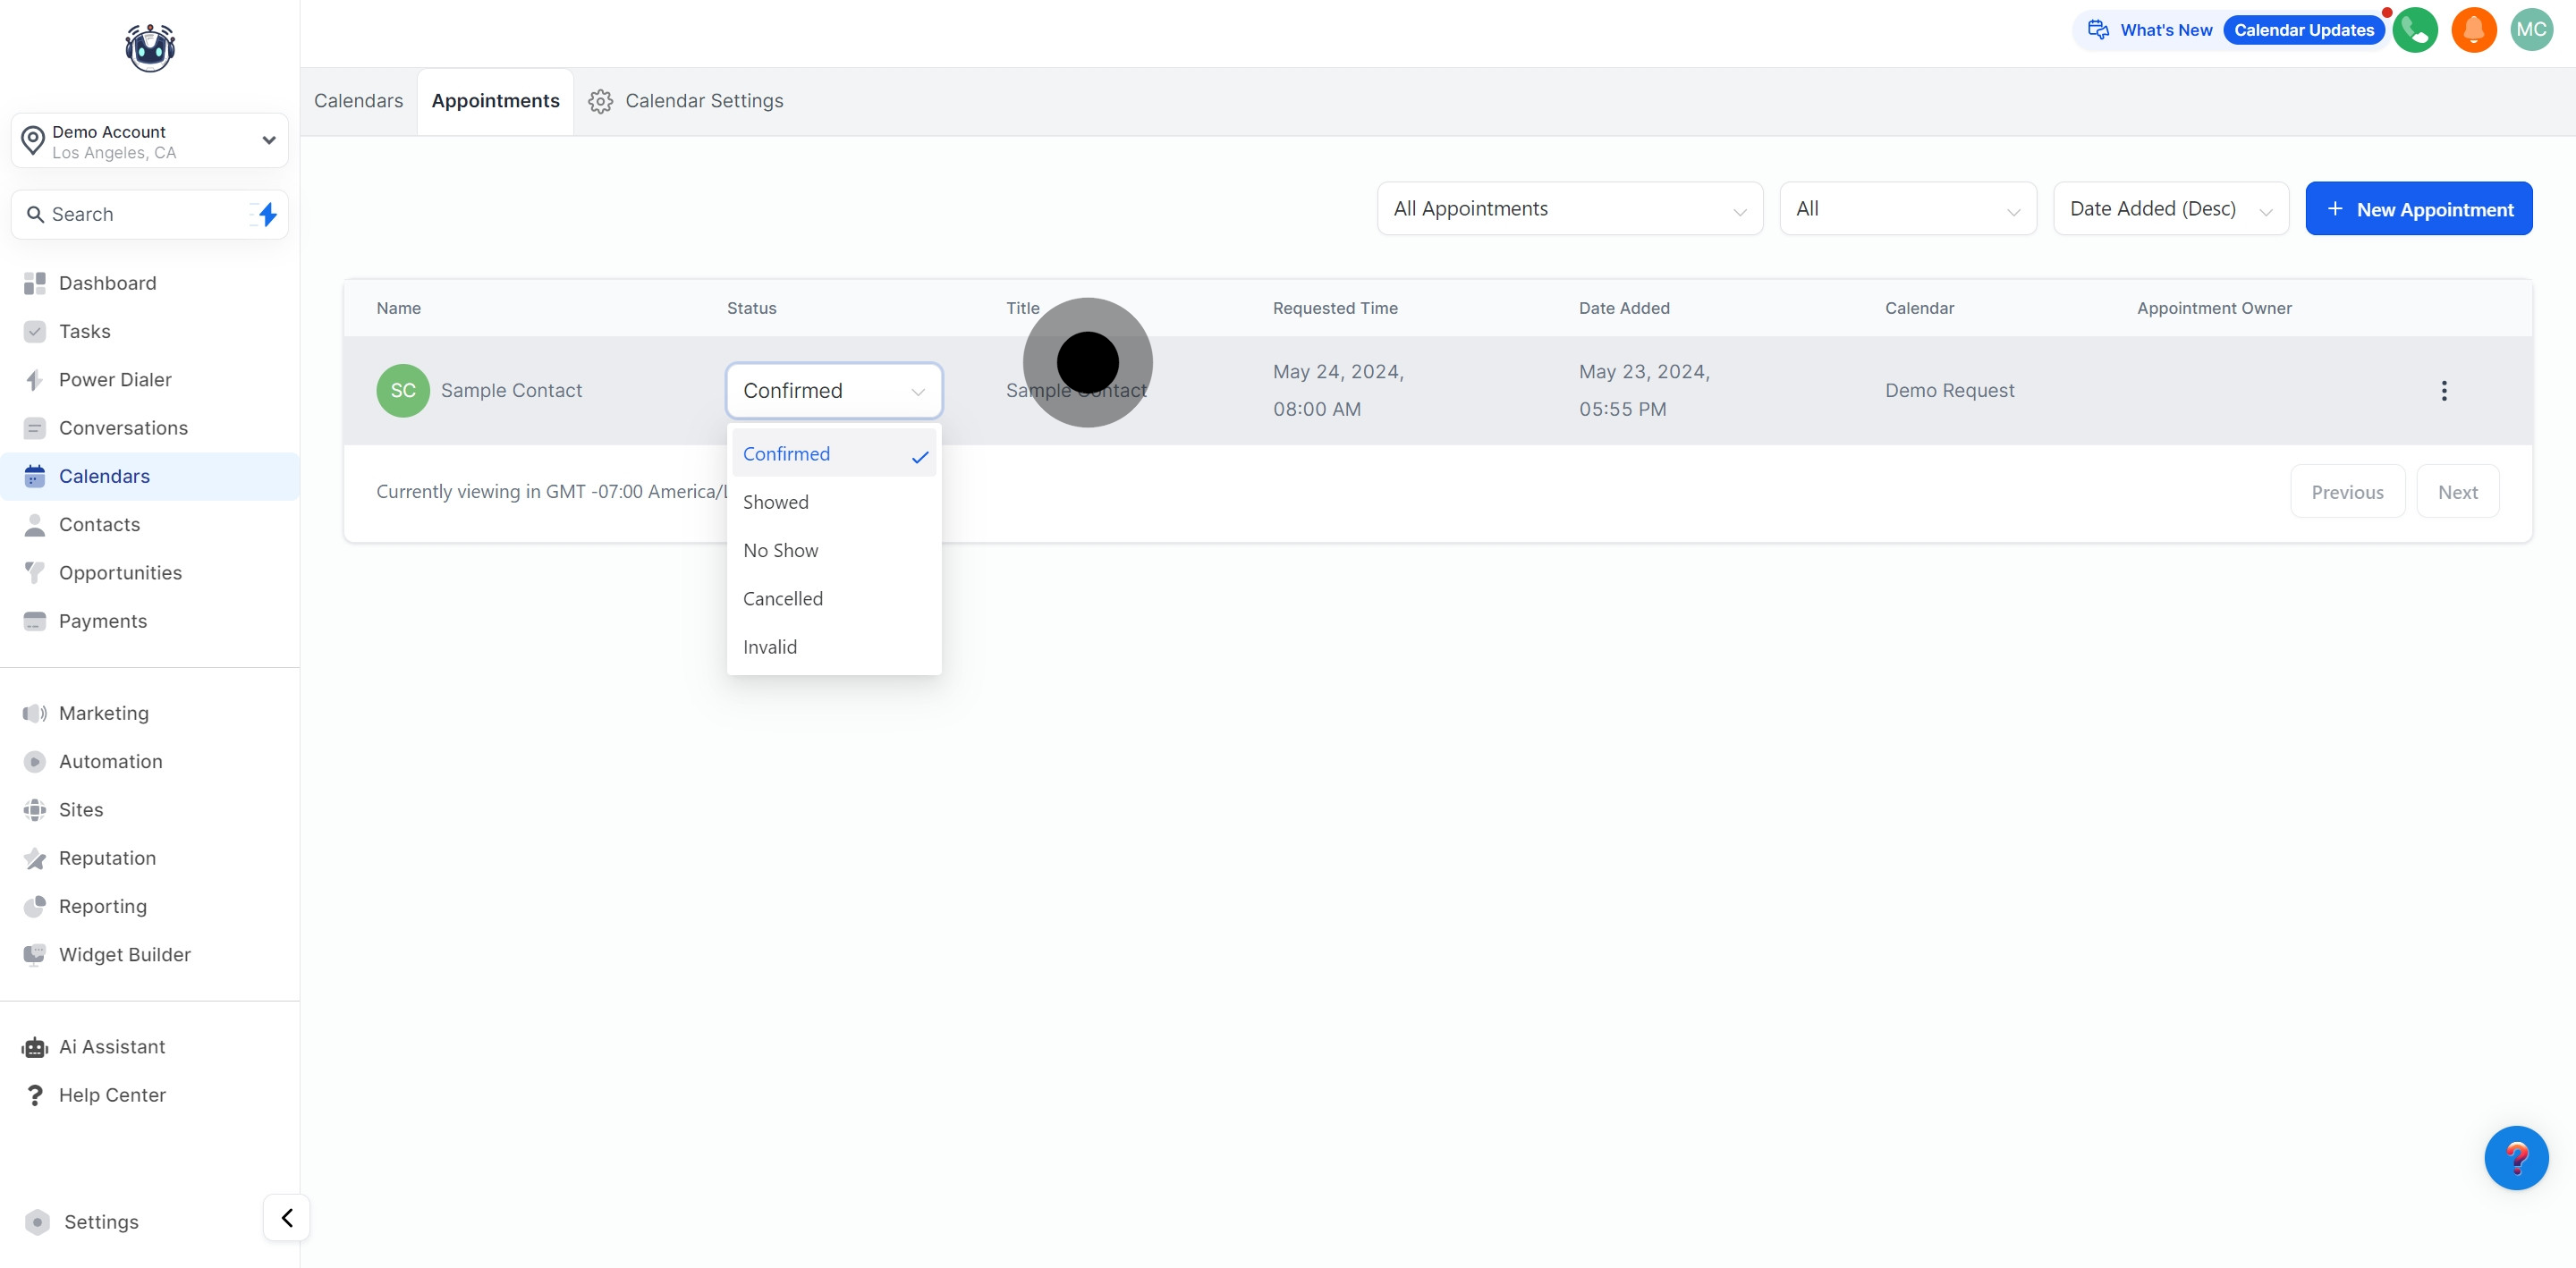
Here, you can update the status of your appointments or cancel them. Options include:
Confirmed
Reschedule
Invalid
Cancelled
Showed
No-Show
Delete
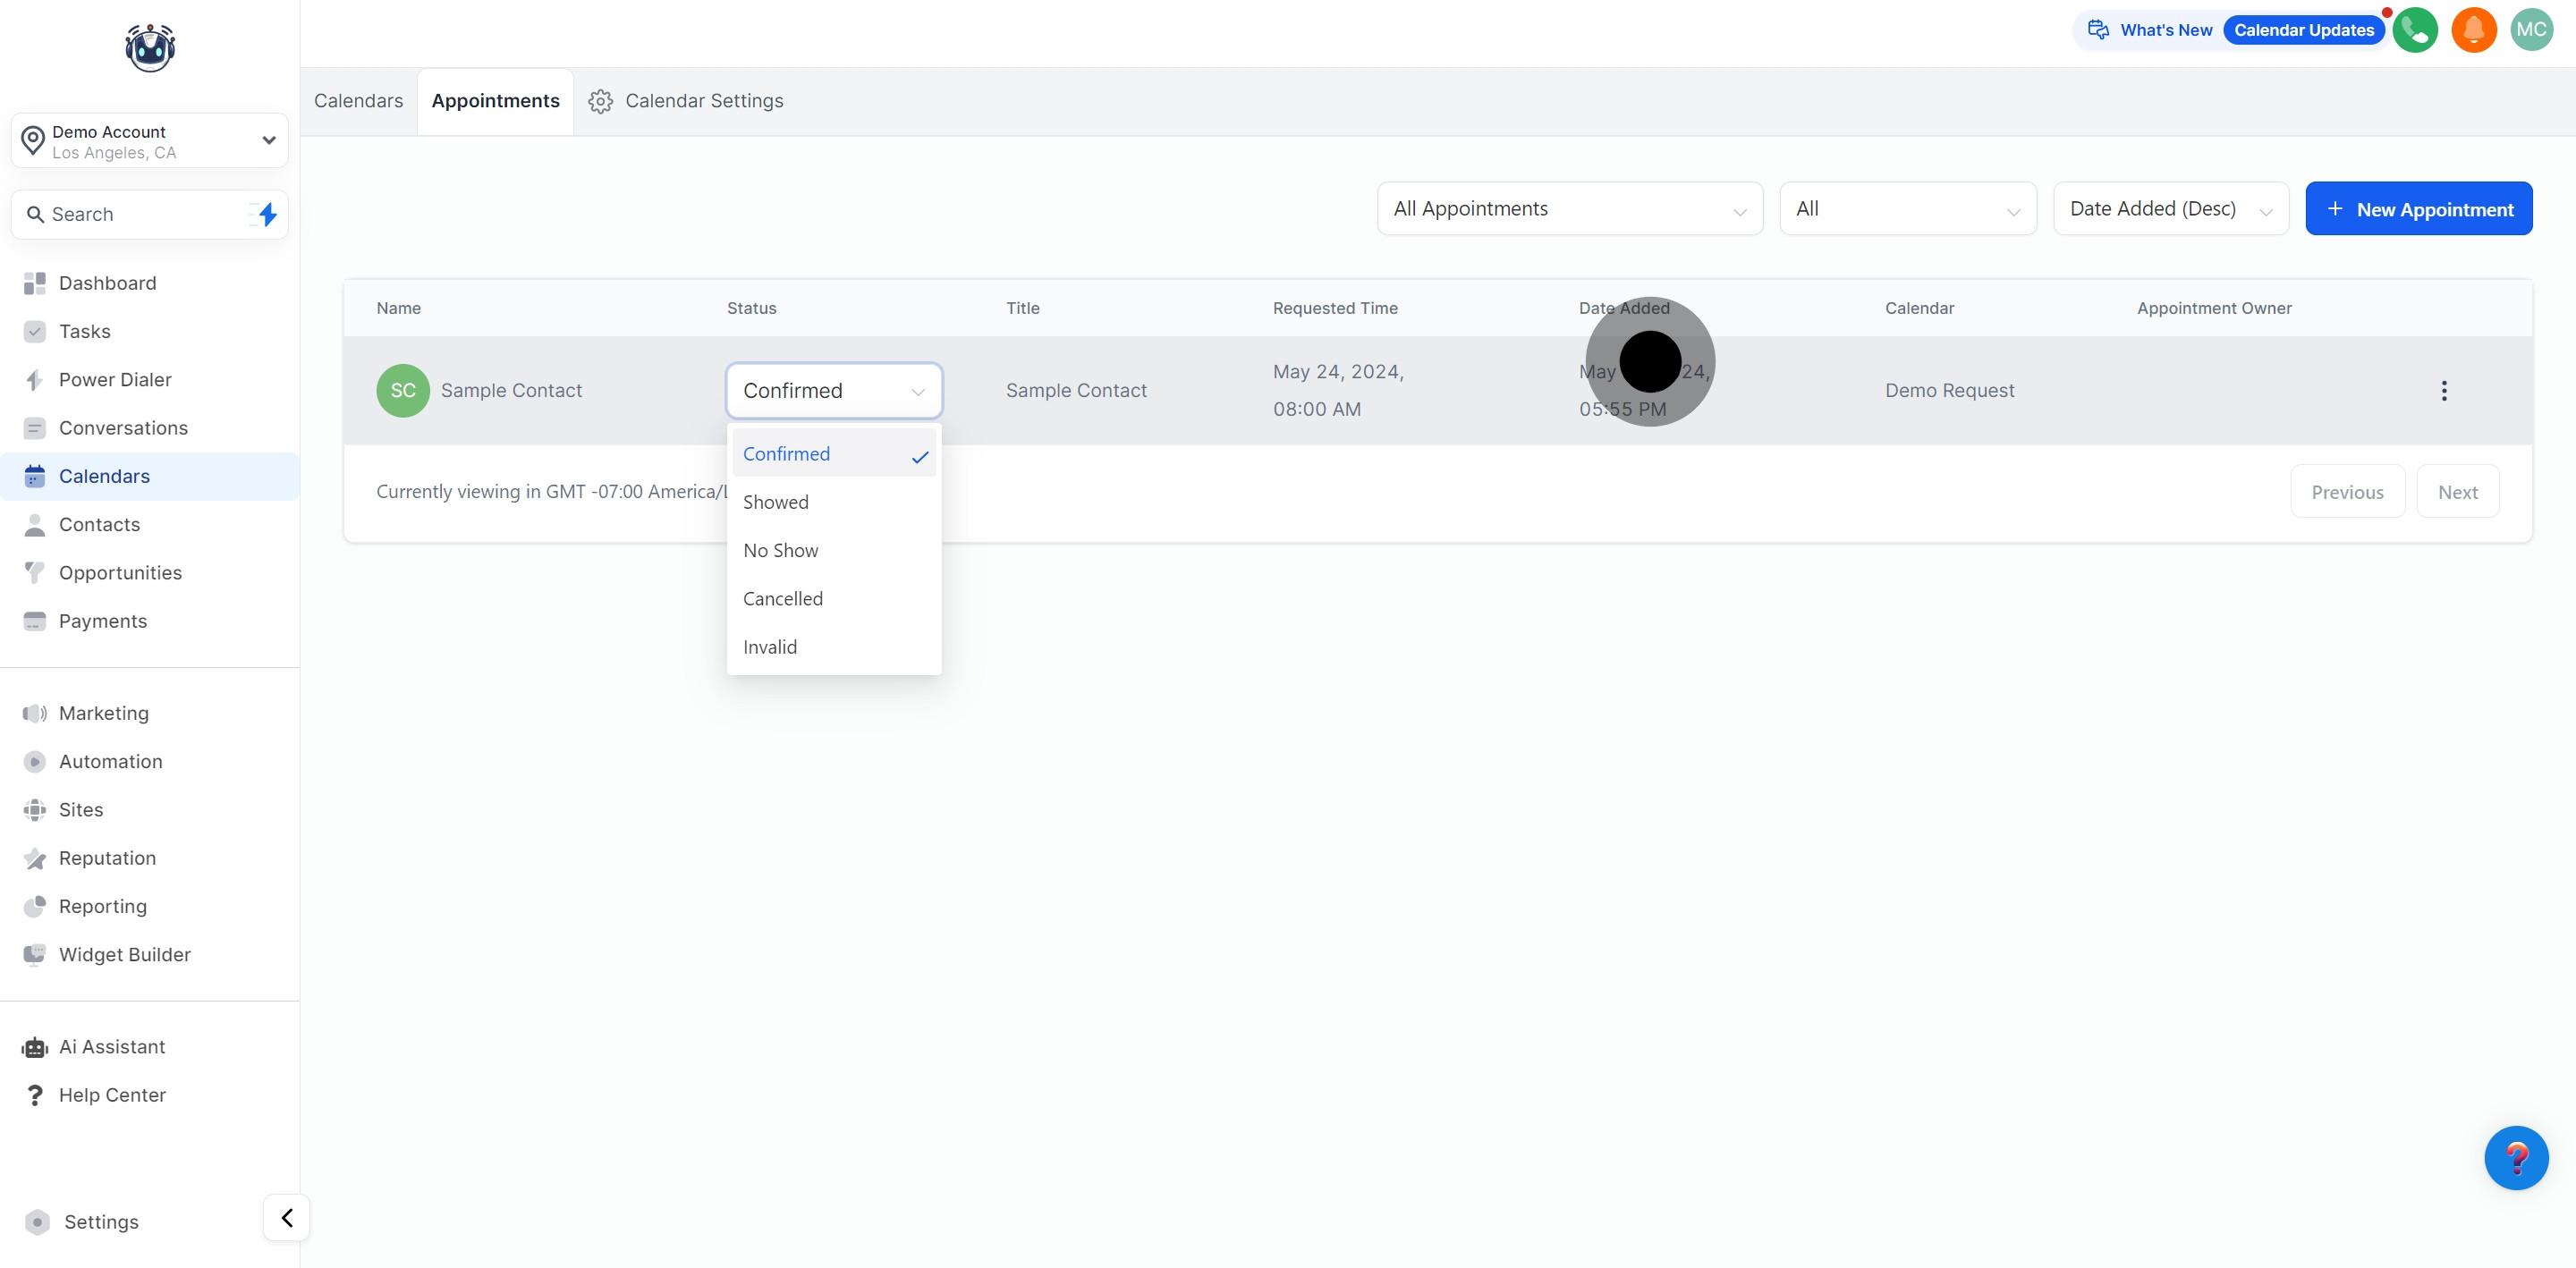
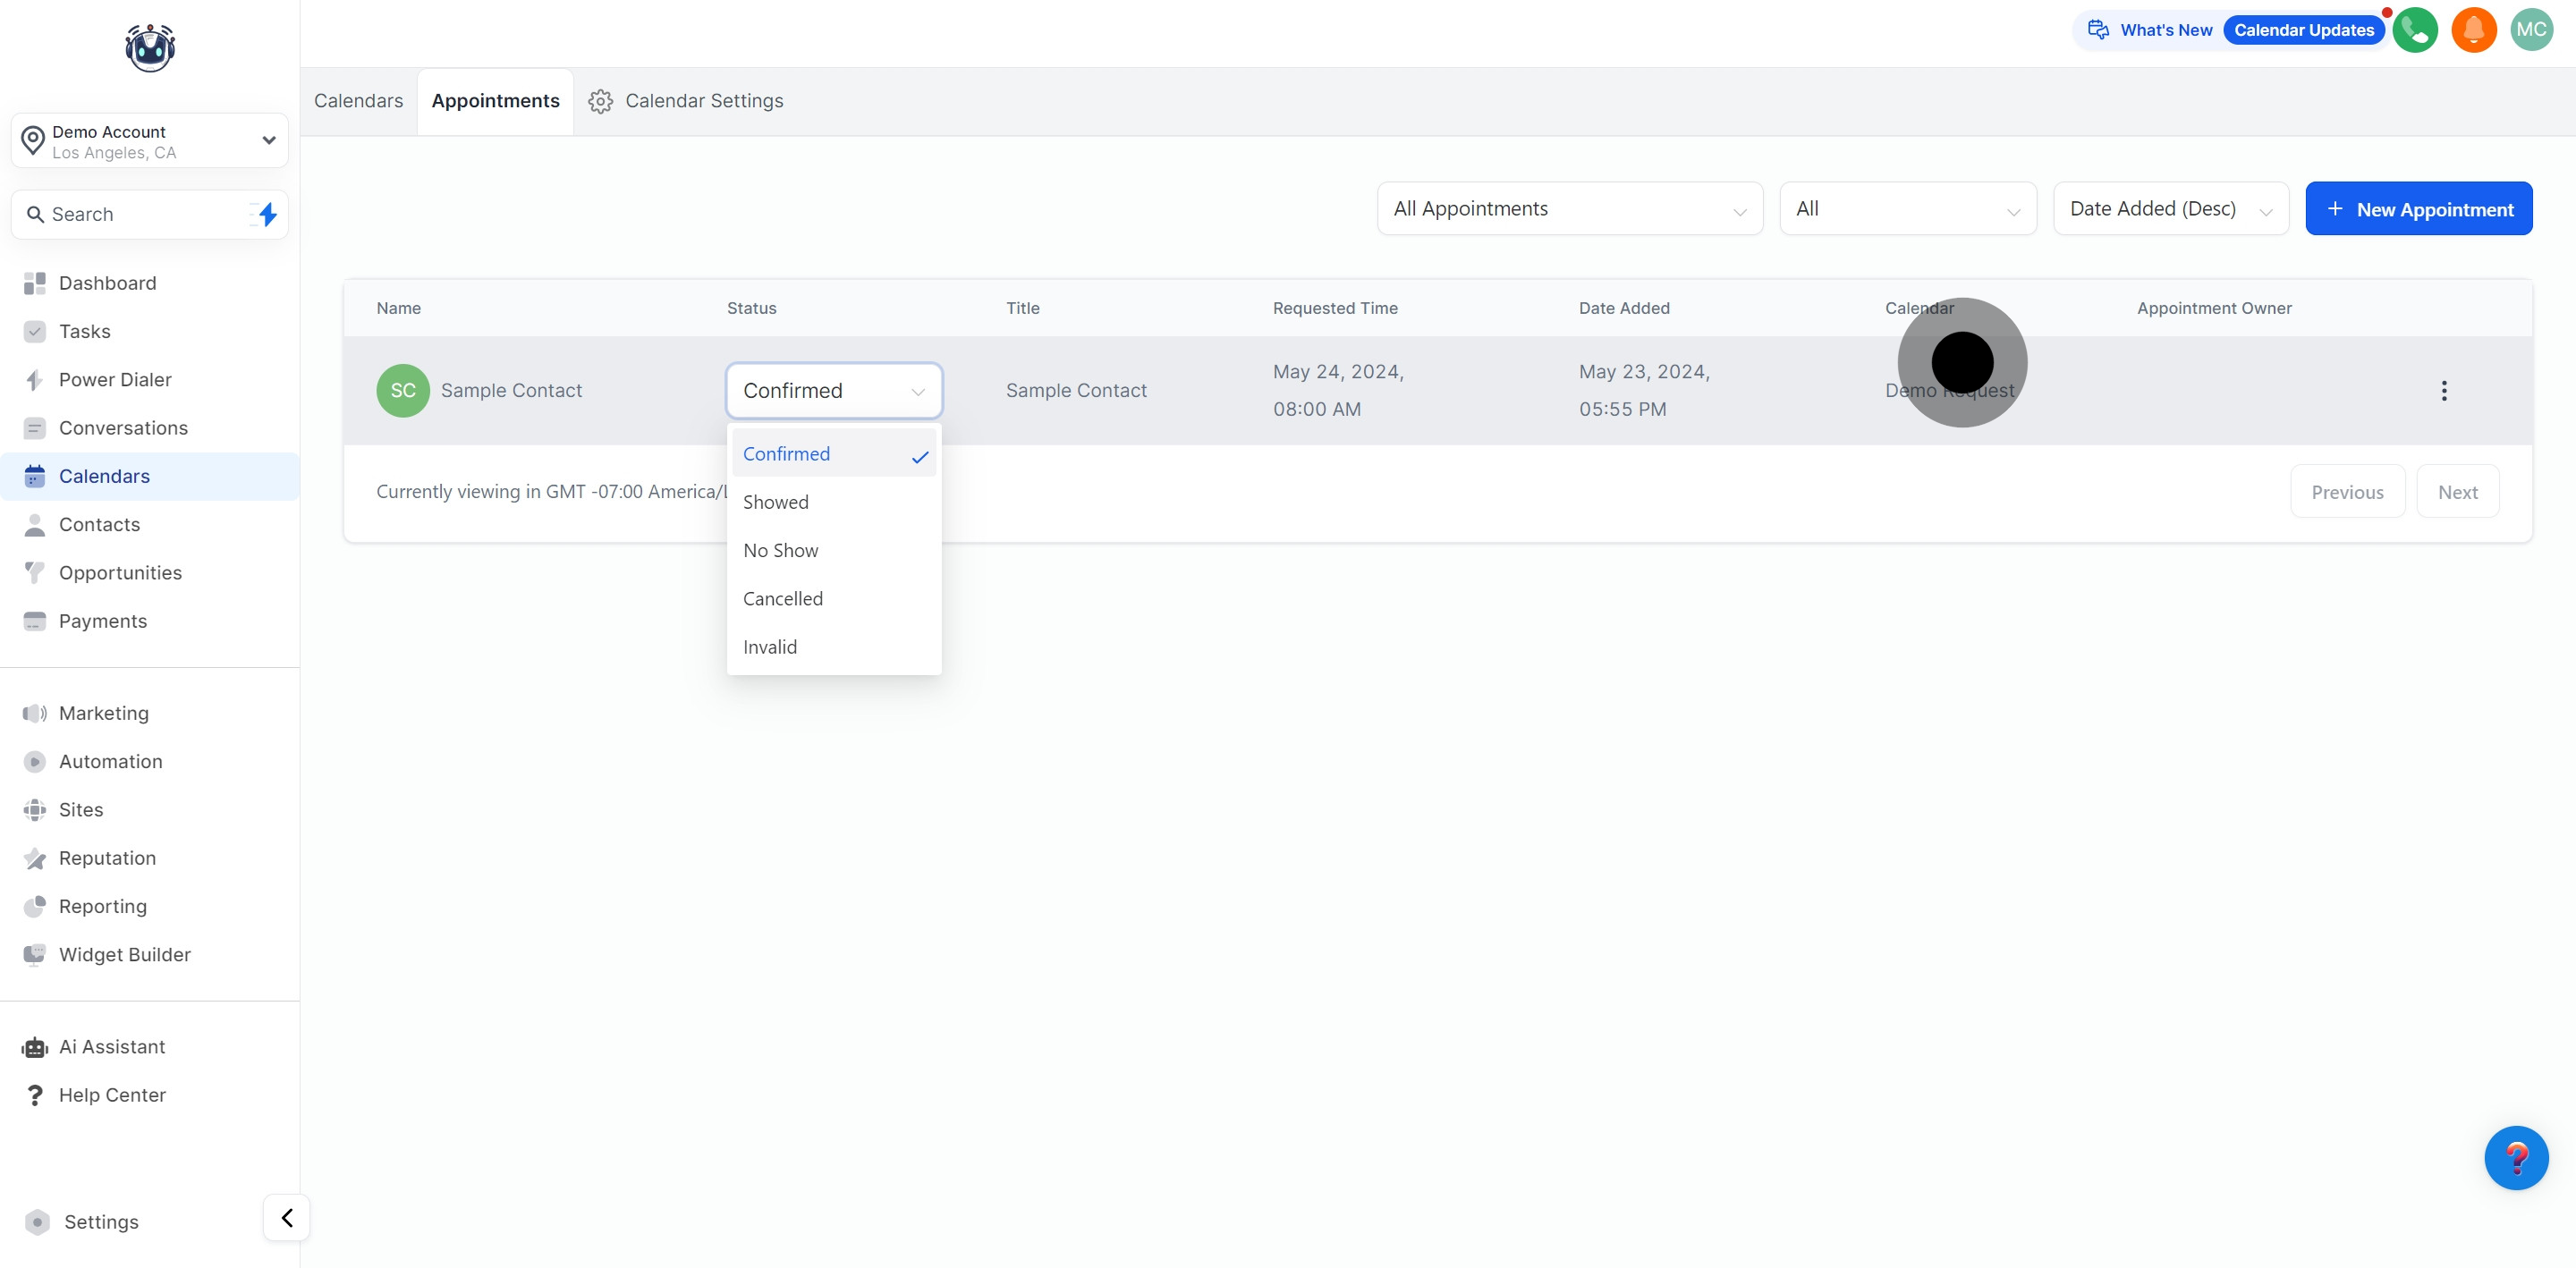
Find the requested date and time for the appointment in this column.
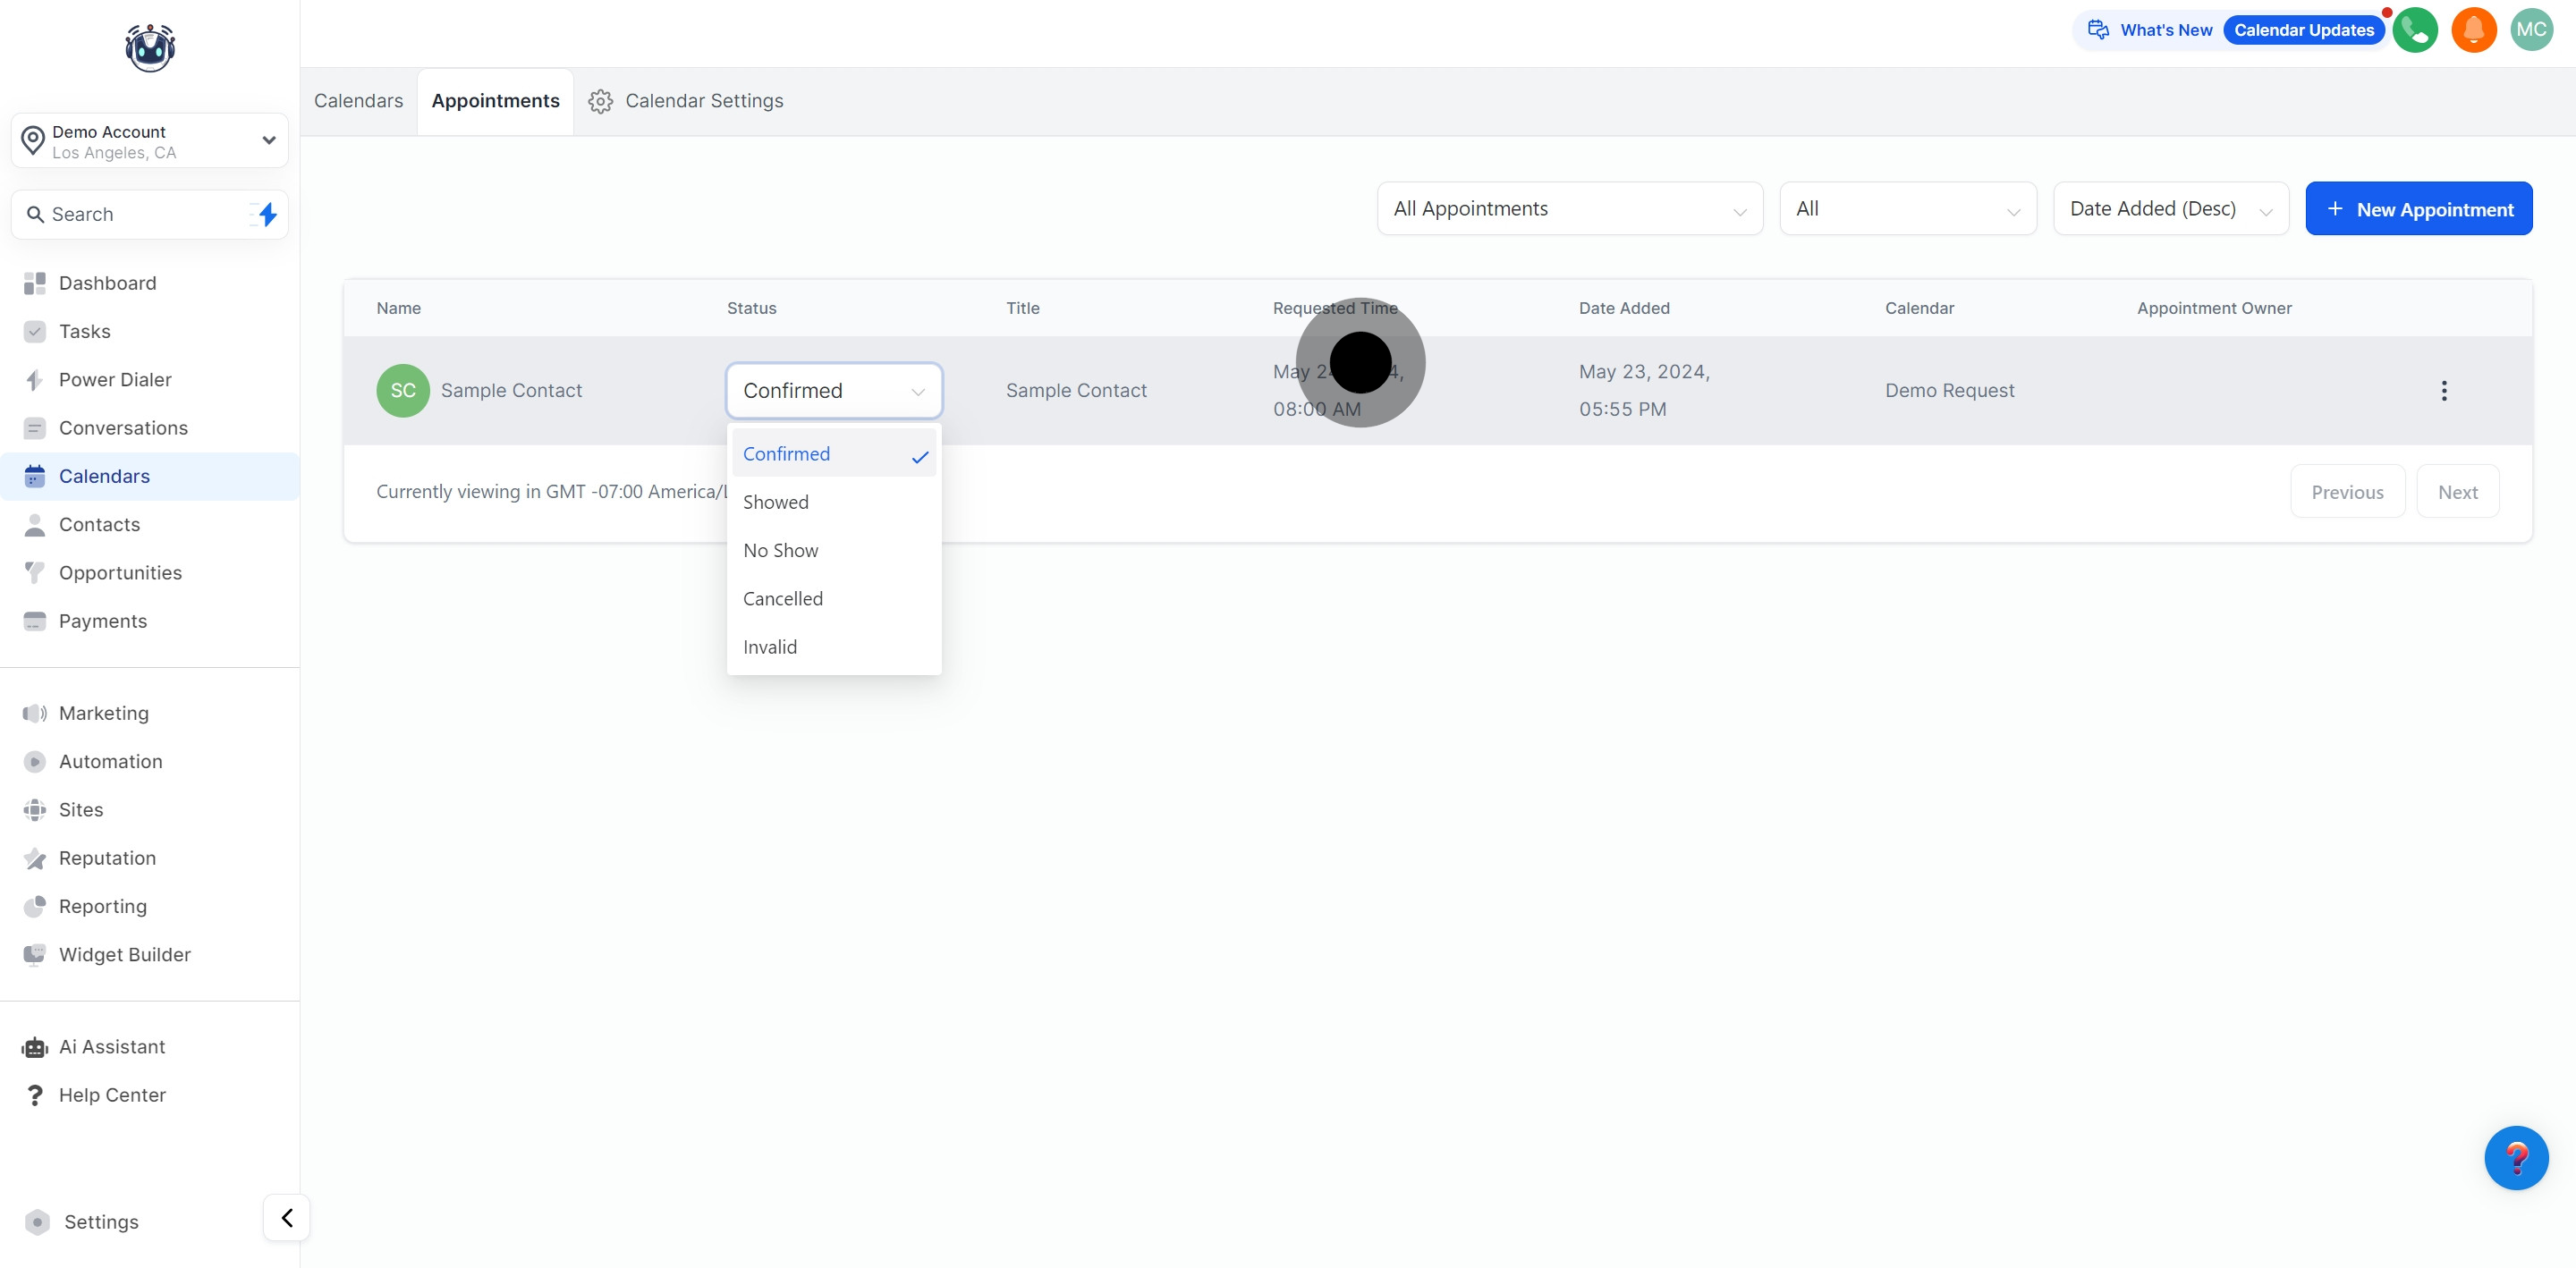
This column shows the date when the appointment was added to your calendar.
View the calendar used to schedule the appointment in this column.
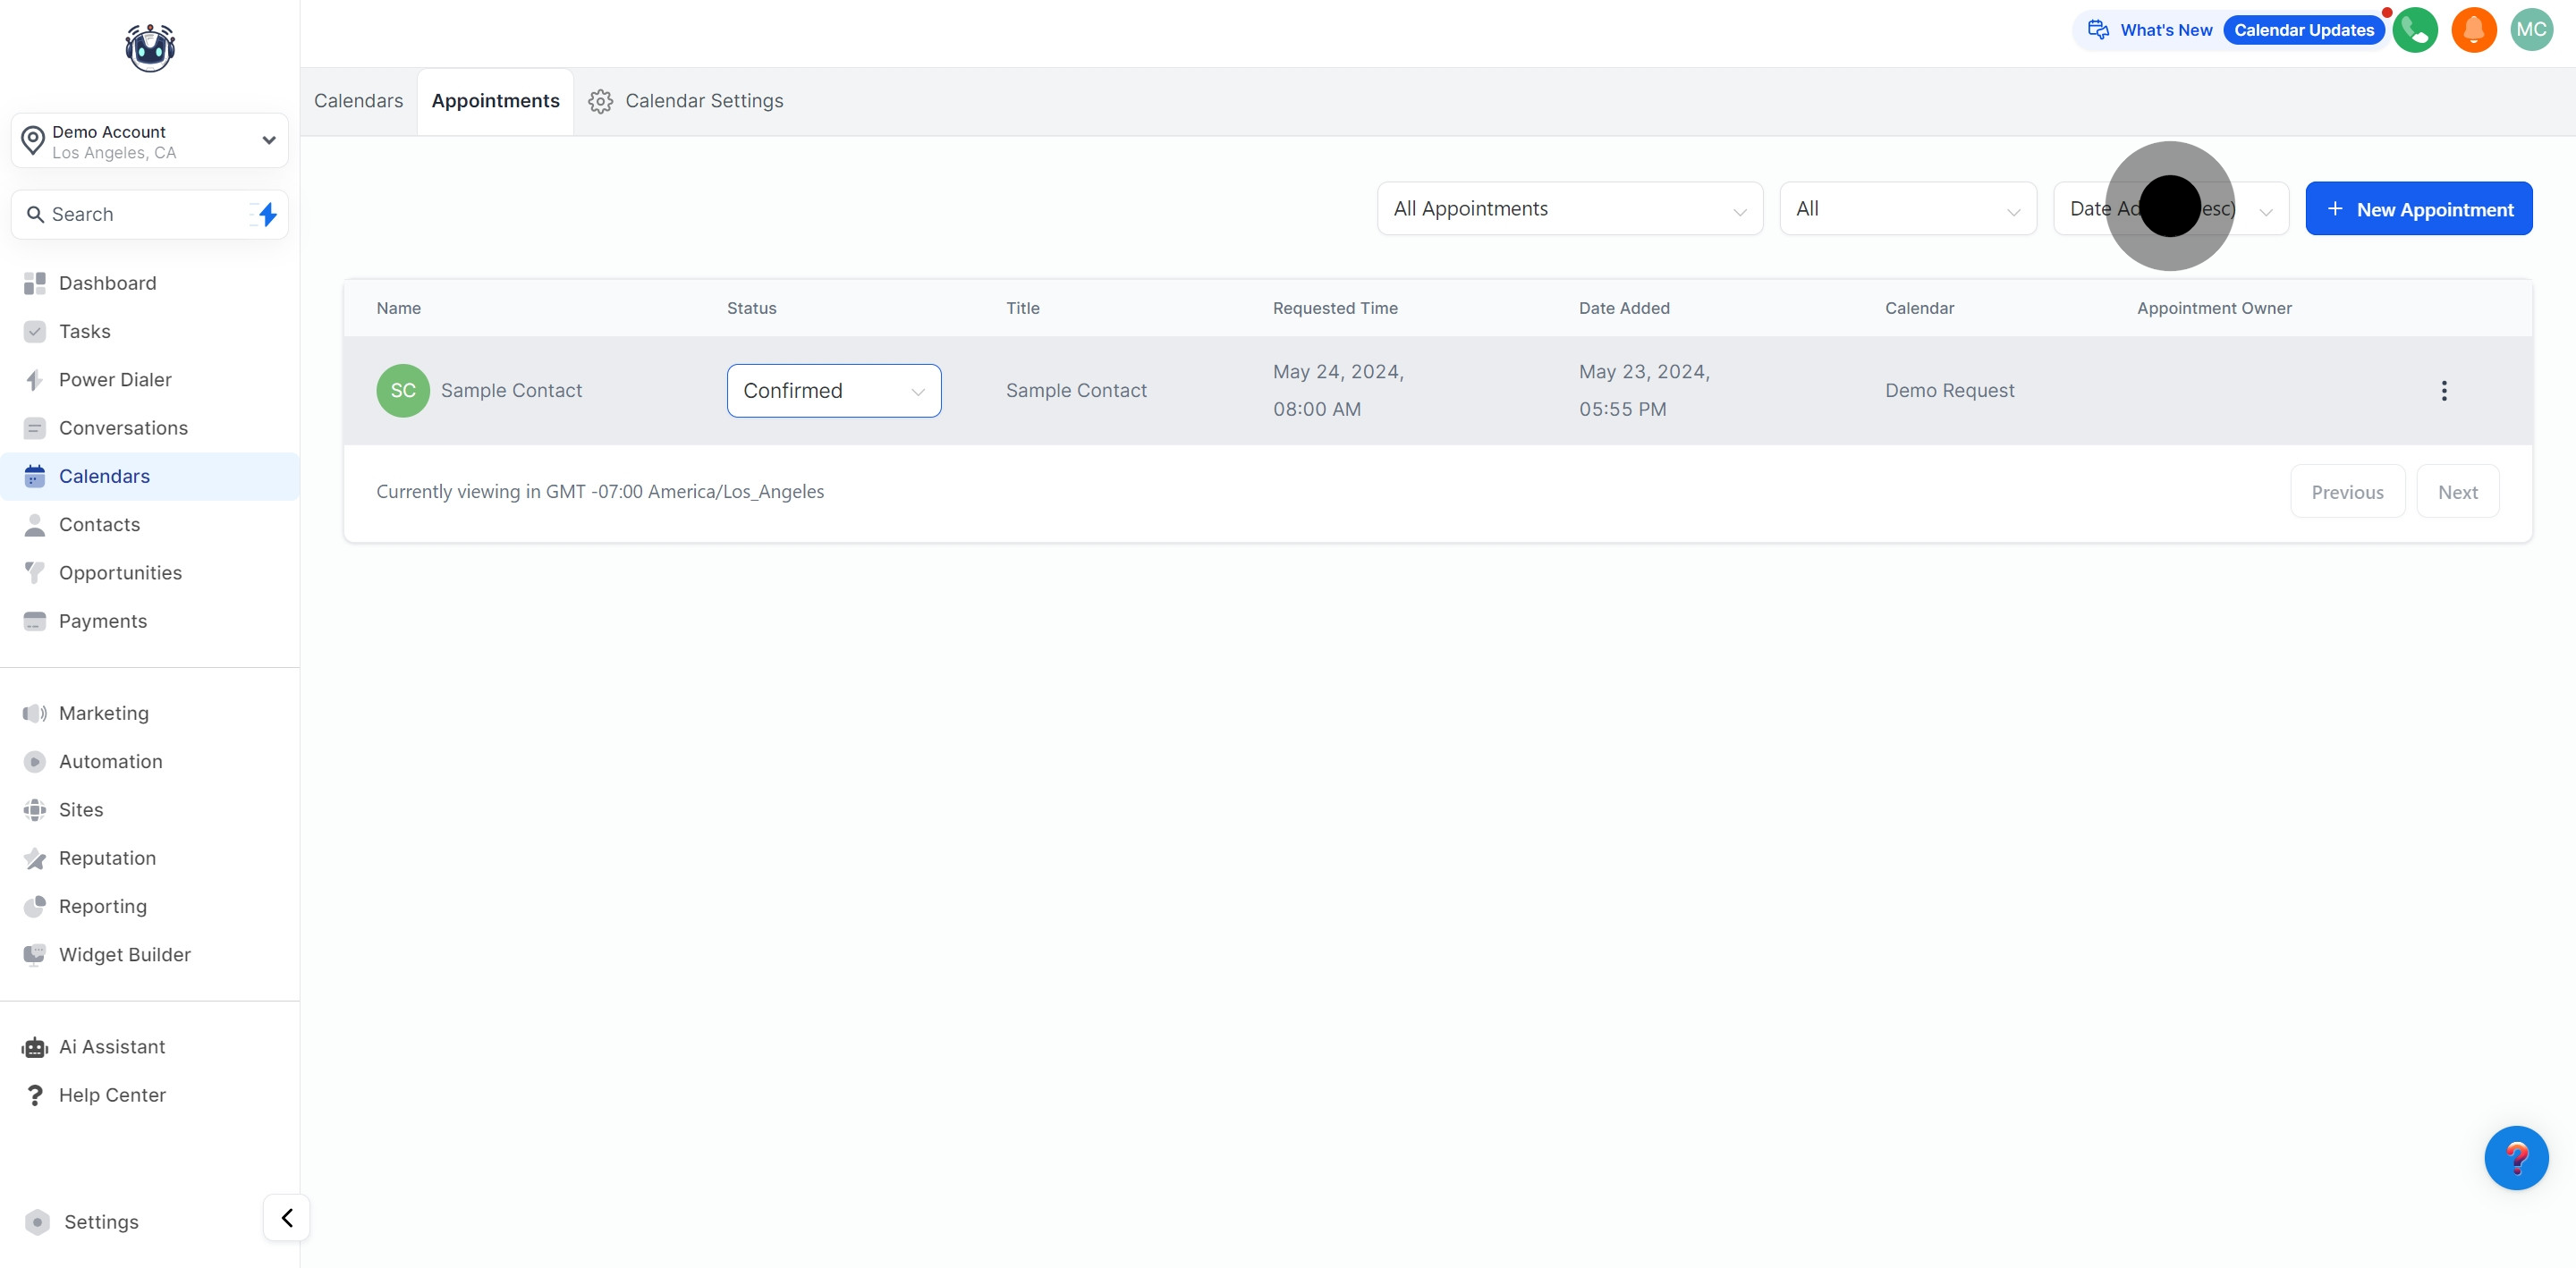
Easily view appointments from all calendars or filter them by calendar, team, or user.
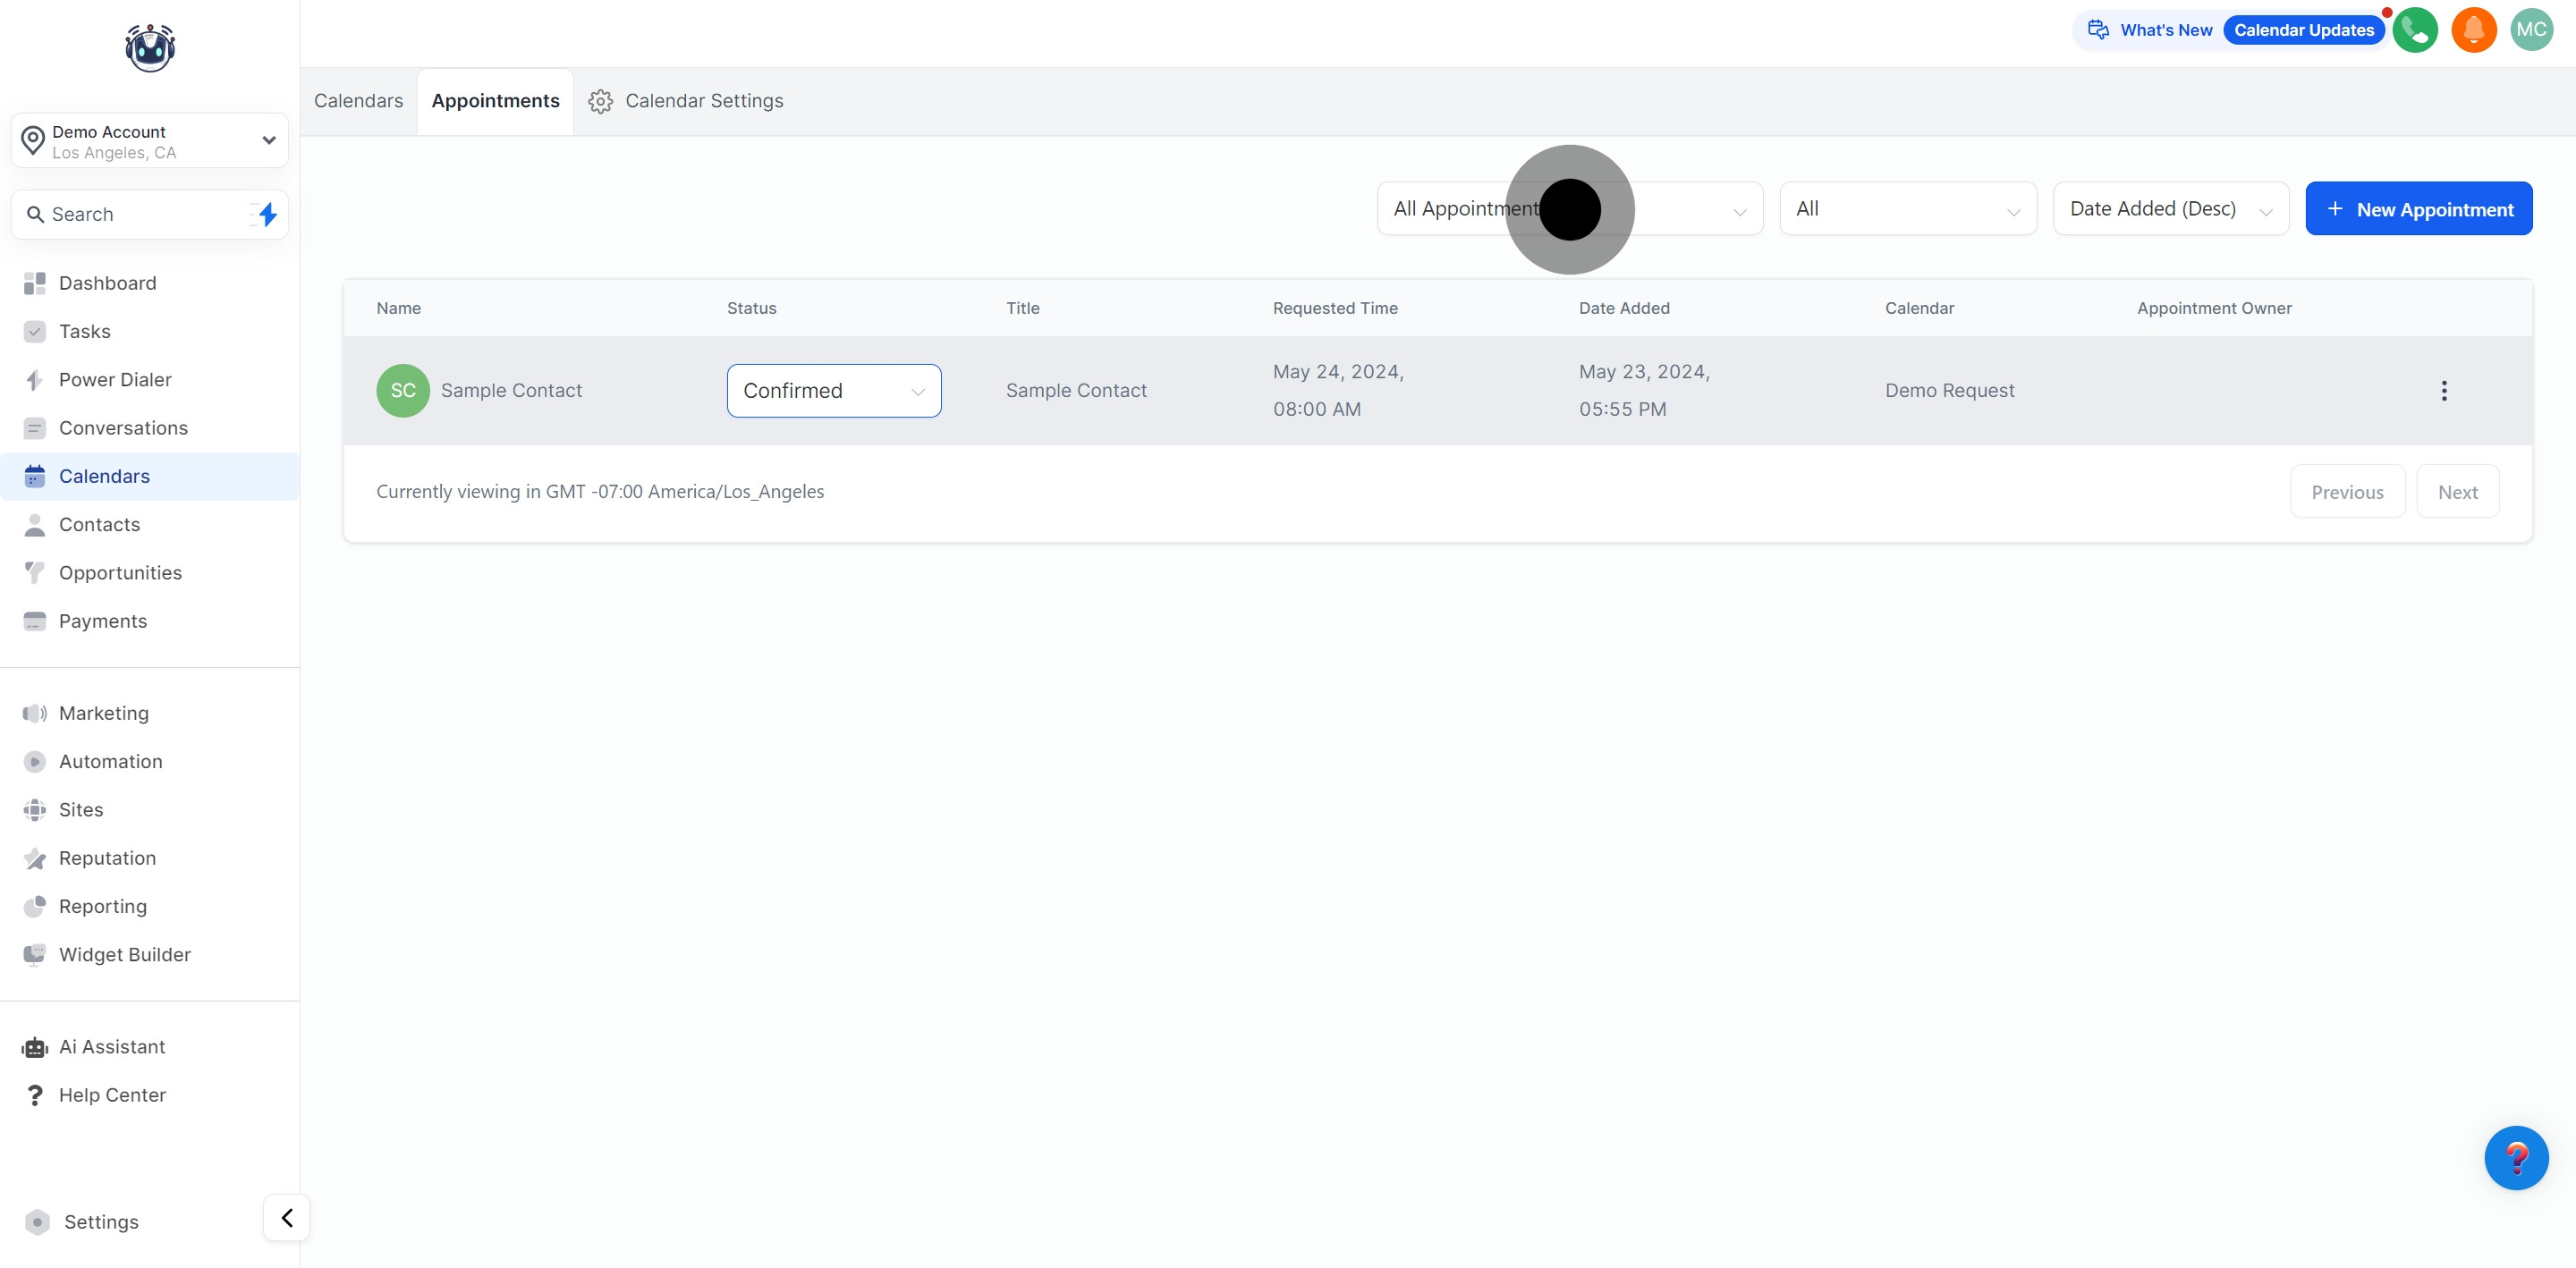
Sort appointments by status, like "Confirmed," "Cancelled," or "New."