How to Create Date Picker Custom Fields in Pest AI
Enhance your data collection forms by adding date picker custom fields in Pest AI. This article provides a comprehensive guide on setting up date picker fields, allowing users to easily select dates from a calendar interface. Learn how to improve accuracy and efficiency in data entry by integrating this intuitive feature into your forms, ensuring a seamless user experience.
1. Begin by clicking 'Settings' to adjust your preferences.
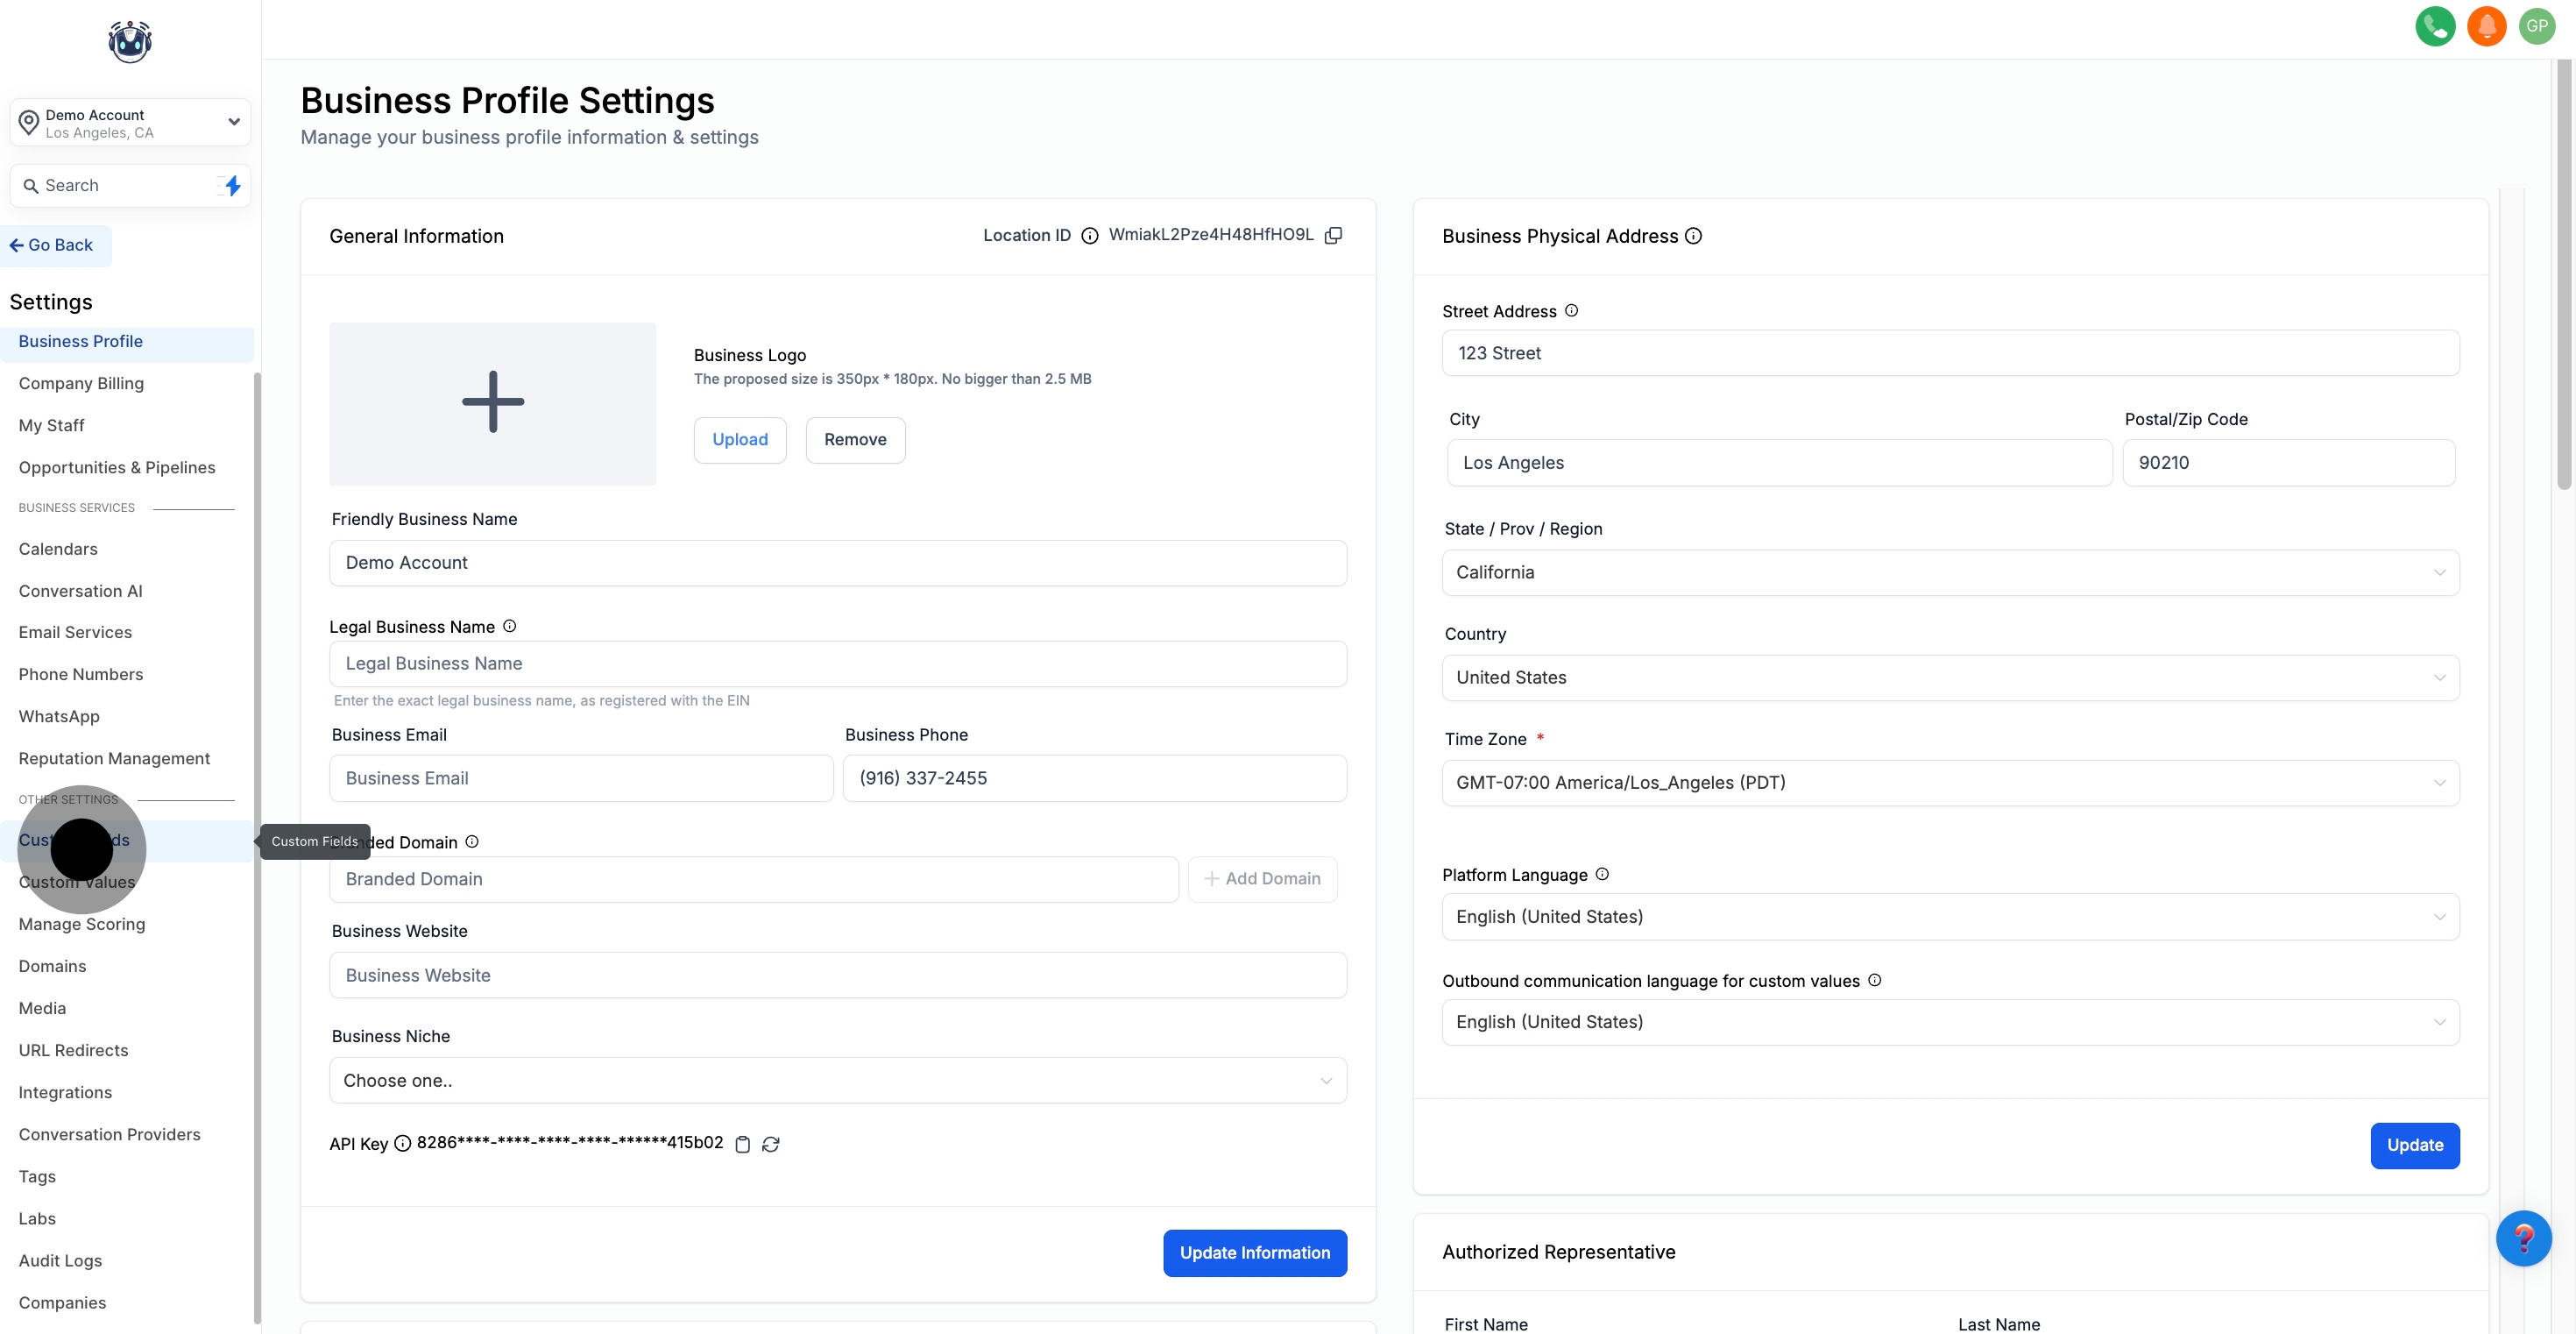
2. Next, open 'Custom Fields' to modify or add new ones.
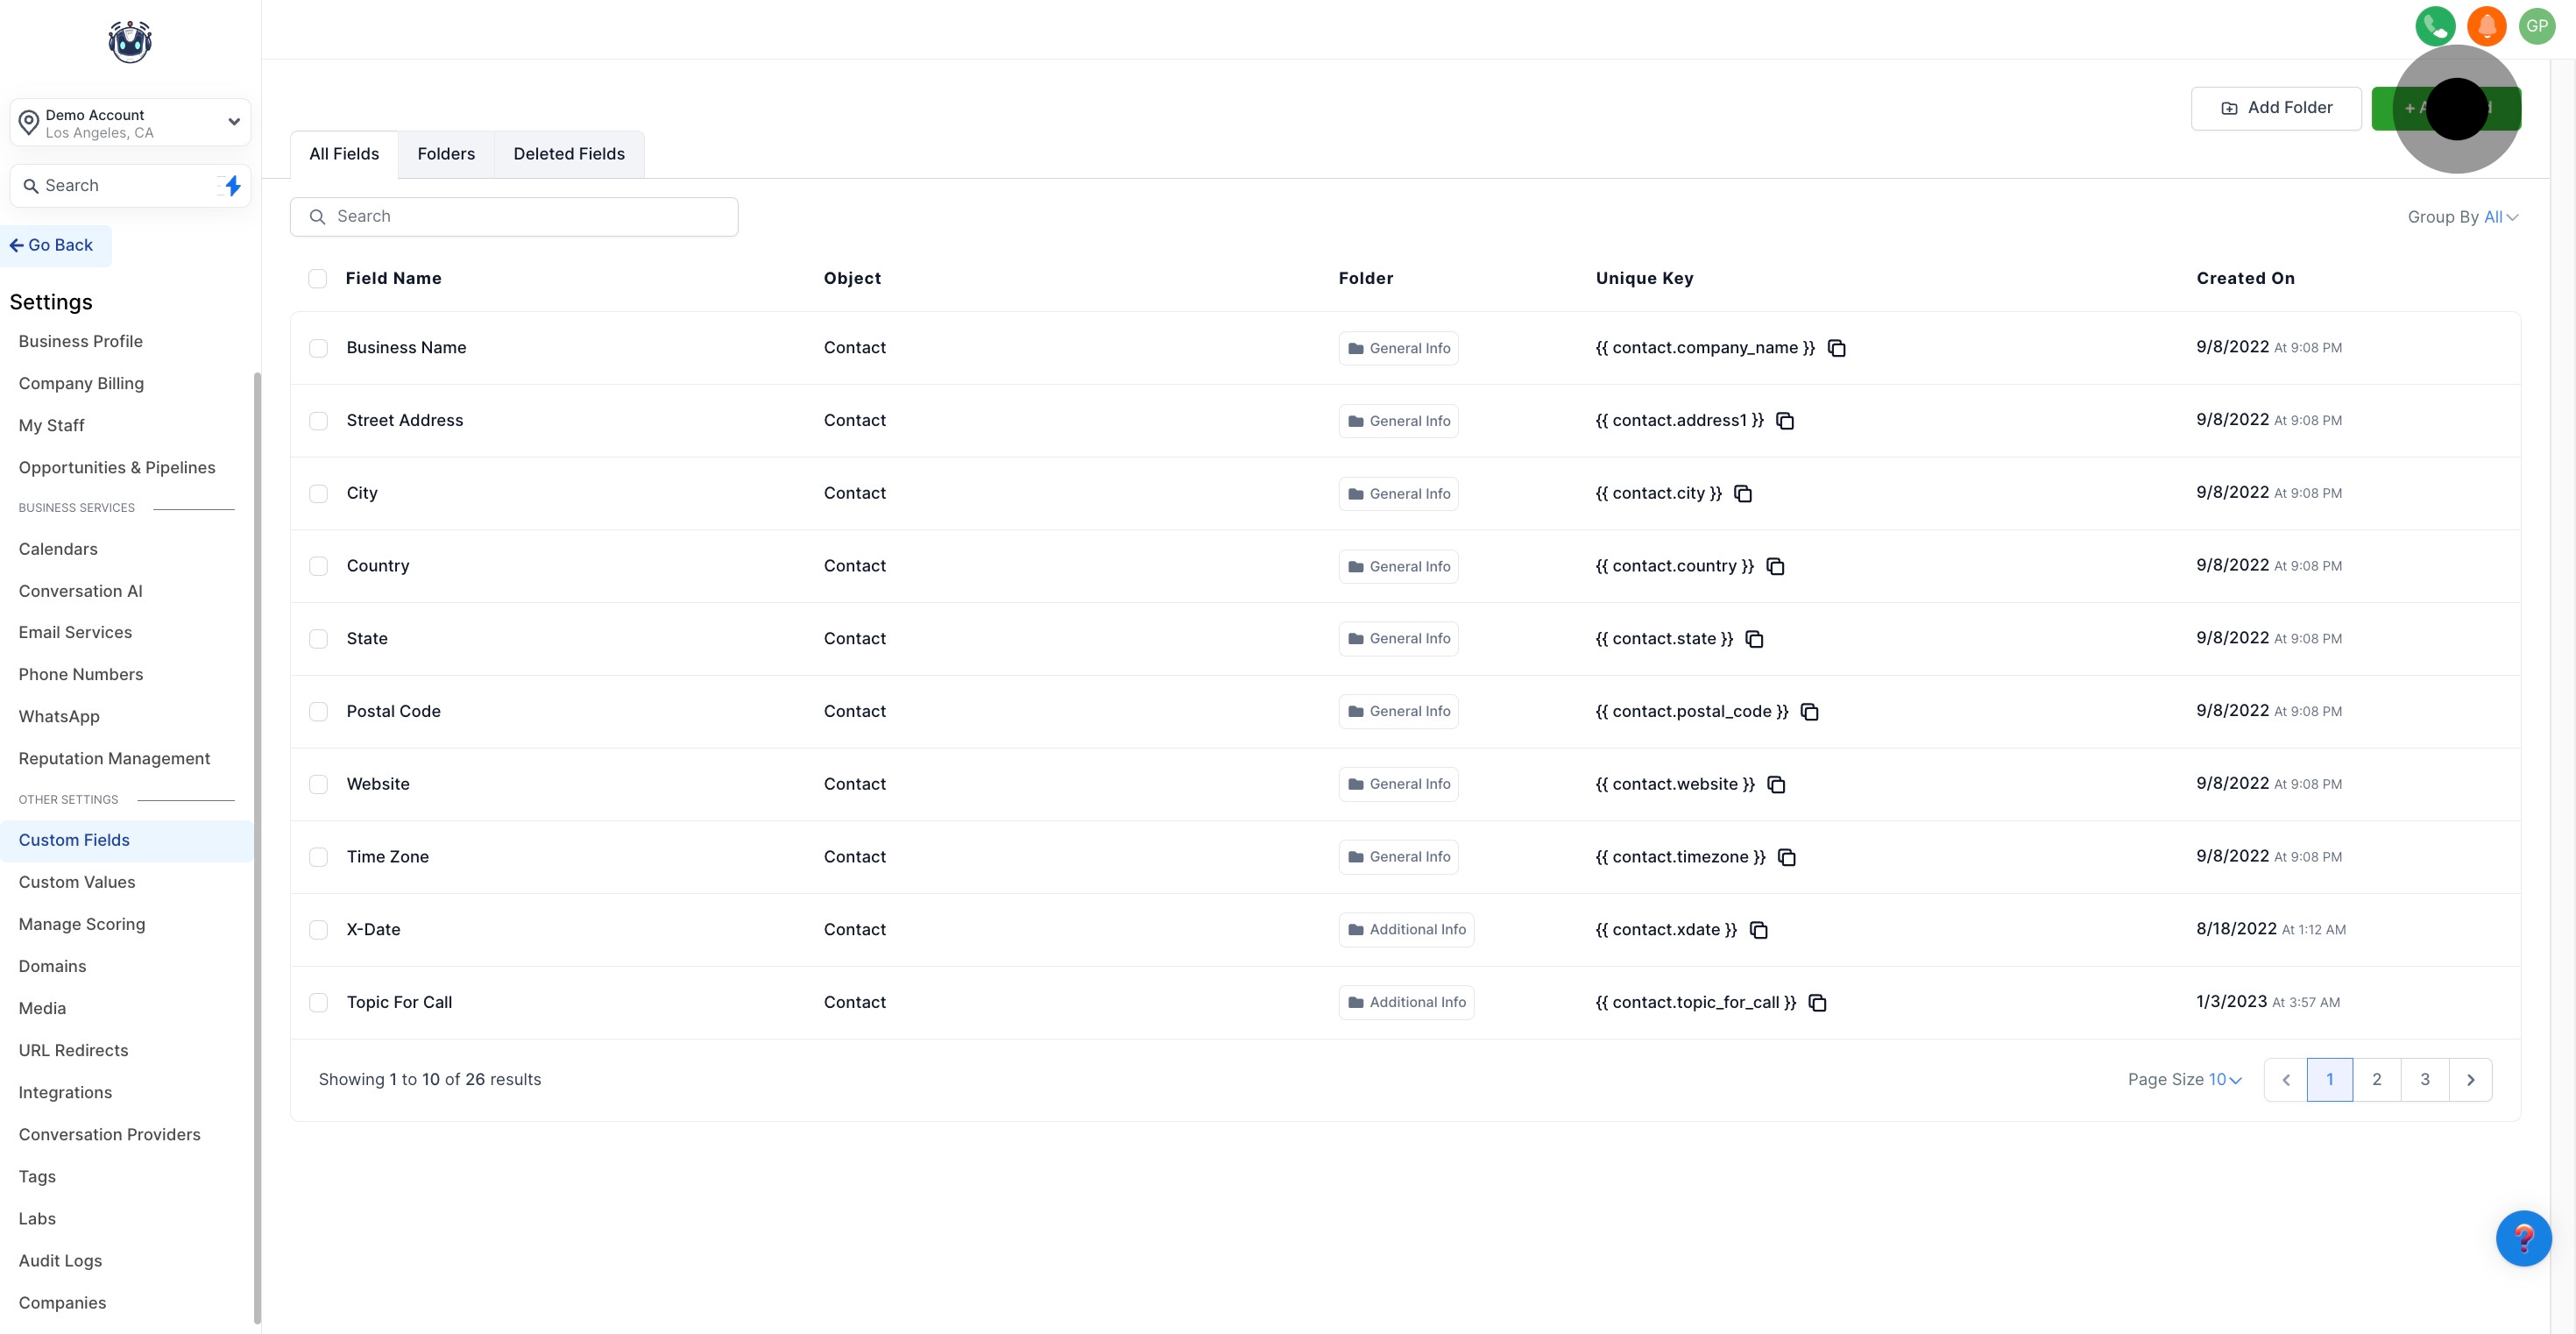
3. Then, click 'Add Field' to introduce a new custom field.
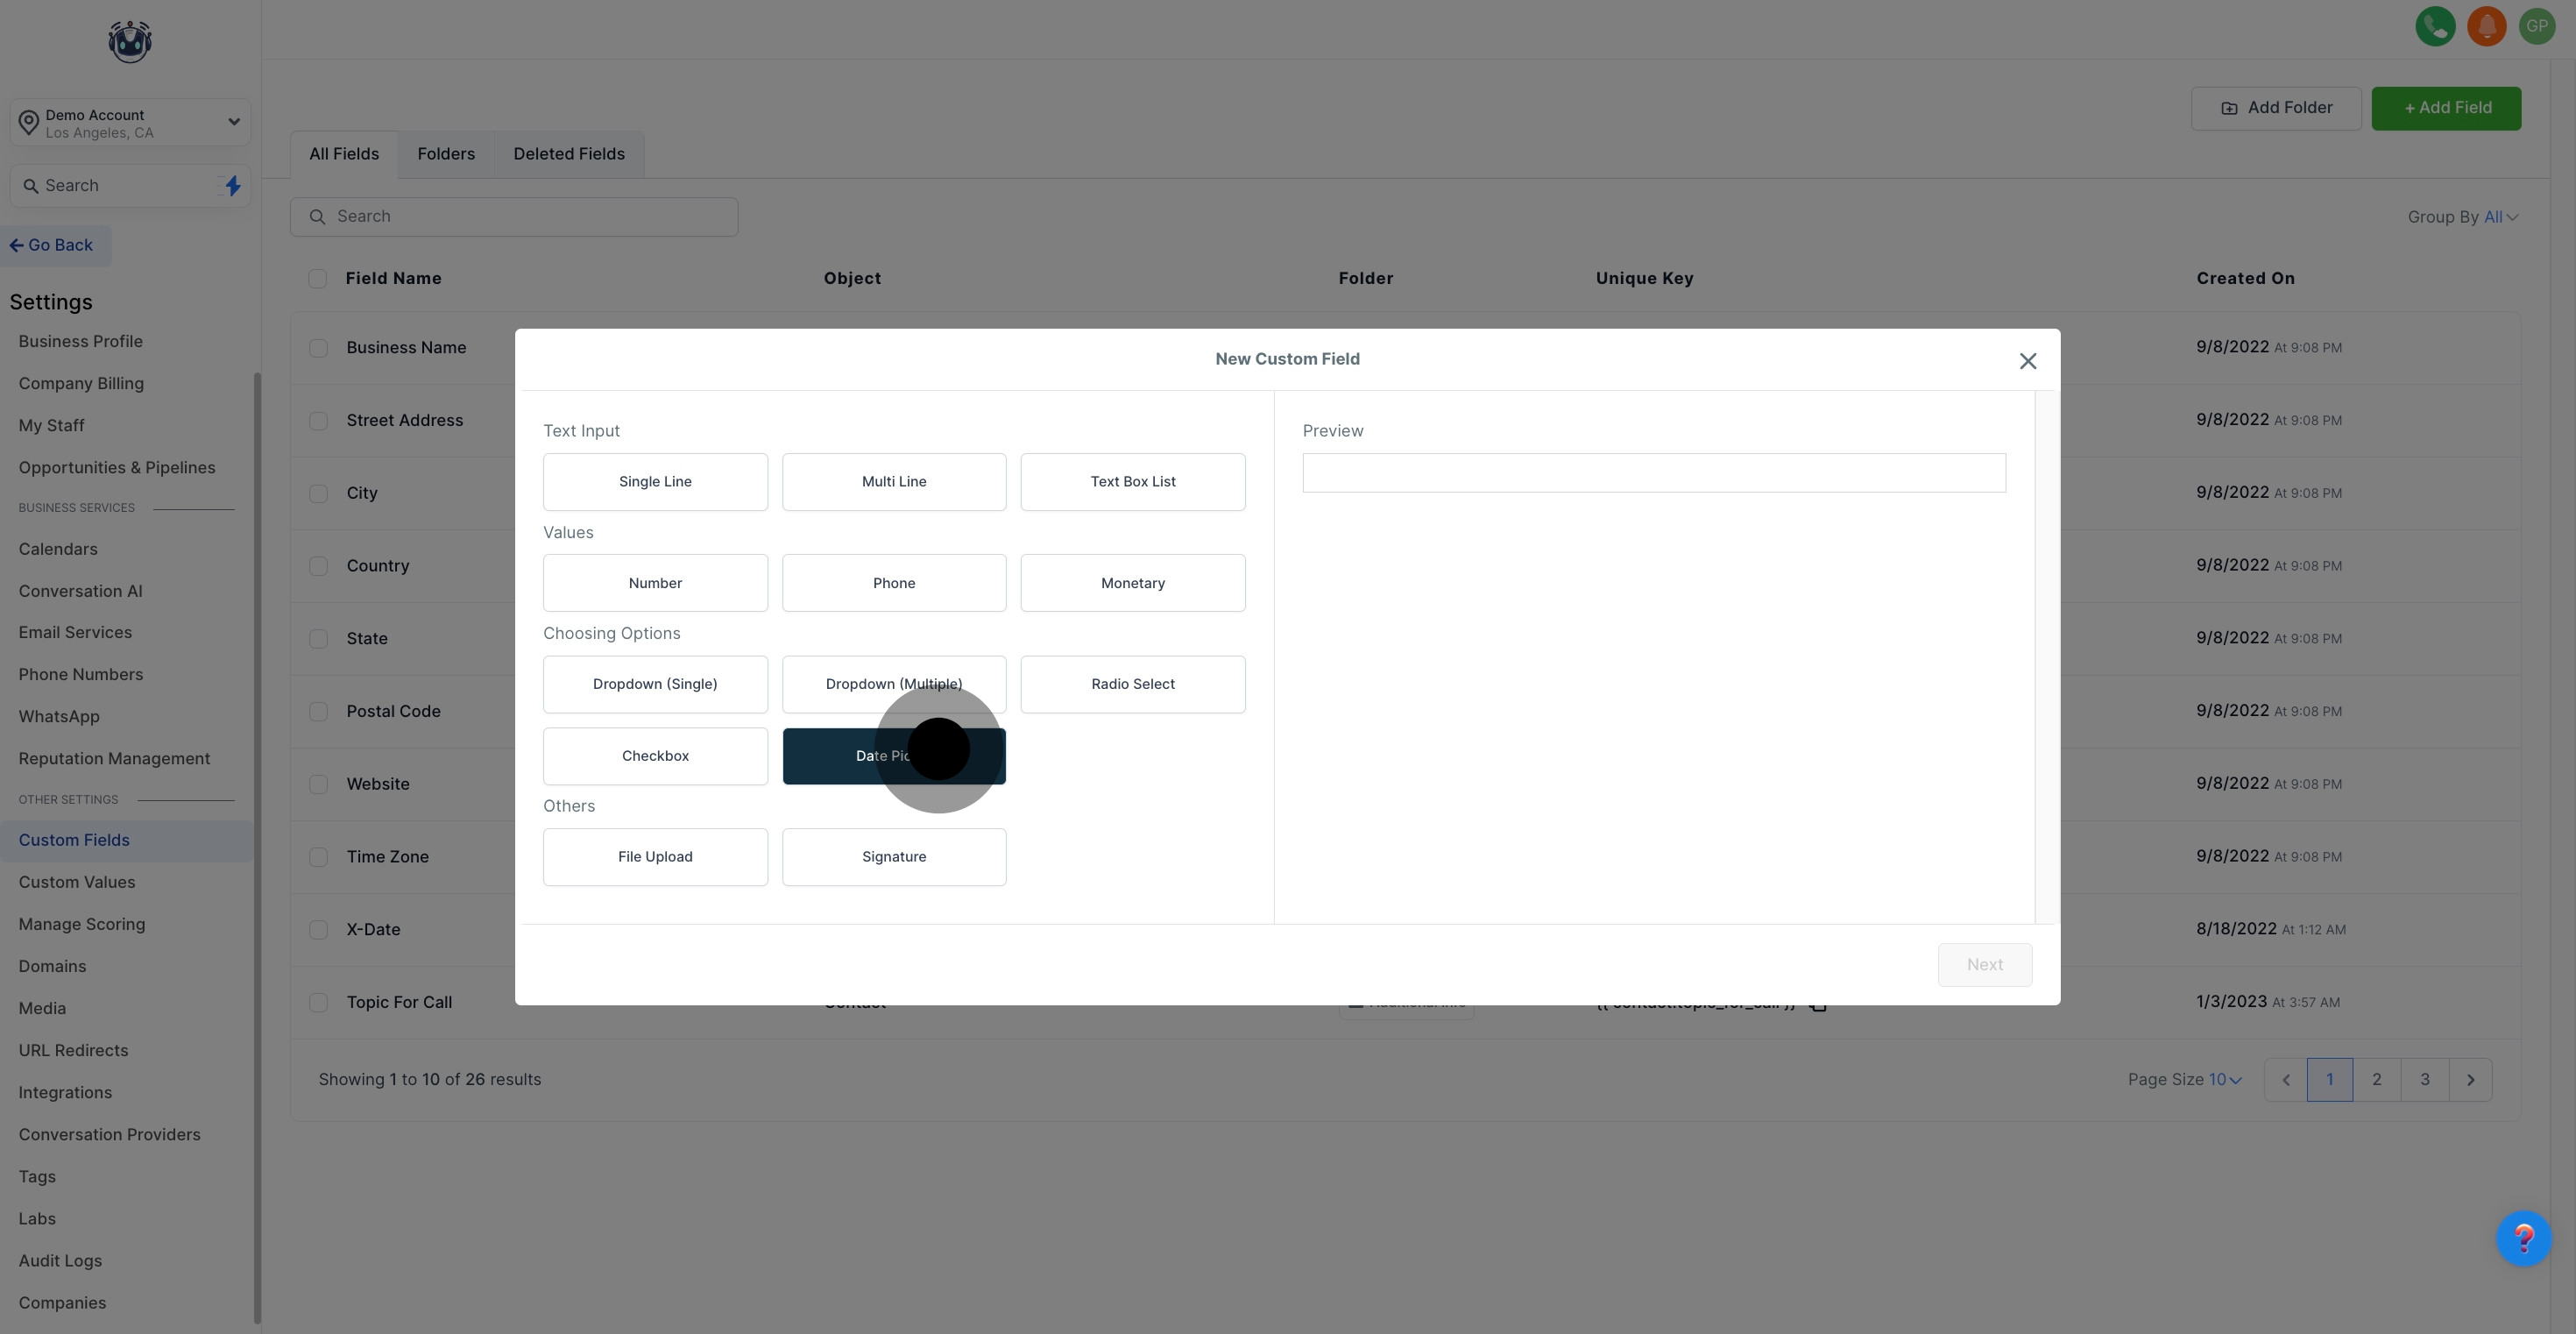
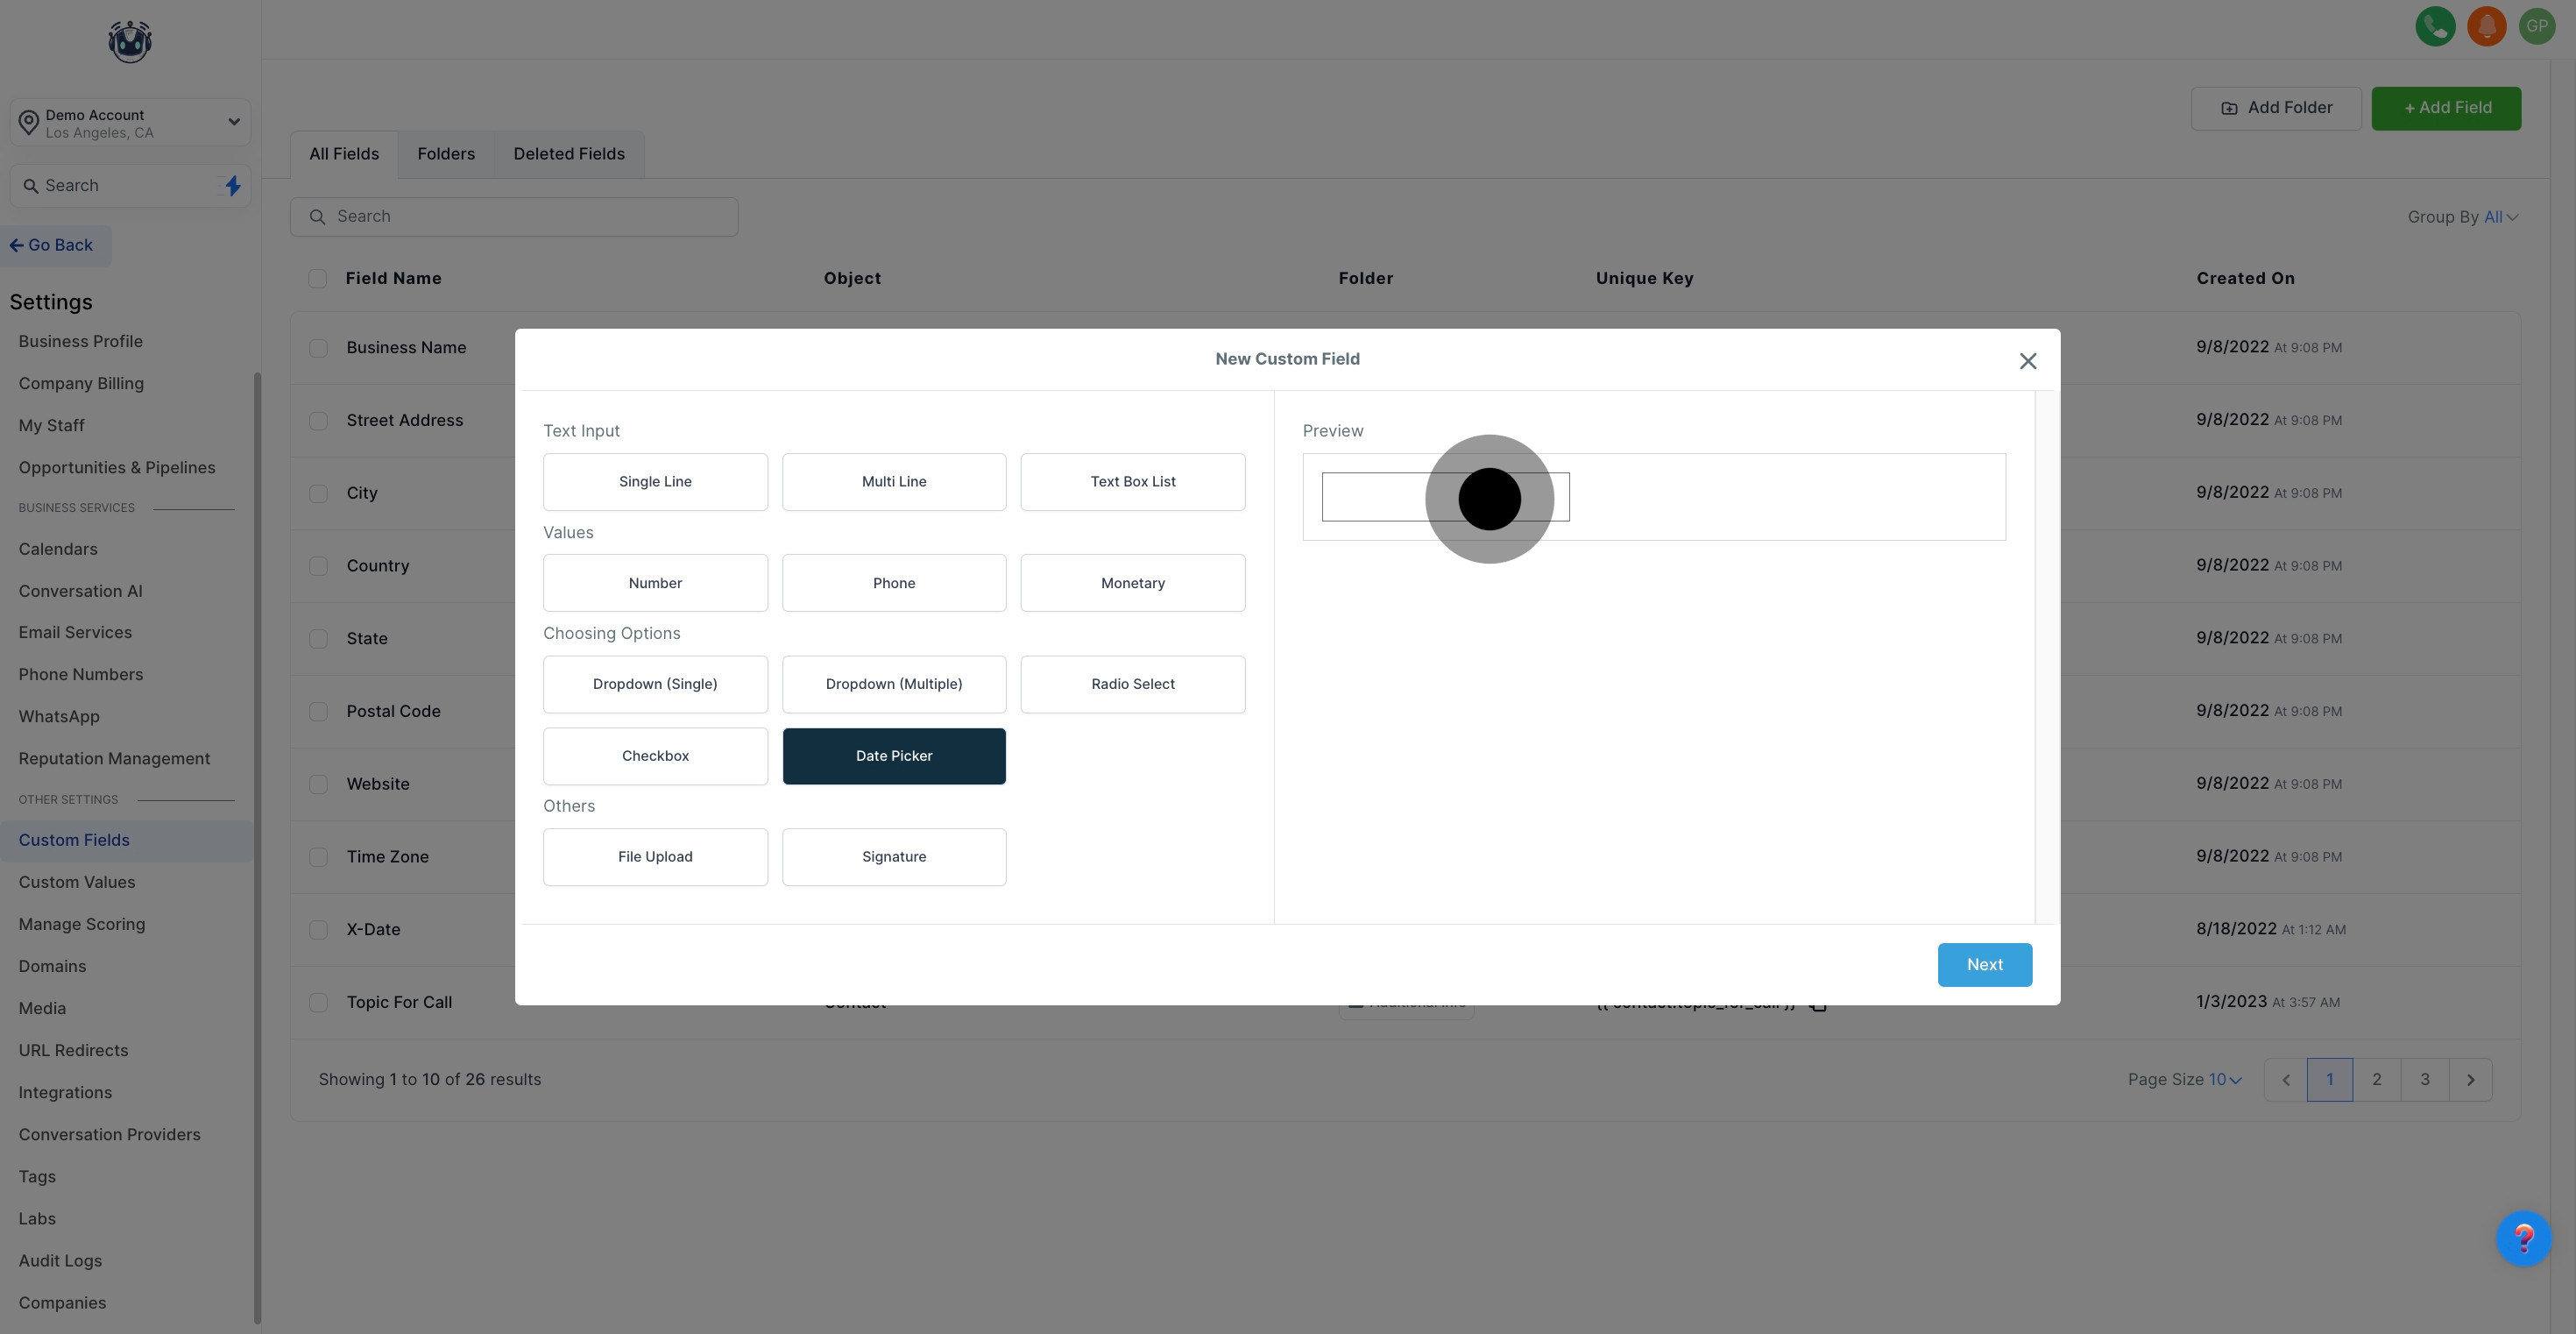
4. Afterwards, select 'Date Picker' to set a date field.
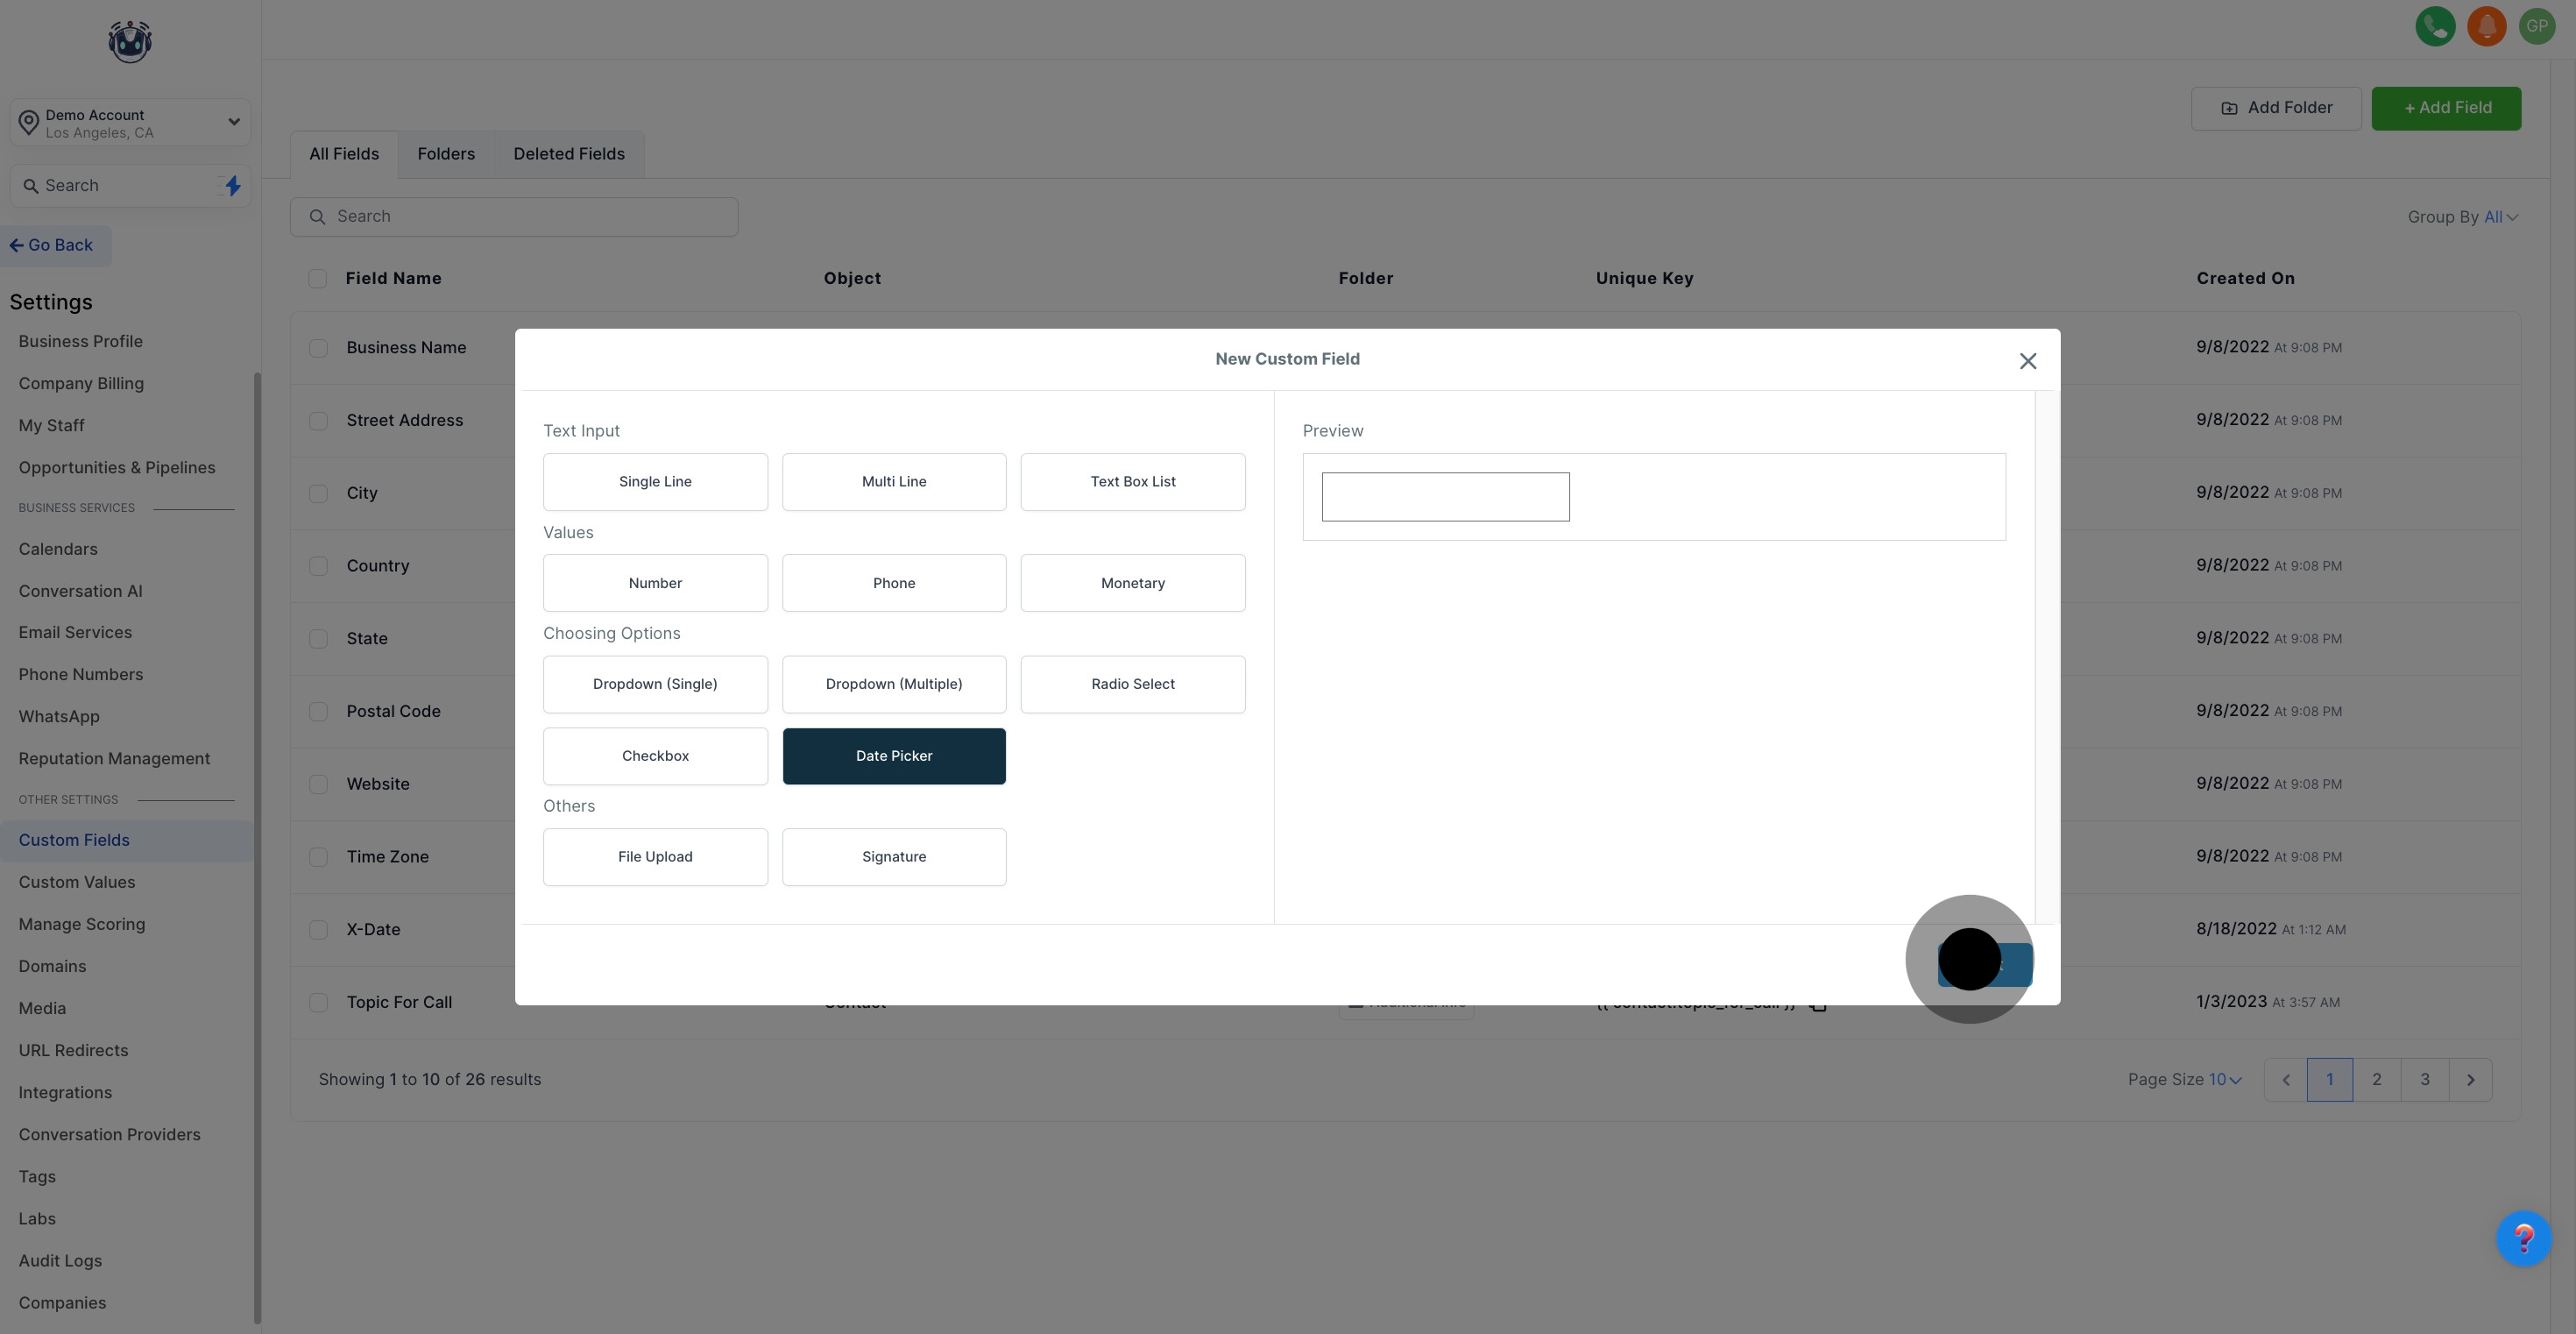
5. Now, preview your custom field in the dedicated area.
6. Proceed by clicking 'Next' to continue with settings.
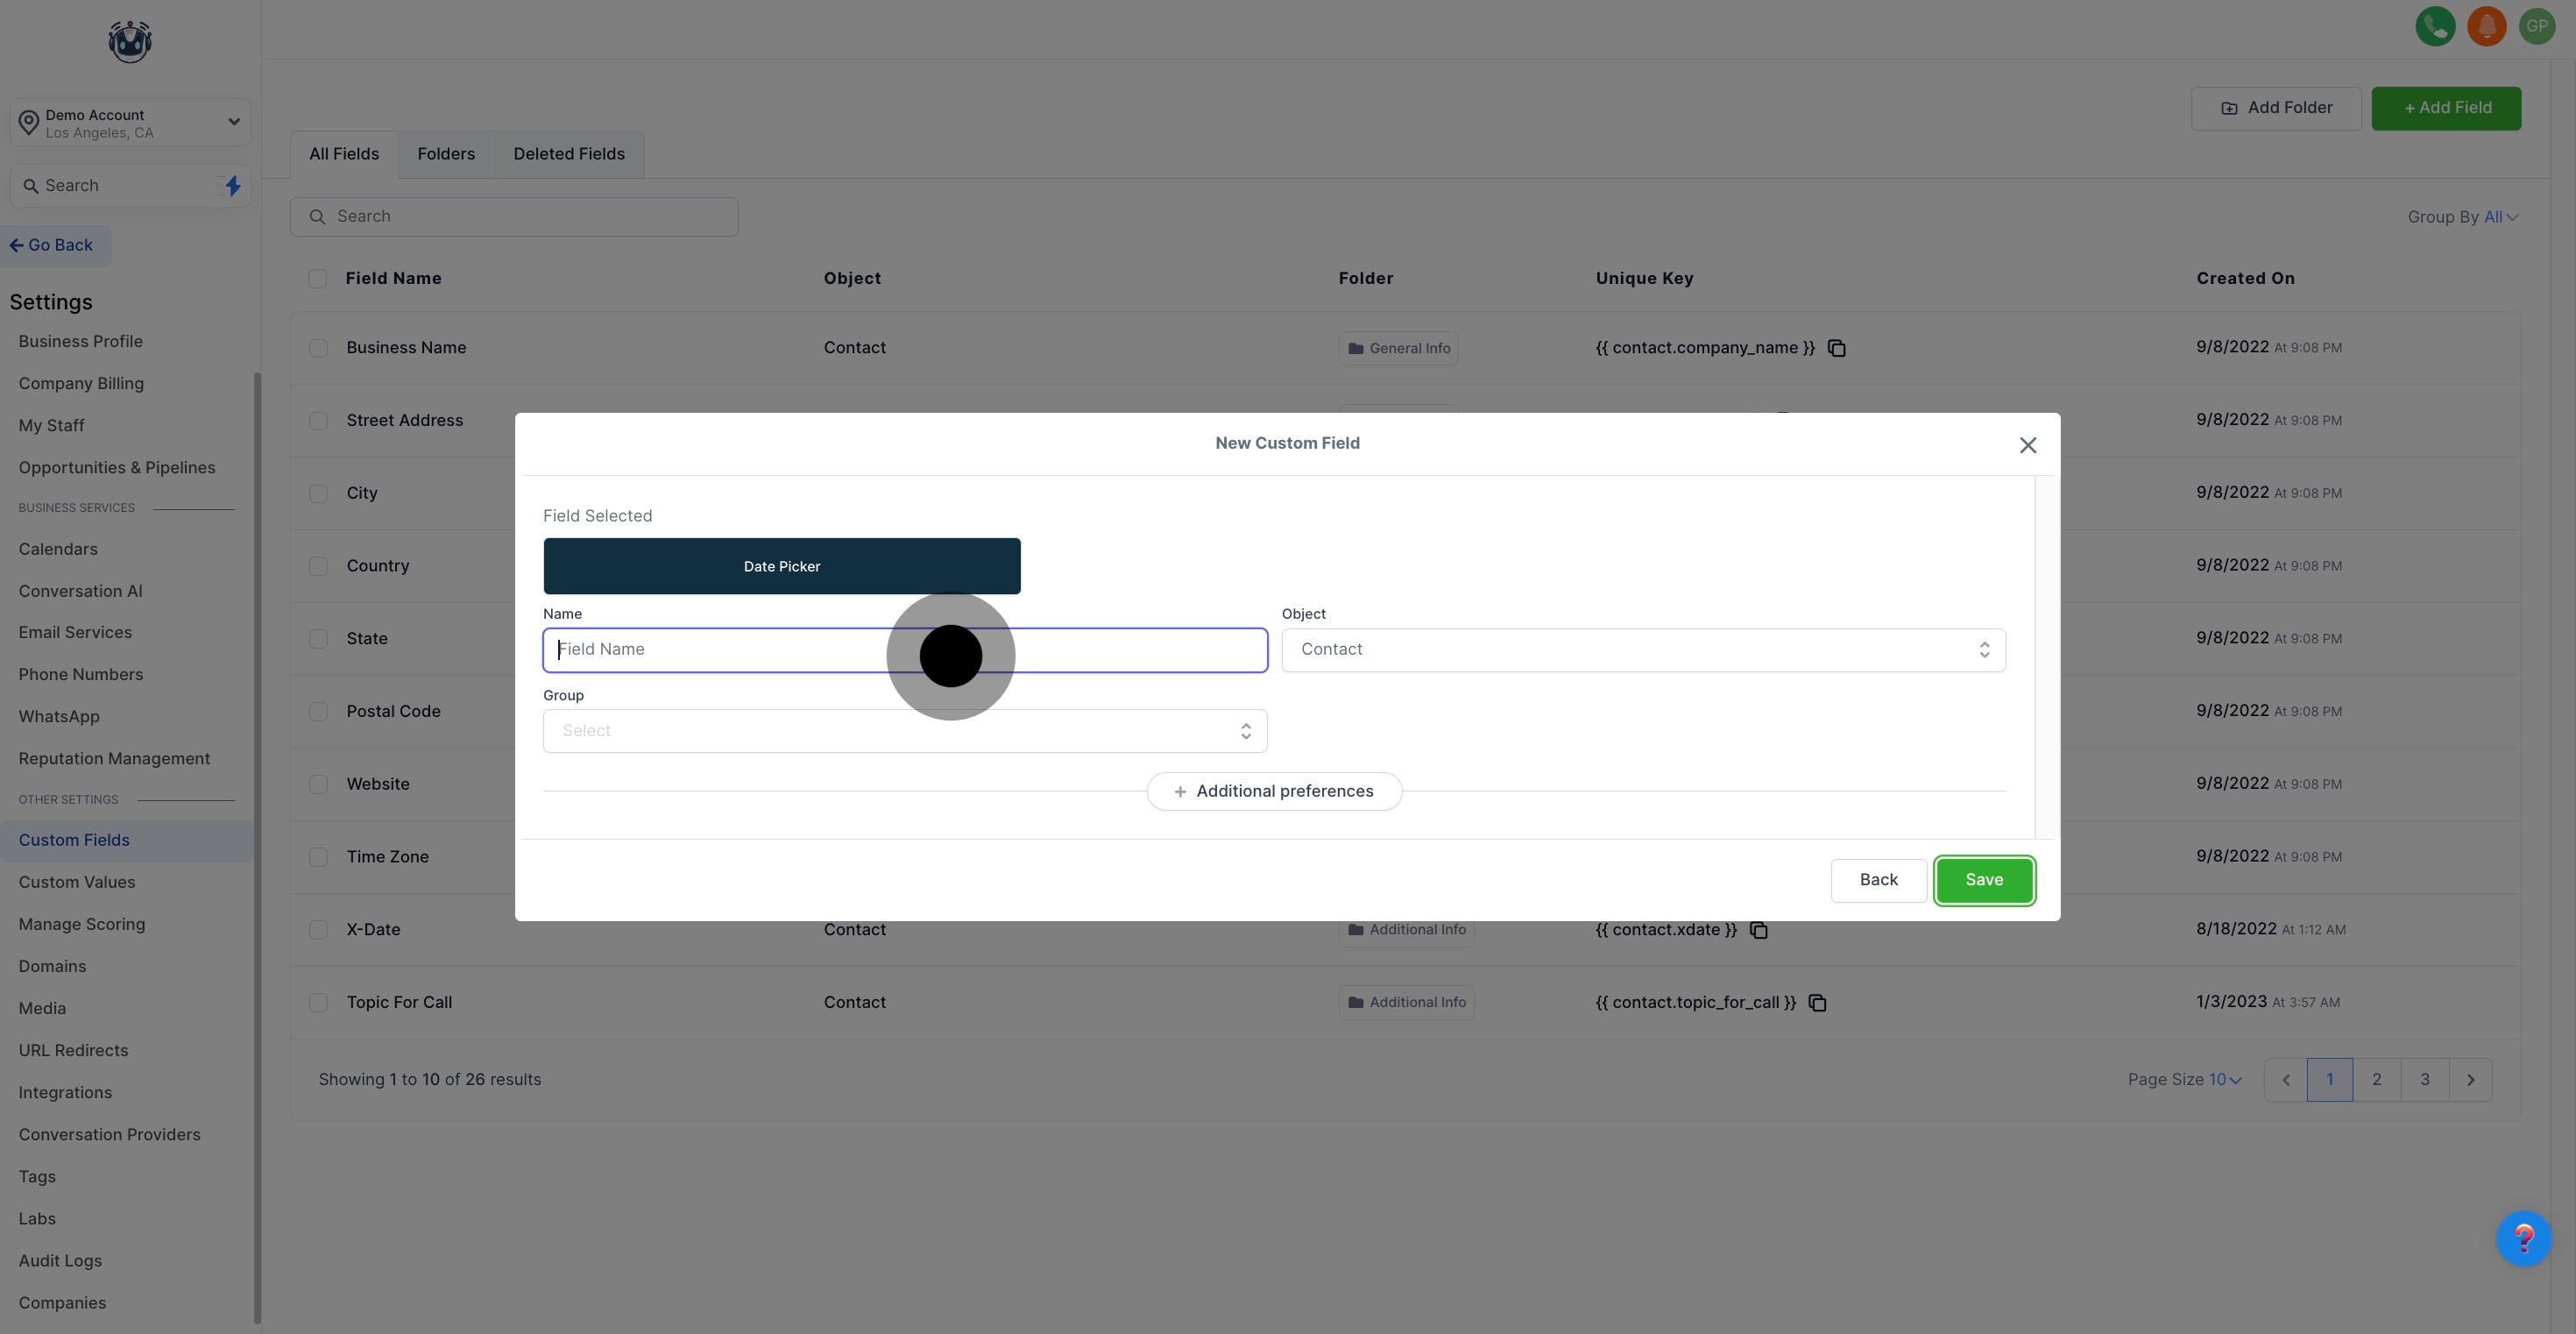
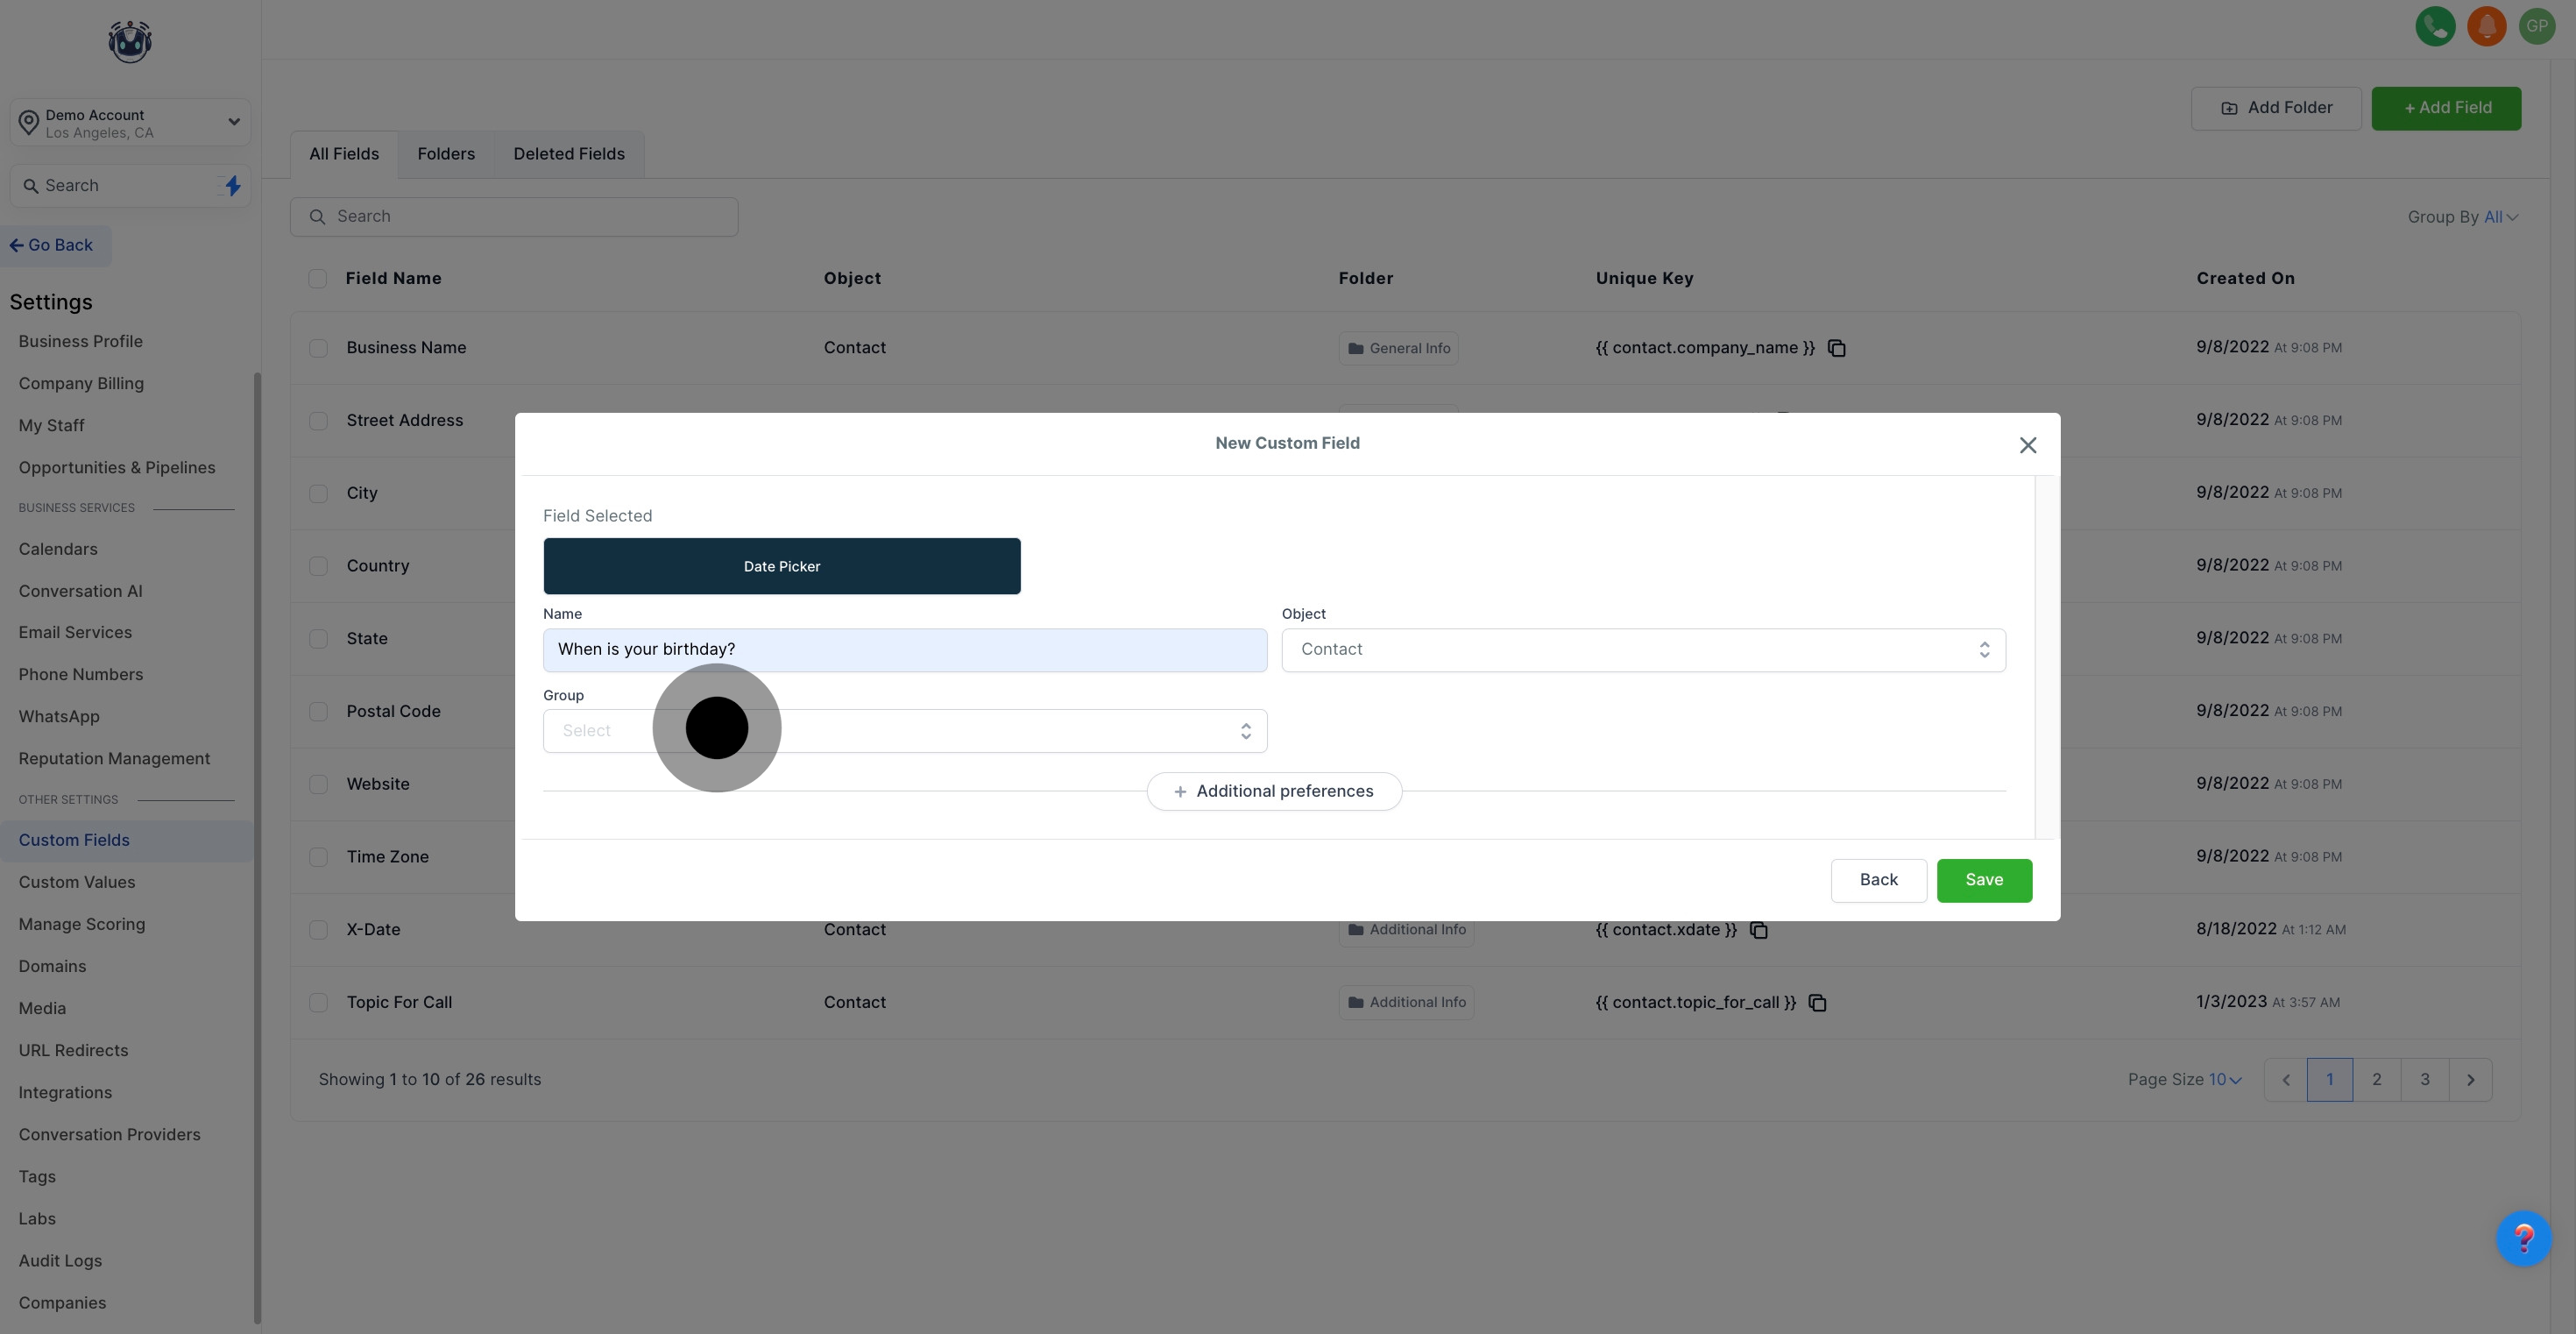
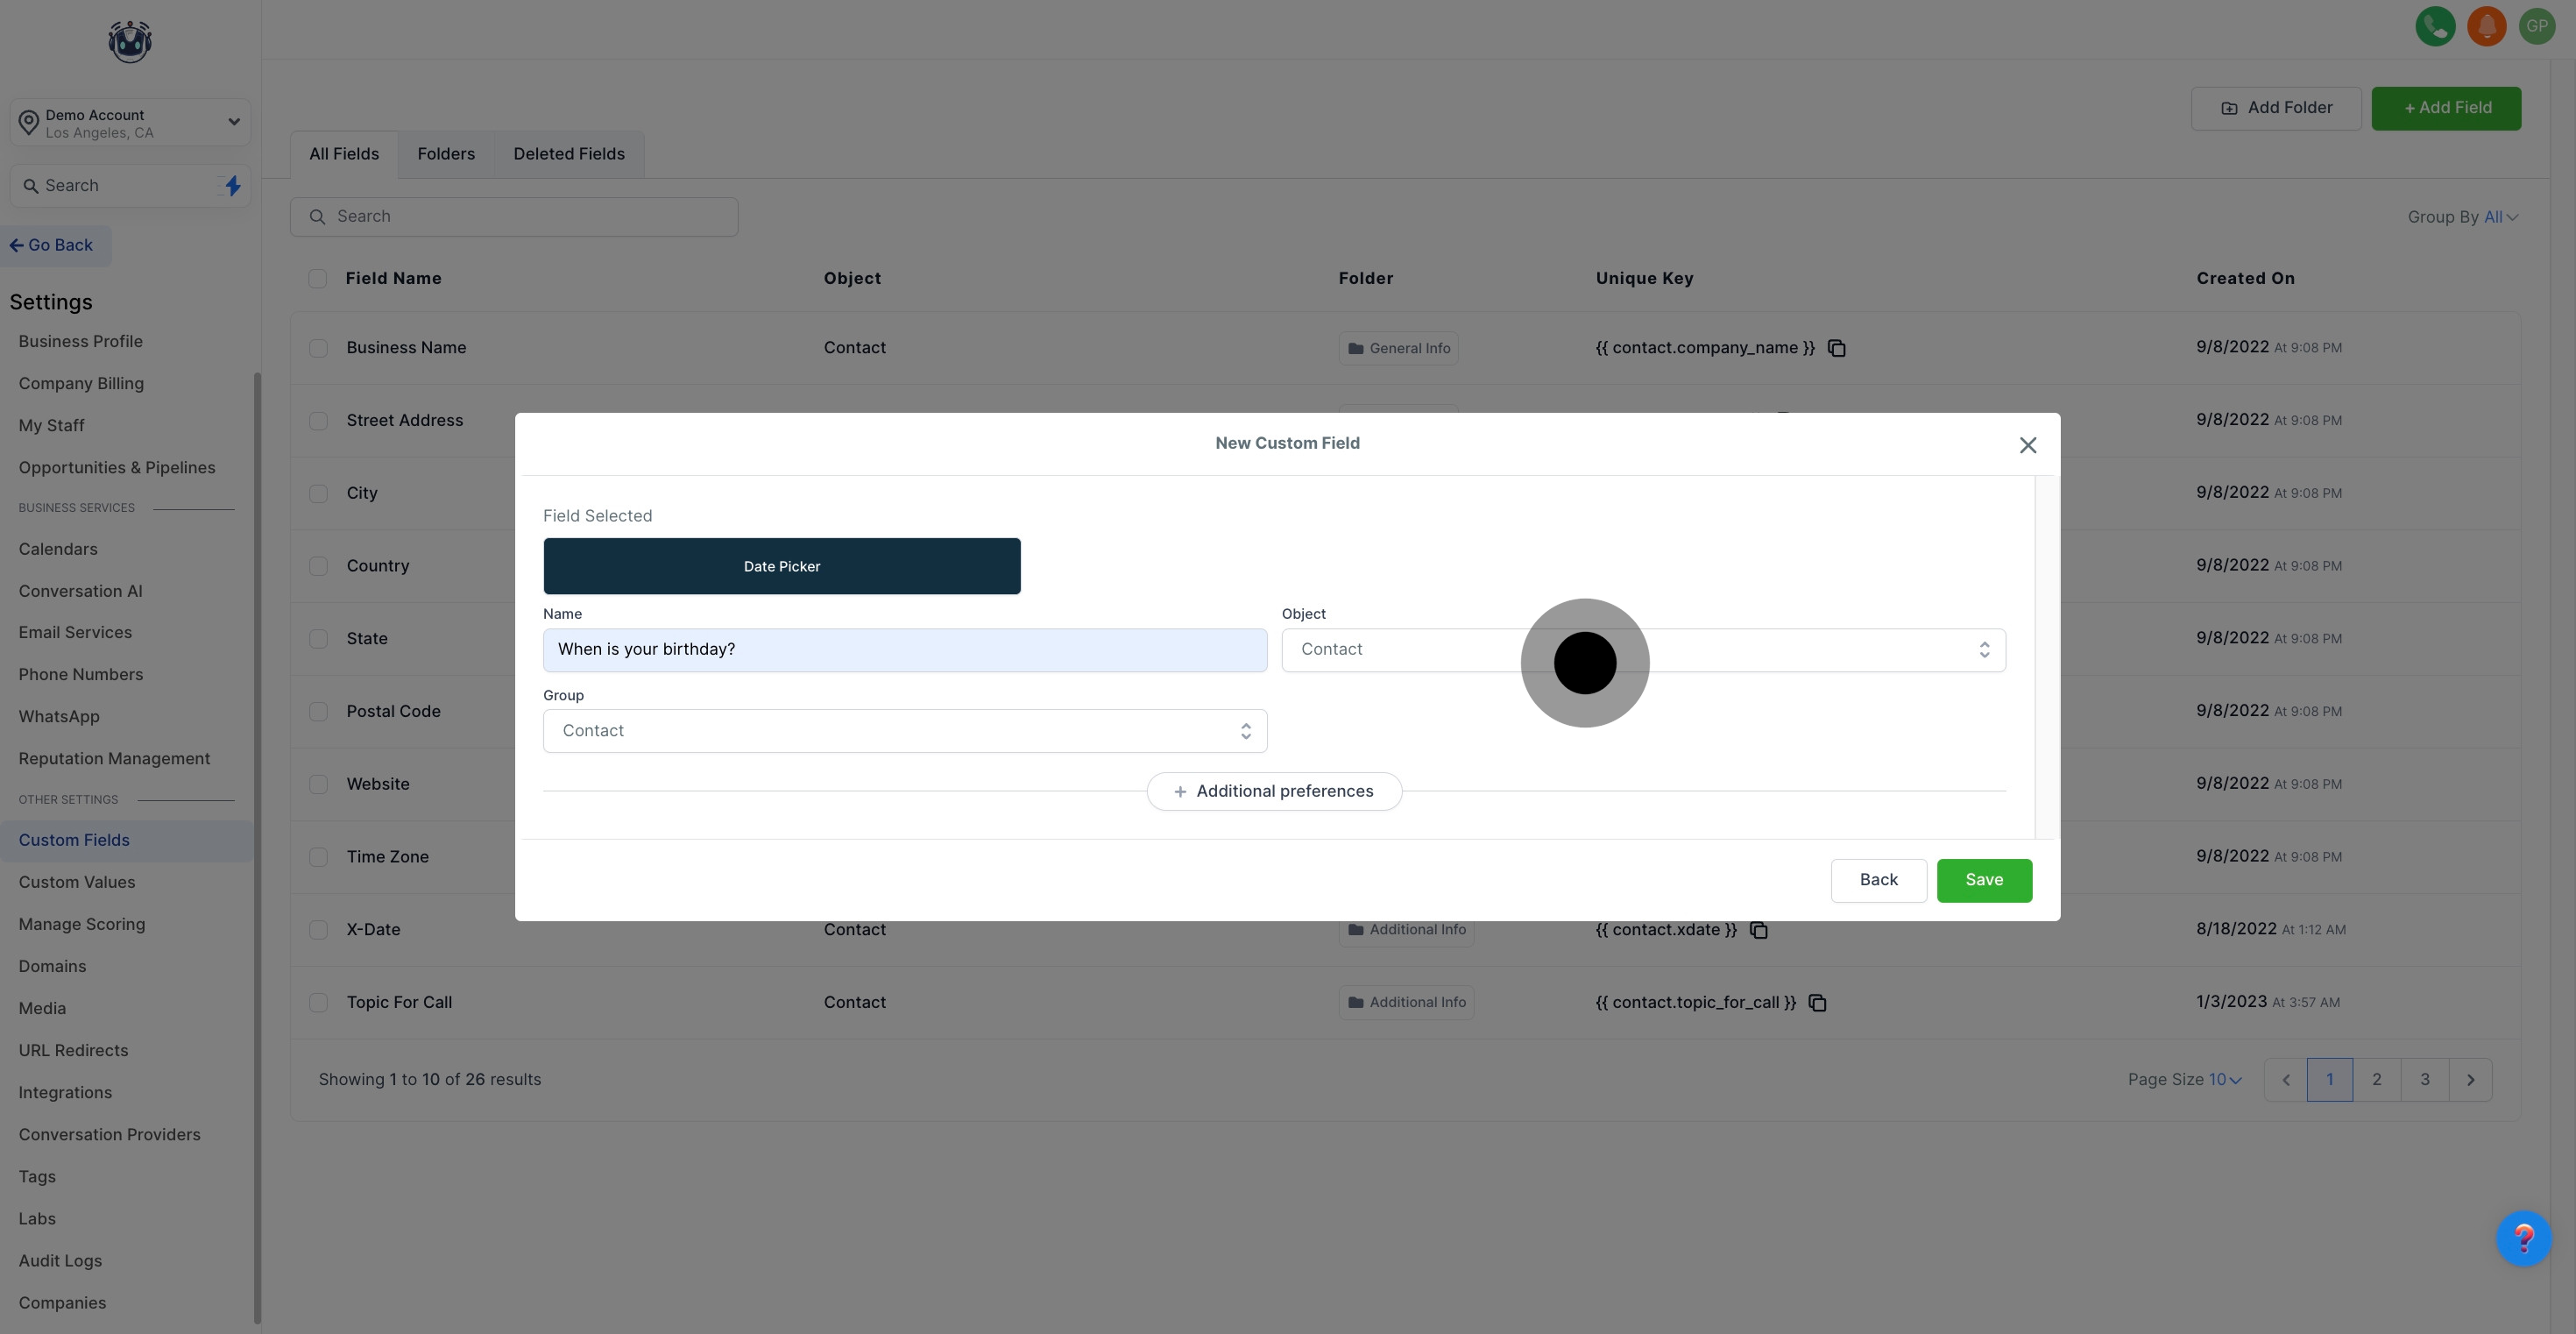
7. Enter the desired name for your custom field now.
8. Choose the appropriate group for your field from the dropdown.
9. Assign your custom field to an object category next.
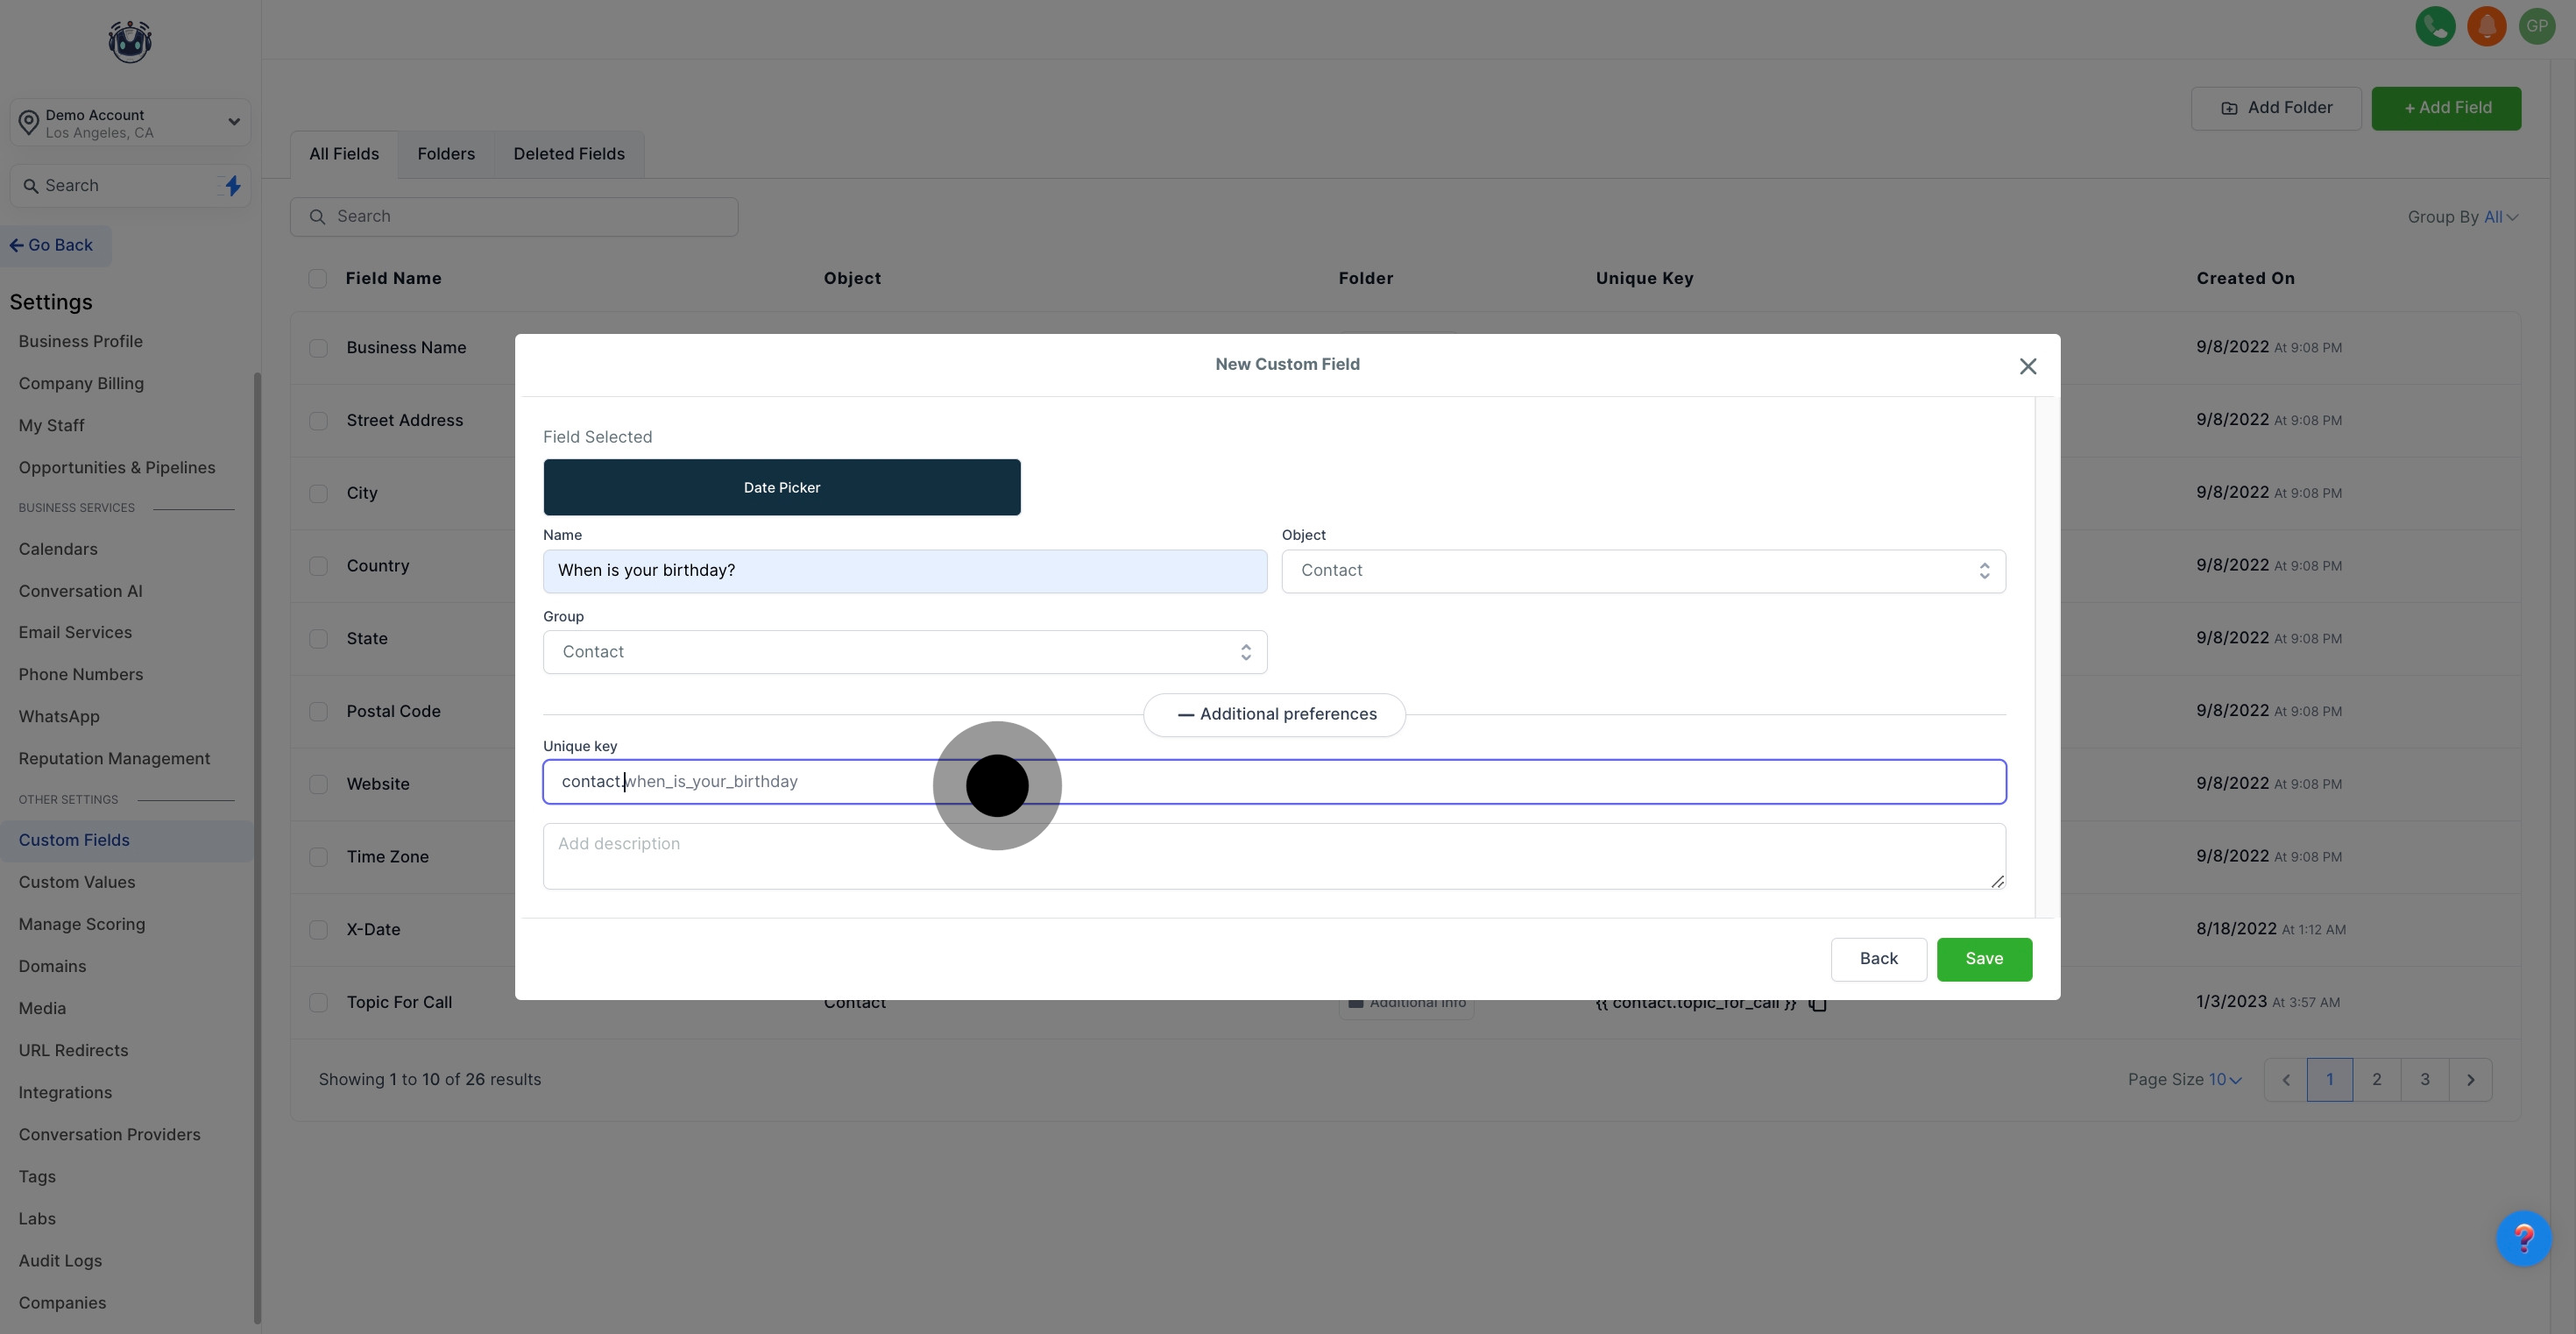
10. Click 'Additional preferences' for more customization options.
11. Customize the key for a unique identifier, if needed.
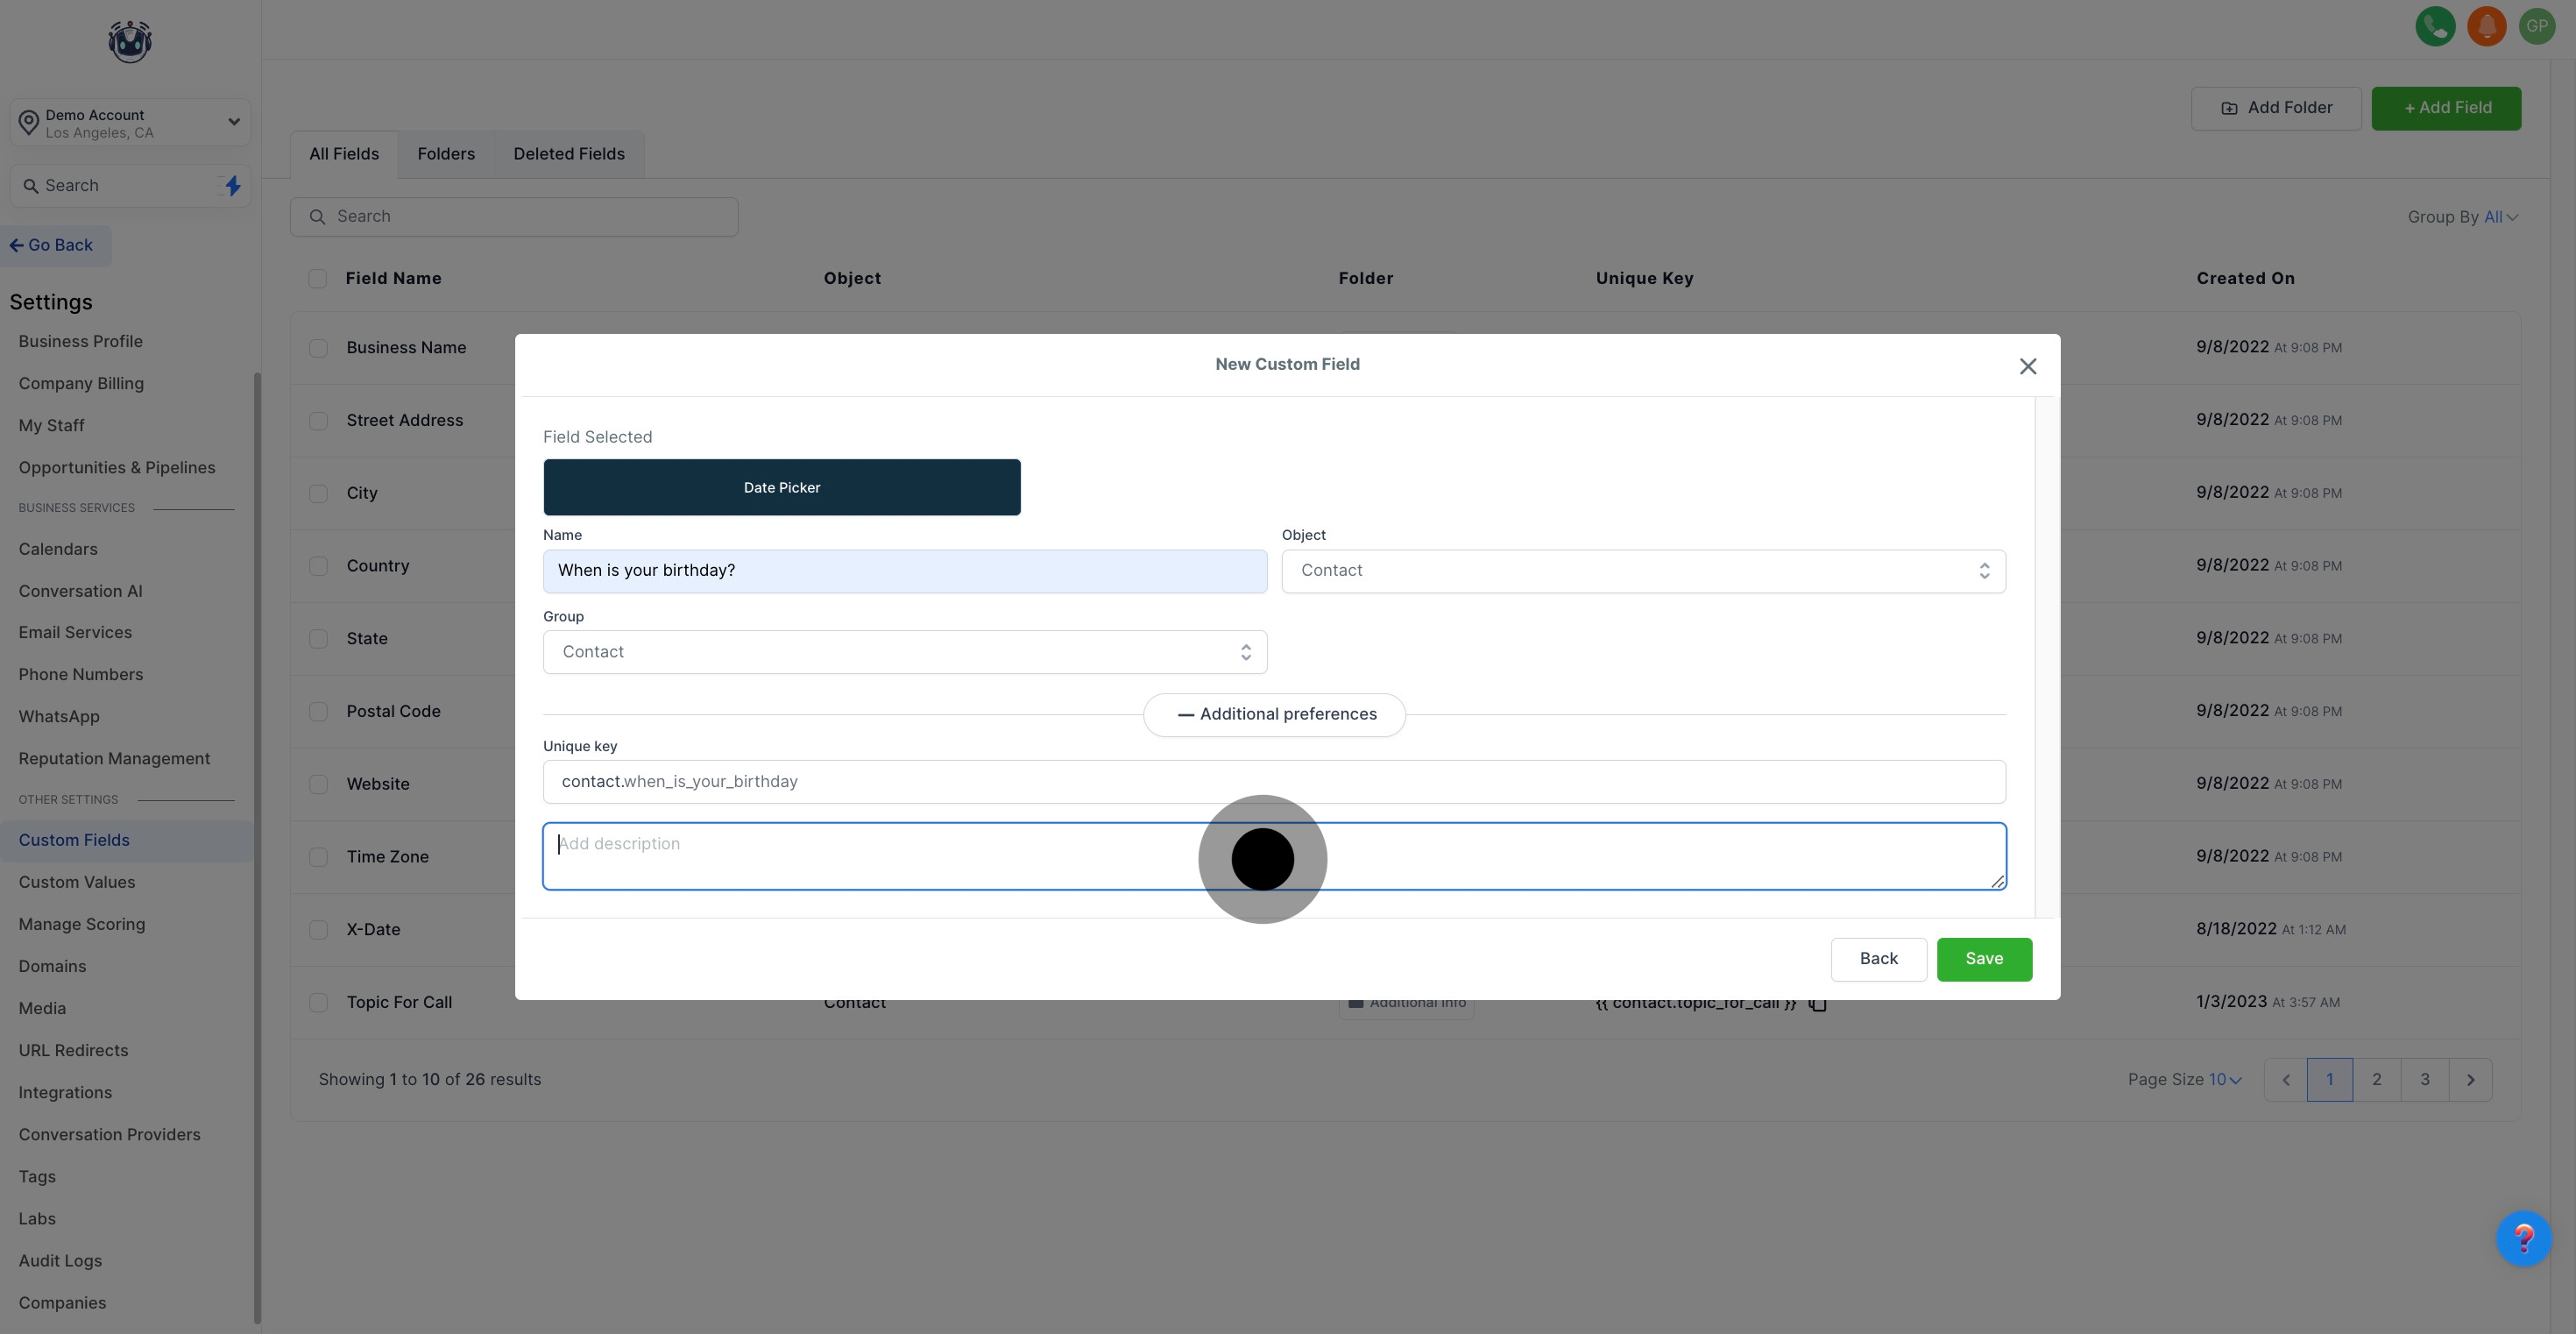
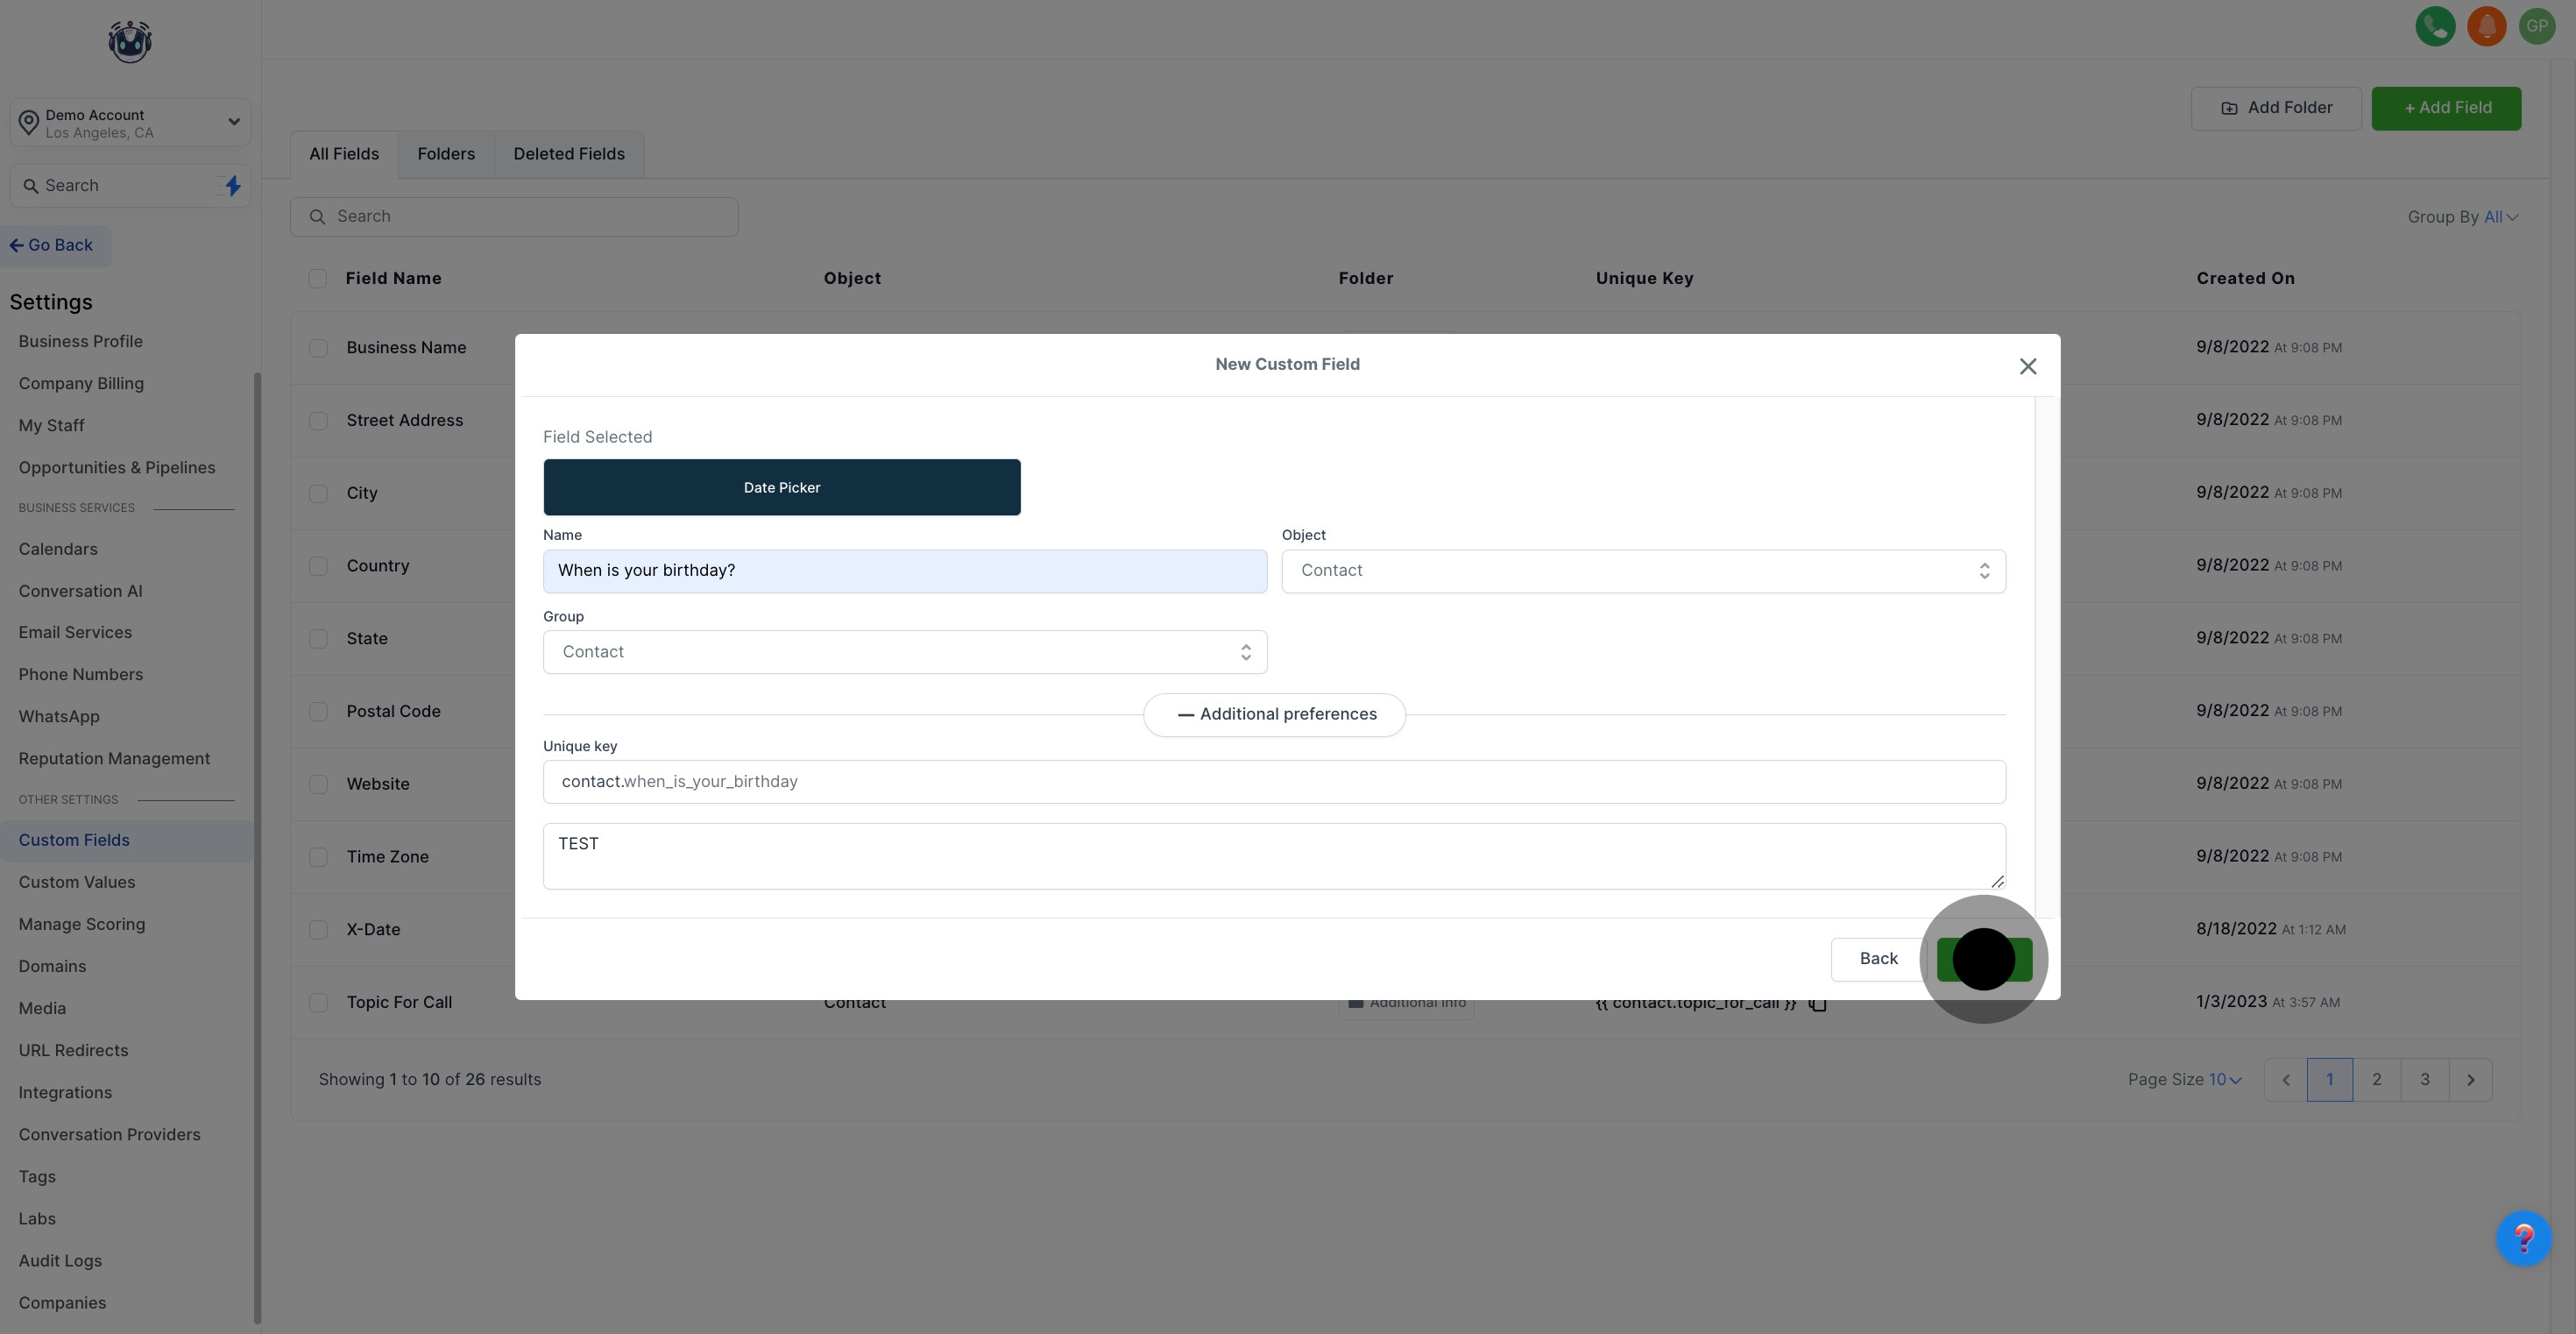
12. Add a detailed description by clicking in the text area provided.
13. Finally, save your settings by clicking 'Save'.
Did this answer your question?
😞
😐
😁
How to Create Date Picker Custom Fields in Pest AI | Pest AI