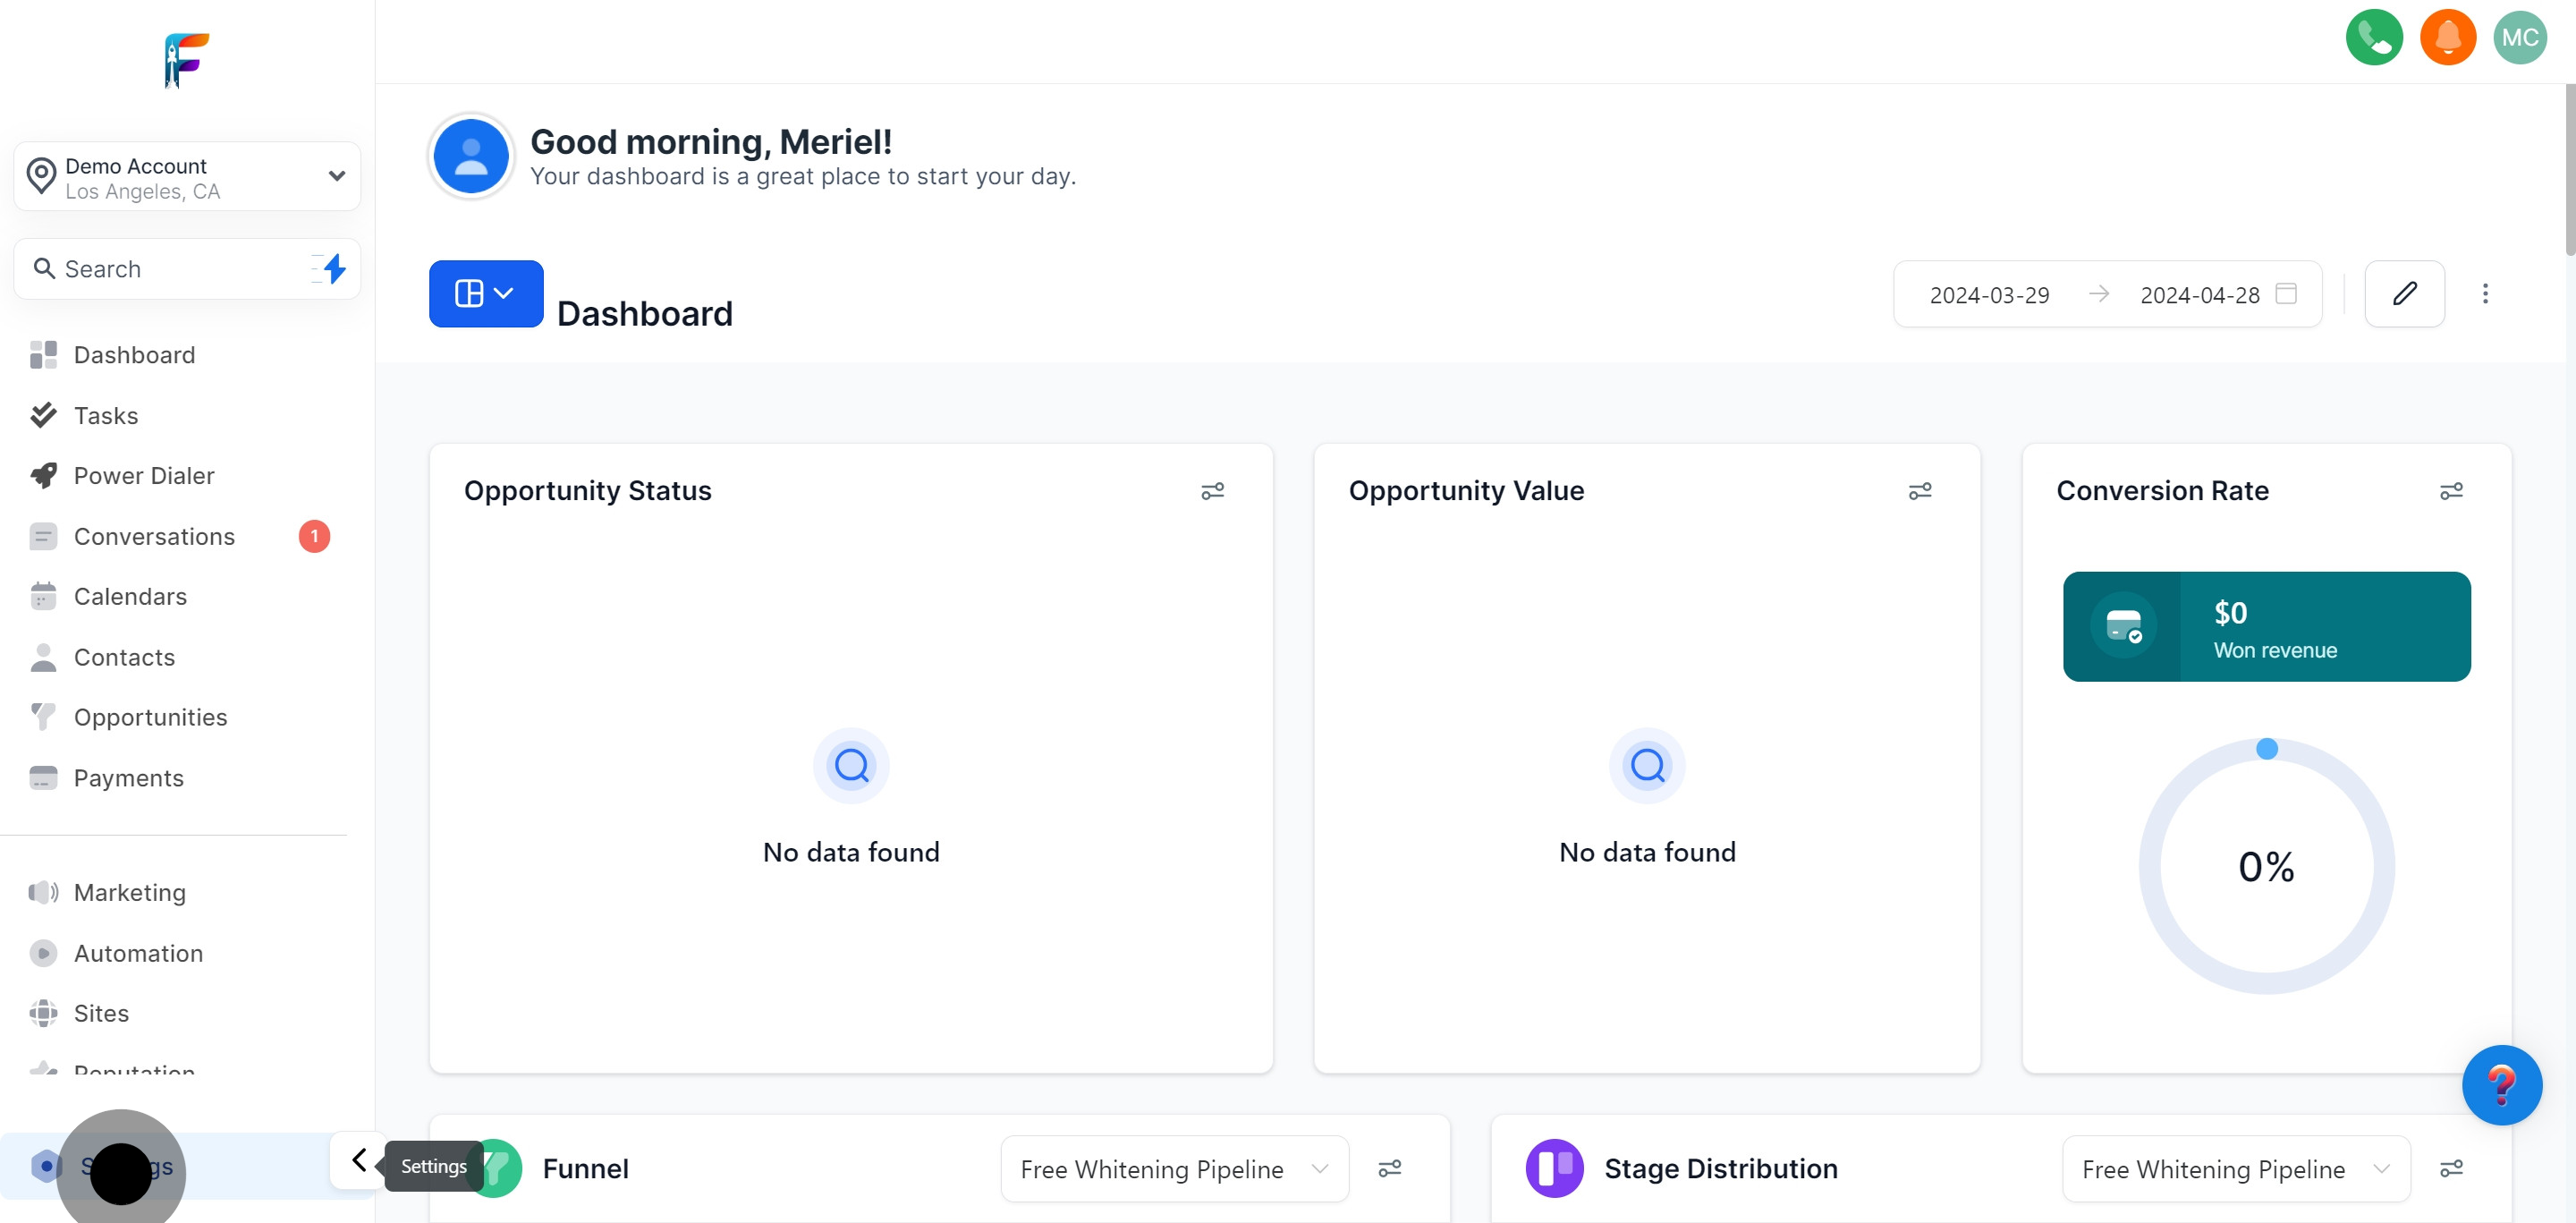
1. Let's start by navigating to the settings section.
2. Move on to the Business Profile tab next.
Locate the General Information card within the Business Profile to make necessary updates.
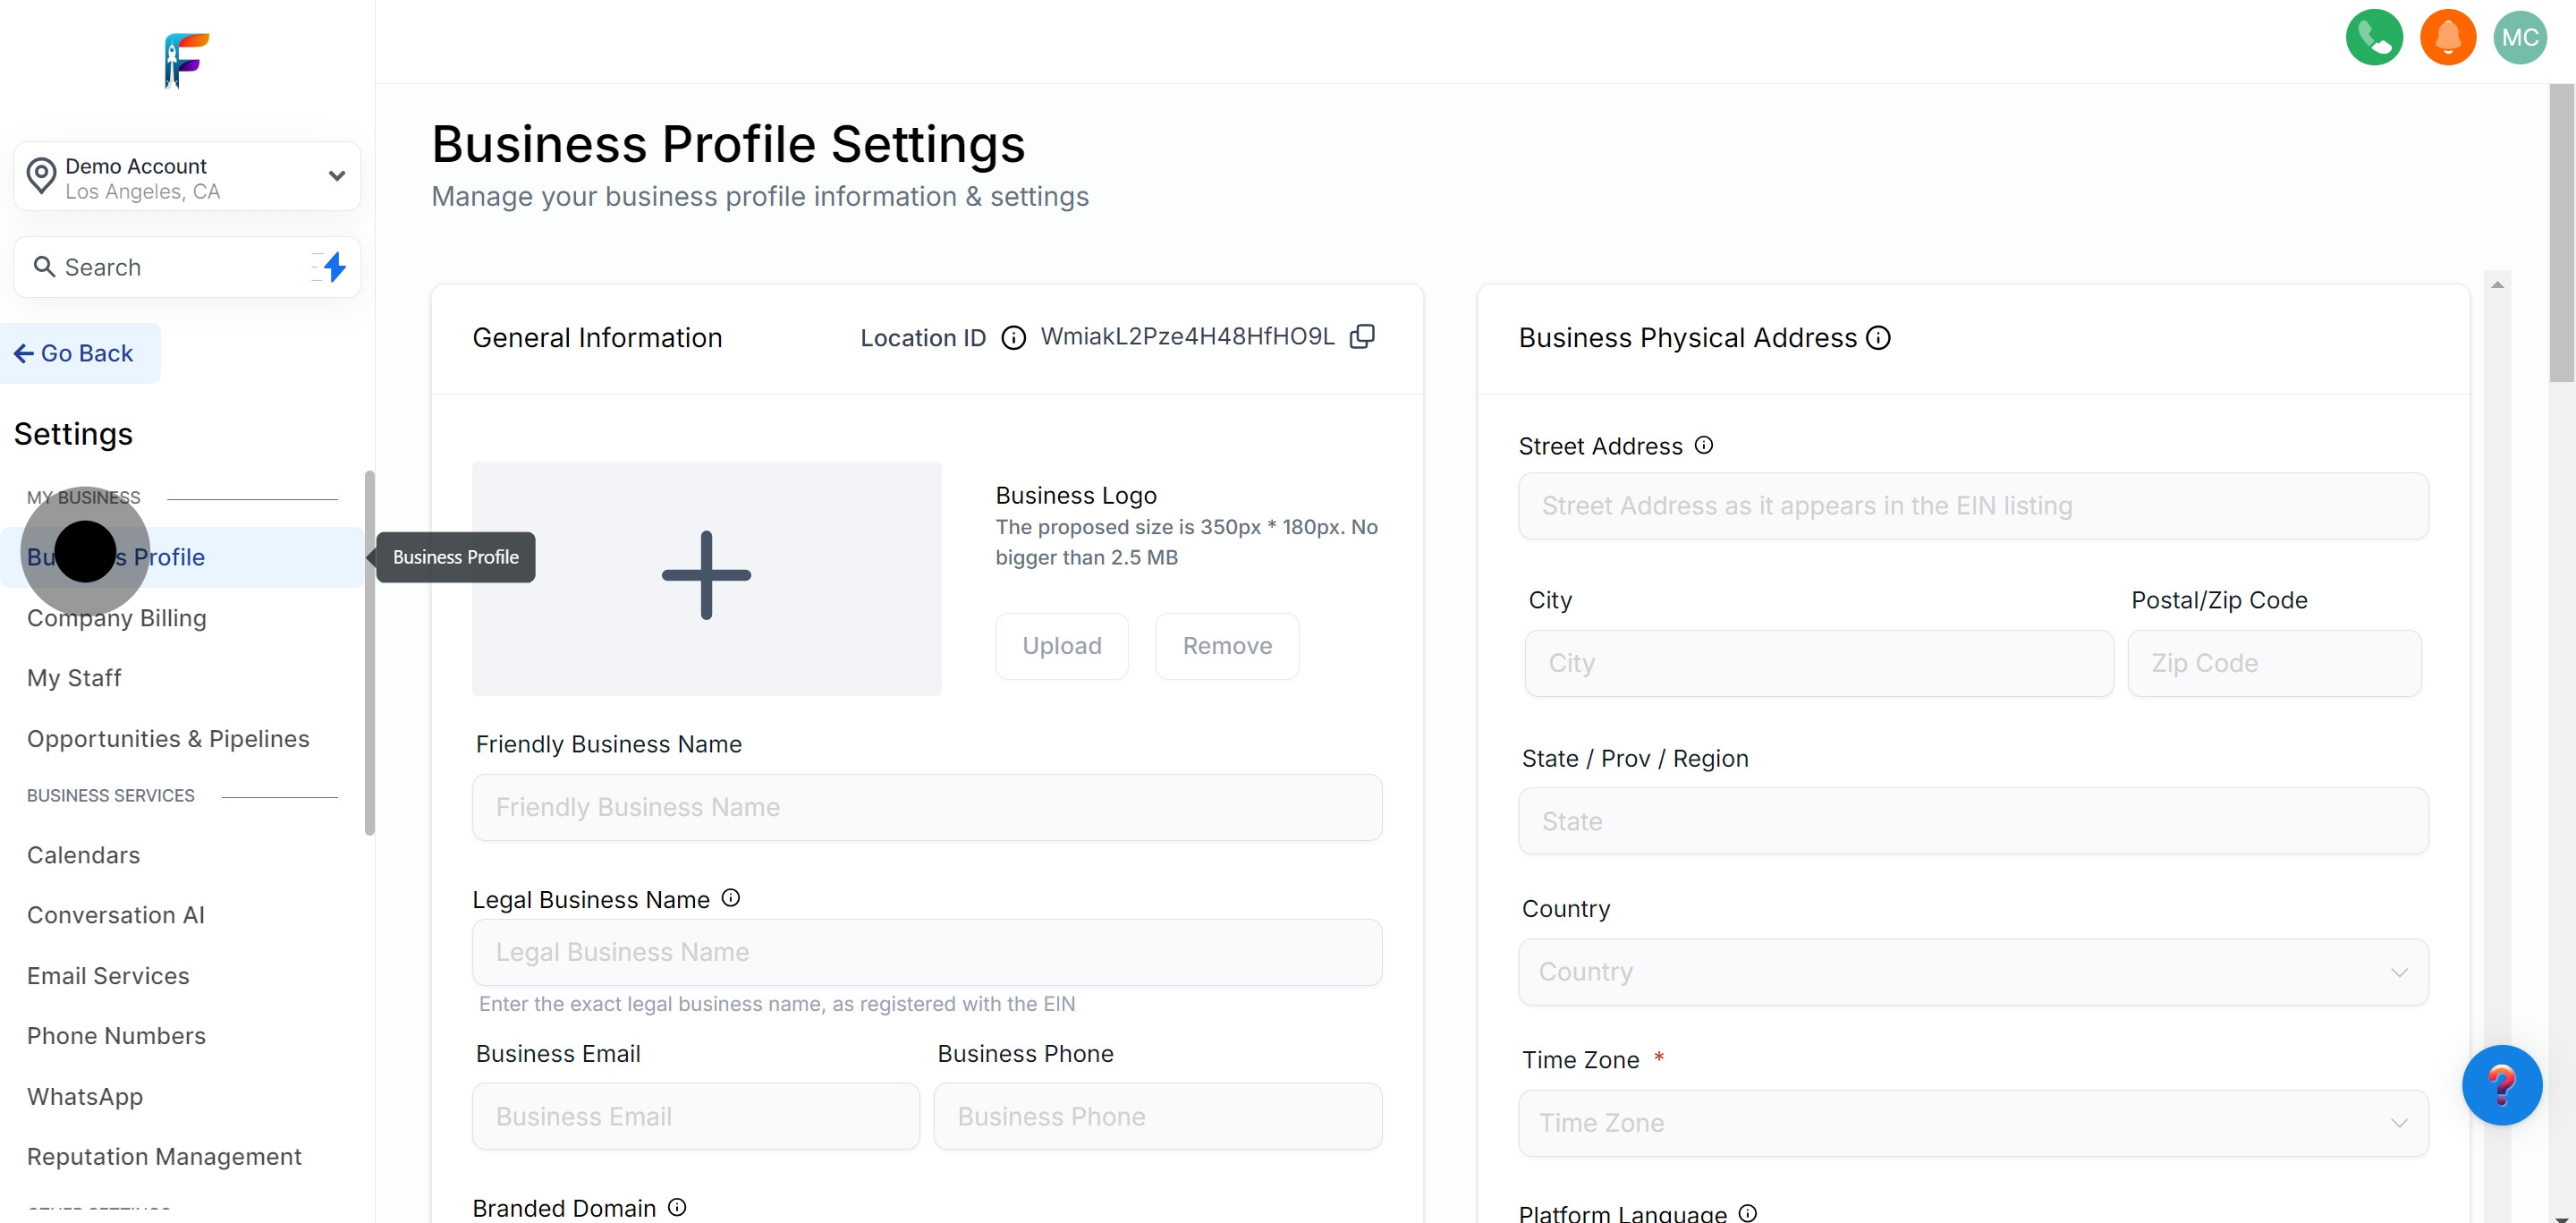
3. Look for the General Information card in your business profile.
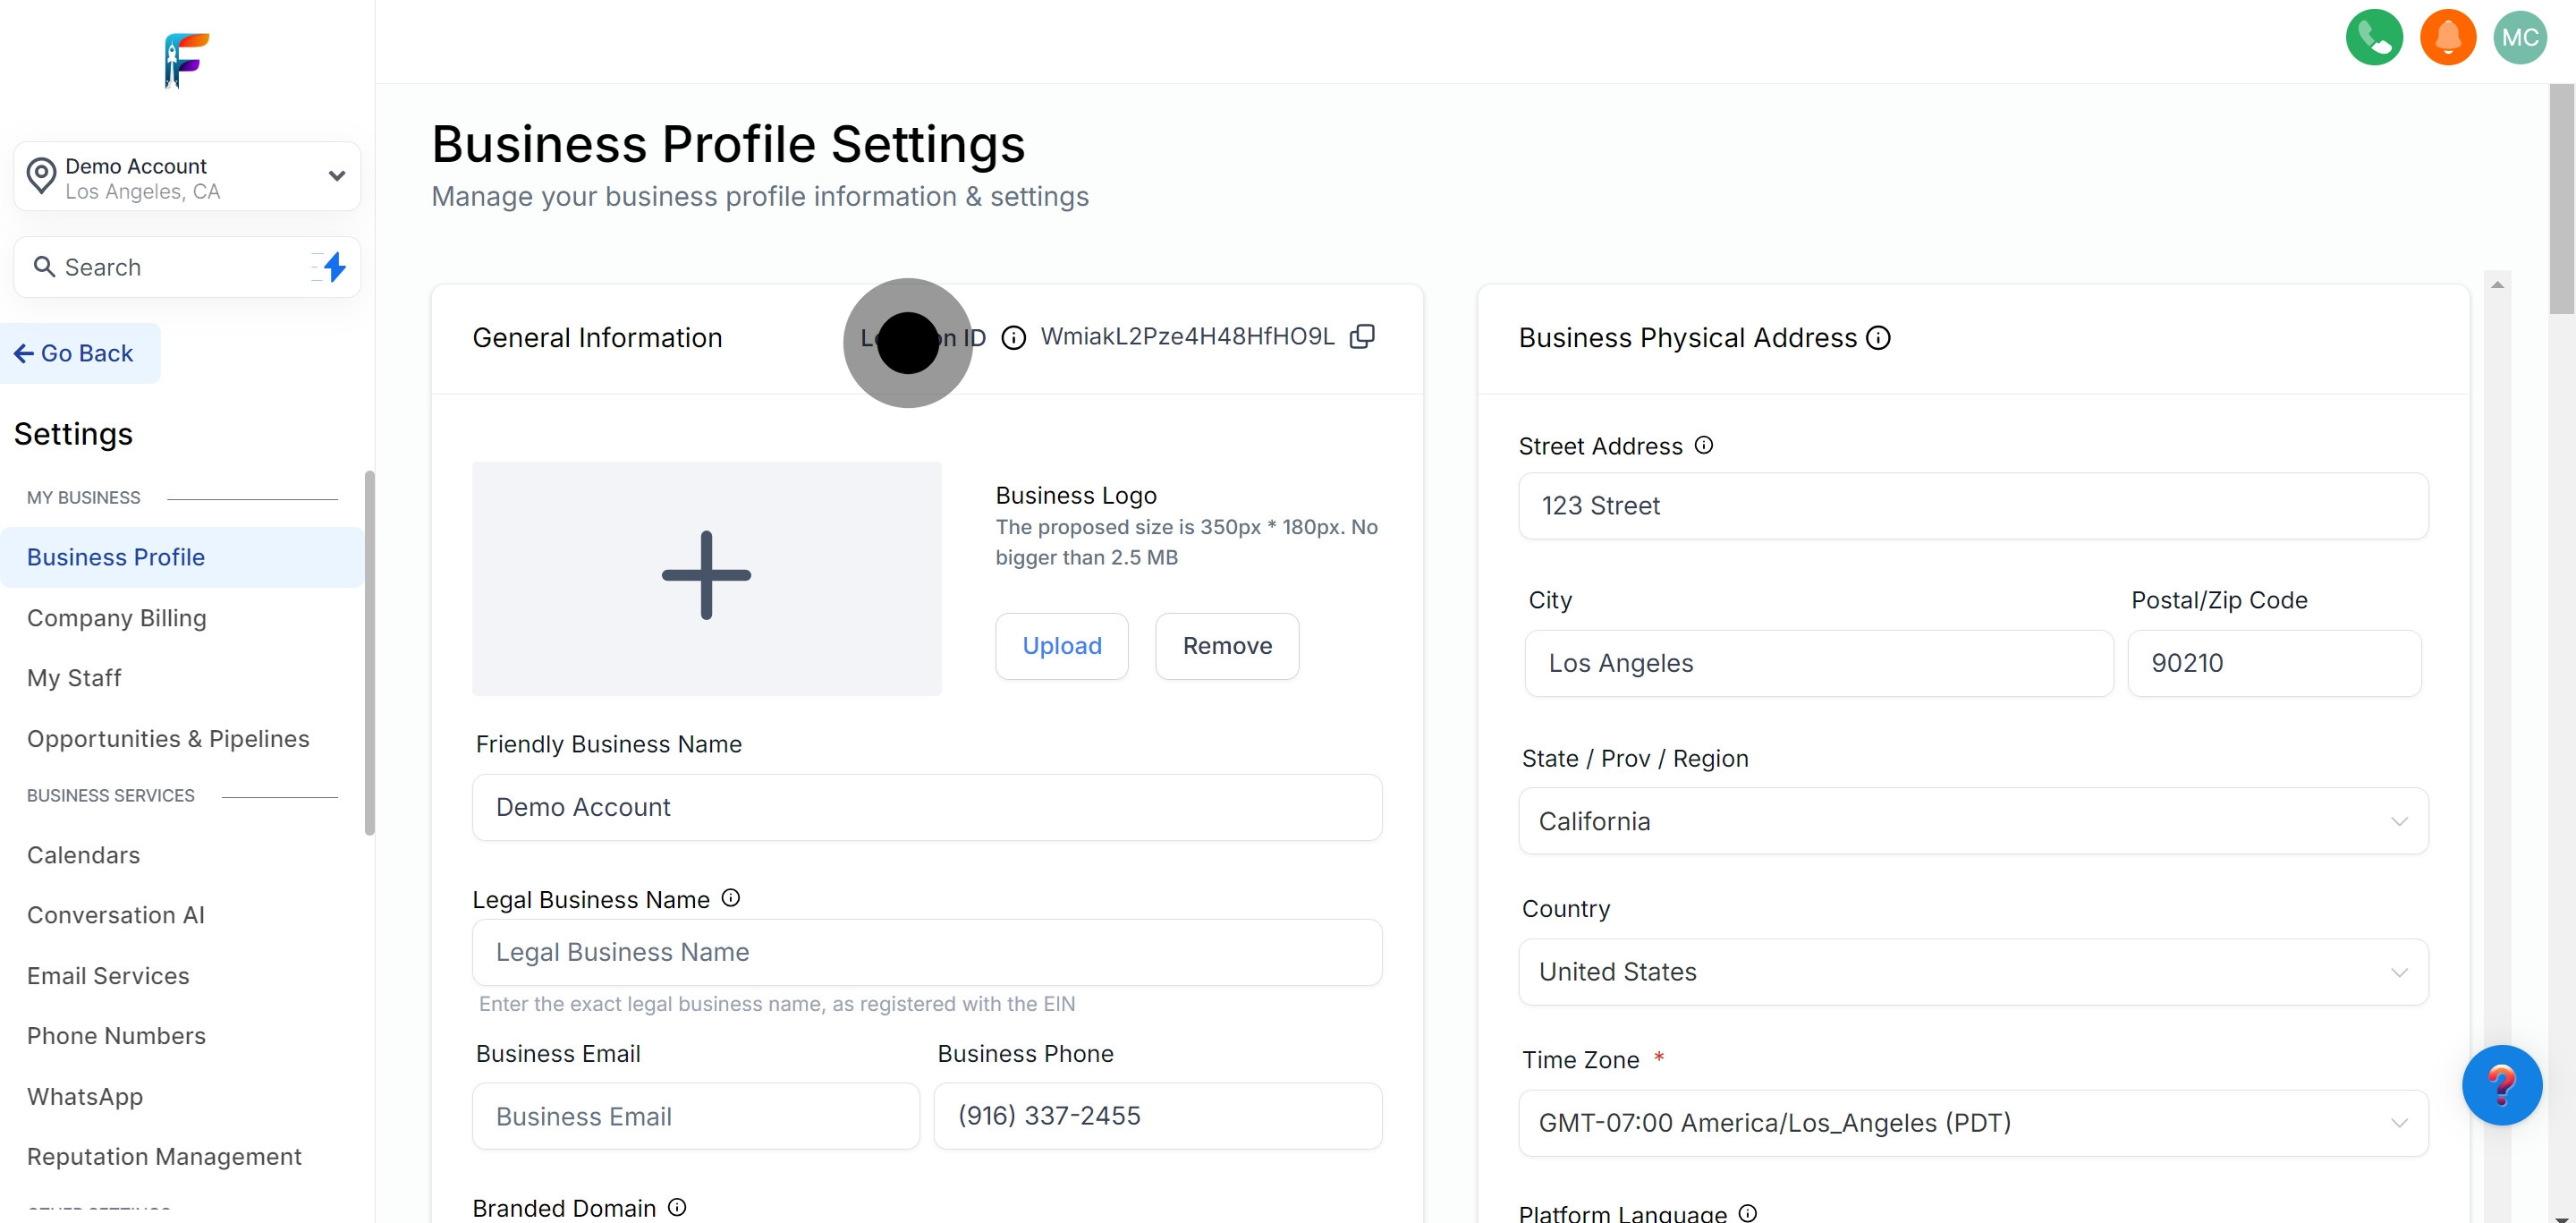
Check for your Location ID displayed within the General Information section for reference or modifications.
4. Identify your Location ID within the General Information section.
Check for your Location ID displayed within the General Information section for reference or modifications.
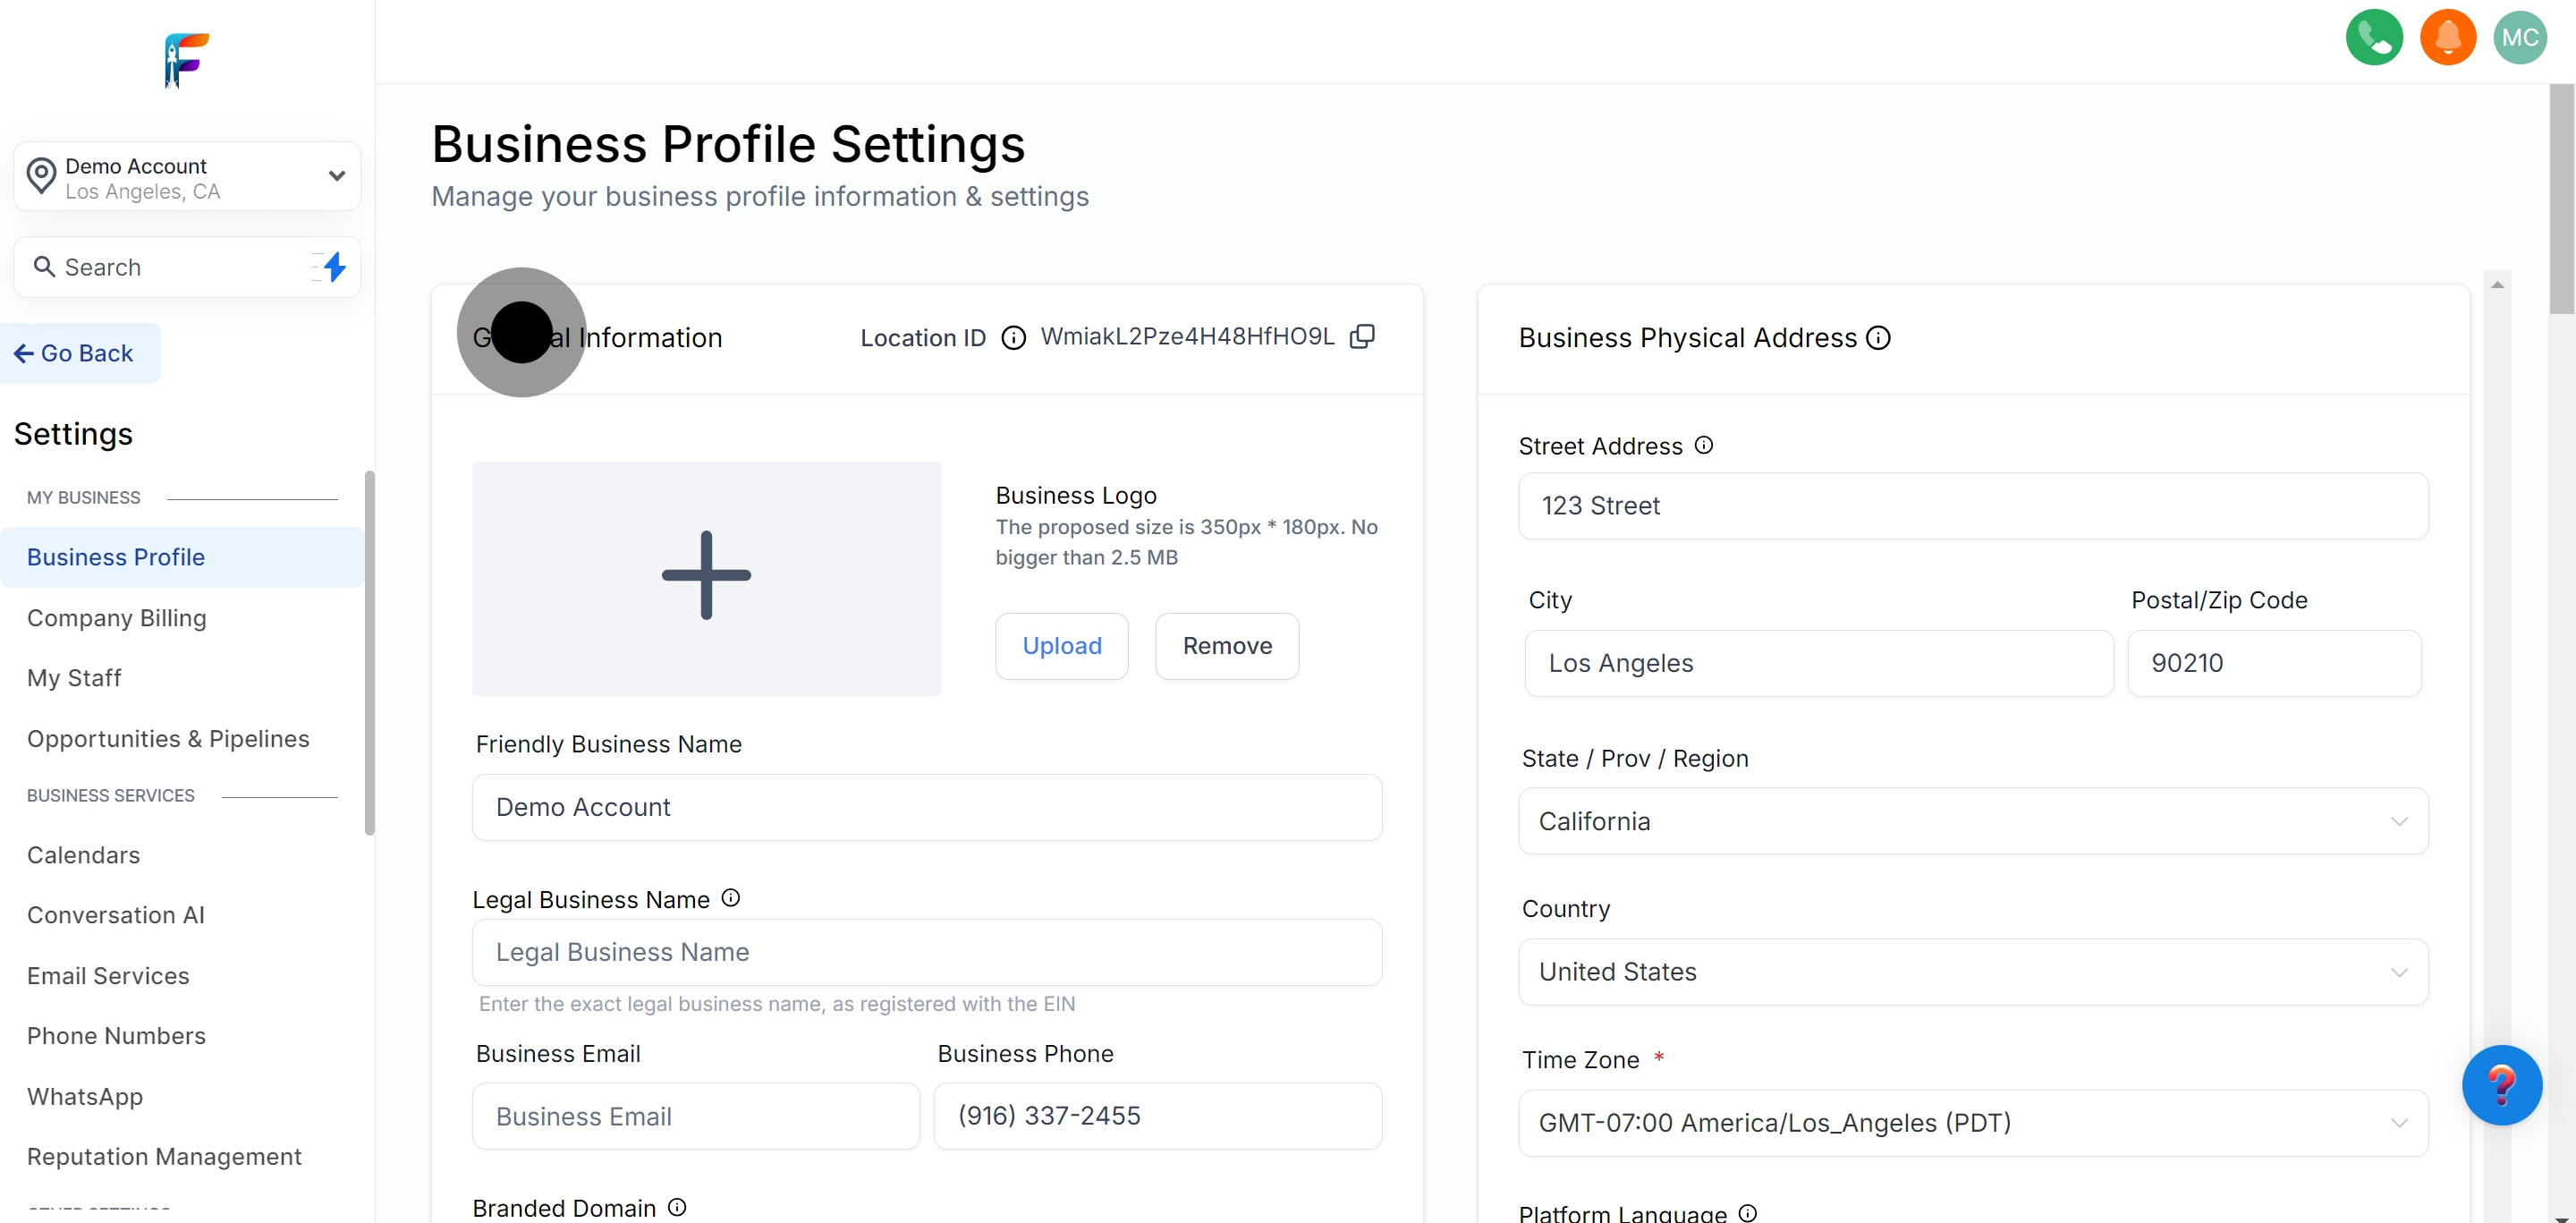
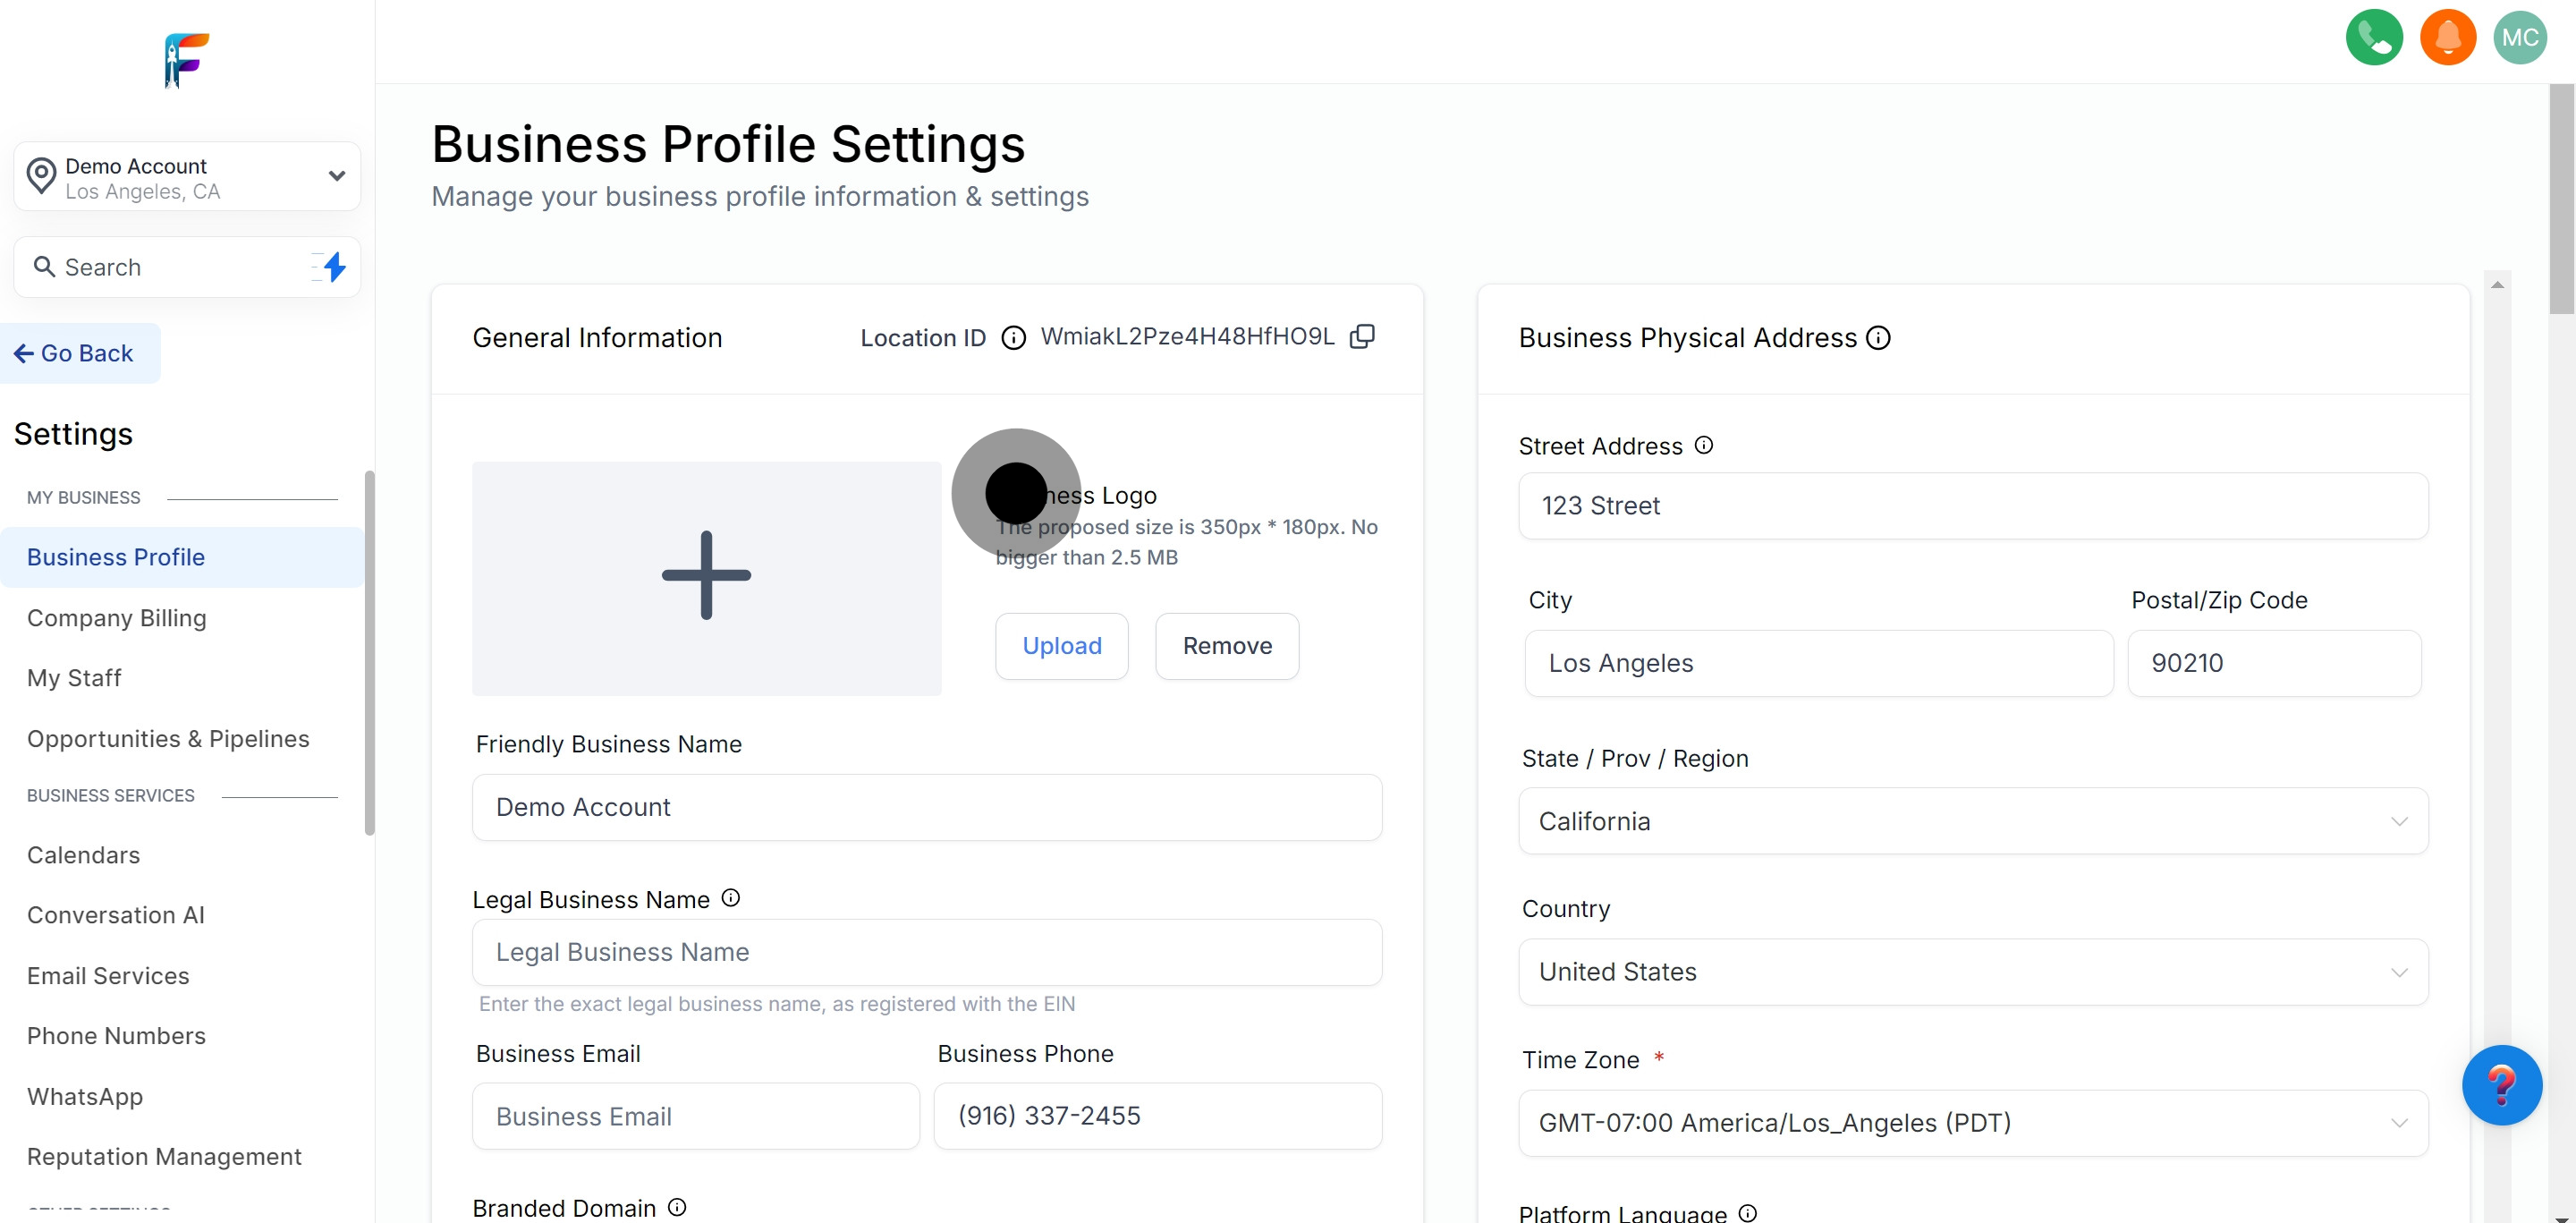
5. It's time to customize your Business Logo.
Update or change your business logo to maintain your brand's current visual identity.
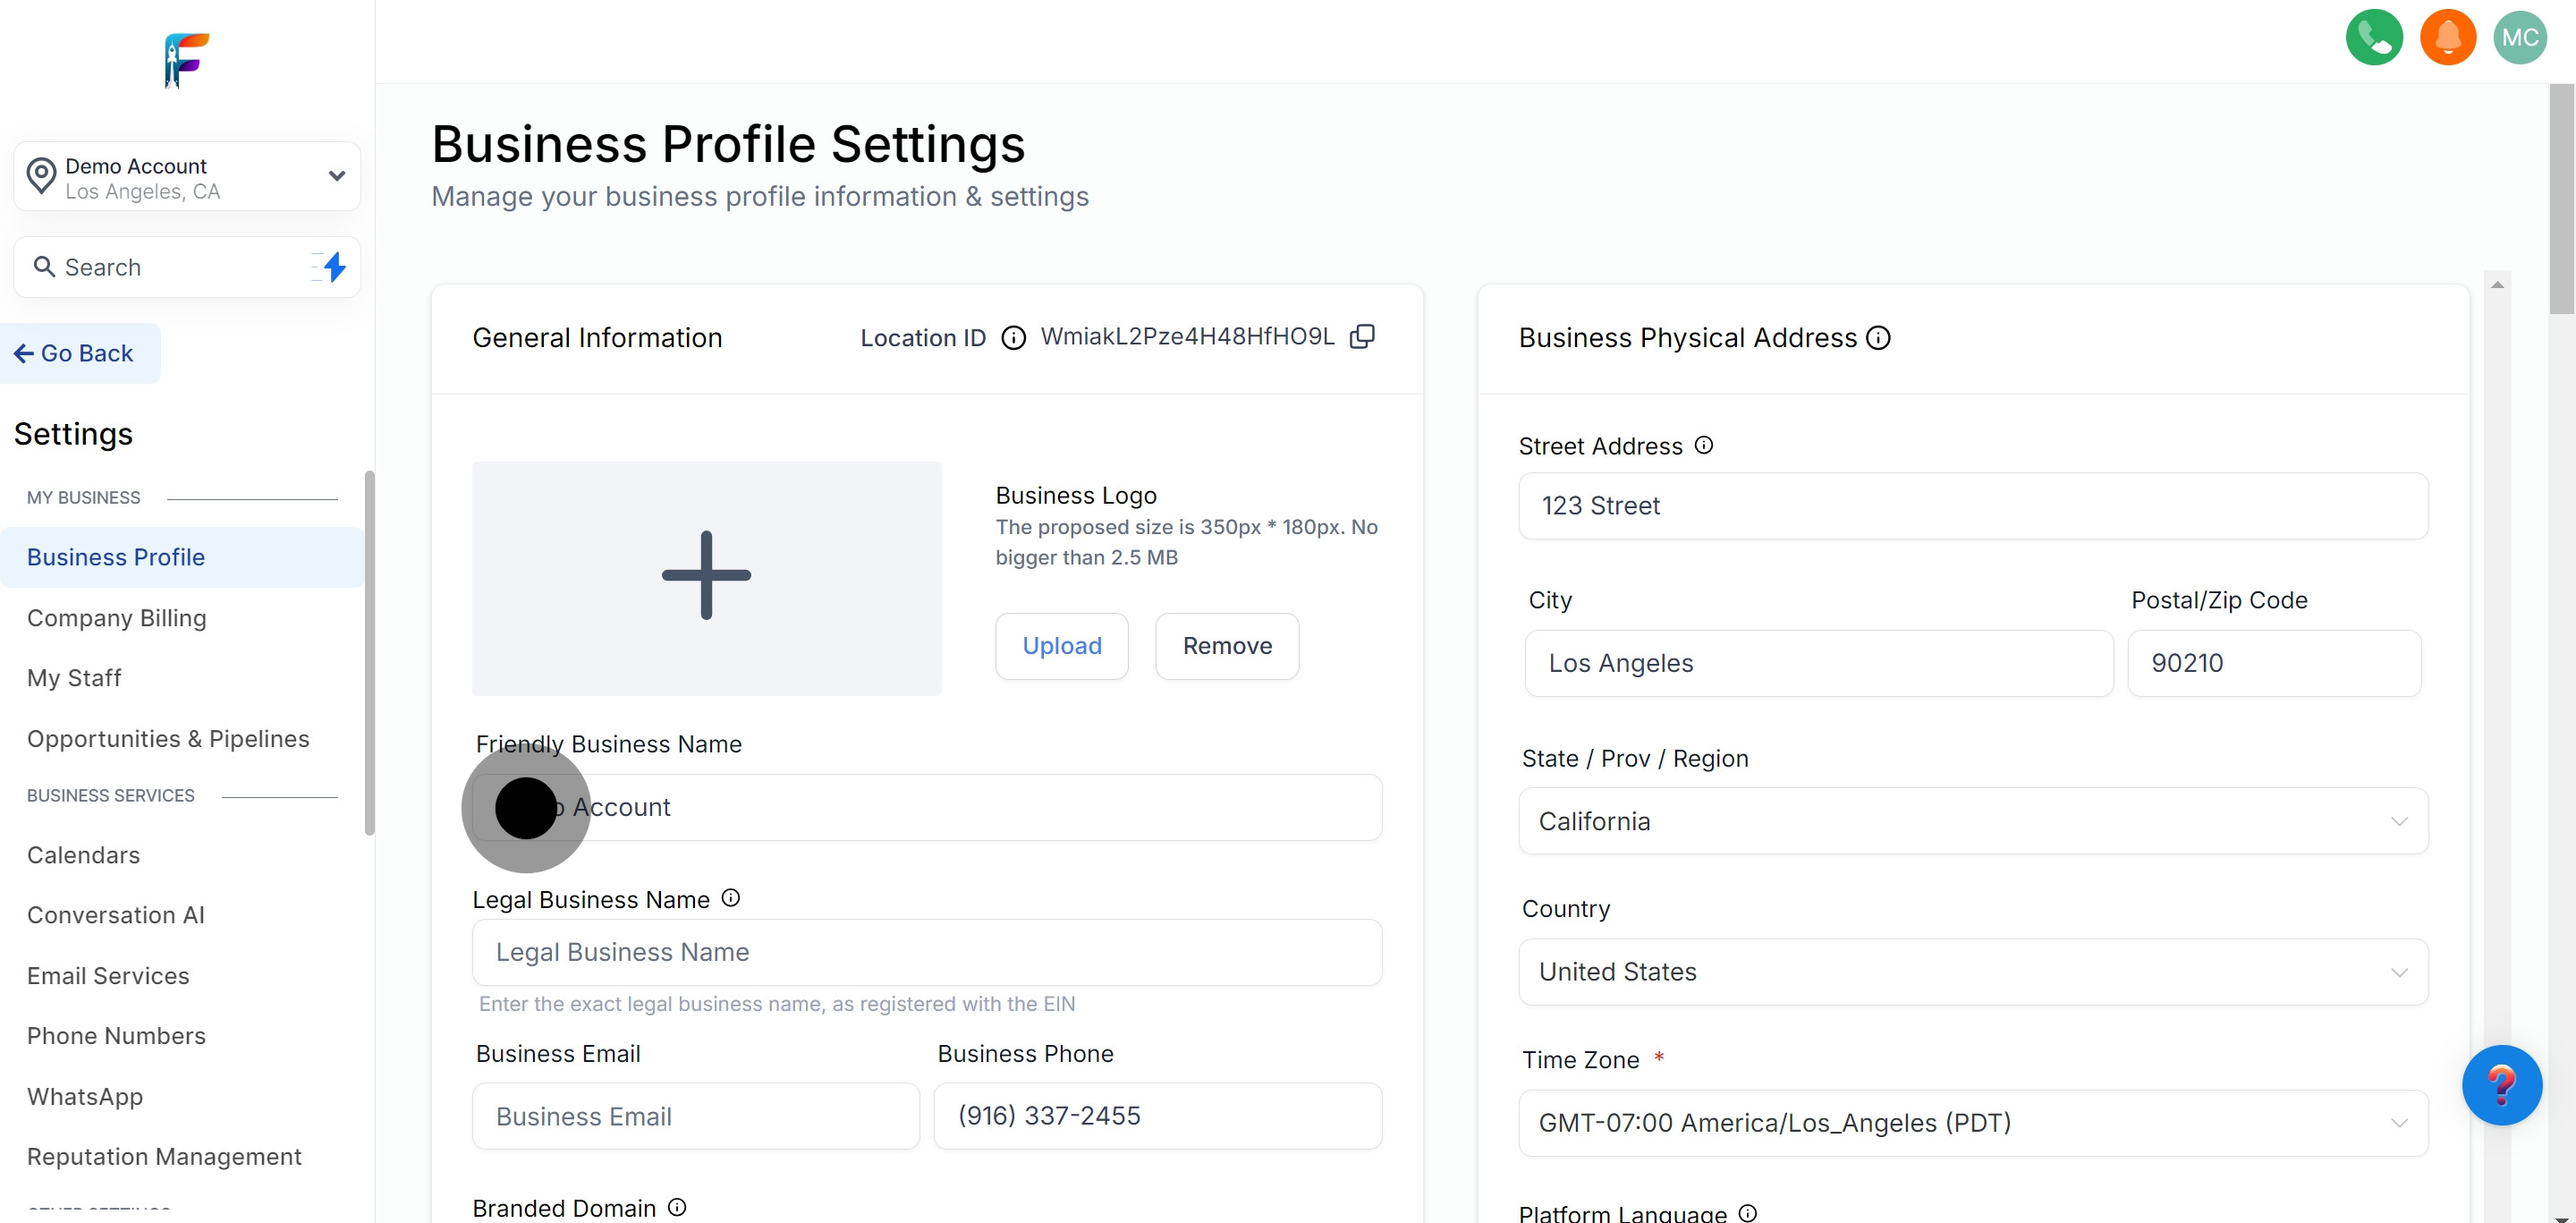
6. Create a Friendly Business Name that feels right to you.
Choose a user-friendly business name that represents your brand effectively.
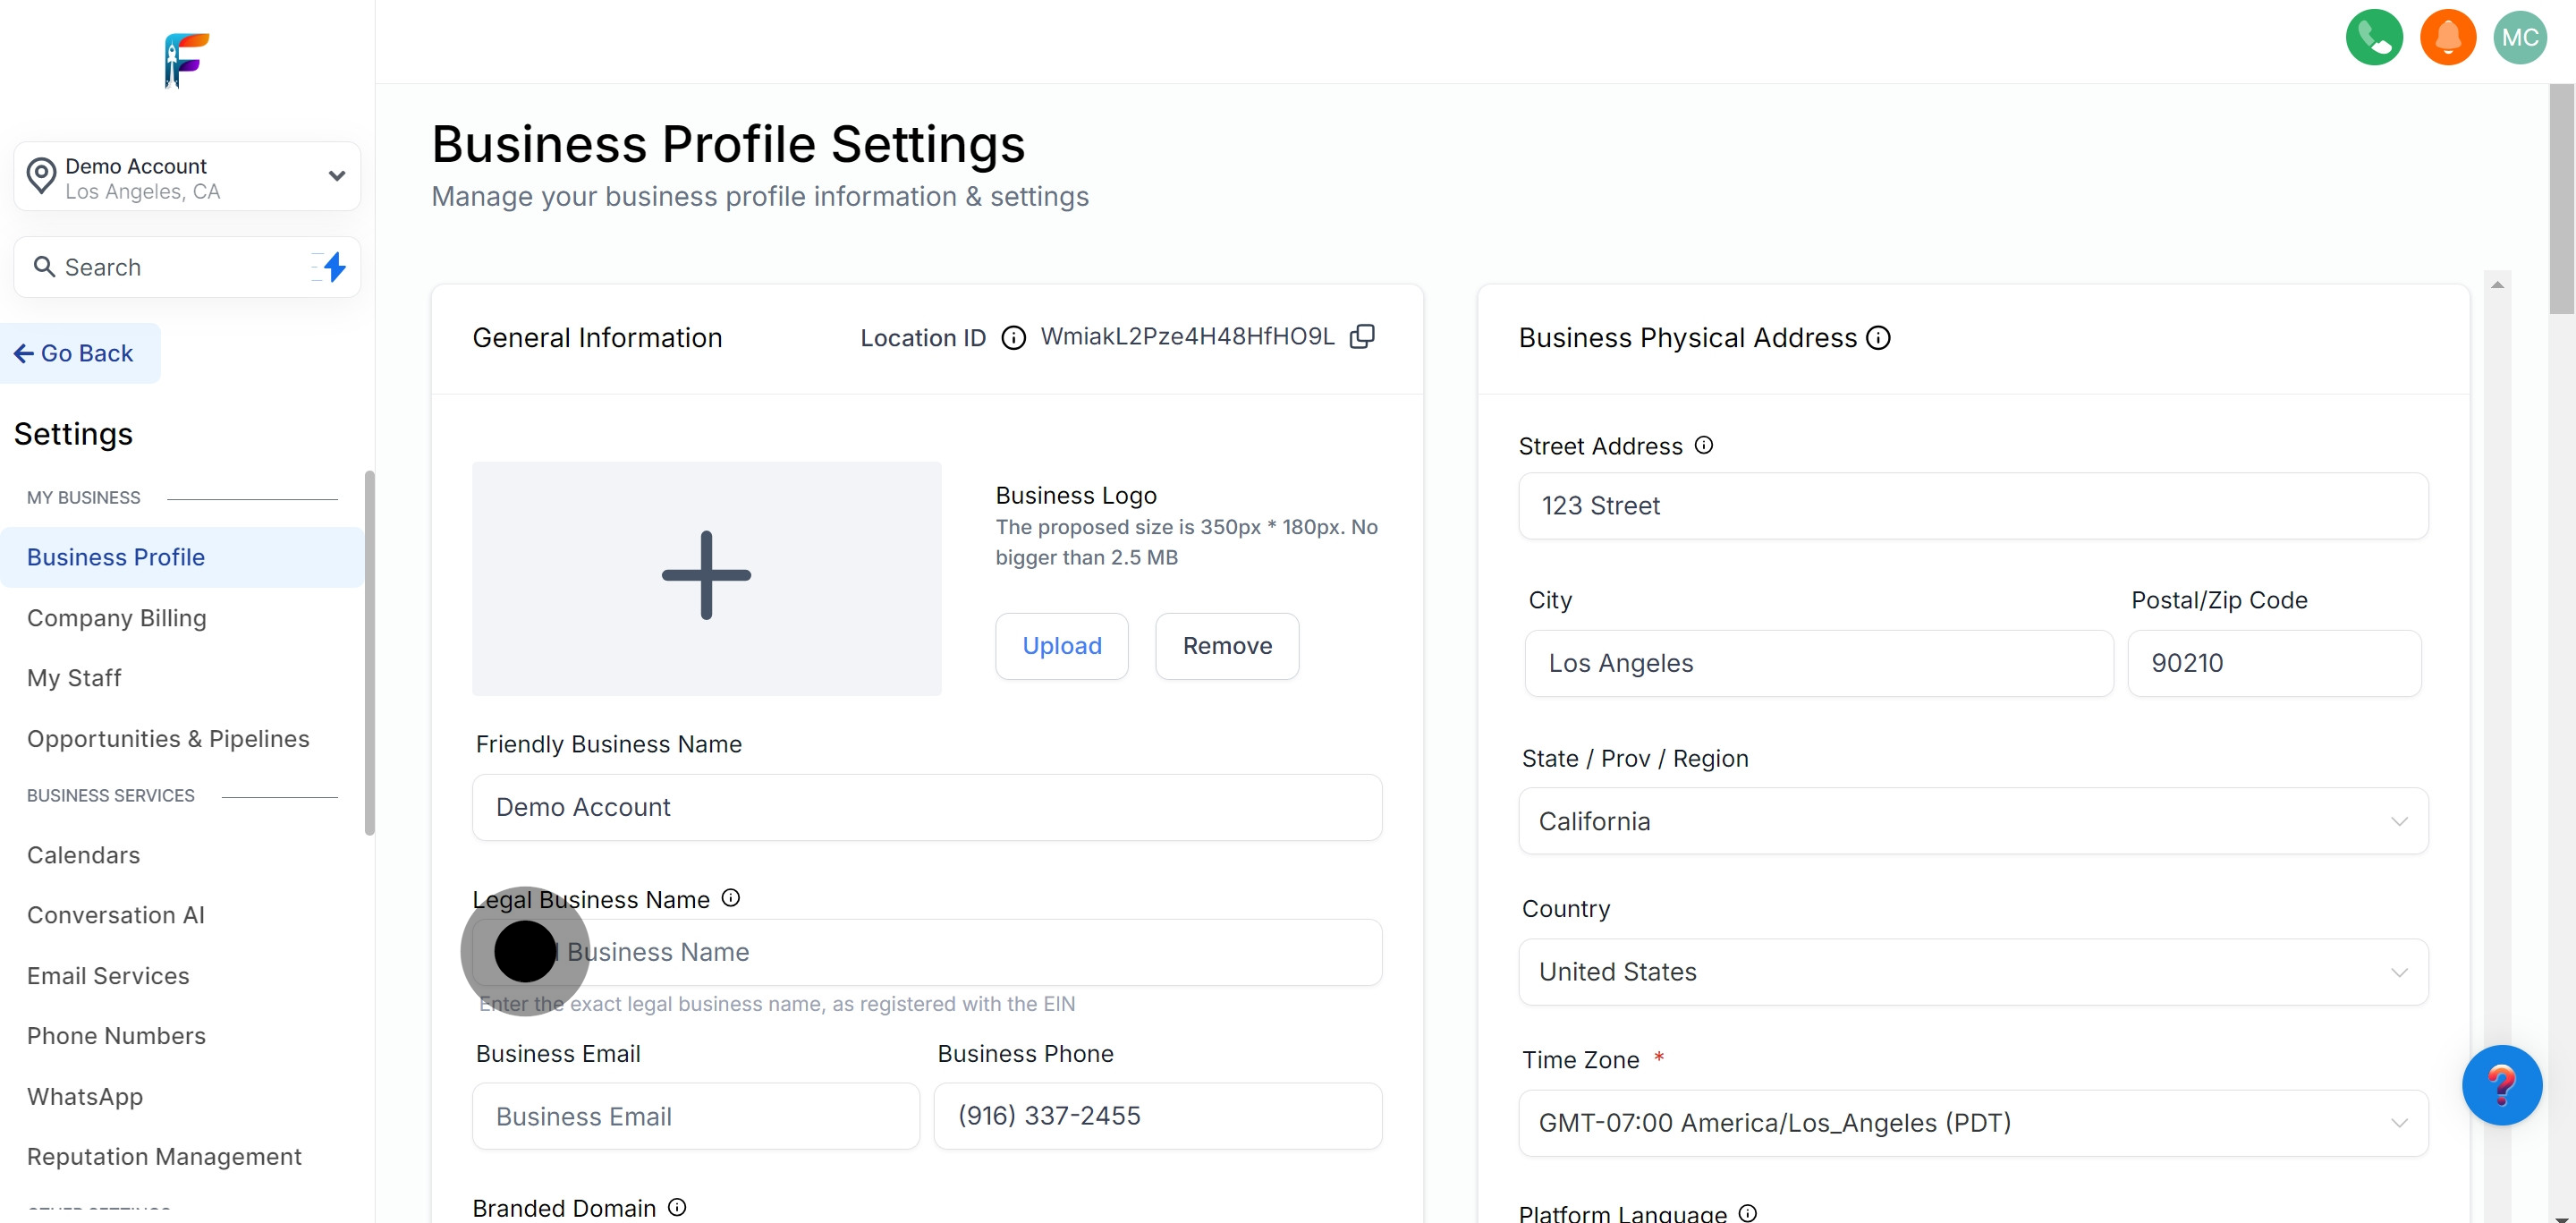
7. Next, fill out the Legal Business Name section carefully.
Enter your official legal business name as registered or recognized legally.
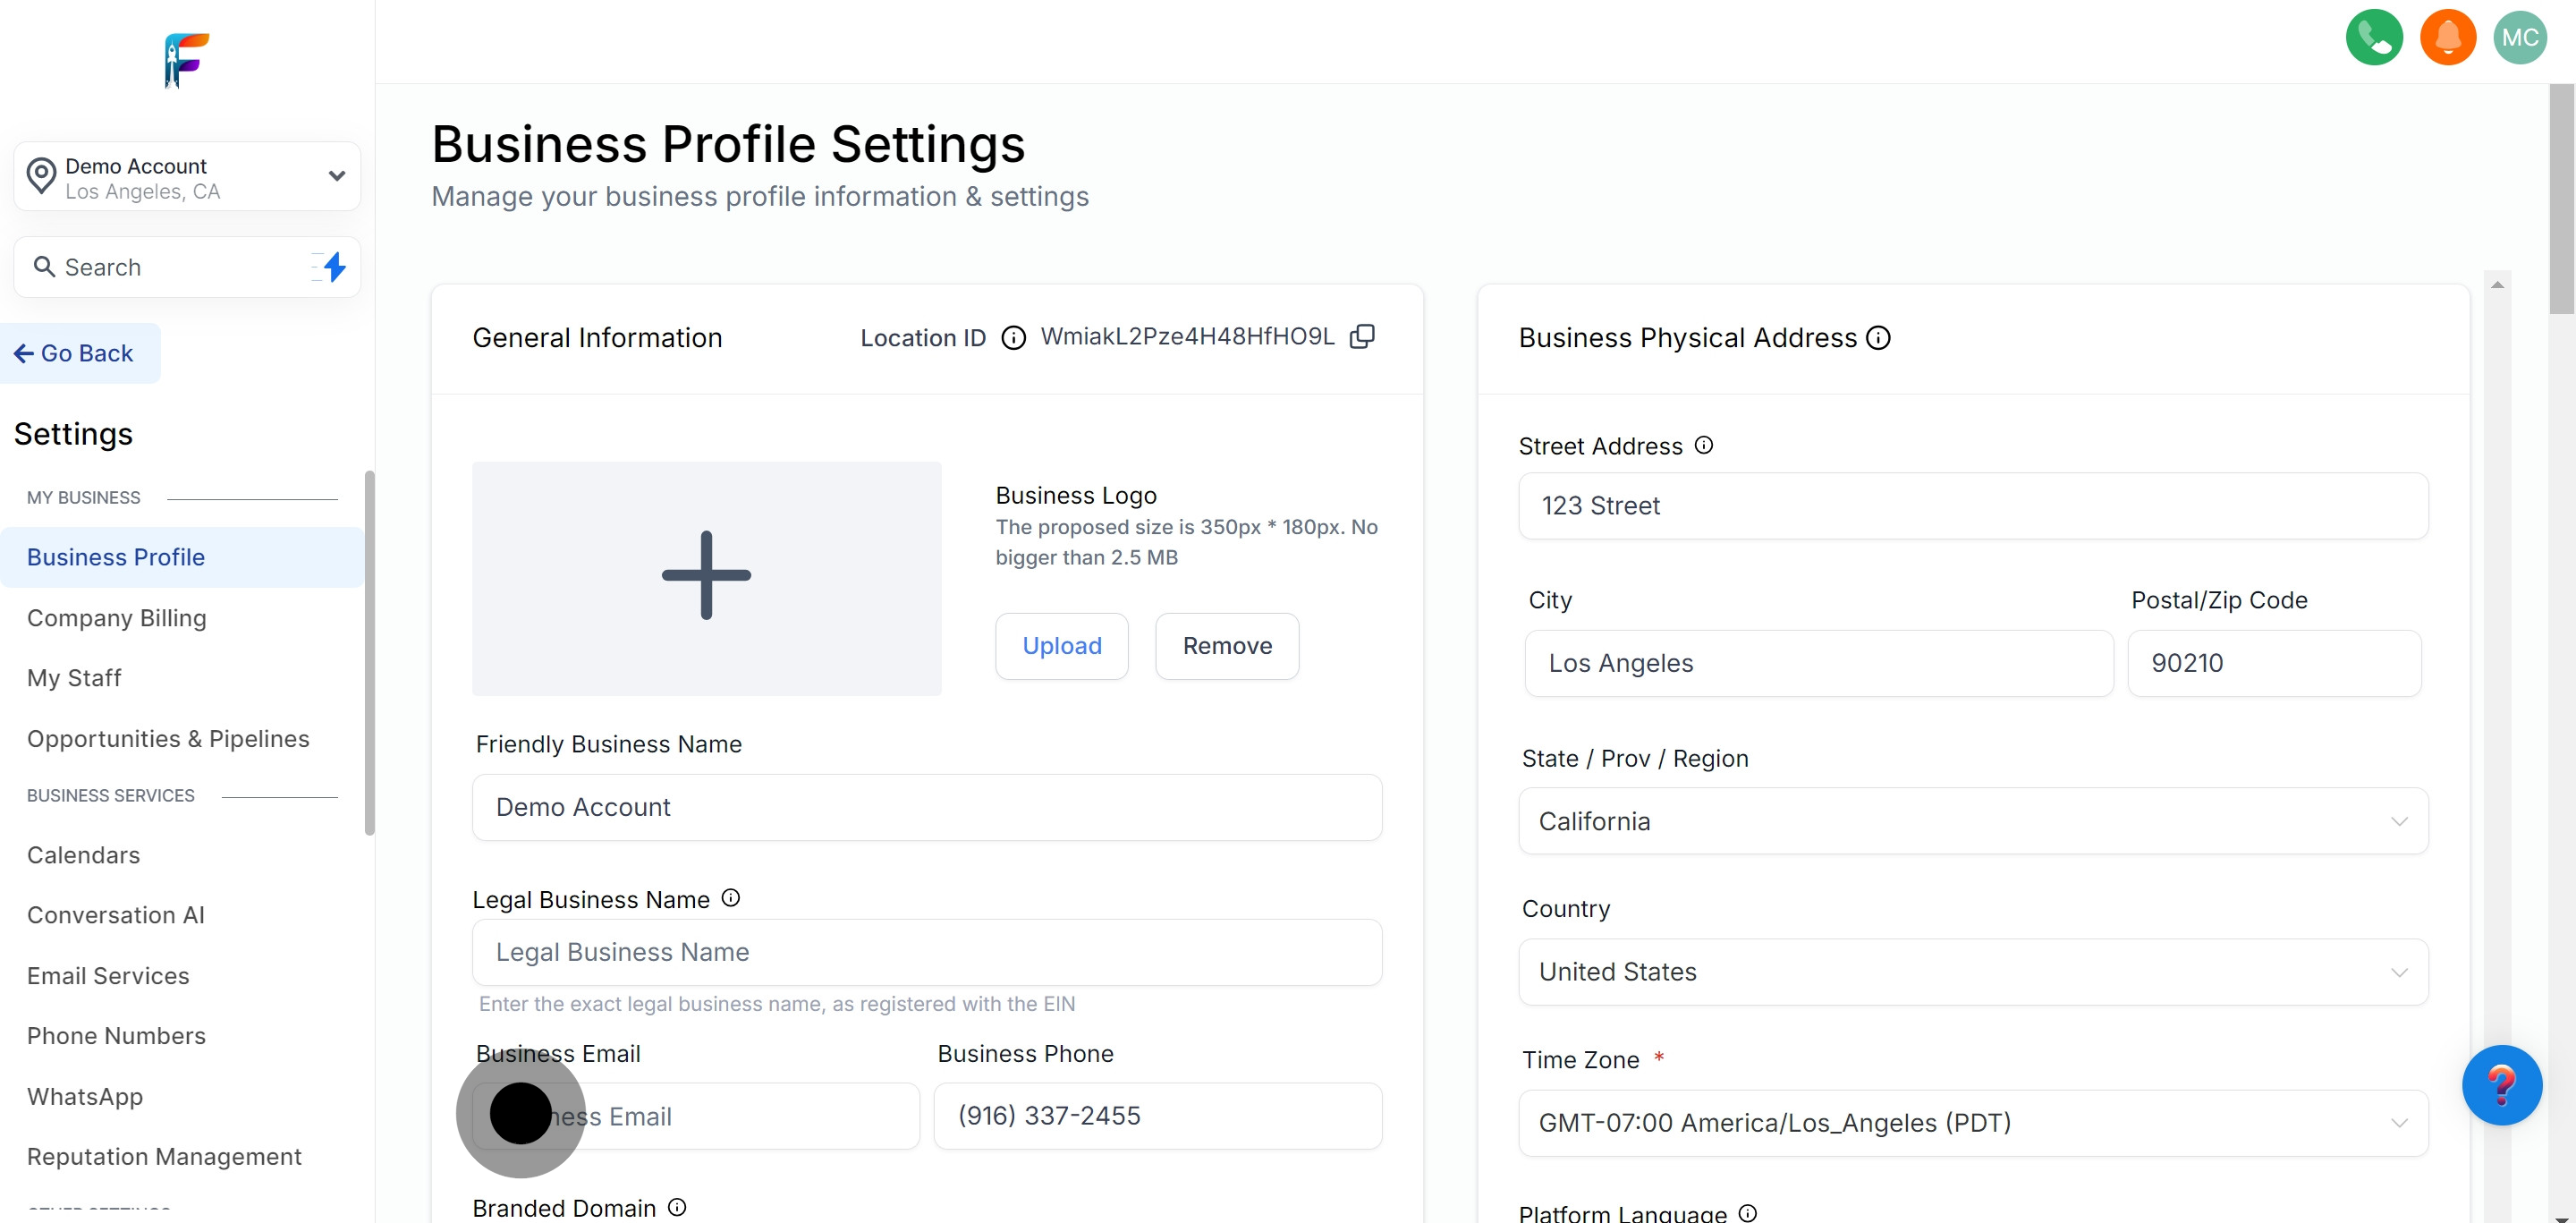
8. Time to provide your Business Email
Update or add a business email address that will serve as the primary contact for communications.
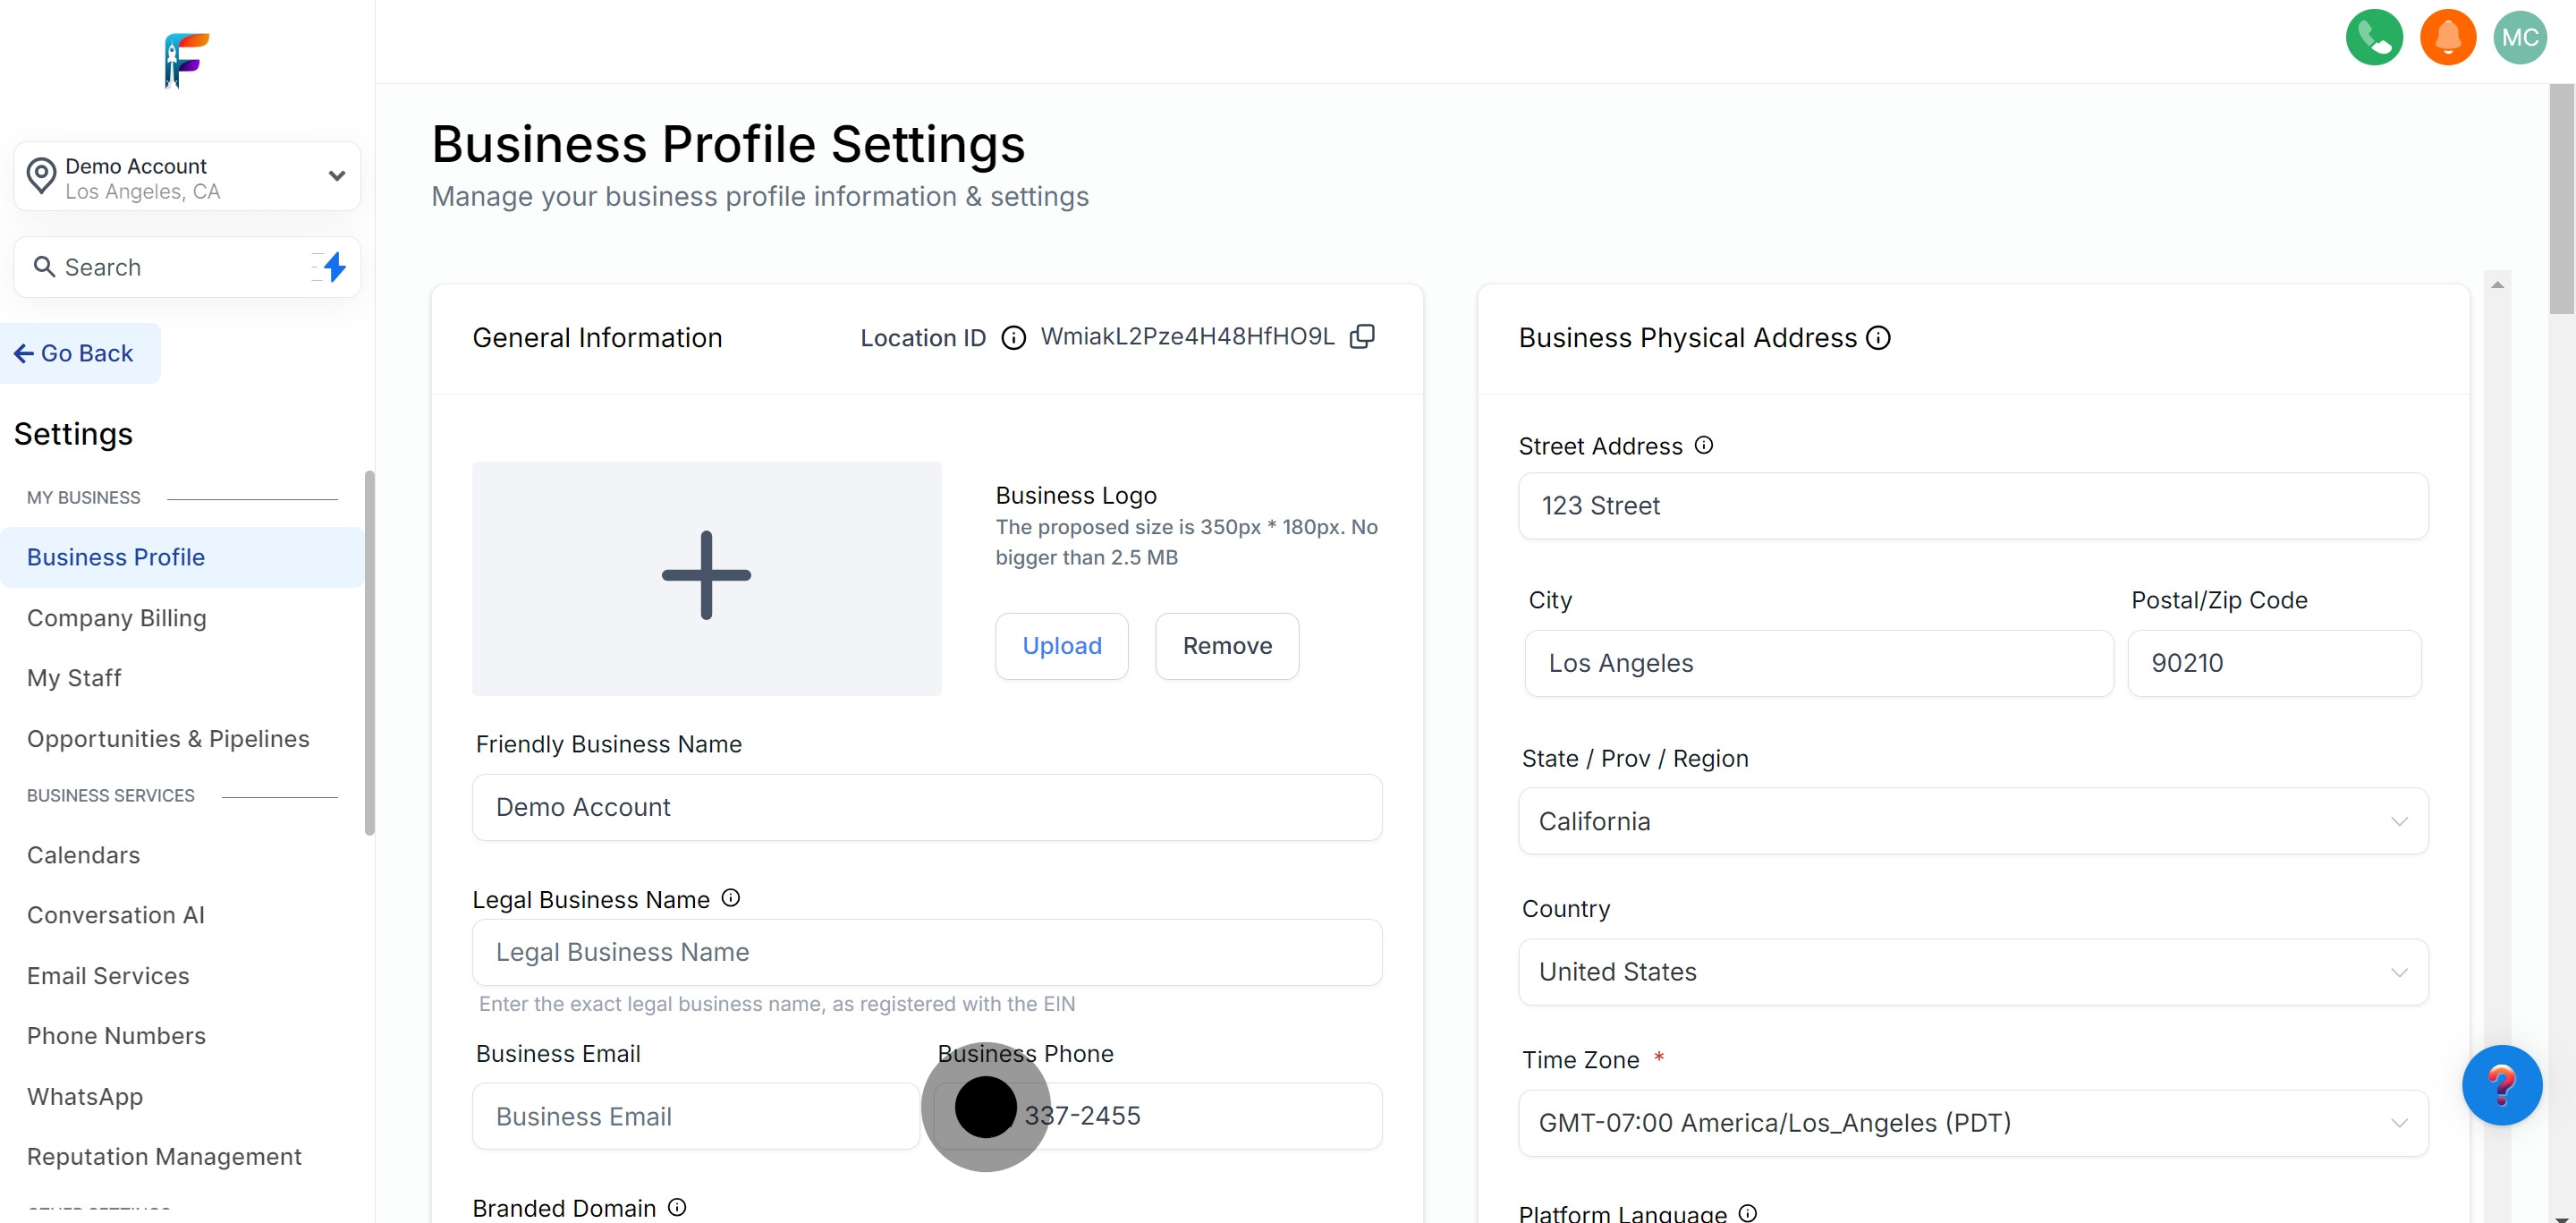
9. Add your Business Phone details
Input your business phone number to ensure clients and partners can reach you easily.
10. Proceed to the Branded Domain section
Navigate to the section where you can manage or add a branded domain to your profile.

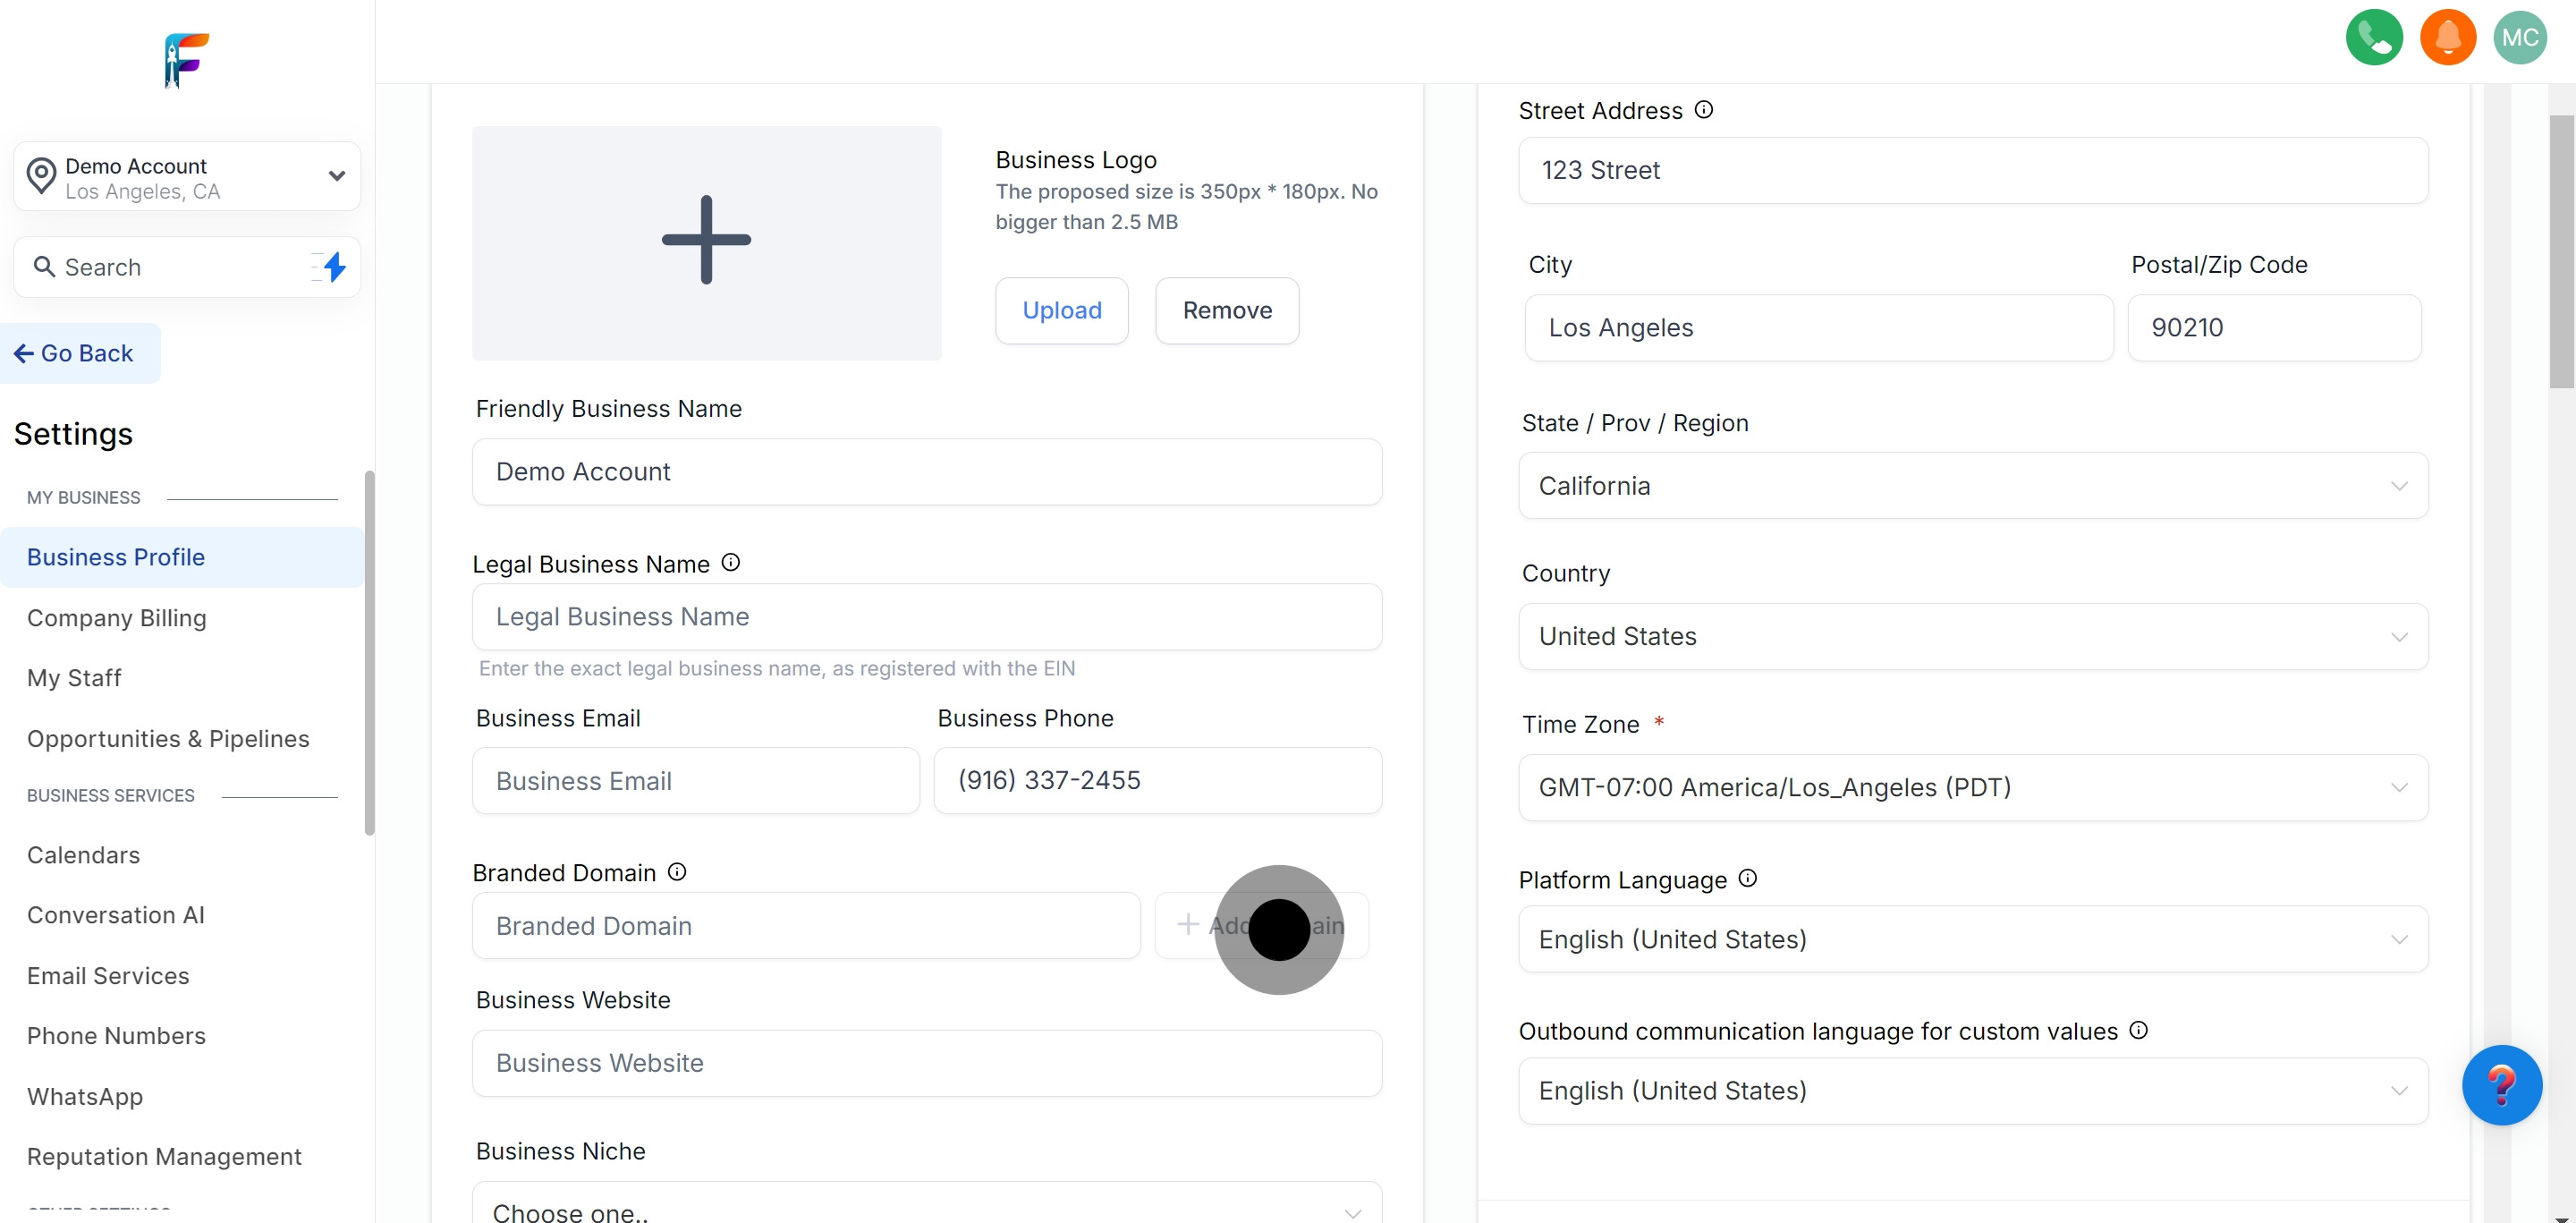
11. Click the Add Domain button.
Use the option to add a new domain to strengthen your brand's online presence.
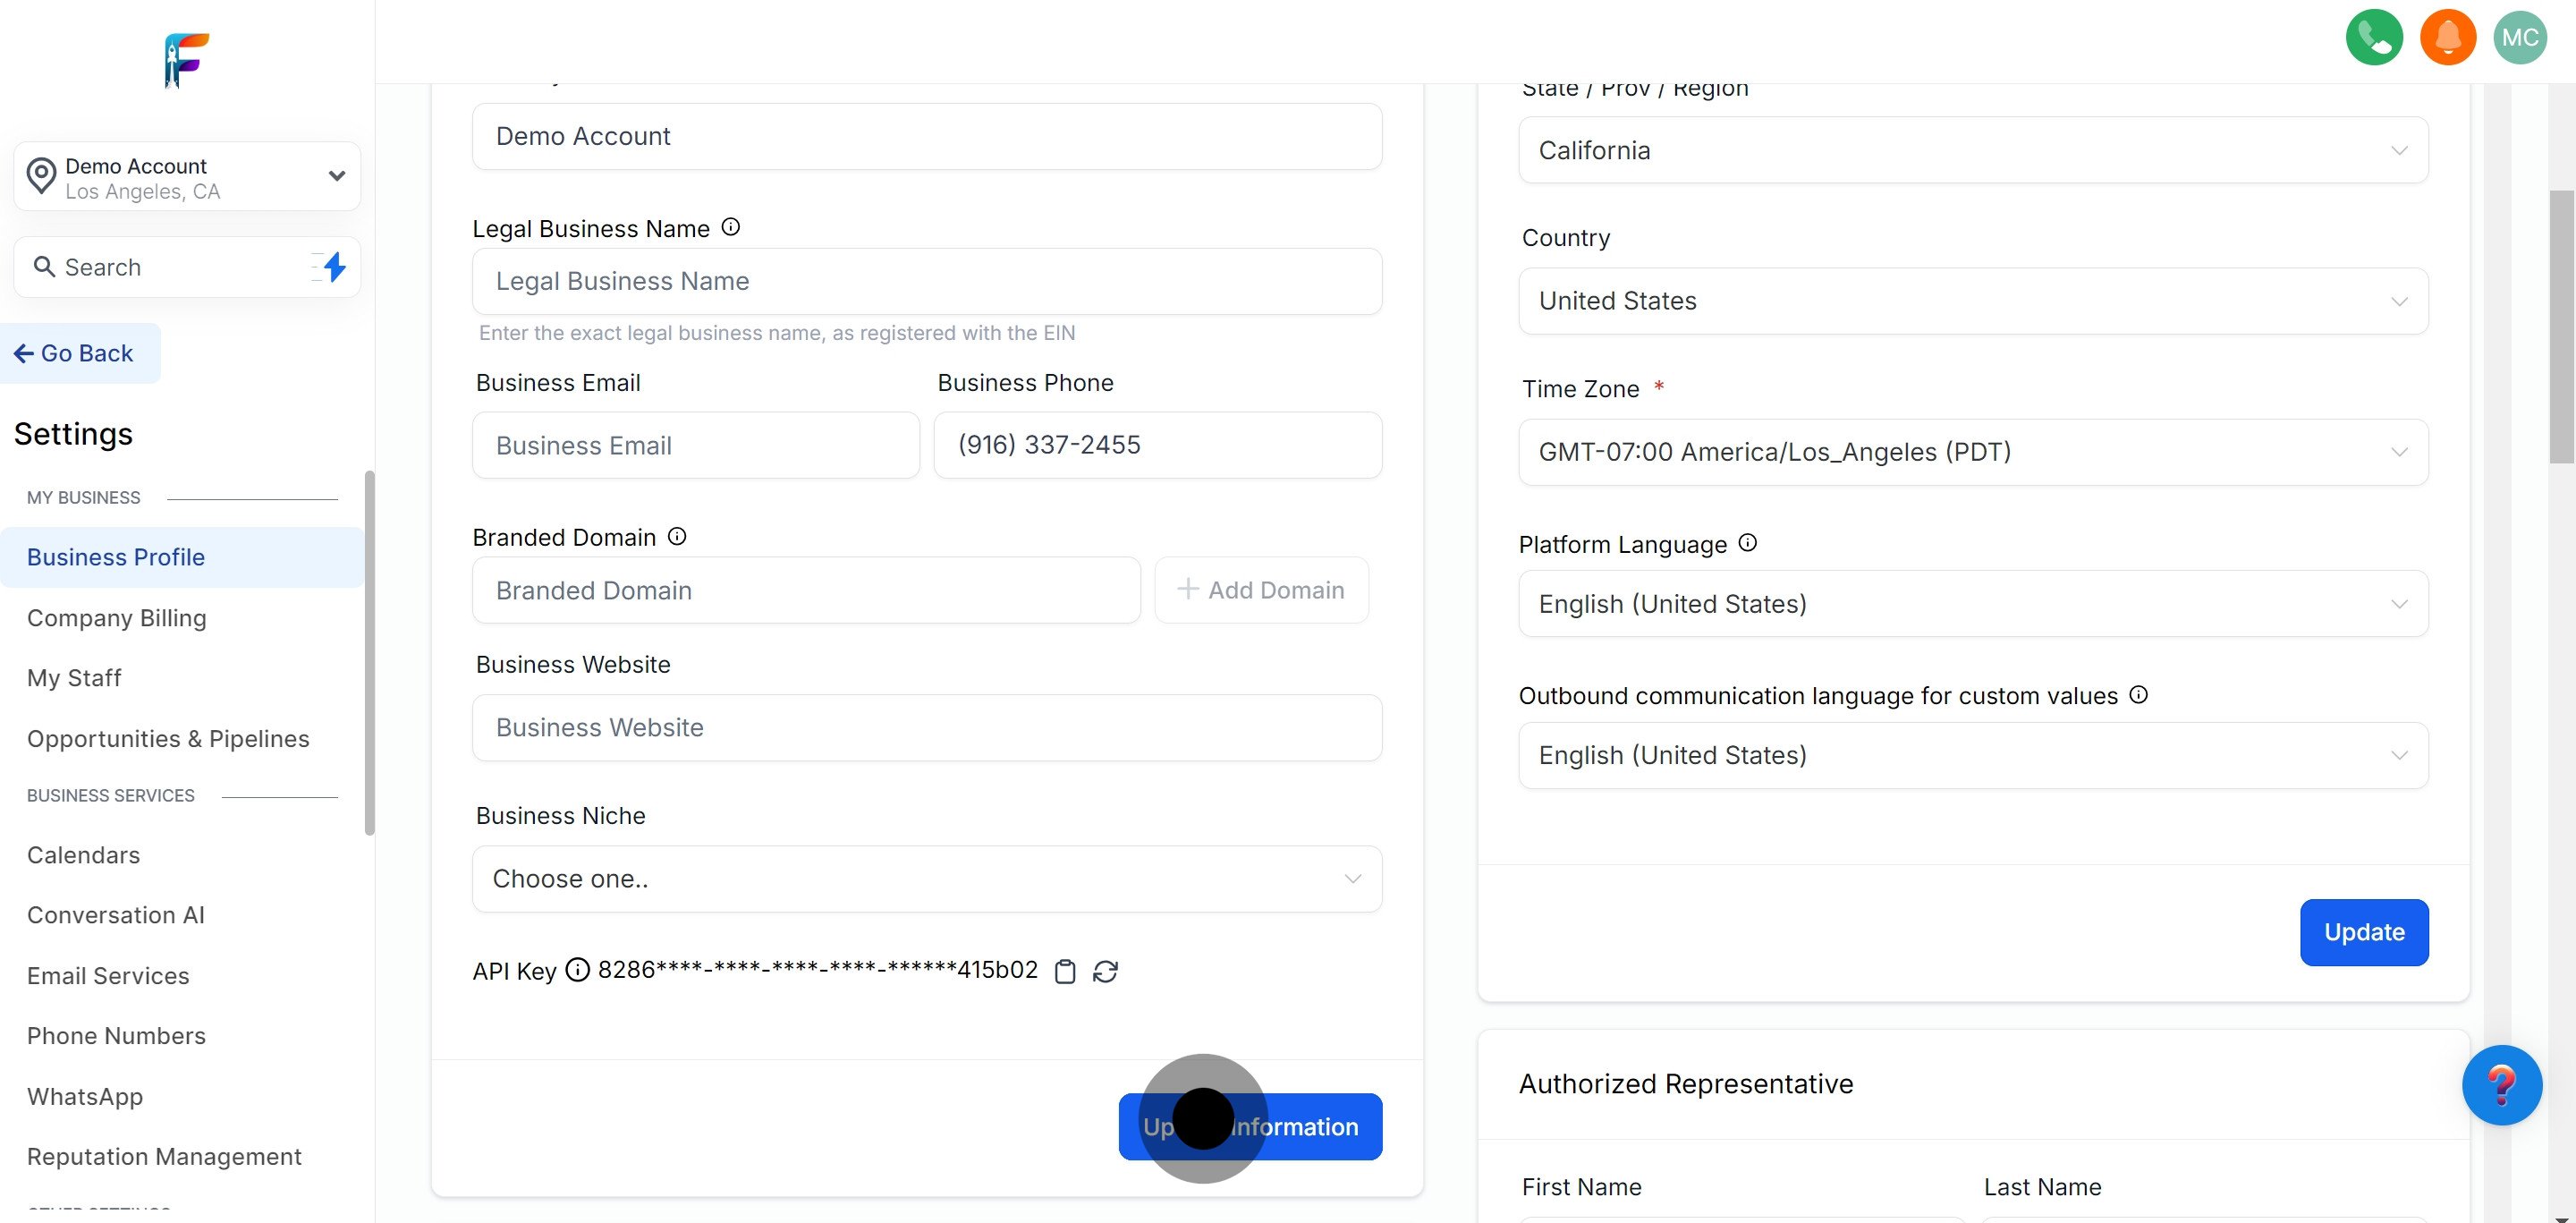
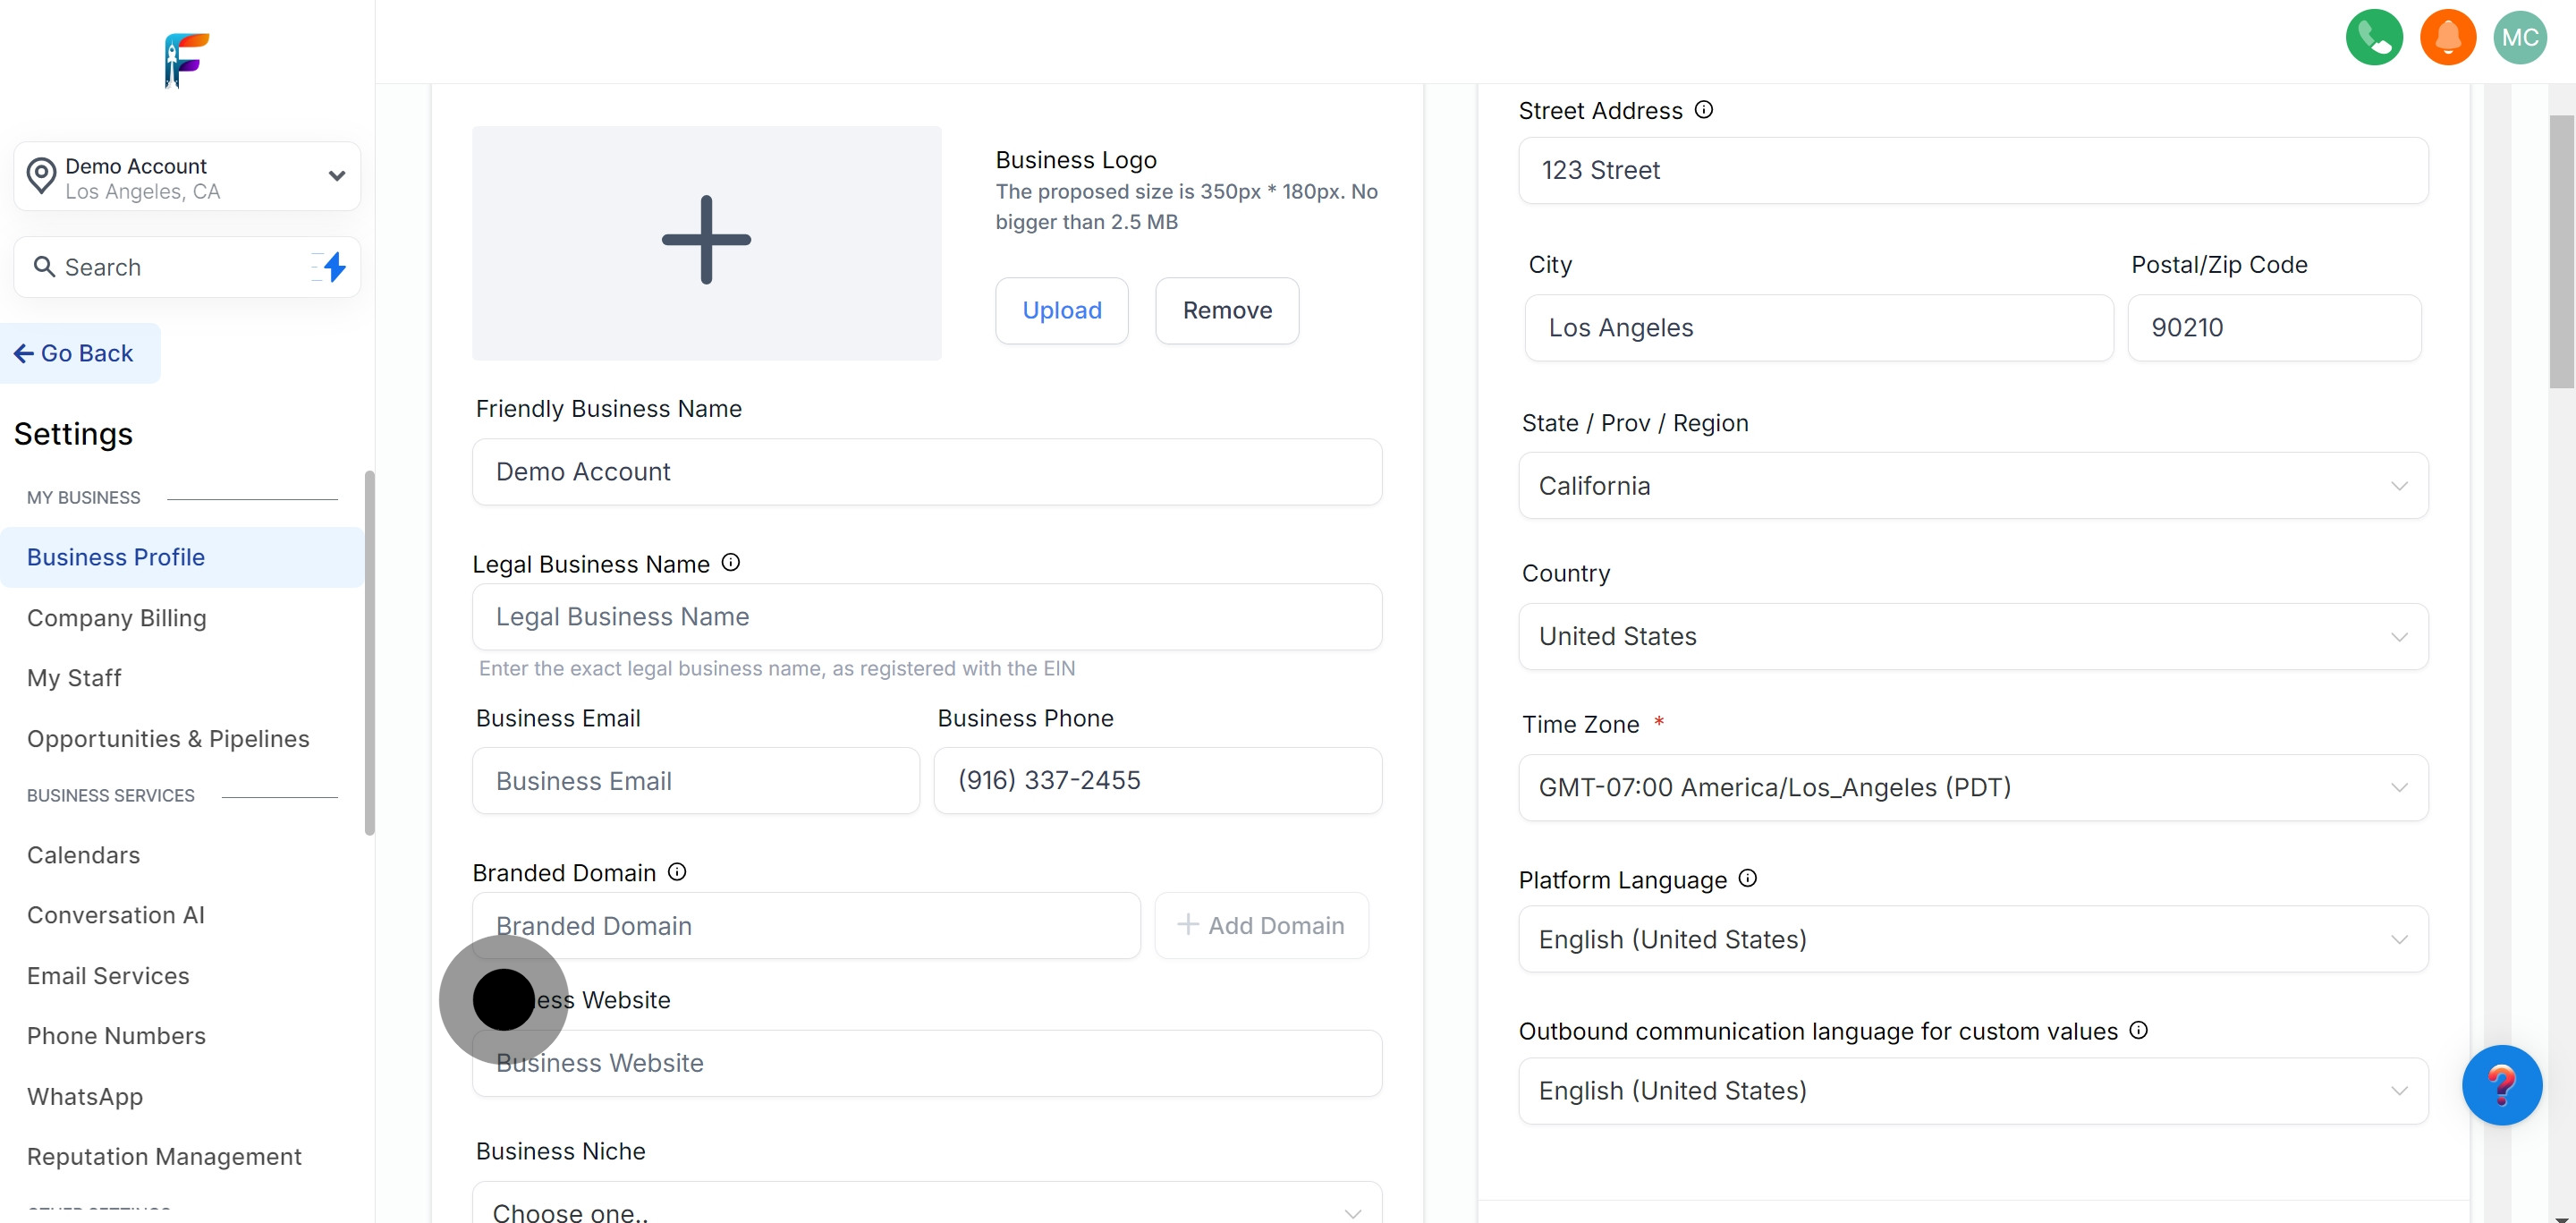
12. Add your Business Website
Provide the URL of your business website to link it directly to your profile.
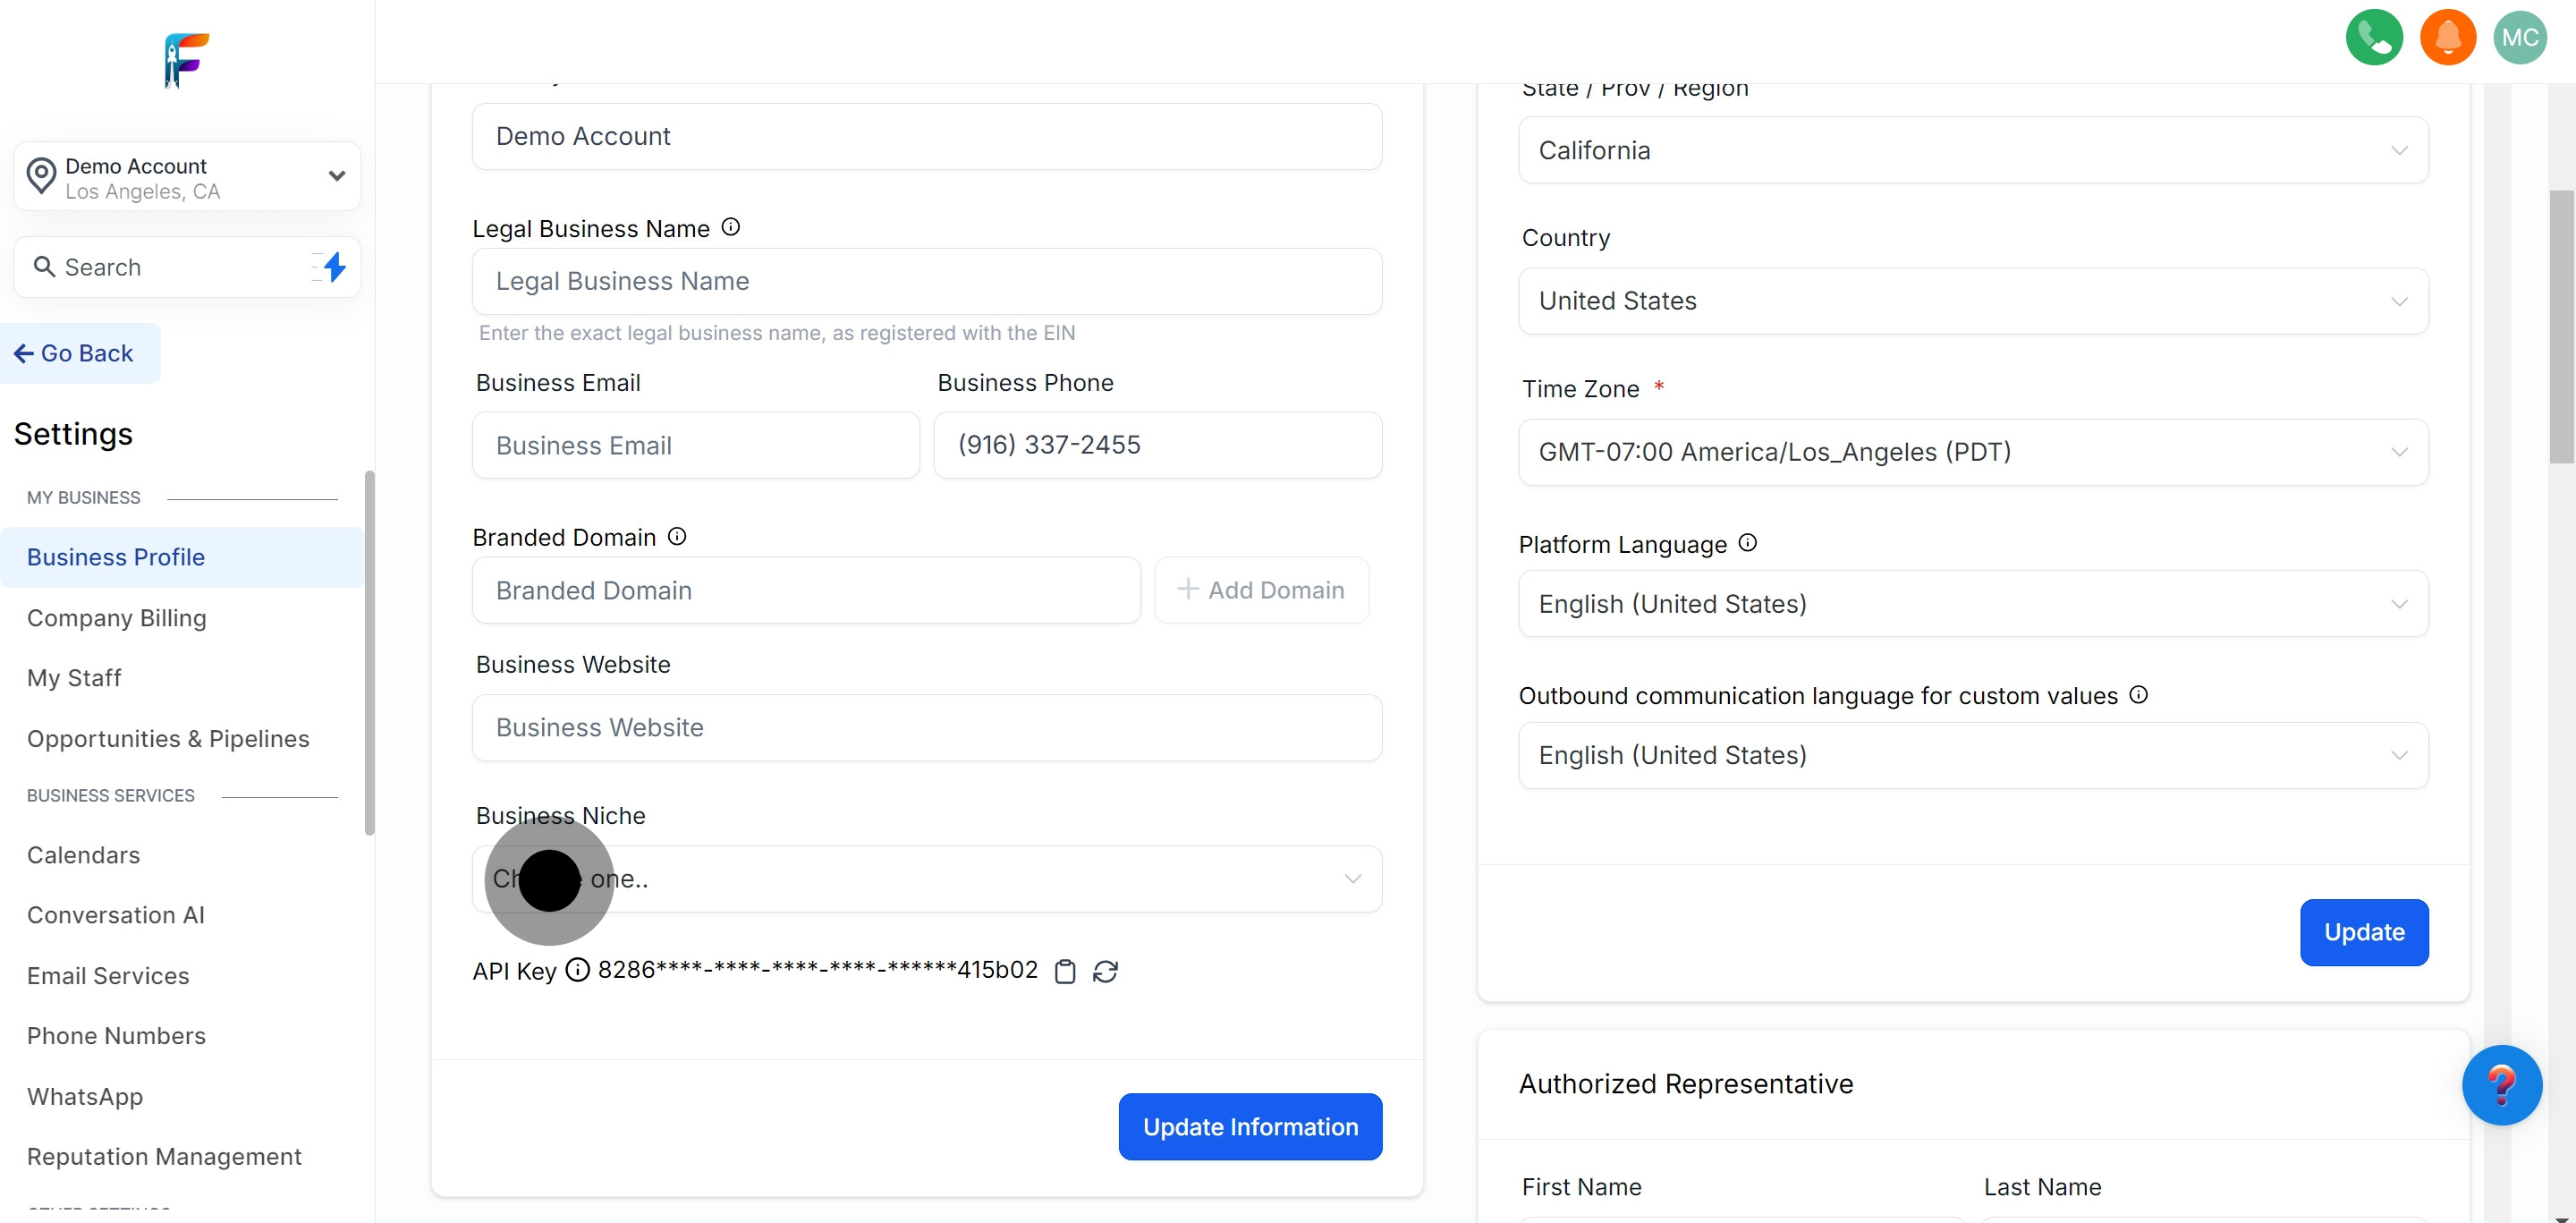
13. Define your Business Niche
Specify the niche or industry your business operates in for clearer categorization.
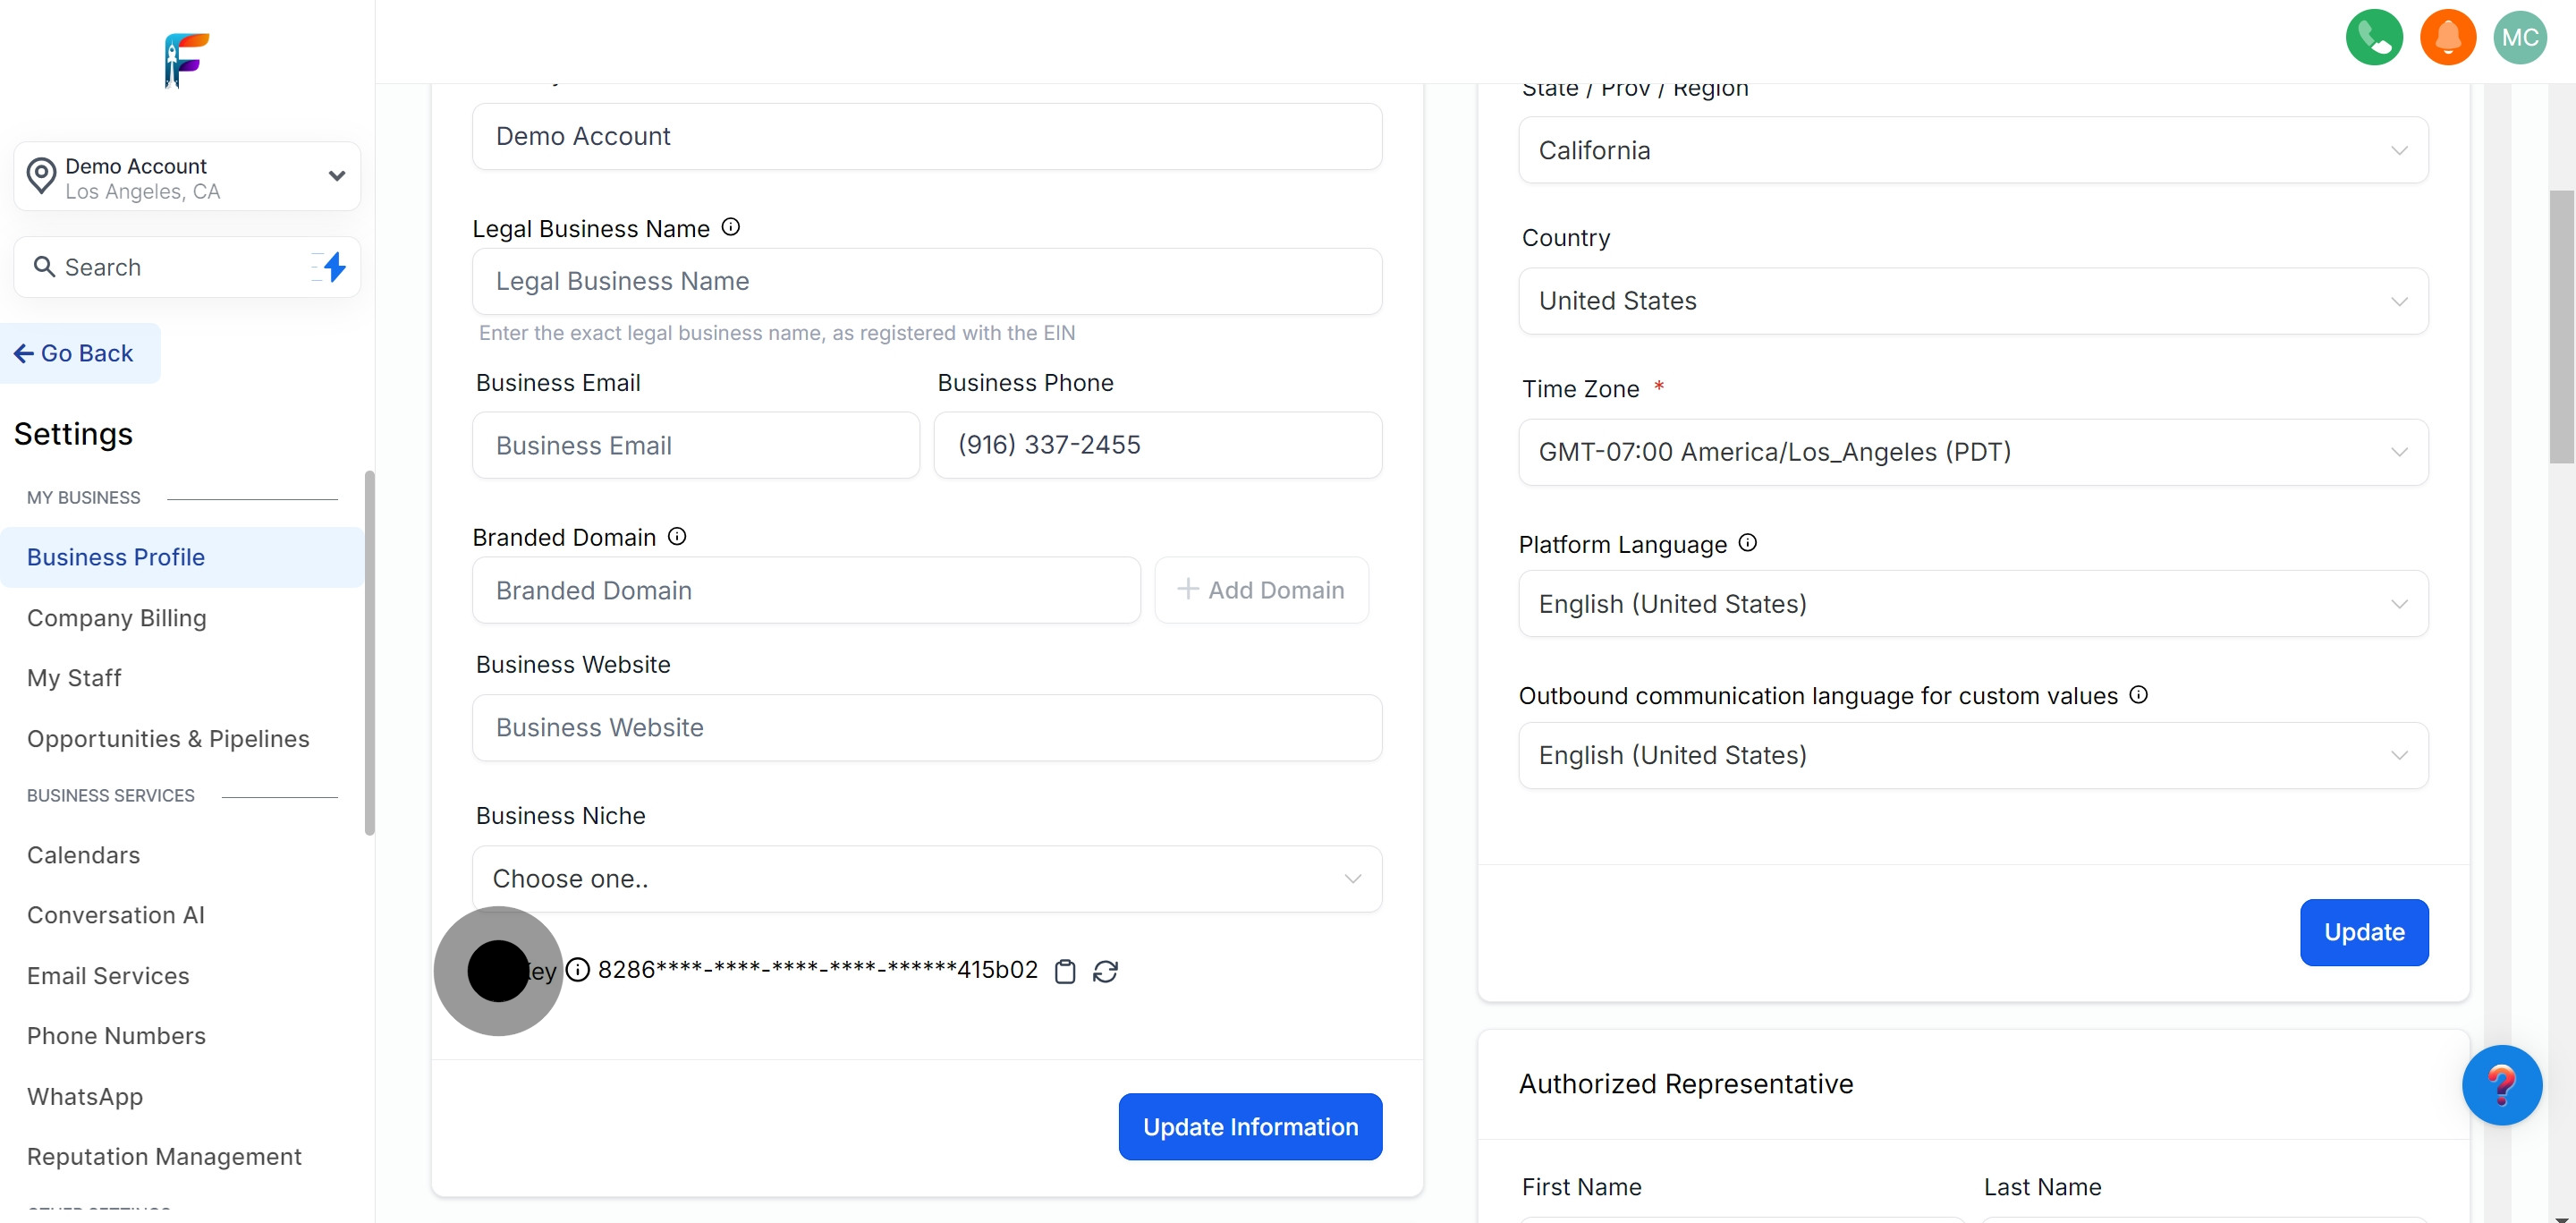
14. Locate the API Key in the same area.
Find your API Key in the profile settings for integration or development purposes.
15. Save them through the Update Information button.
Save all changes by clicking on the 'Update Information' button to ensure your profile reflects the latest details.