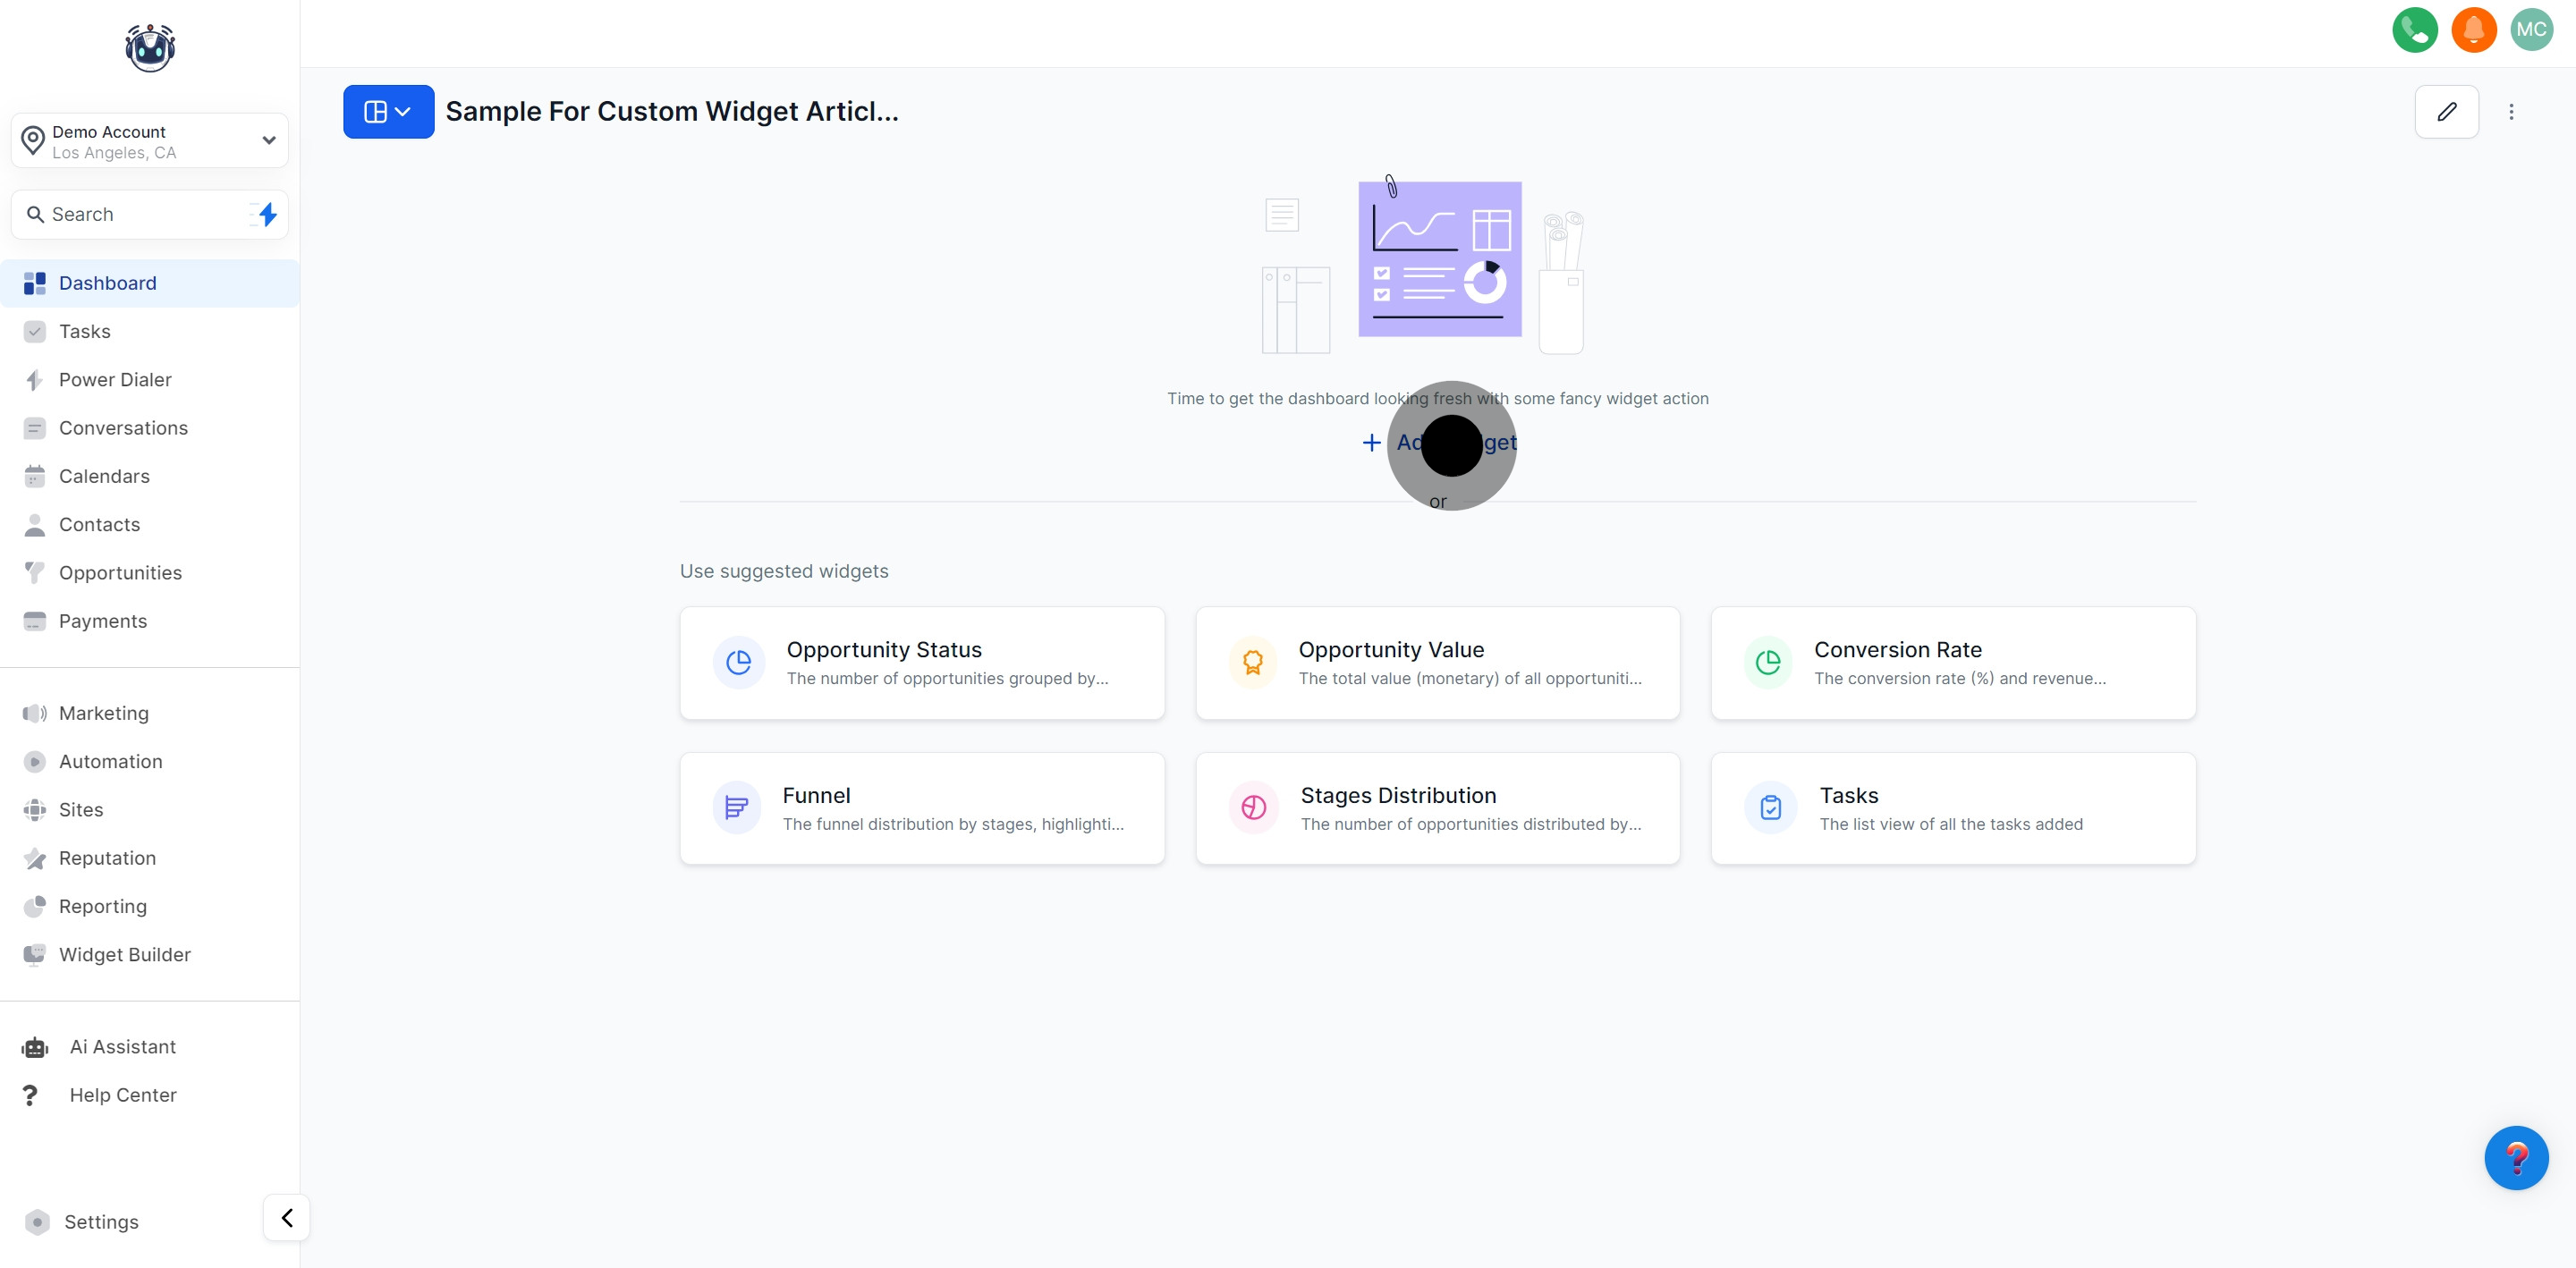
To add a widget to your dashboard, go to the Dashboard section and click the "ADD WIDGET" button in the top-right corner or in the top-middle. This will open the "Add Widgets" section on the right side of the screen.
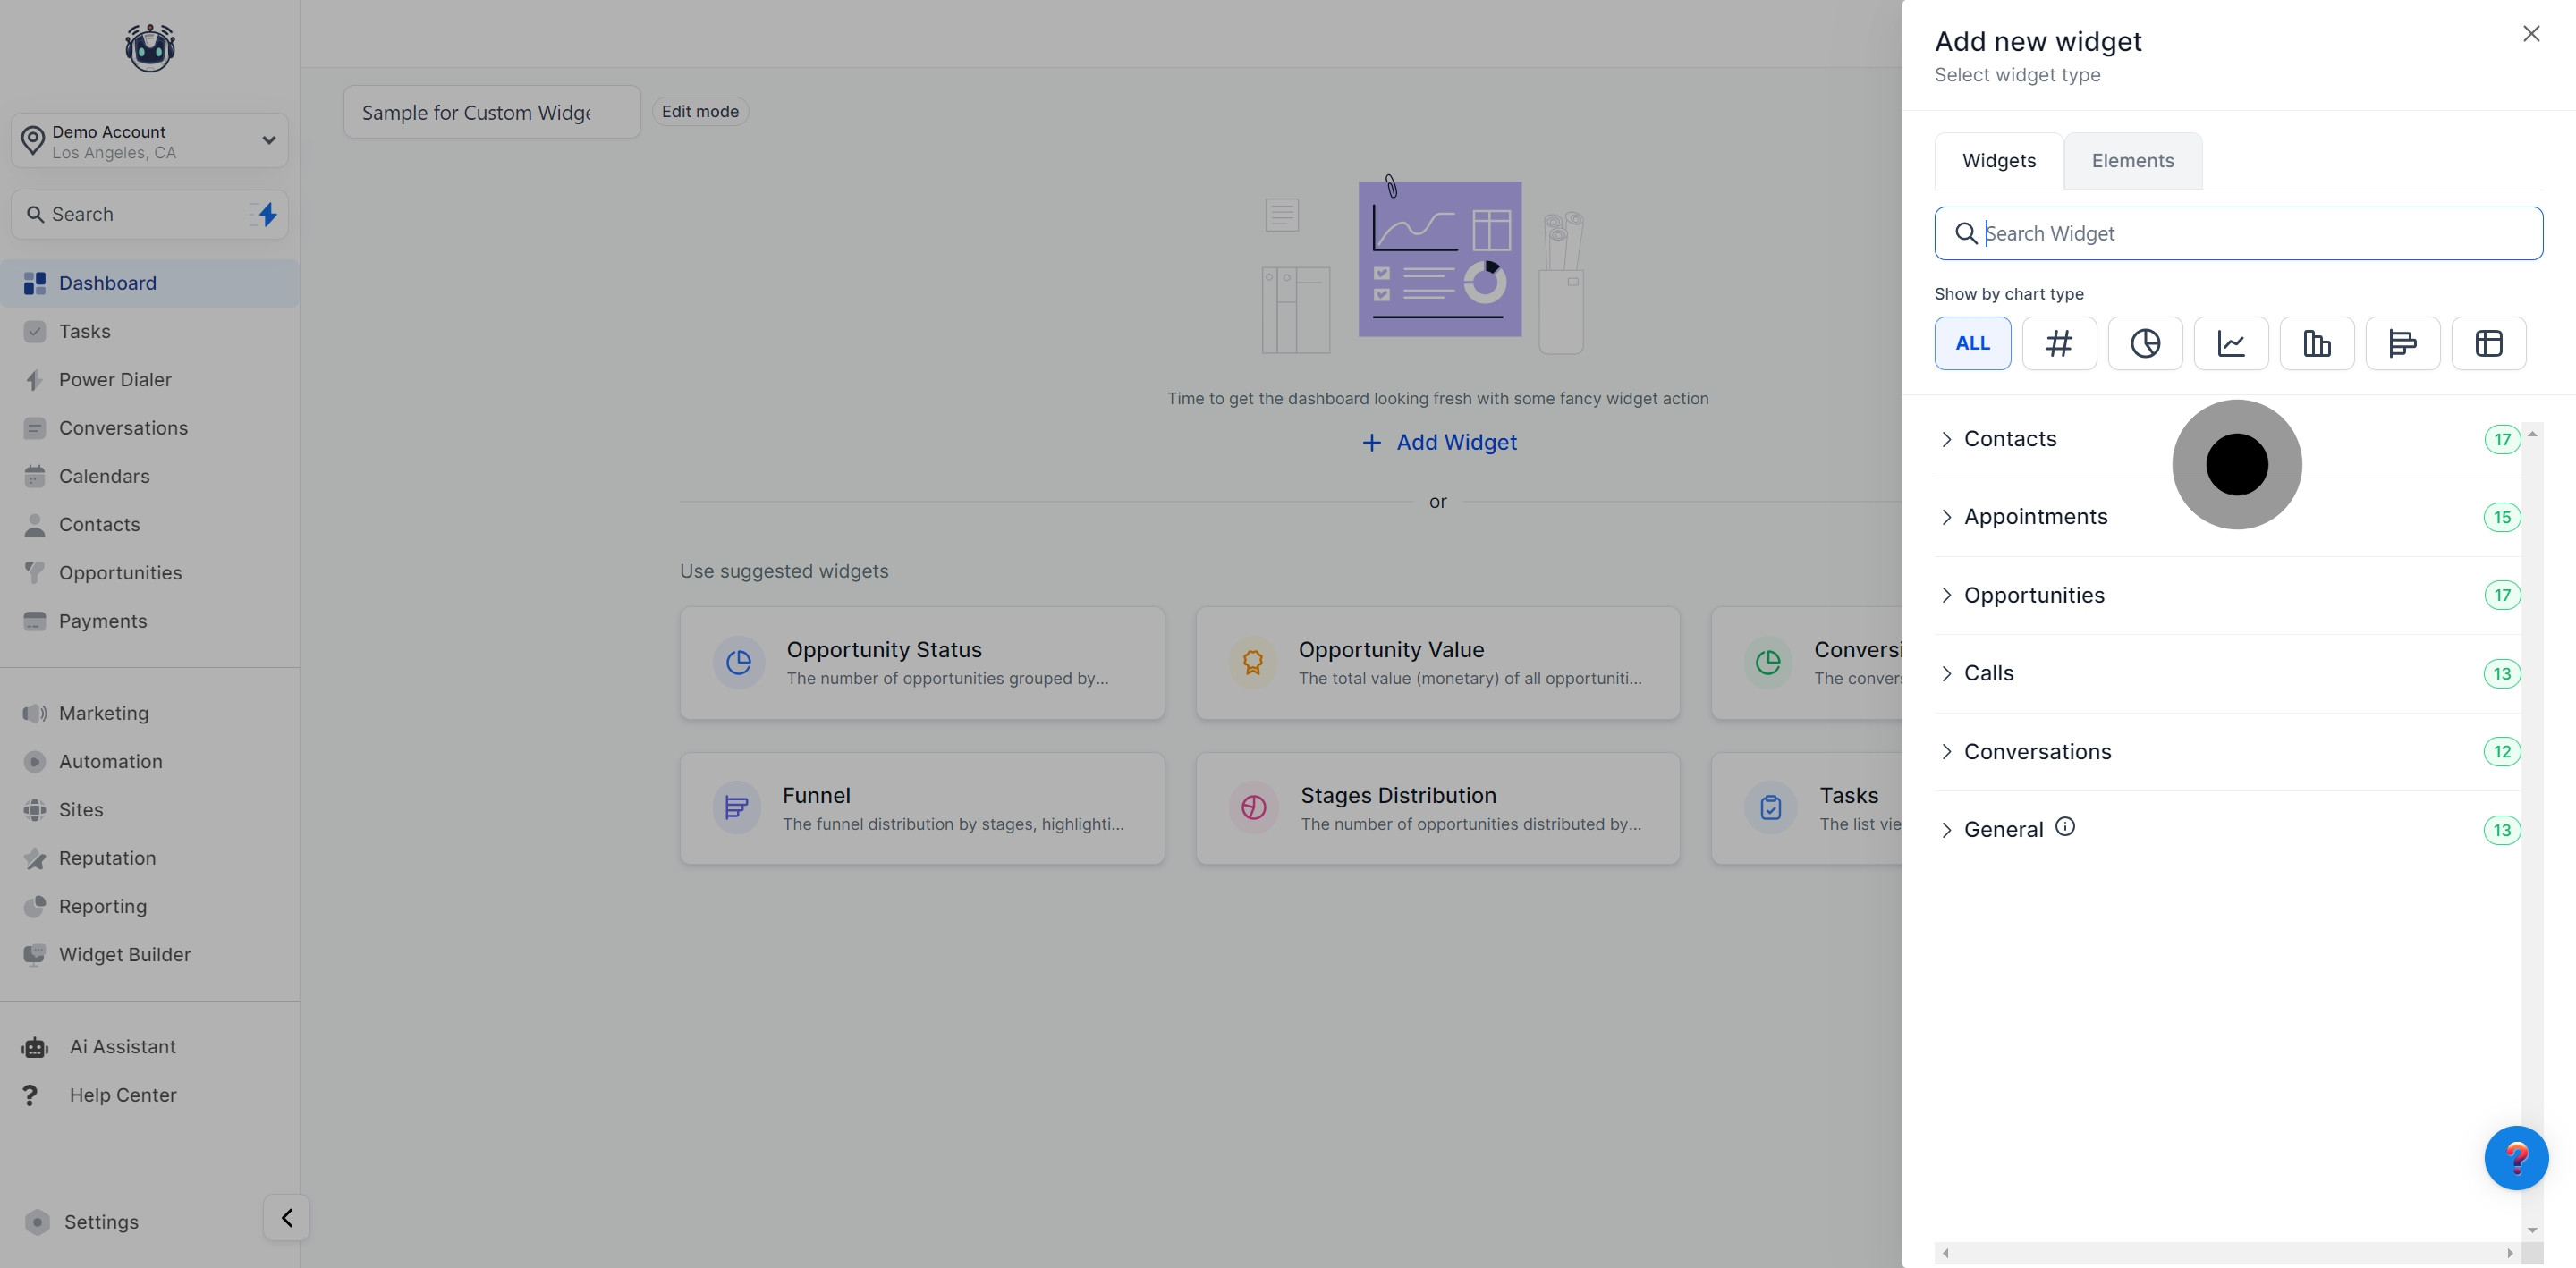
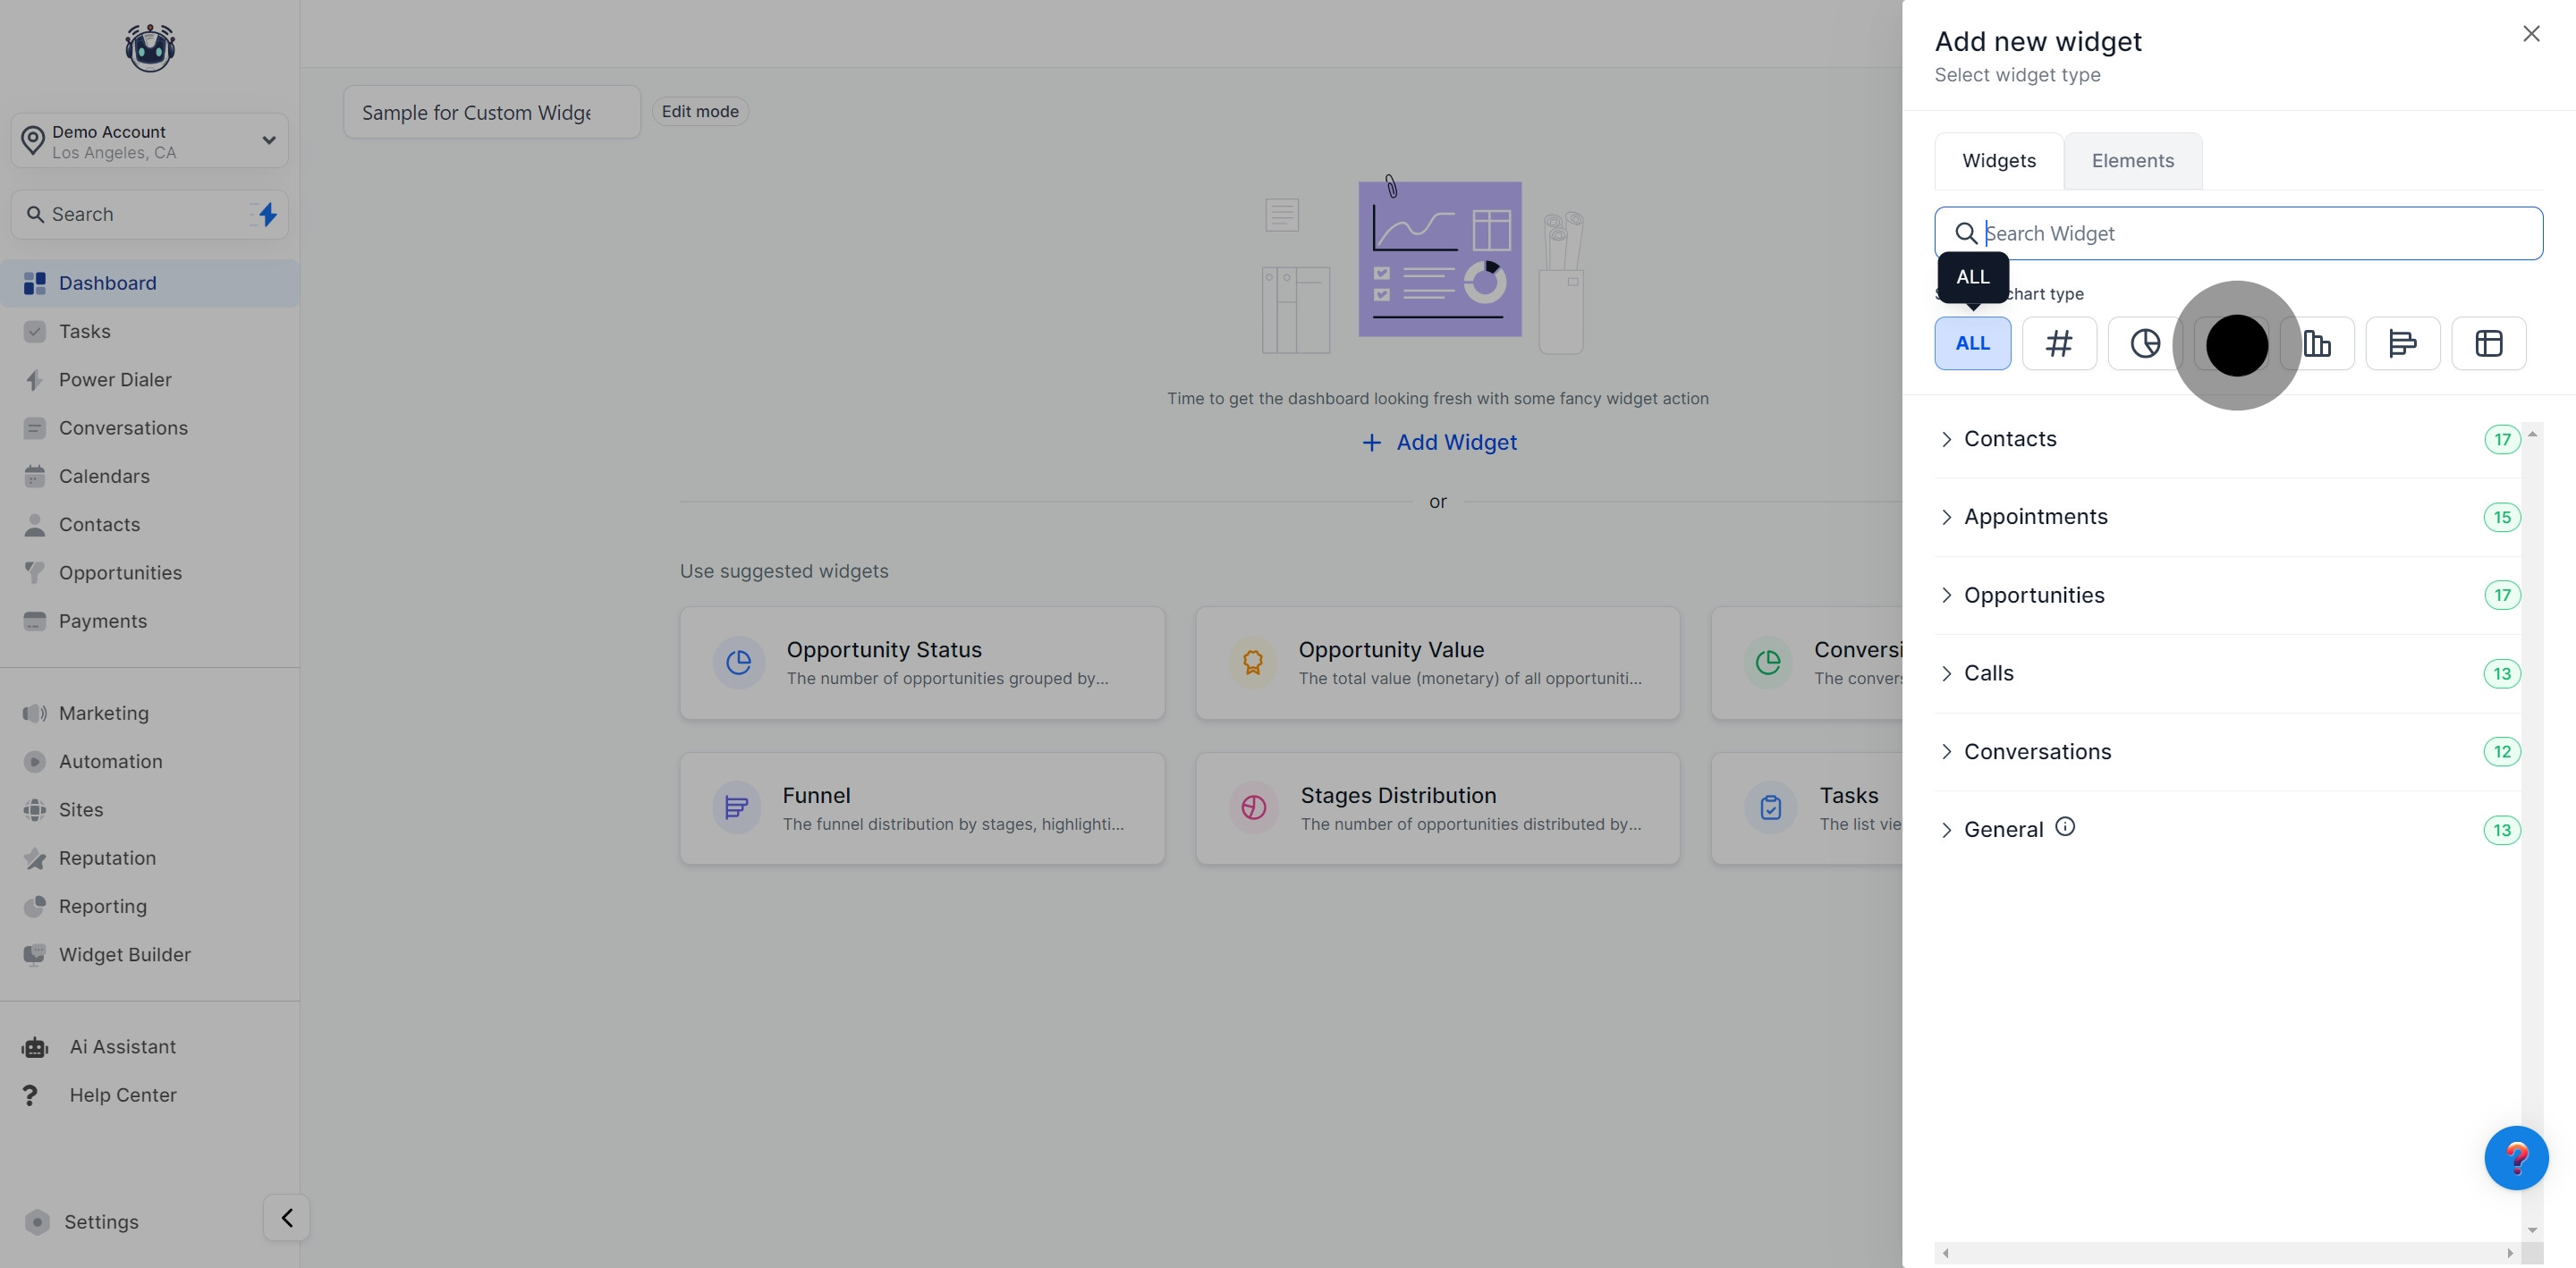
In the "Add Widgets" section, you can search for or browse through available widgets categorized under different sections. You can also filter widgets by chart types from the top menu. The recommended chart type is pre-selected under the "ALL" filter, but you can change it at any time.
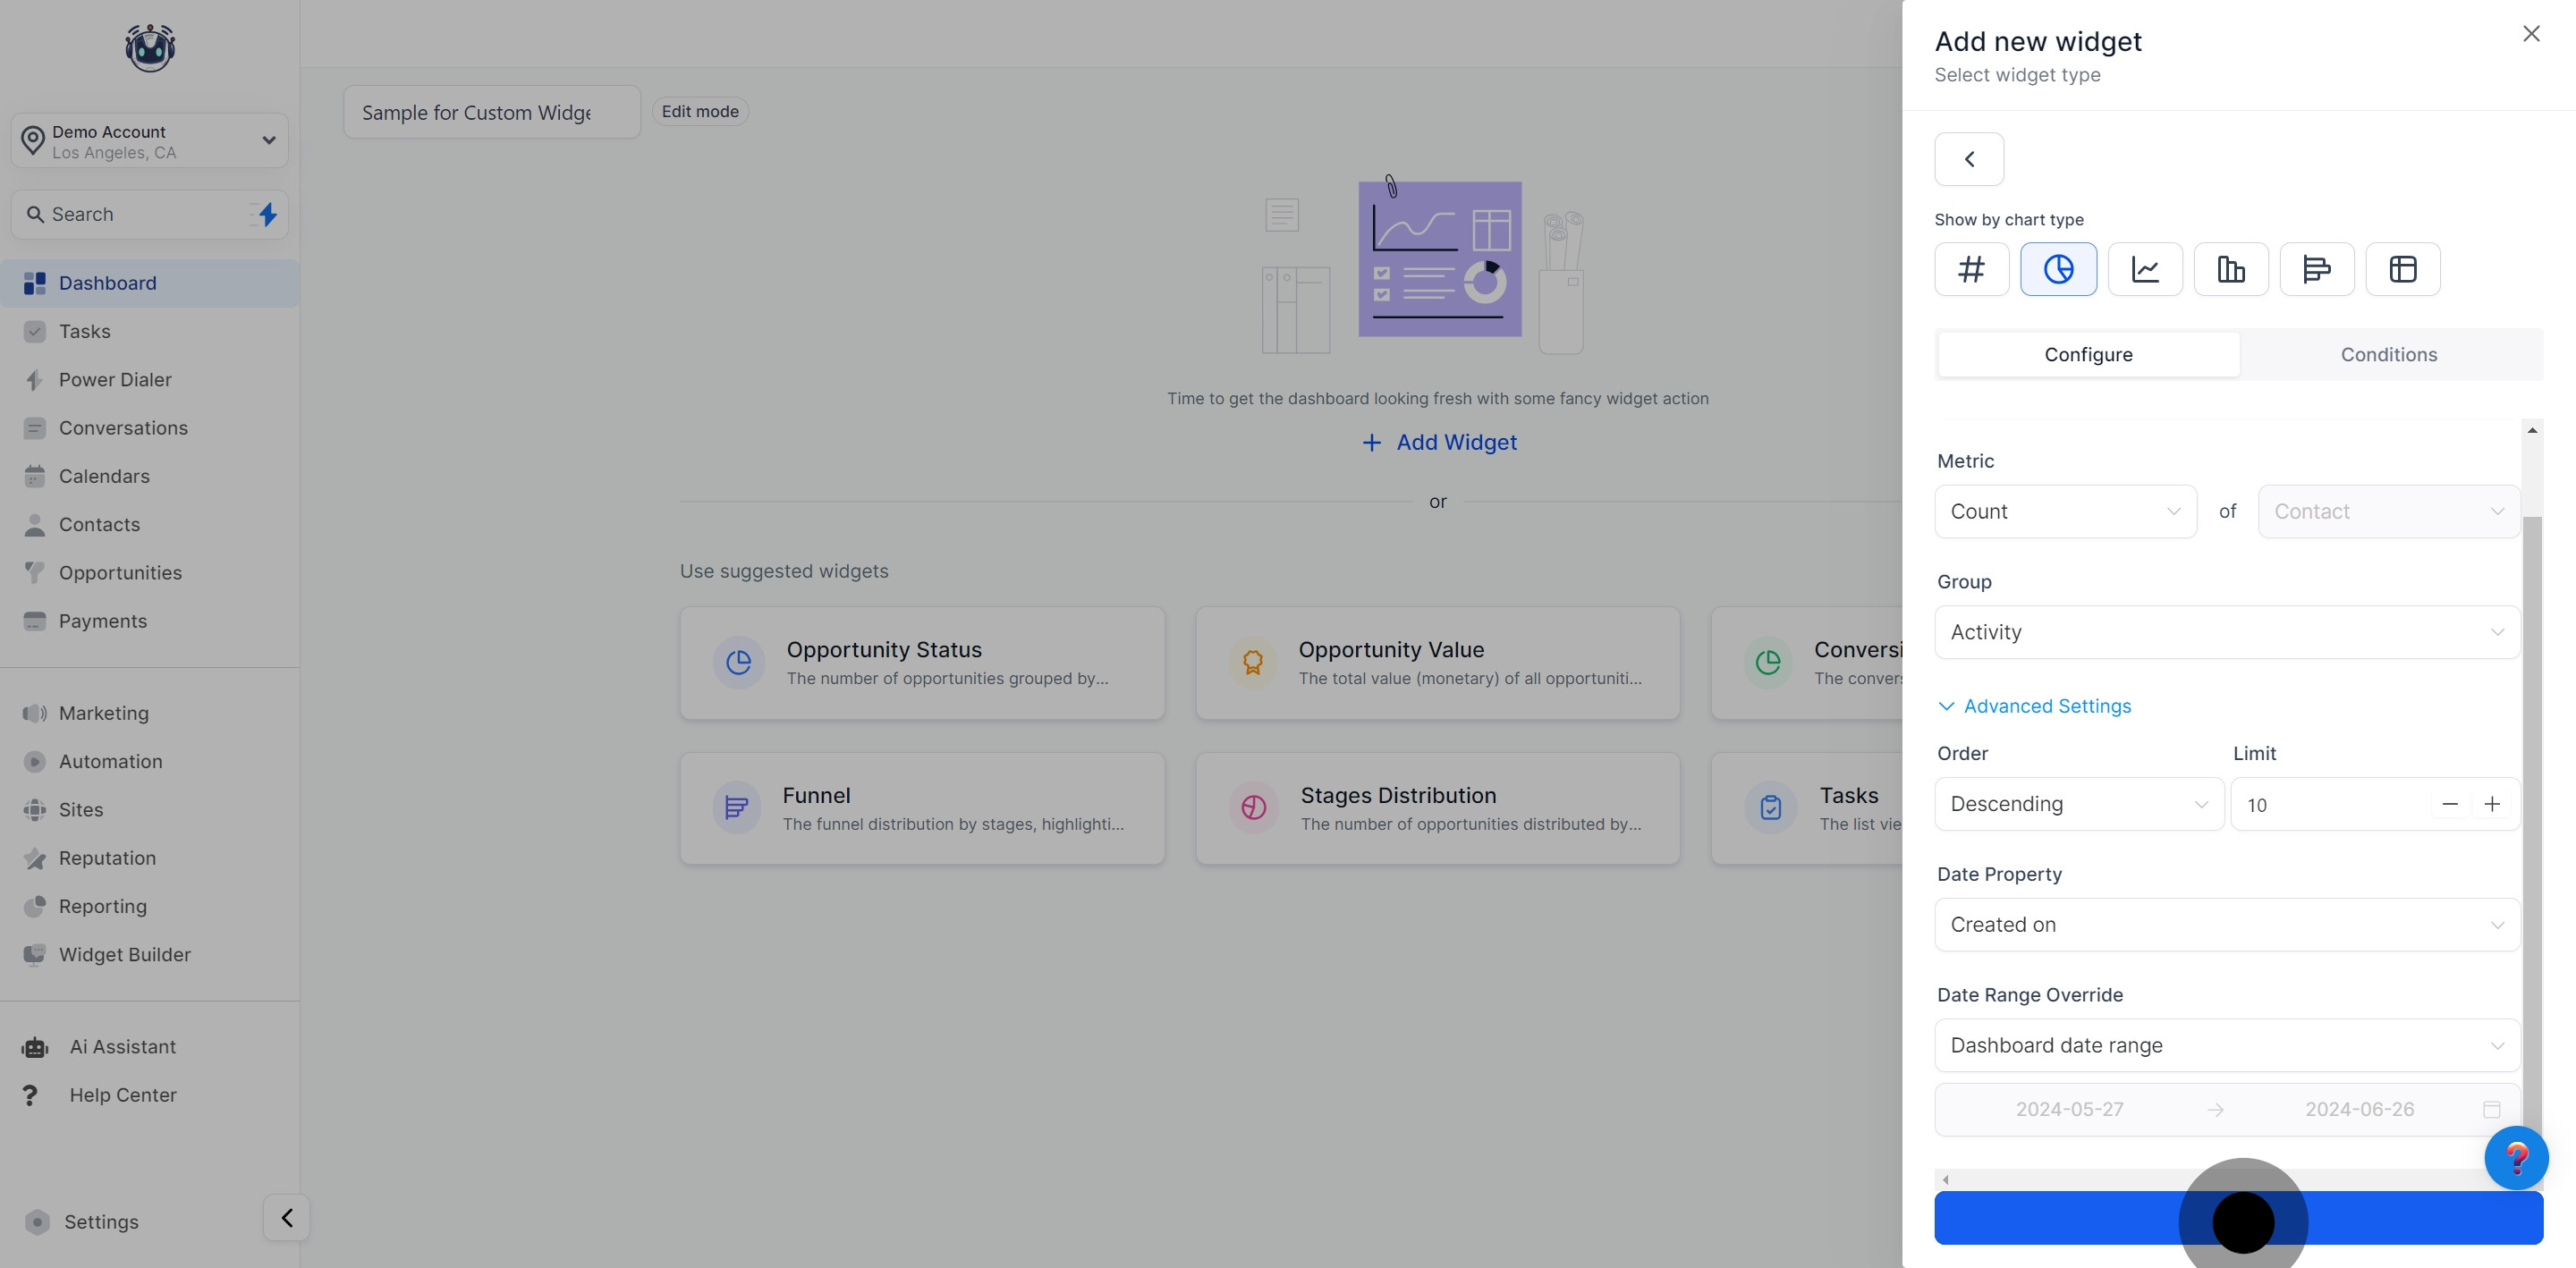
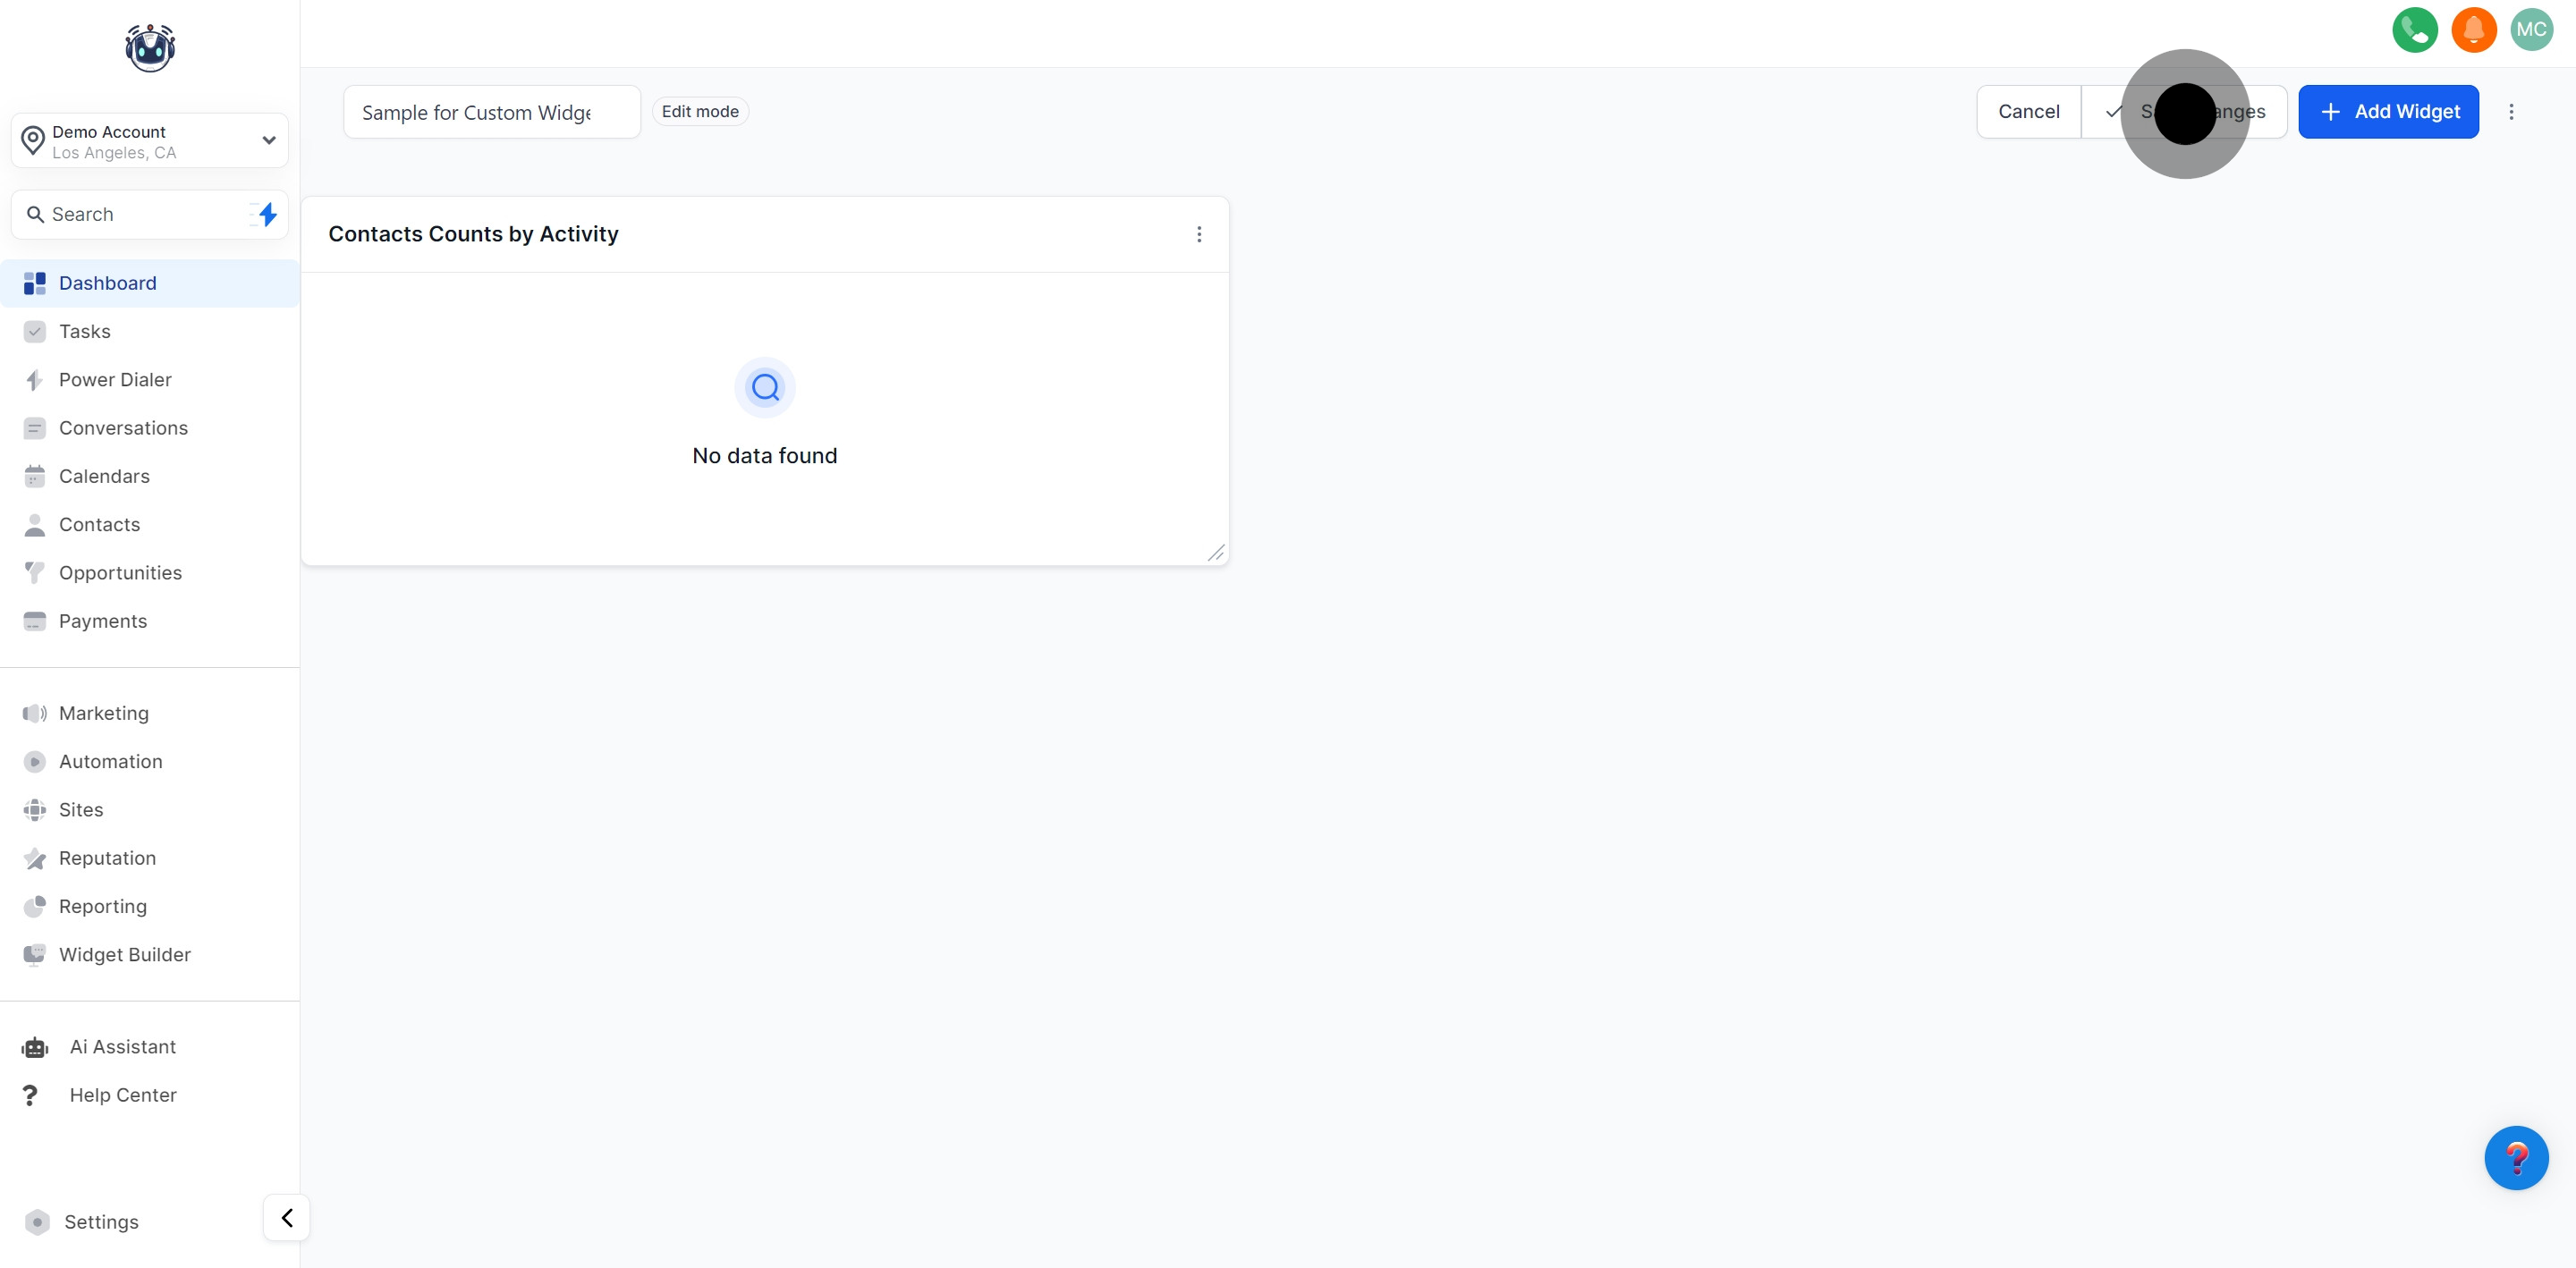
Customize the widget by changing its title if necessary (for more details on customization, refer to "Customizing a Widget"). After selecting and customizing your widget, click the "Save" button.
The widget will be added to your dashboard. You can resize and reposition it as needed. Make sure to click "Save Changes" once you are satisfied with the widget's position and size.
Note: Wondering which plan unlocks the customizable dashboard? It's available exclusively for the $497 plan and above. If you're on the $97 or $297 plan, consider upgrading to unlock this feature. Custom dashboards on $497+ plans can be accessed by Agency Admins and Agency users.
