1. Start by adding a new widget to your dashboard.

2. Next, search for and select the desired widget.
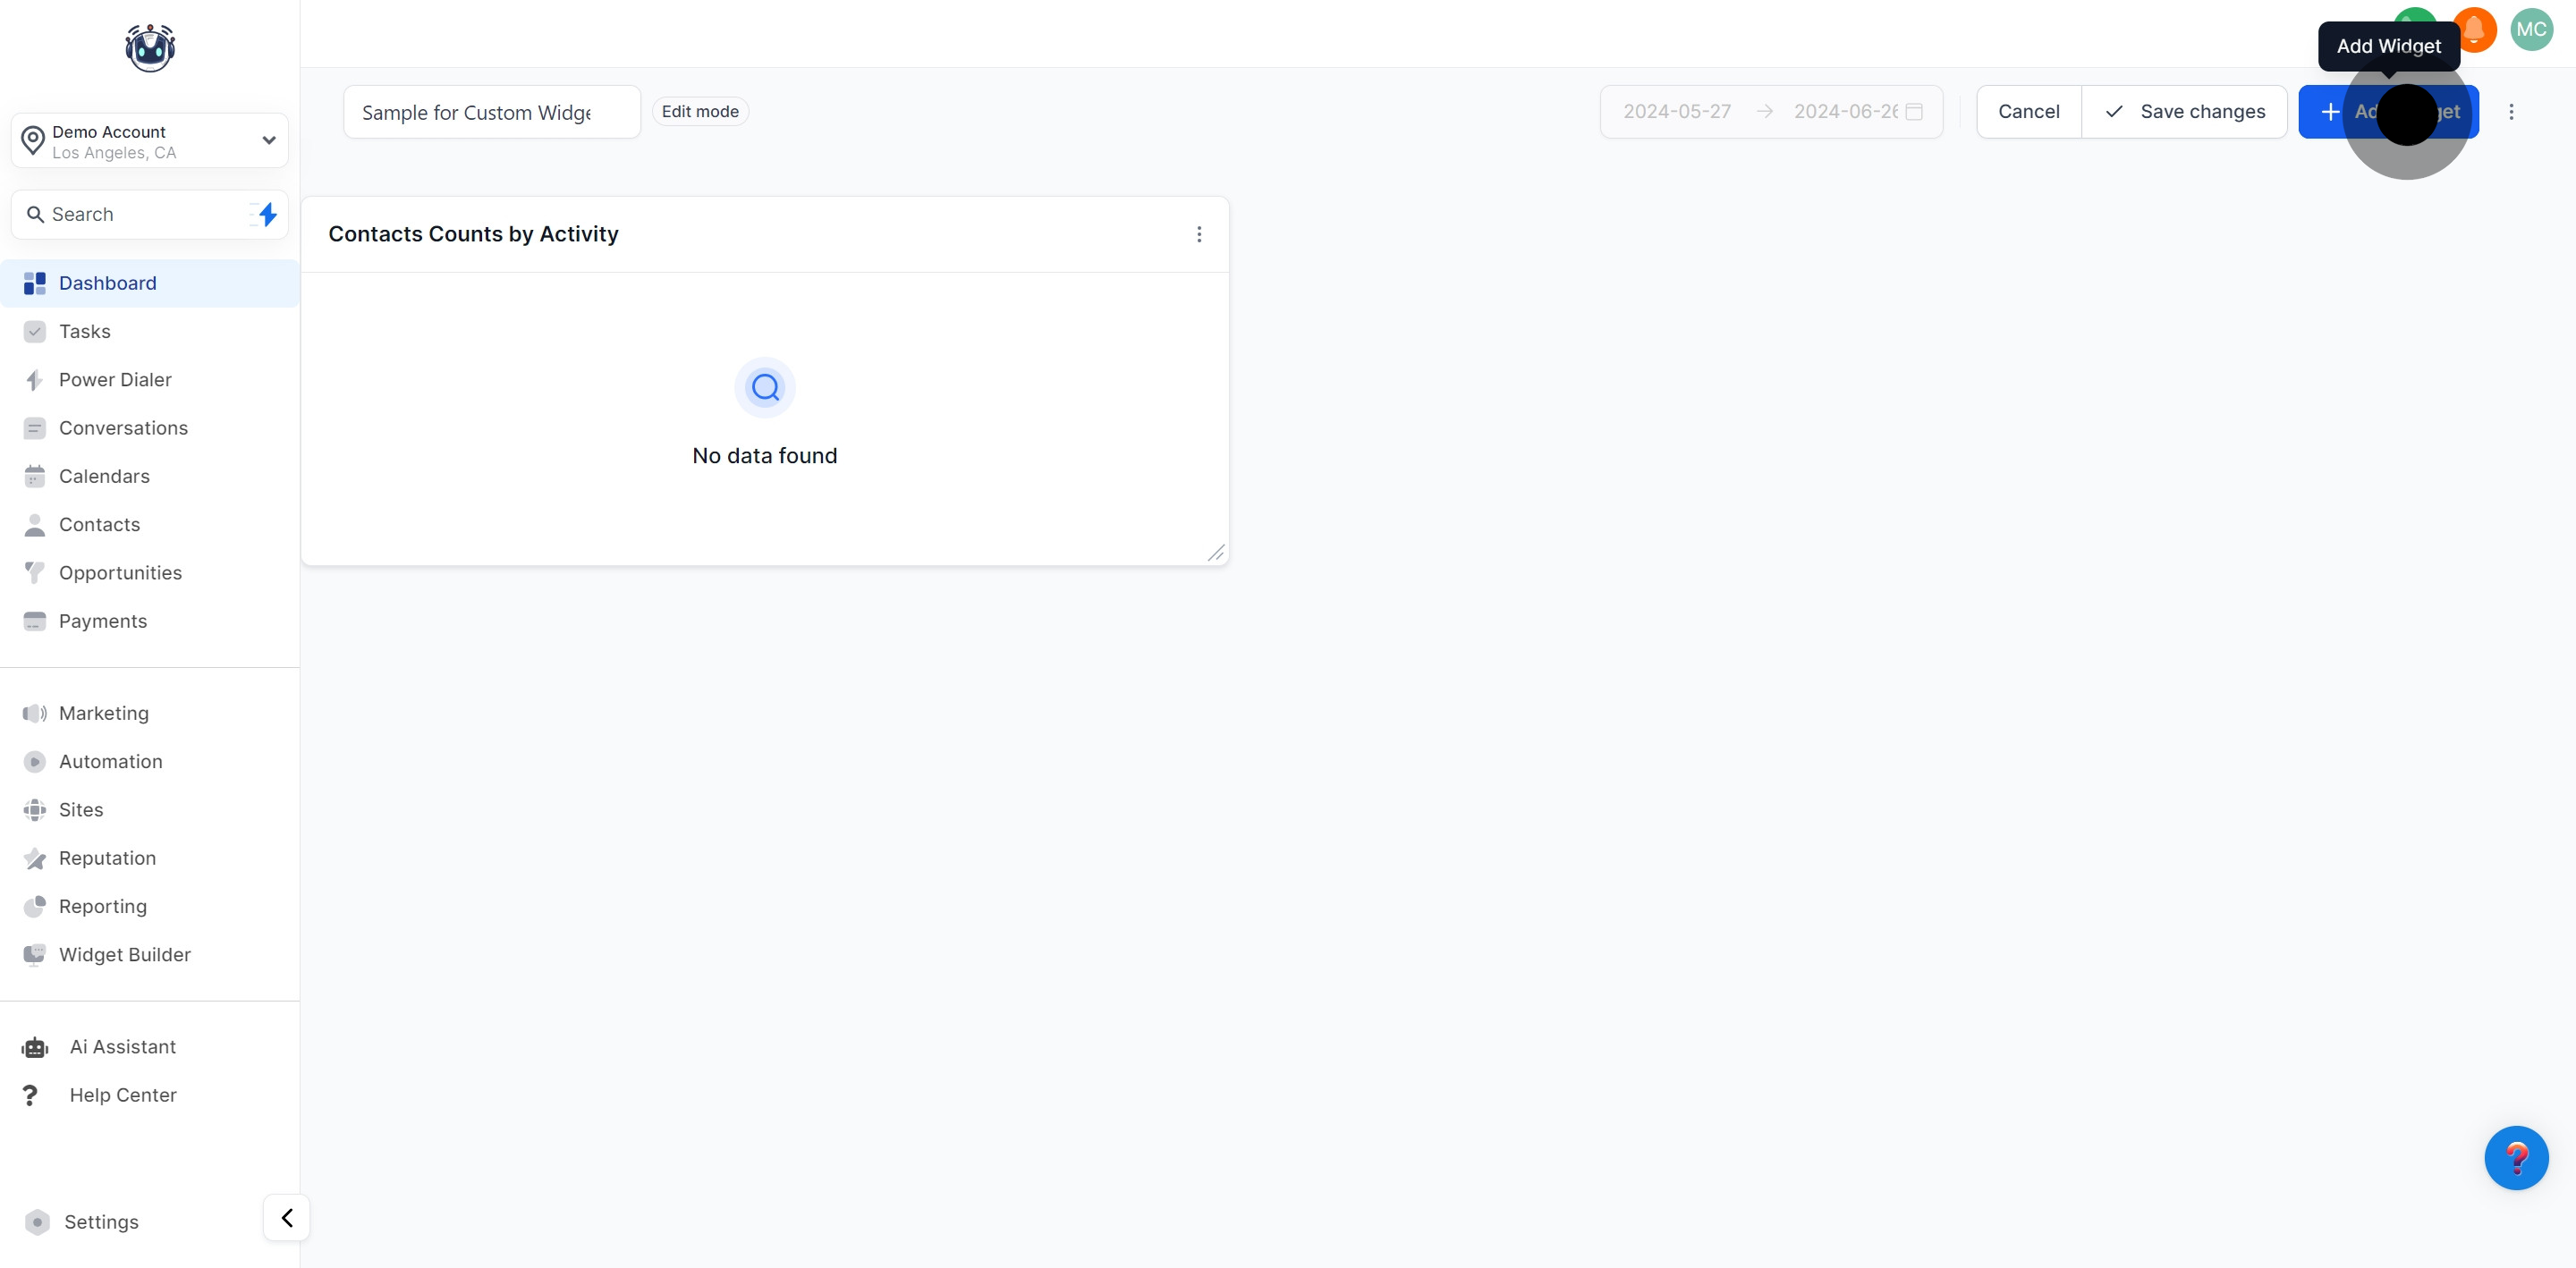
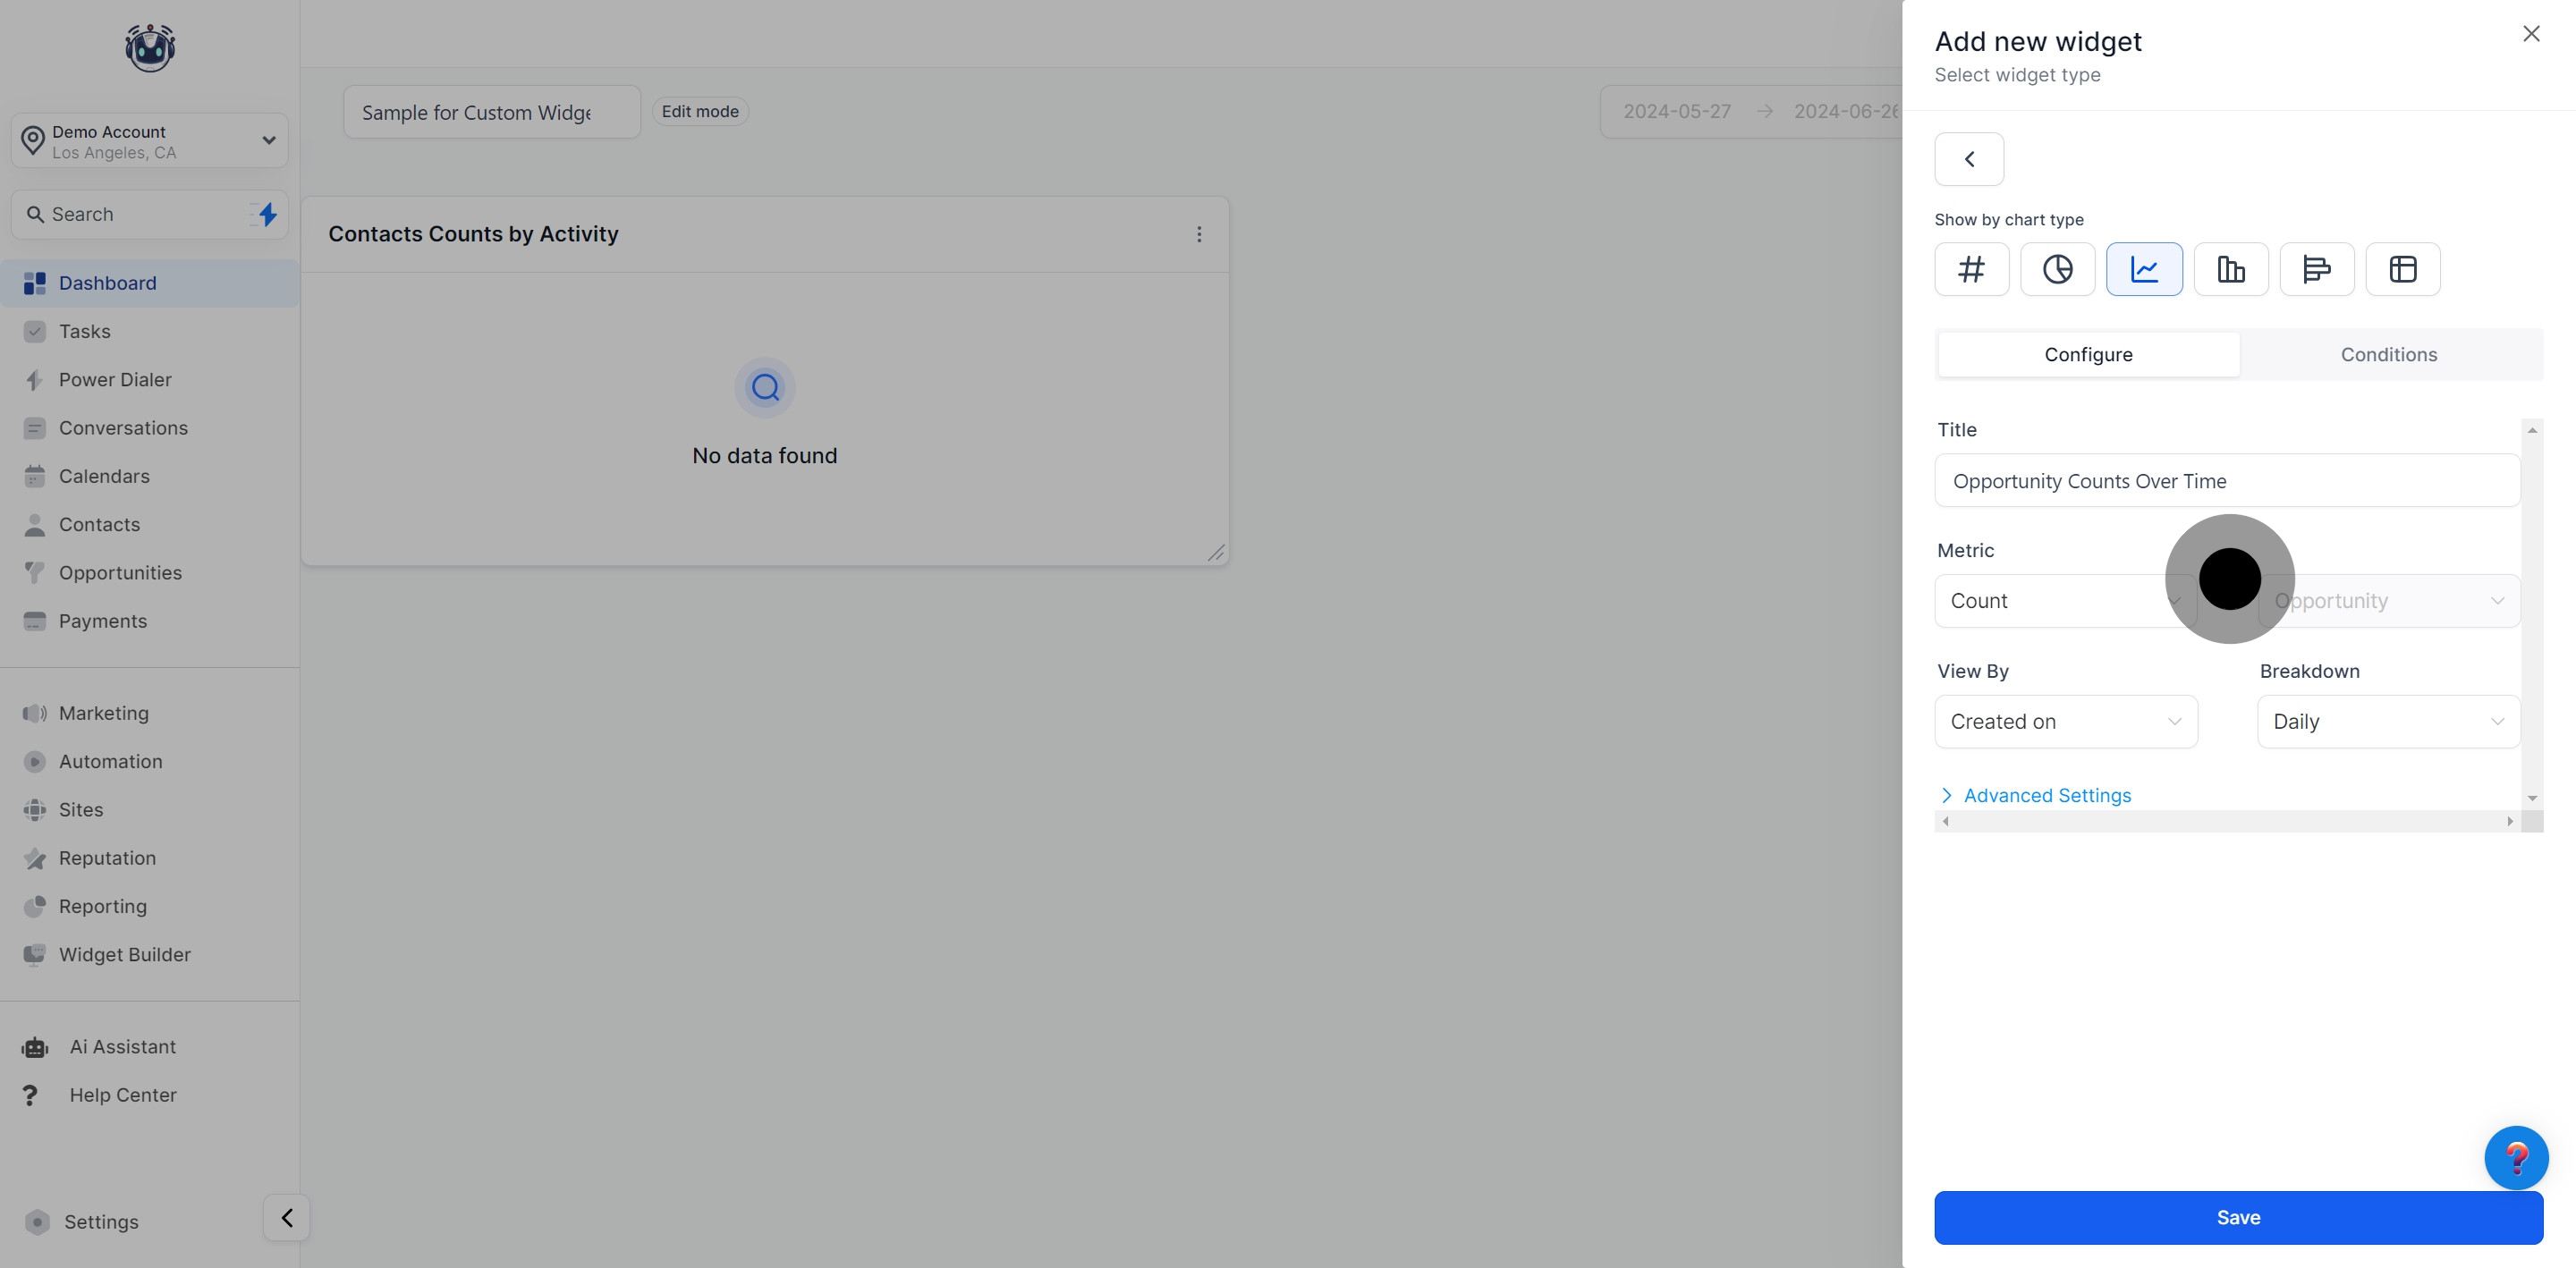
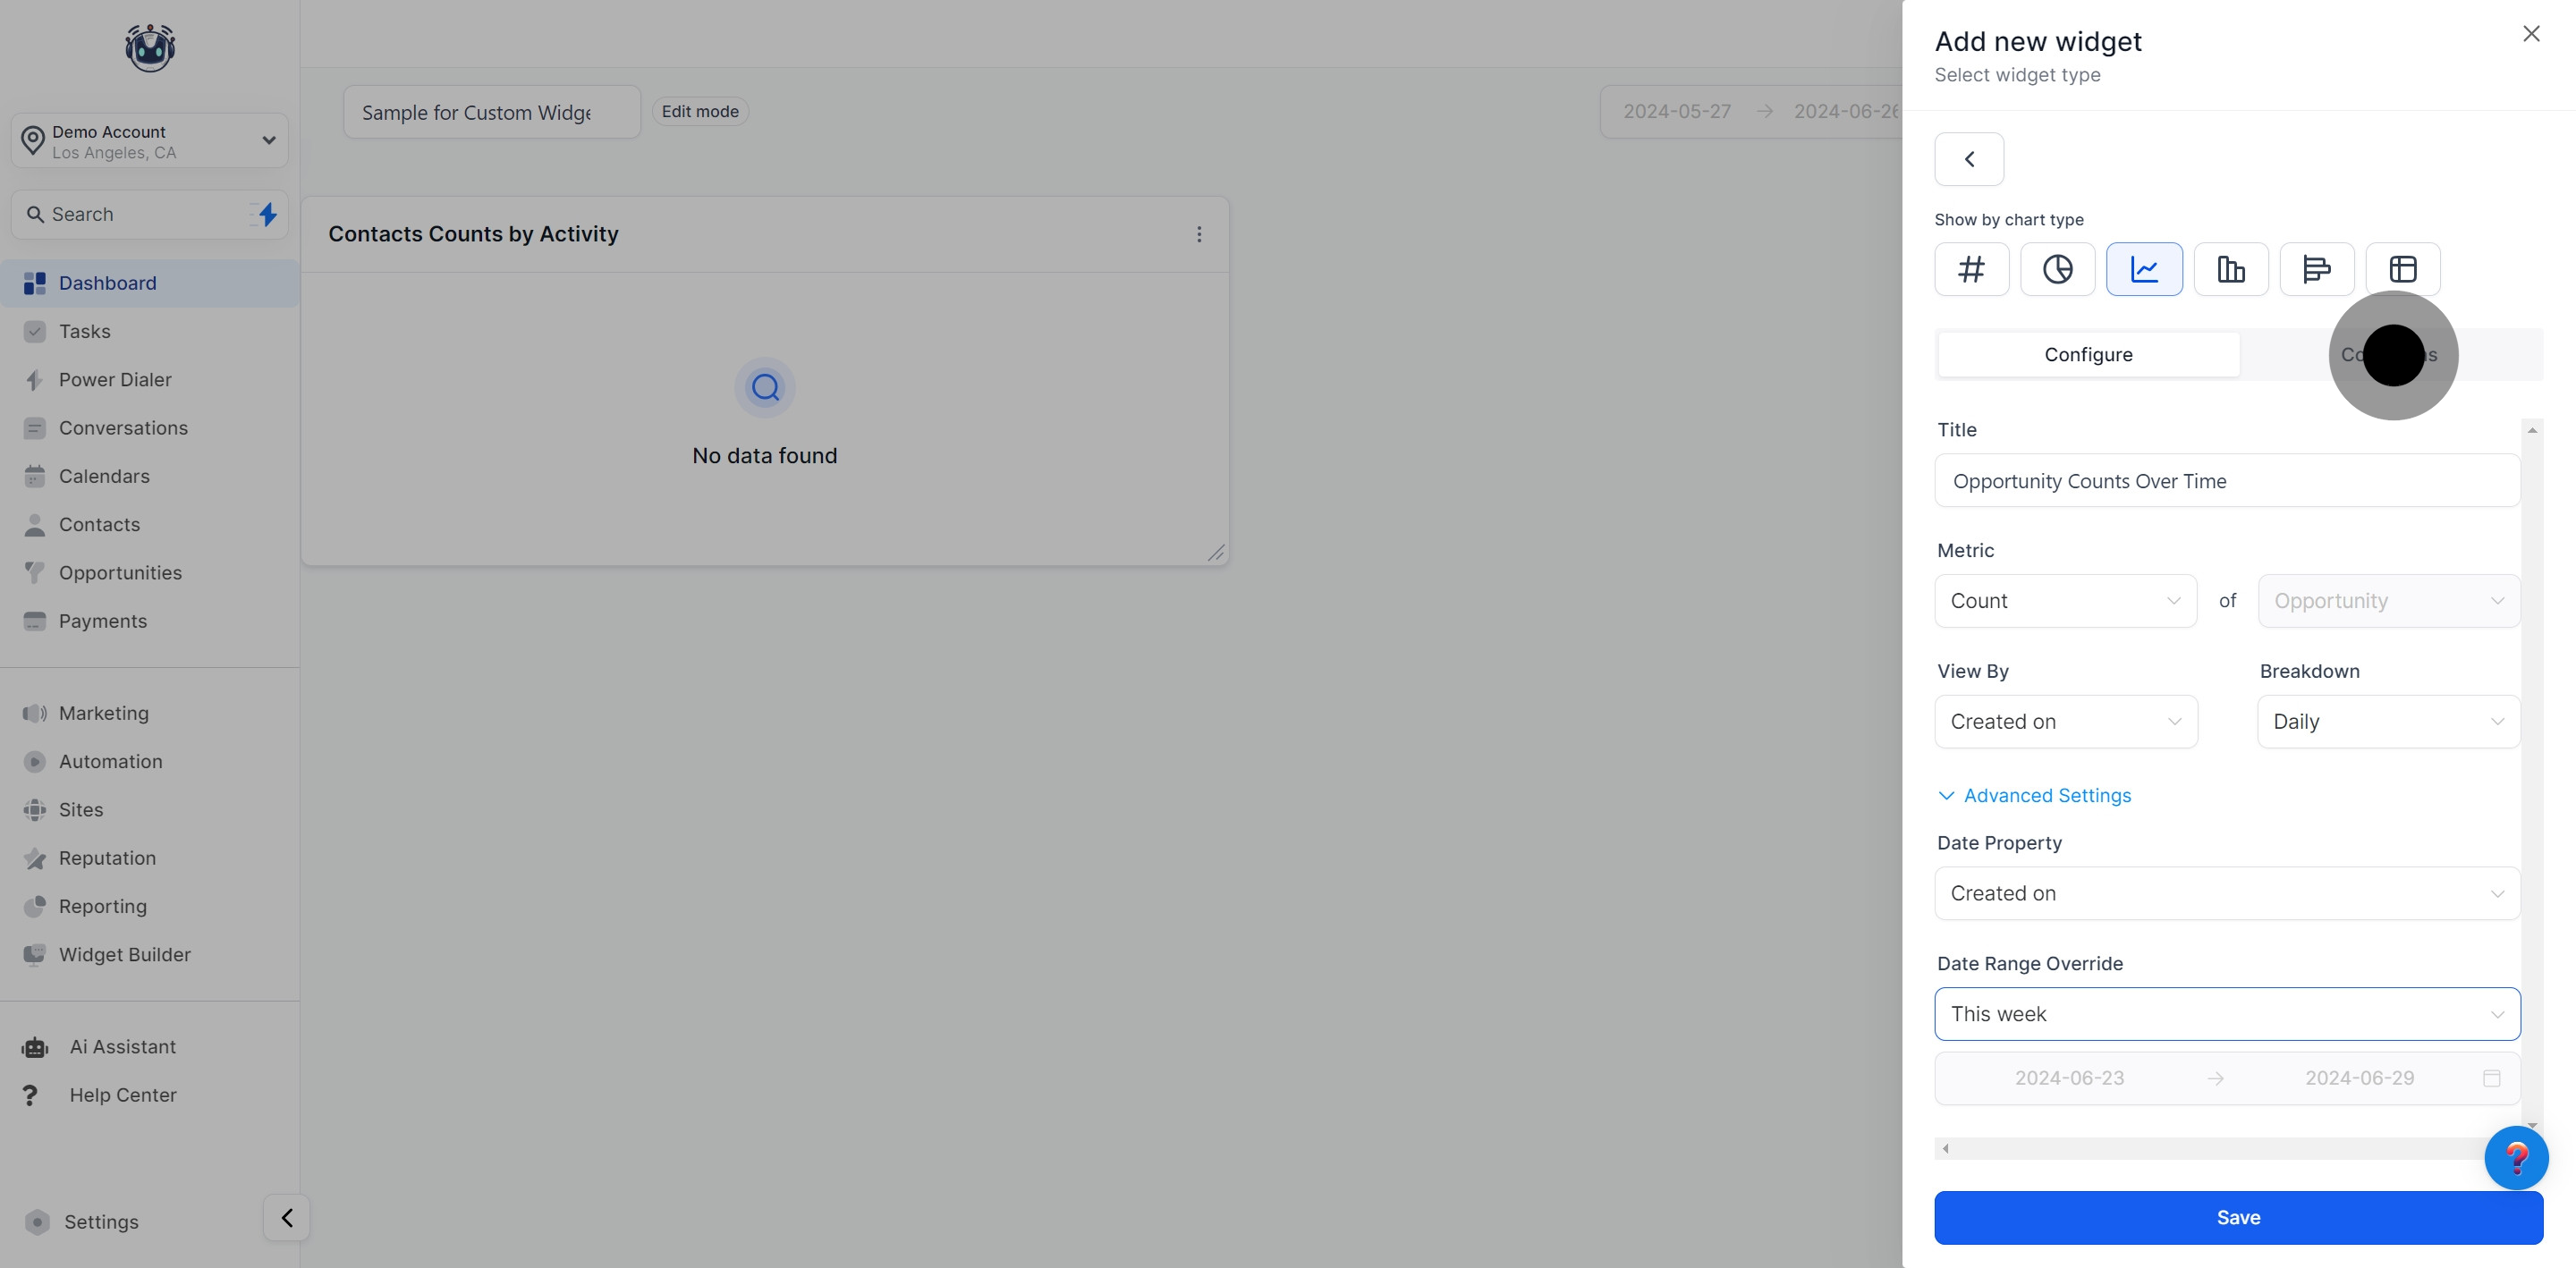
Begin by choosing a widget from the widget list. Under the "ALL" filter, each widget defaults to a specific chart type, which you can change by clicking on the chart icon.

3. Then, choose a chart type for your widget.

4. Configure your Widget
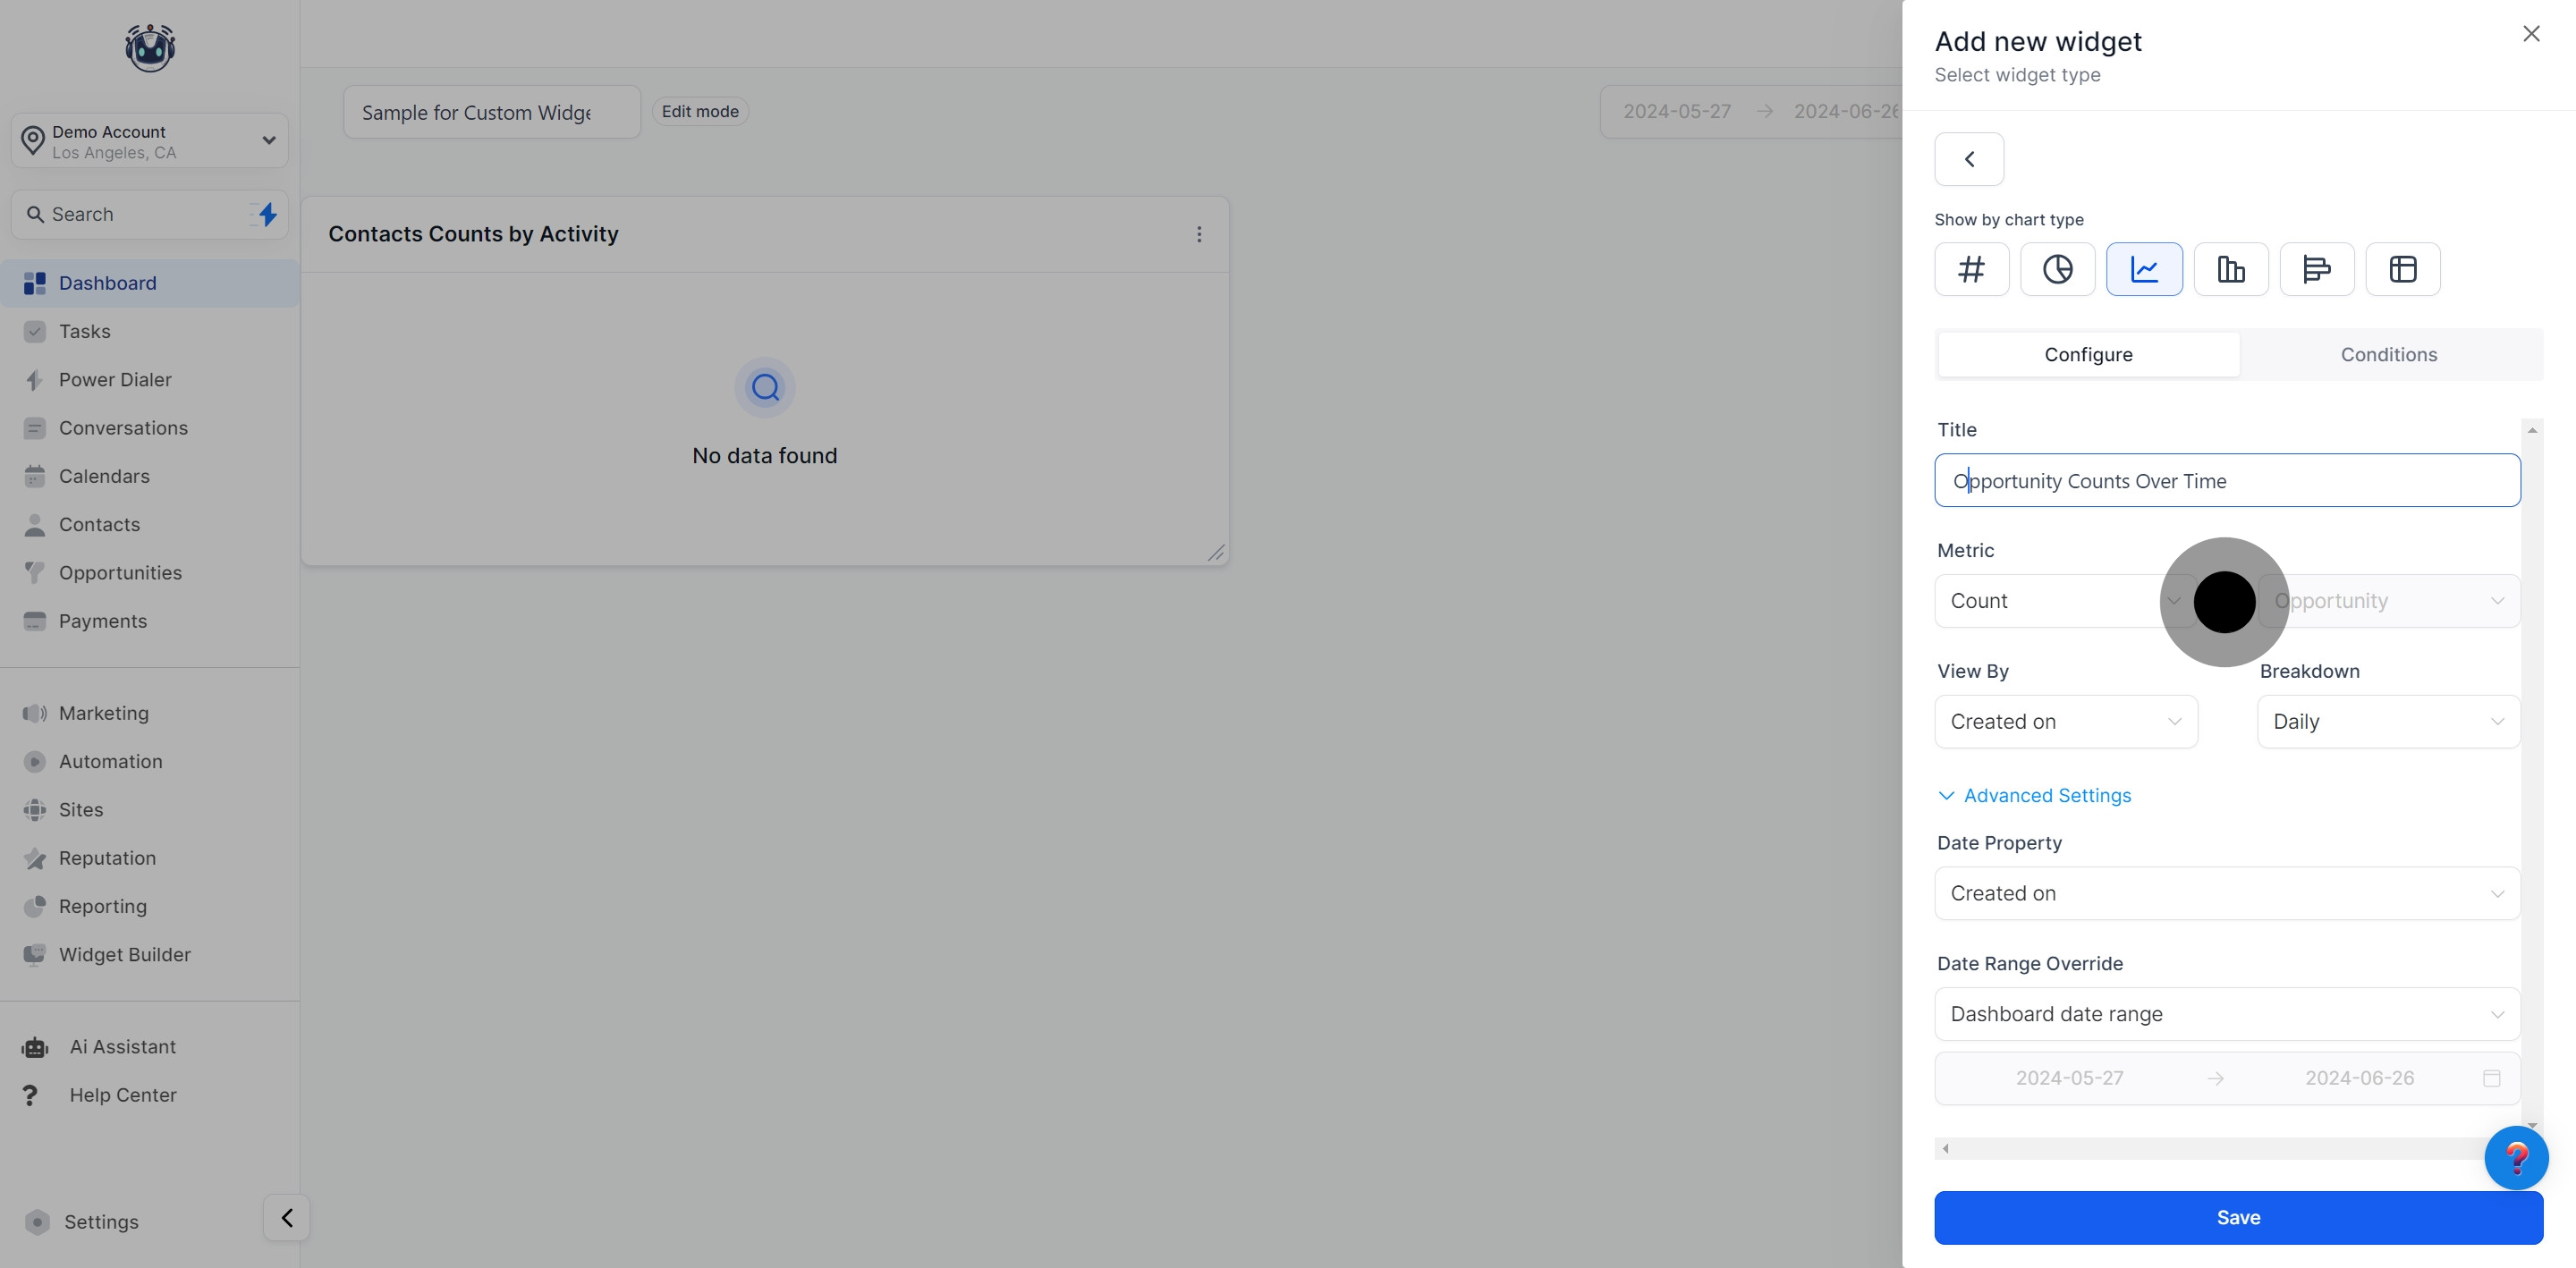
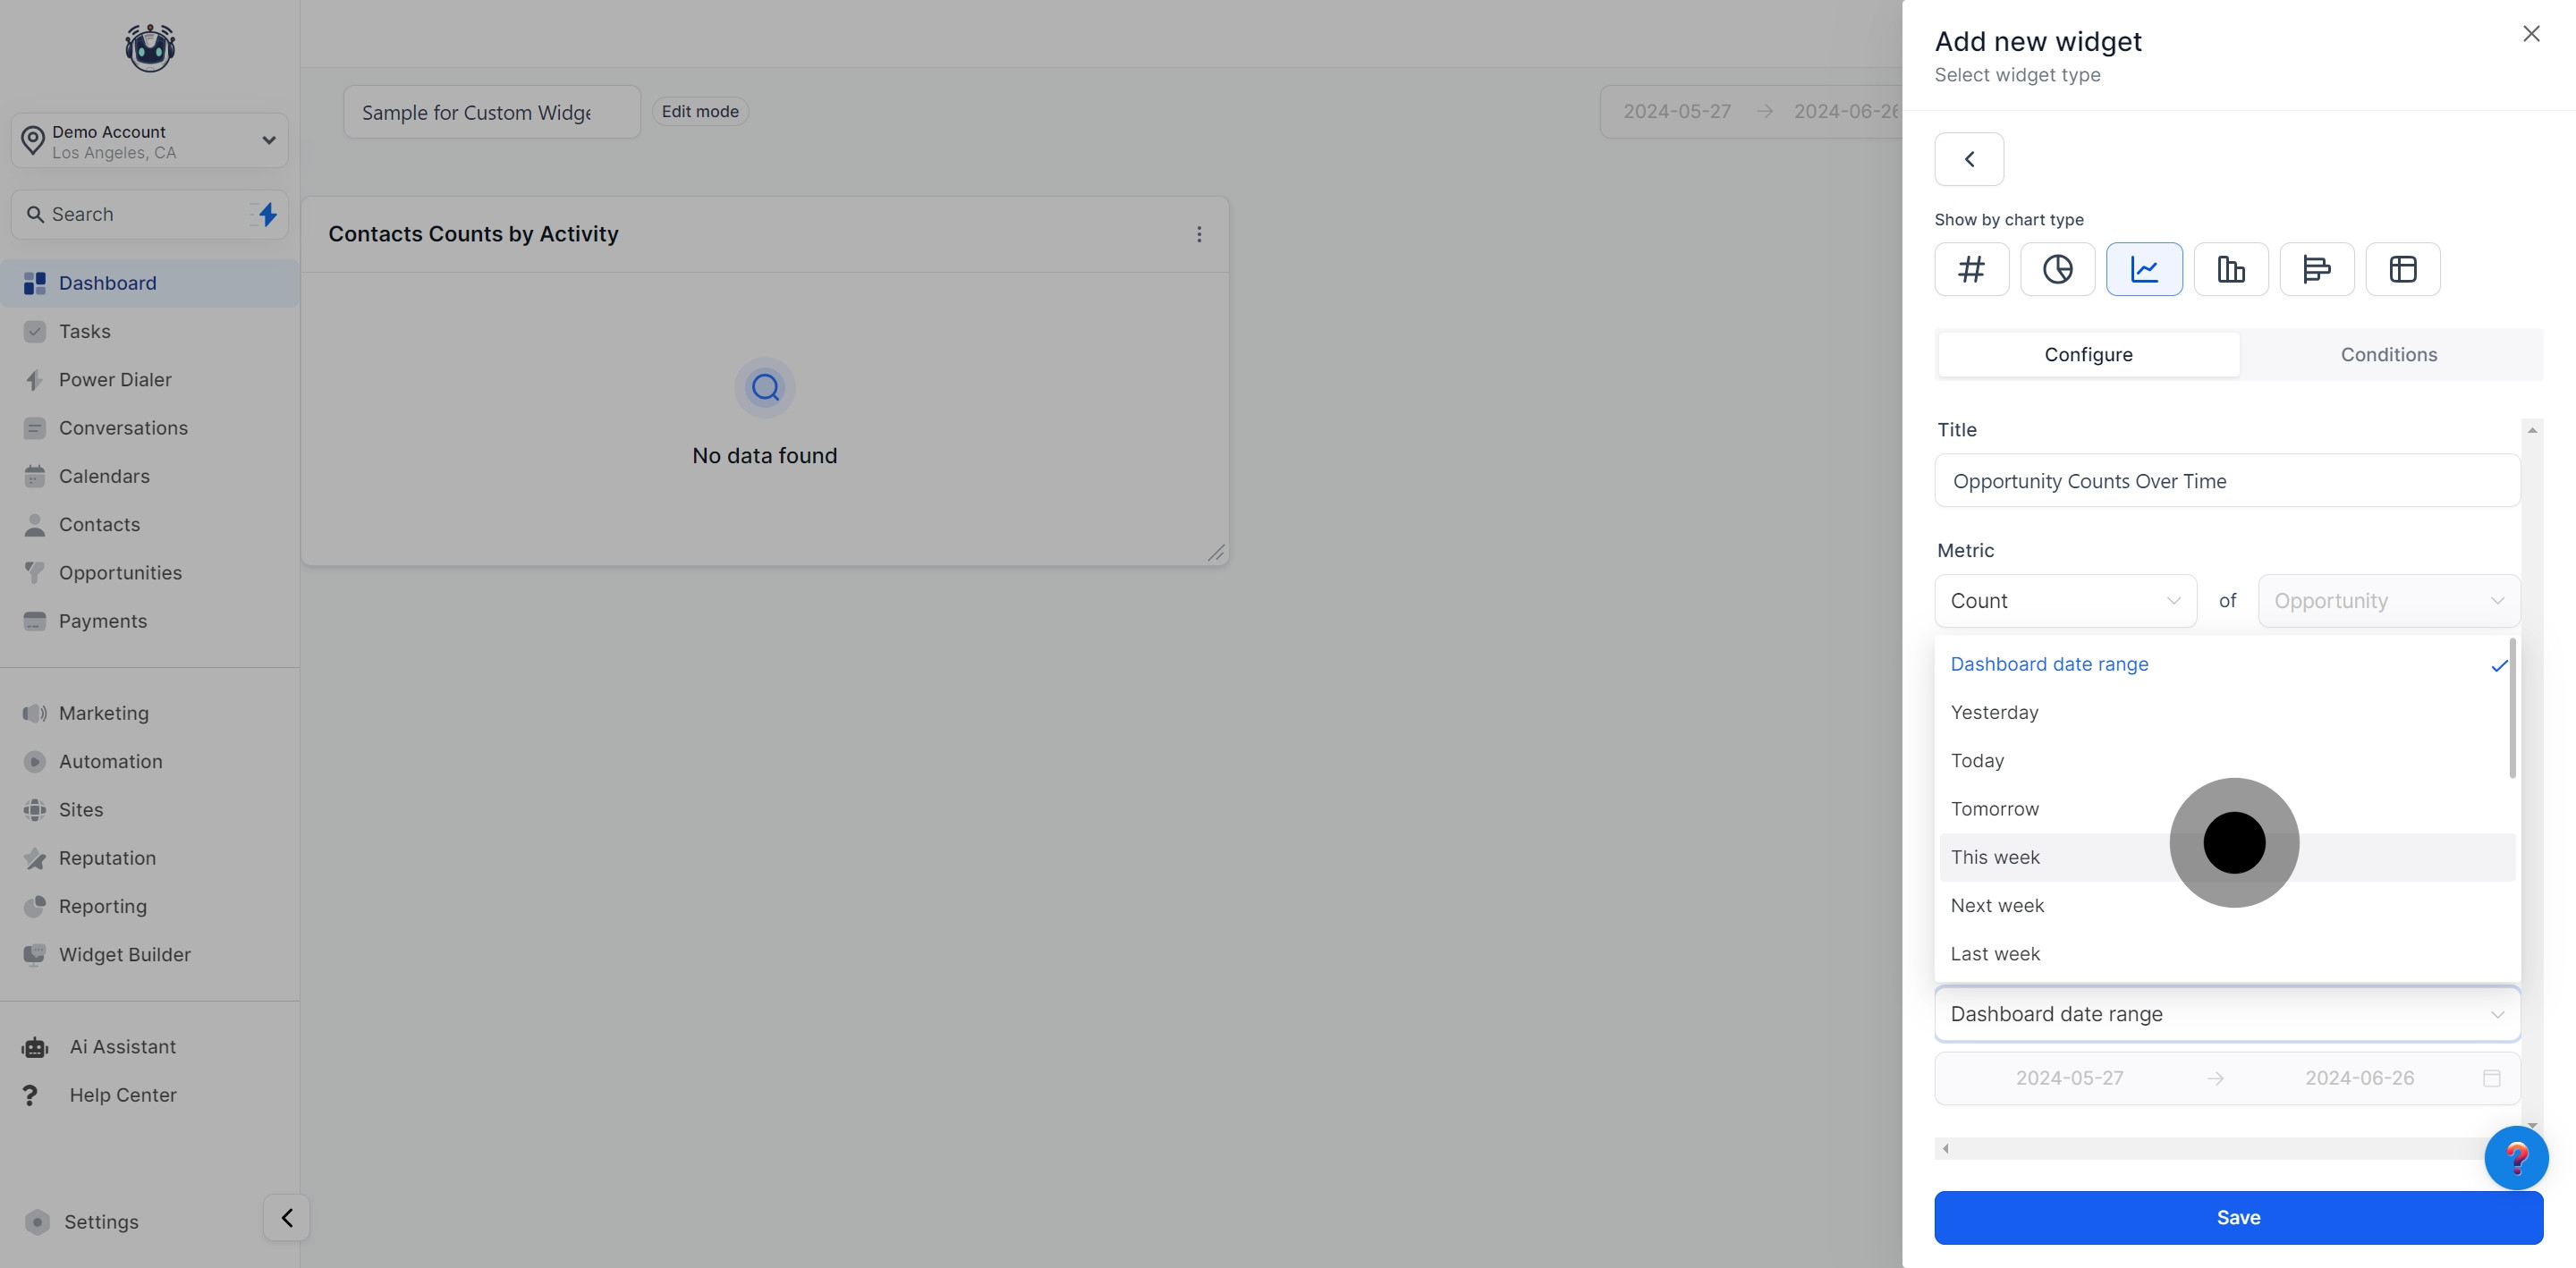
Navigate to the "Configure" tab to further customize the widget:
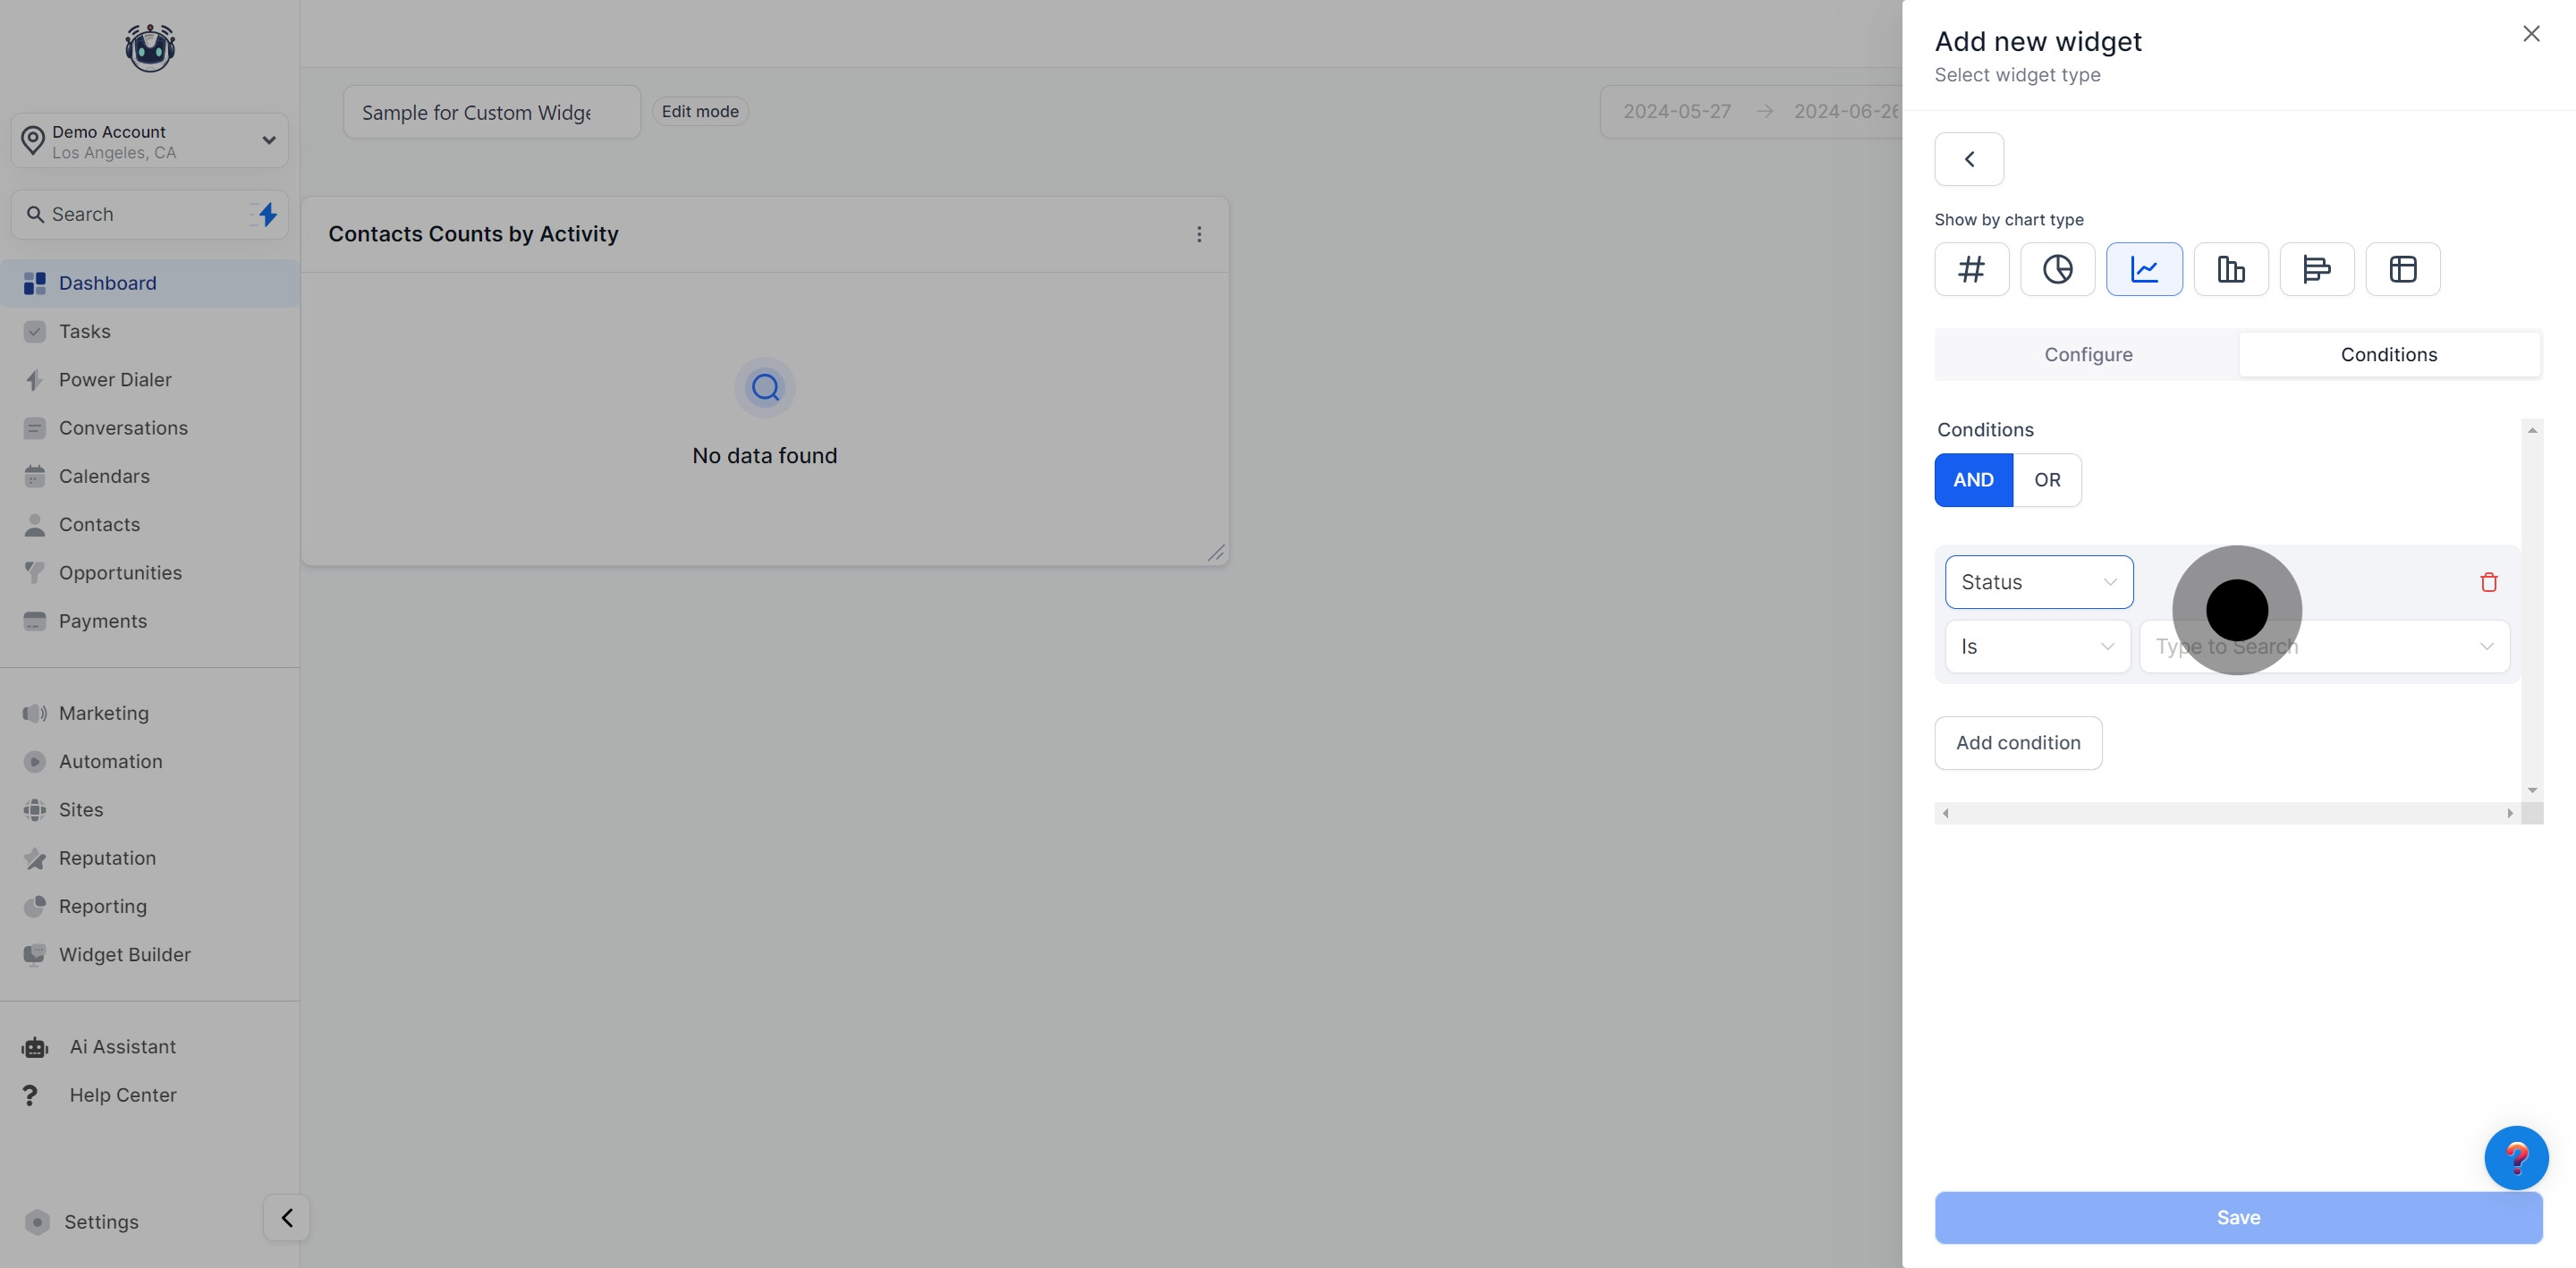
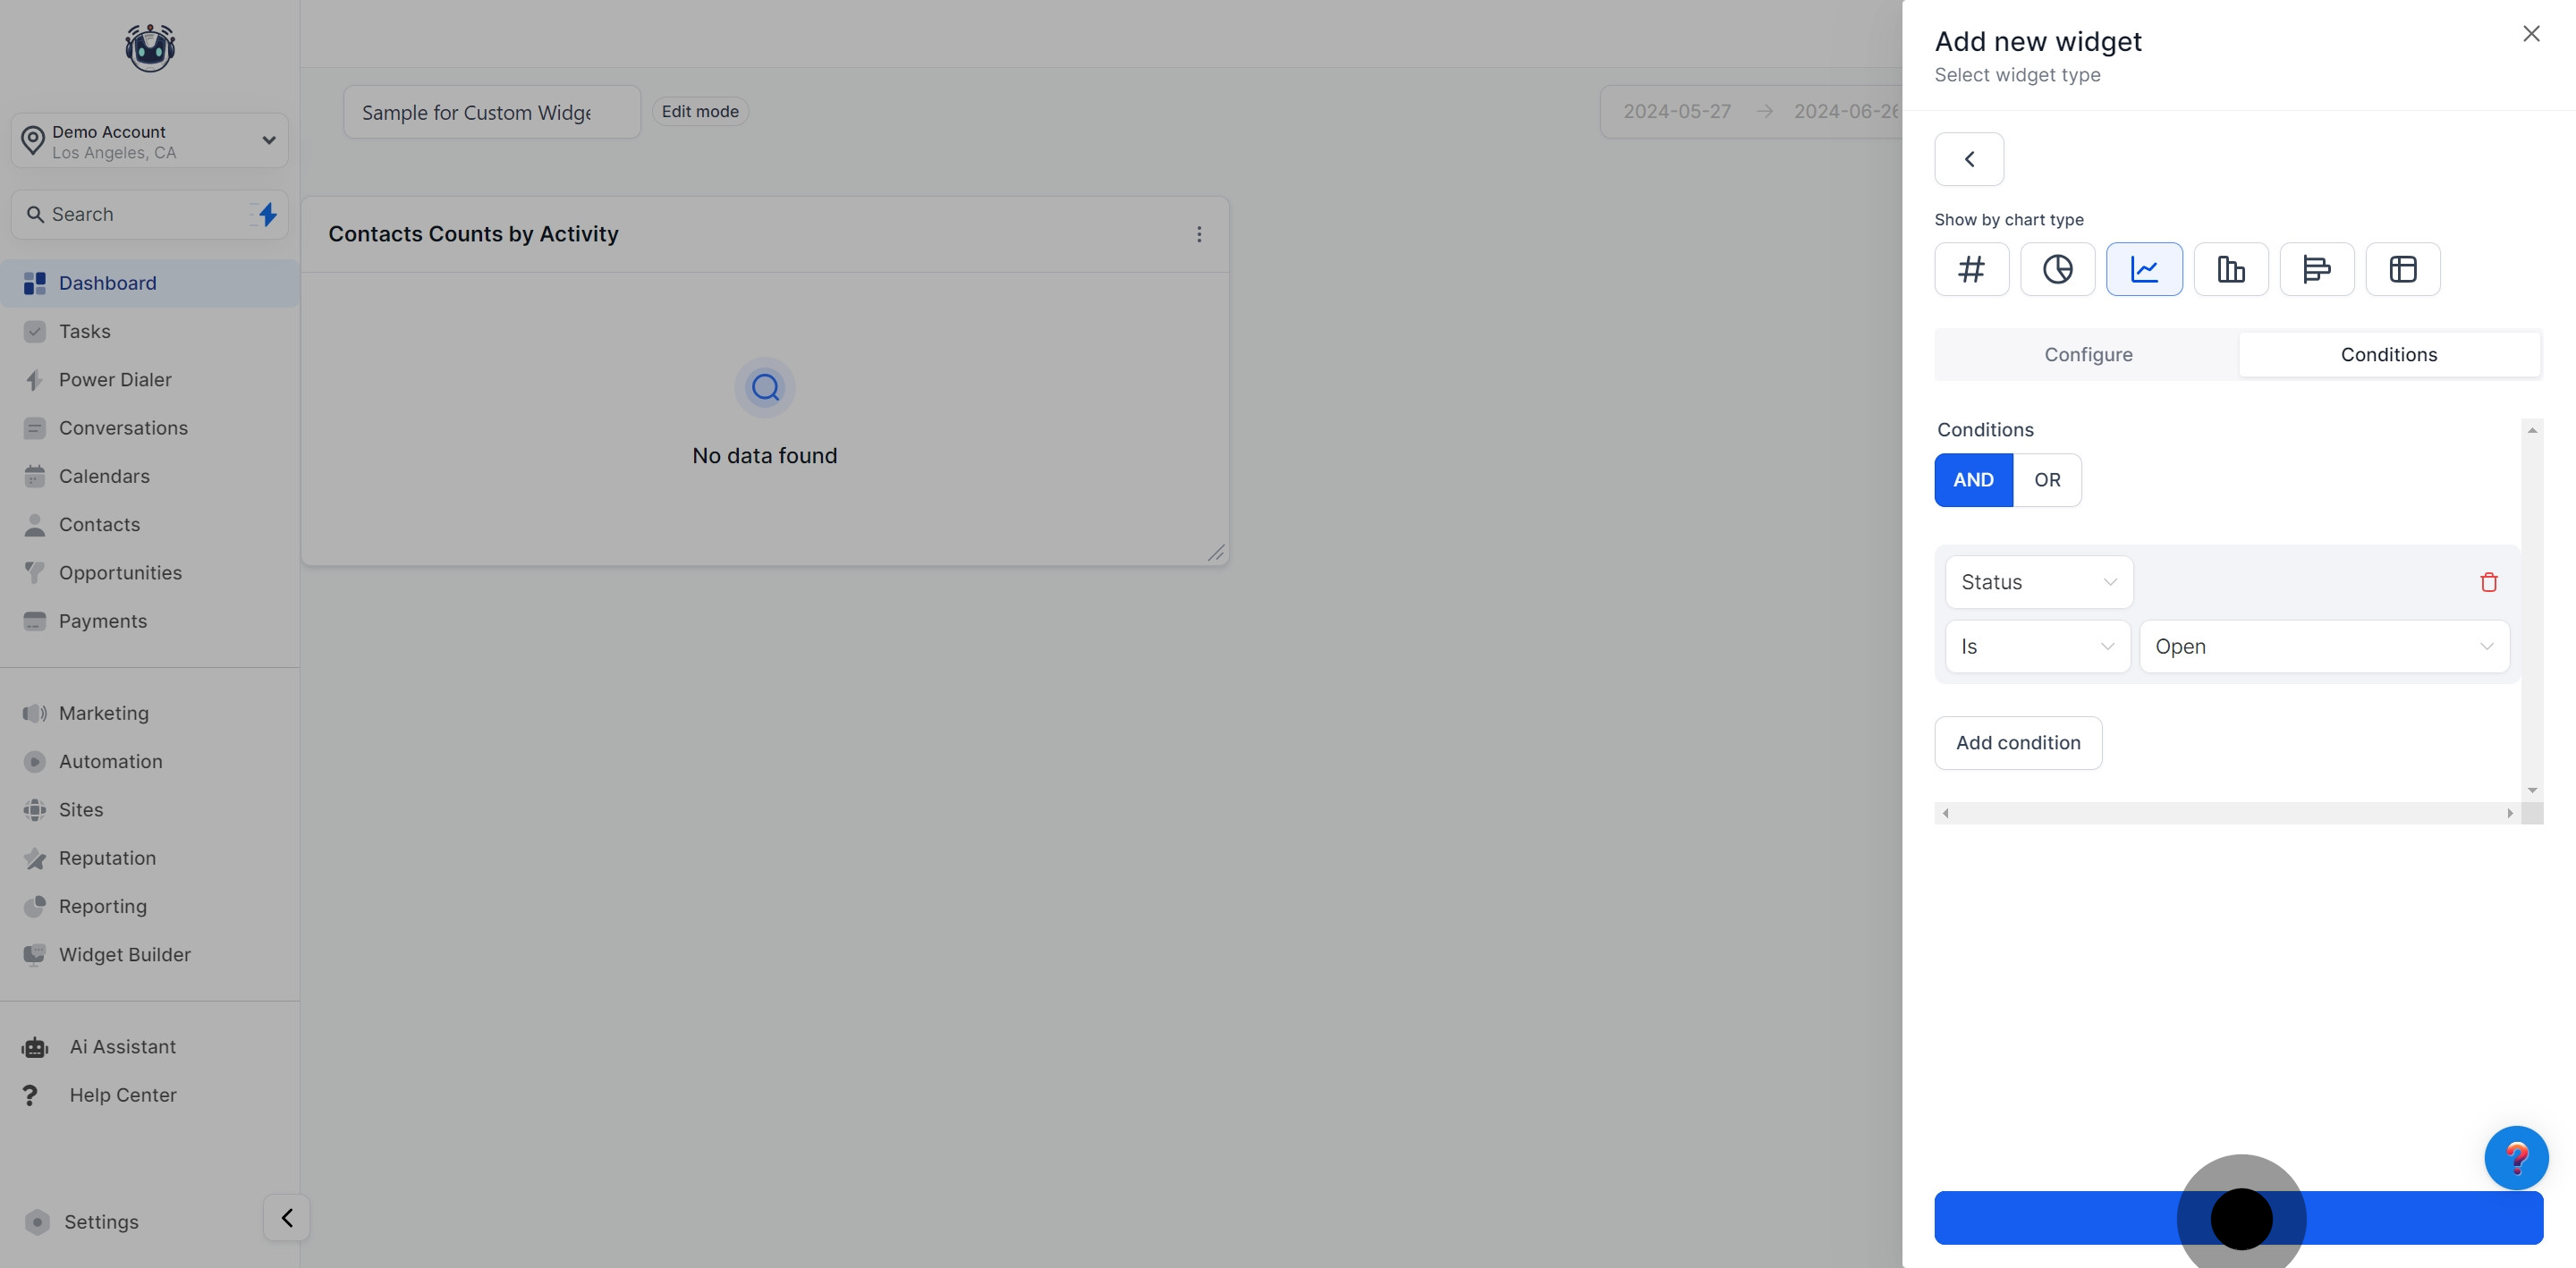
a. Proceed by naming your widget for easy identification.

b. Change the data points that your widget displays.

c. Select a secondary dimension for the widget.

d. Modify how frequently data updates in your widget.

e. Adjust the specific date properties for your data.

f. Override the default dashboard date range if needed.

g. Add conditions to refine your widget’s data.

h. Click to add a new condition for detailed customization.

i. Set specific parameters and operators for the condition.

5. Save your settings to update the widget.

6. Finally, confirm and save all changes made to your dashboard.

Note:
Curious about dashboard customization plans? Access is currently exclusive to the $497 plan and above. Consider upgrading from the $97 or $297 plans to unlock this feature. Agency Admins and users on $497+ plans can enjoy custom dashboard access.