This guide will walk you through the process of creating and adding custom fields to your Pest AI CRM system, allowing you to tailor data entry processes to better fit your business's unique needs.
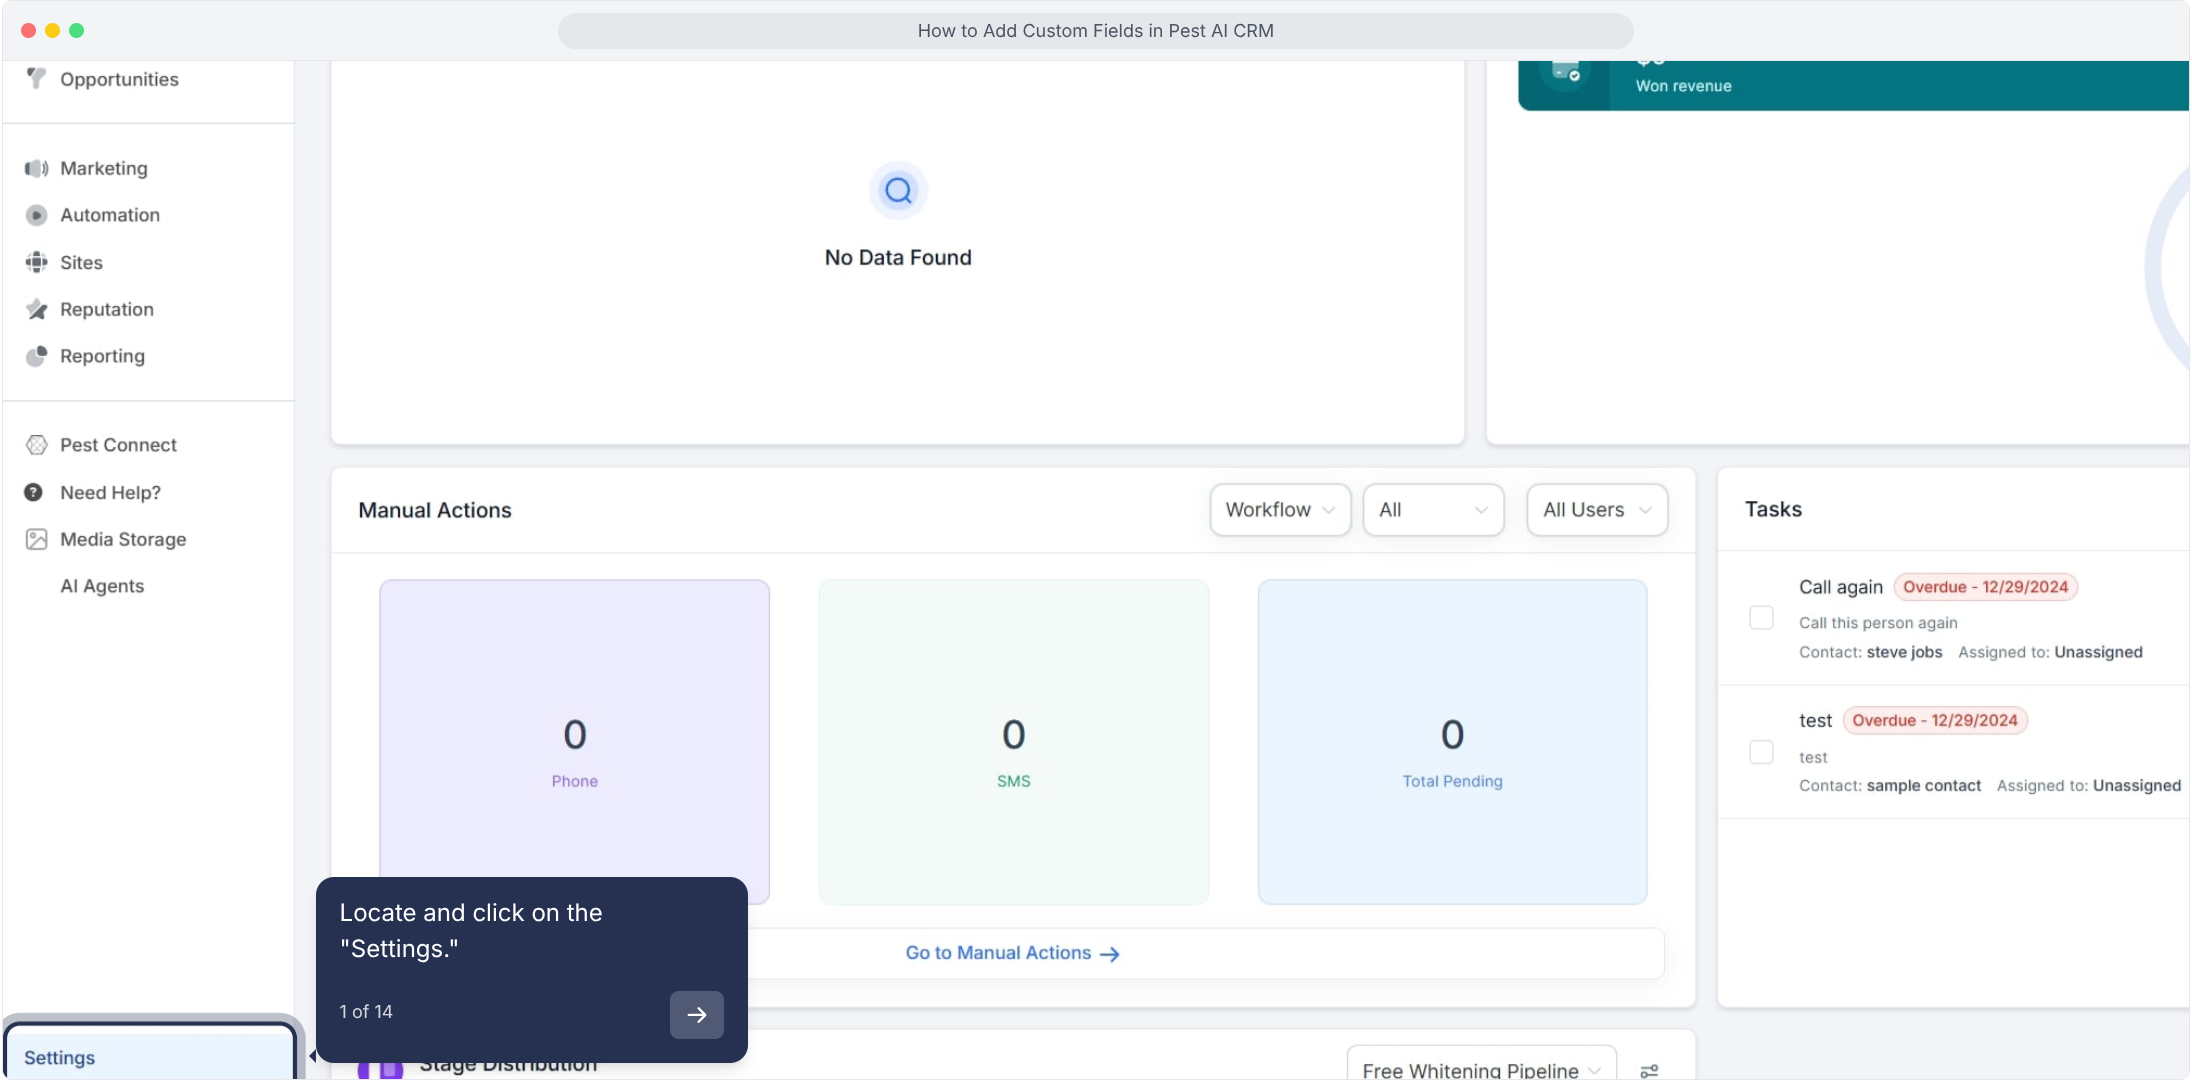
1. Locate and click on the "Settings."
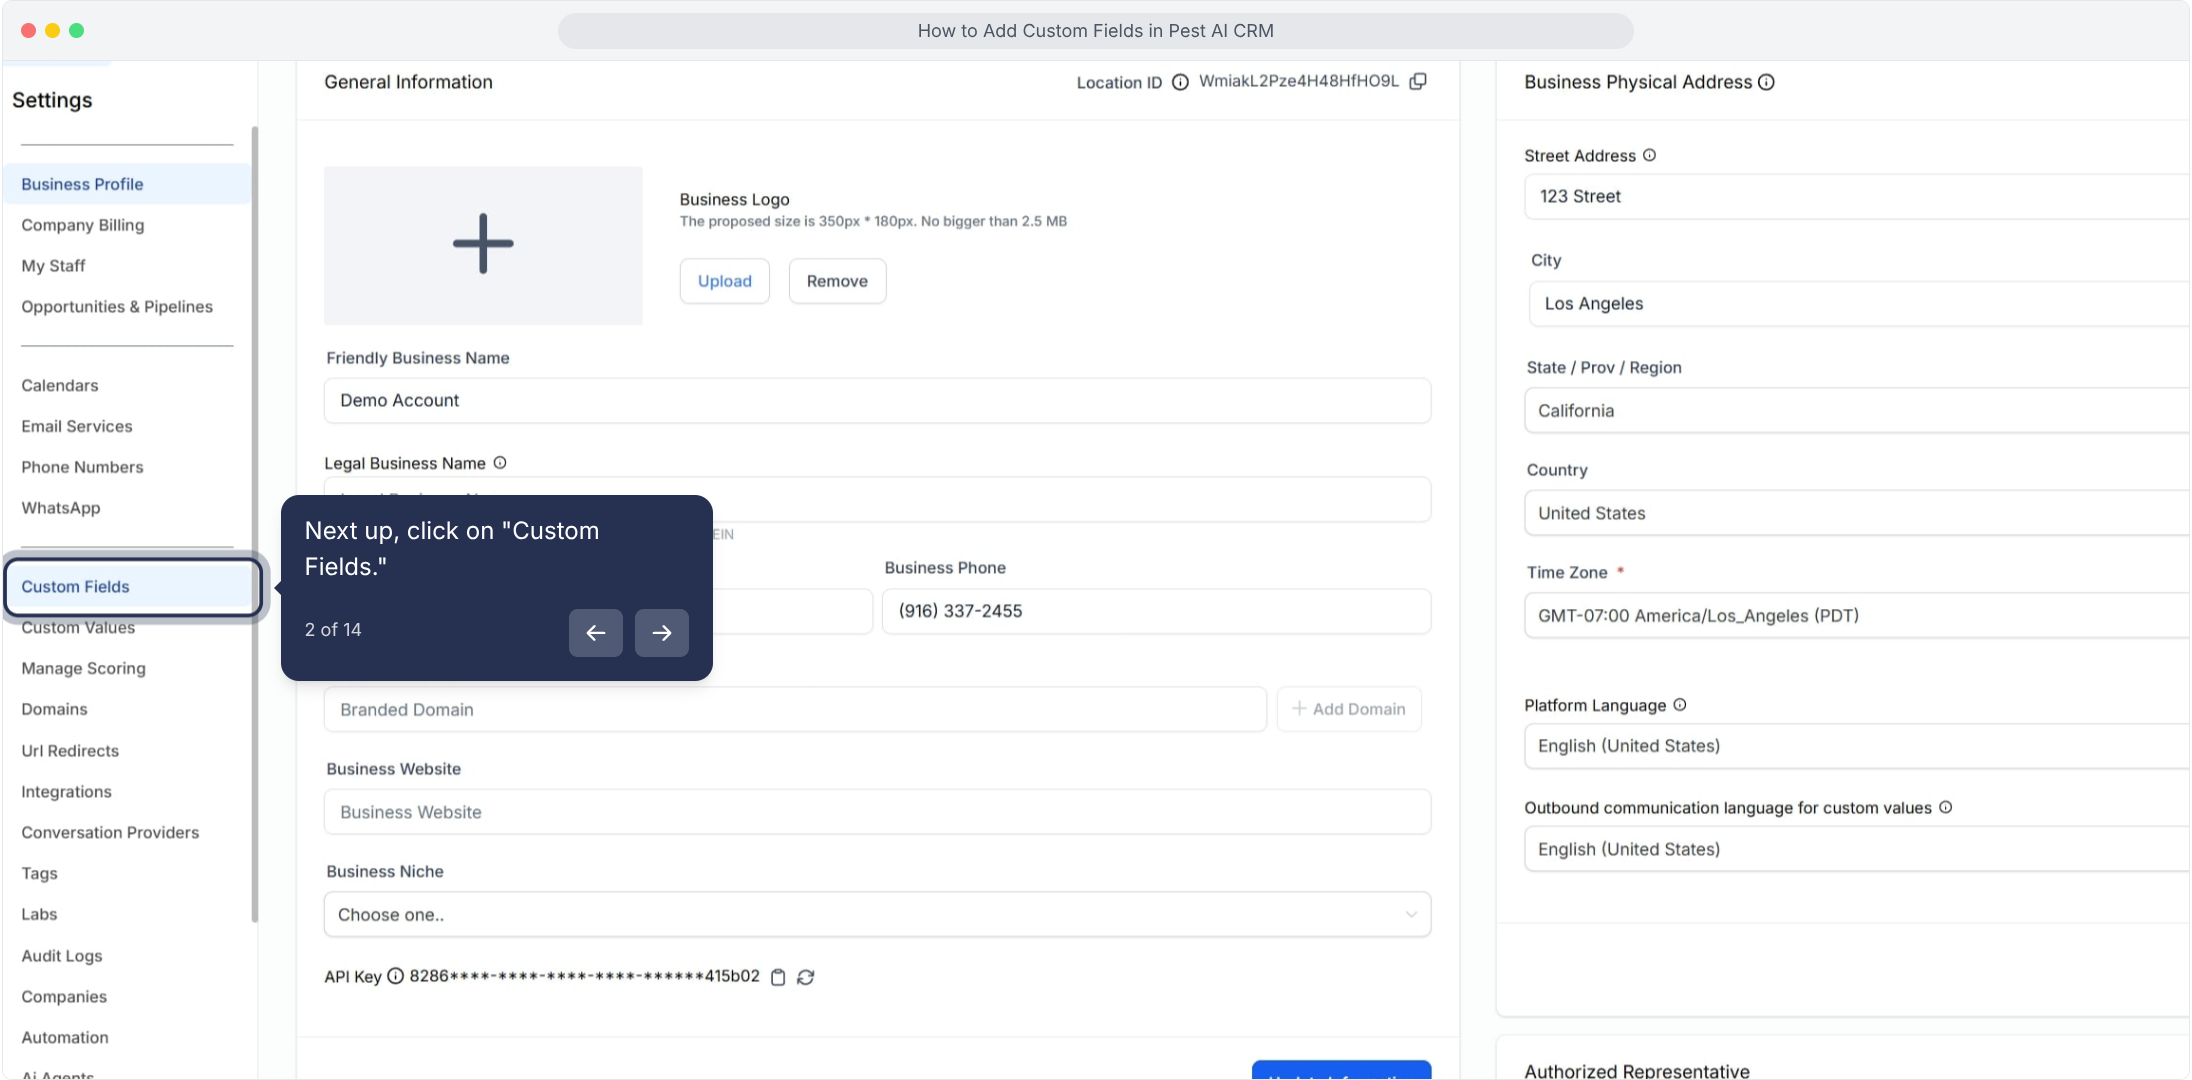
2. Next up, click on "Custom Fields."
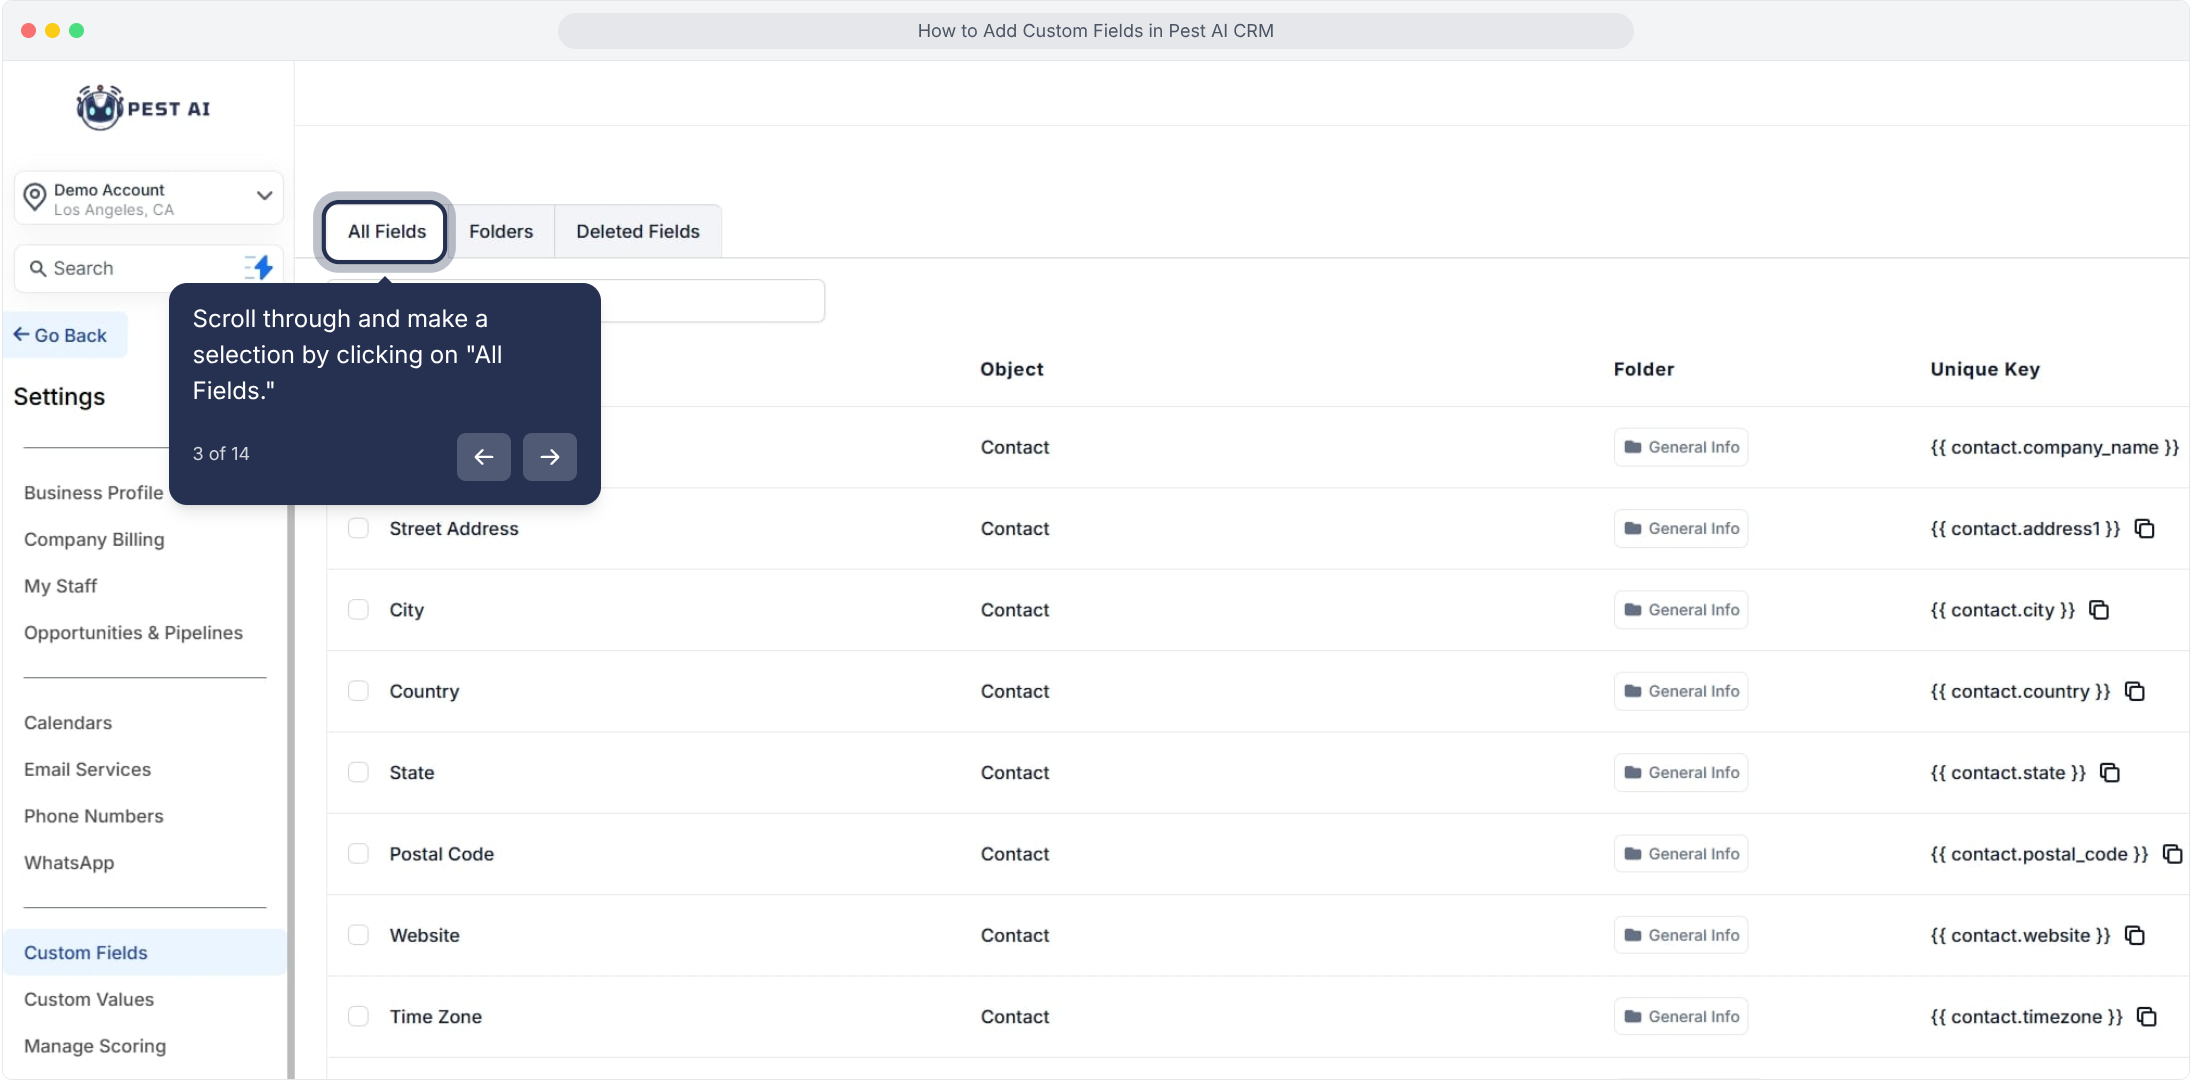
3. Scroll through and make a selection by clicking on "All Fields."
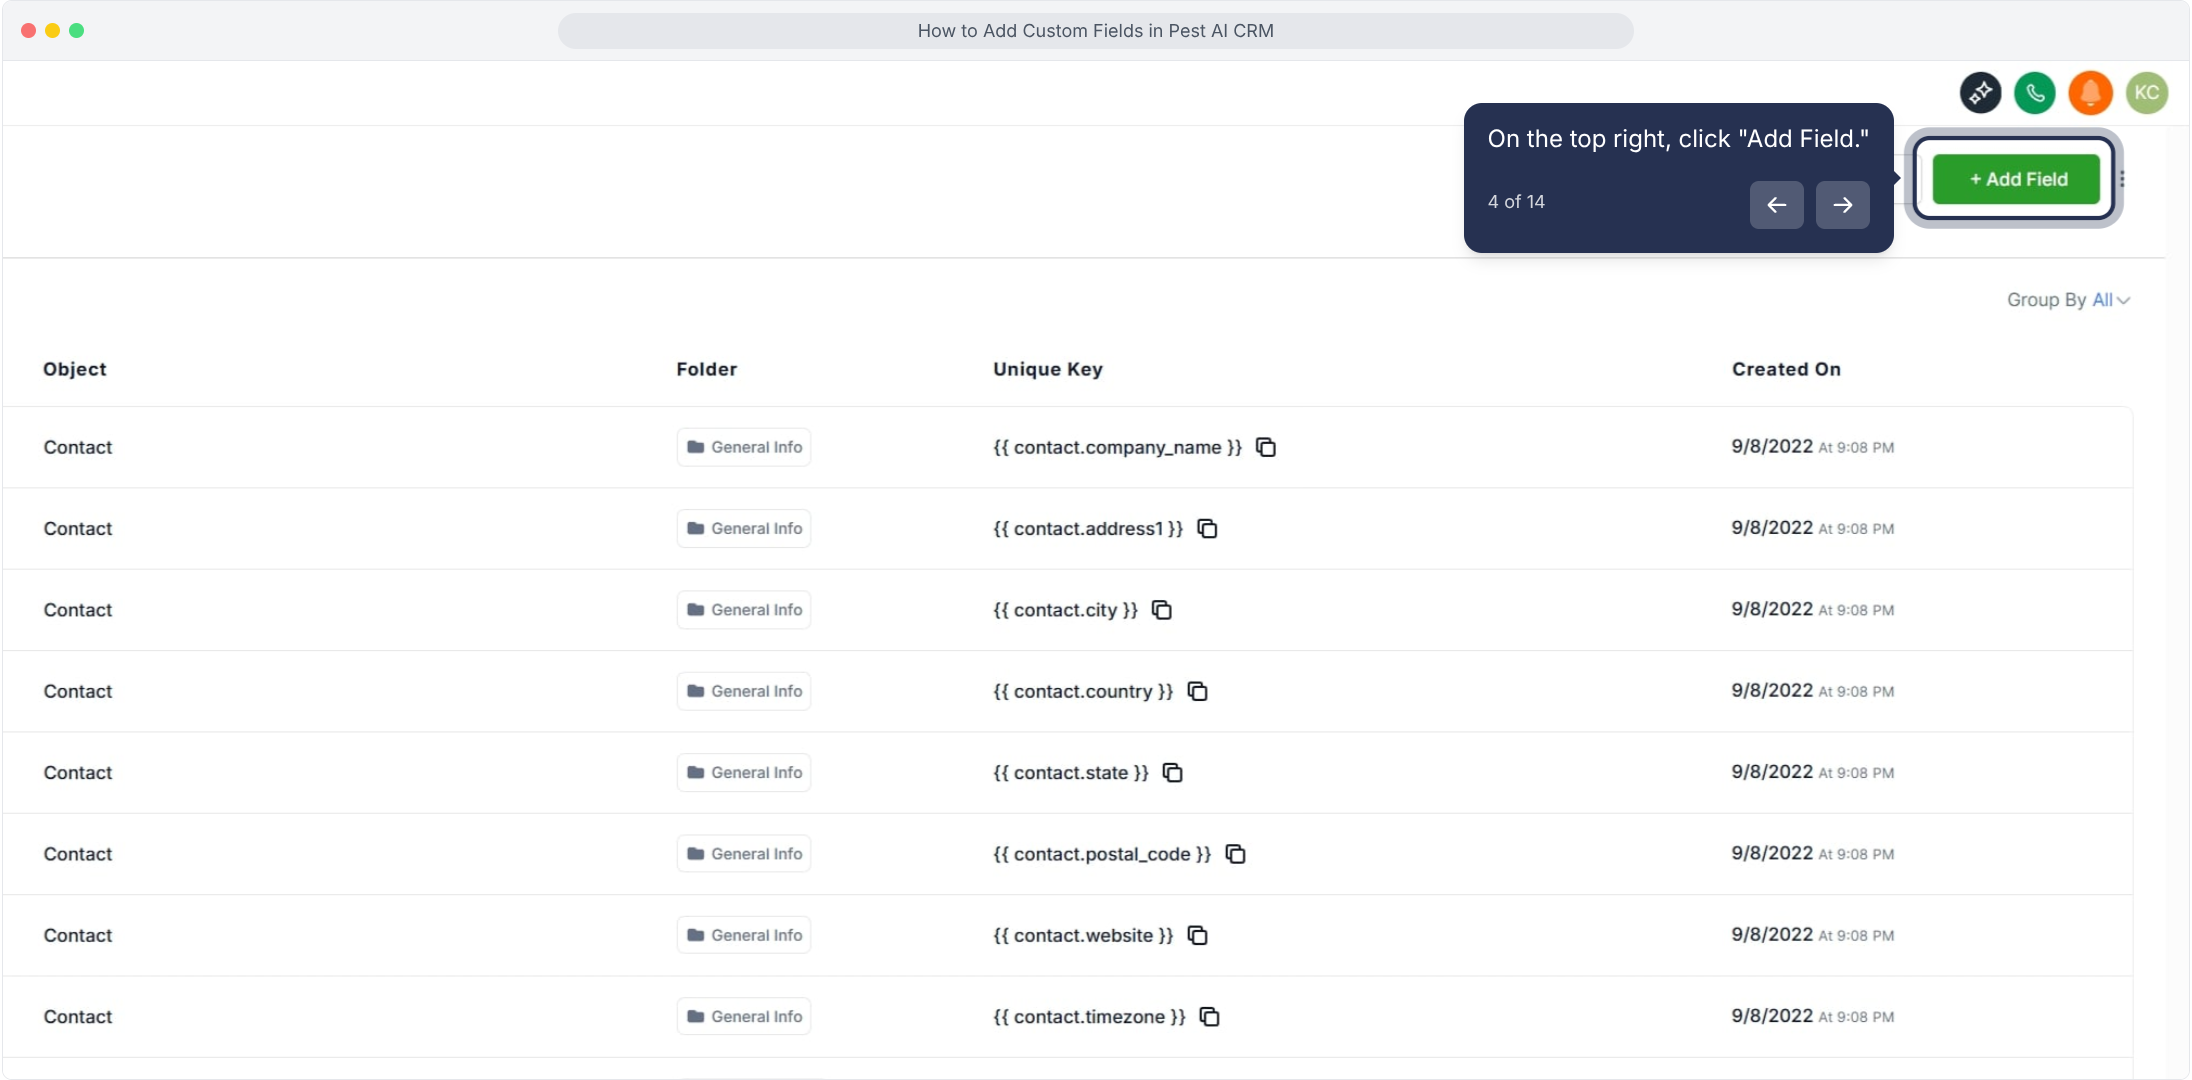
4. On the top right, click "Add Field."
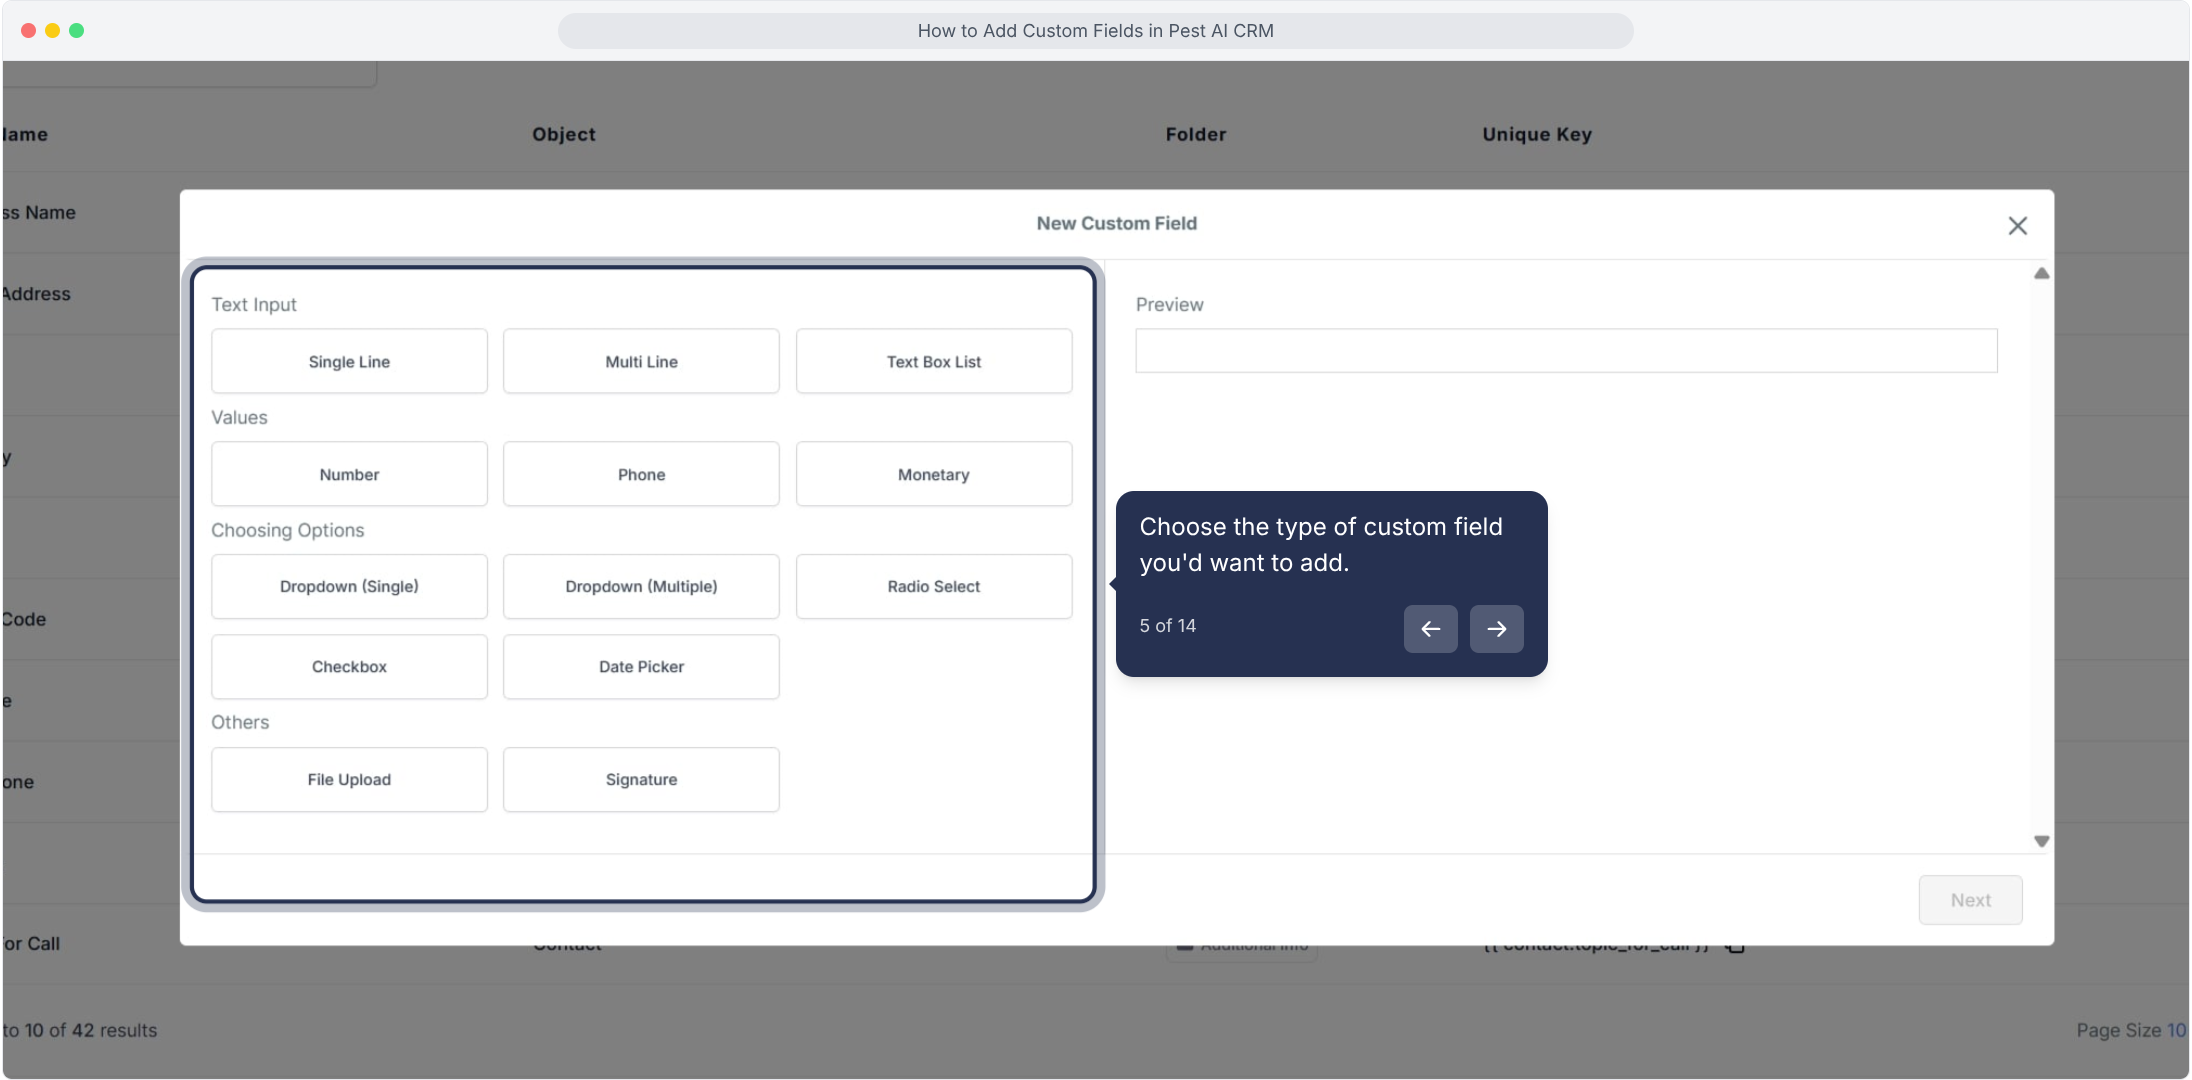
5. Choose the type of custom field you'd want to add.
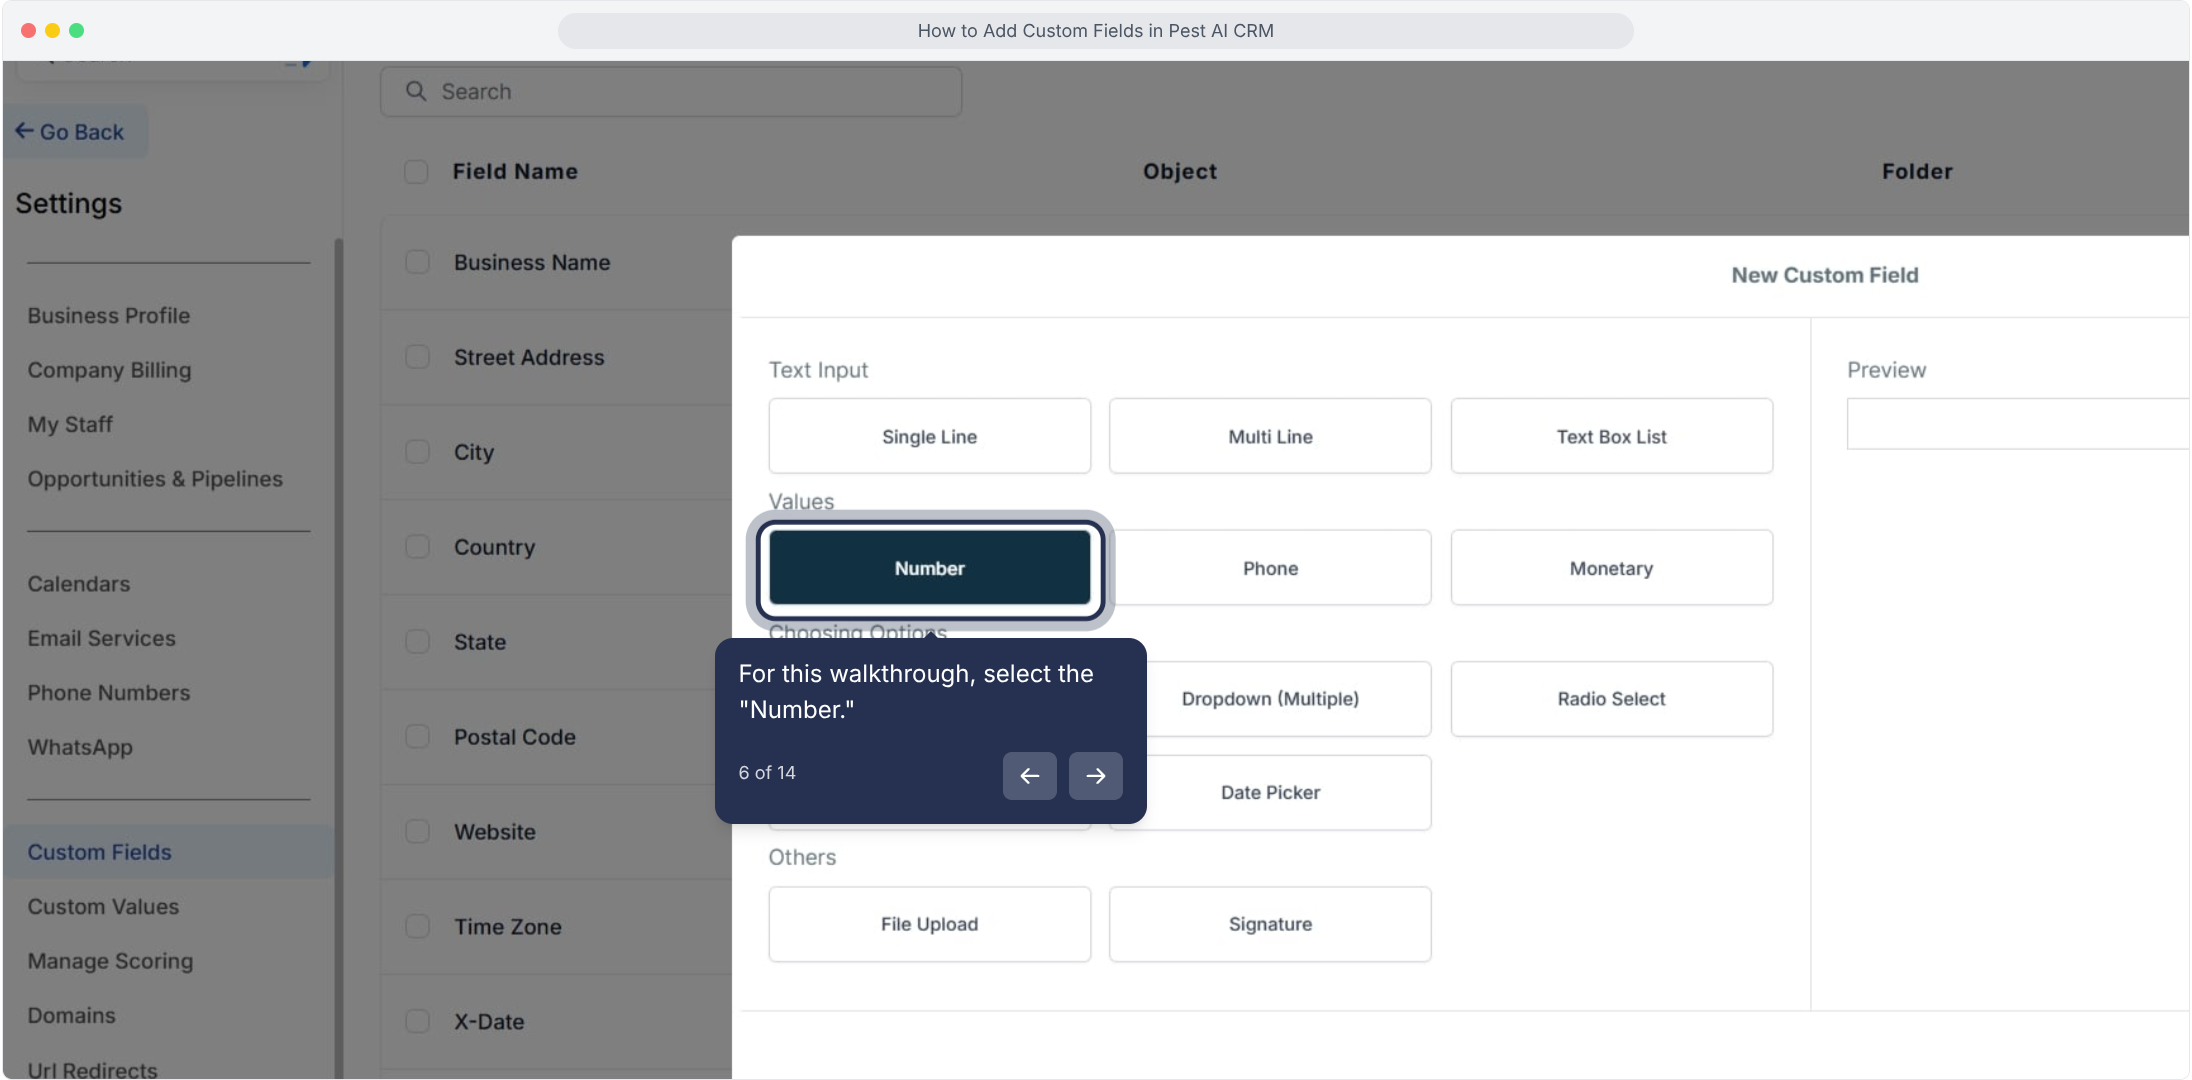
6. For this walkthrough, select the "Number."
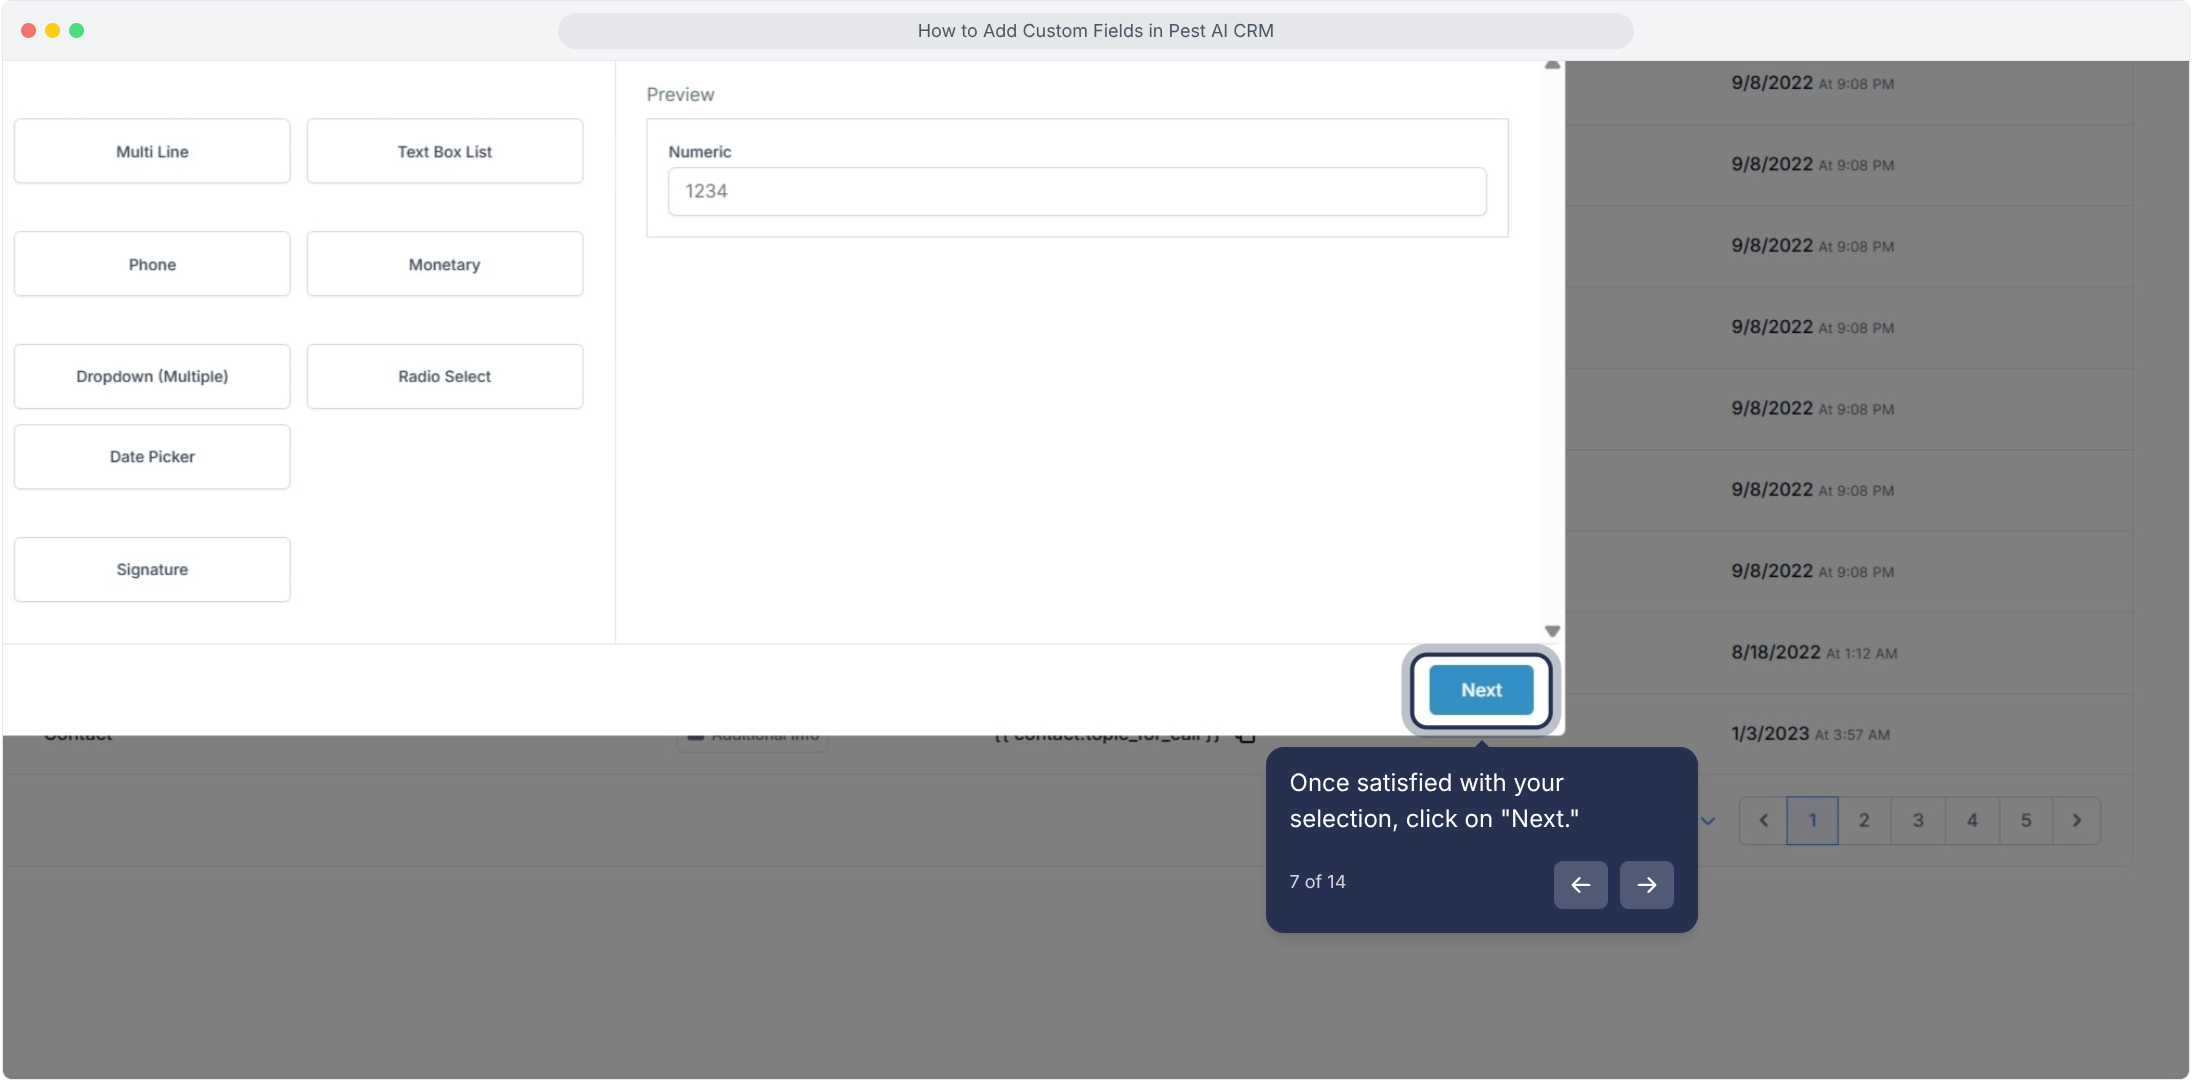
7. Once satisfied with your selection, click on "Next."
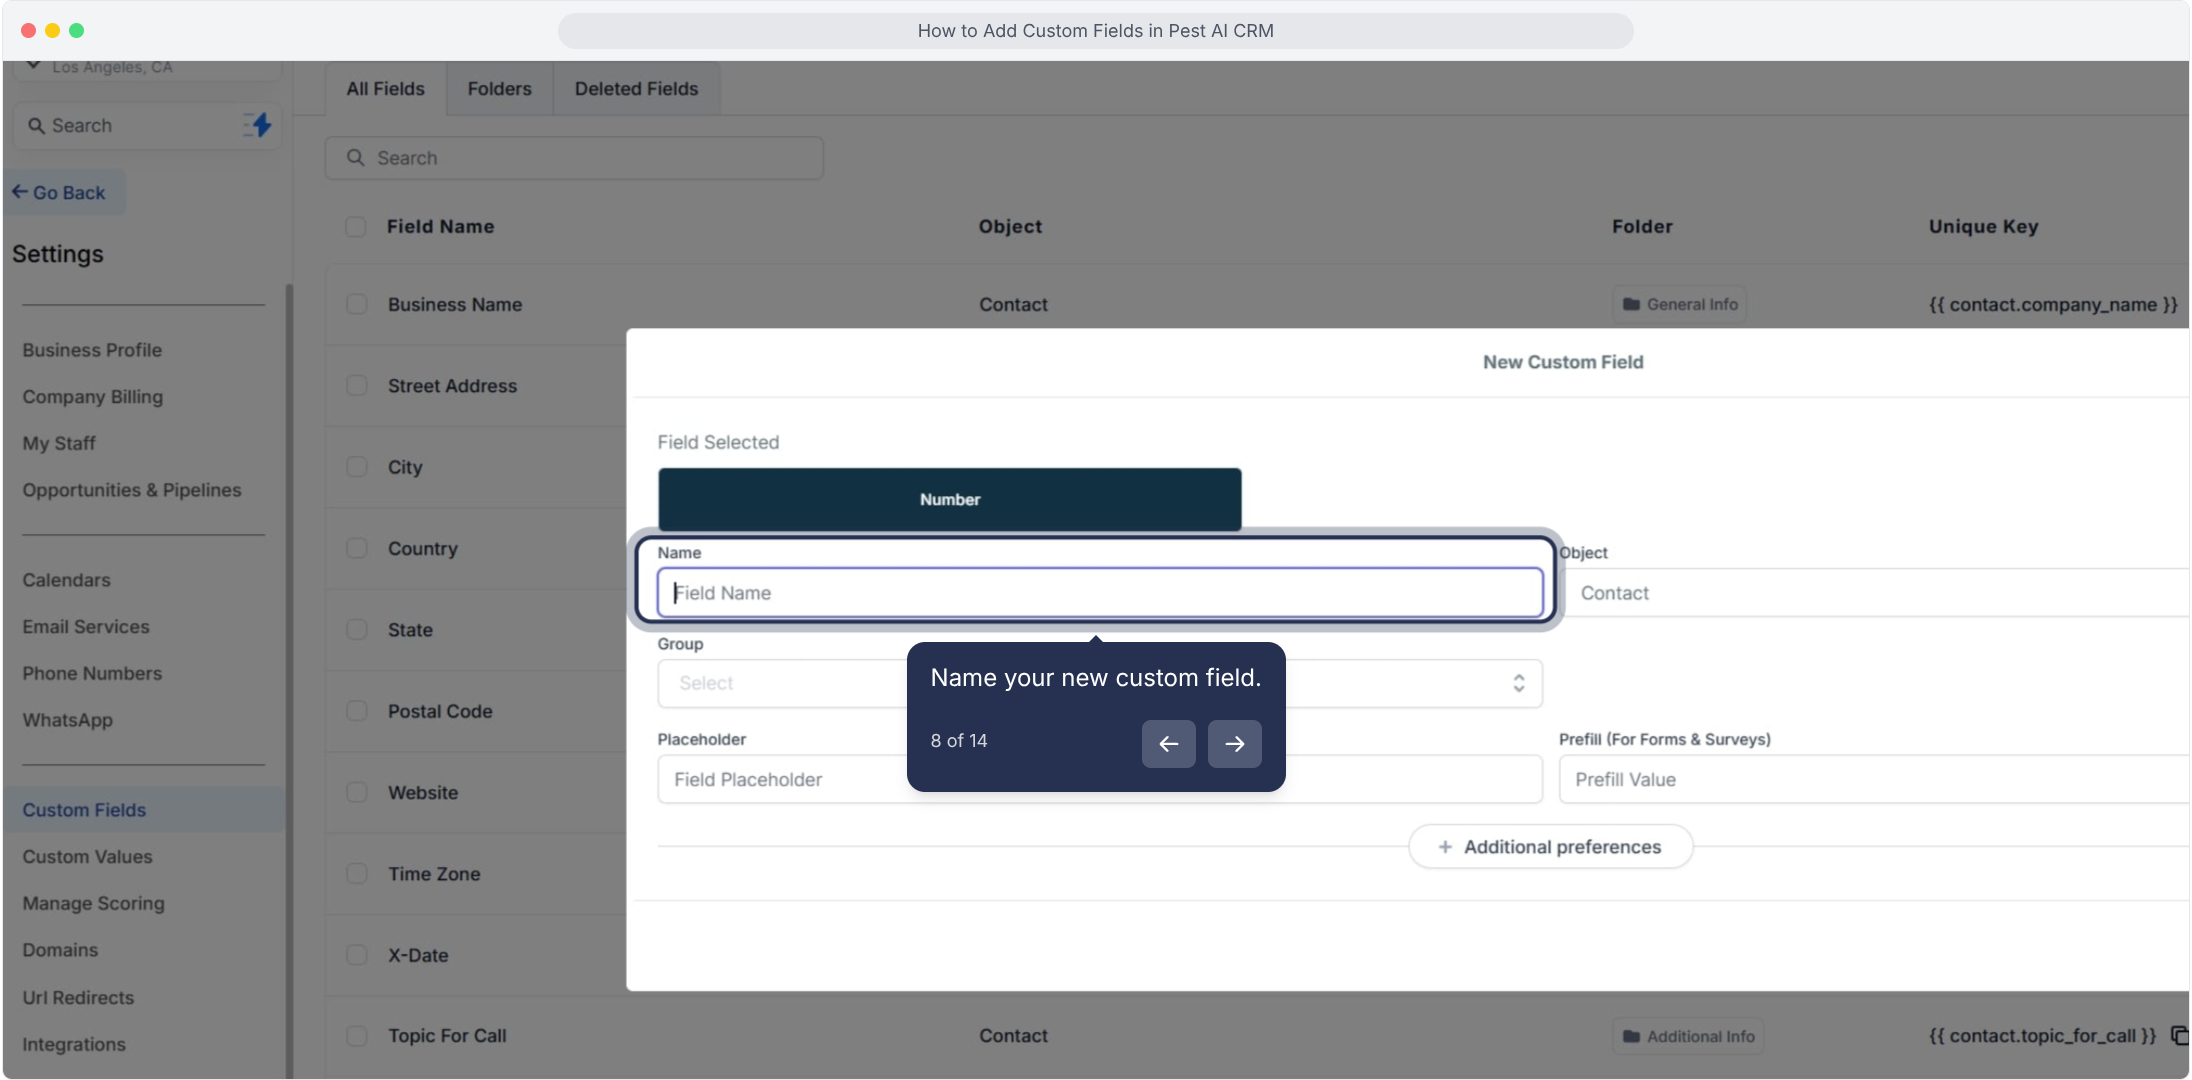
8. Name your new custom field.
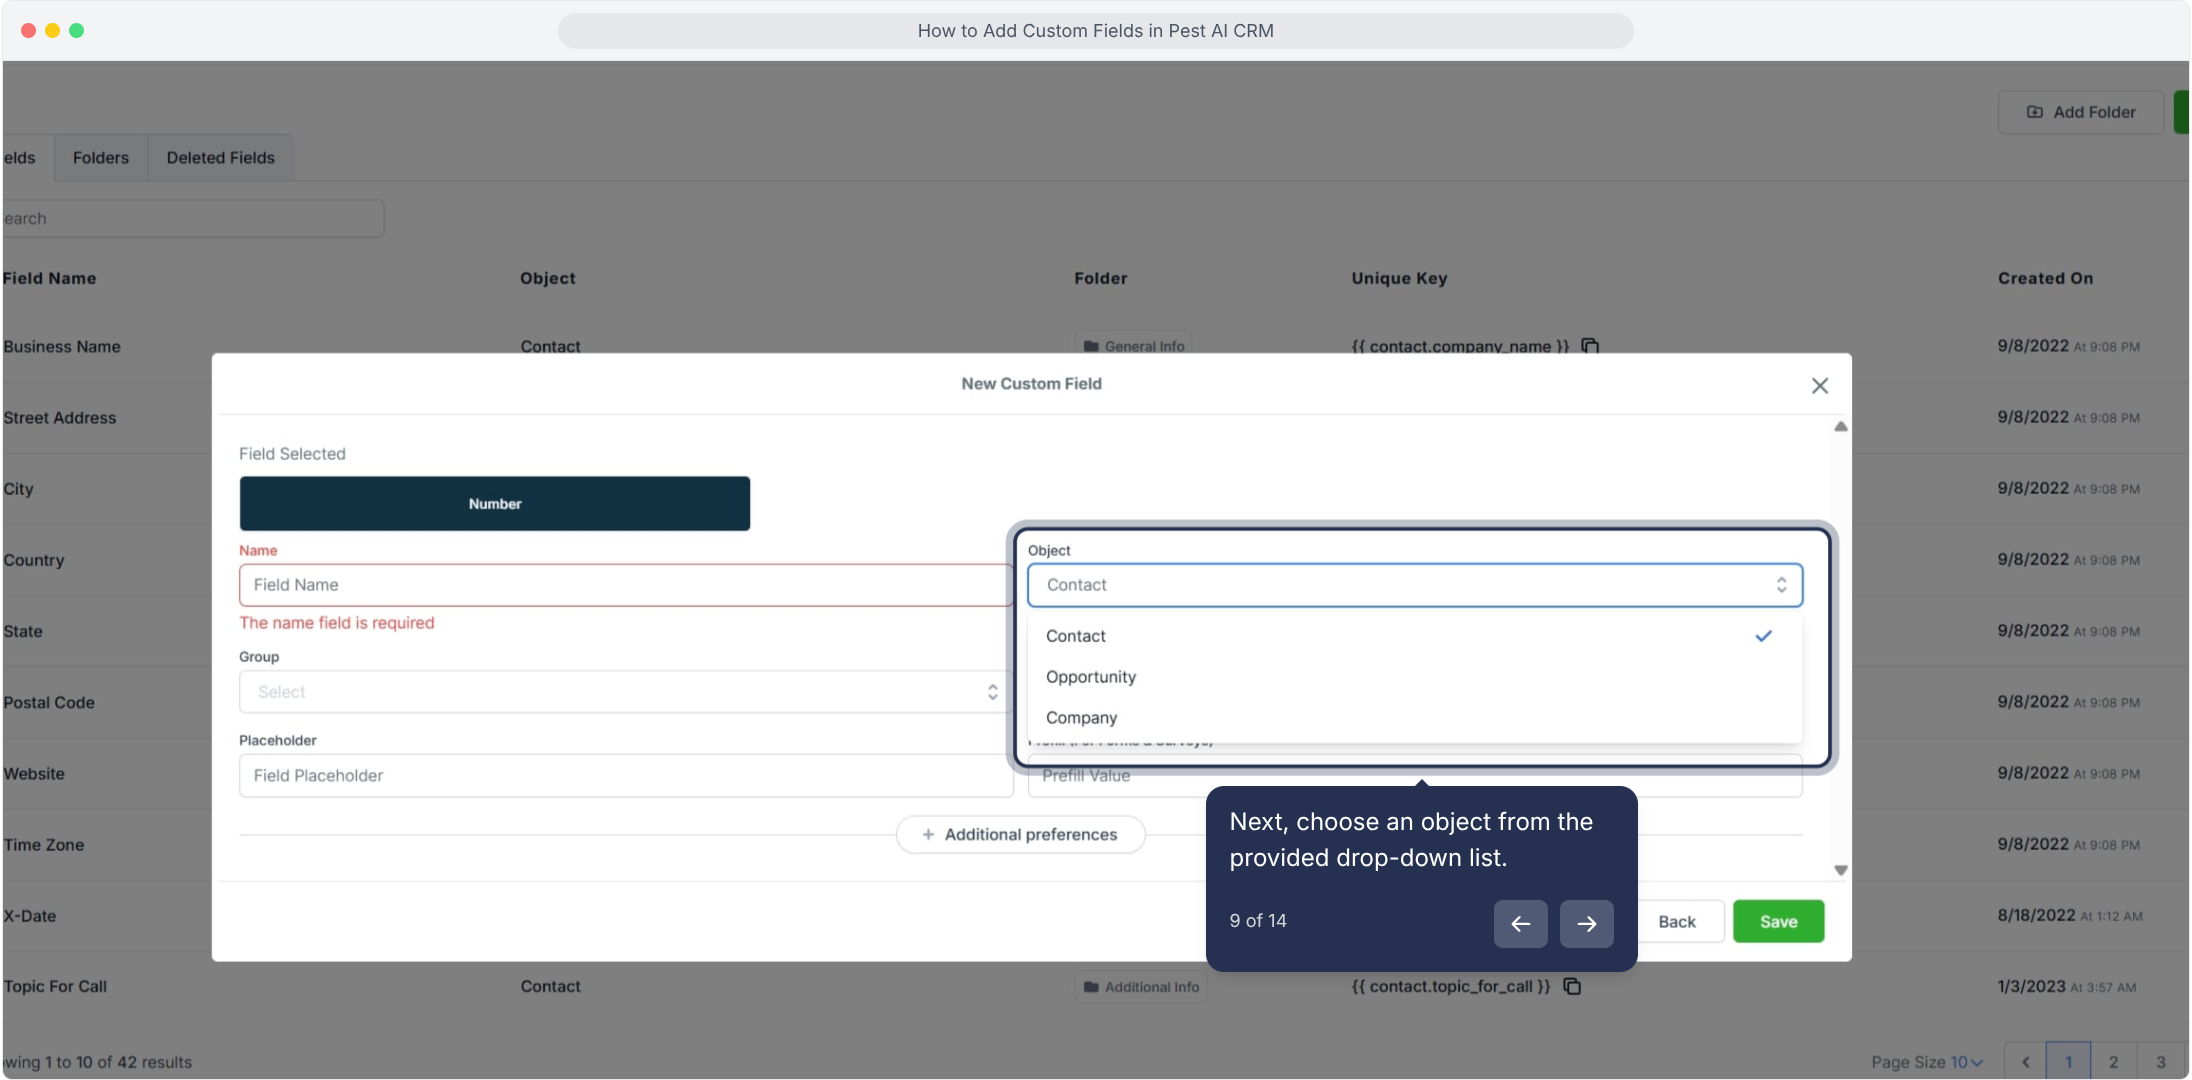
9. Next, choose an object from the provided drop-down list.
10. Click 'Group' to view more options.
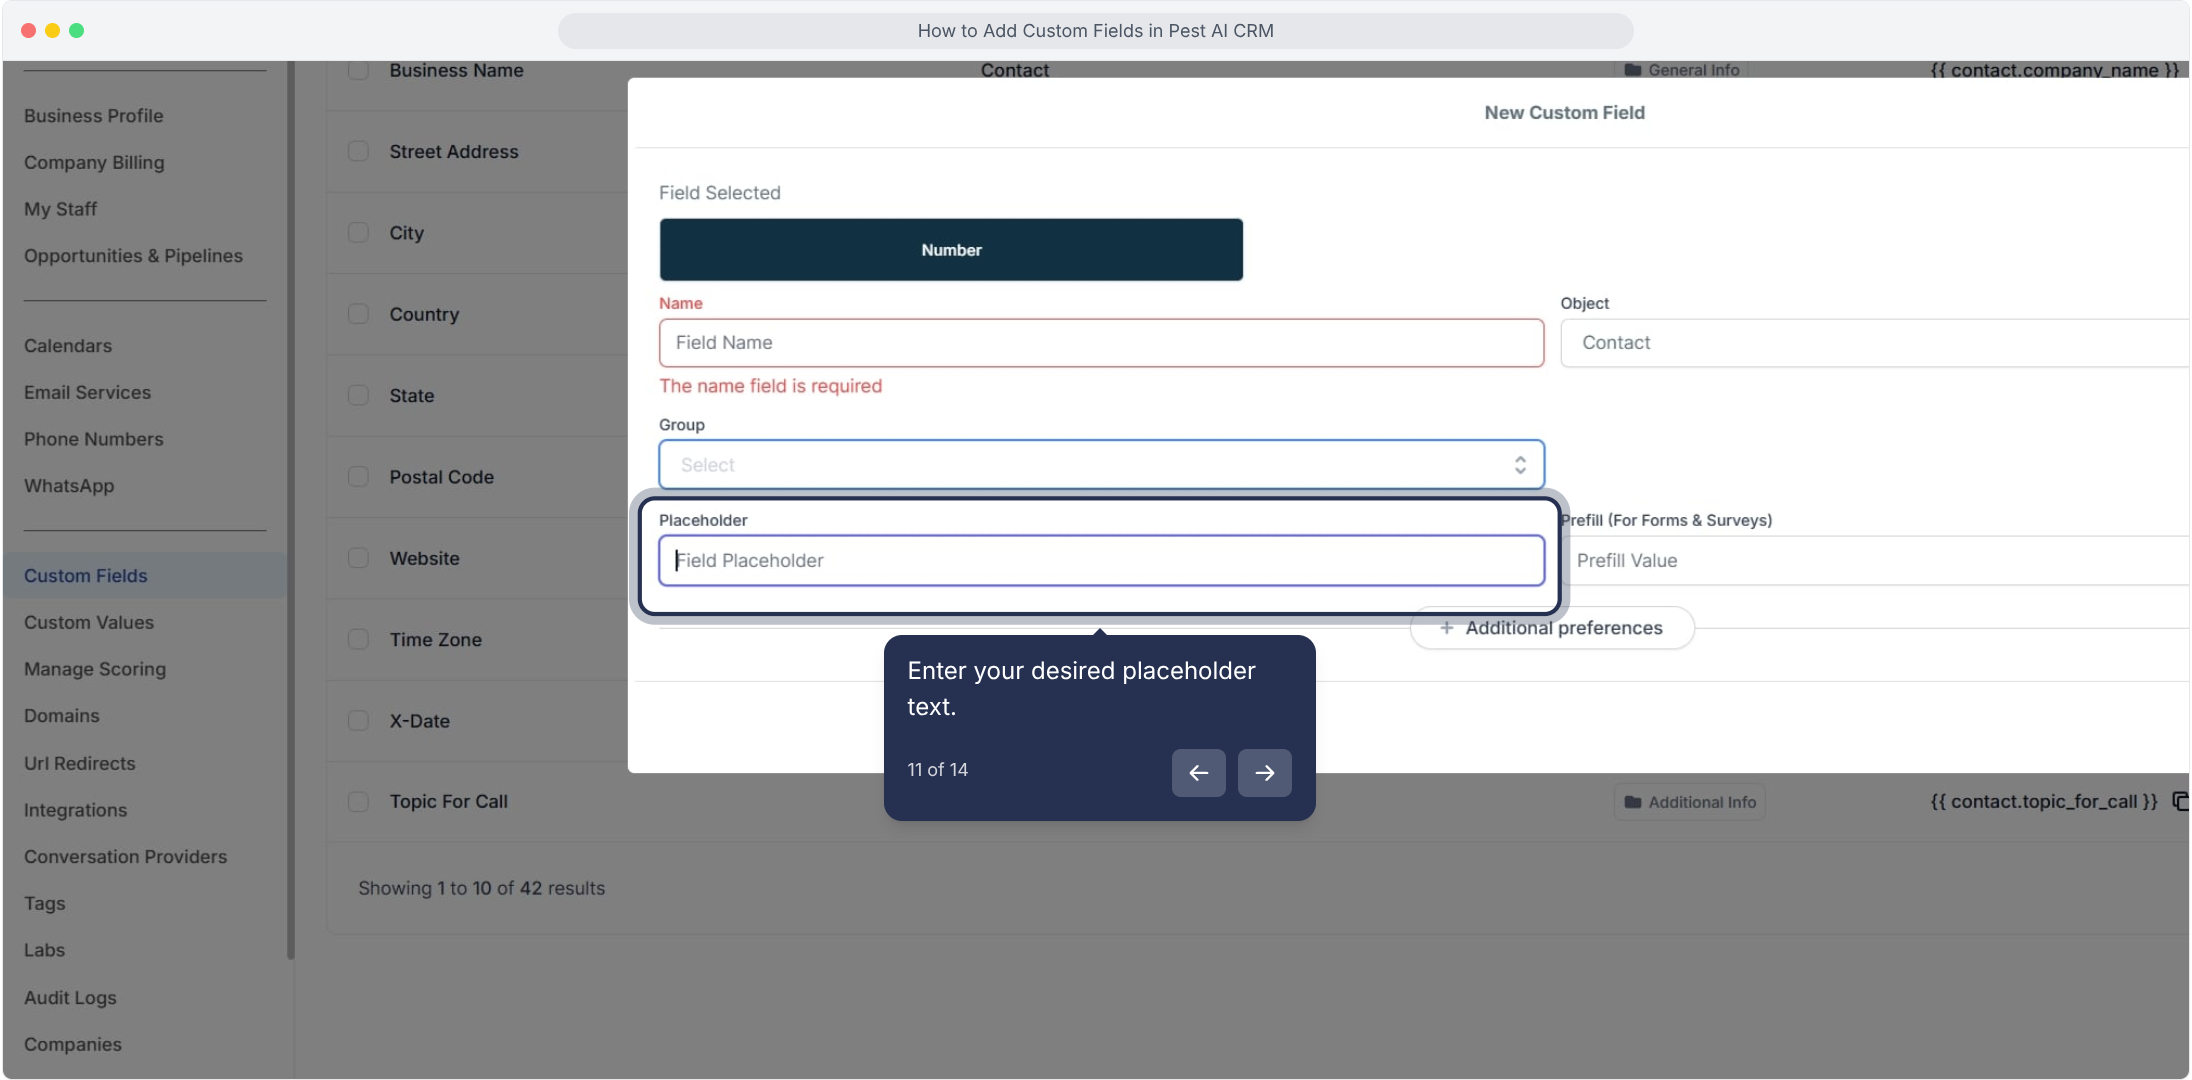
11. Enter your desired placeholder text.
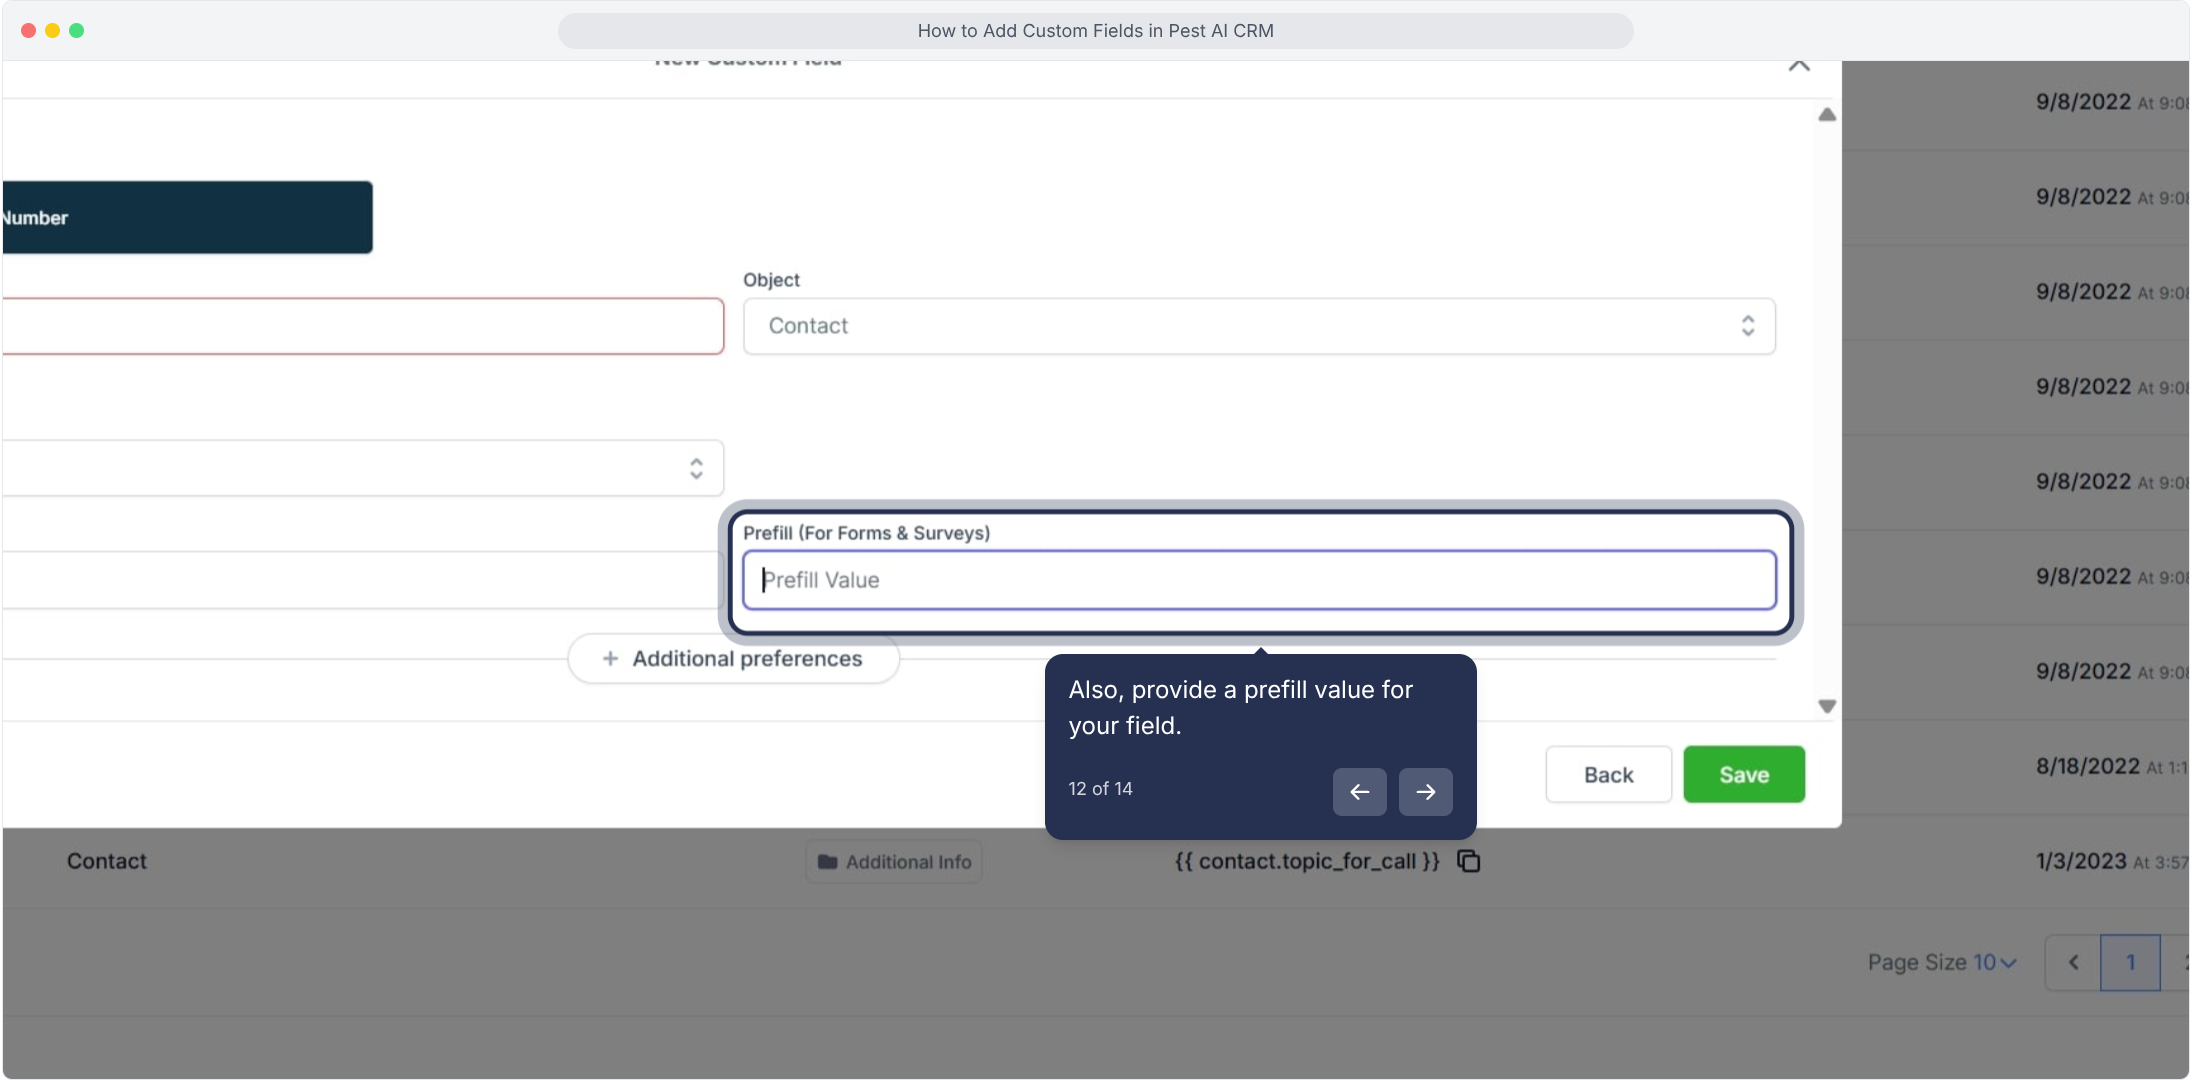
12. Also, provide a prefill value for your field.
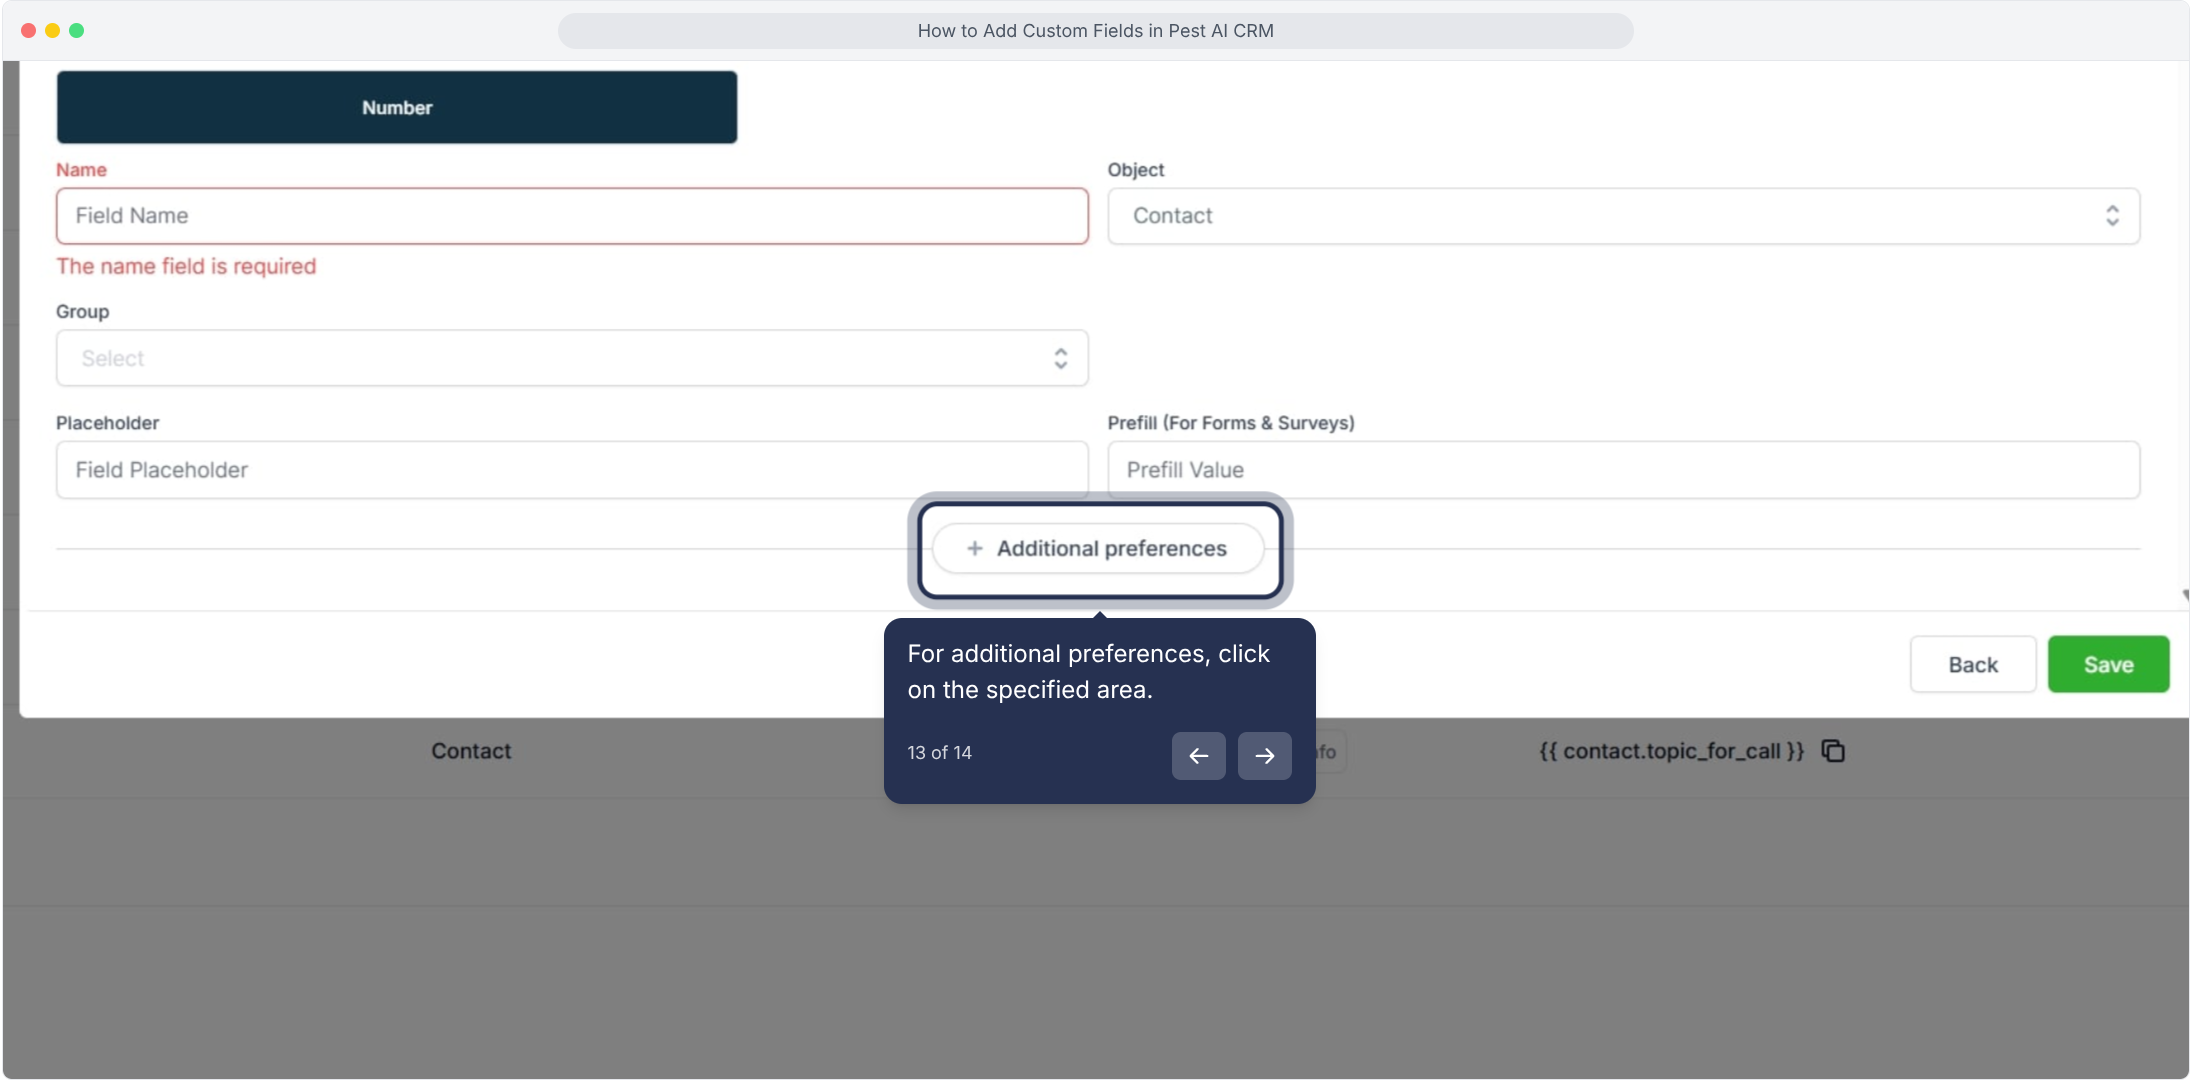
13. For additional preferences, click on the specified area.
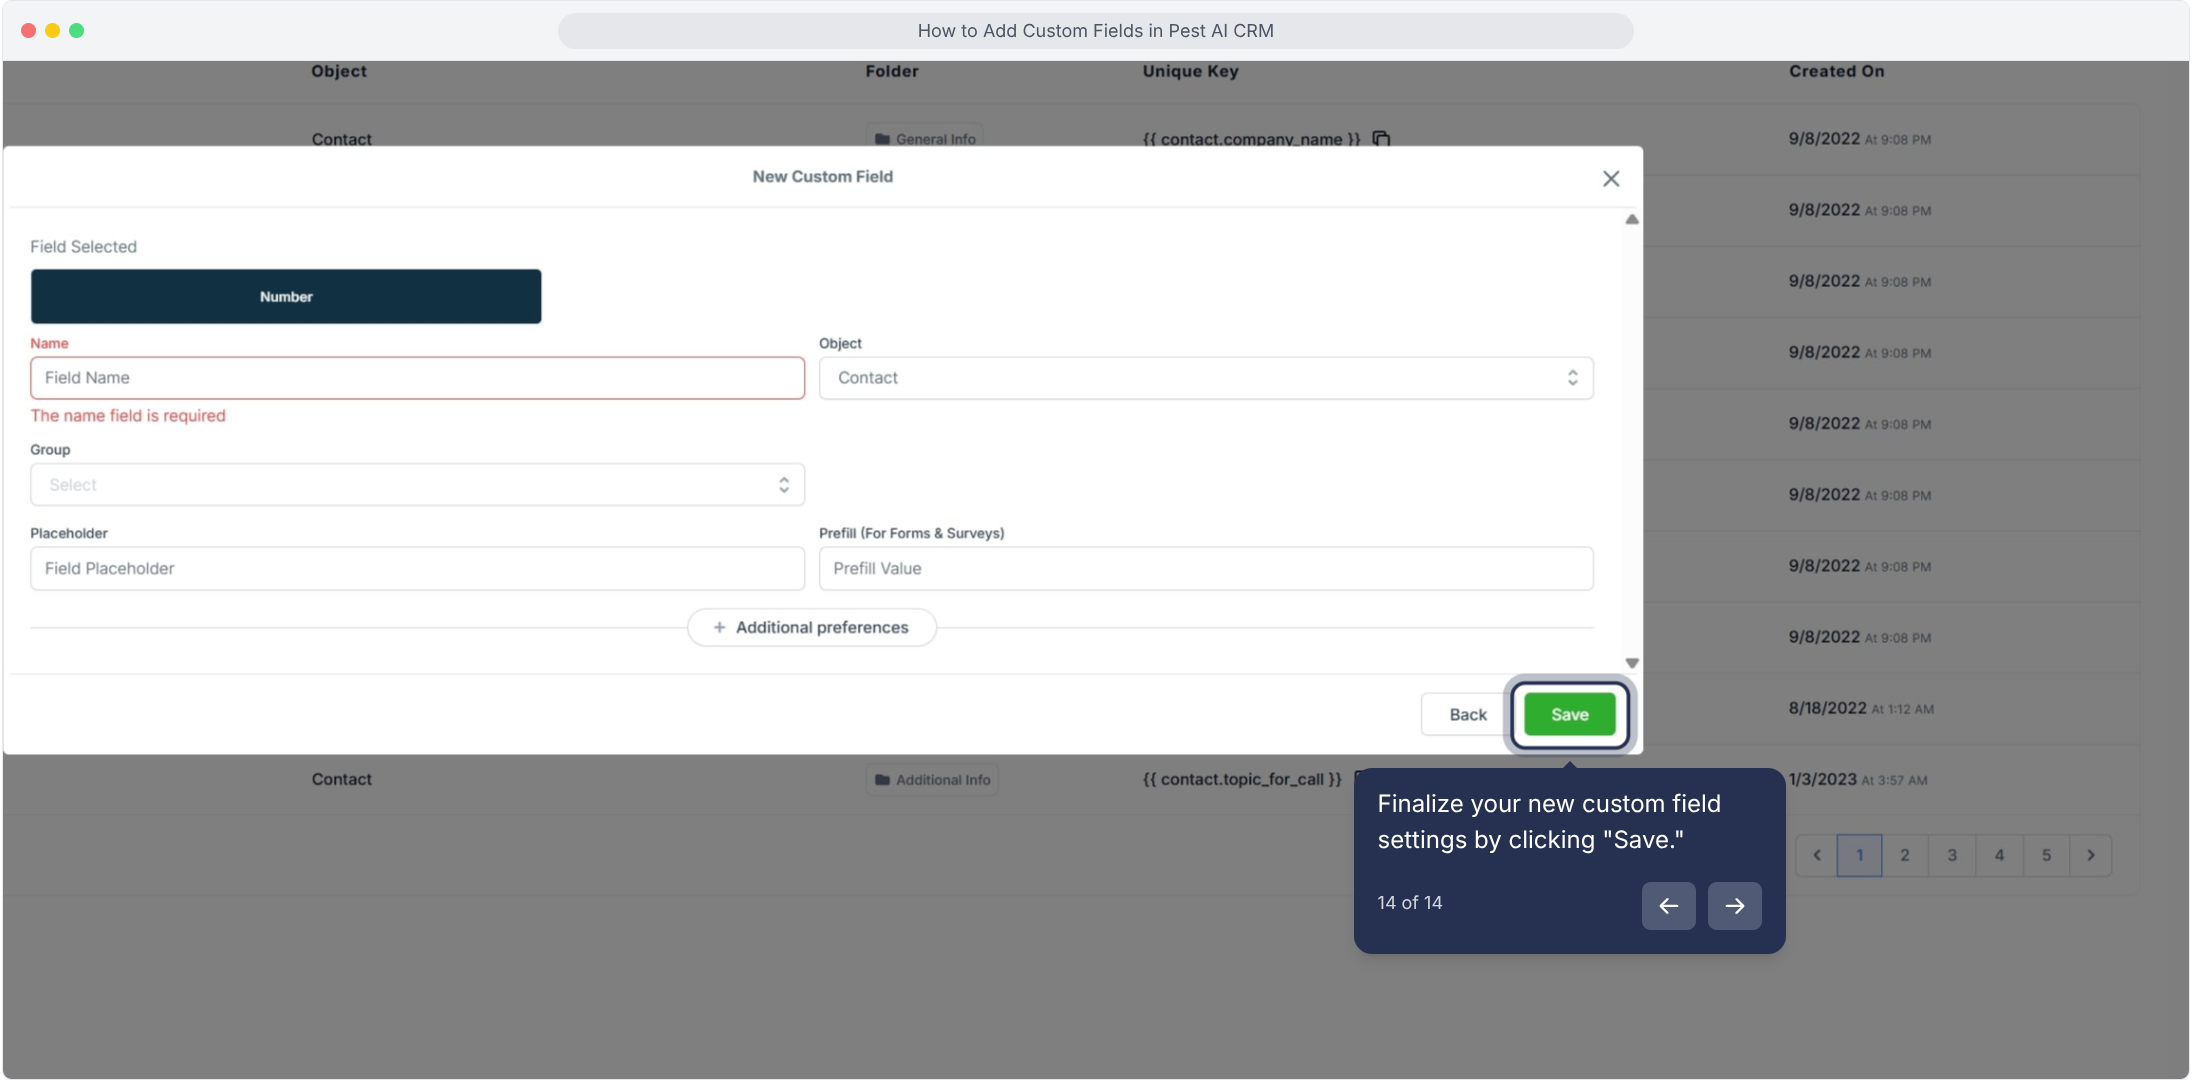
14. Finalize your new custom field settings by clicking "Save."