In this article, we will explore how to incorporate a Manual Call action into your Campaigns and Workflows, ensuring you effectively manage and track all call interactions within your CRM system.
Important Information:
- Deleting a lead from the workflow or the system will remove them from the manual call action queue.
- To hide the call queue from each user, use the "Only Assigned Data".
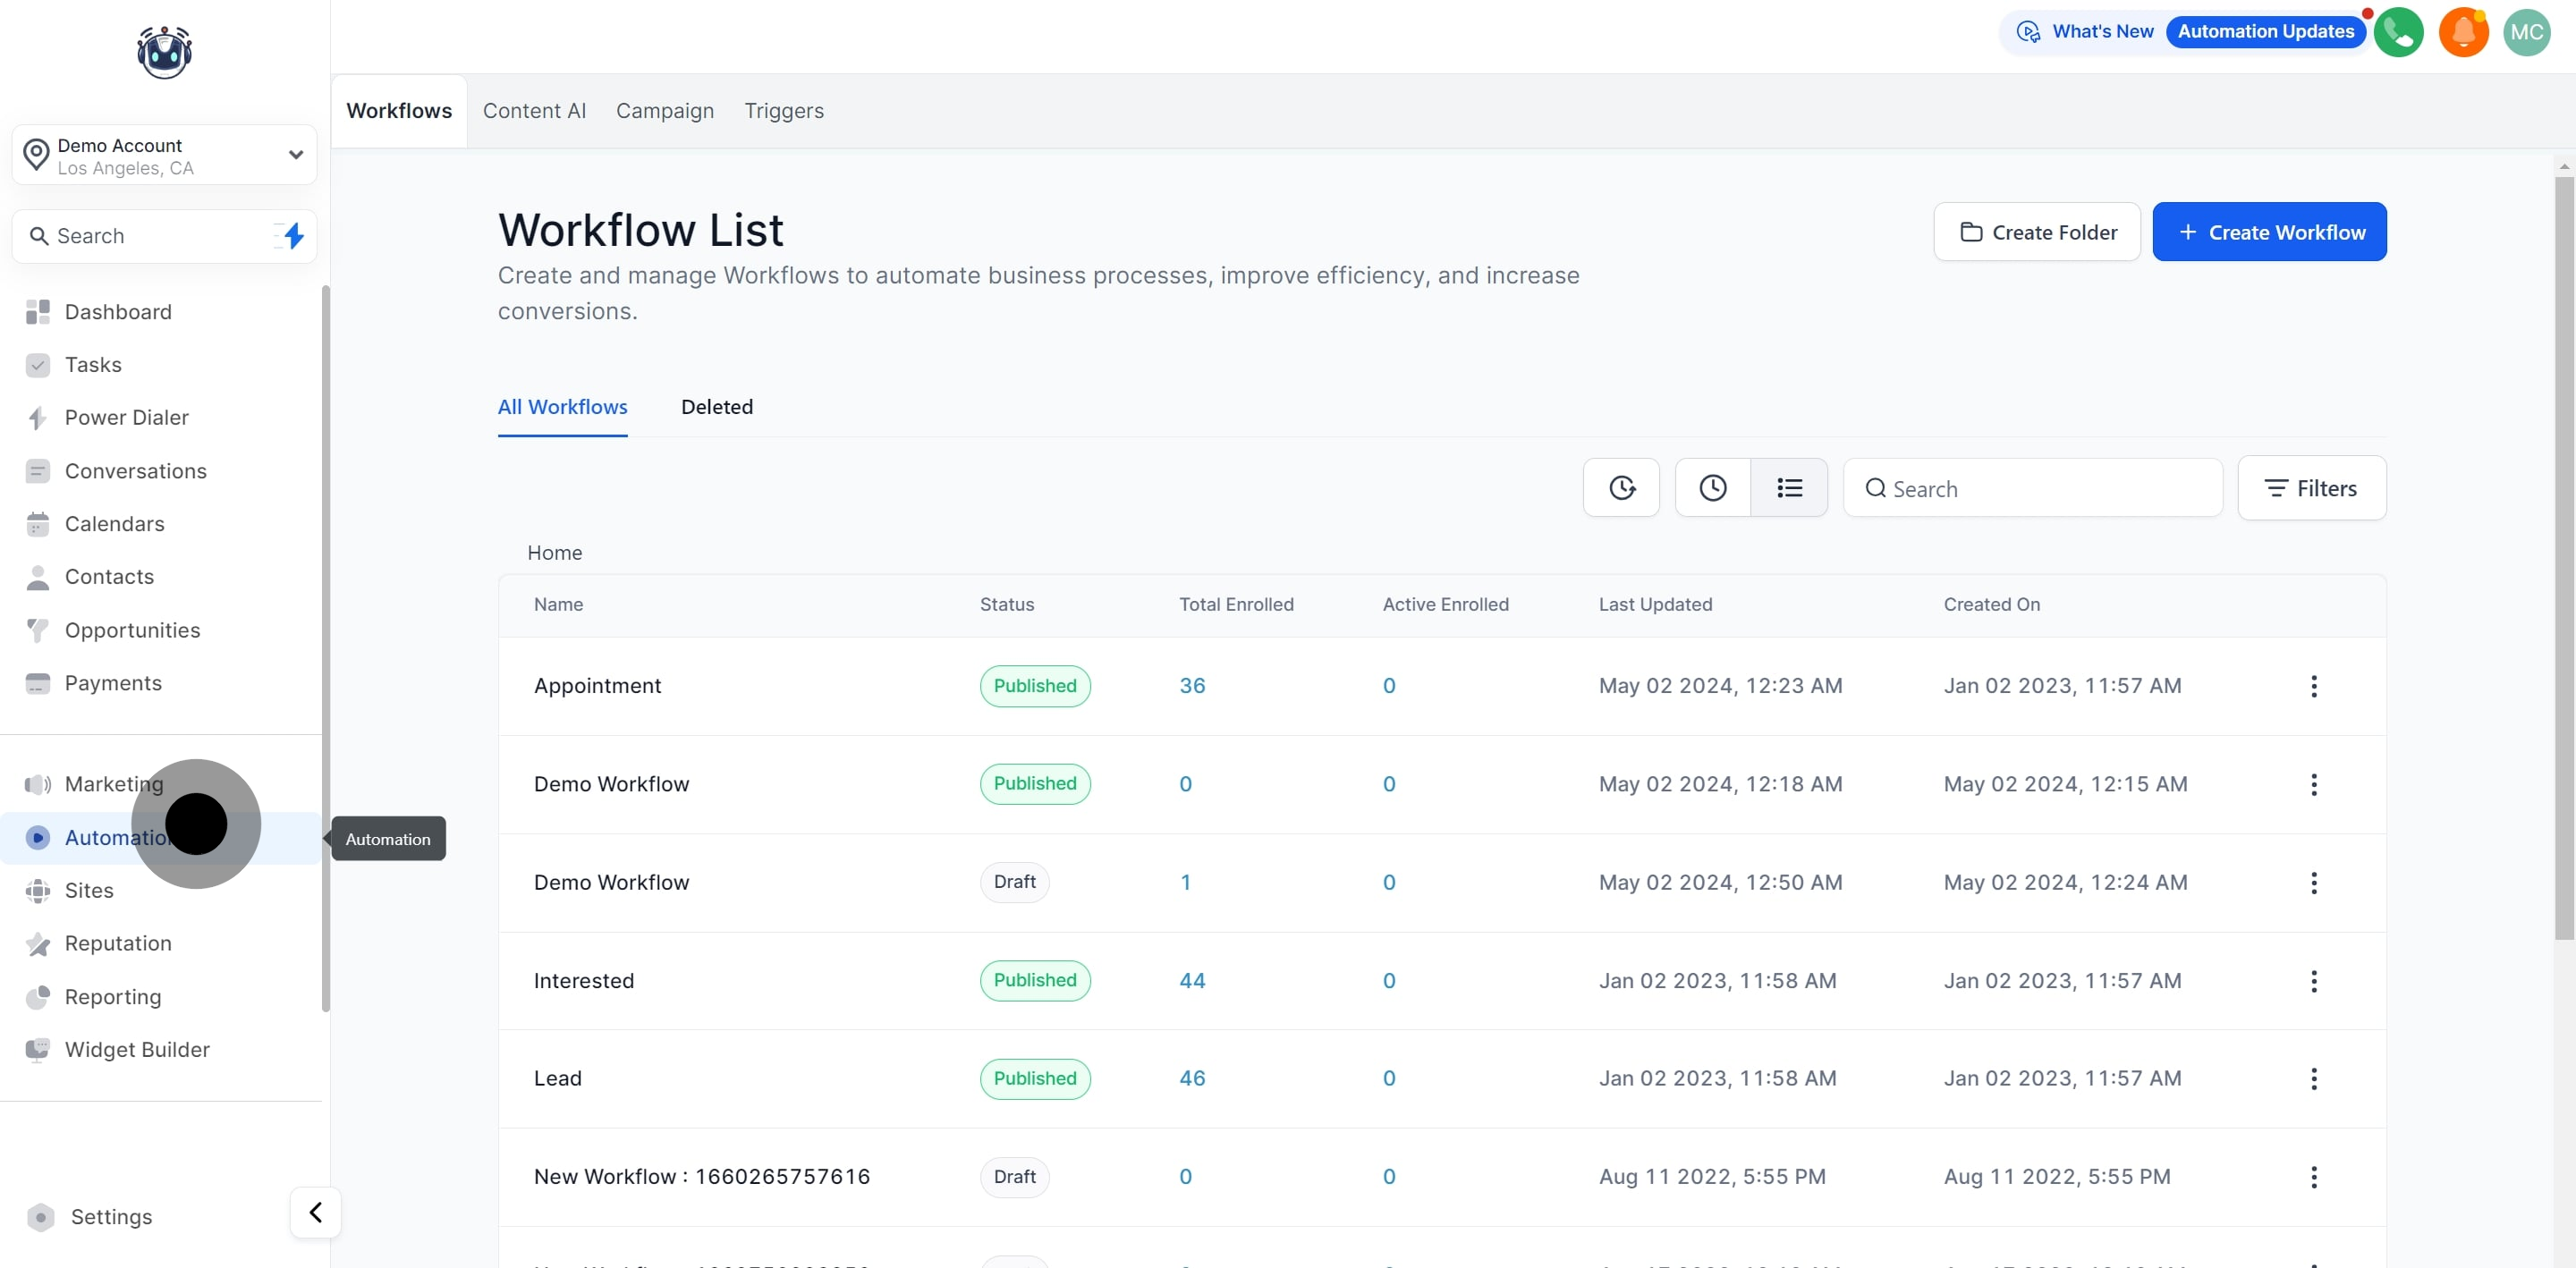
1. Start by selecting 'Automation' to begin creating your workflow.
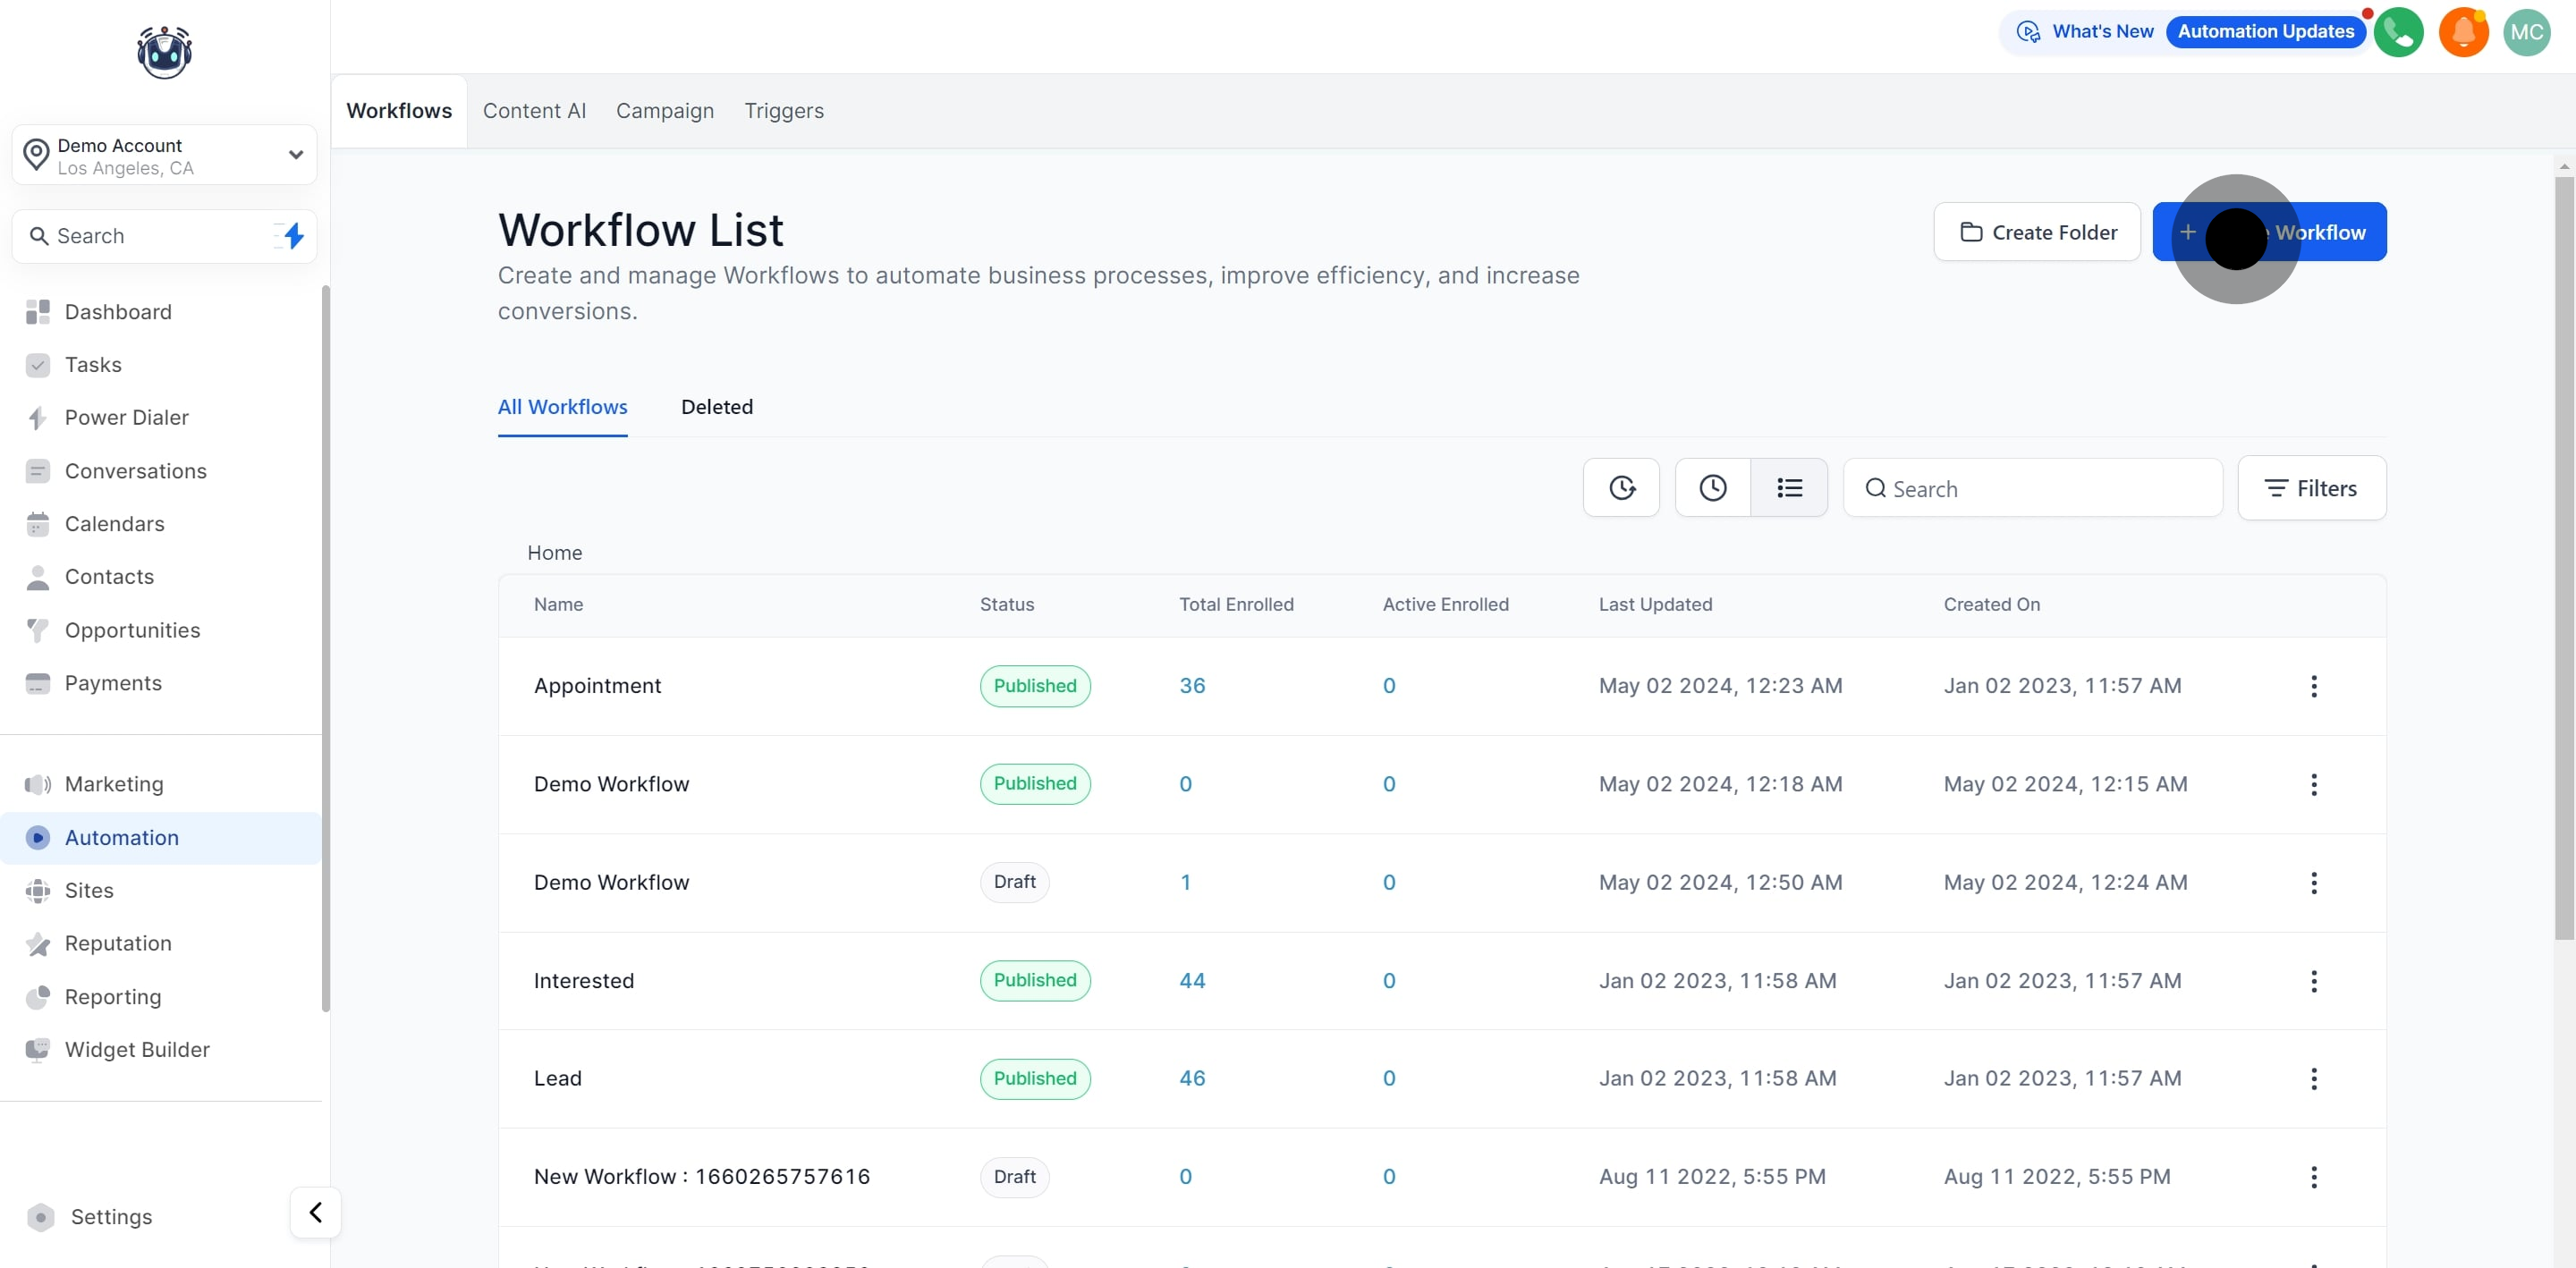
2. Next, tap 'Create Workflow' to initiate a new workflow setup.
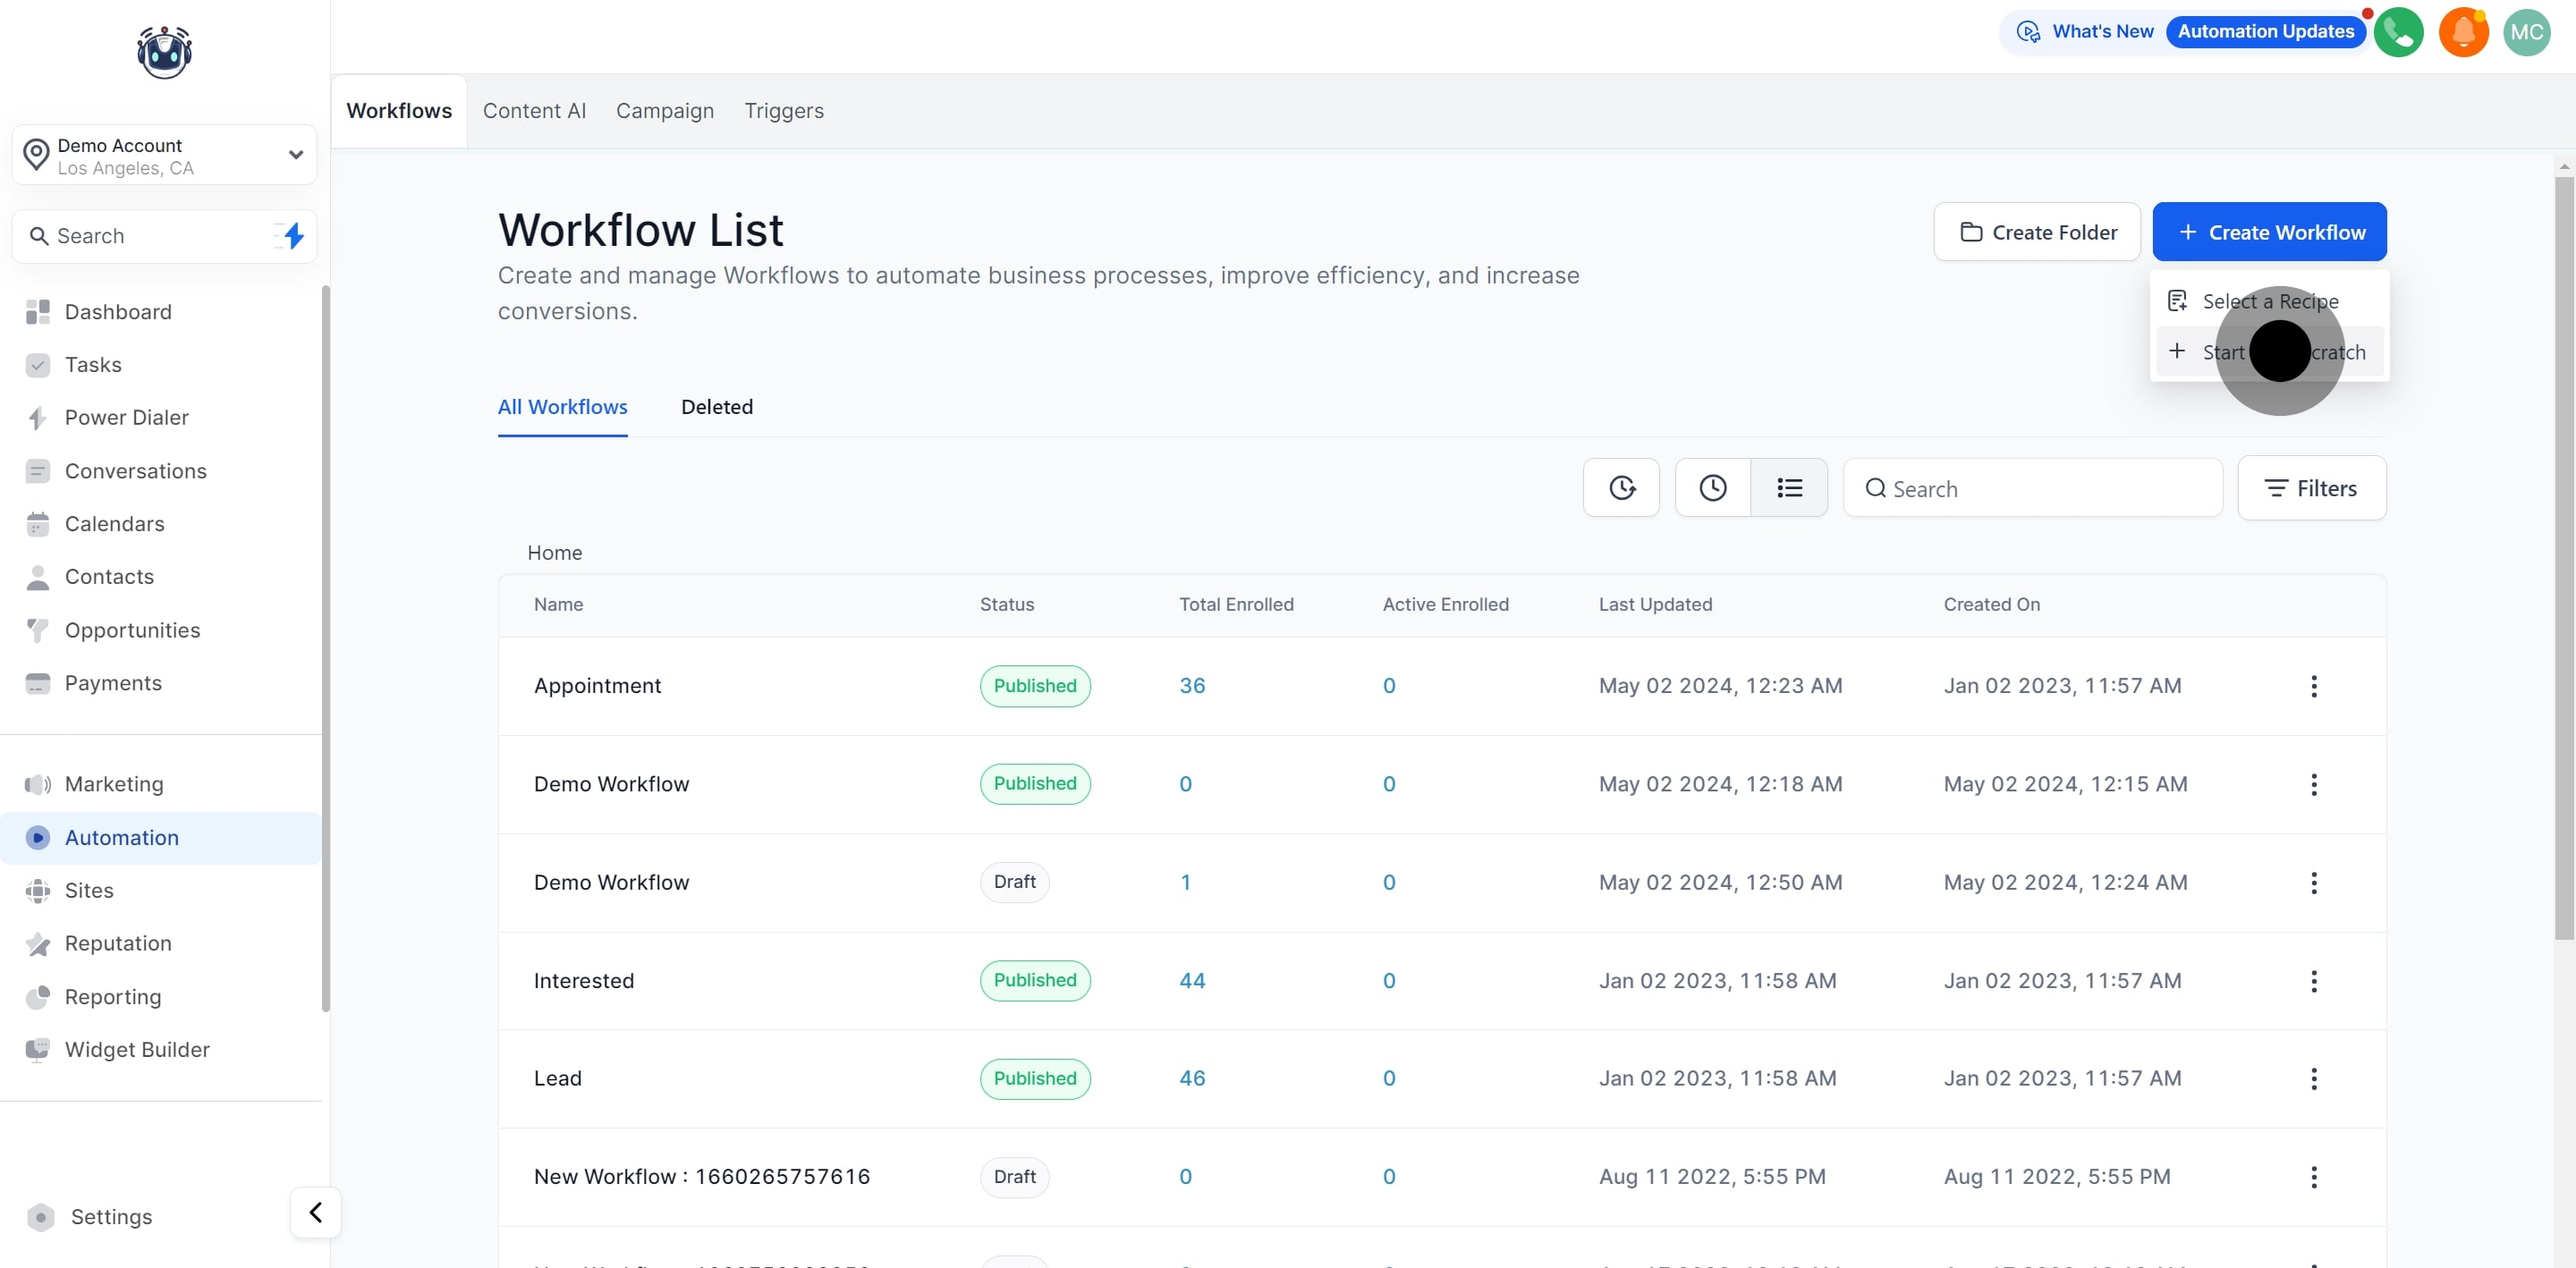
3. Then, opt for 'Start from Scratch' to build your workflow from the ground up.
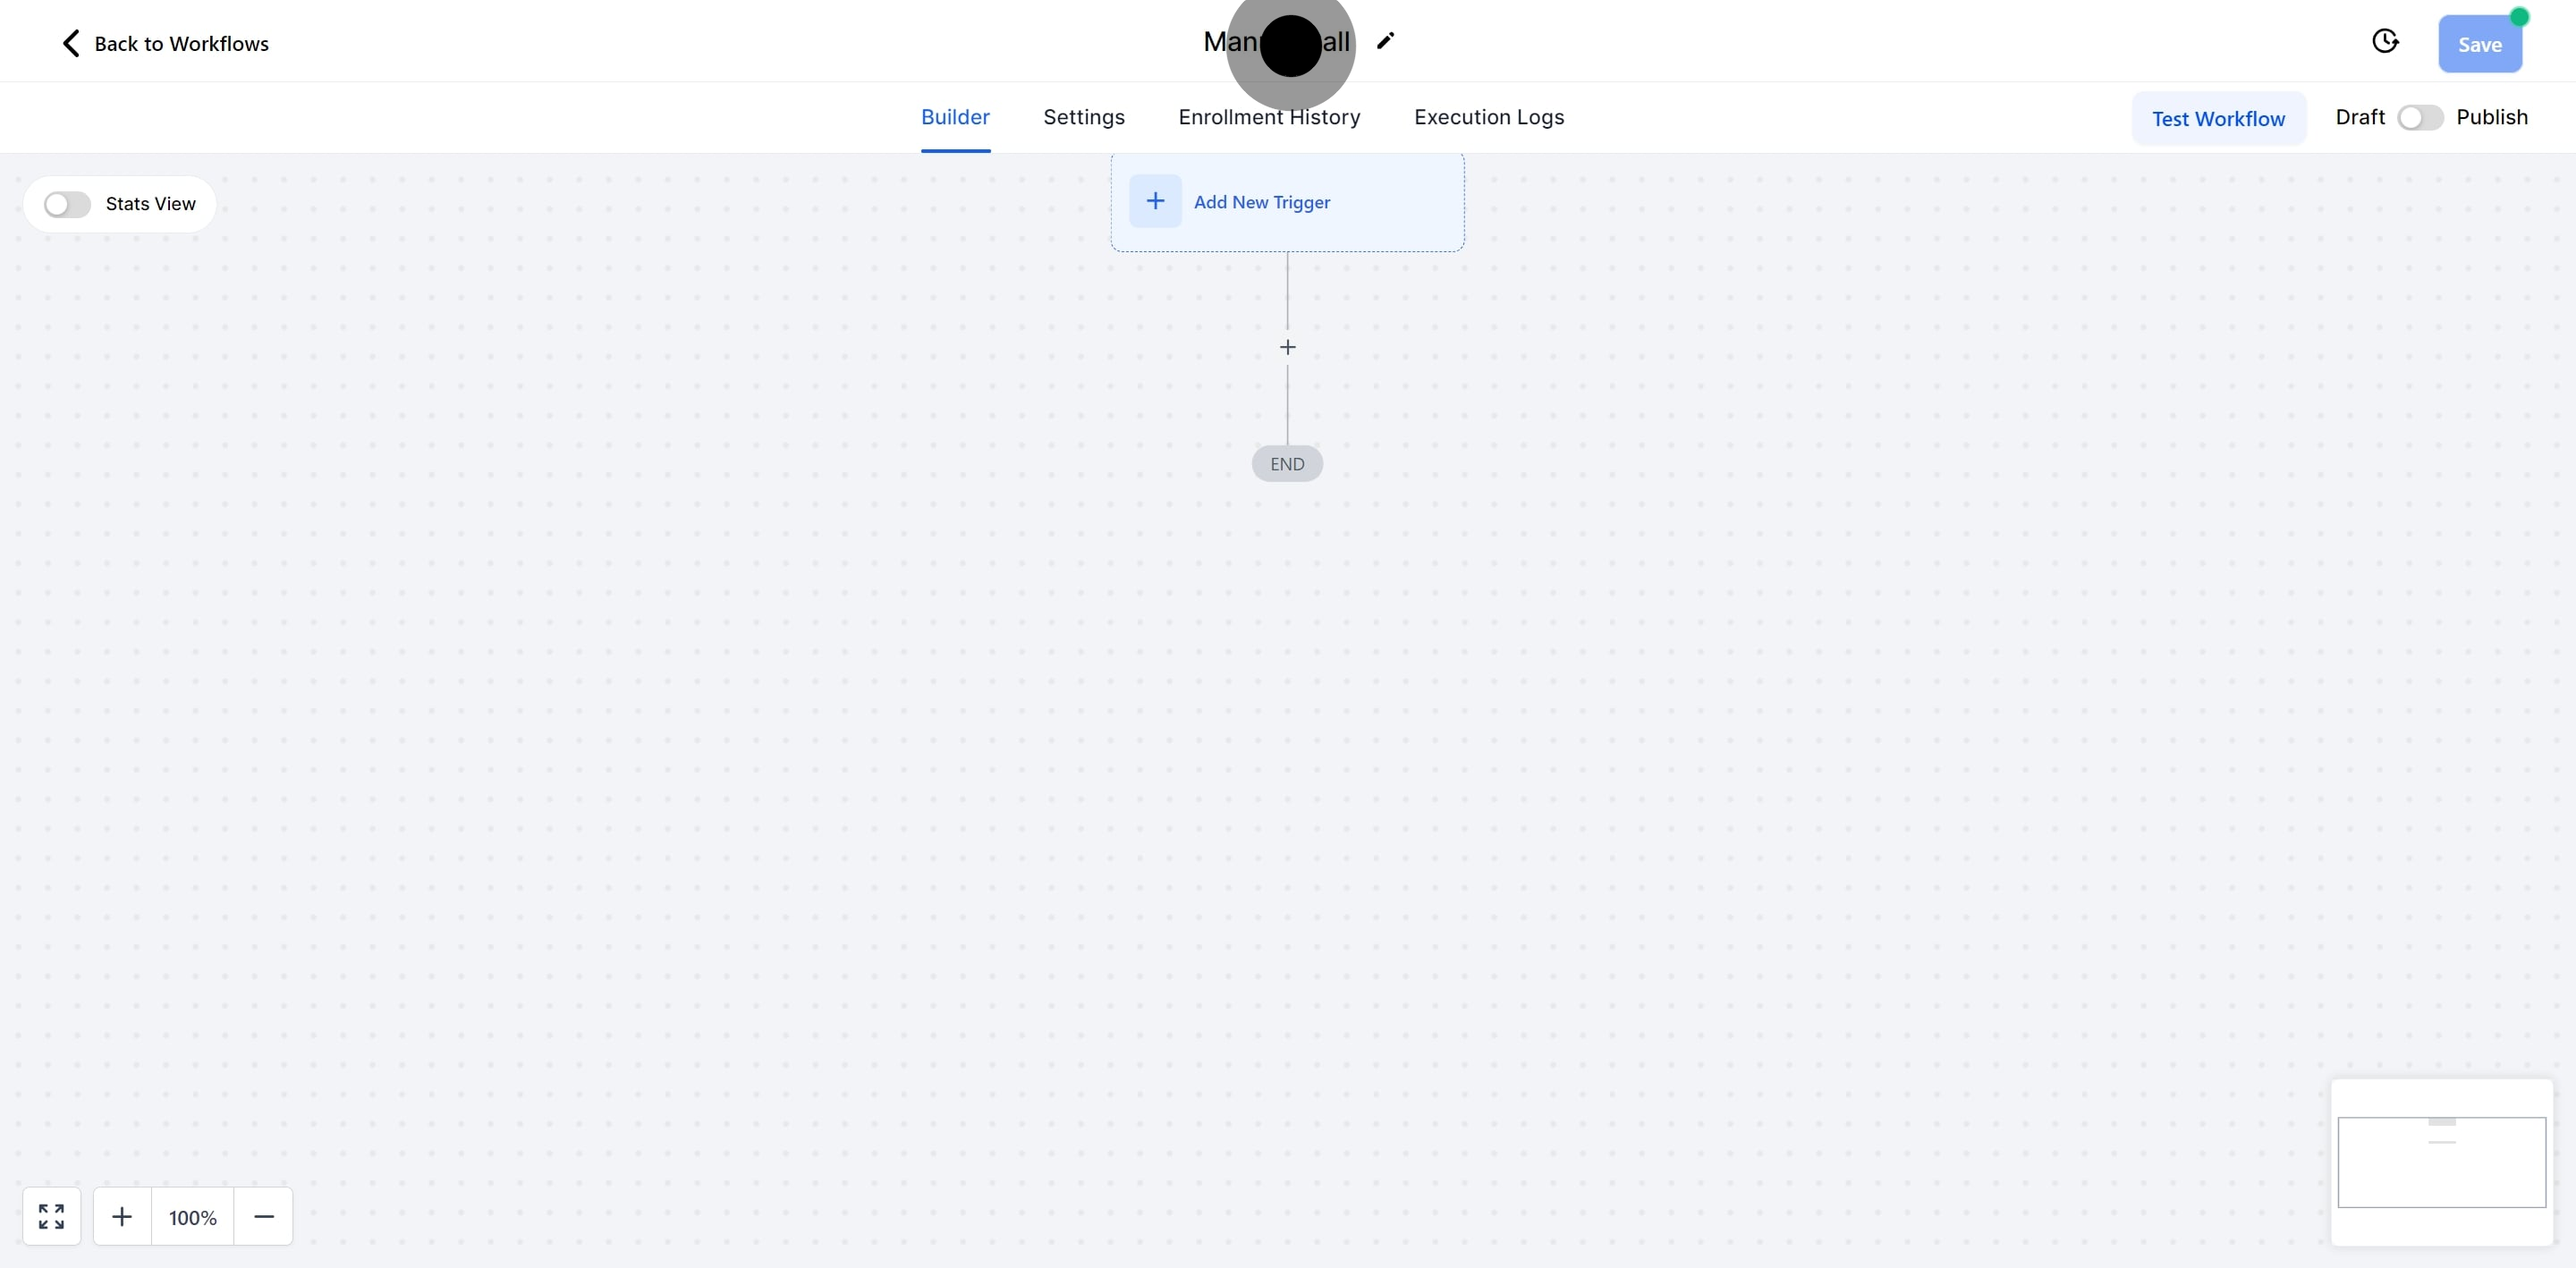
4. Now, enter the title for your workflow to define its purpose.
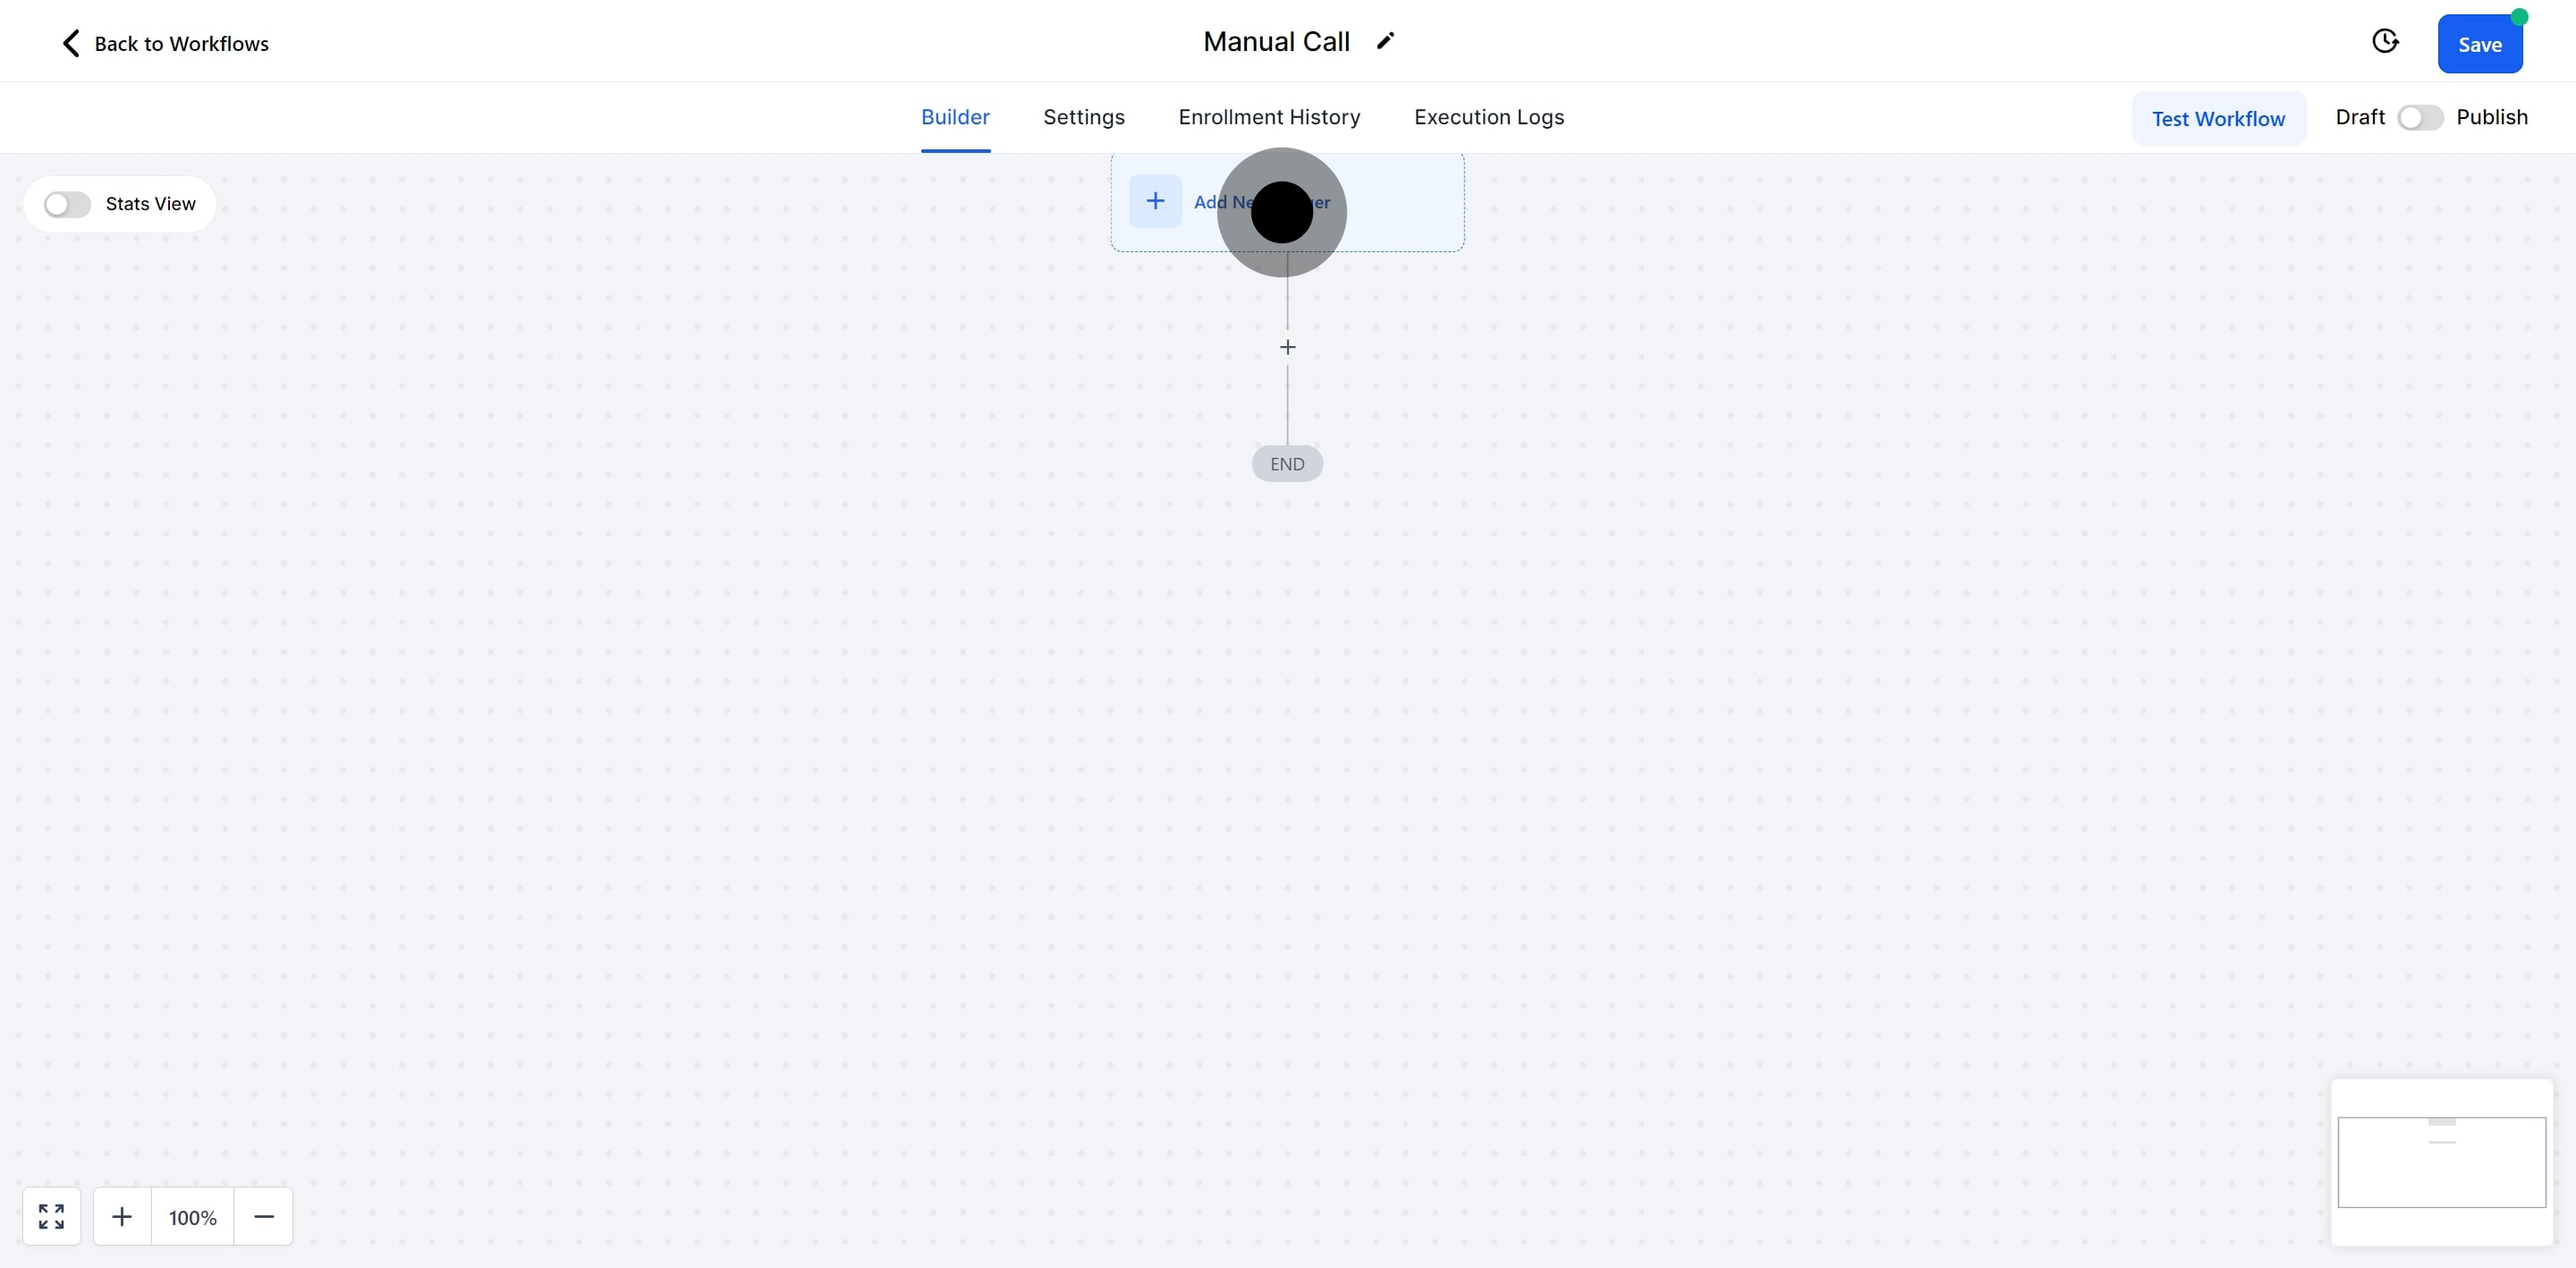
5. Add New Trigger
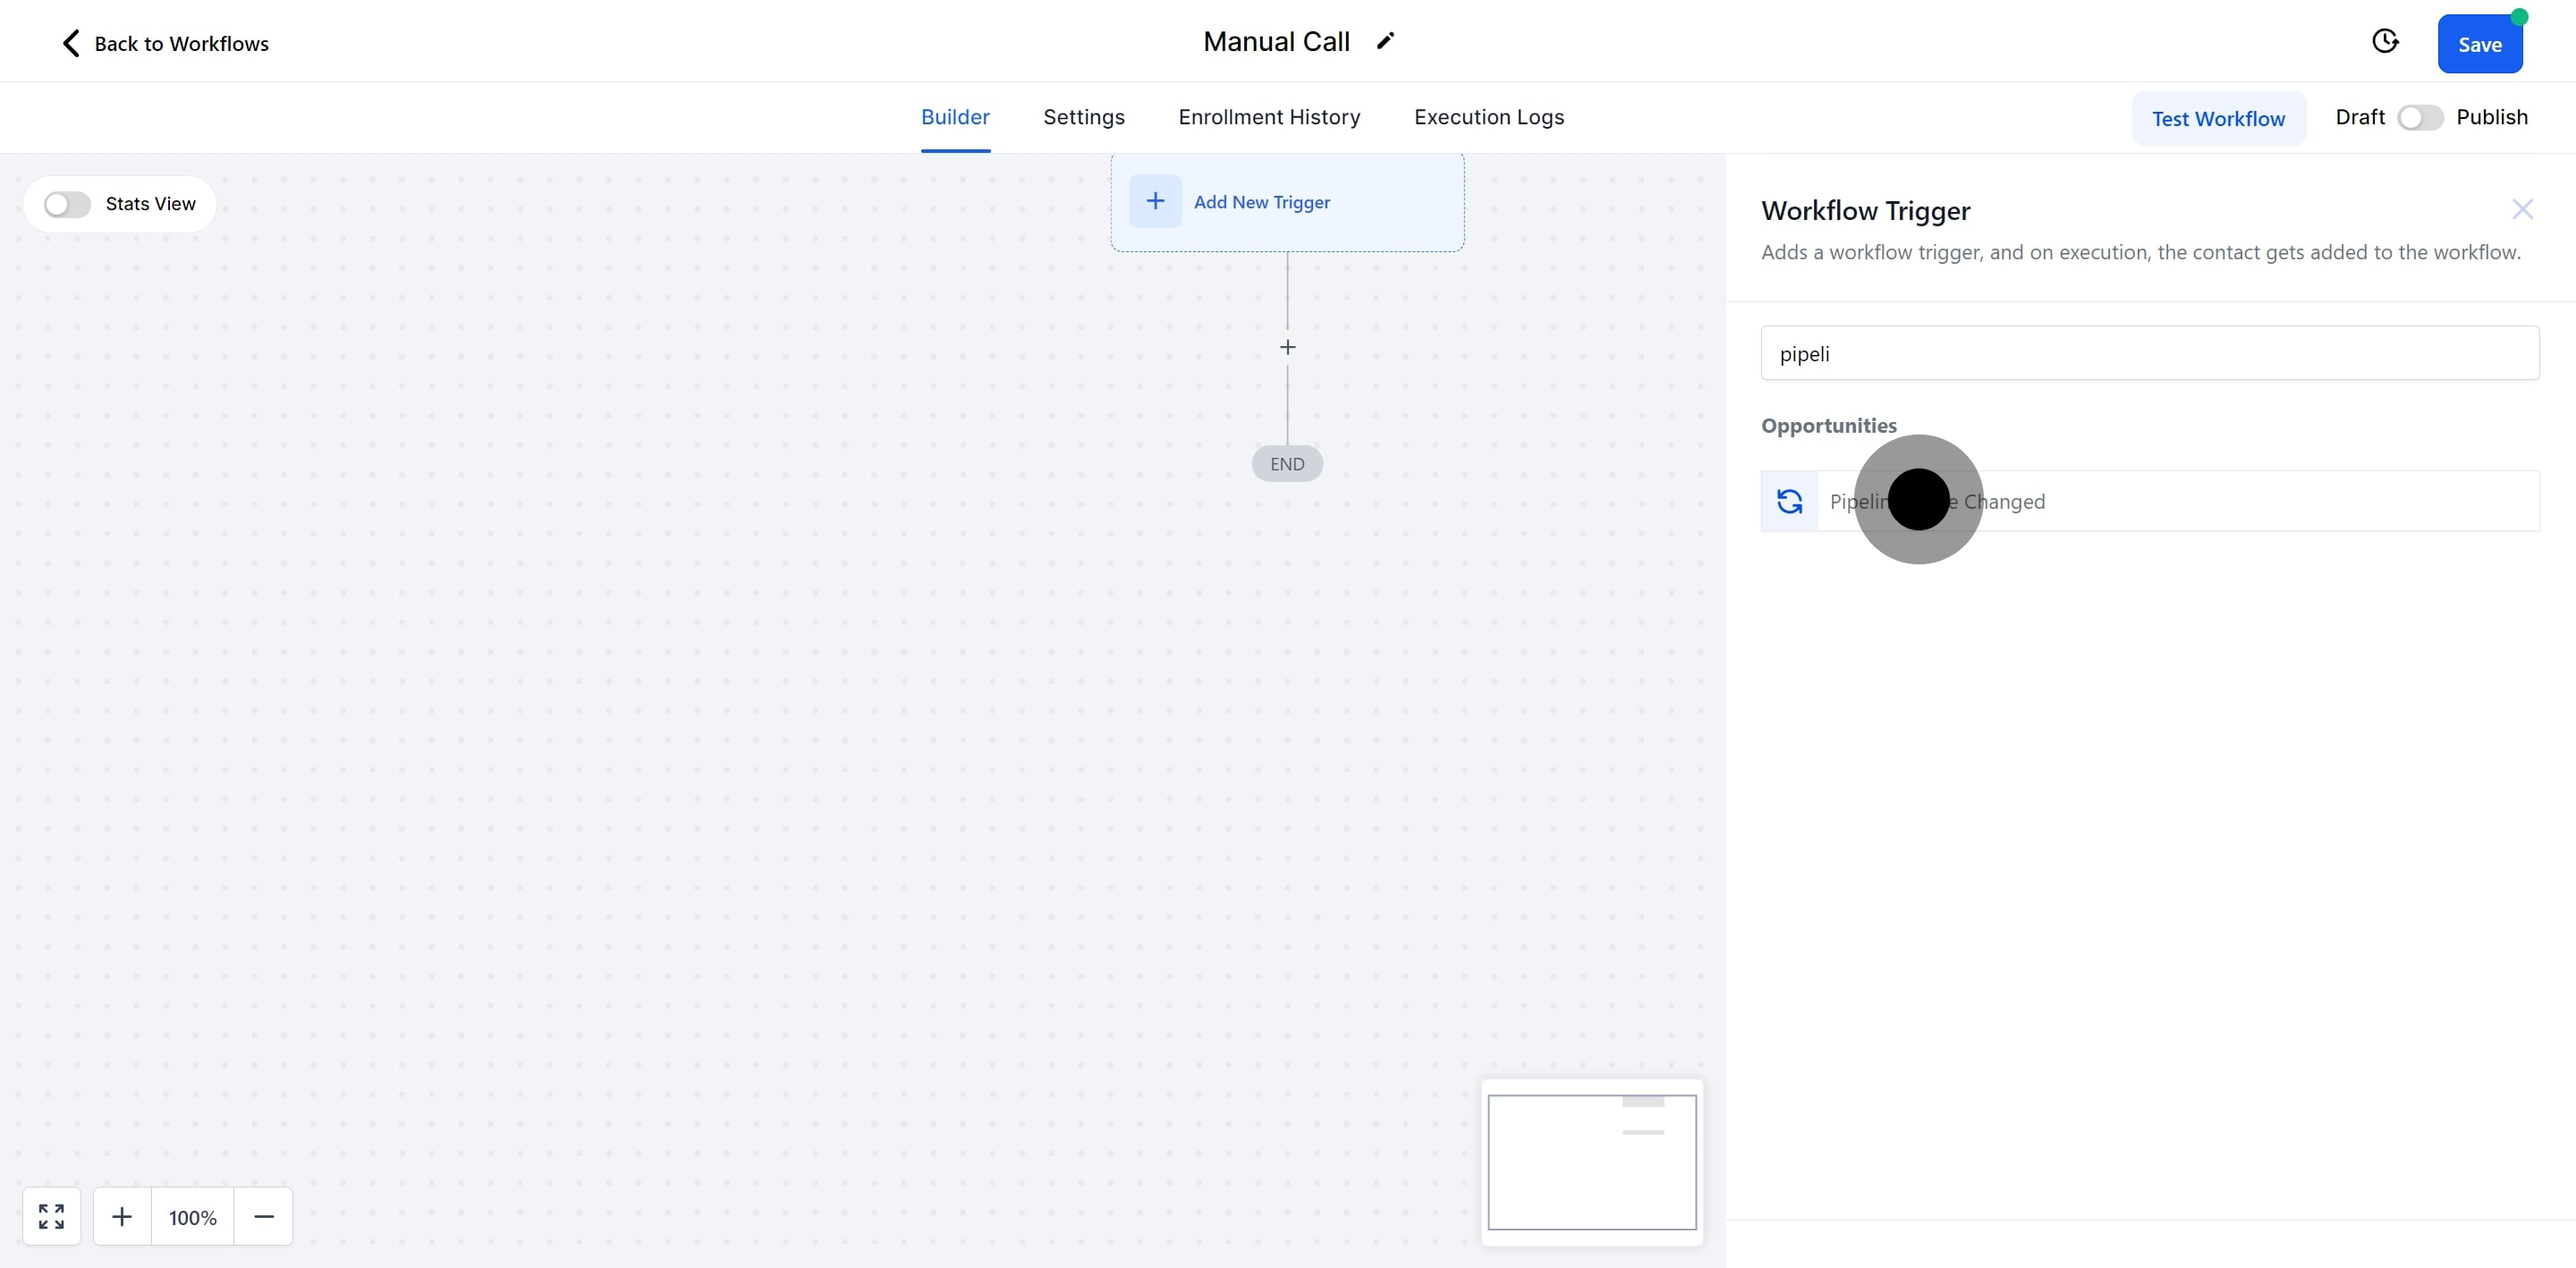
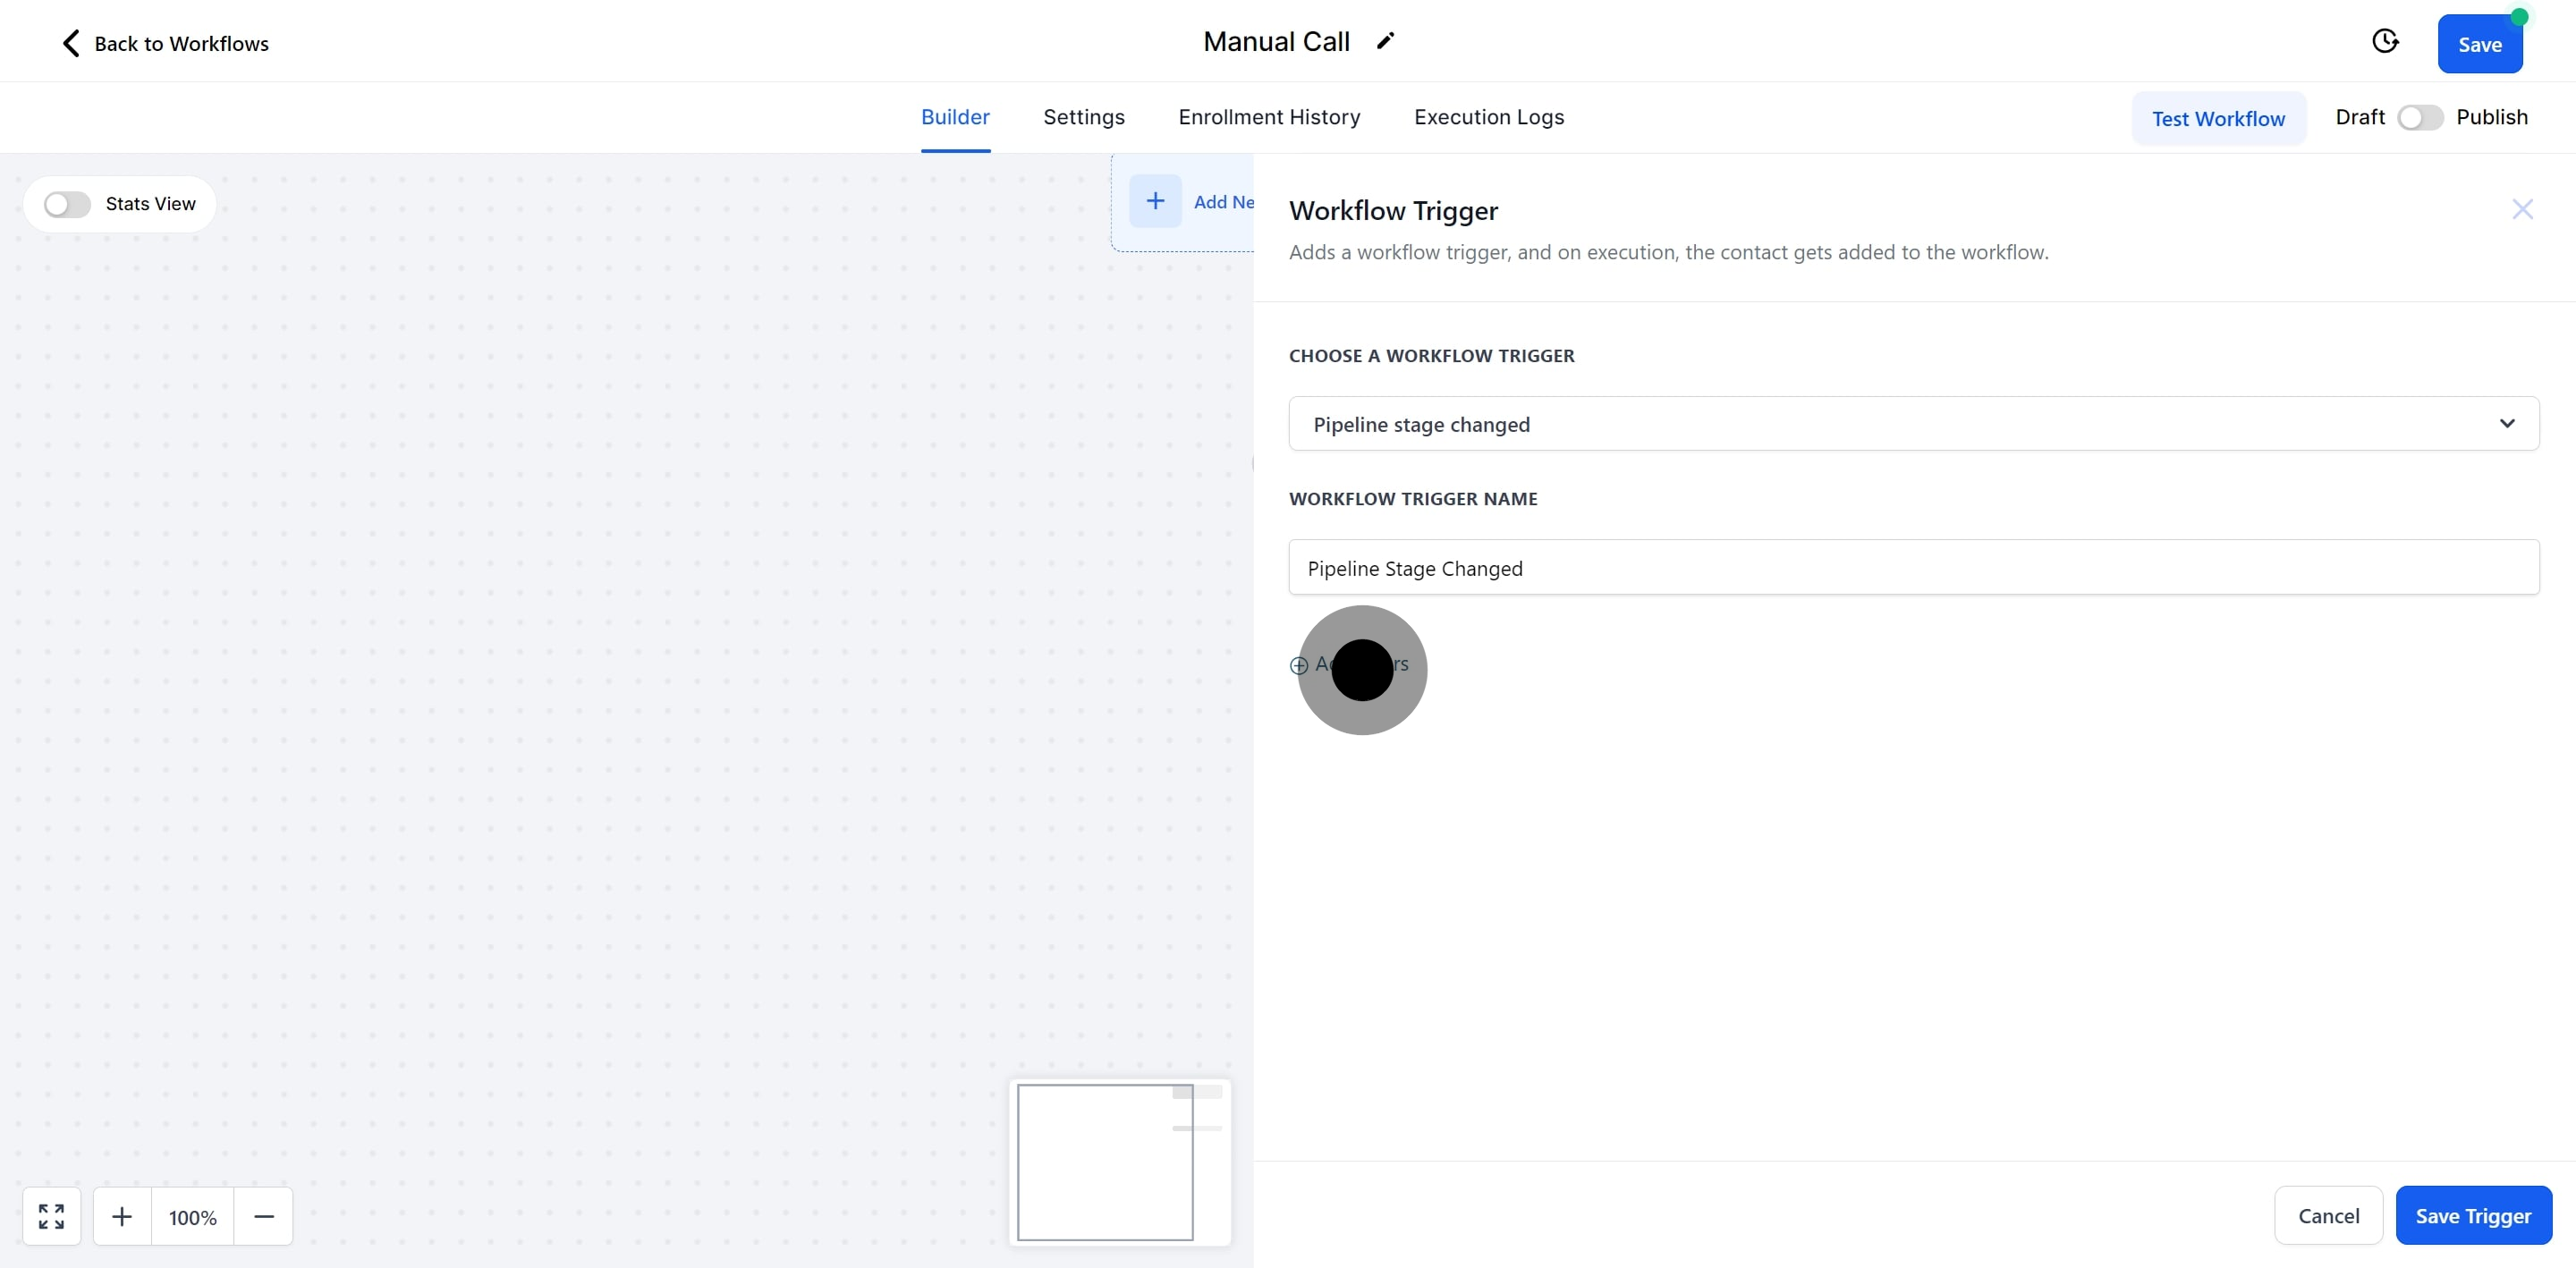
6. Proceed by setting 'Pipeline Stage Changed' as your trigger.
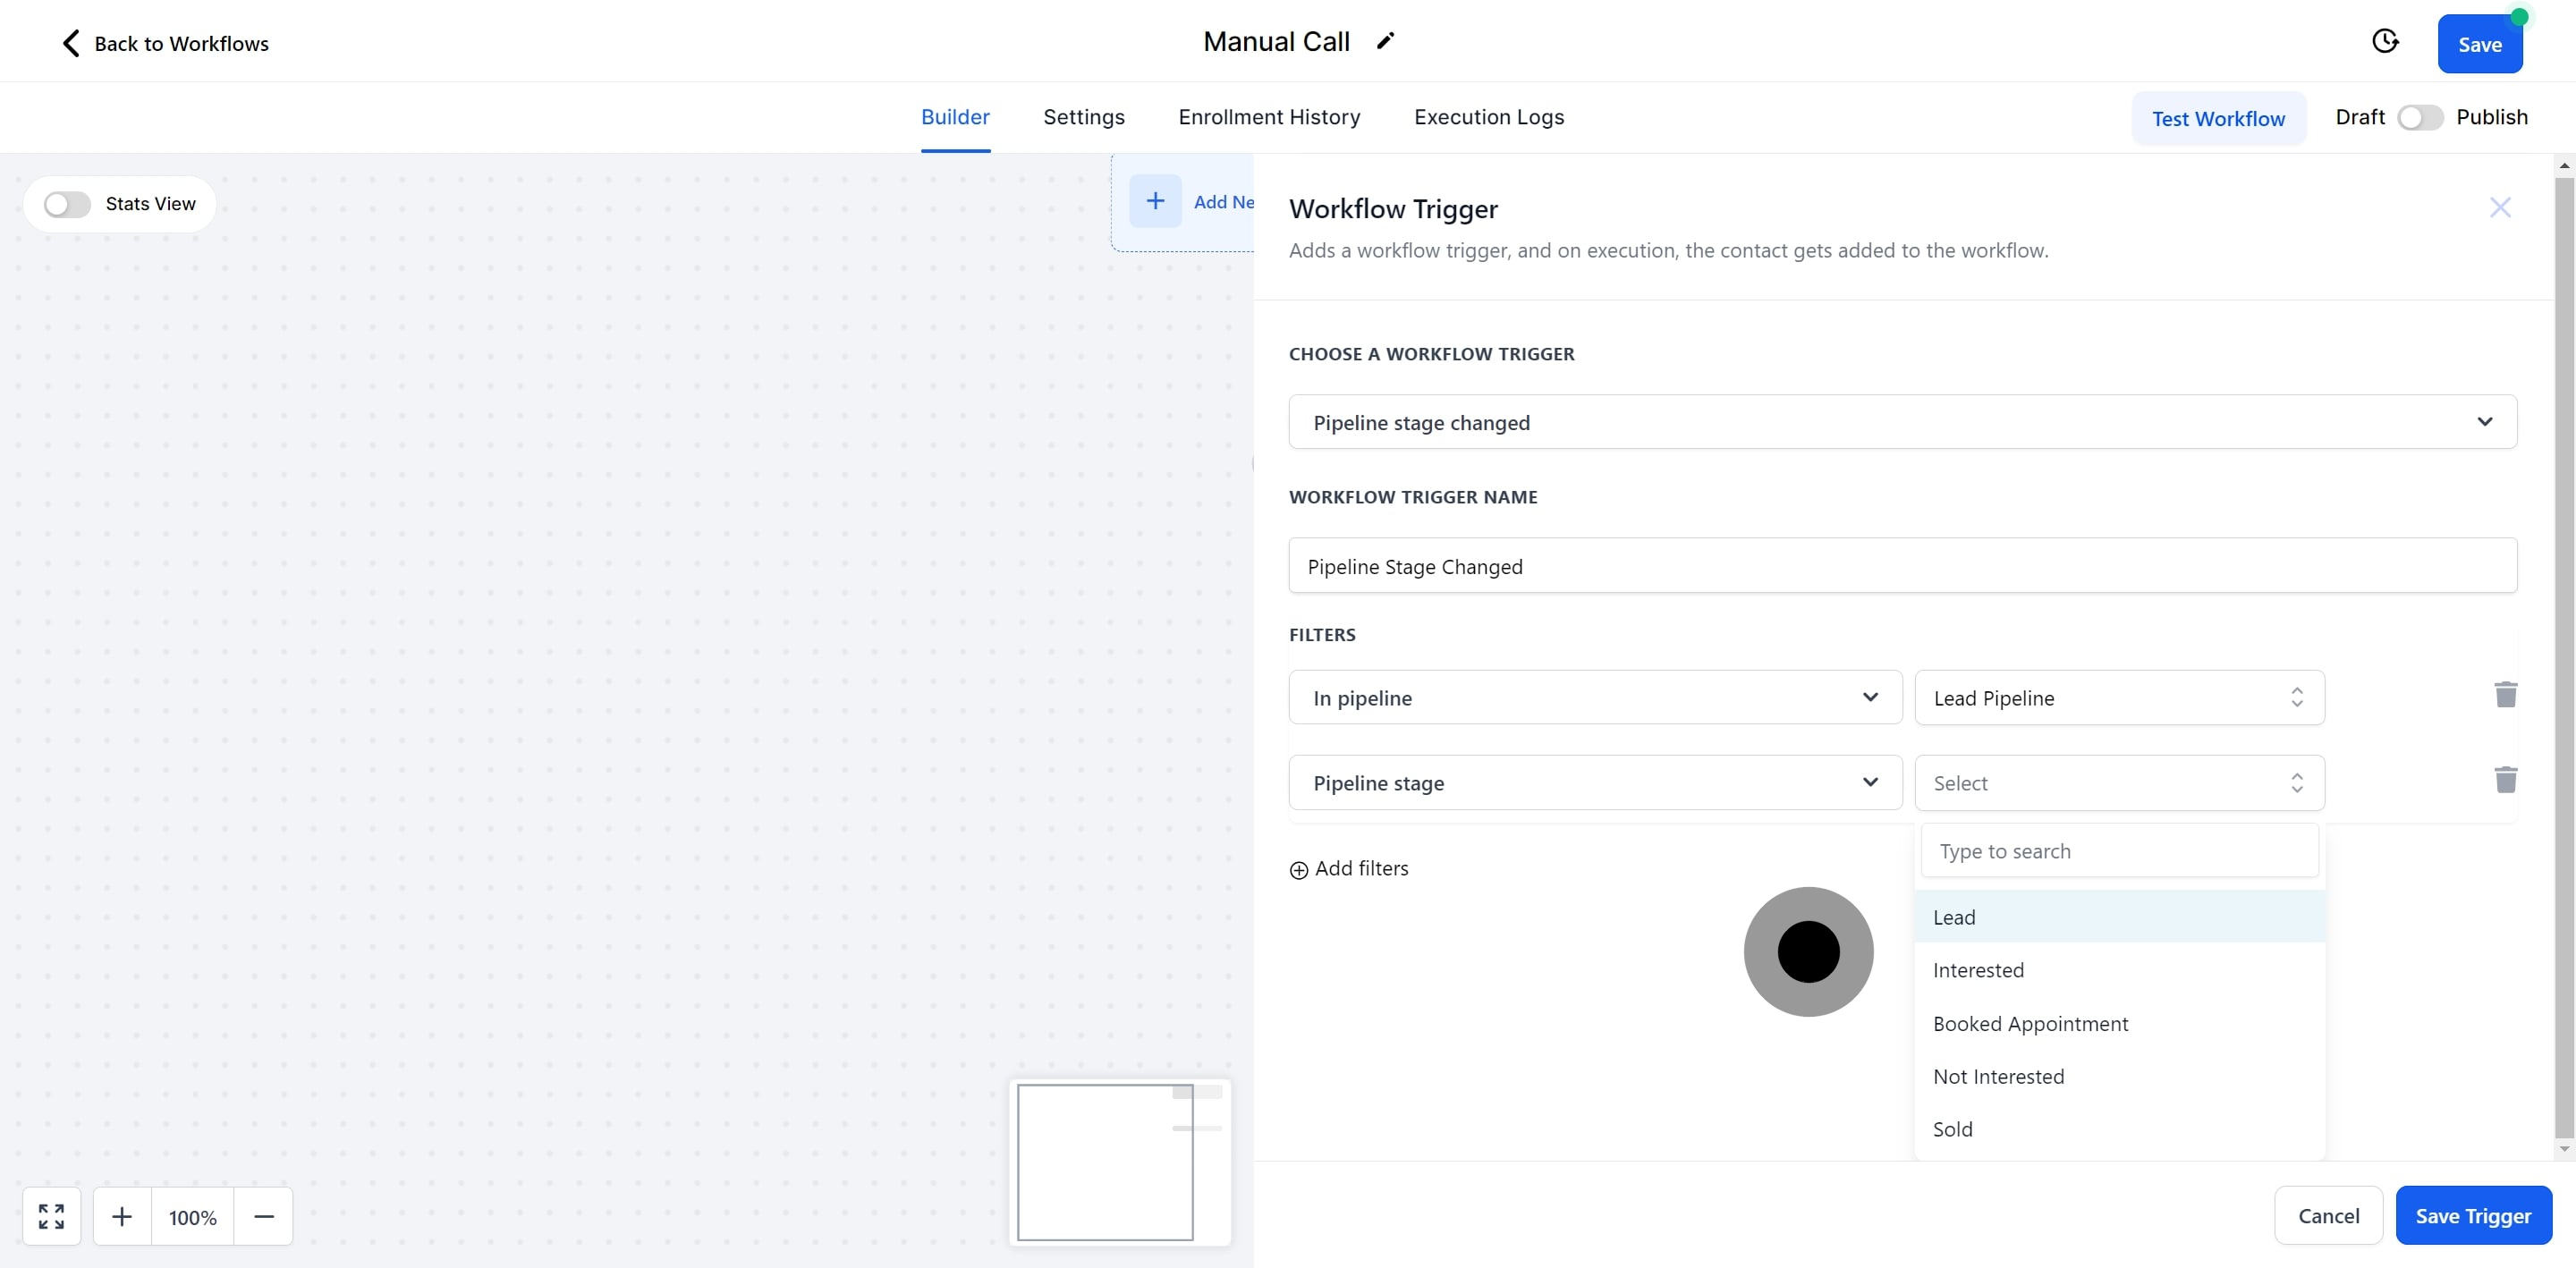
7. Add filter
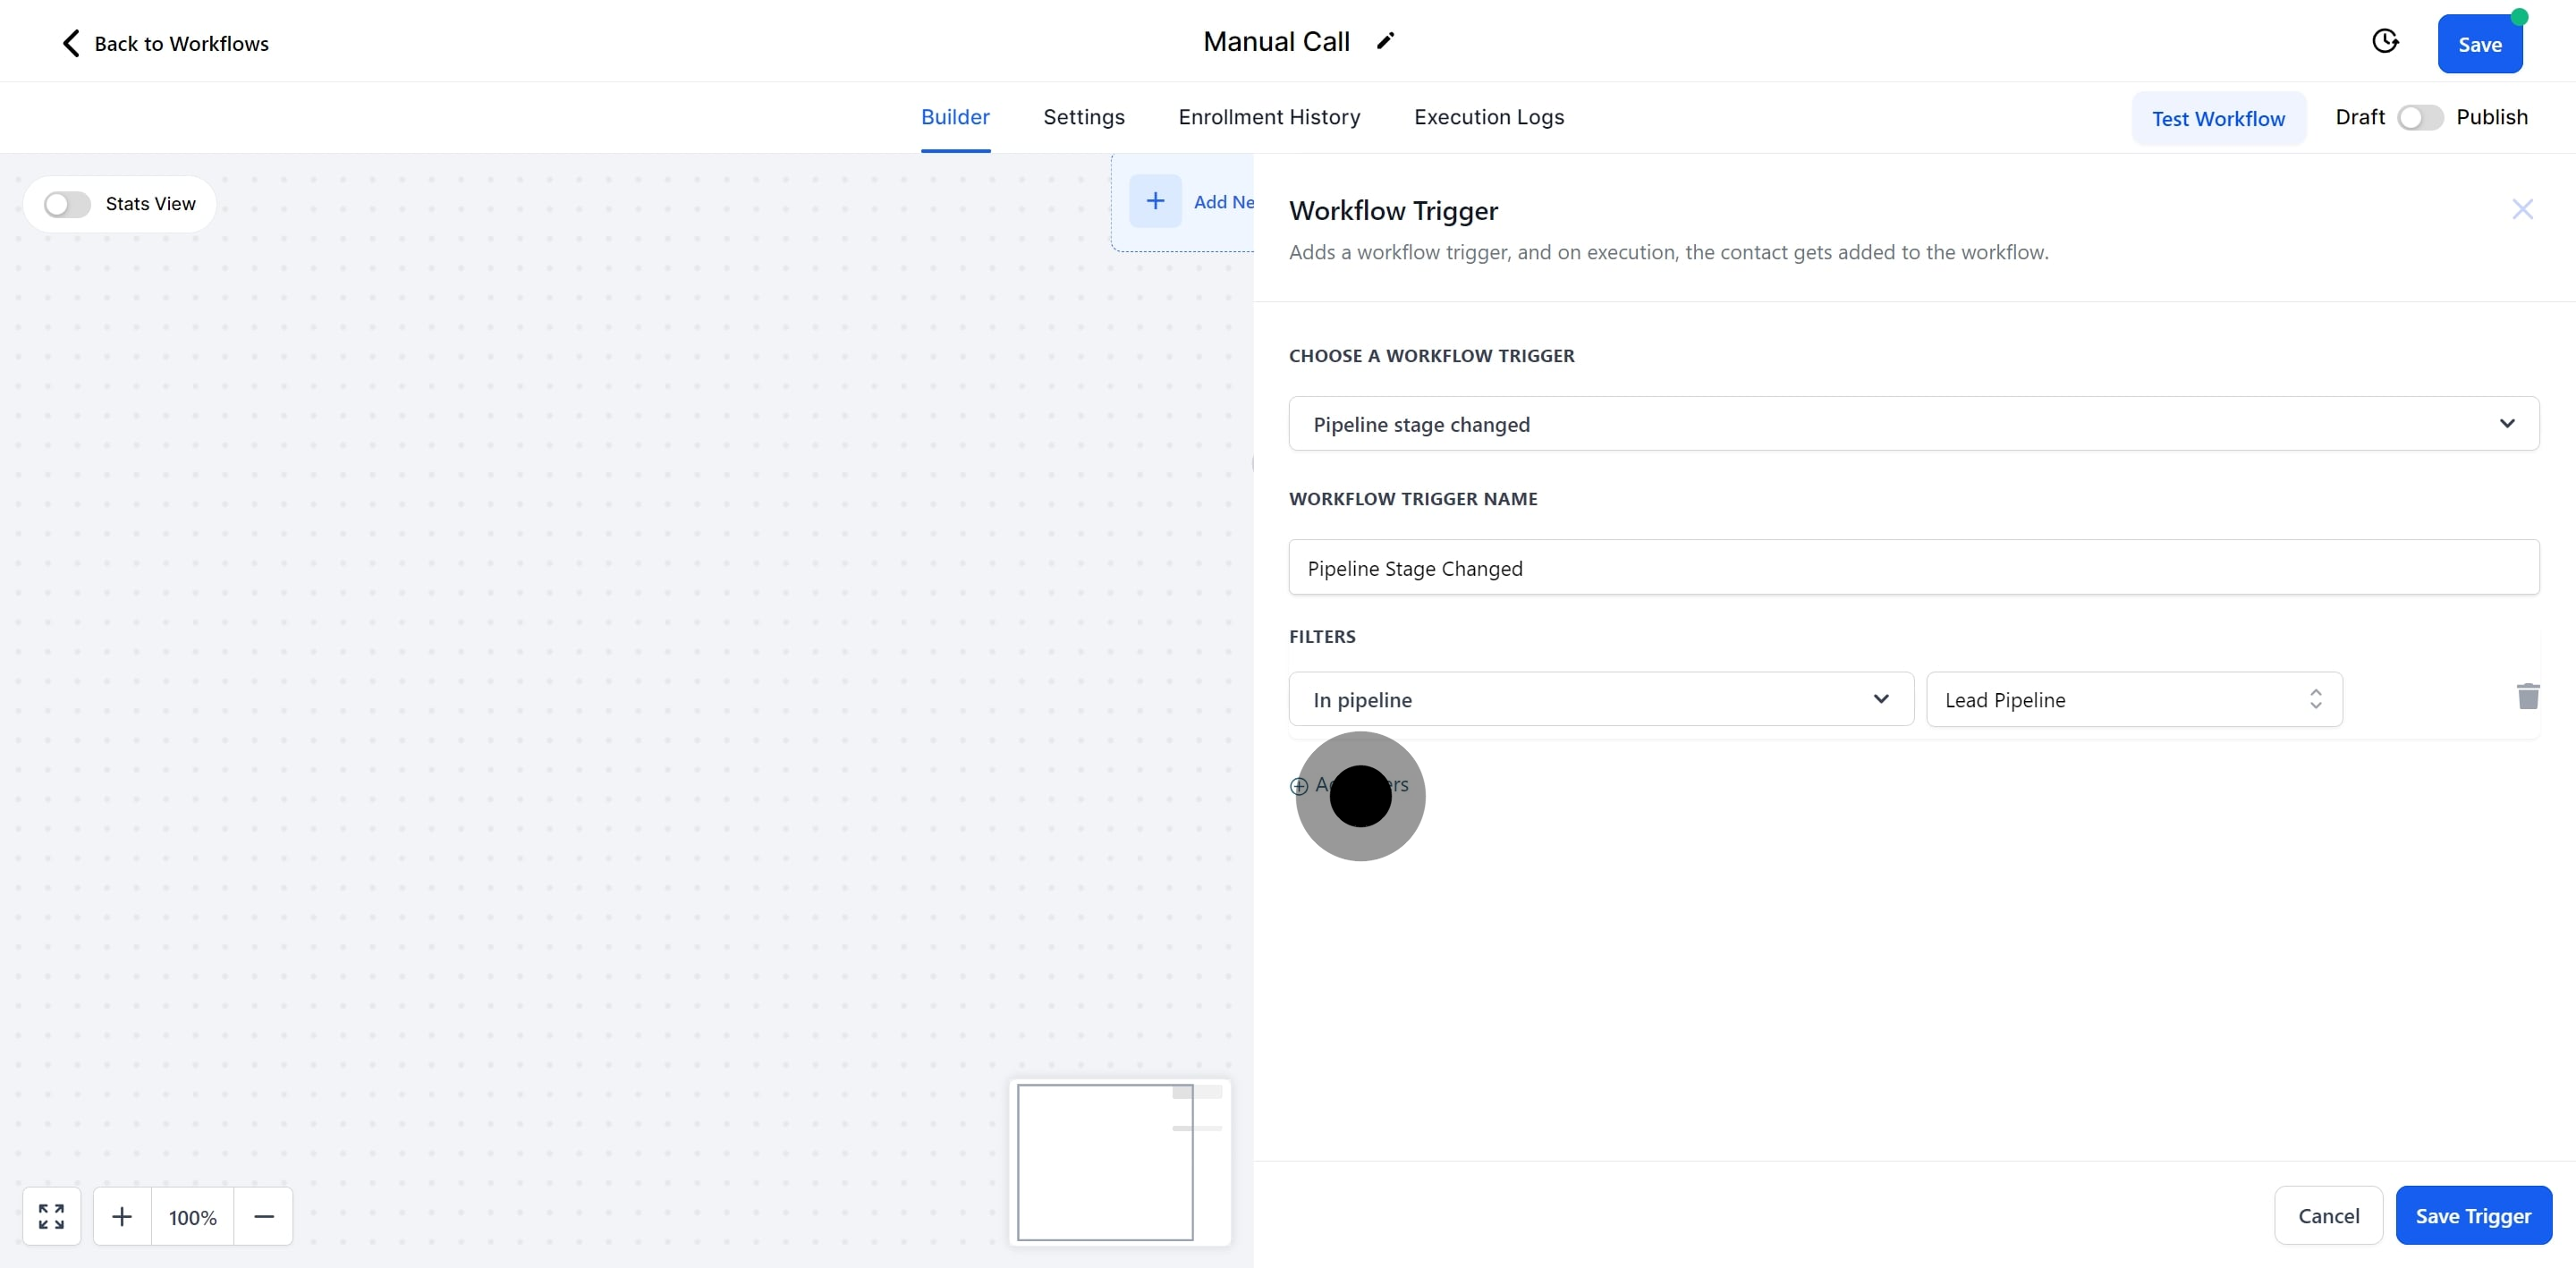
8. Choose 'In Pipeline, "then select 'Lead Pipeline' from the different pipeline options.
9. Add another filter
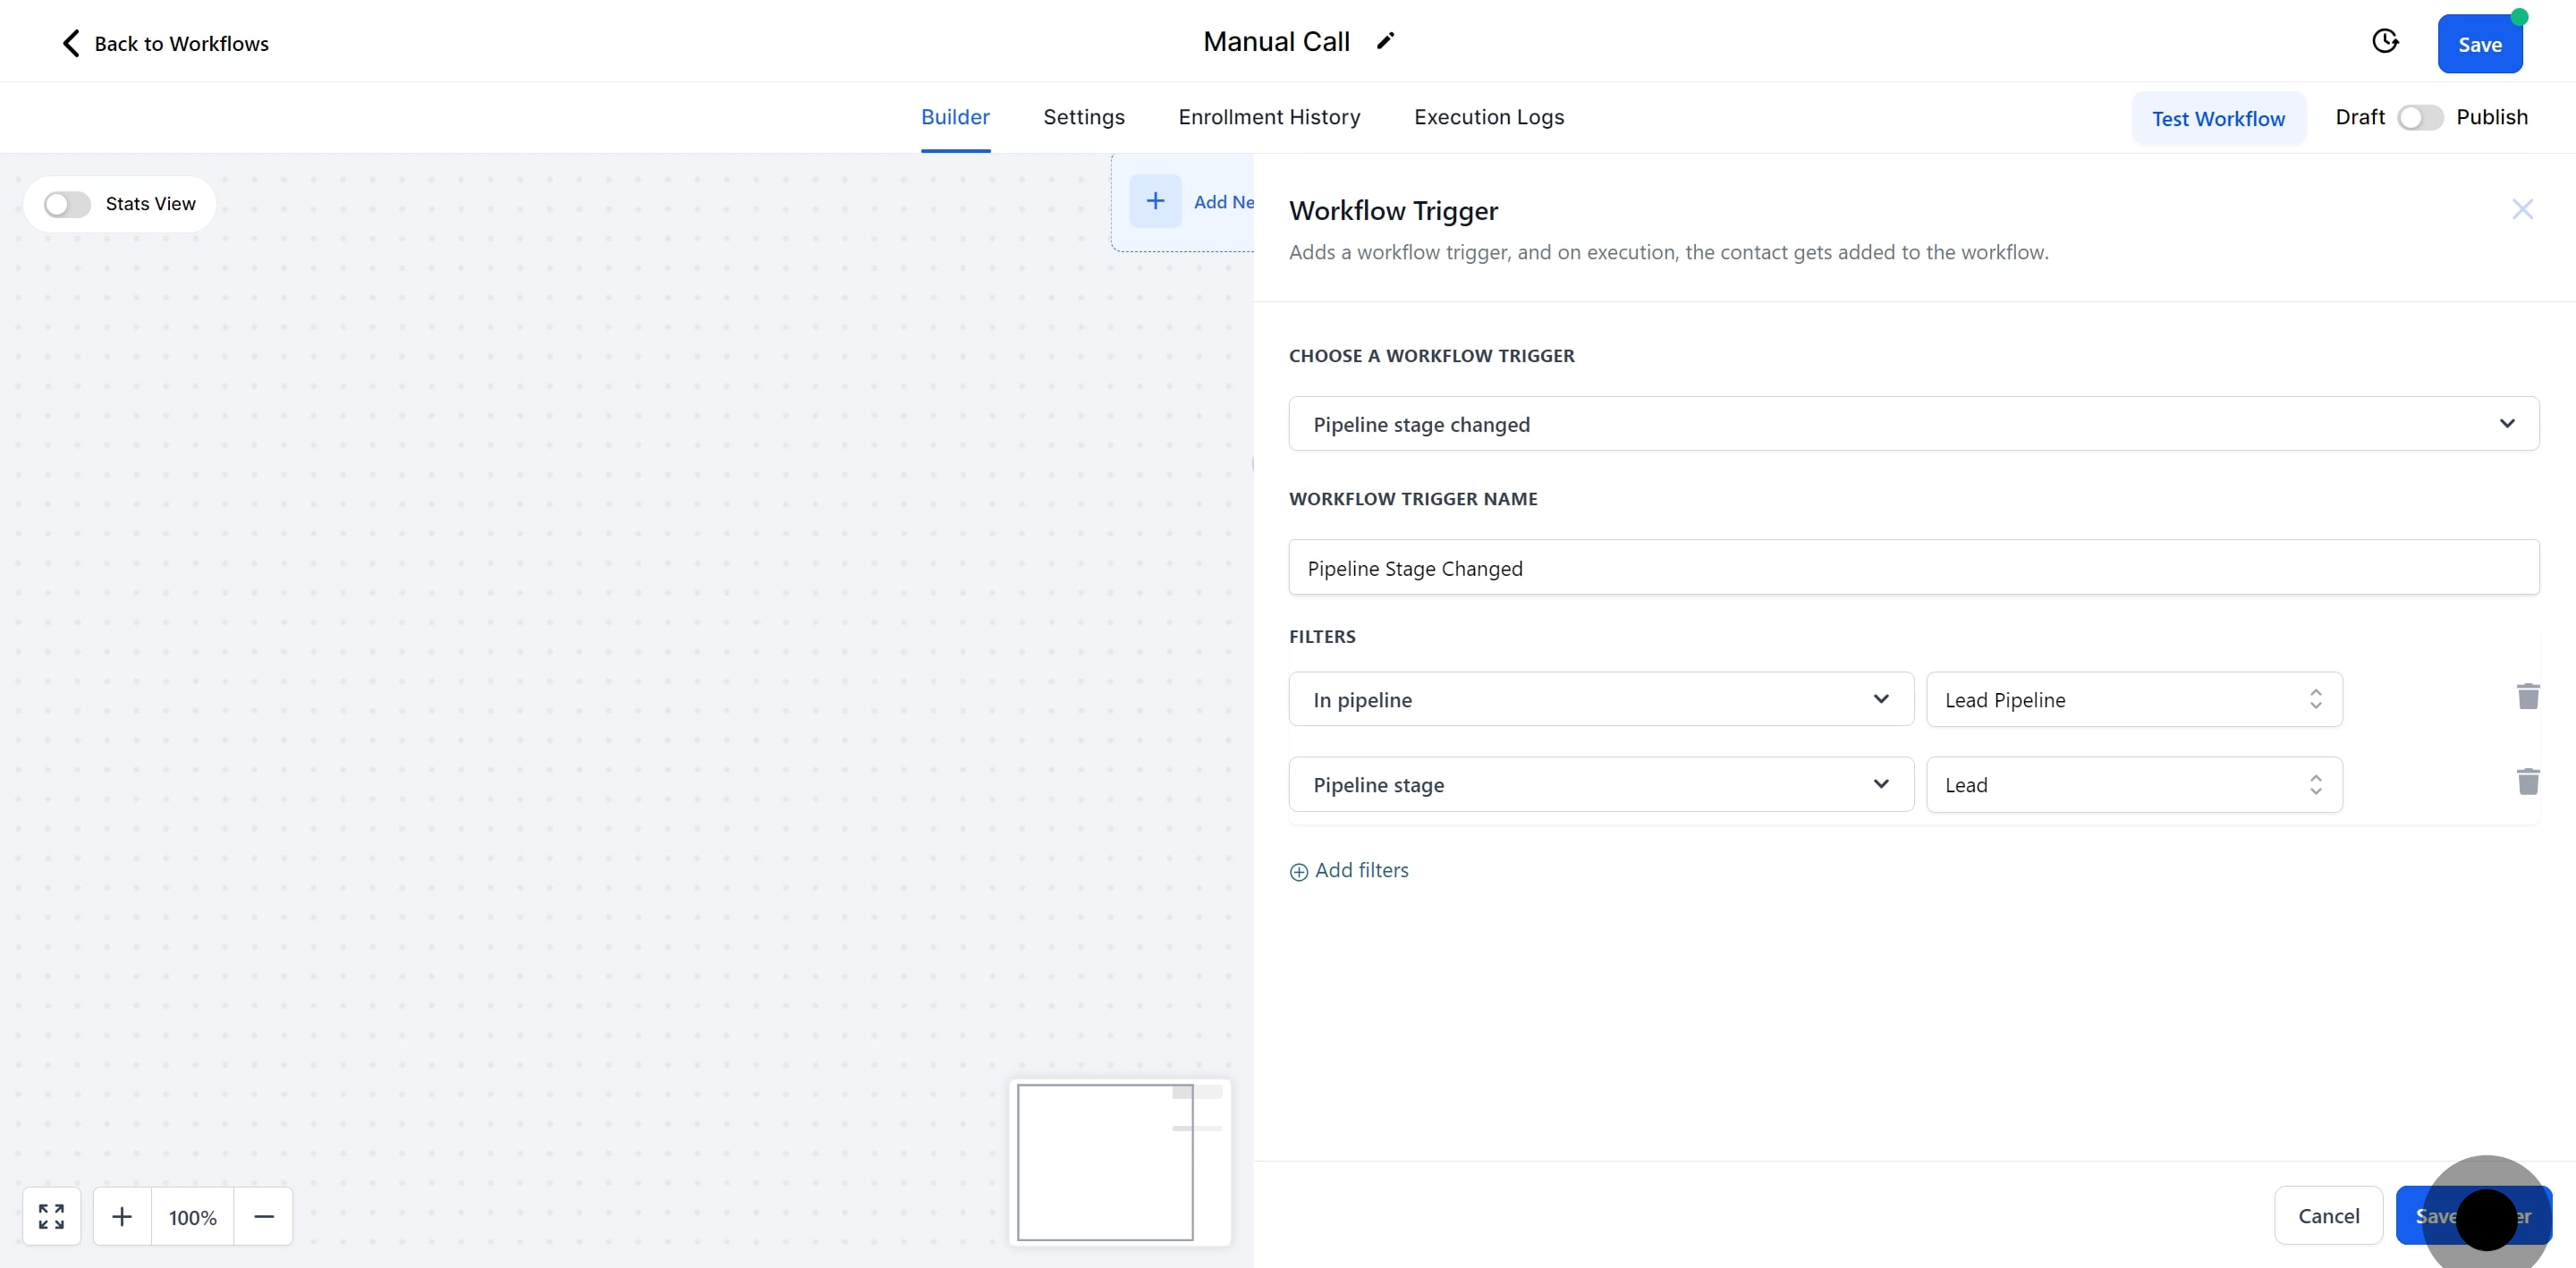
10. Then, personalize by selecting your preferred Pipeline Stage filter.
11. Remember to save your custom trigger settings.
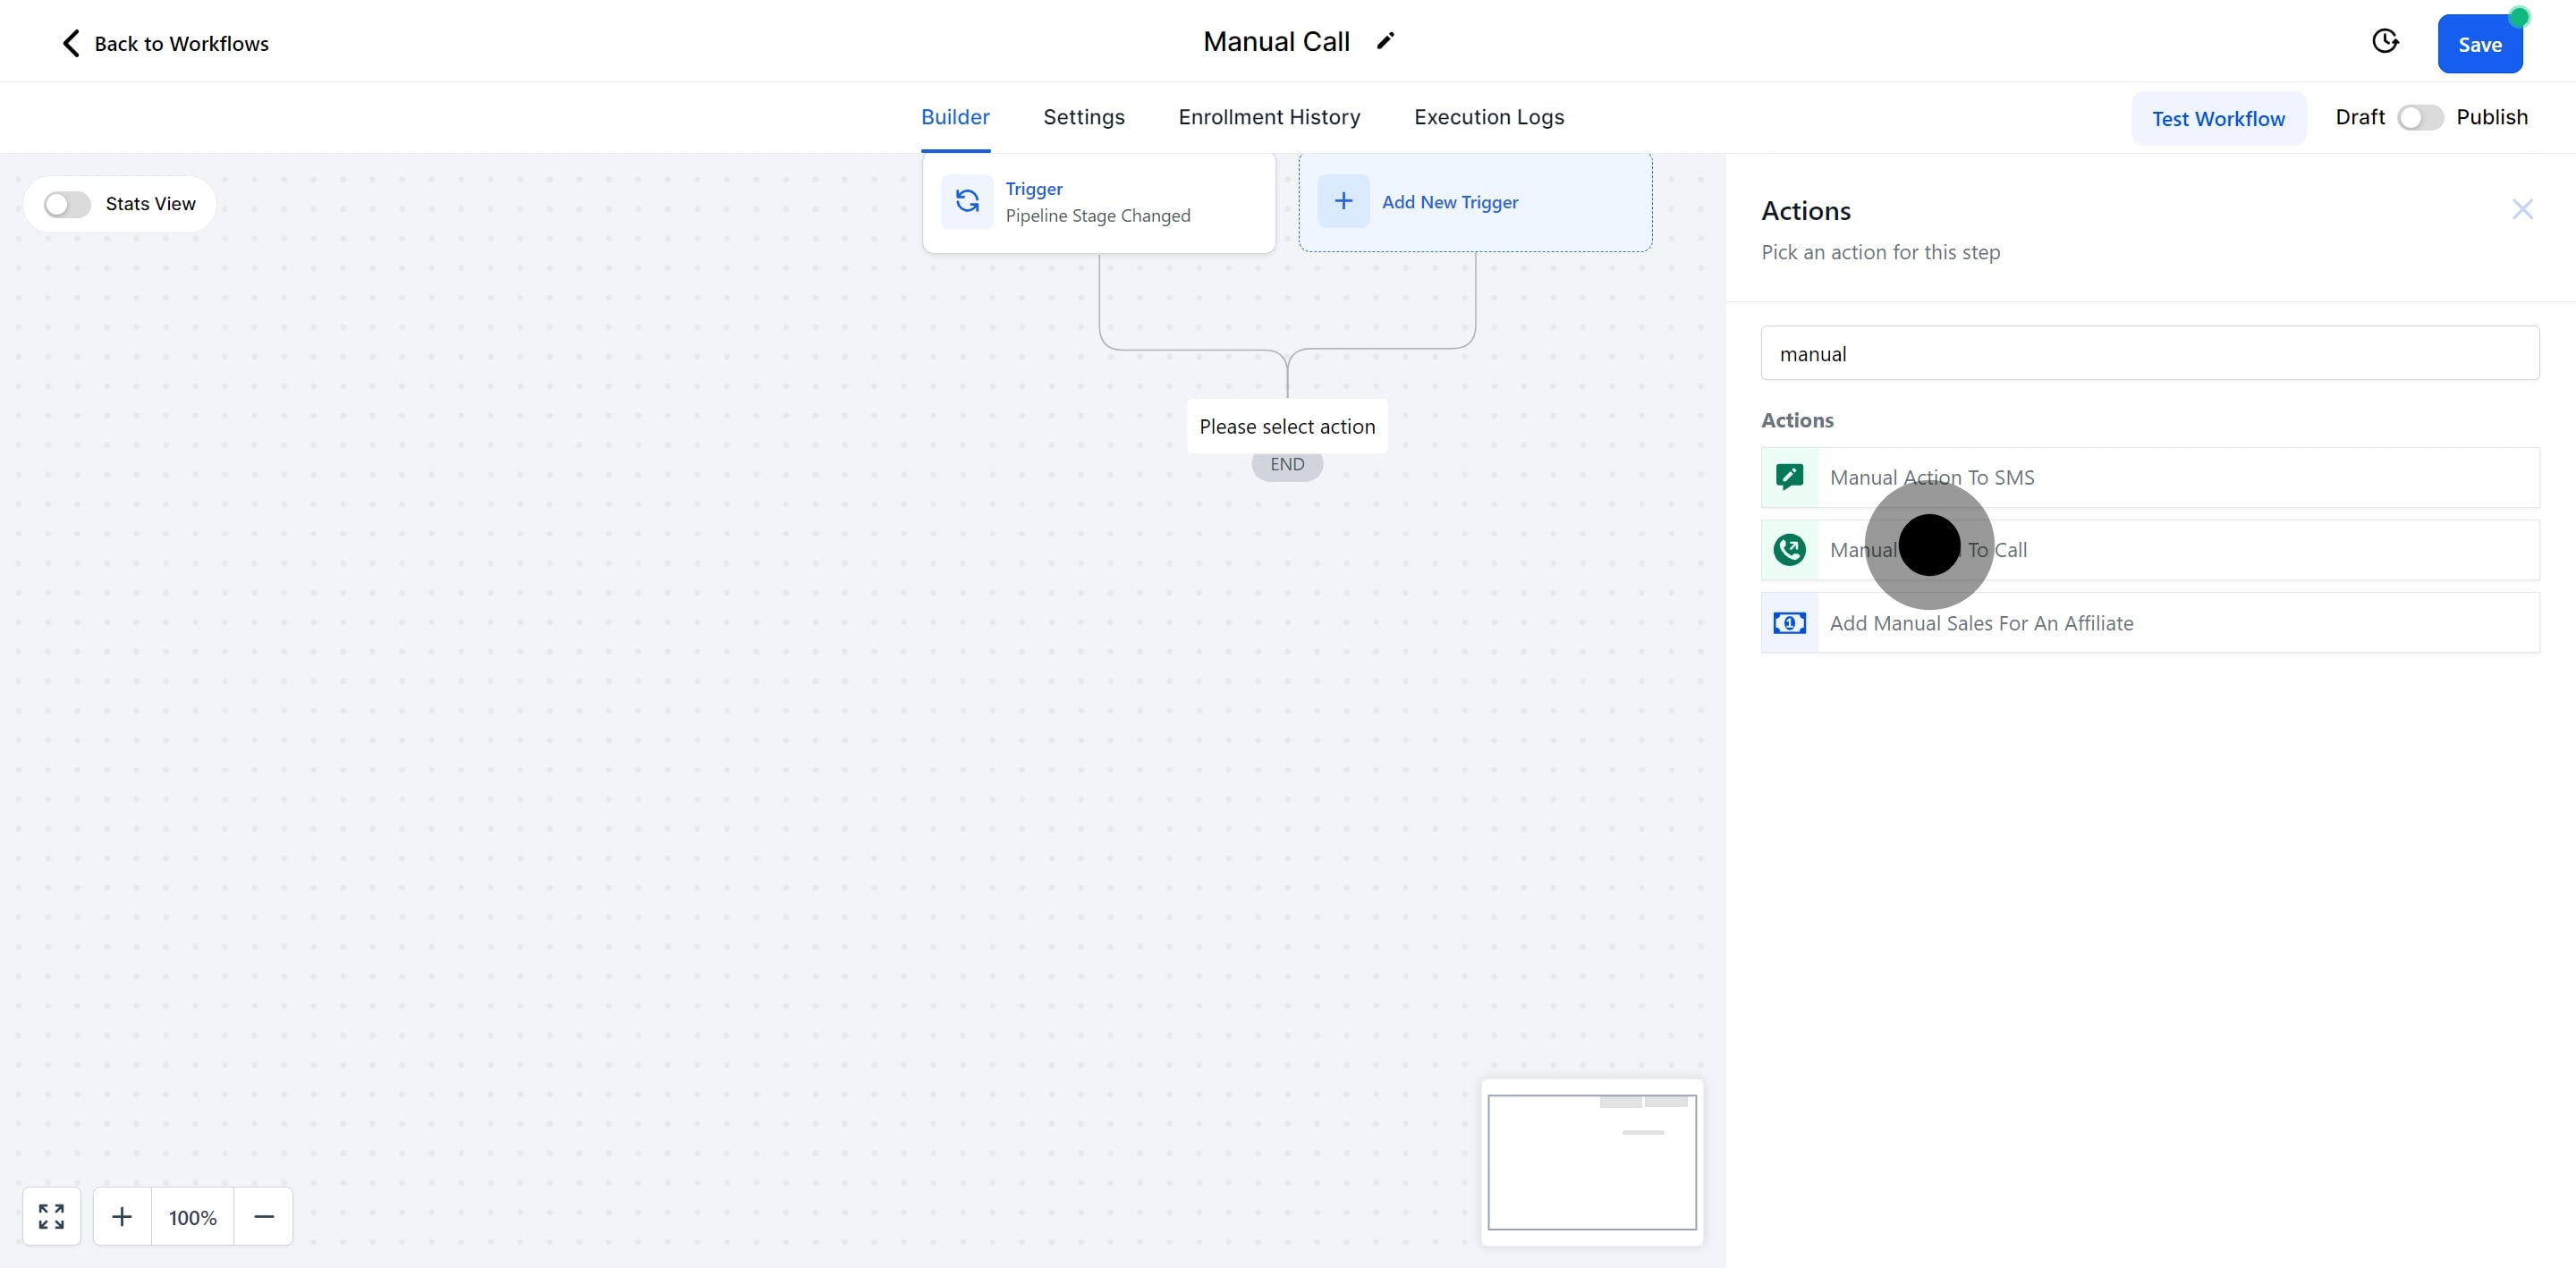
12. Now, move forward by adding a new action to the workflow.
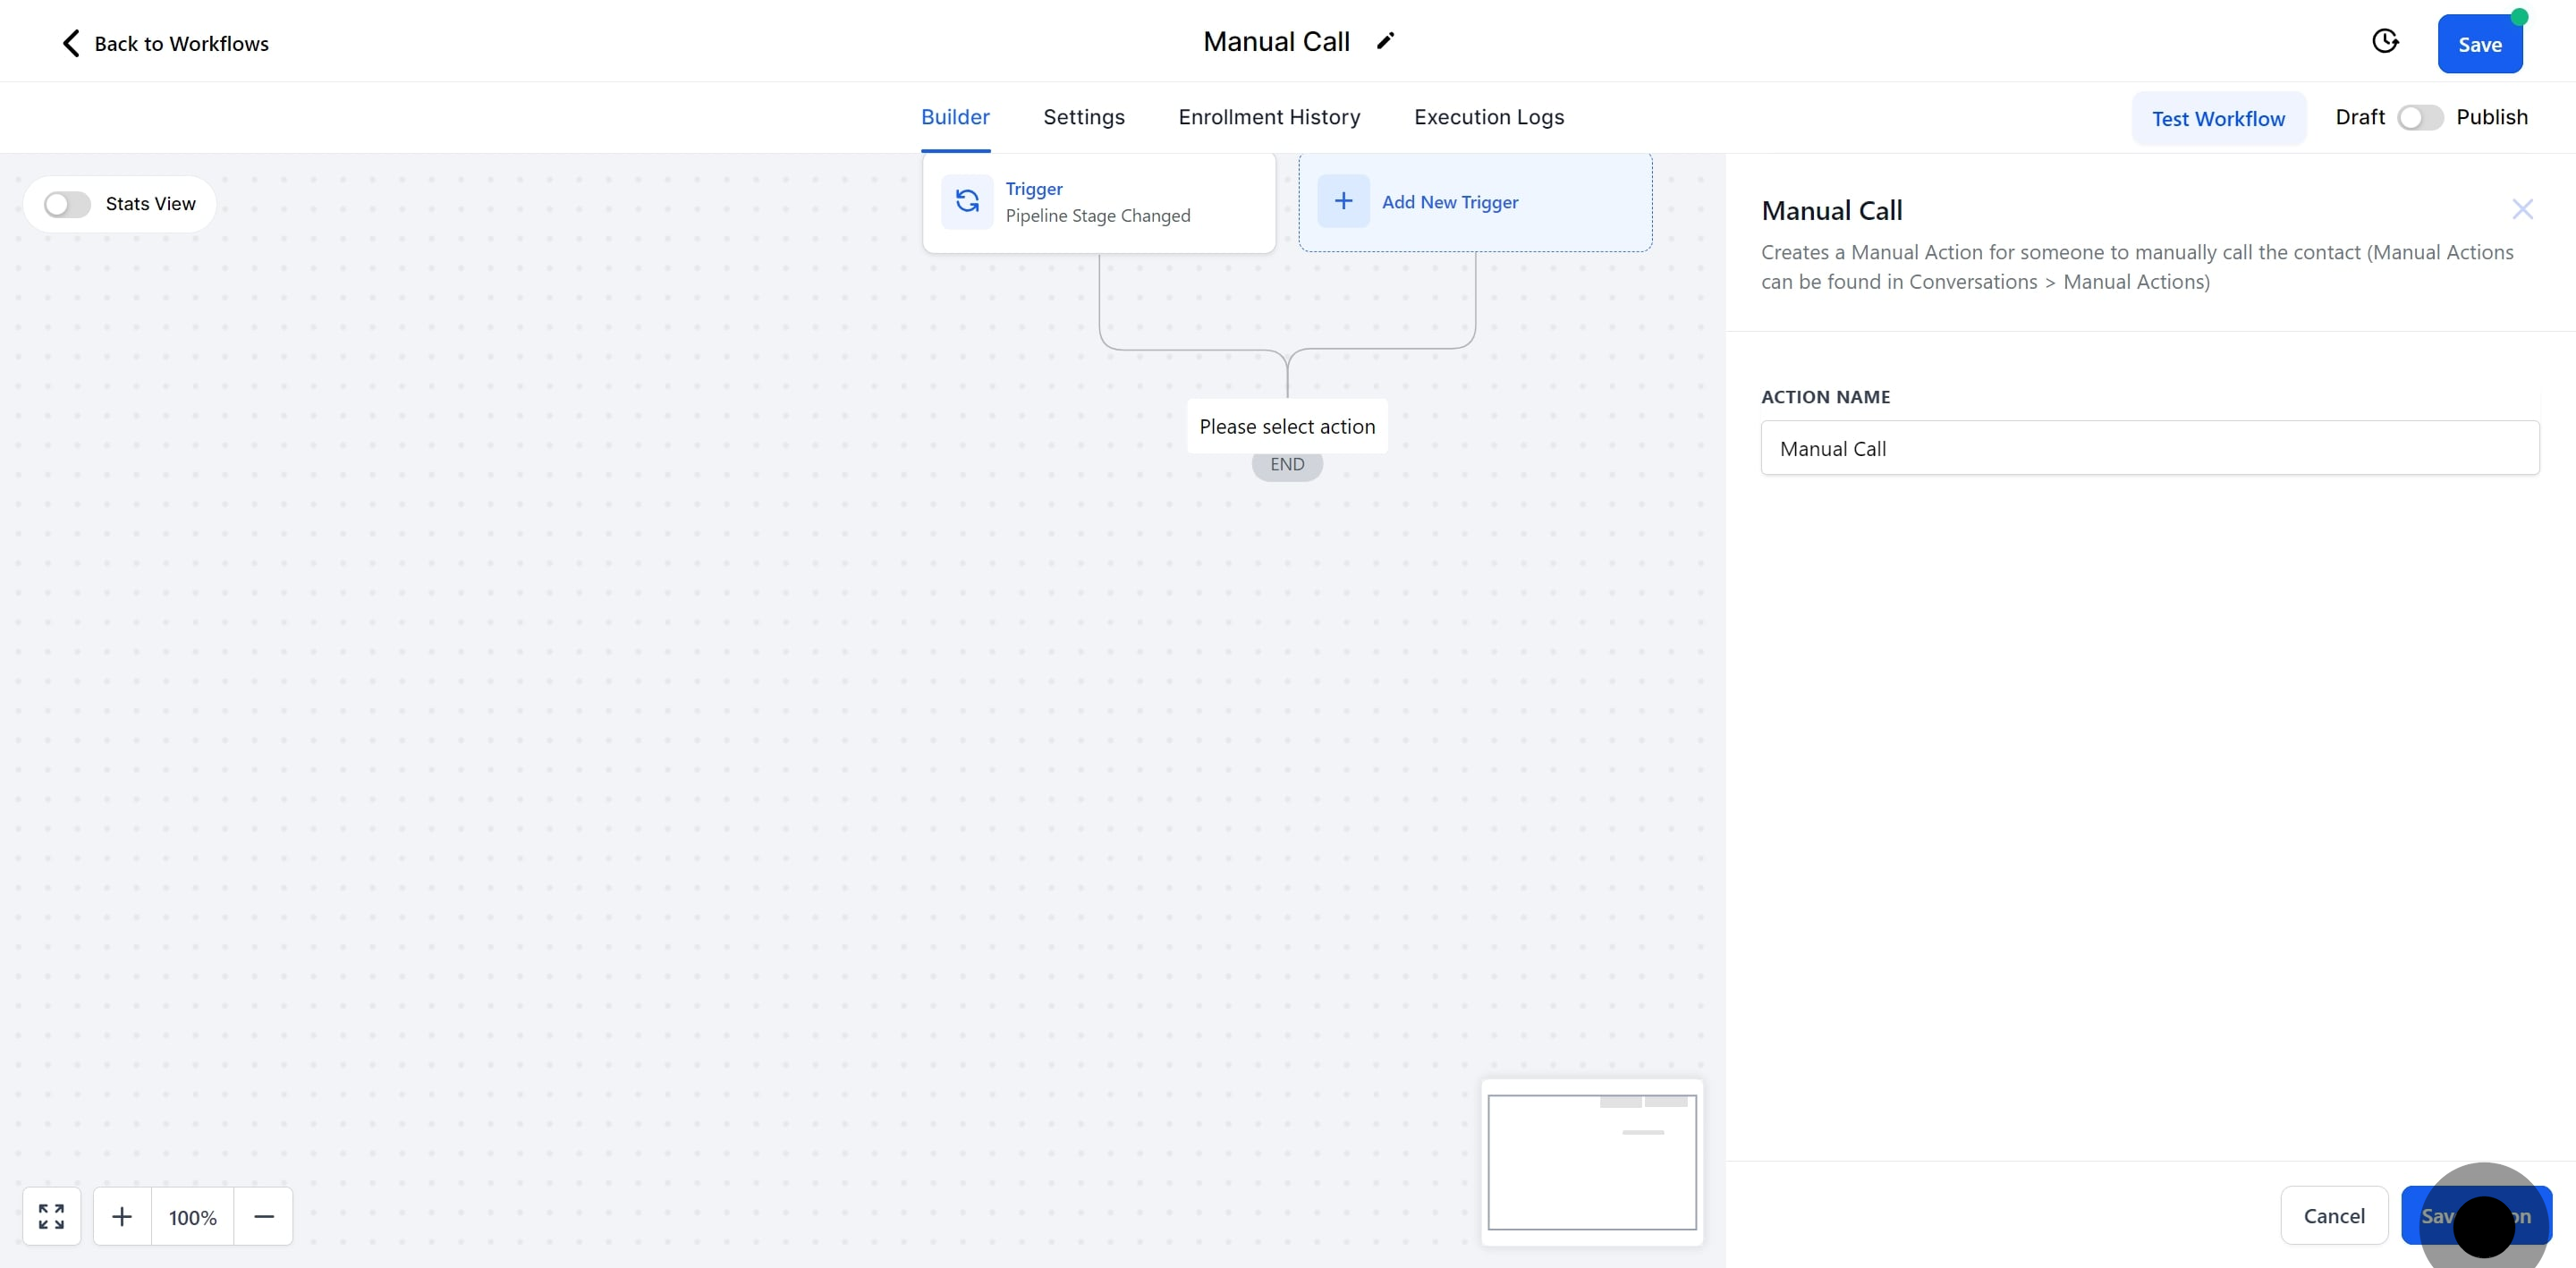
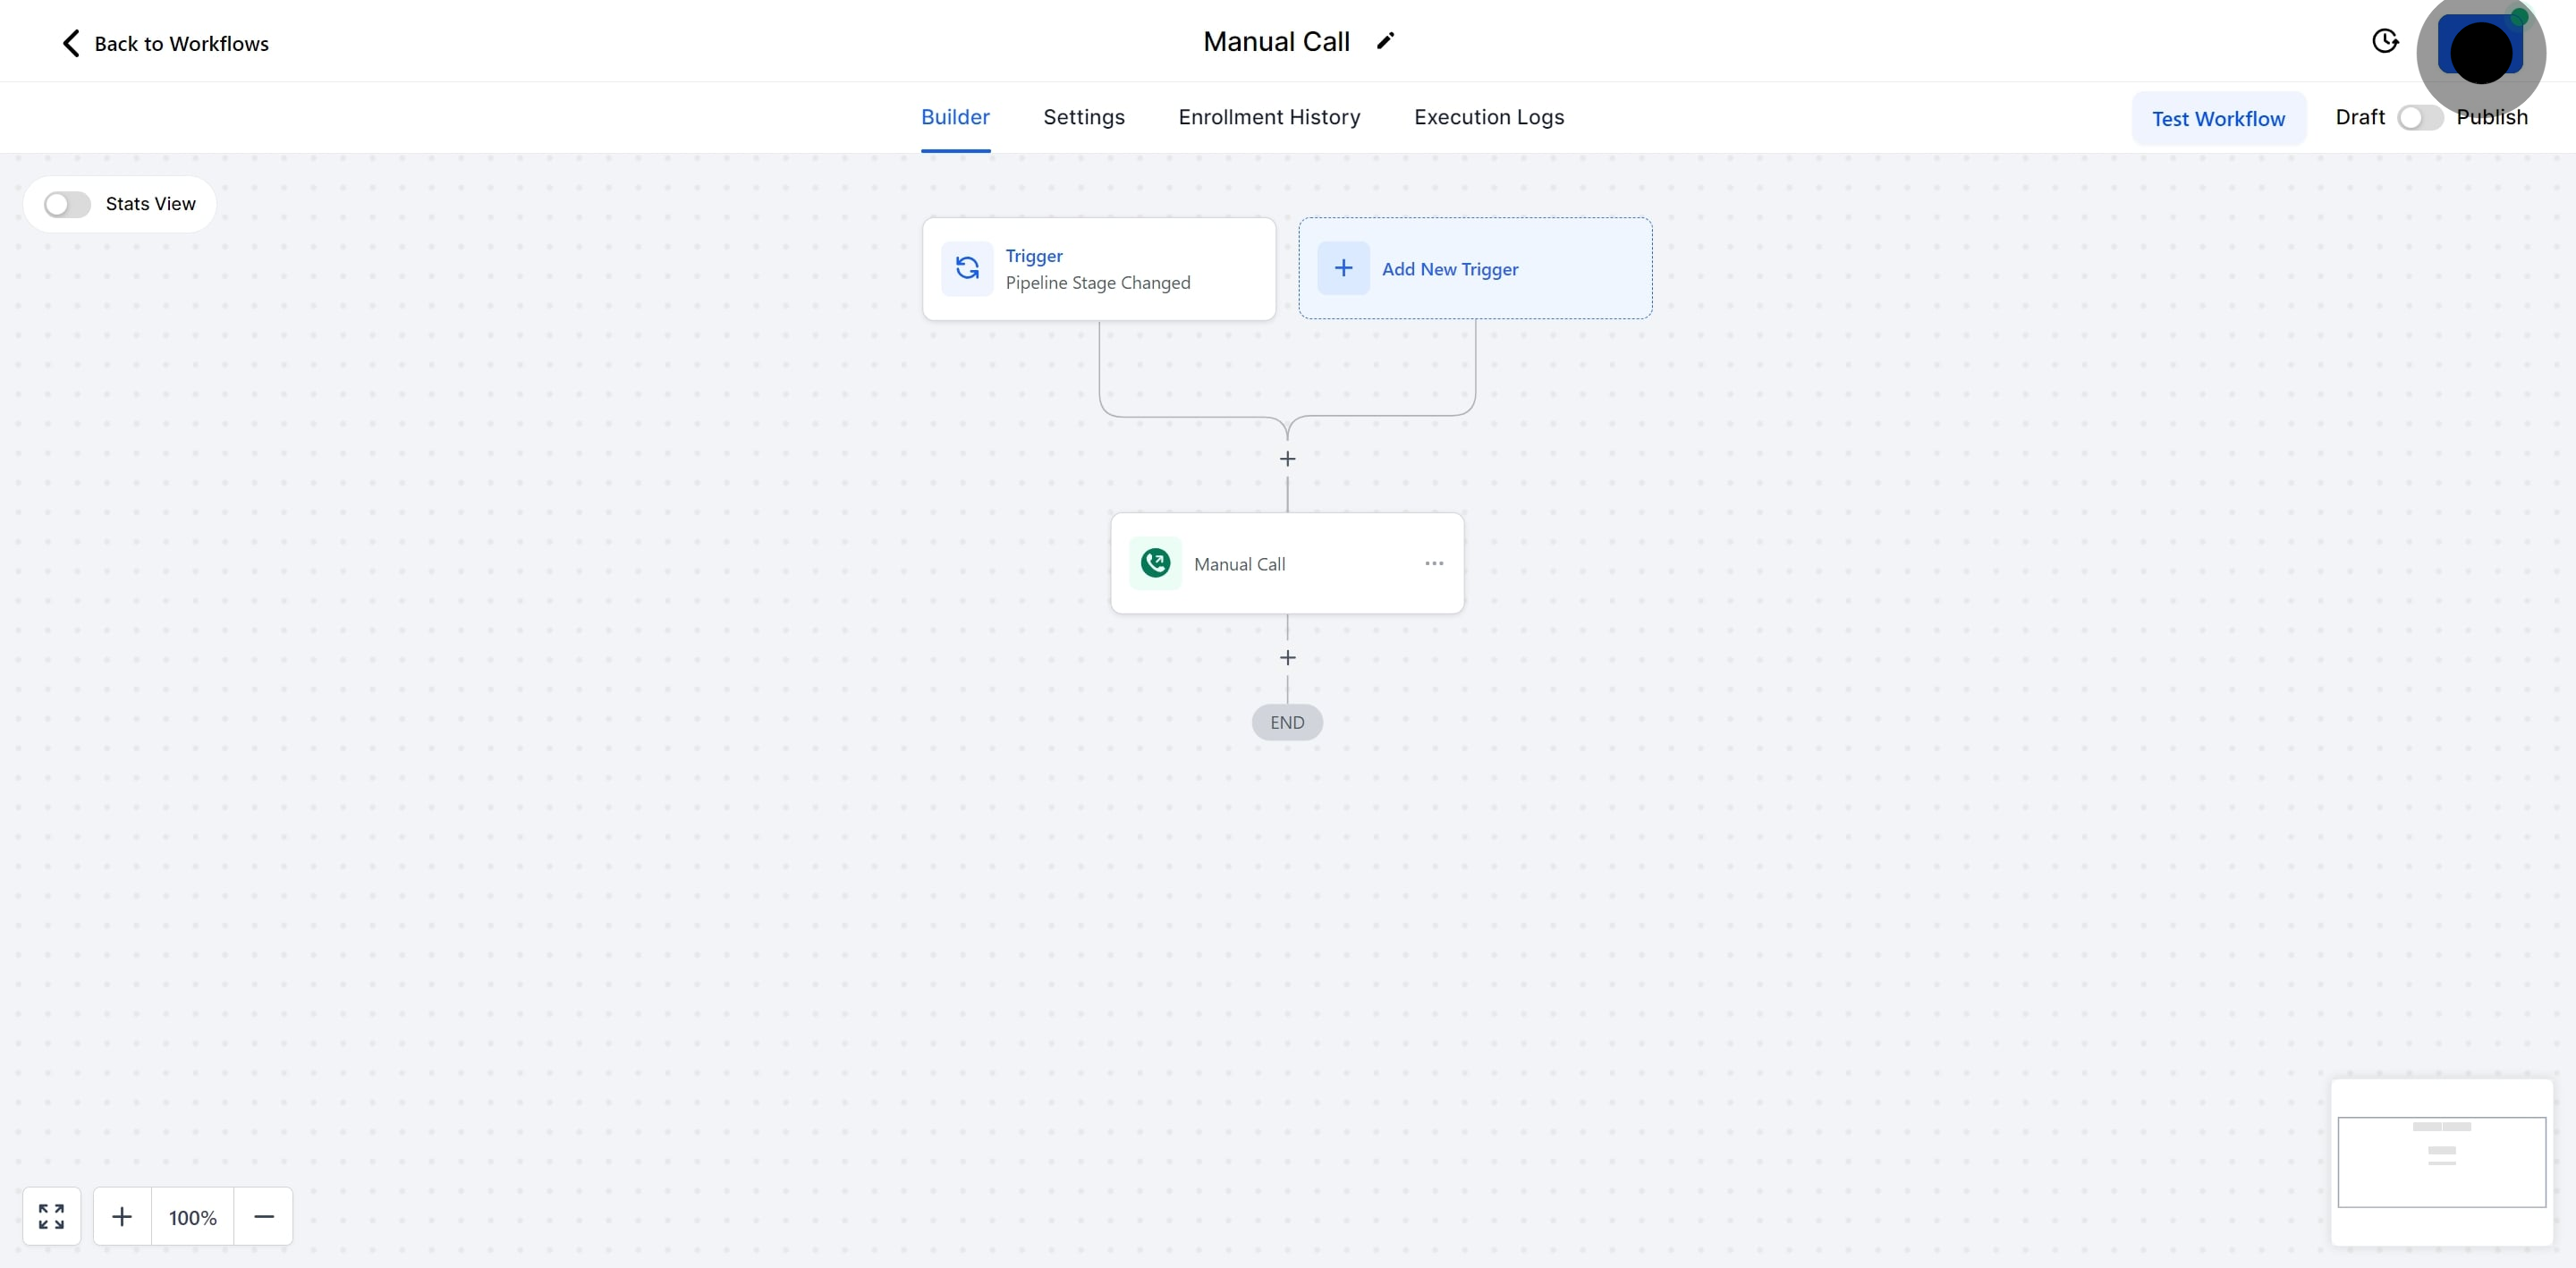
13. Choose 'Manual Call' as the detailed action for your workflow.
14. Save the action settings you just configured.
15. Finally, ensure all changes are saved by securing your workflow setup.
Did this answer your question?
😞
😐
😁
How to Add a Manual Call Action to Your CRM | Pest AI