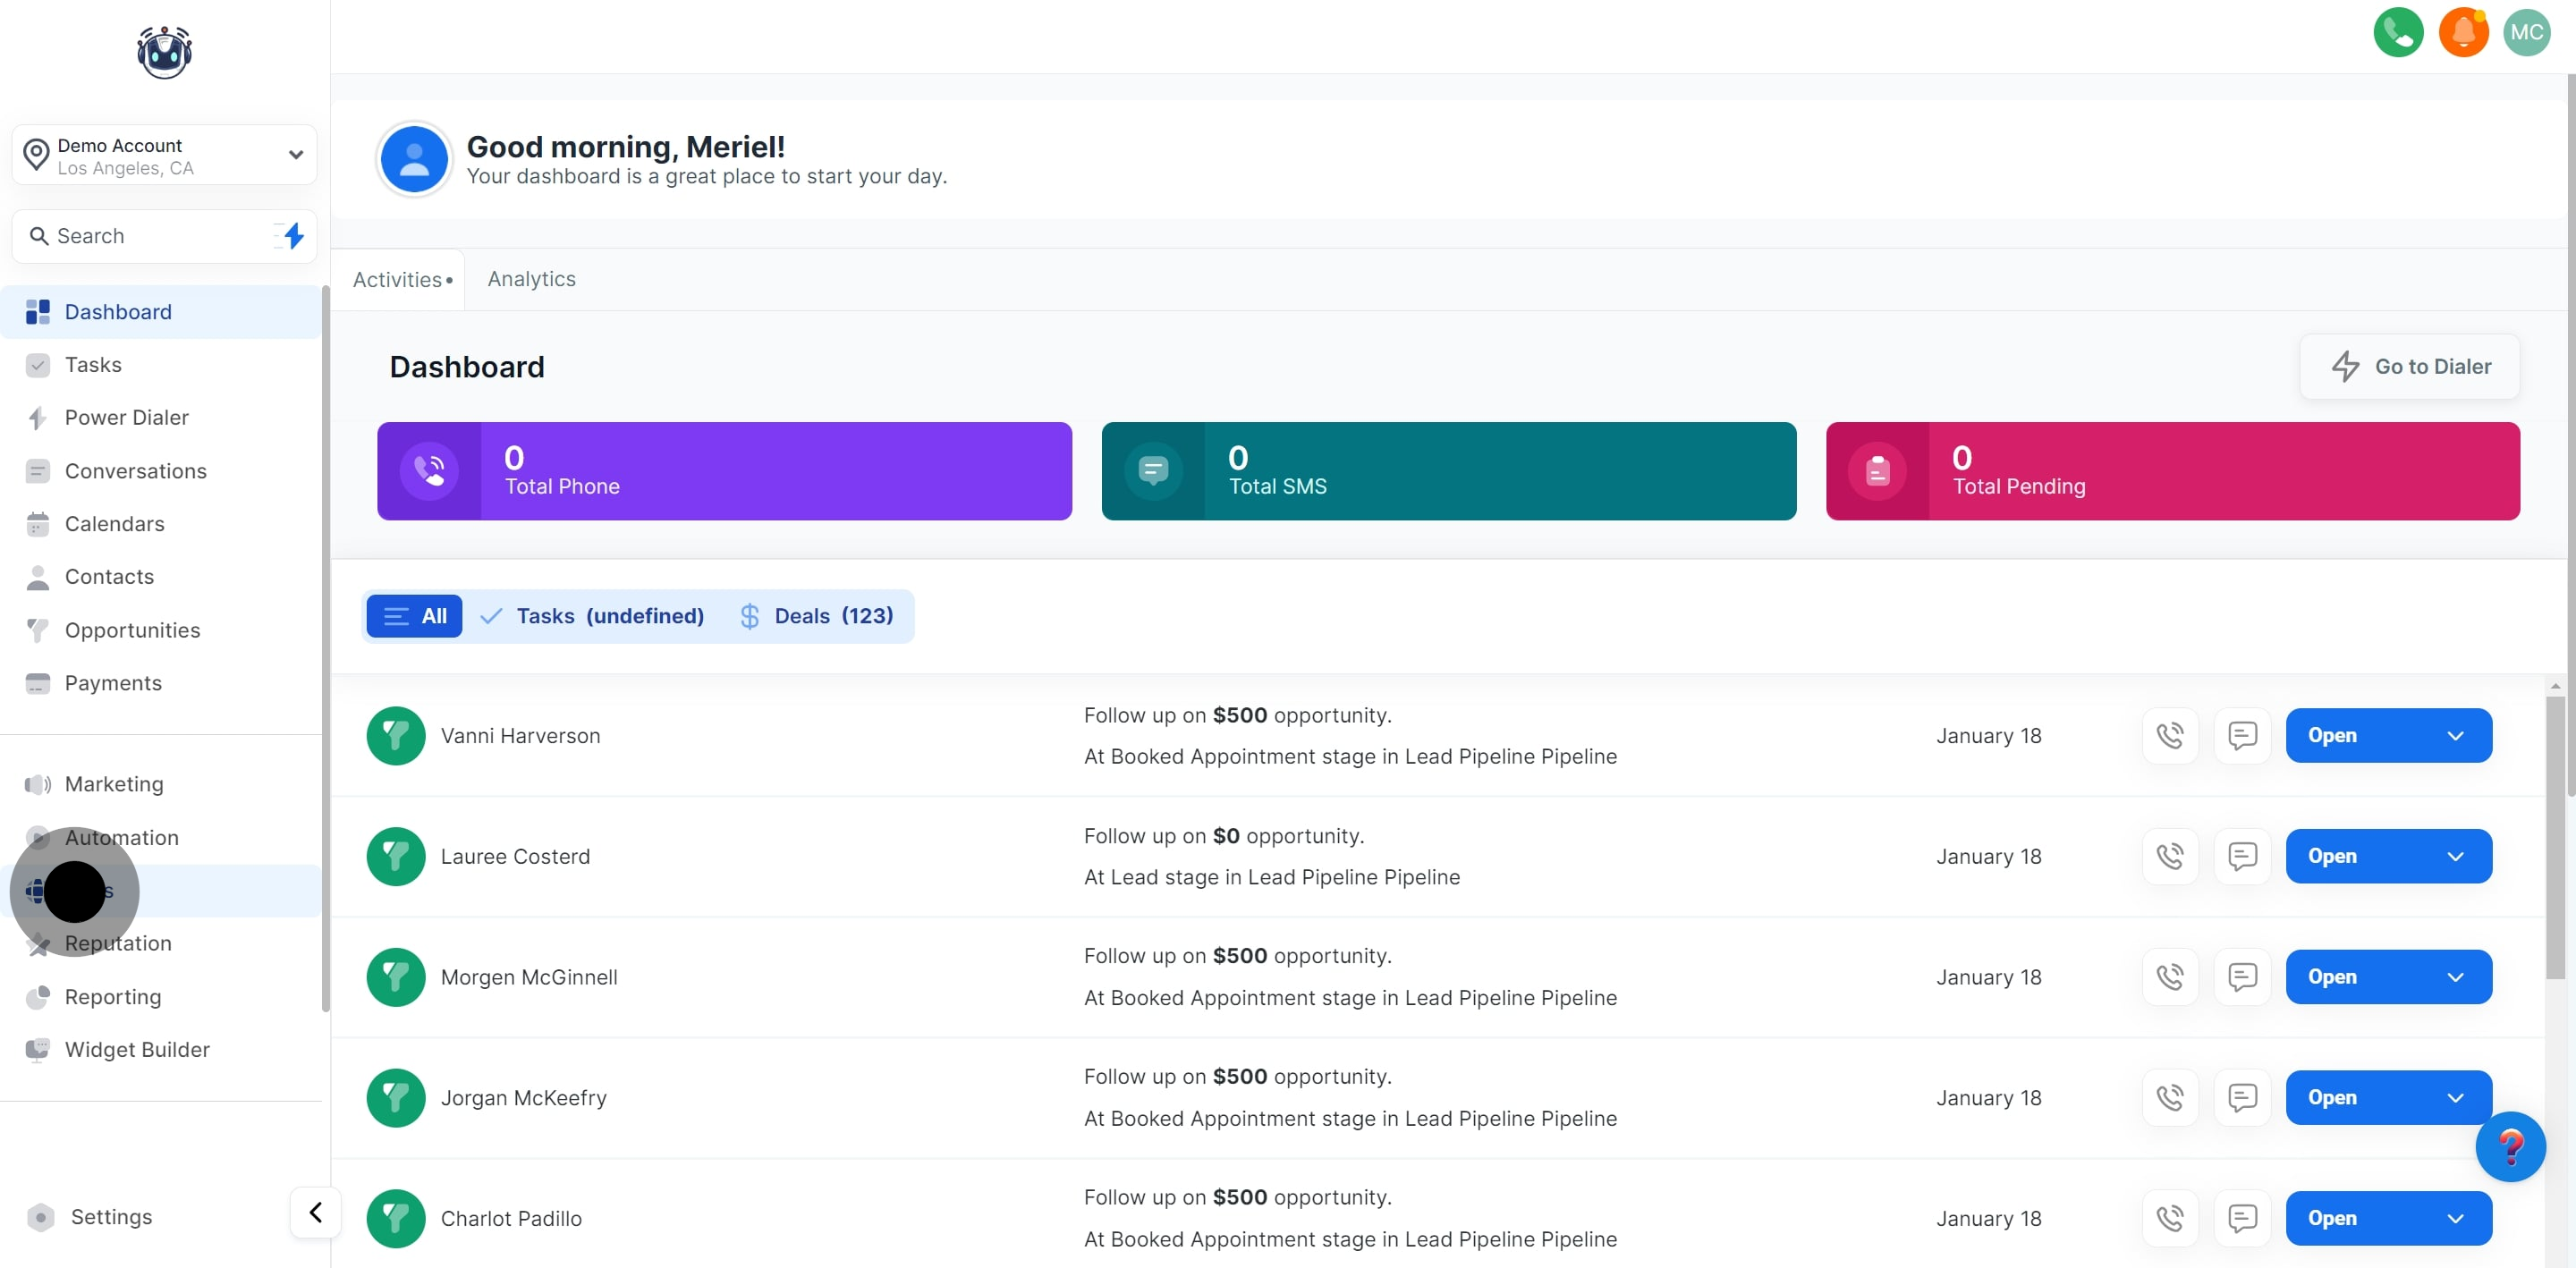
1. Start by selecting 'Sites' from the main menu.
2. Next, navigate to 'Funnels'.
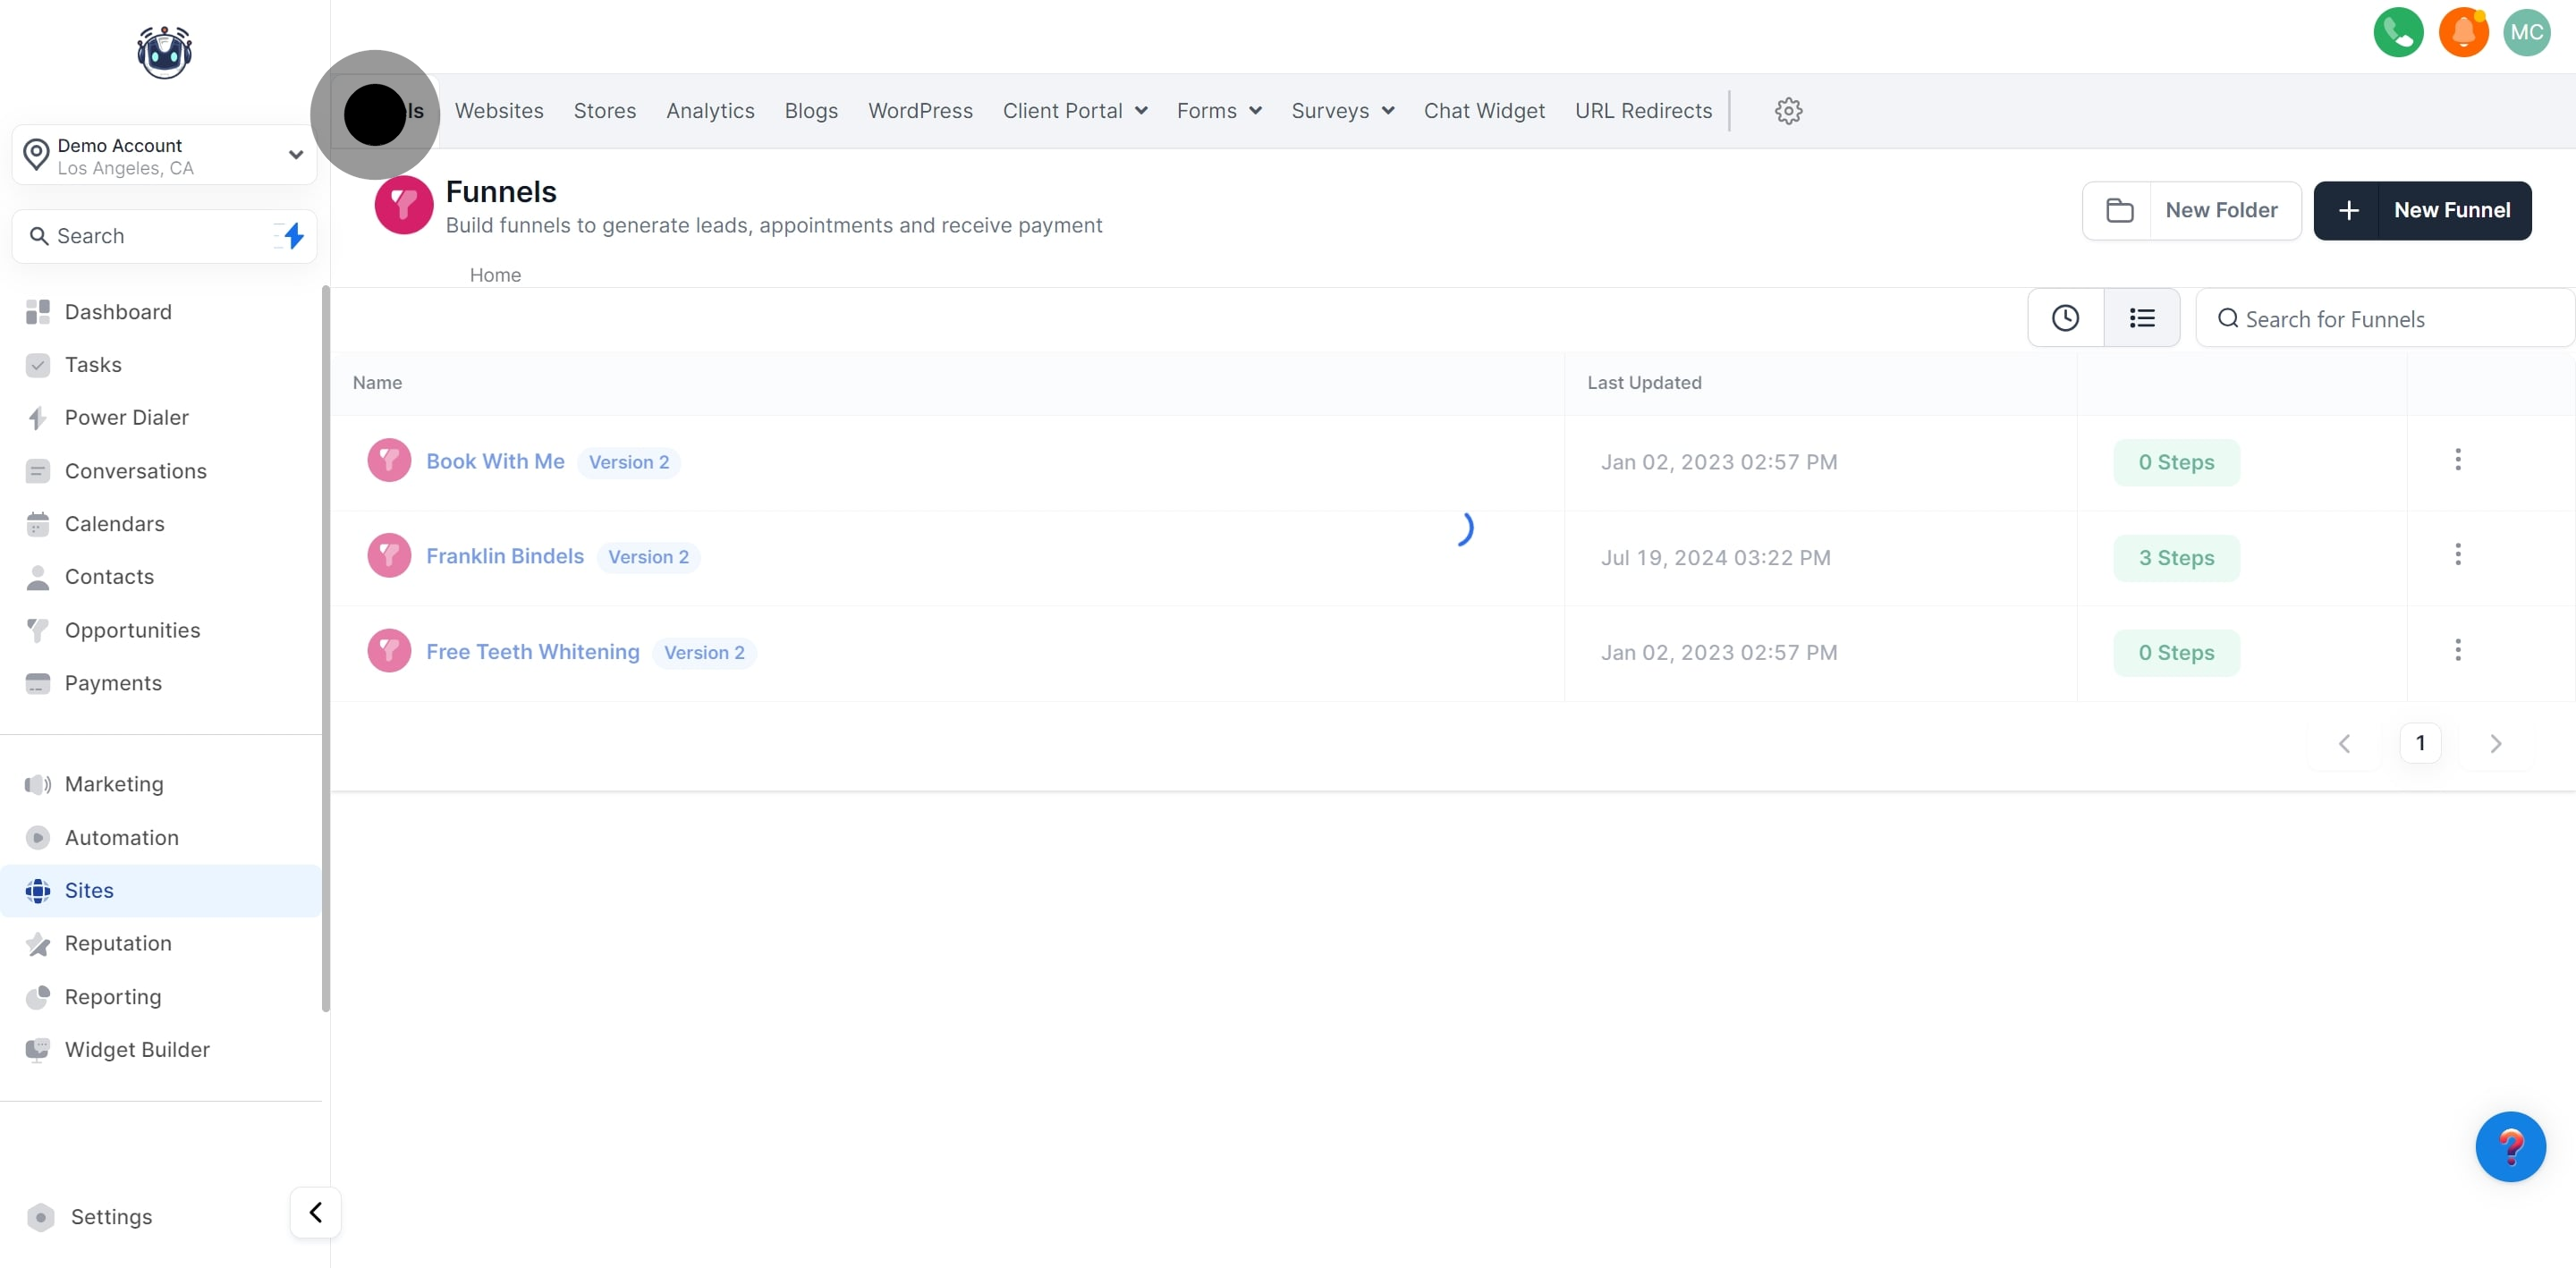
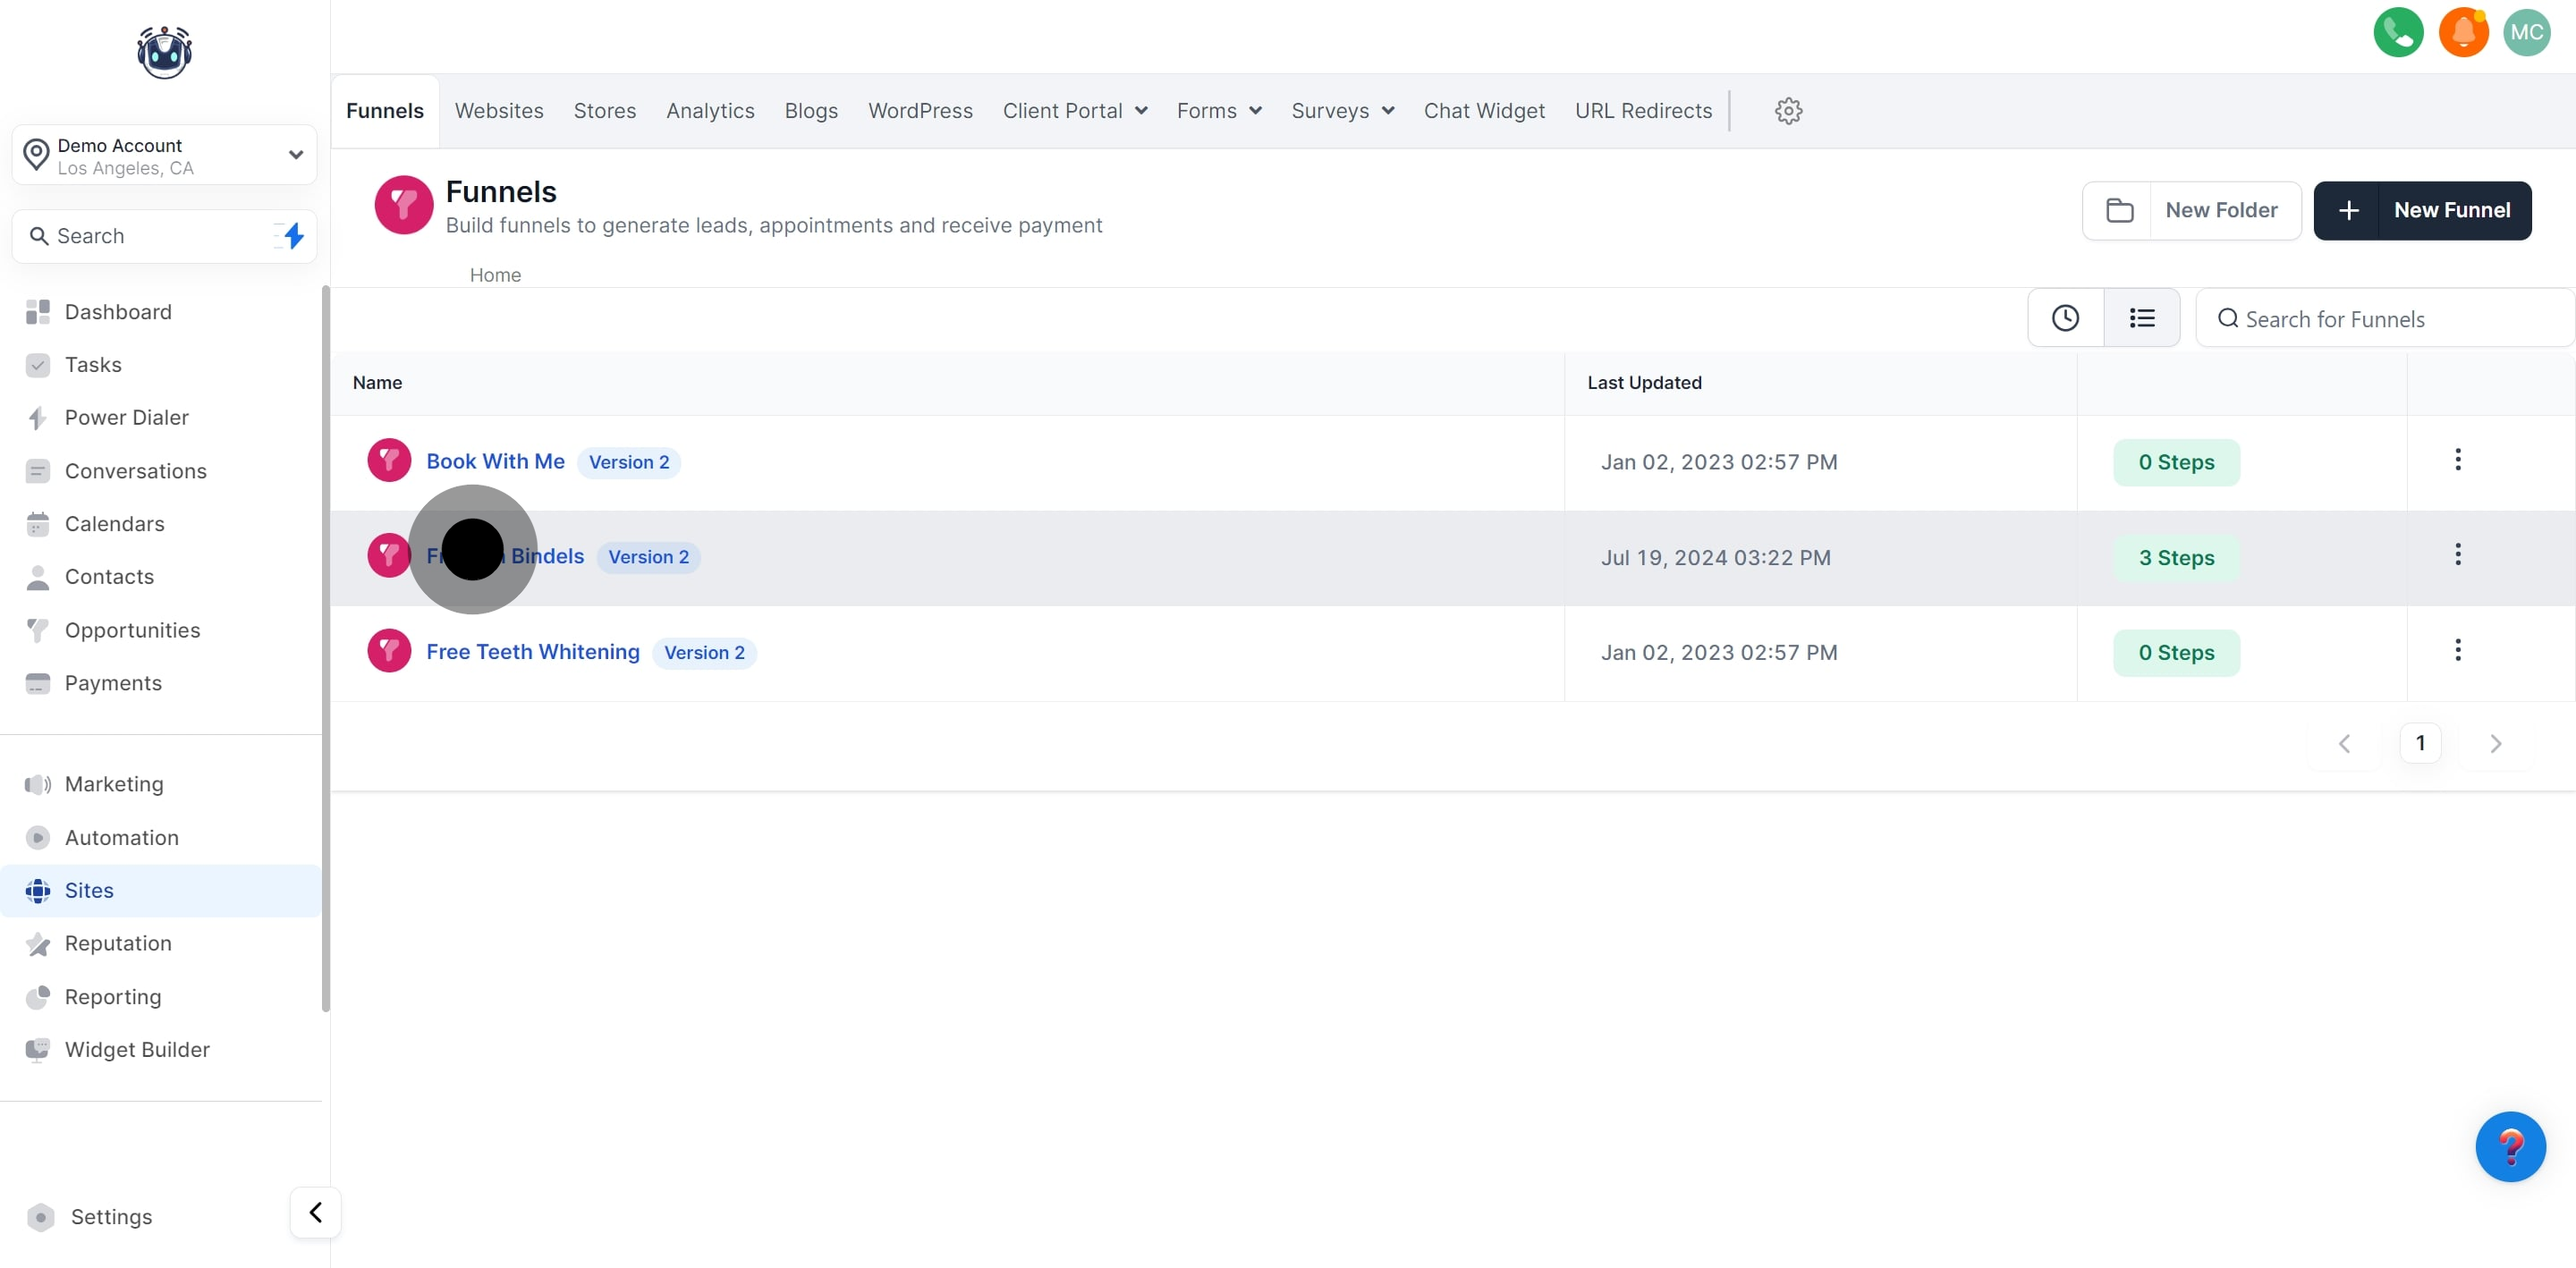
3. Then, choose the specific funnel you want to modify.
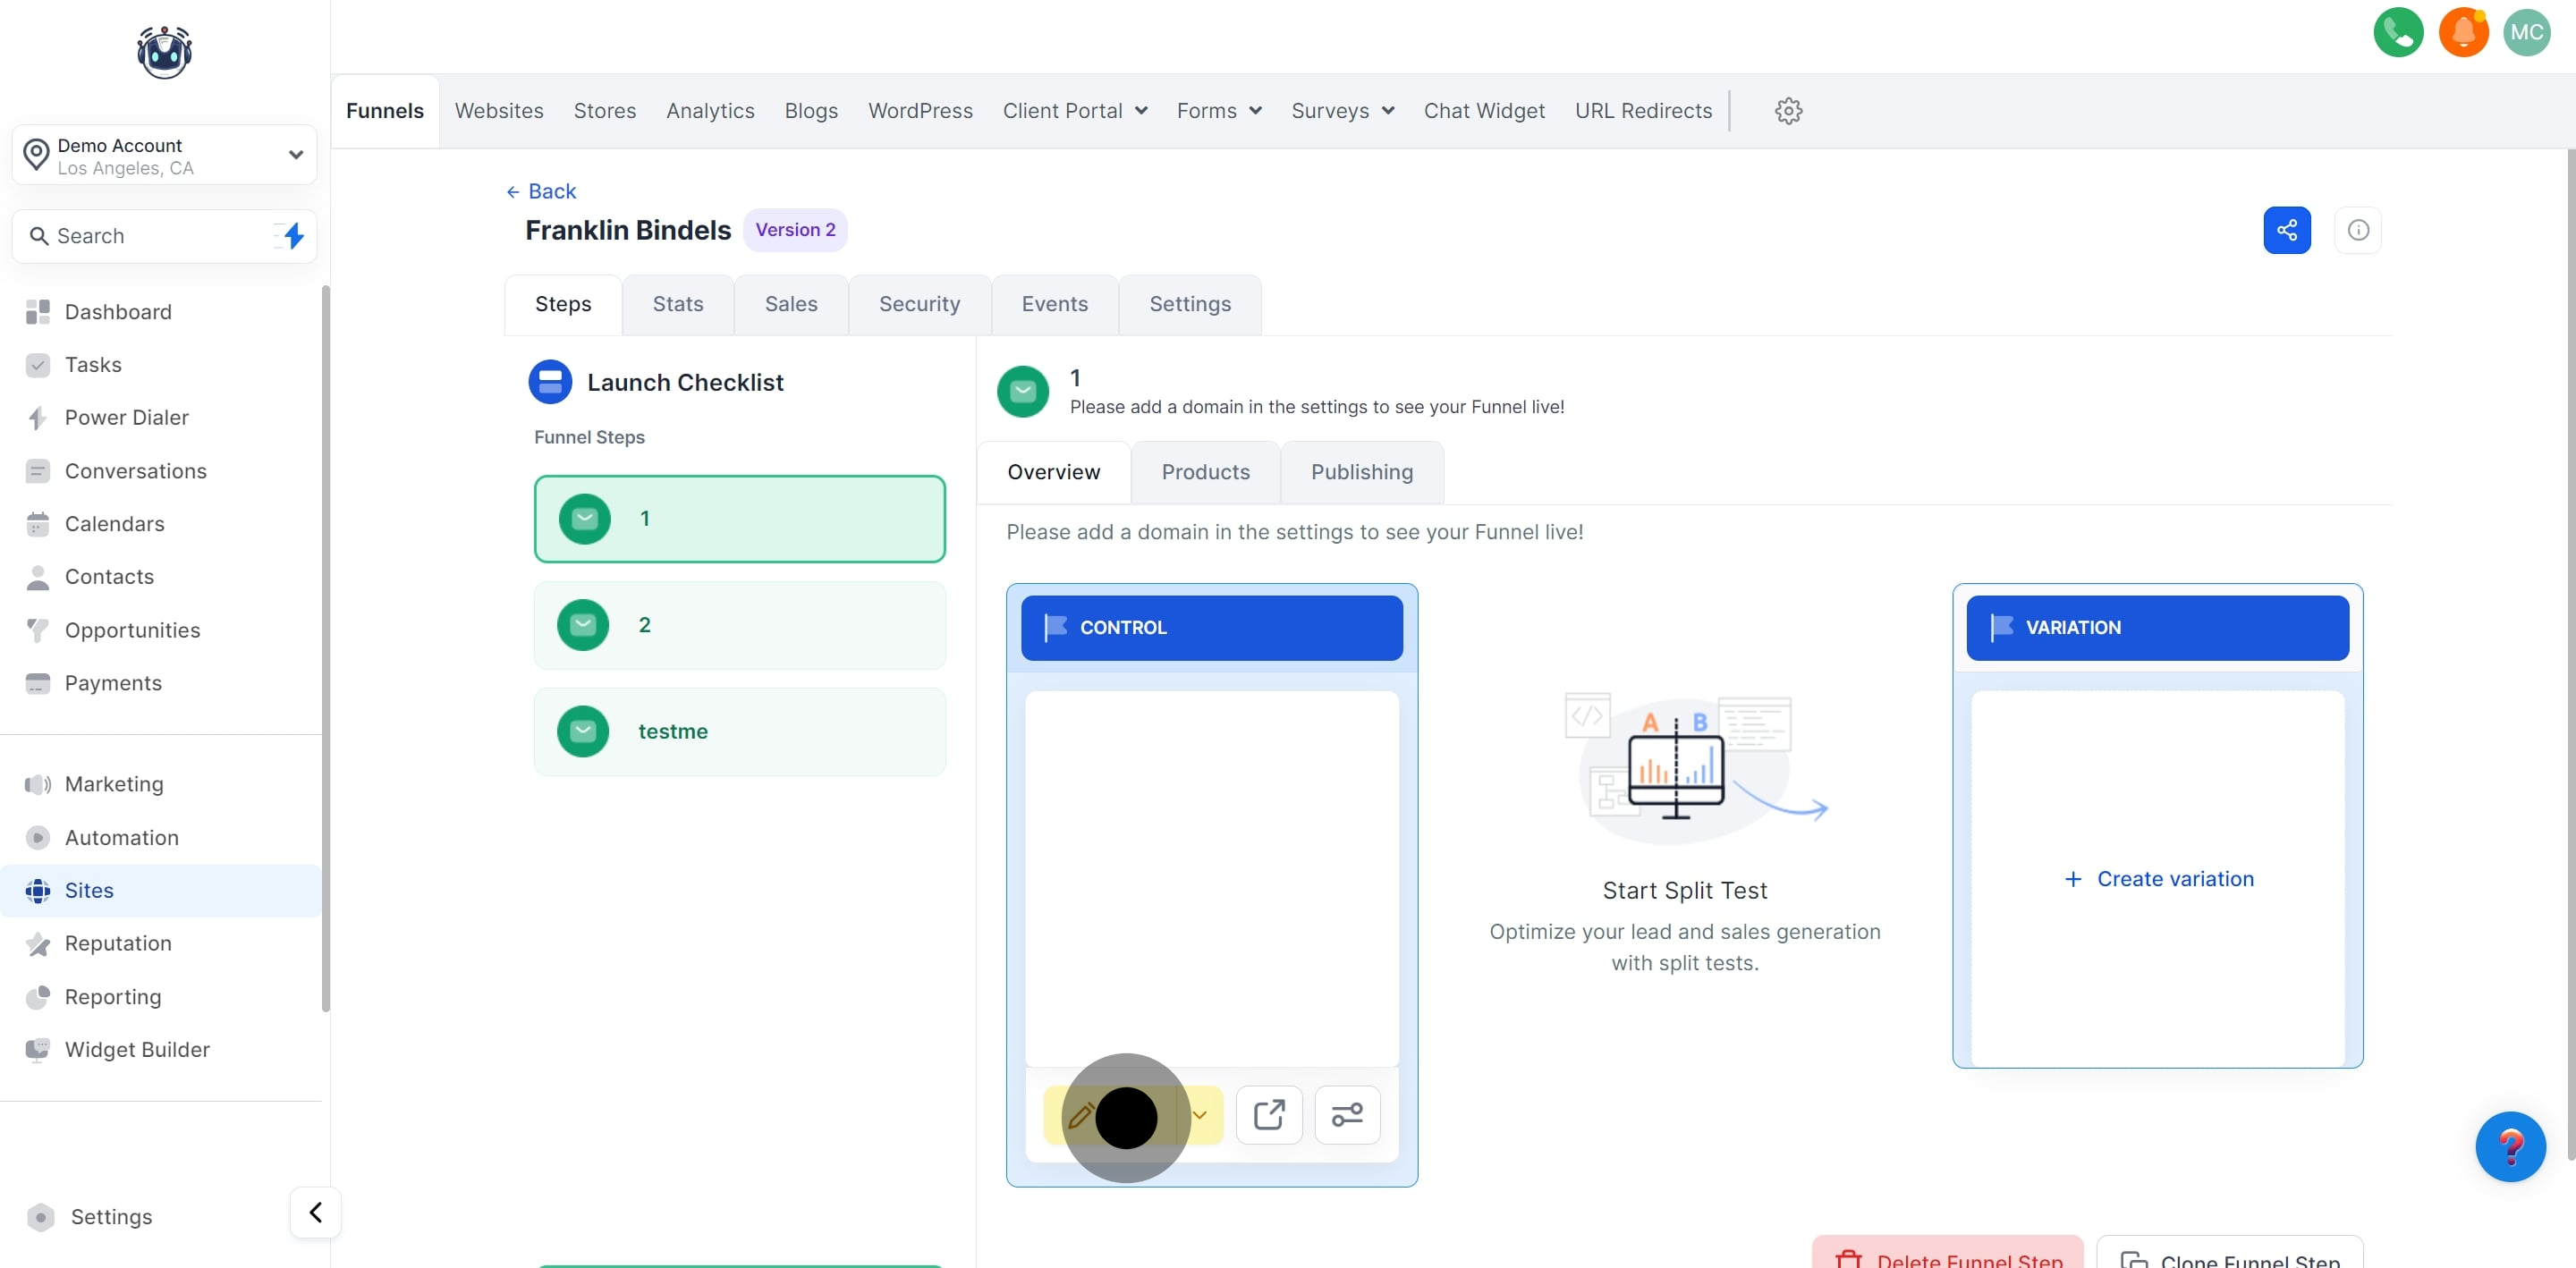
4. Click 'Edit' to begin customizing.
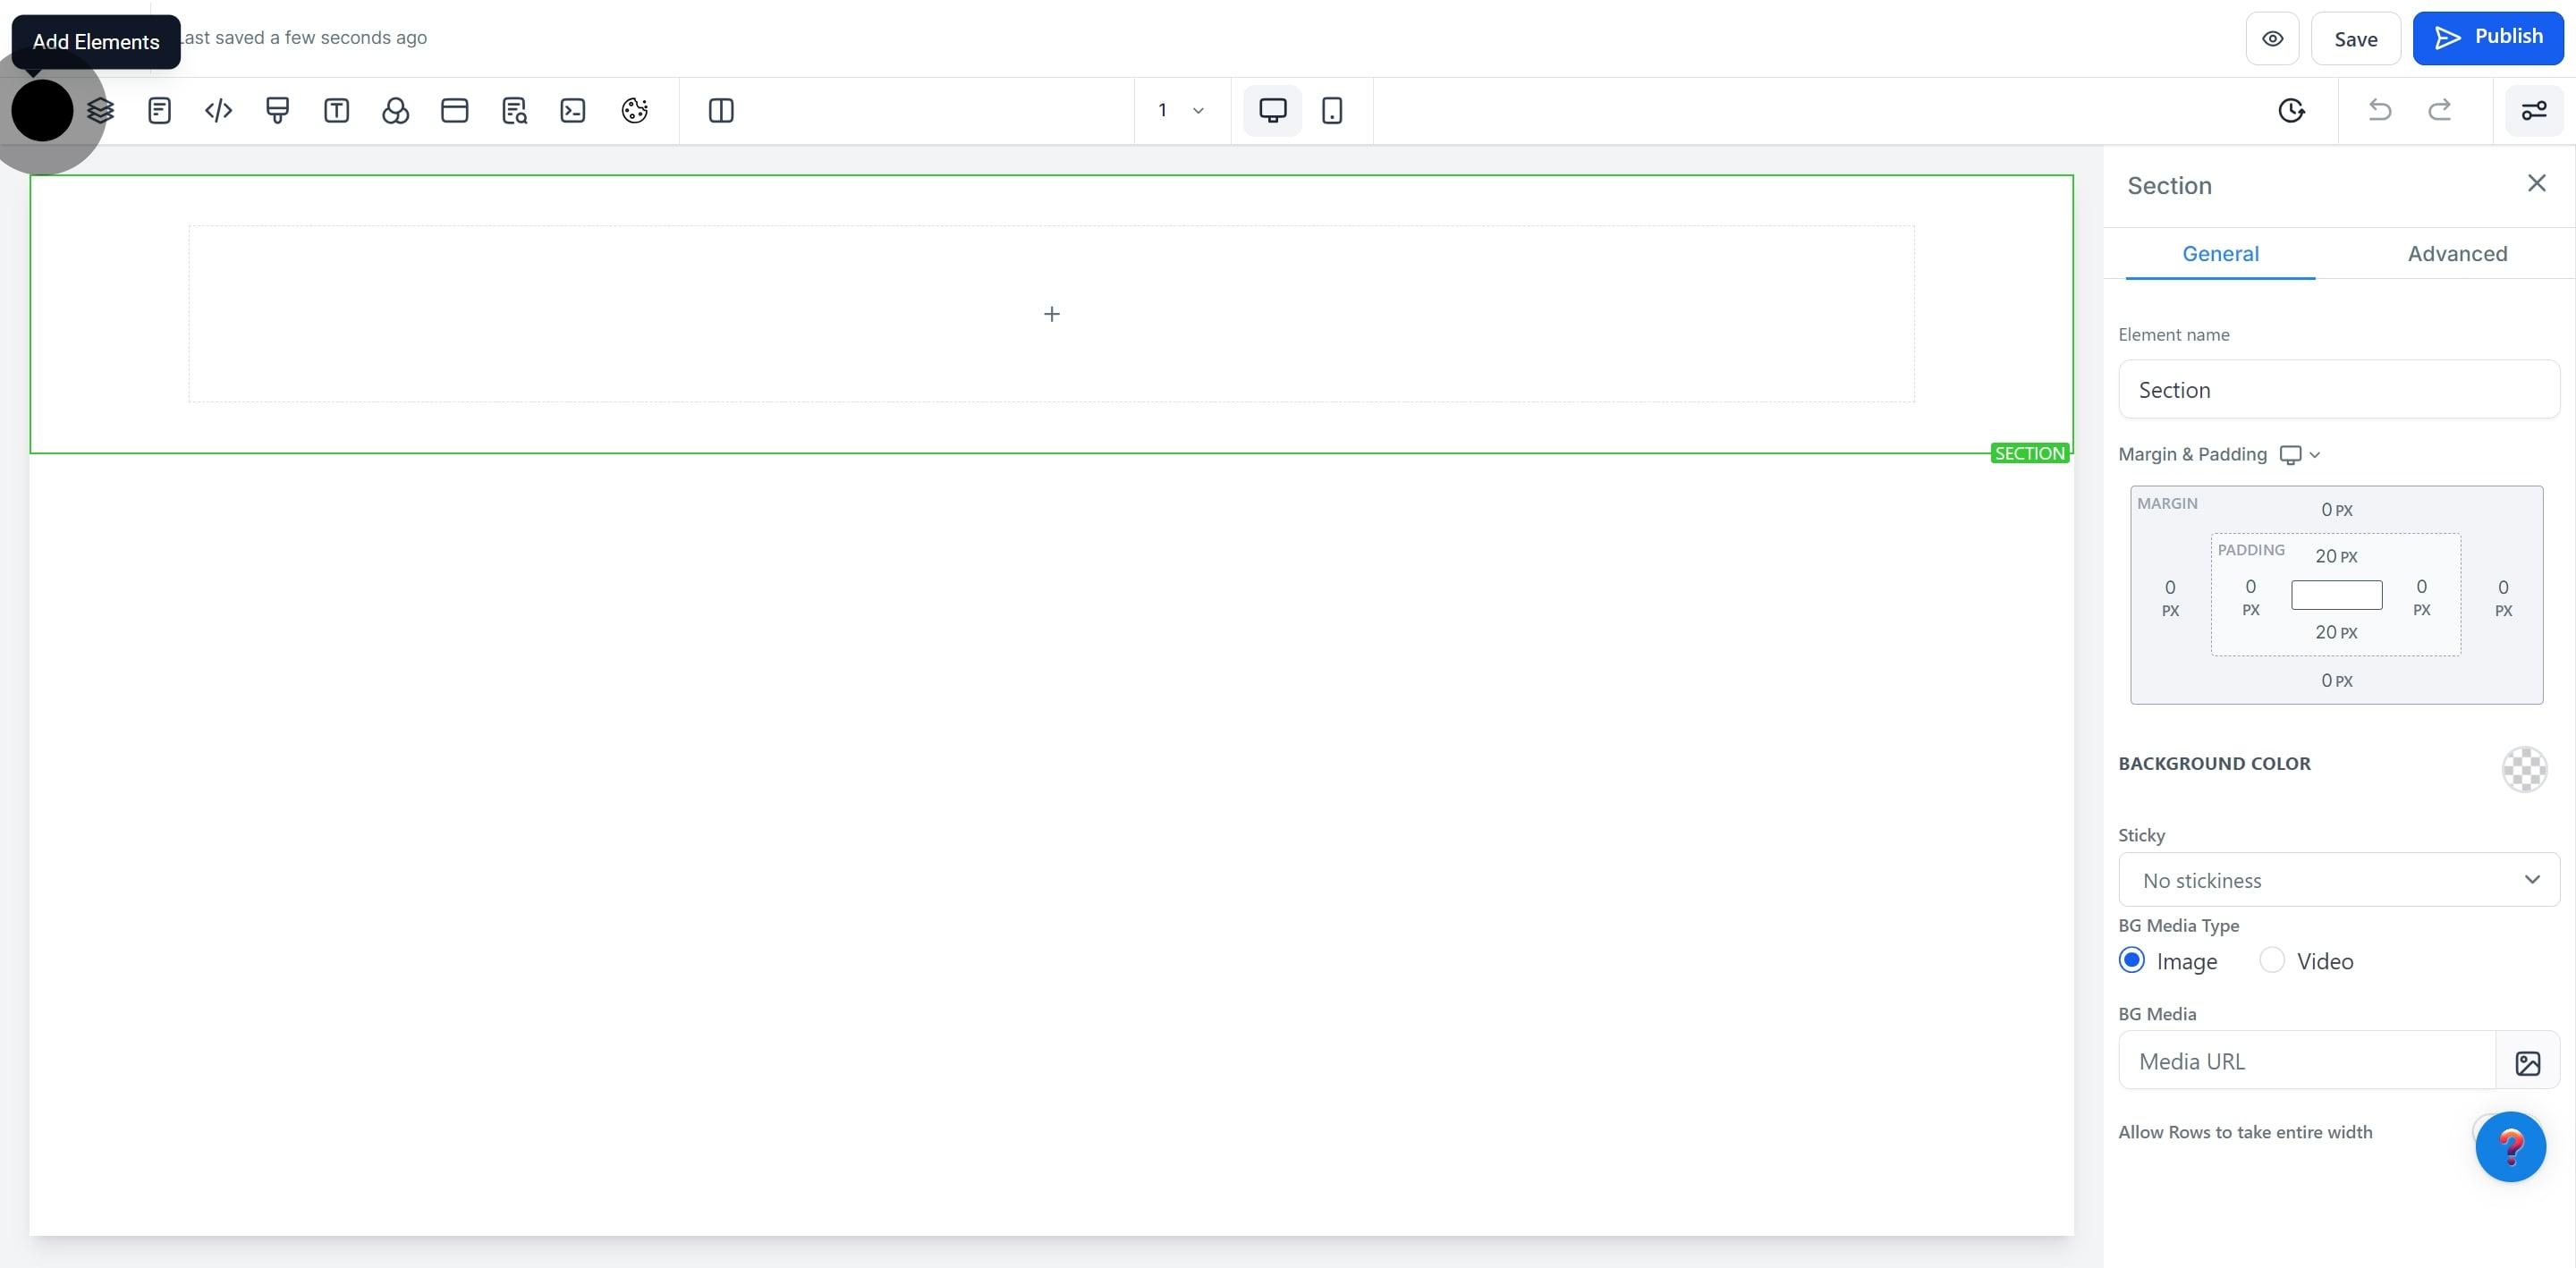
5. Look for the 'Add Elements' button to proceed.
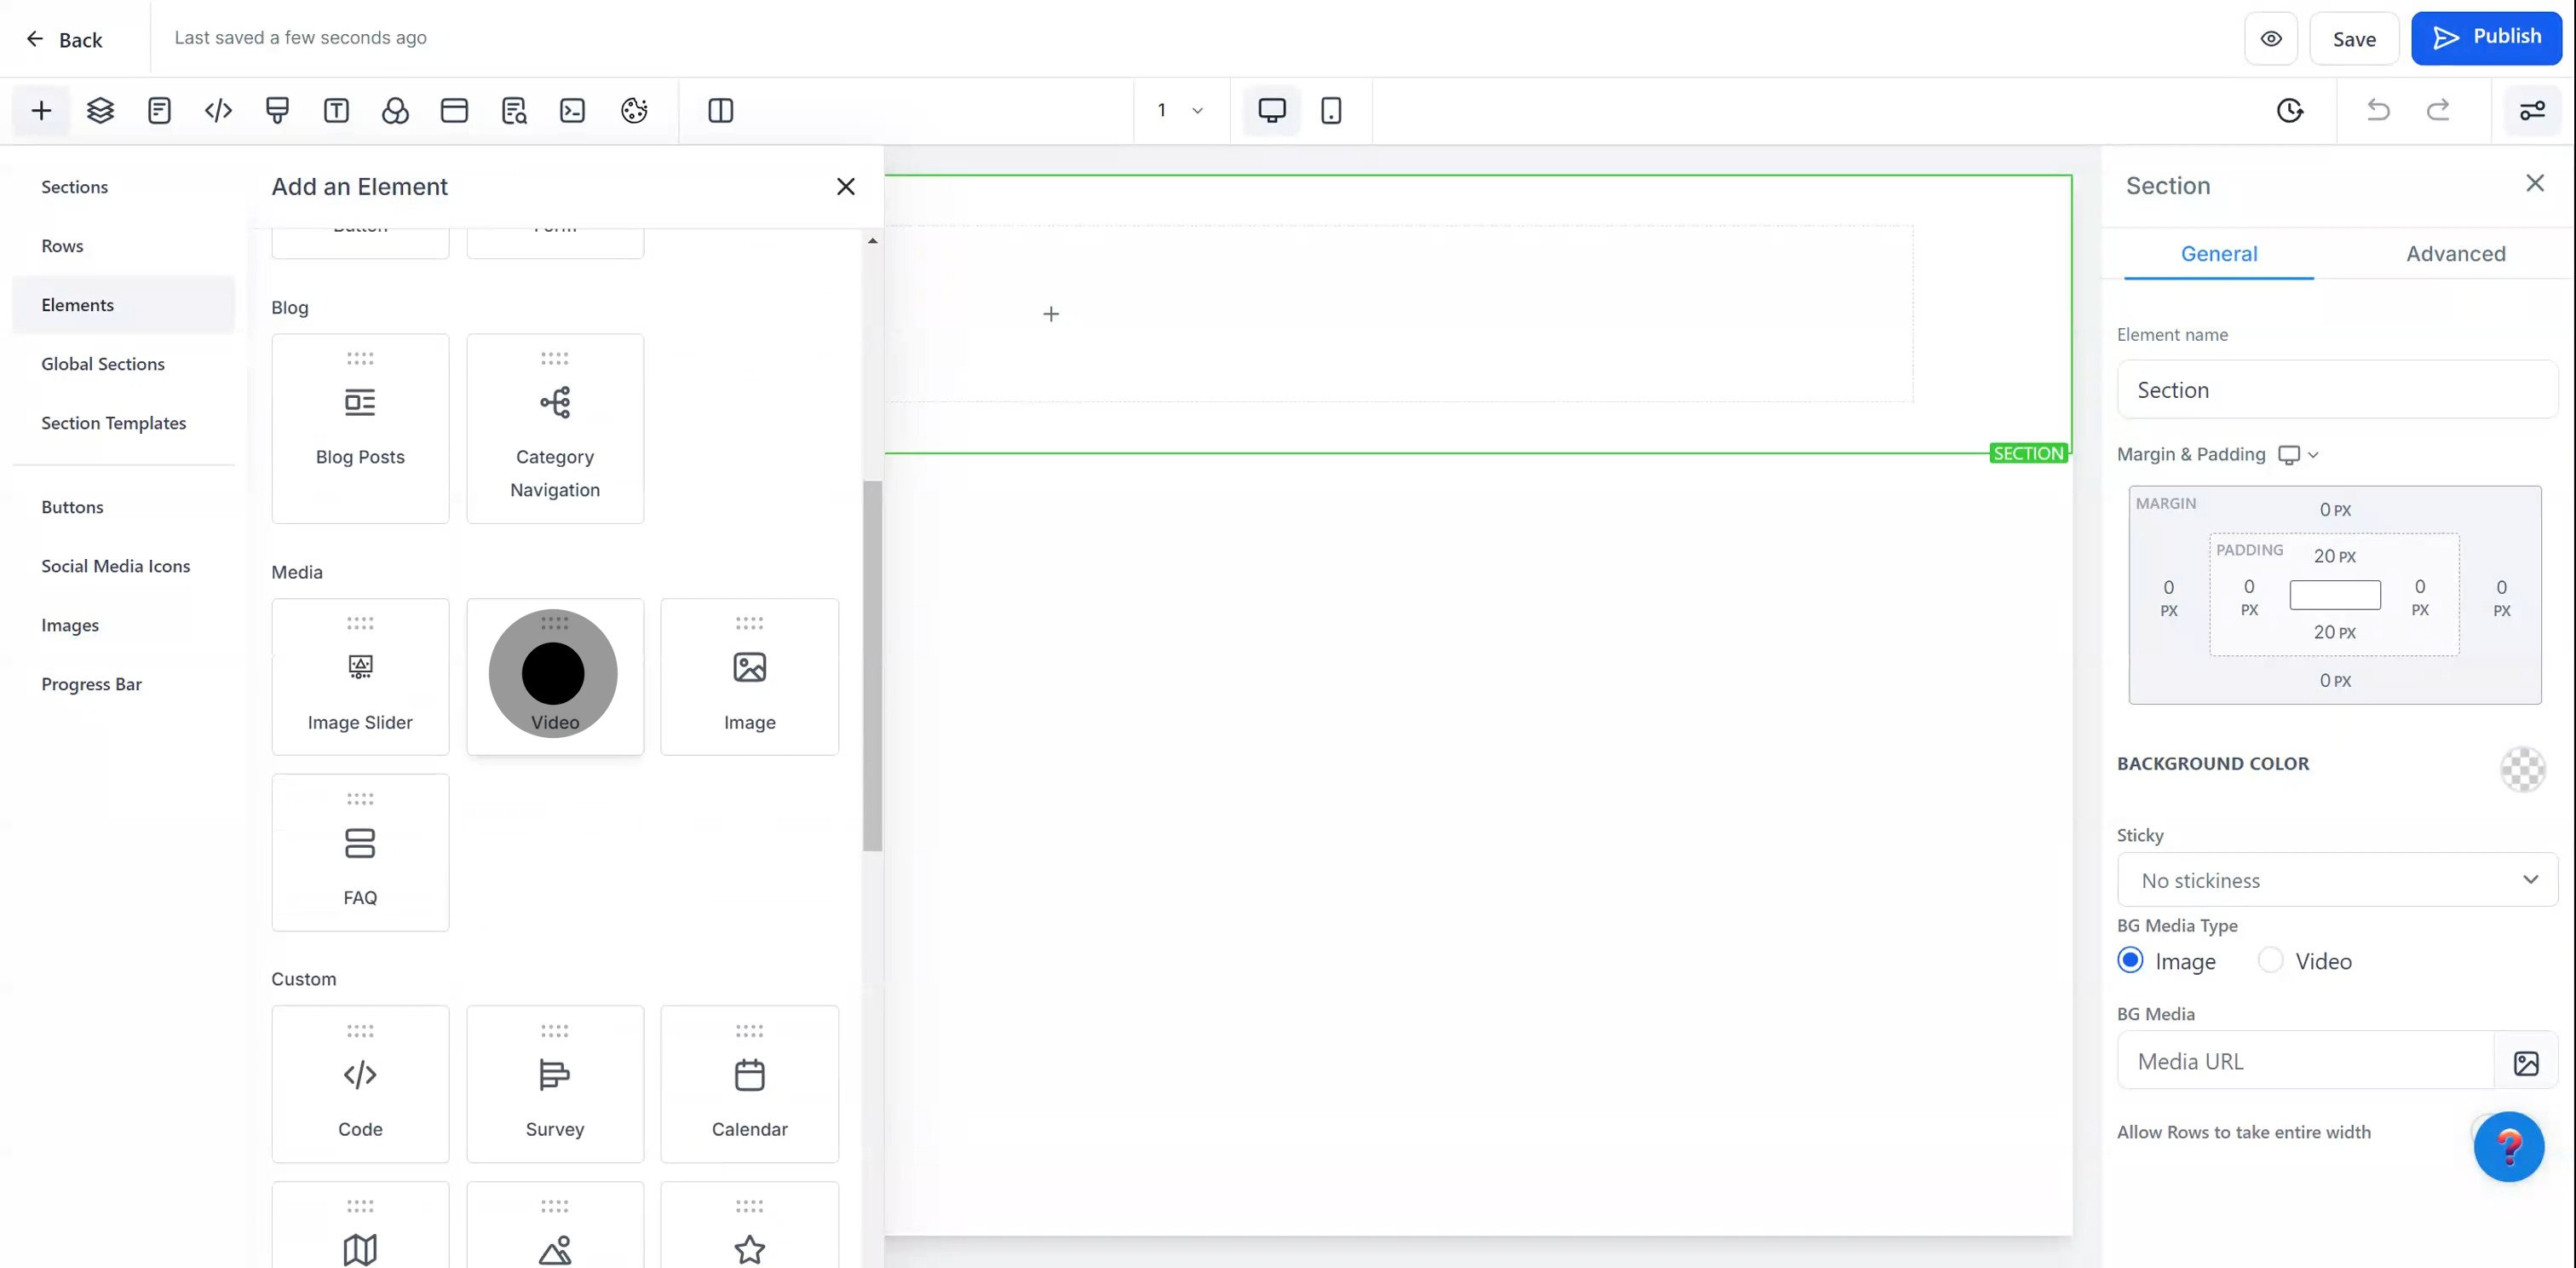
6. Now, drag and drop the video element into place.
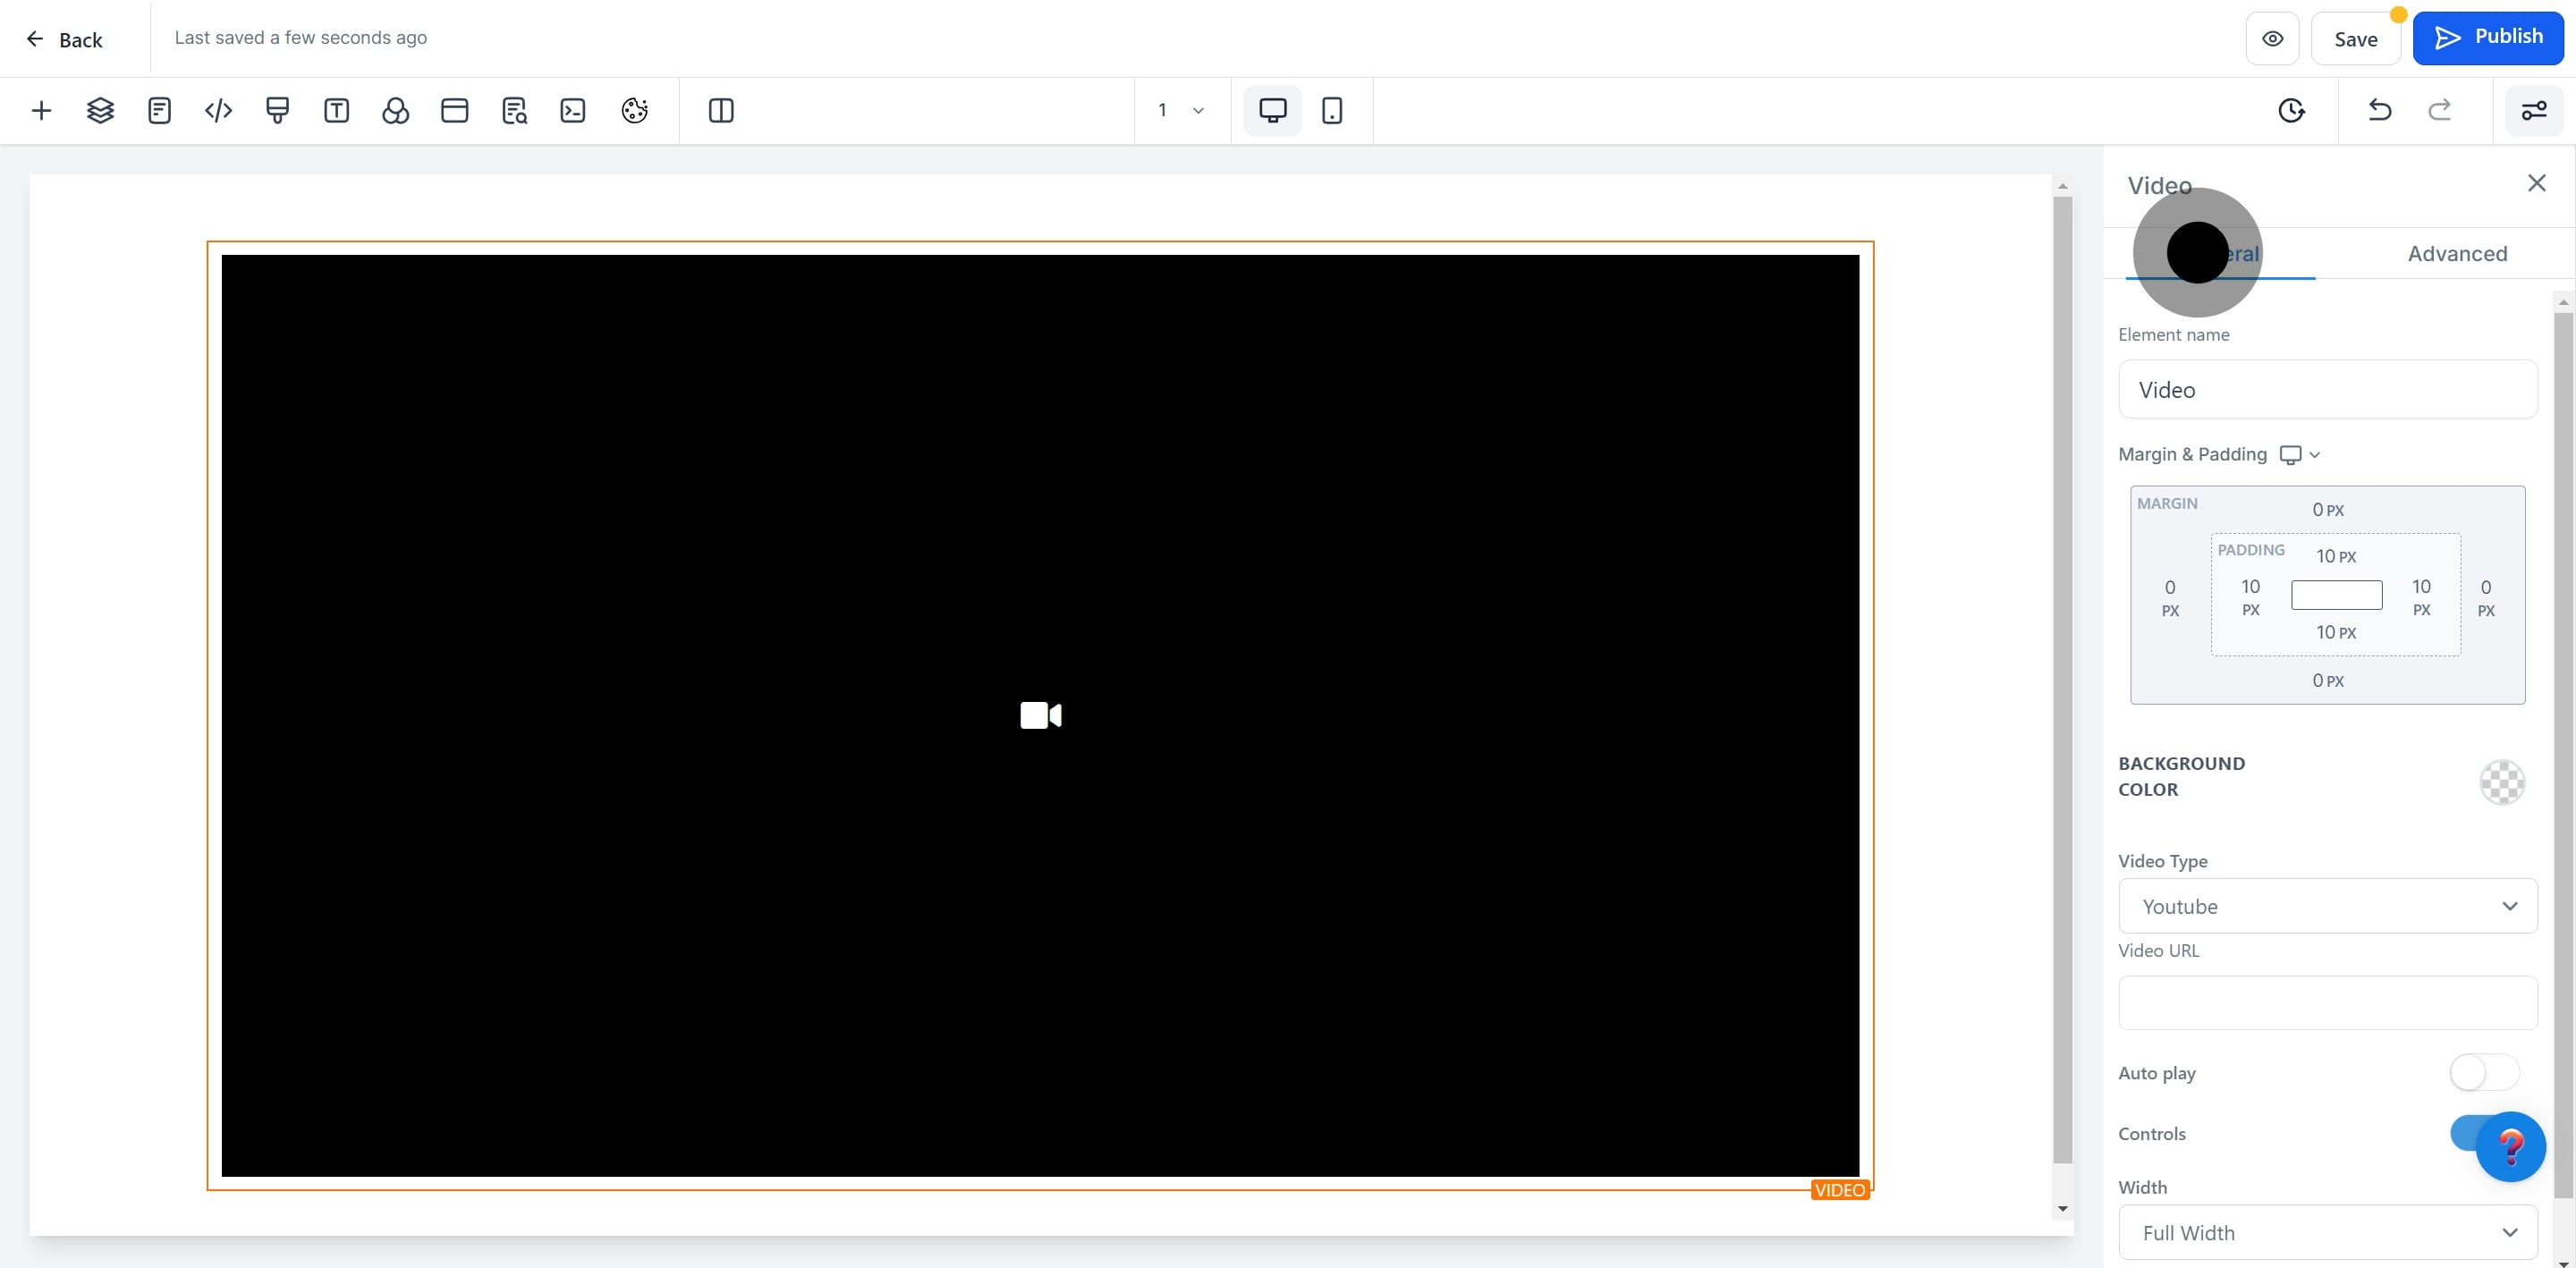
7. Select 'General' to access basic settings.
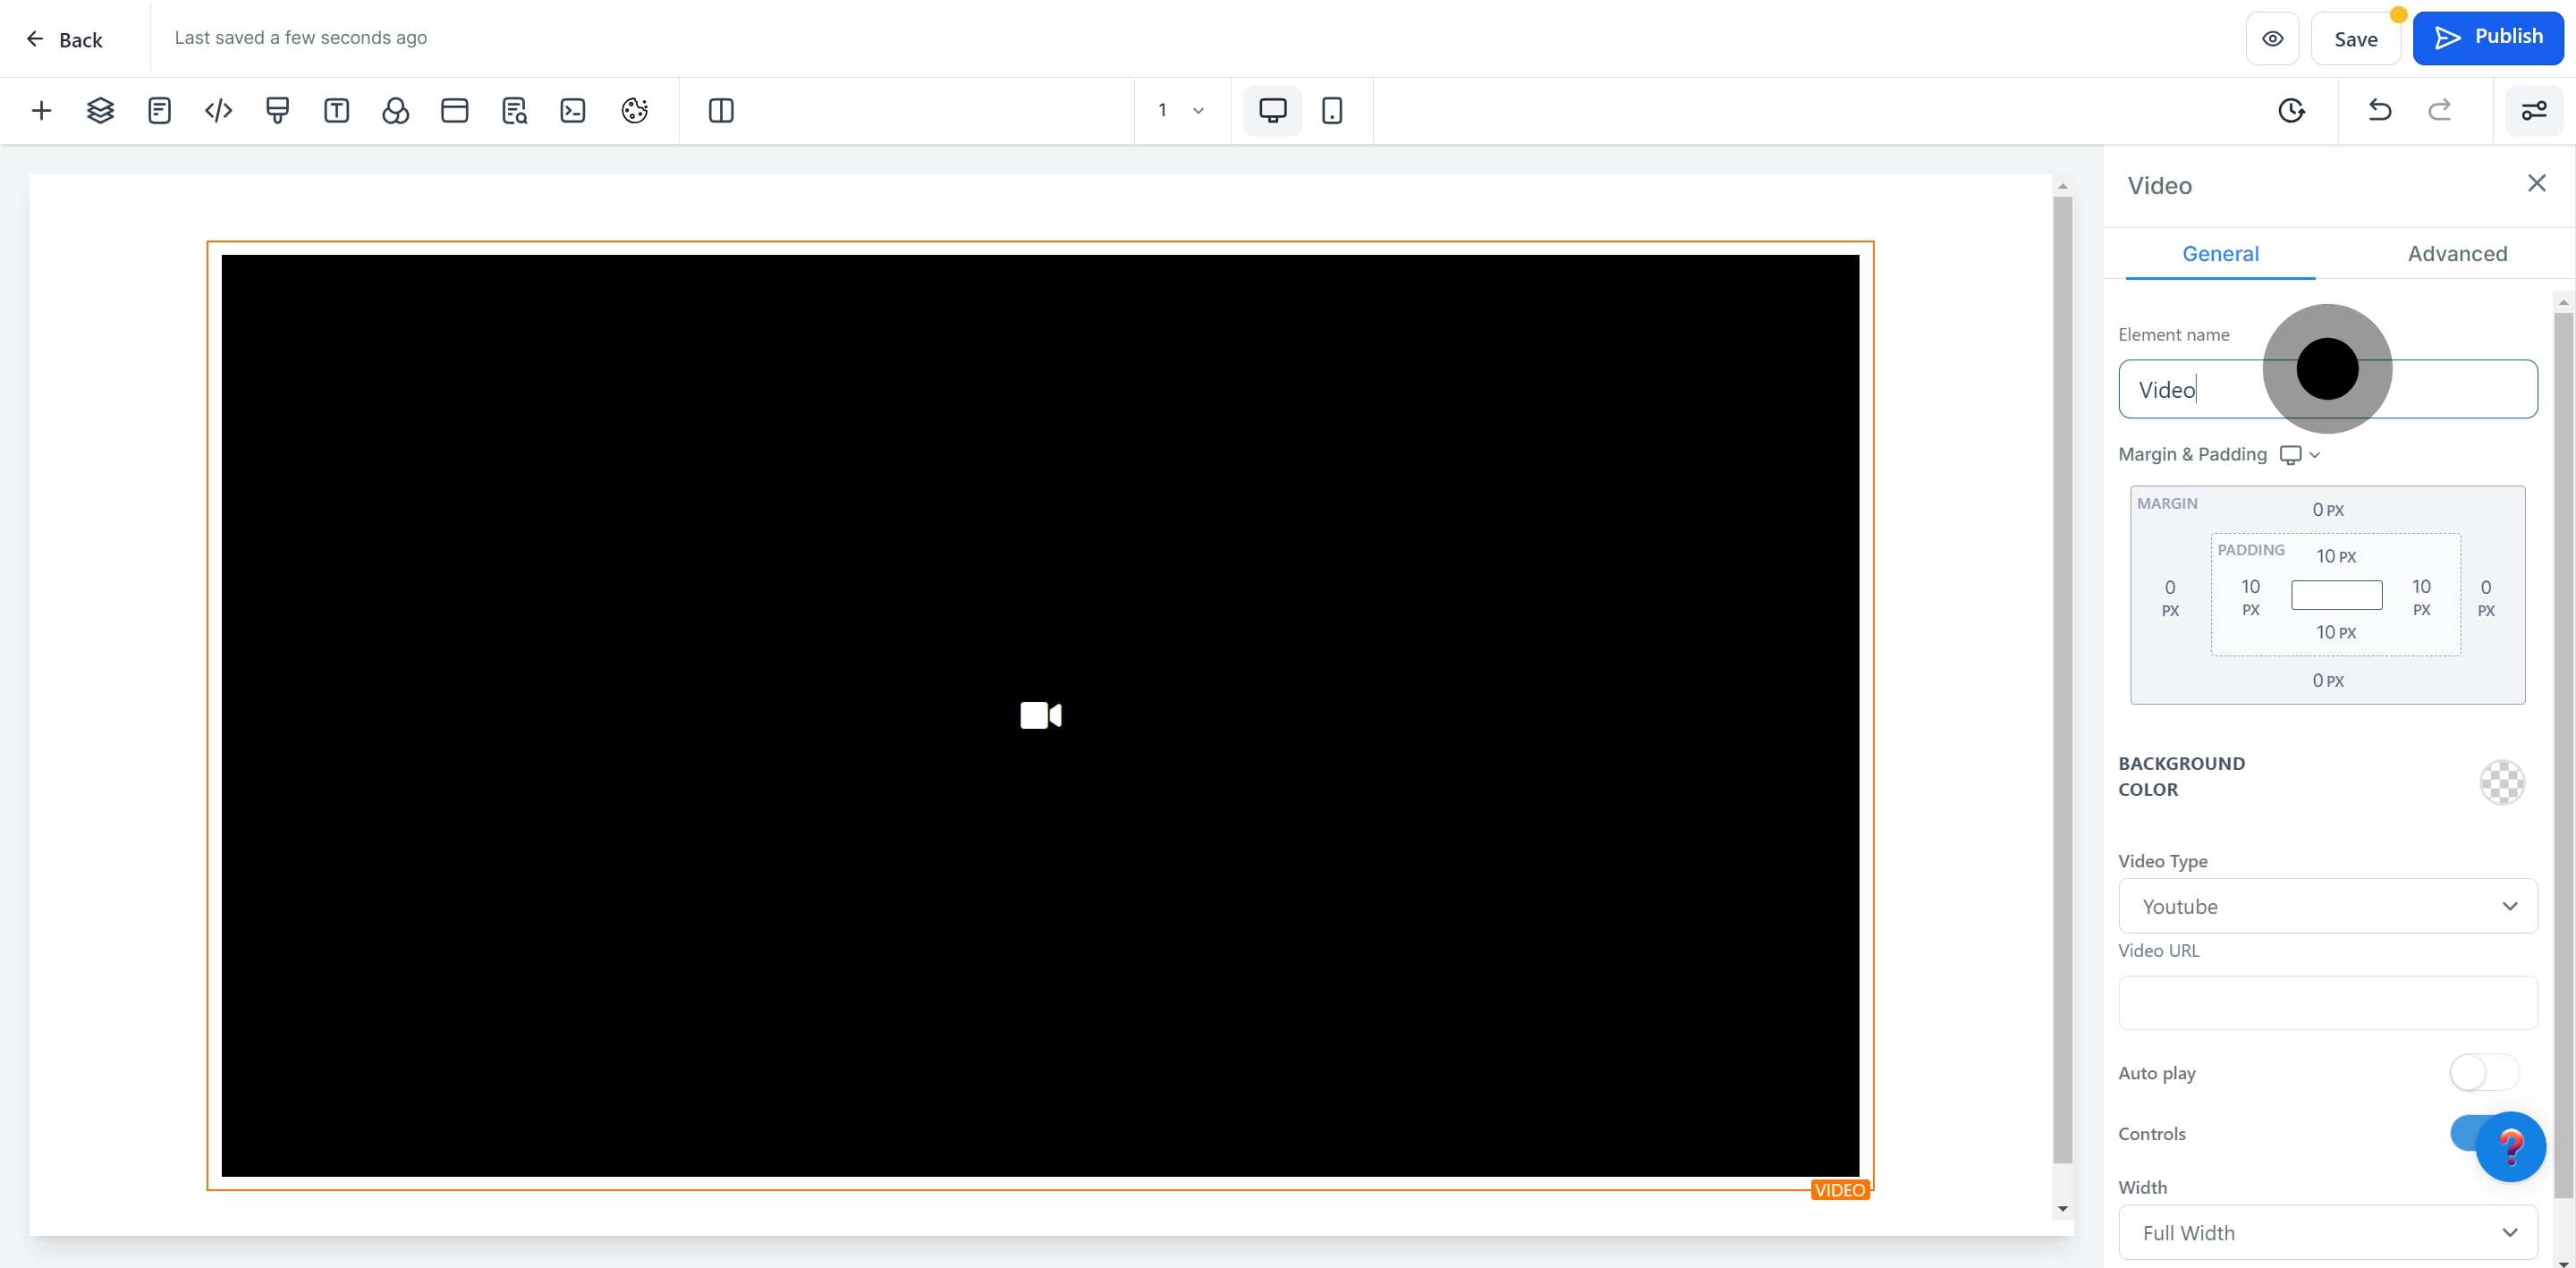
8. Name your video element for easy identification.
9. Adjust 'Margin & Padding' as needed.
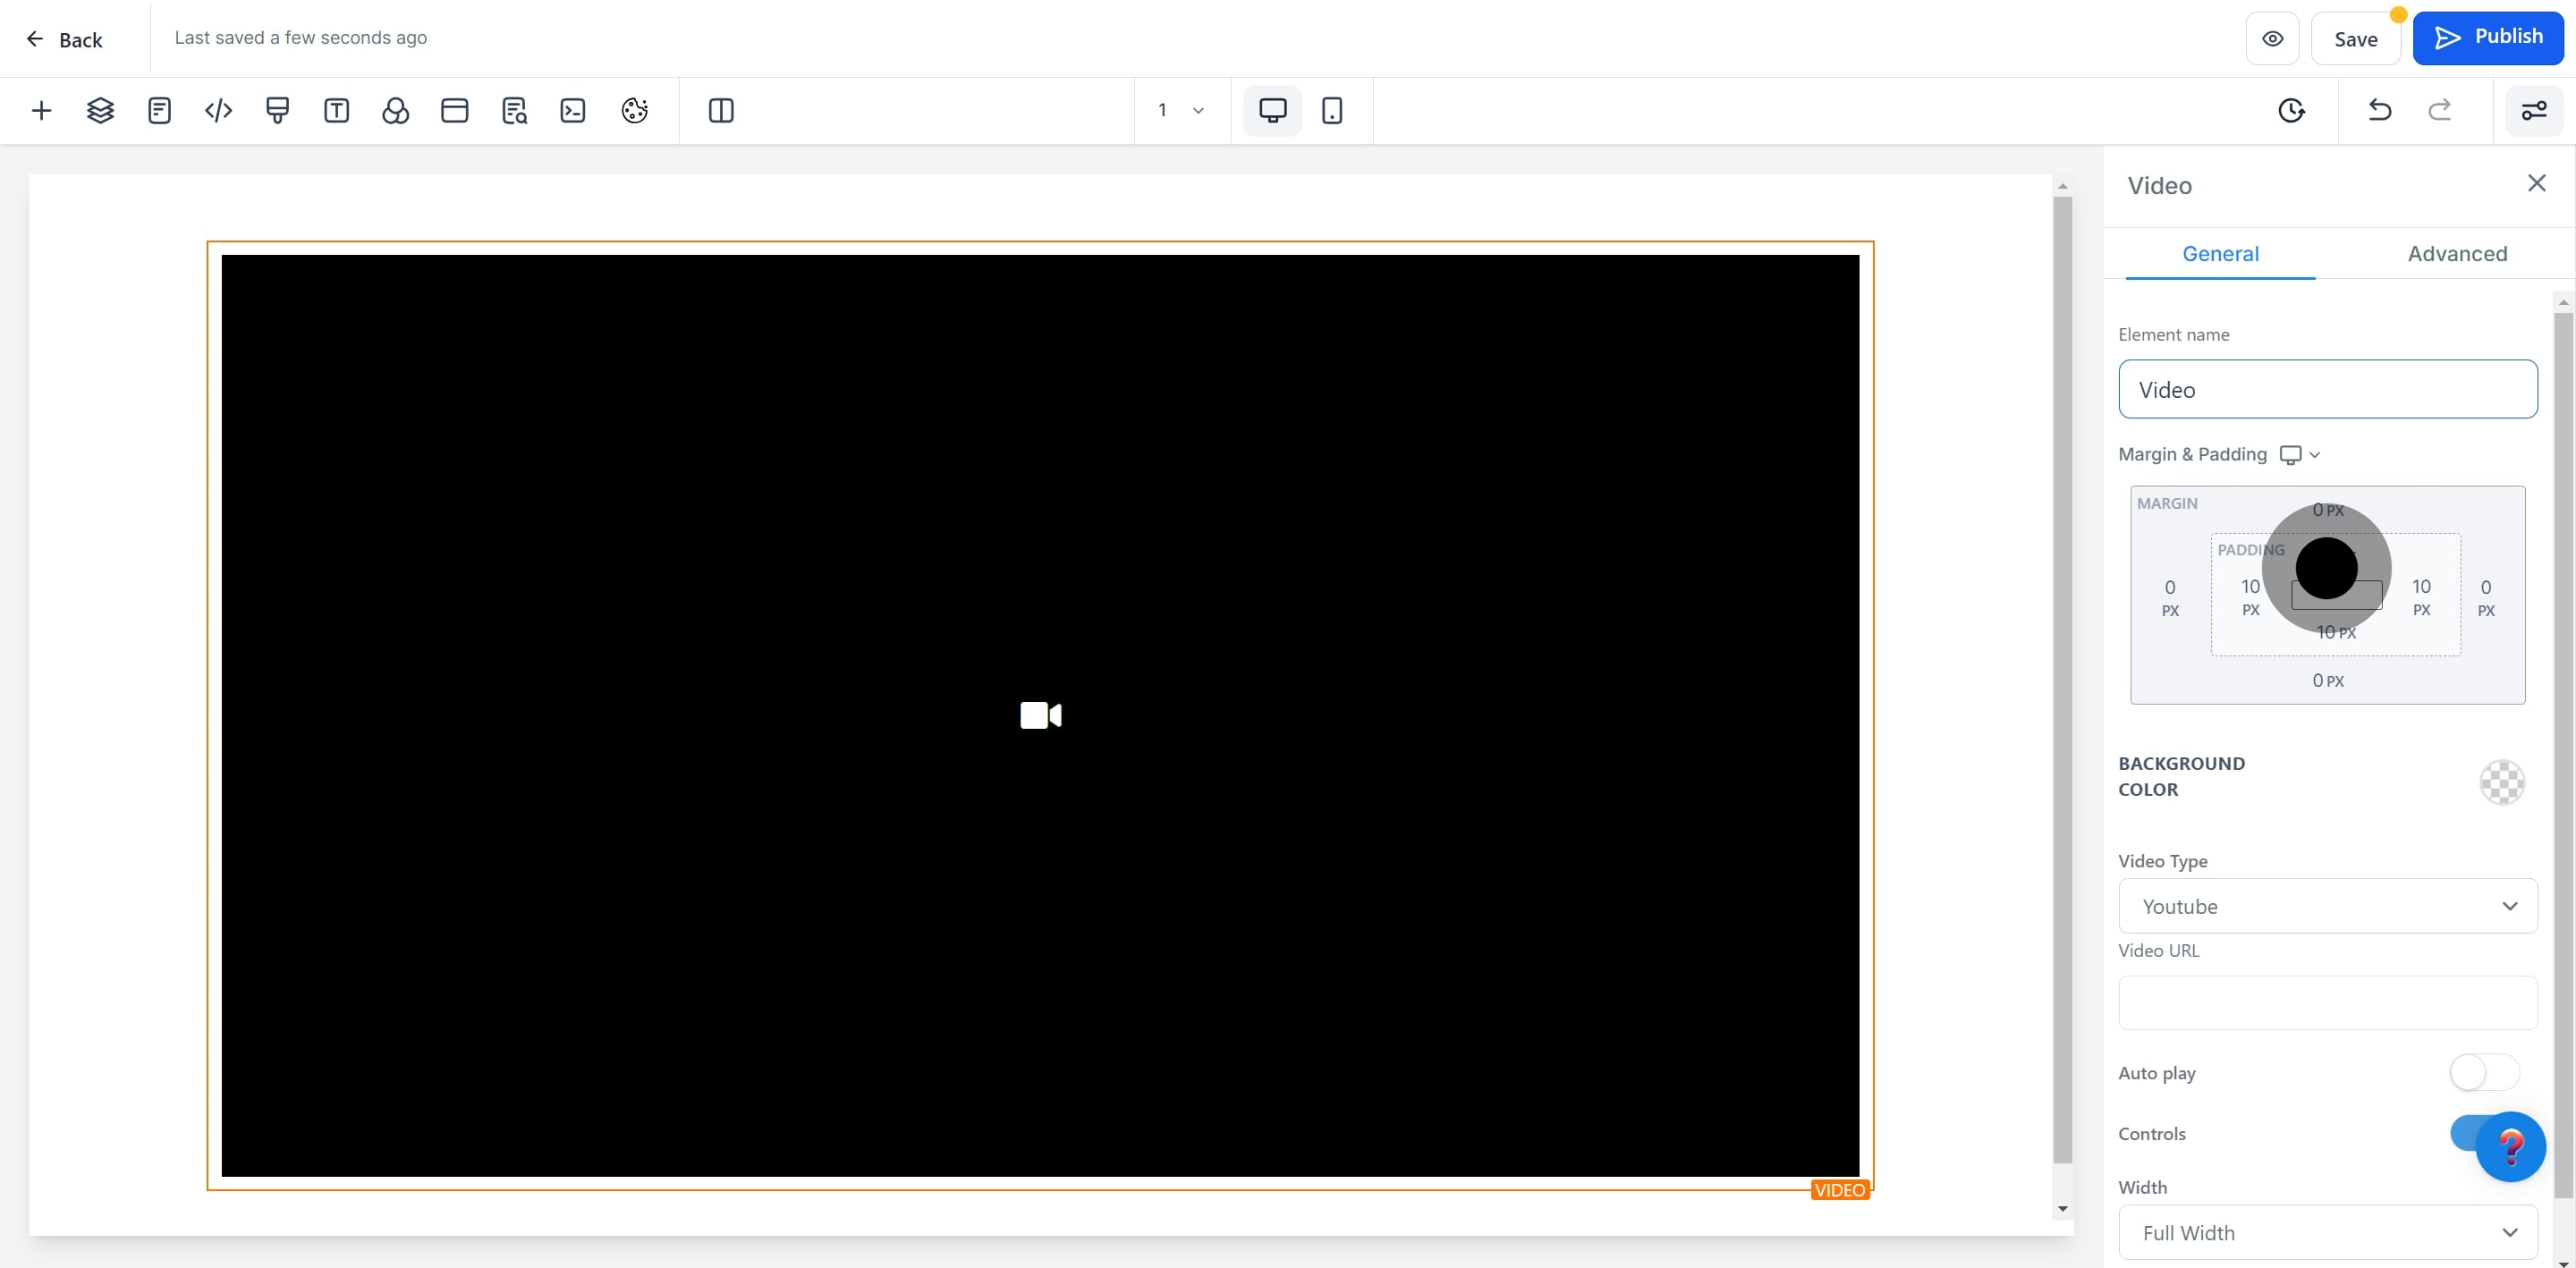
10. Choose a preferred background color.
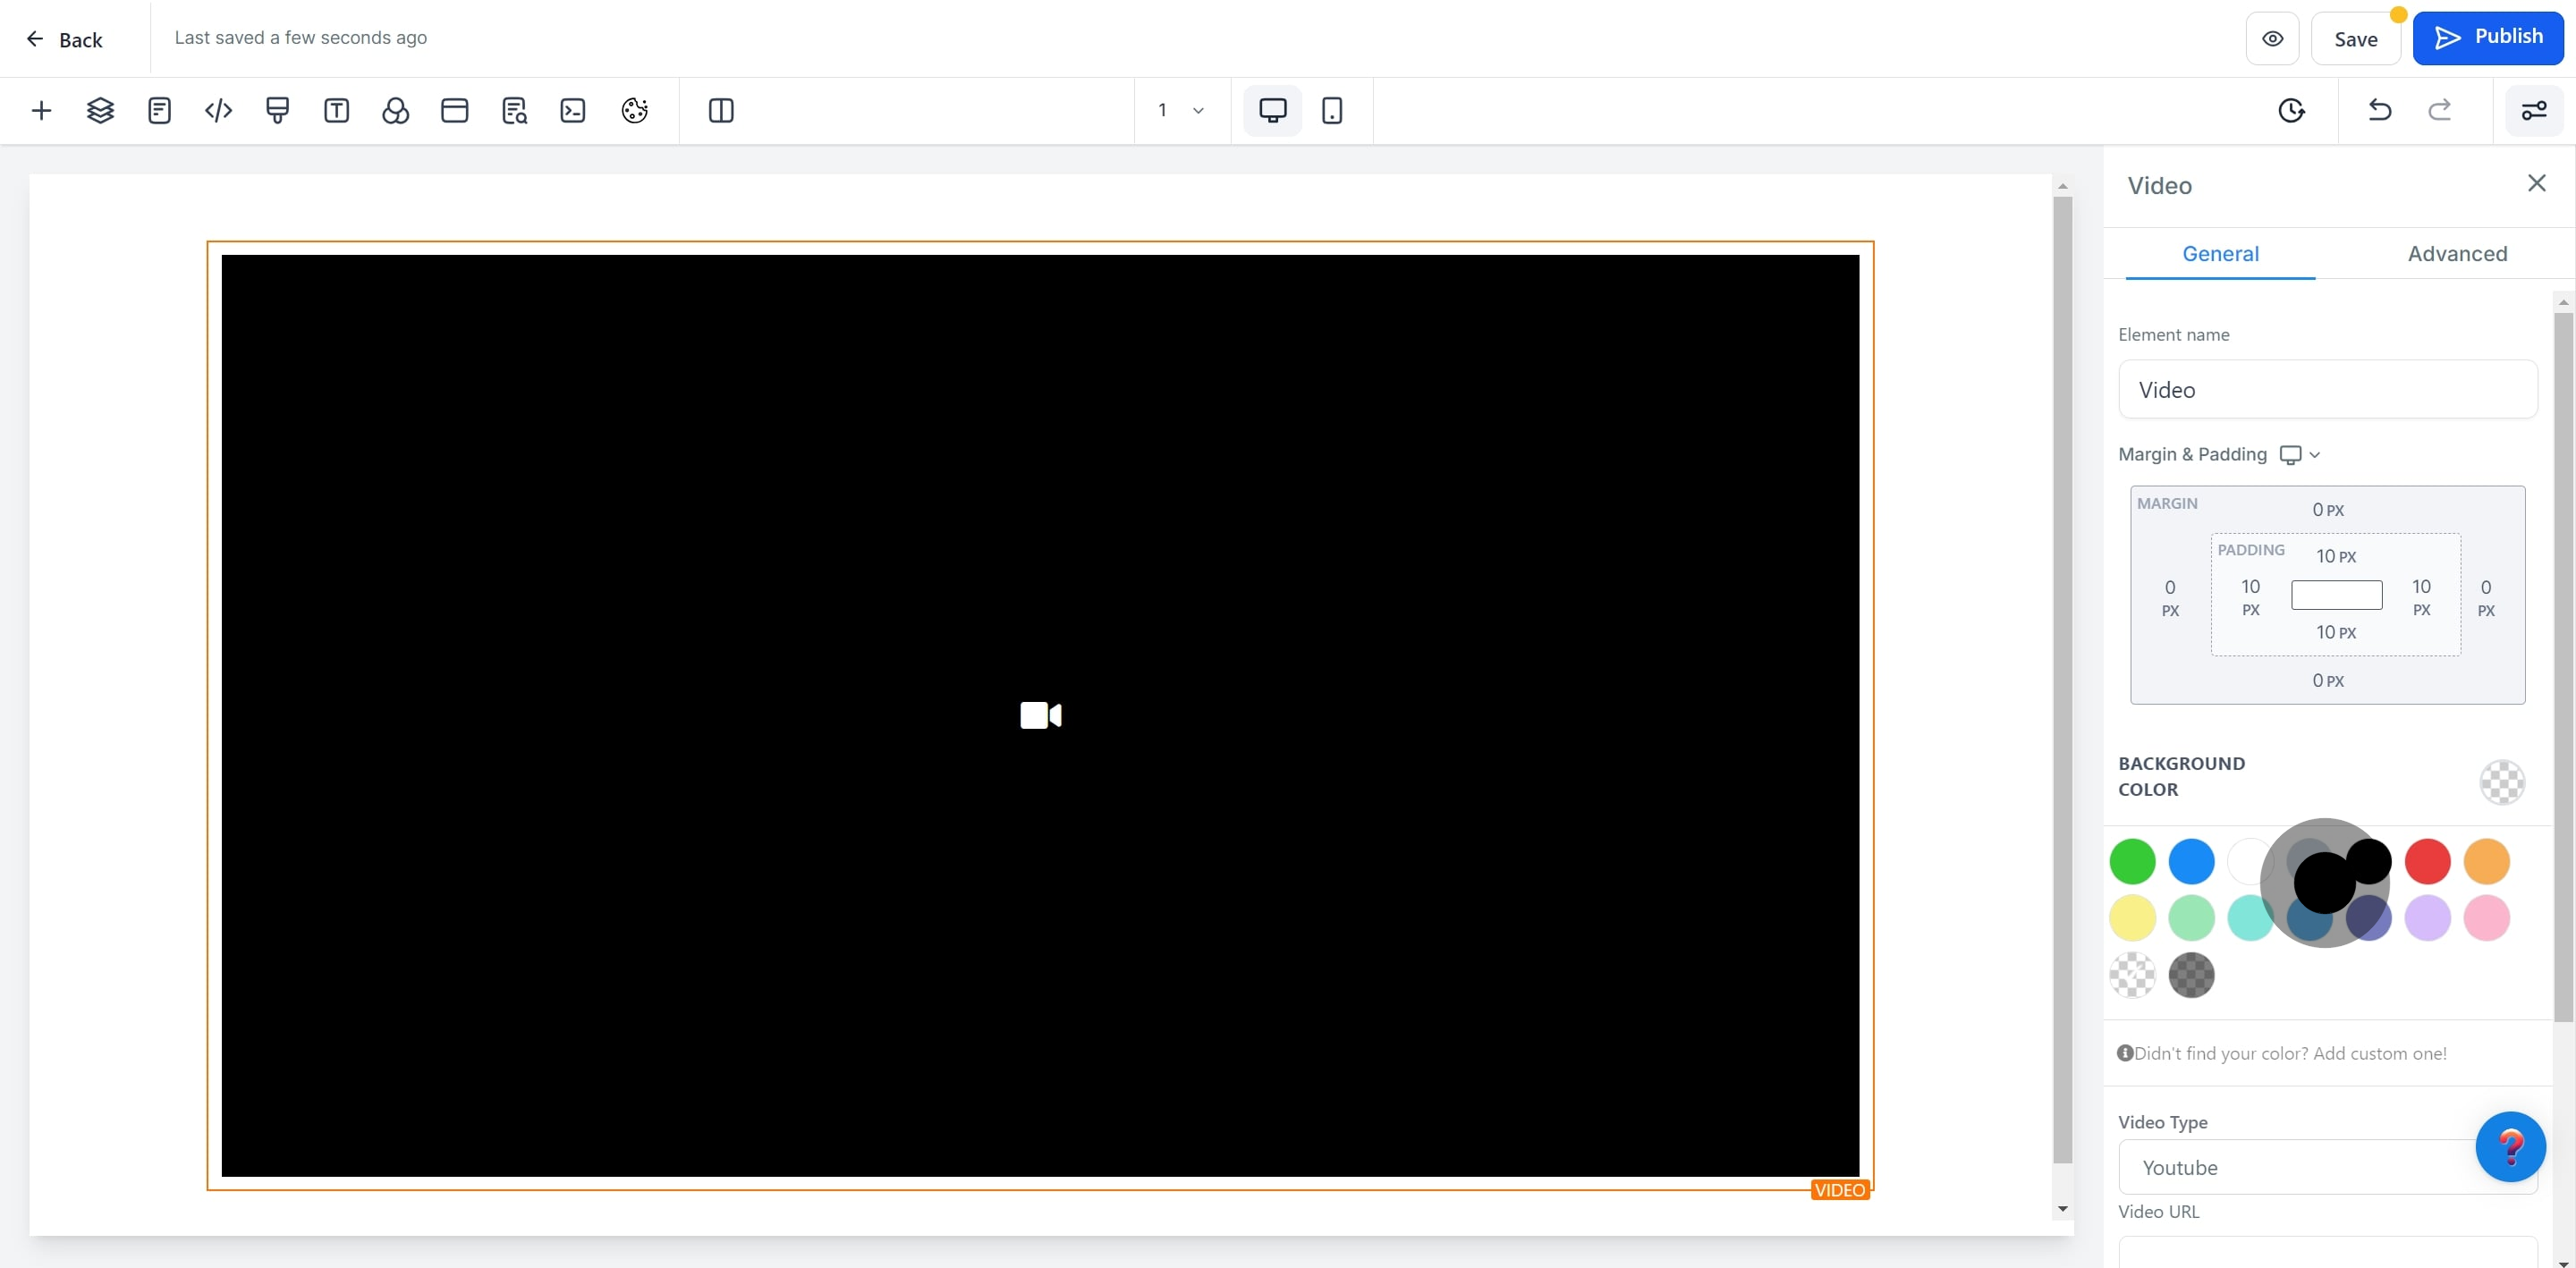
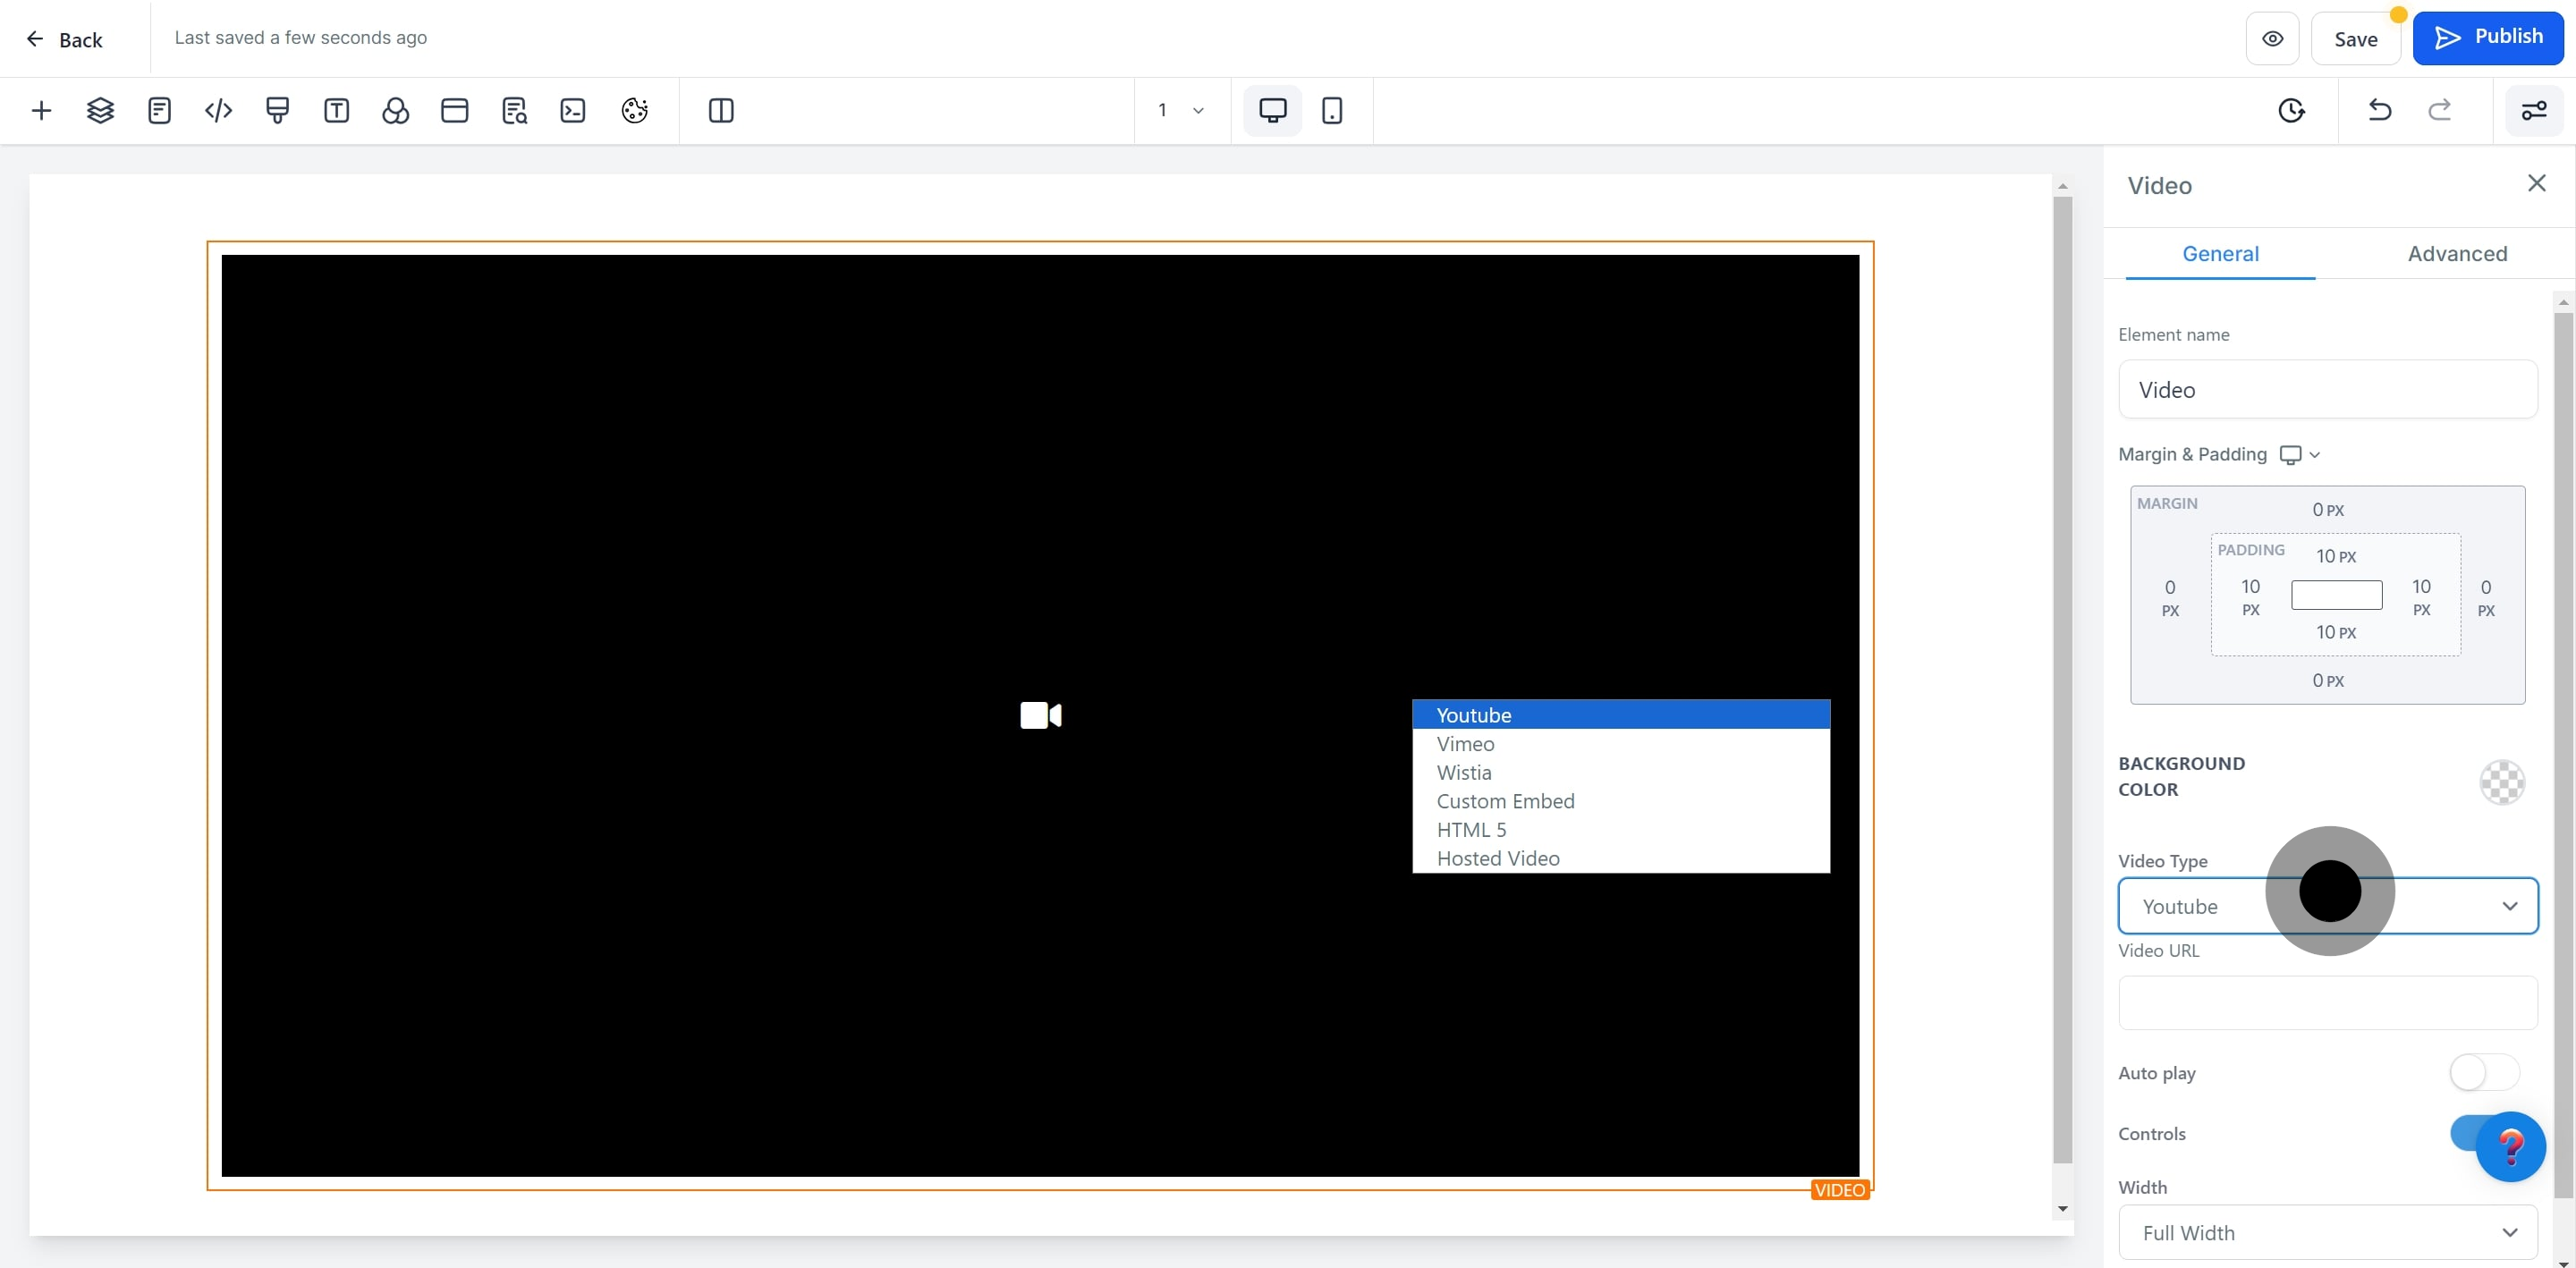
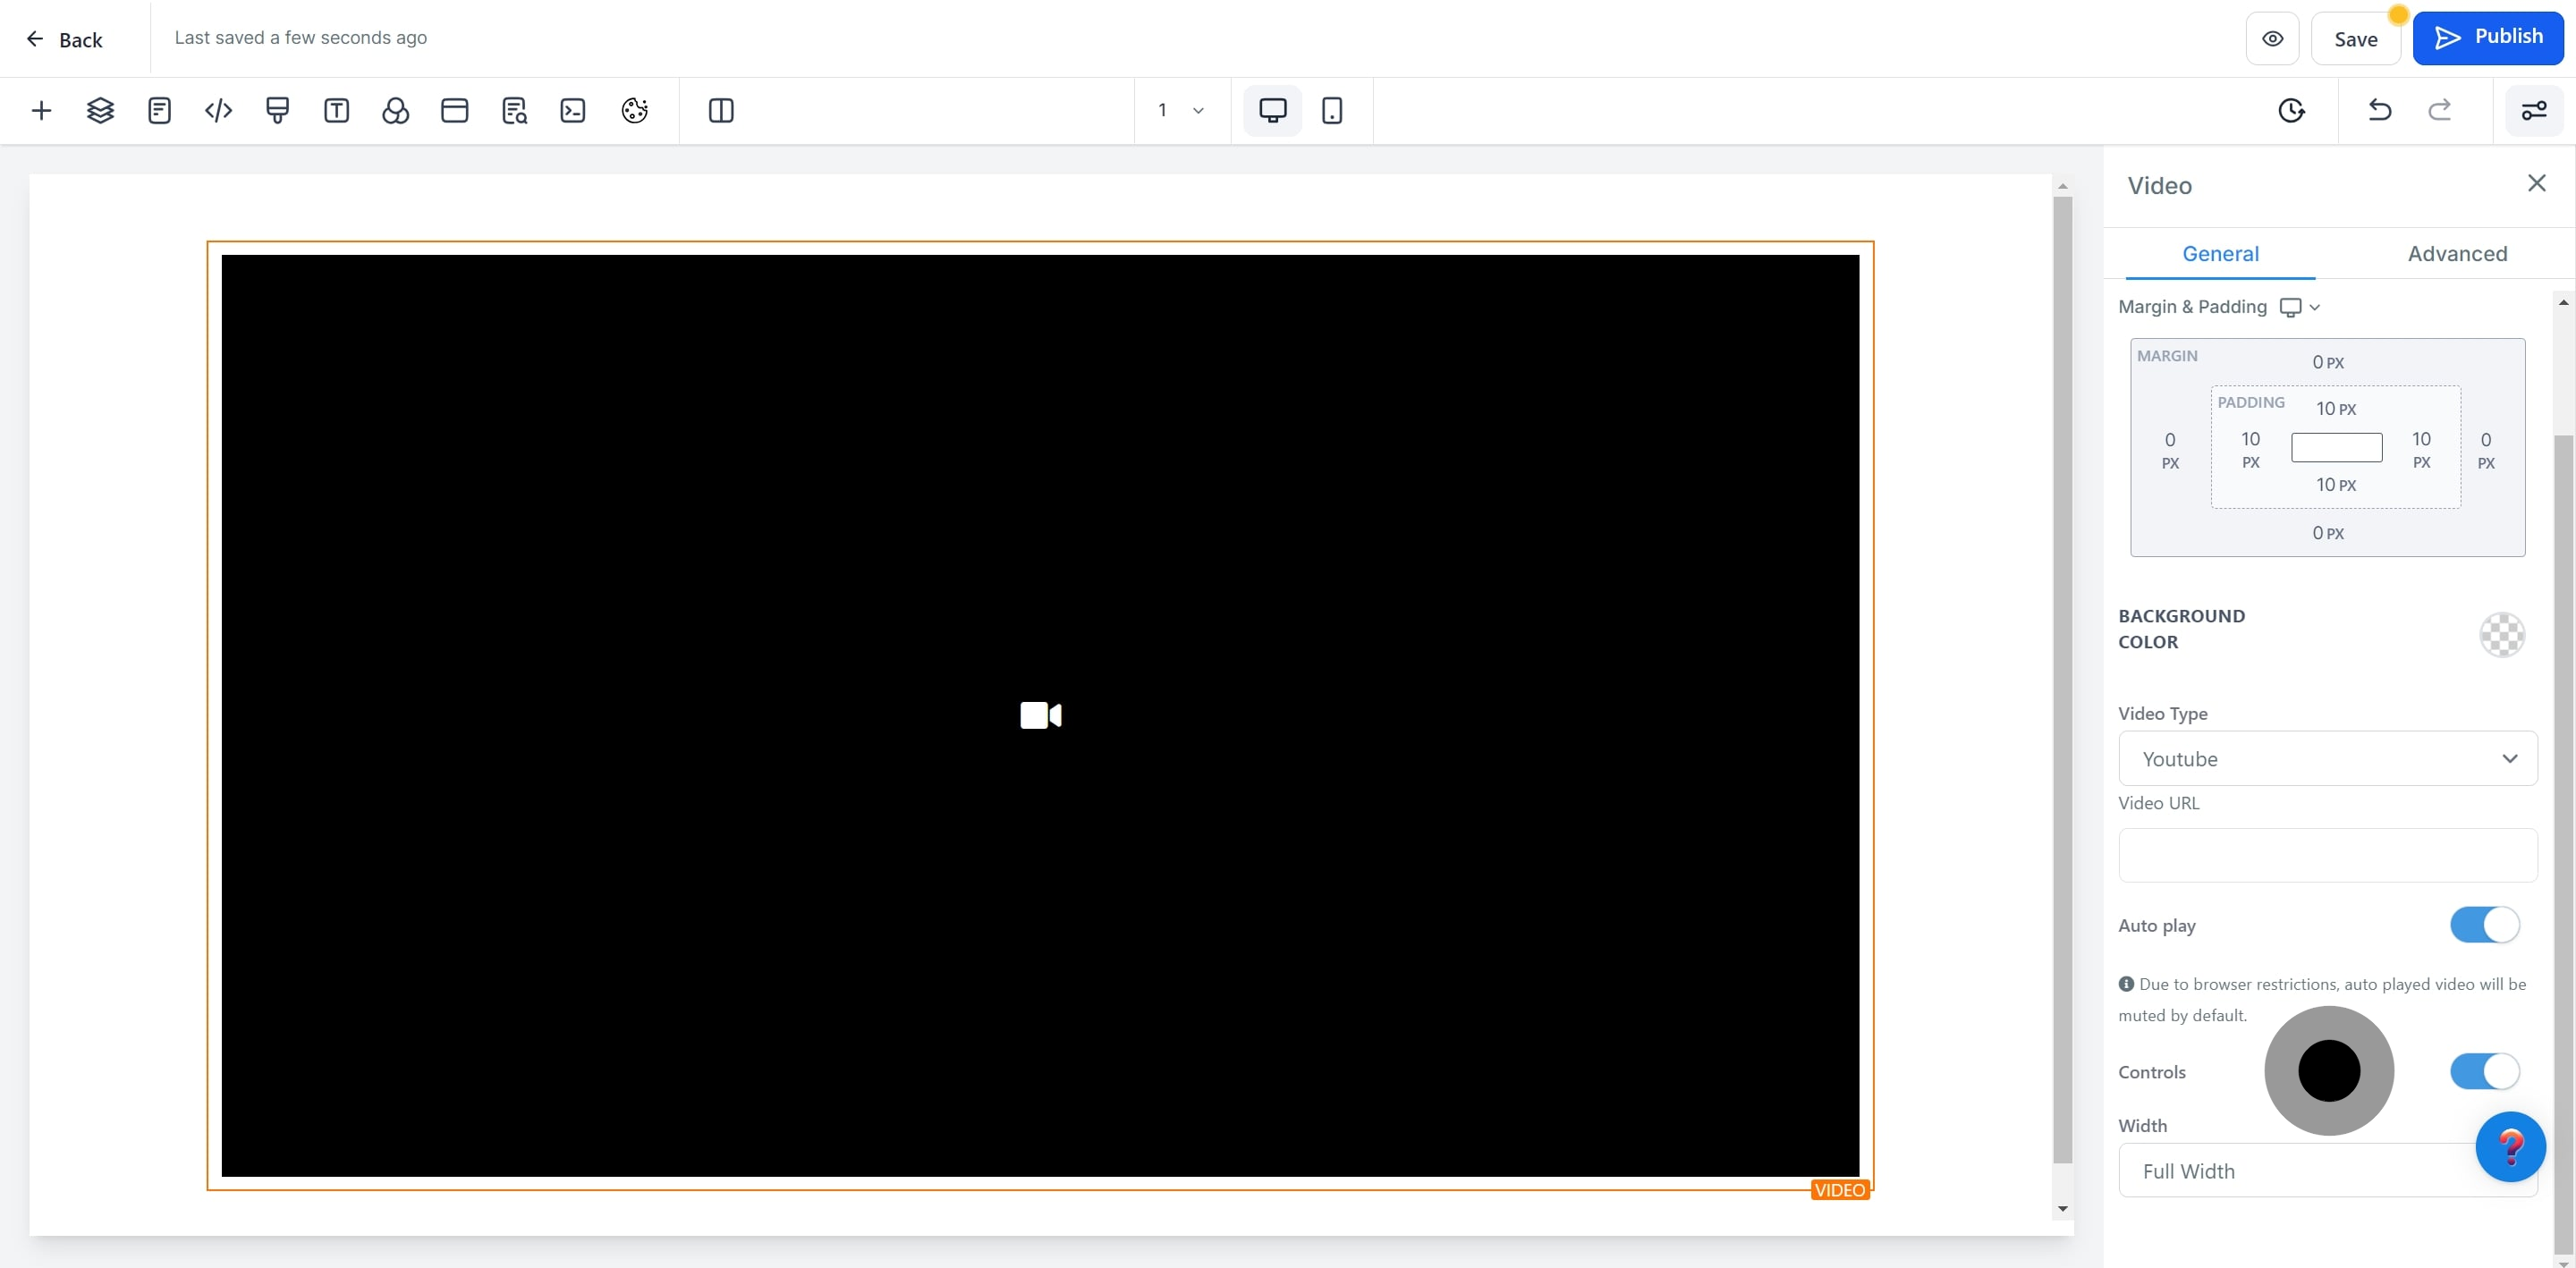
11. Then, select the type of video you want to insert.
Select the correct video type (Vimeo, YouTube, Wistia) and enter the video URL for proper functionality. Additional options include Custom Embed, HTML5, and Hosted Video.
12. Enter the video URL for embedding.
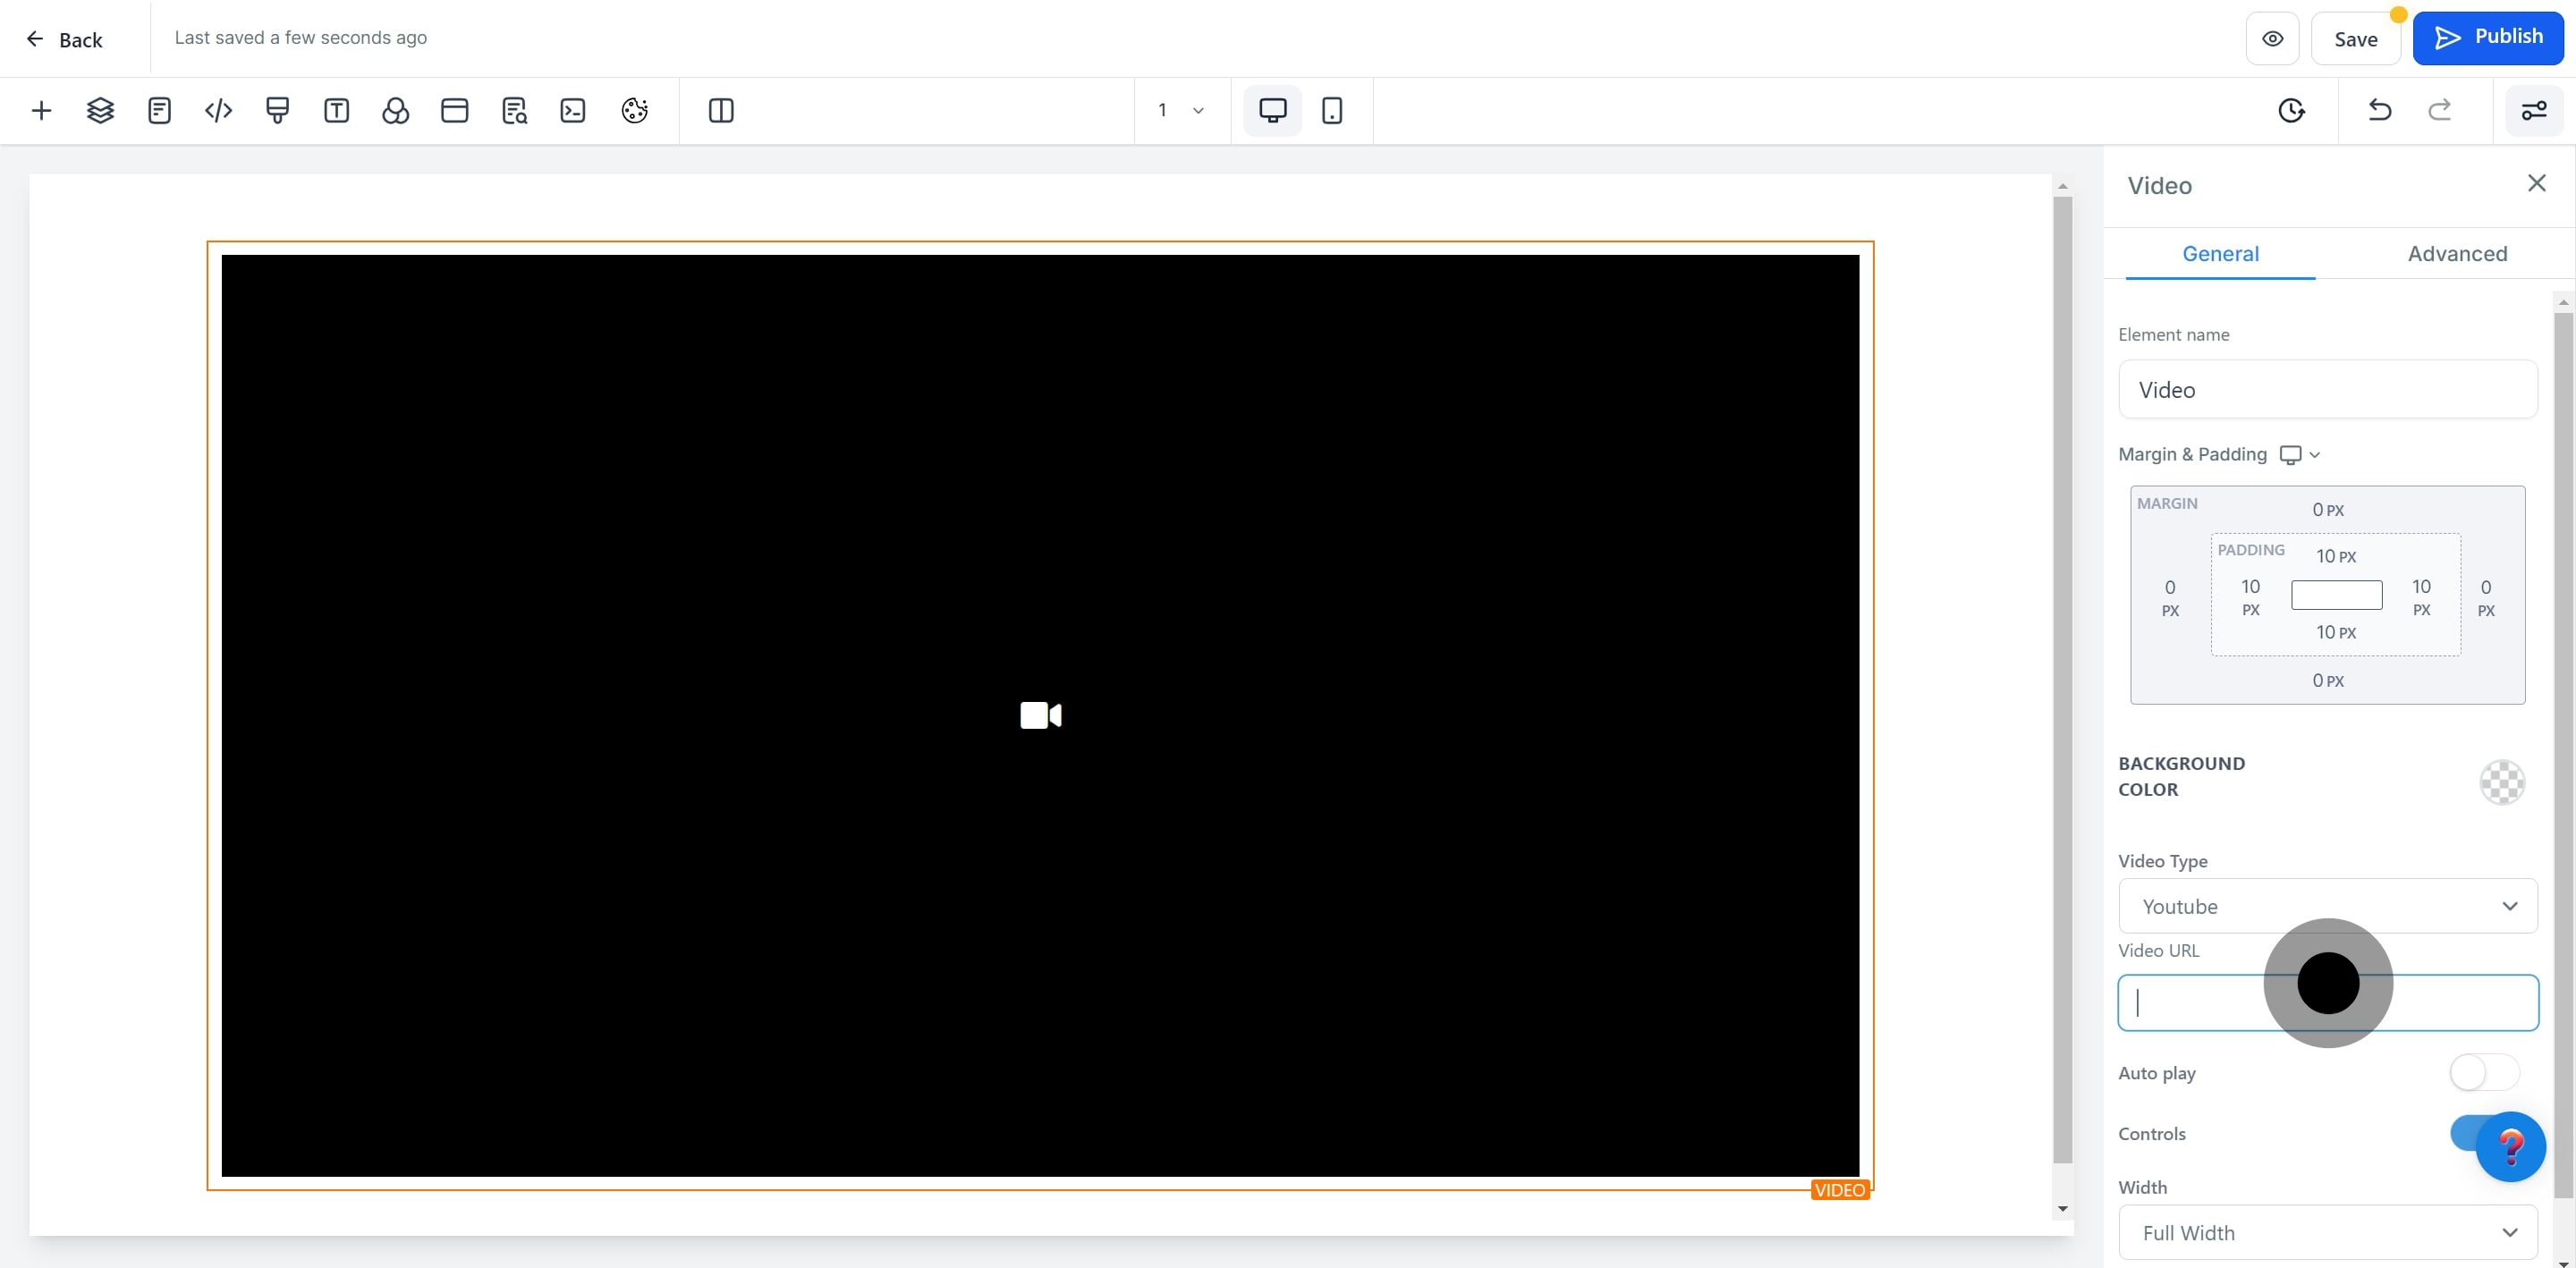
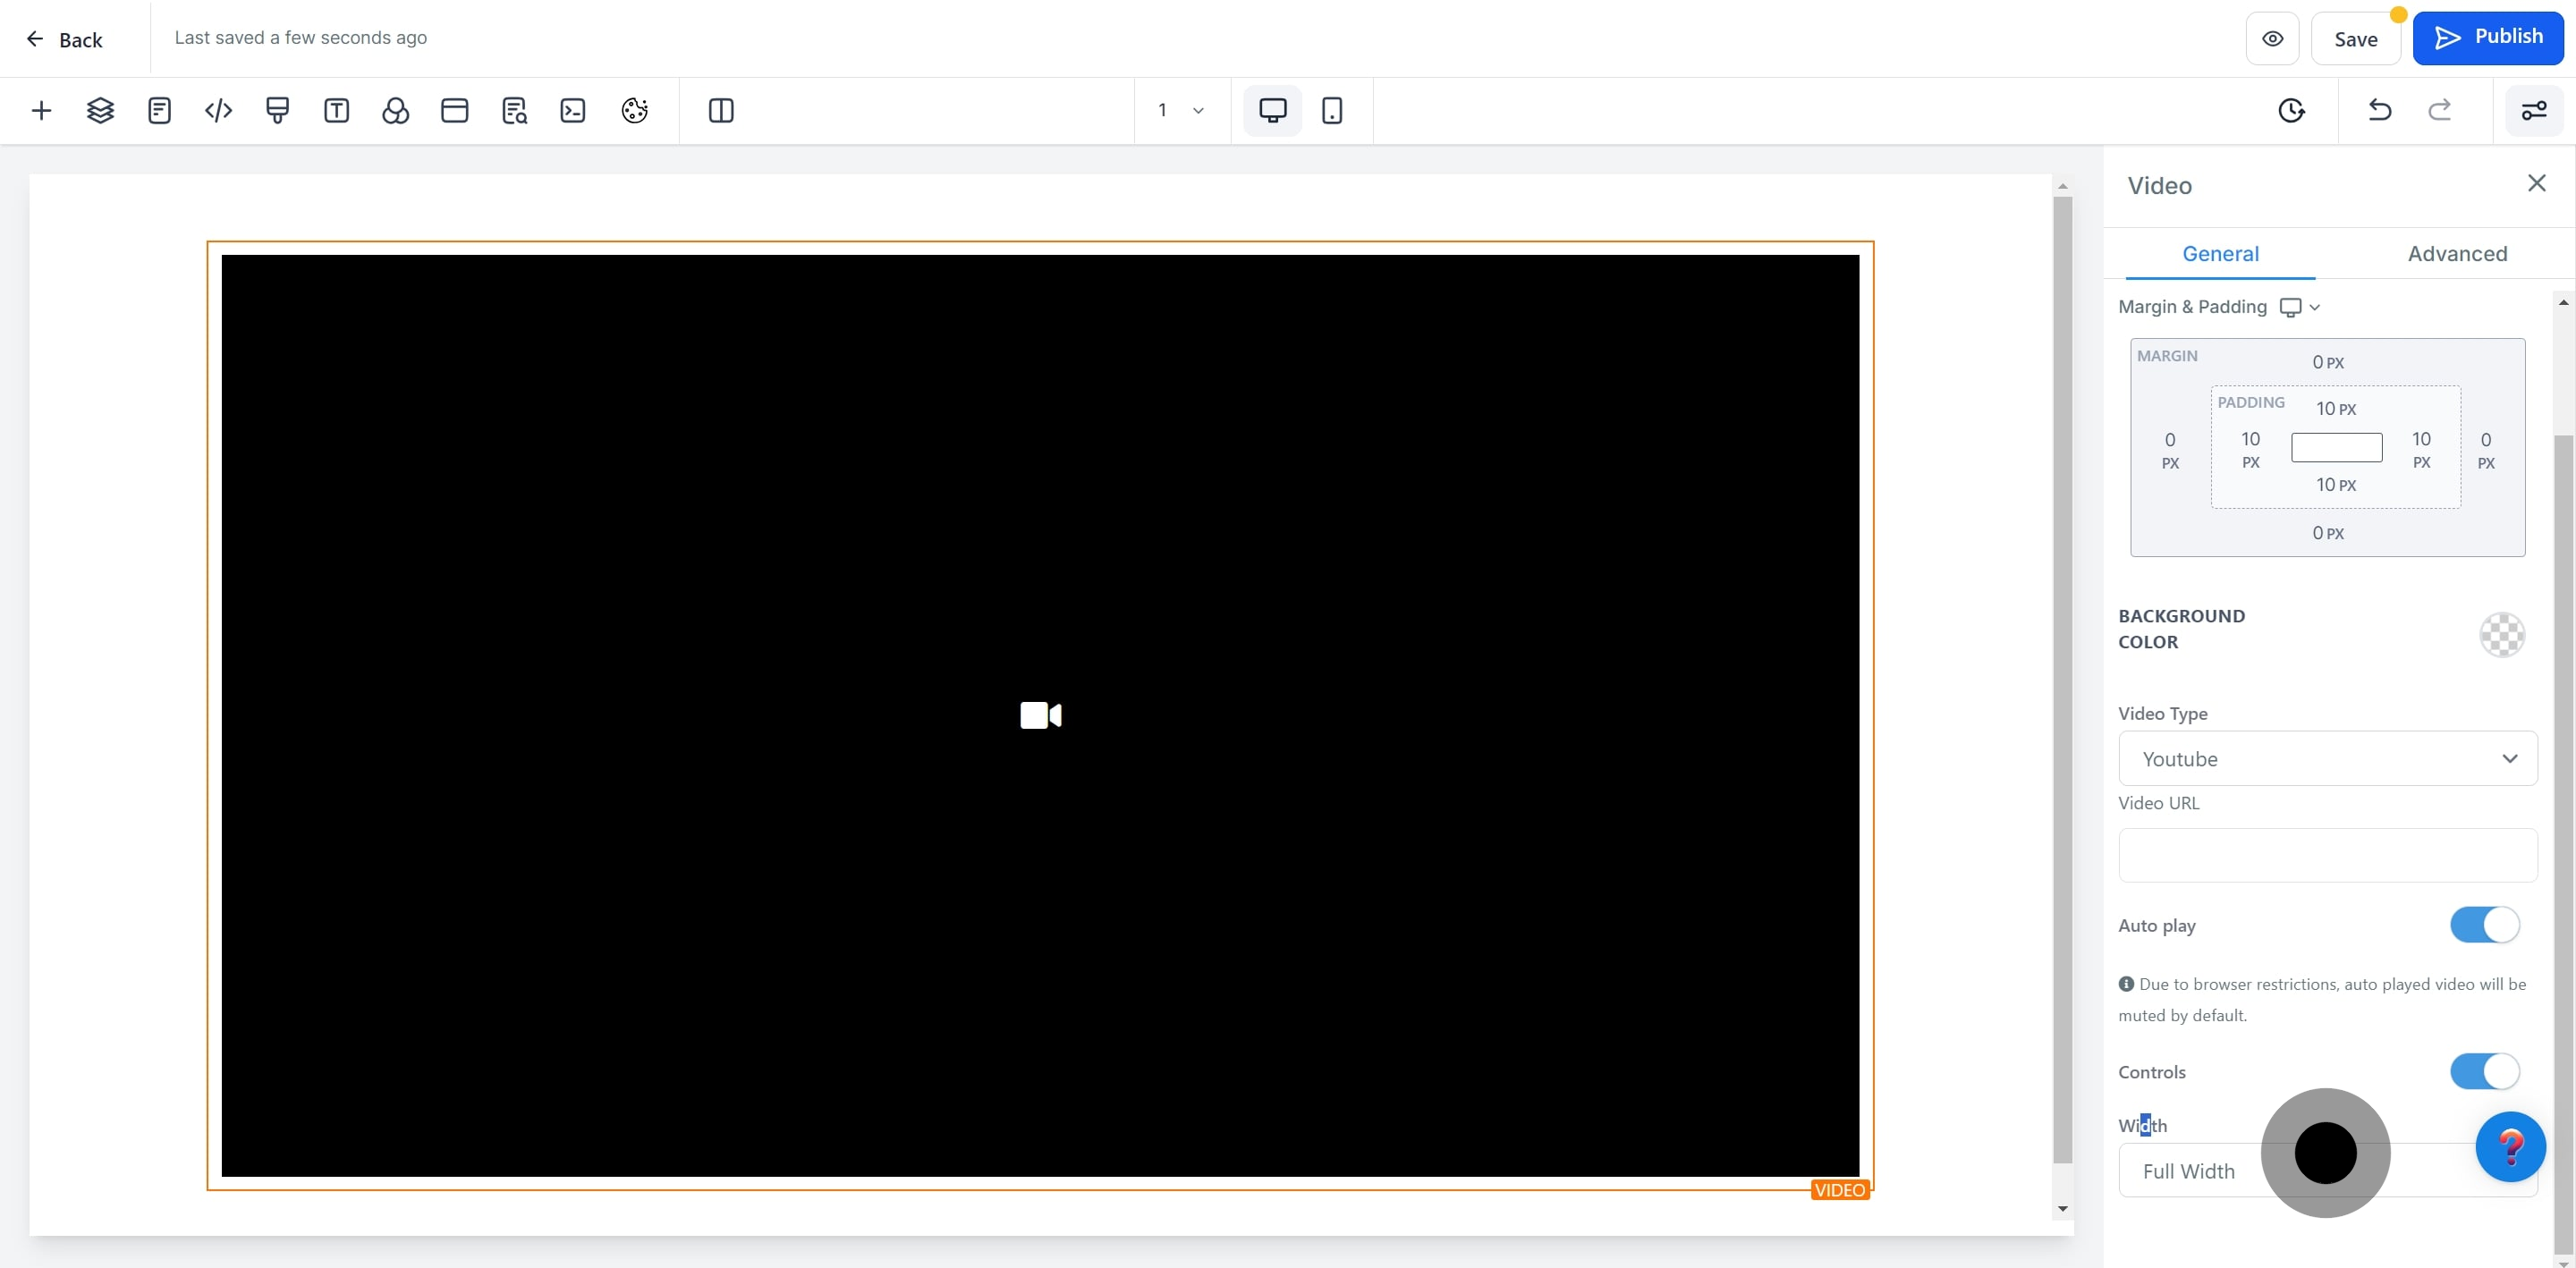
13. Set the 'Autoplay' option as desired.
Decide on autoplay and control settings based on your funnel's needs.

14. Decide whether to enable or disable 'Controls'.
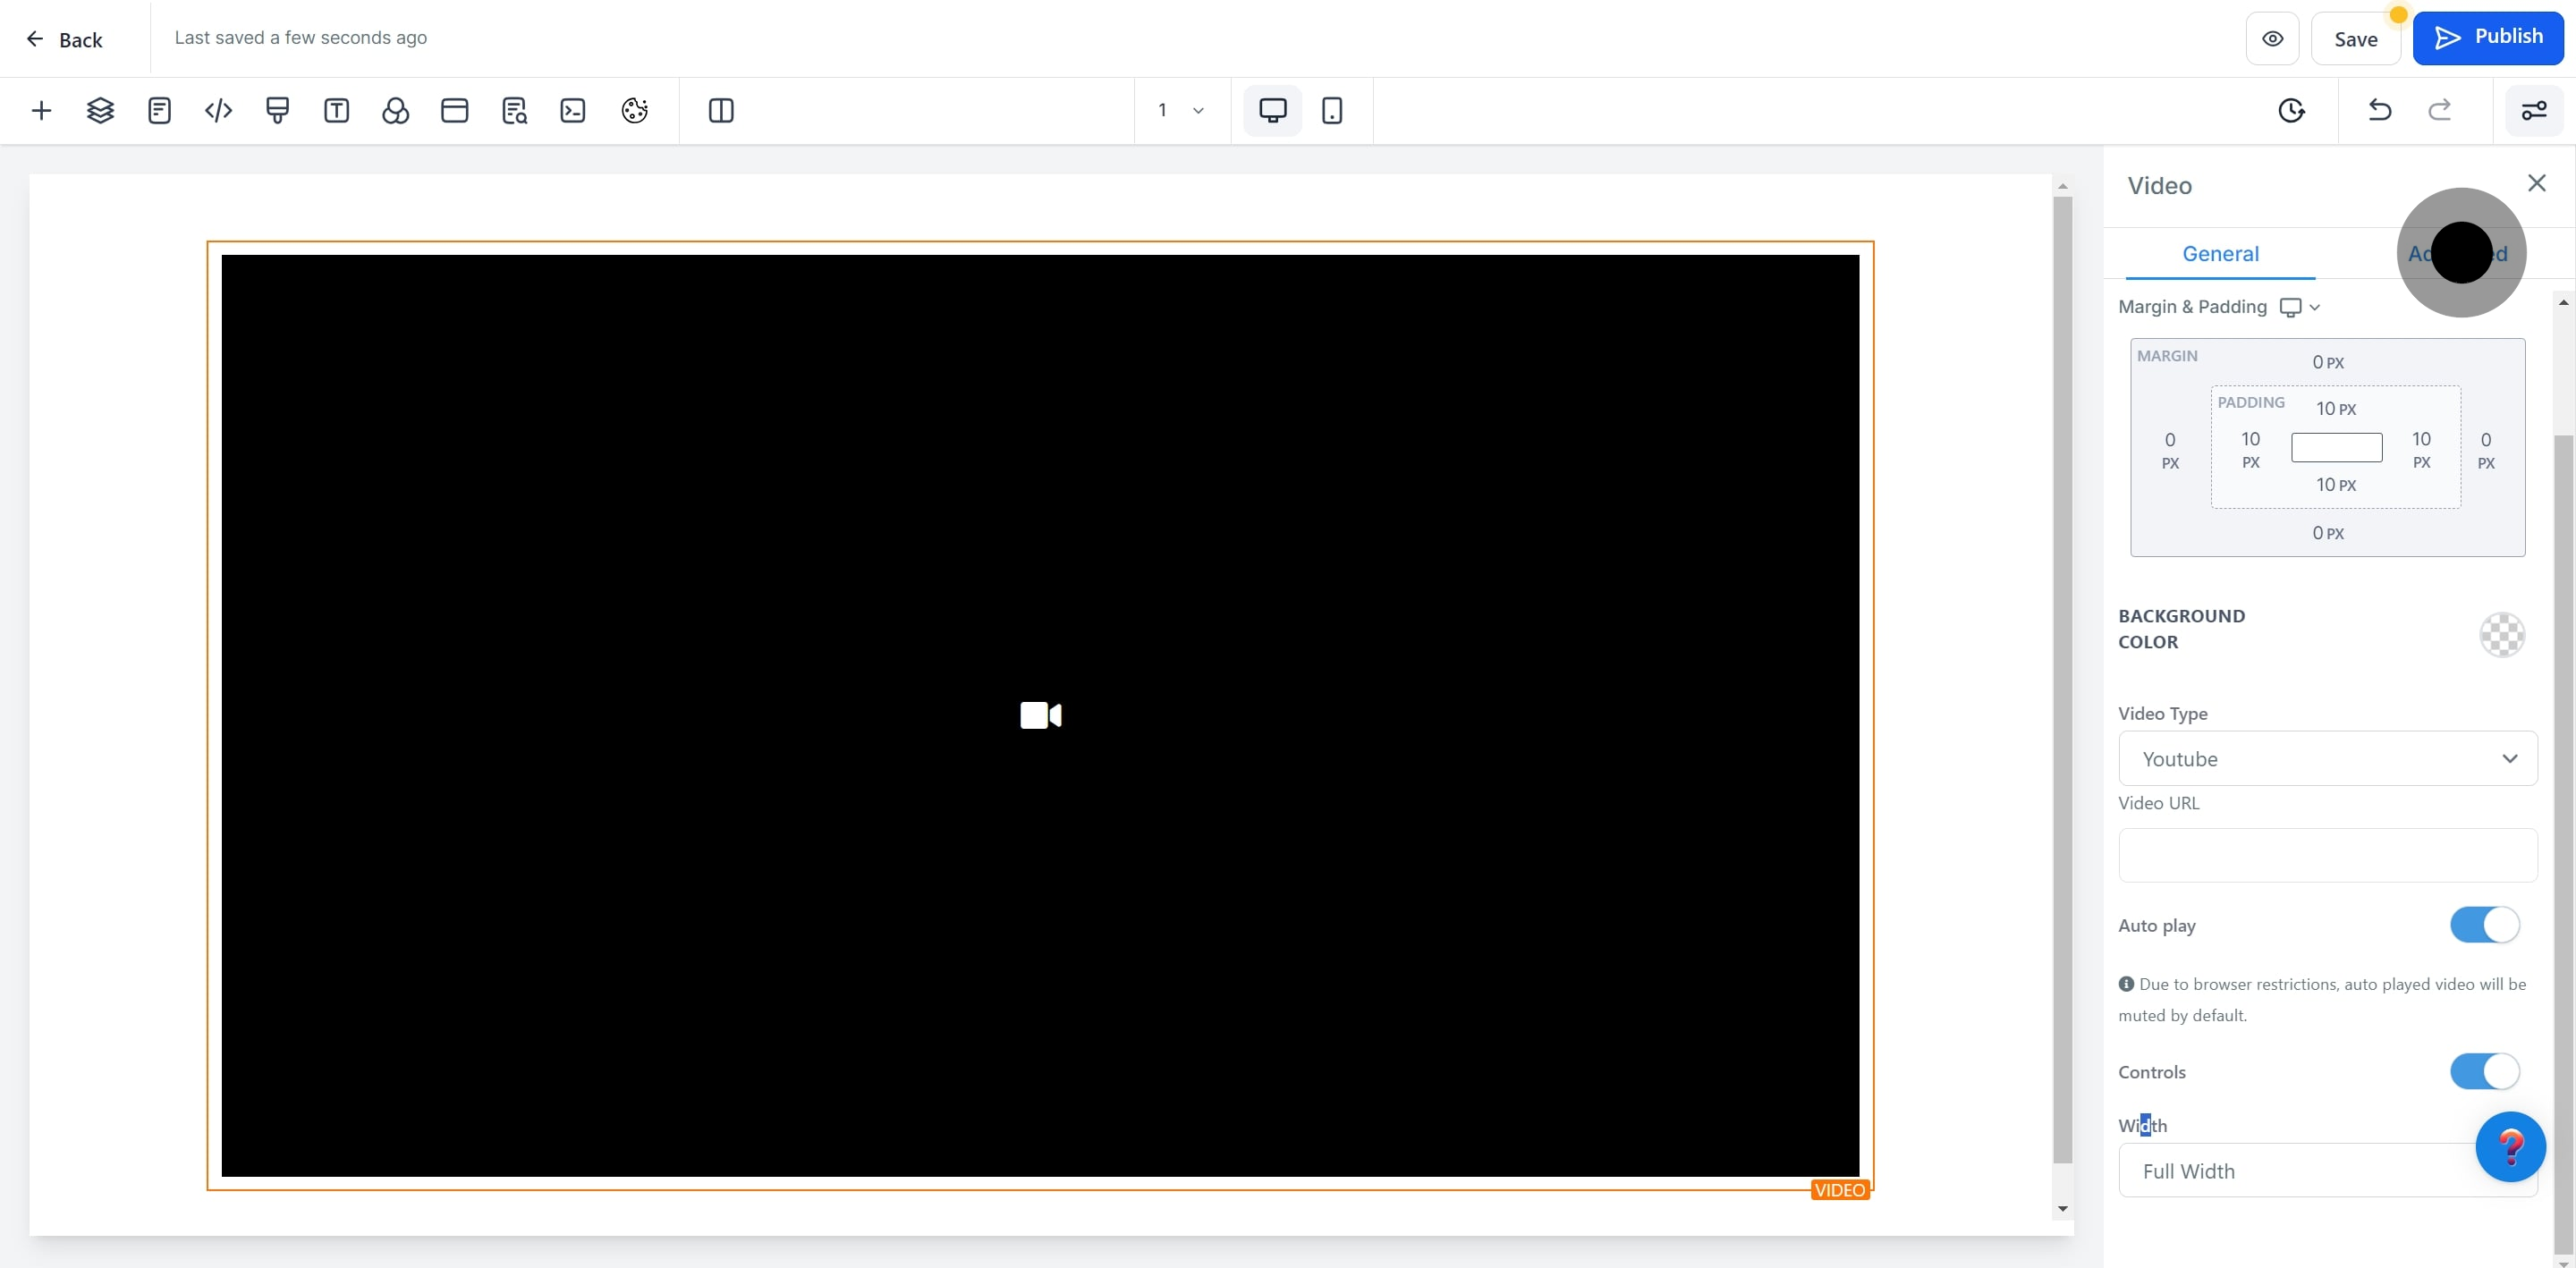
15. Specify the video width under 'Width'.
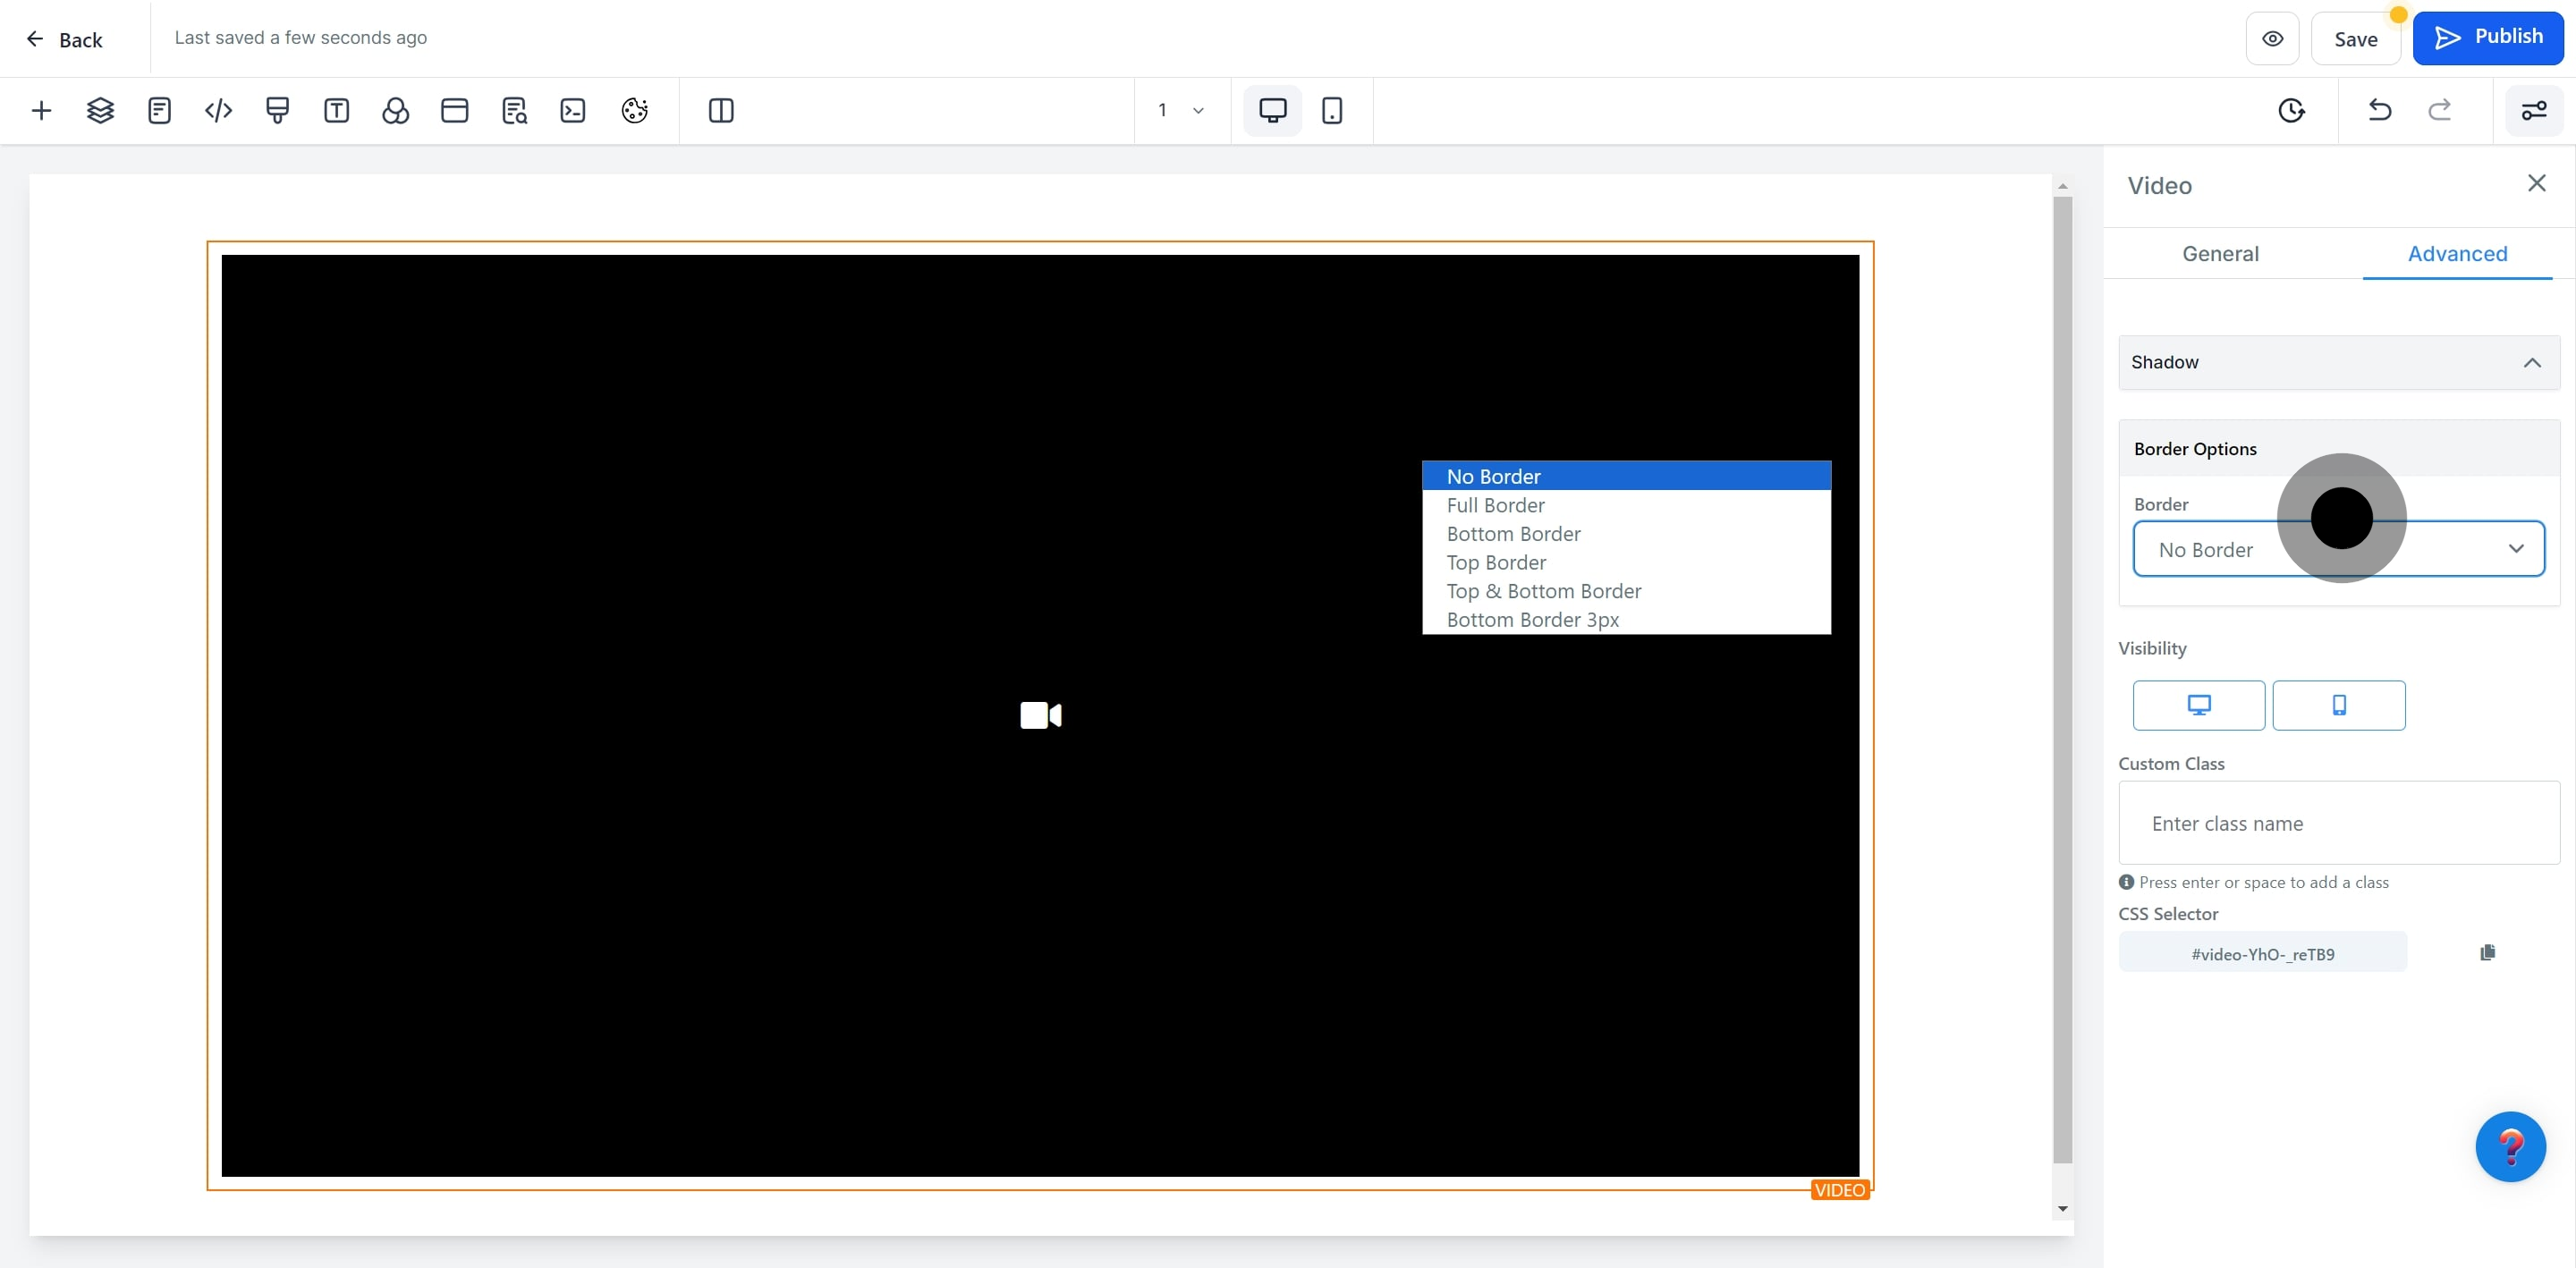
16. Click on 'Advanced' for more options.
17. Apply a shadow effect if needed.
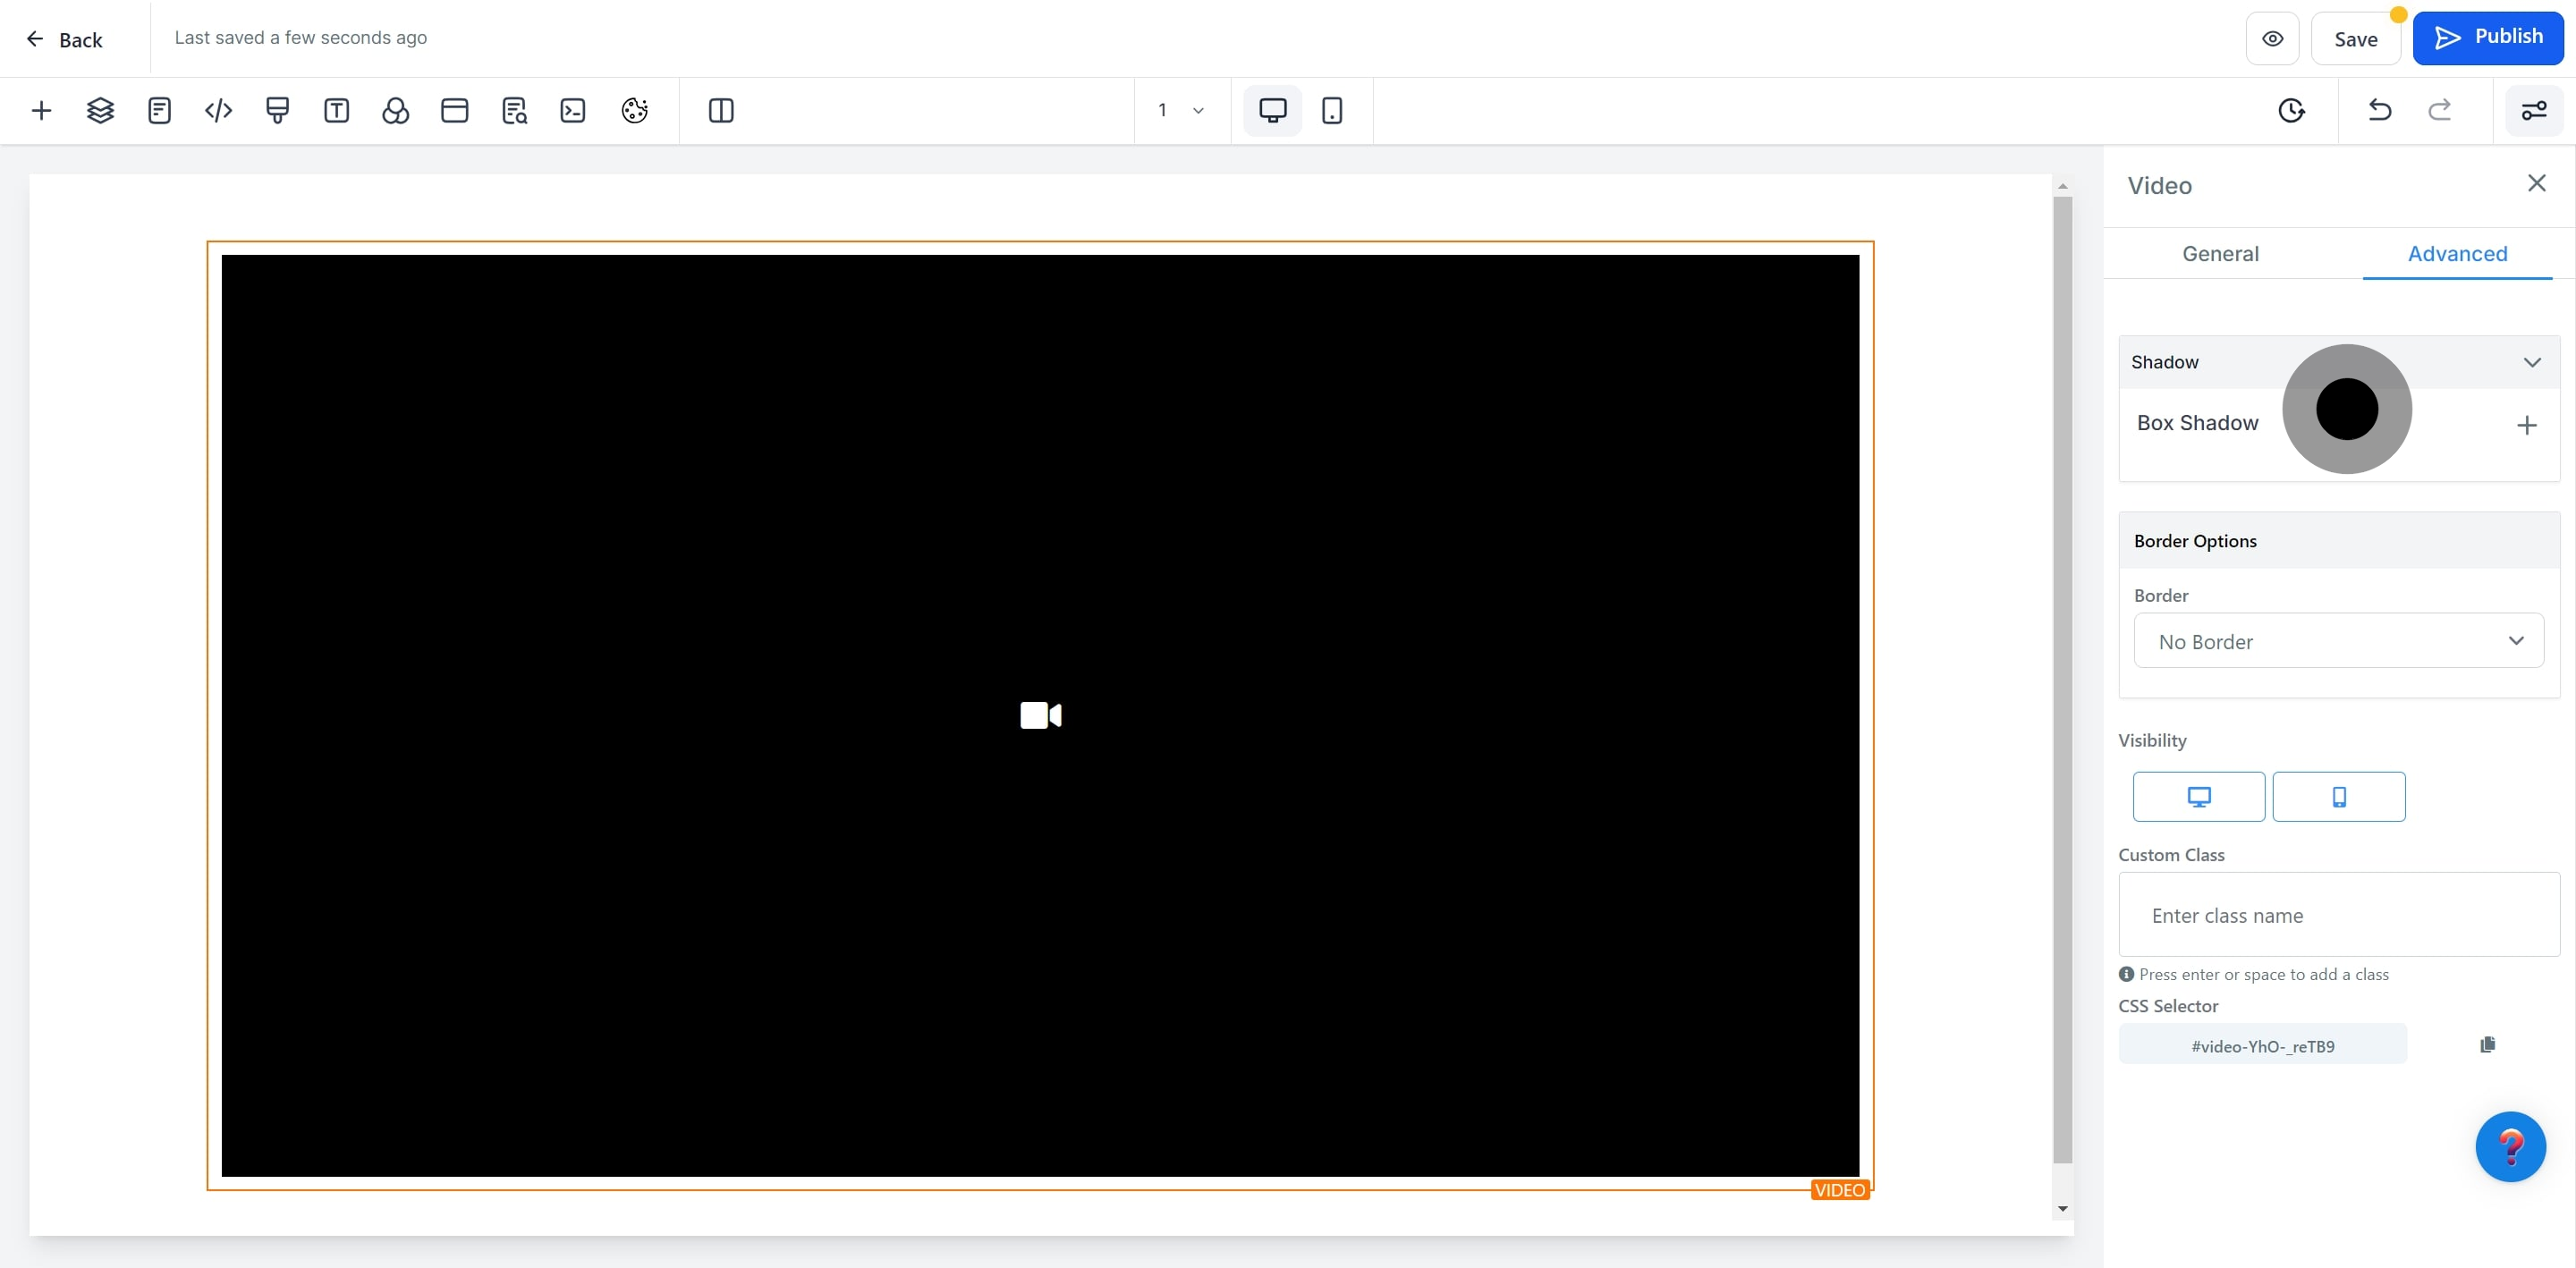
18. Opt for 'No Border' for a cleaner look.
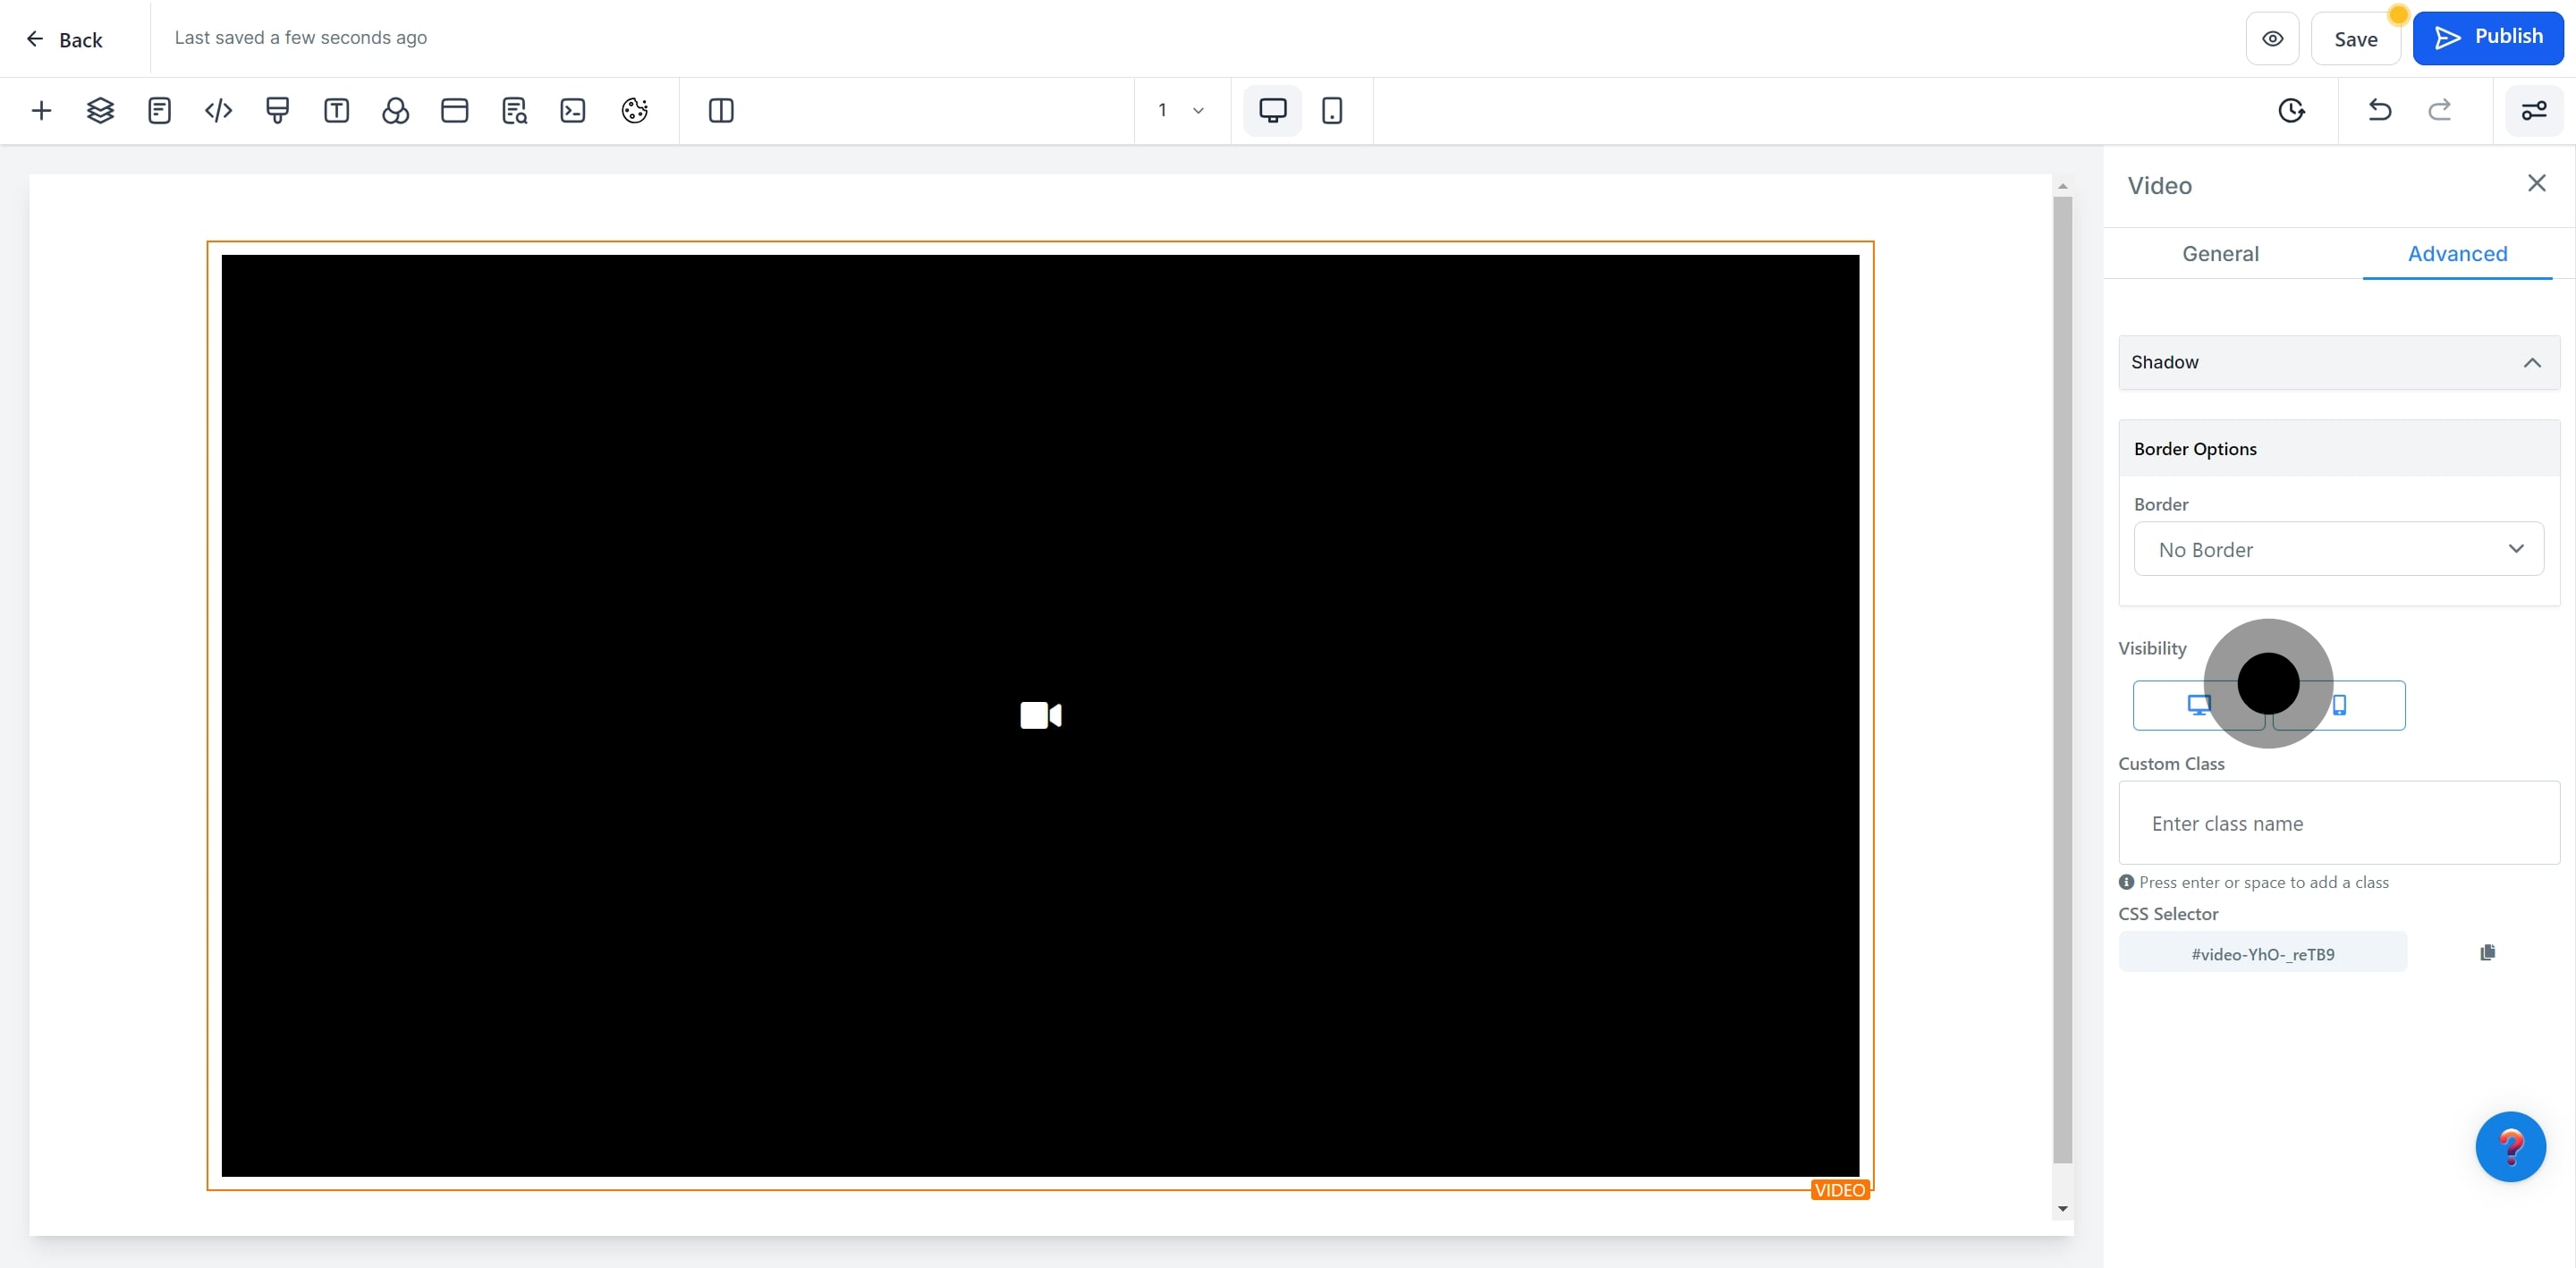
19. Lastly, adjust 'Visibility' settings.
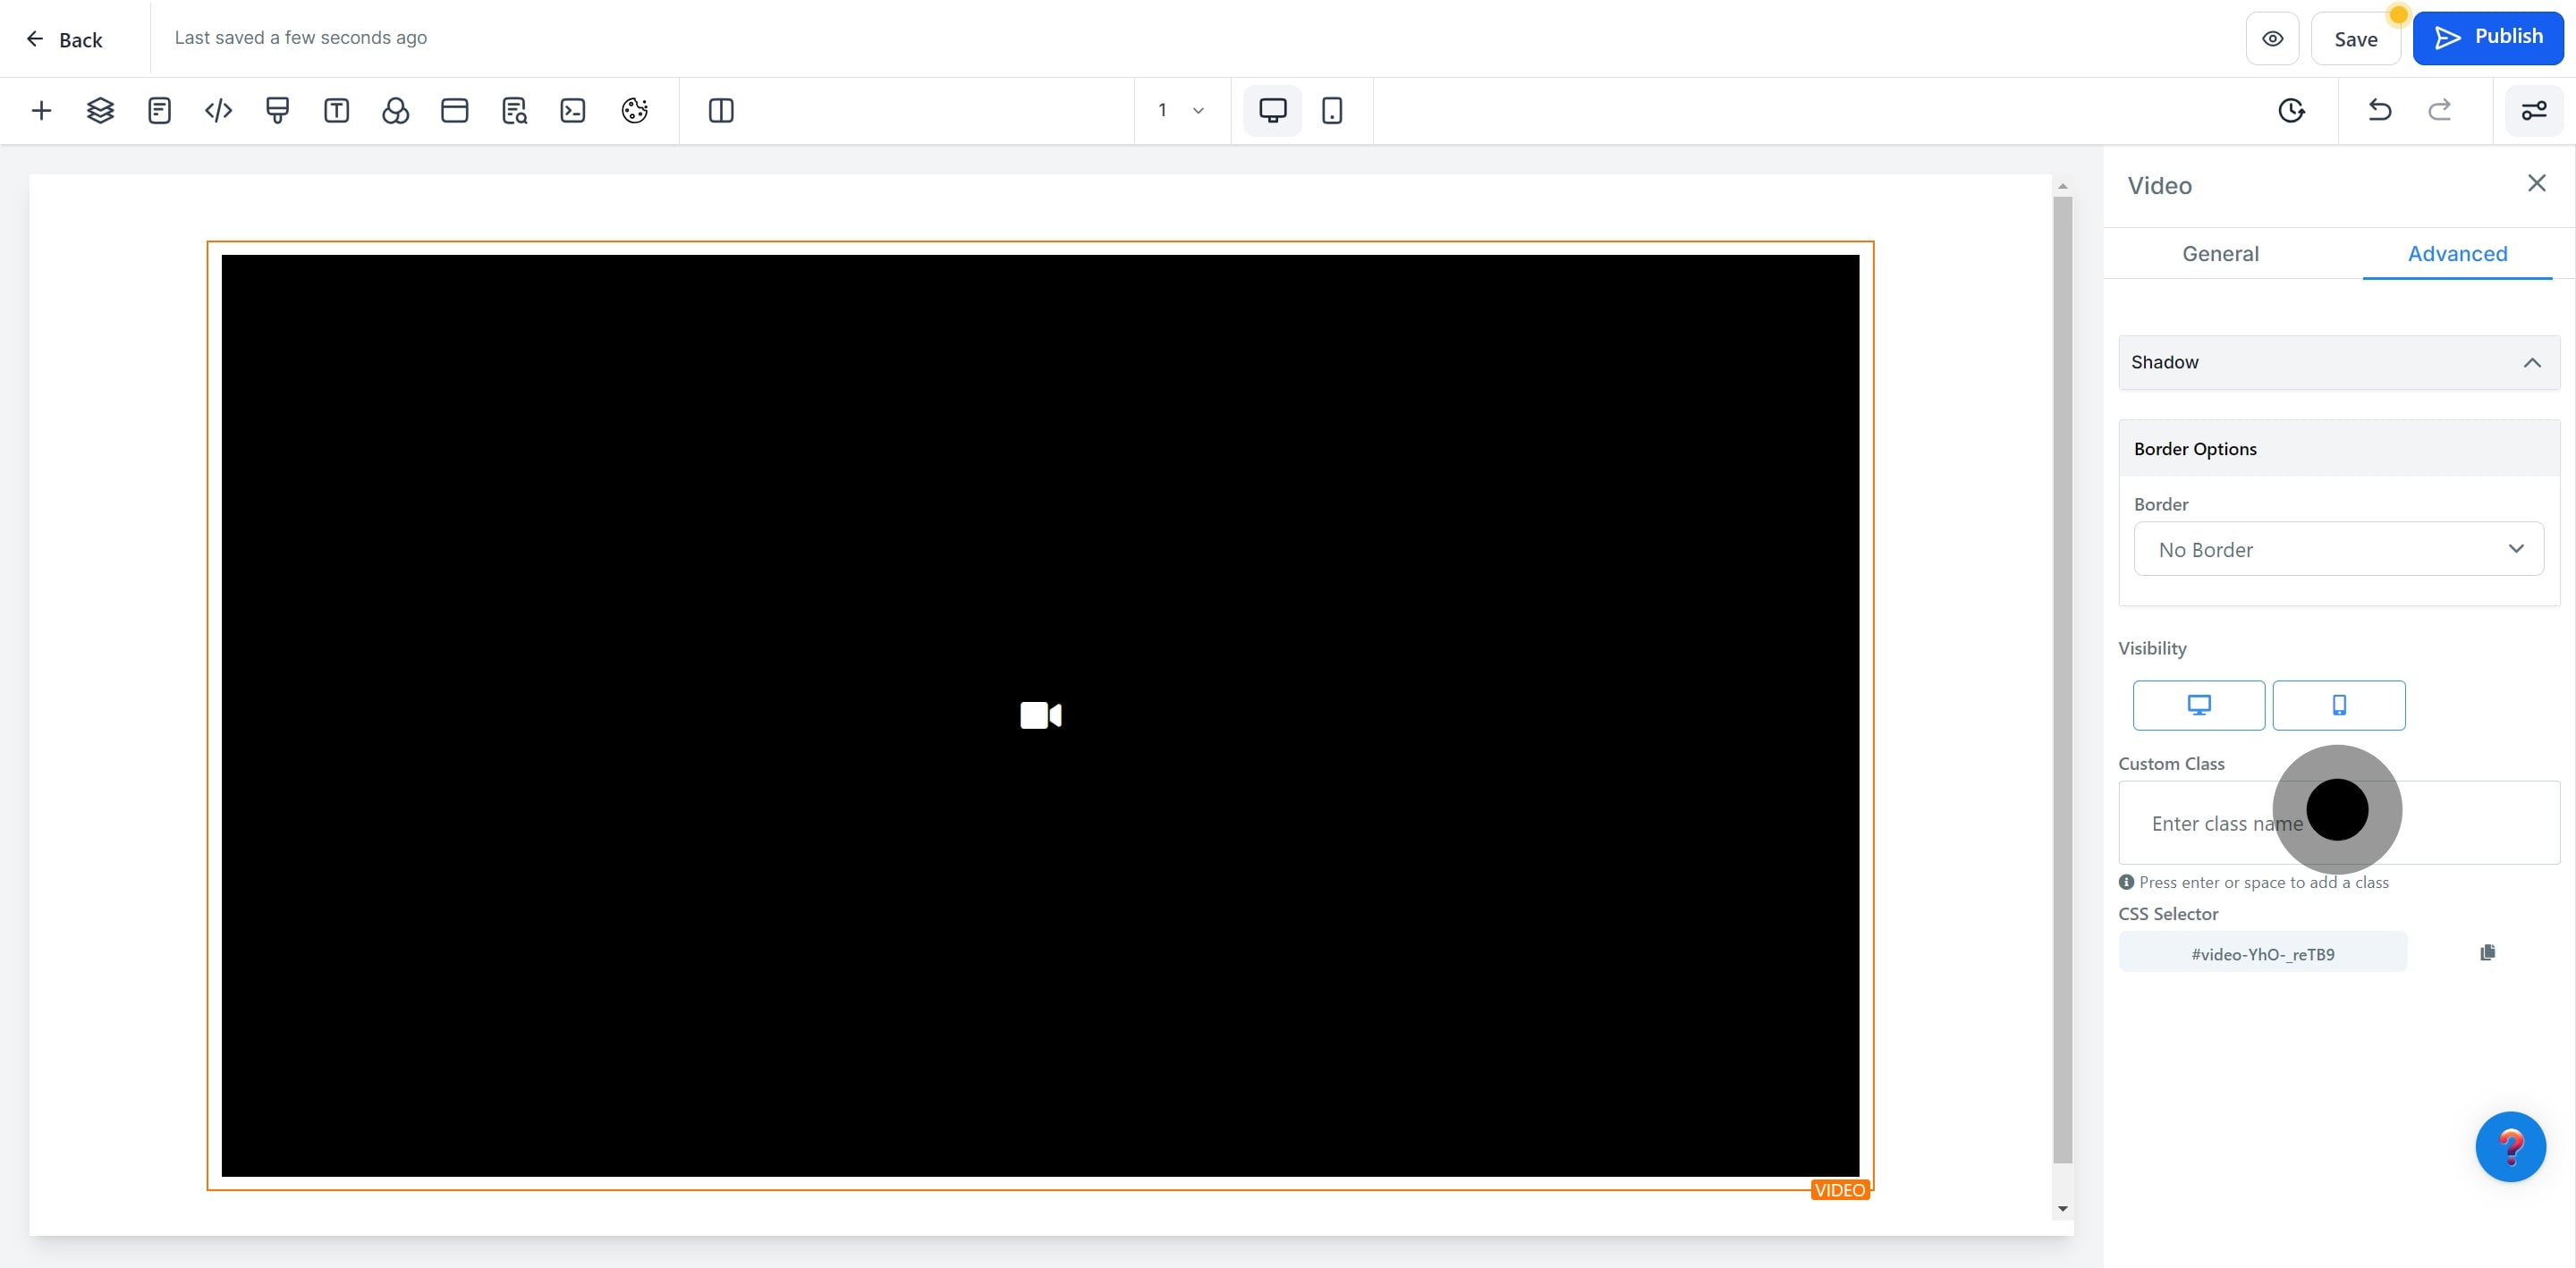
20. Click on 'Custom Class' for further customization.
21. Now, use the 'CSS Selector' for specific styling rules.

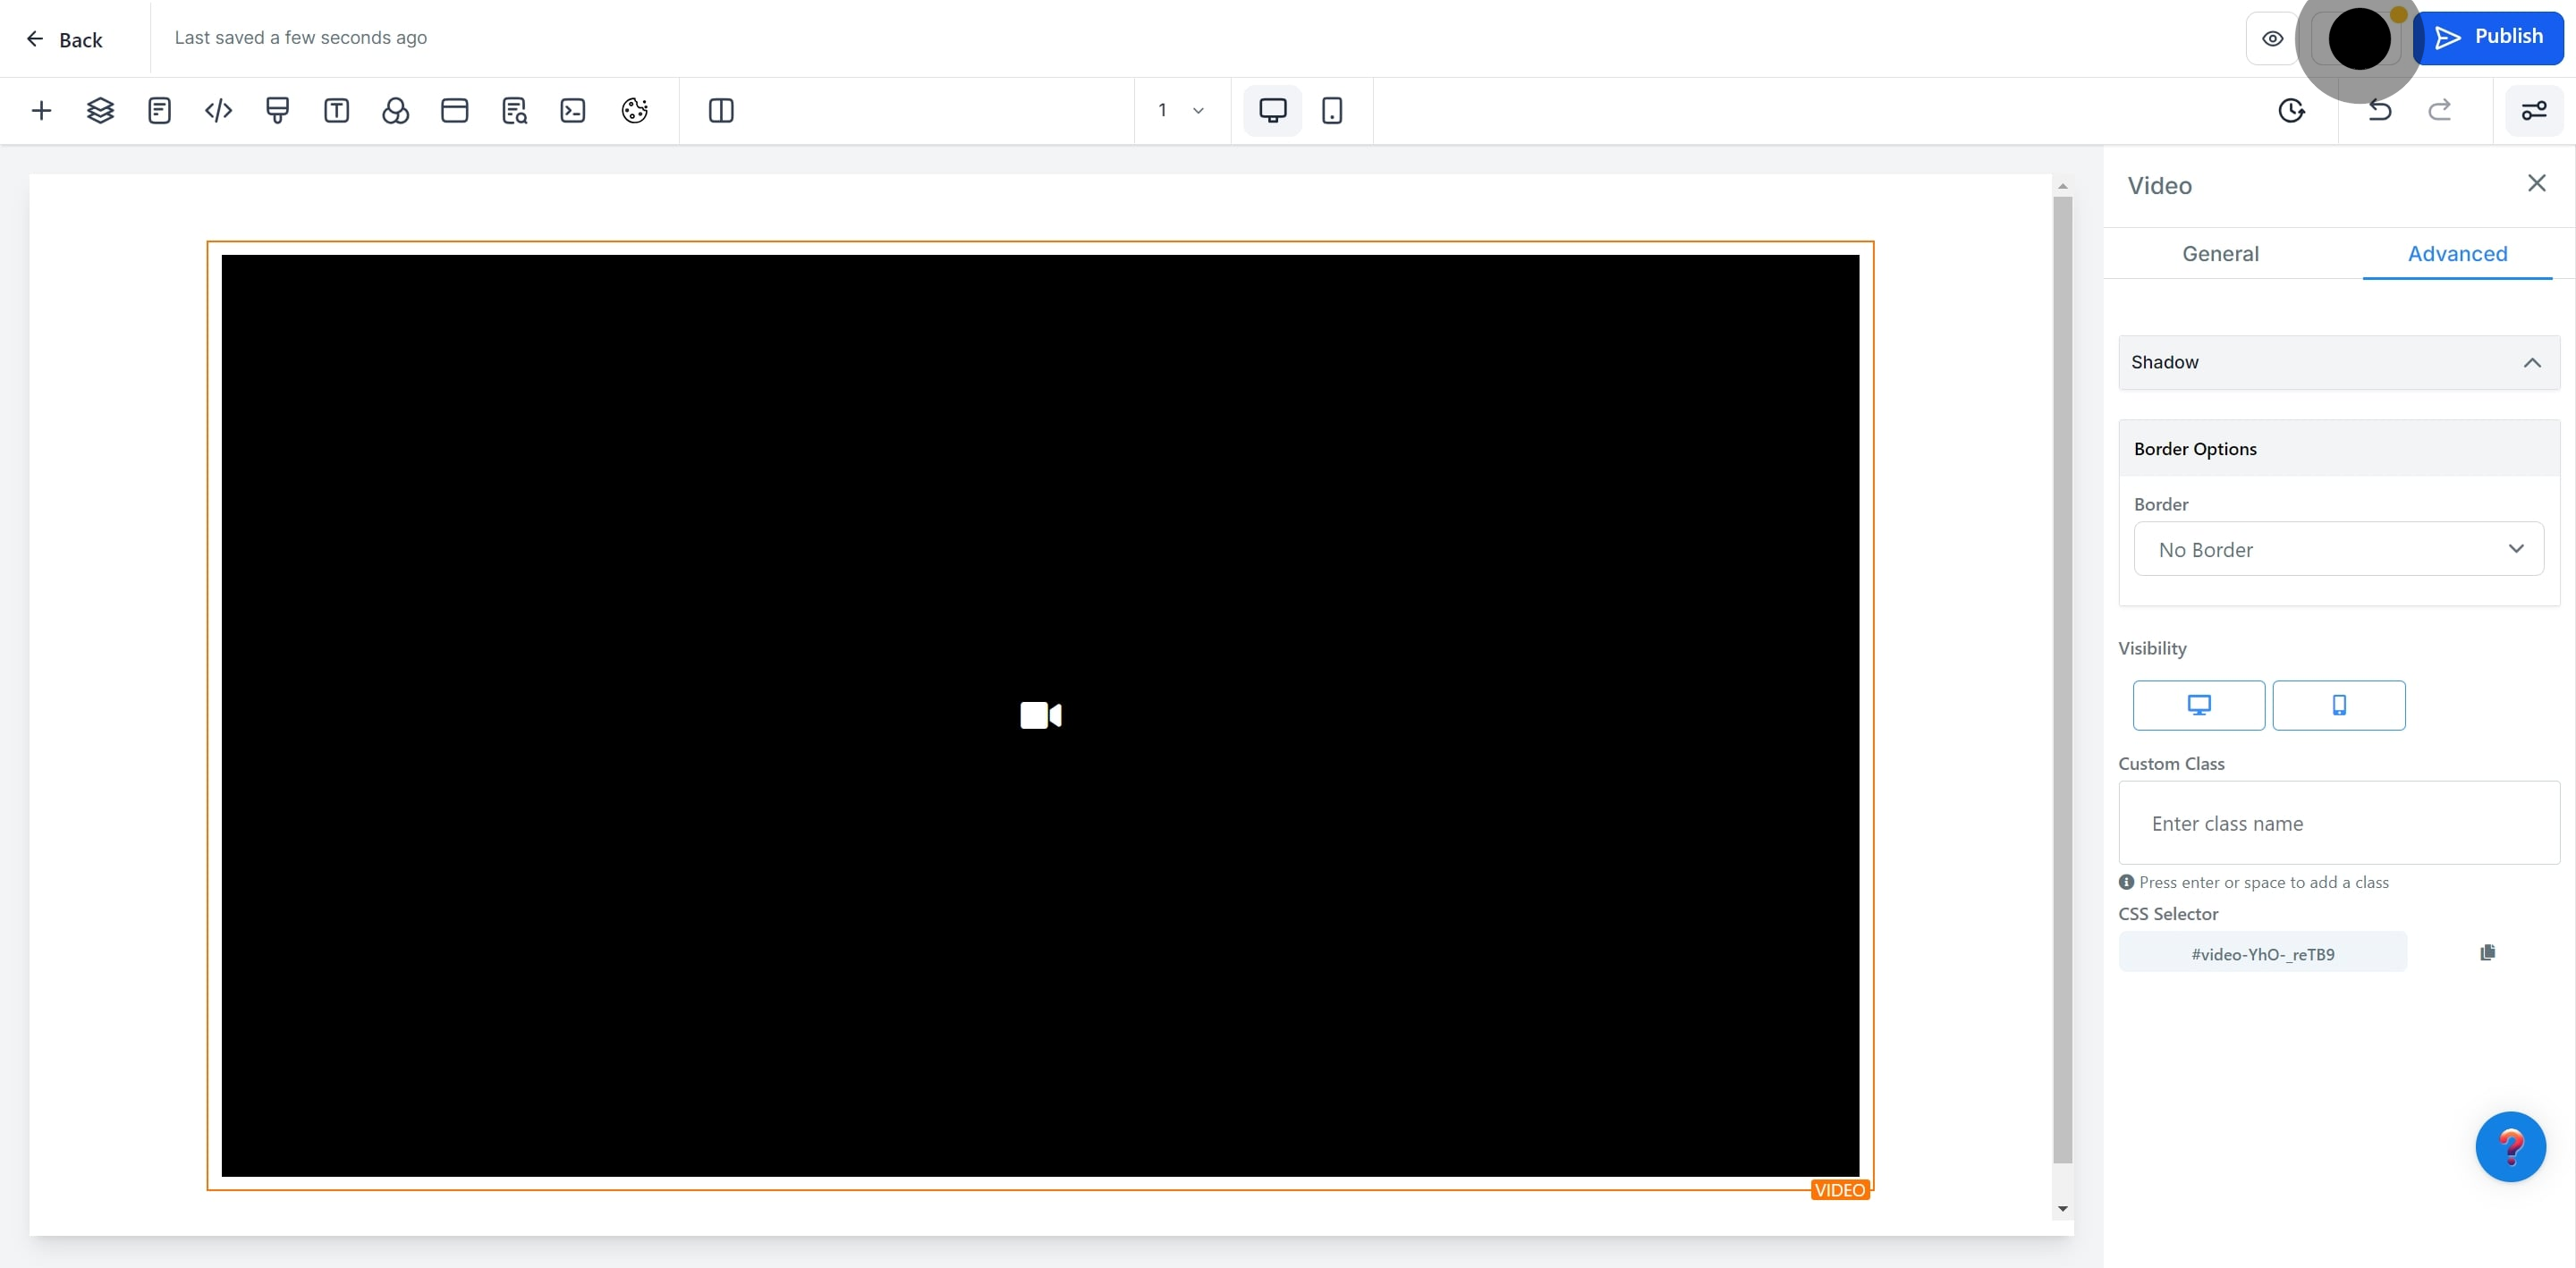
22. Finish up by saving your changes with 'Save'.
Note: Supported video qualities include 480P, 720P, 1080P, and Auto.
