Log into your Pest AI account.
Navigate to the 'Settings' option located in the main menu to adjust system configurations.
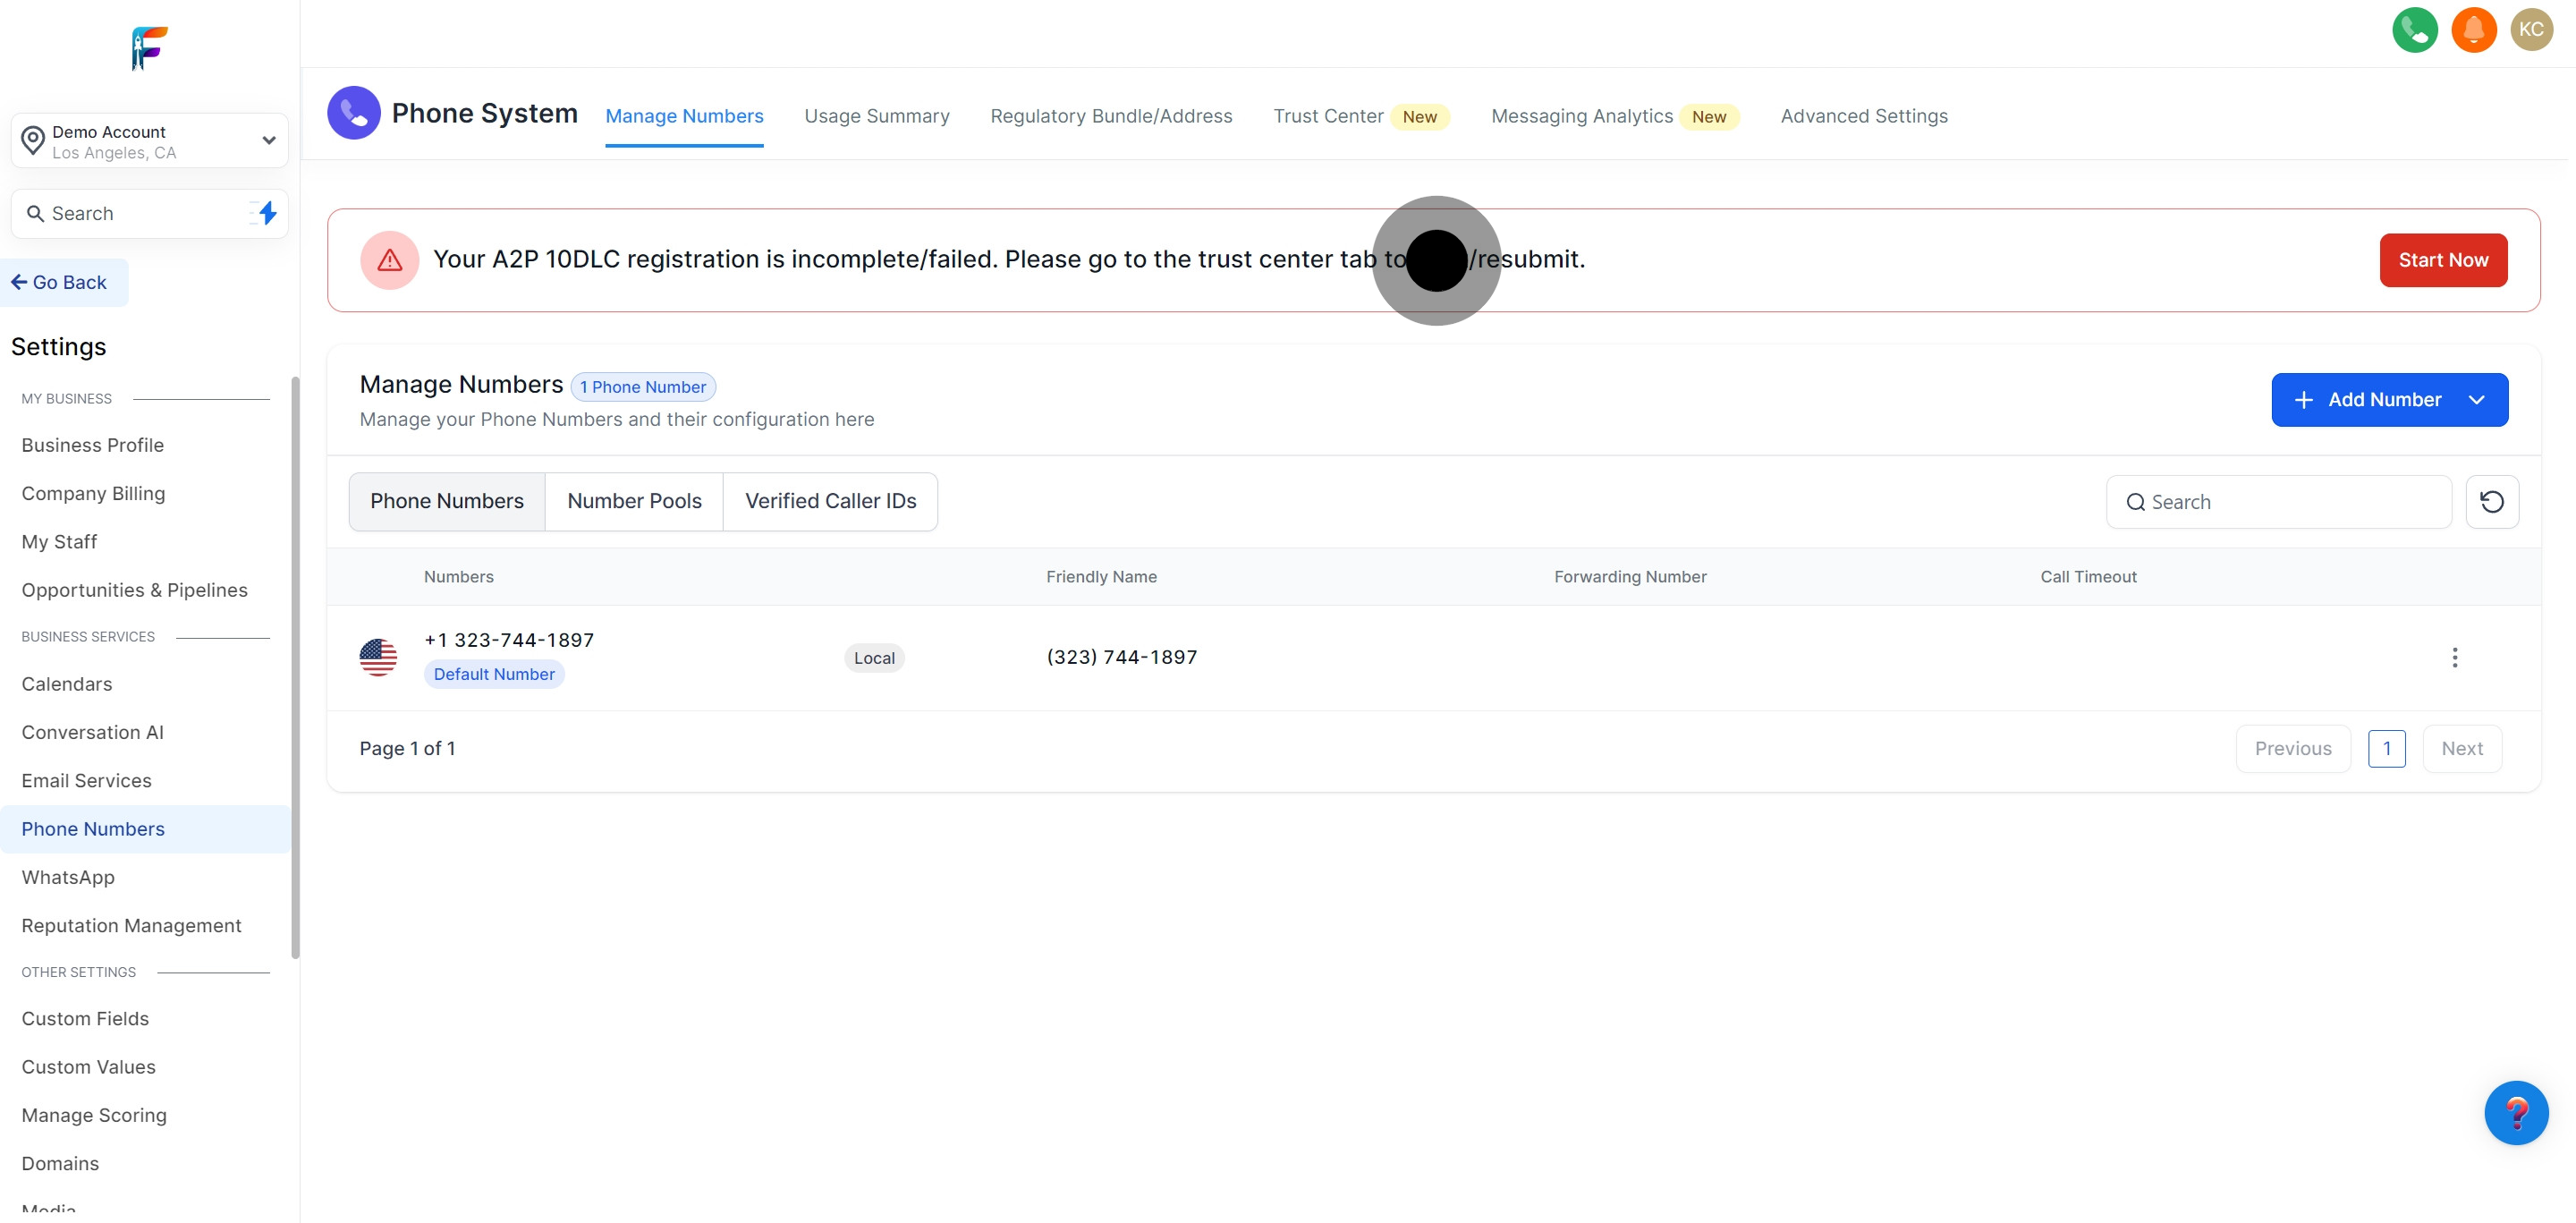
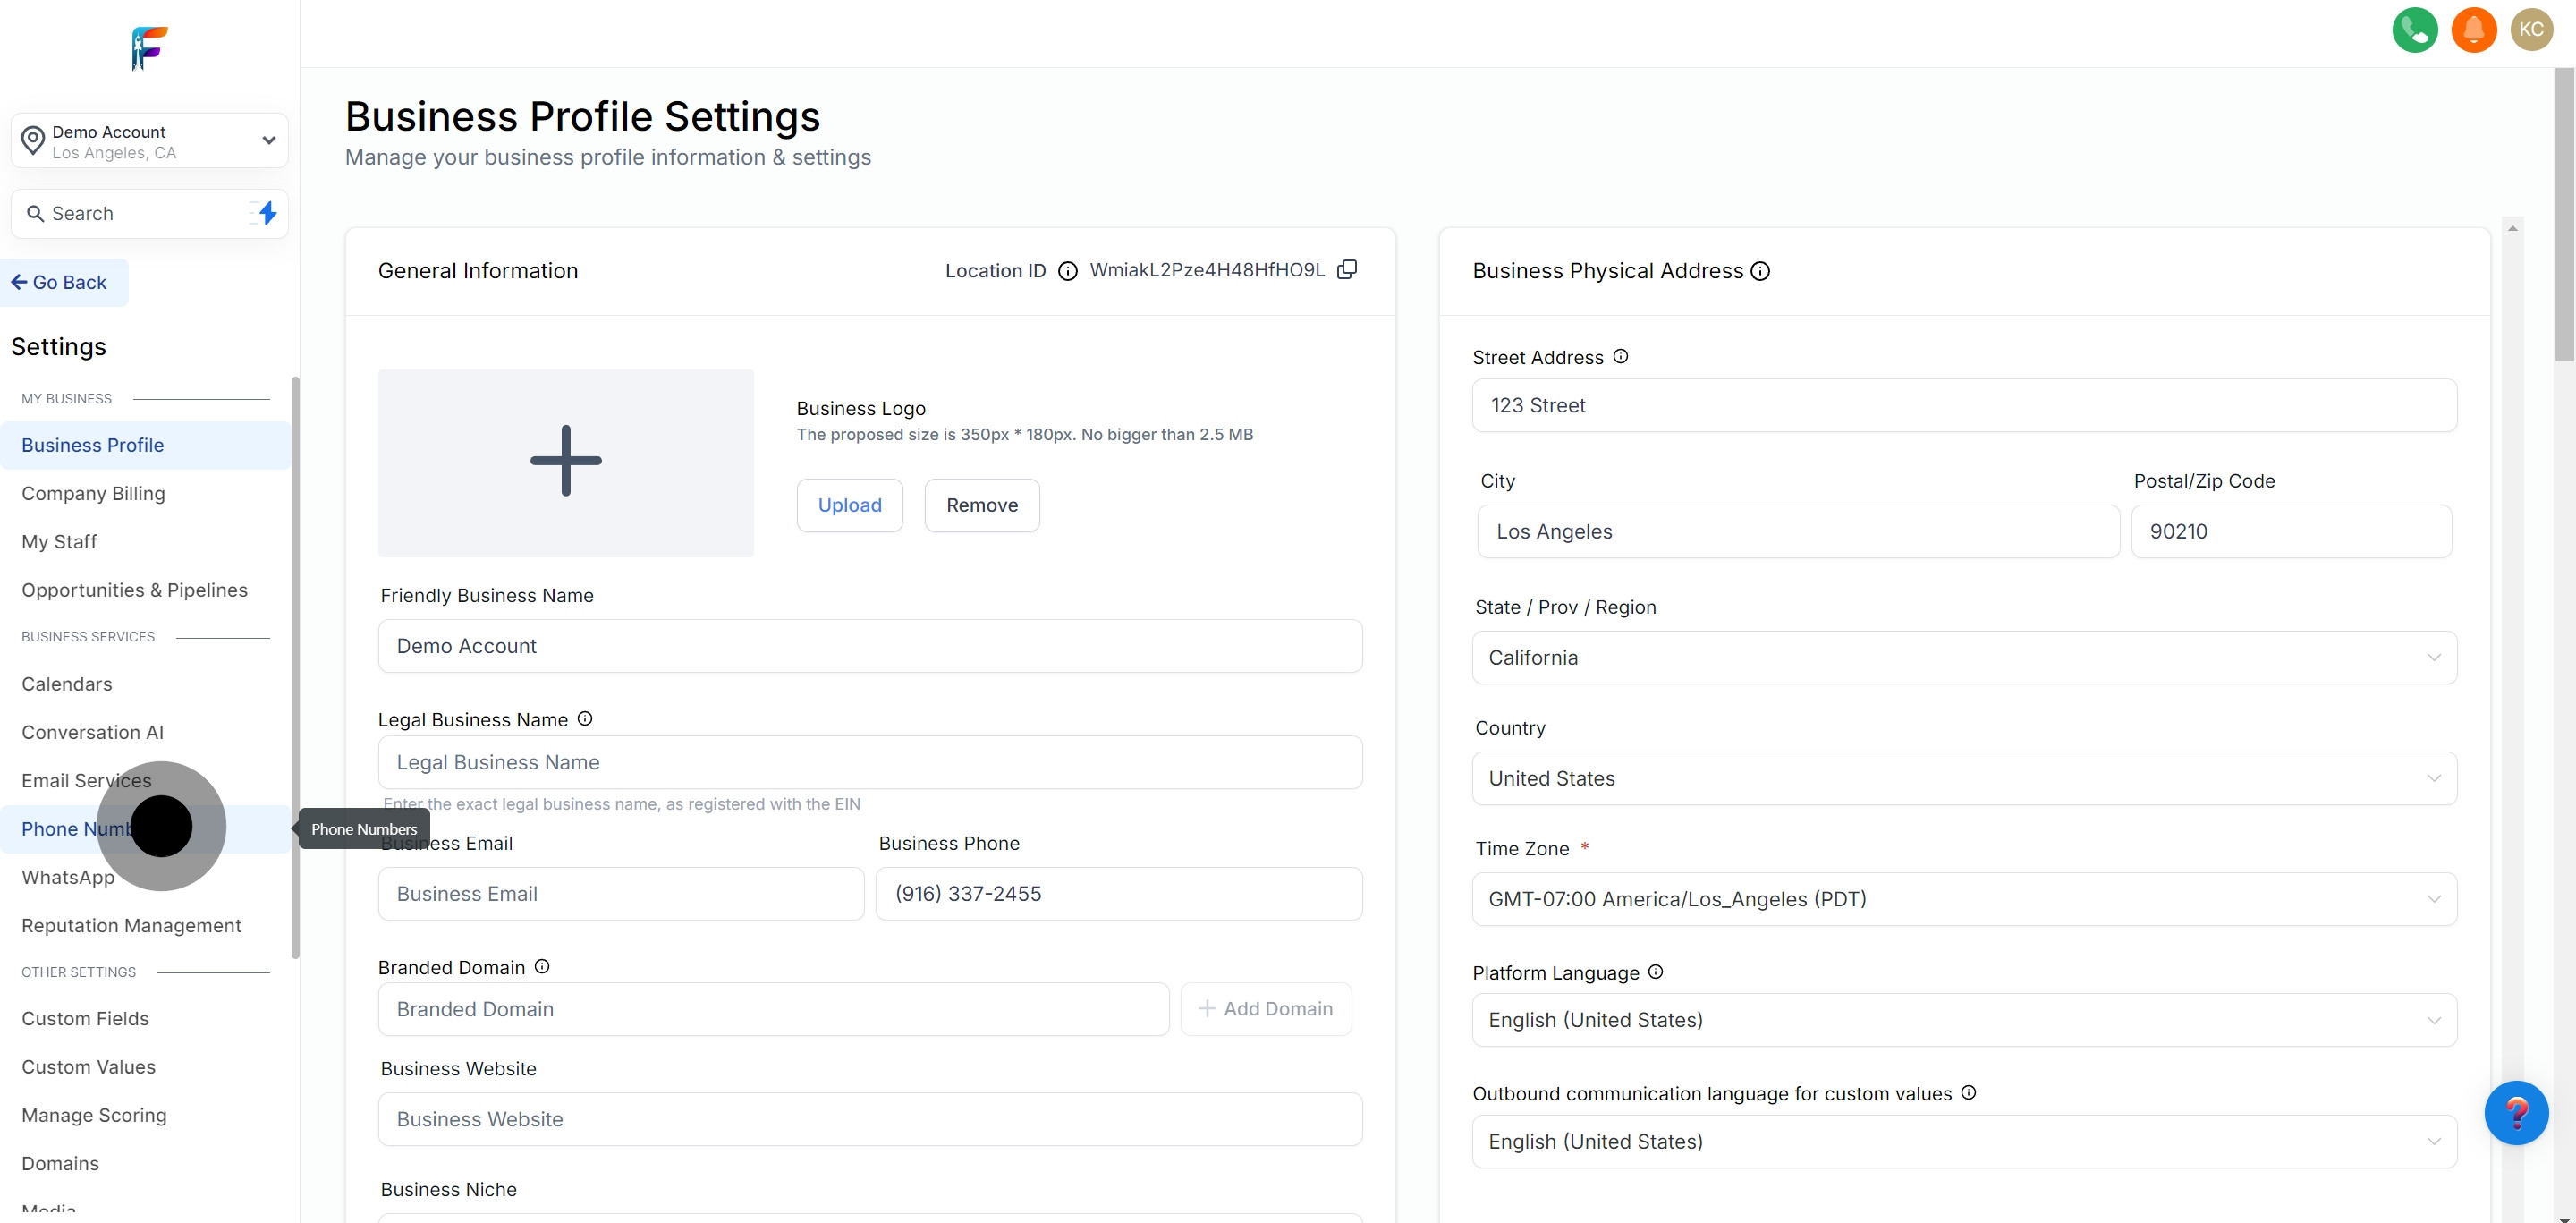
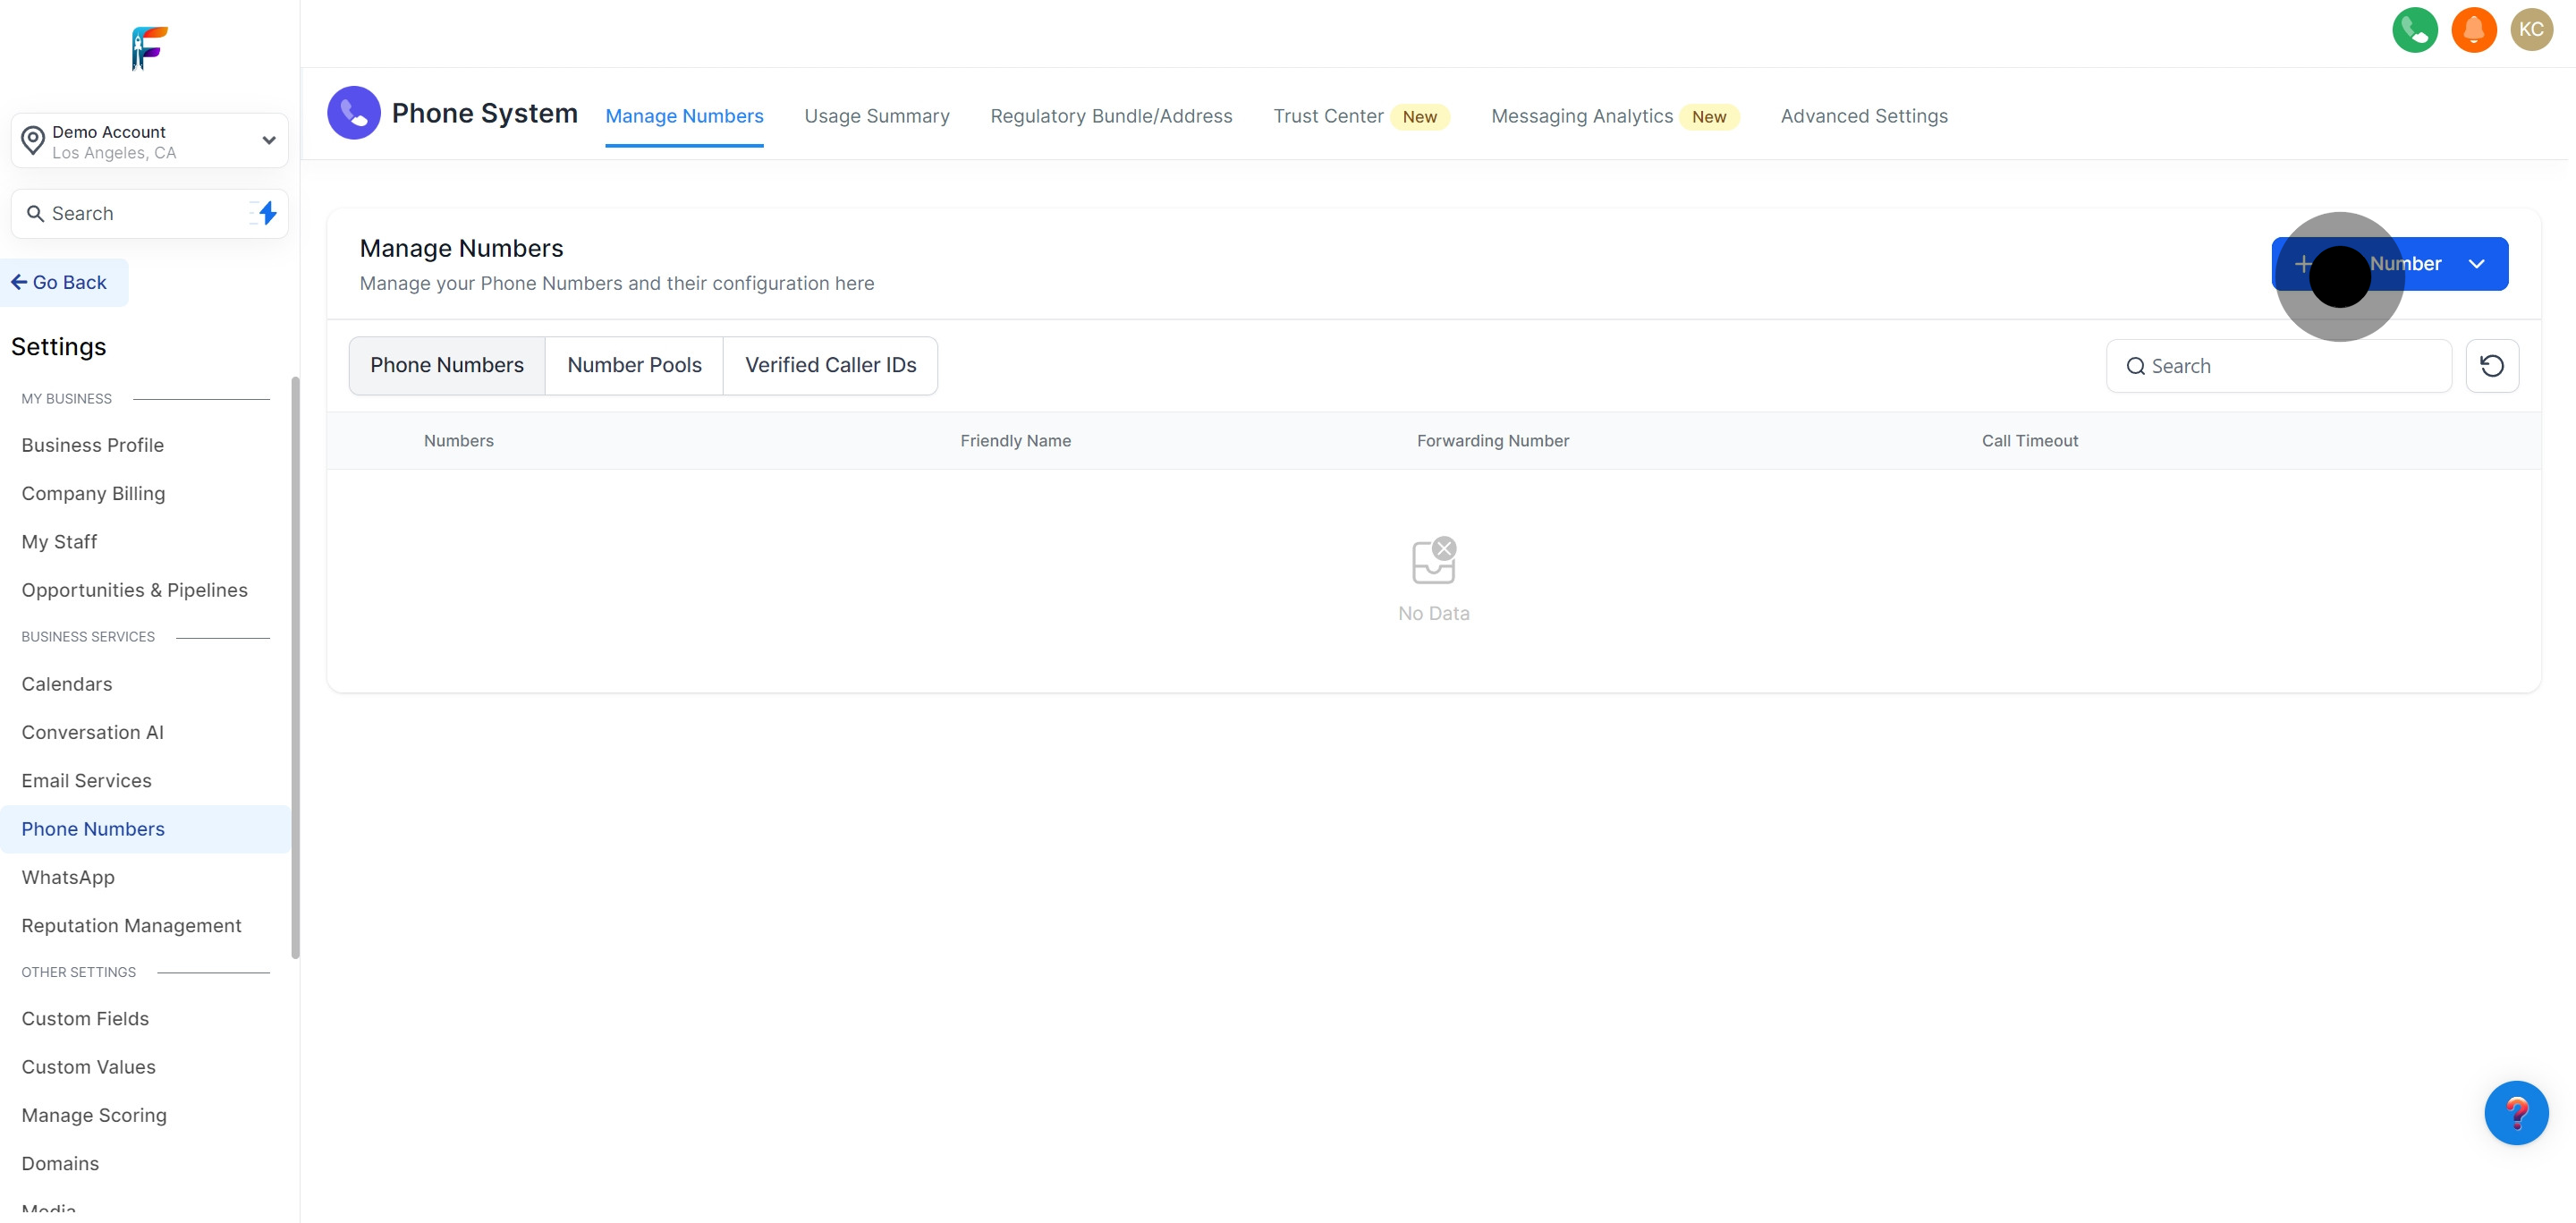
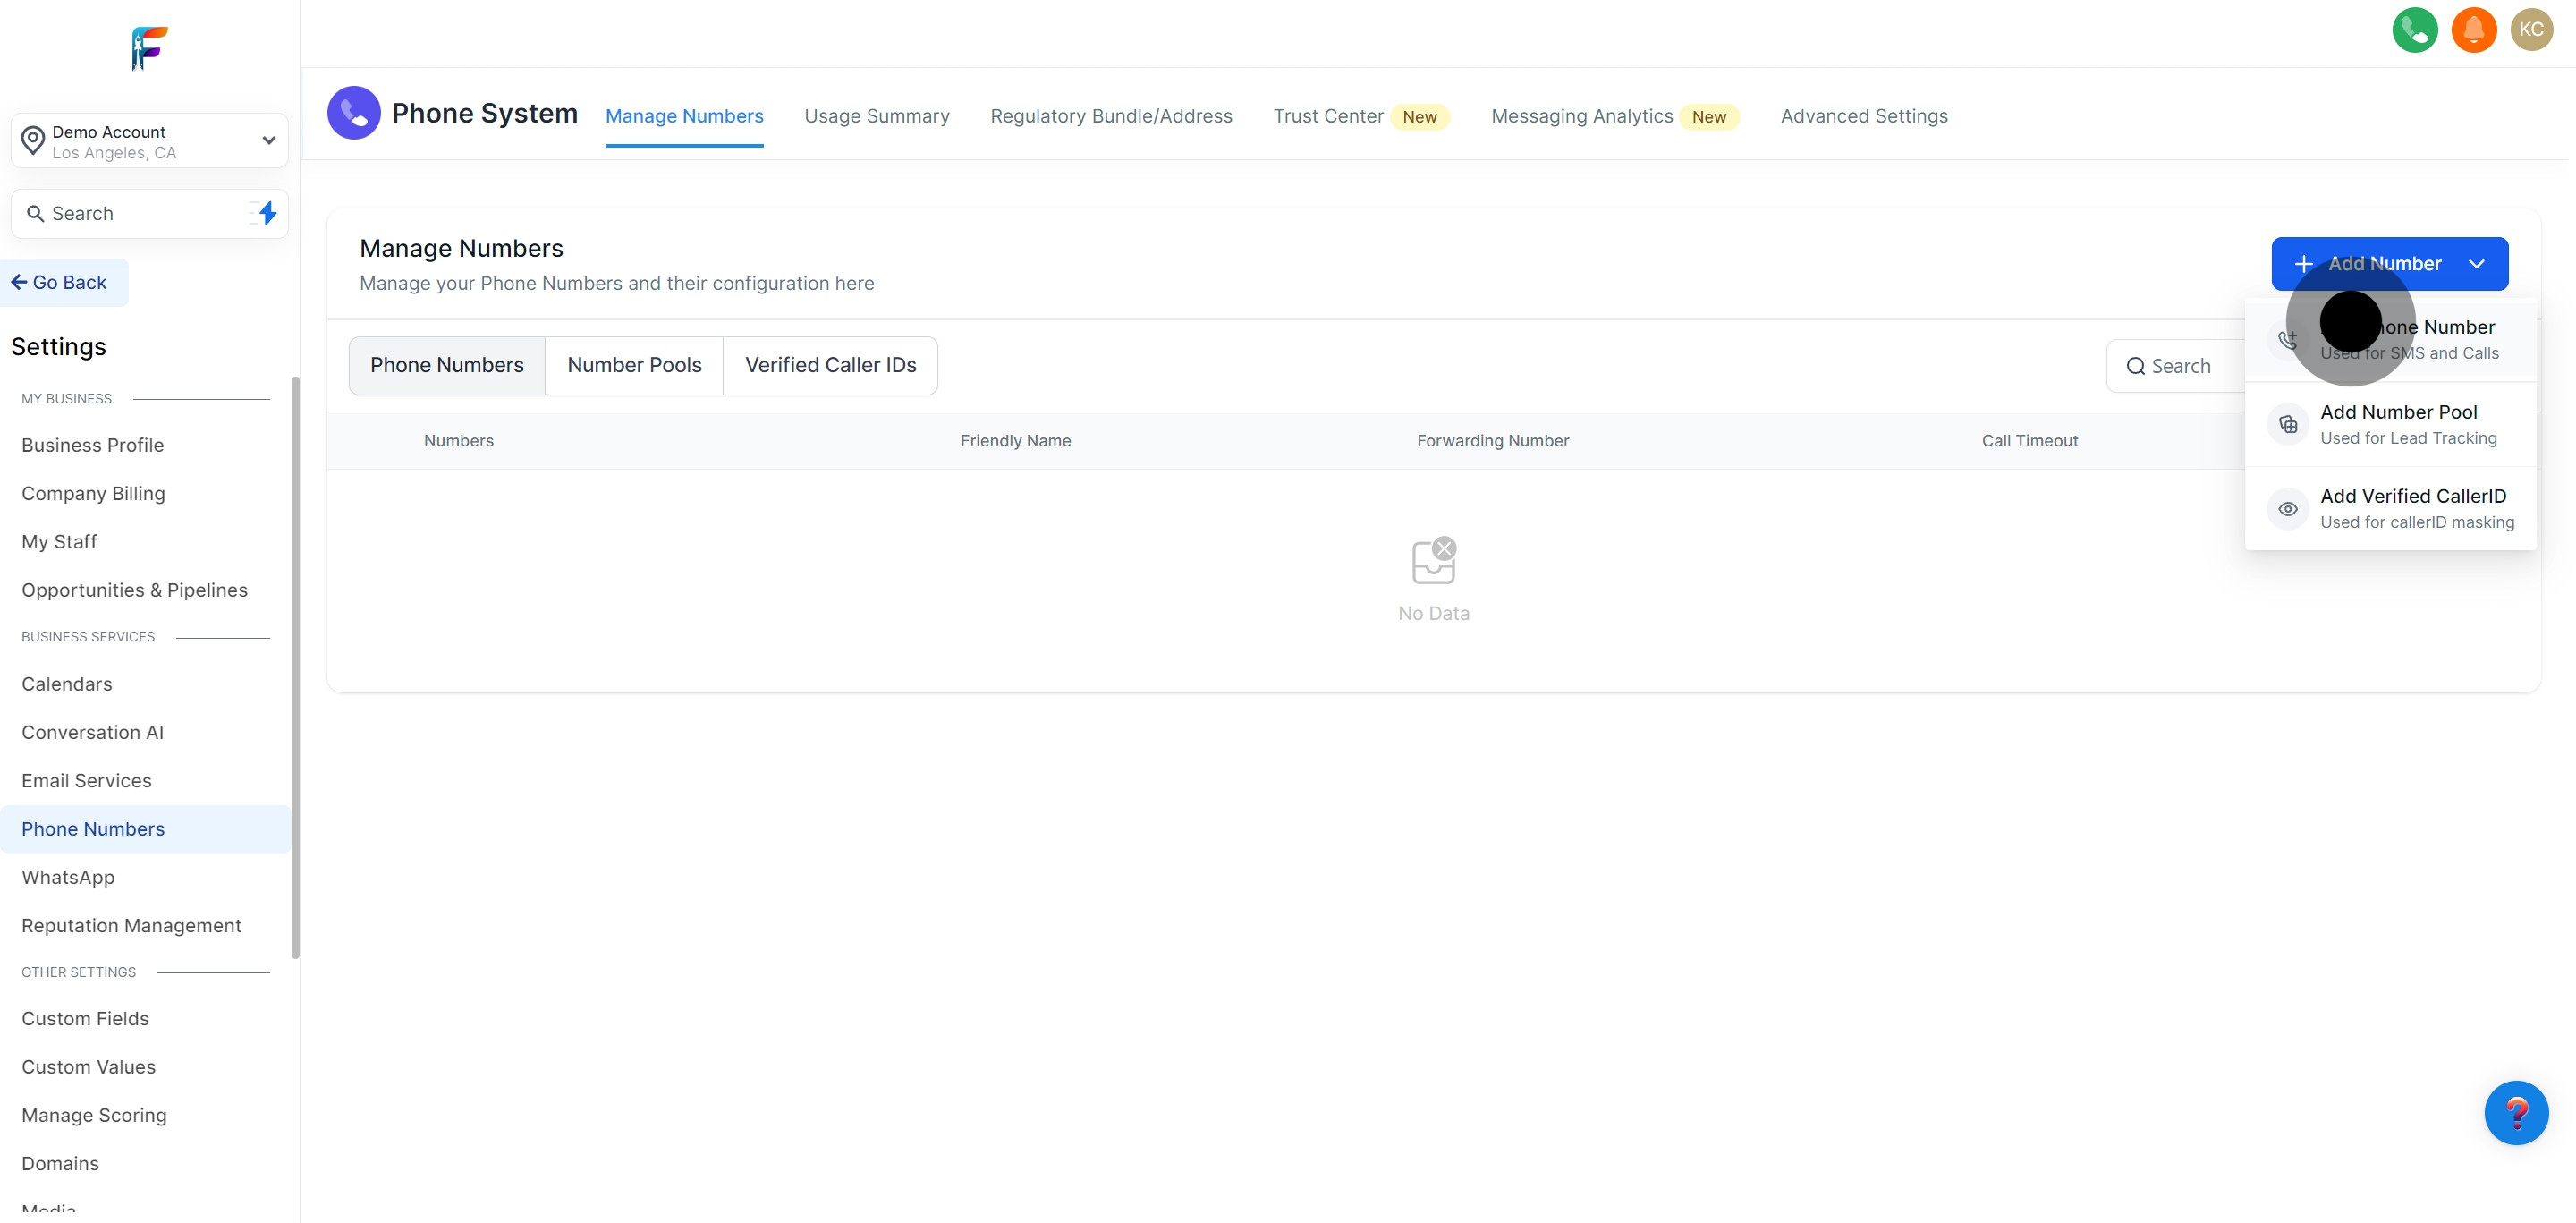
Within the Settings menu, select 'Phone Numbers' to access the phone number management features.
Click on the 'Add Number' button to initiate the process of acquiring a new phone number.
From the dropdown menu that appears, select 'Add Phone Number' to proceed with setting up a new number.
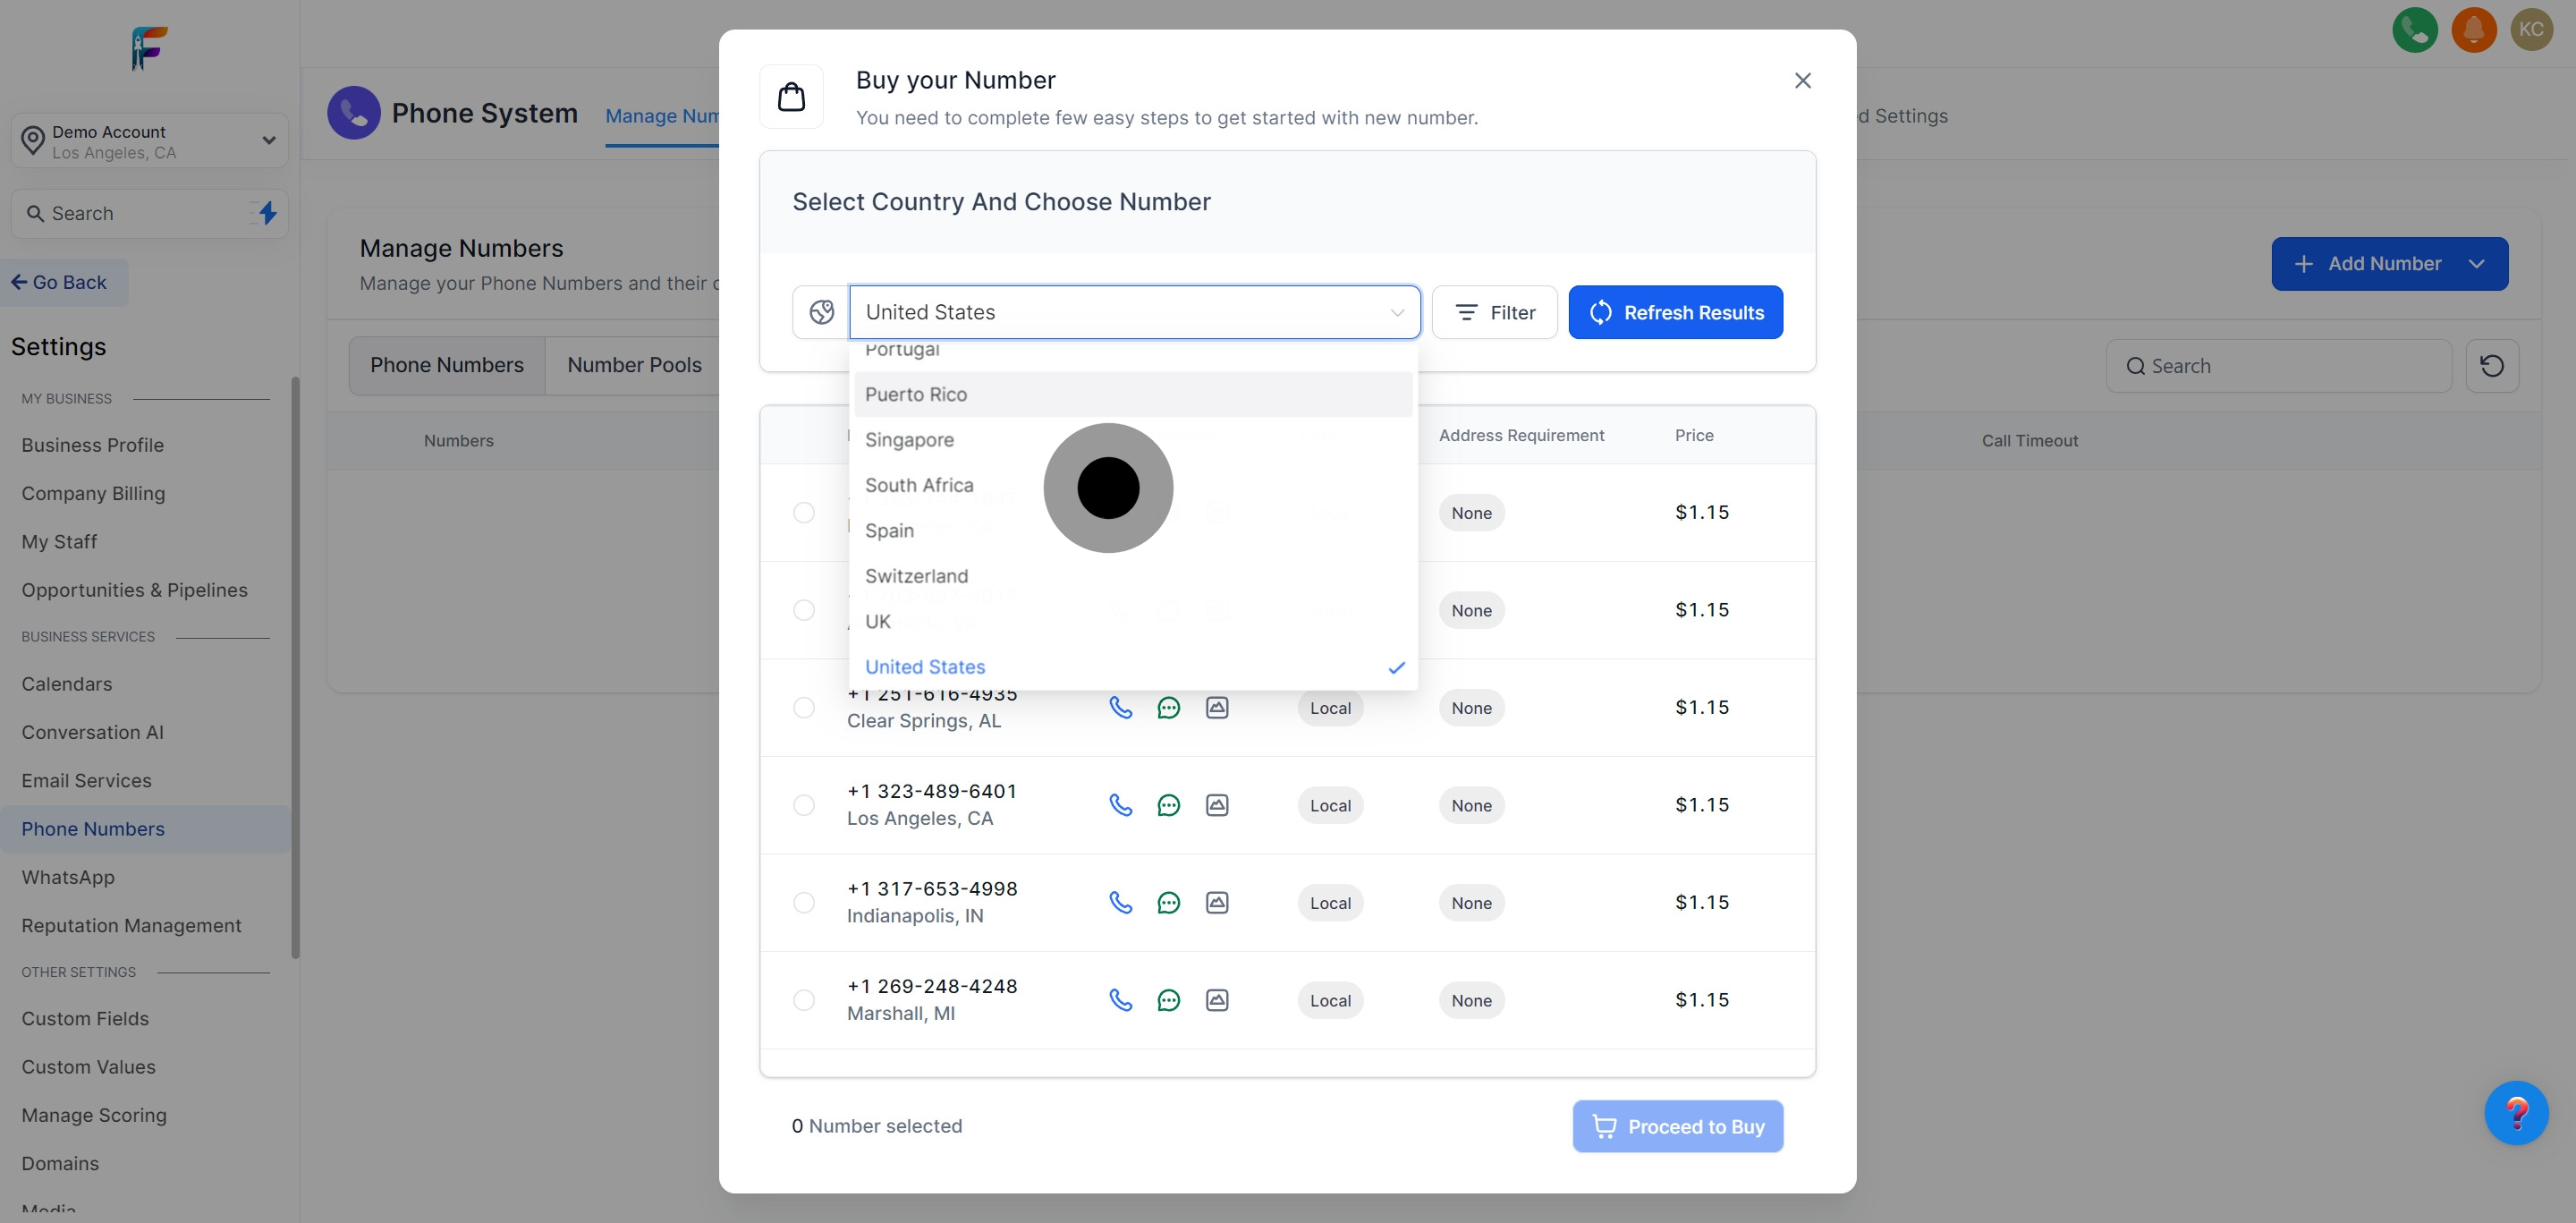
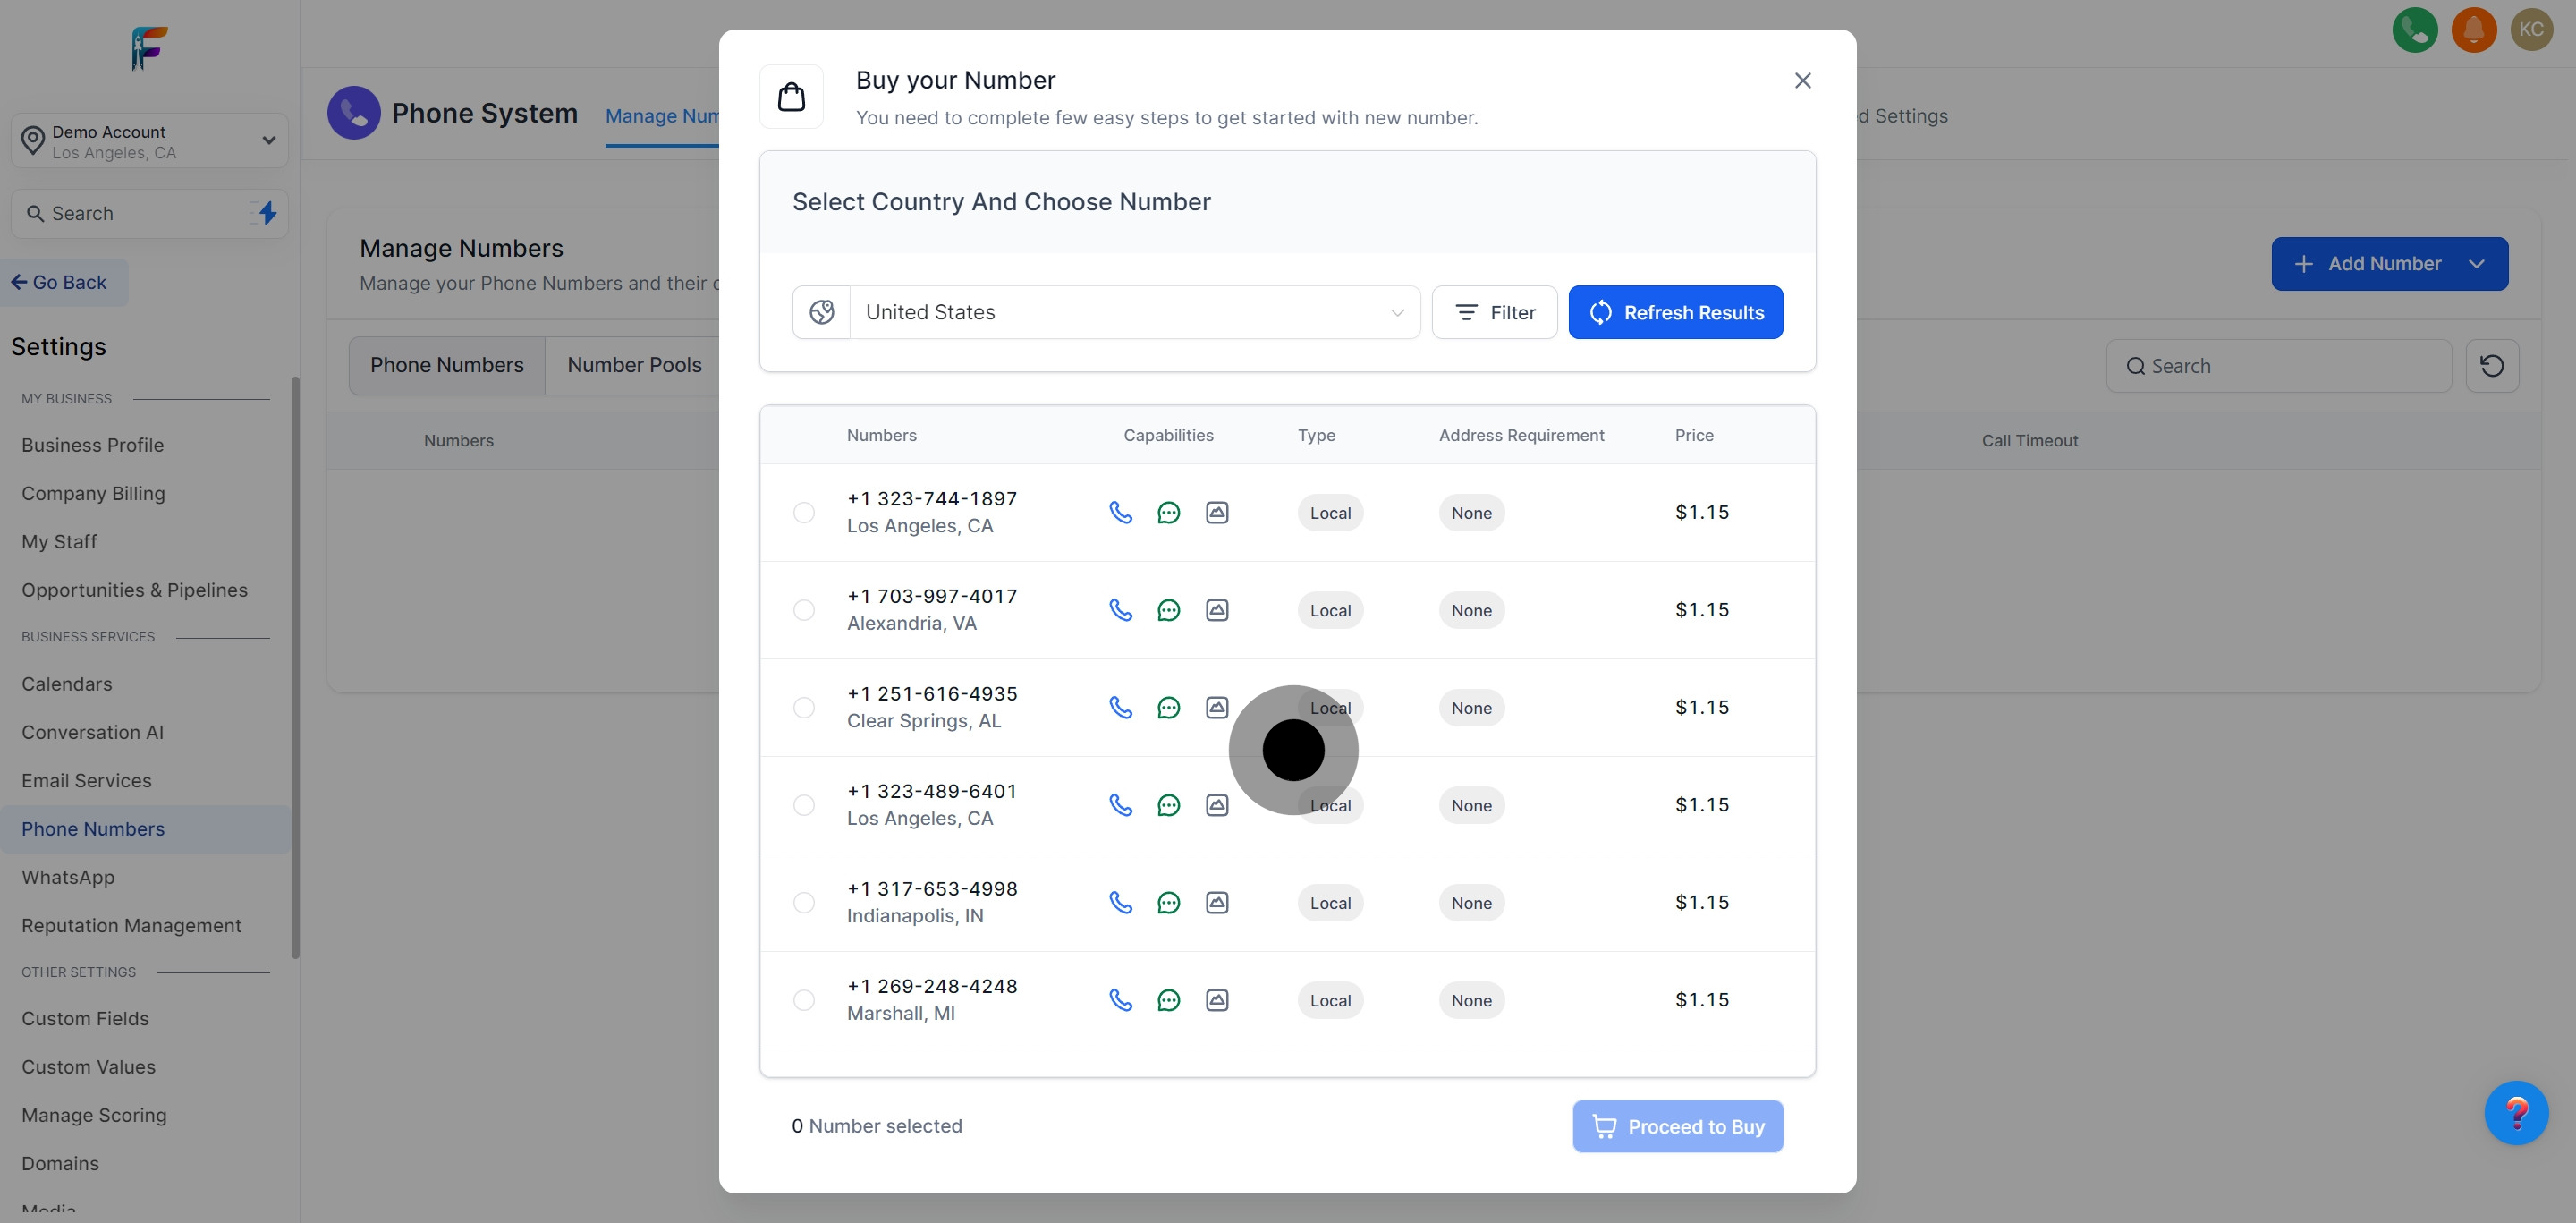
Identify and select the desired area from the available options to ensure the phone number matches your region of operation.
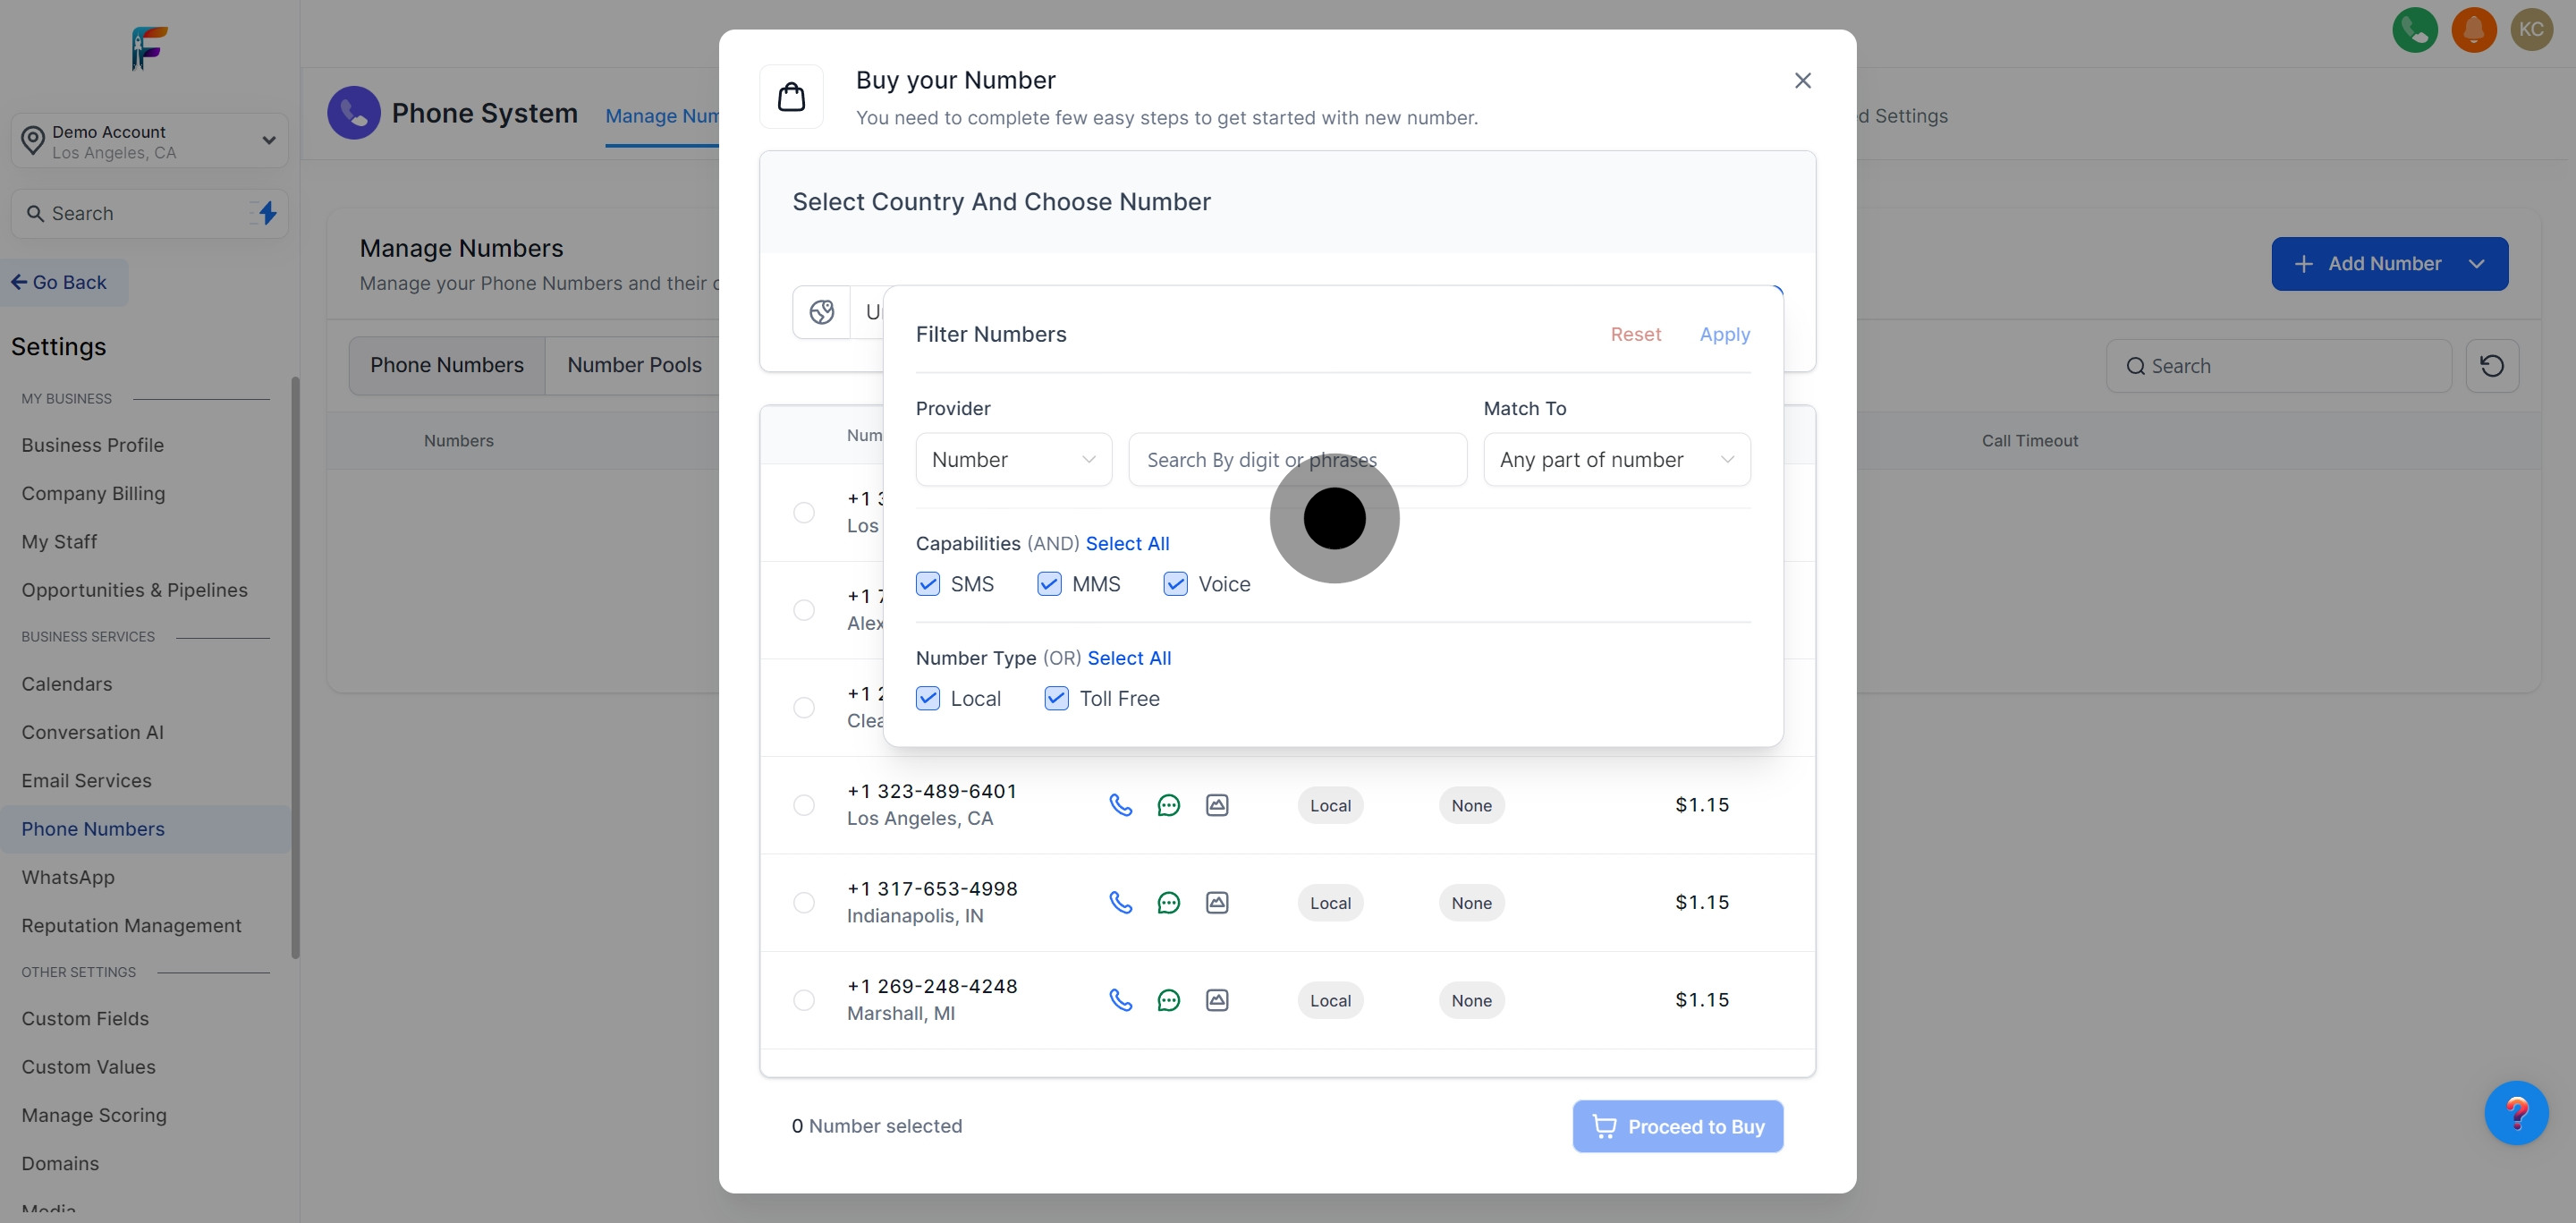
Utilize filters to narrow down the search for available phone numbers based on specific criteria such as area codes or features.
After setting the filters, click to refresh your options, allowing the system to display phone numbers that fit your specified criteria.
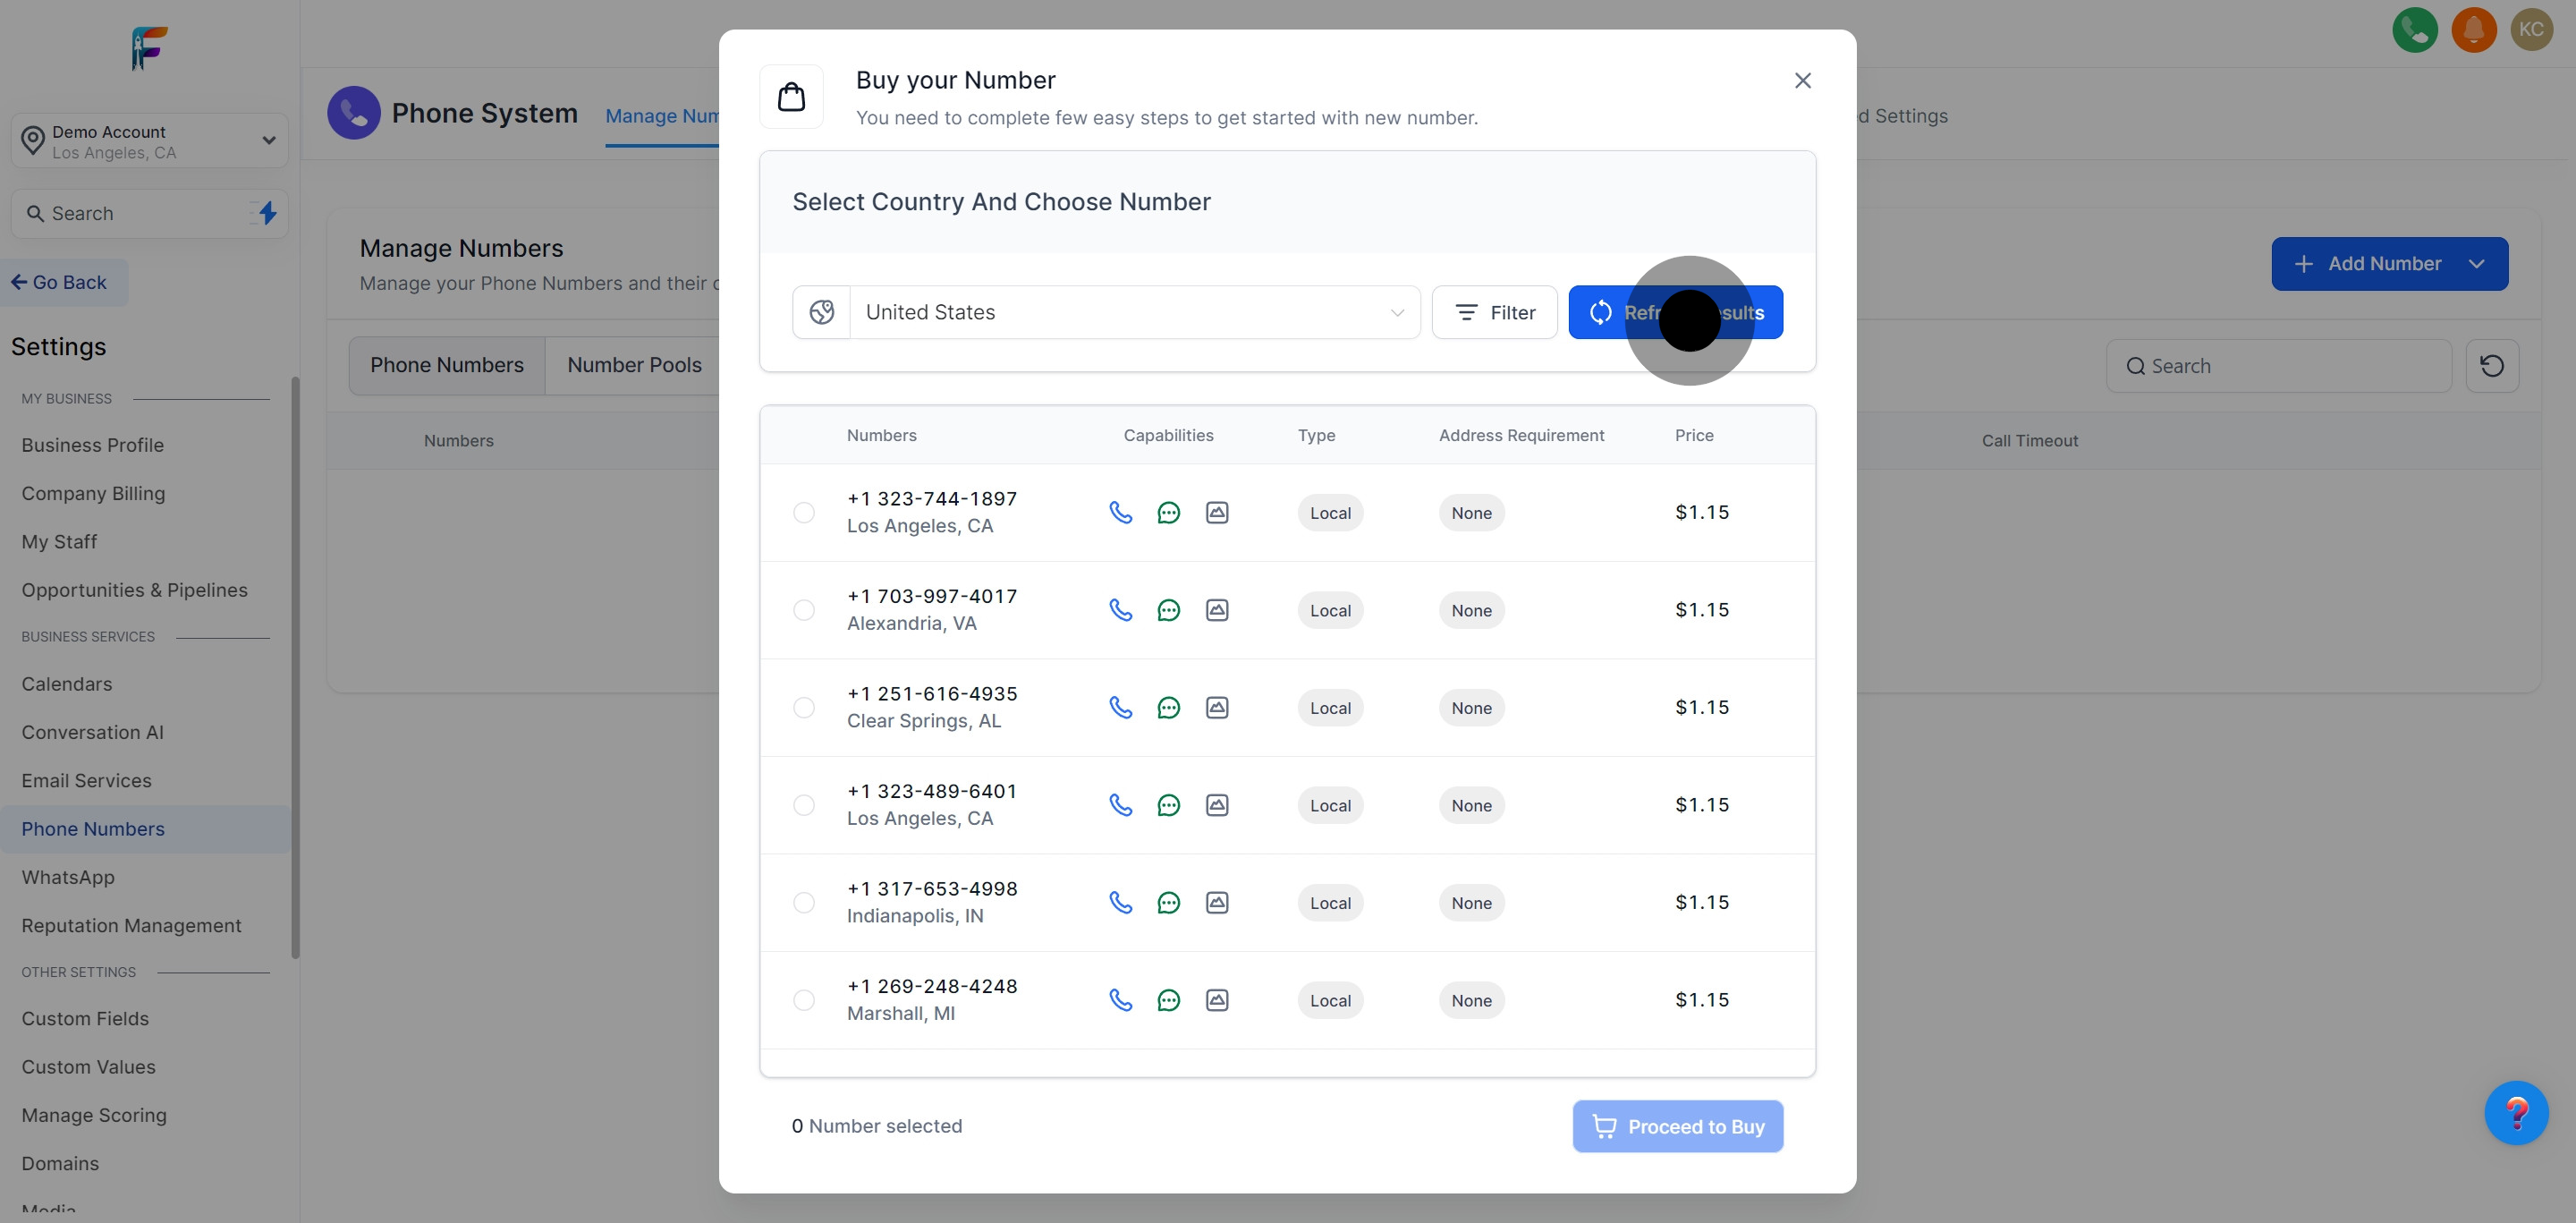
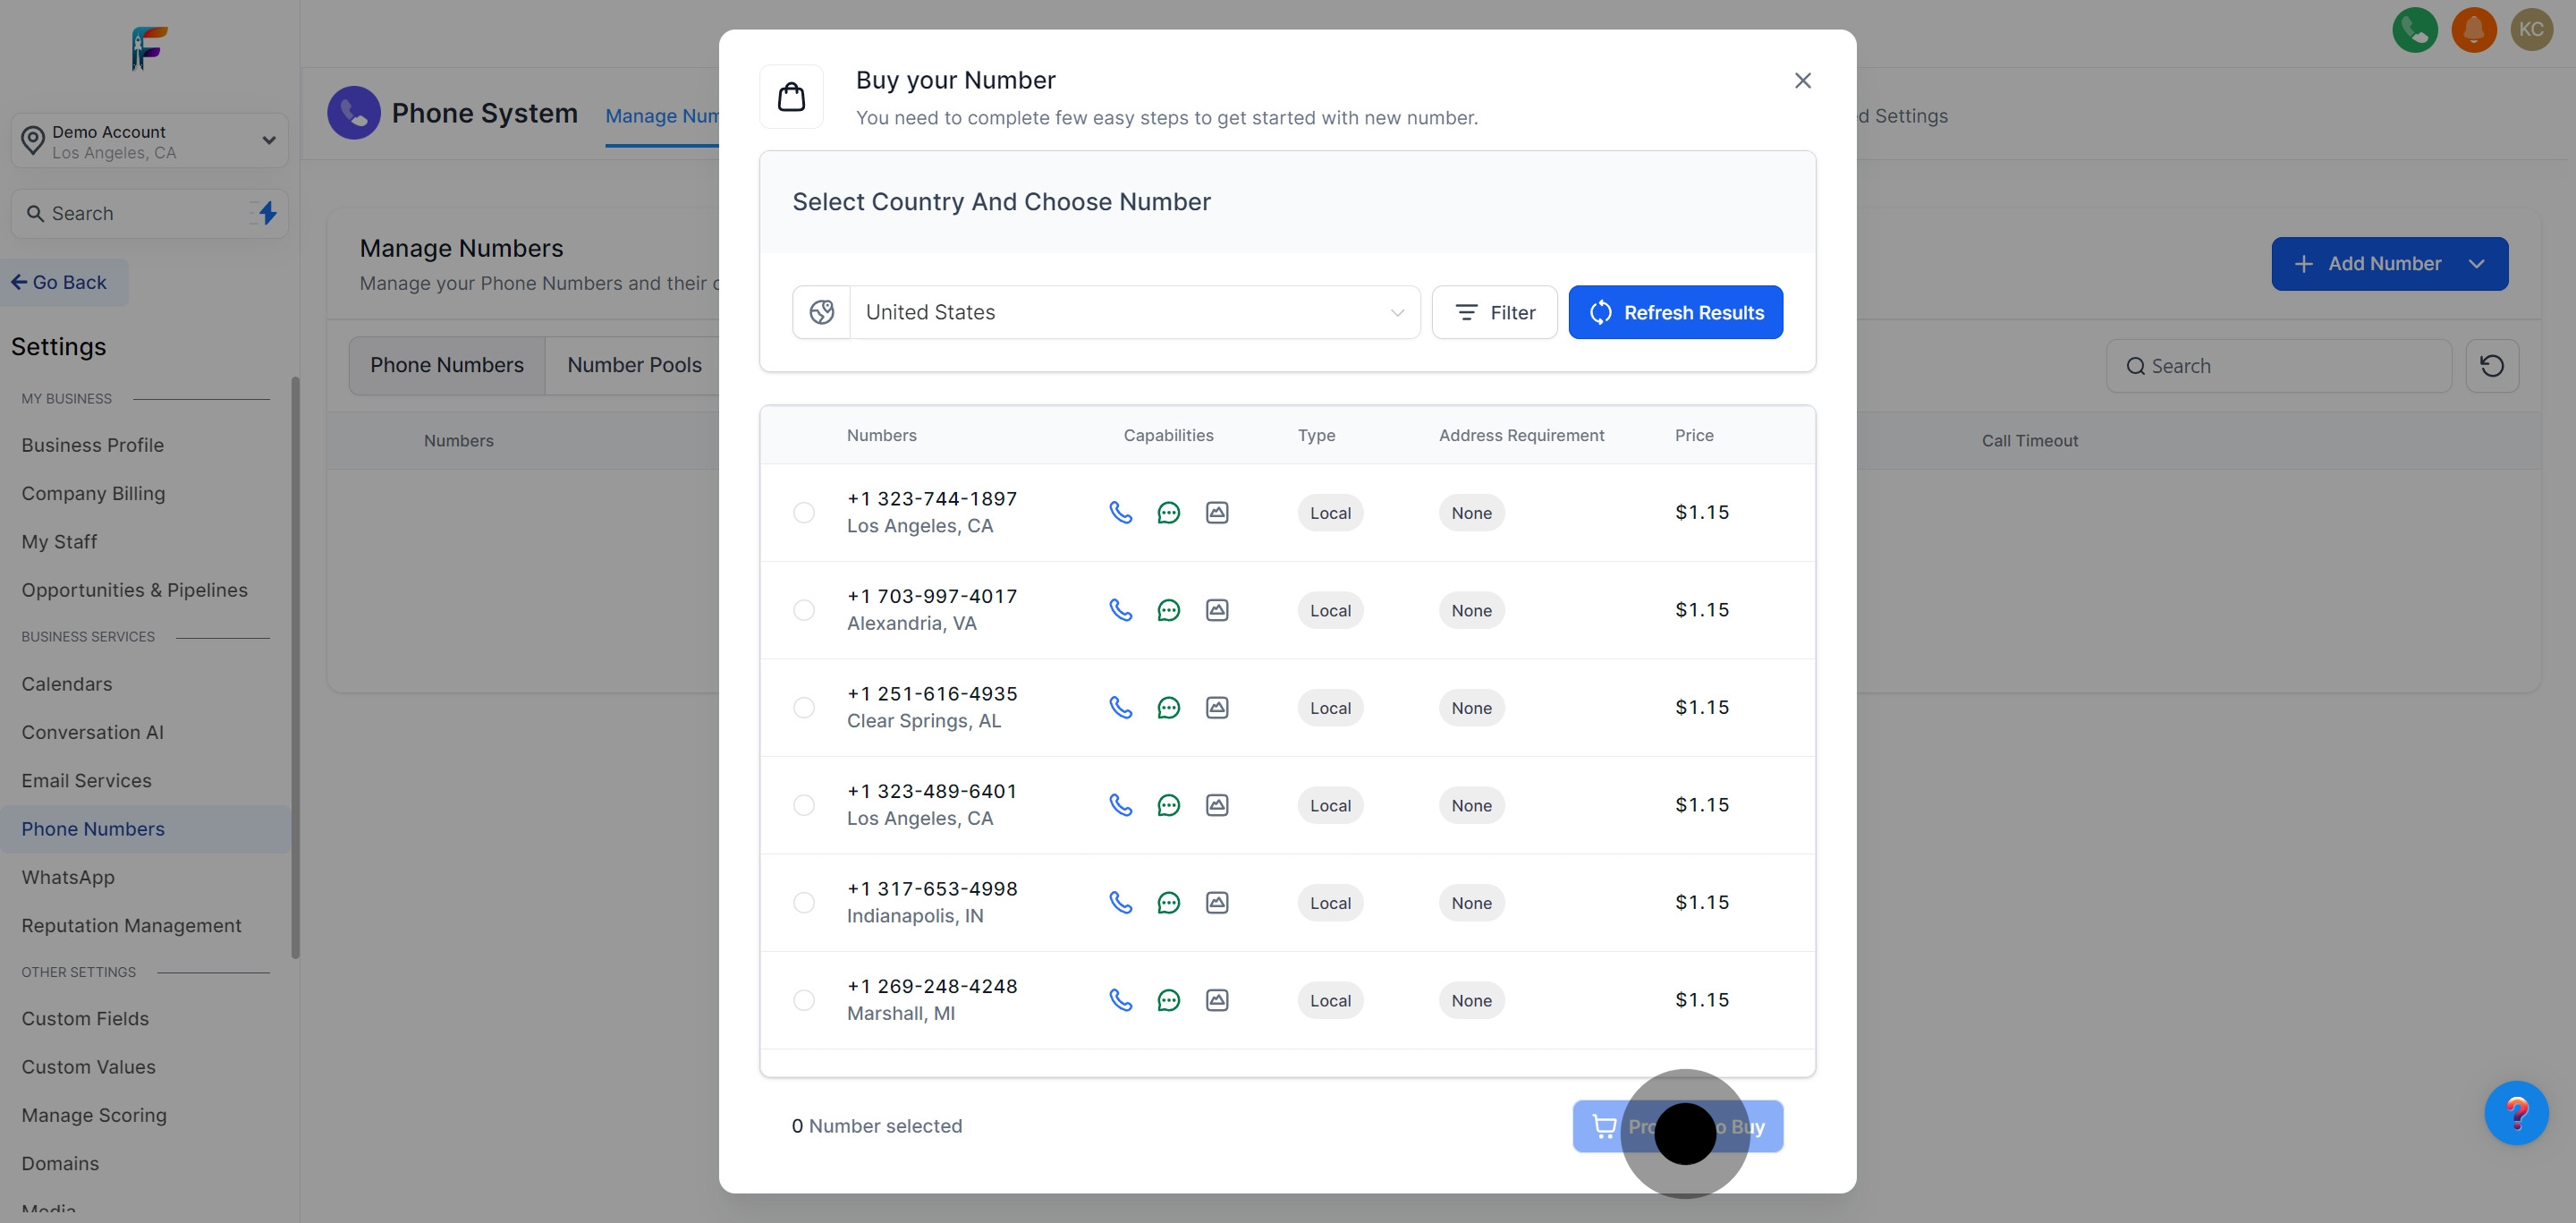
Browse through the list of available phone numbers and select one that best suits your needs.
Once the purchase is successful, you will receive a confirmation that the phone number is now registered to your account.
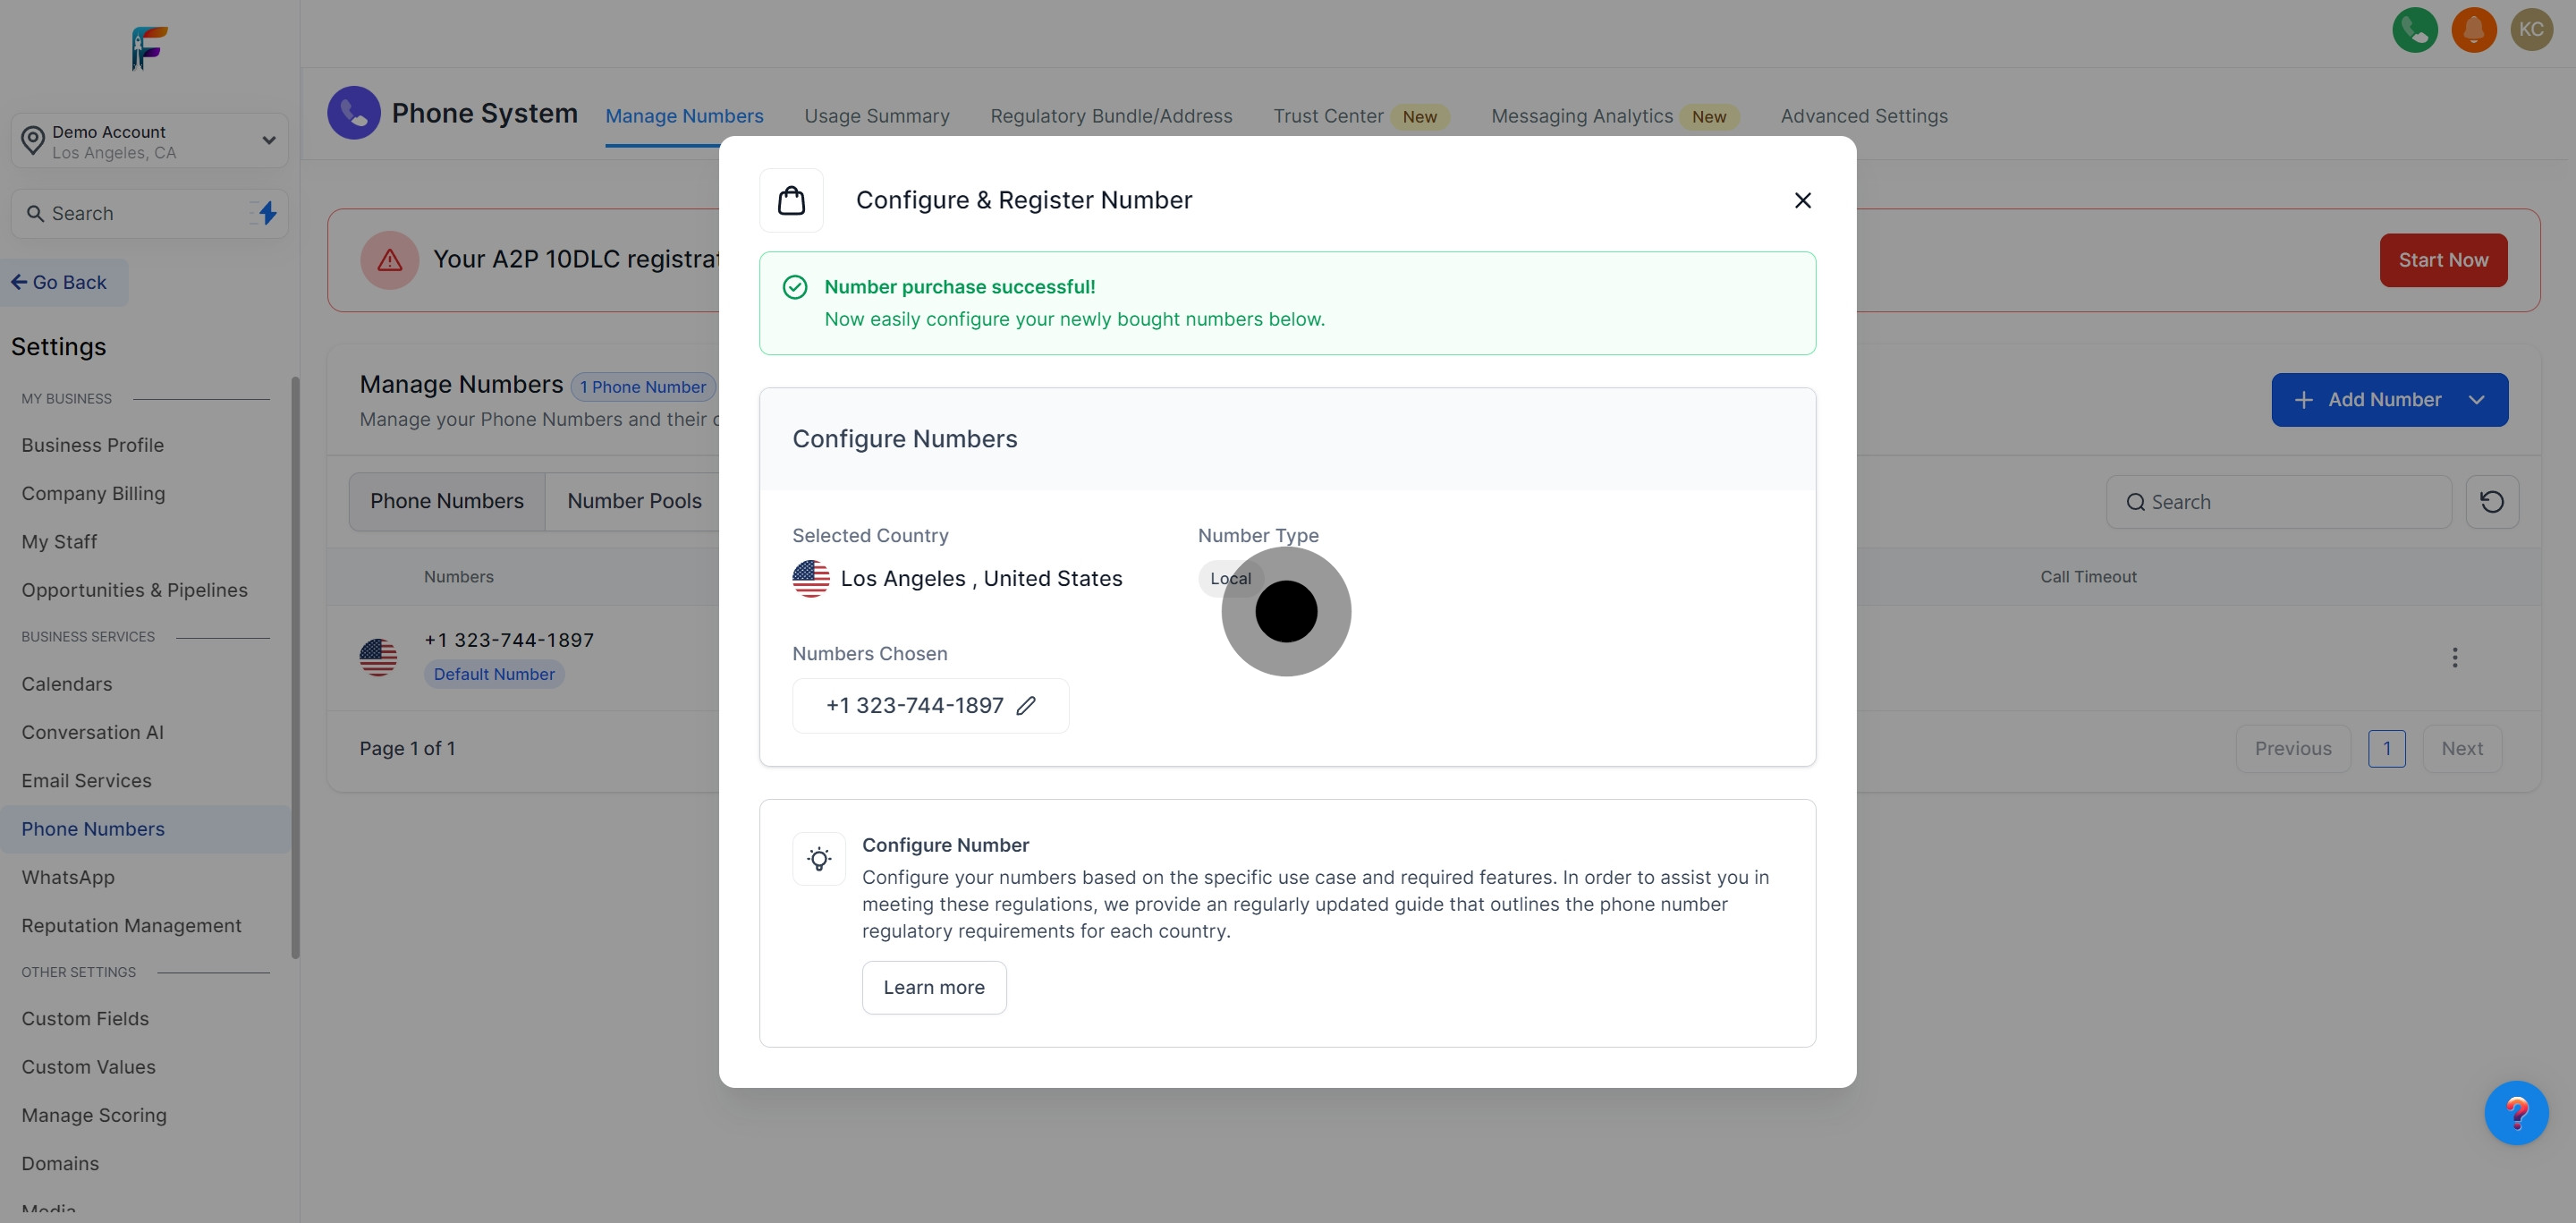
Be aware that your A2P 10DLC registration might still be incomplete.
Follow the necessary steps to complete this registration to comply with carrier requirements and avoid service disruptions.
For more information. Click here