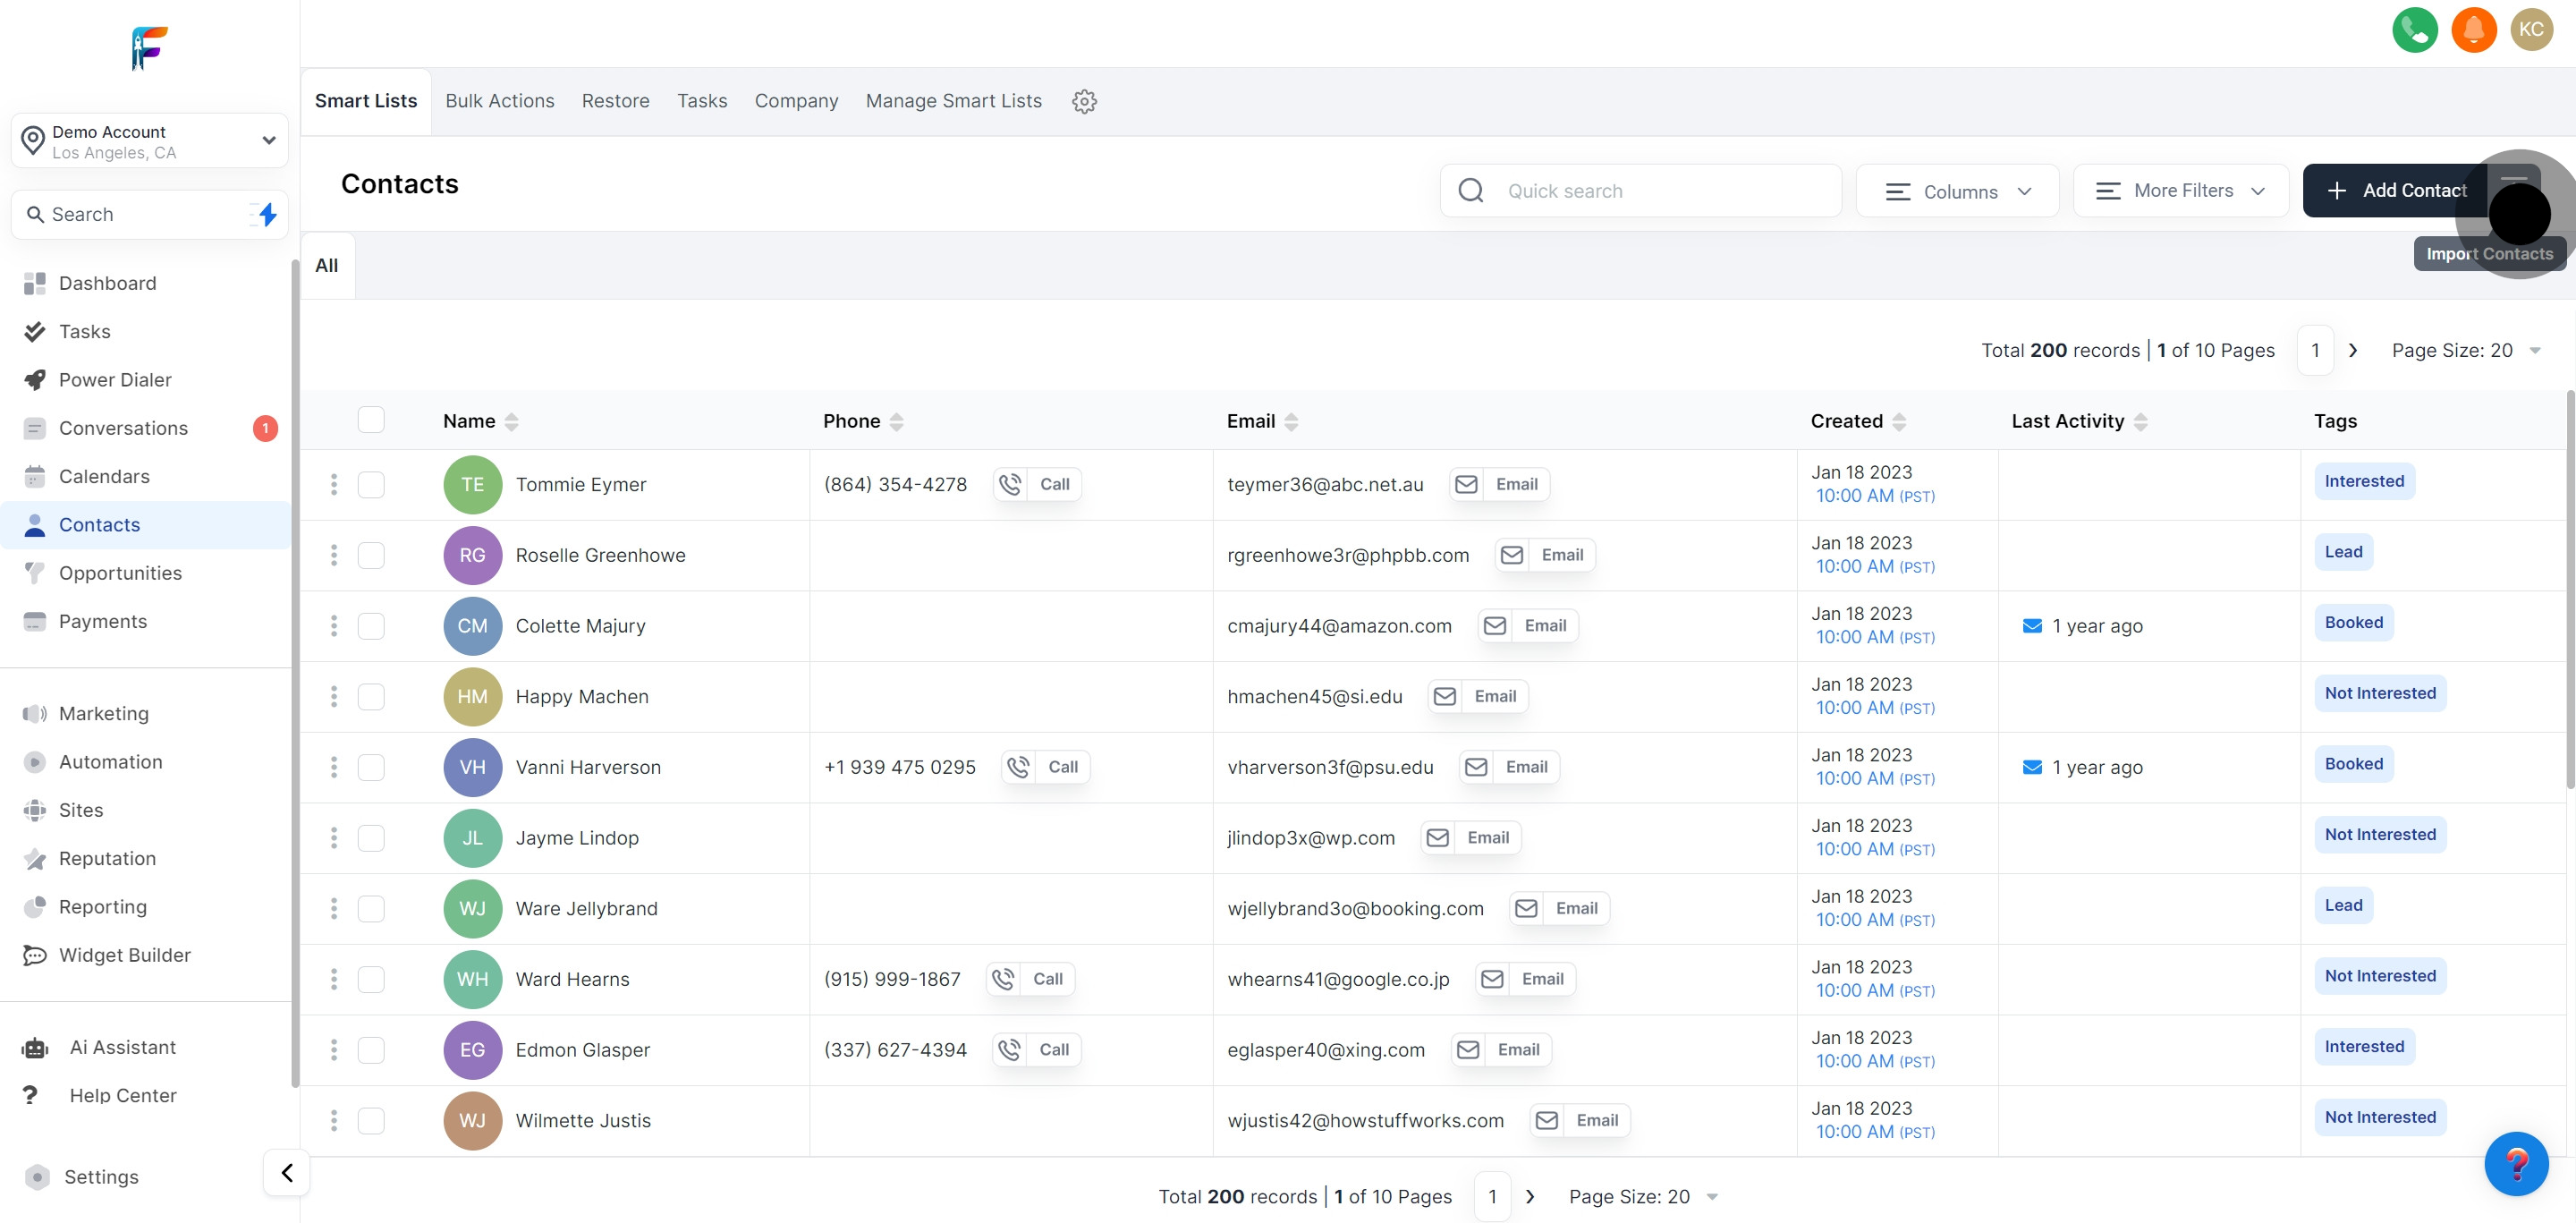
Begin by navigating to your contact list within Pest AI. This central hub is where you will manage all your contacts.

Look for and select the option to import contacts. This feature allows you to add bulk contact information into your Pest AI account.
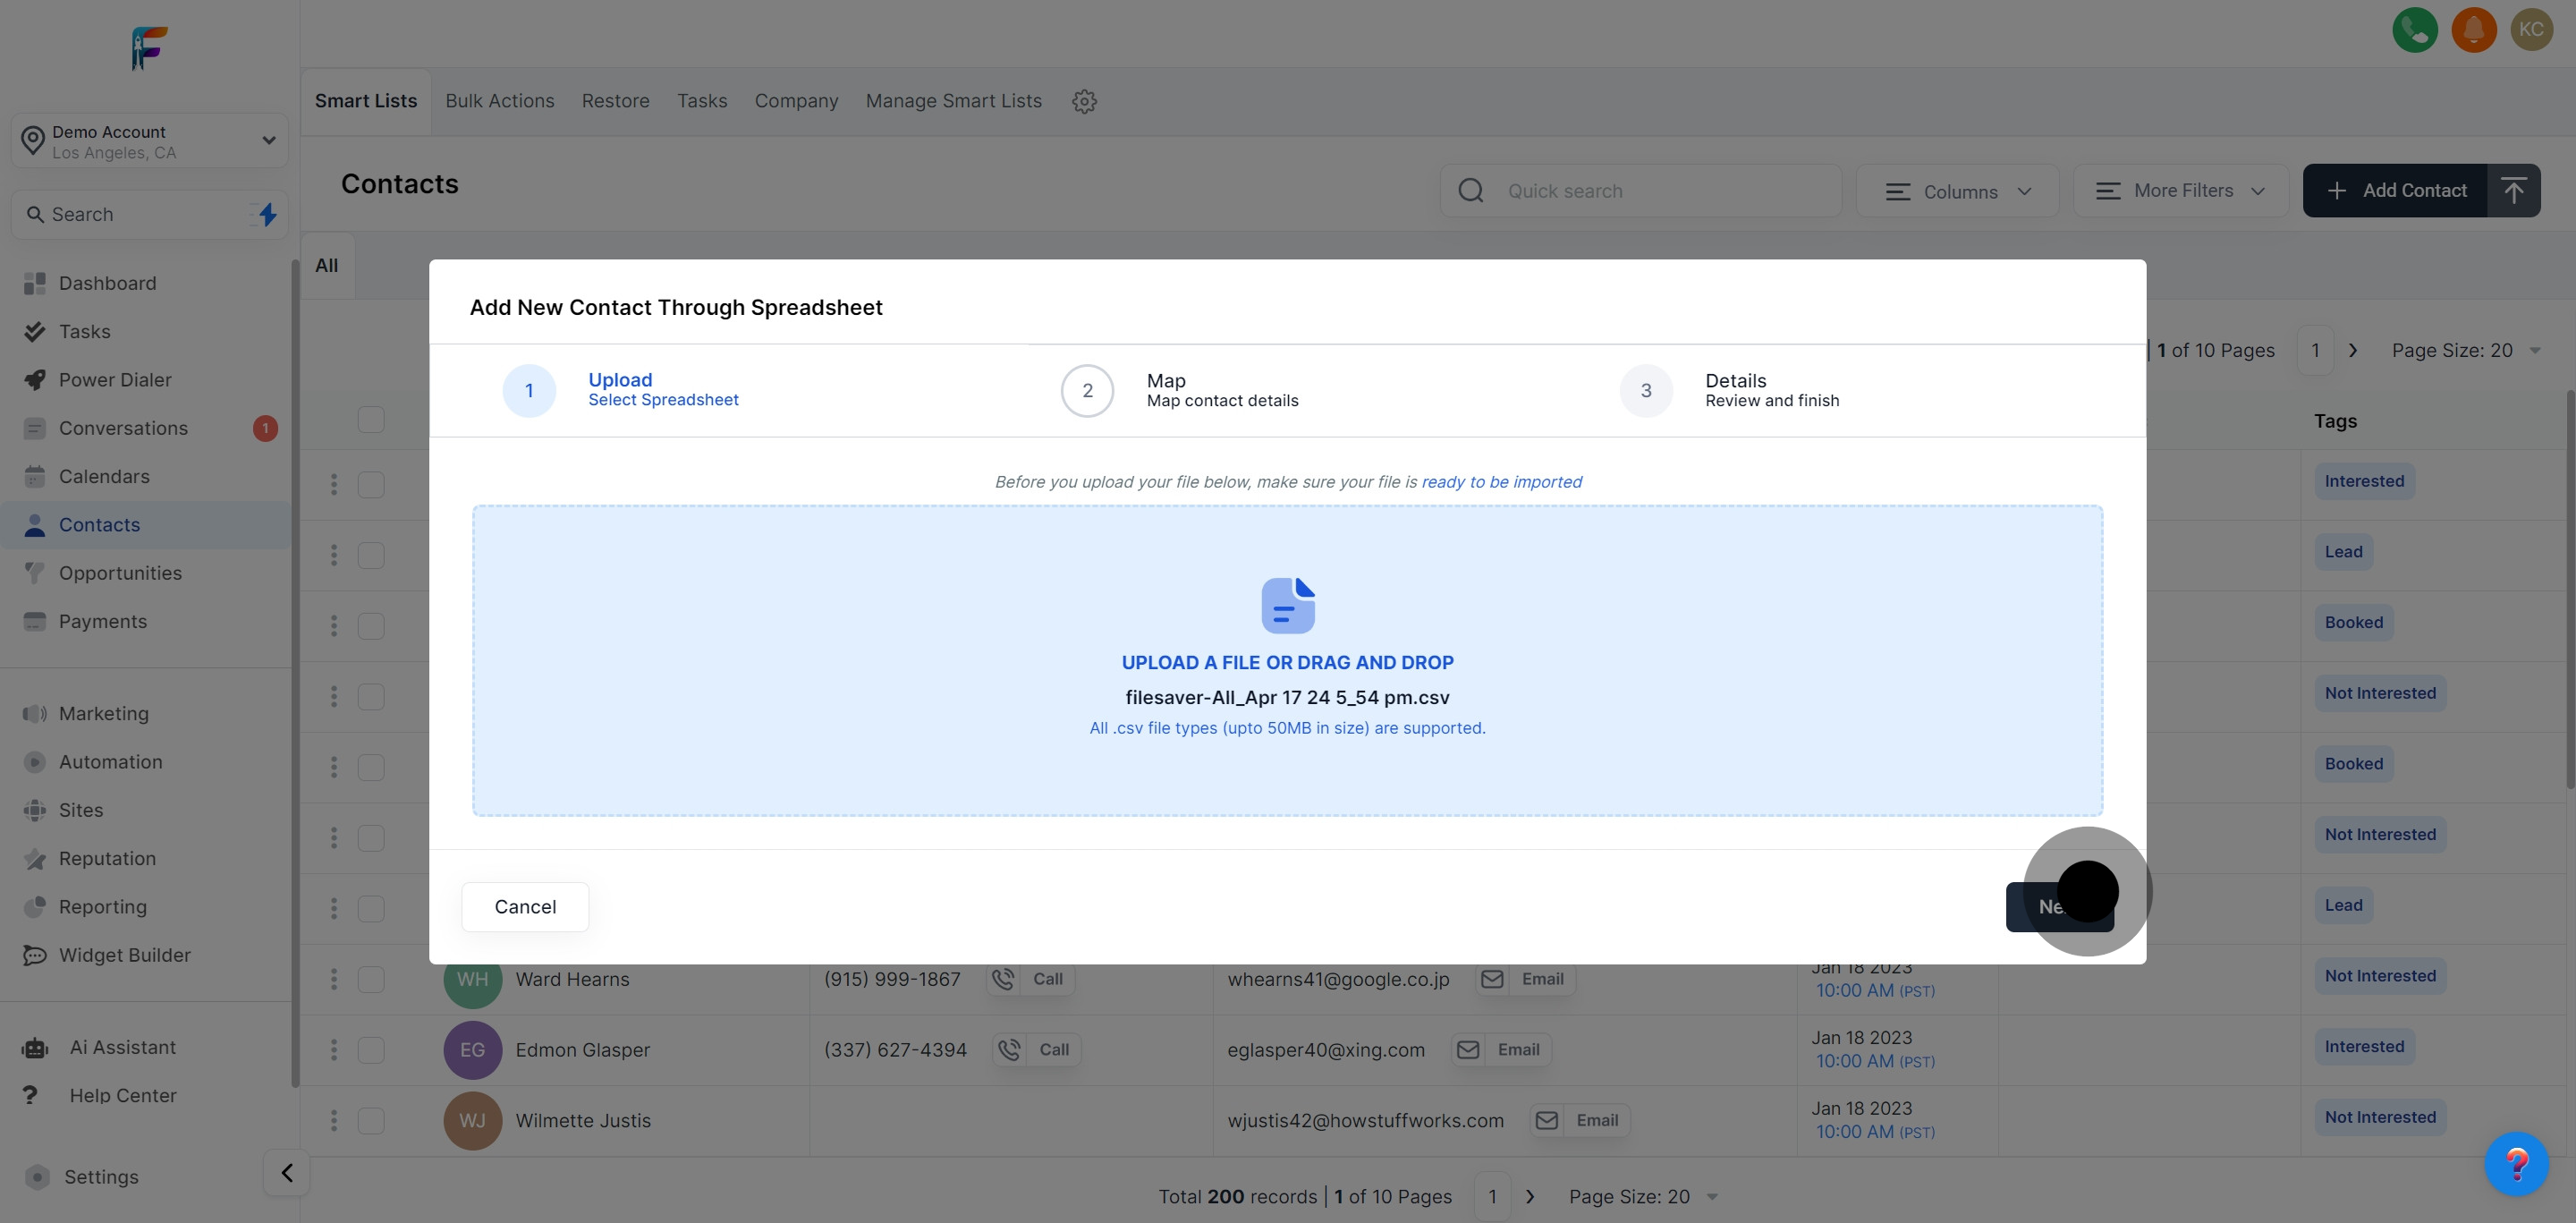
Prepare a CSV file with the contact details you wish to import. Click to upload this file when prompted. Ensure your CSV file is formatted correctly to match Pest AI' import specifications.

Once your file is uploaded, click to proceed to the next step in the import wizard.
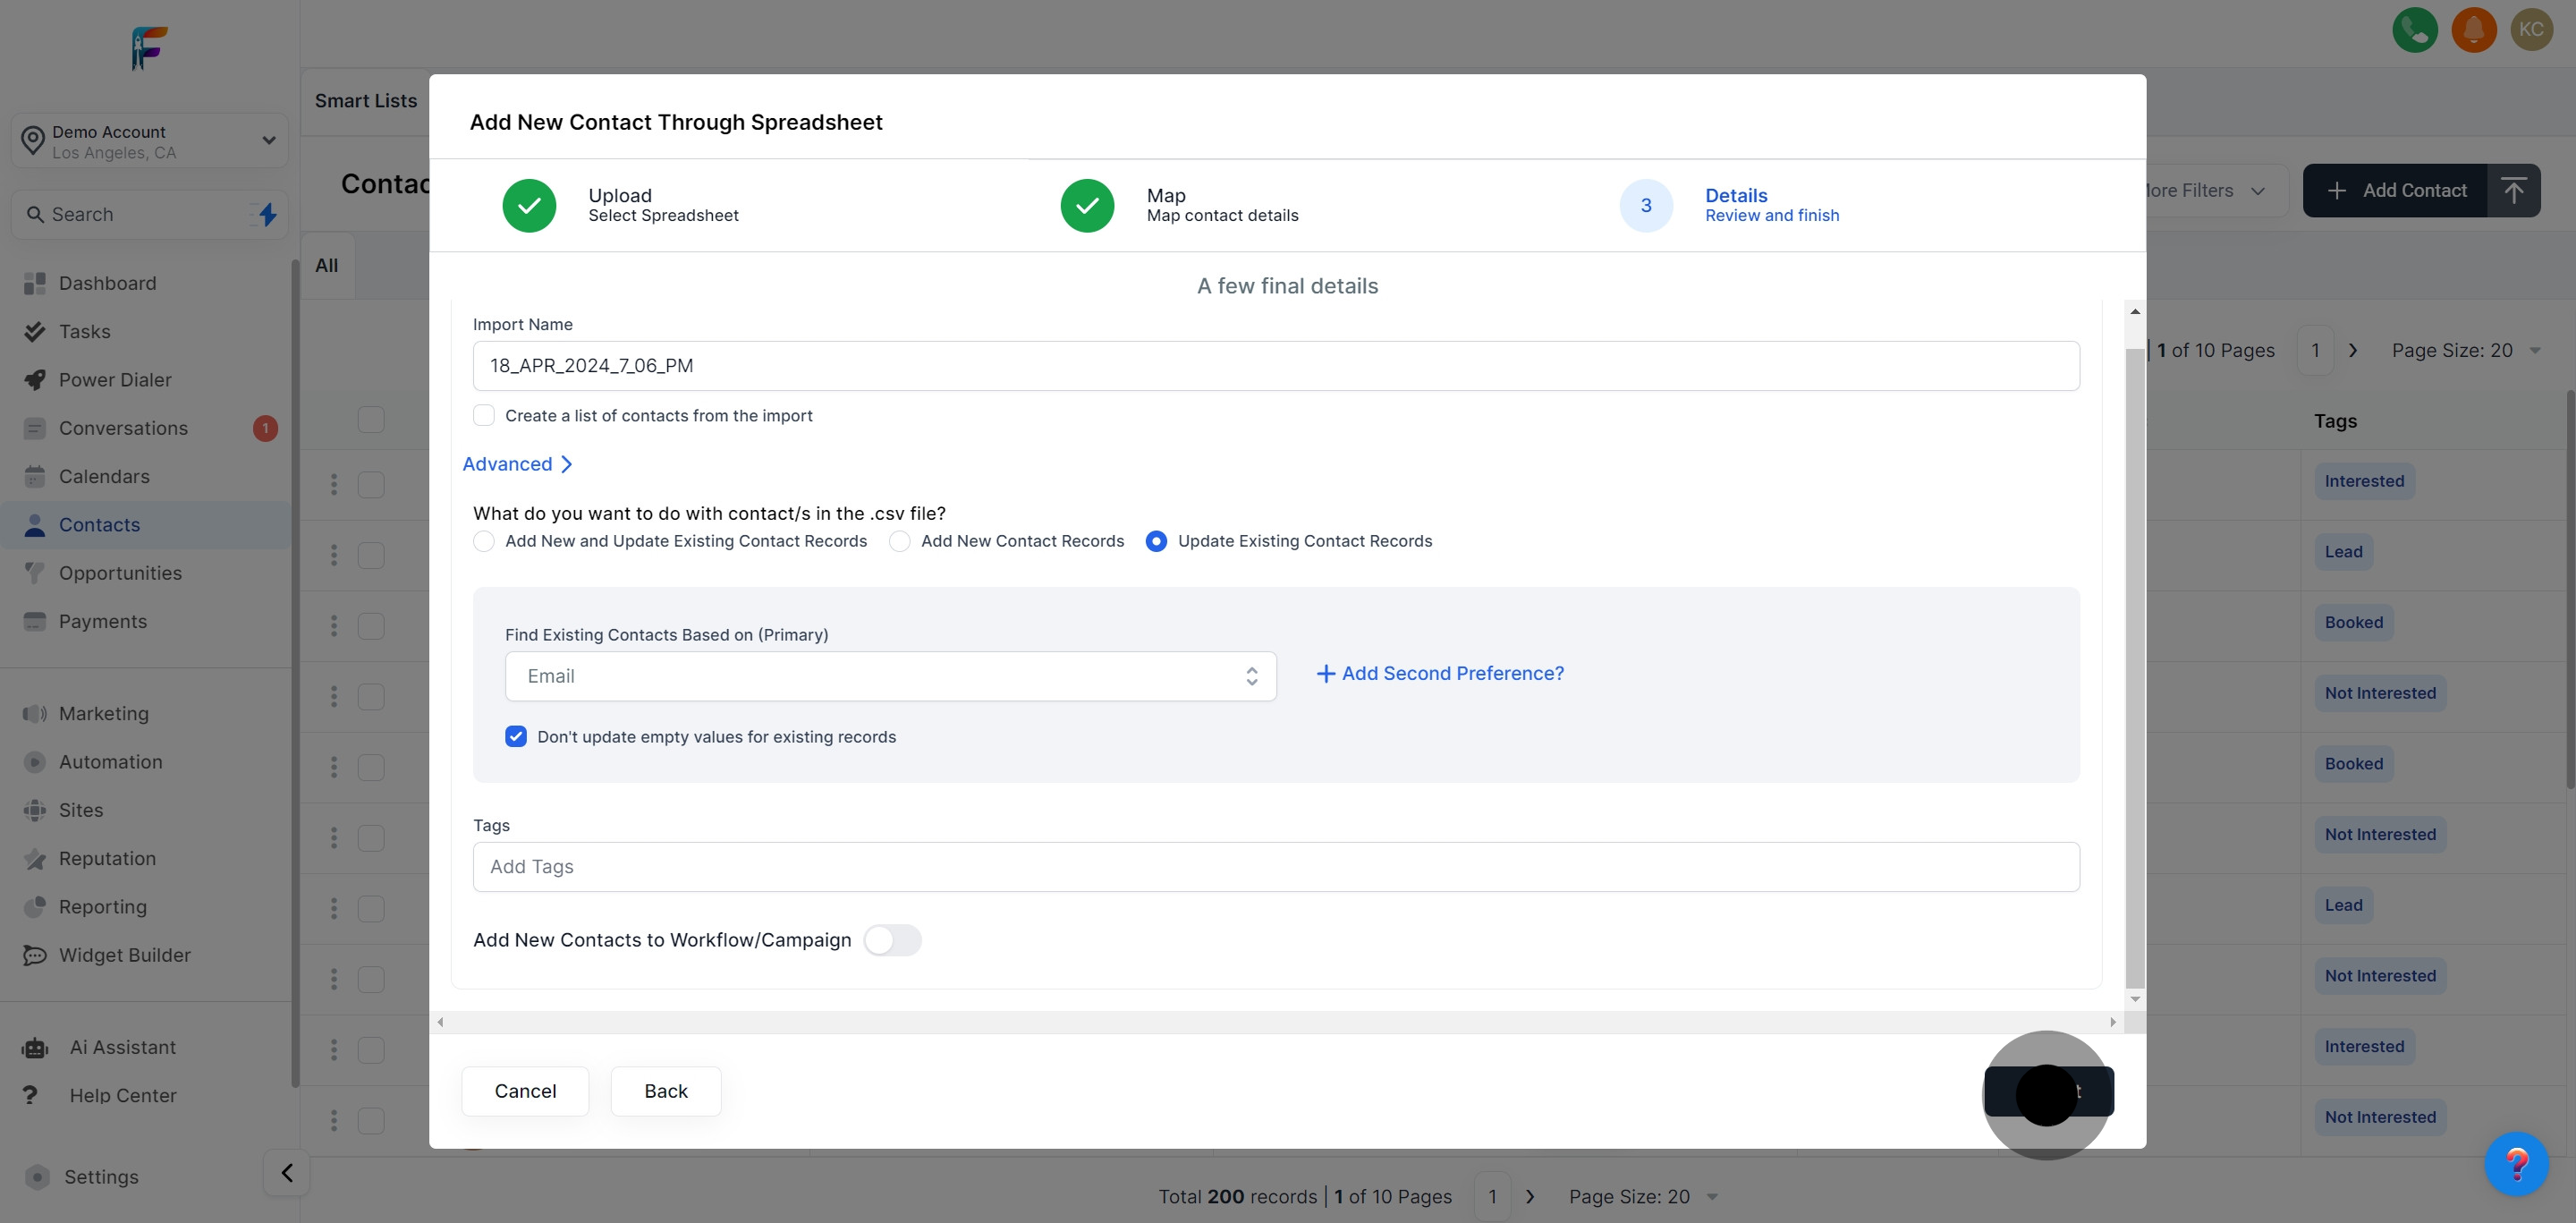
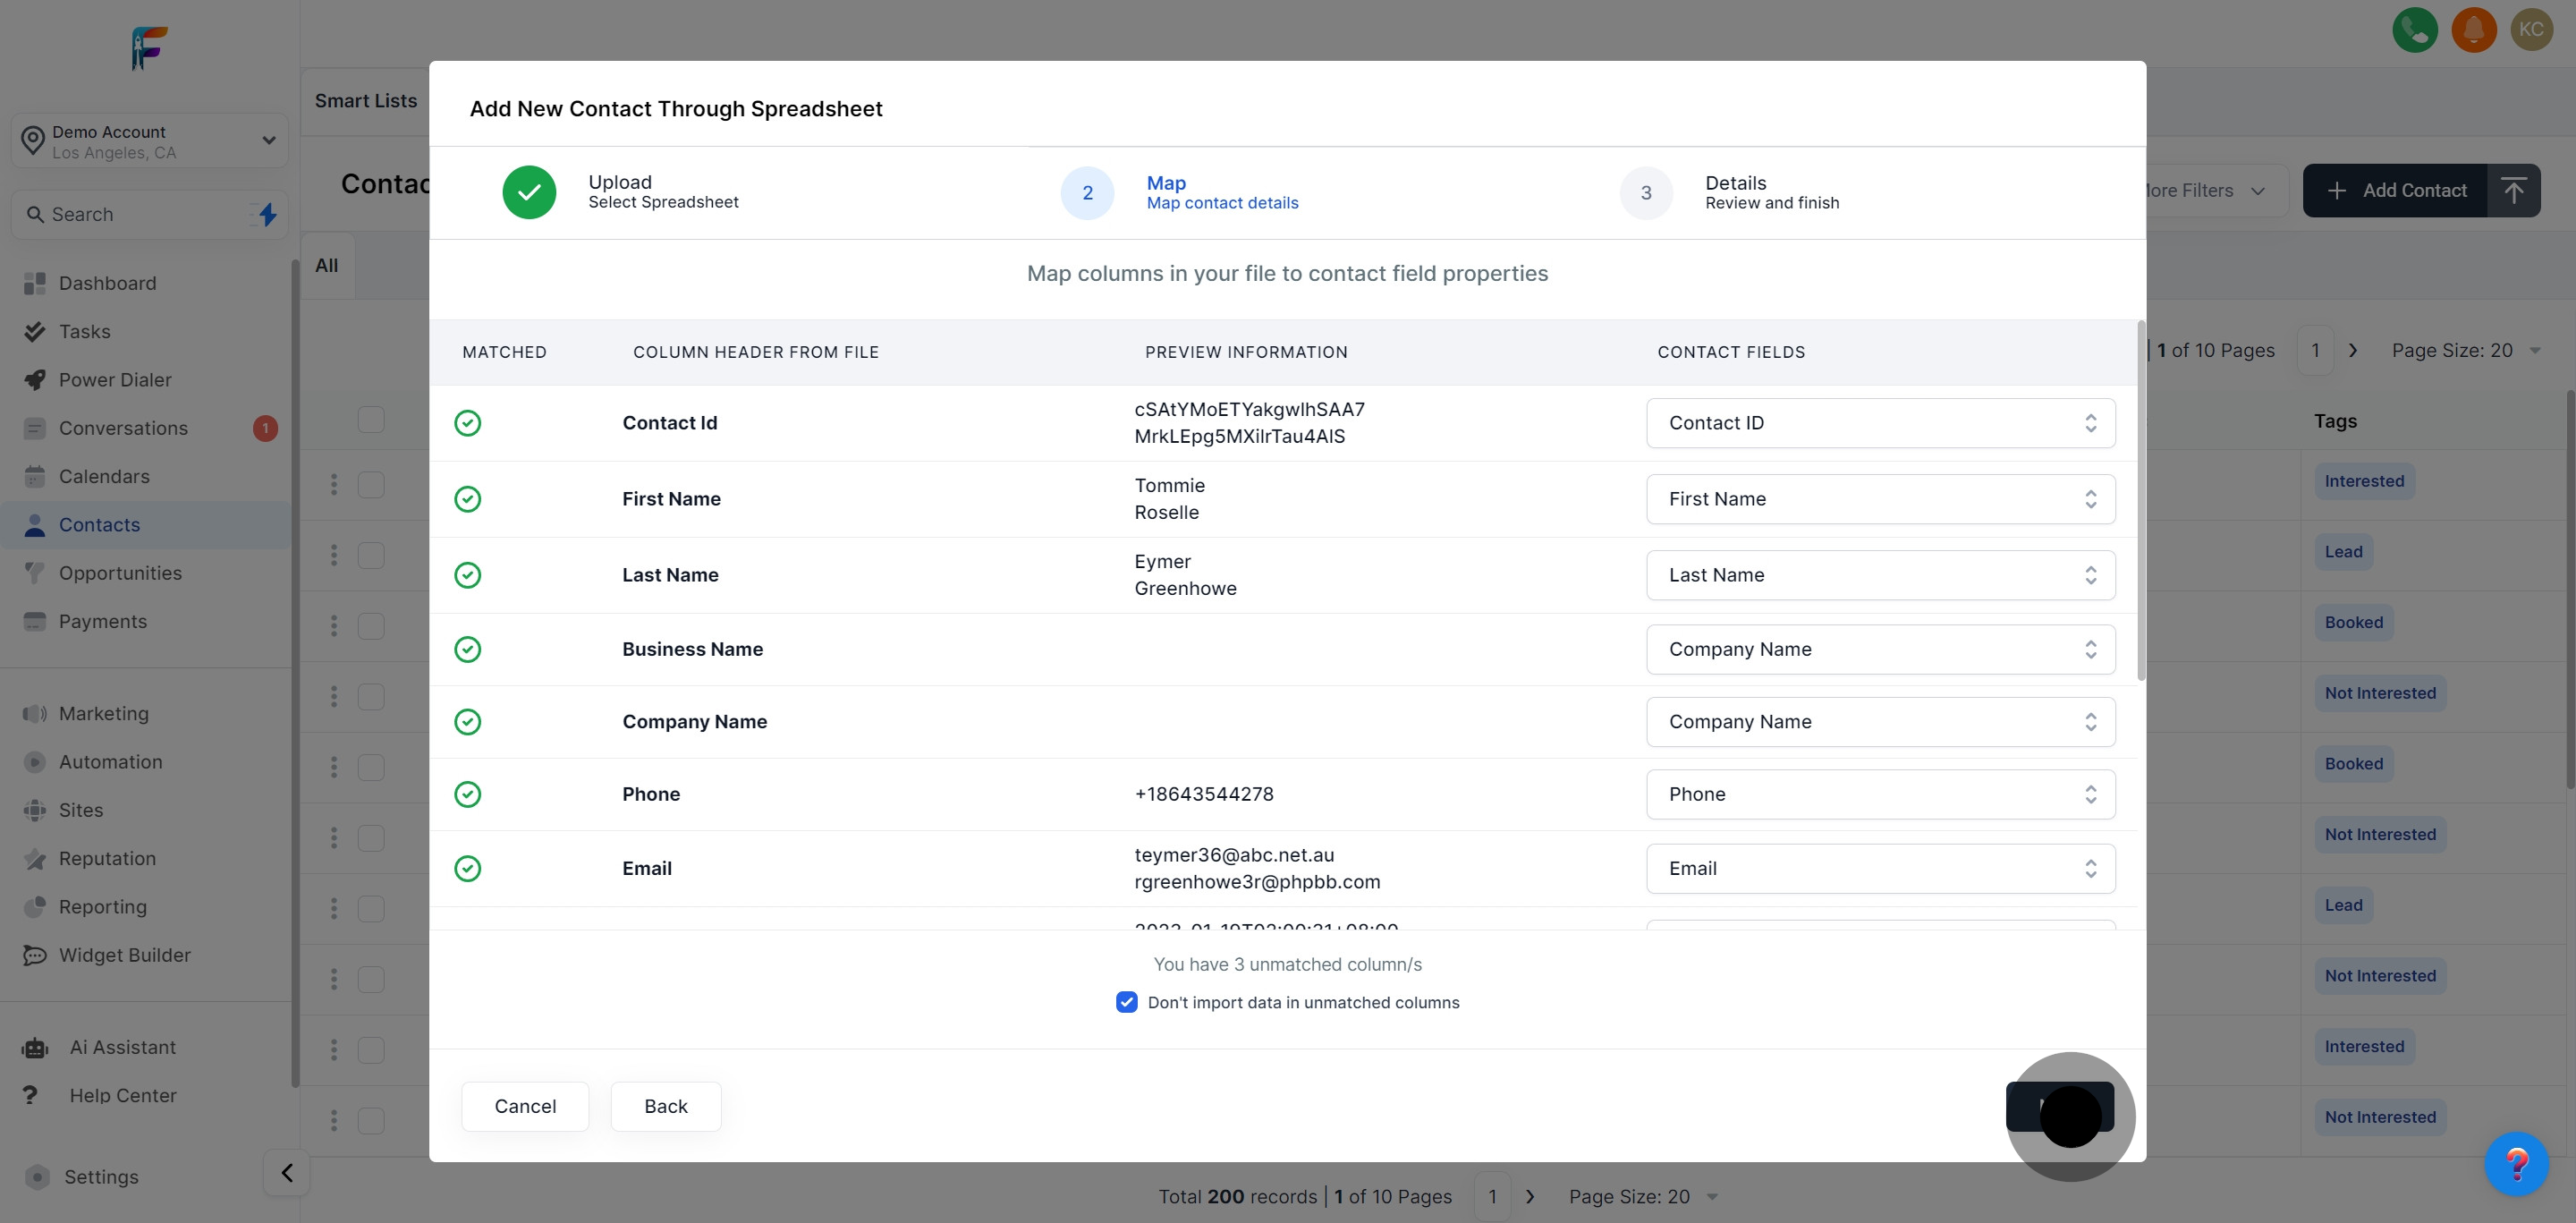
Enable the option to avoid importing data from unmatched columns. This ensures that only relevant data is imported into your contact list.

Click to continue after making the column selections. This moves you further along in the import process.
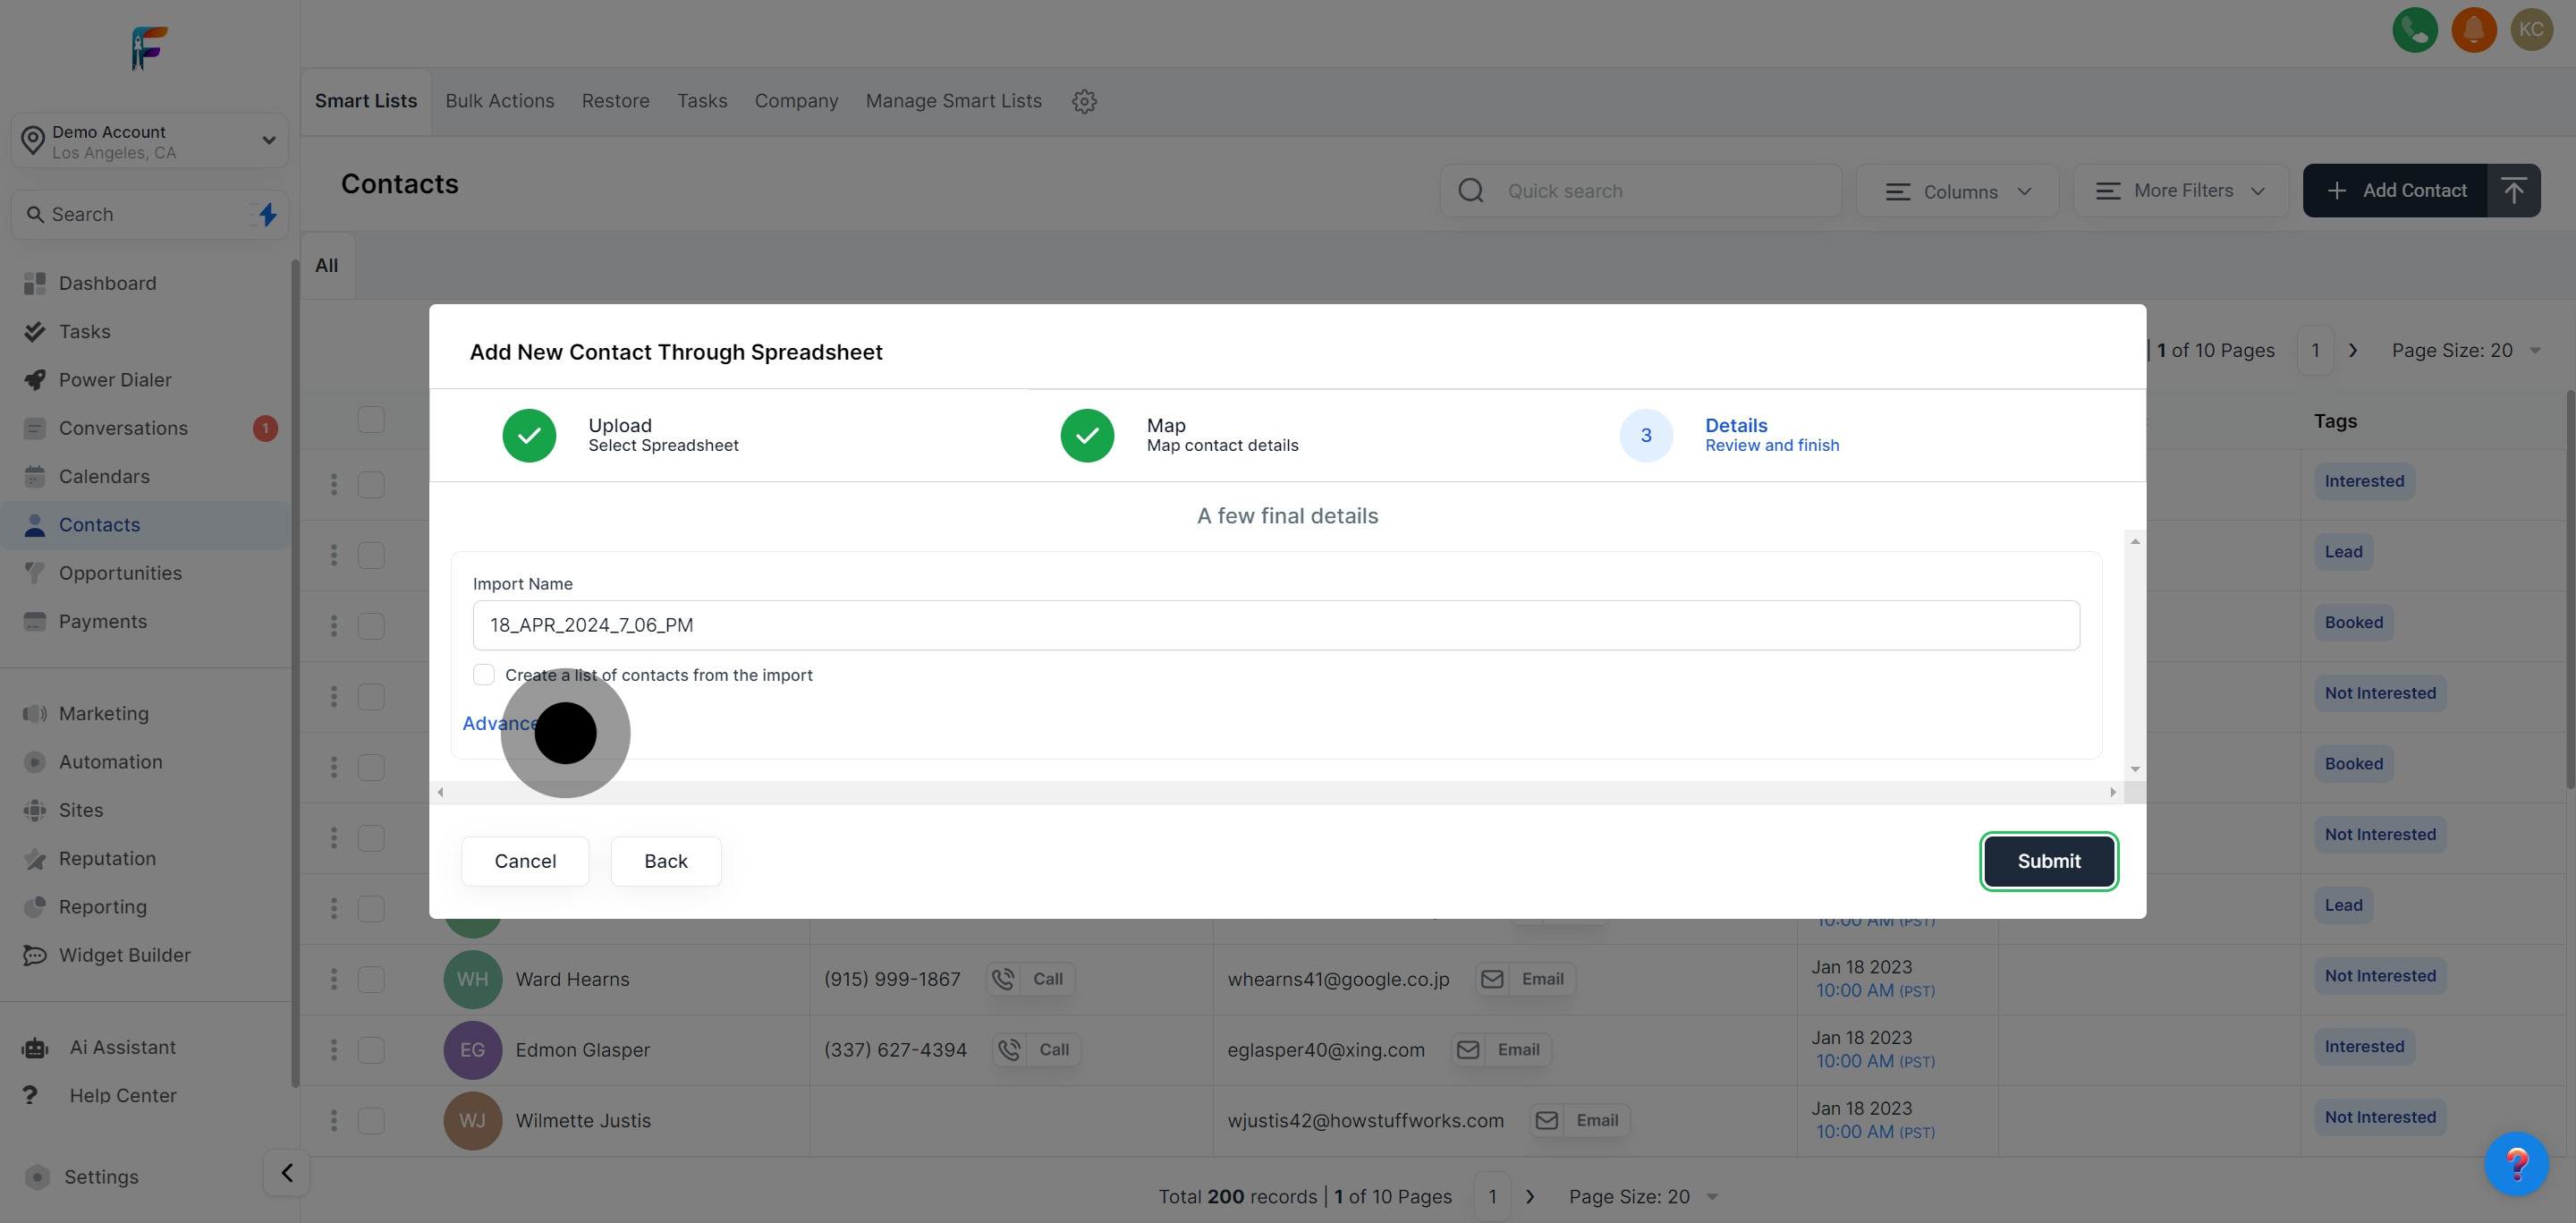
You have the option to adjust the 'Import Name'. This can be useful for tracking the source or purpose of this import batch.
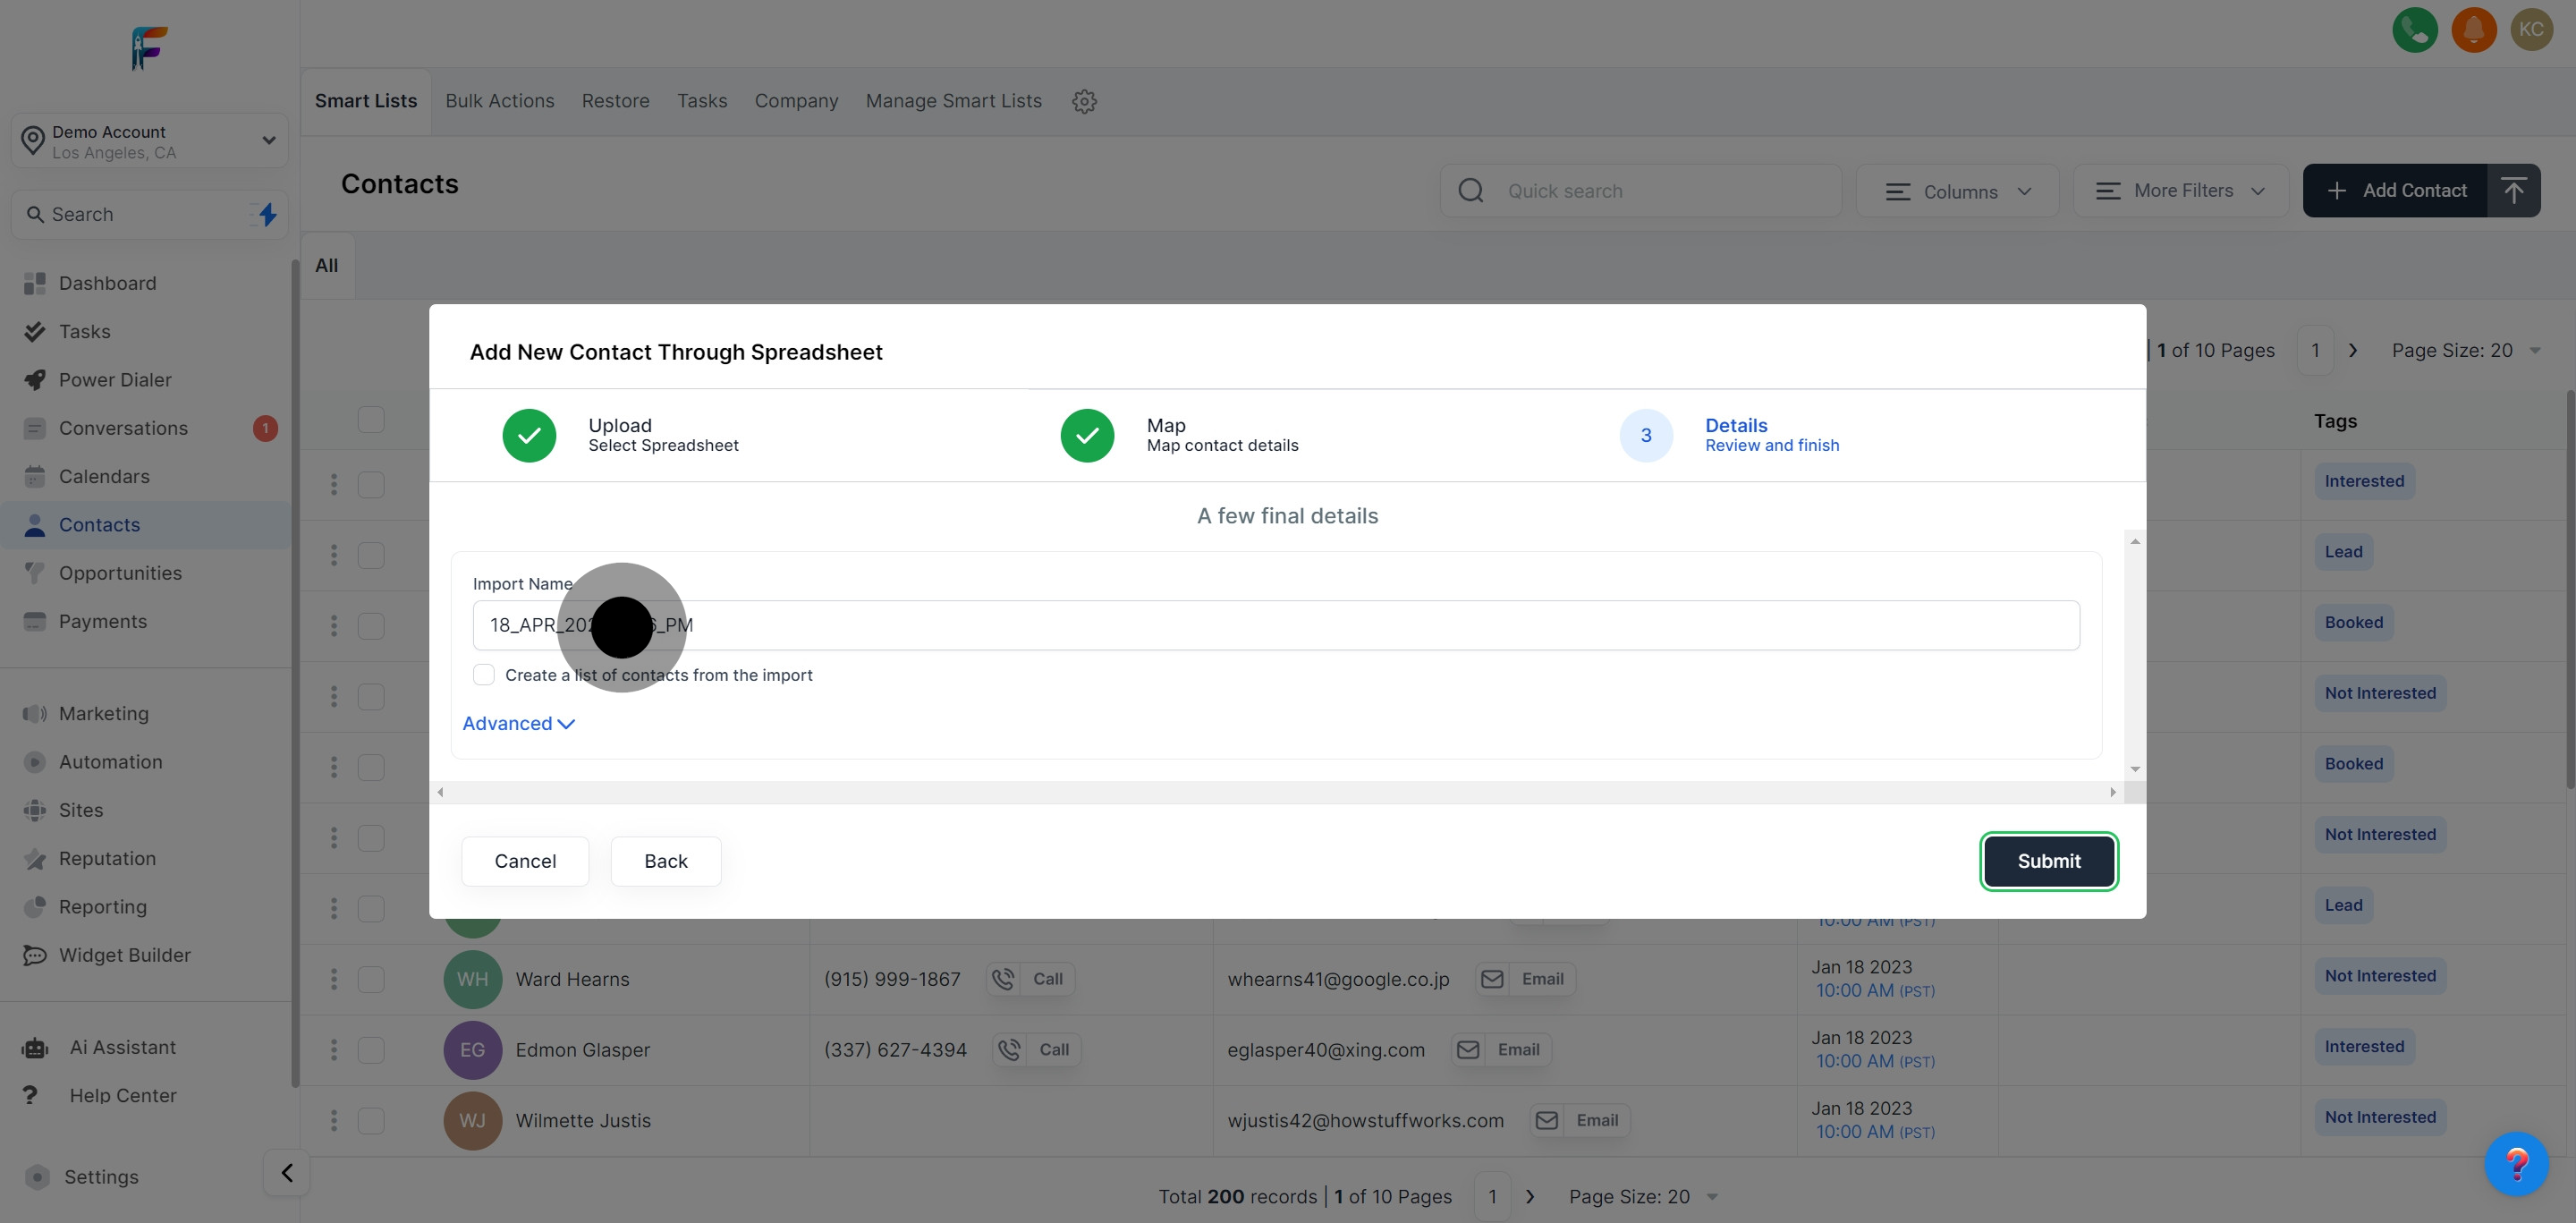
If desired, you can choose to create a new contact list from your import. This is useful for segmenting contacts based on the import batch.

Pest AI may offer more options for managing your imported contacts. Take a moment to explore and select any that apply to your needs.
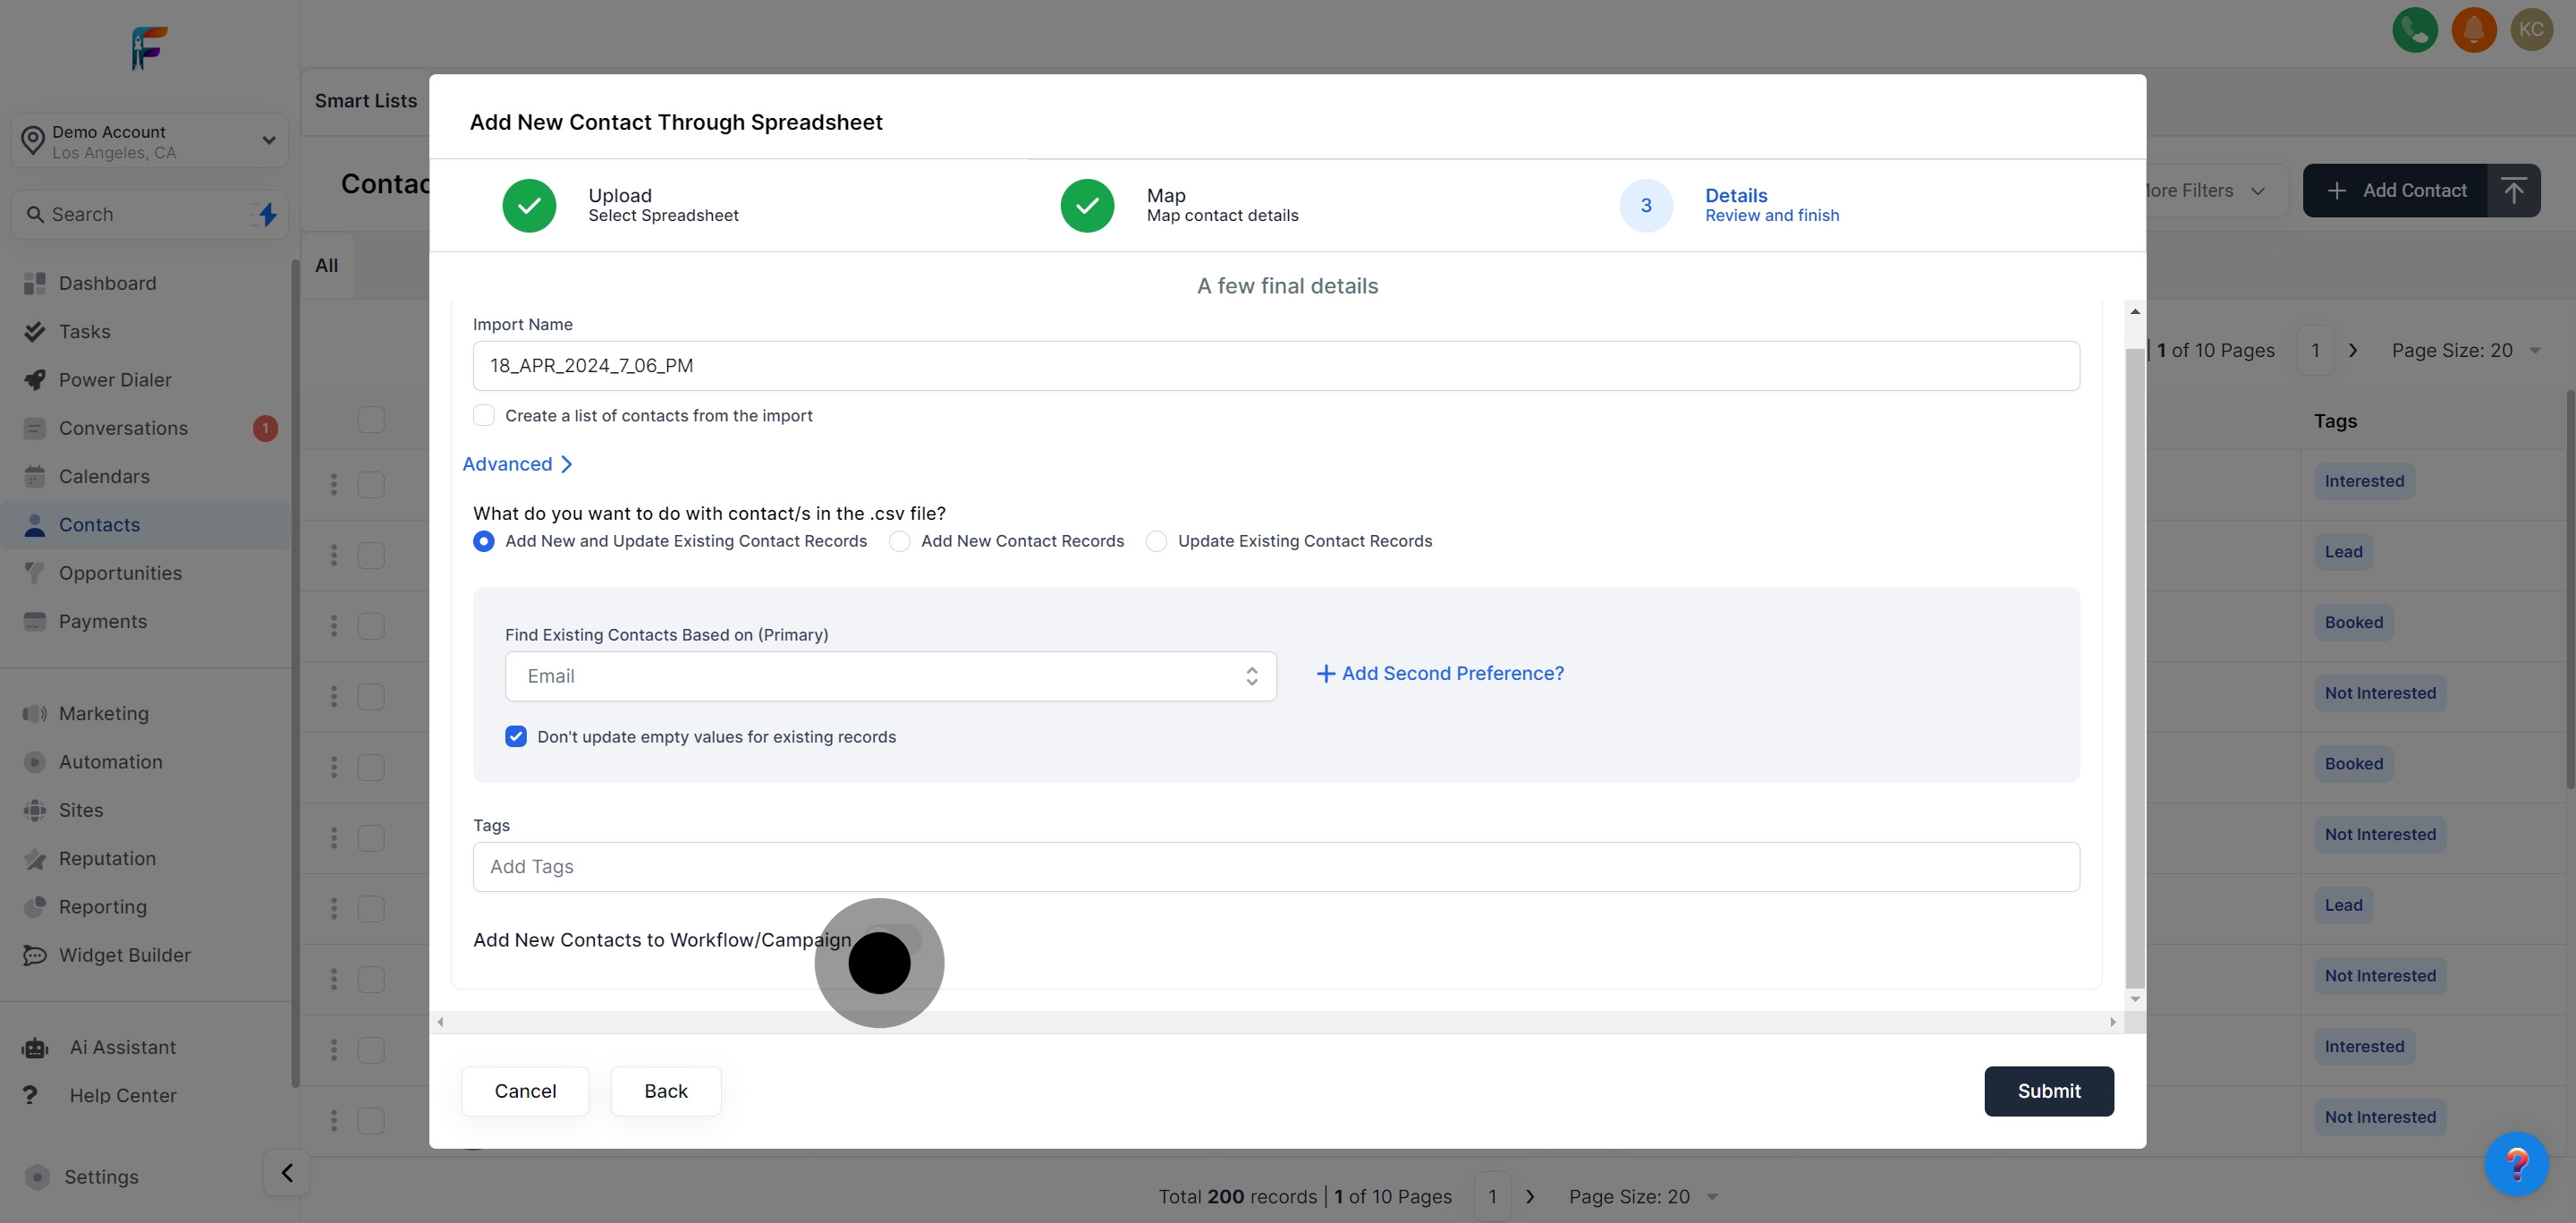
Confirm the action to add new contacts and update existing contact records. This step finalizes the data import process.

Pest AI will locate existing contacts in your database based on parameters like Email, Name, Phone, or ContactID. This allows for accurate updates to current contacts.
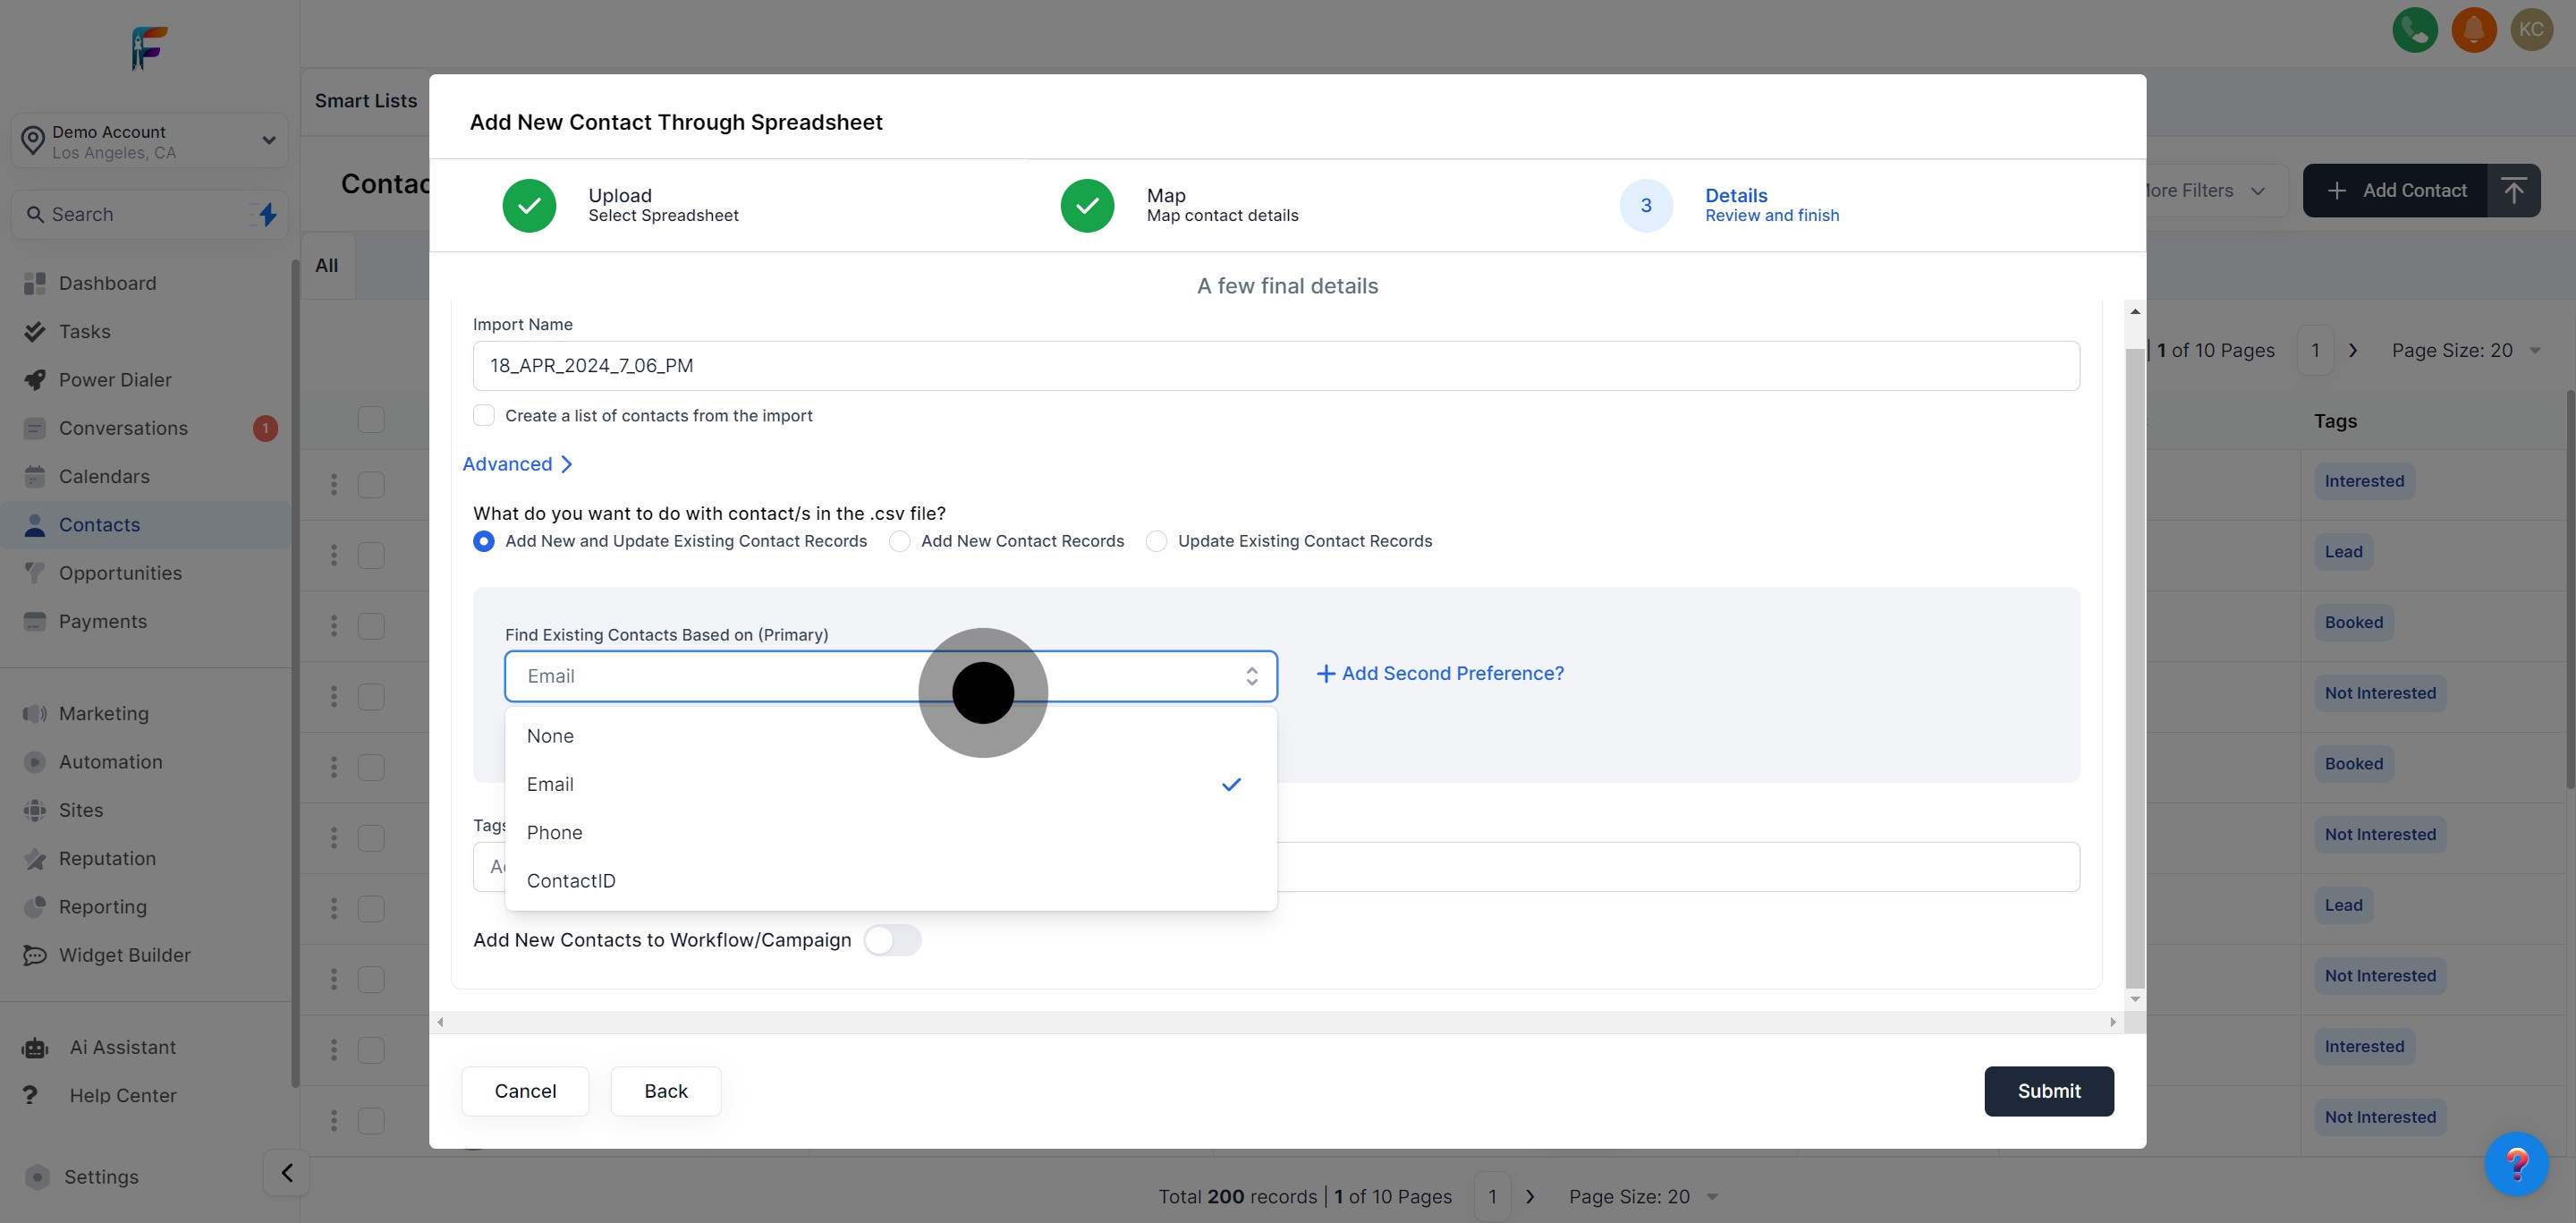
Decide if you wish to add a second preference for matching existing contacts, such as an additional unique identifier.

Consider tagging your imported contacts to categorize them effectively within your database.

Optionally, you can assign the newly imported or updated contacts to specific workflows or marketing campaigns.
Finish the import process by submitting your changes. This action adds new contacts to your list and updates existing ones with new information.