Mastering Workflows in Pest AI: A Comprehensive Guide
This guide provides a detailed walkthrough on how to create, customize, and manage workflows in Pest AI, enhancing your ability to automate and streamline various processes effectively.
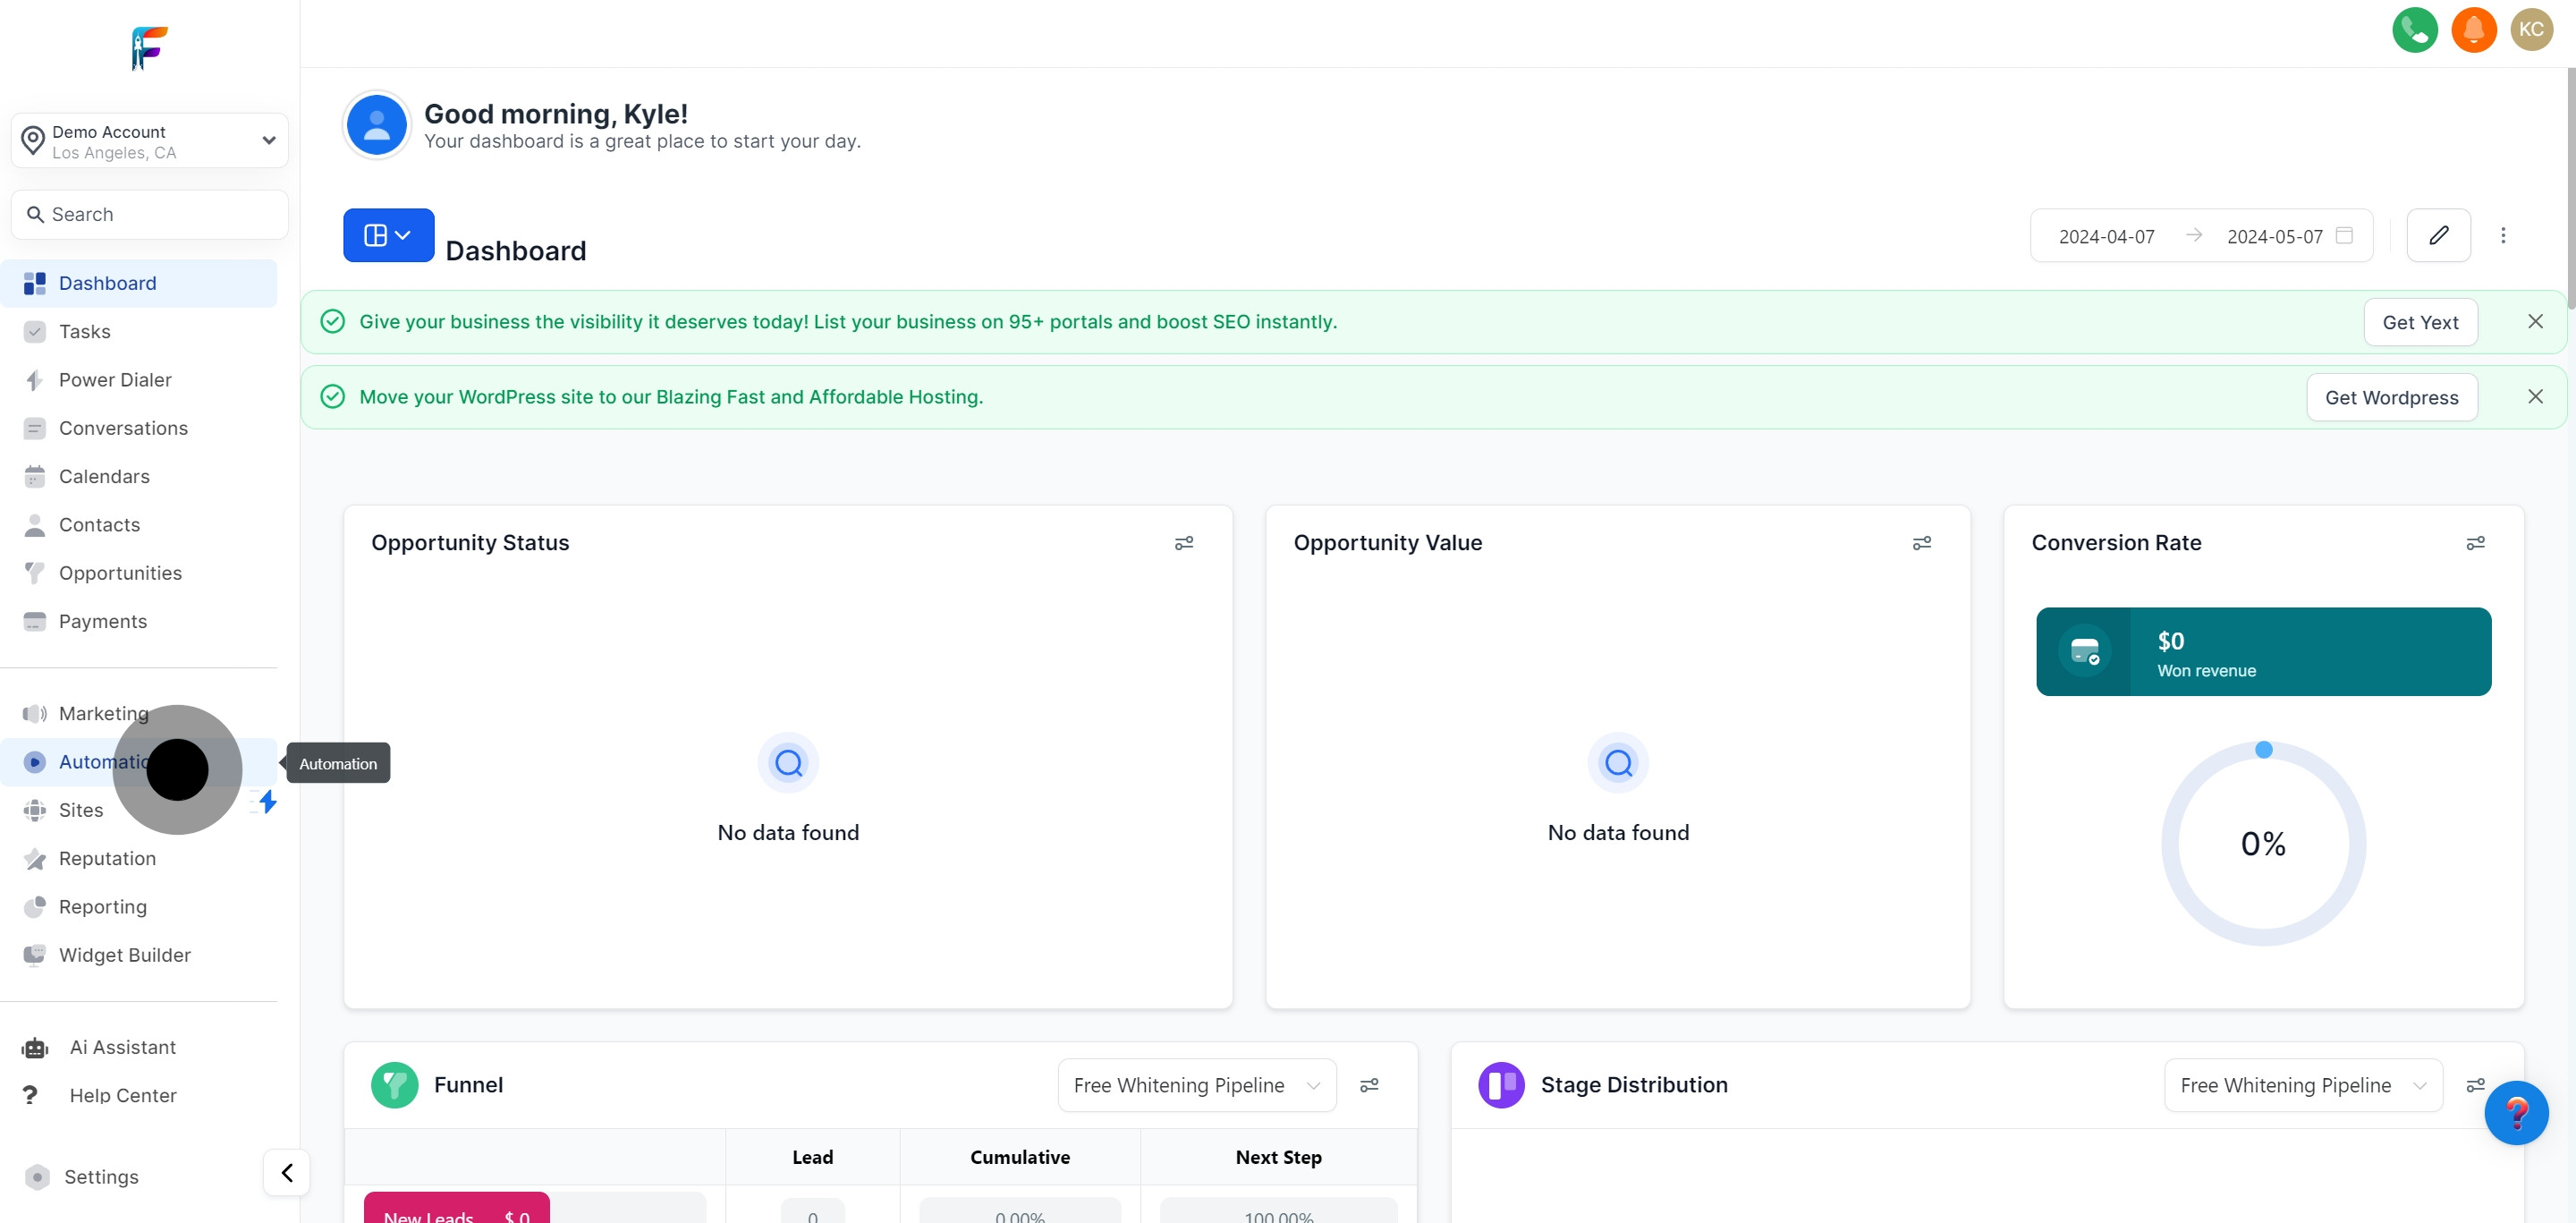
1. Begin by clicking on the automation function.
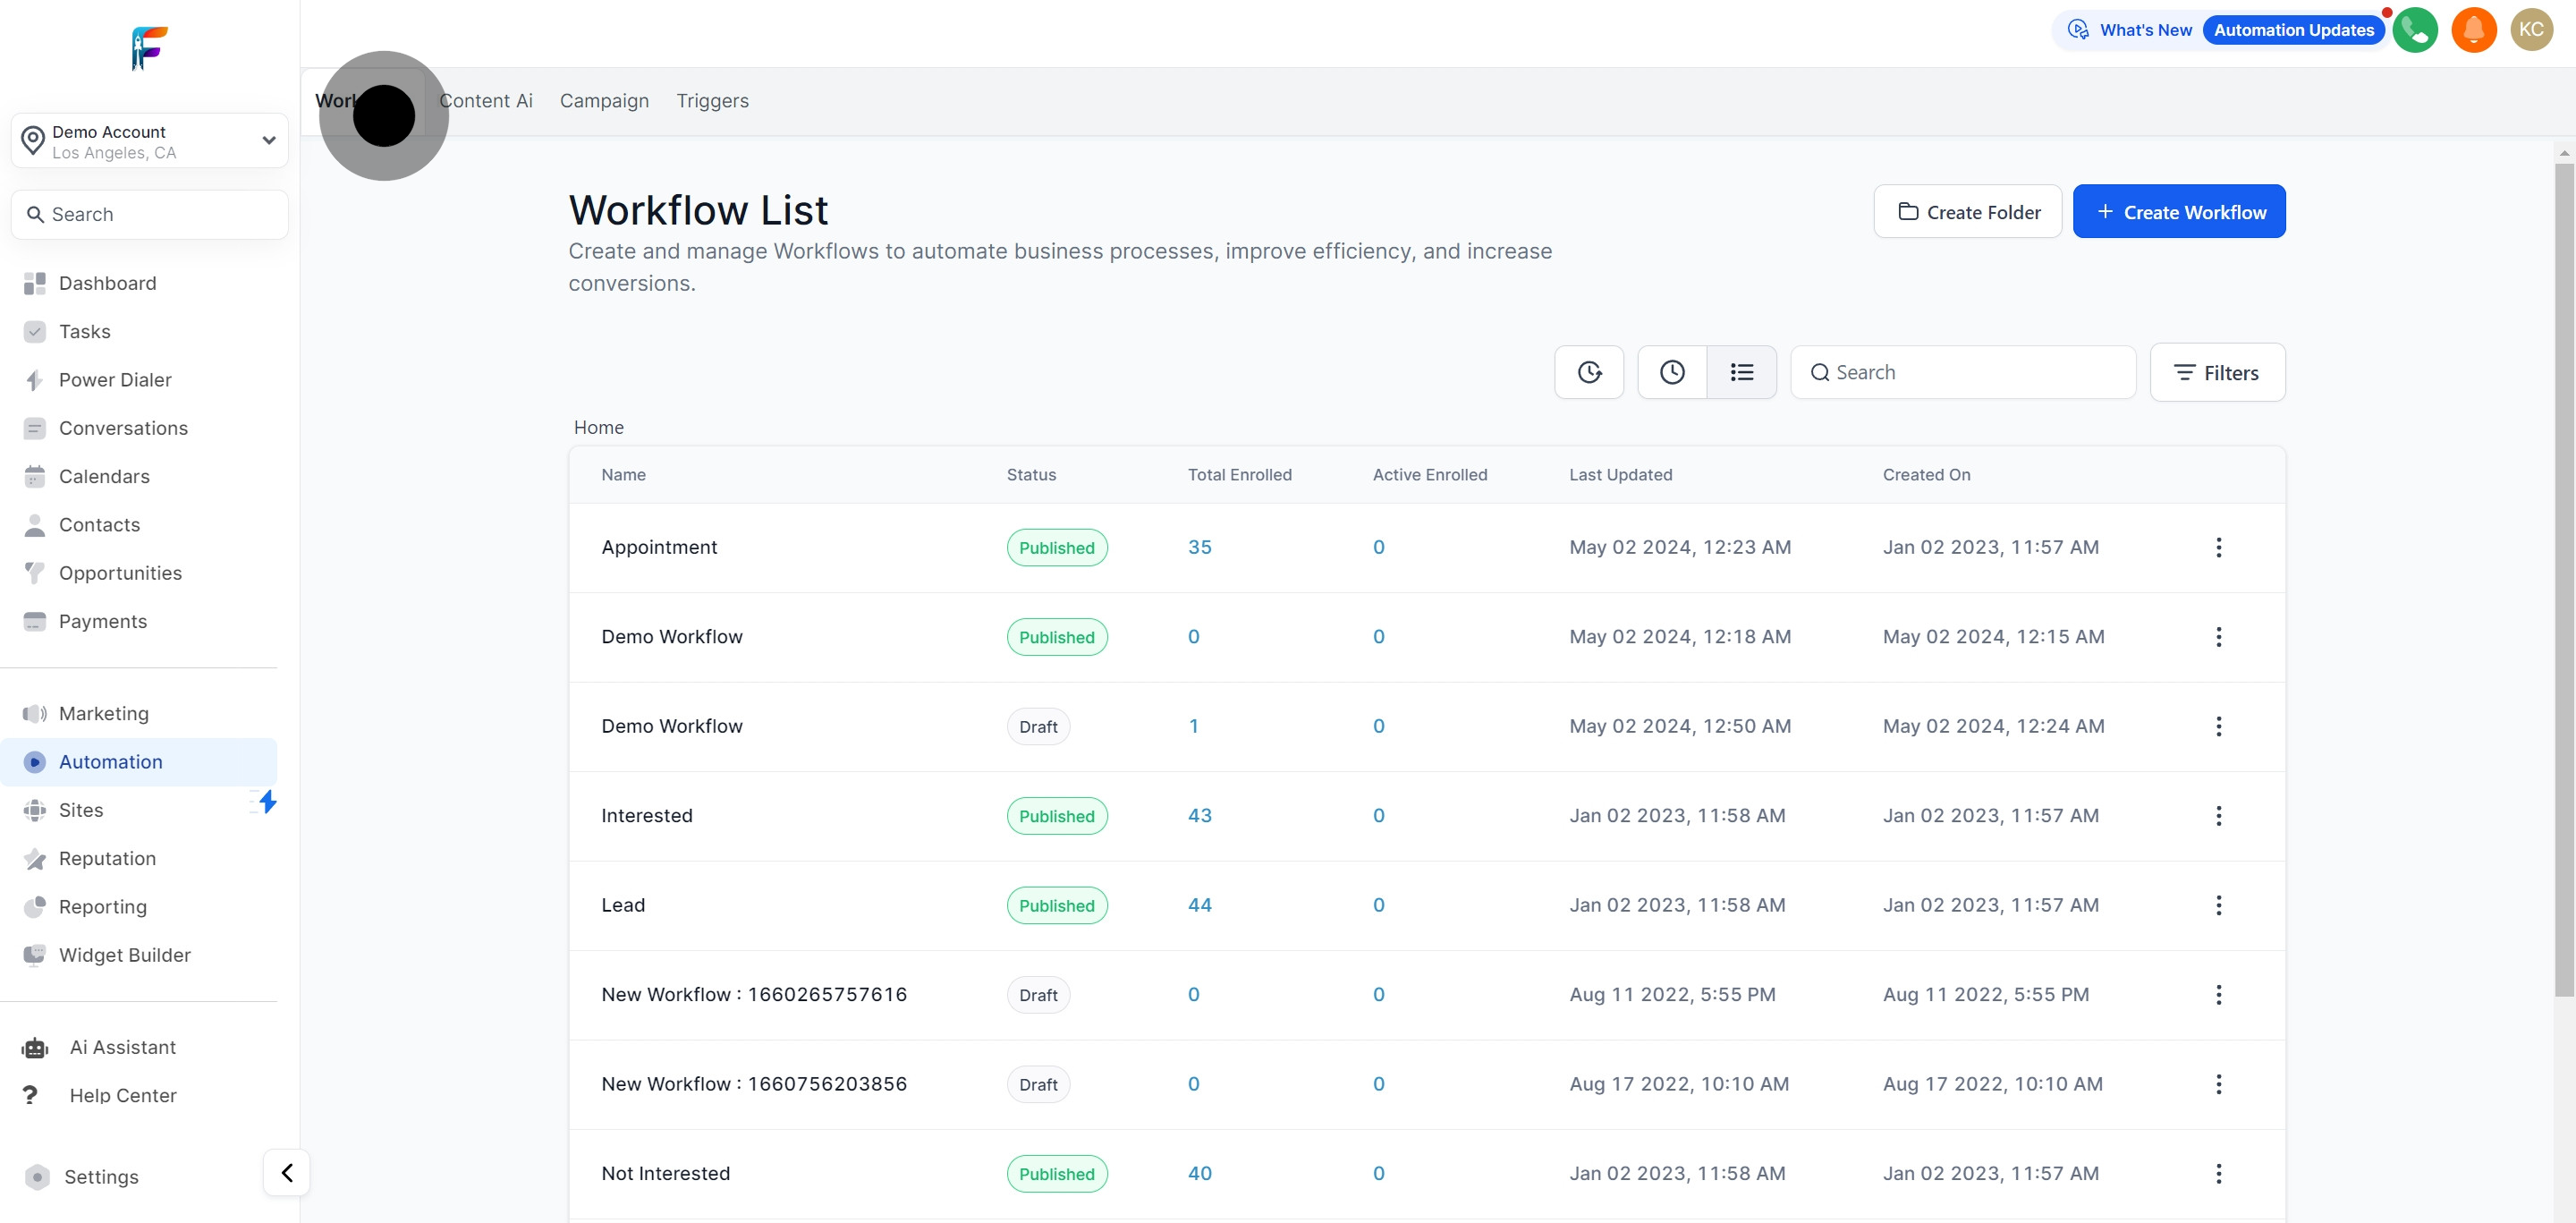
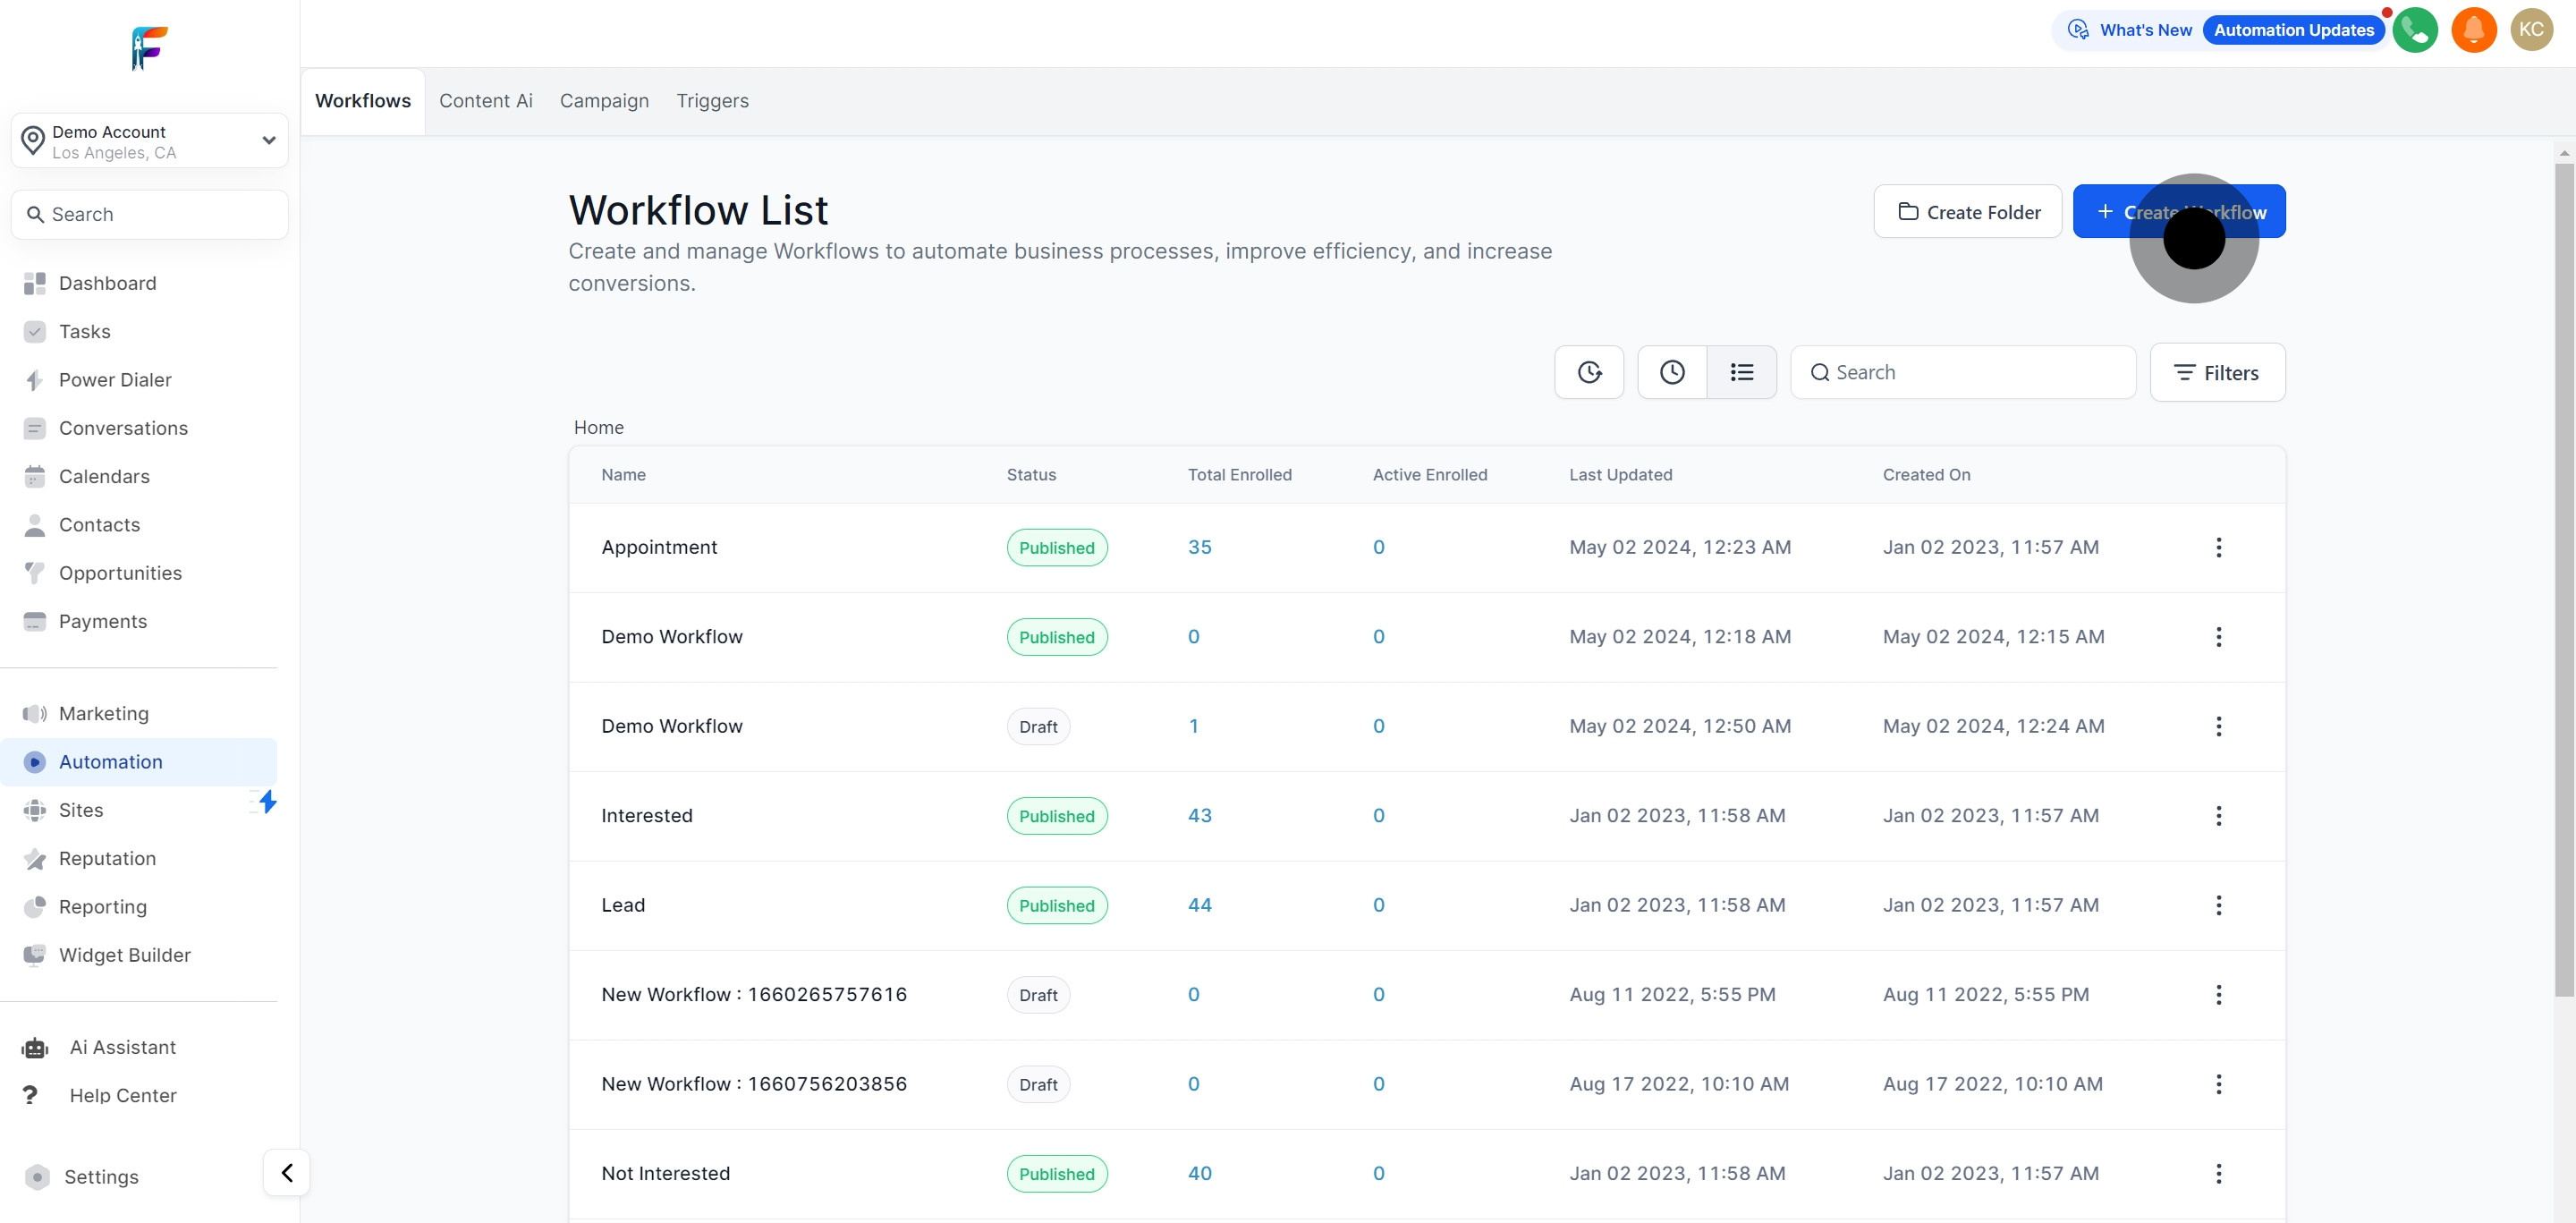
2. Following that, select the 'Workflows' feature.
3. Initiate a new workflow for your process.
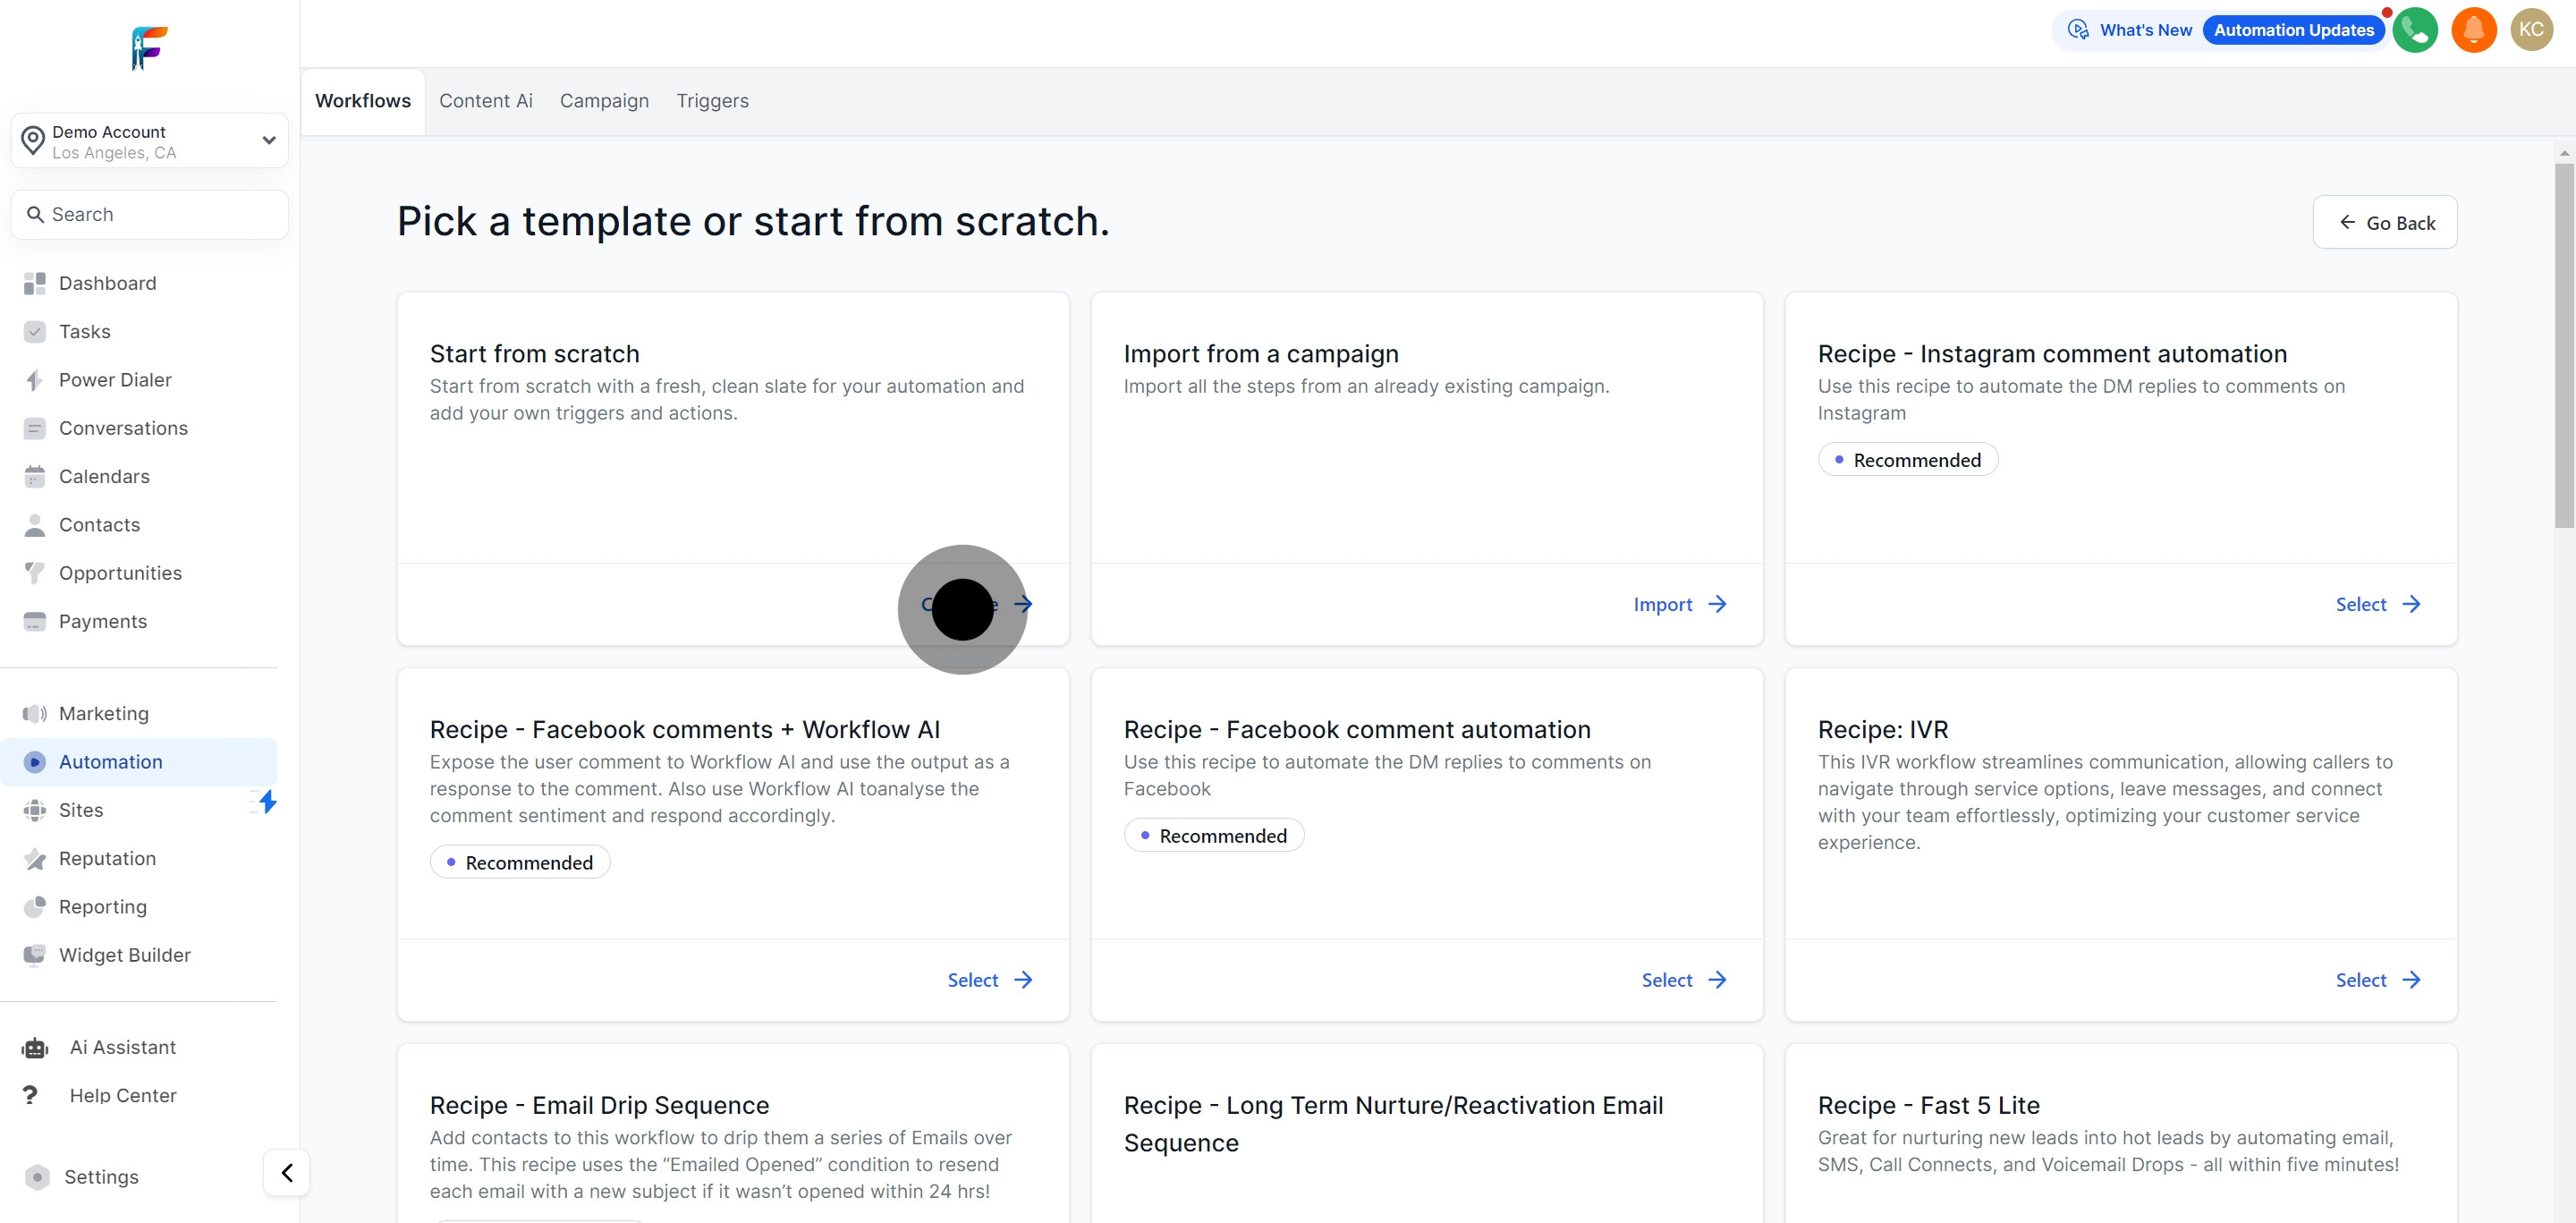
4. Click here to start from scratch or use workflow template
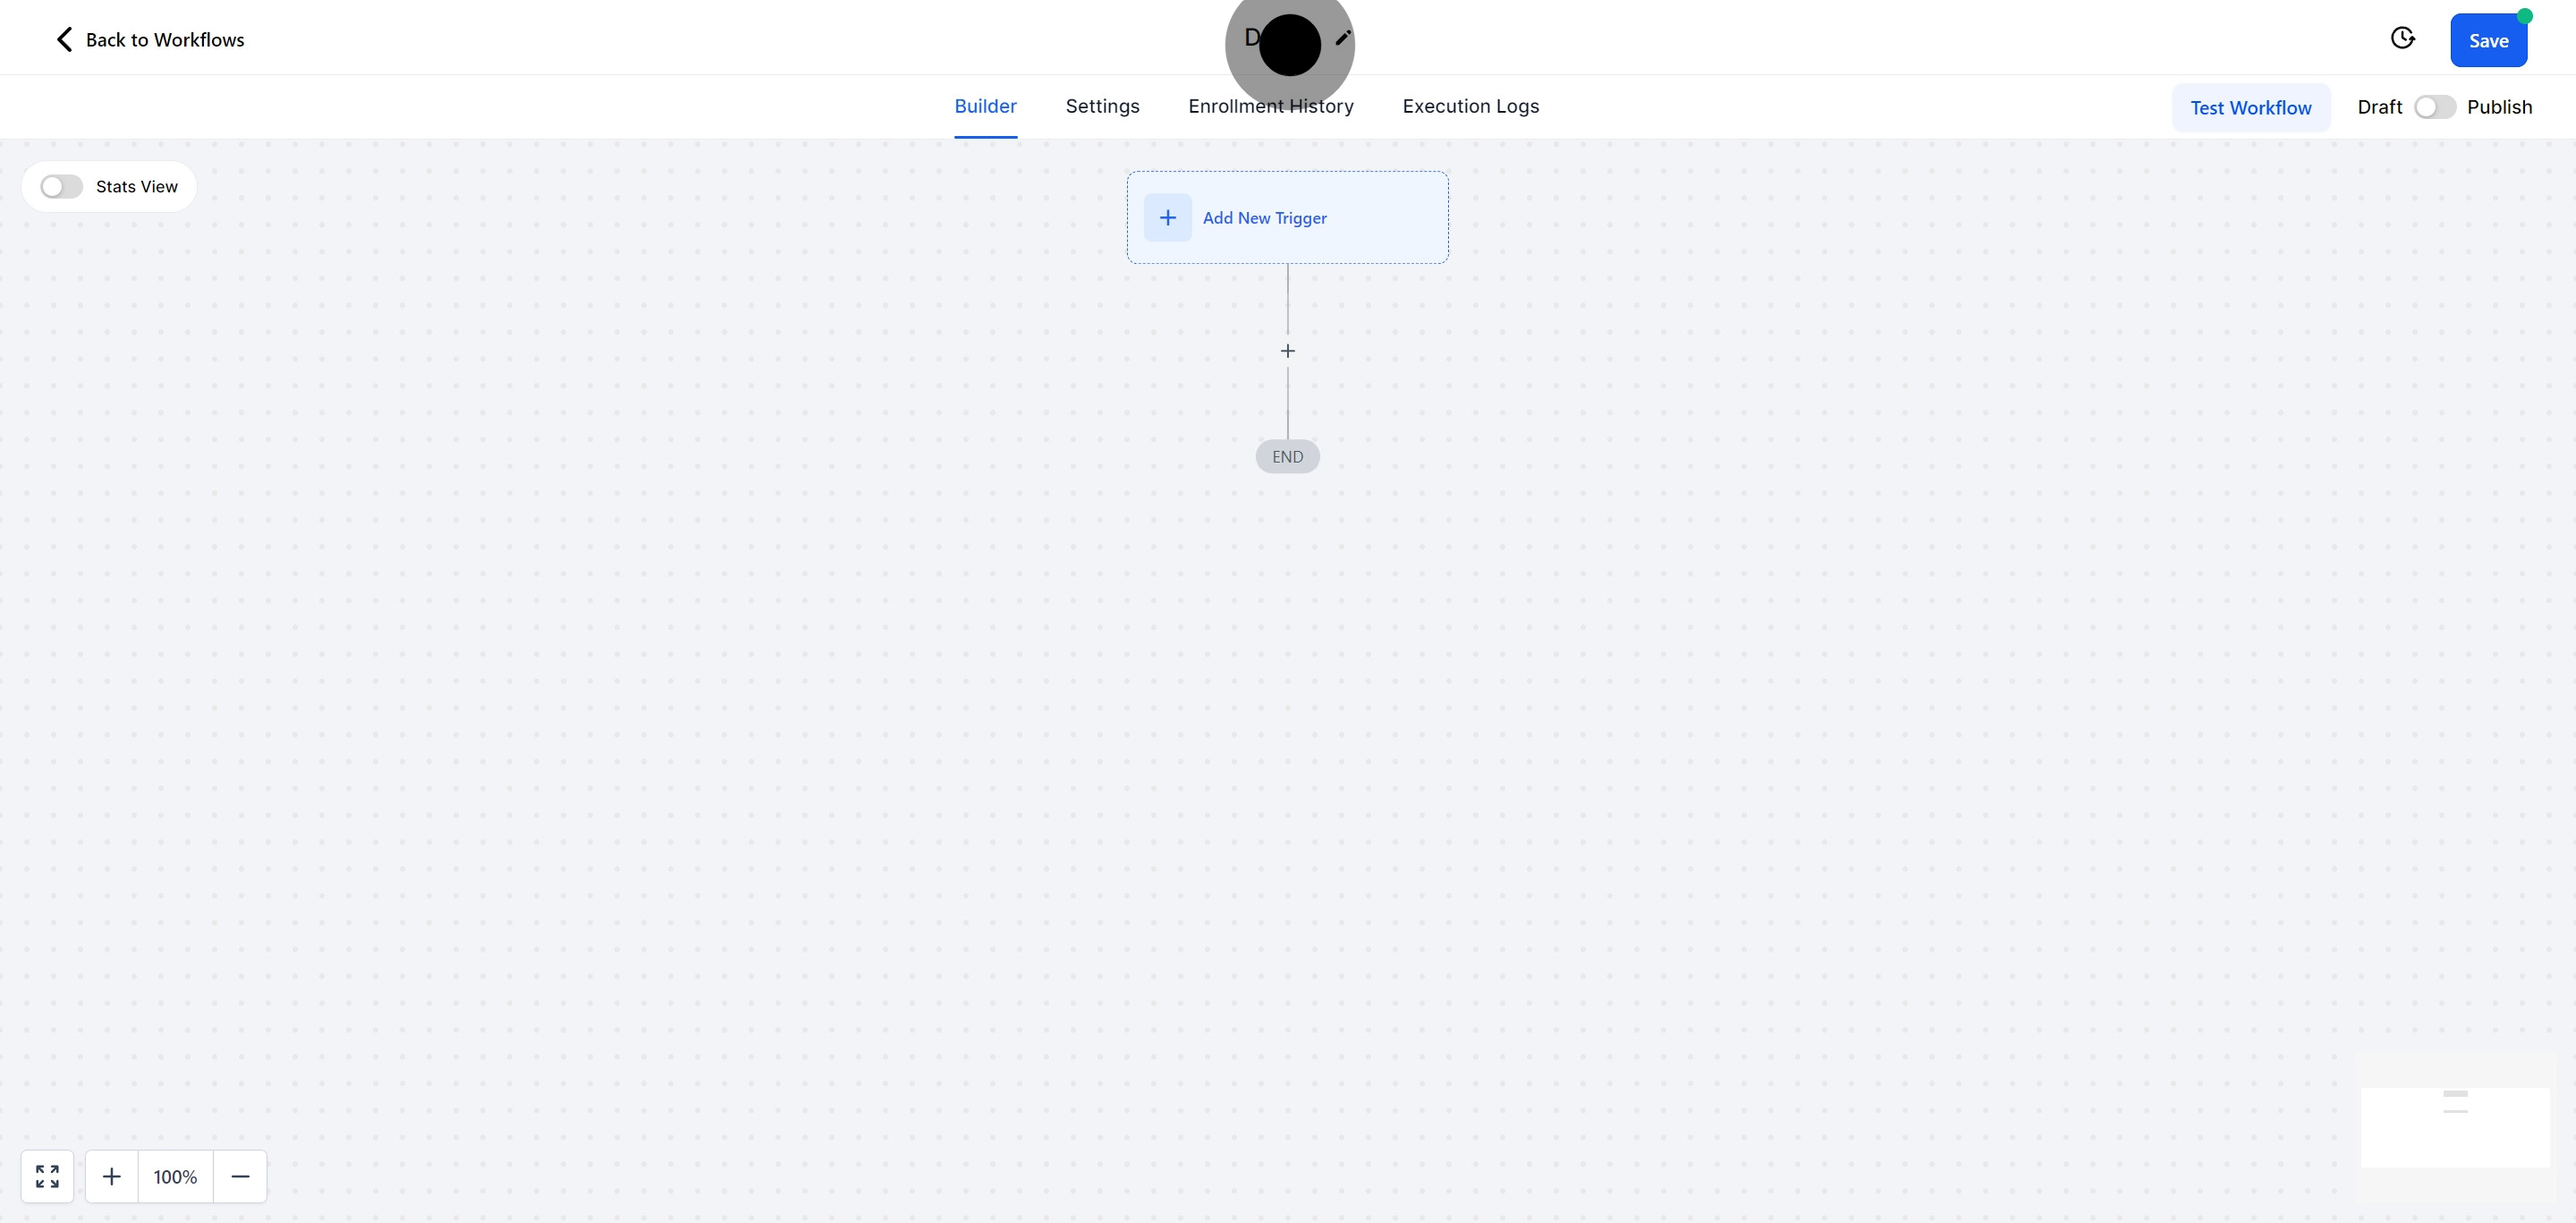
5. It's now time to personalize your workflow name.
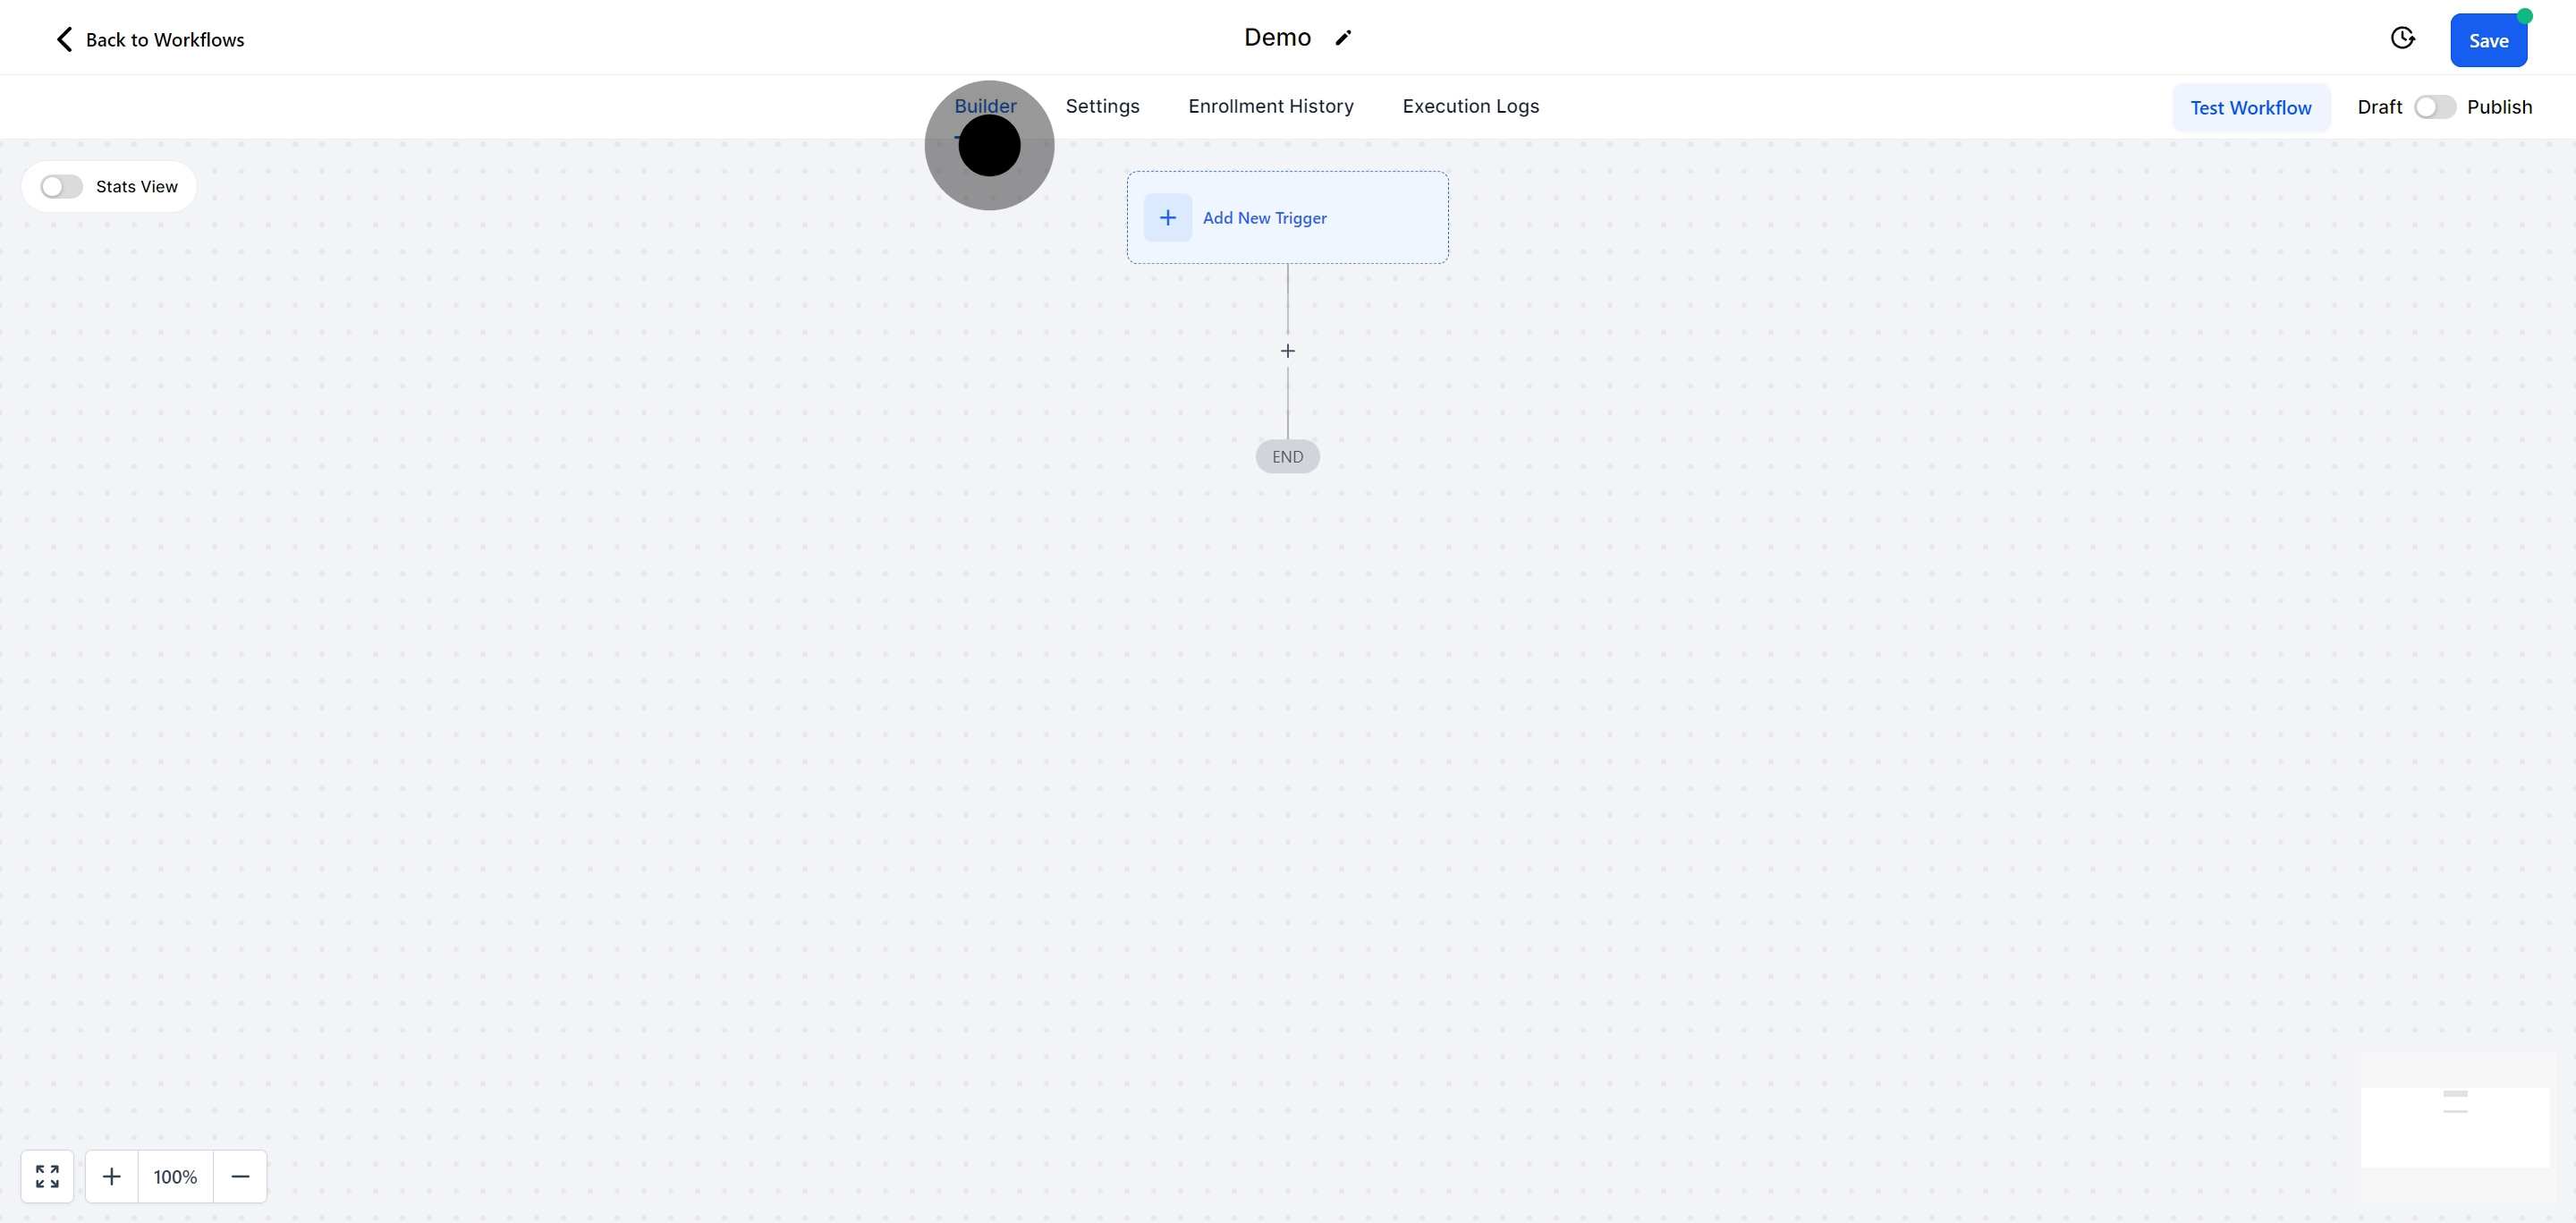
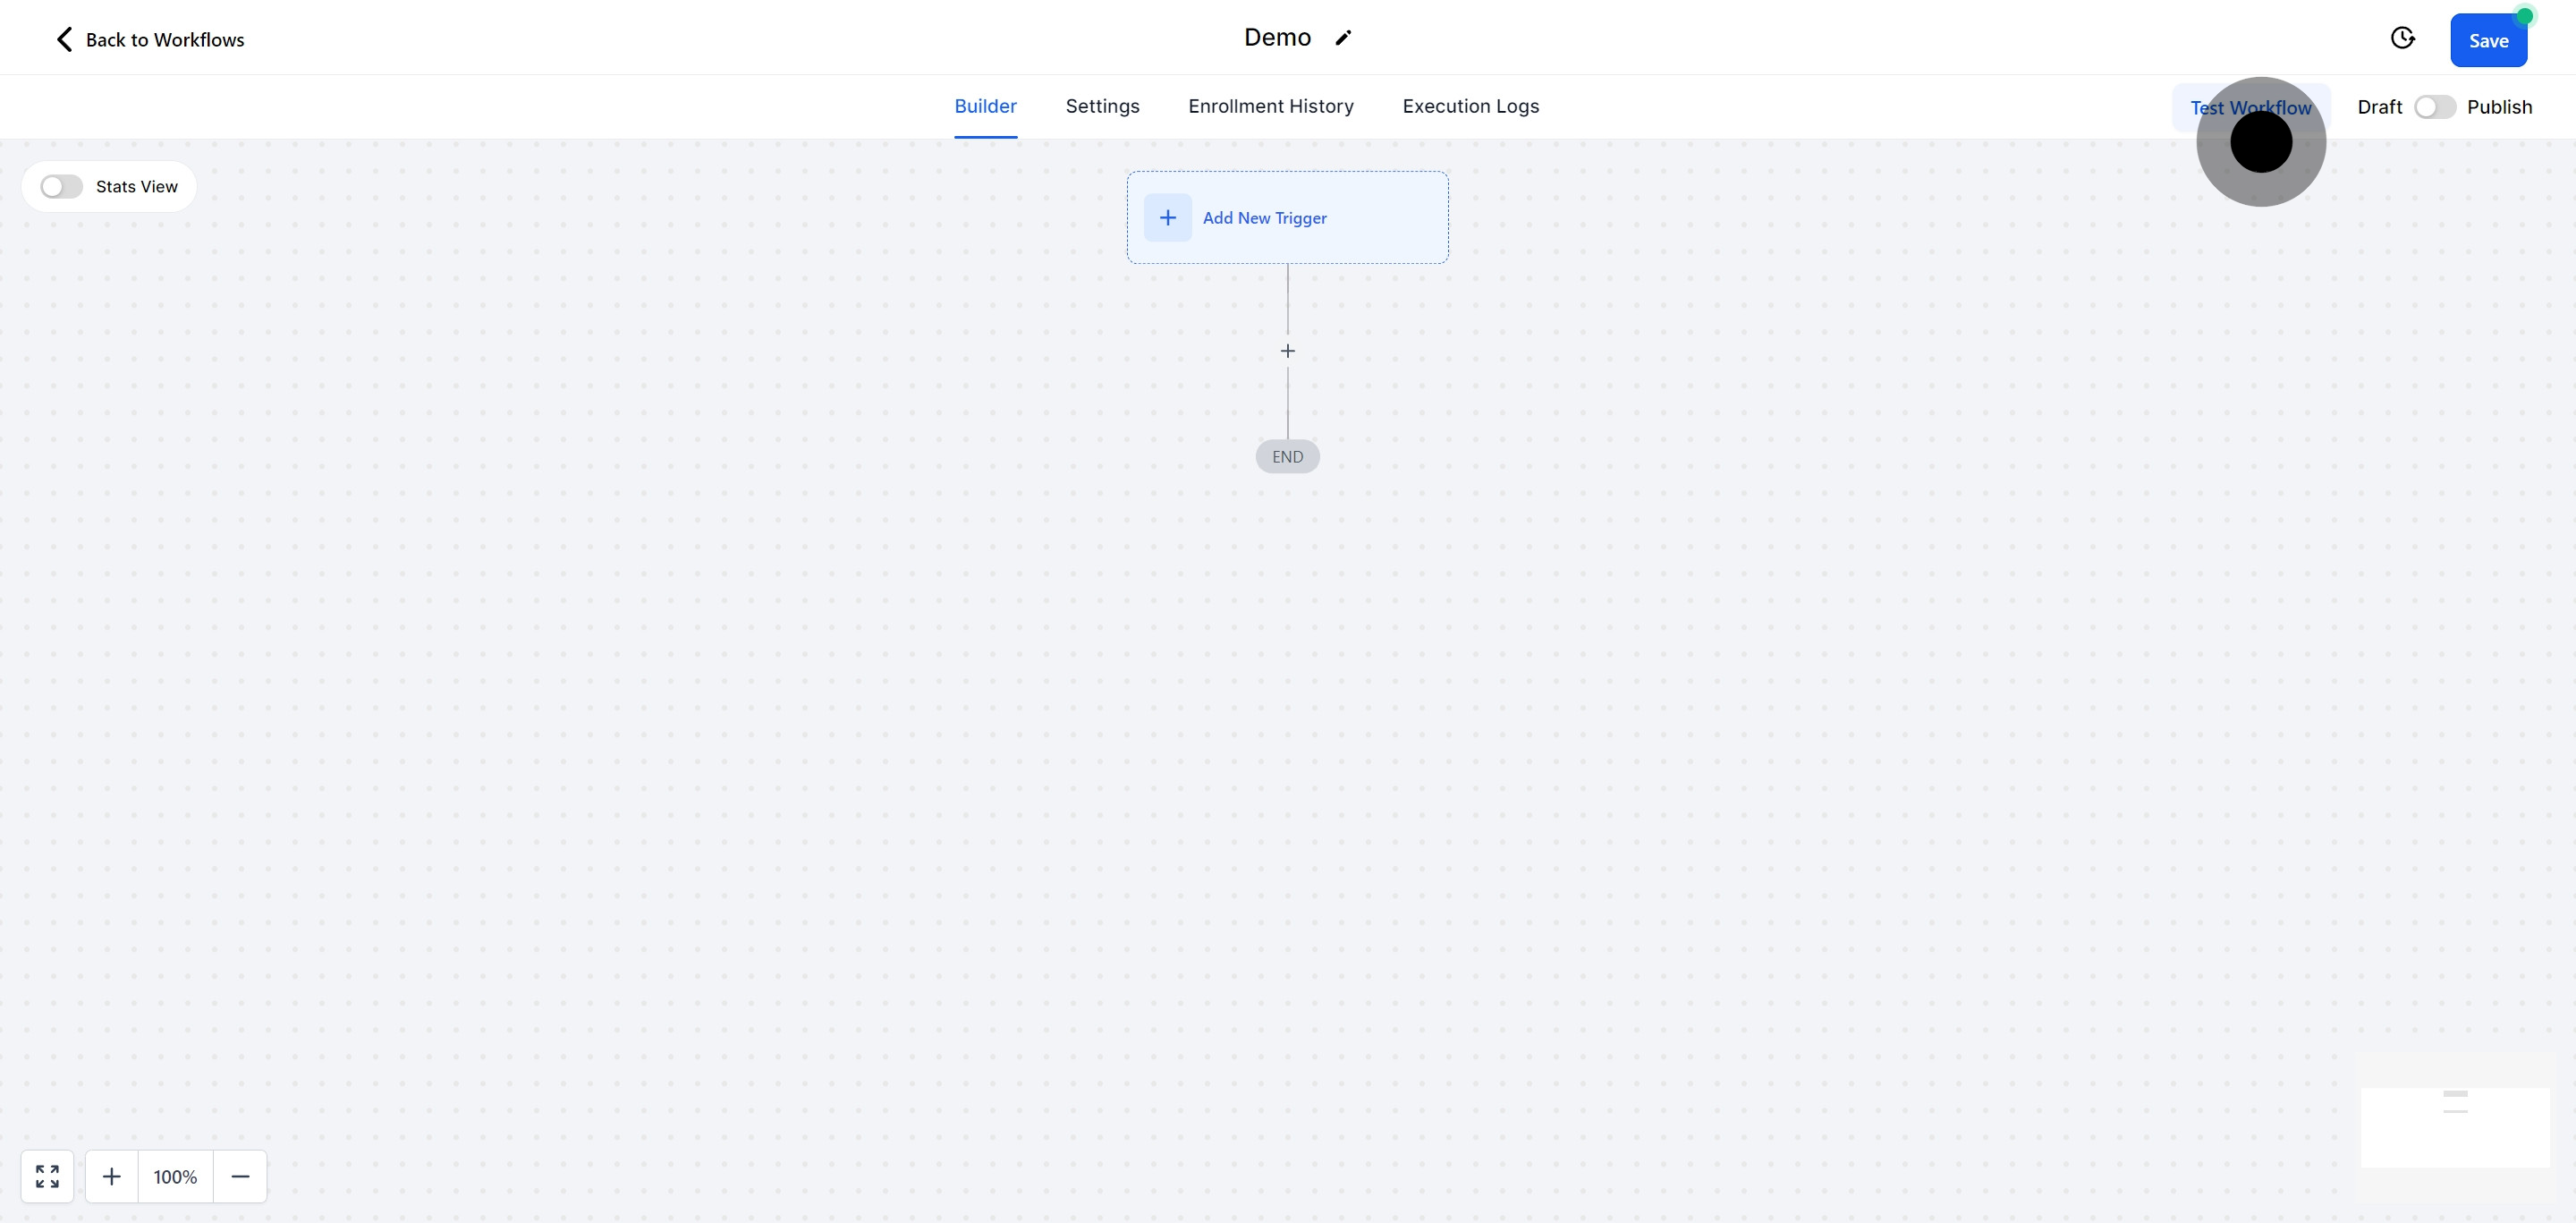
6. Confirm you are operating under the builder tab.
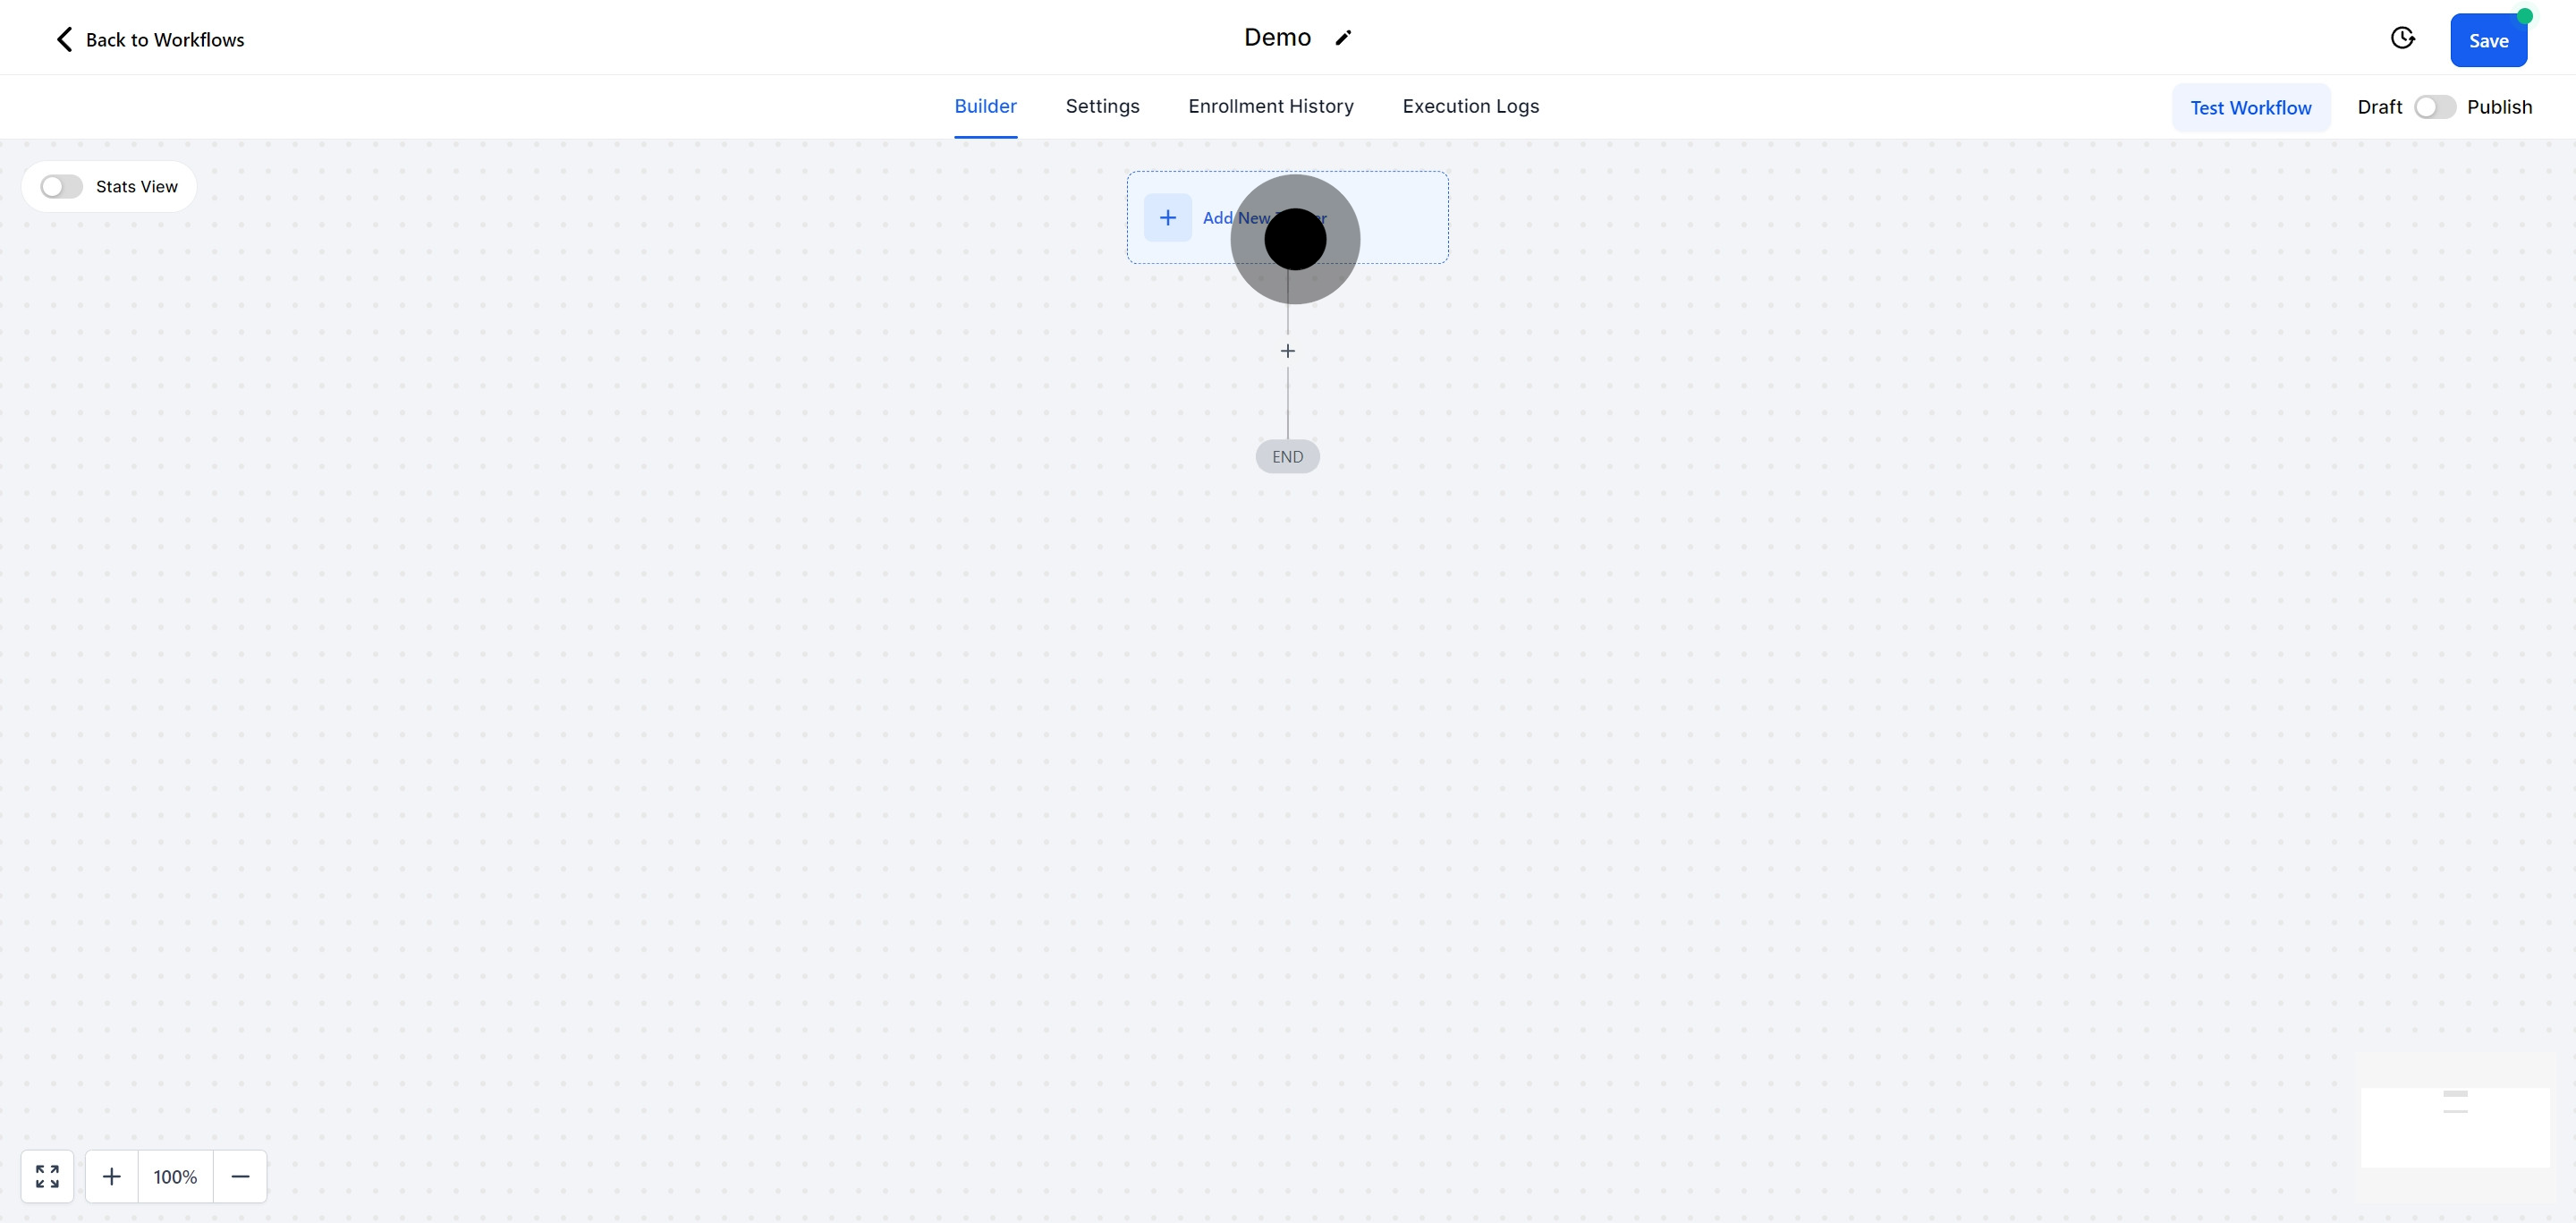
7. Click 'Add New Trigger' to explore settings.
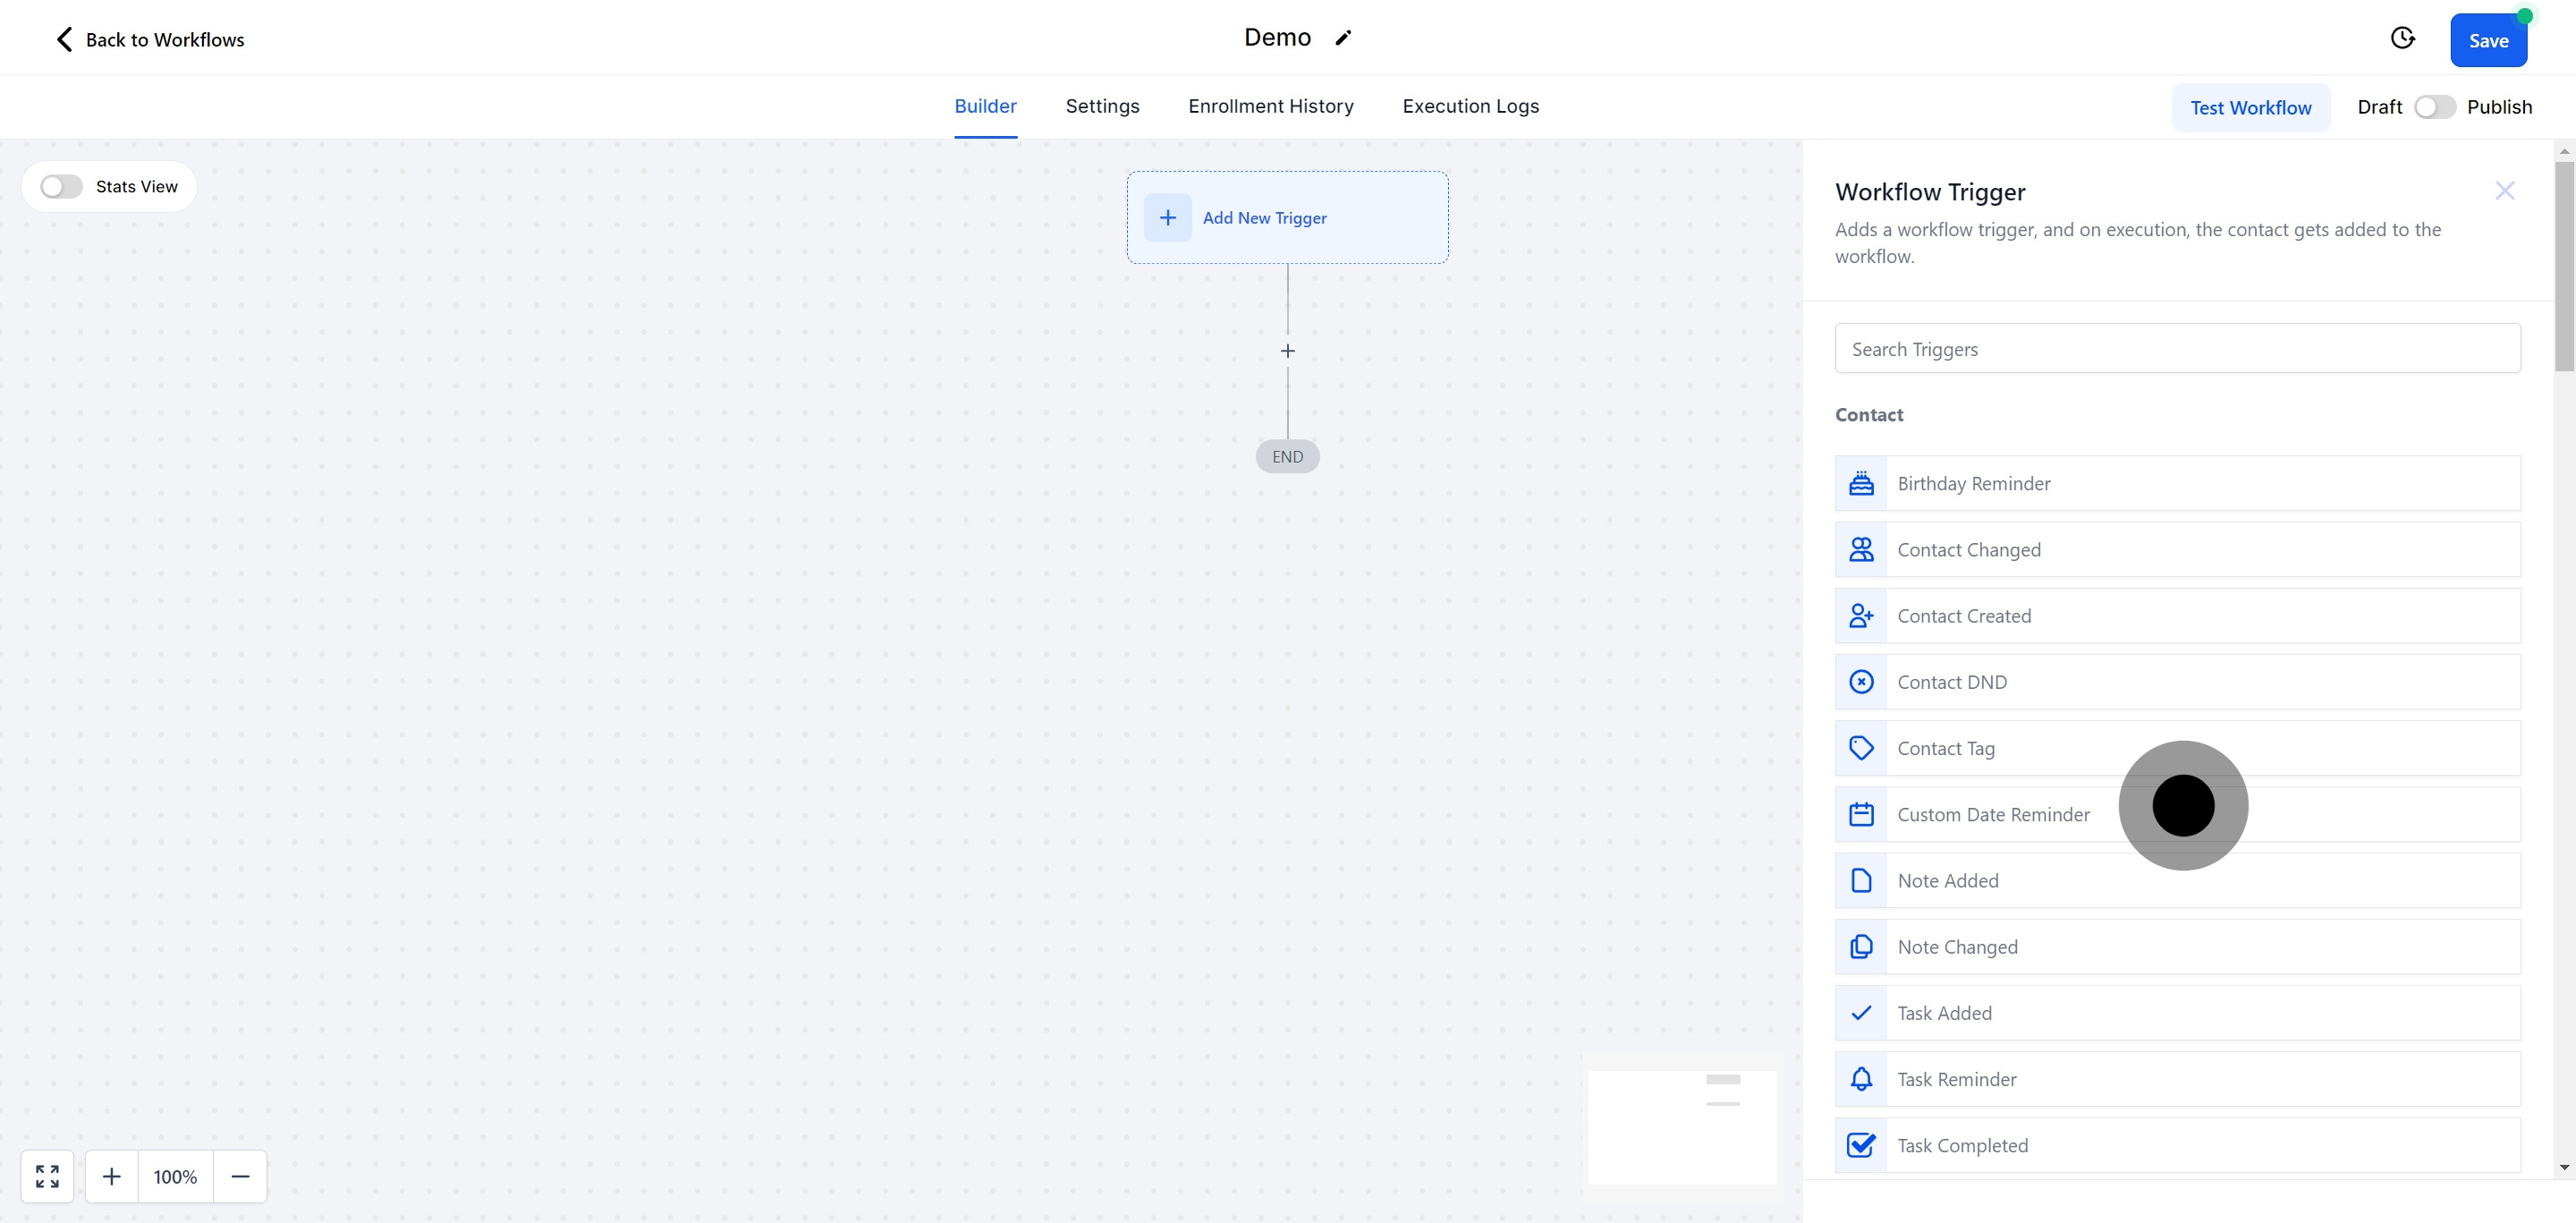
8. Take advantage of the various trigger settings available.
9. Test the functionality of your newly designed workflow.
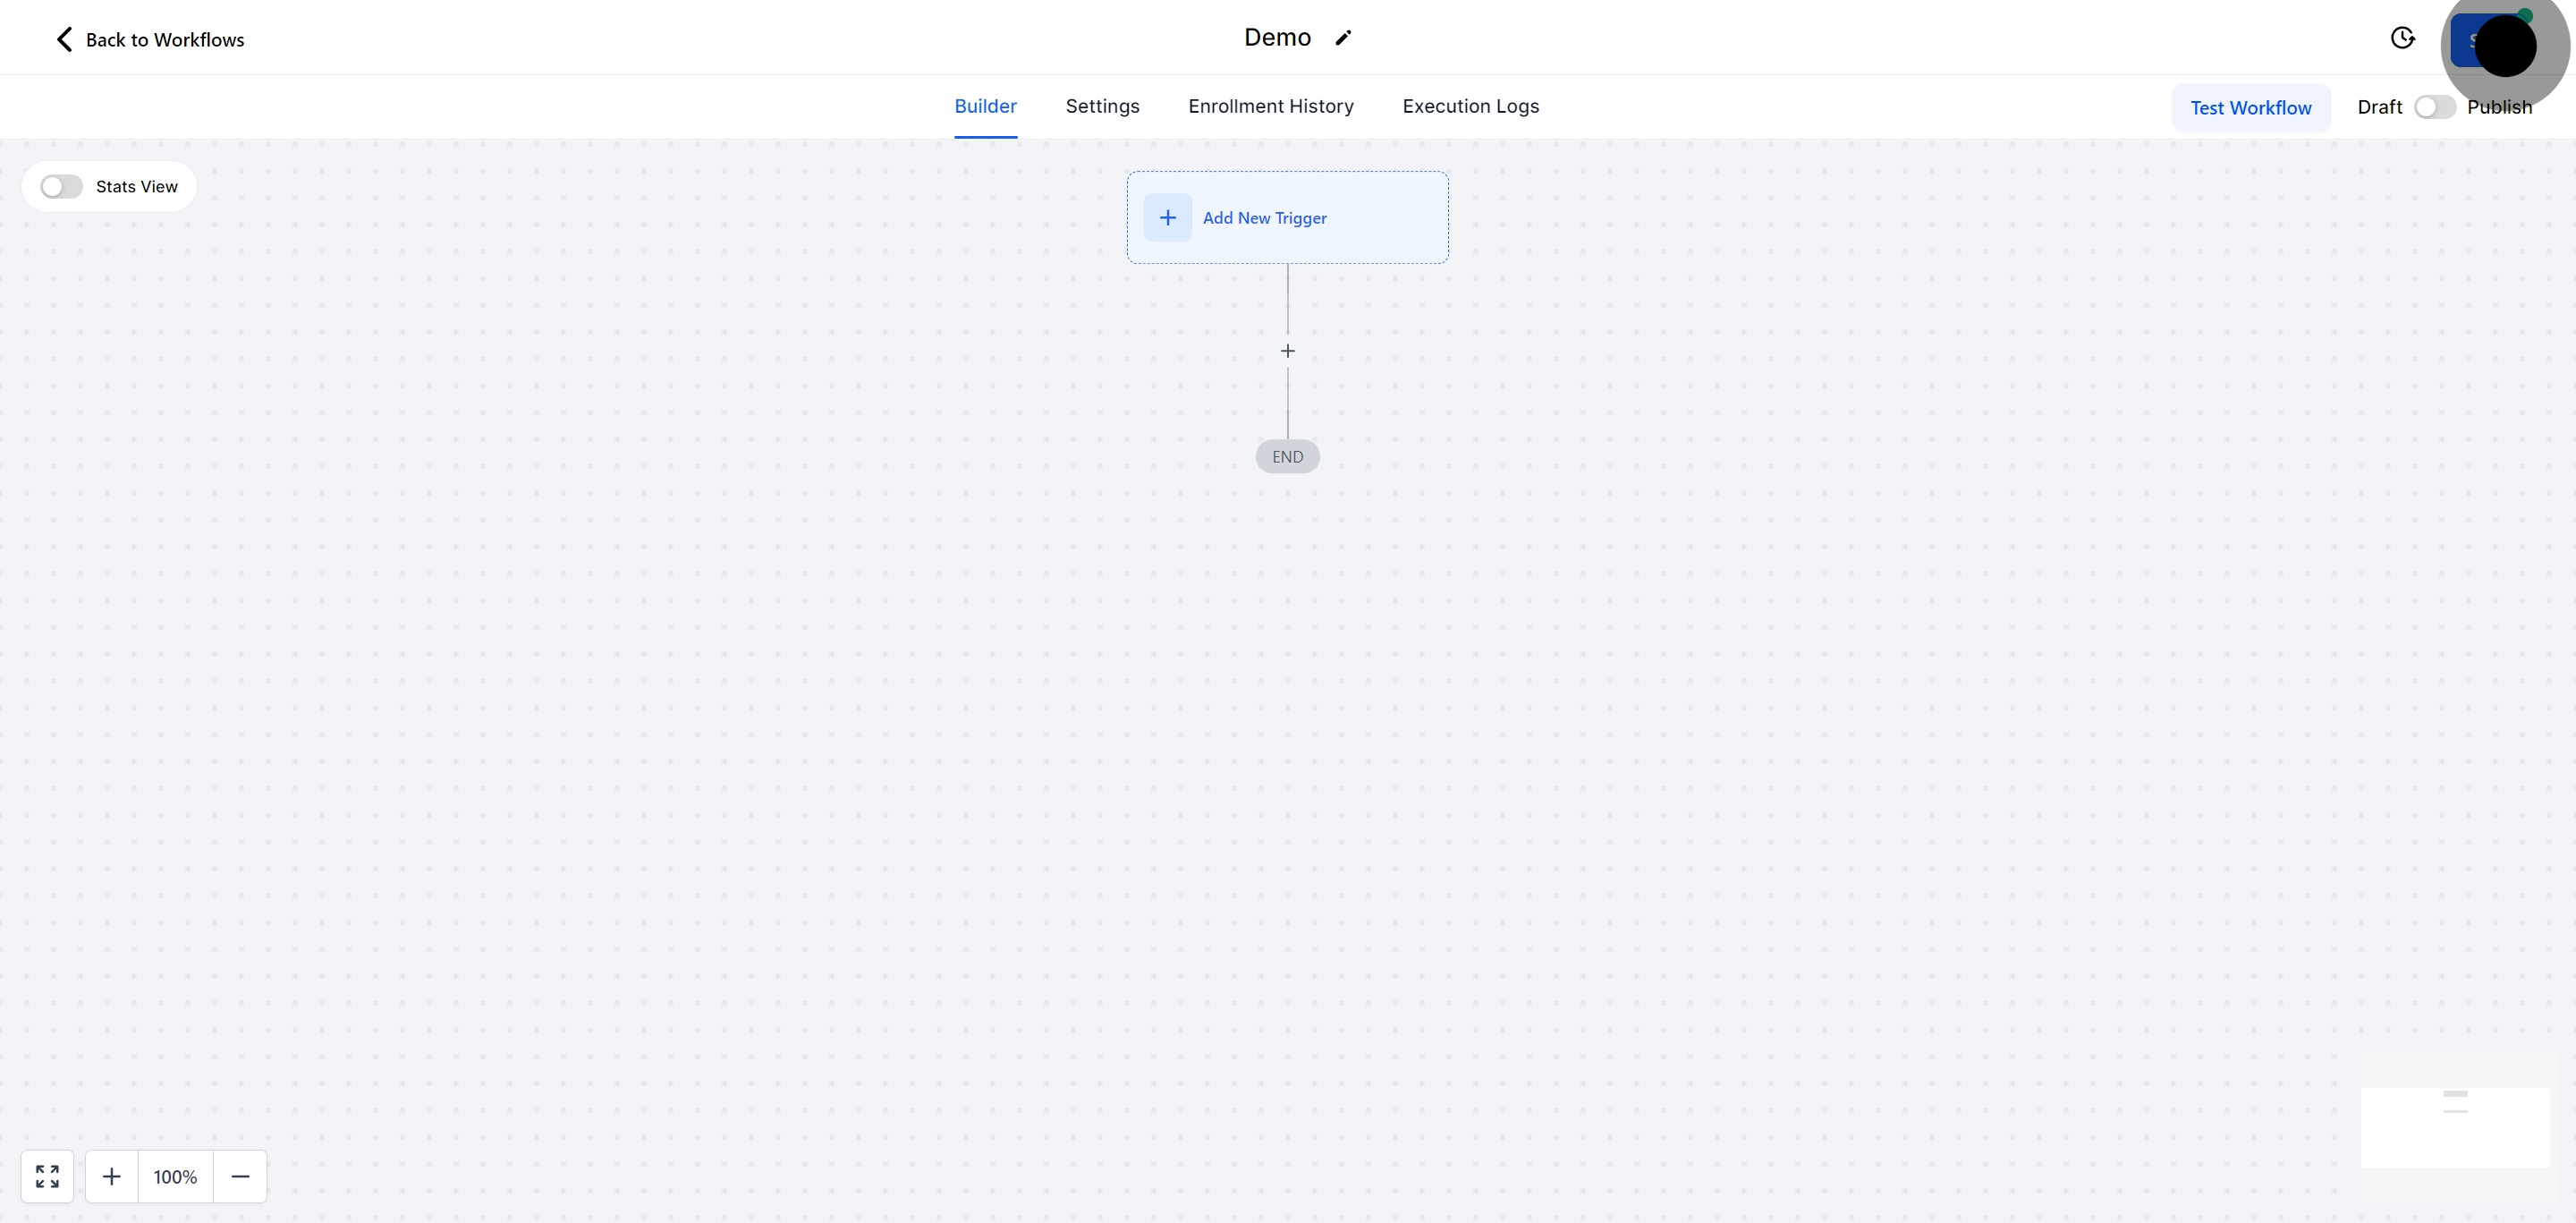
10. Preserve your progress by hitting the 'Test Workflow' button.
11. Satisfied with your edits? Save them.
12. Consider creating a new folder for better management.
13. Replicate workflow history using the 'Copy' feature.
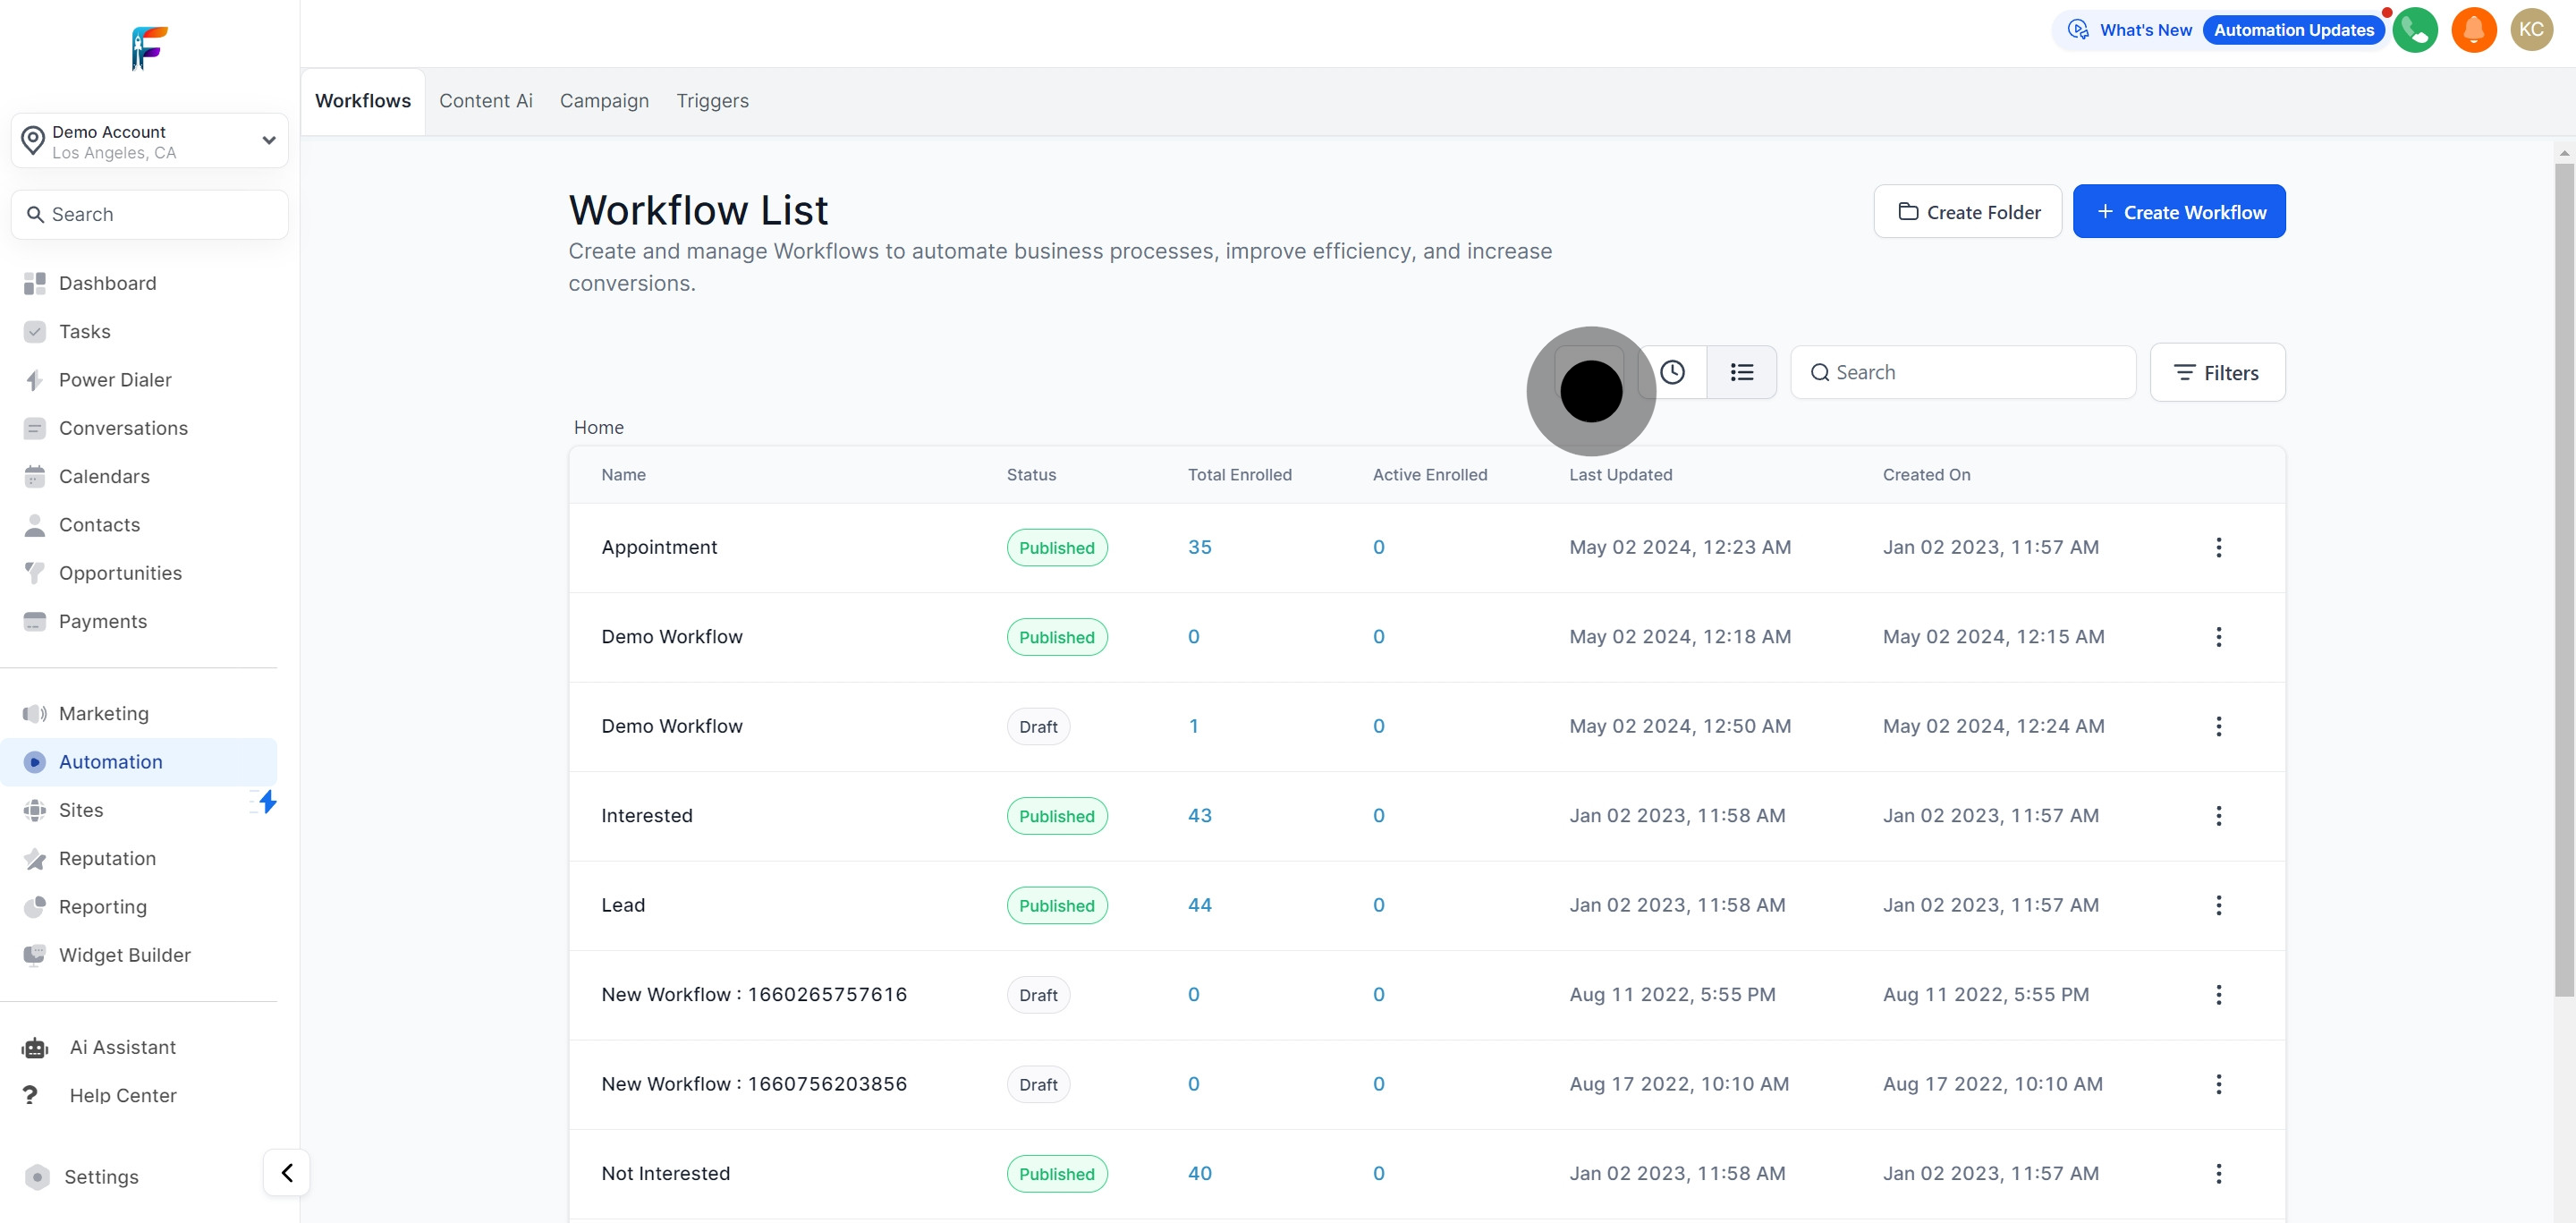
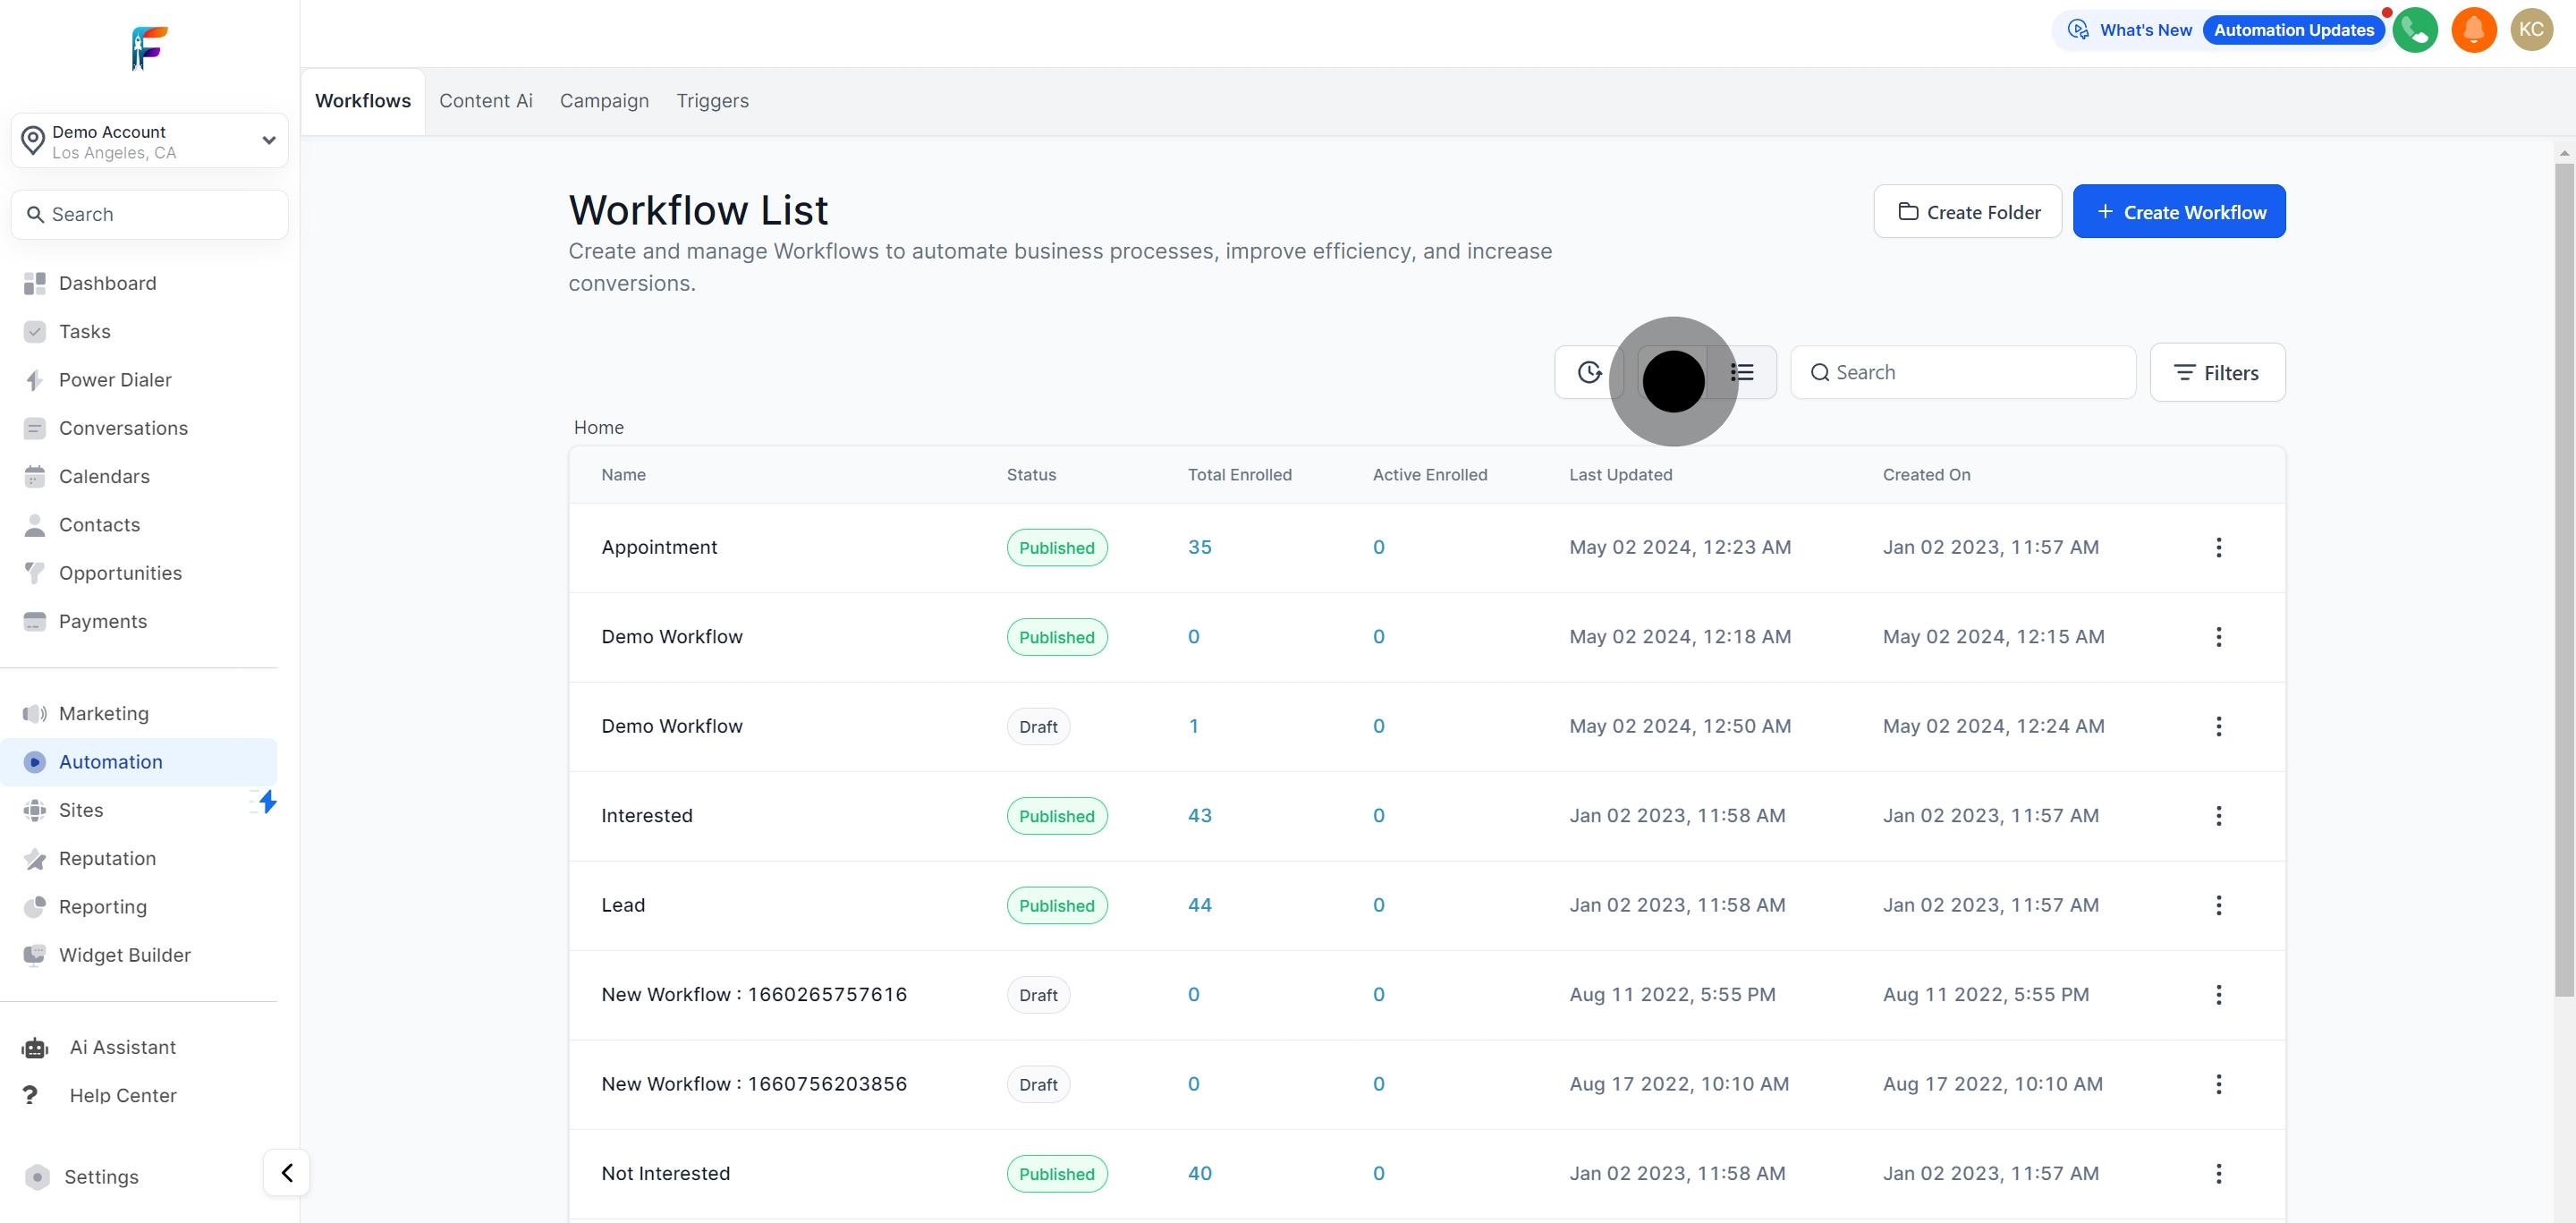
14. Monitor your recent activities under the ‘Home’ tab.
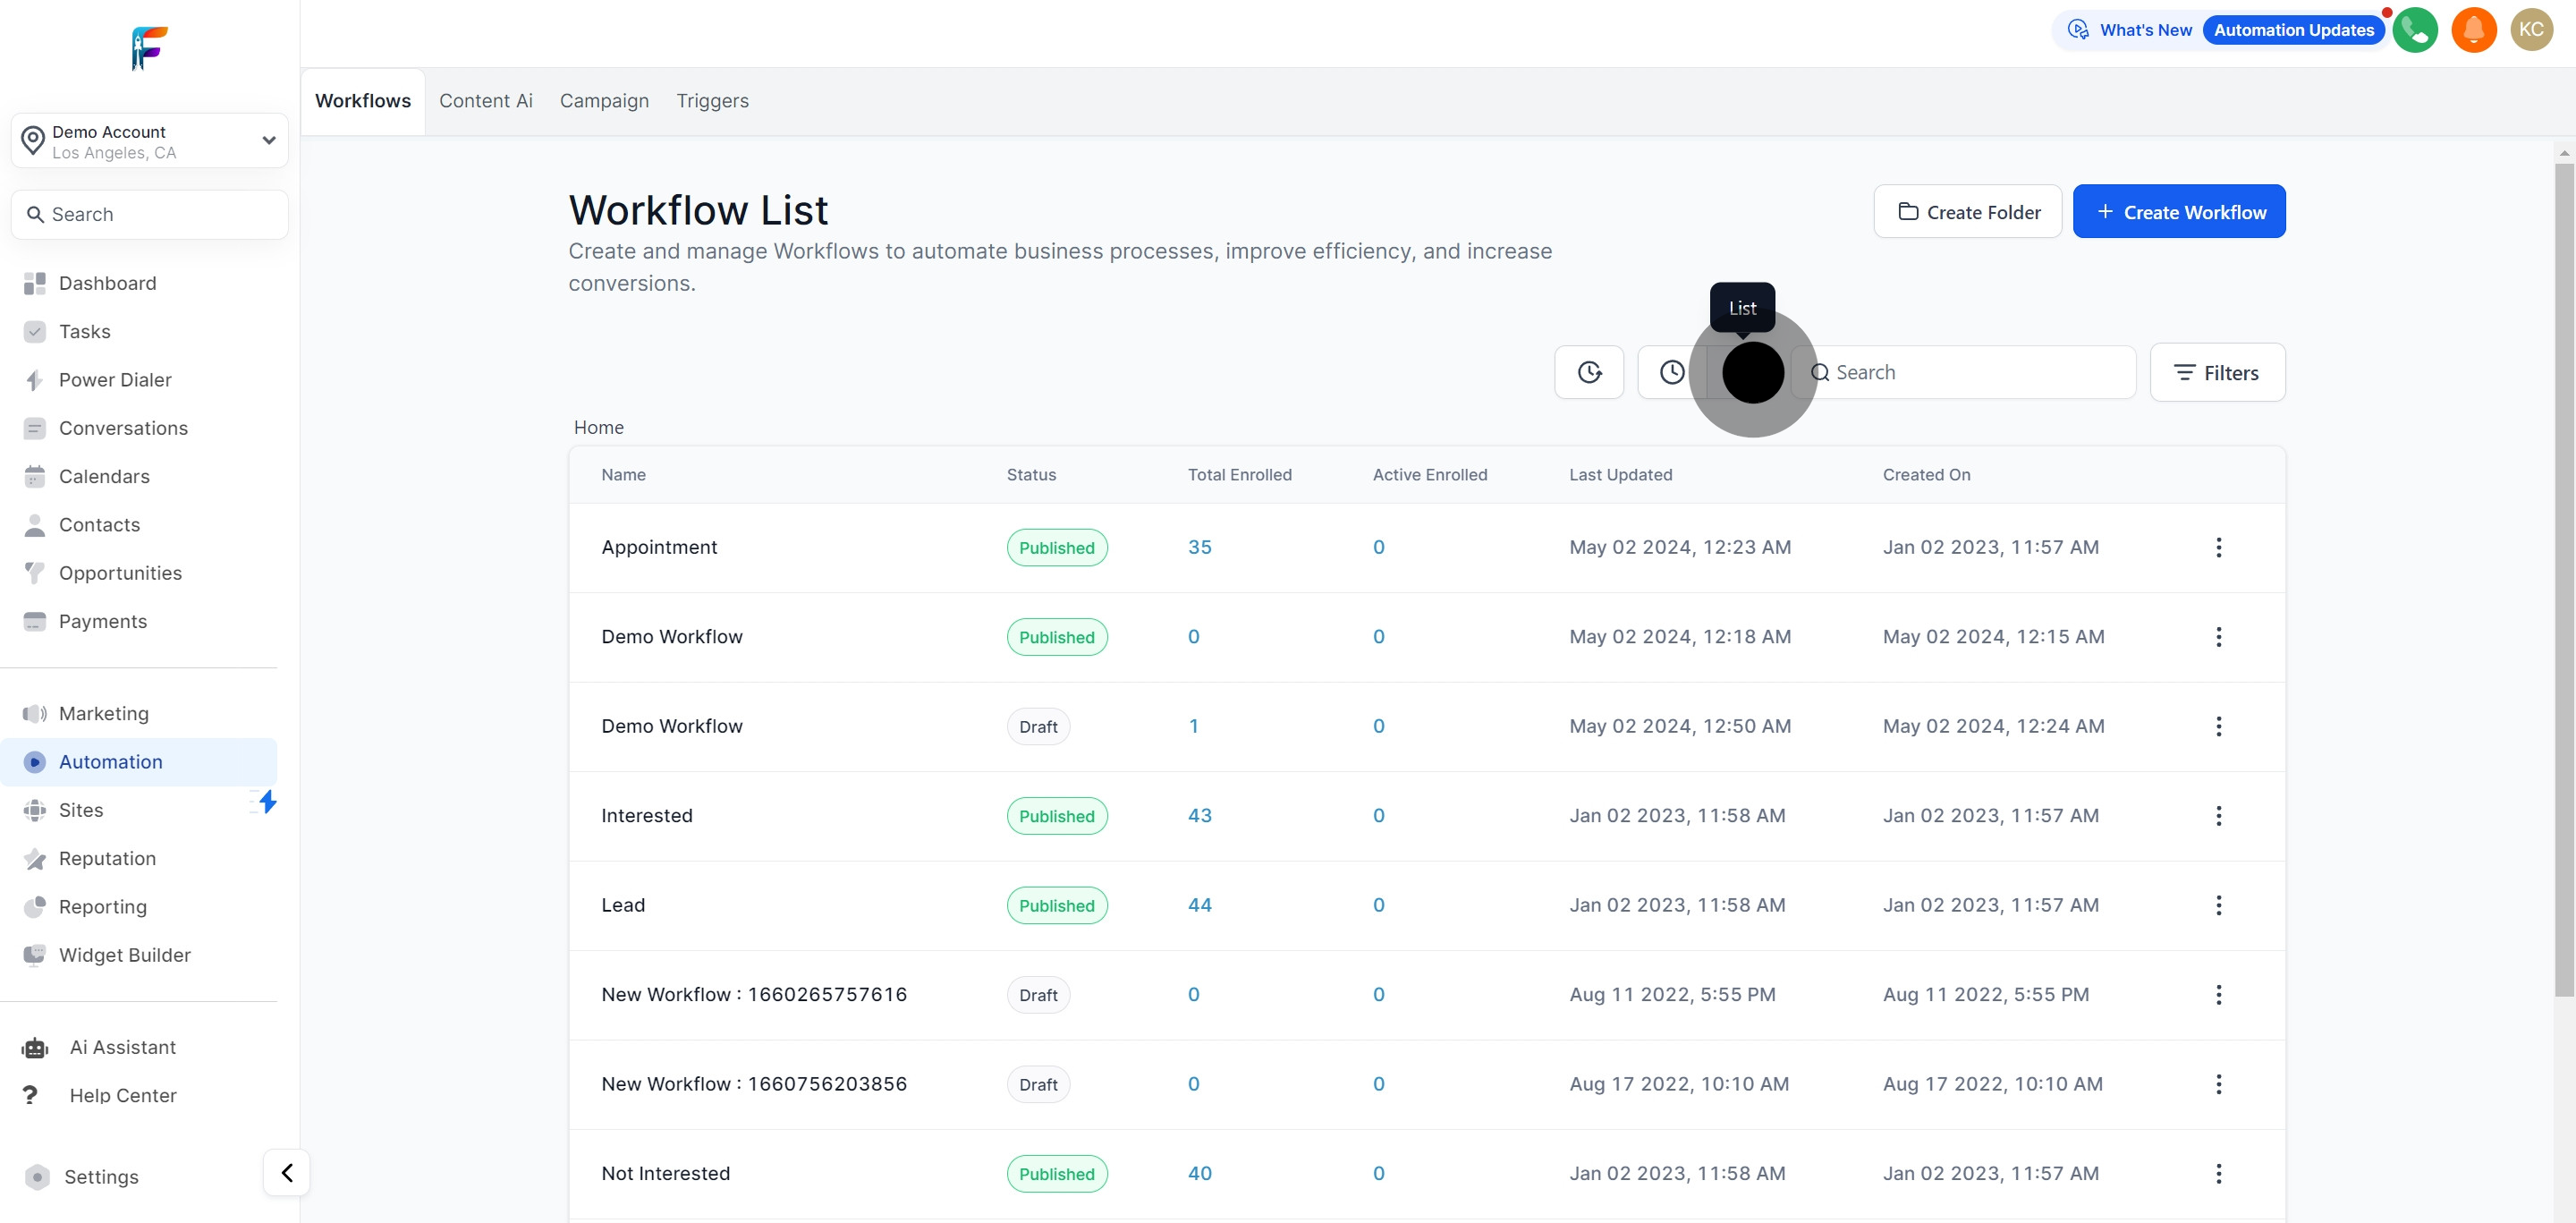
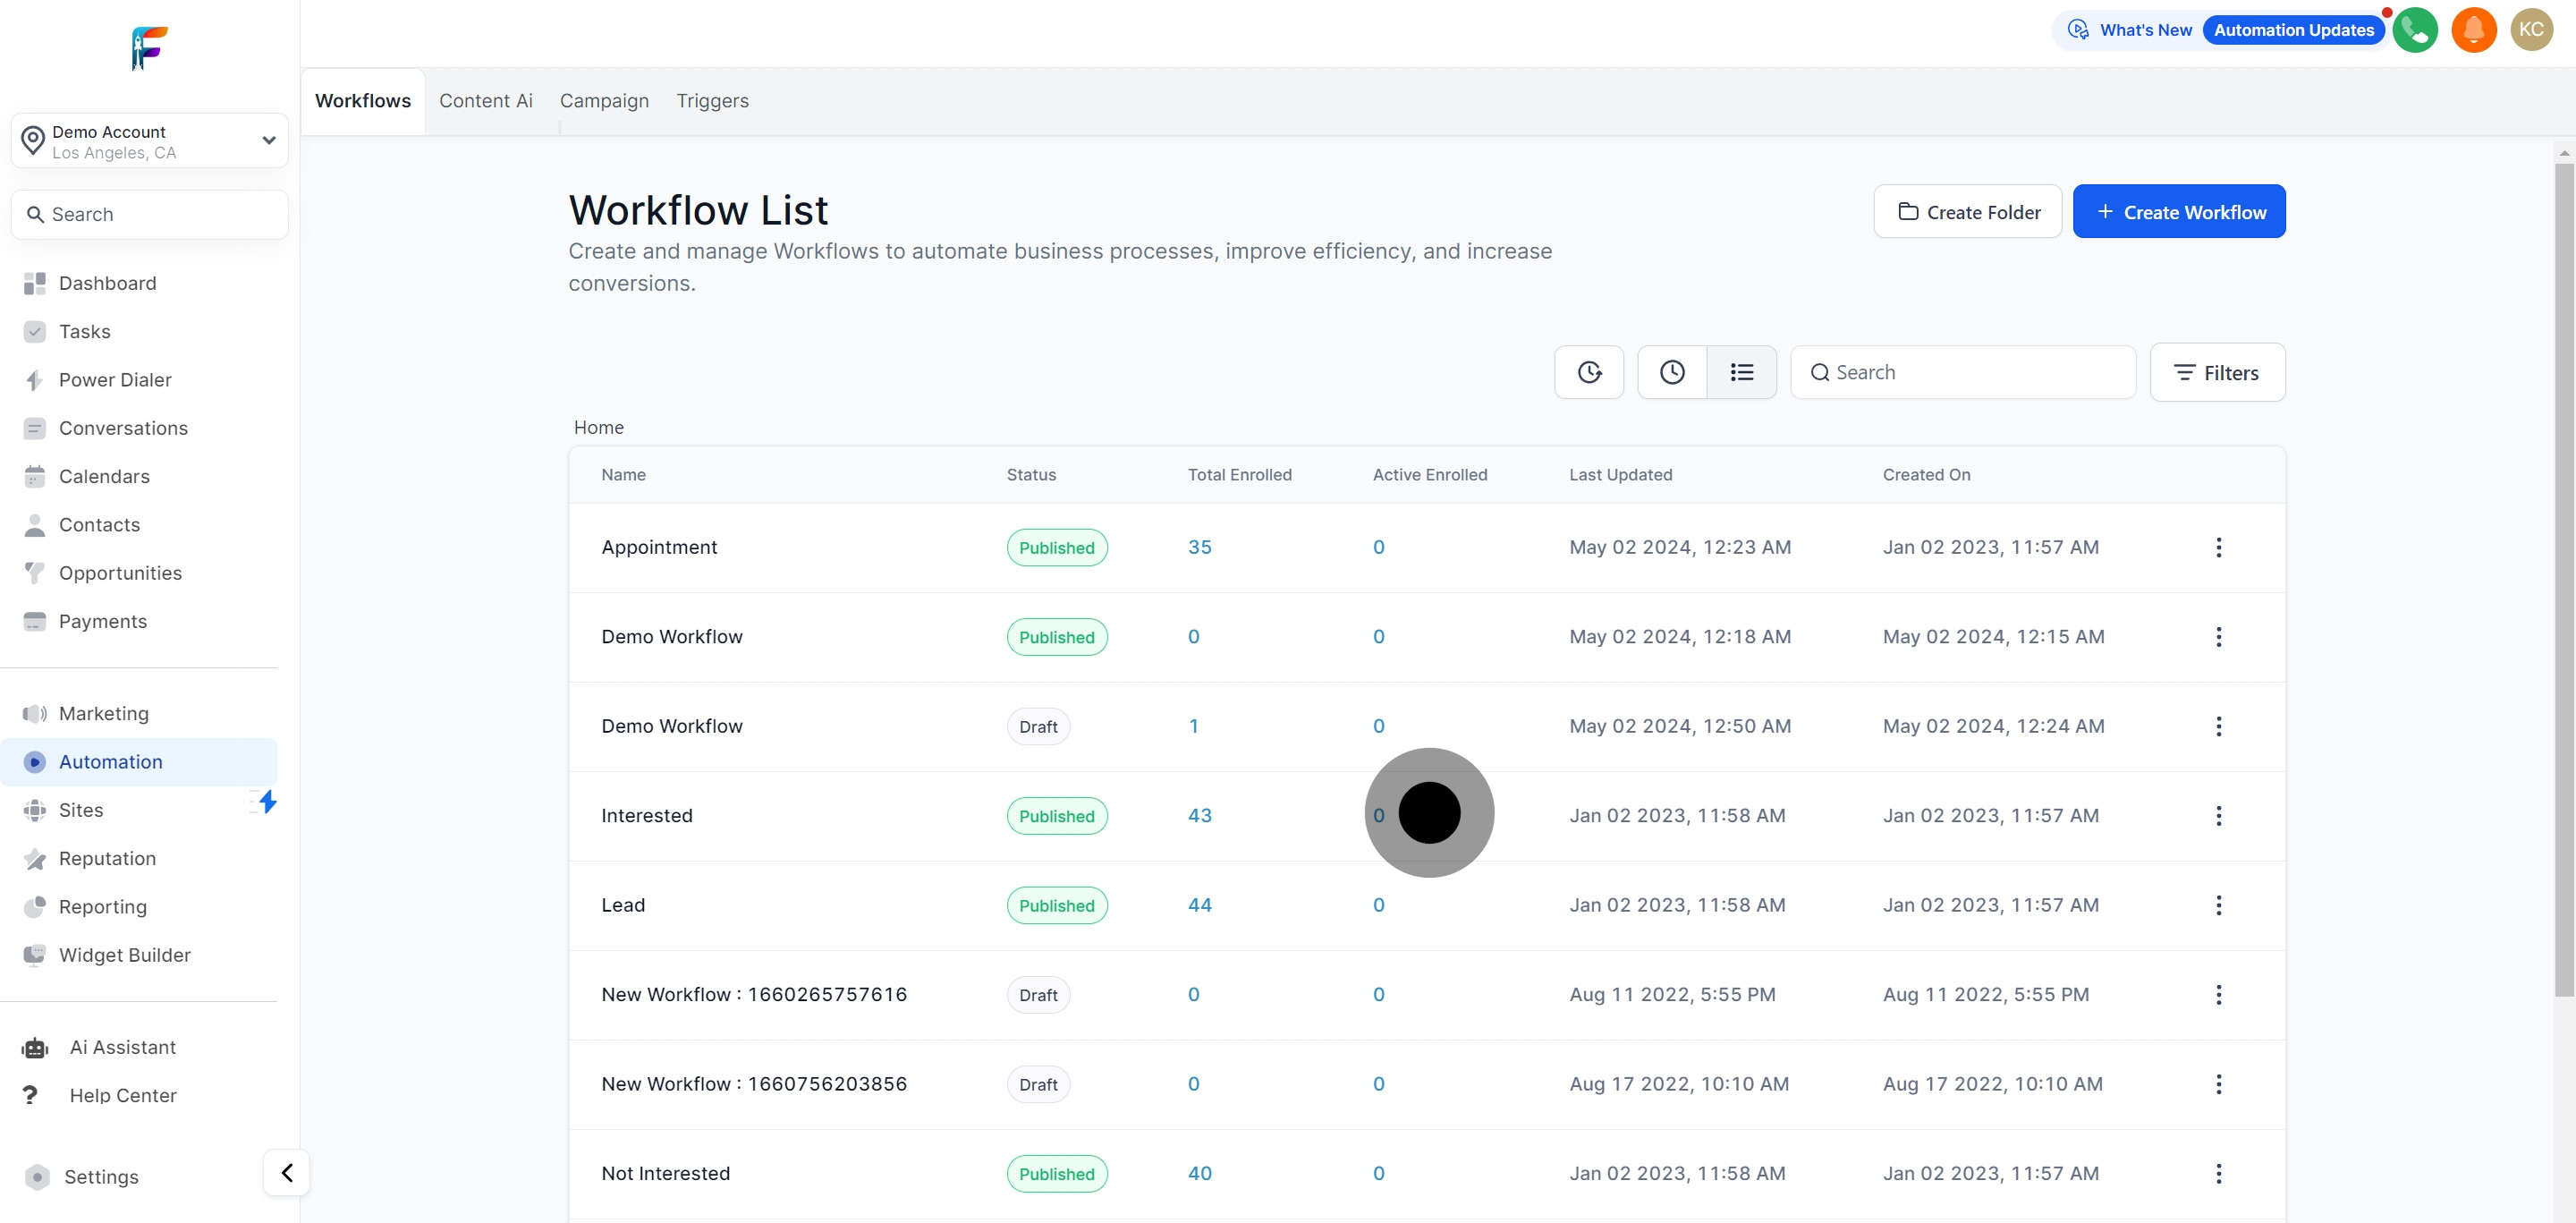
15. Switch to list view for a different perspective.
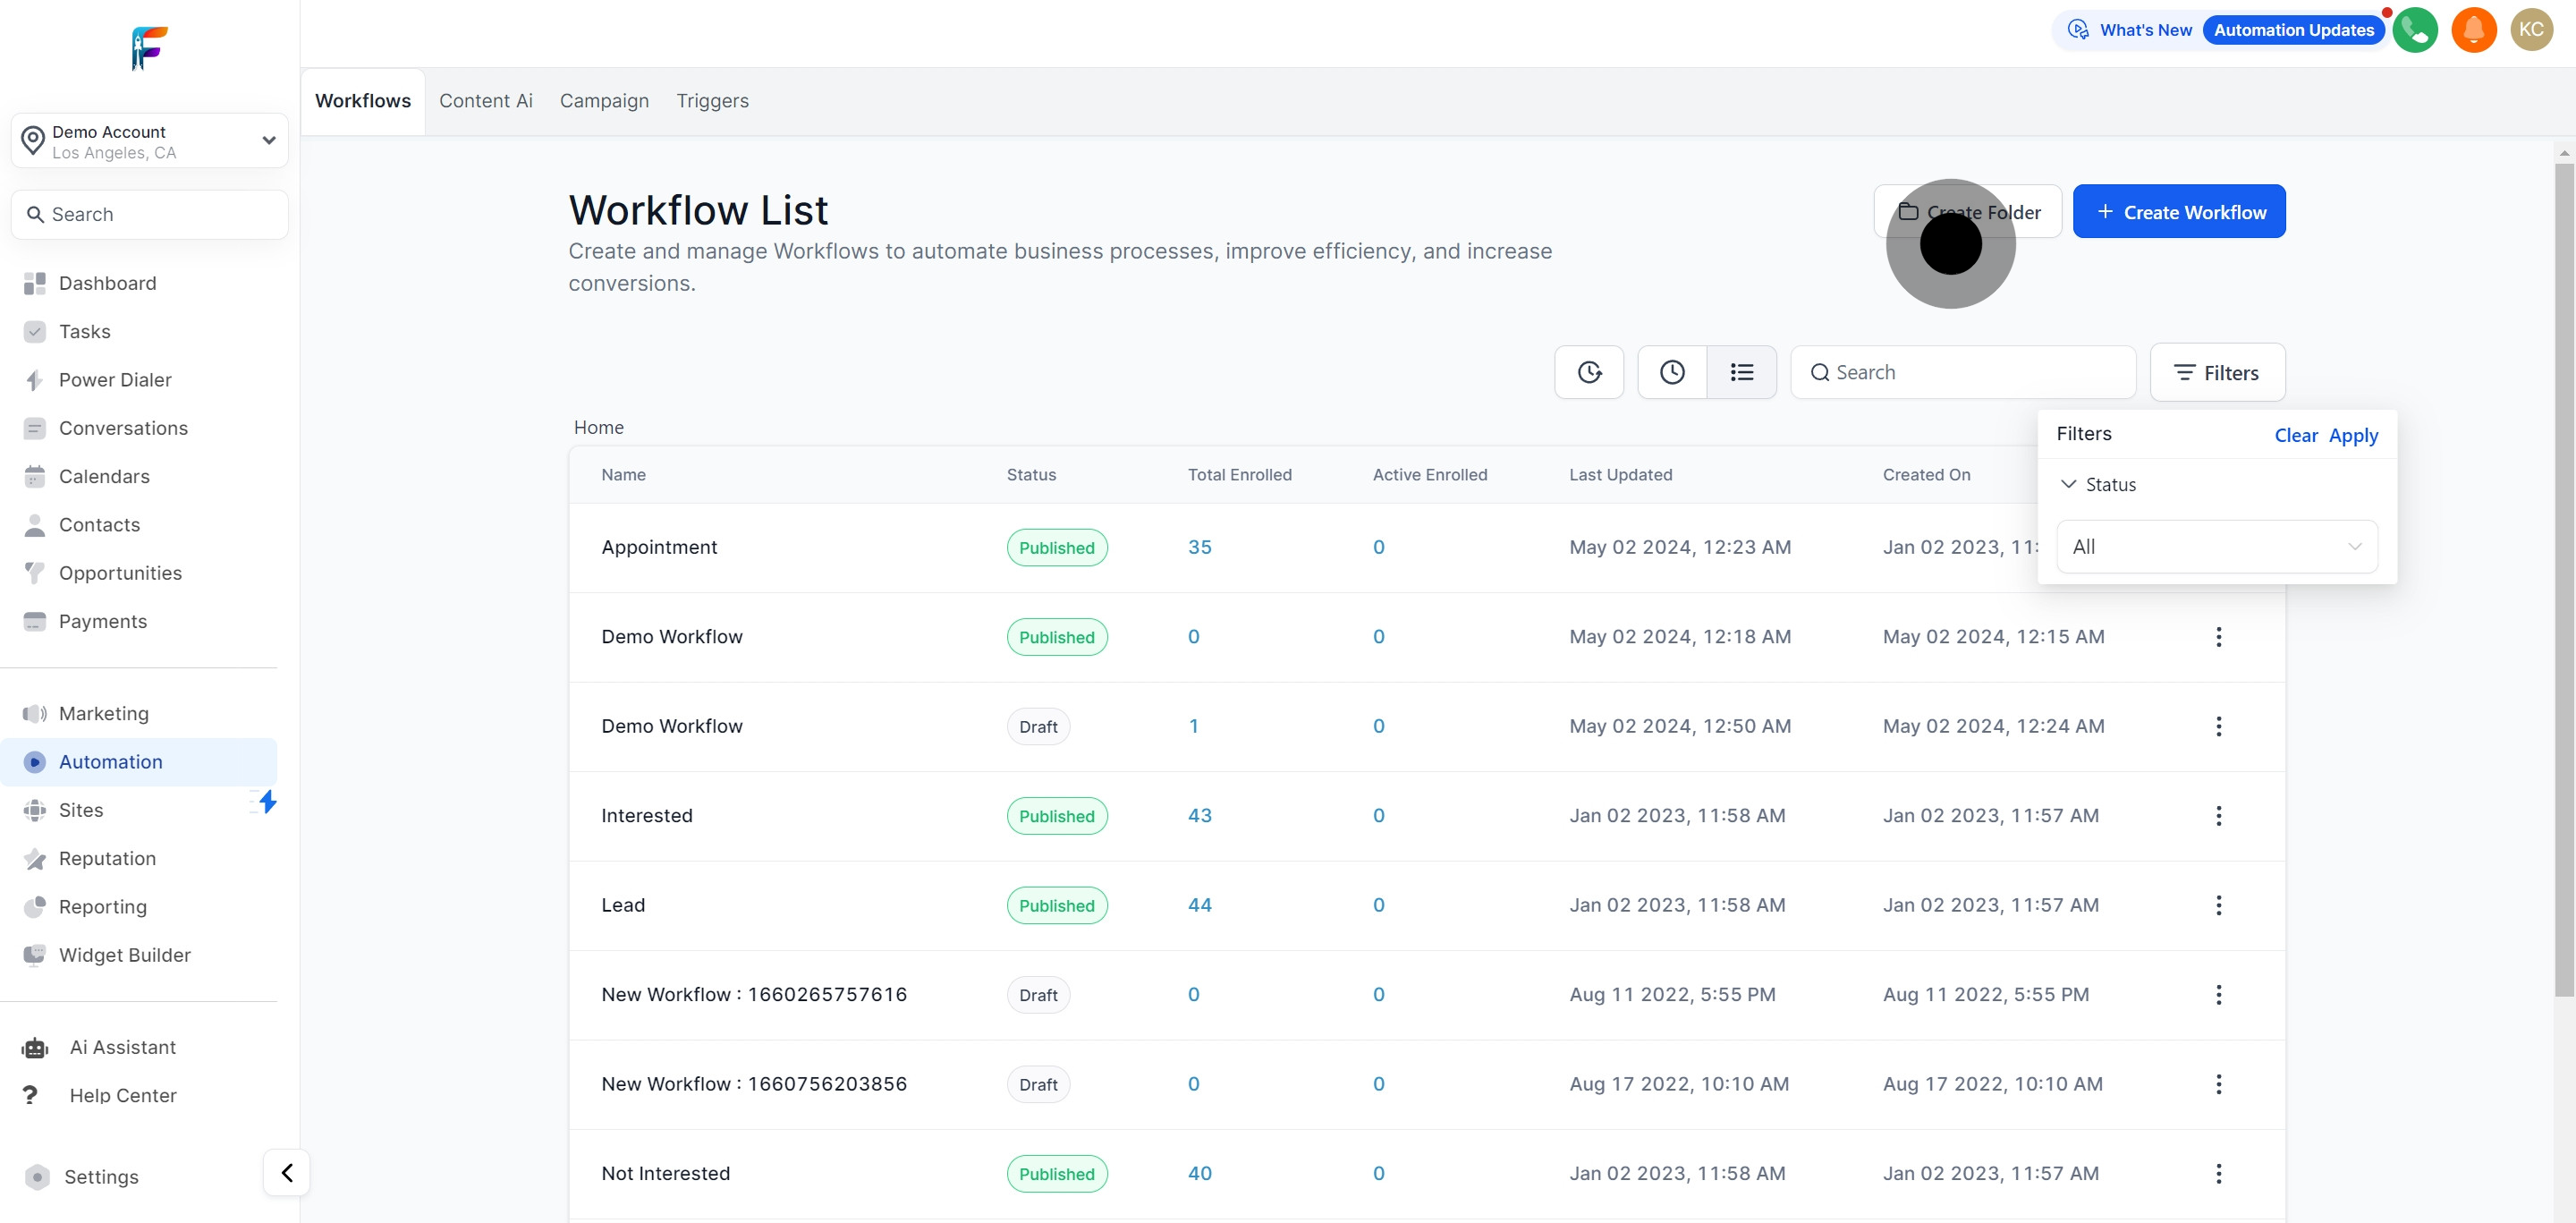
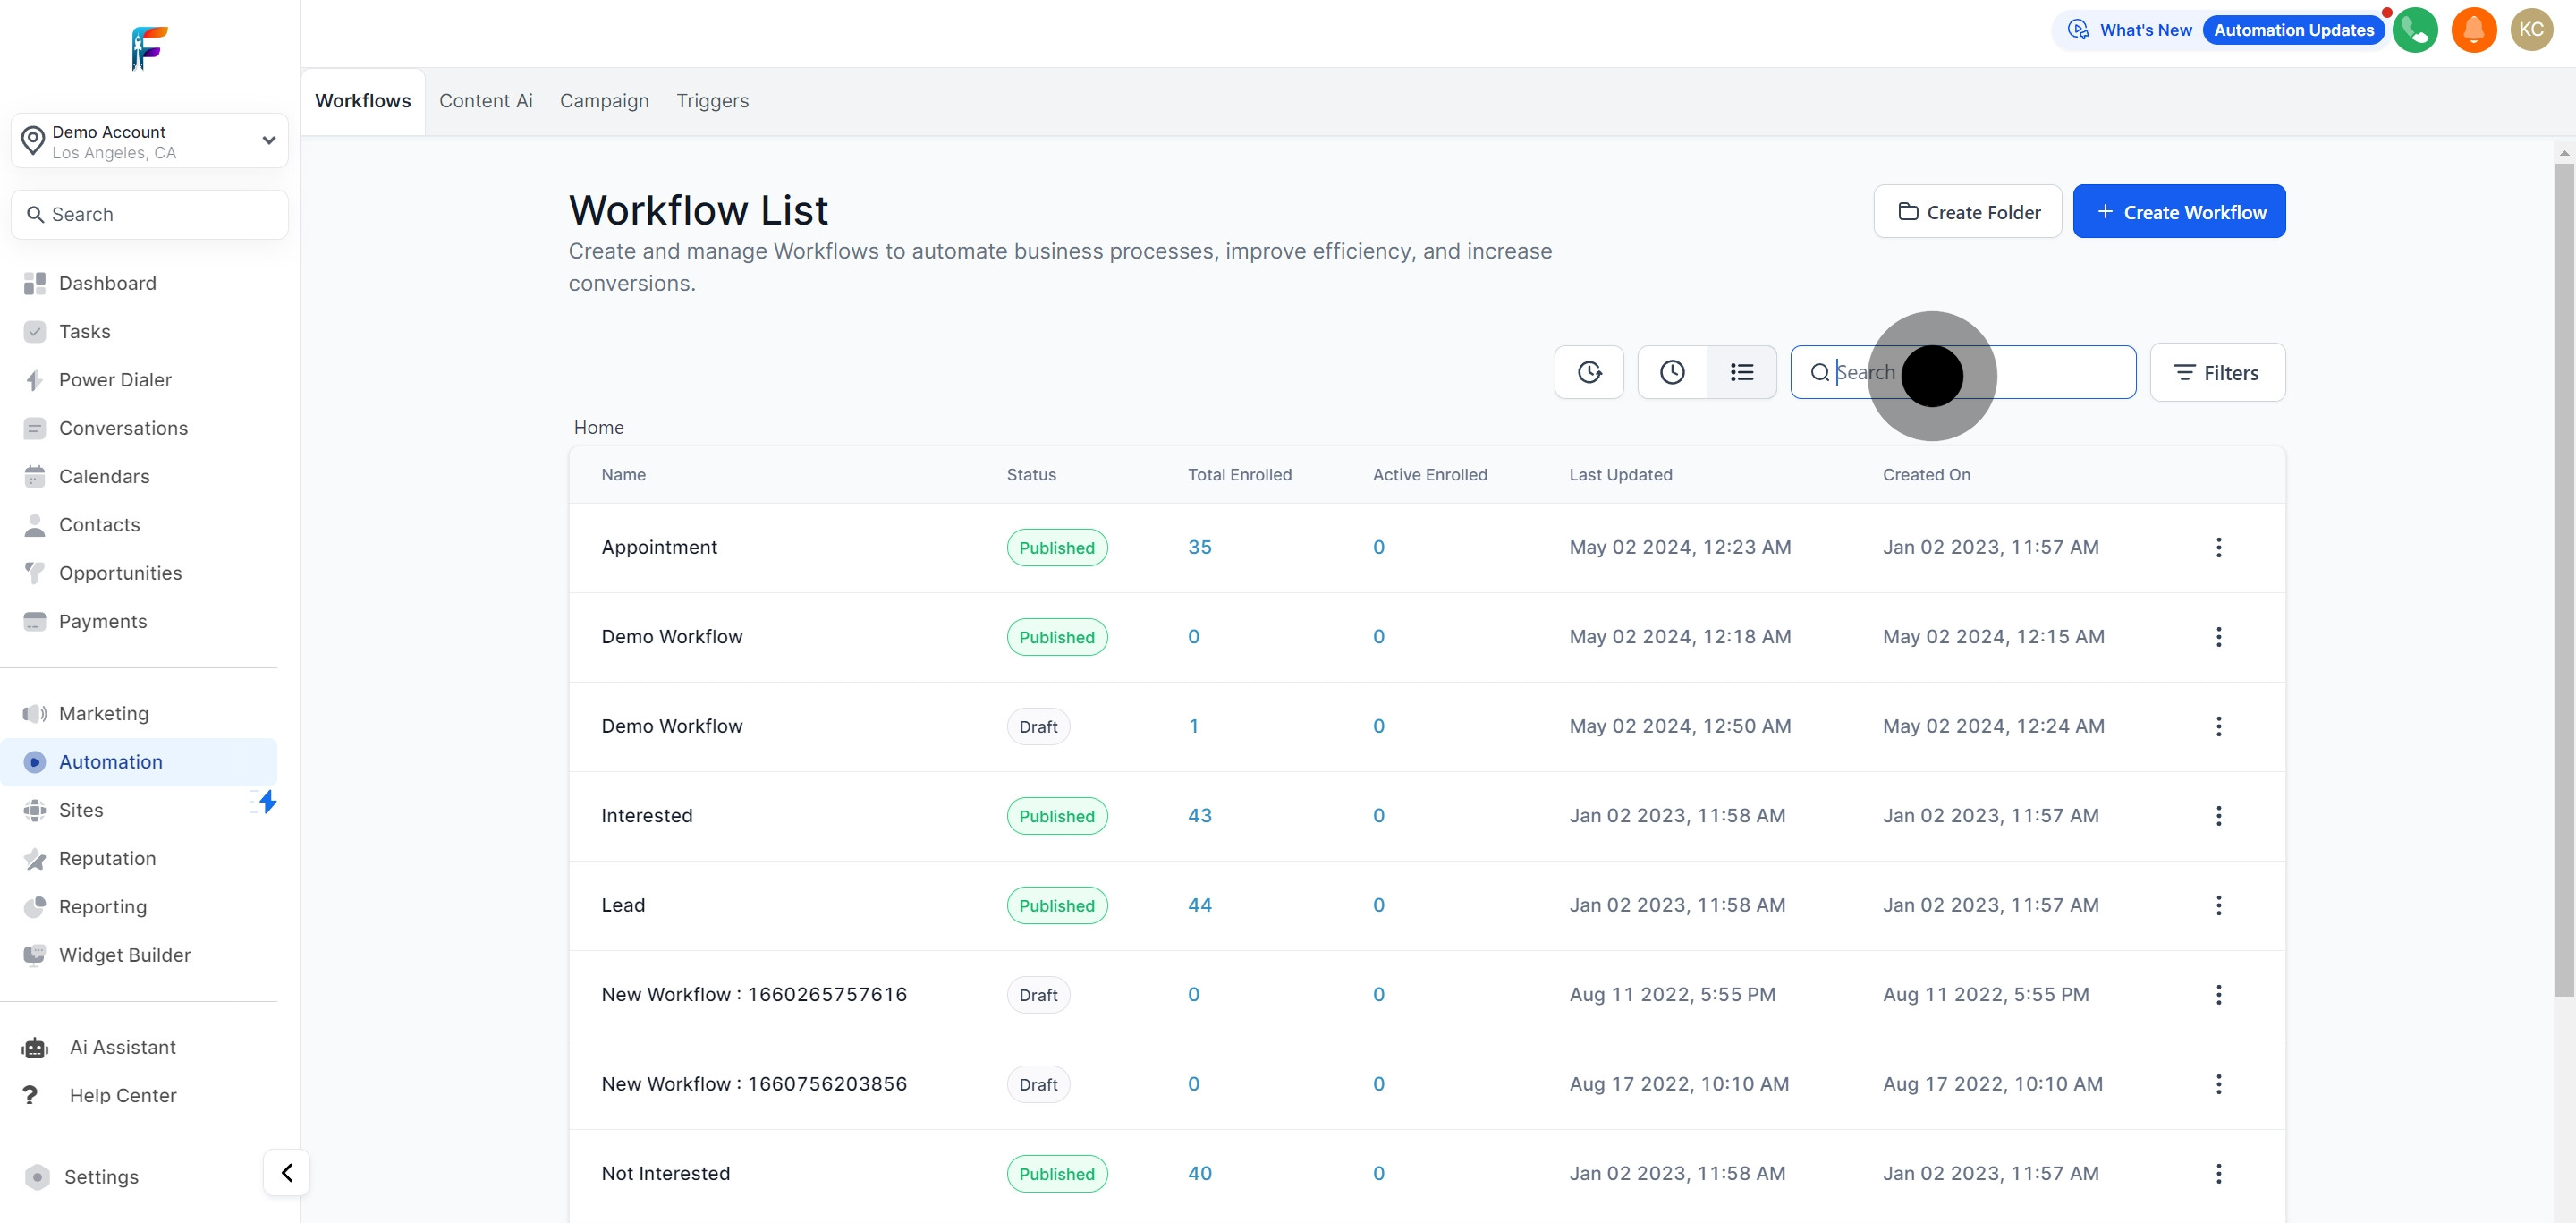
16. Locate your workflow swiftly by using the search function.
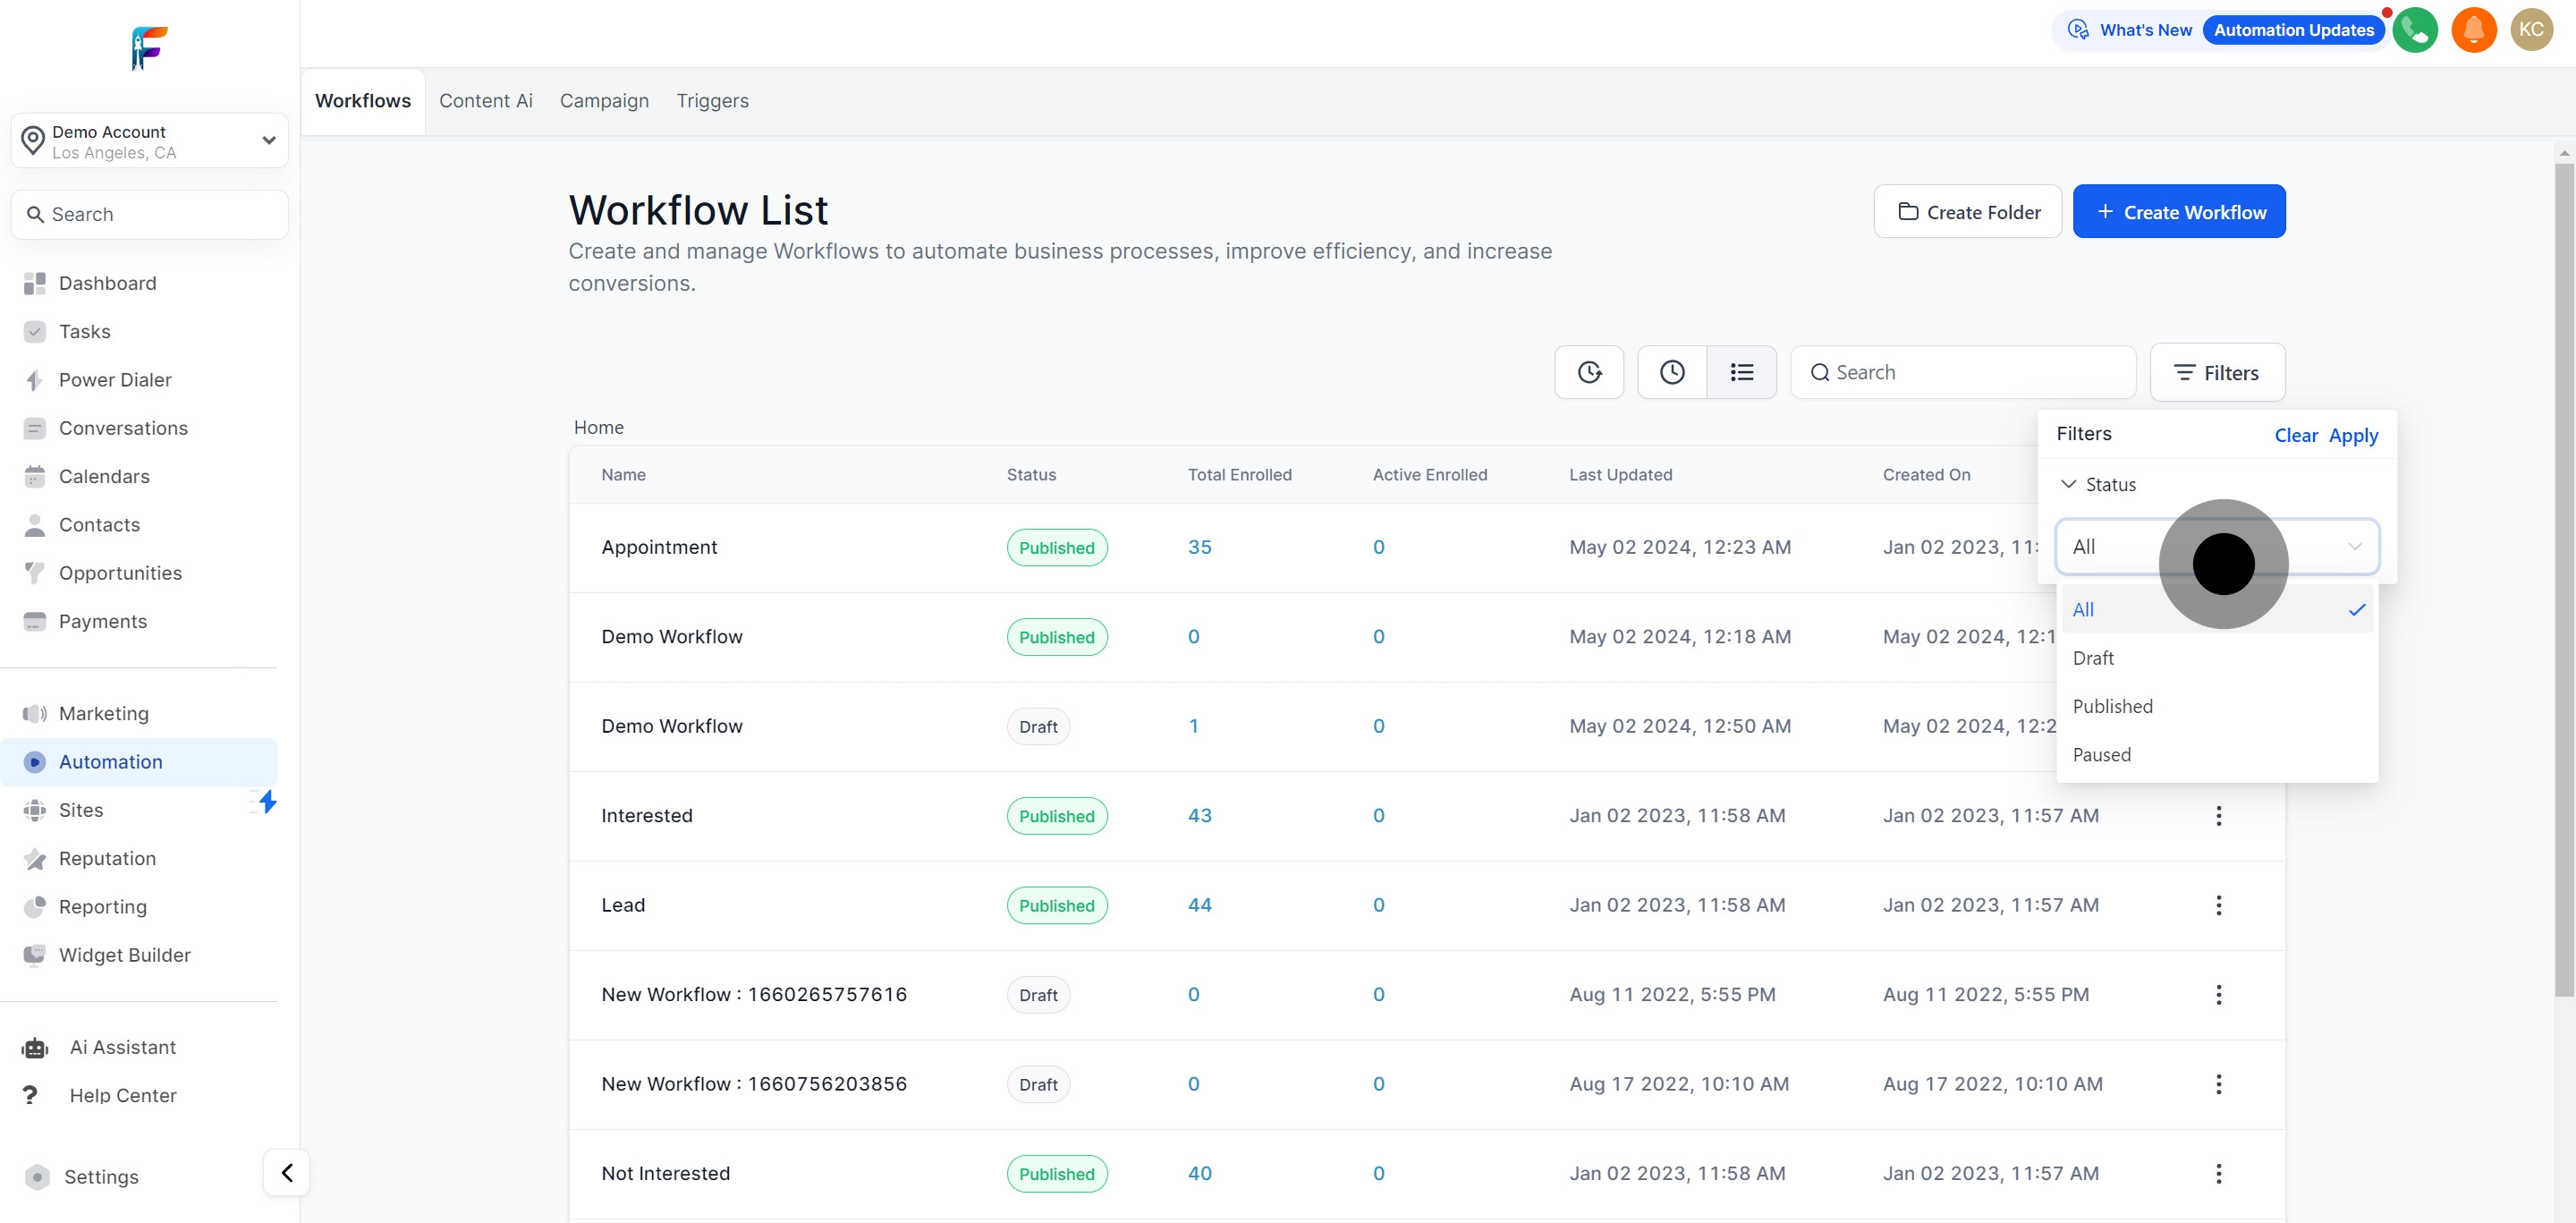
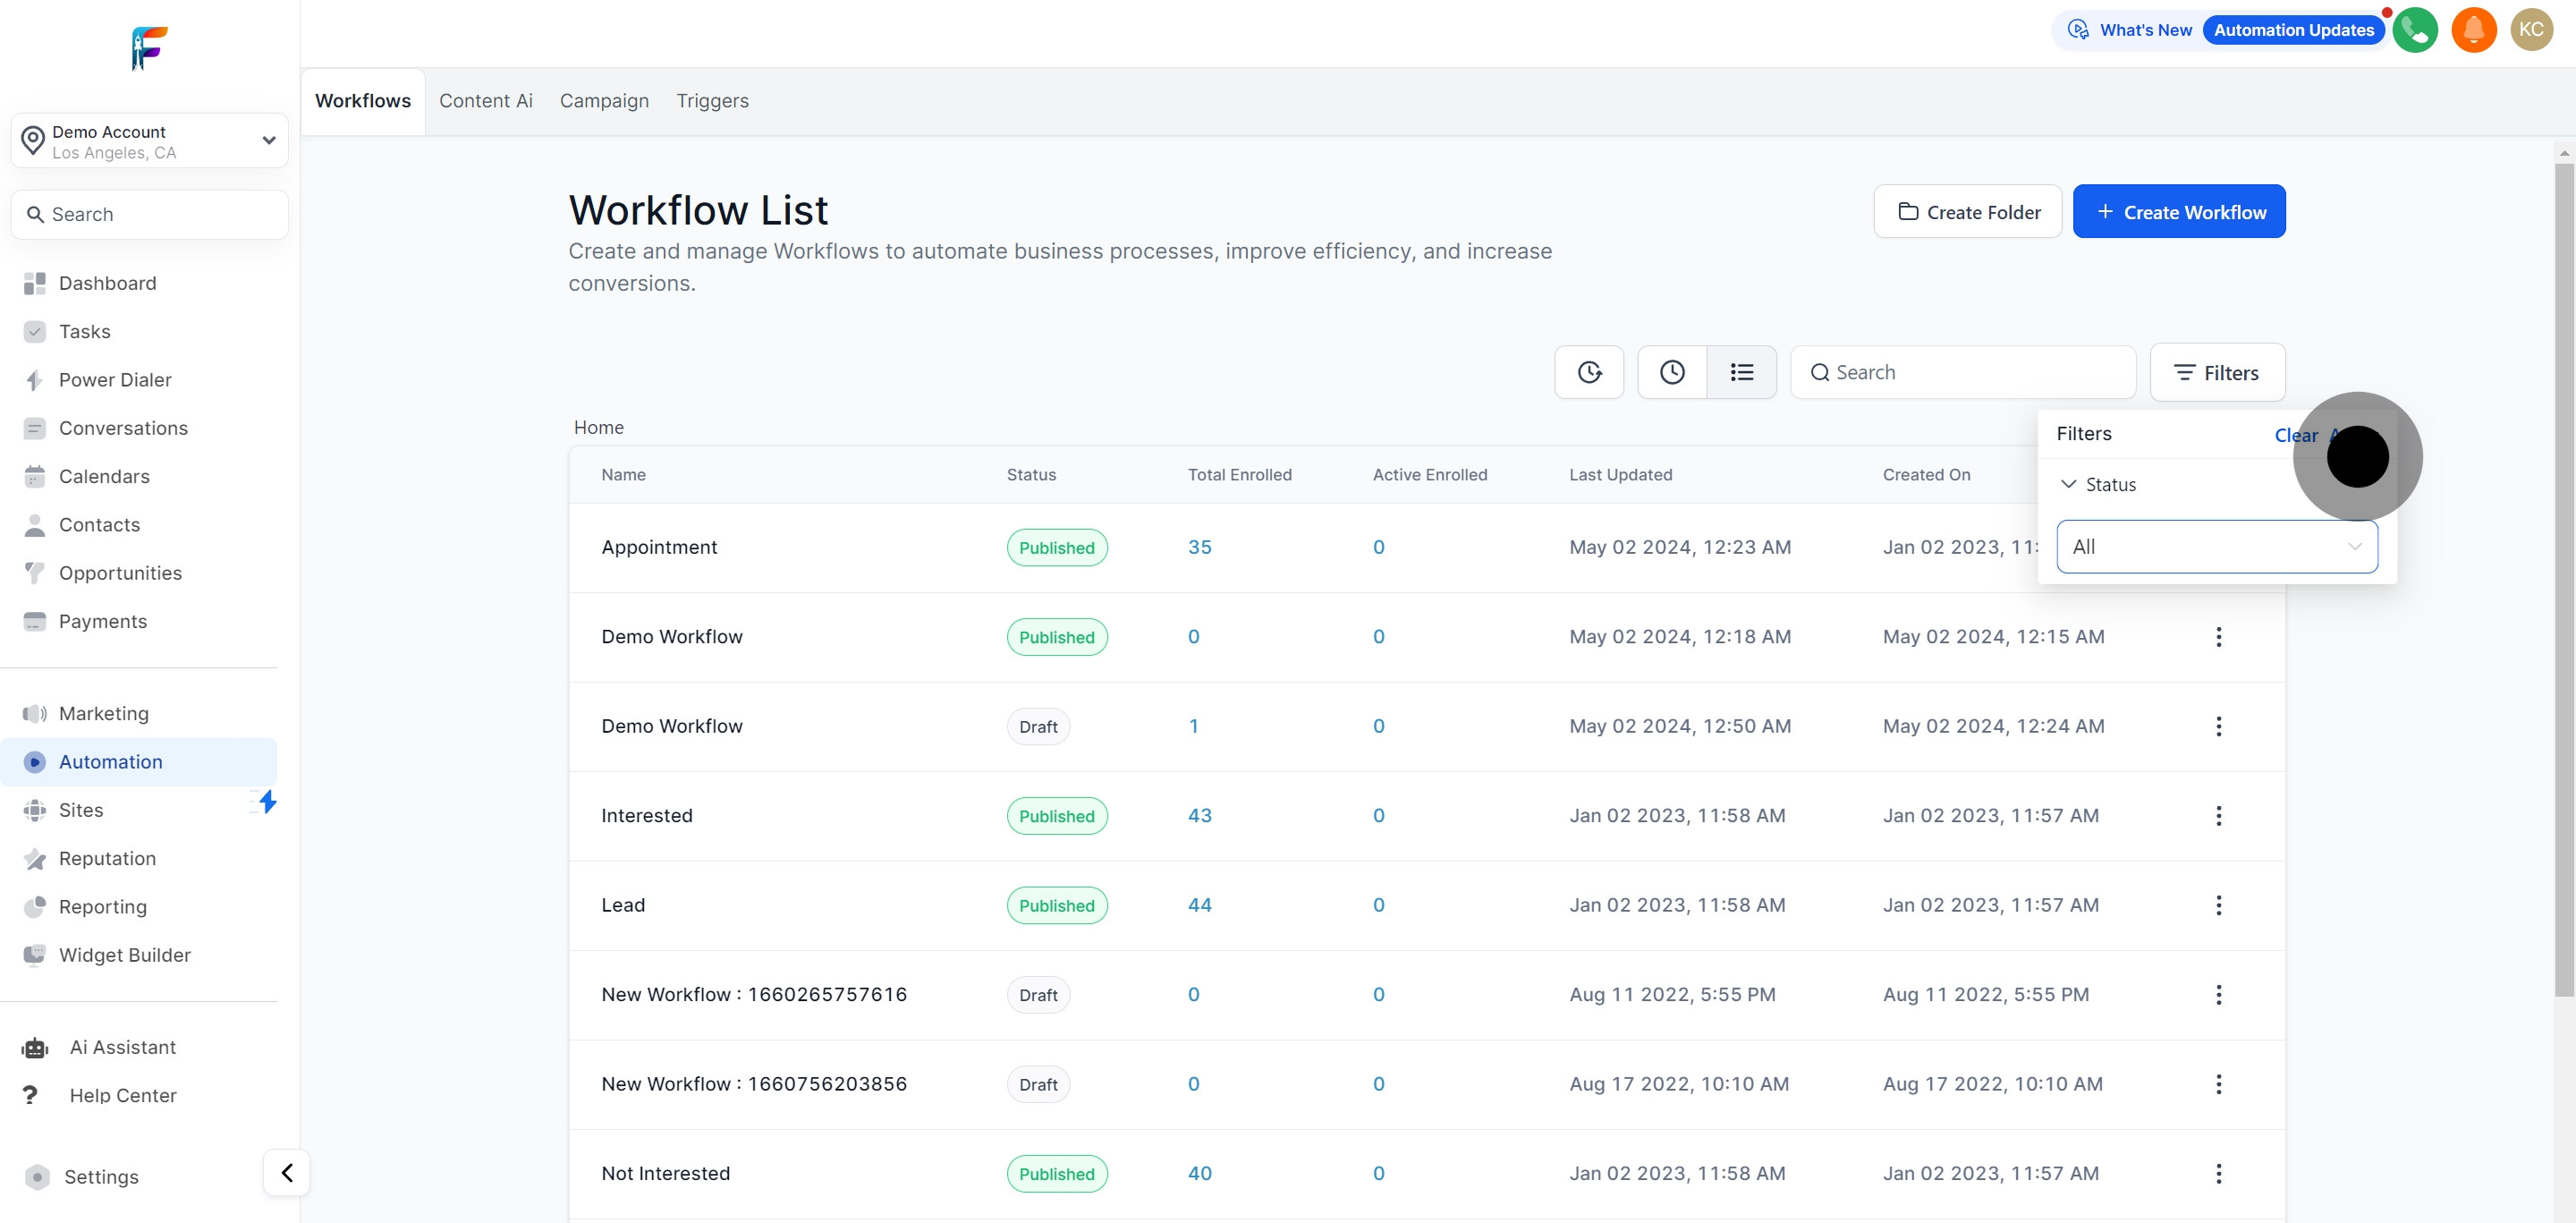
17. Enhance your search by applying filters.
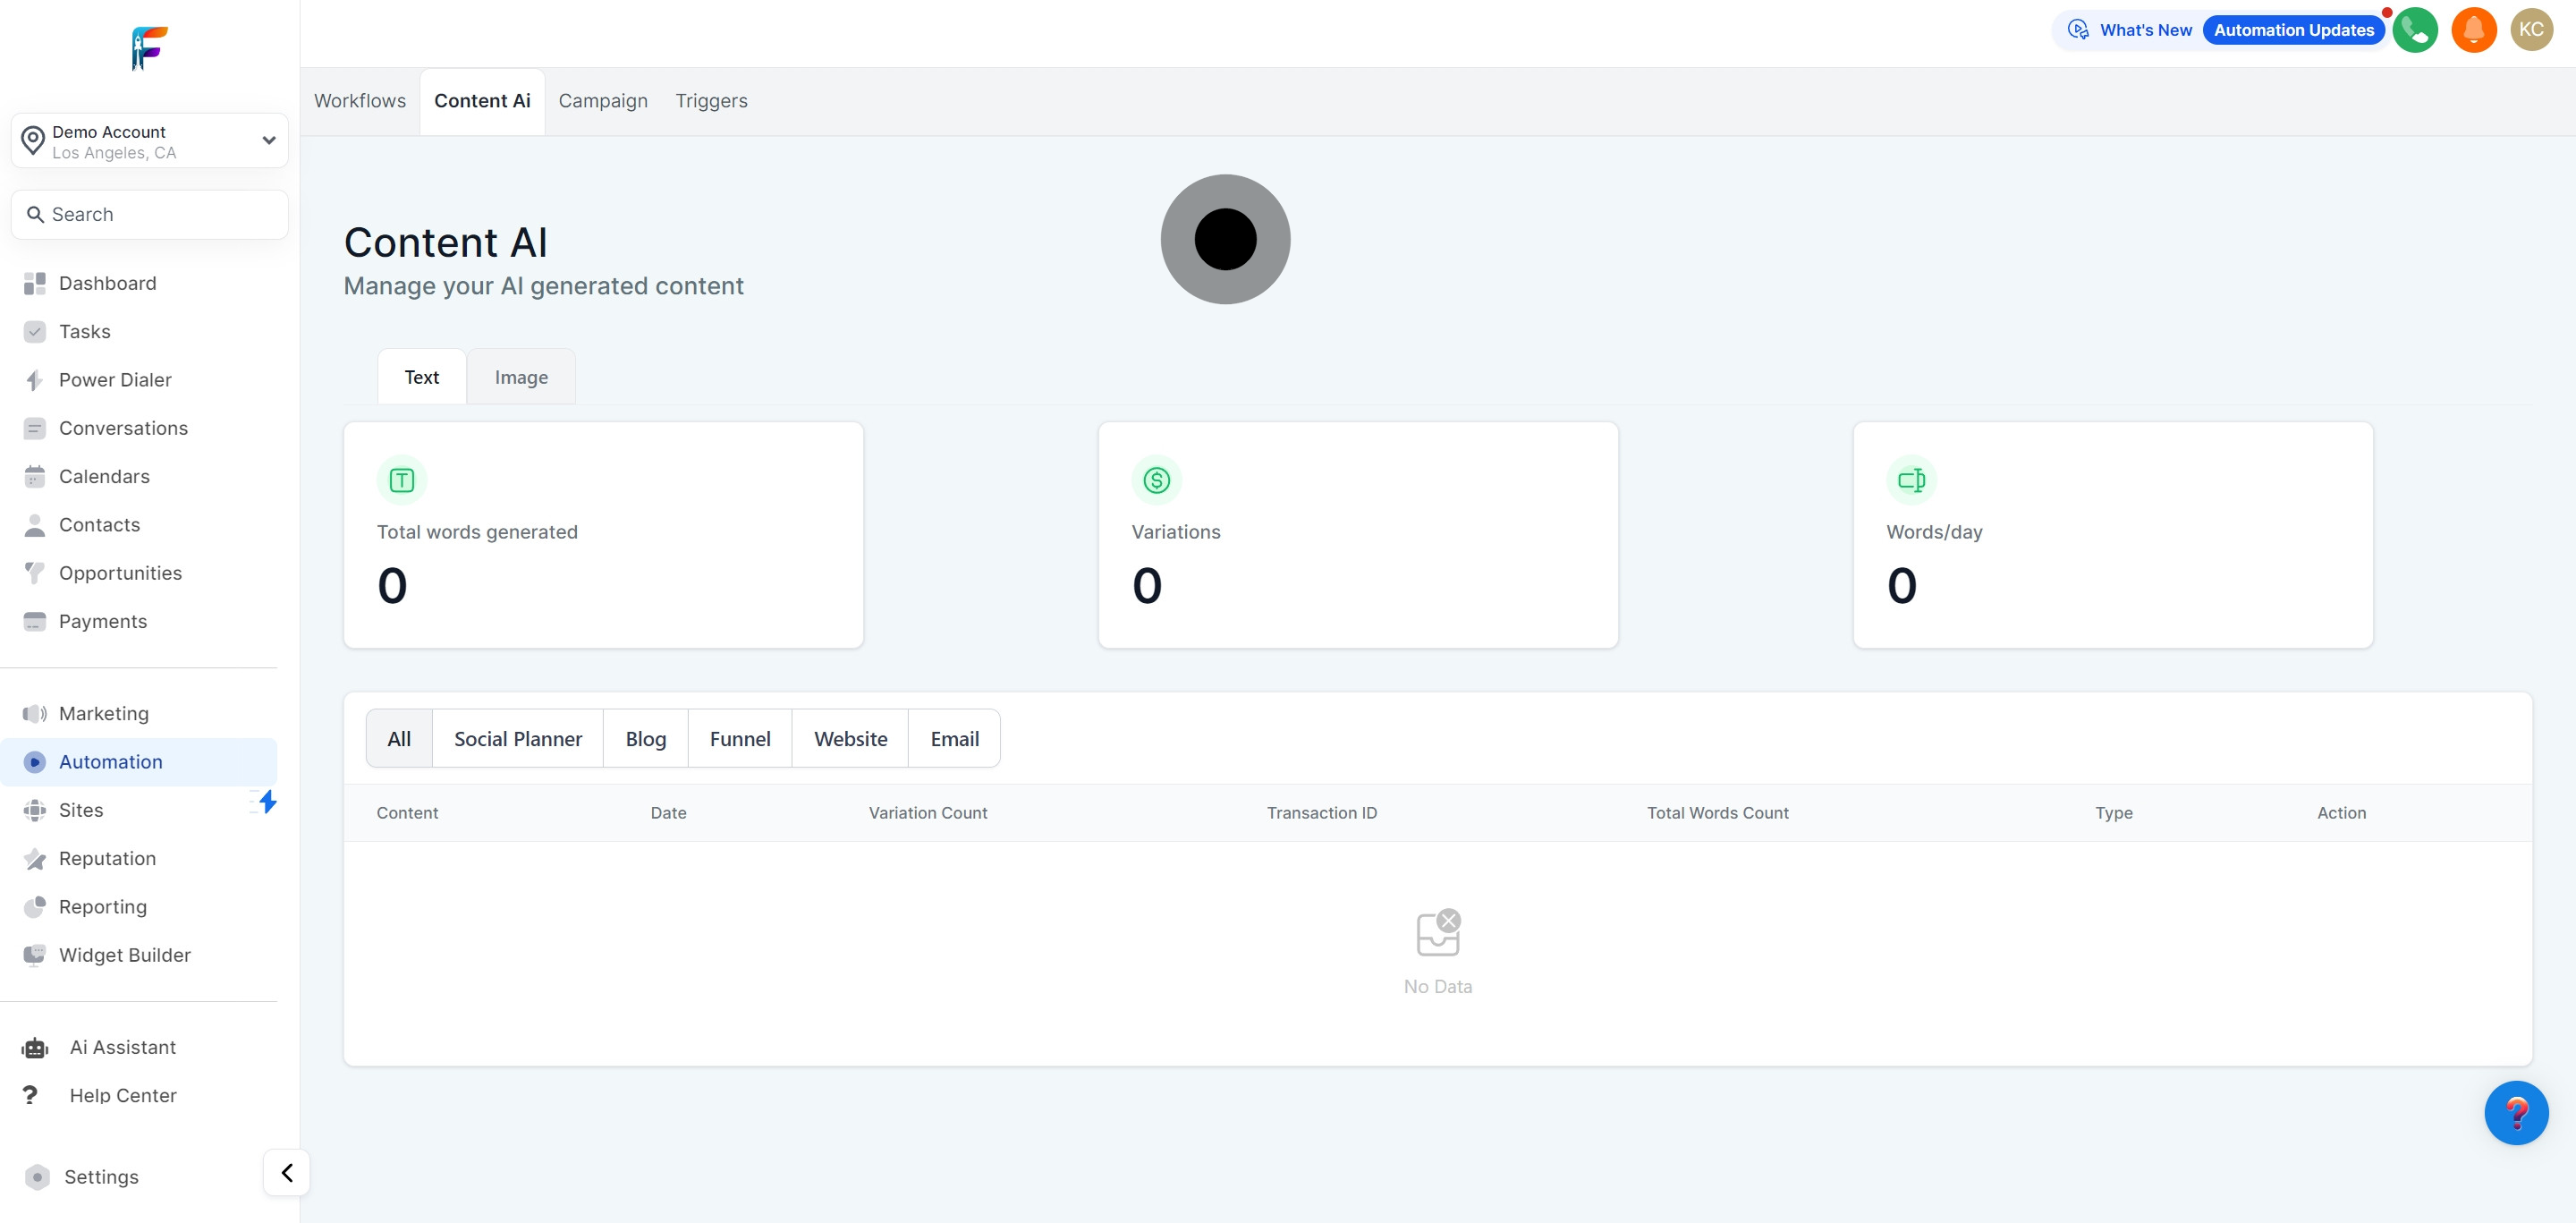
18. Employ the chosen filters to attain your desired results.
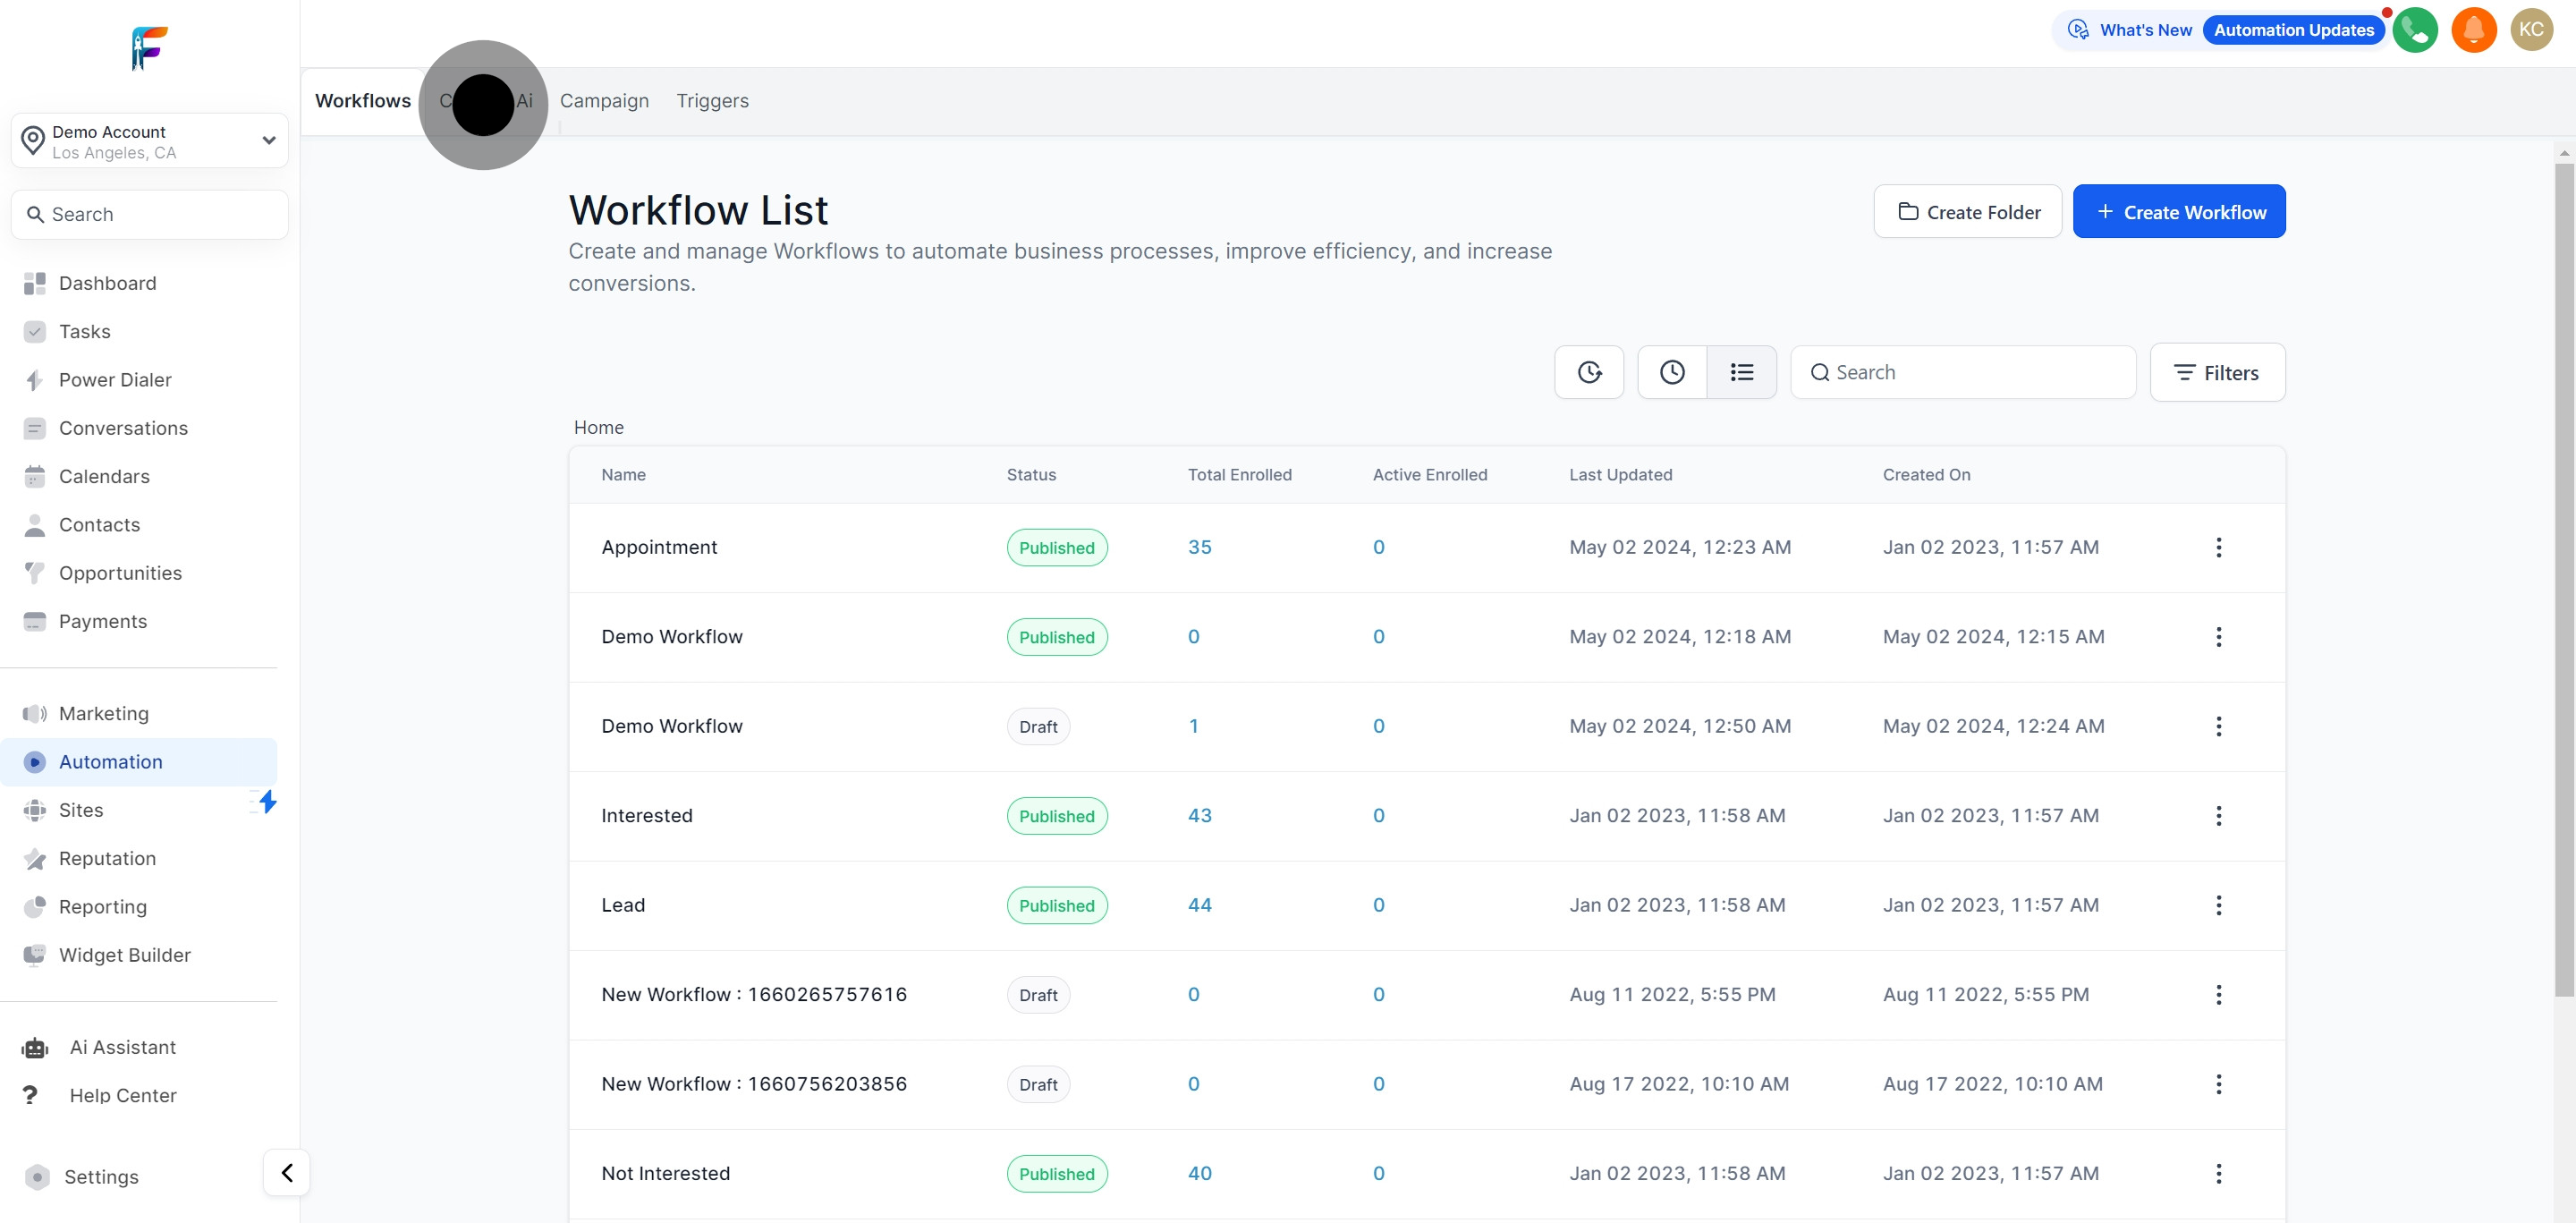
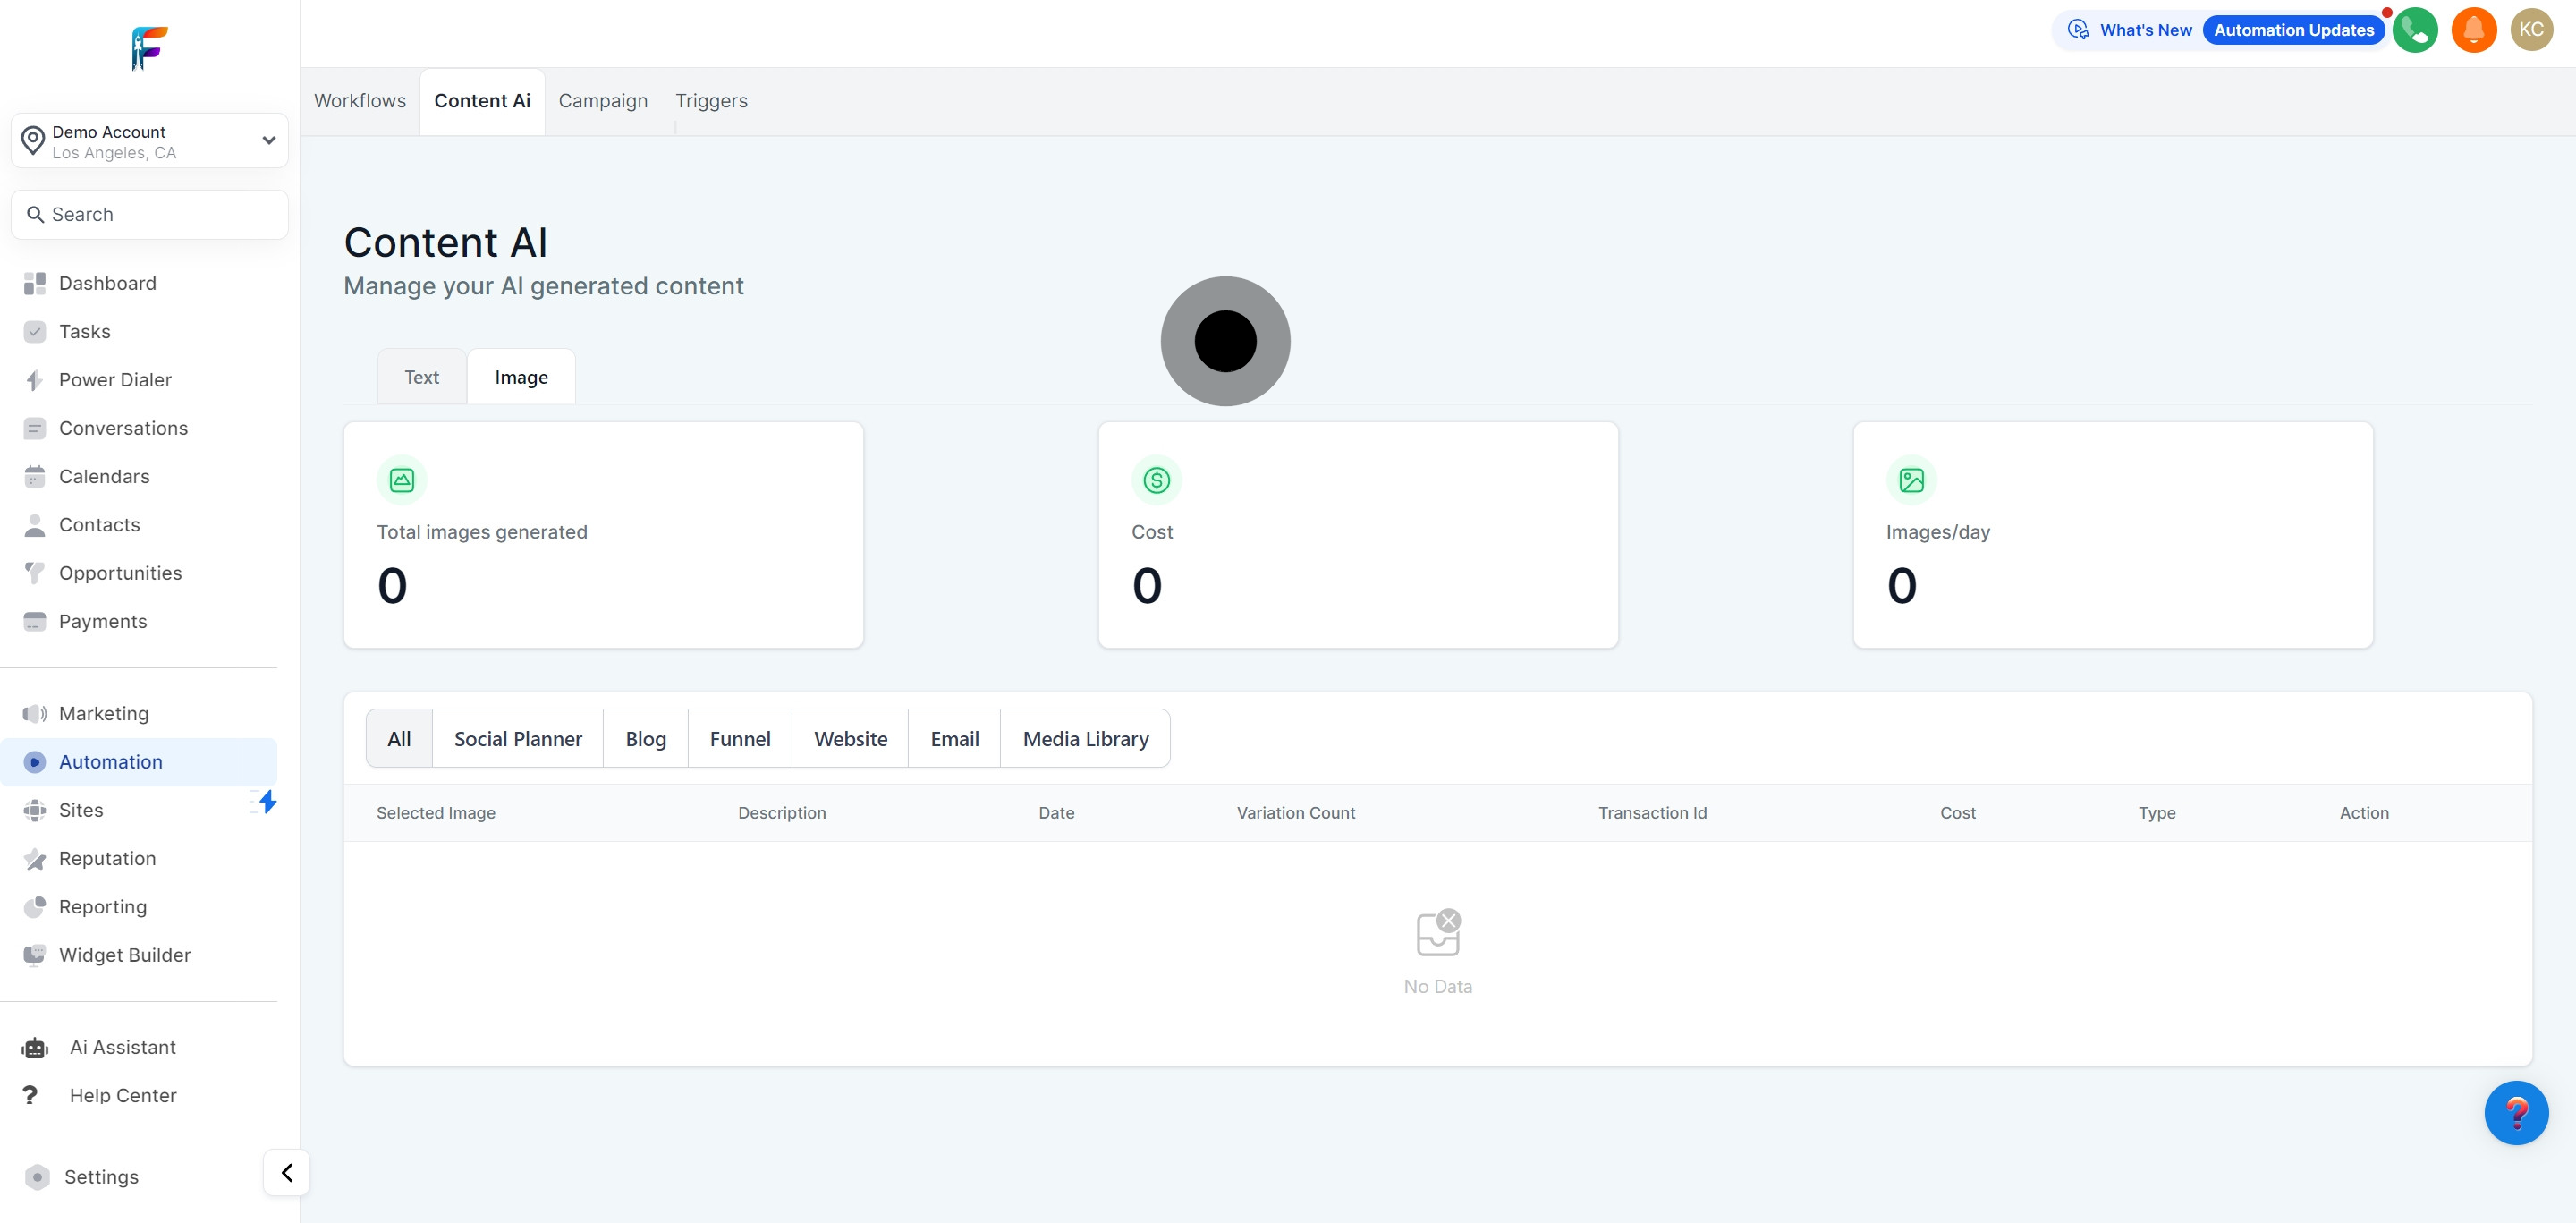
19. Access the 'Content Ai' section for more options.
20. Available Workflow are seen here.
21. The 'Image' tab assists in managing AI content.
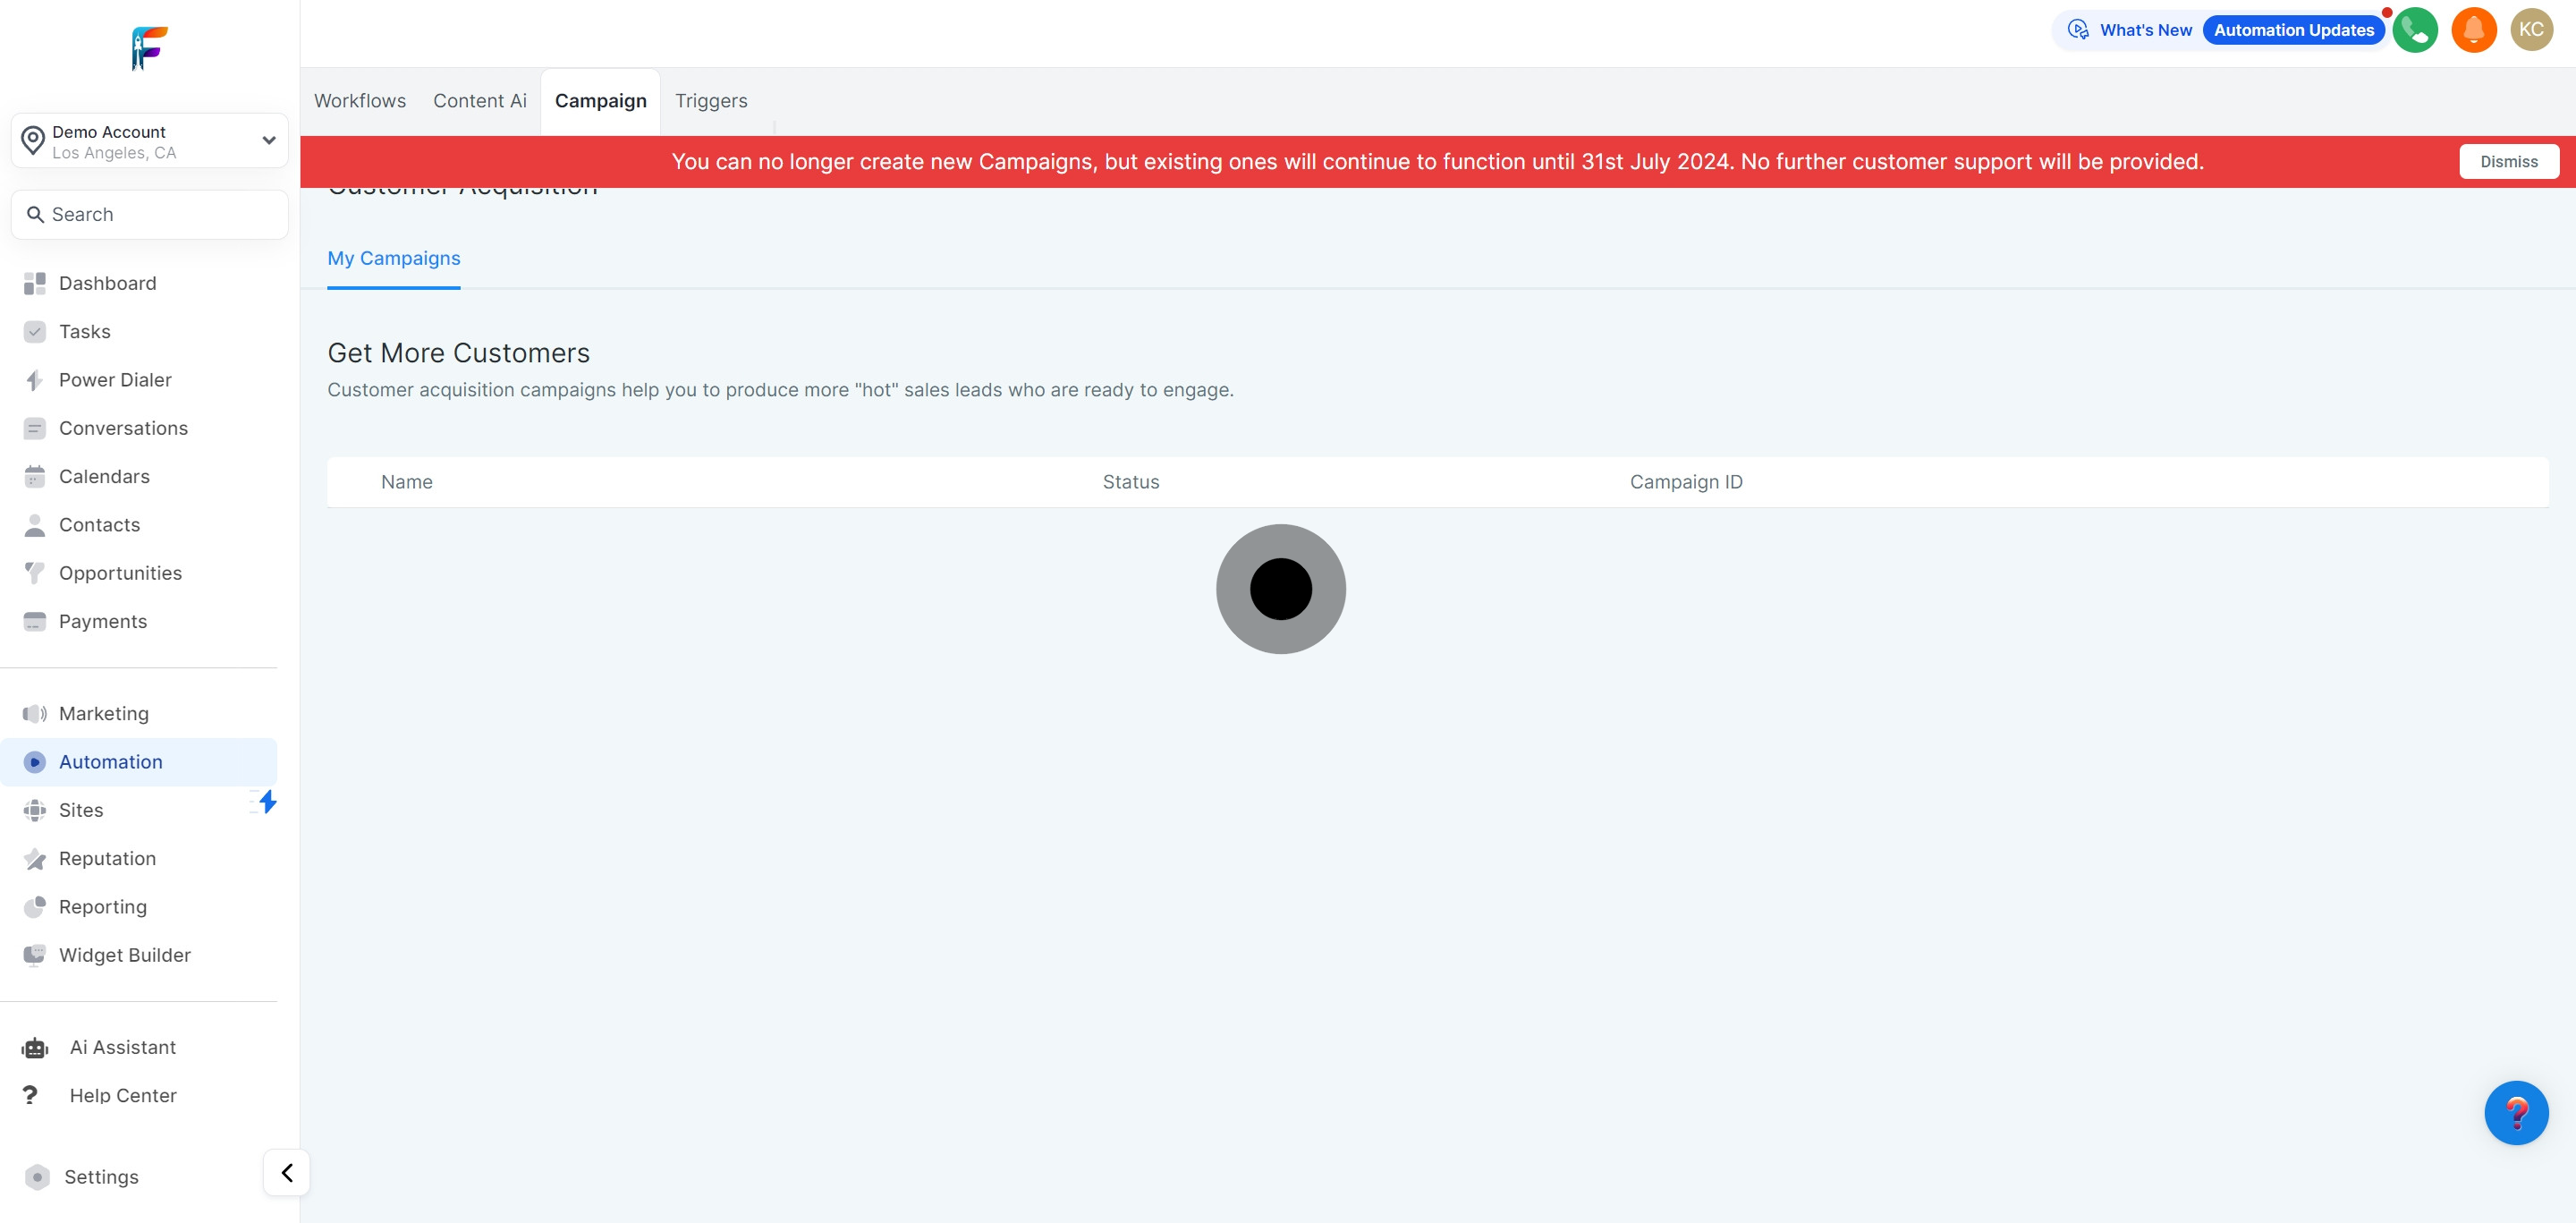
22. 'Campaign' section allows controlling your workflow.
23. To activate your workflow, go to the 'Triggers' section.