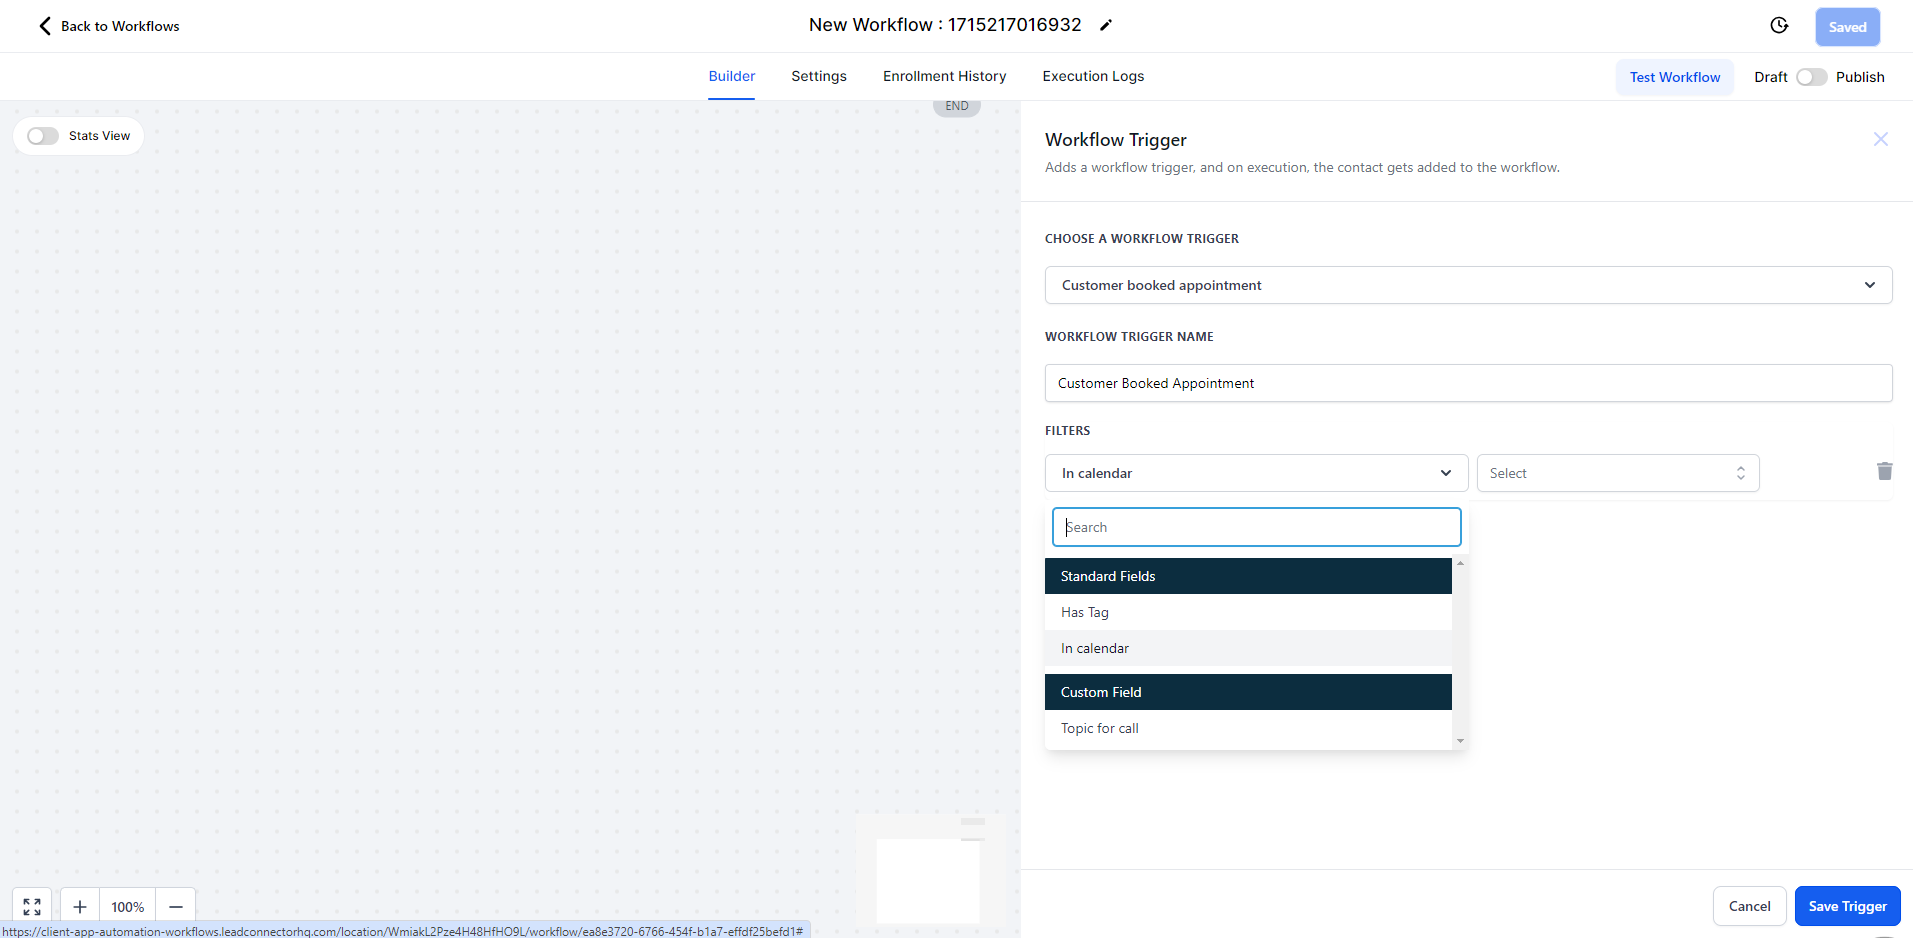
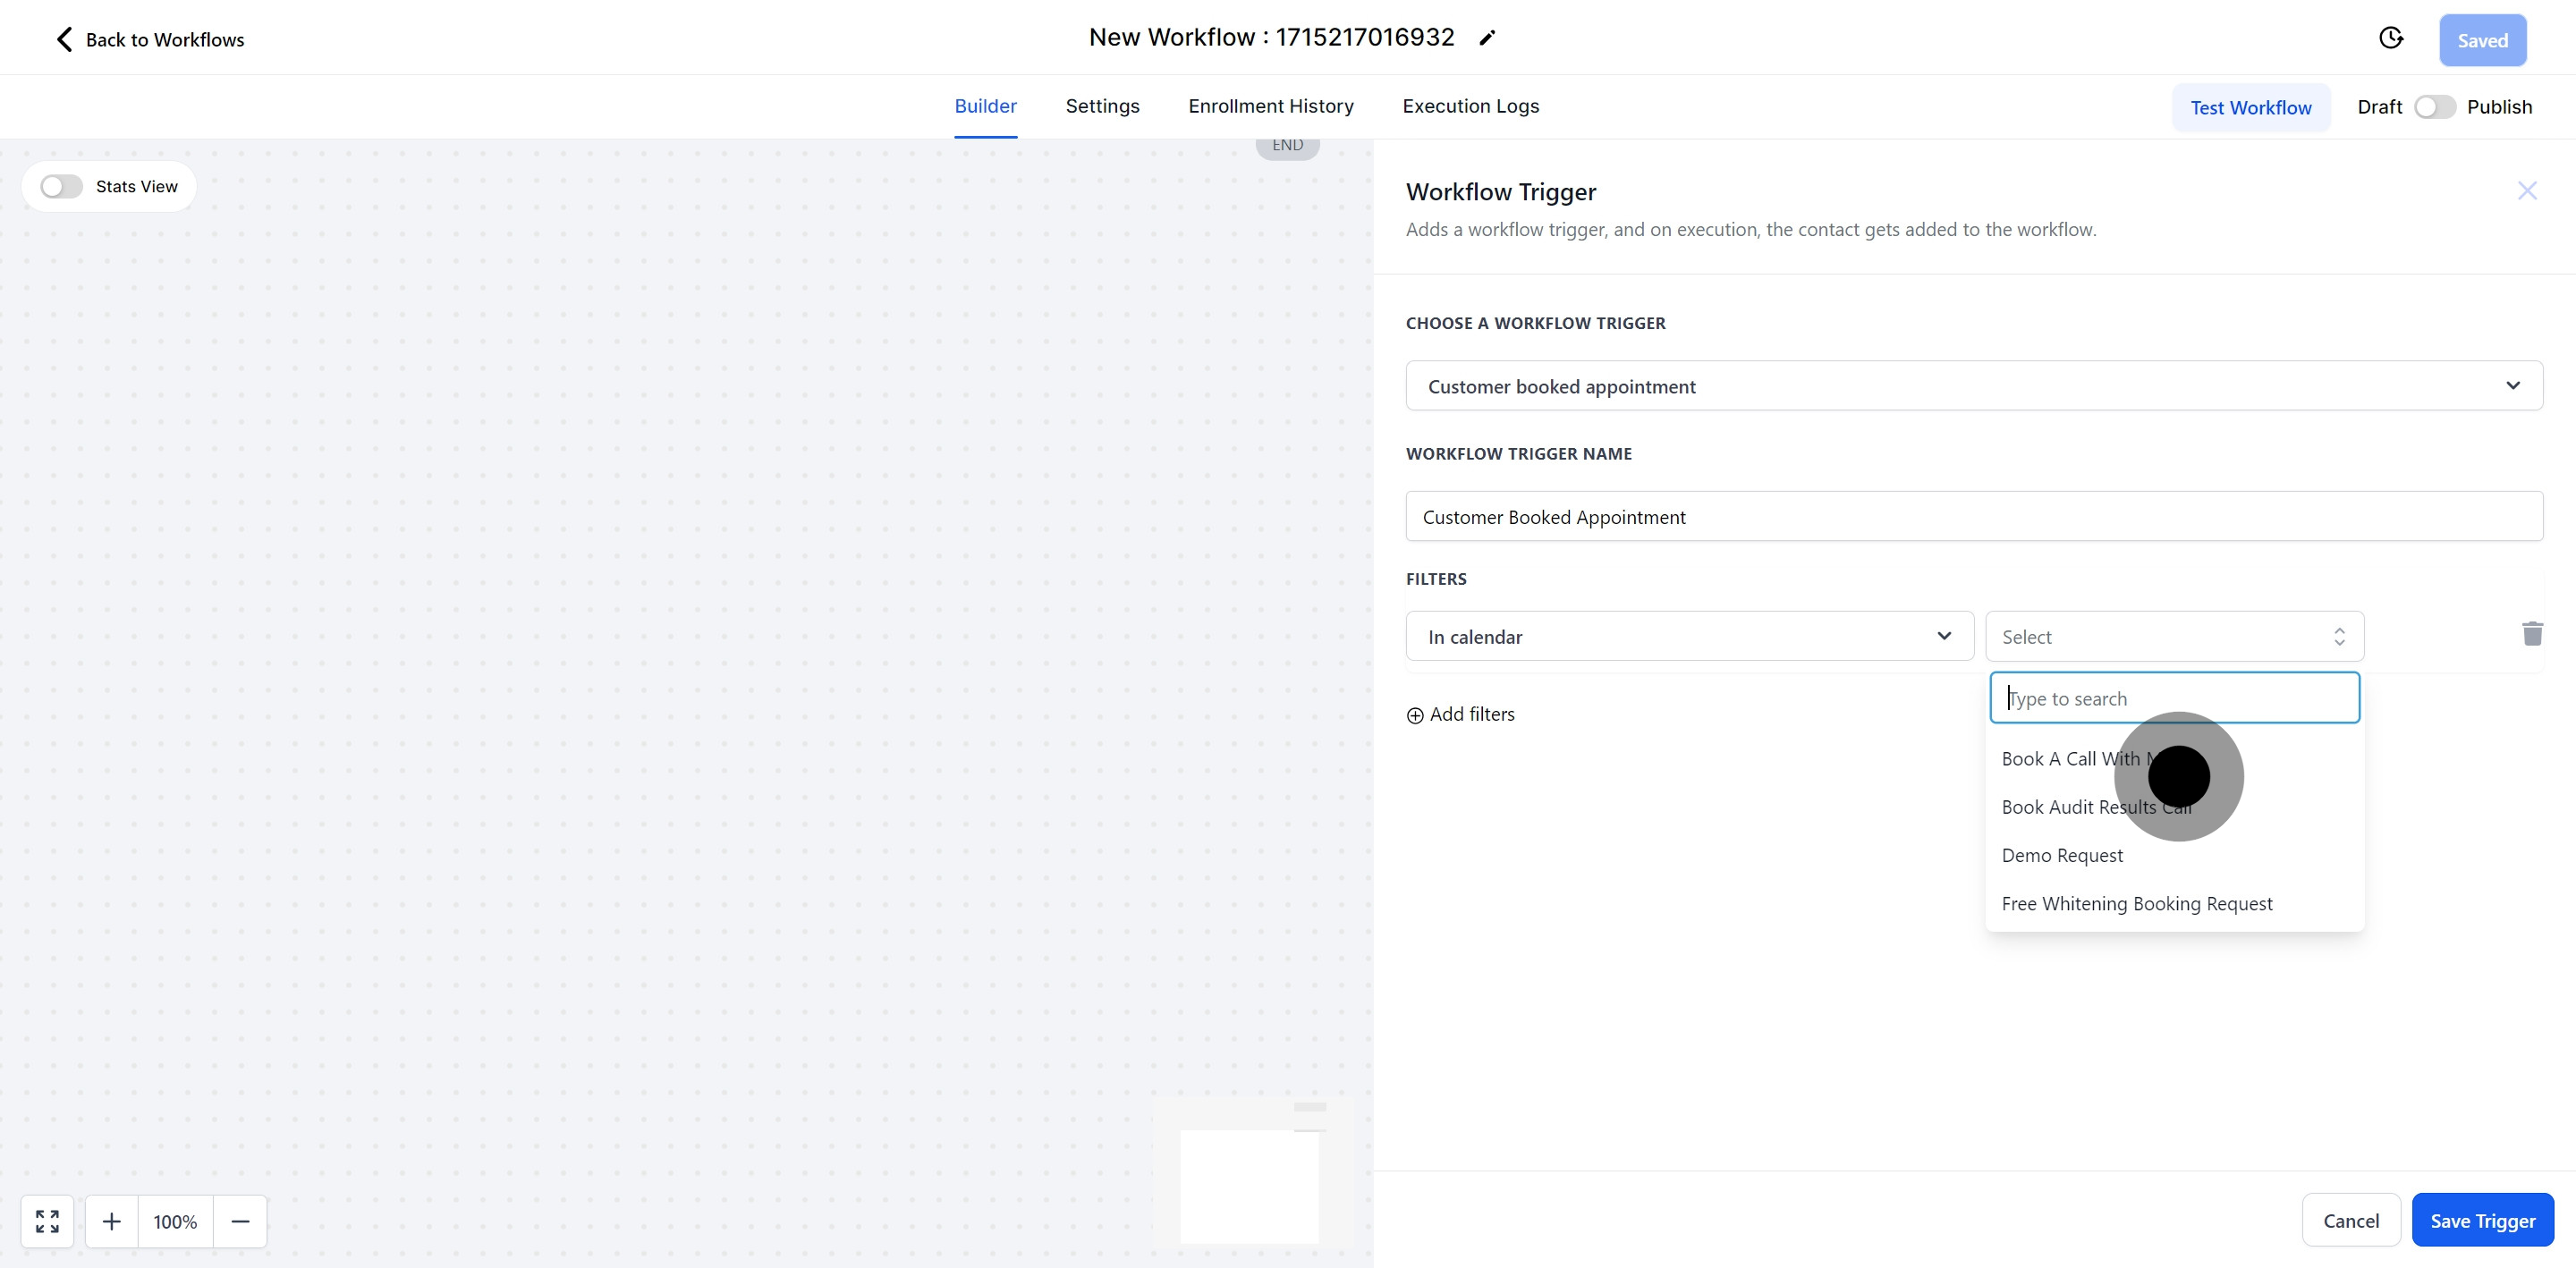
This workflow starts when customers book appointments themselves. This means the workflow only activates if the appointments are made directly by the customers, not by your team on their behalf.
1. Proceed to the Automation section on the sidebar.

2. Begin your process by creating a new workflow.

3. Choose 'Recipe' from the dropdown menu before proceeding.

4. Press the 'Continue' button to advance further.

5. Add a new trigger to initiate the scheduling process.

6. Locate specific triggers using the search field.

7. Select a workflow trigger from the dropdown menu.

8. Fine-tune your trigger by pressing 'Add filters'.

9. Choose the appropriate filter by clicking 'Select'.

10. Select the 'Has Tag' option from the list.

11. Go ahead and select a specific tag.

12. Either search for a tag or scroll through the list.

13. Proceed by clicking 'In Calendar'
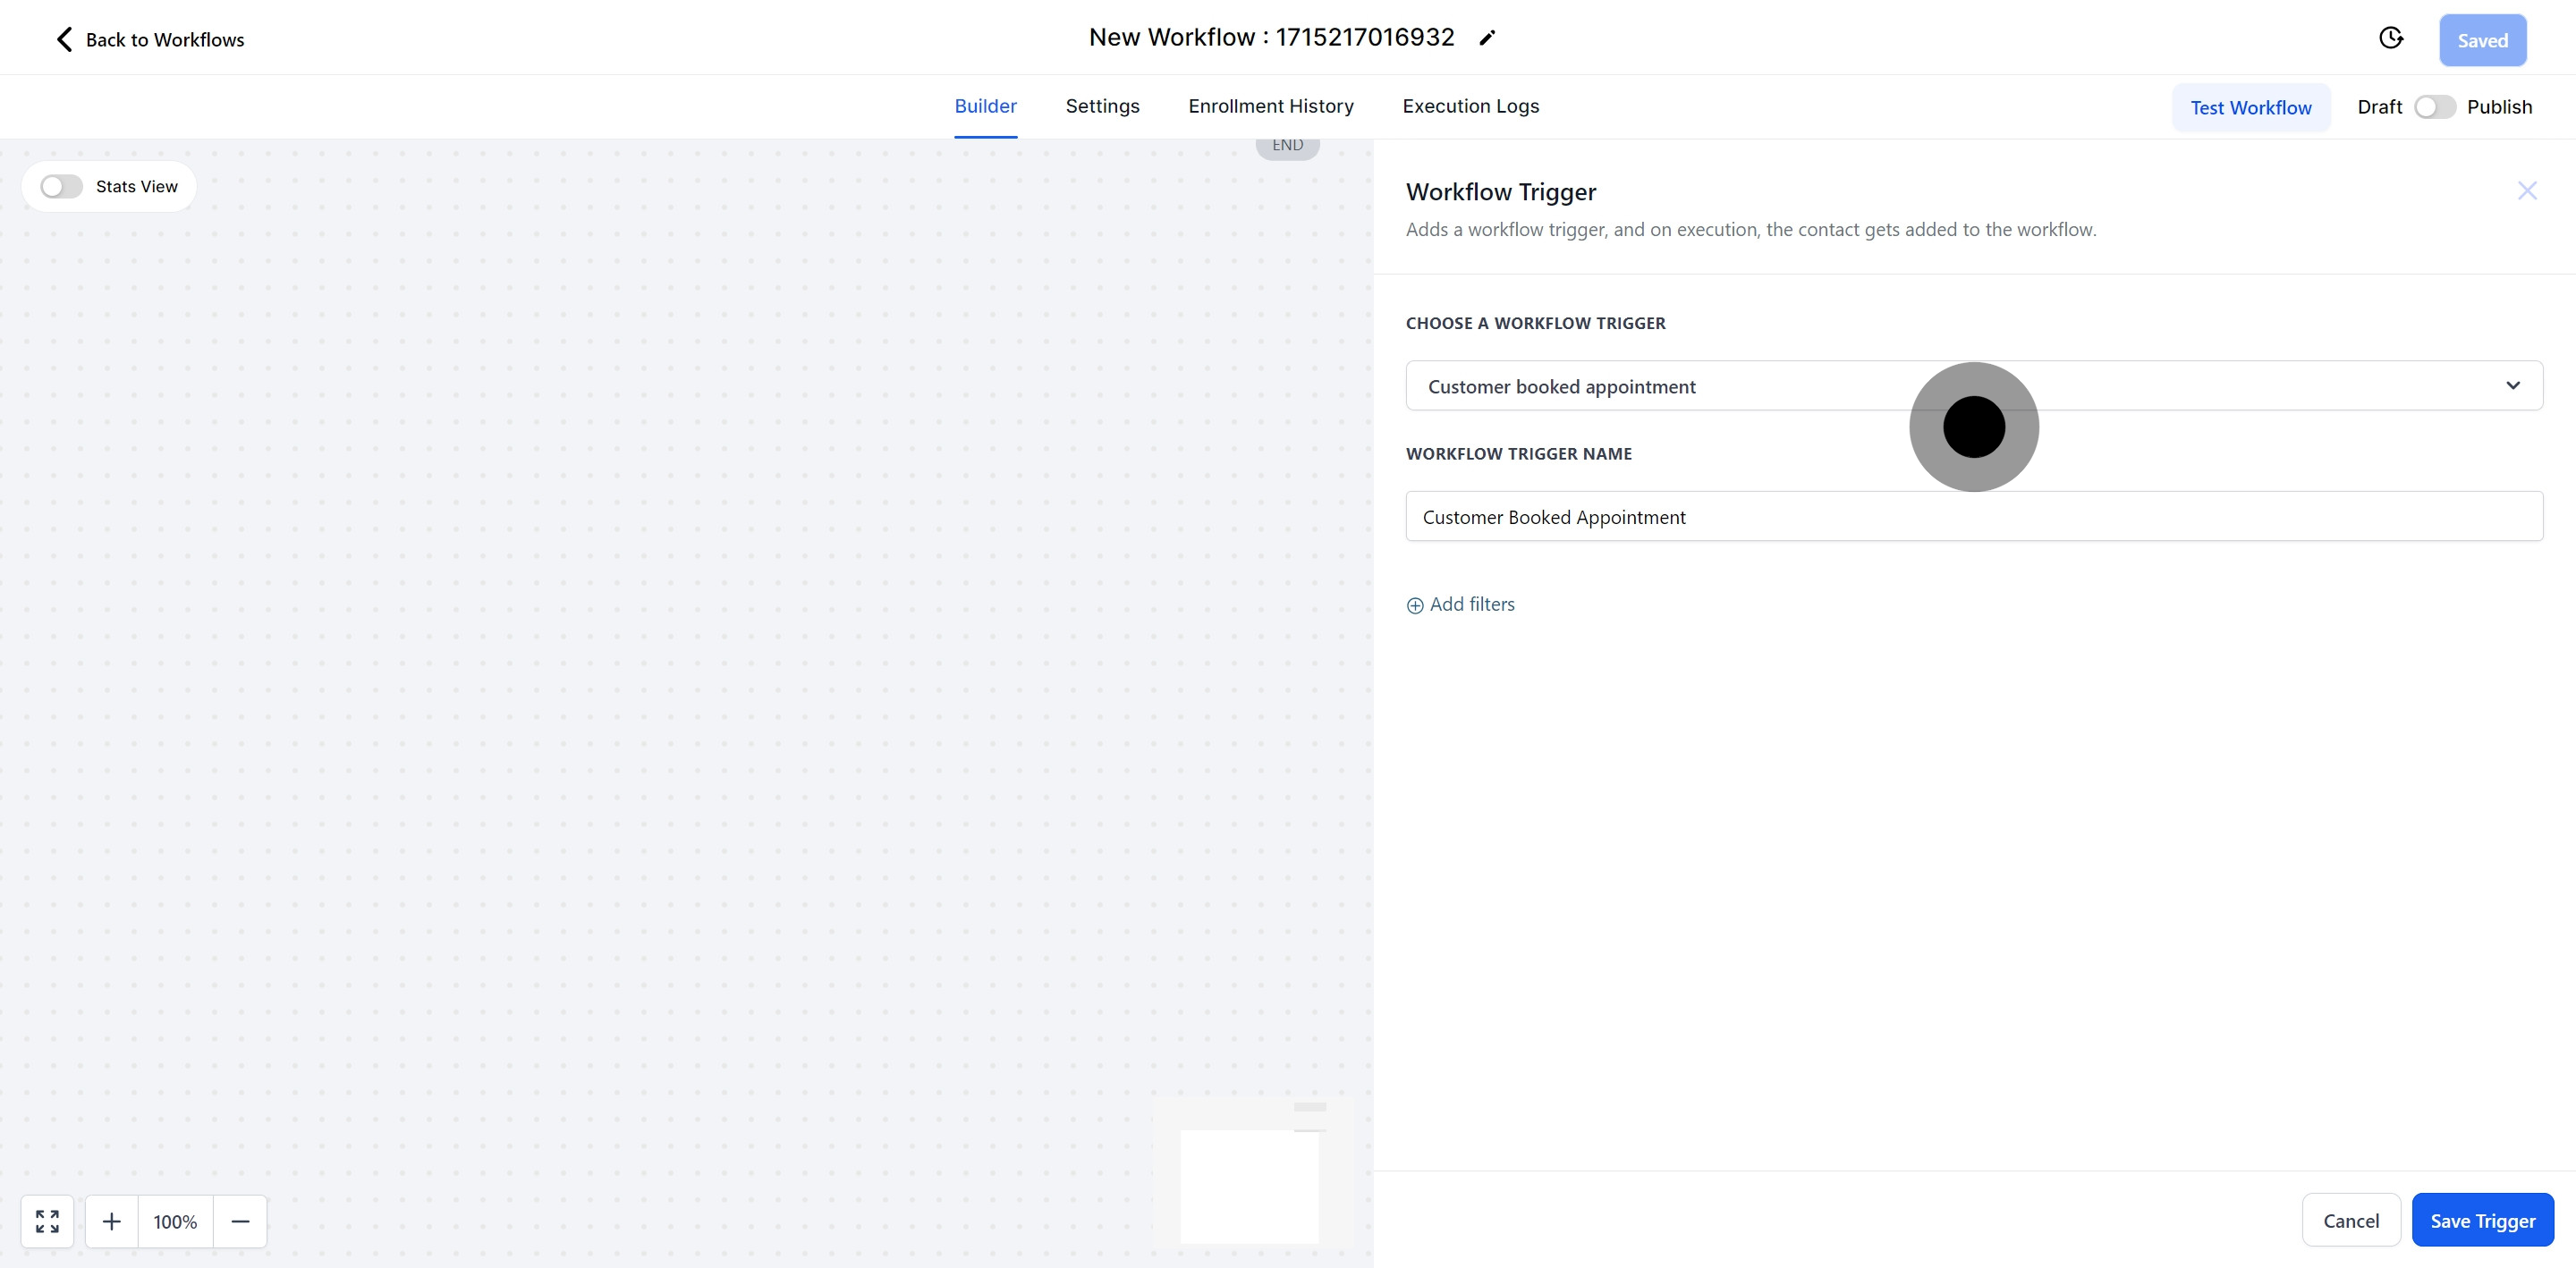
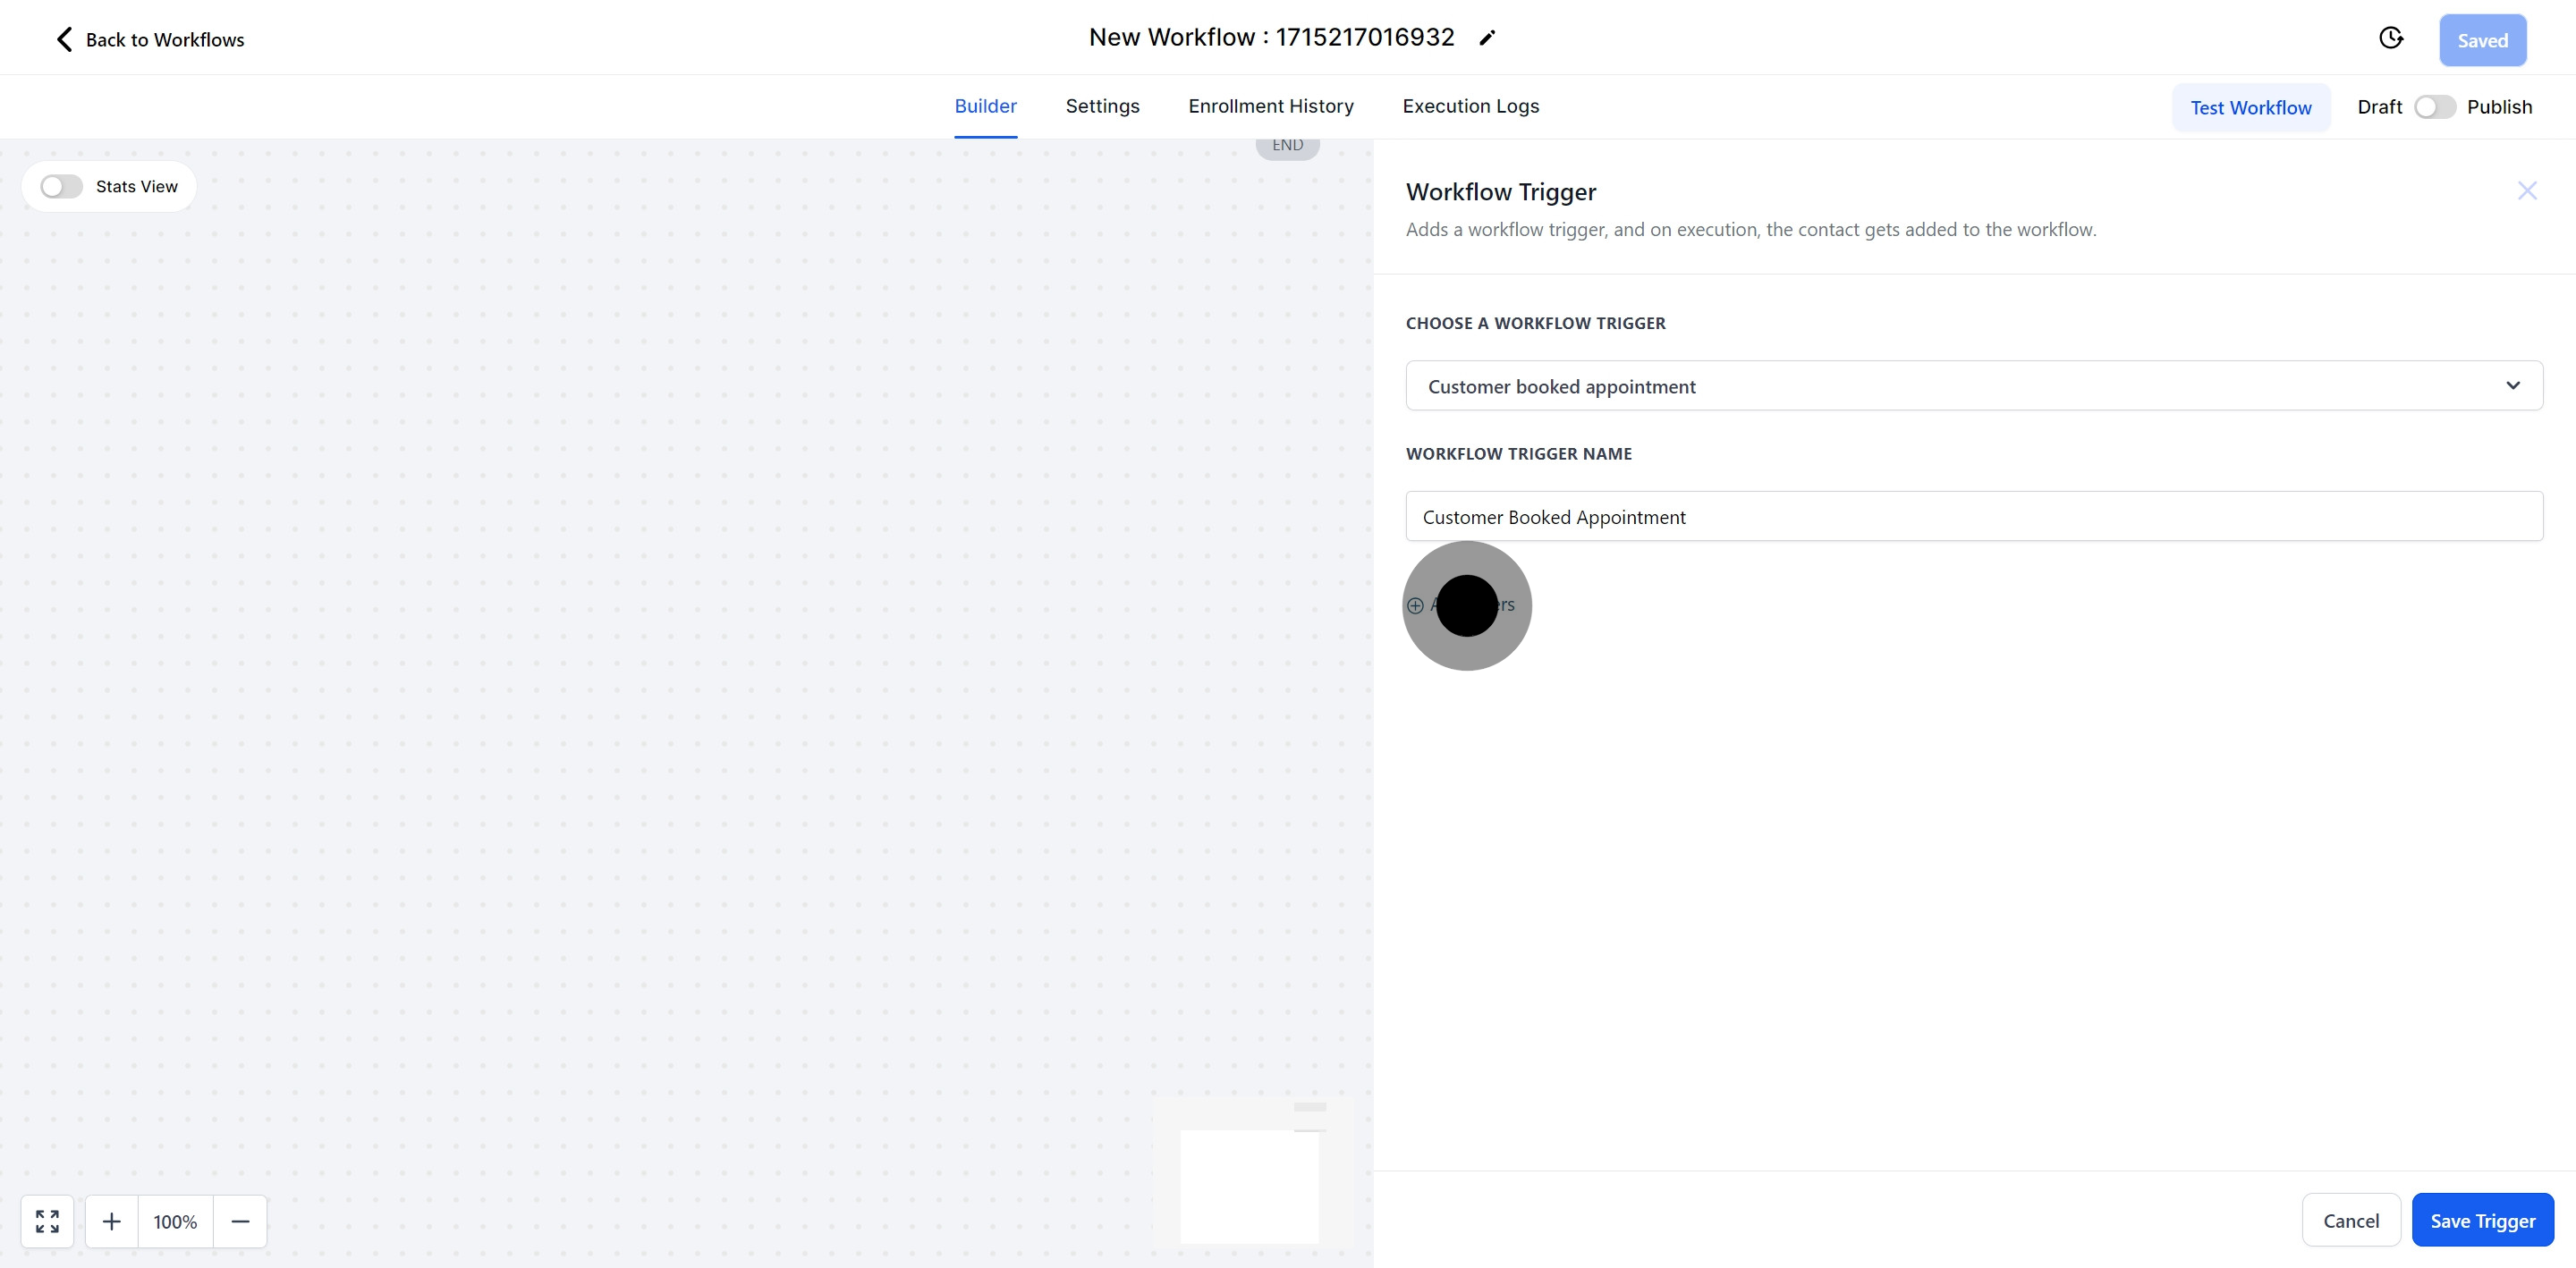
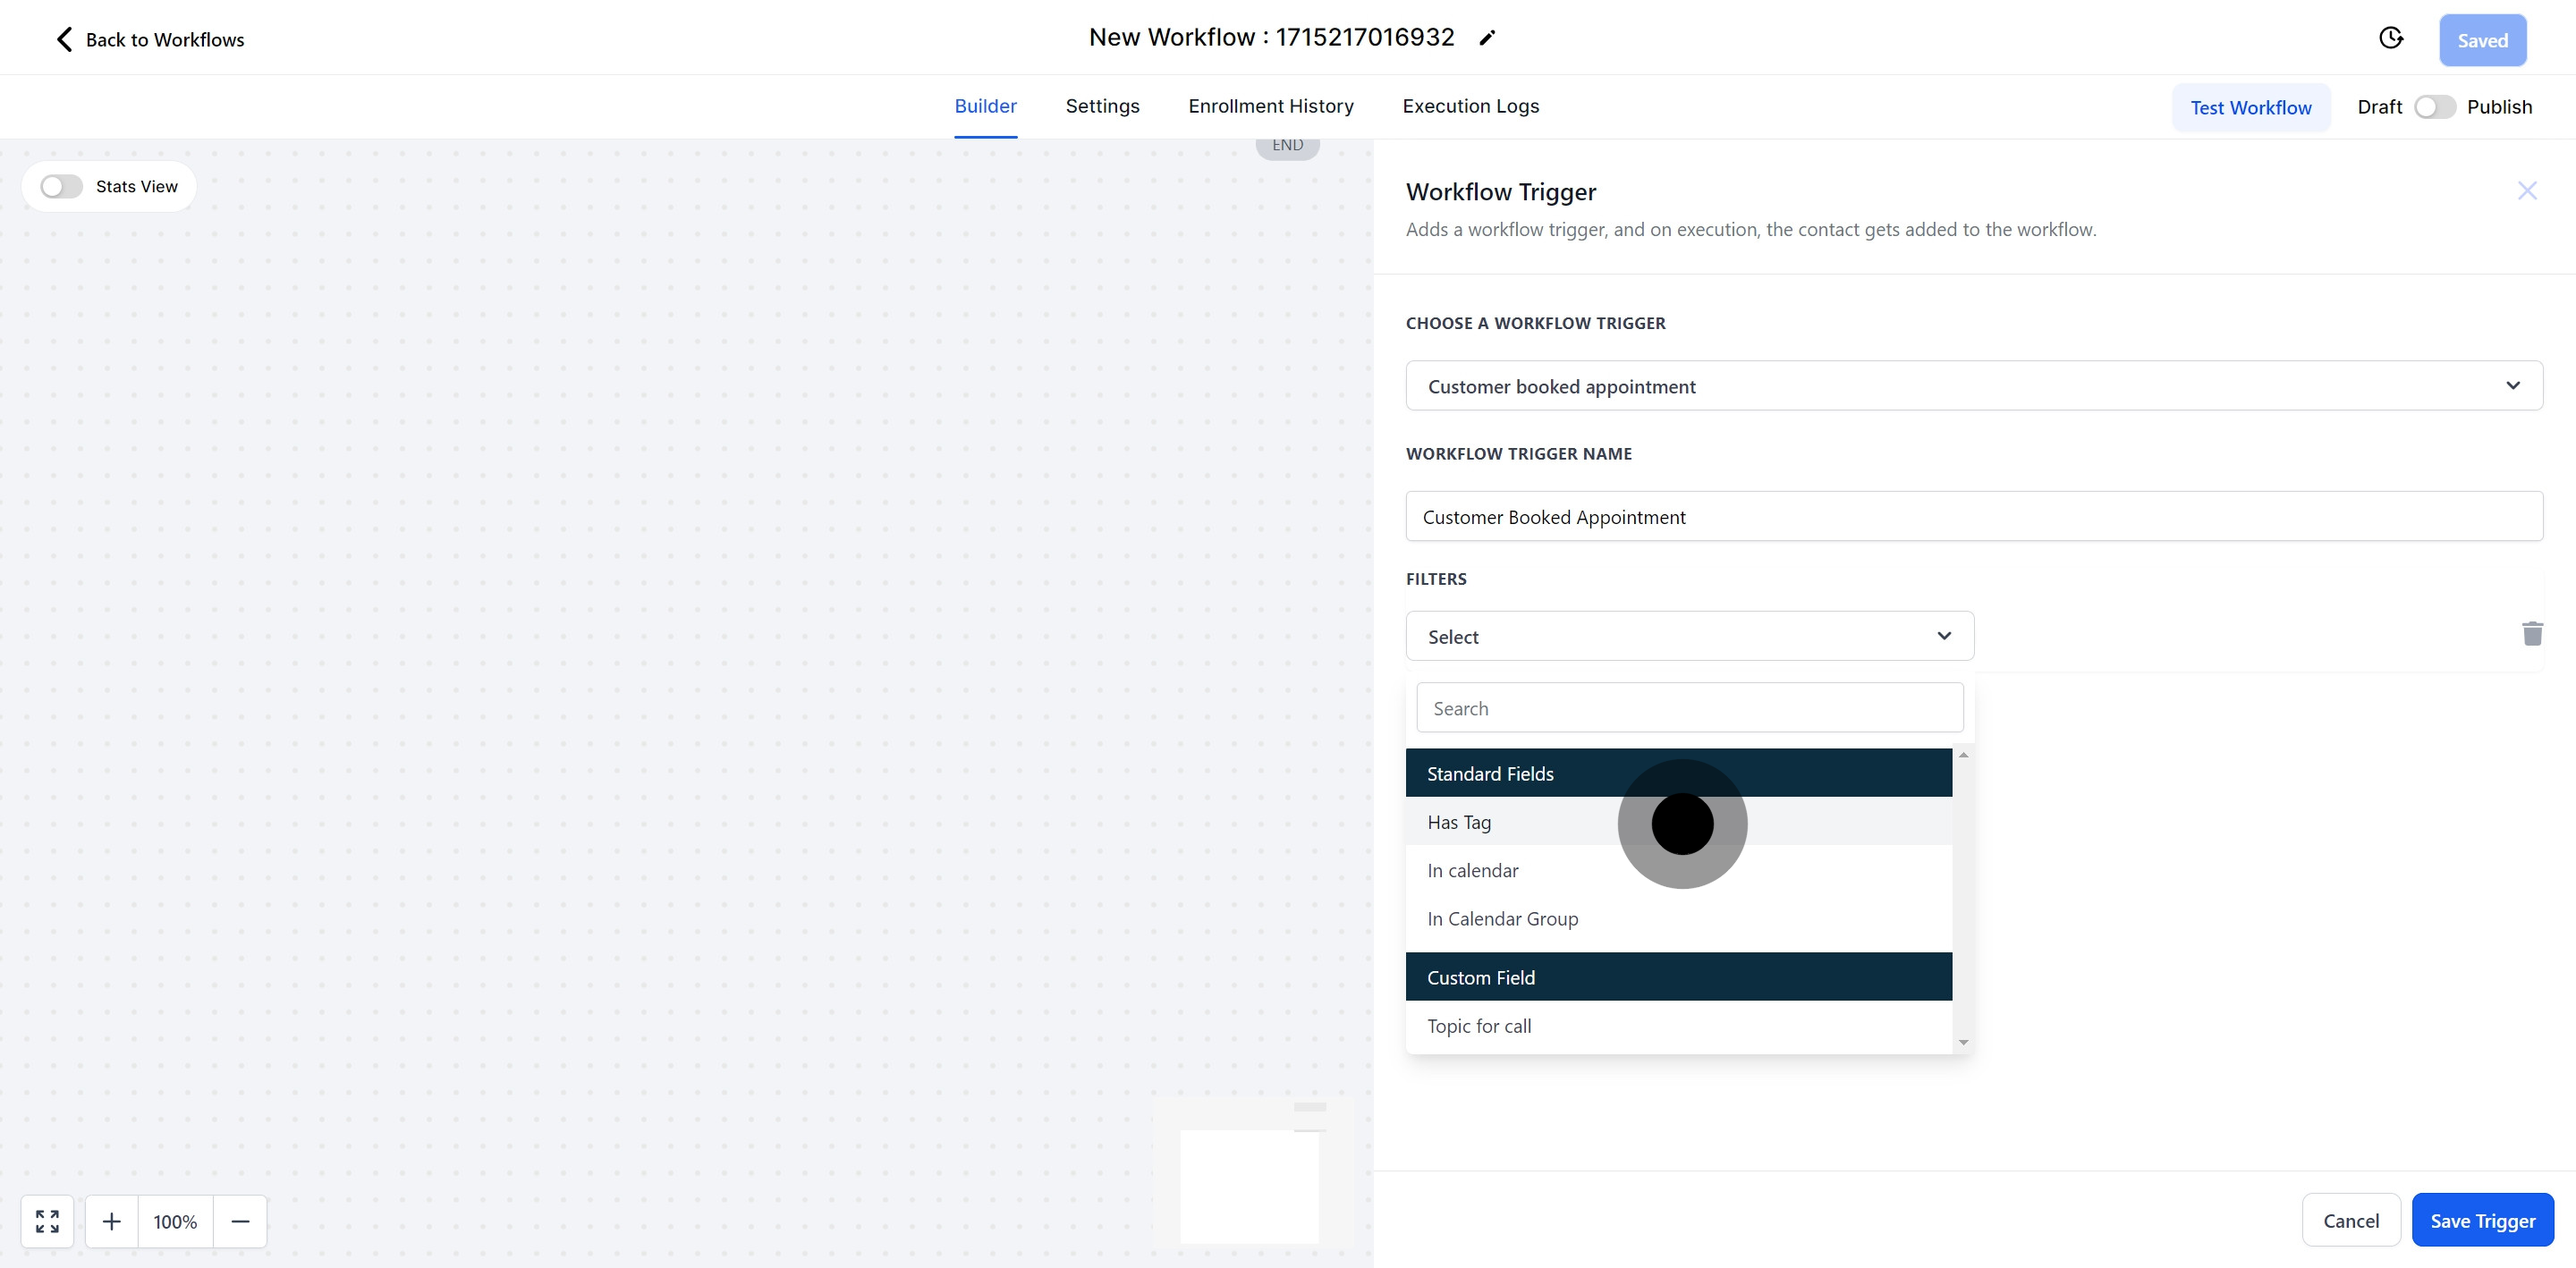
Choose the 'In calendar' option to link this workflow to any of your teamโs calendars. The workflow triggers when a customer books an appointment on their own using the selected calendar. This method is ideal for organizations that use multiple team calendars, as it allows customers to schedule appointments on the specific calendar you designate.

14. Select your preferred option, either search or scroll.

15. Wrap-up by clicking 'Save Trigger'
