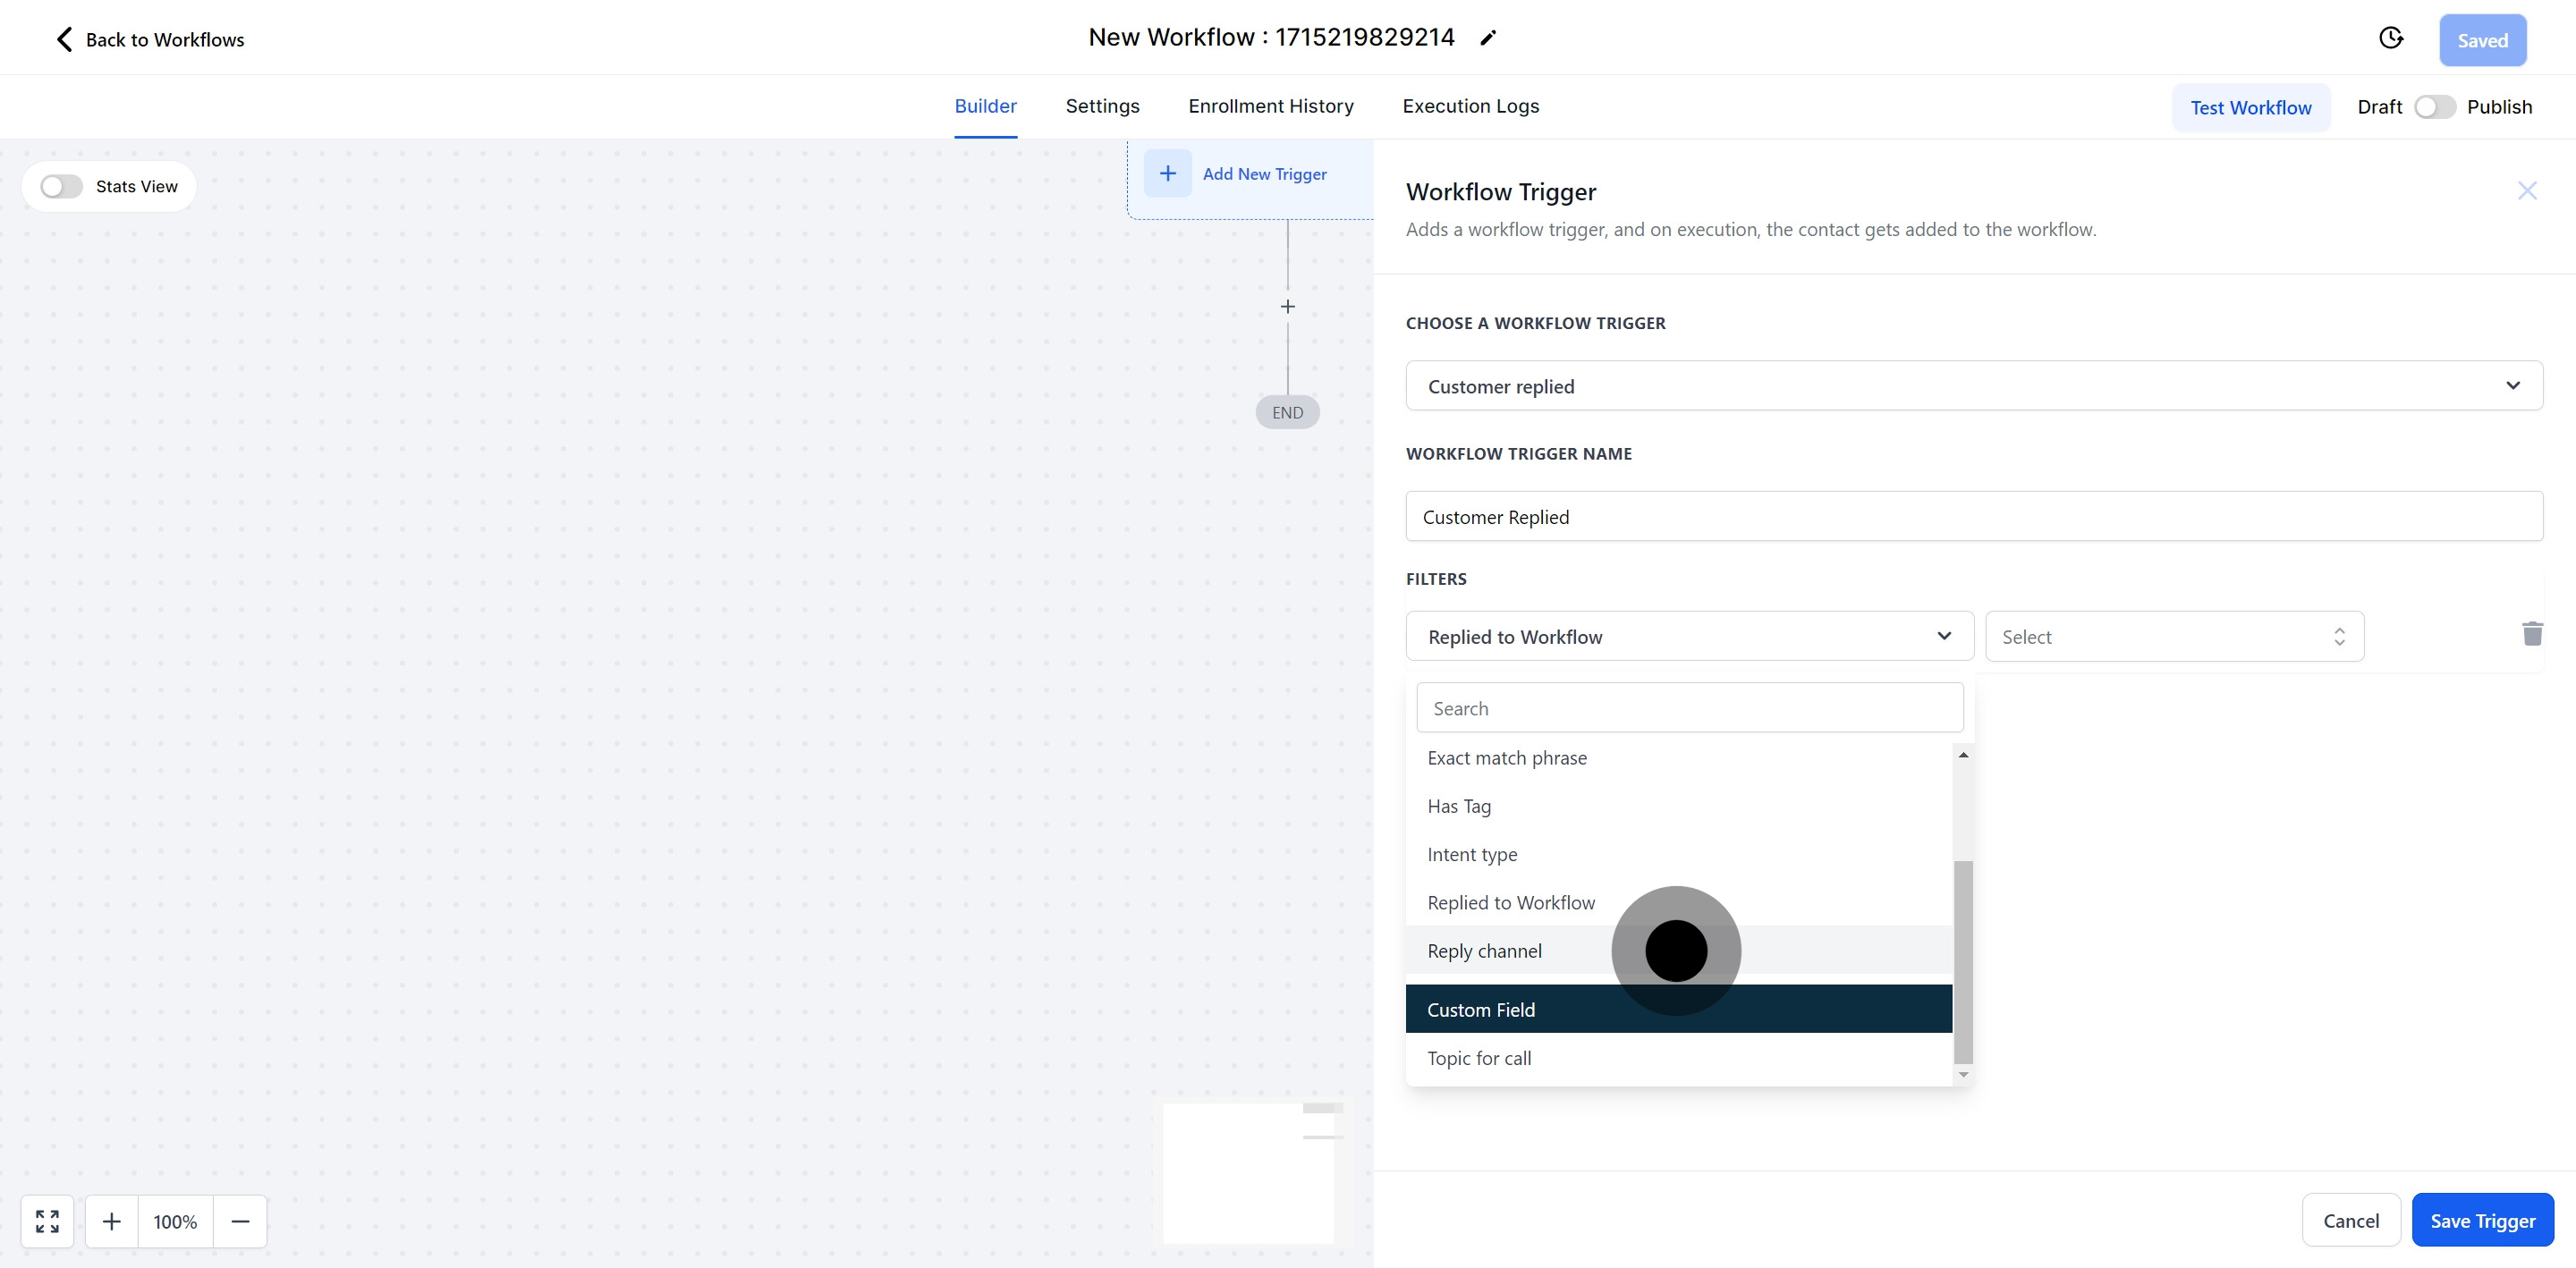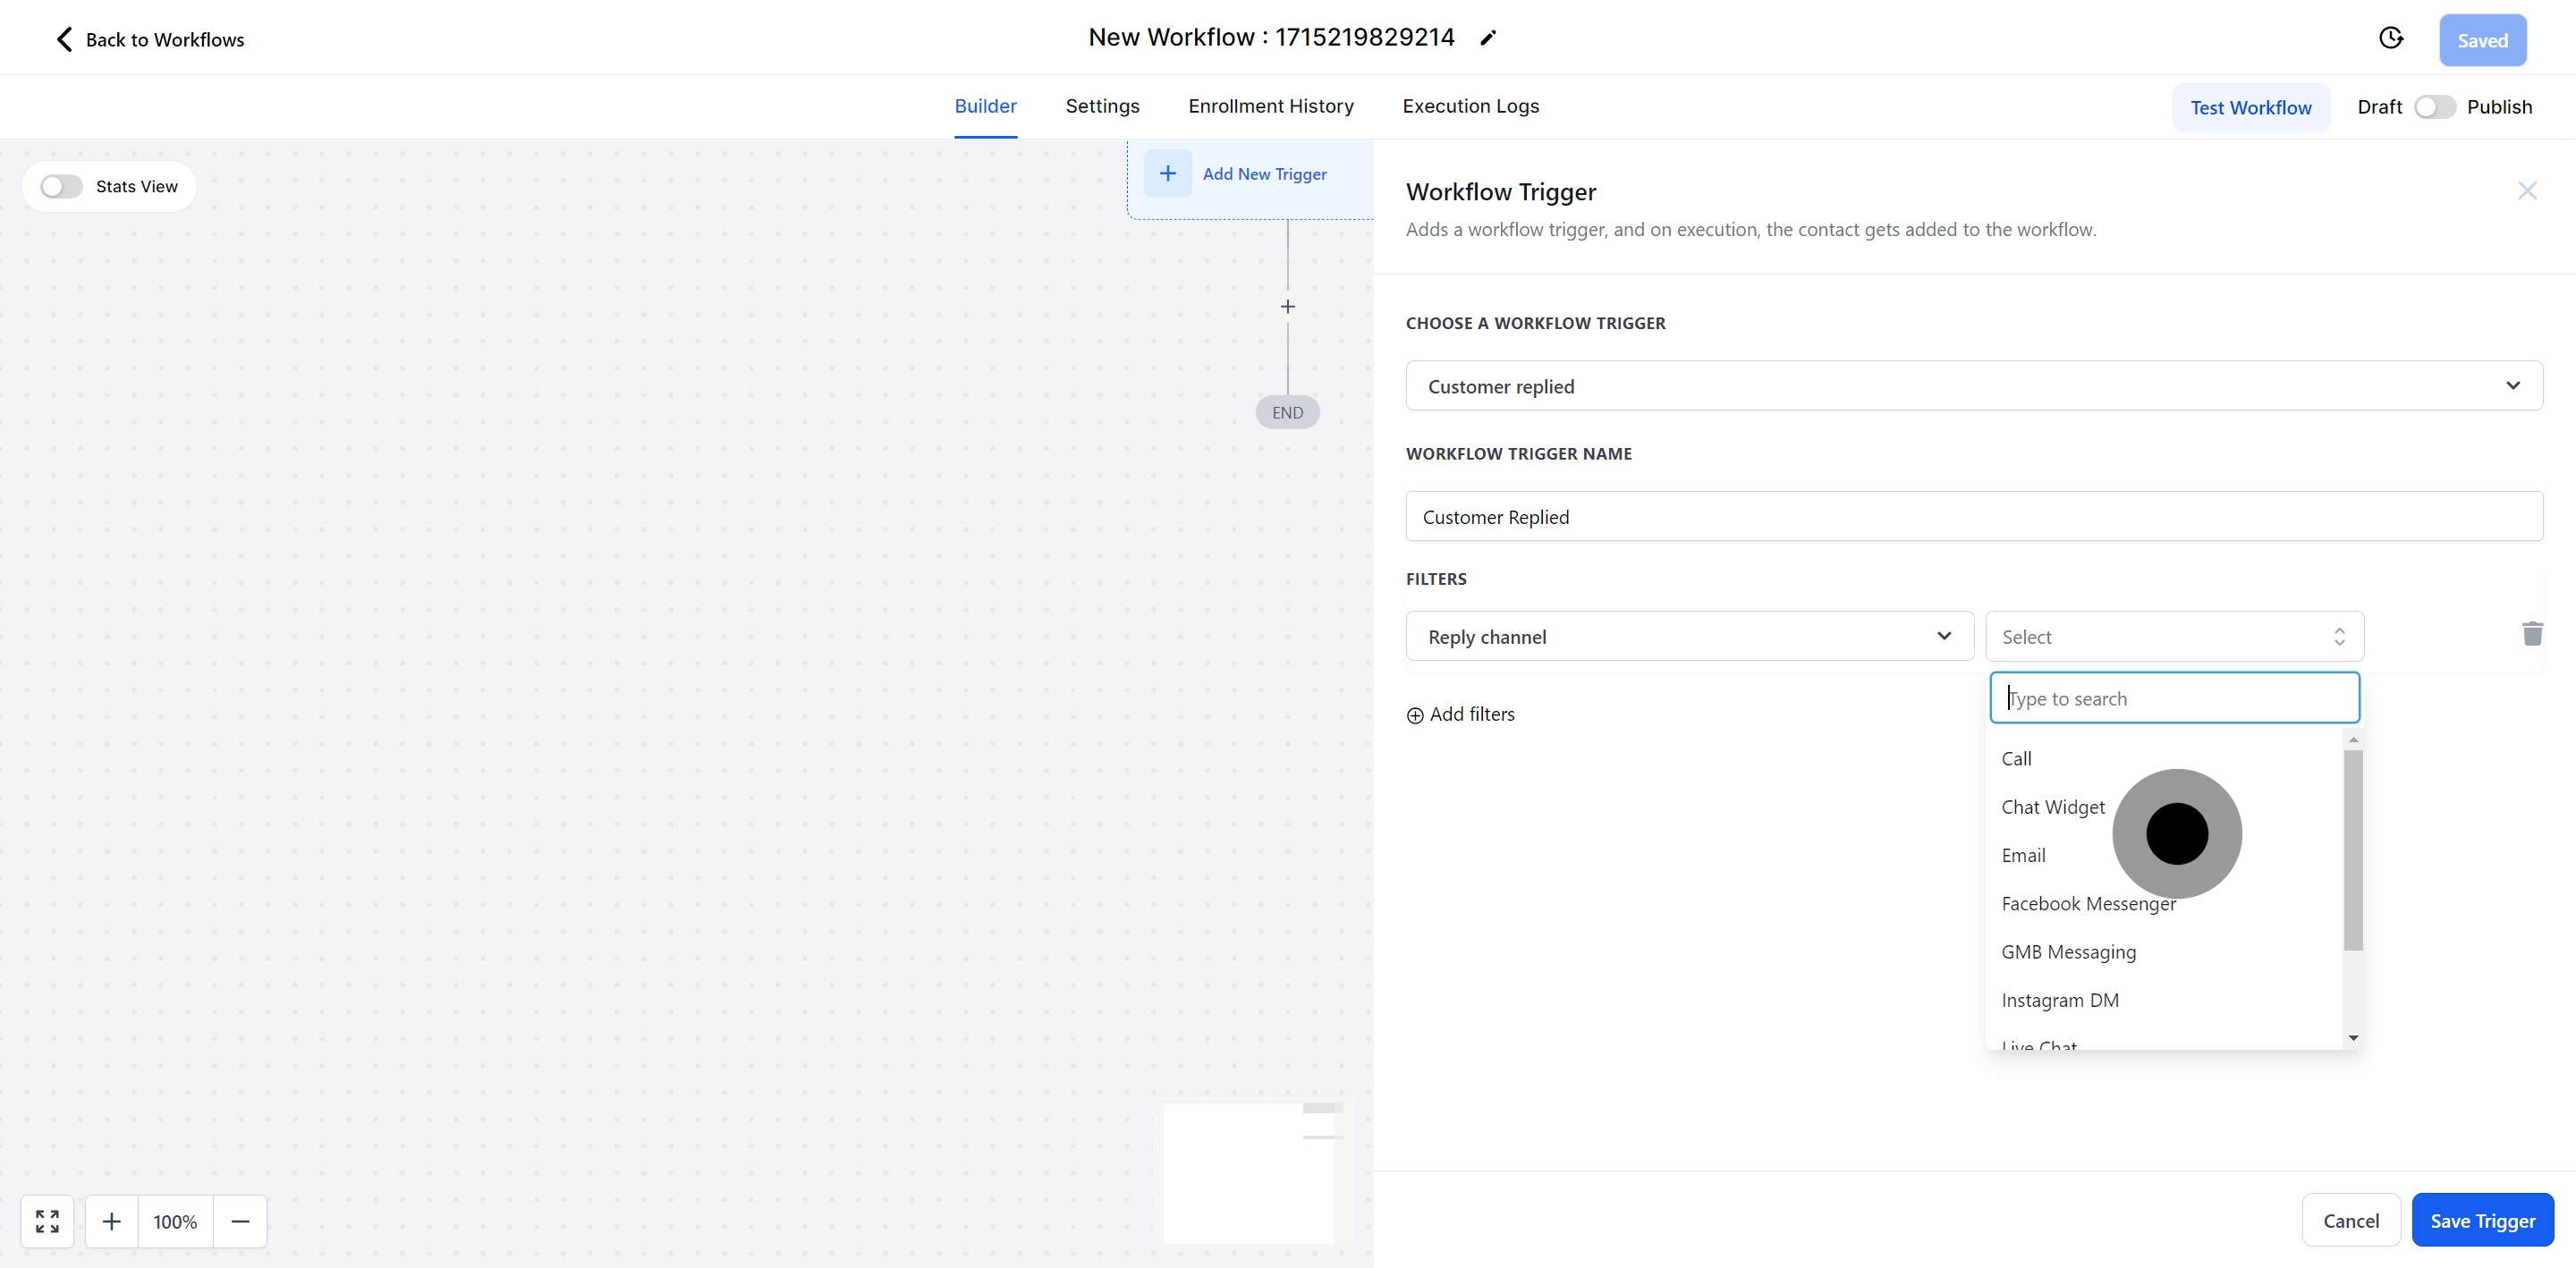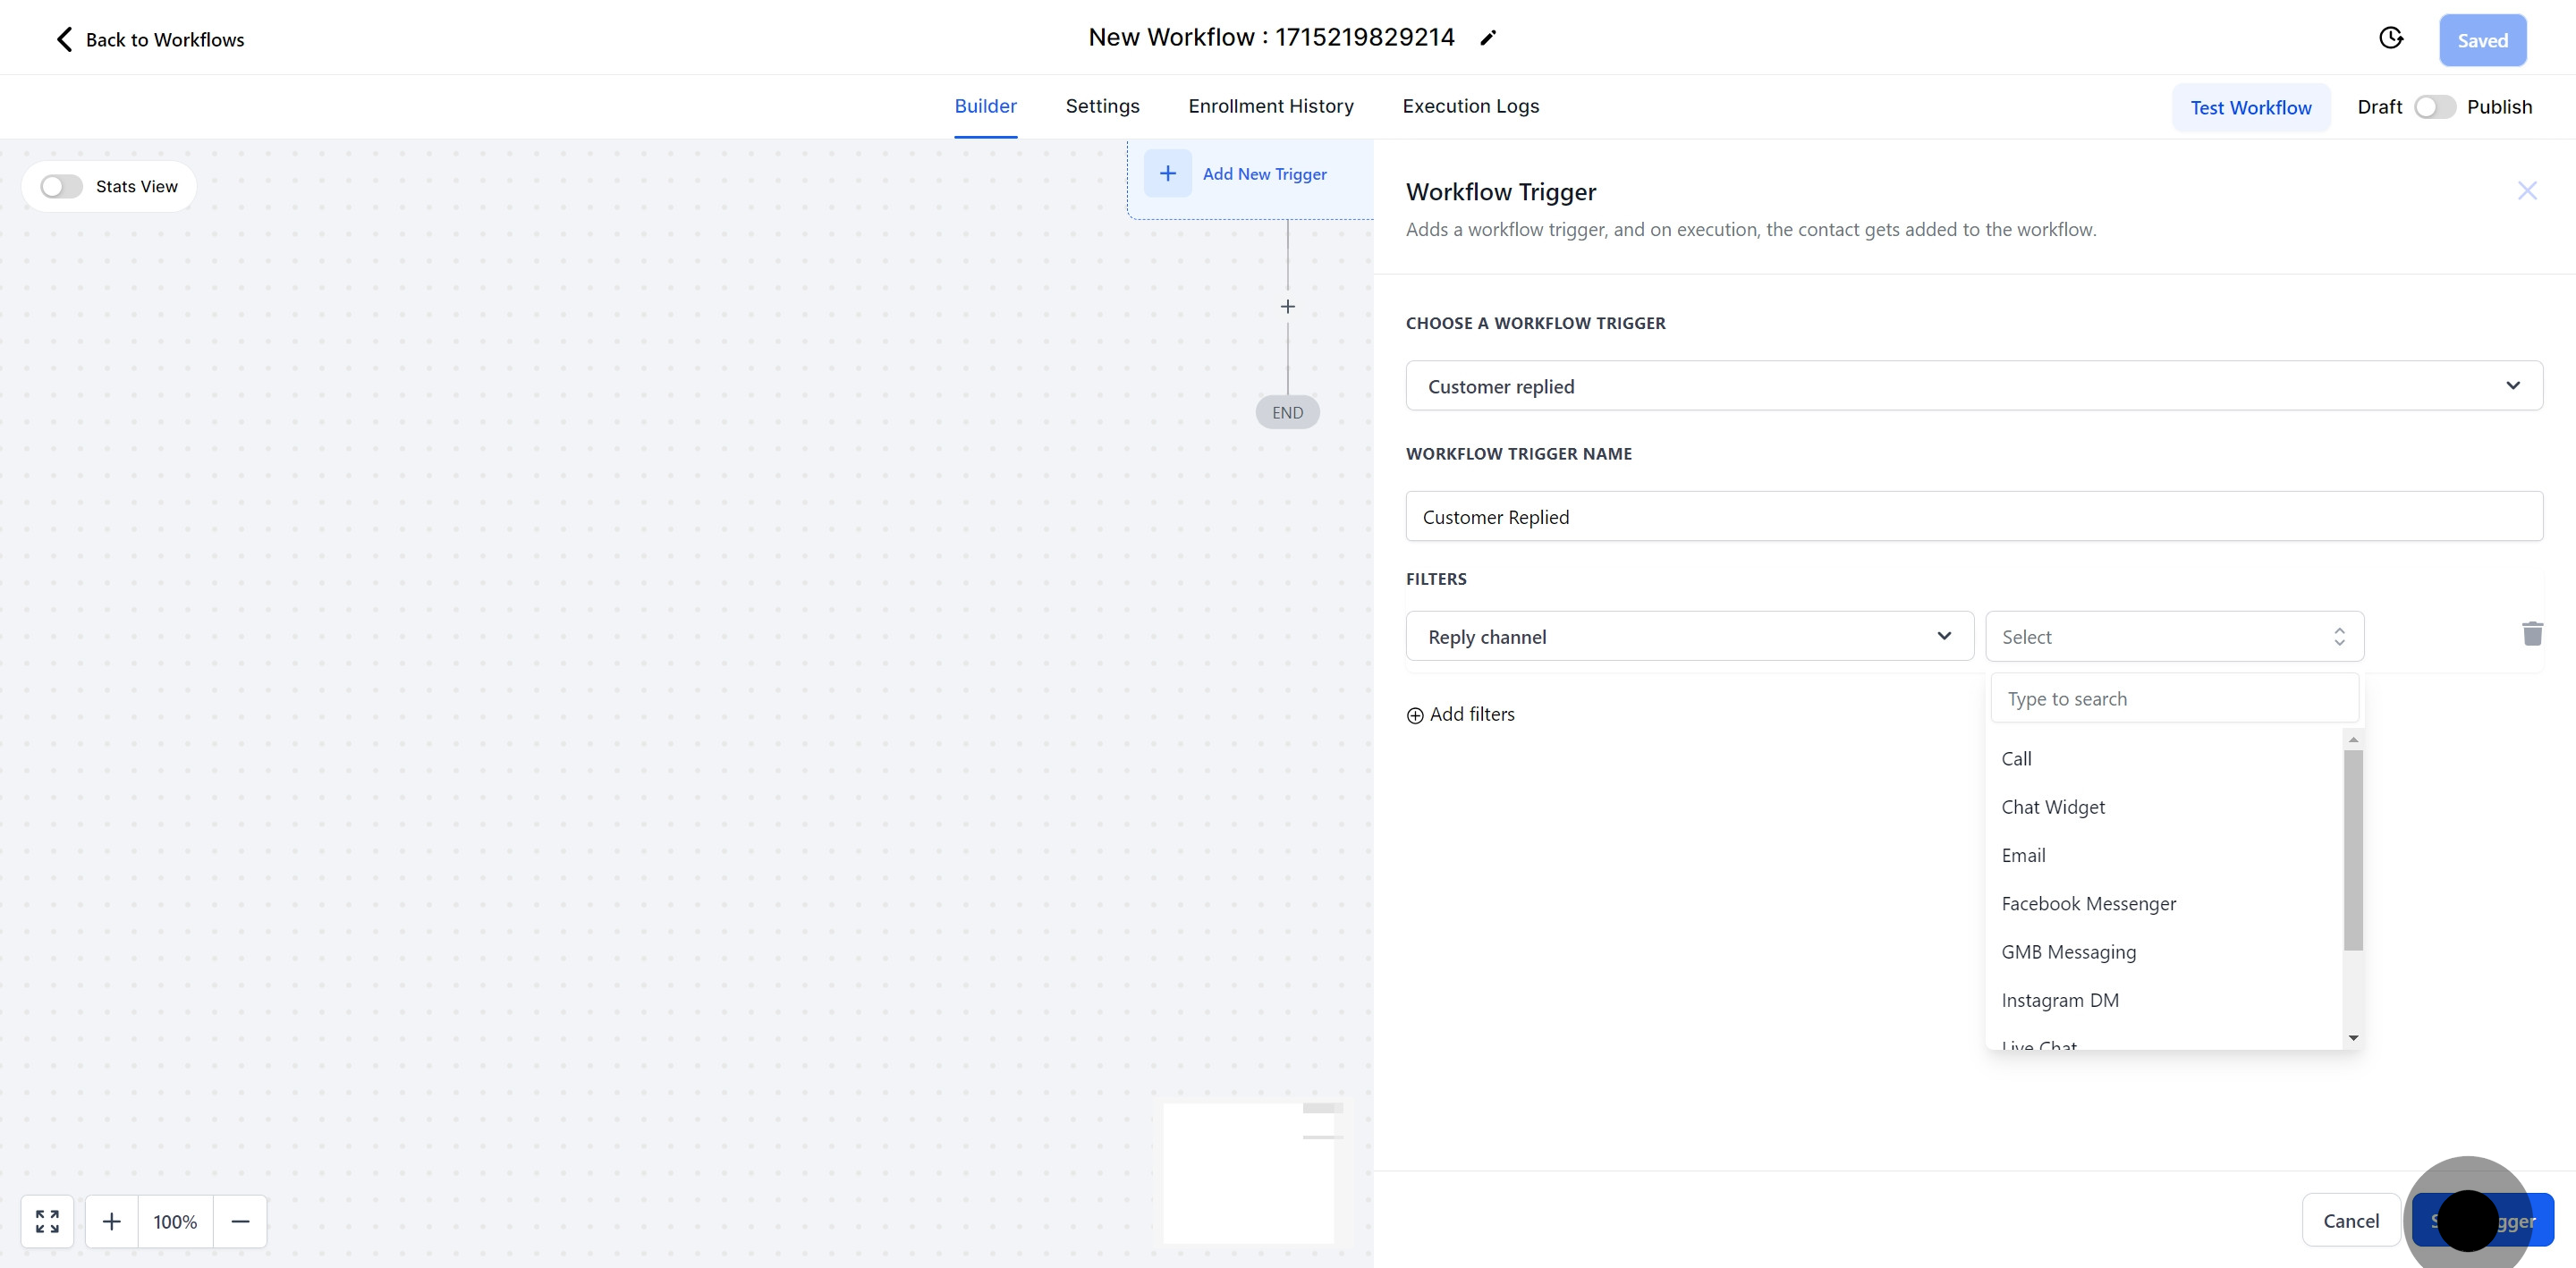
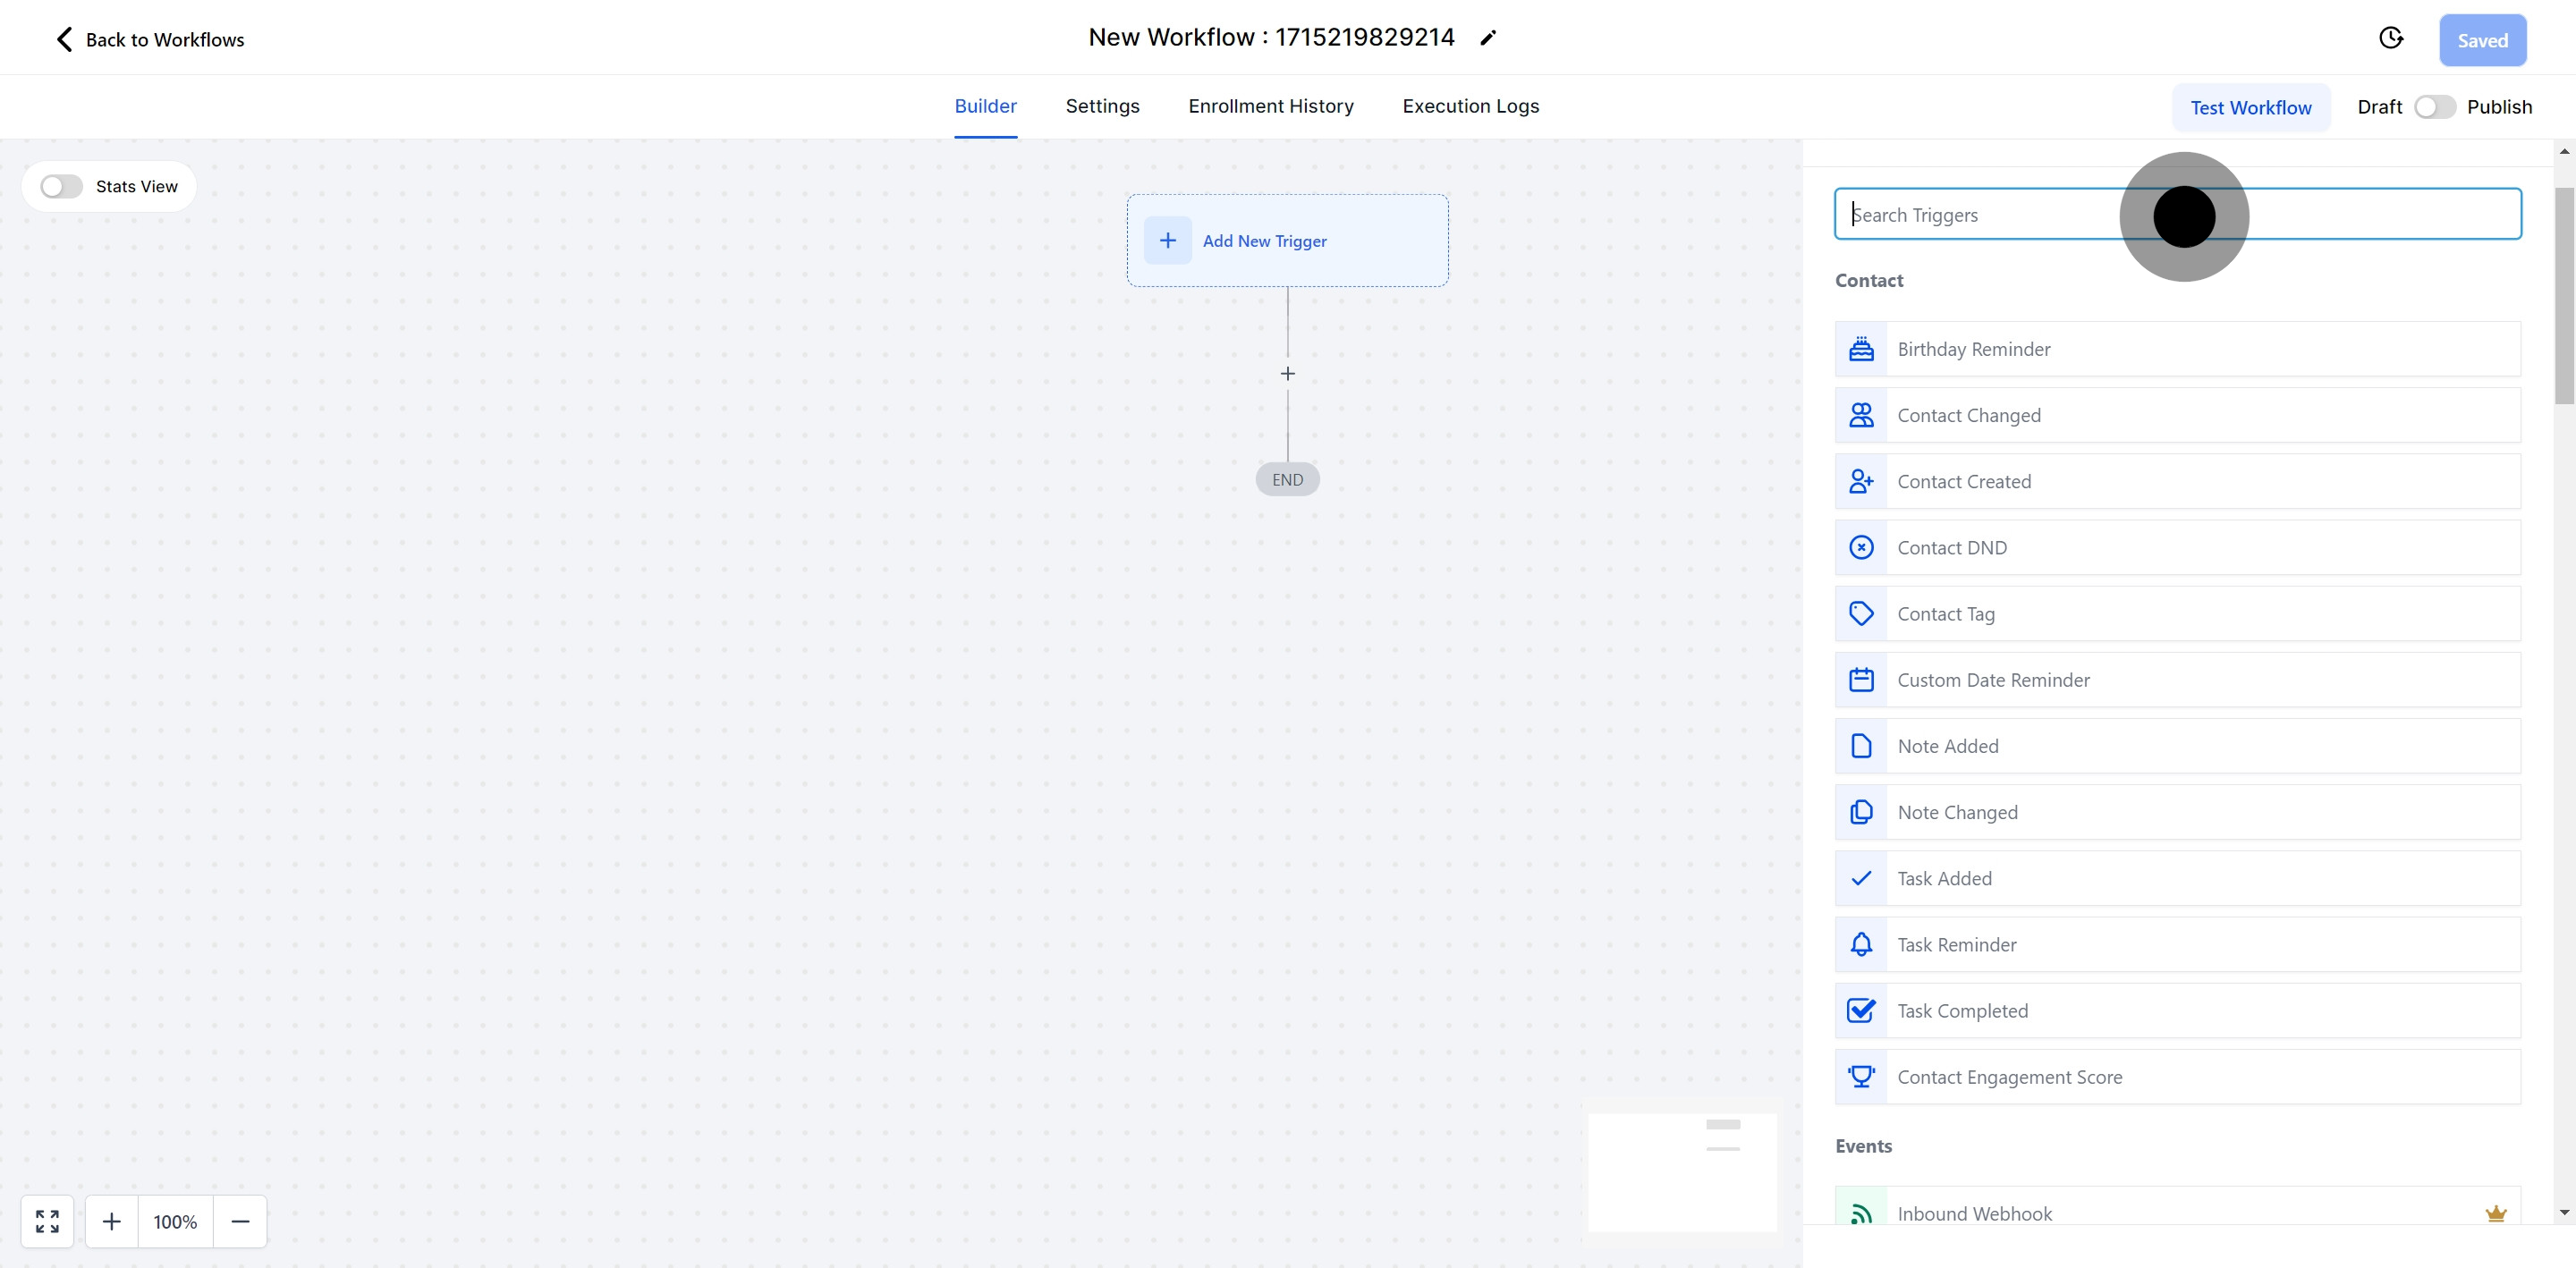
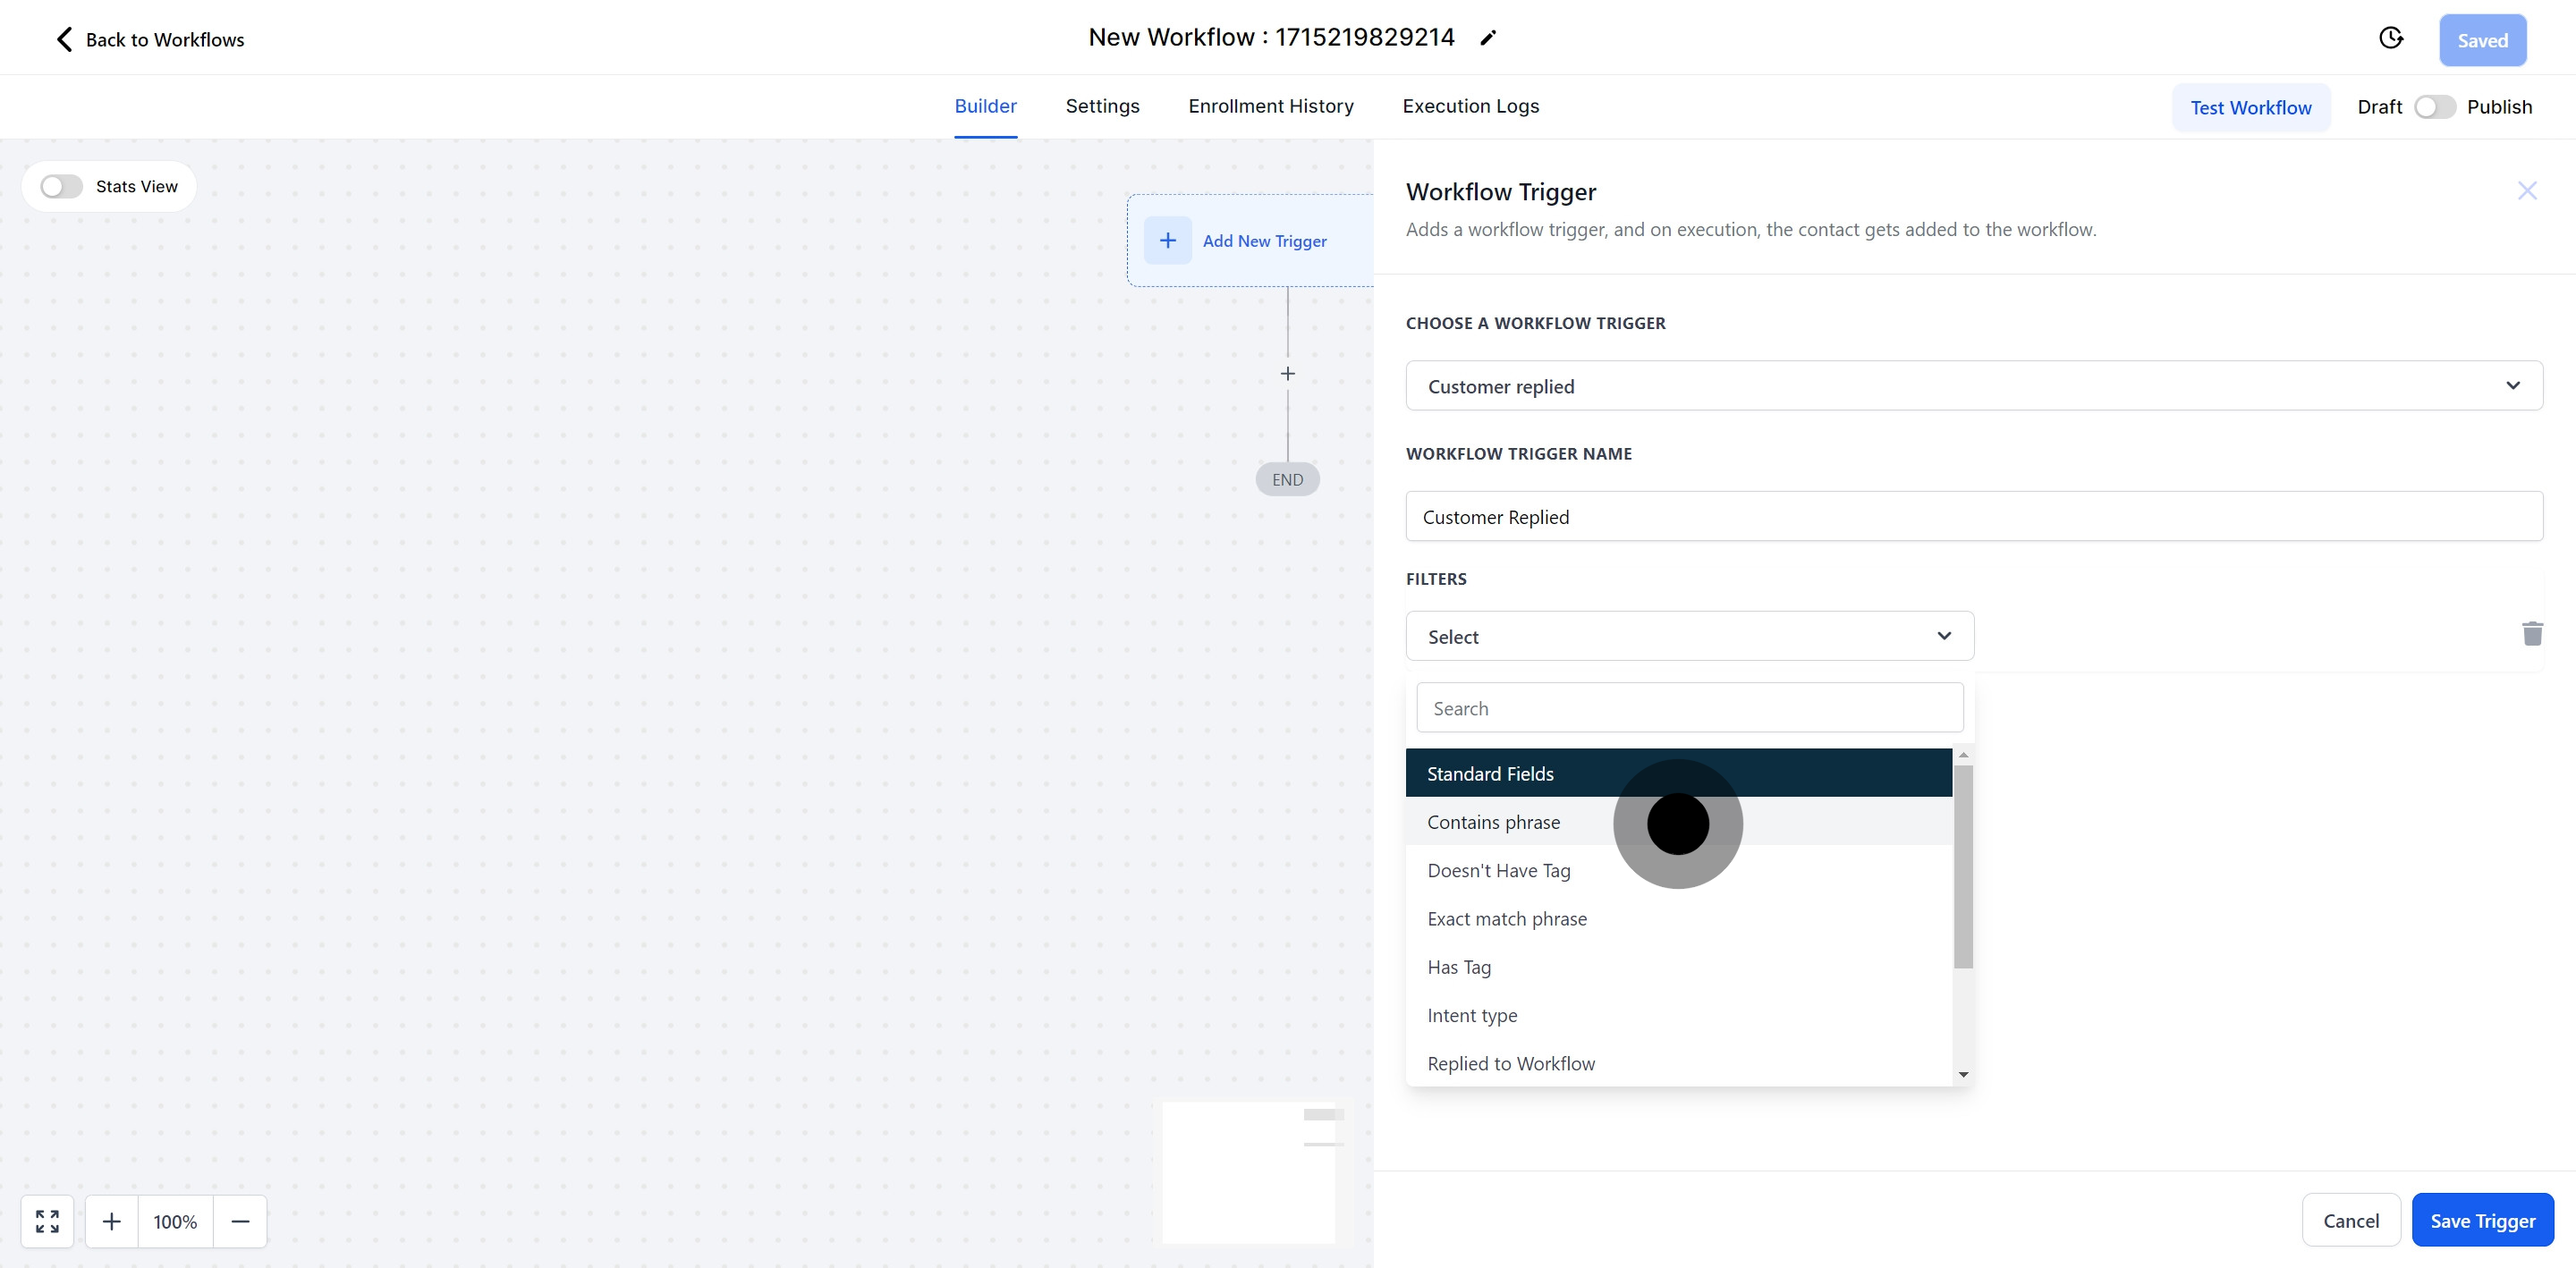
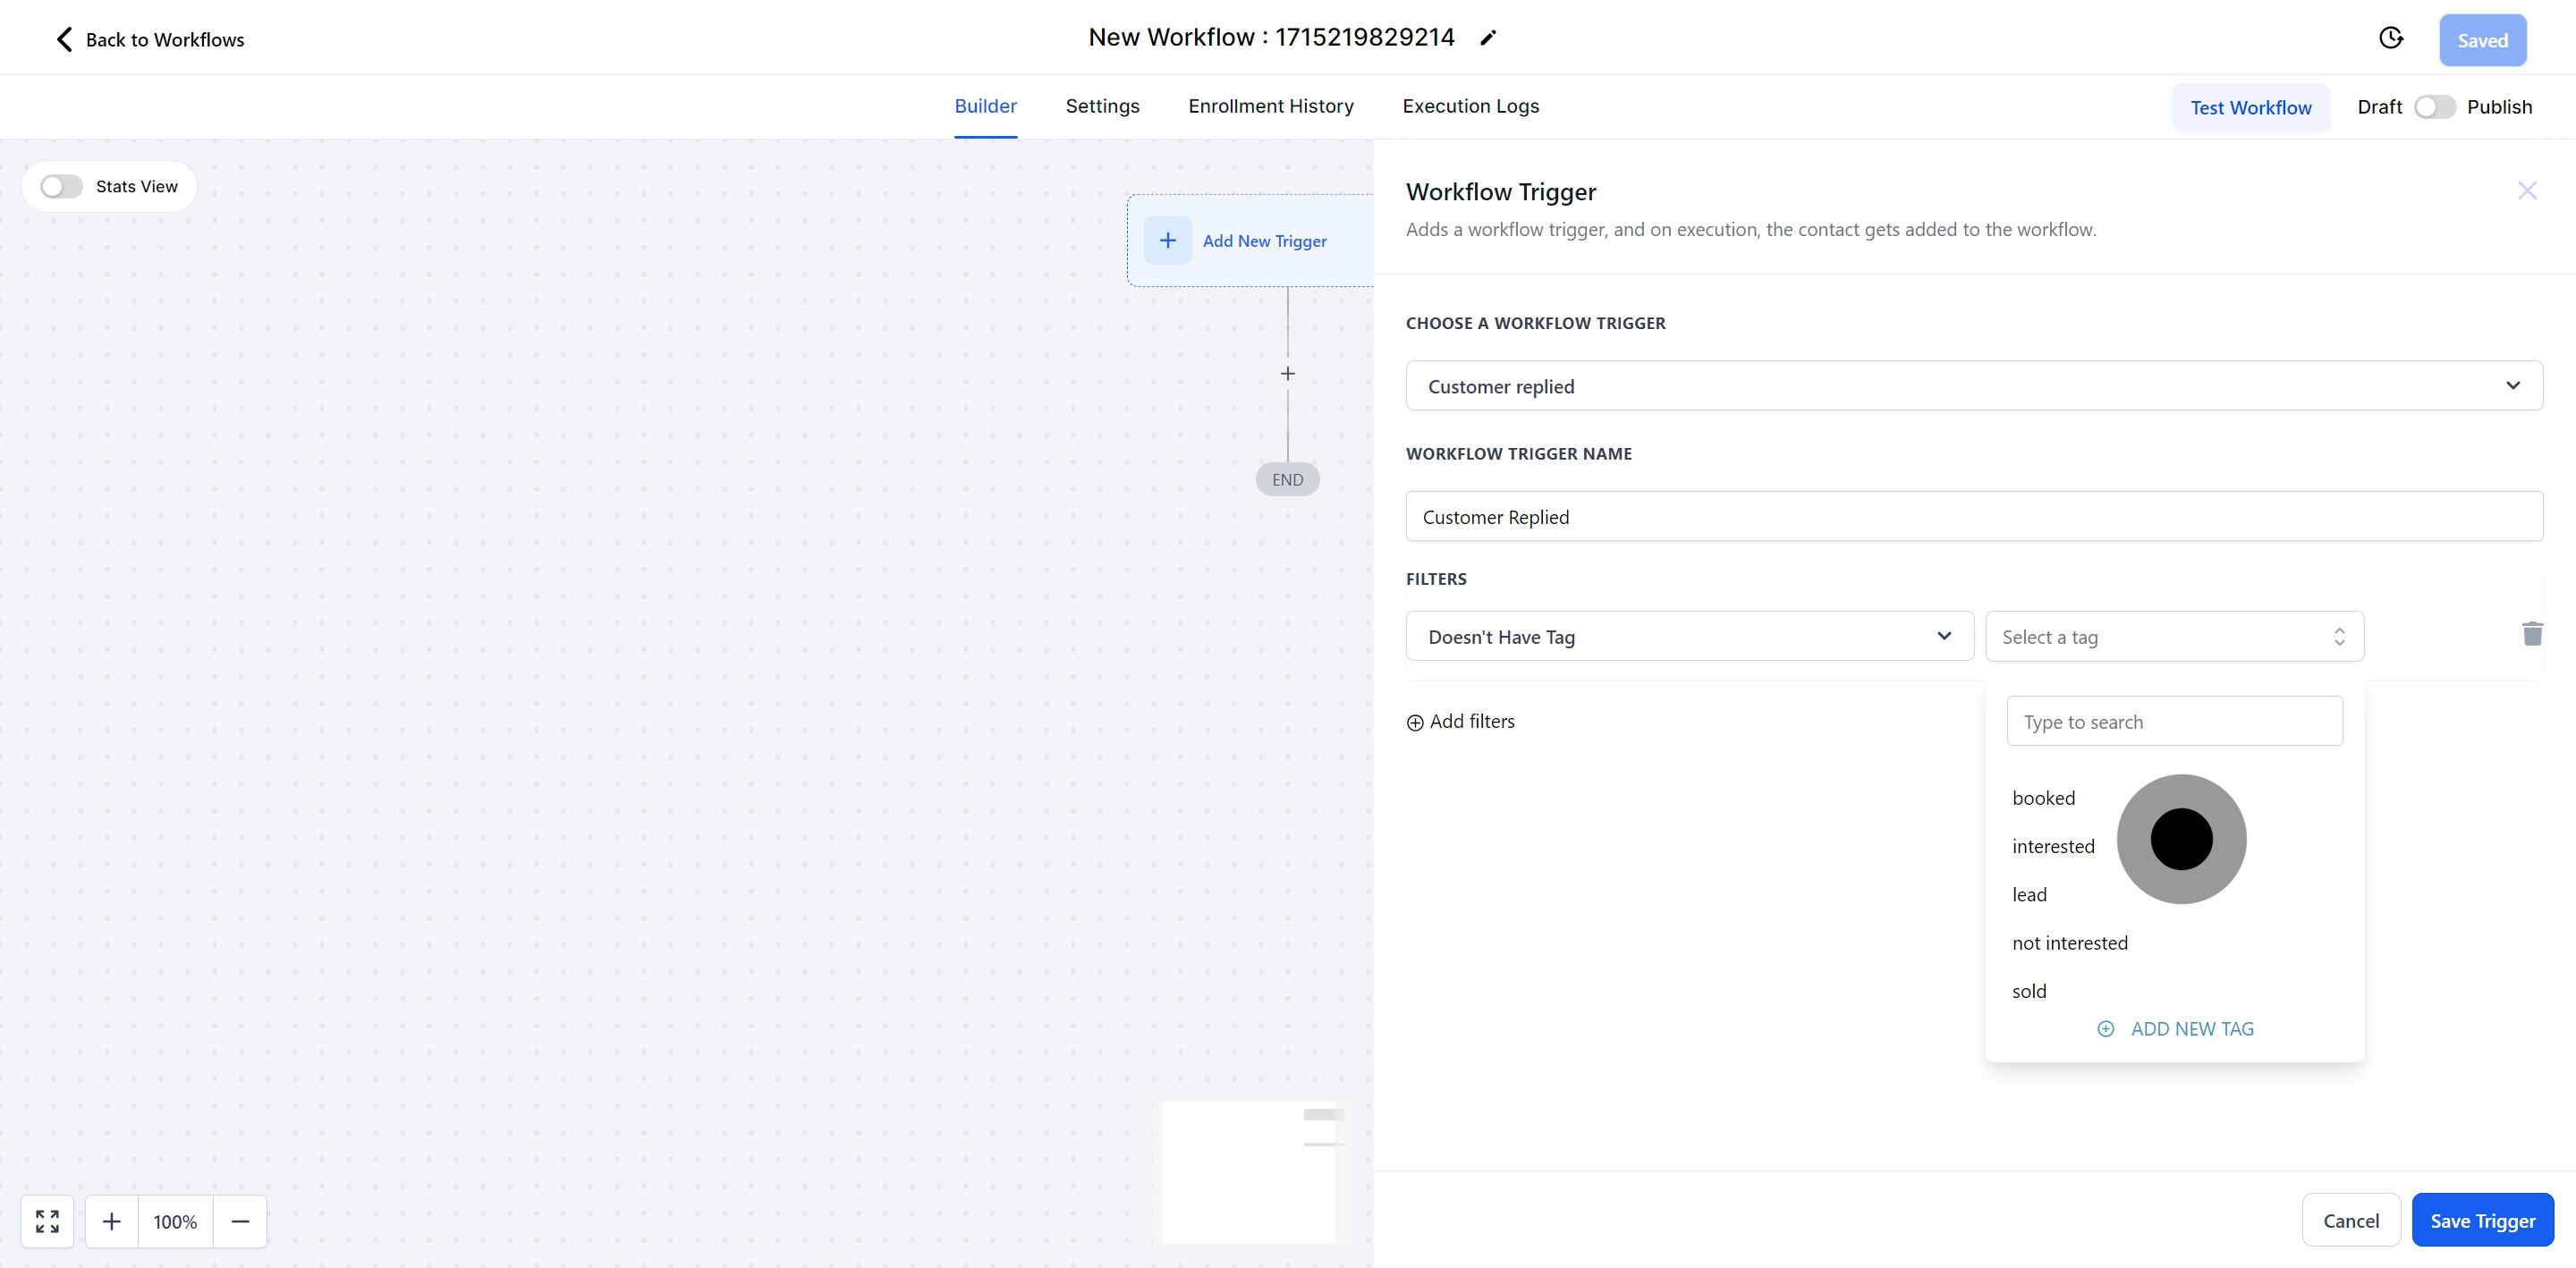
The "customer replied" workflow trigger is set off when a message is received from a contact. This advanced trigger allows for the use of various filters and variables, enabling the creation of automation based on customer responses. Additionally, this trigger can be tailored to react specifically to messages from selected communication channels such as SMS or Email.

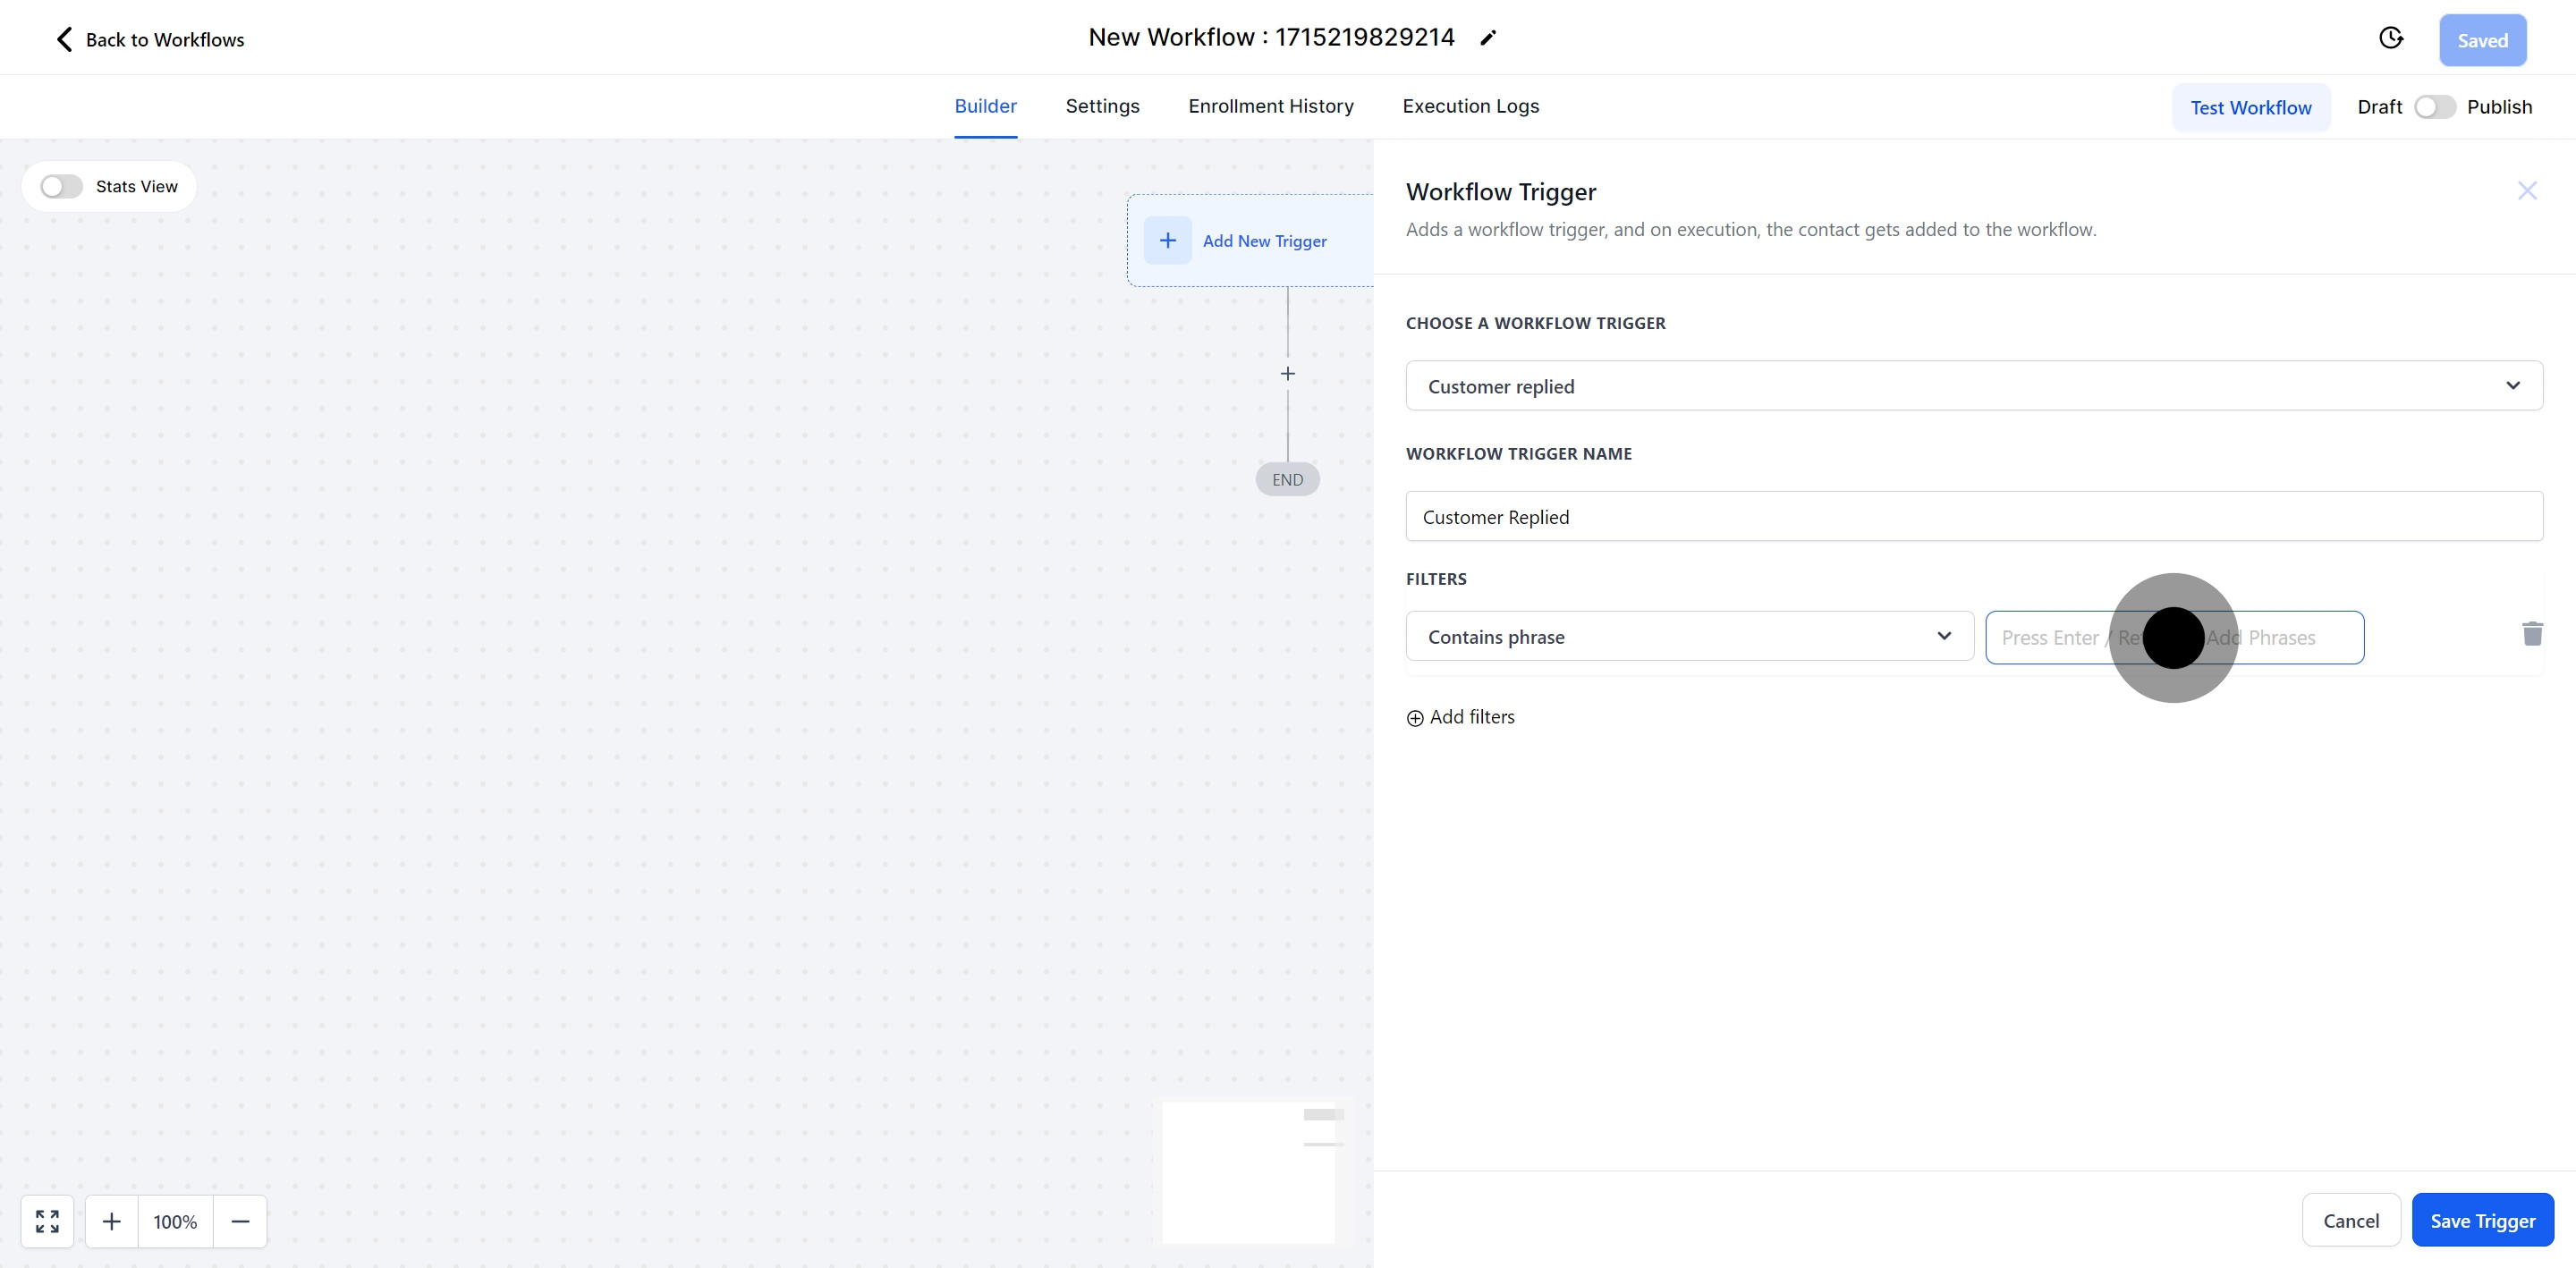
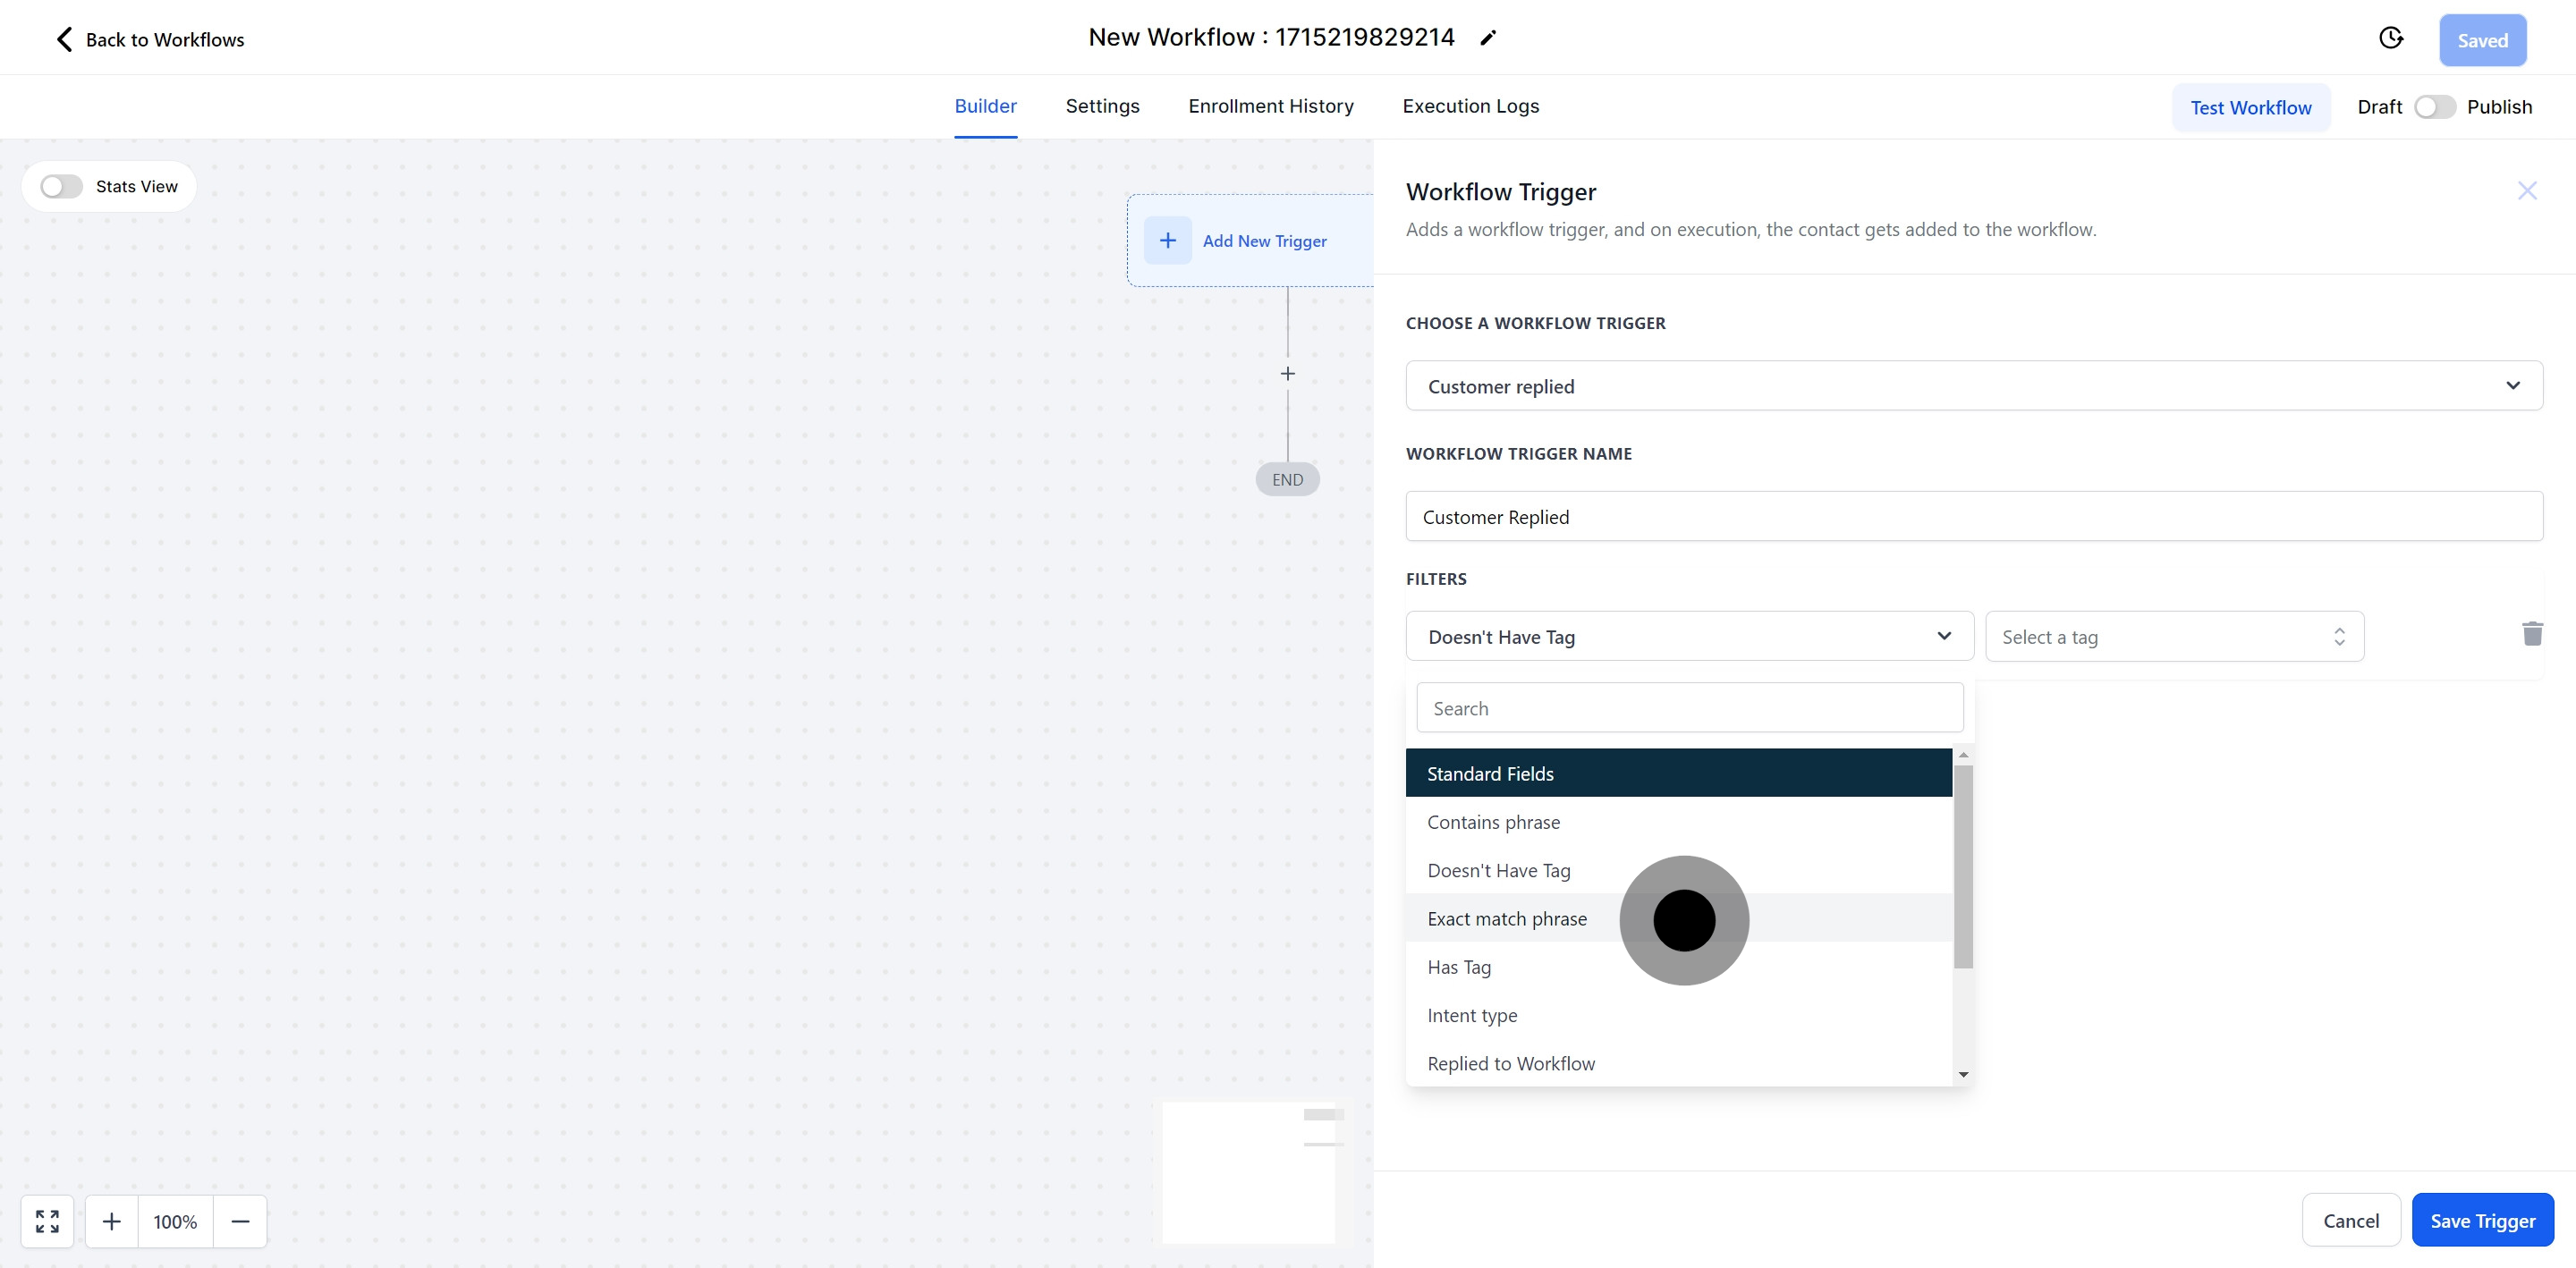
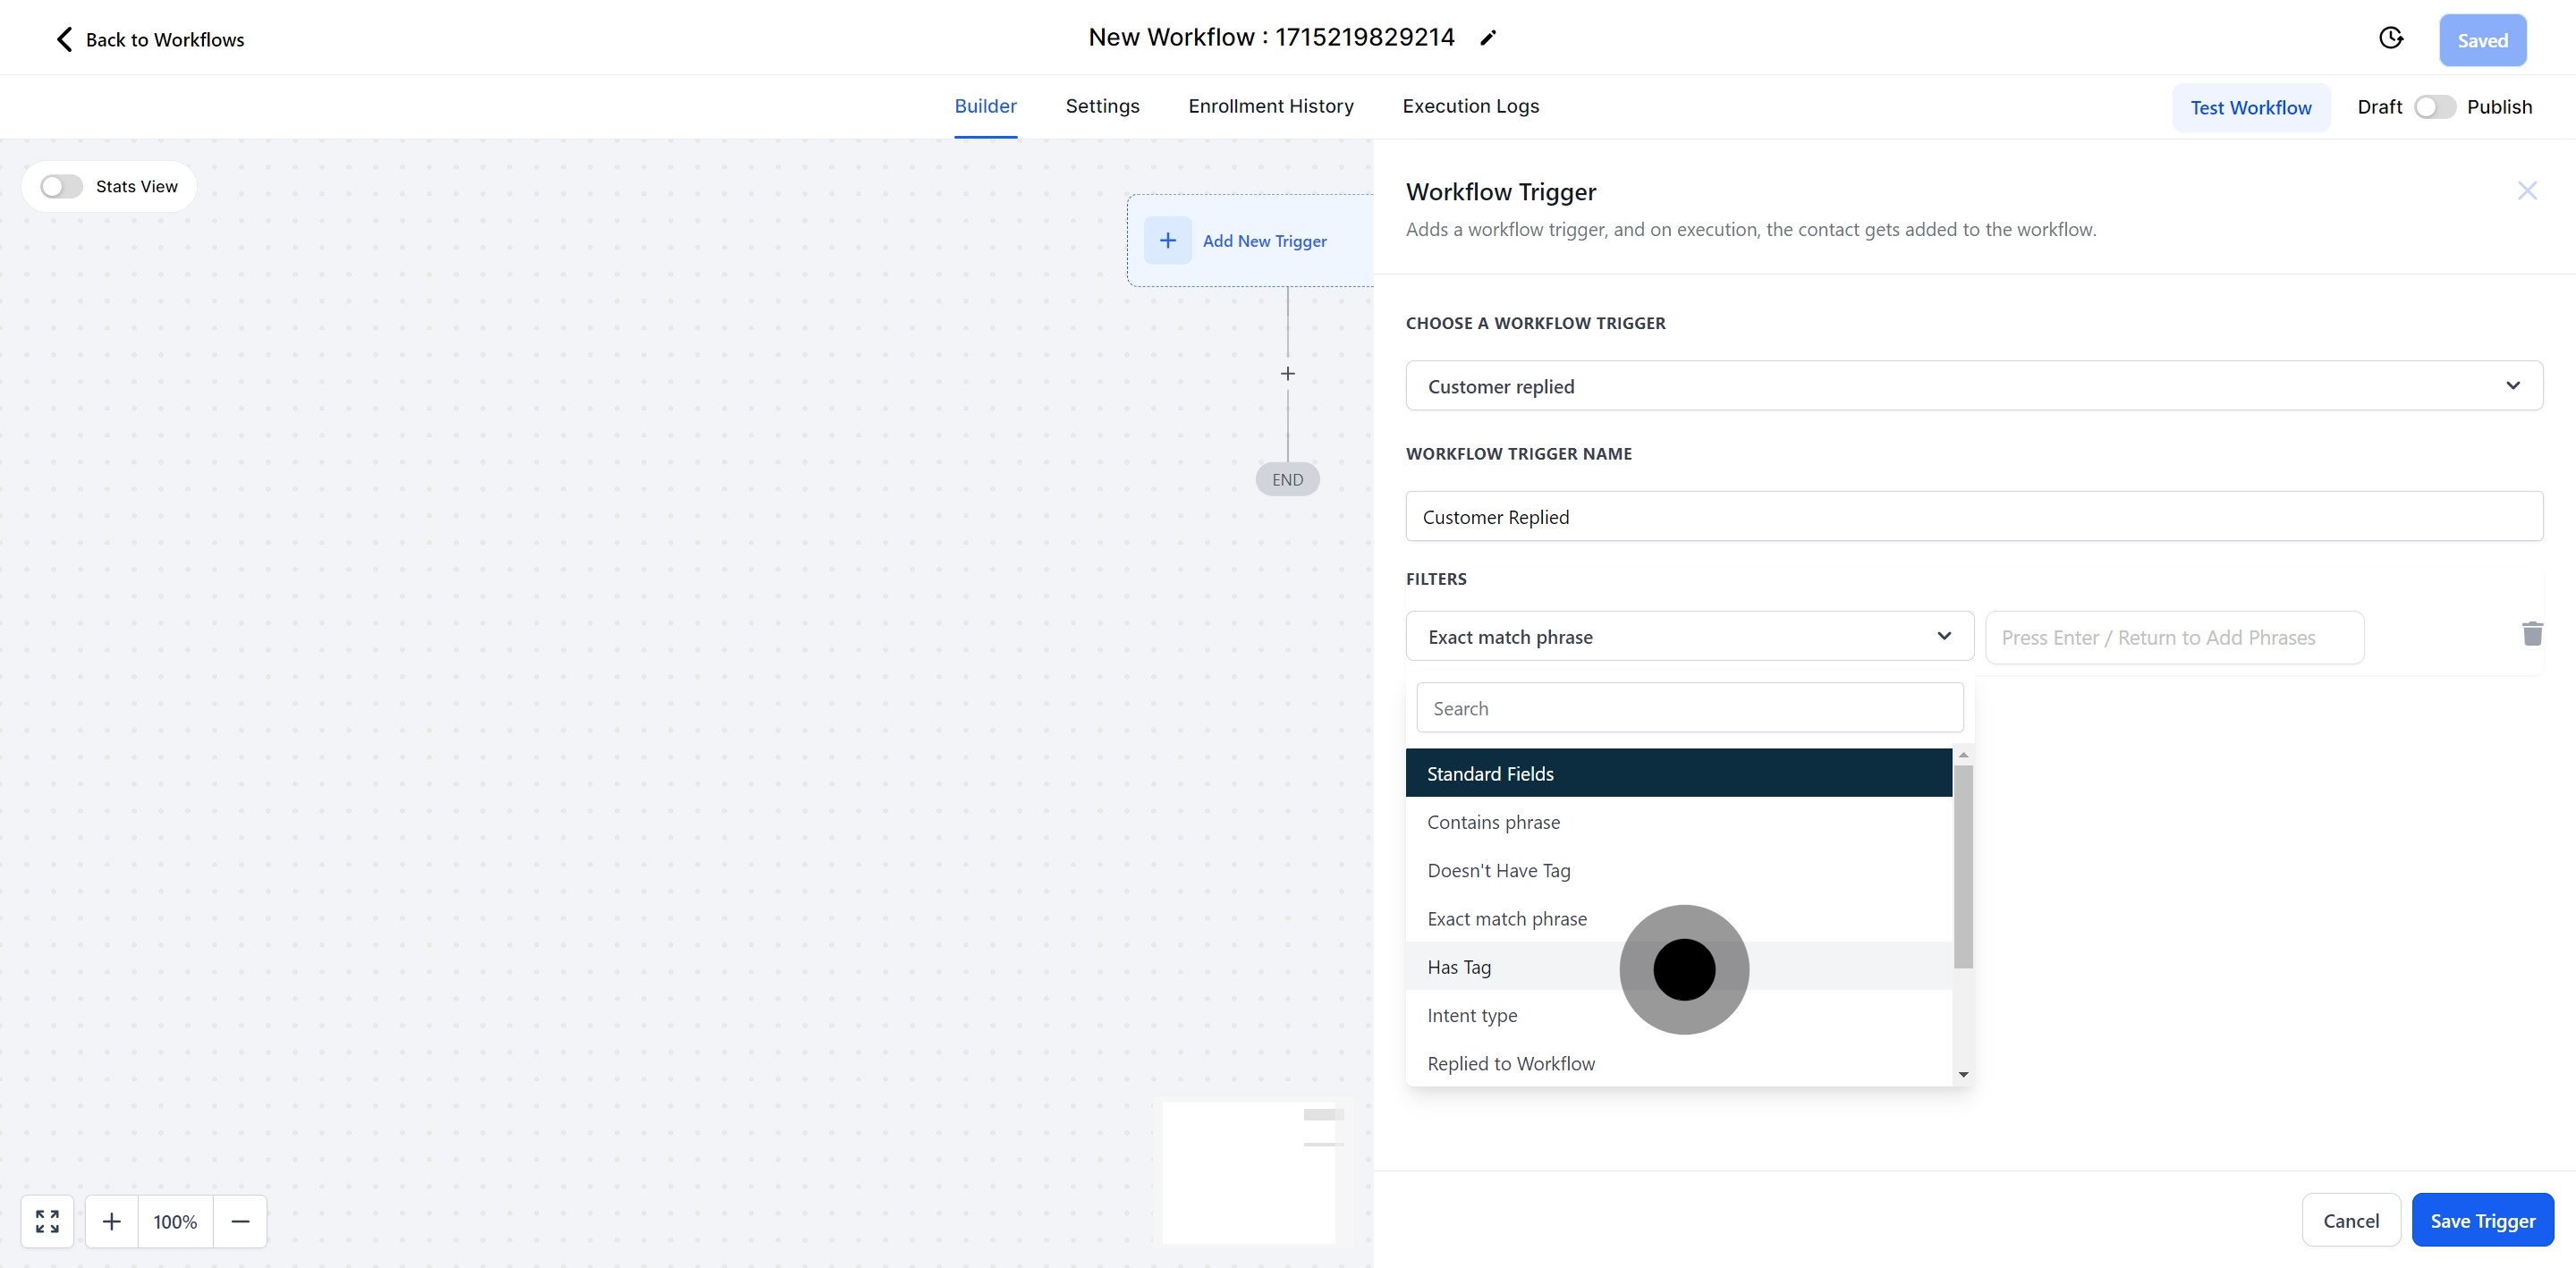
If you need this workflow to trigger only when a specific phrase is mentioned by your customer or lead, you can use the "phrase match" filter to specify that phrase. The workflow will activate whenever this phrase appears in a message, regardless of the other content in the message.
For example:
If you use the phrase "Yes please," this workflow will start whenever you ask a customer or lead if they are interested in a particular discount and they respond with "Yes please."
When you select this filter, the workflow will only be triggered by a customer response if their contact information does not include the tag "30% discount voucher."
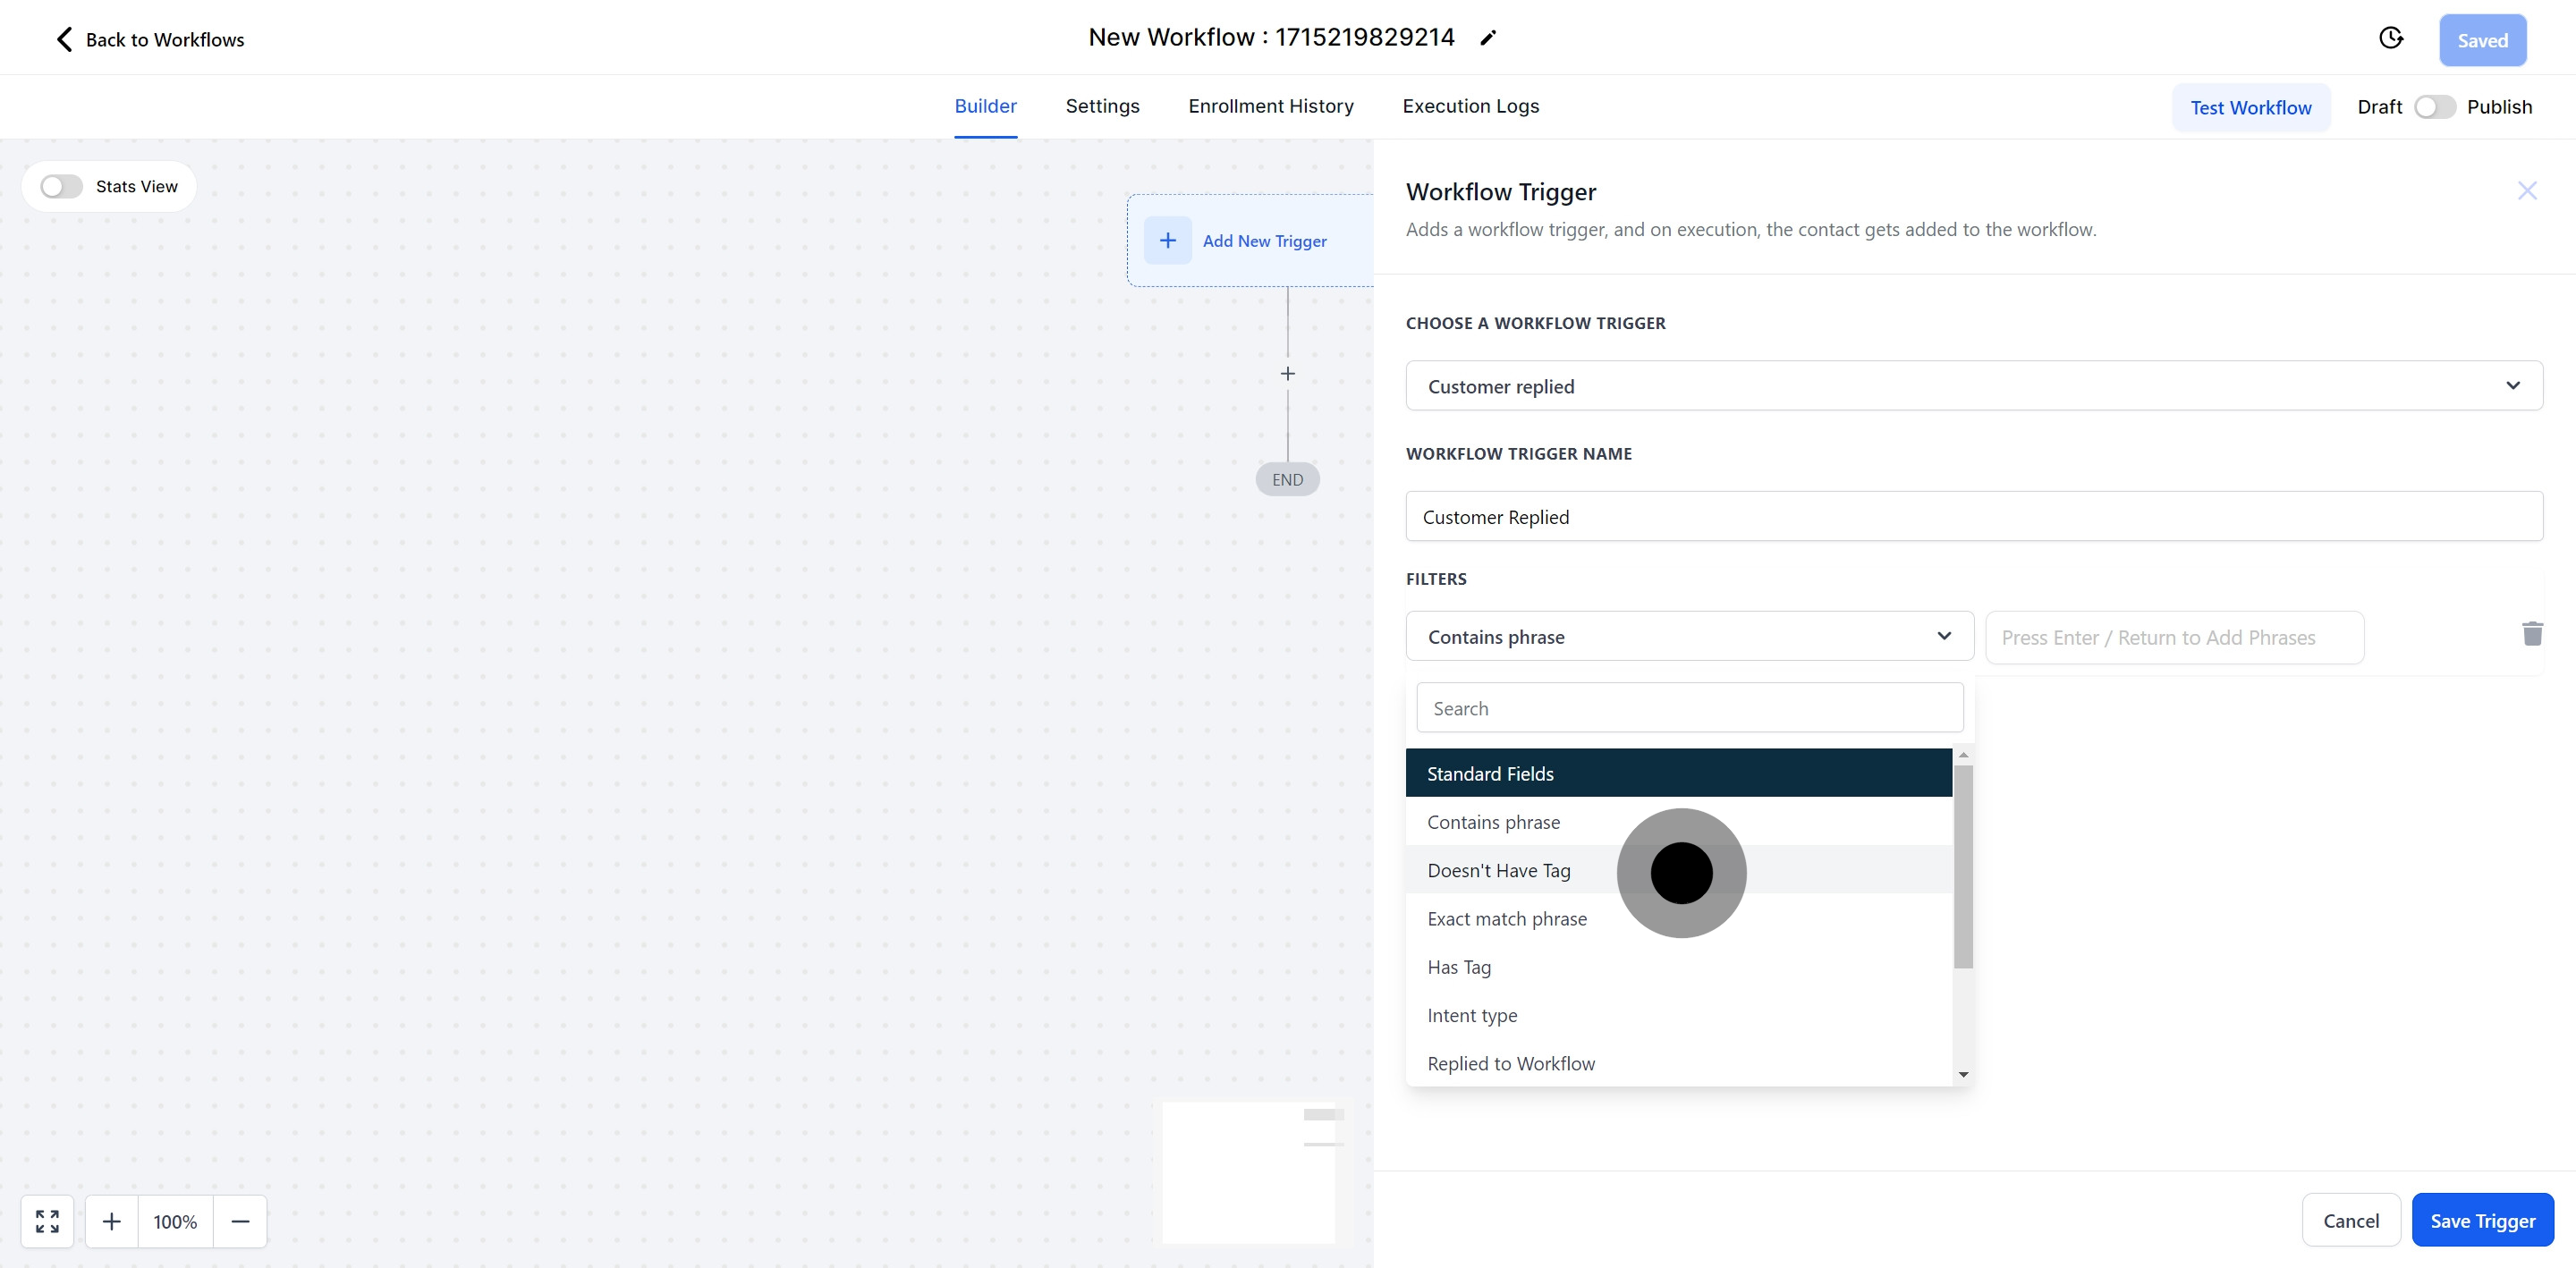
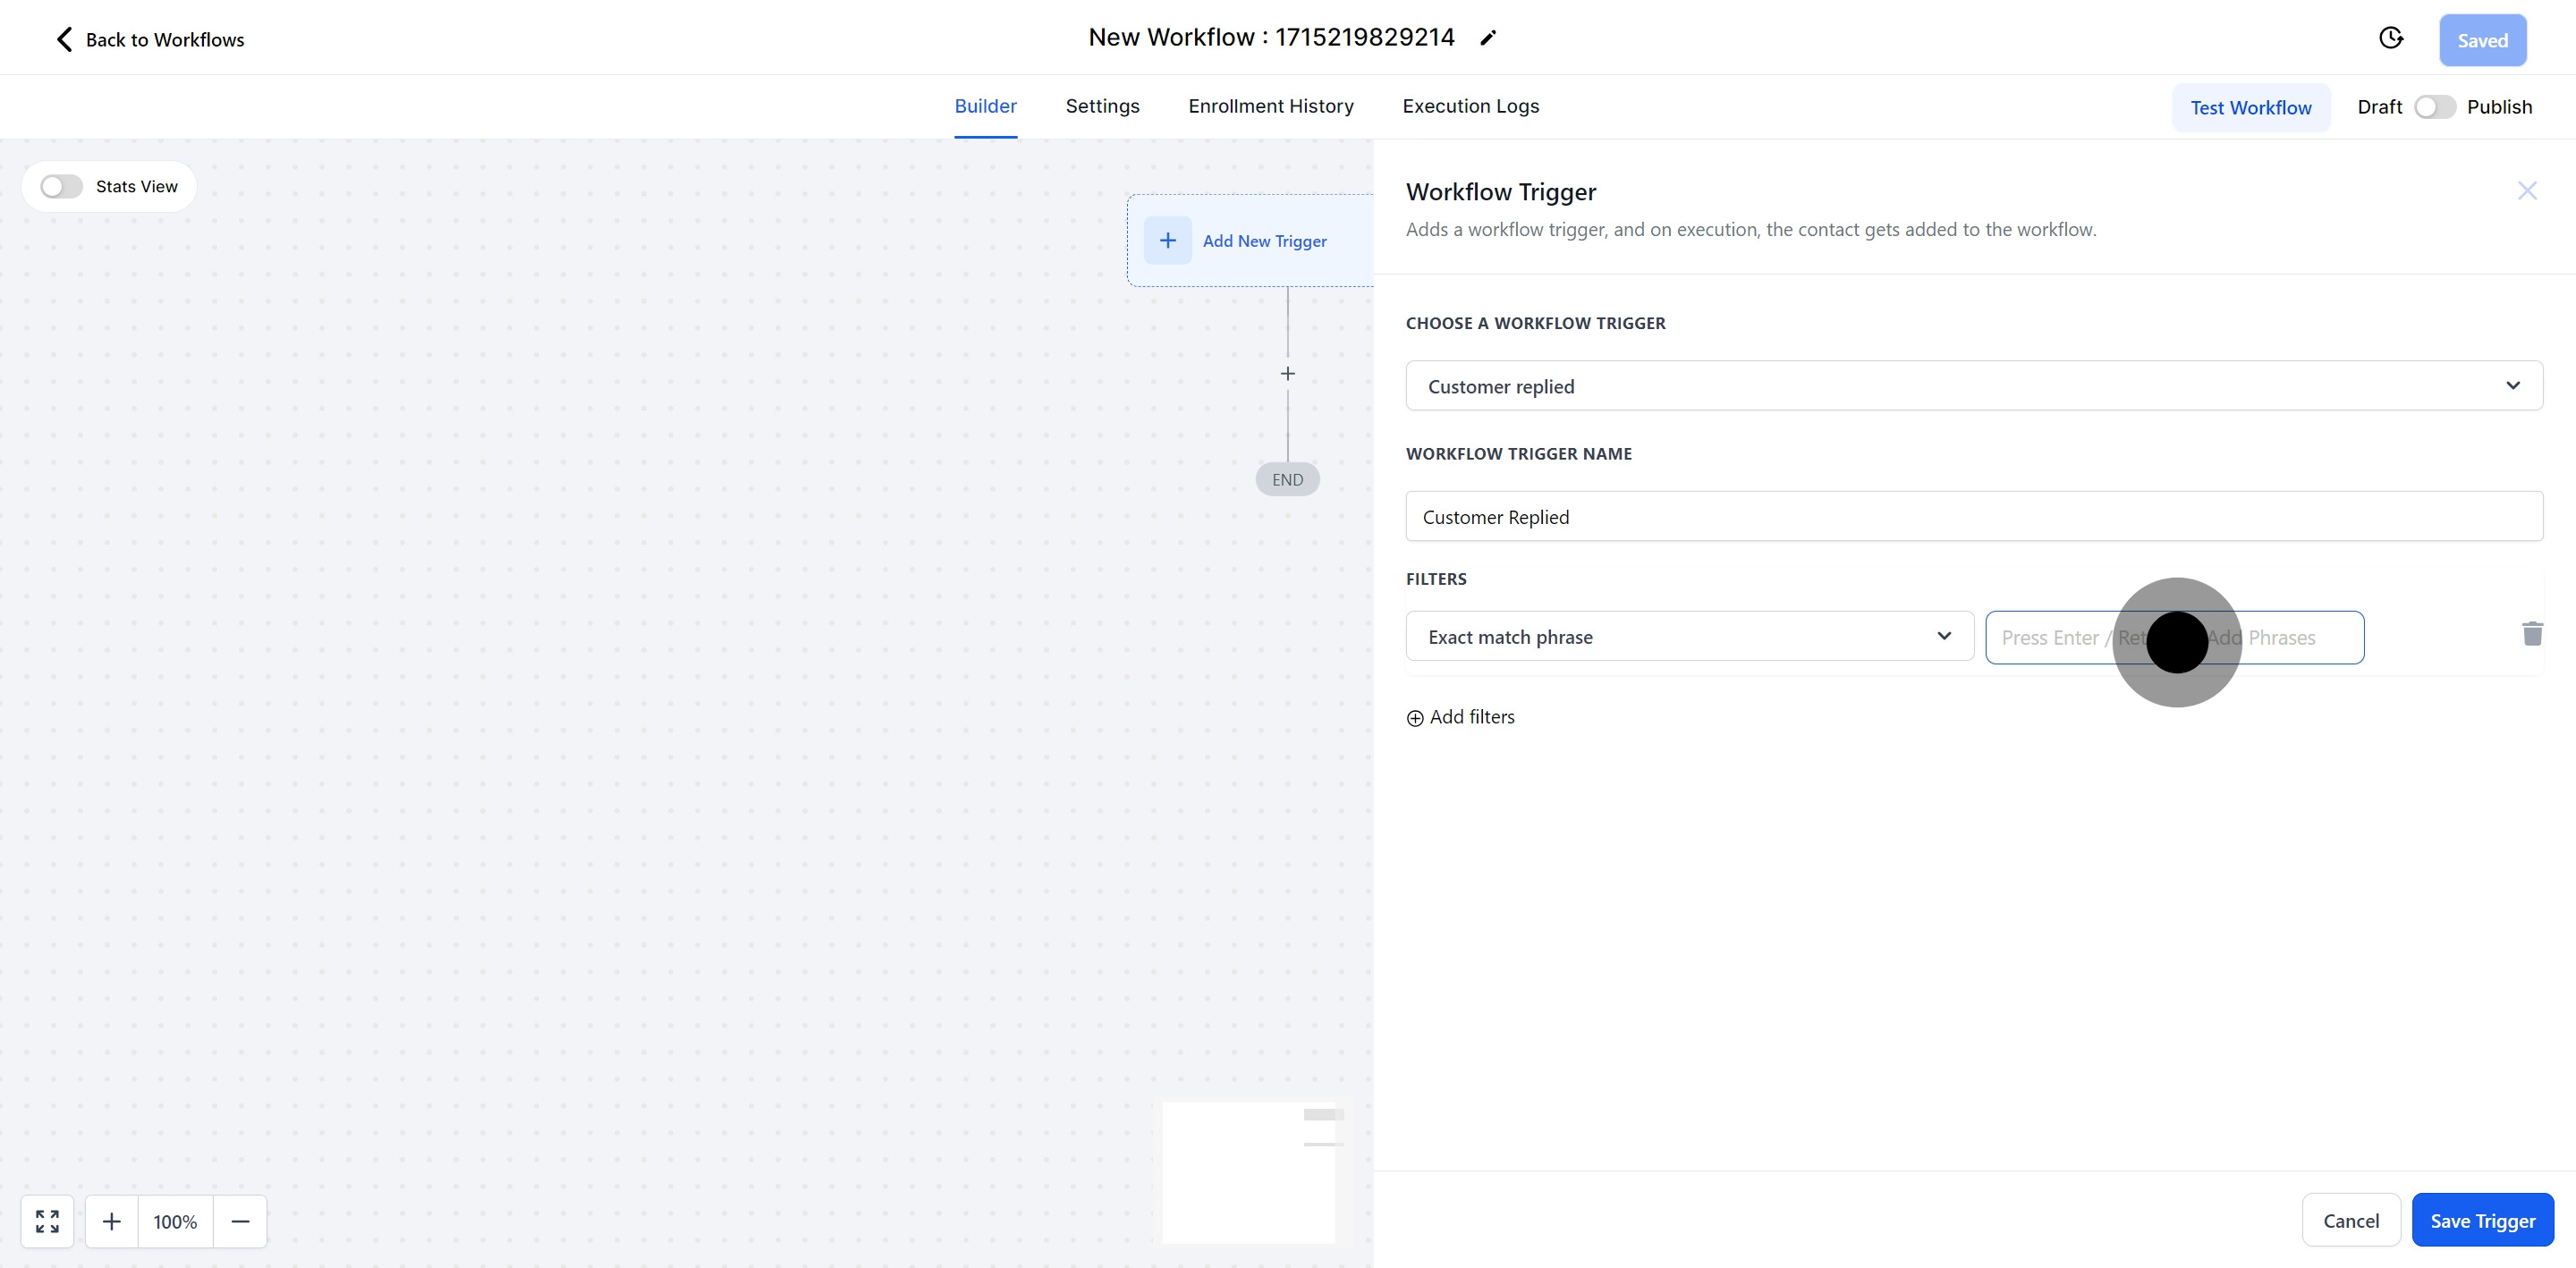
Choosing the "Exact Match phrase" option allows you to trigger the workflow only when a specific word or phrase is used. For example, if you set the Exact Match Phrase to "Yes", the workflow will only initiate if the contact uses the exact term "Yes" and will not trigger if any other word is used.
Choose a tag from the CRM. The workflow will then be triggered only when this specific tag is assigned to a contact's profile.

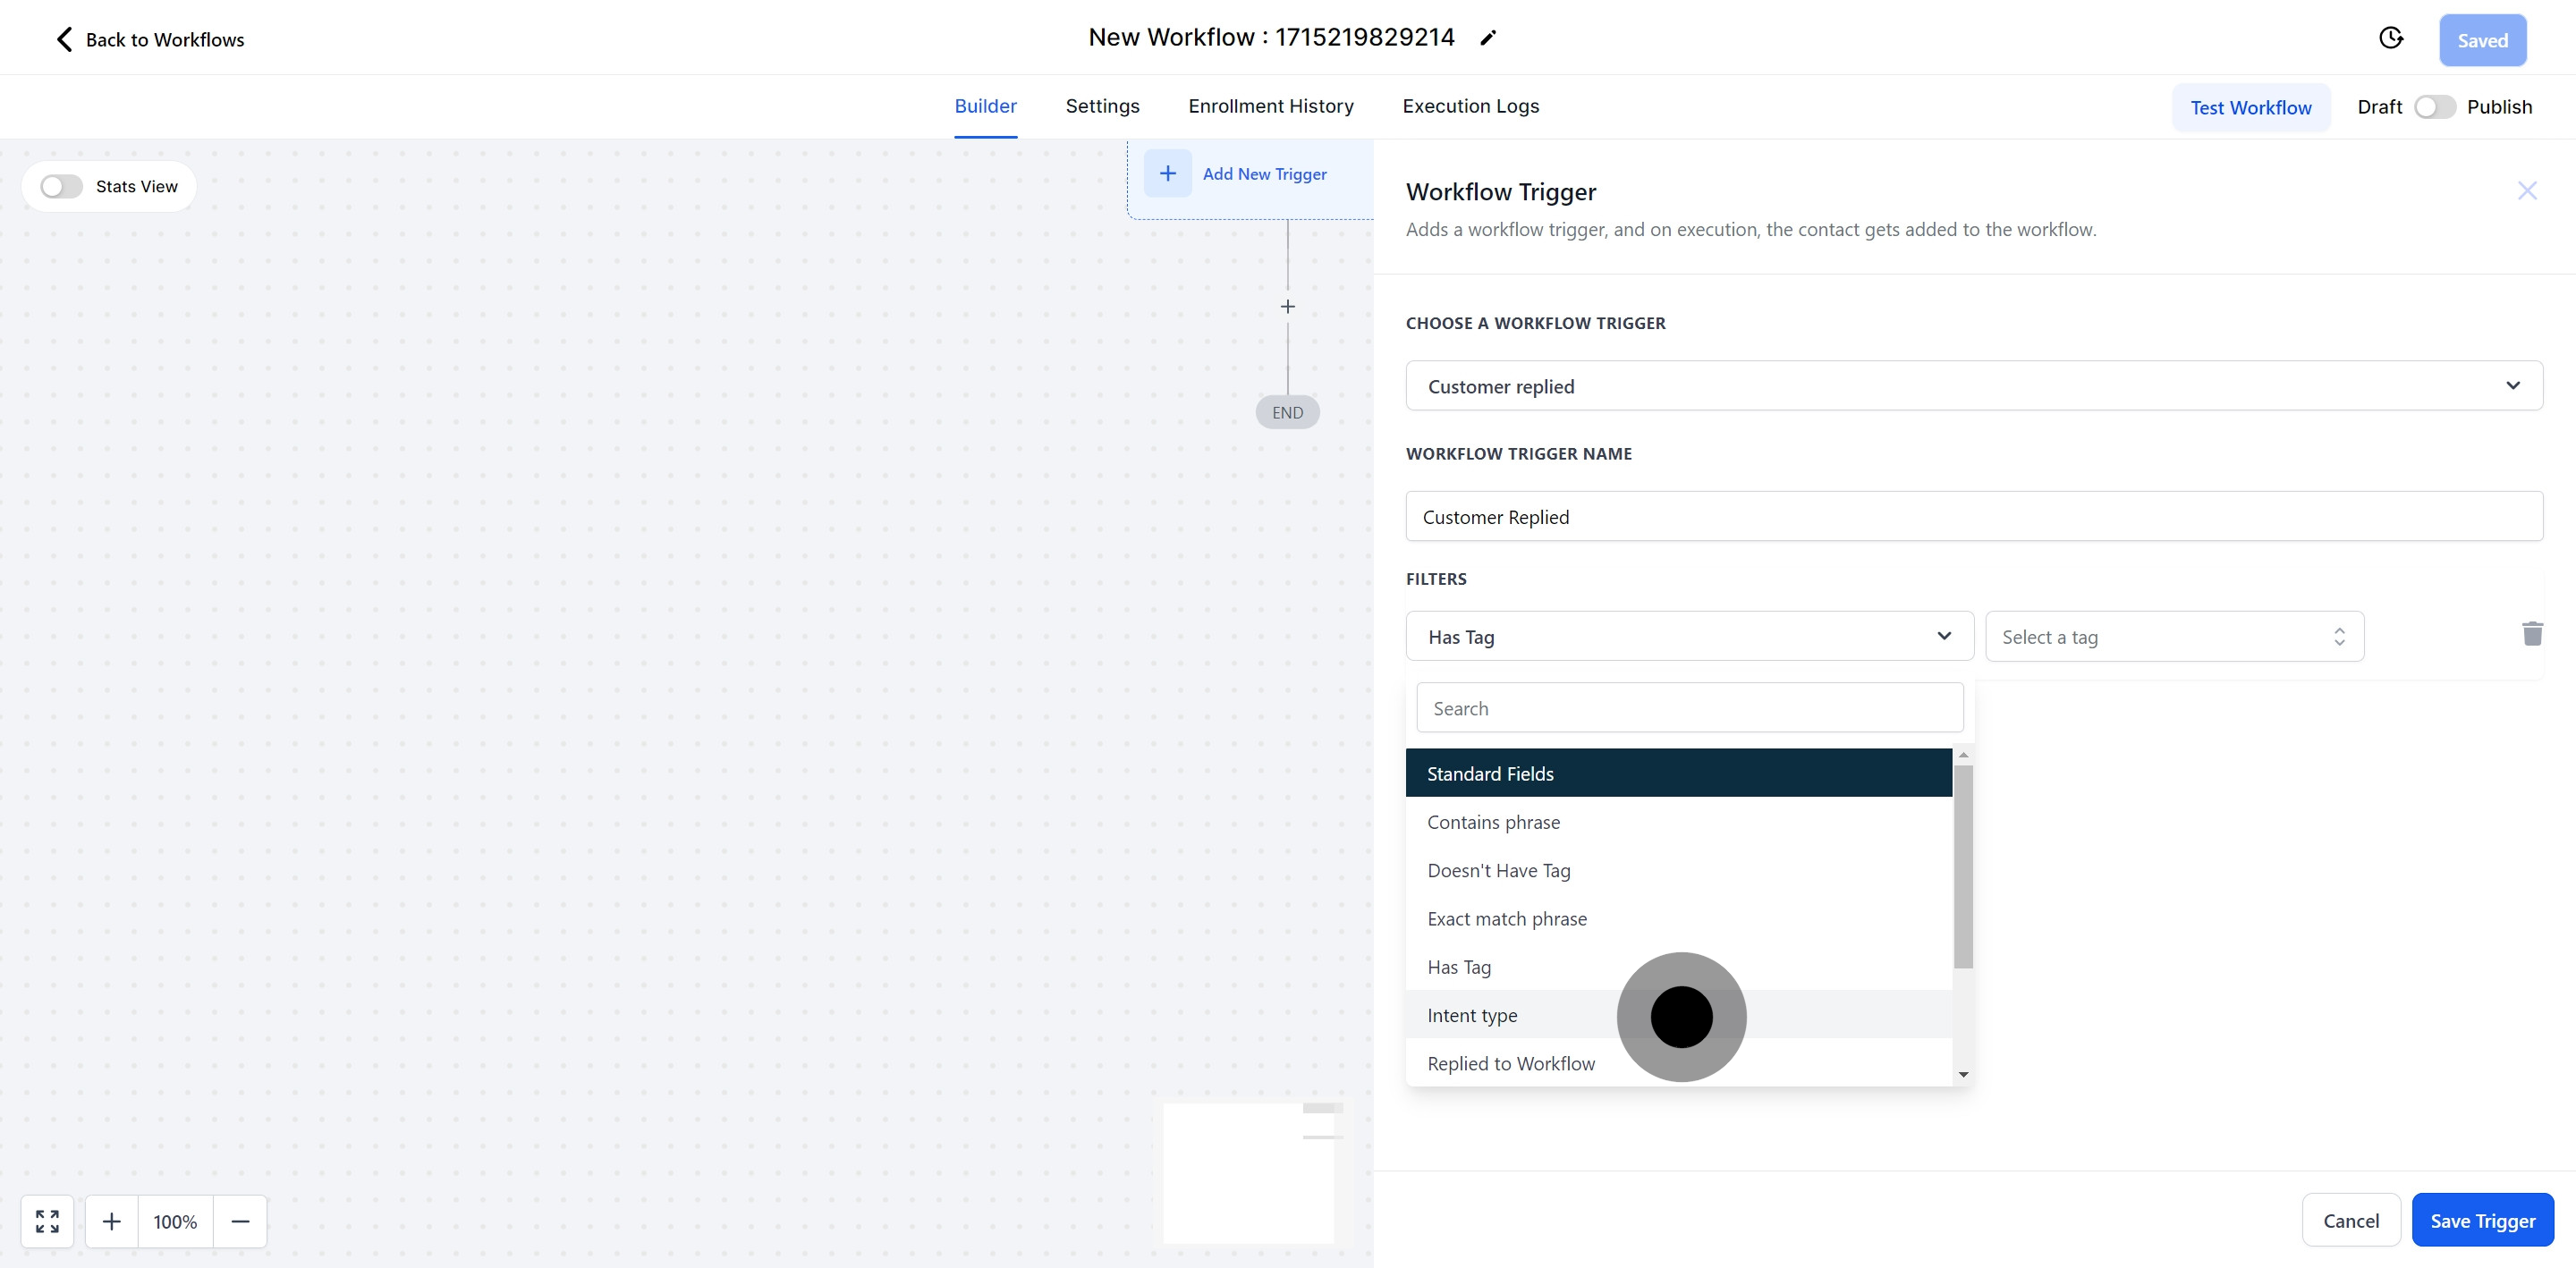
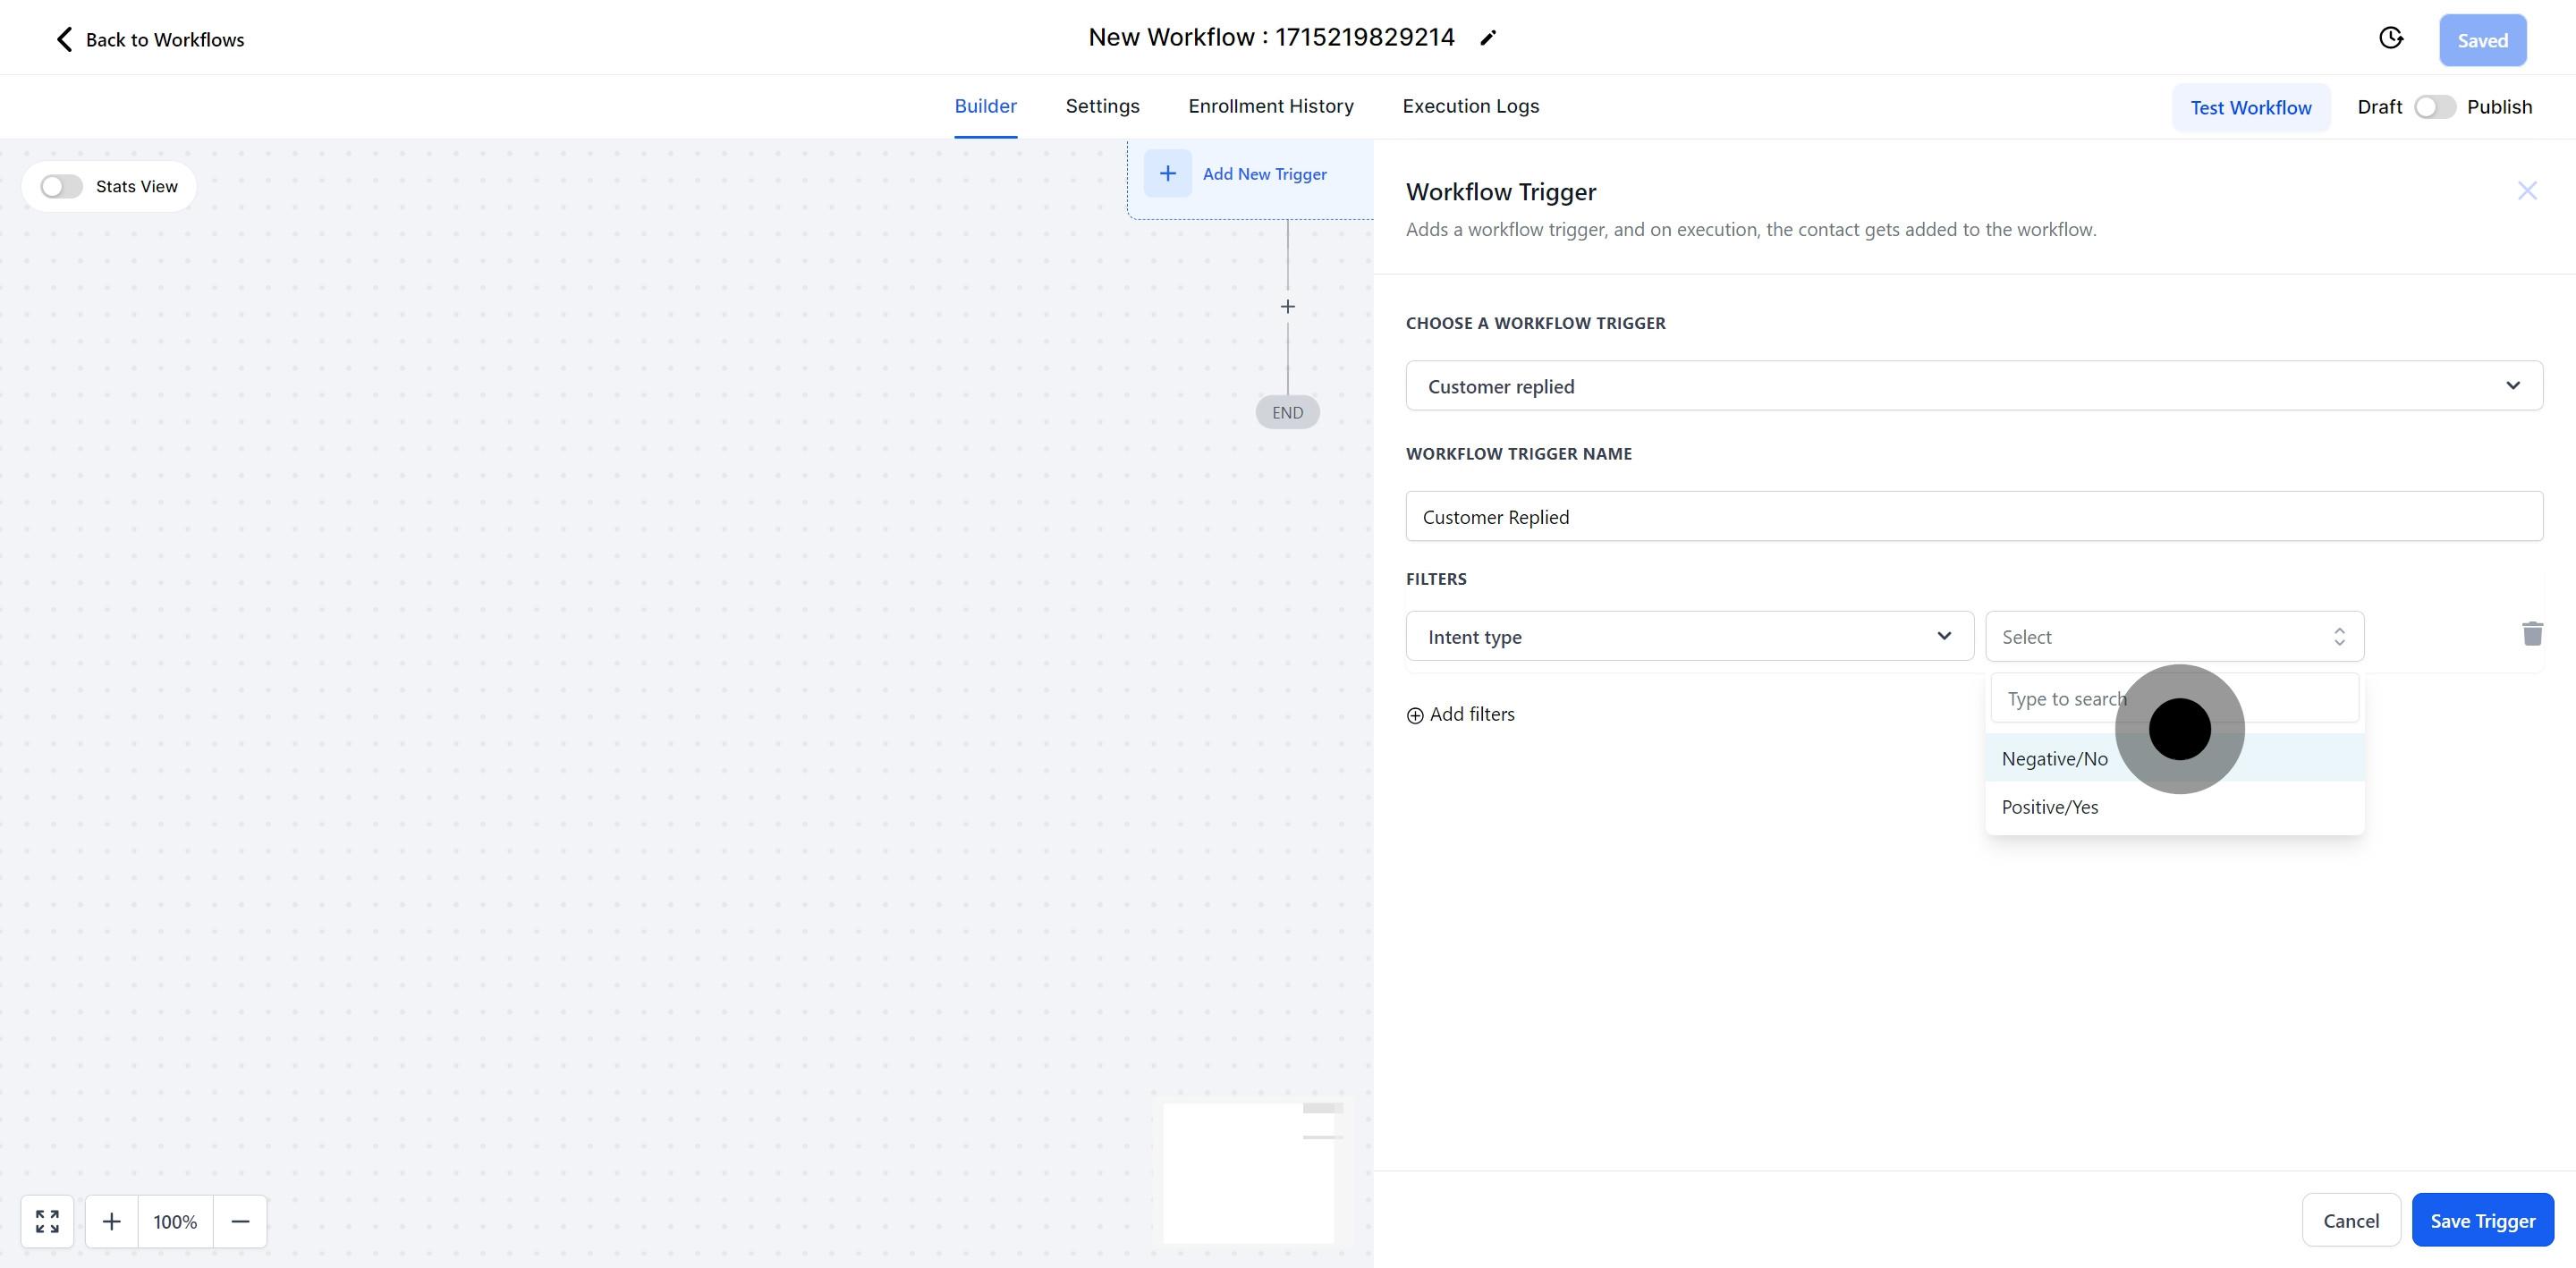
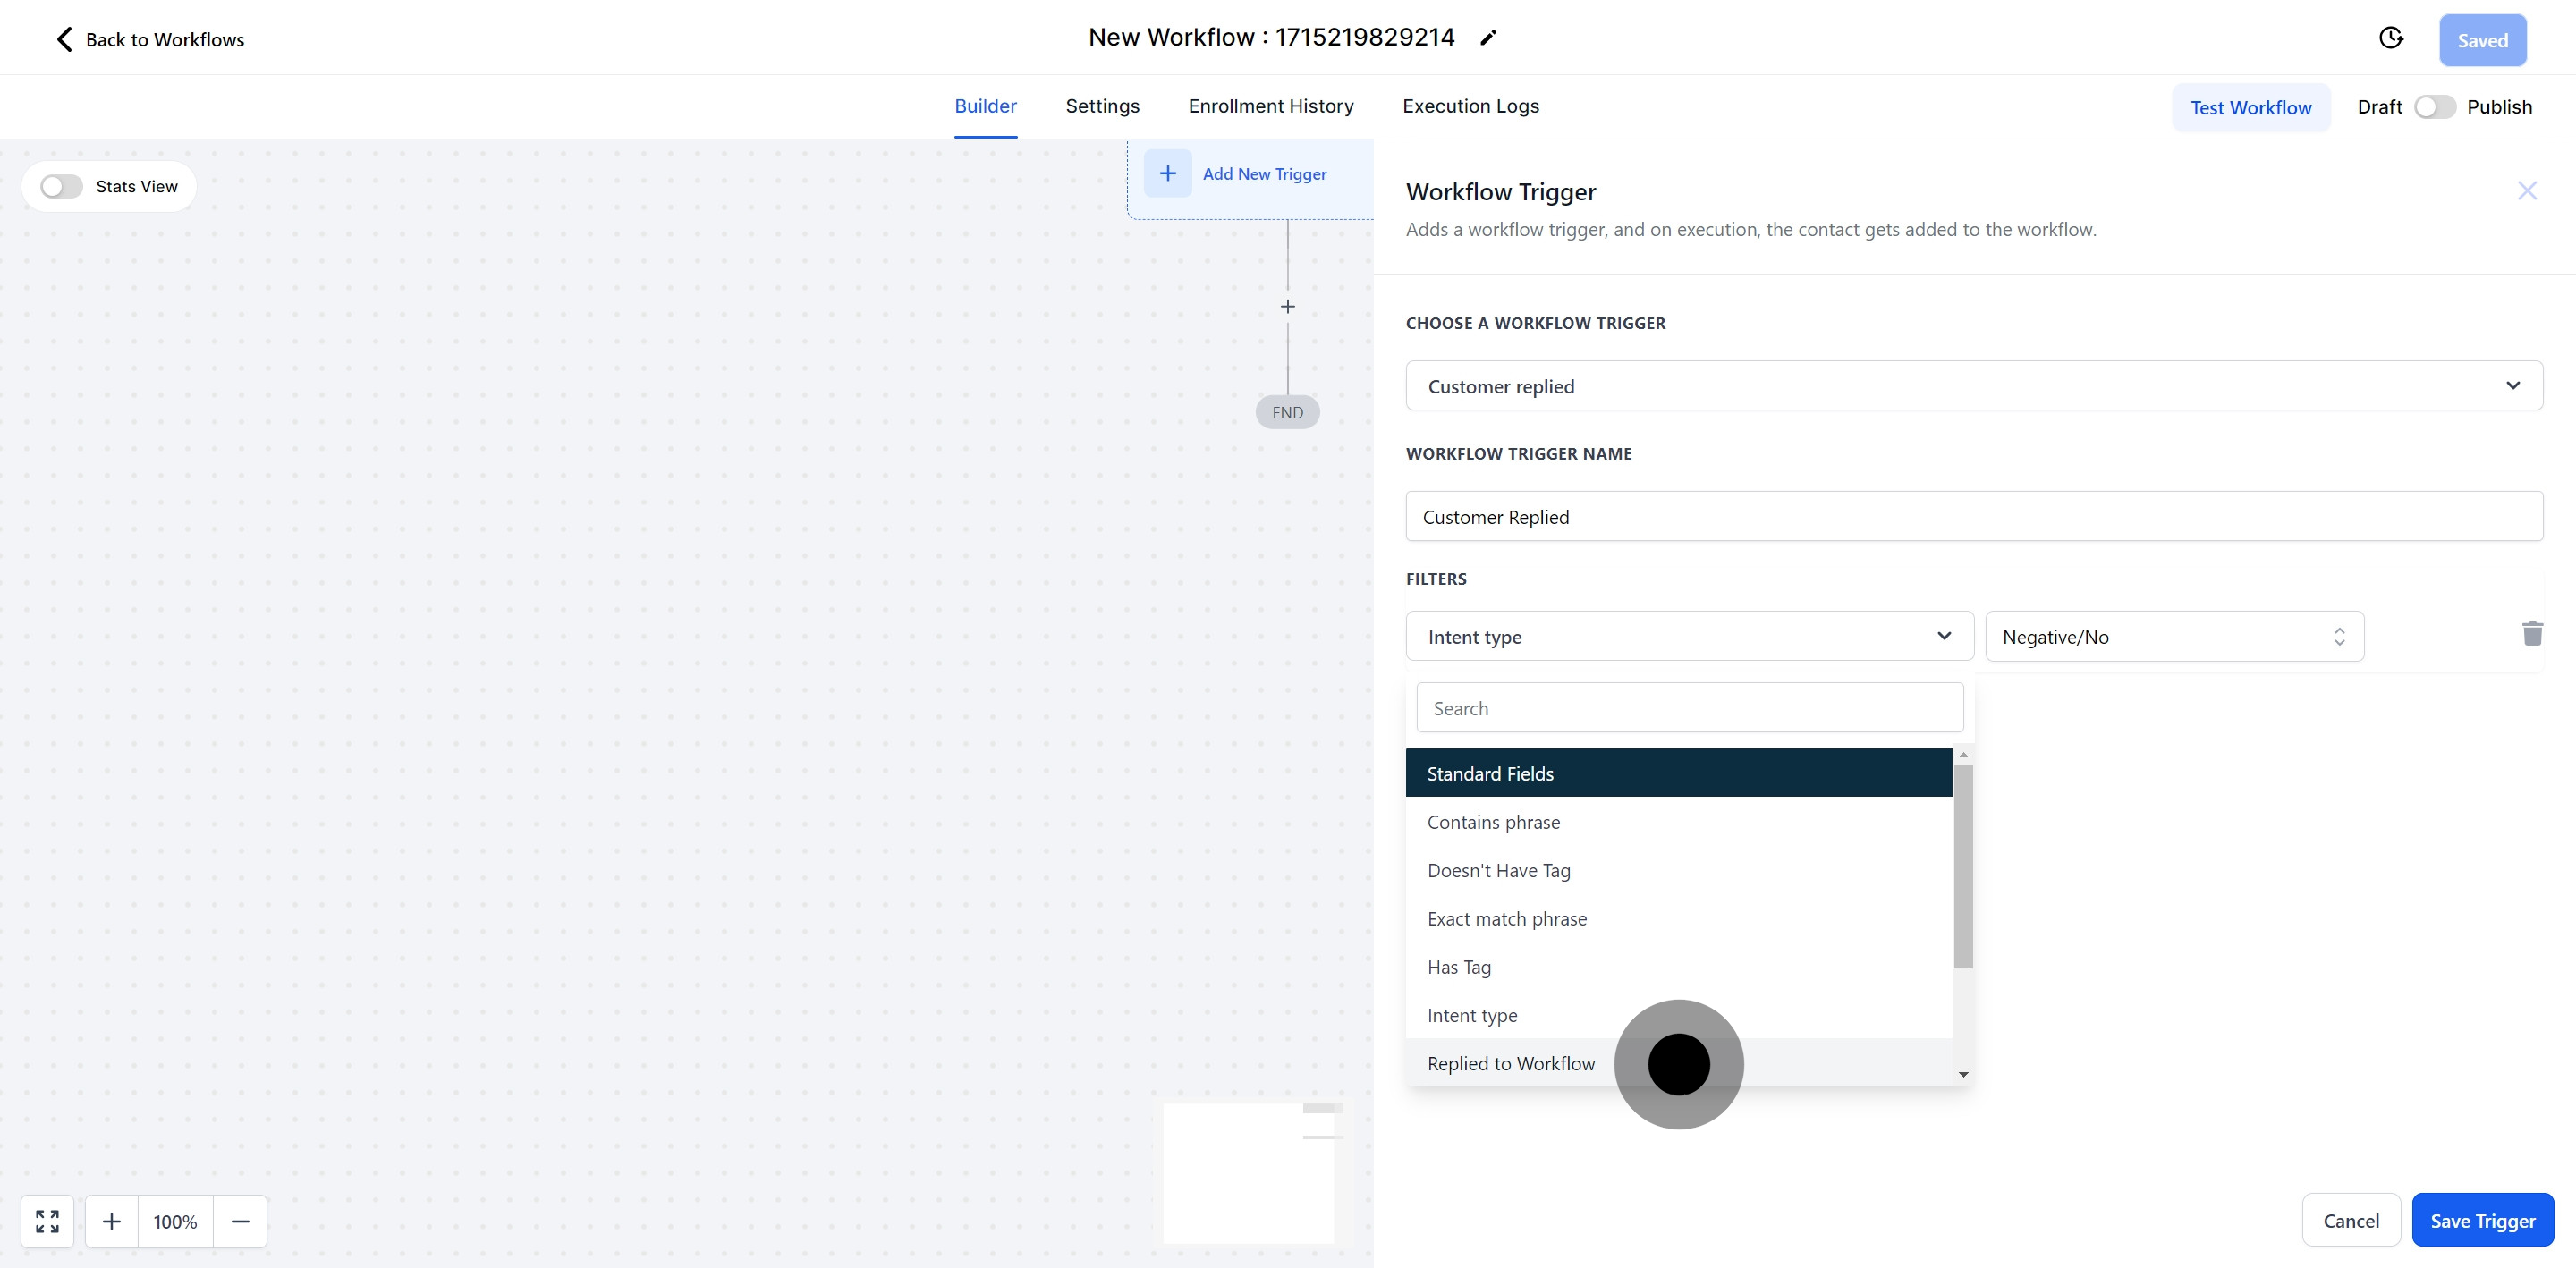
For the "Intent Type" filter, the system analyzes contact responses to categorize them as positive or negative, facilitating appropriate automated responses. This feature uses Google Dialog Flow technology to interpret natural human communication effectively. Responses are classified based on certain keywords judged as positive or negative.
For example, if a contact replies to an appointment invitation with "Sure but I have a meeting in an hour's time so make it quick," the system recognizes the word "Sure" and interprets the response as a 'Yes'.
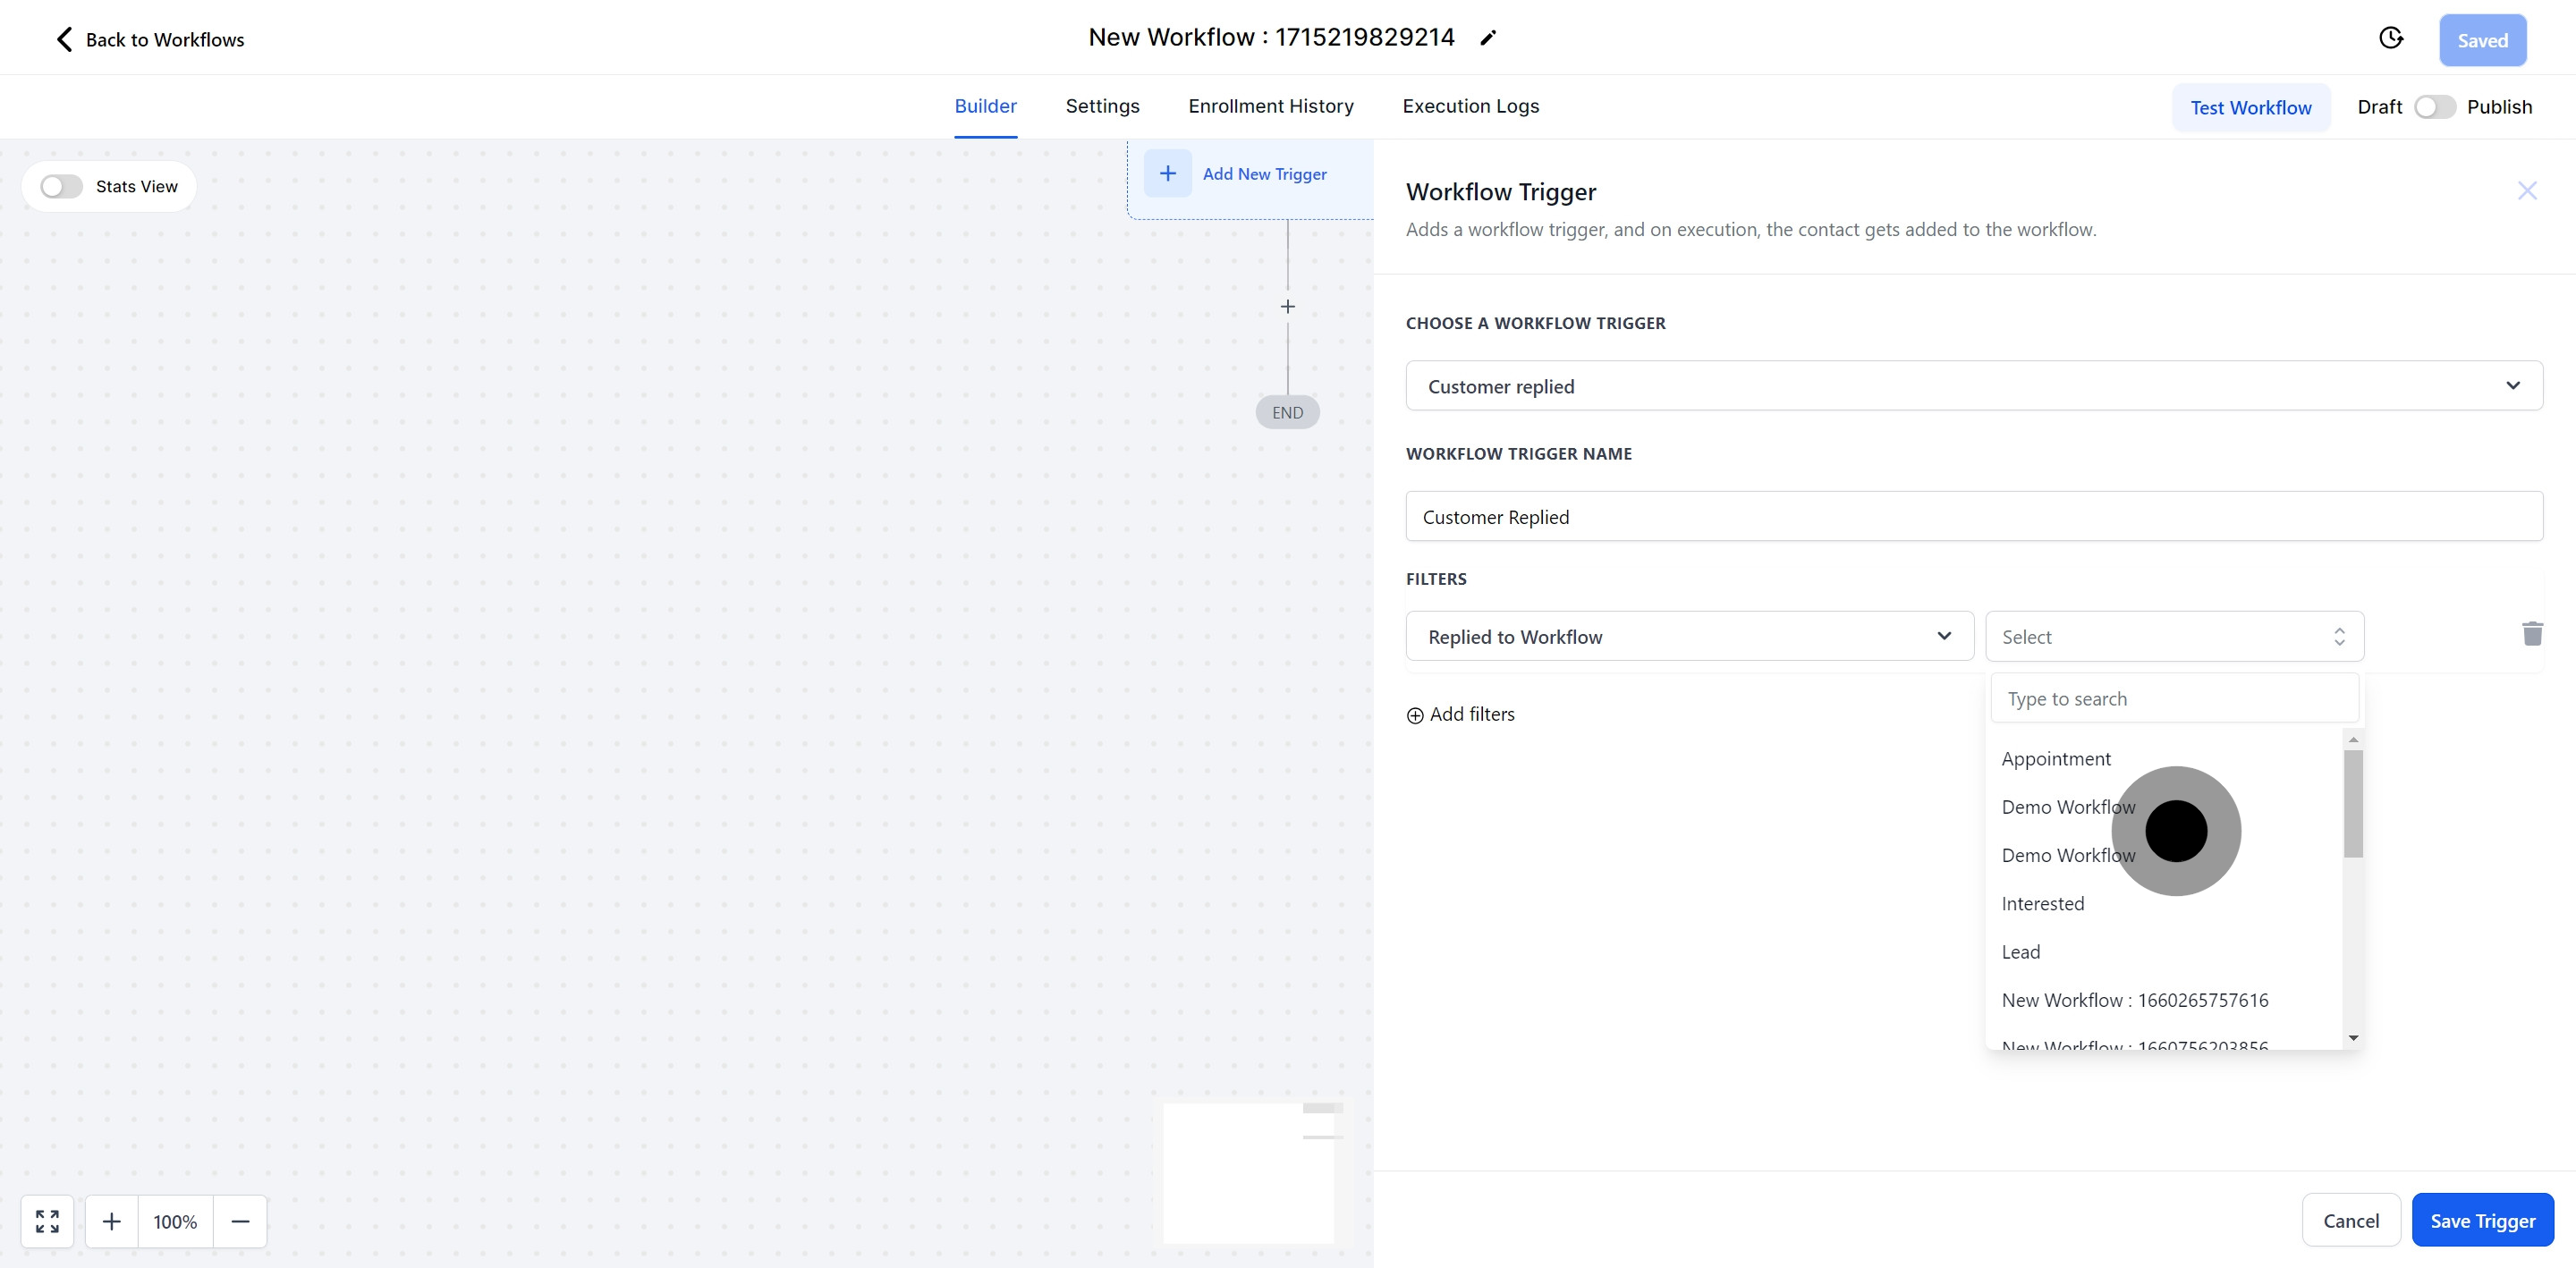
Using this filter, you can designate a specific workflow to monitor for a reply.
For example, after sending a message to a contact and awaiting their response, you can set this workflow to activate based on their reply.
The "Reply channel" triggers a workflow exclusively in response to messages from a specific channel. For example, if a customer replies to your SMS campaign, this workflow will immediately activate.