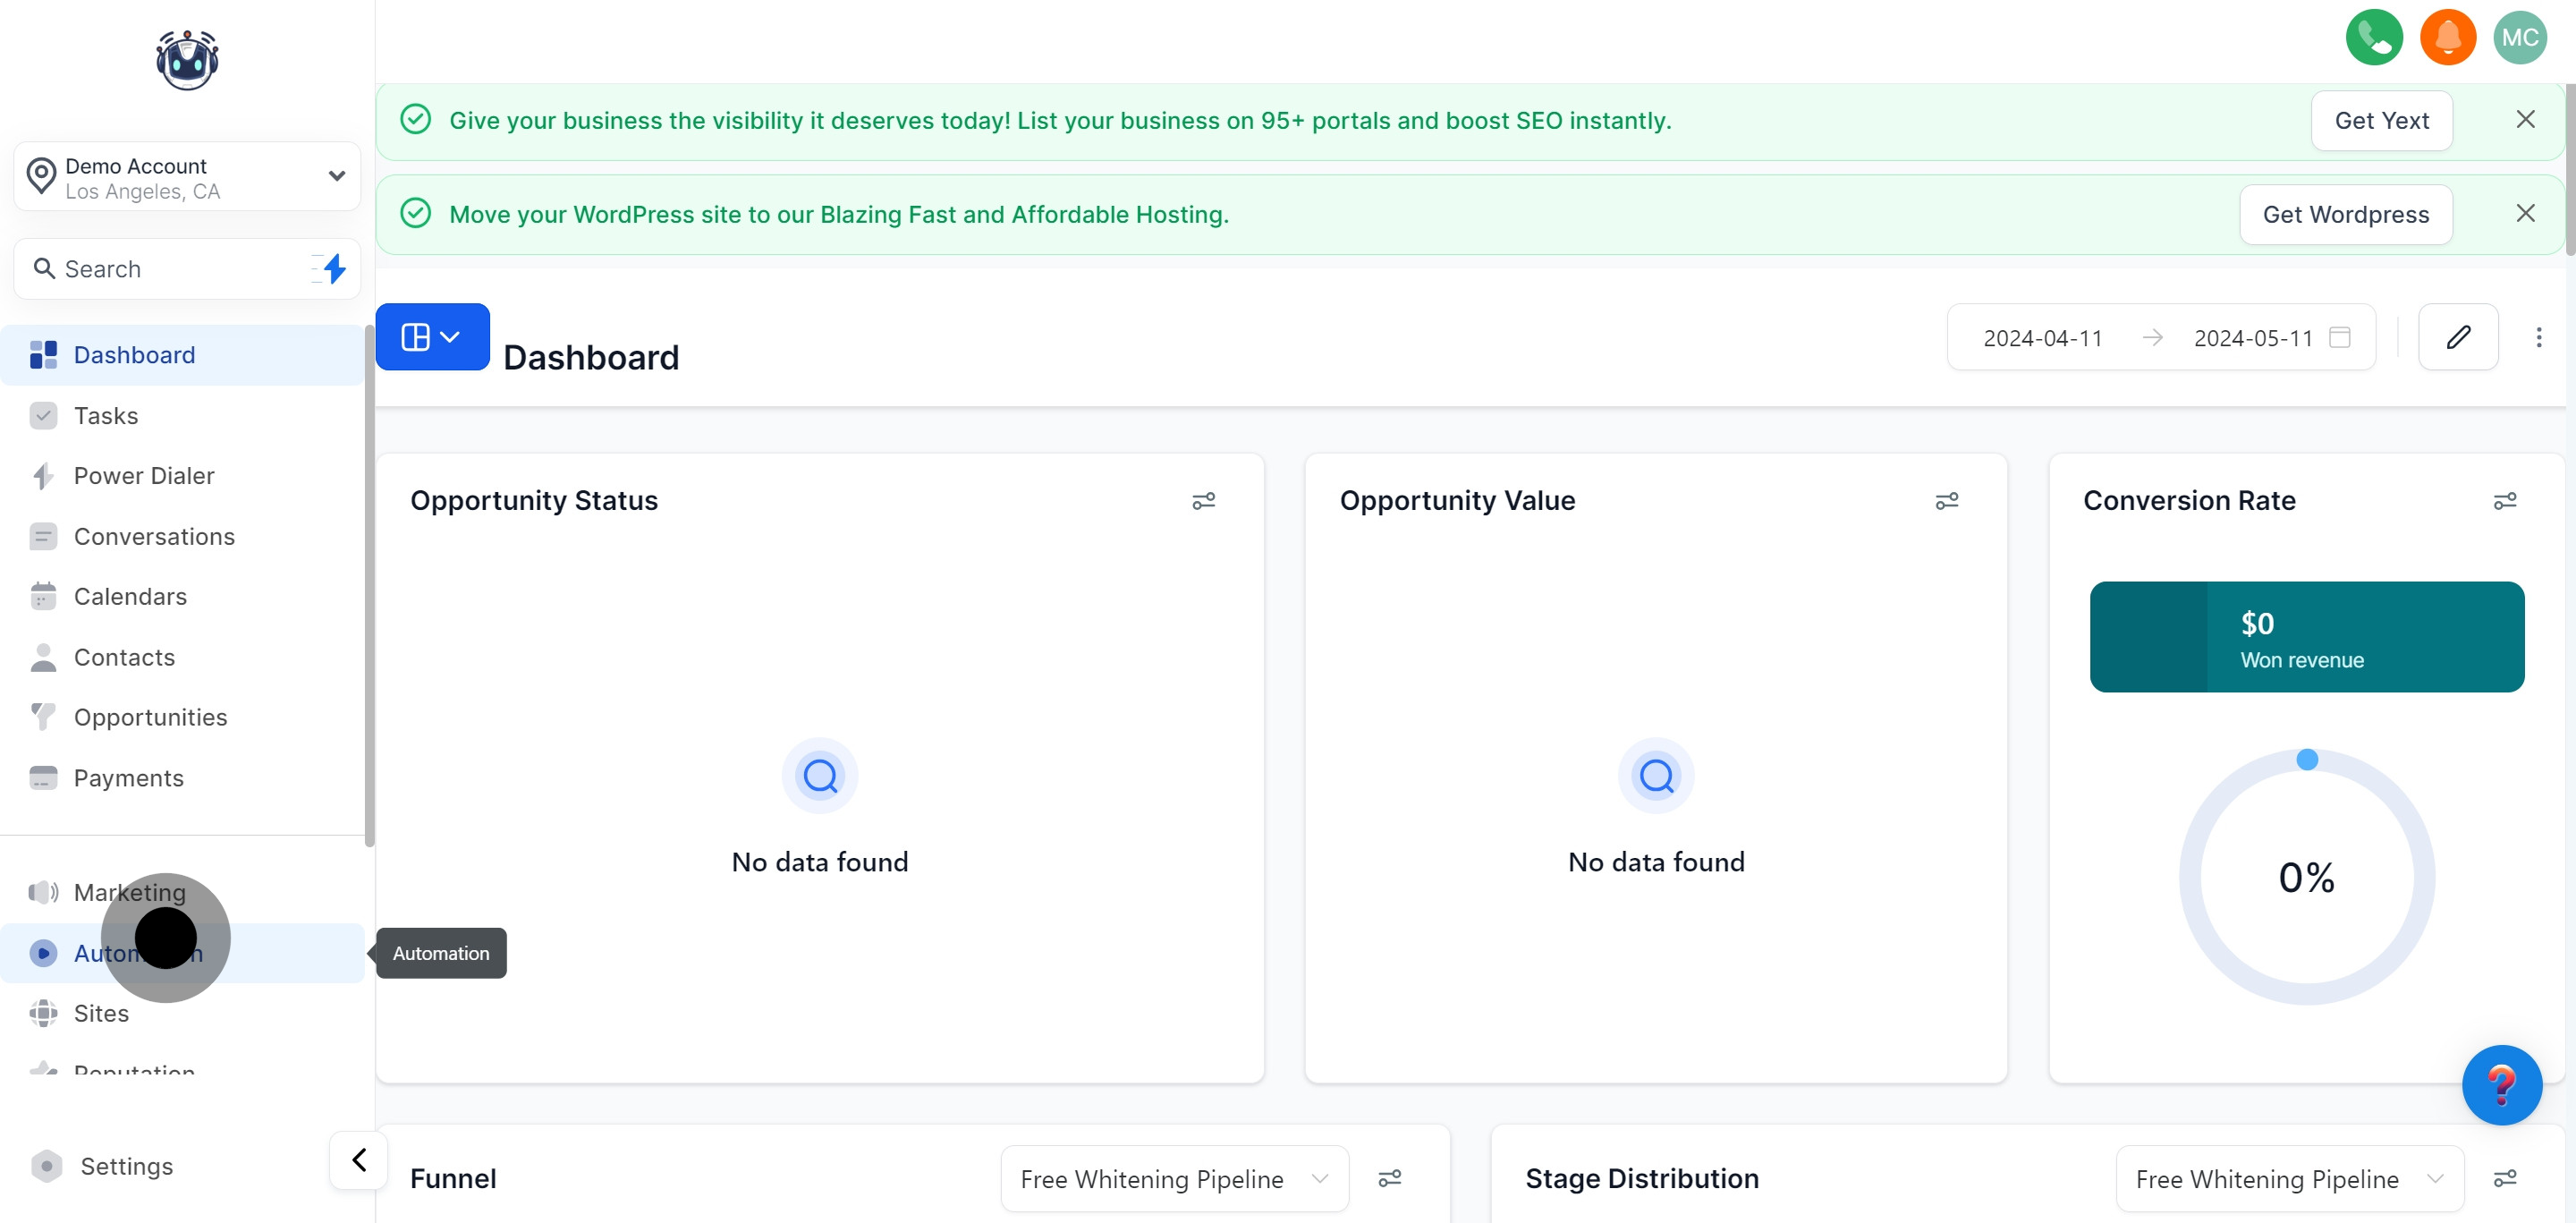
1. Let's start by navigating to the Automation tab.
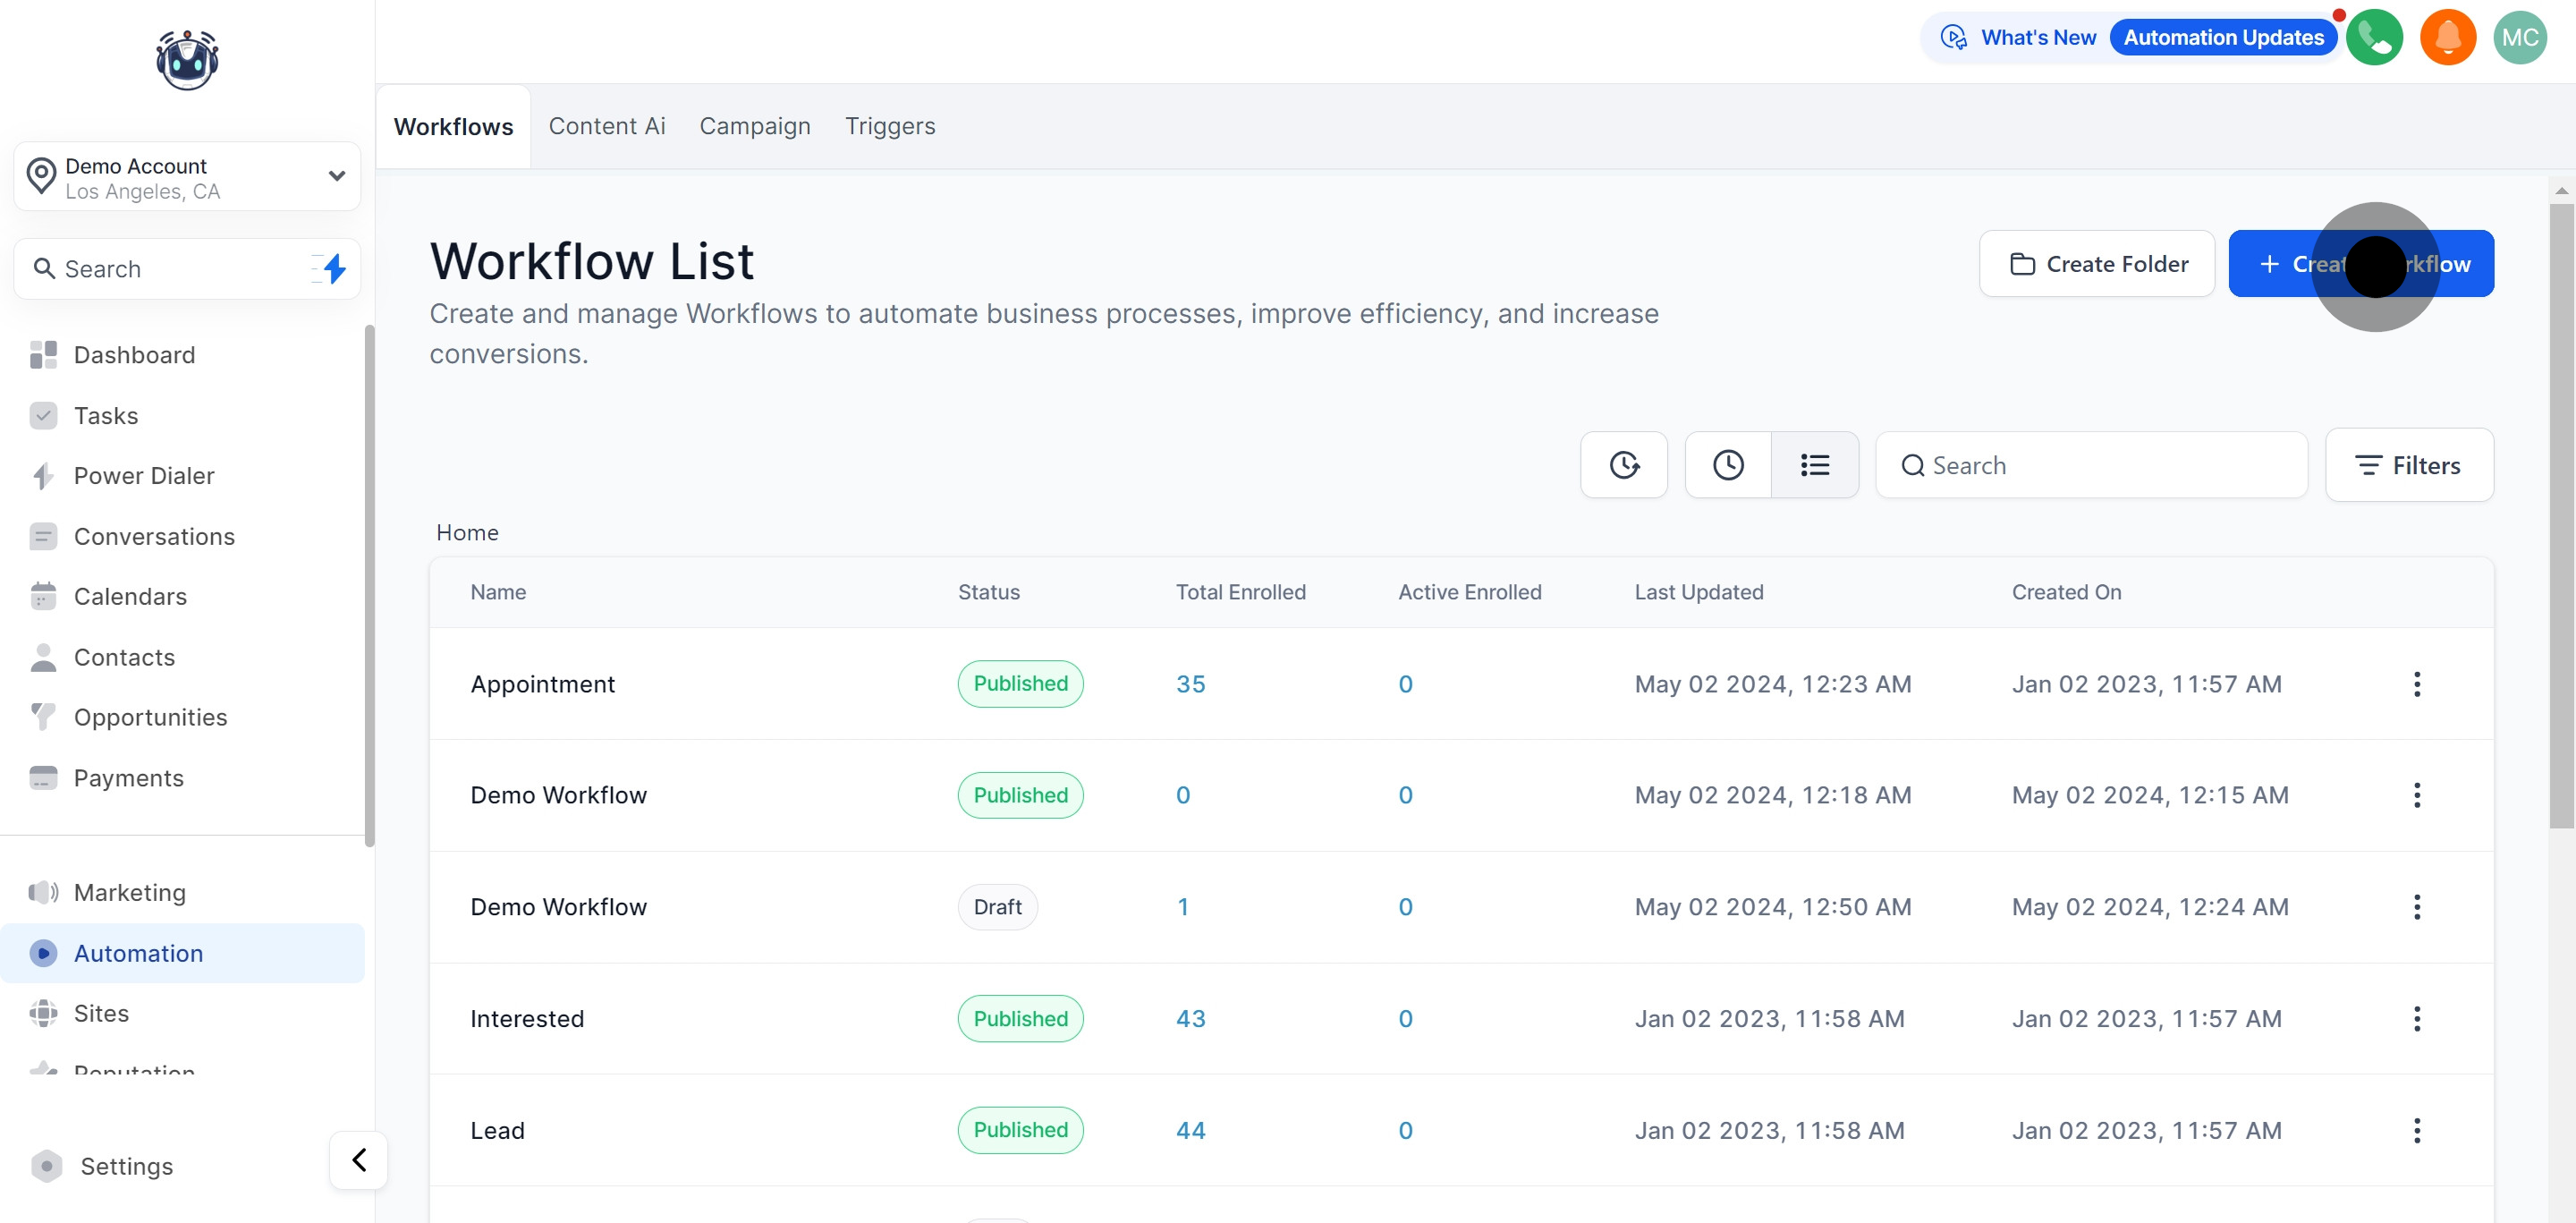
2. Next, initiate the process by clicking on the 'Create Workflow' button.
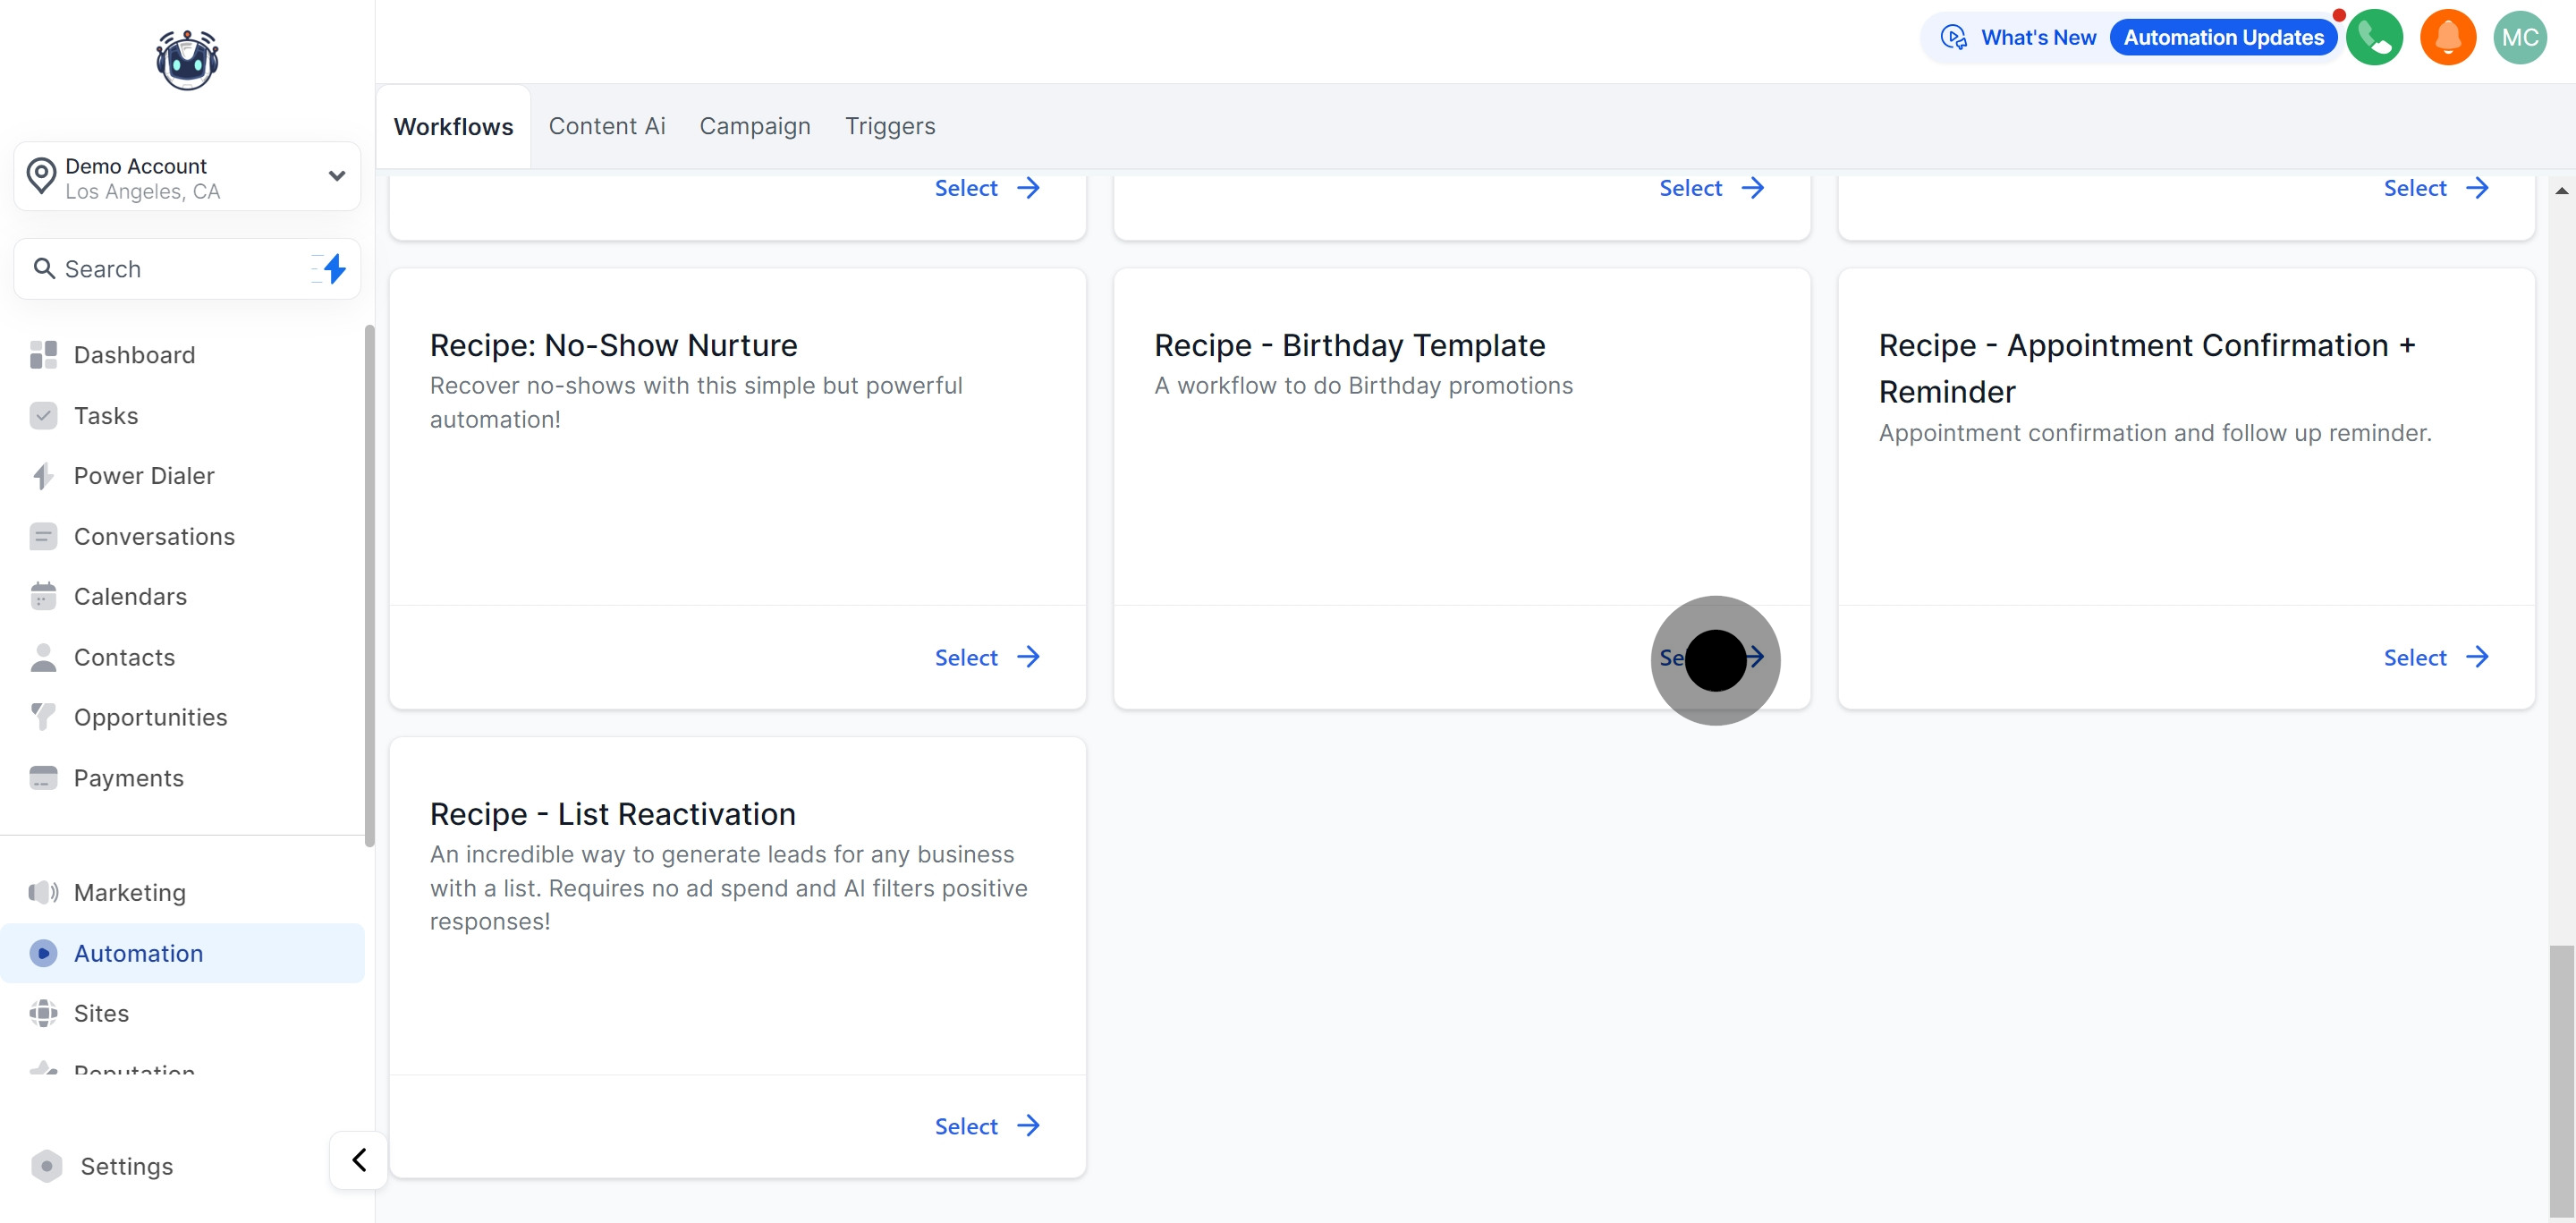
3. Look for the 'Select a Recipe' option and click it.
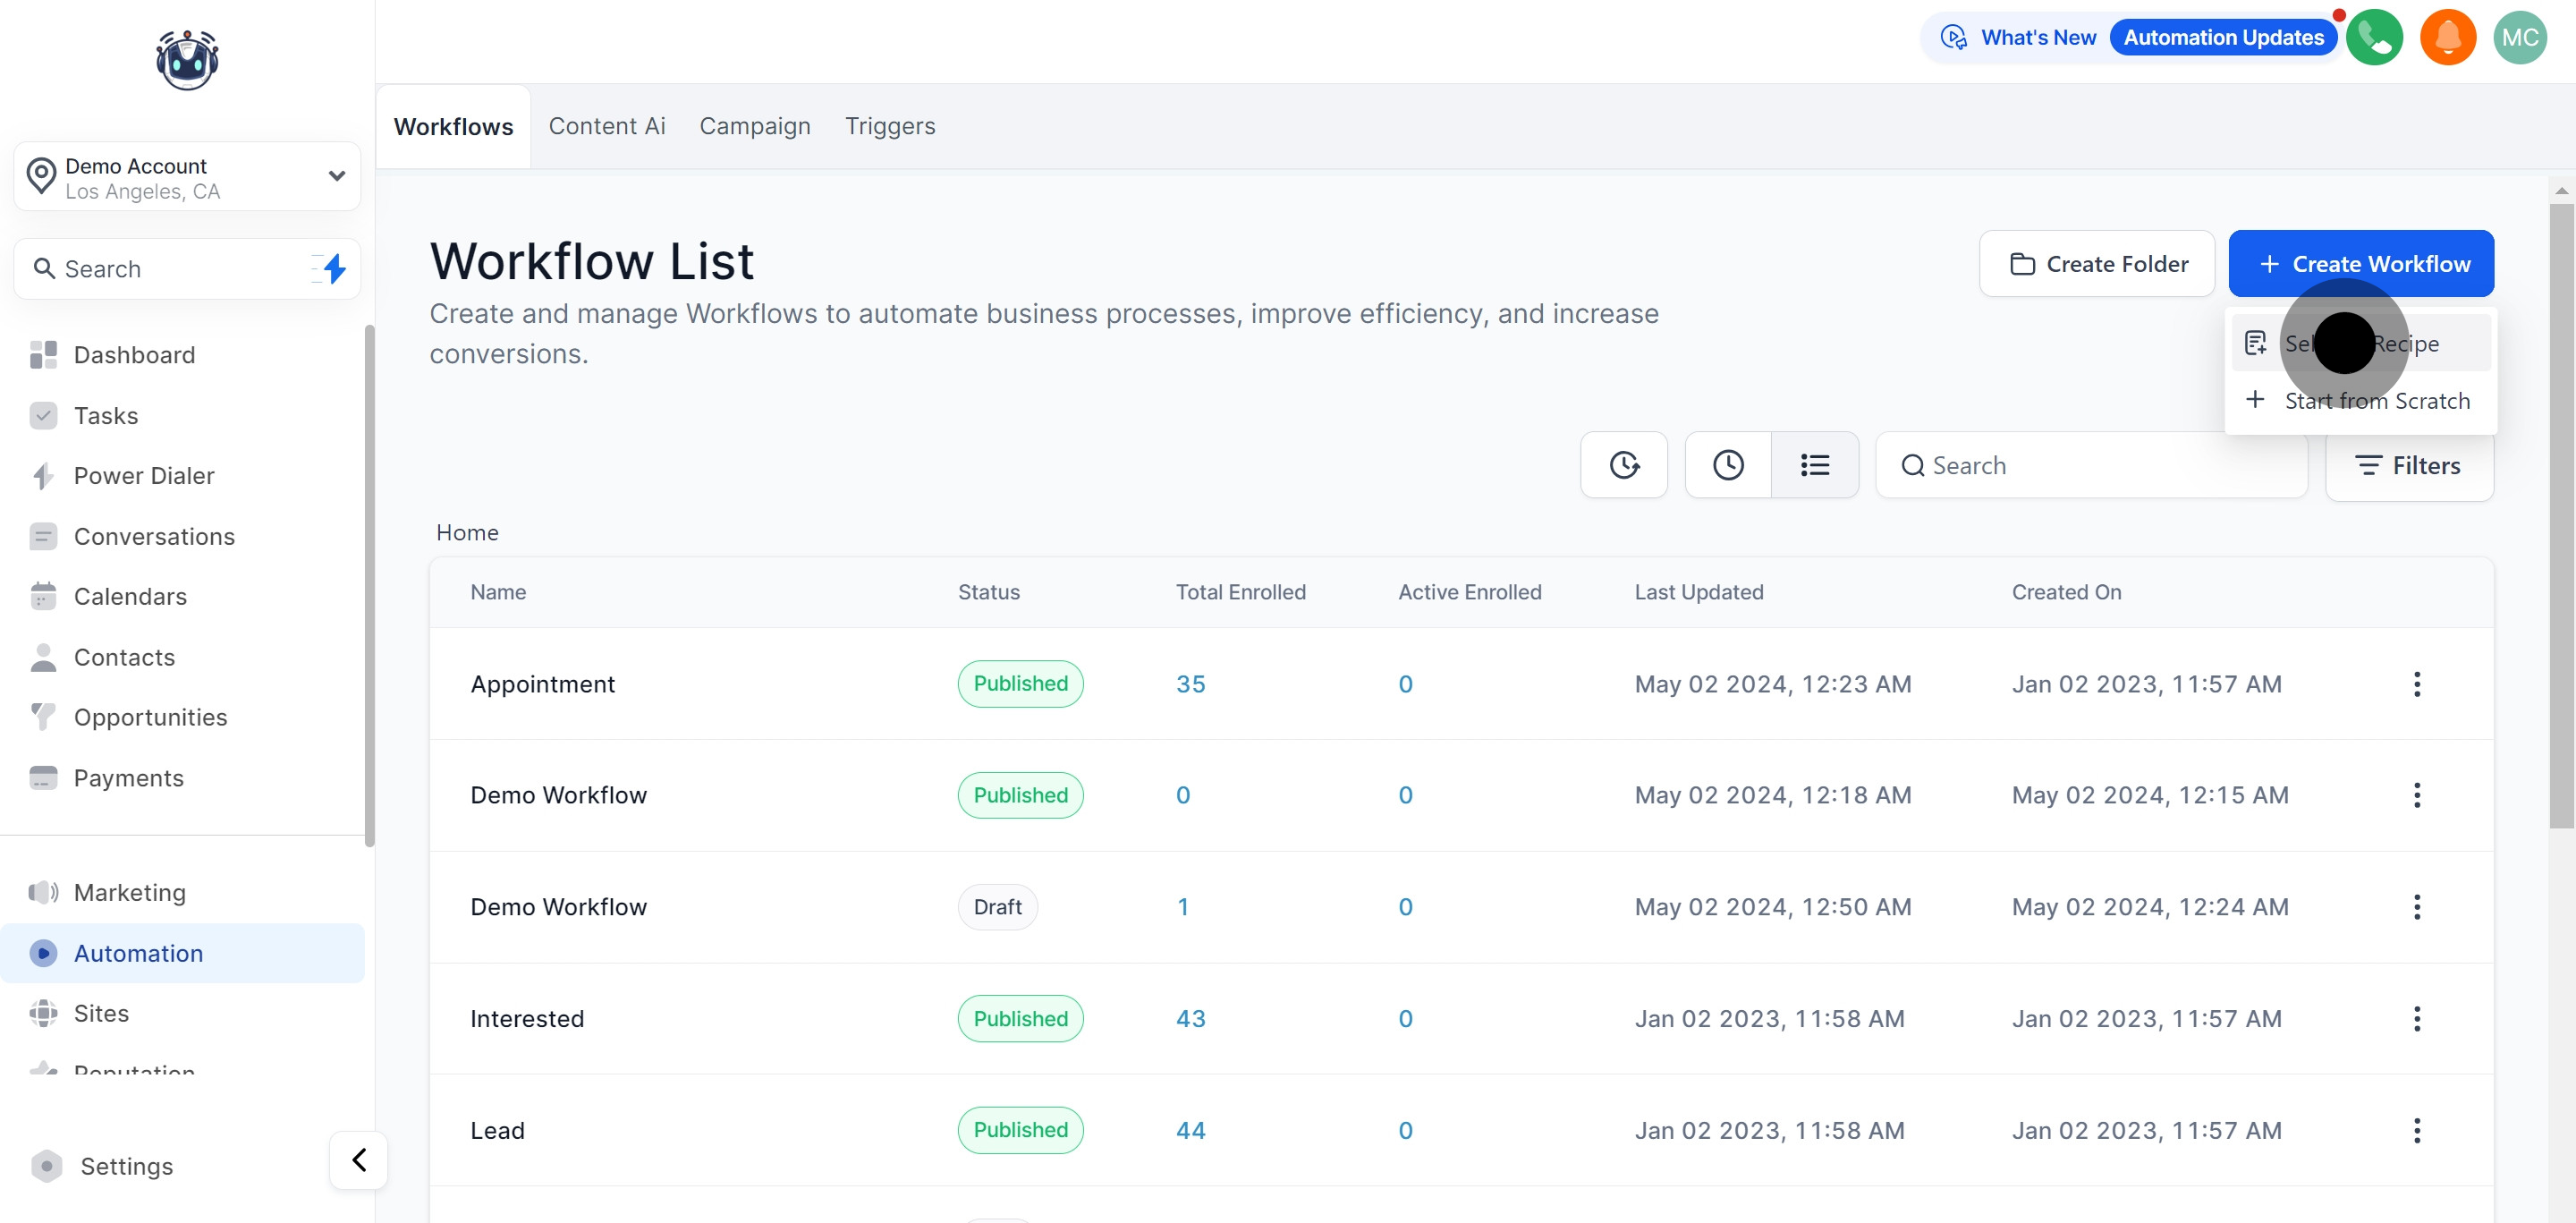
4. To make a choice, hit the 'Select' button under 'Recipe - Birthday Template'.
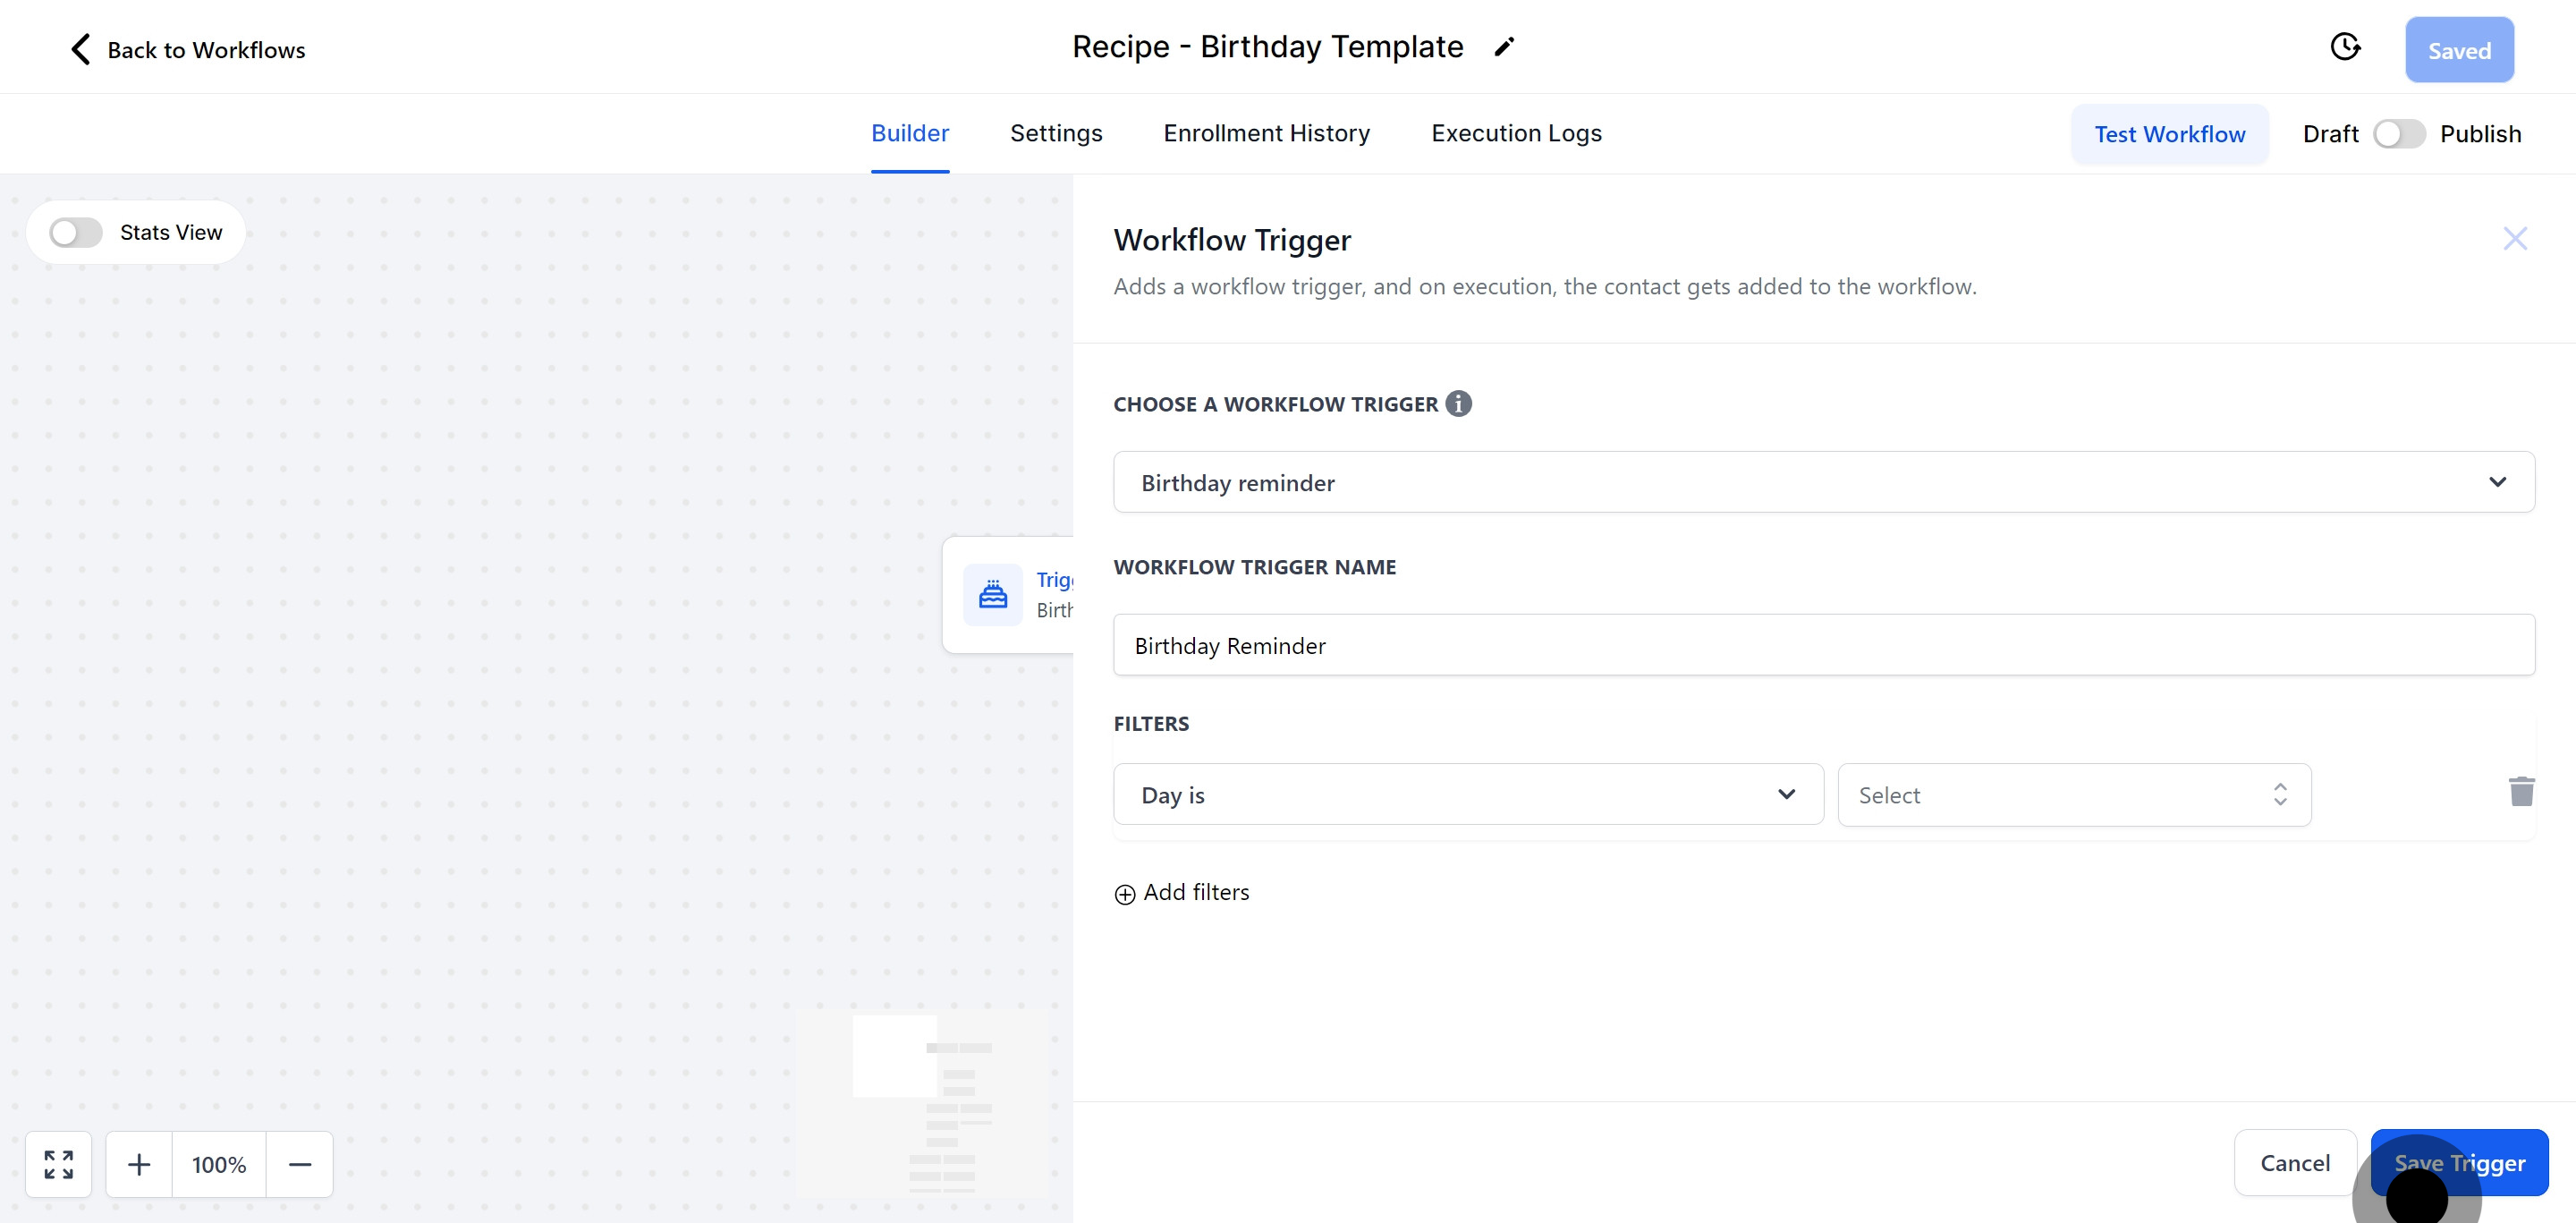
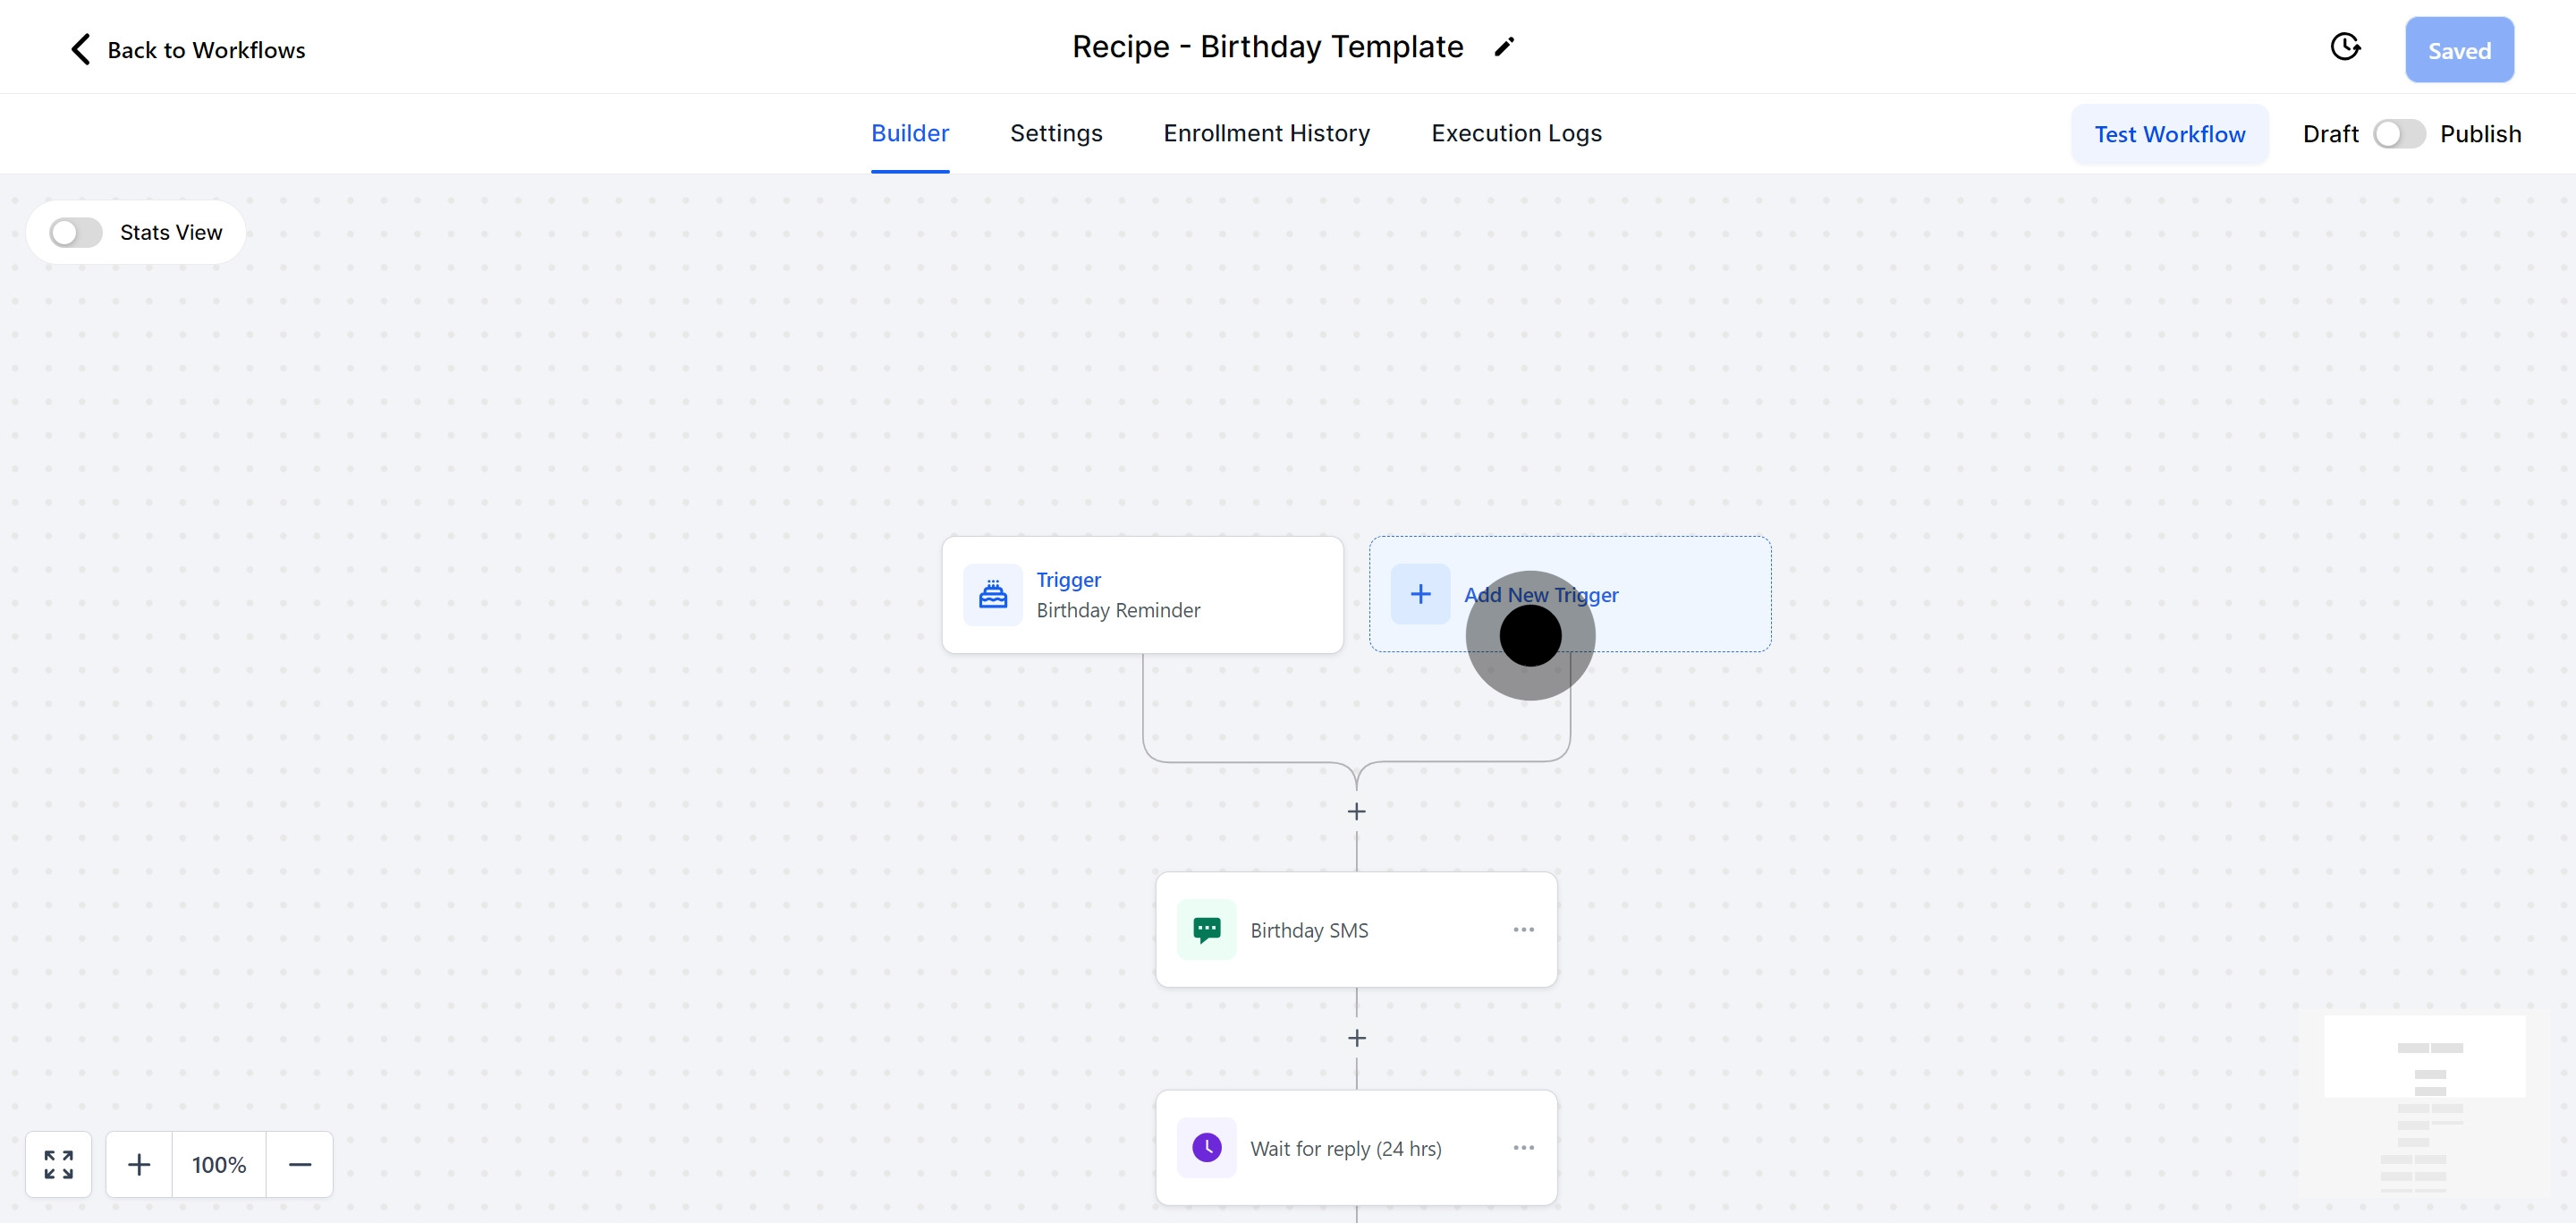
5. Keep going by adding a new trigger to the workflow.
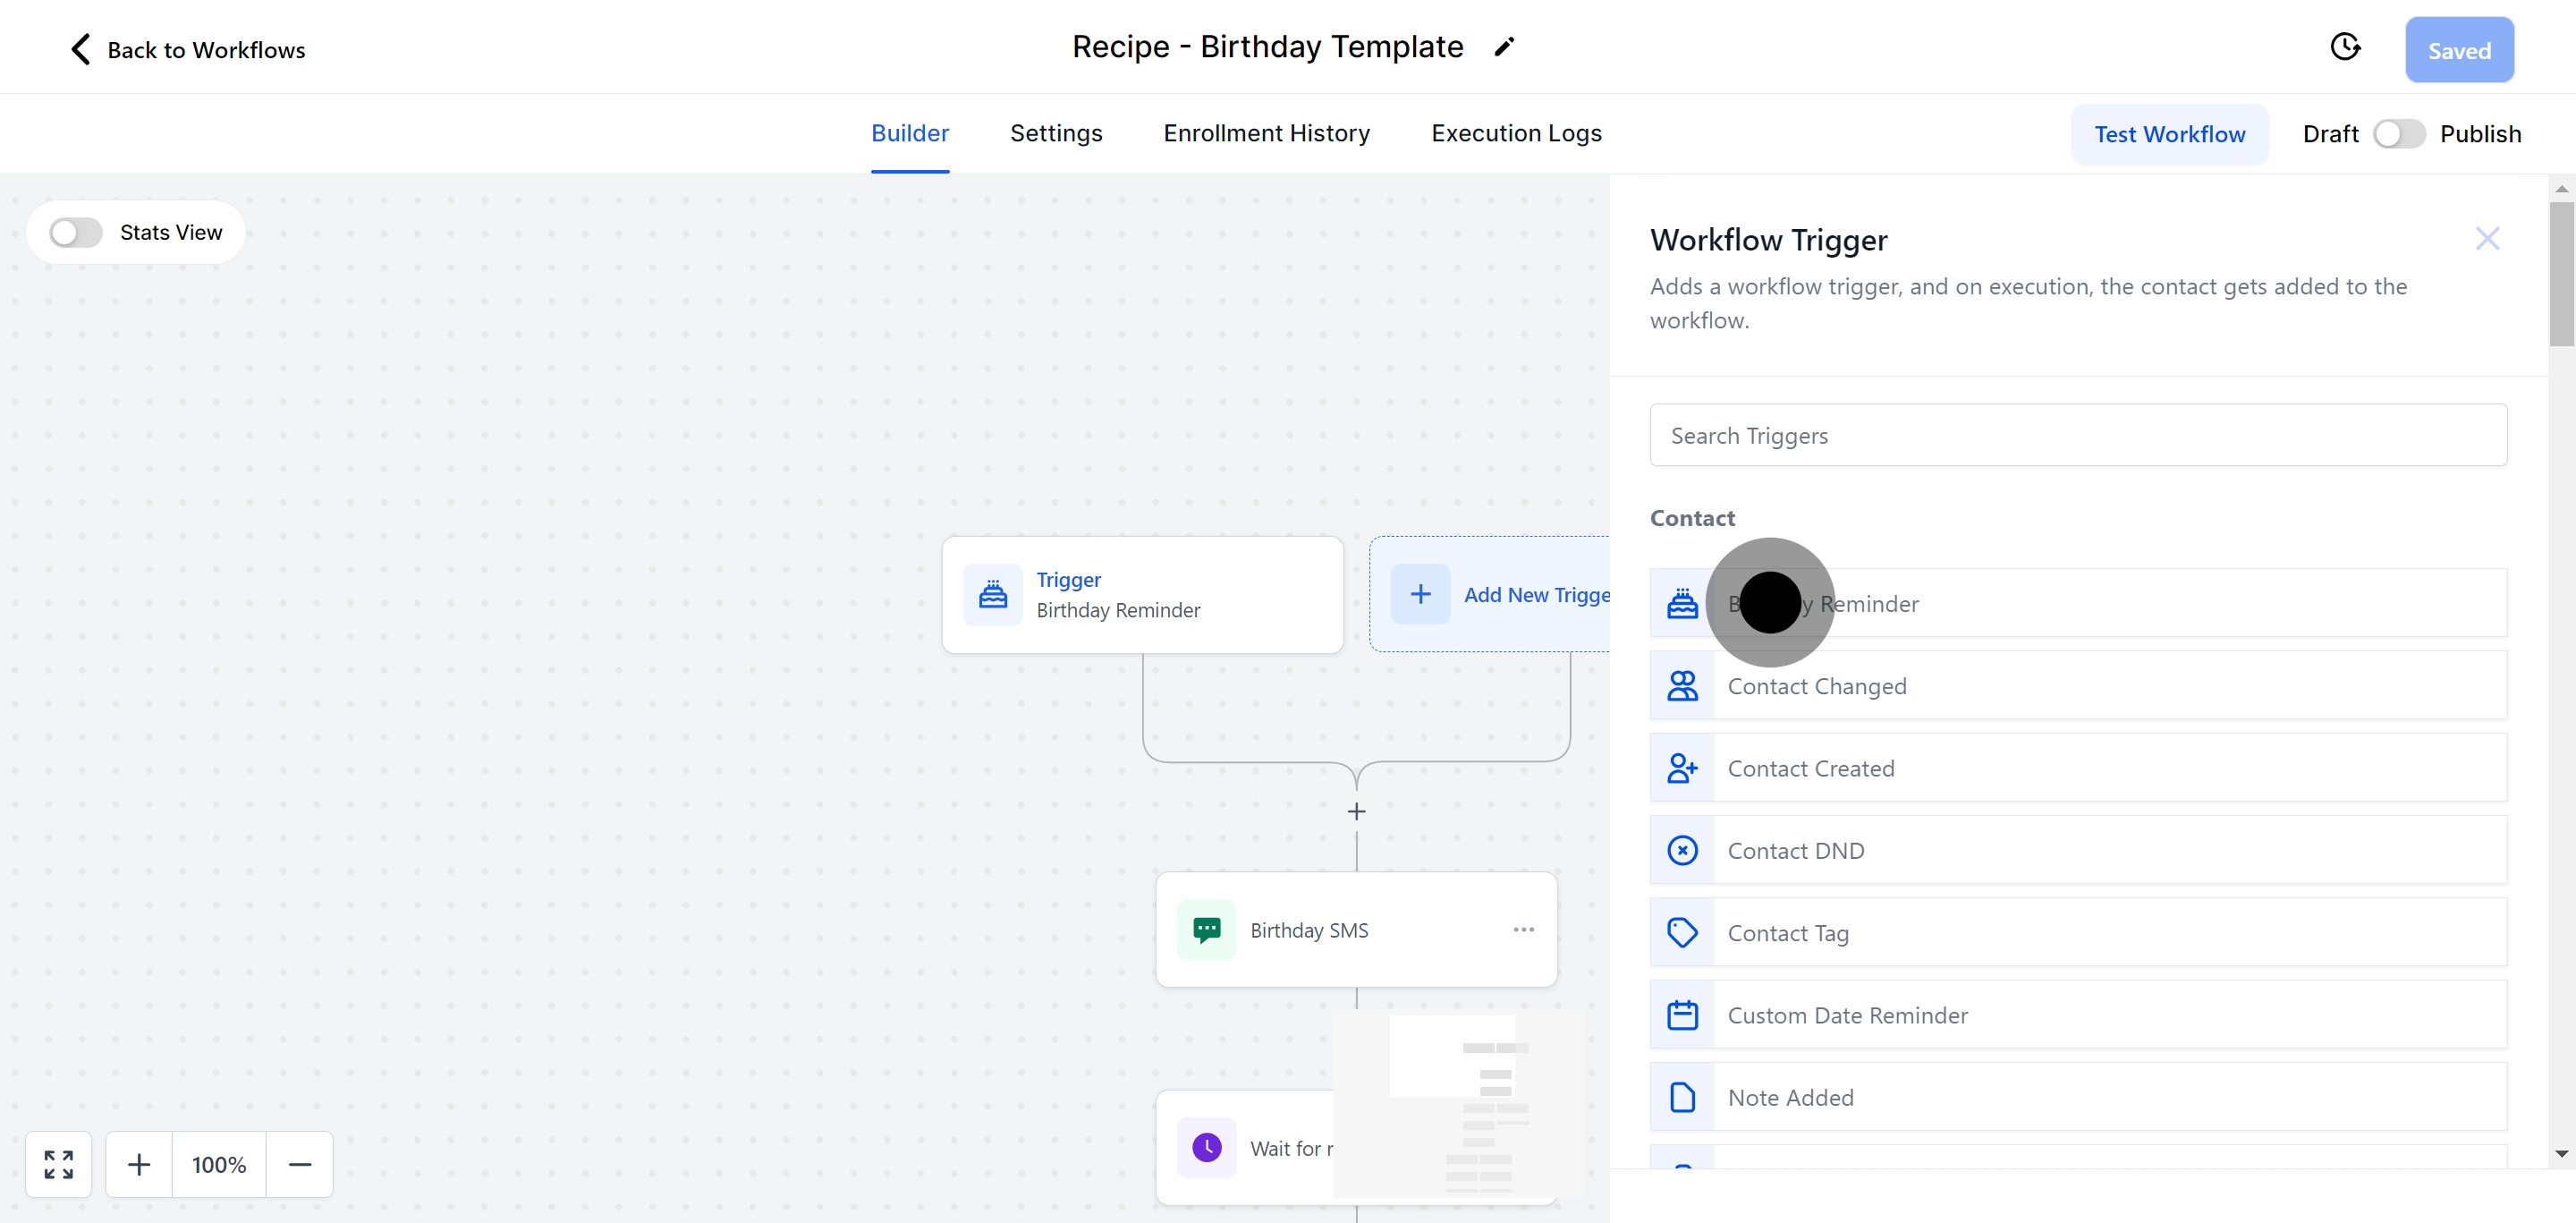
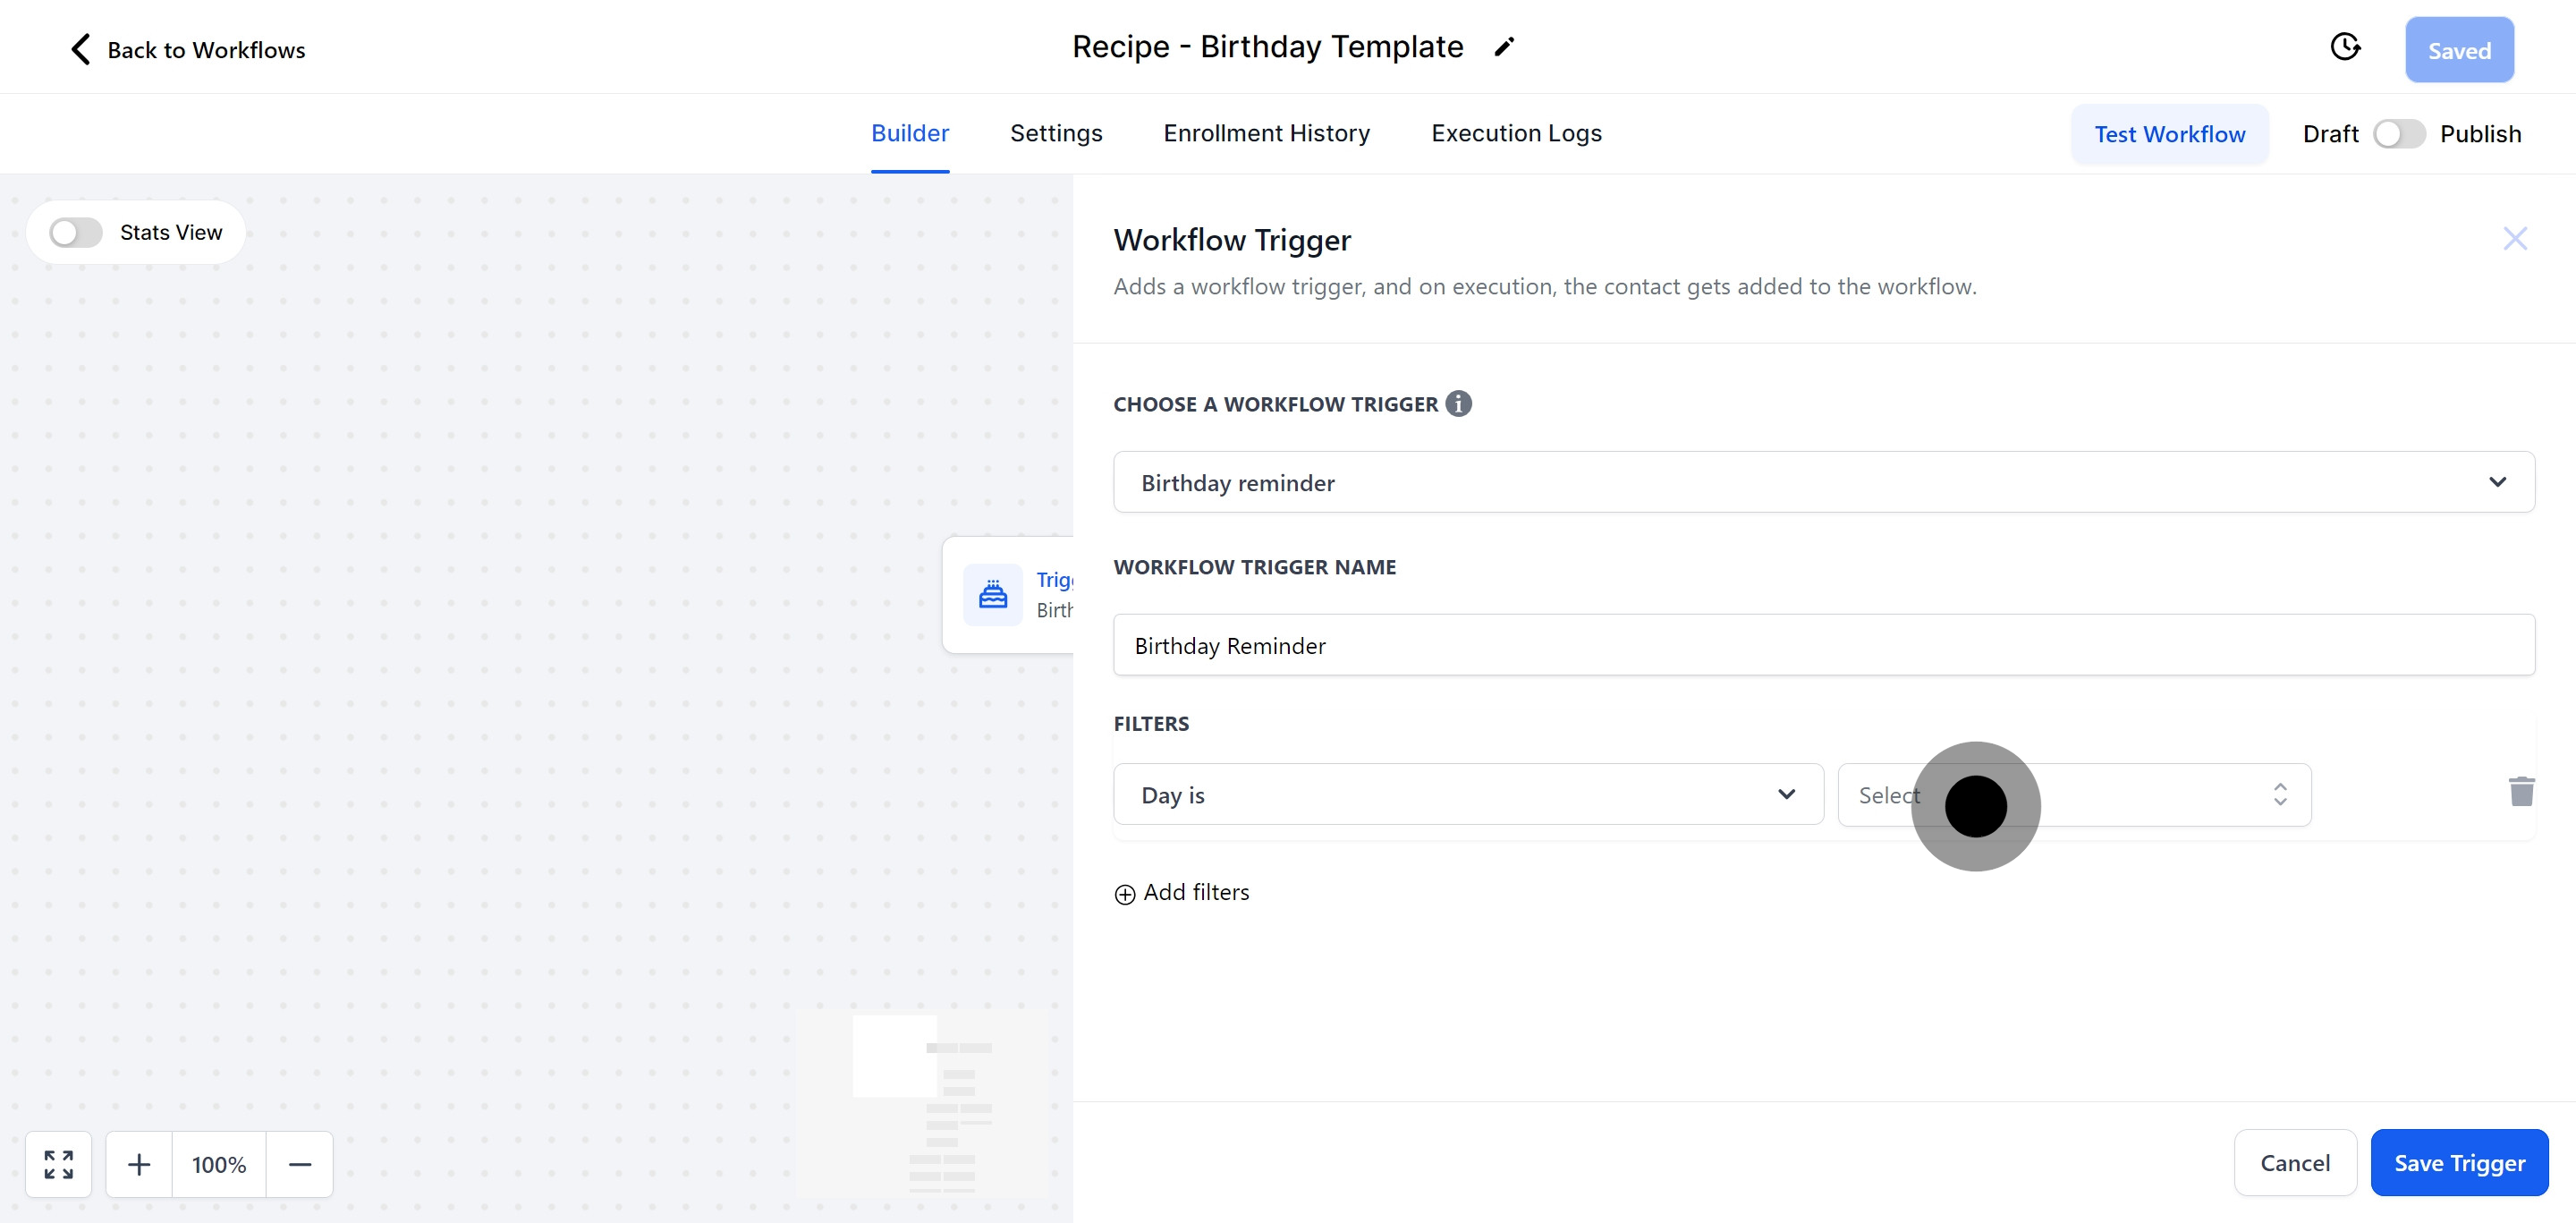
6. In this step, opt for the 'Birthday reminder' trigger.
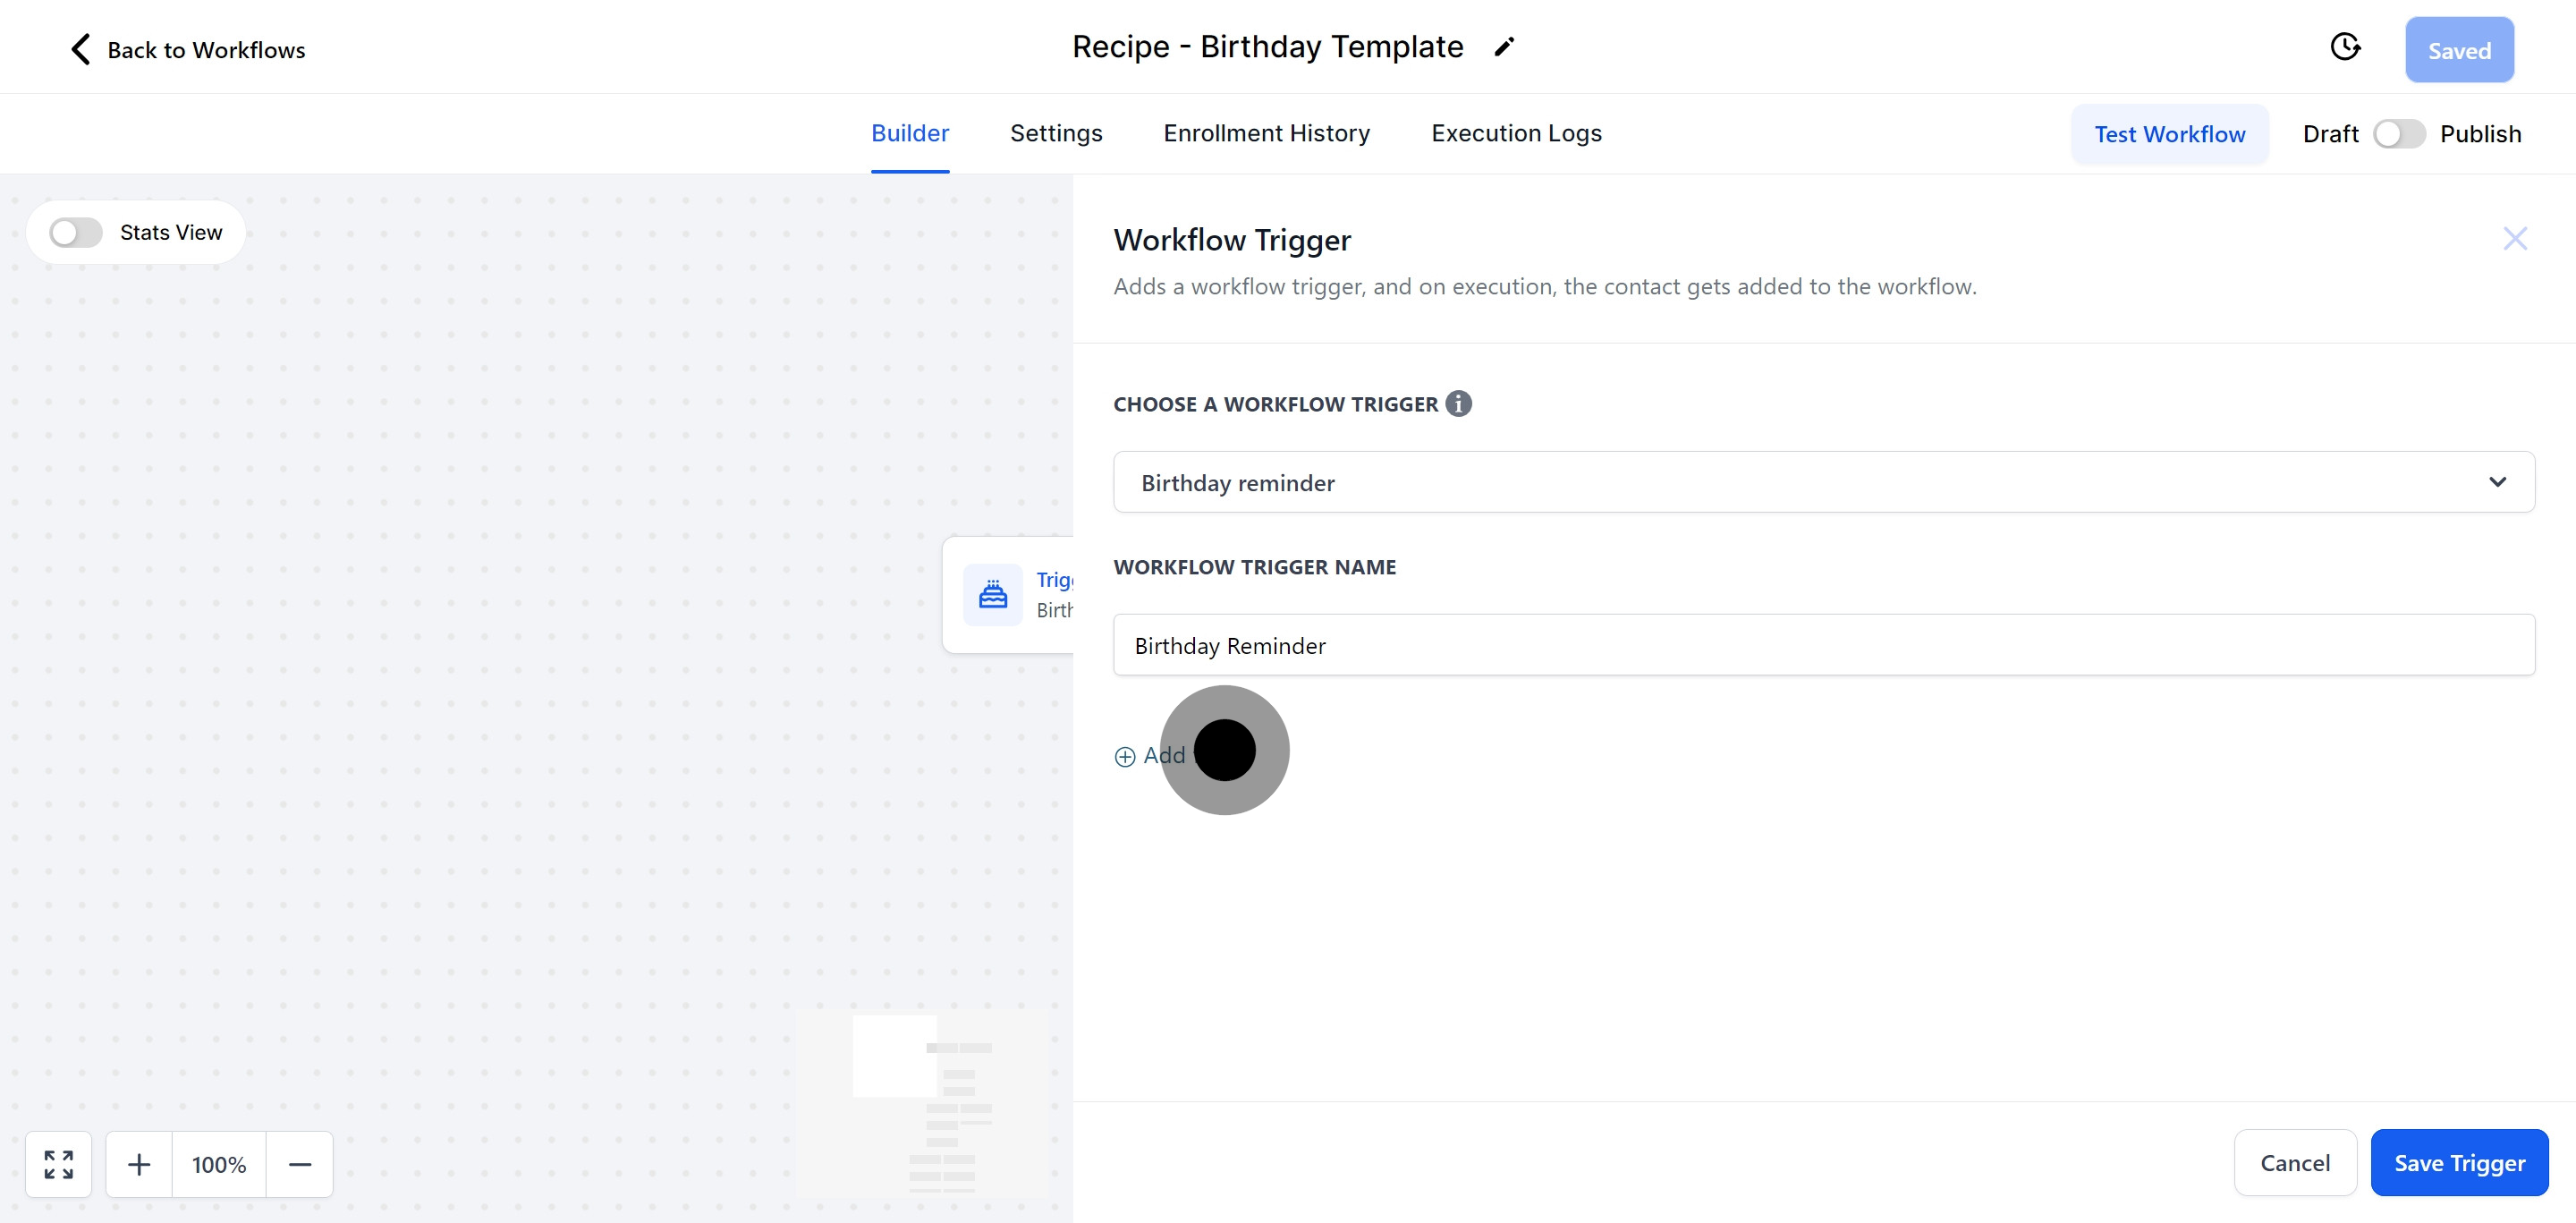
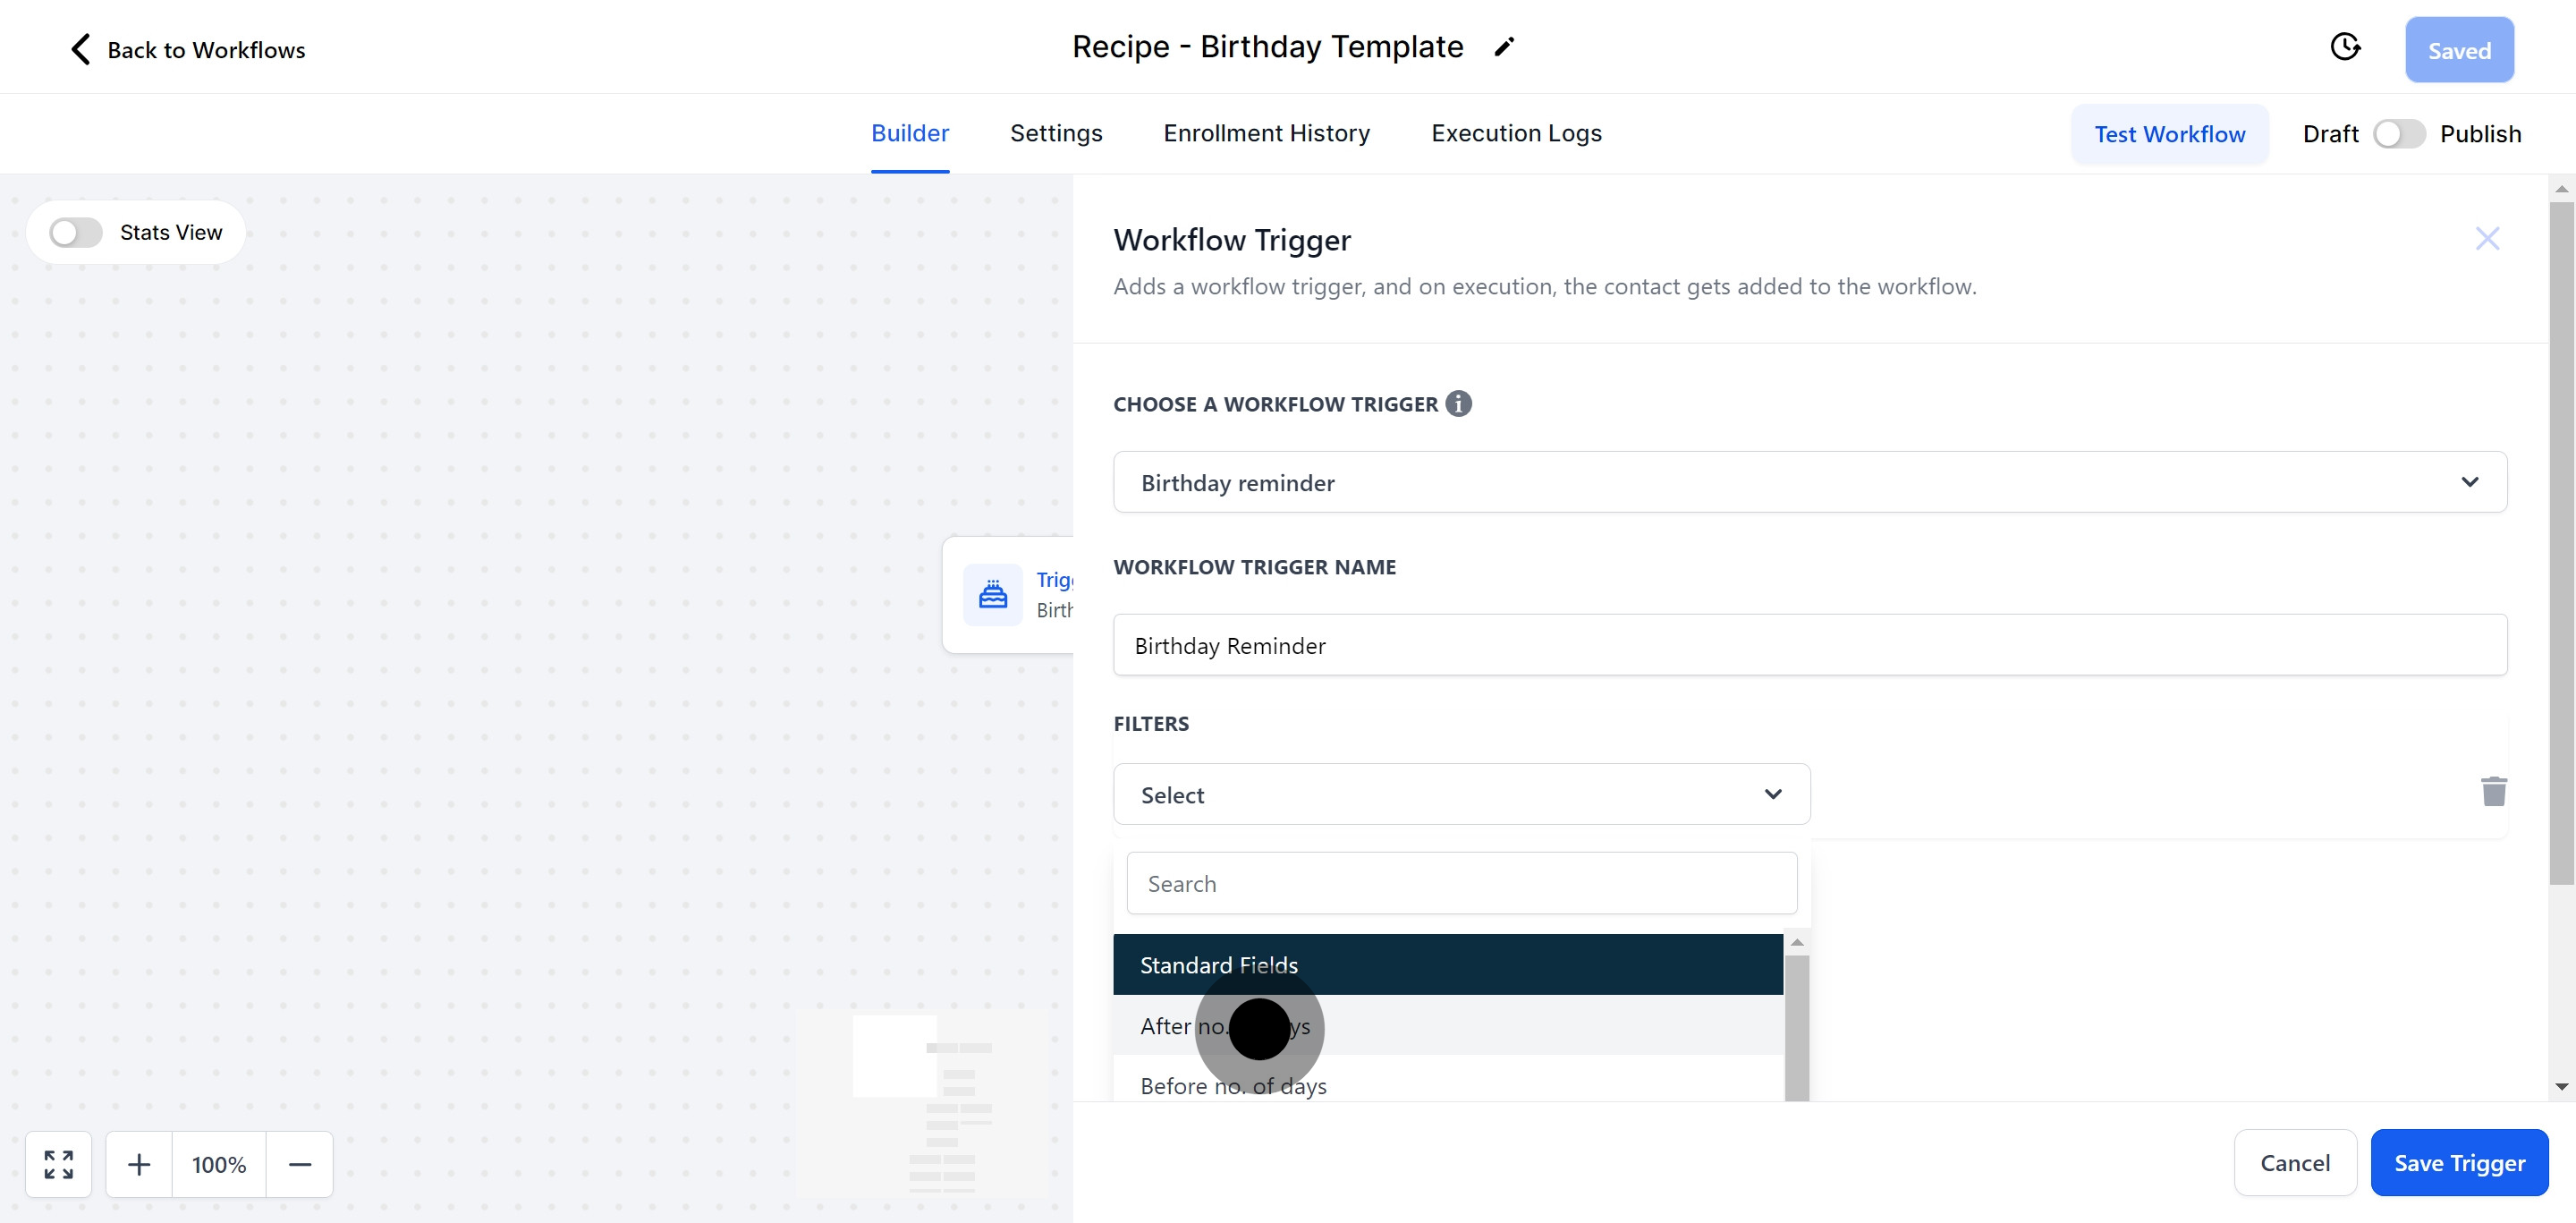
7. To refine results, click on 'Add filters.'
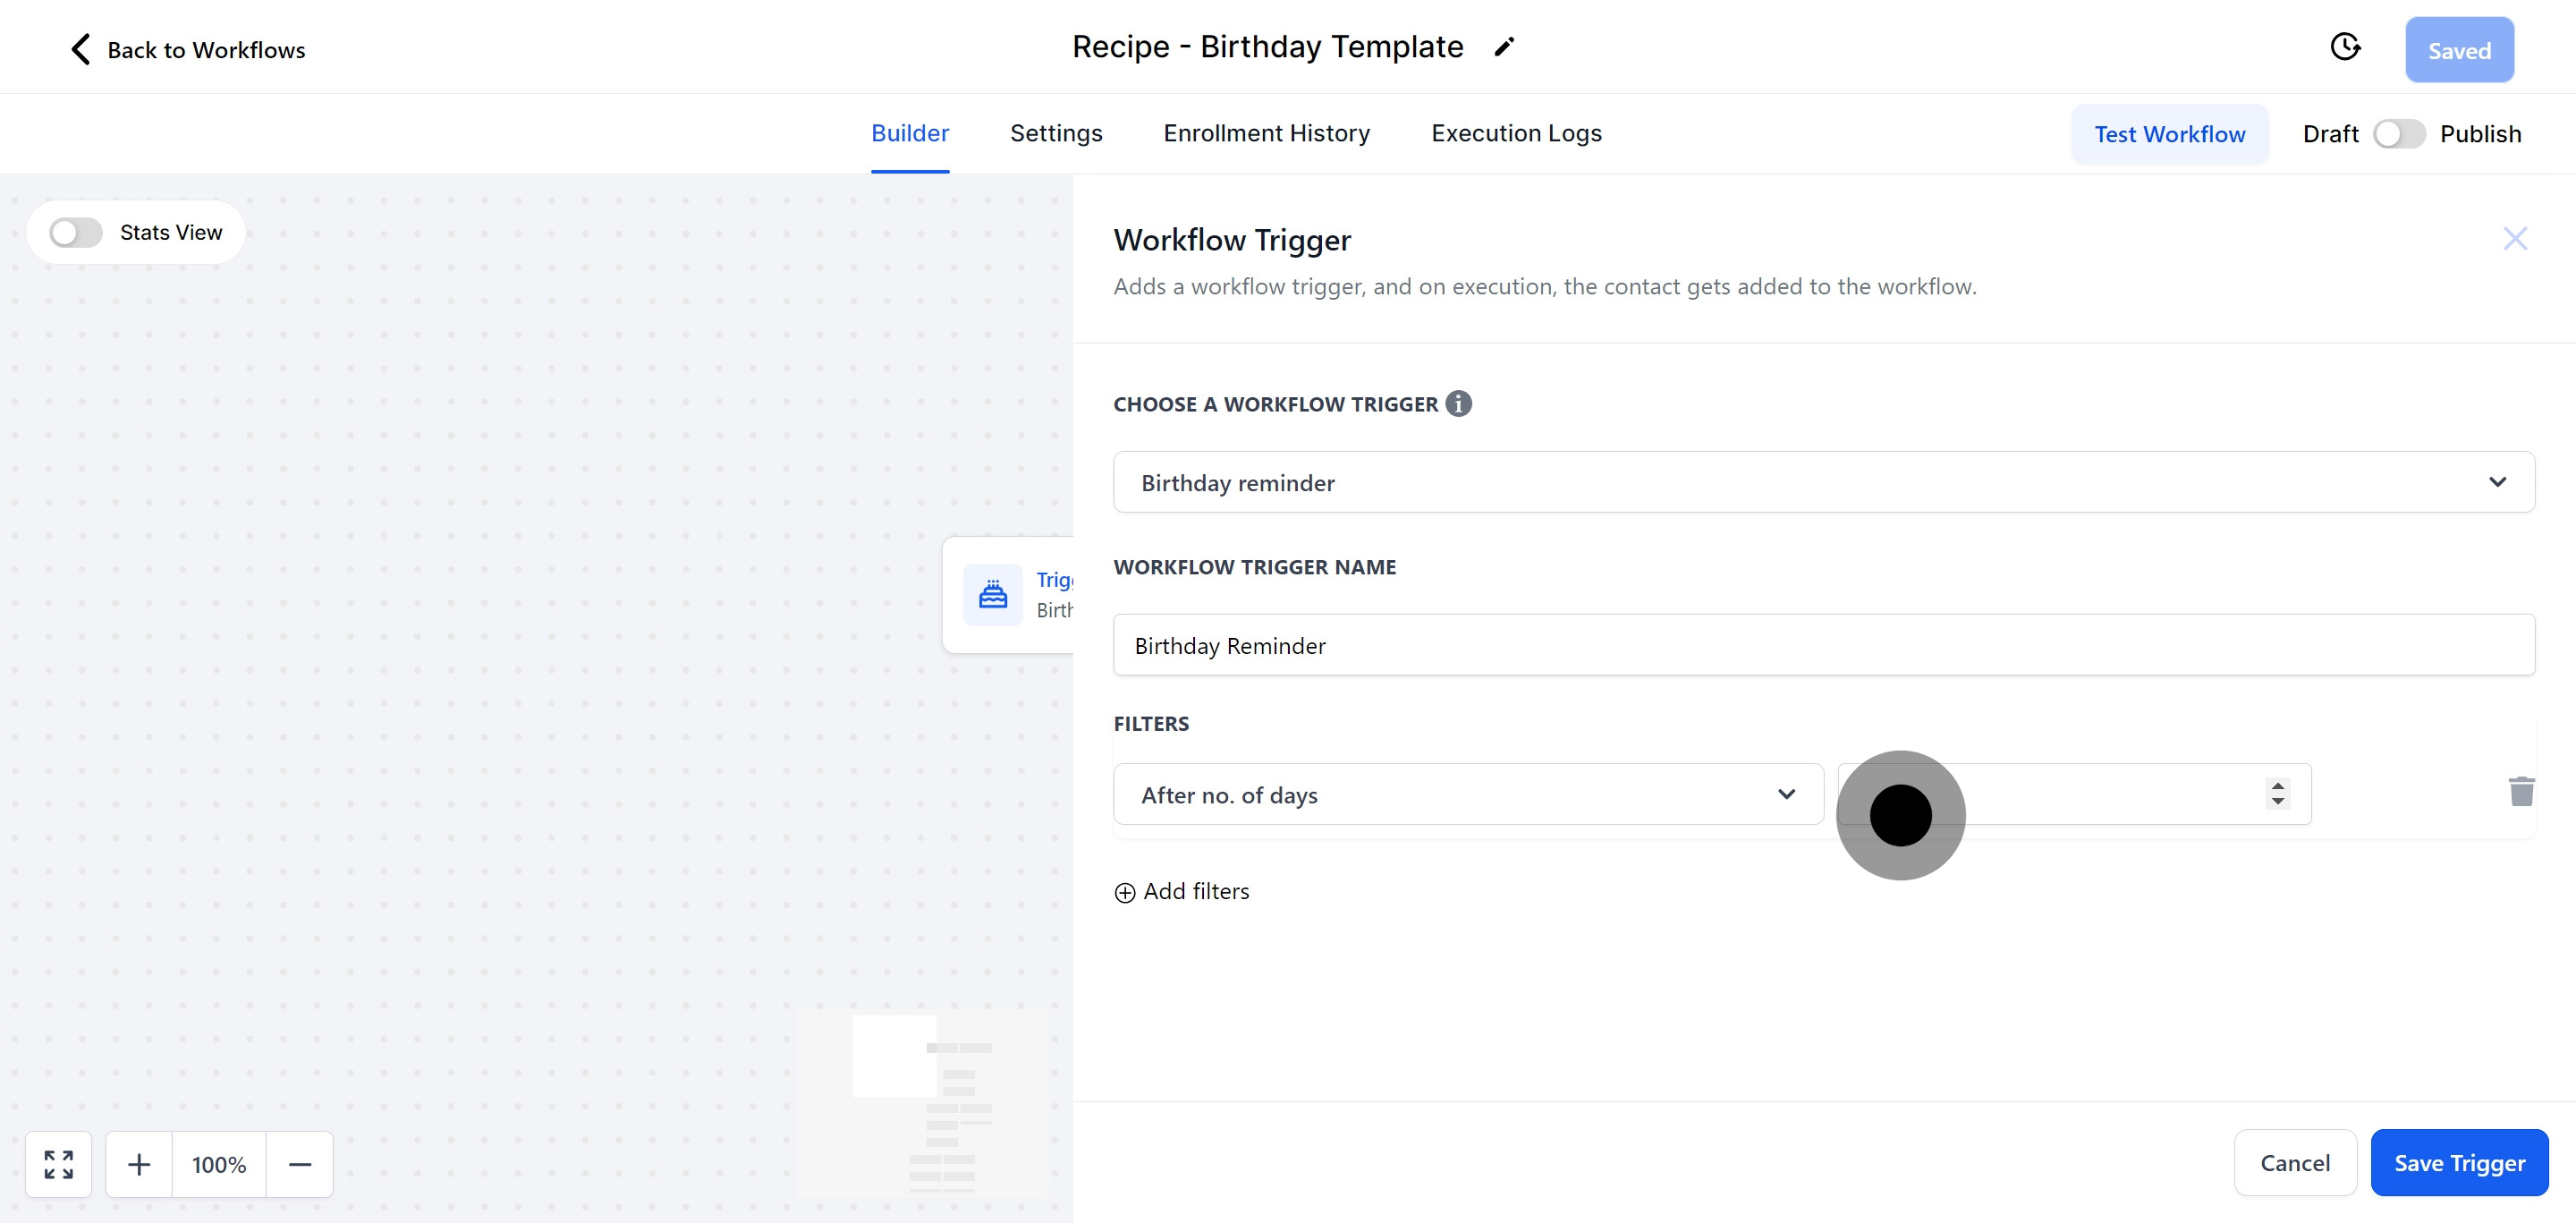
8. Then, select the 'After no.'
Using this filter, you can schedule a "celebrate a birthday" message to be sent a specific number of days after the actual birthday—just enter the number of days you want the reminder to be delayed.
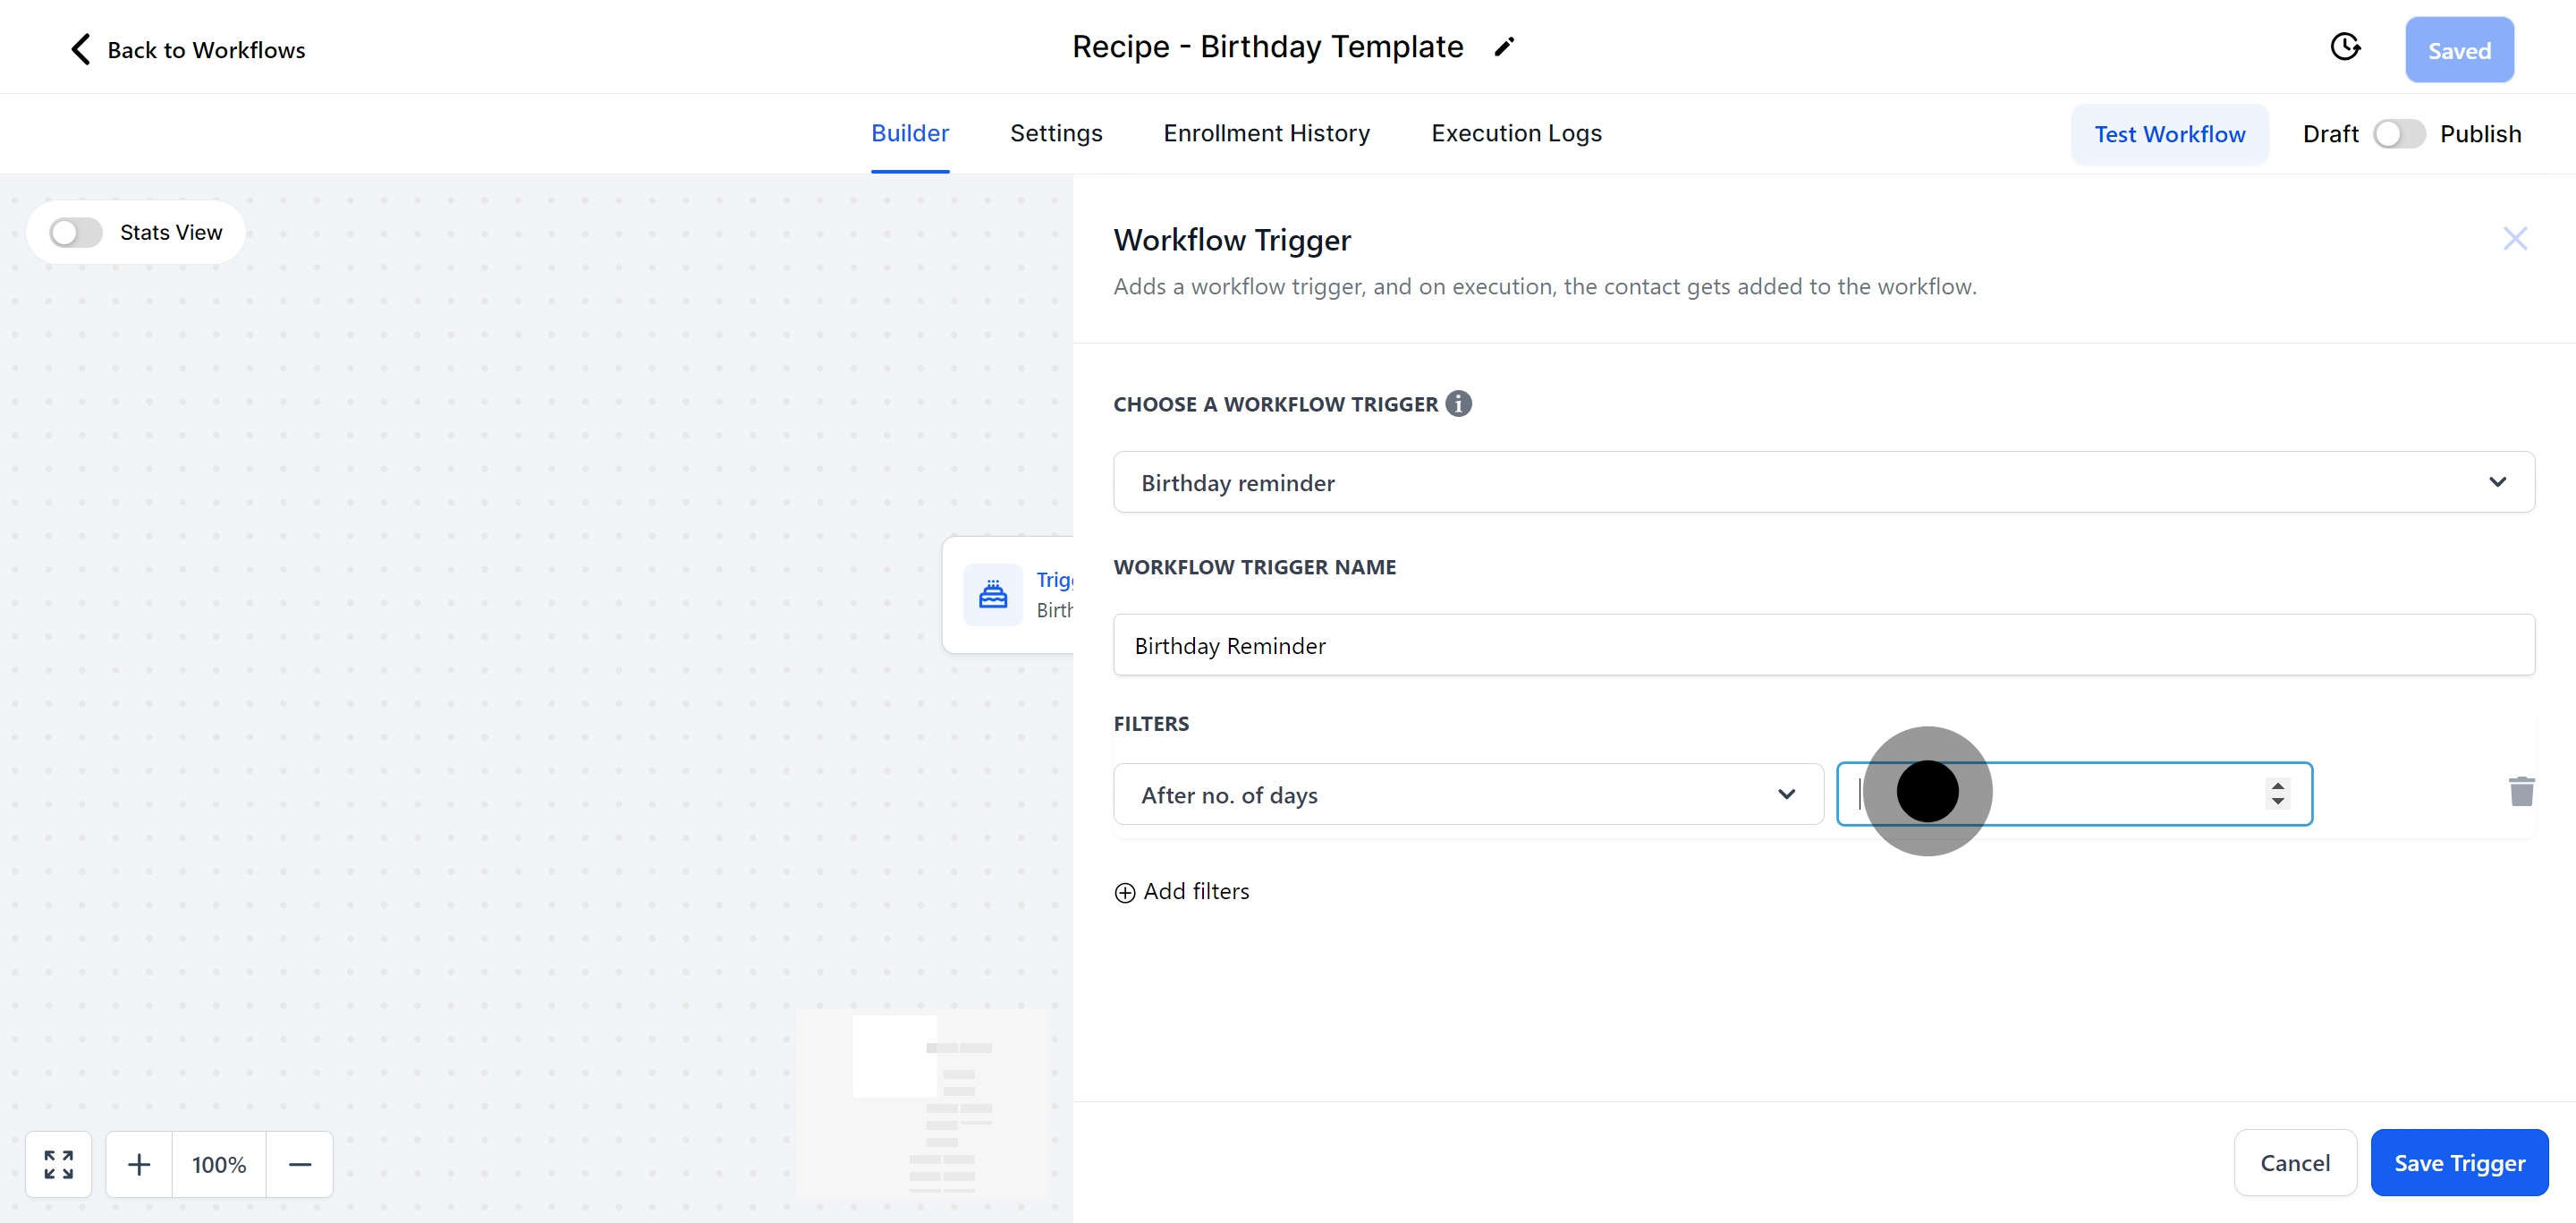
9. Go ahead and click on the popup that shows up.
10. Take a moment to confirm your previous selection by clicking on it.
By using the "Before No. of Days" filter, you can configure a notification to be sent a certain number of days before the actual birthday.
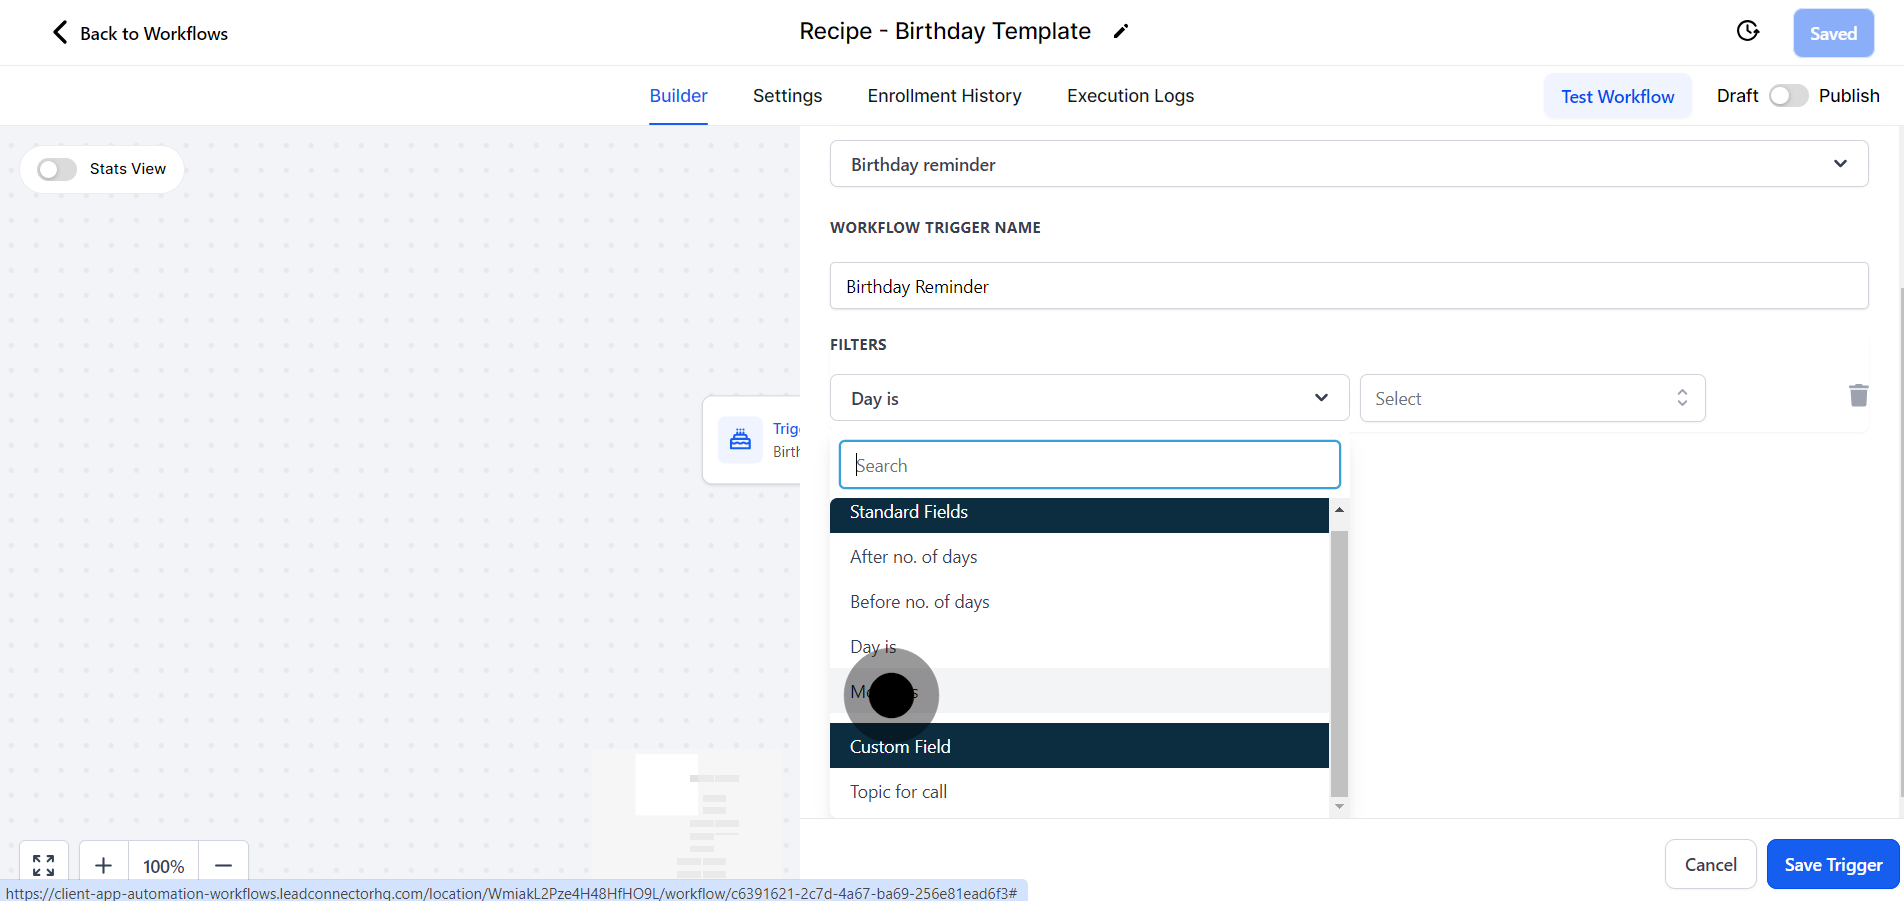
11. Your next step is to choose the 'Day is' option.
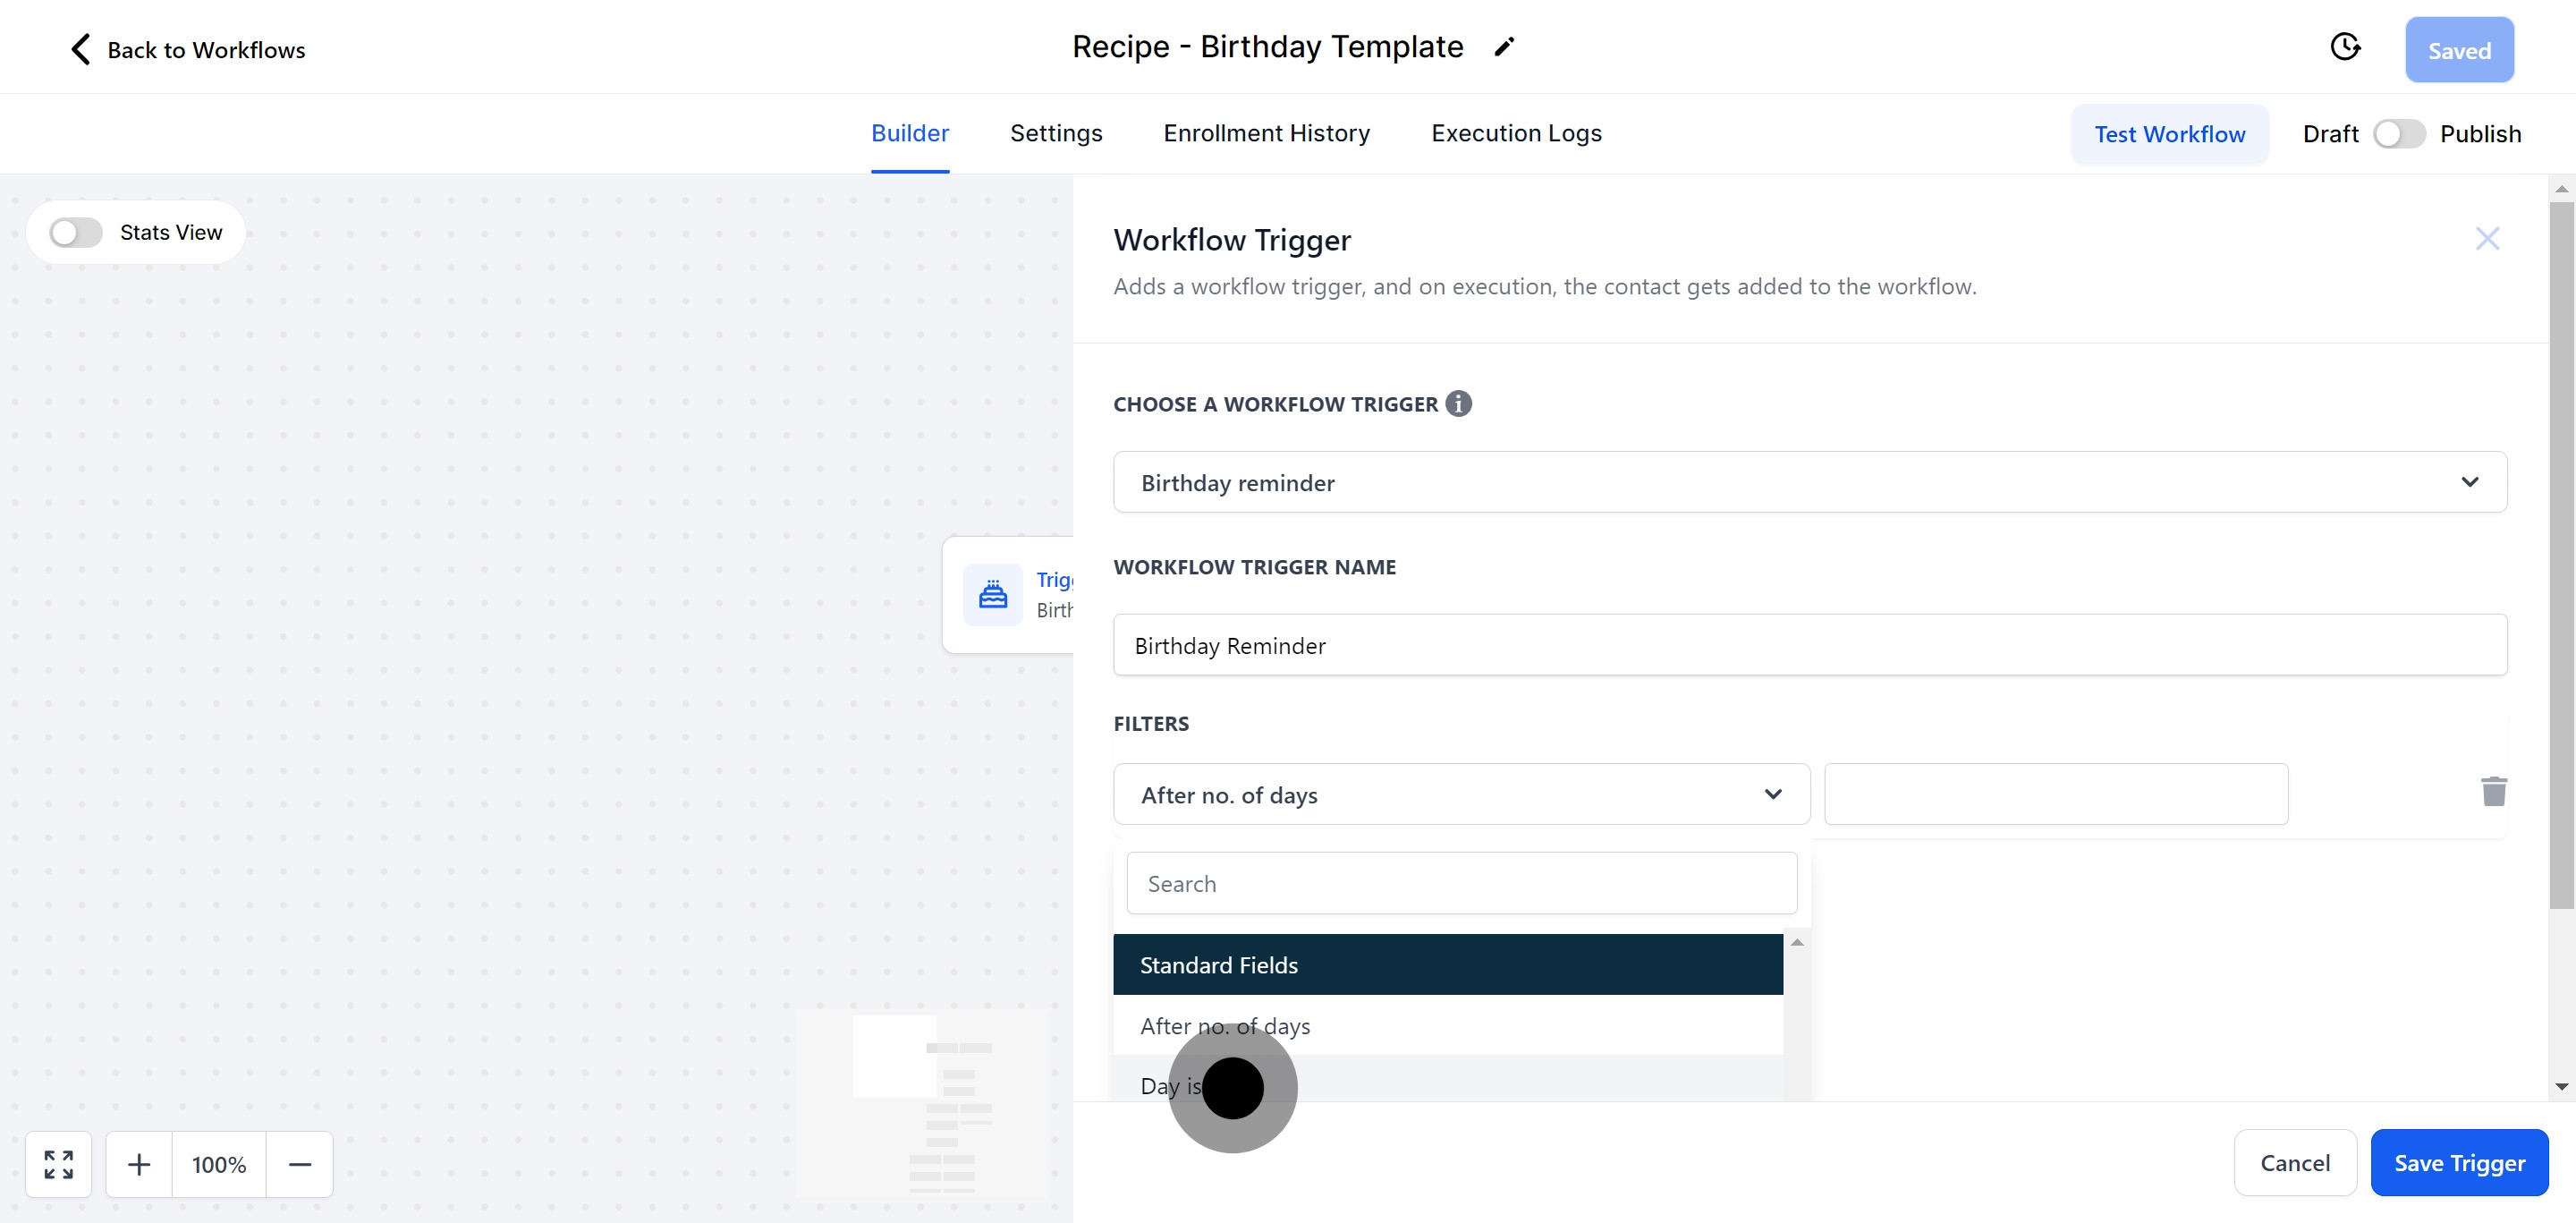
13. Afterward, click on 'Select' from the list.
14. Now, click 'Month is'
15. Select 'month'
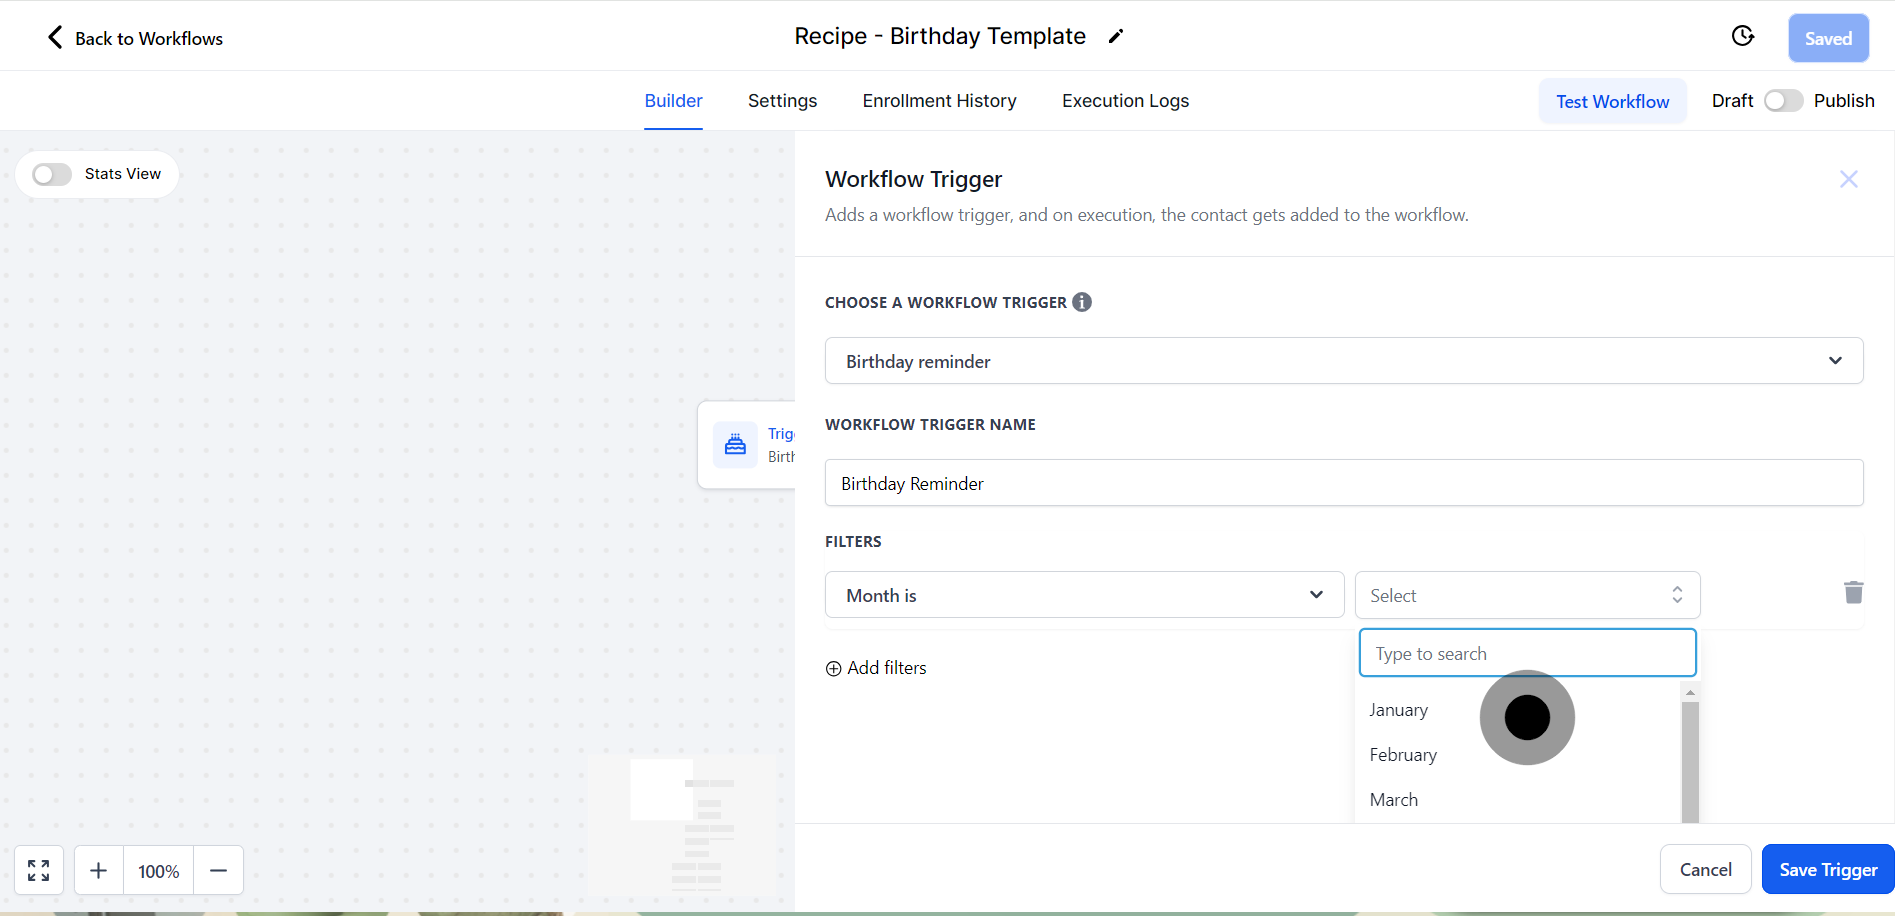
16. Finally, confirm your settings by clicking on the highlighted element.