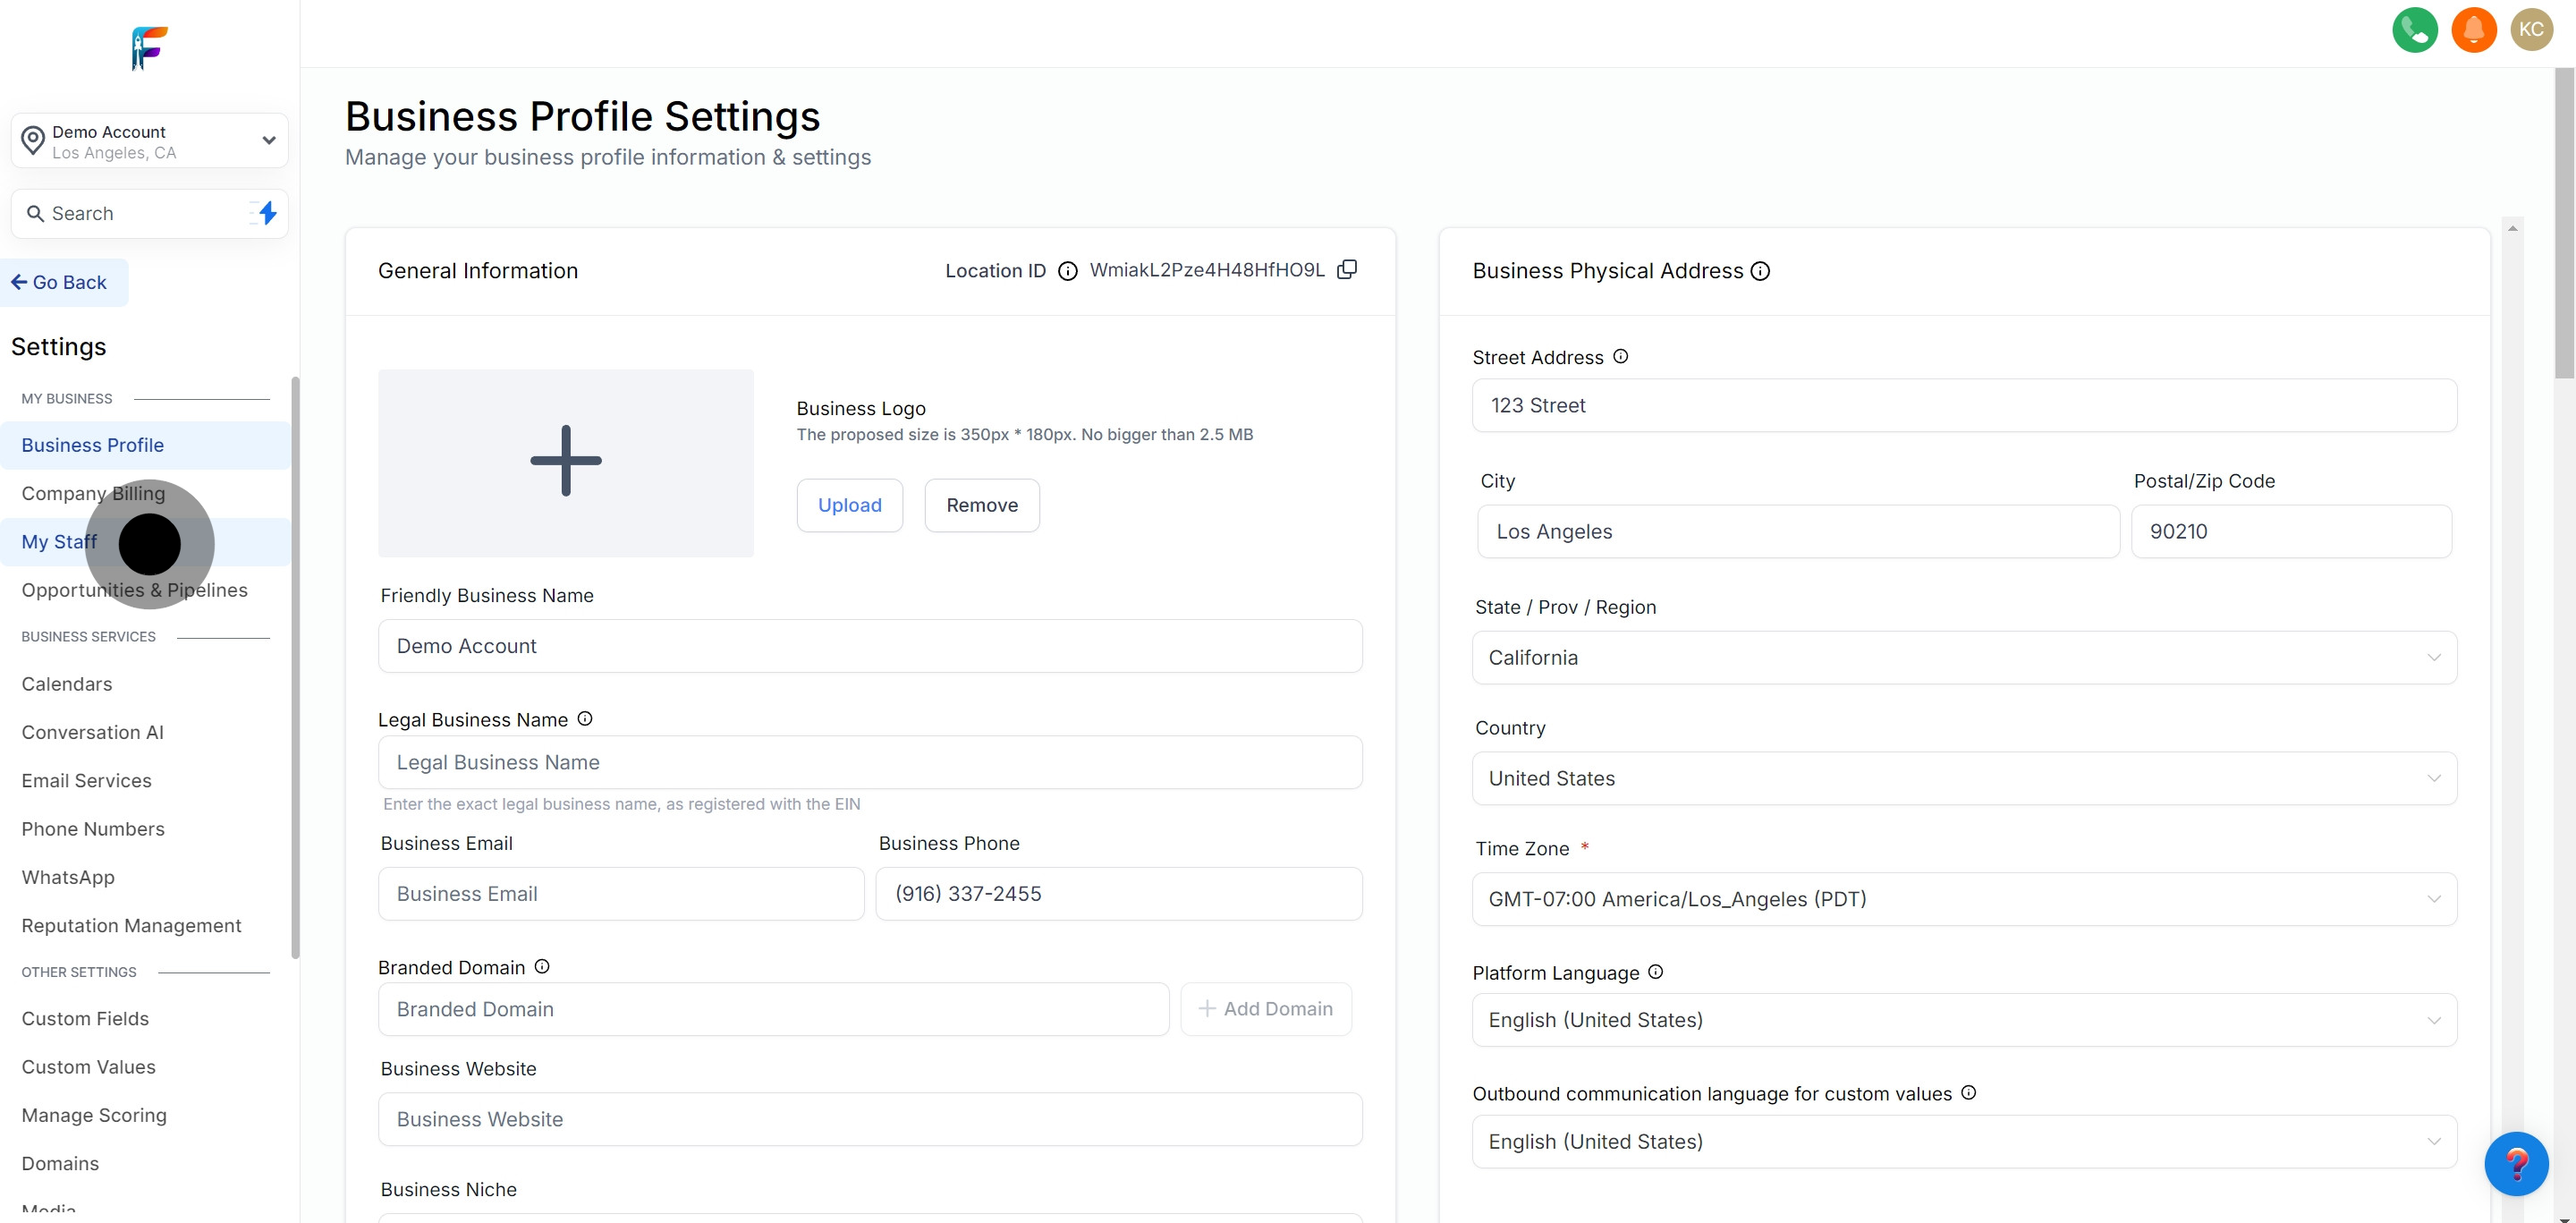
Begin by navigating to the settings page on your Pest AI dashboard. This section houses the essential configurations for your account and staff.
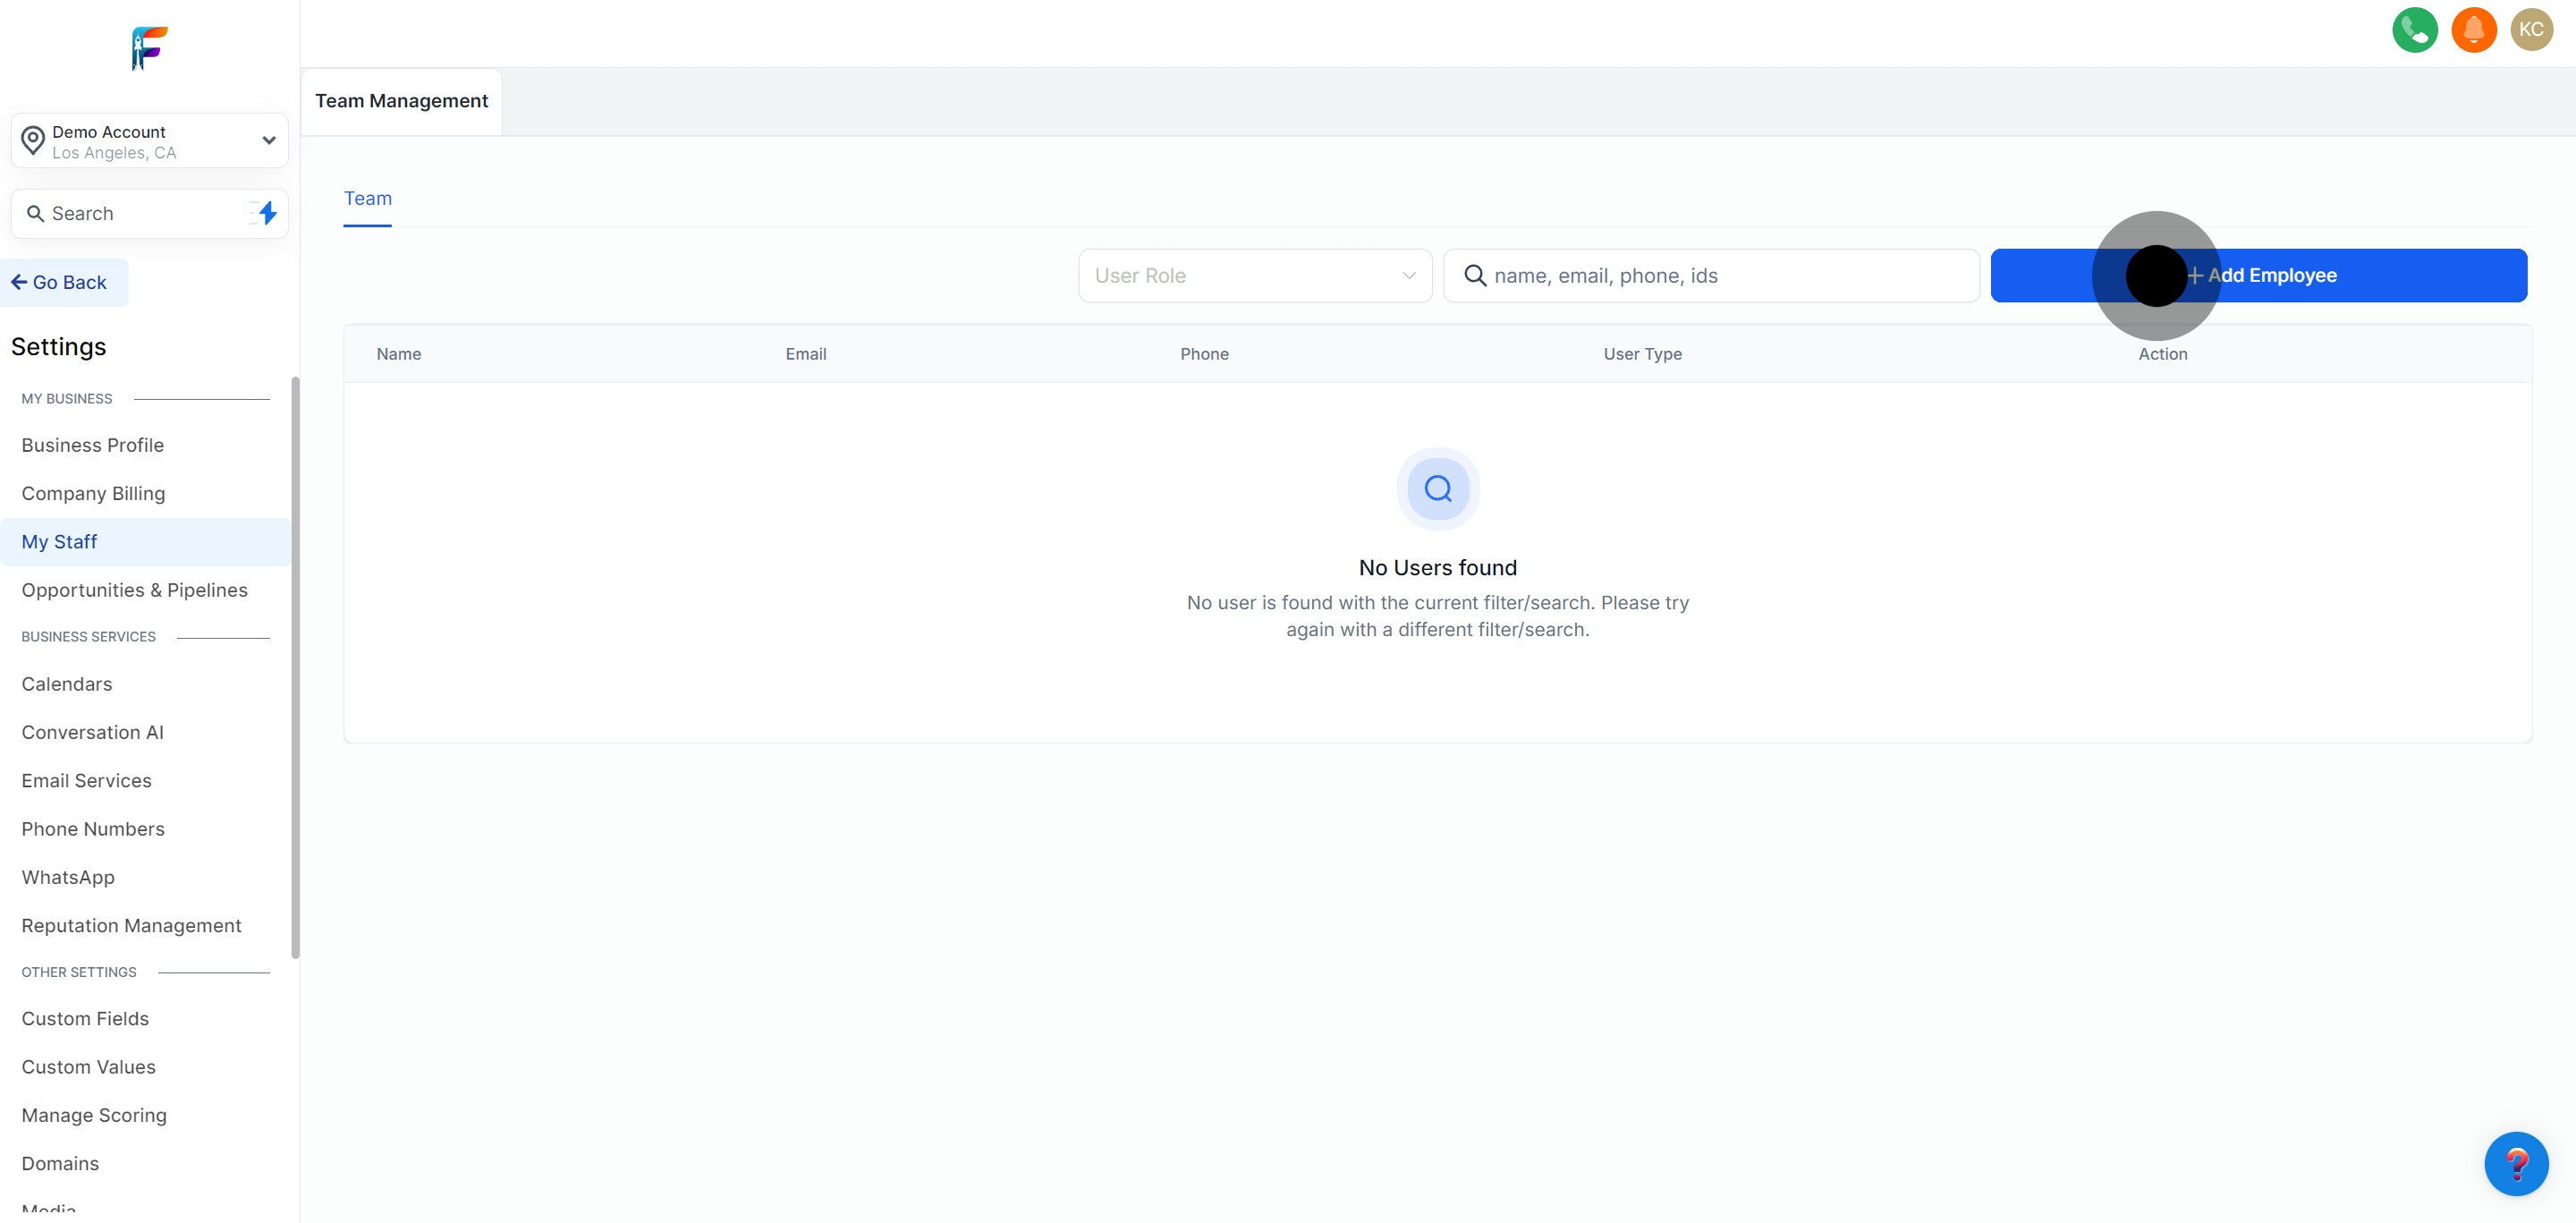
In the settings menu, locate and select 'My Staff'. This will take you to the section where you can manage all your employee profiles.
Click on the 'Add Employee' option to start the process of creating a new profile for your hire.
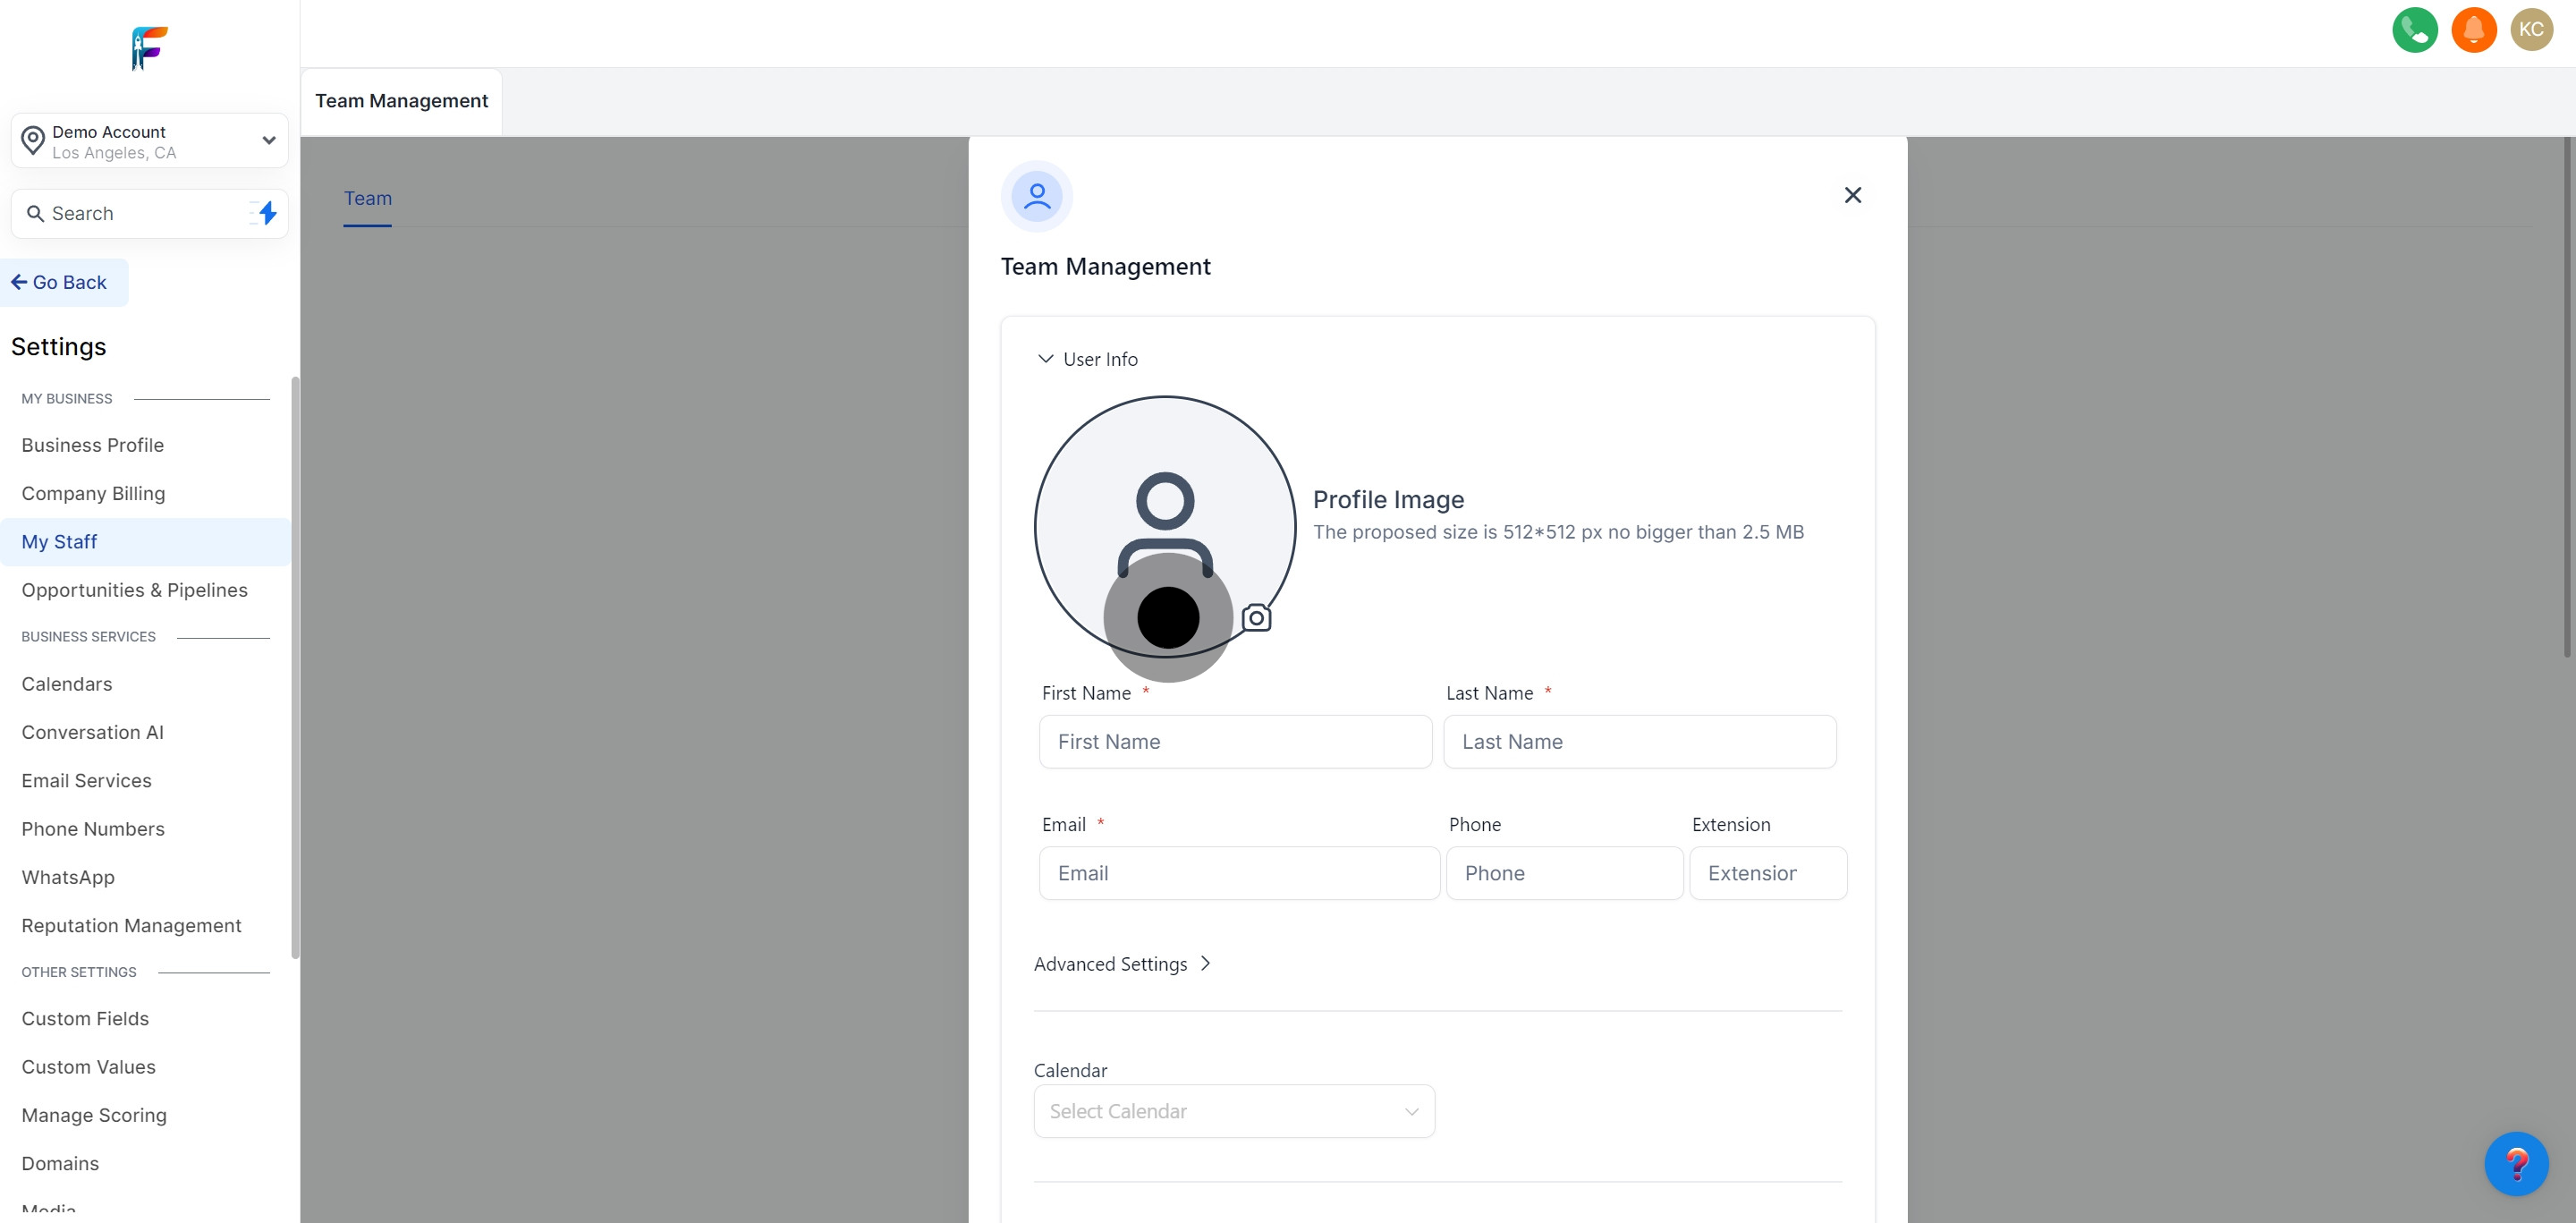
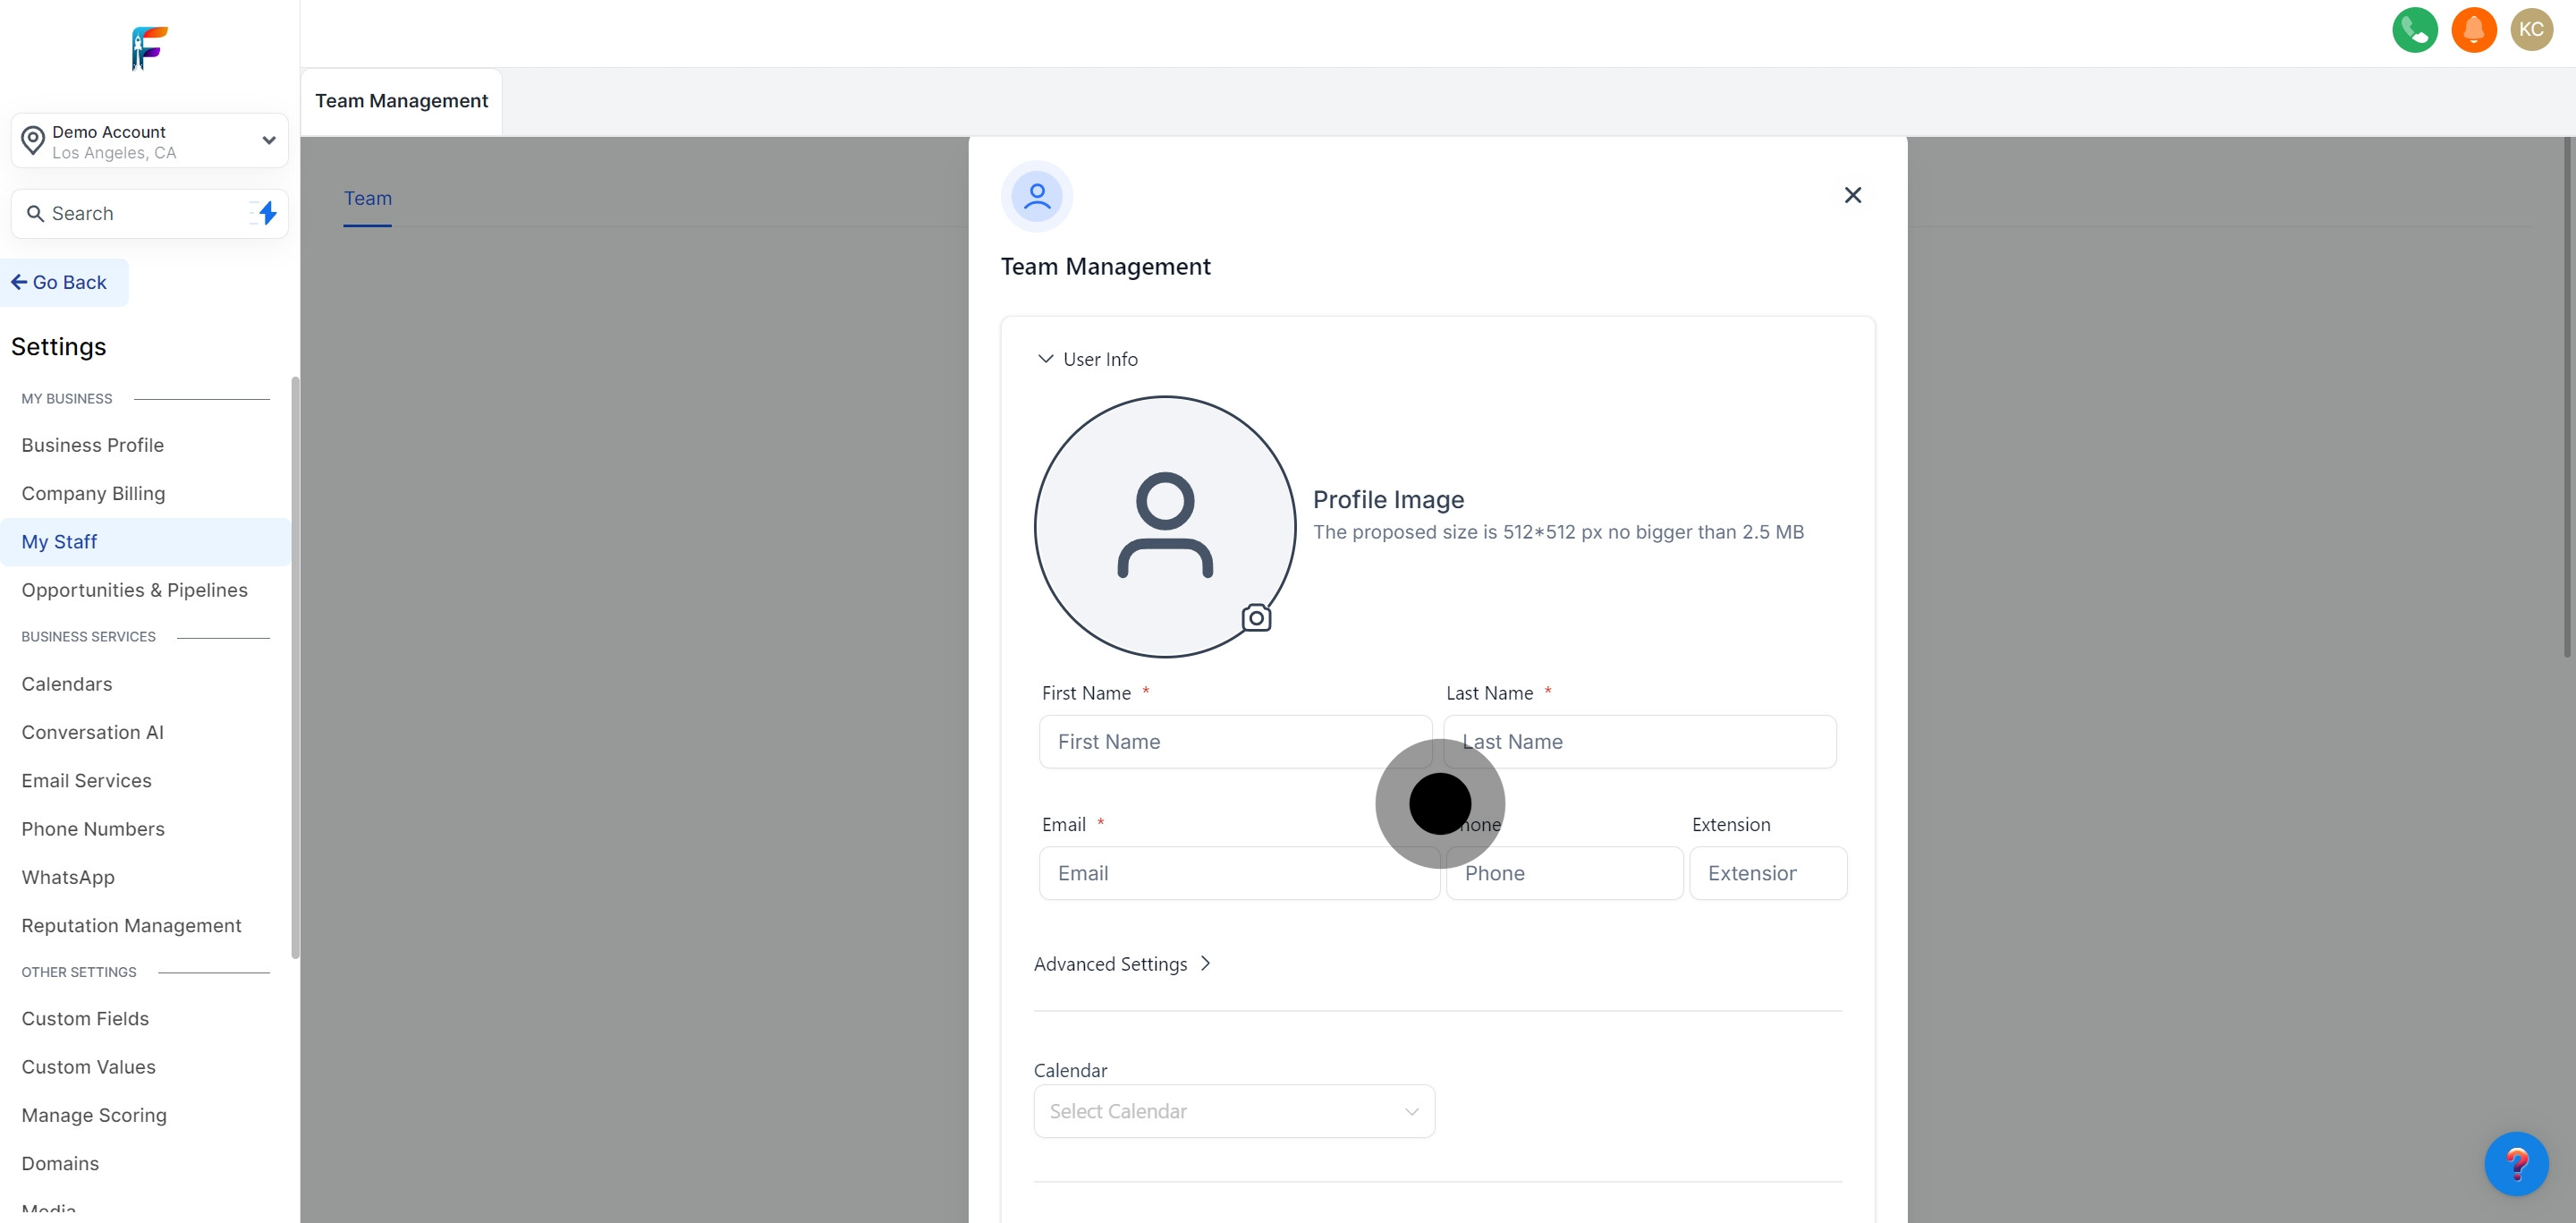
Access the option to change the profile image. This personalization helps in identifying the employee within the platform.
Enter the new hire's personal information in the provided fields. This typically includes name, contact details, and any other relevant data.
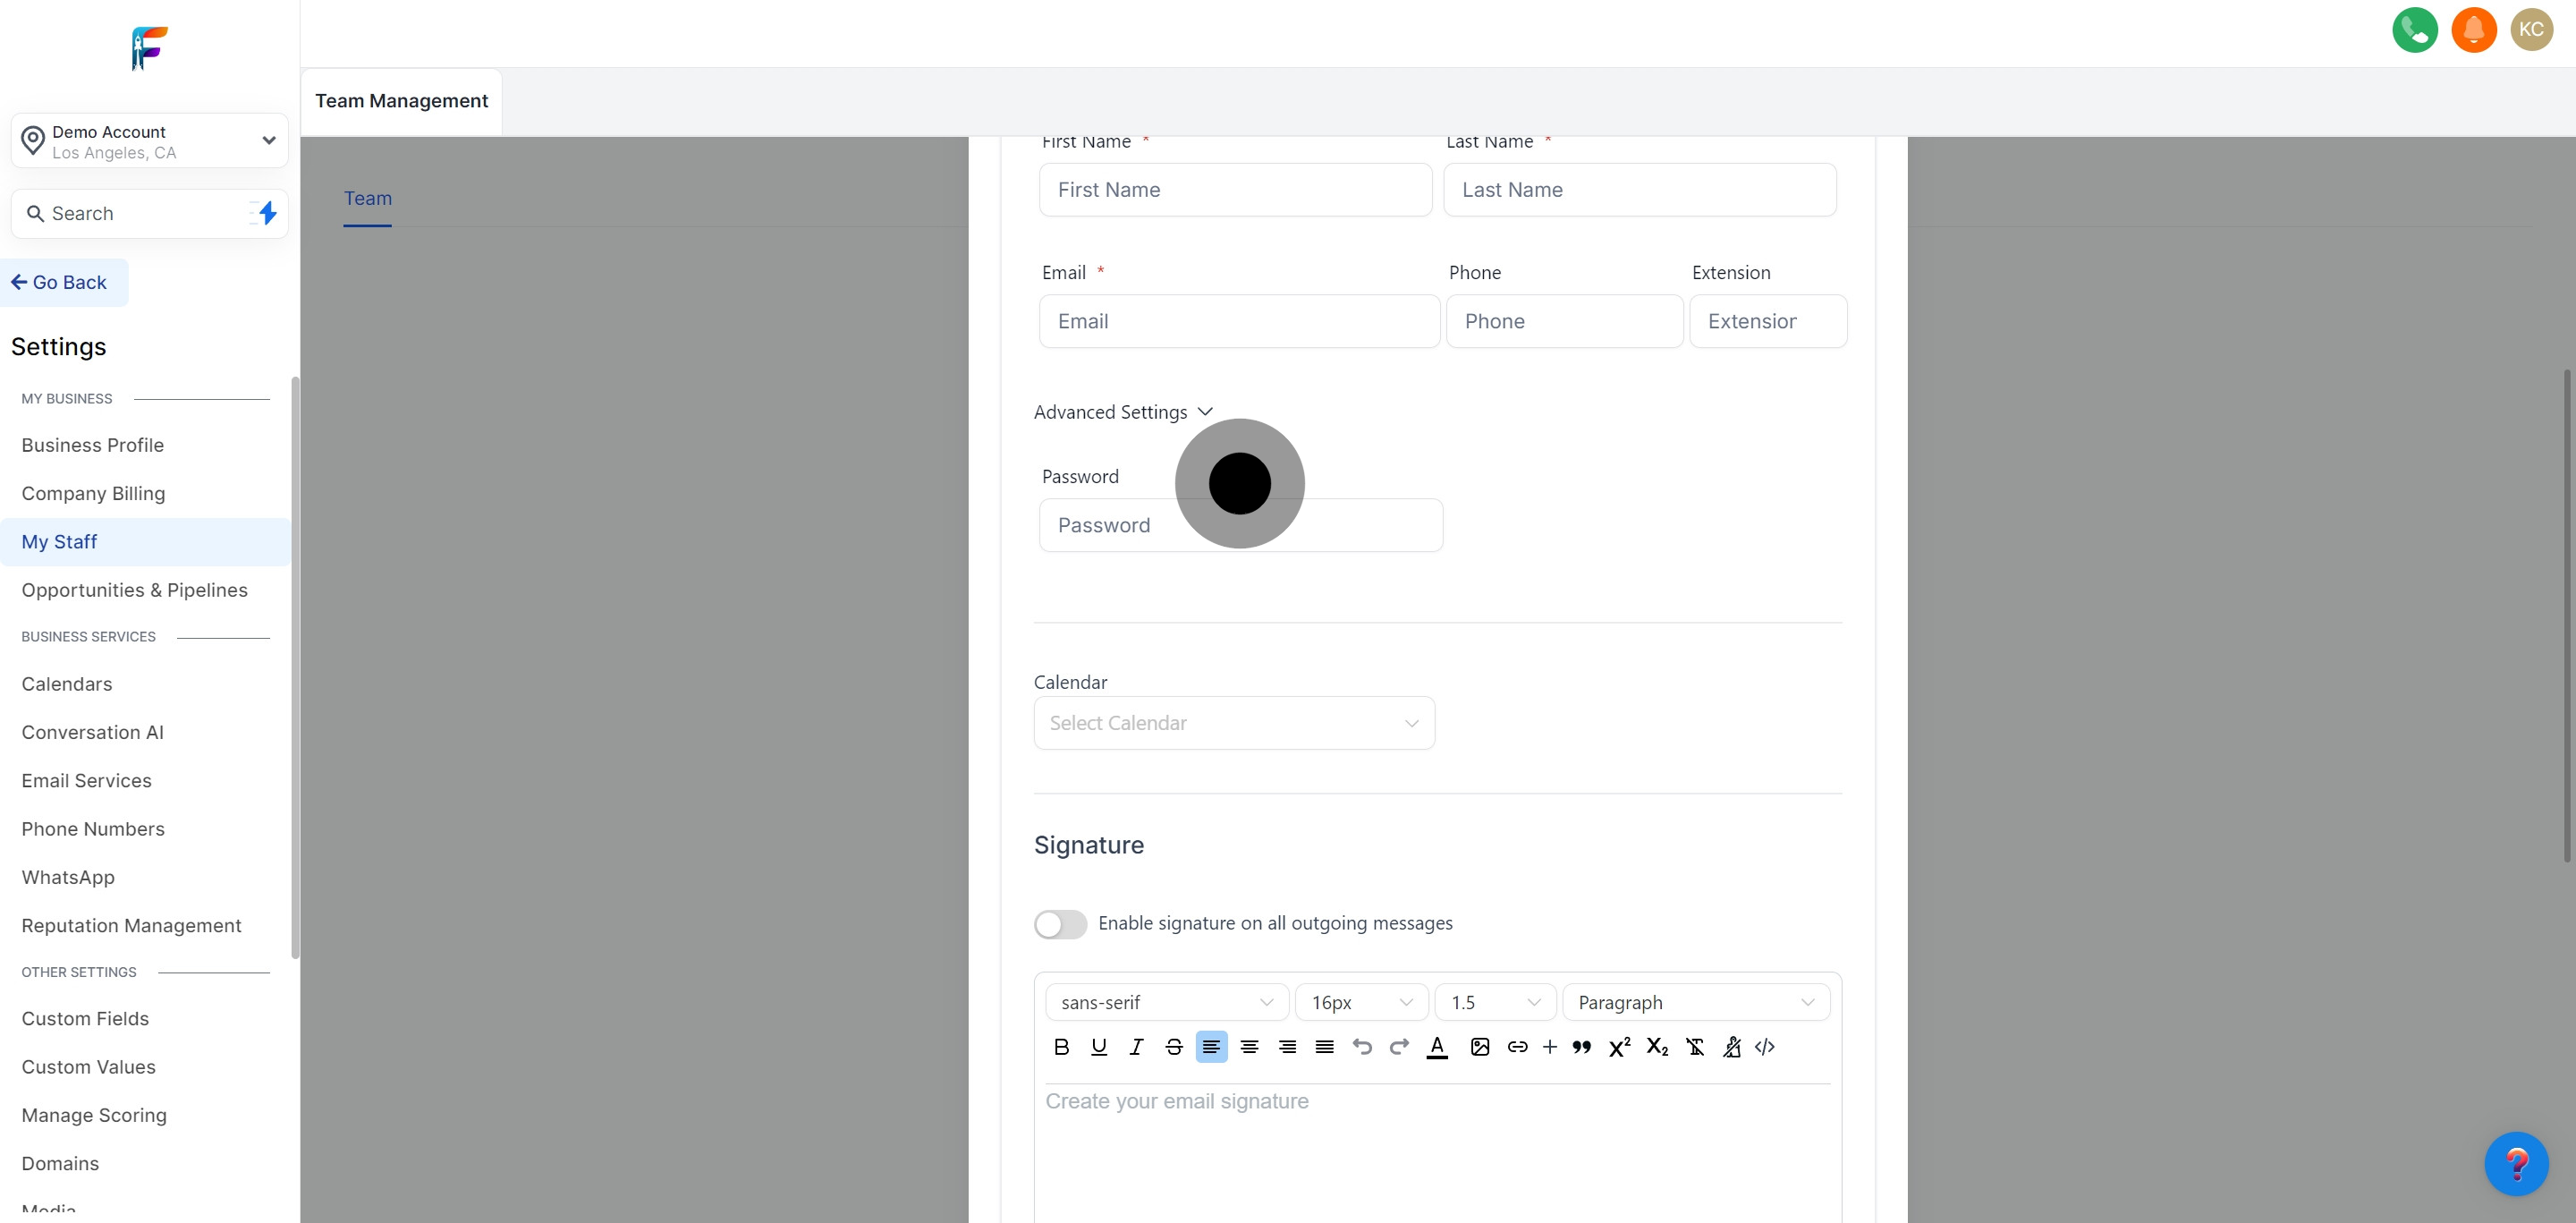
In the advanced settings, create a secure password for the employee’s account. Ensure it meets the security criteria set by Pest AI.
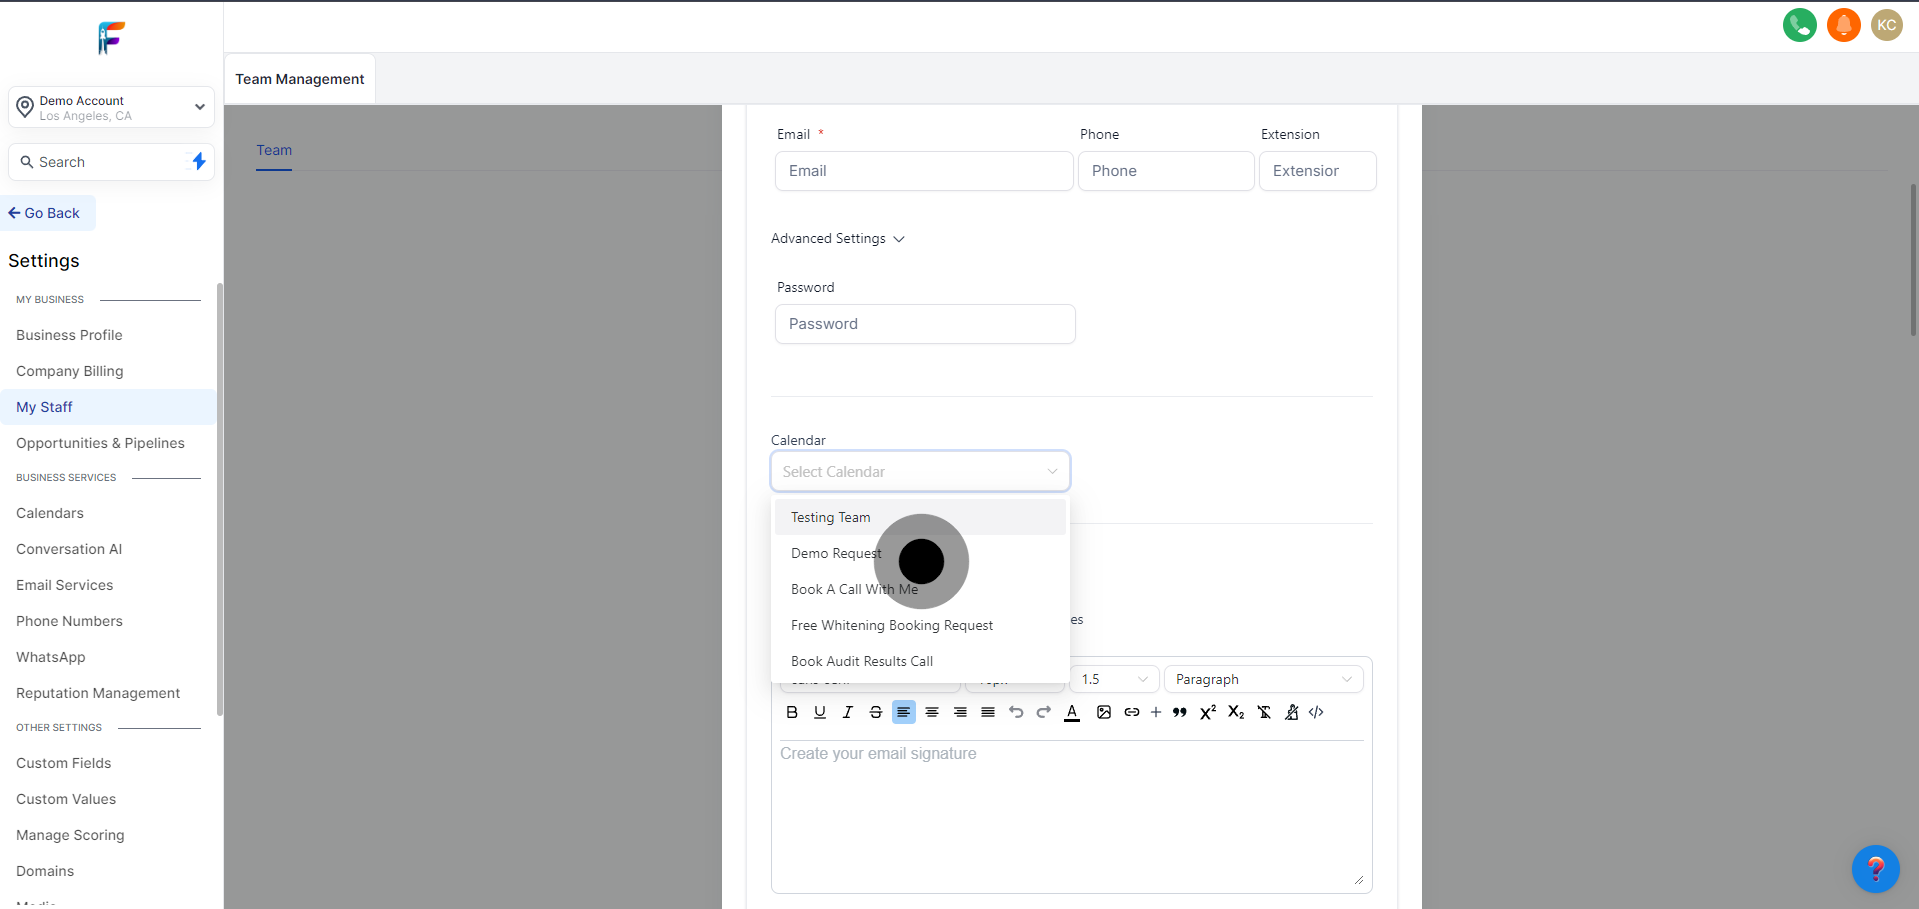
Define the purpose and settings for the employee's calendar. This may involve setting up meeting types, availability, and other preferences.
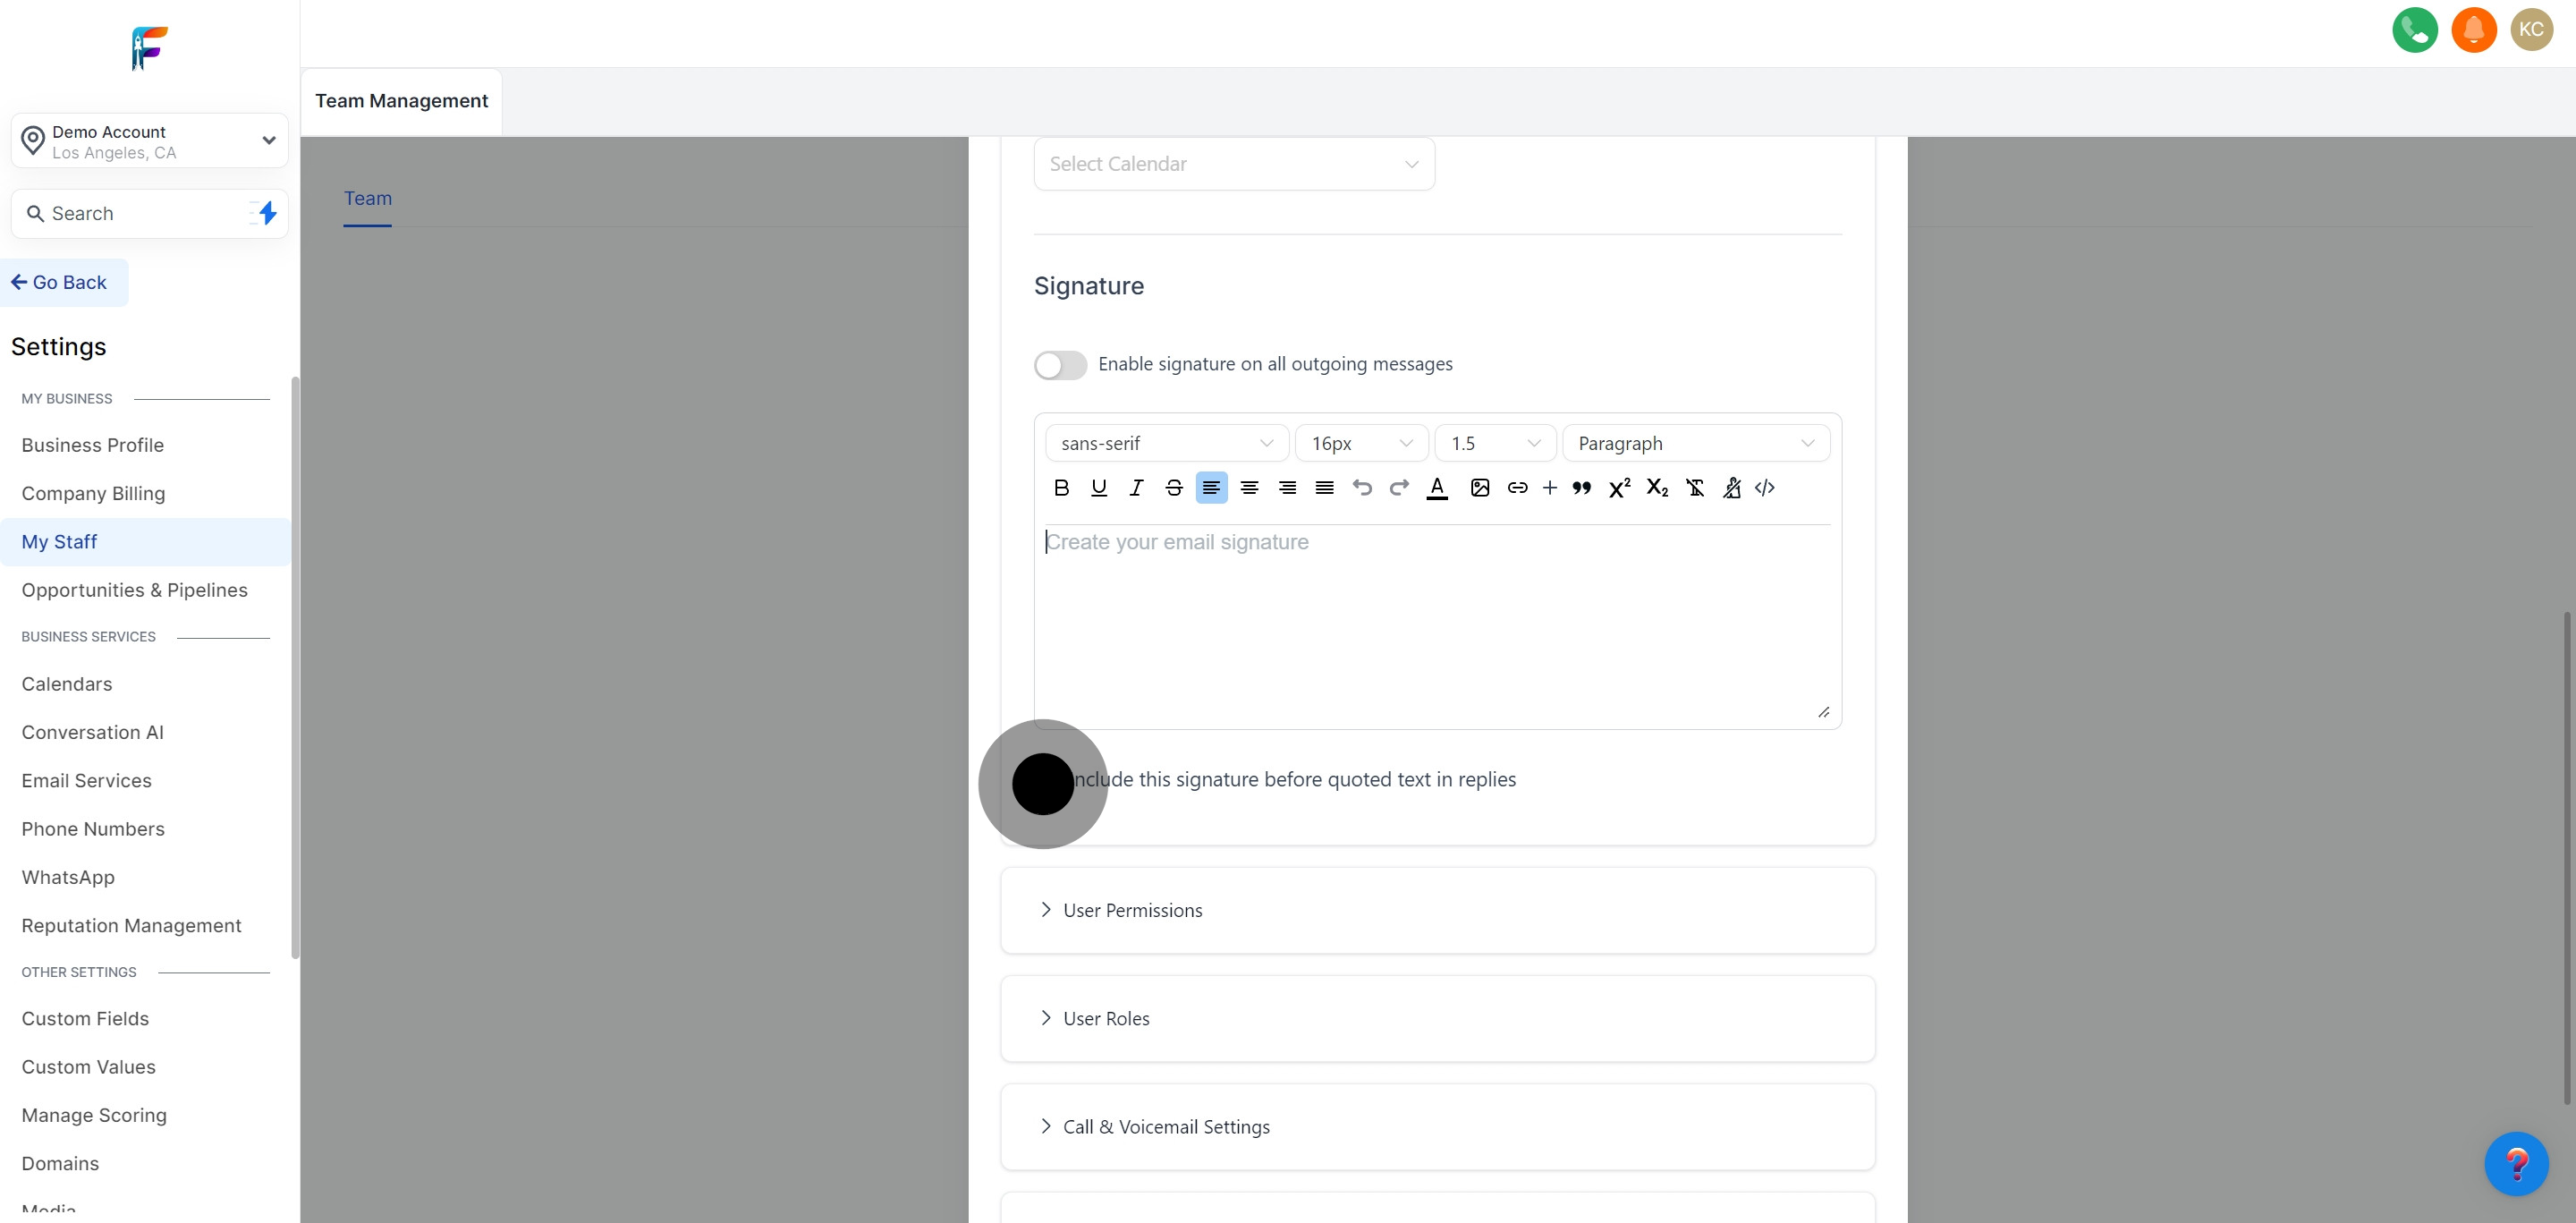
Opt to include an email signature for all outgoing messages sent by the employee. This ensures consistency across your team’s communications.
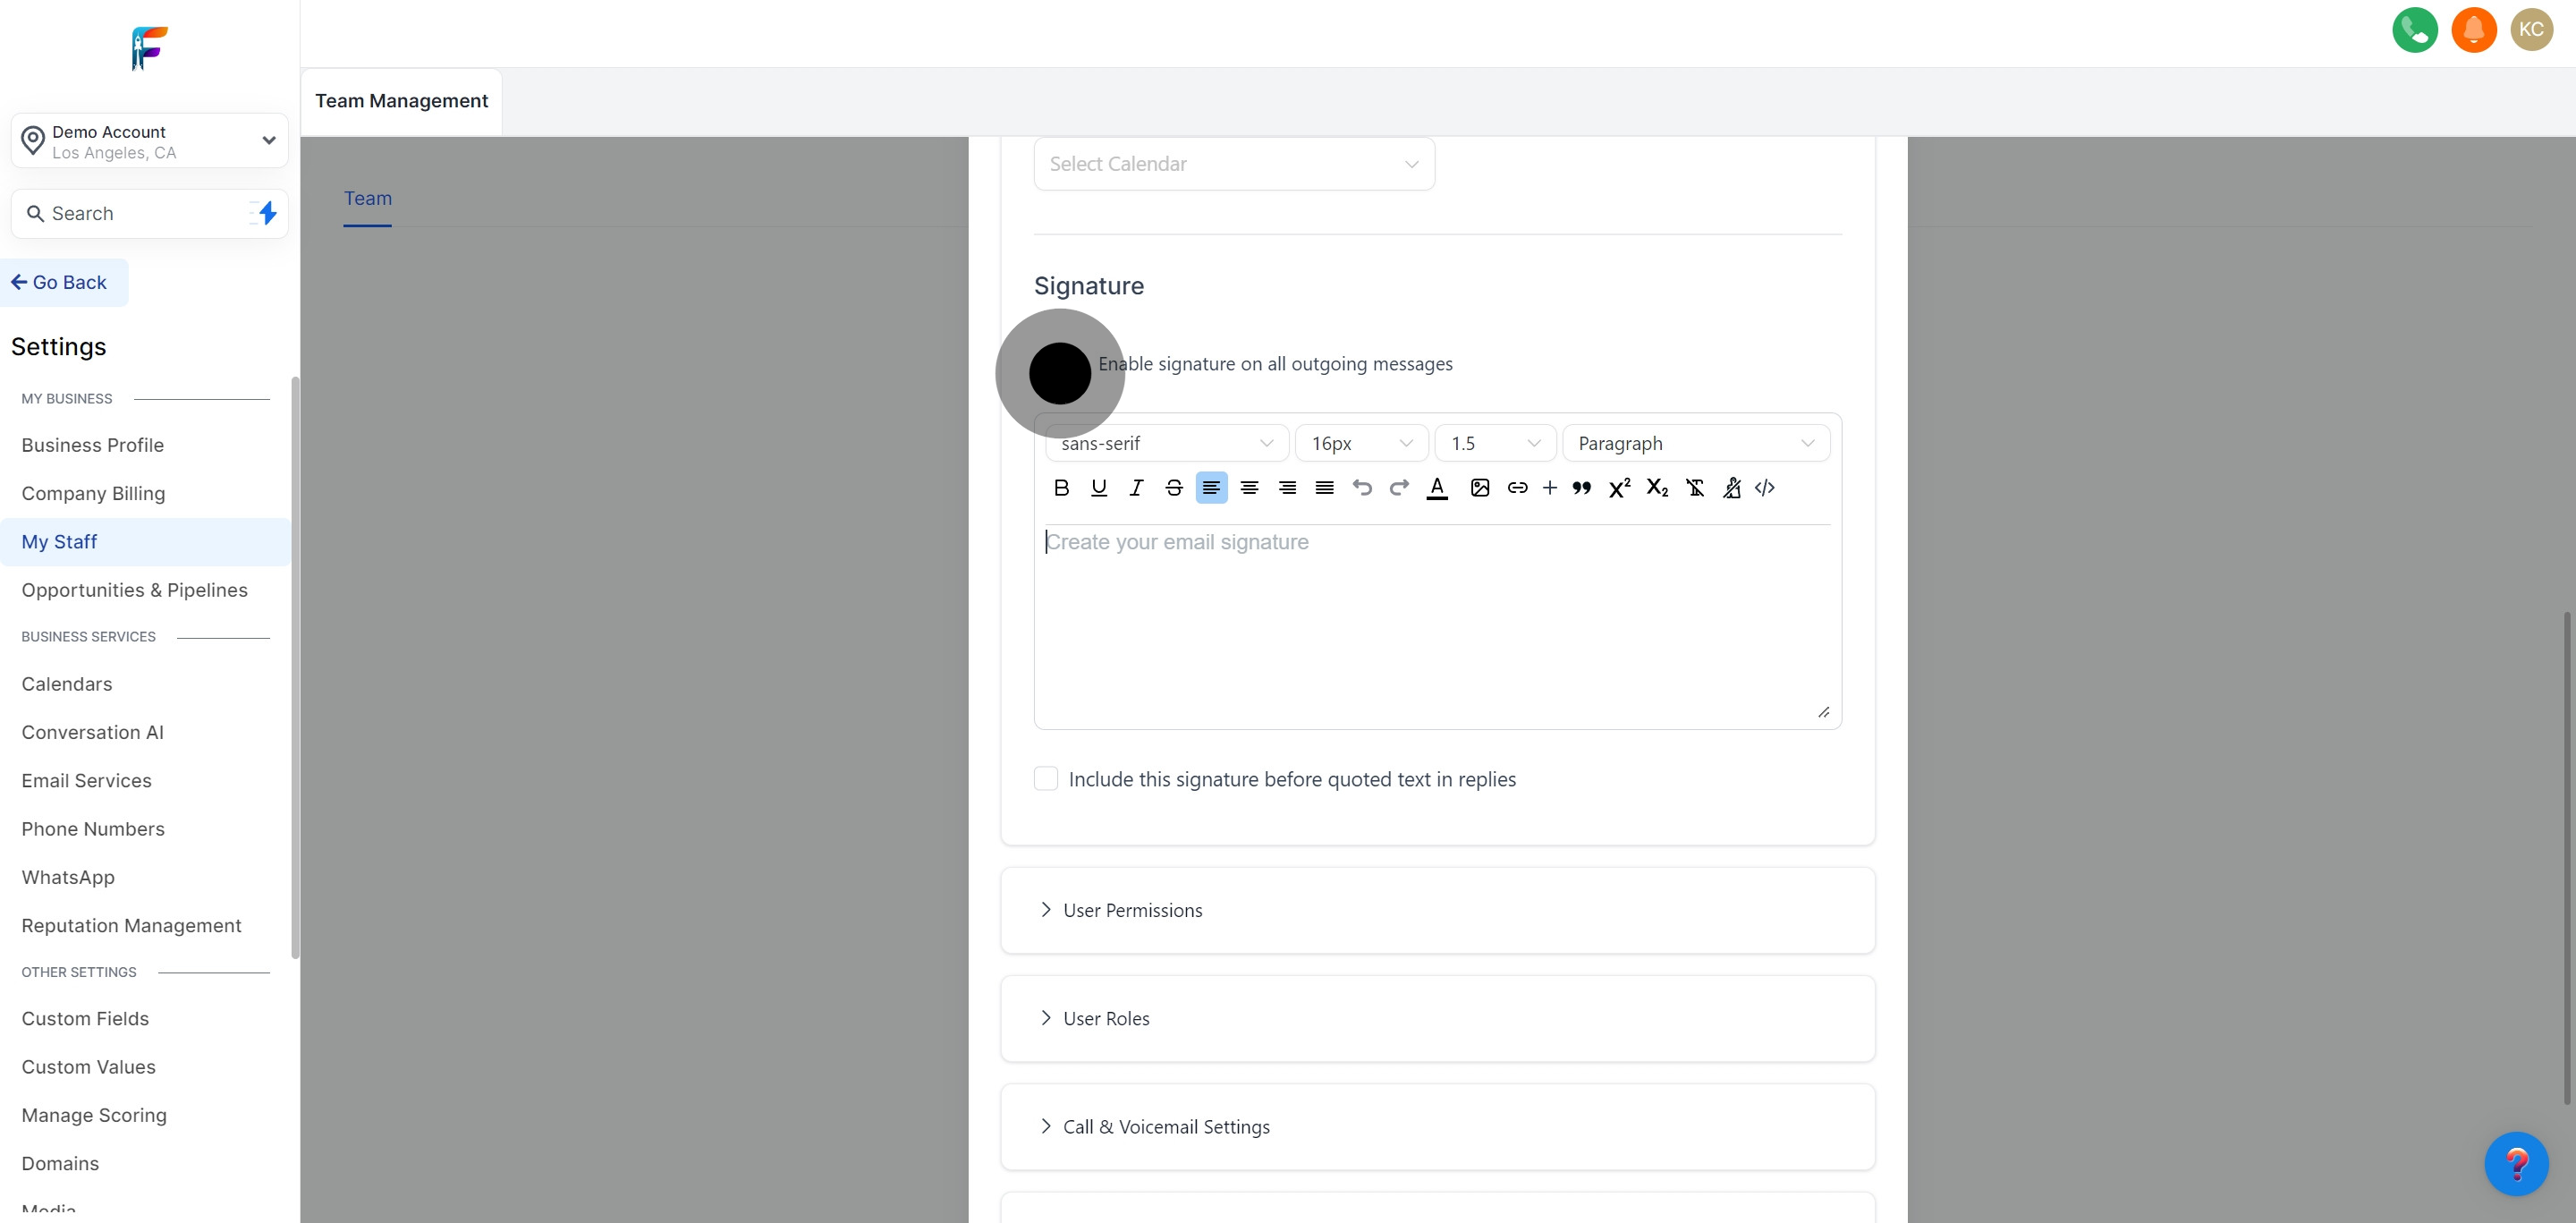
Enter the preferred email signature in the designated area. This can include contact information, position, and any legal disclaimers.
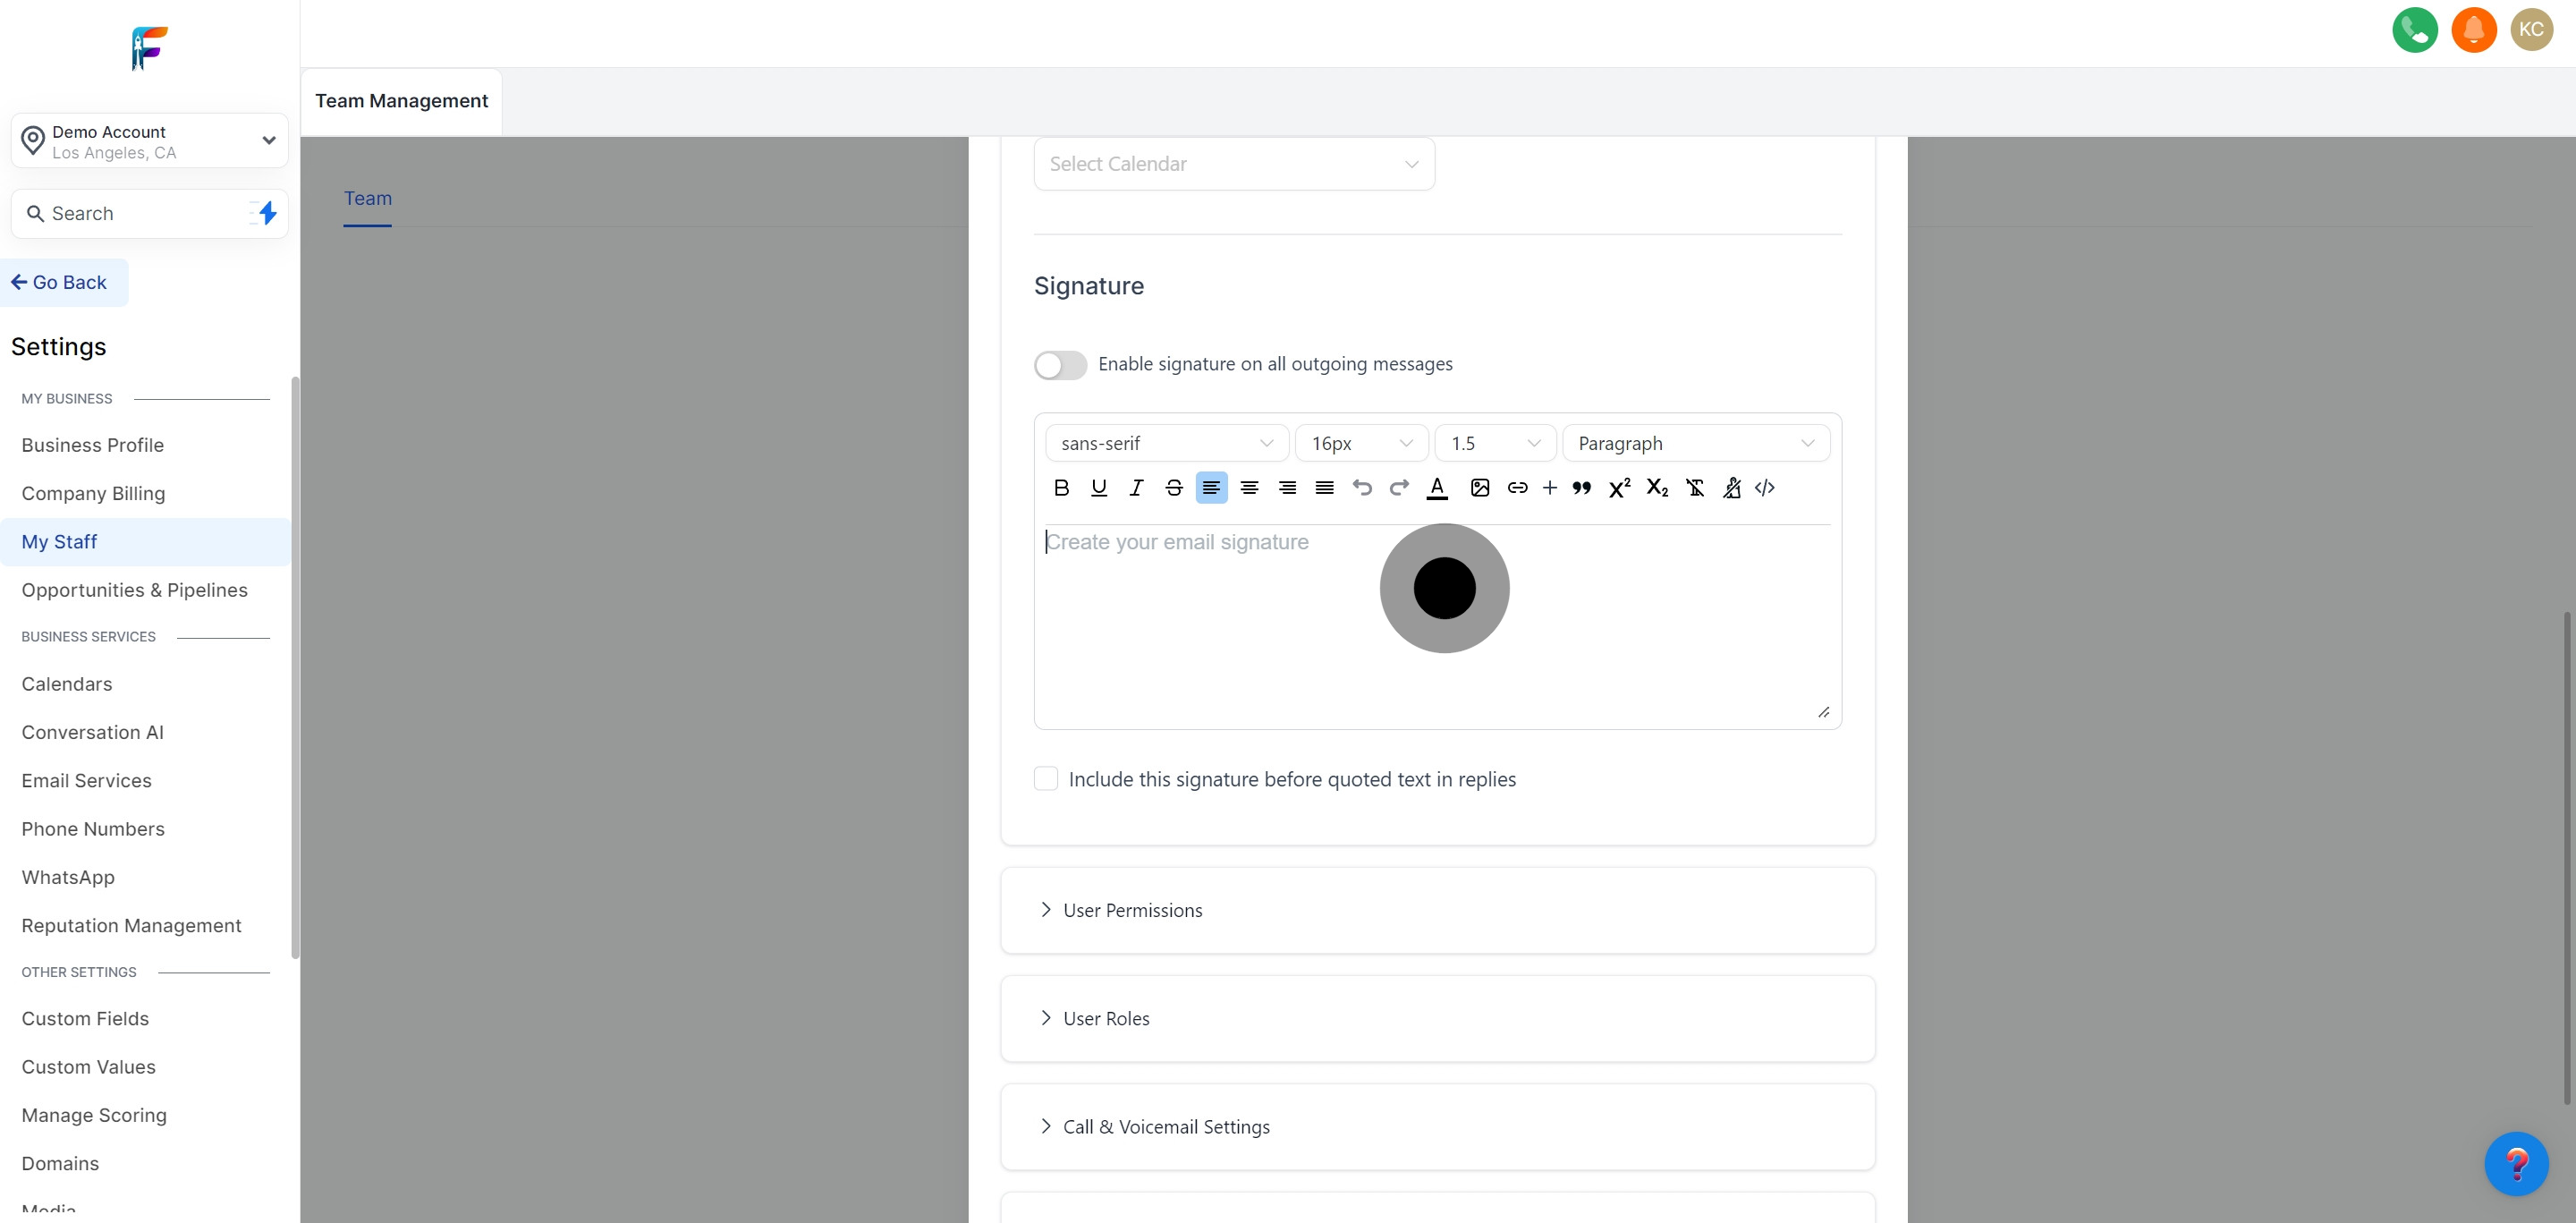
Set the option to add the signature before quoted text in email responses. This improves the readability of your employee's communications.
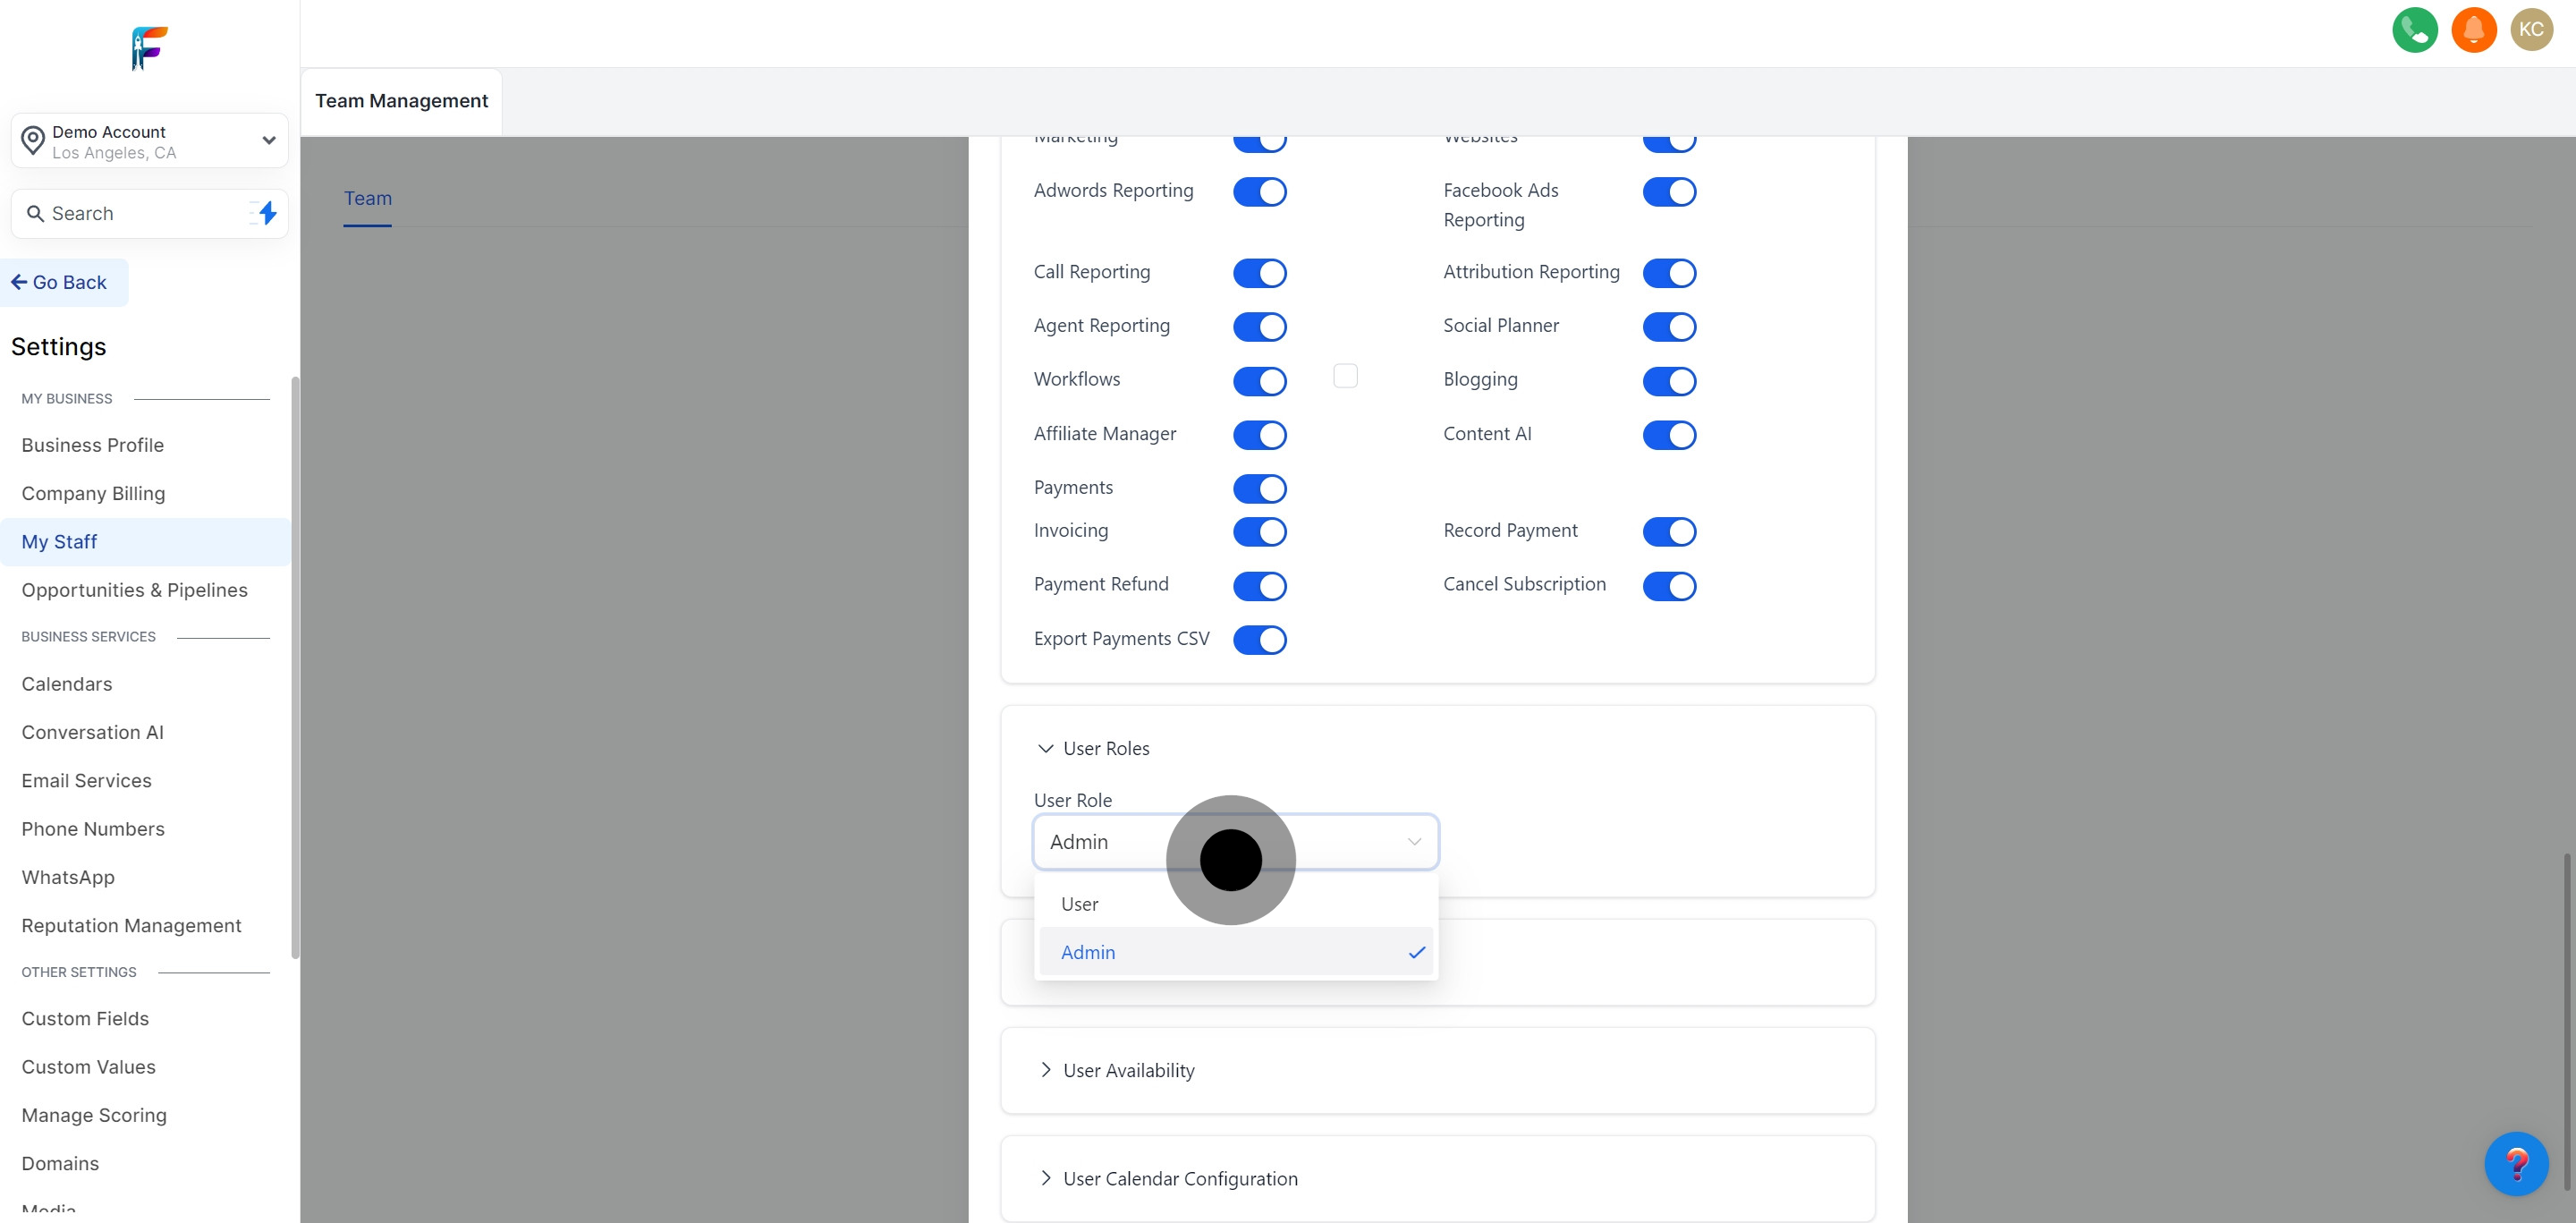
Explore and adjust additional customization options under User Permissions. This defines what the employee can access and modify within Pest AI.
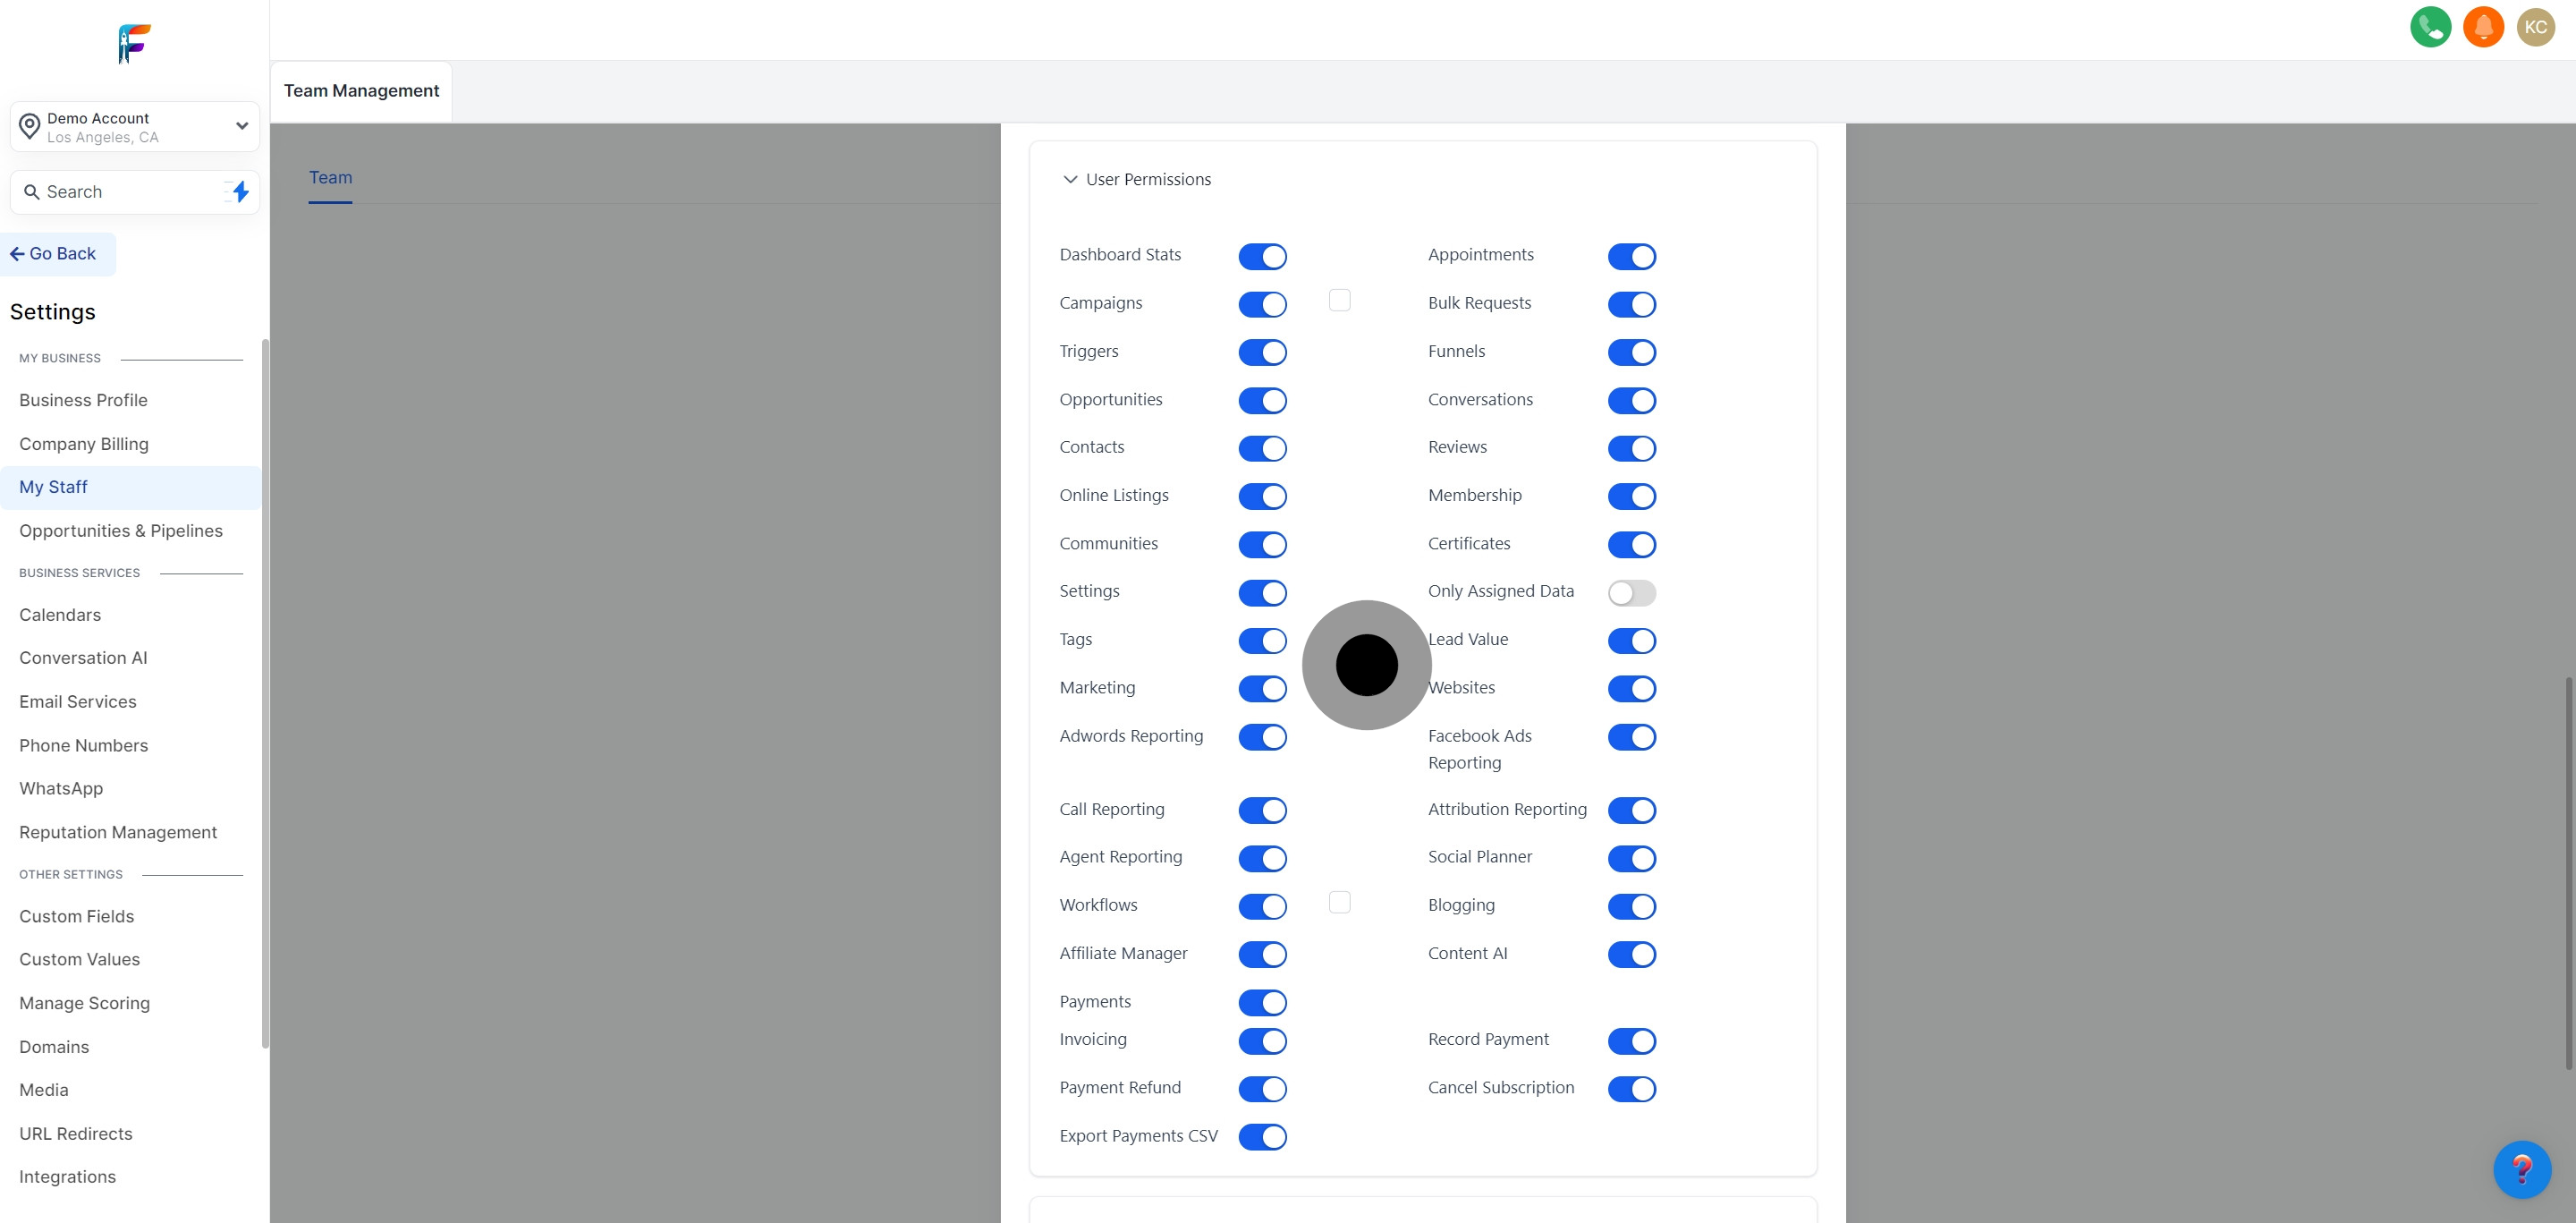
In the specified section, update the user roles according to the employee’s responsibilities and your organization's hierarchy.
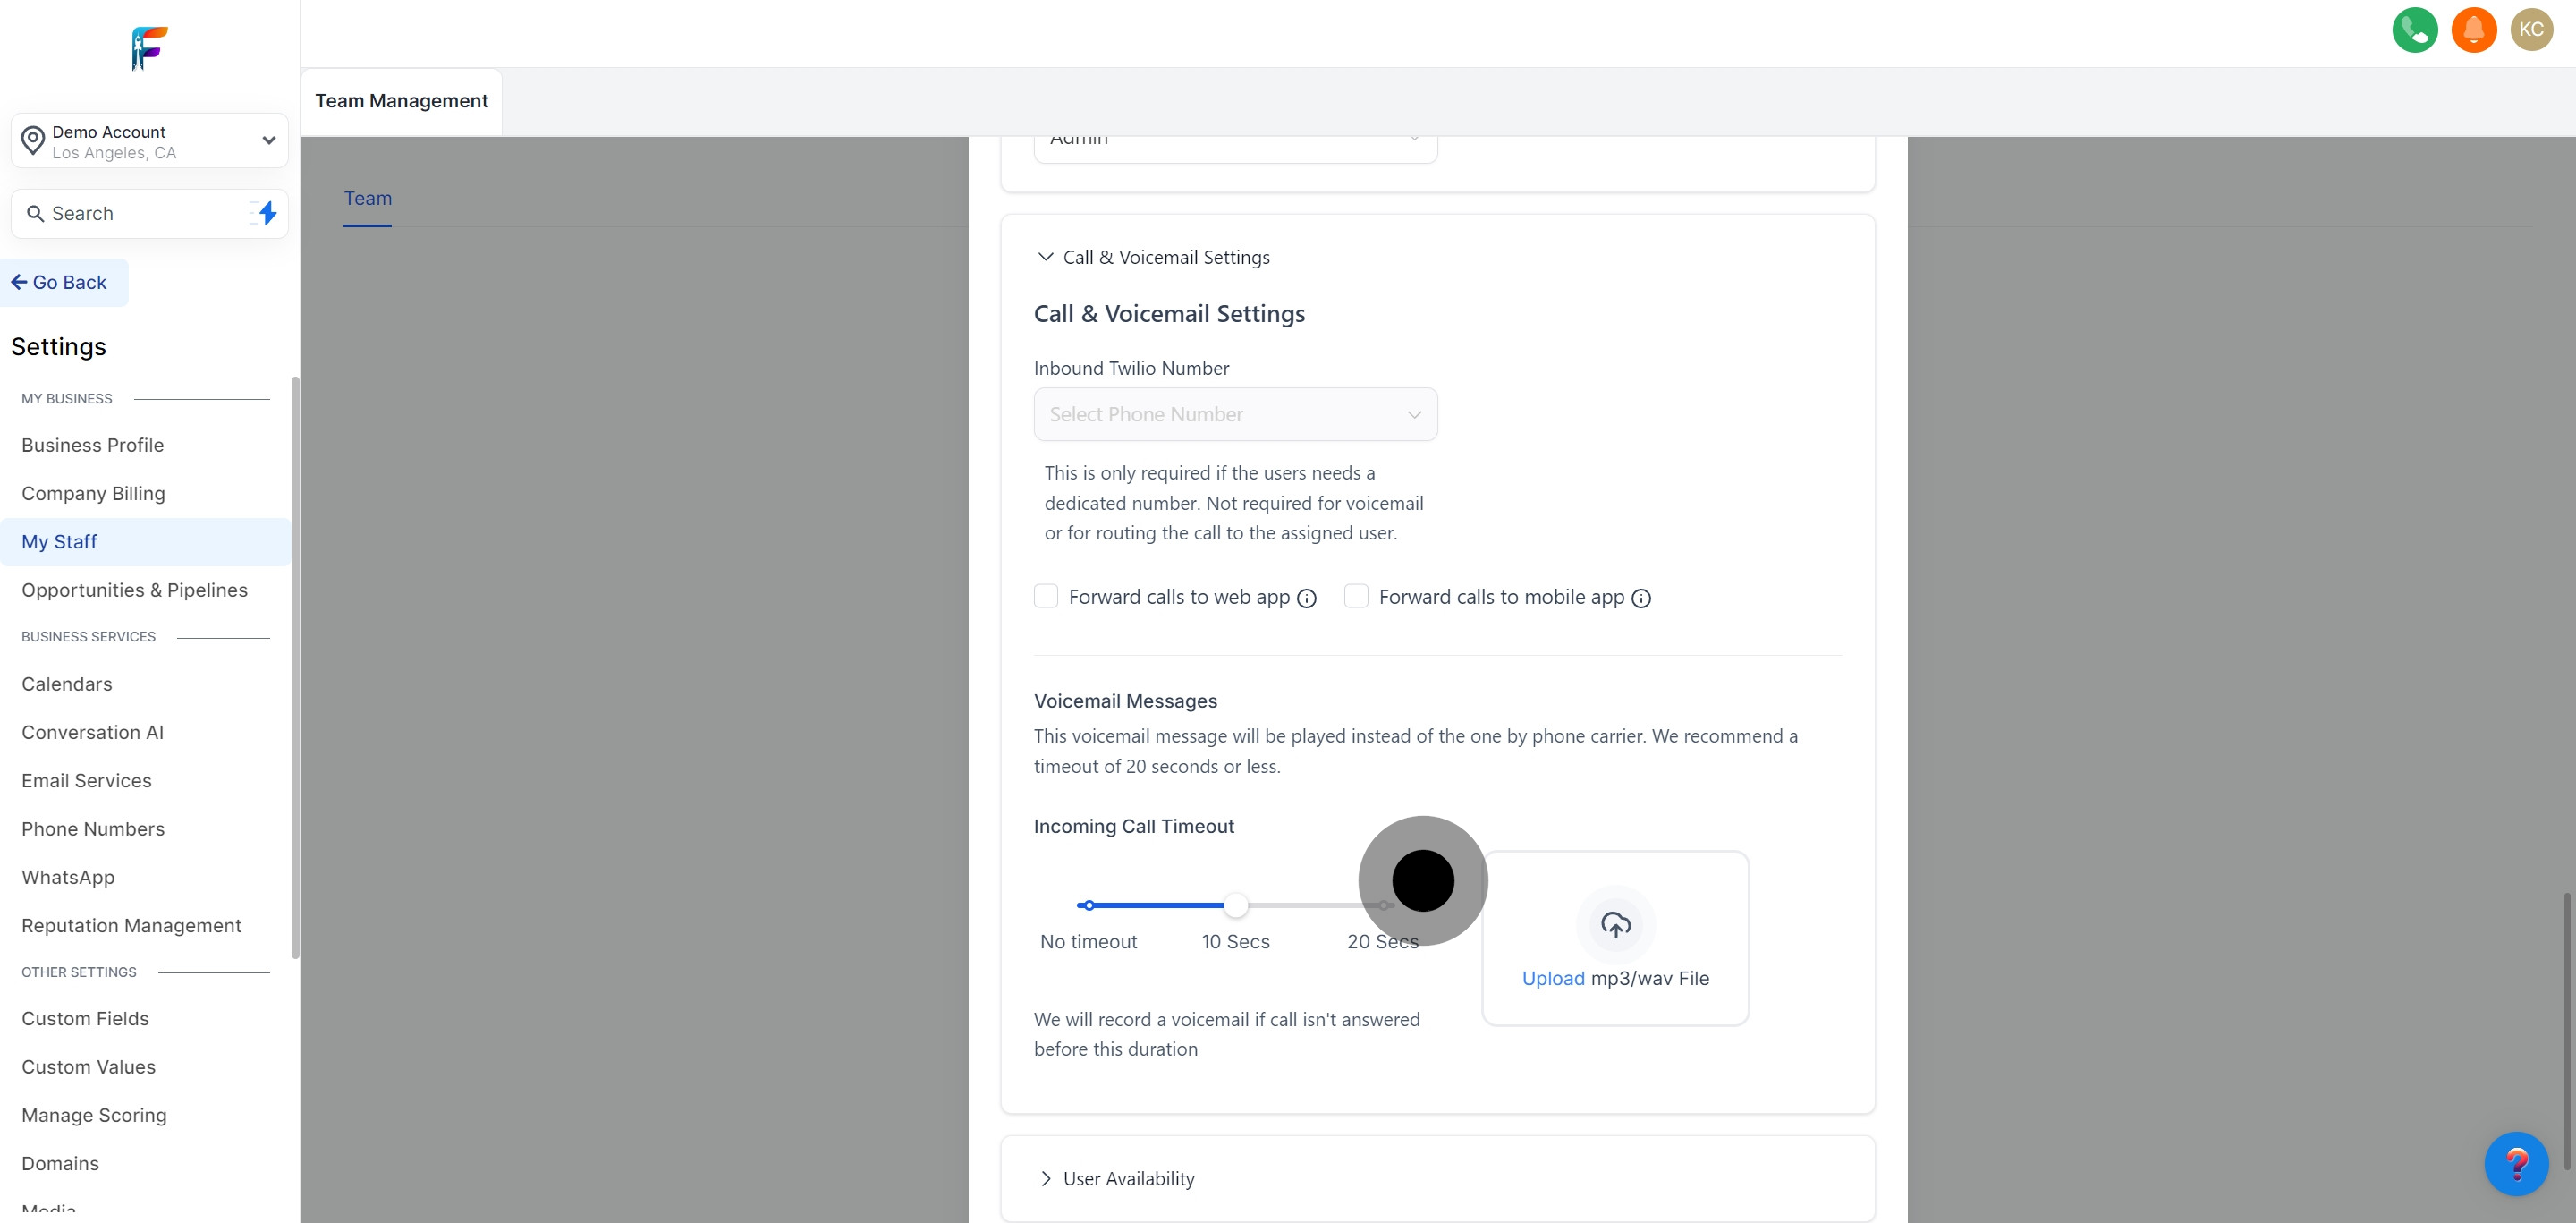
If preferred, select a custom Twilio number for the employee. This might be used for dedicated client communications or specific functions.

Decide where the incoming calls should be forwarded to. This ensures the employee can be reached as needed.

Create a custom voicemail message for incoming calls, which can include a greeting and instructions for callers.
Choose the default location for meetings set by this employee. This can streamline the scheduling process.
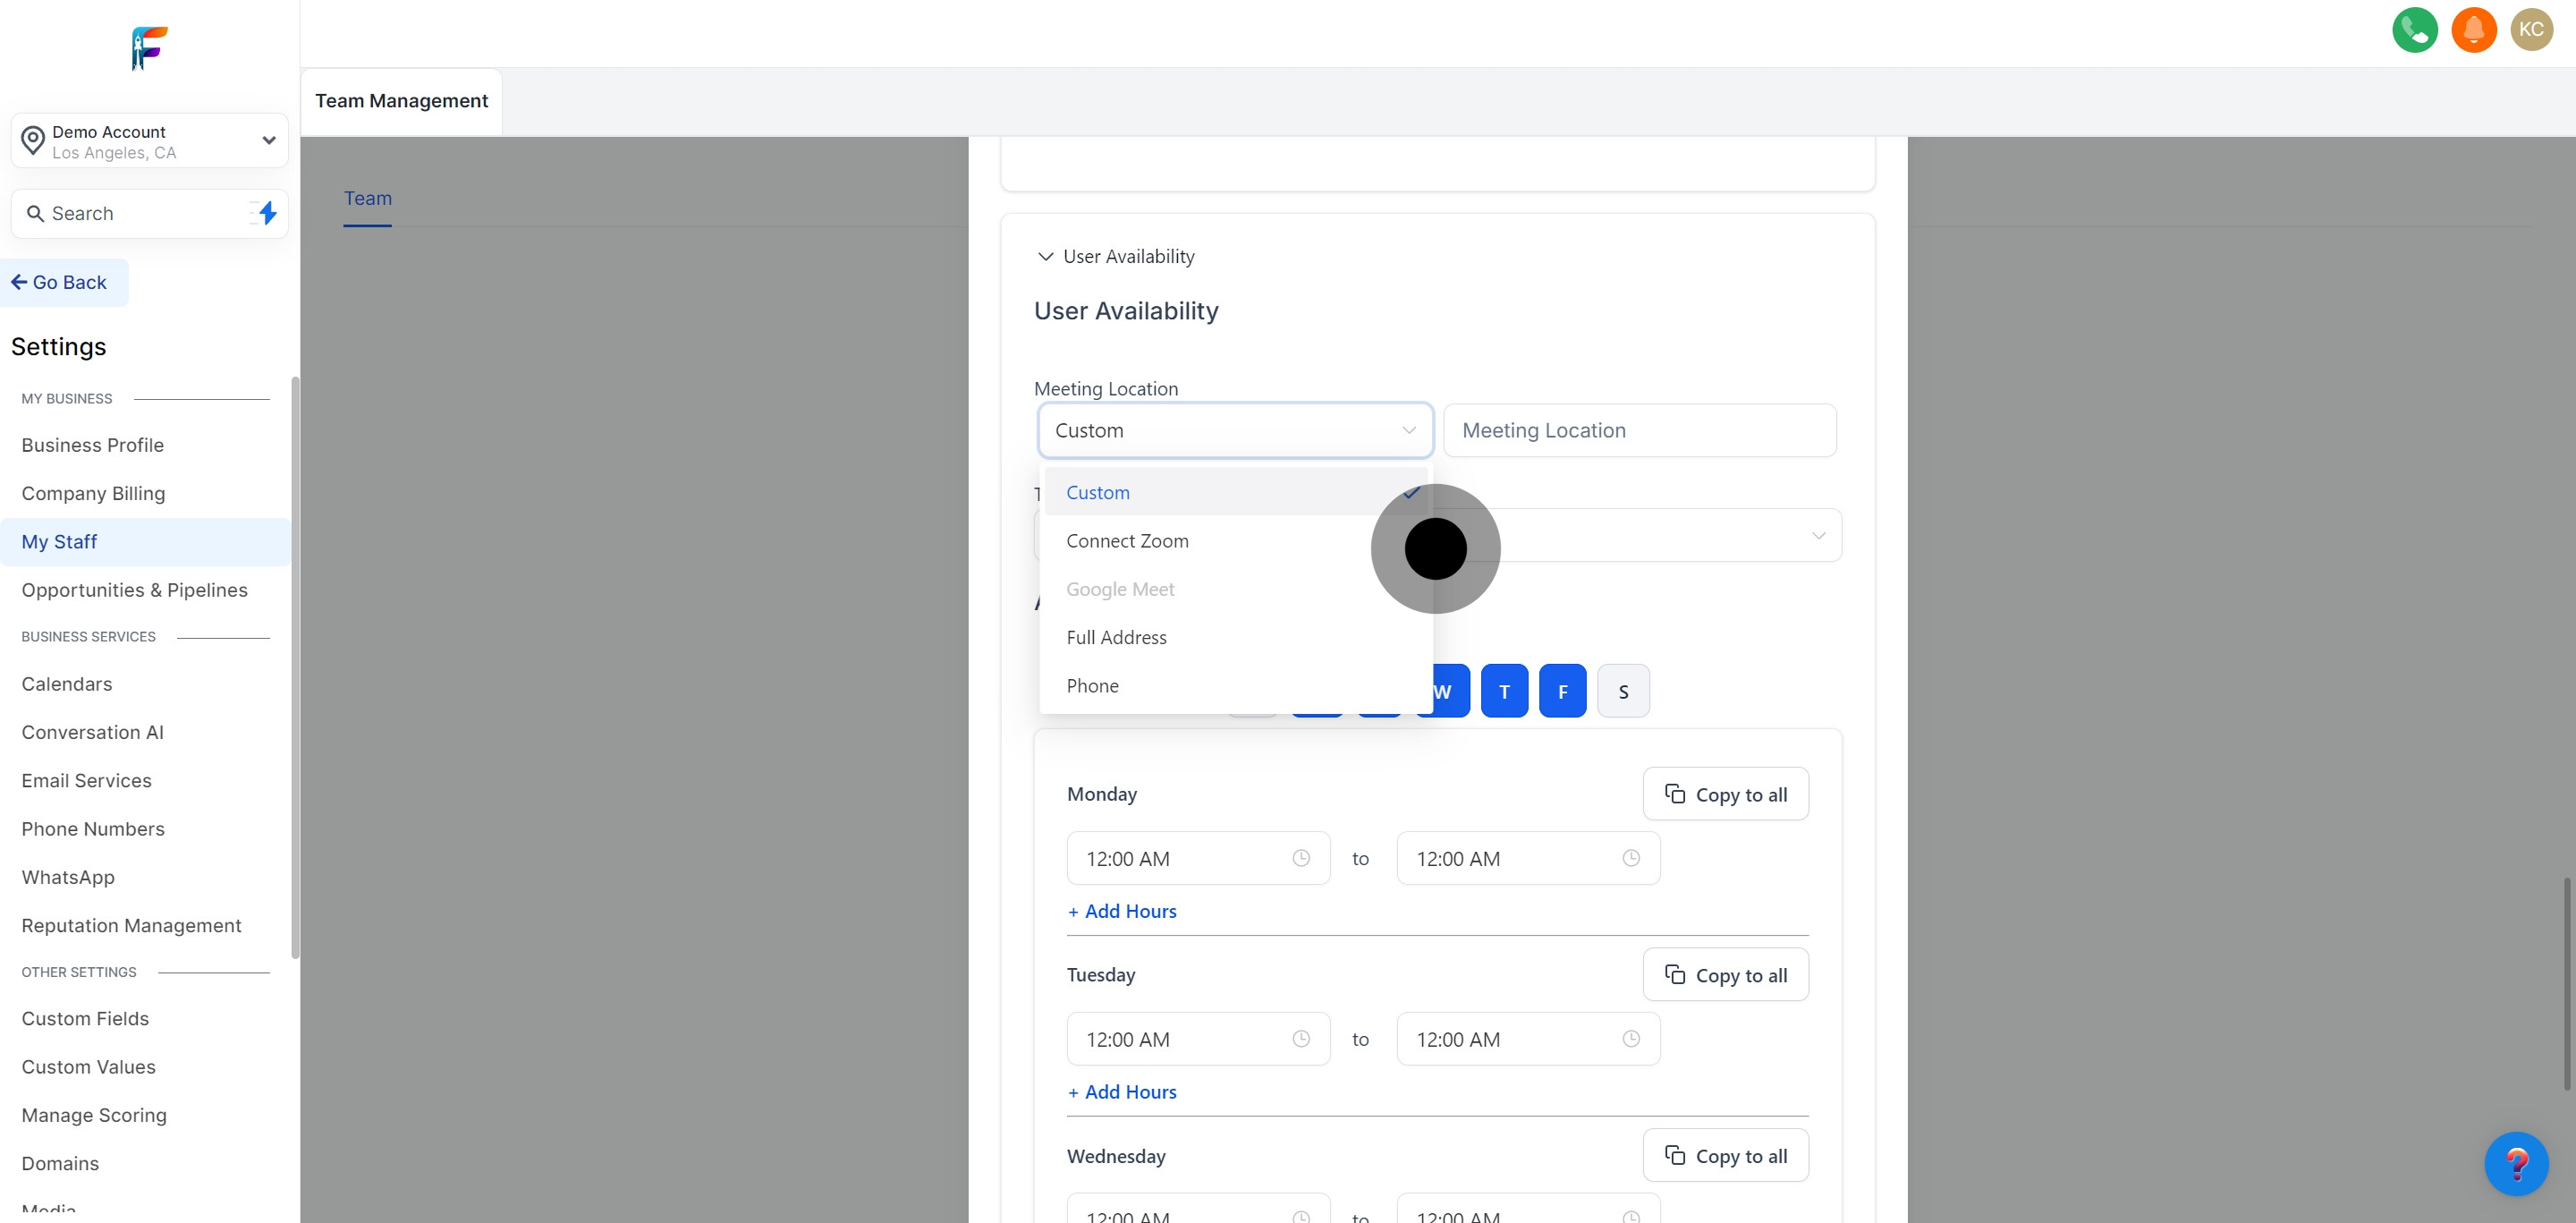
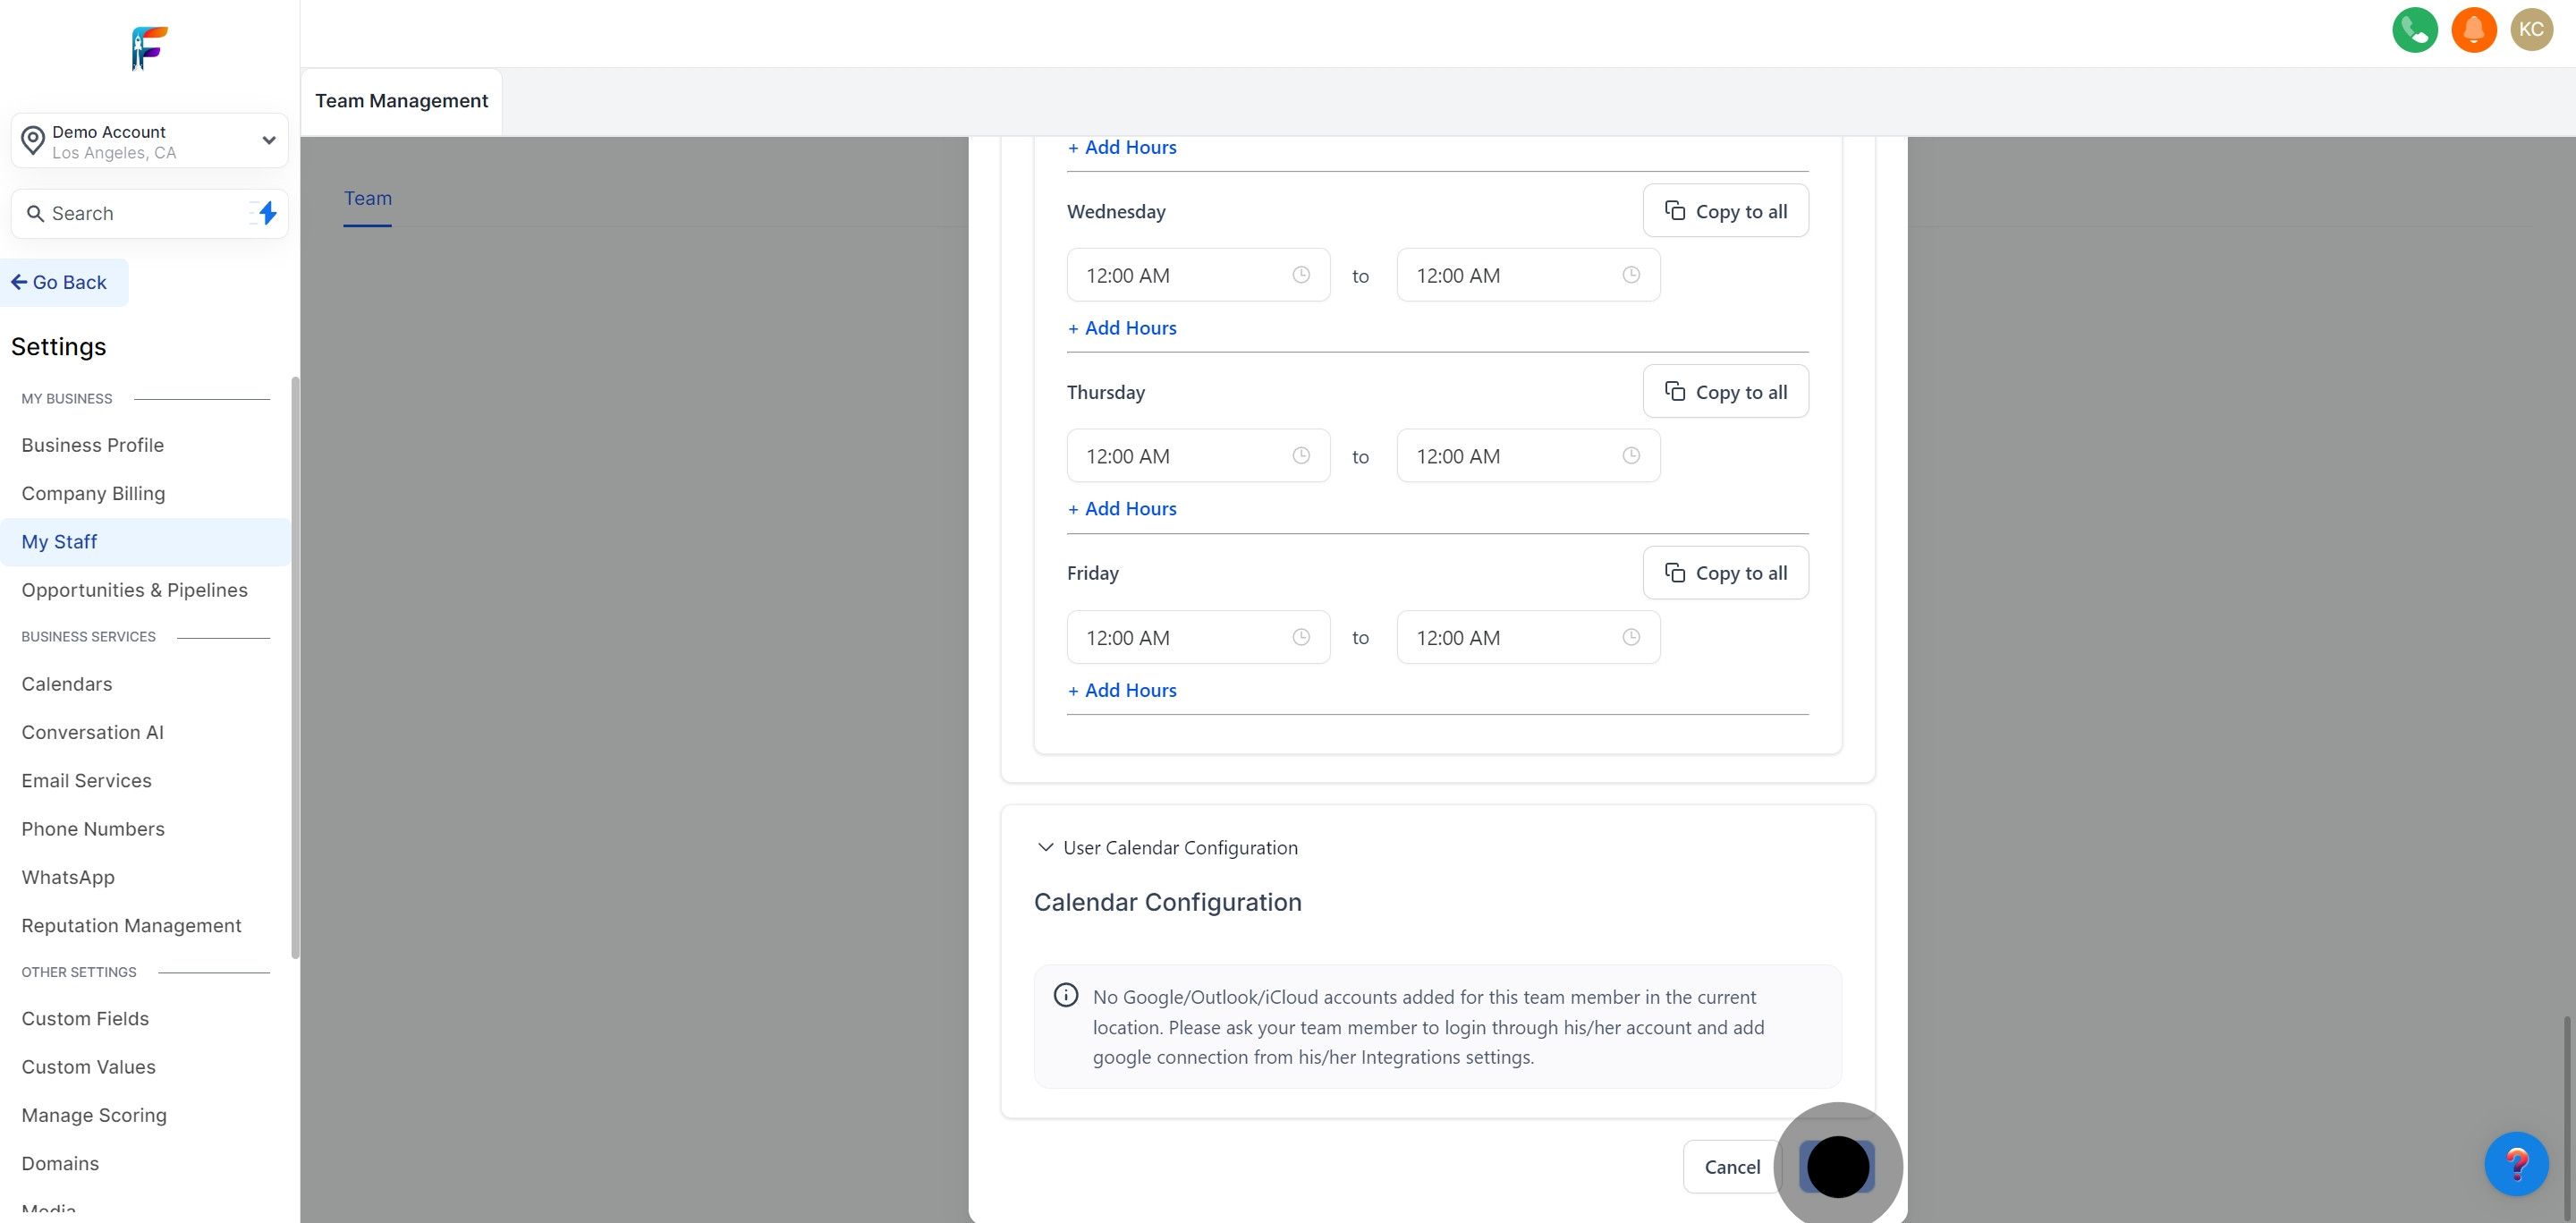
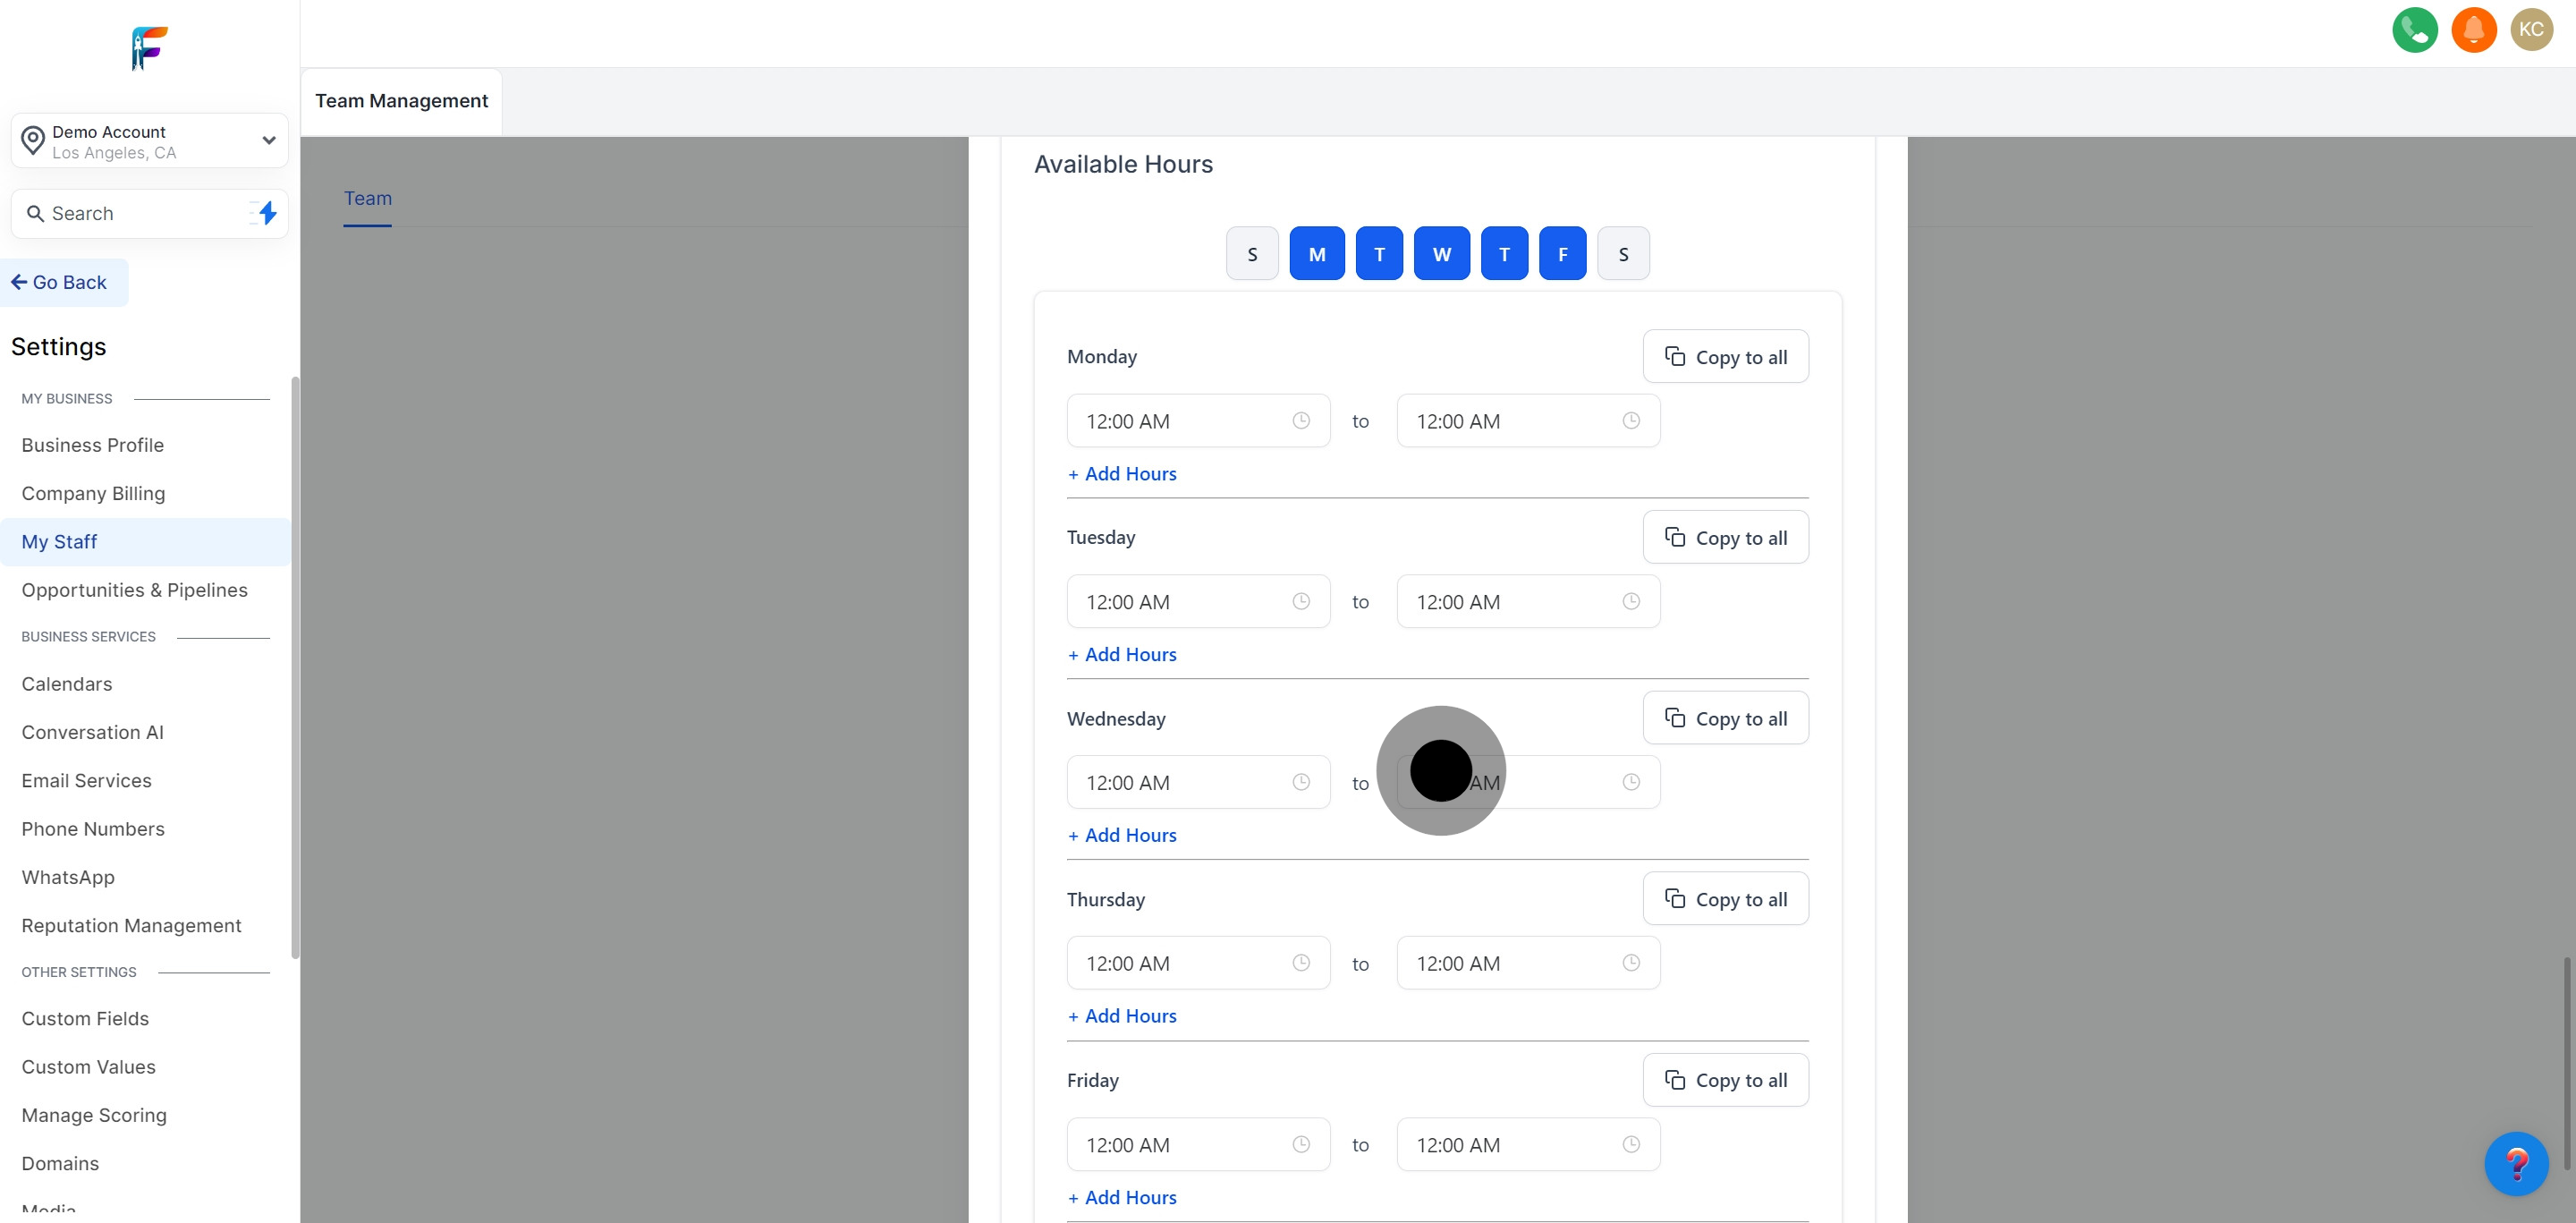
Specify the employee’s availability by selecting the days of the week they are available to work or meet.
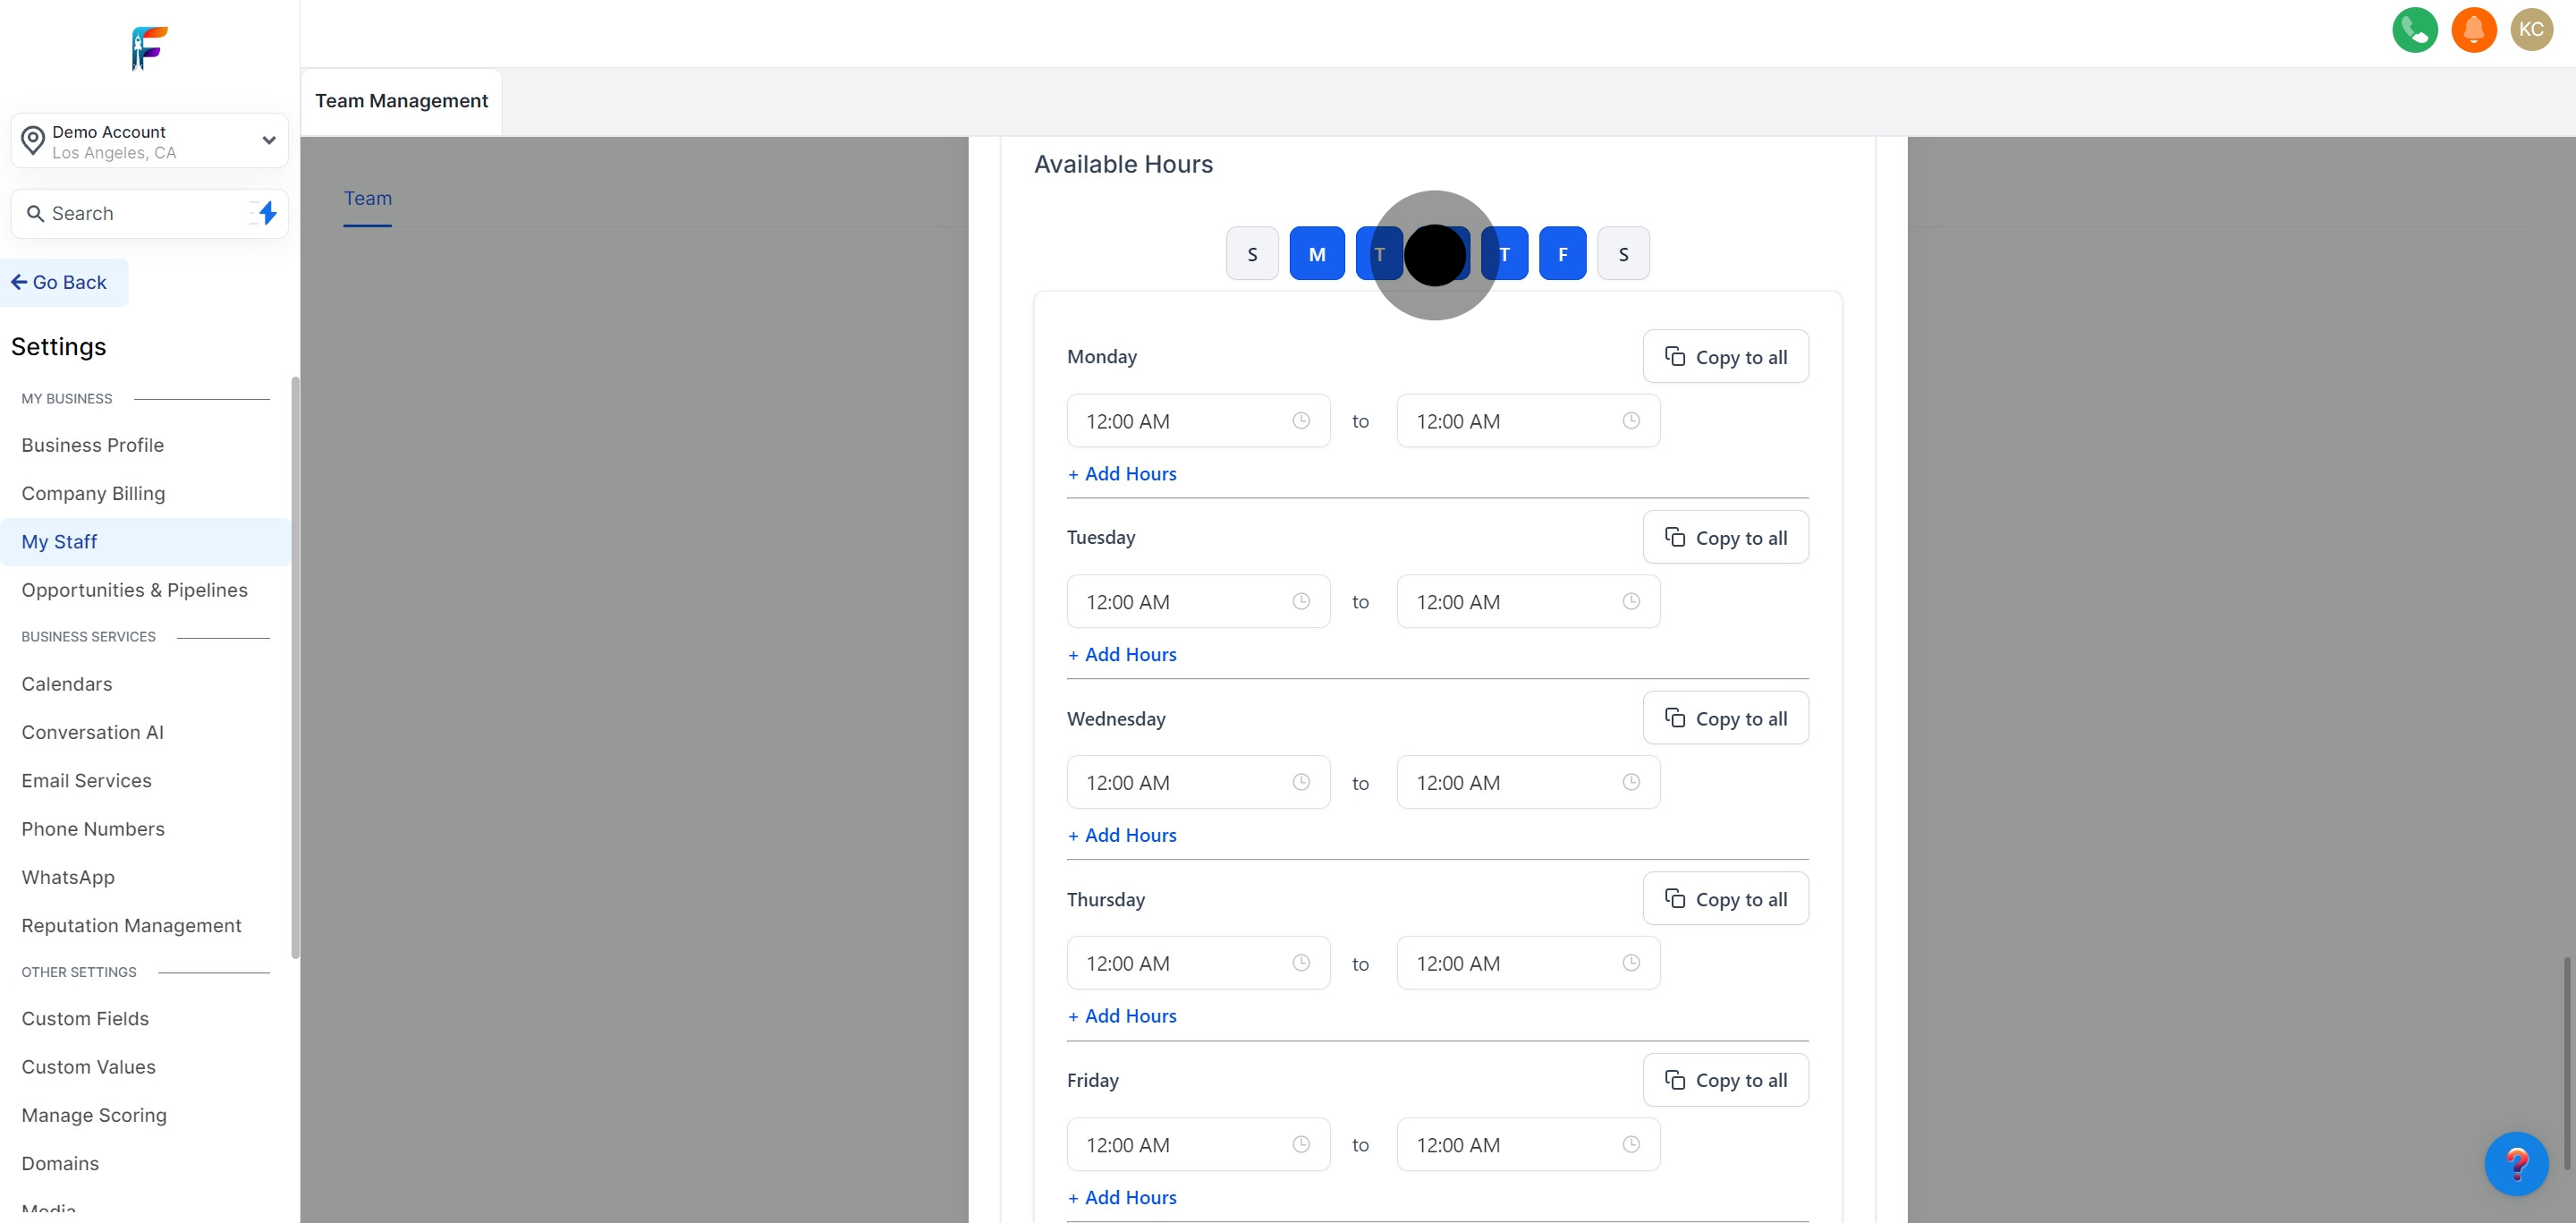
For each selected day, set specific availability parameters.
If necessary, configure an additional calendar (Google, Outlook, or iCloud) for the employee. This helps in managing their schedule seamlessly across platforms.
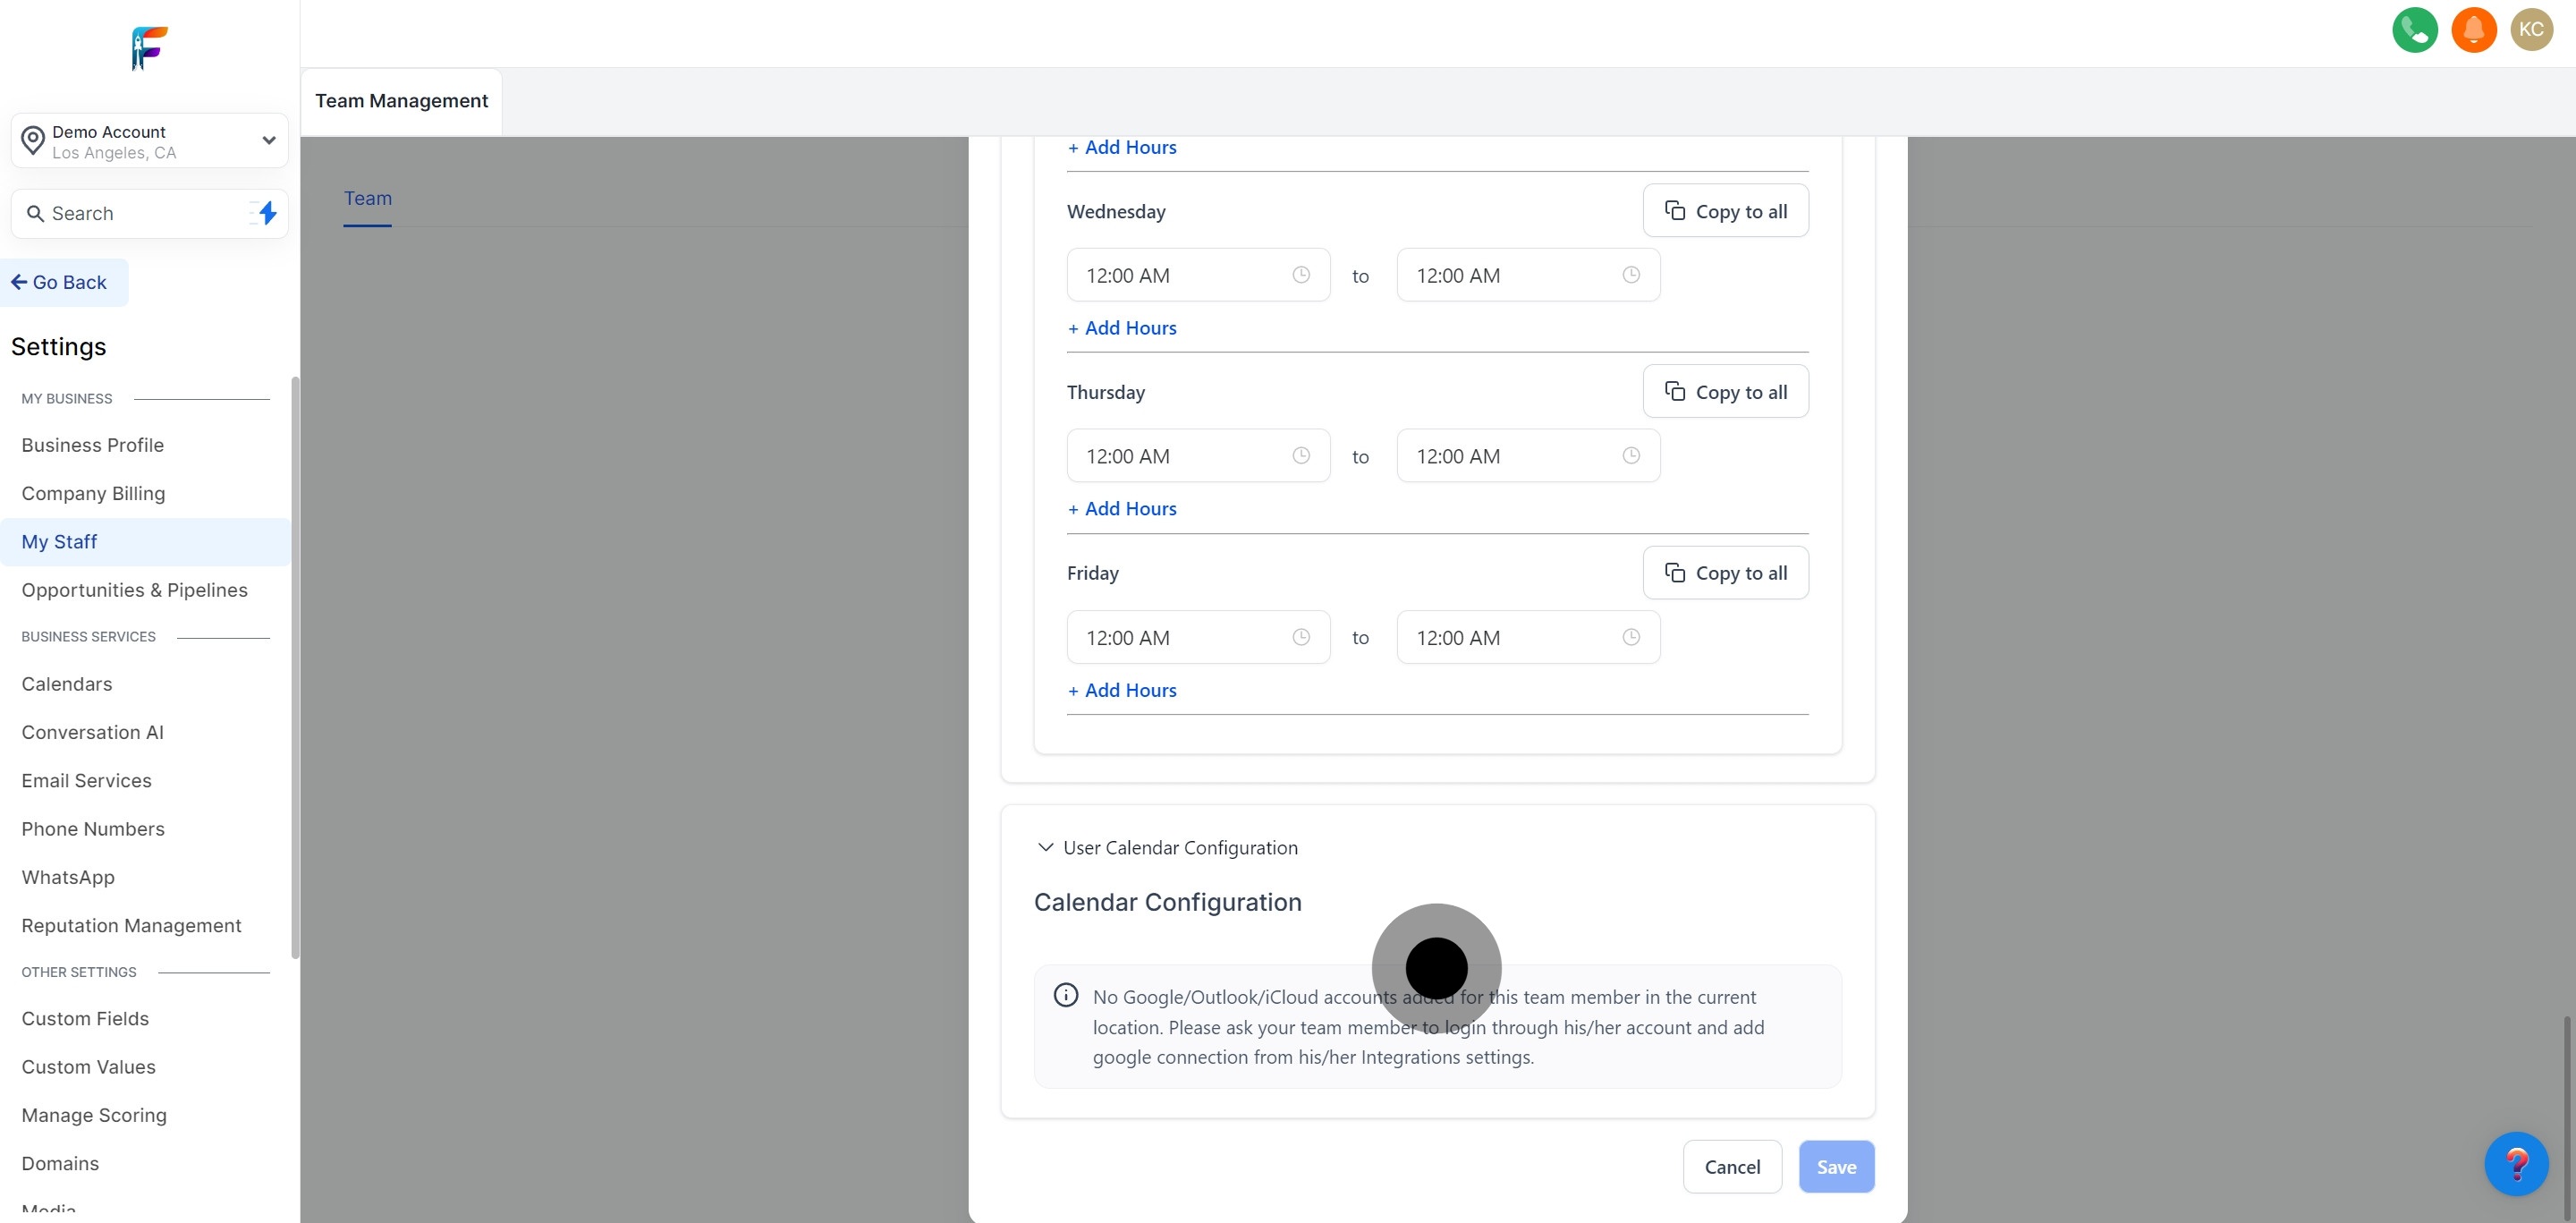
If necessary, configure an additional calendar (Google, Outlook, or iCloud) for the employee. This helps in managing their schedule seamlessly across platforms.