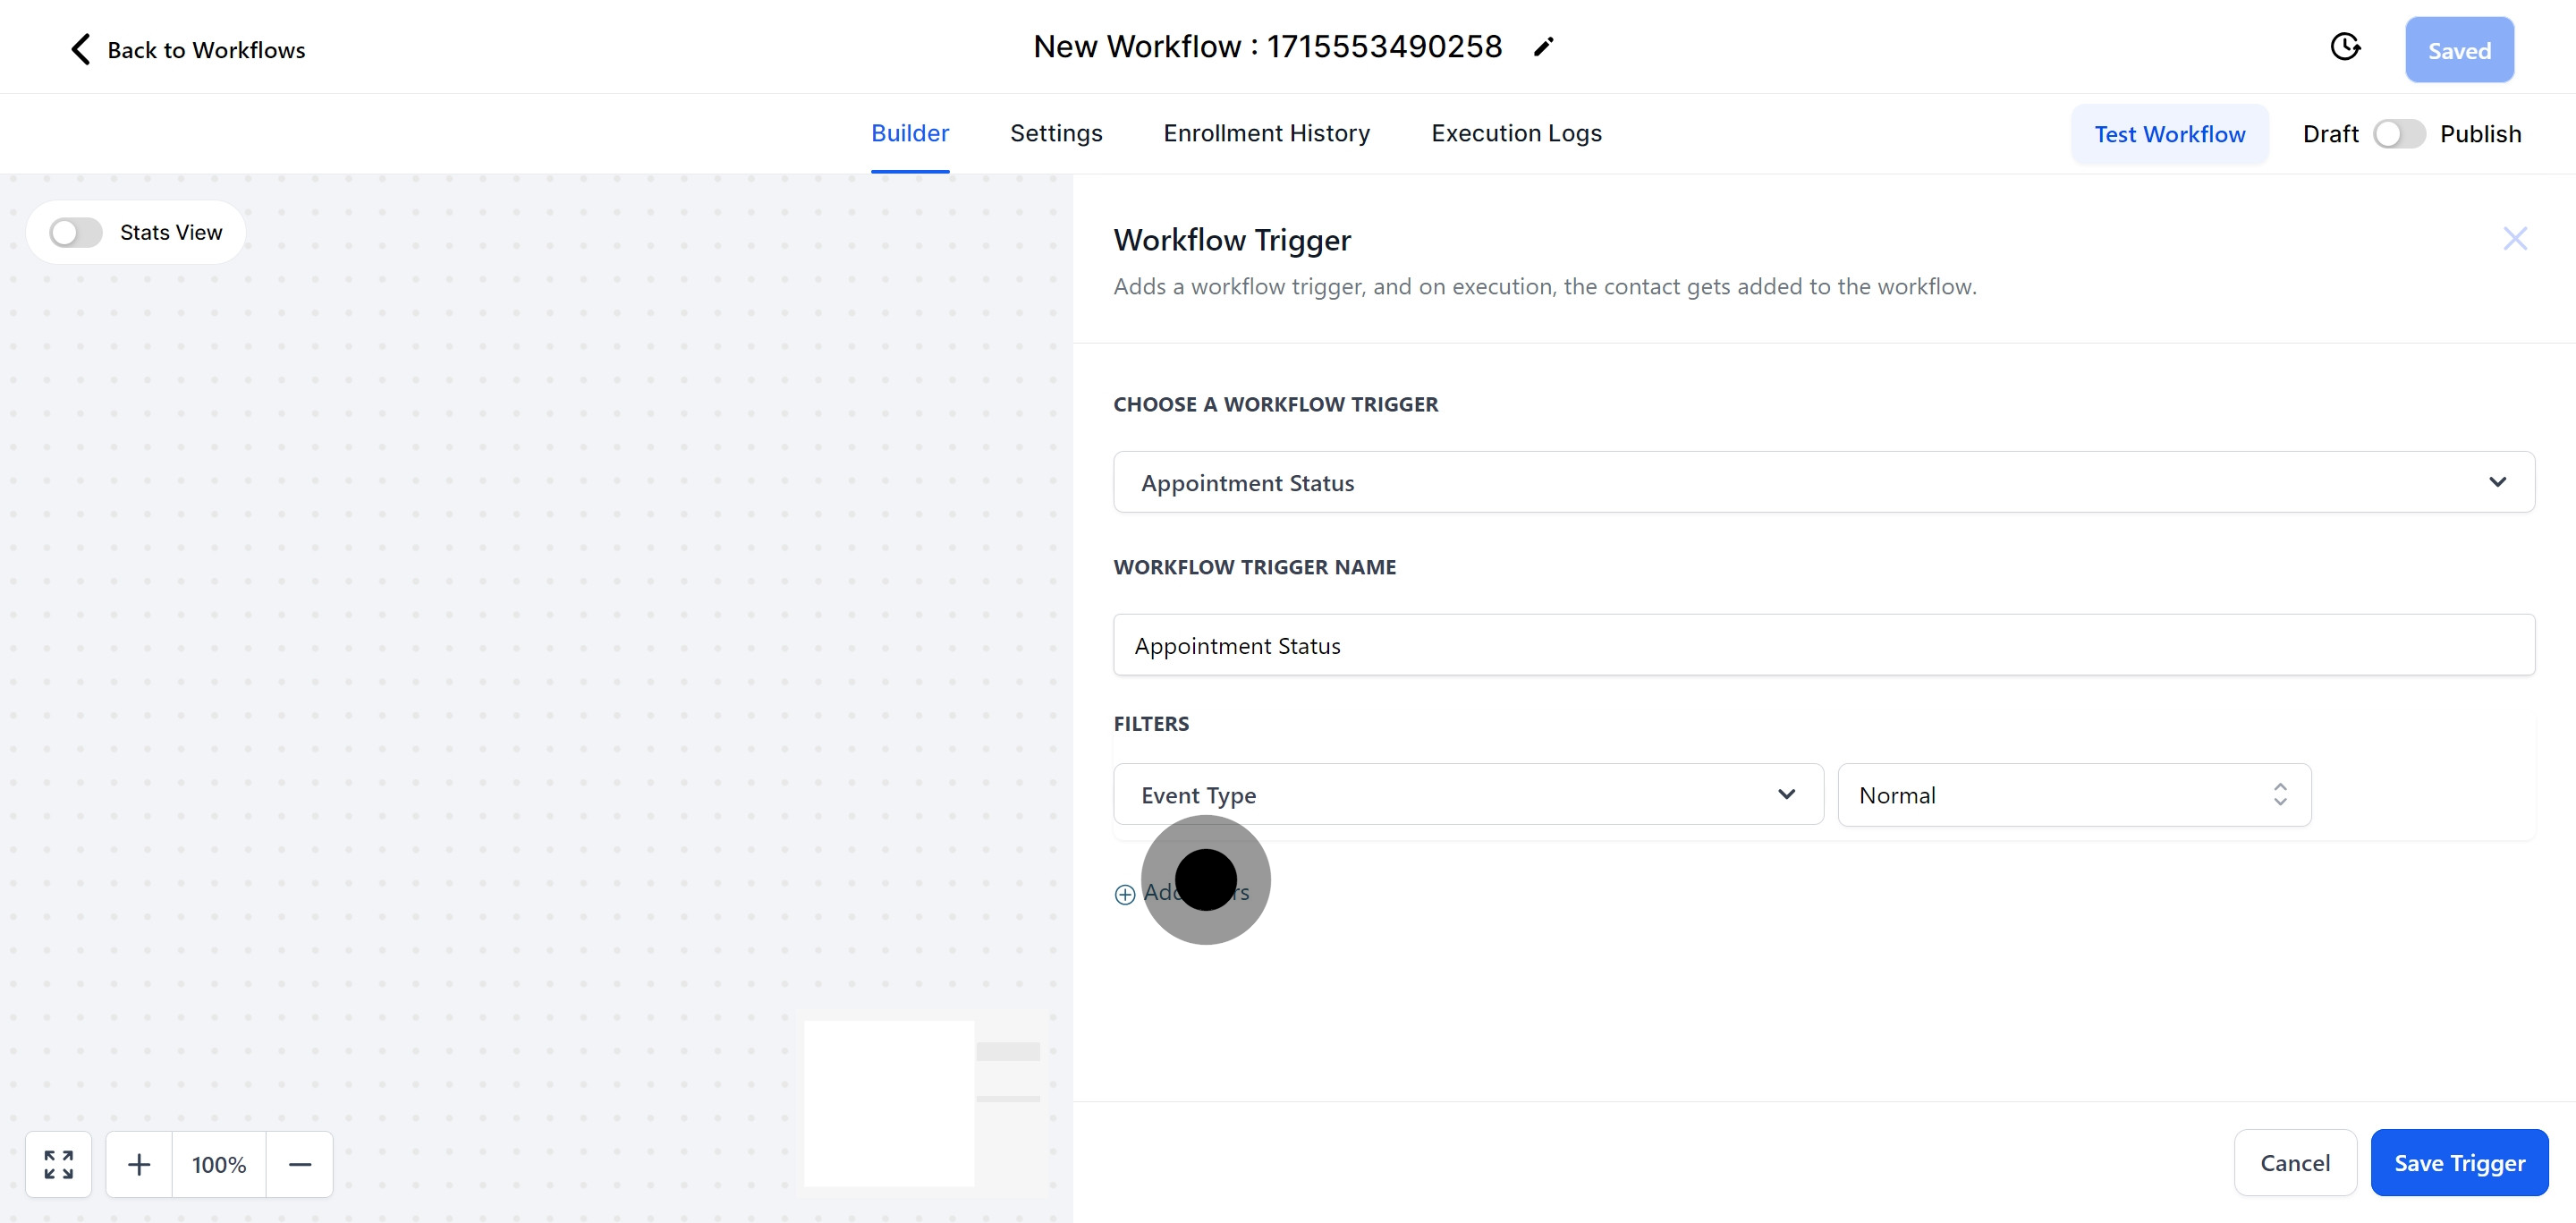
When you choose the "Appointment Status is" option, you can define the specific scenarios in which the trigger will activate. This trigger can be configured to respond to several different appointment-related events:
A new appointment is scheduled
The appointment is confirmed
The appointment is canceled
The client or prospect attends the appointment
The client or prospect does not attend the appointment (No-Show)
The appointment is determined to be invalid

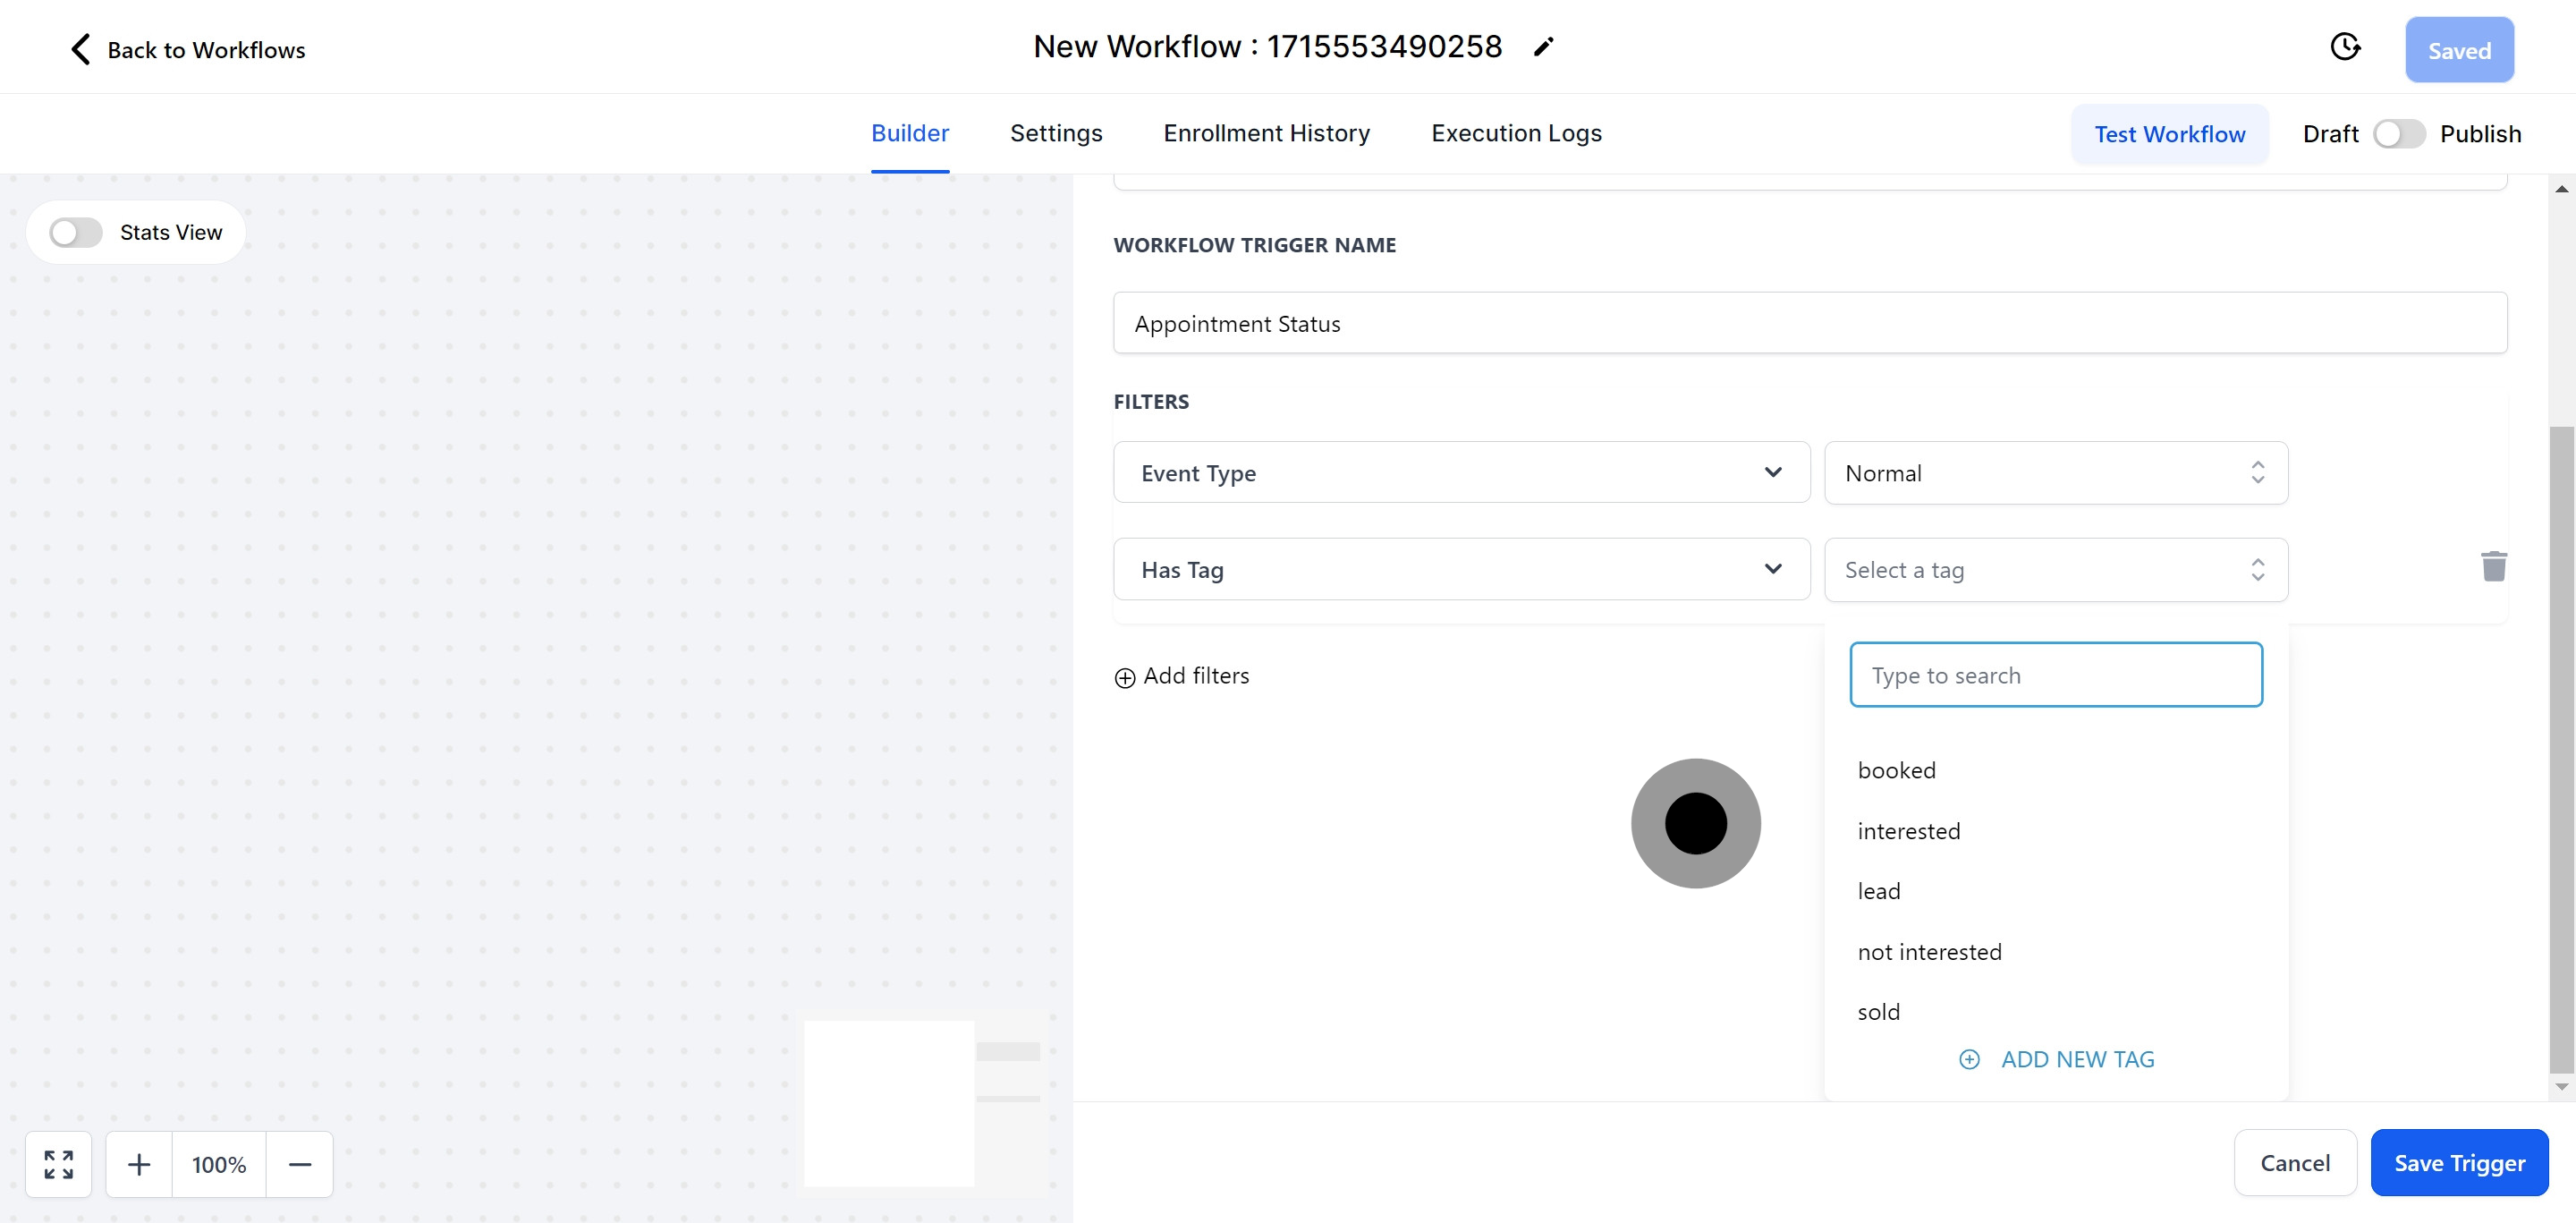
When you select a tag using the "Has Tag" filter, this workflow automatically activates once a customer linked to that tag updates their appointment status.
When you choose a particular user's calendar with the "In Calendar" filter, this workflow will automatically trigger whenever there is a change in the appointment status of any customer linked to that specific calendar.


