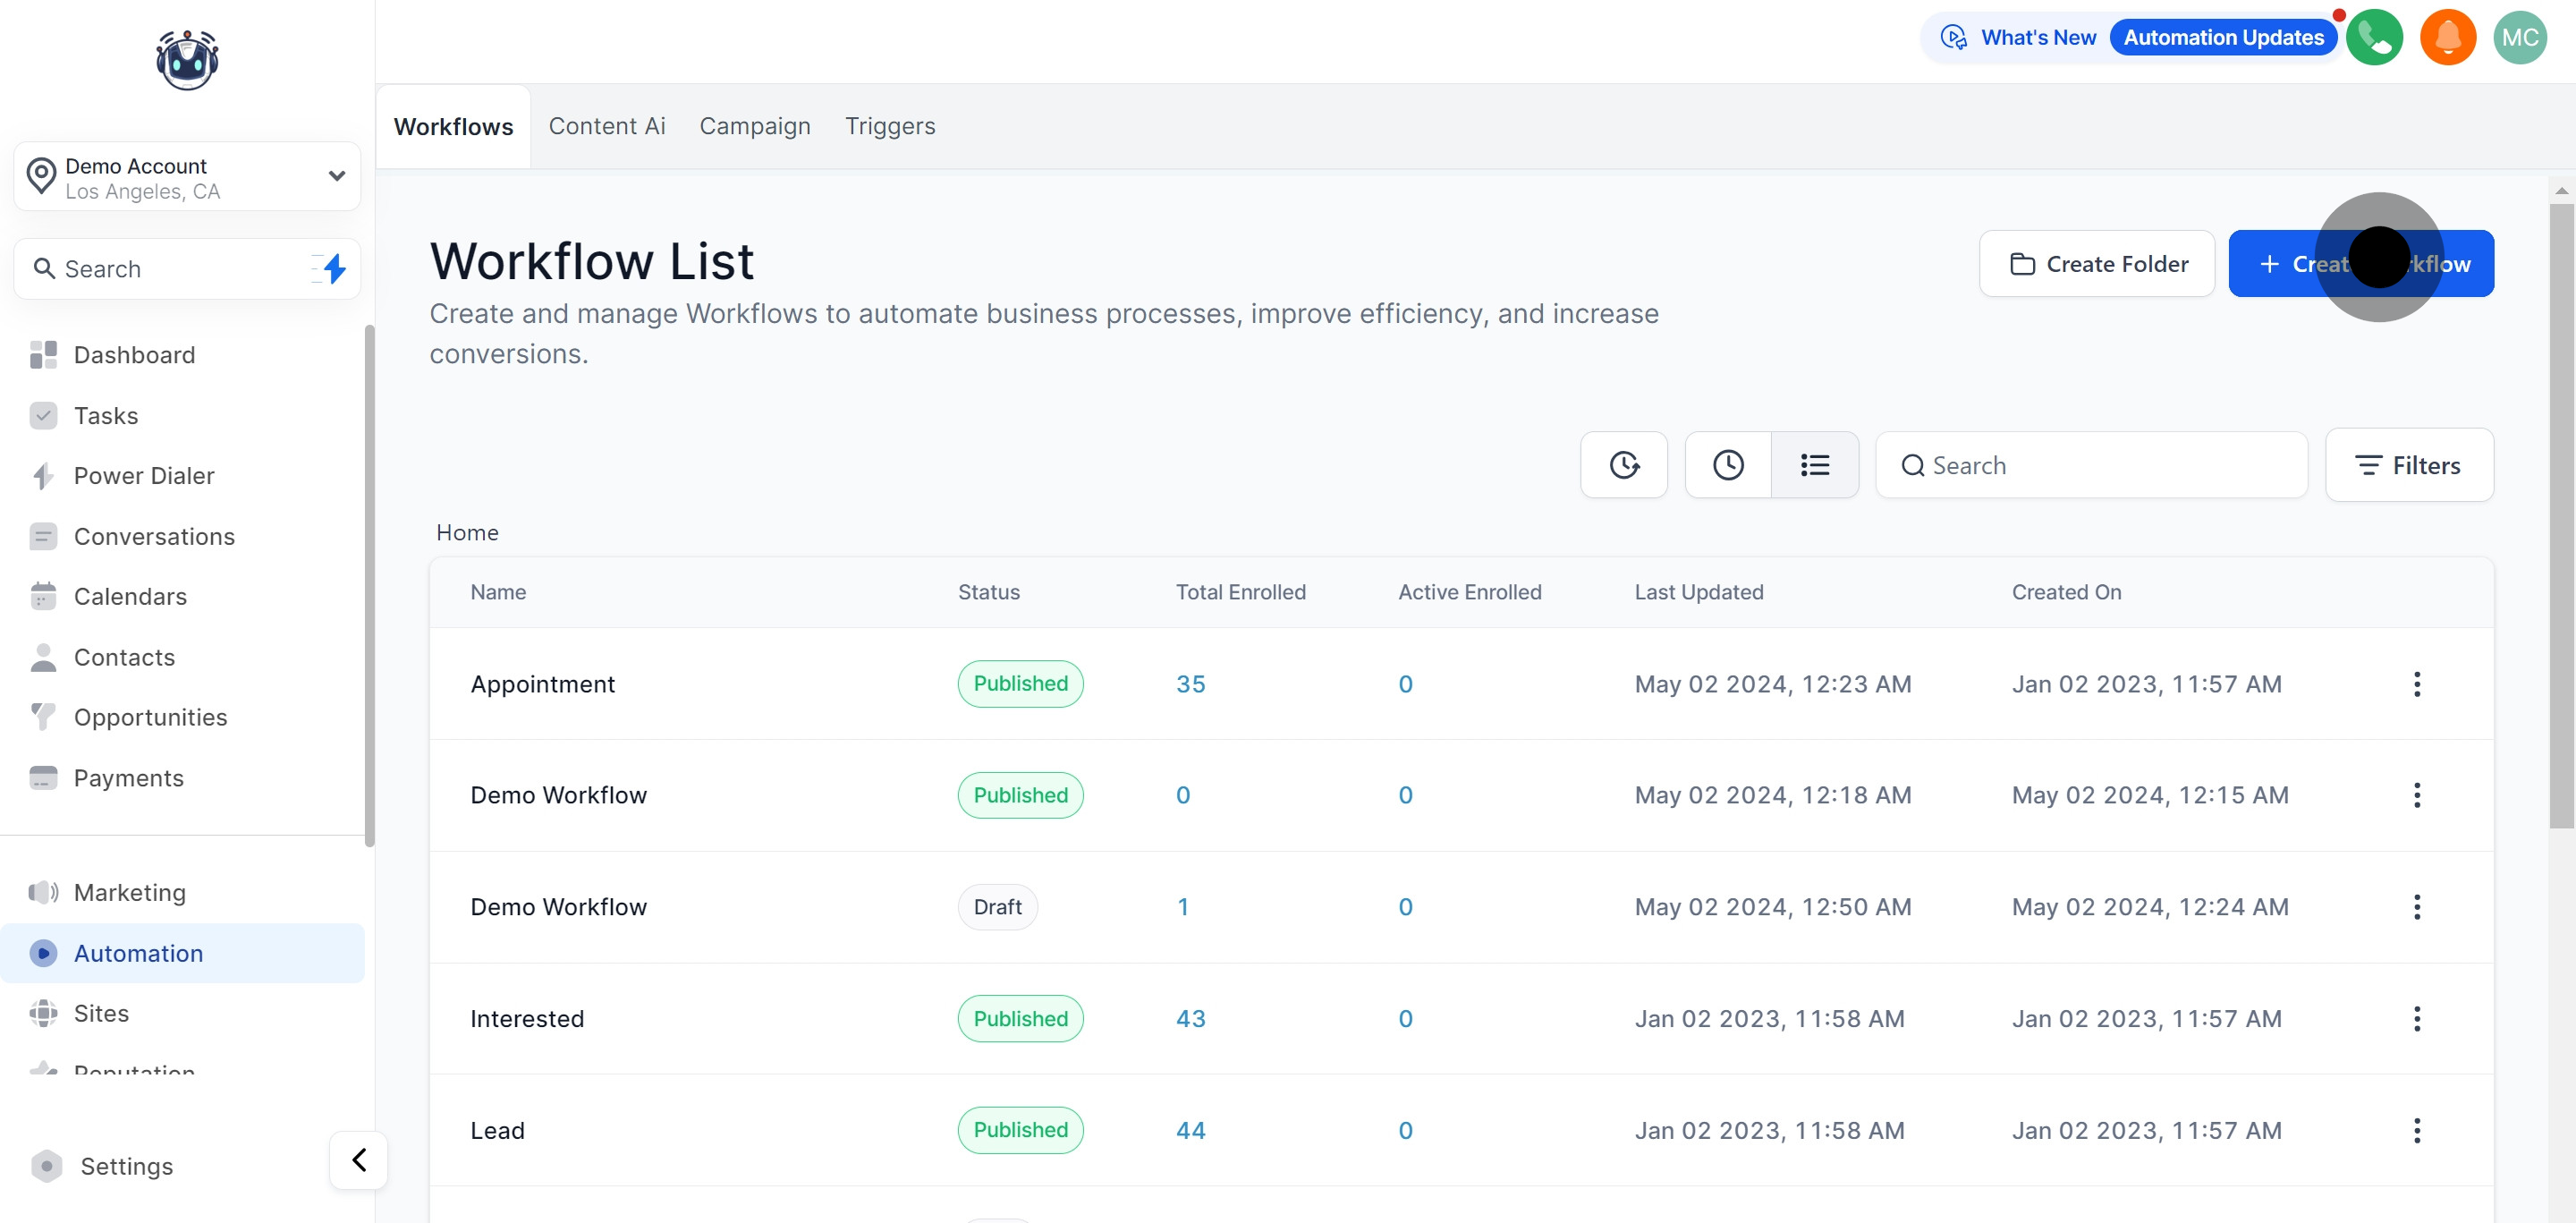
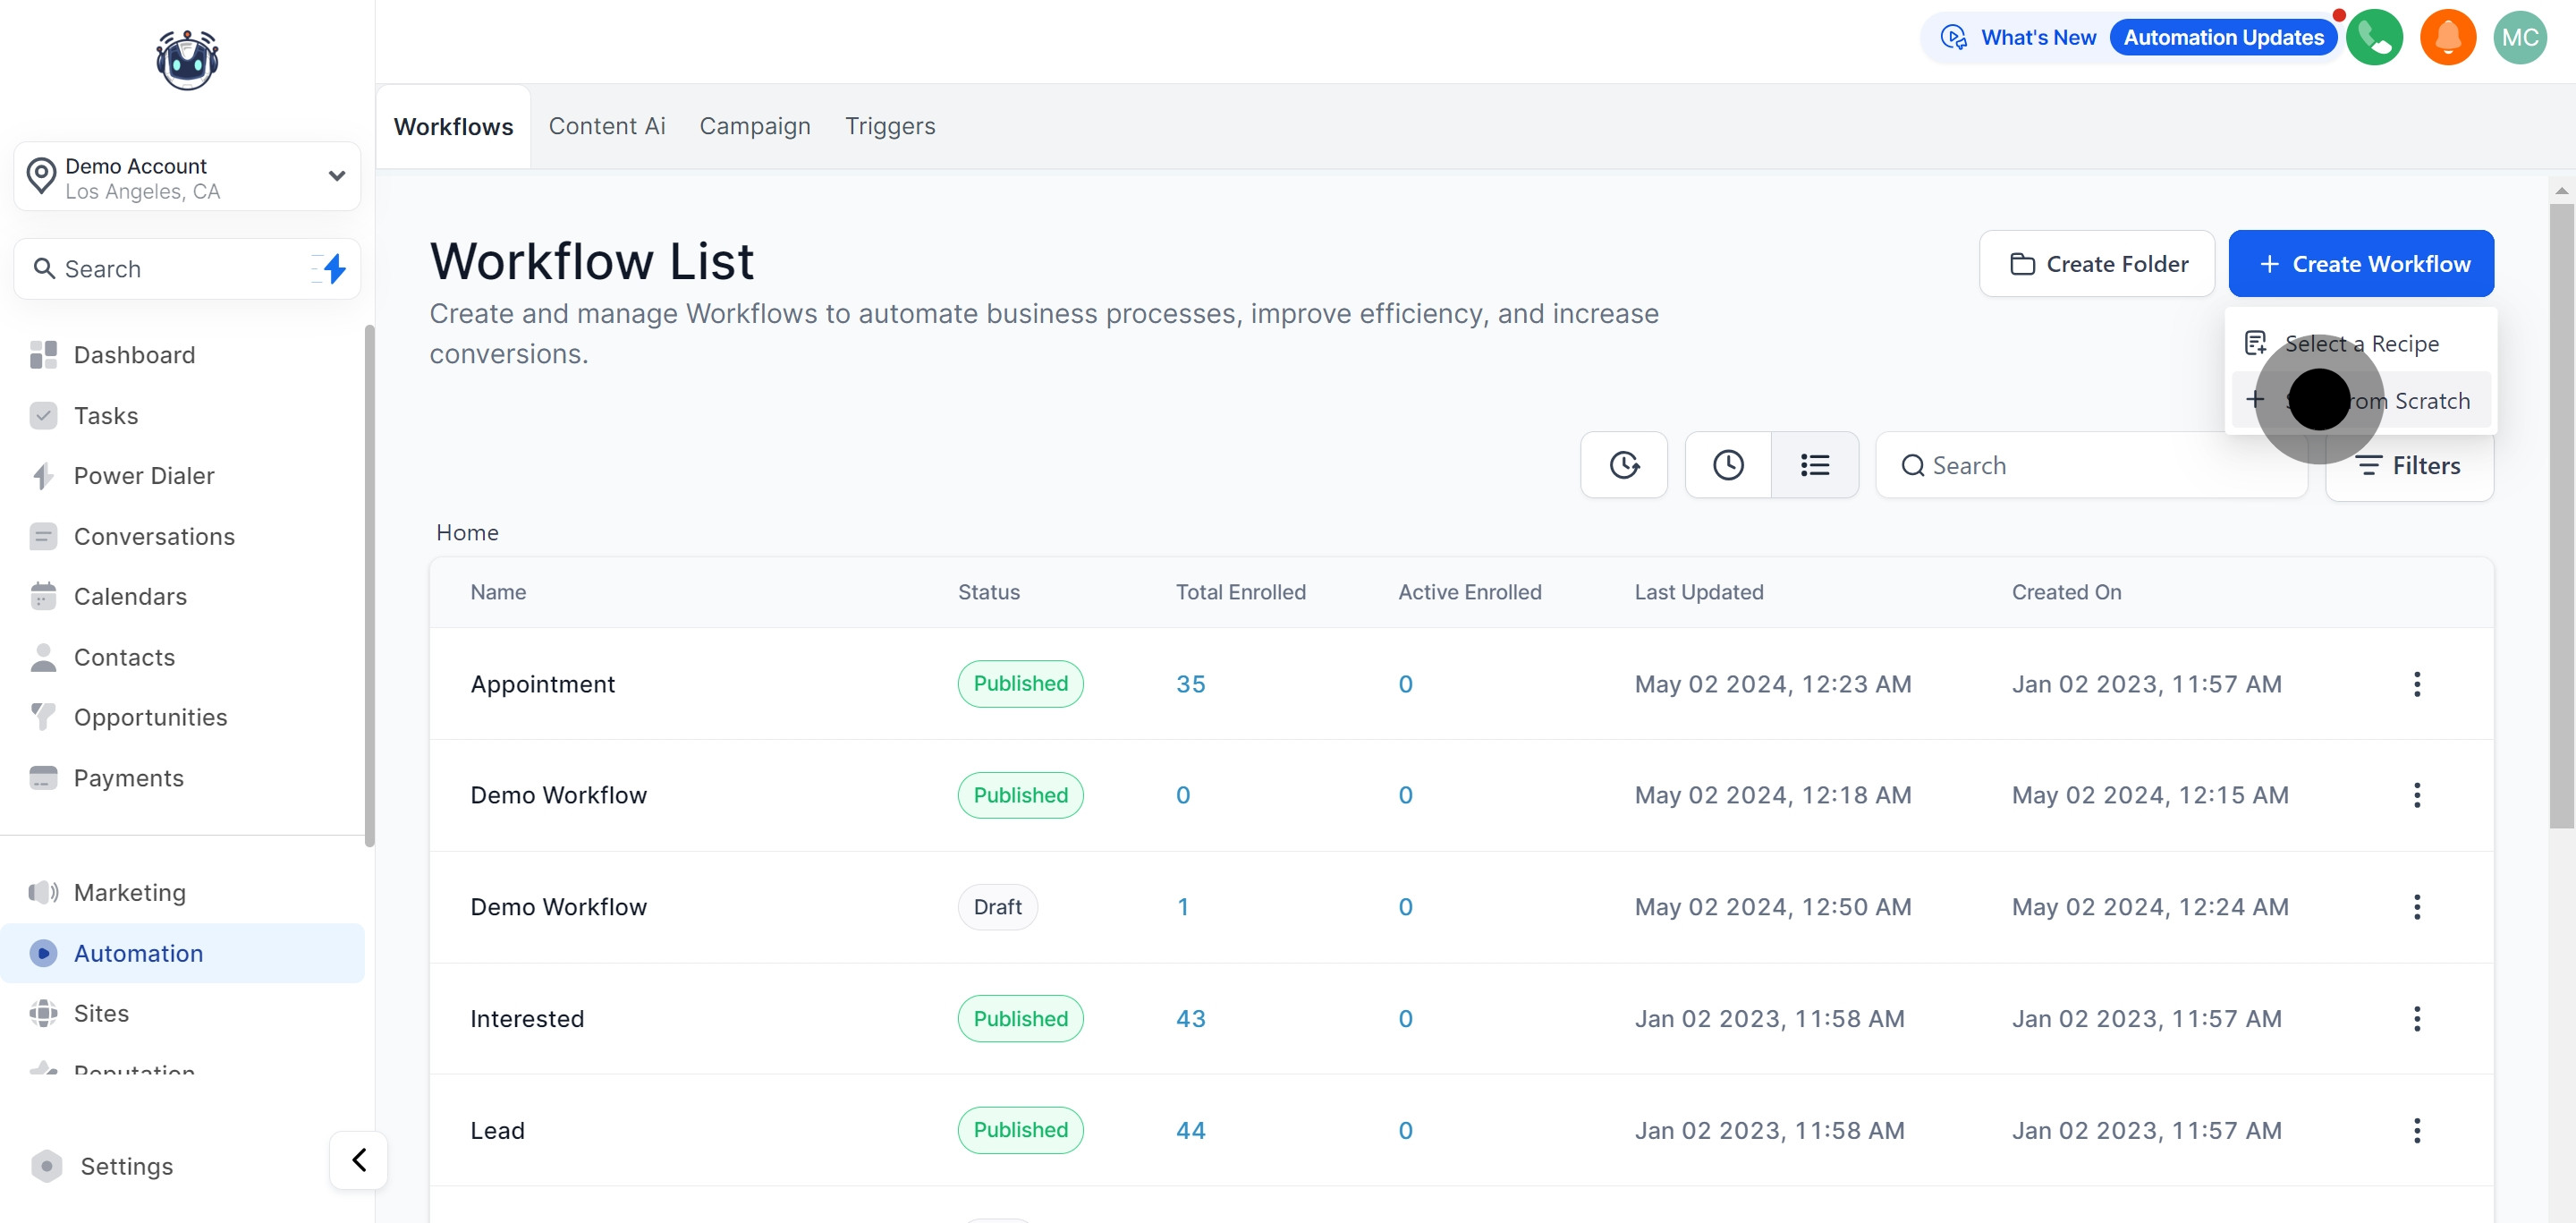
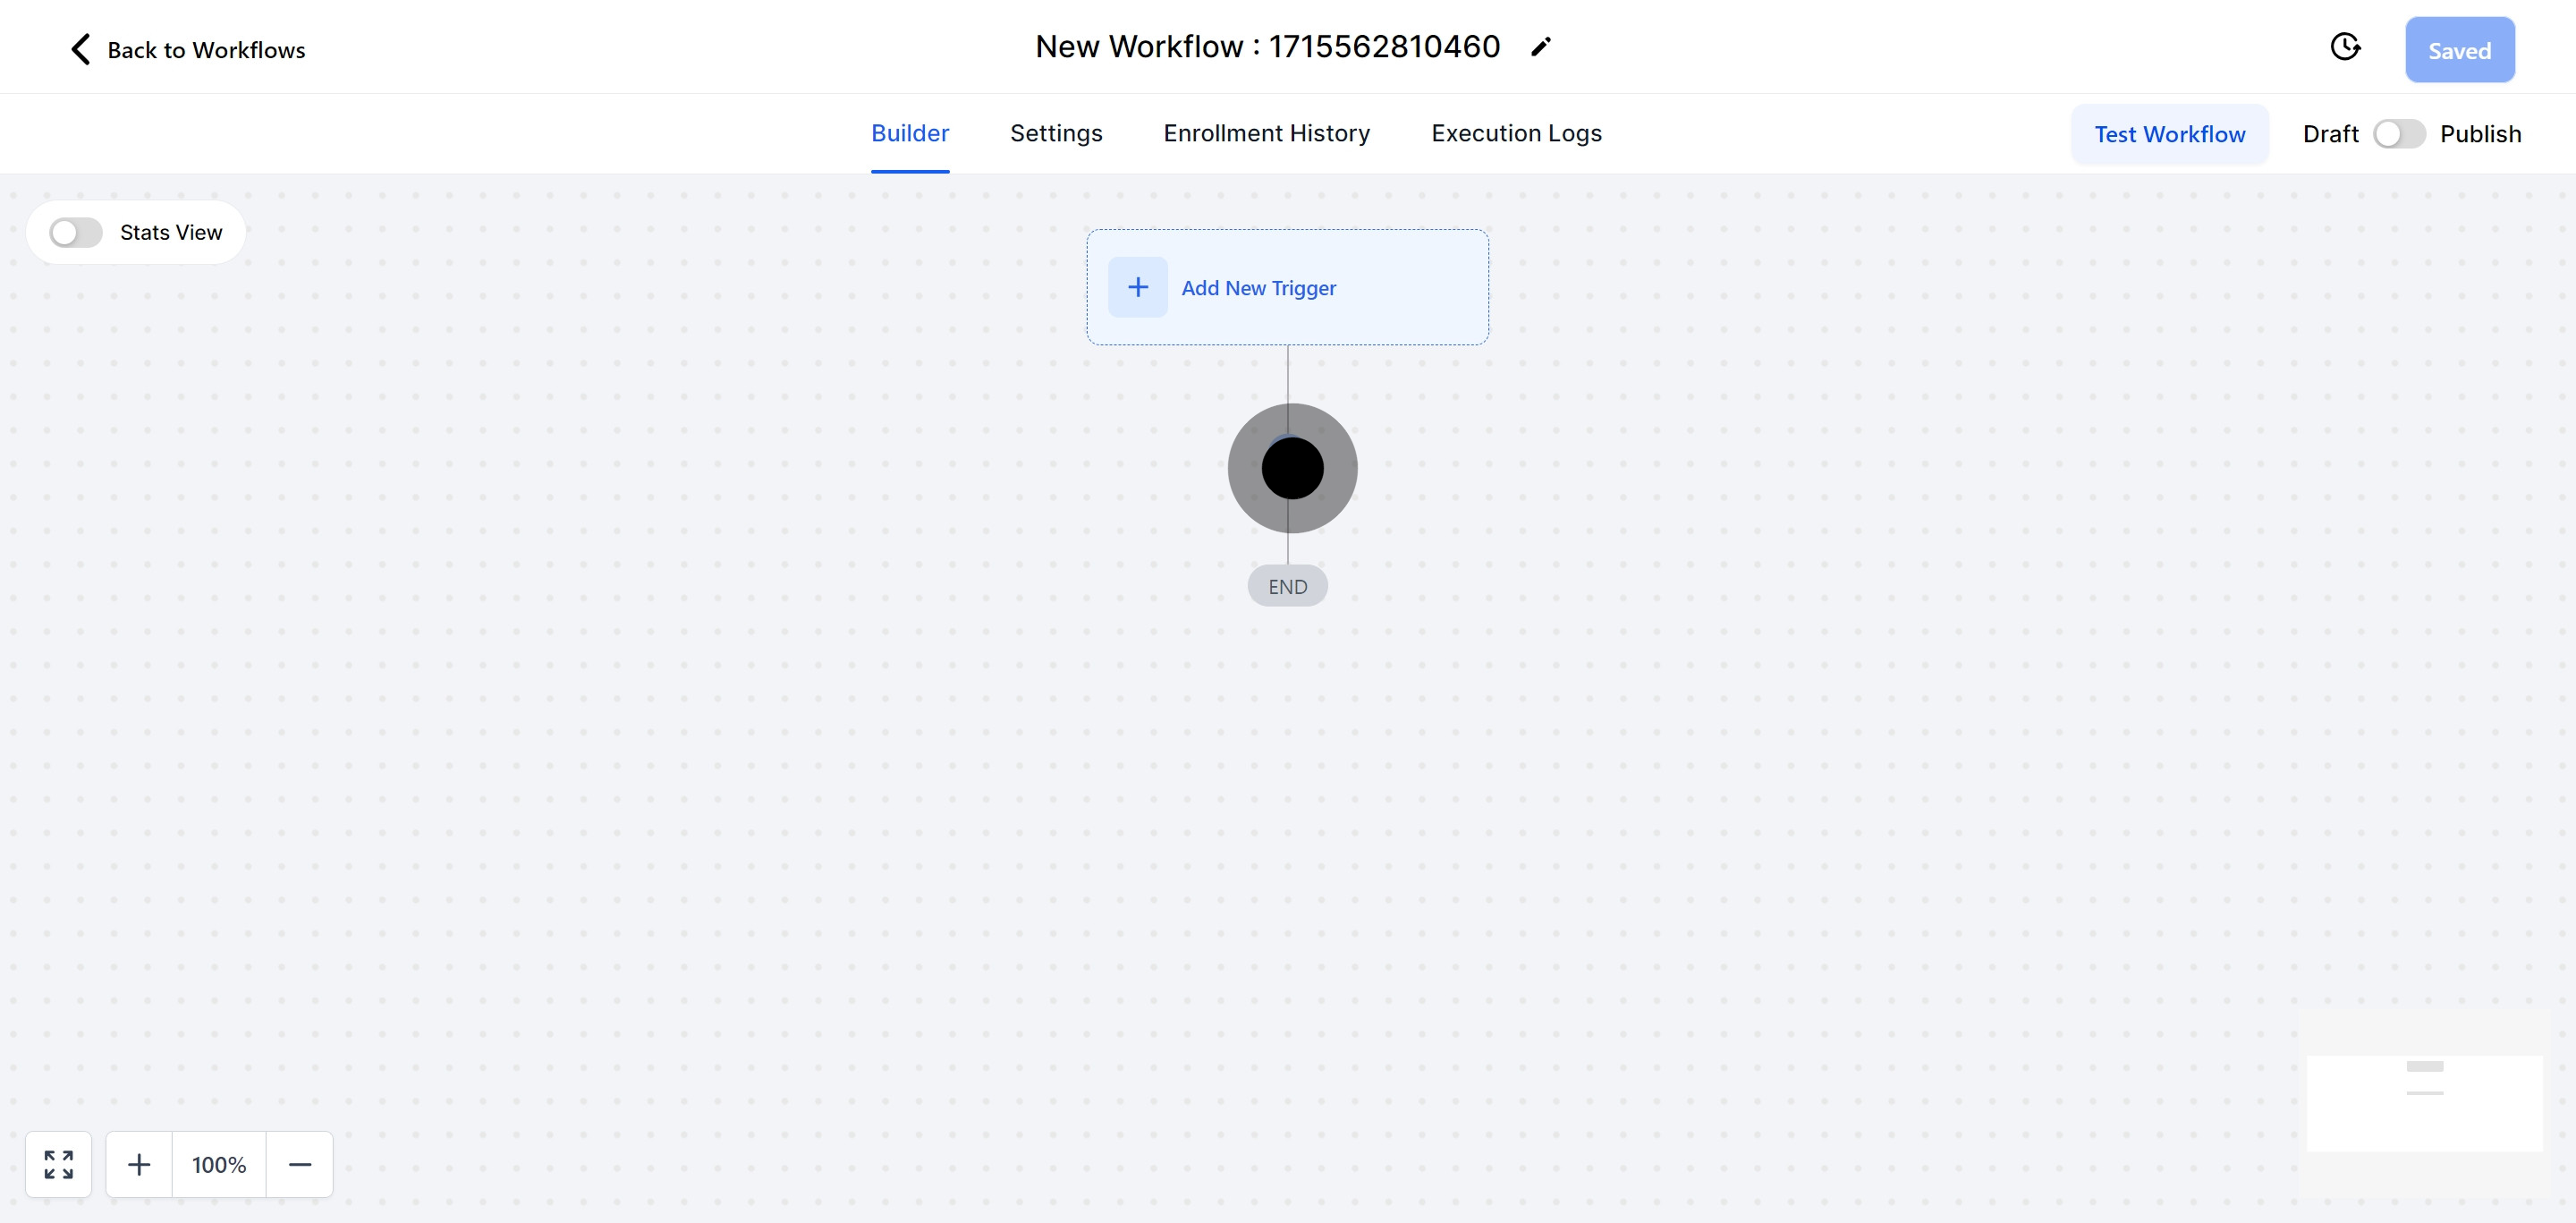
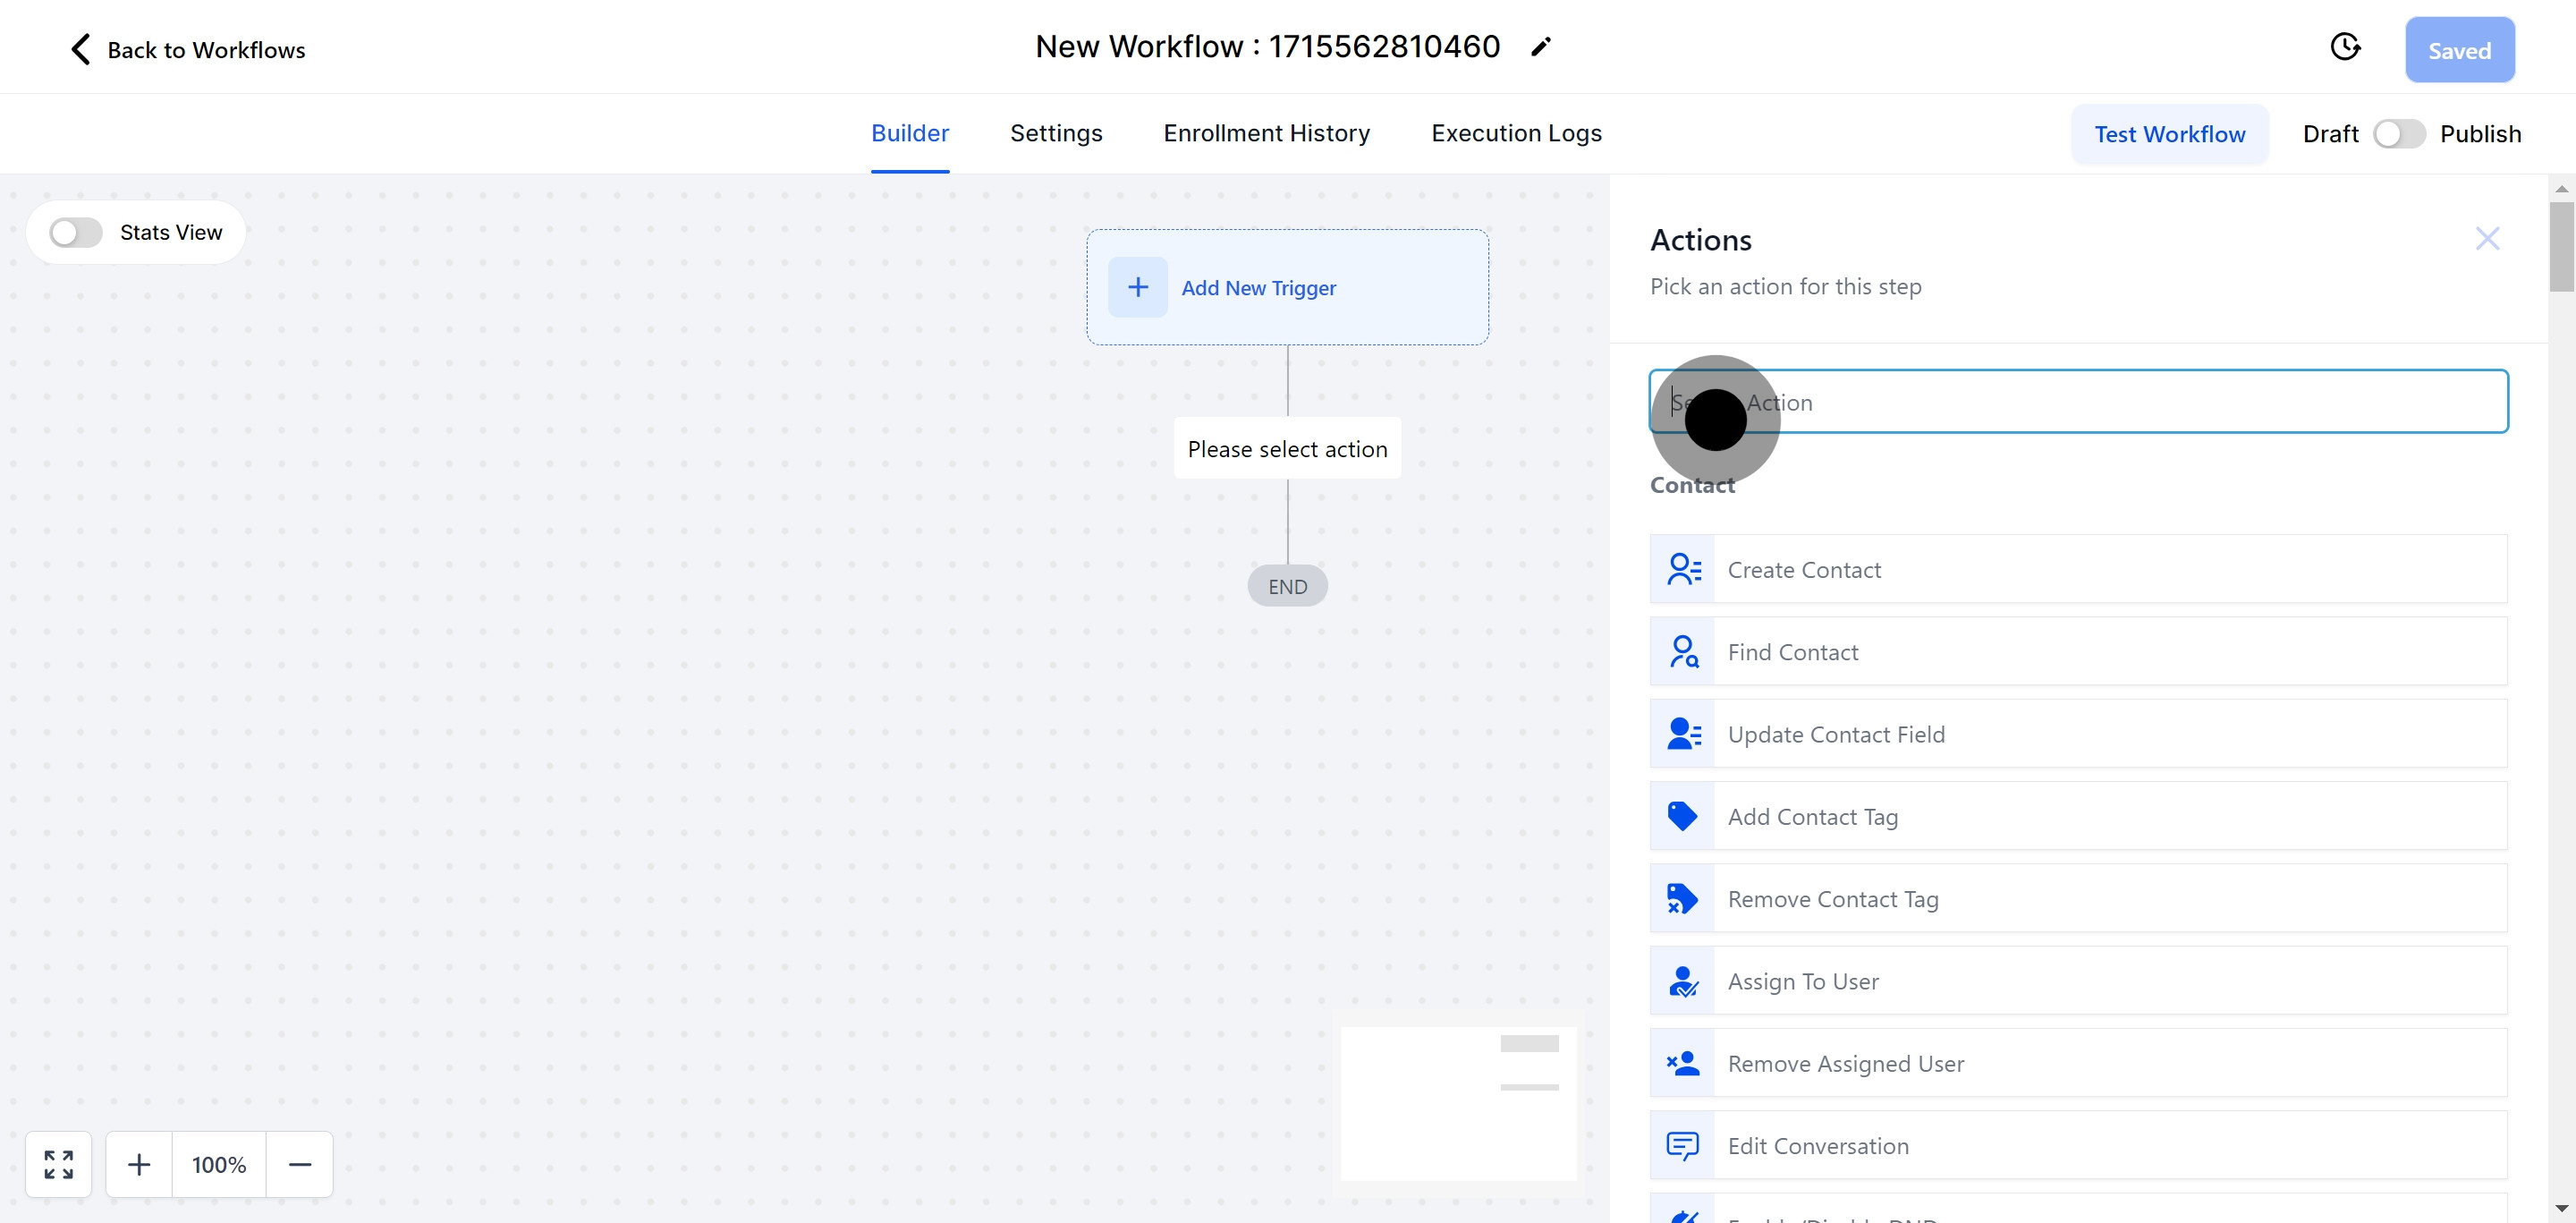
To publish workflows, you must set up both a workflow trigger and a workflow action. Without these two elements, you can save the workflow but cannot publish it.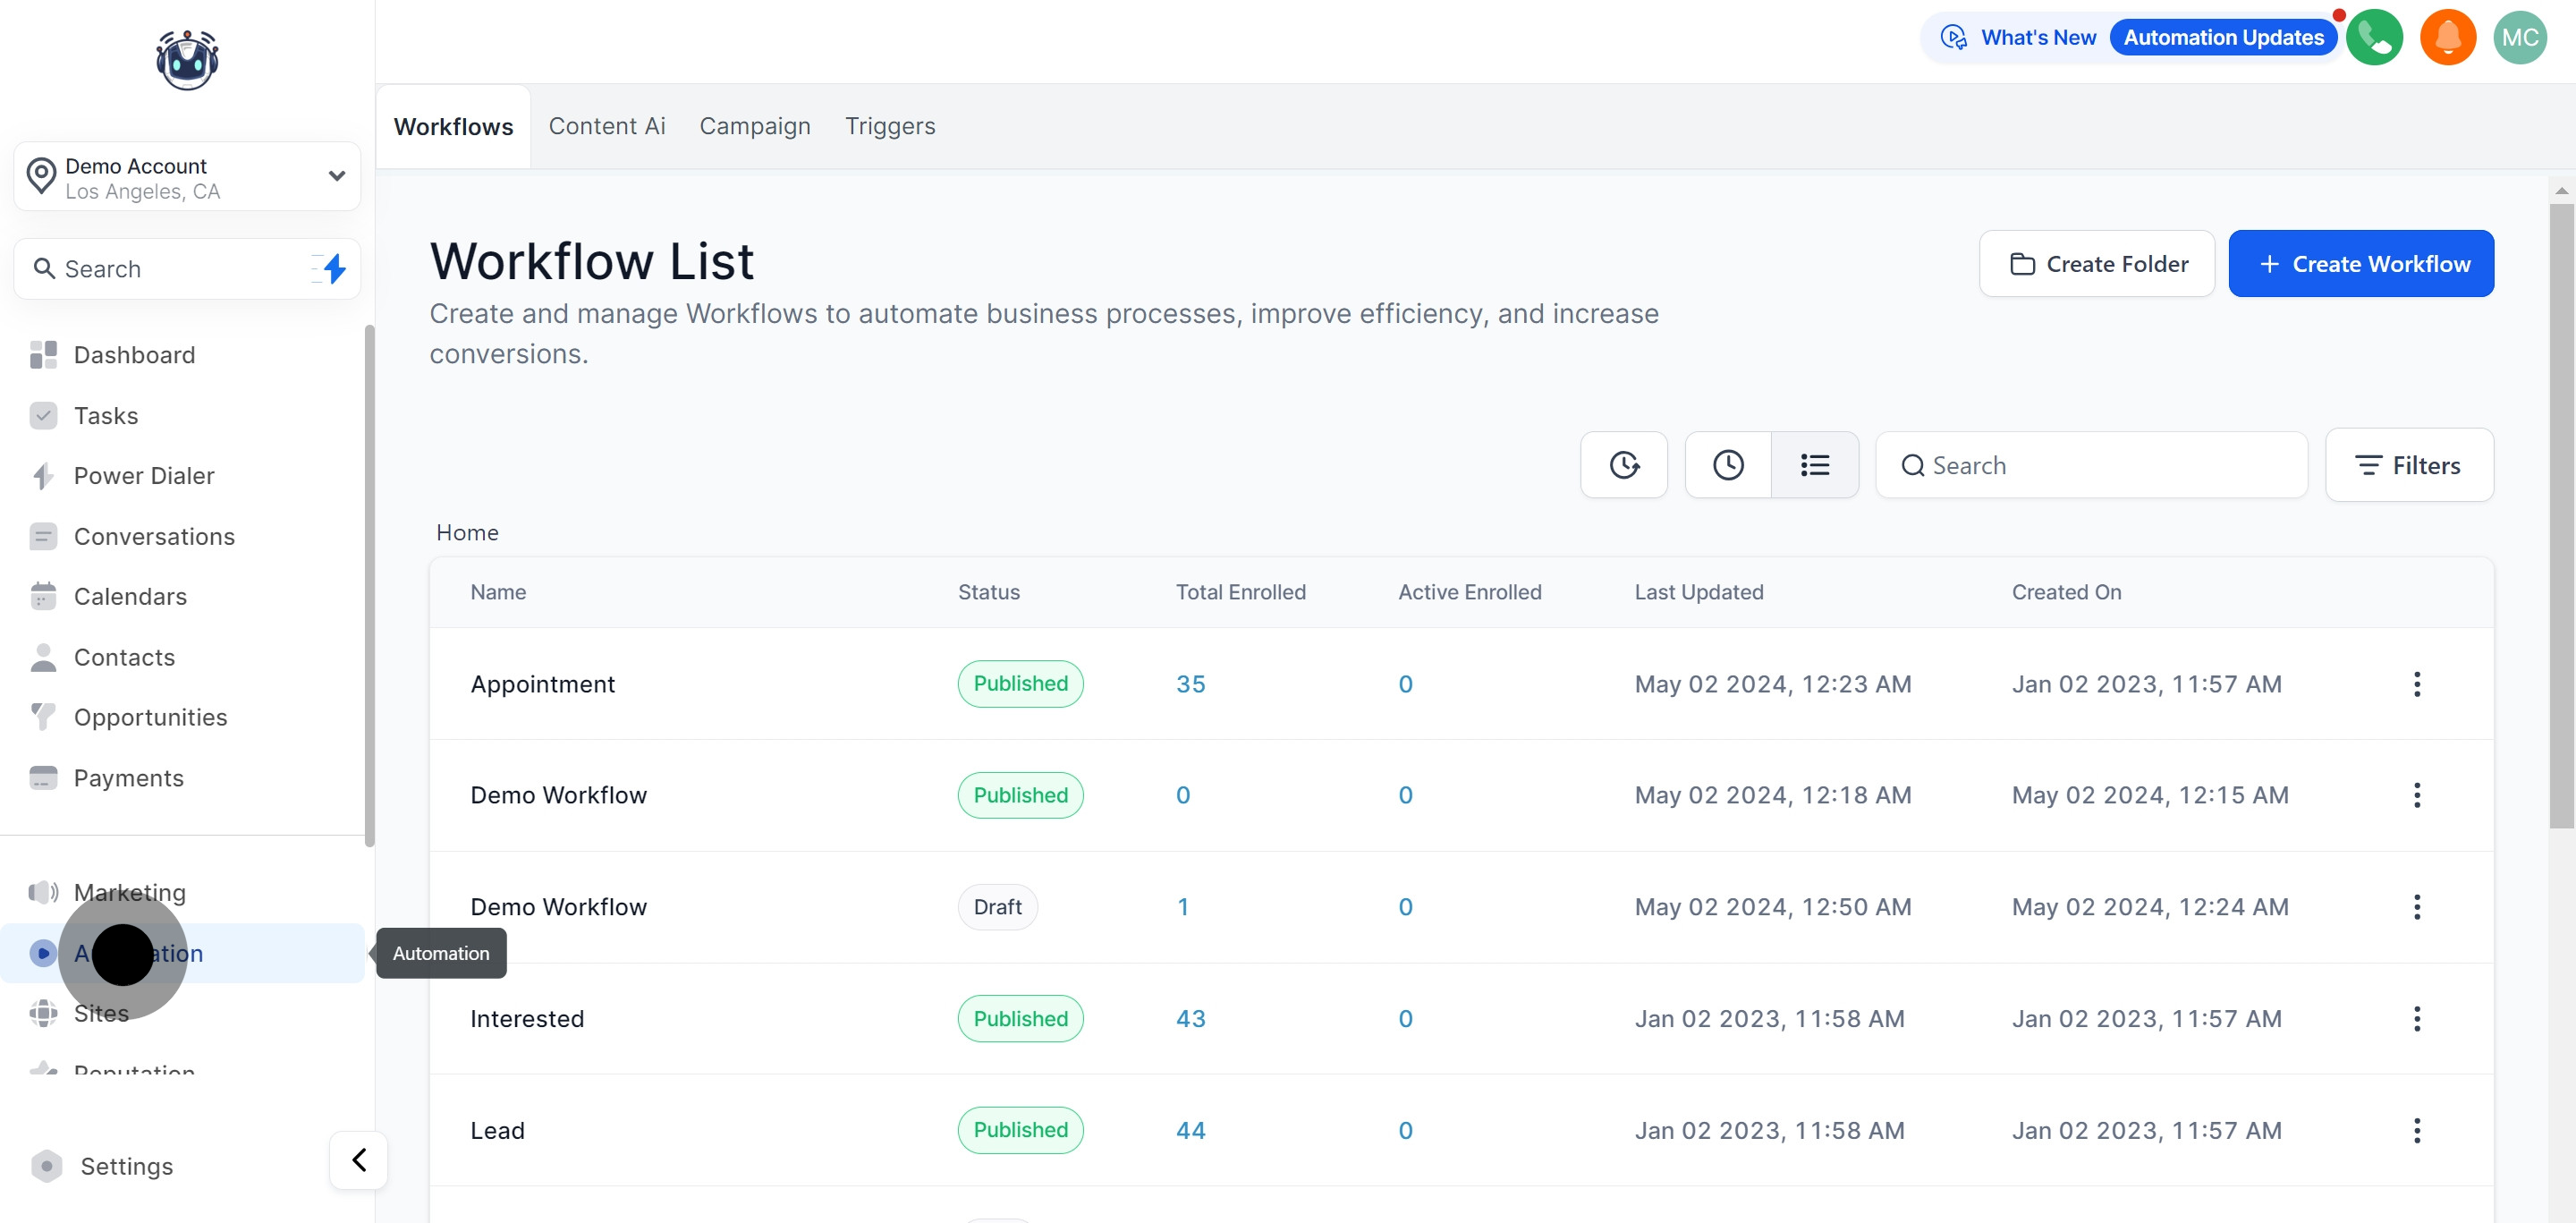
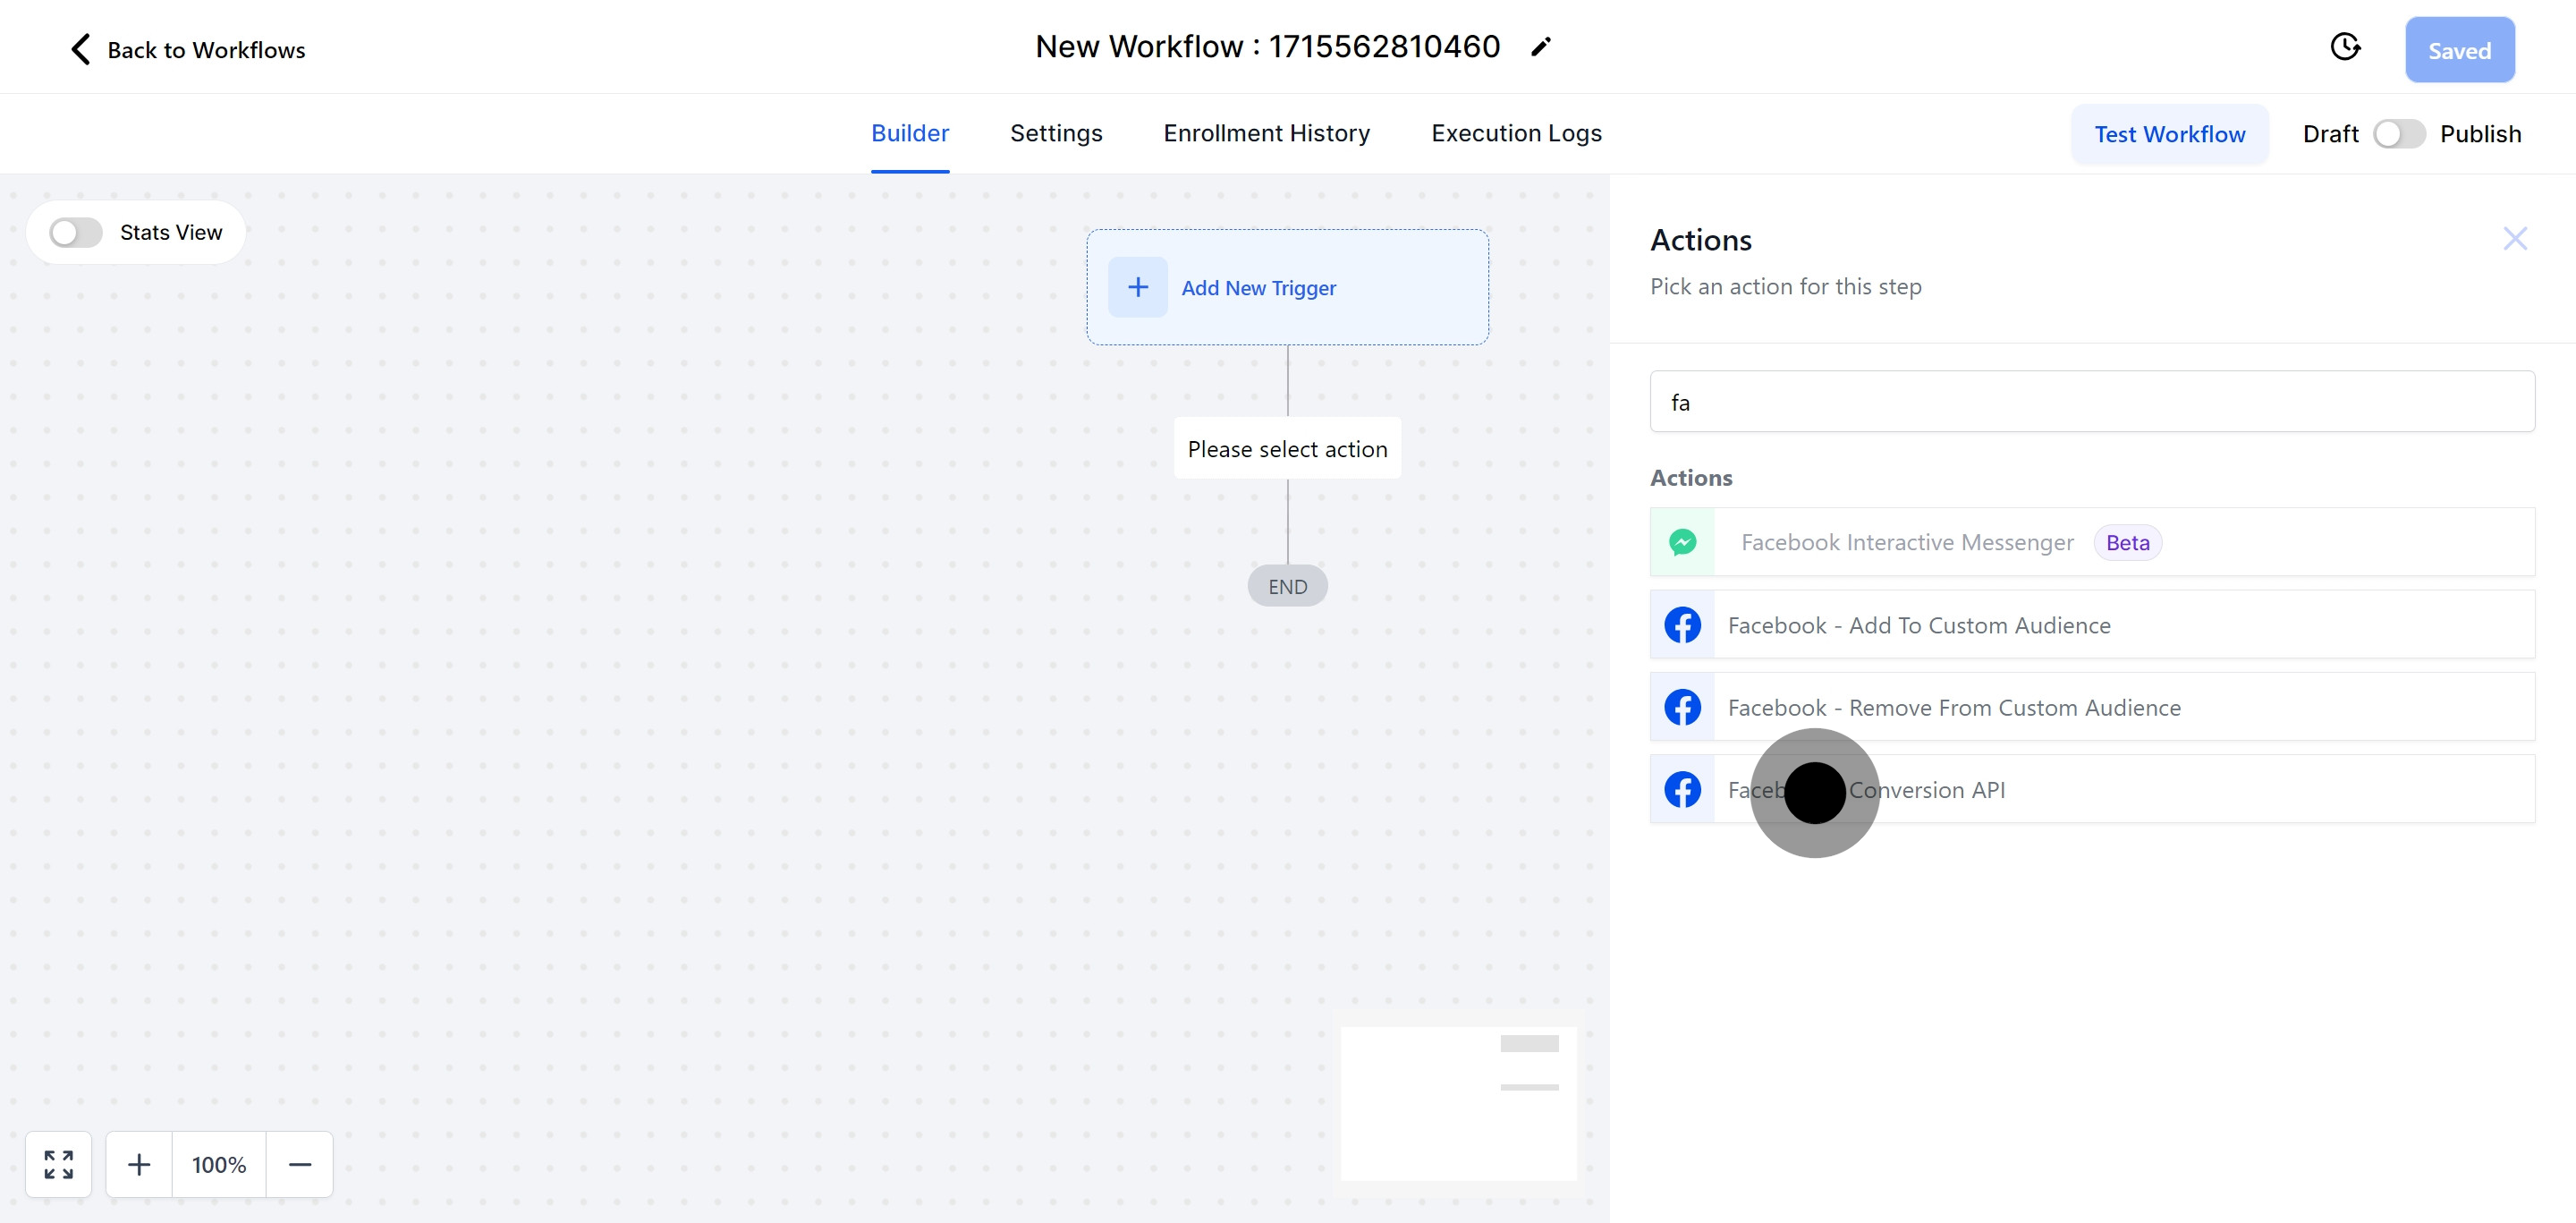
The Conversions API allows advertisers to send web events directly from their servers to Facebook, circumventing the restrictions caused by third-party blockers like those on iOS, Chrome, and ad blockers.
To obtain an Access Token, go to "Facebook Business Manager" within your Facebook account settings, find the Conversion API section, and select "Generate Access Token." Copy the generated token and paste it into the "Access Token" field in your workflow. Note that for new business pages, you may need to configure your "Social issue, electoral or political ads" settings and verify your identity to access the token.

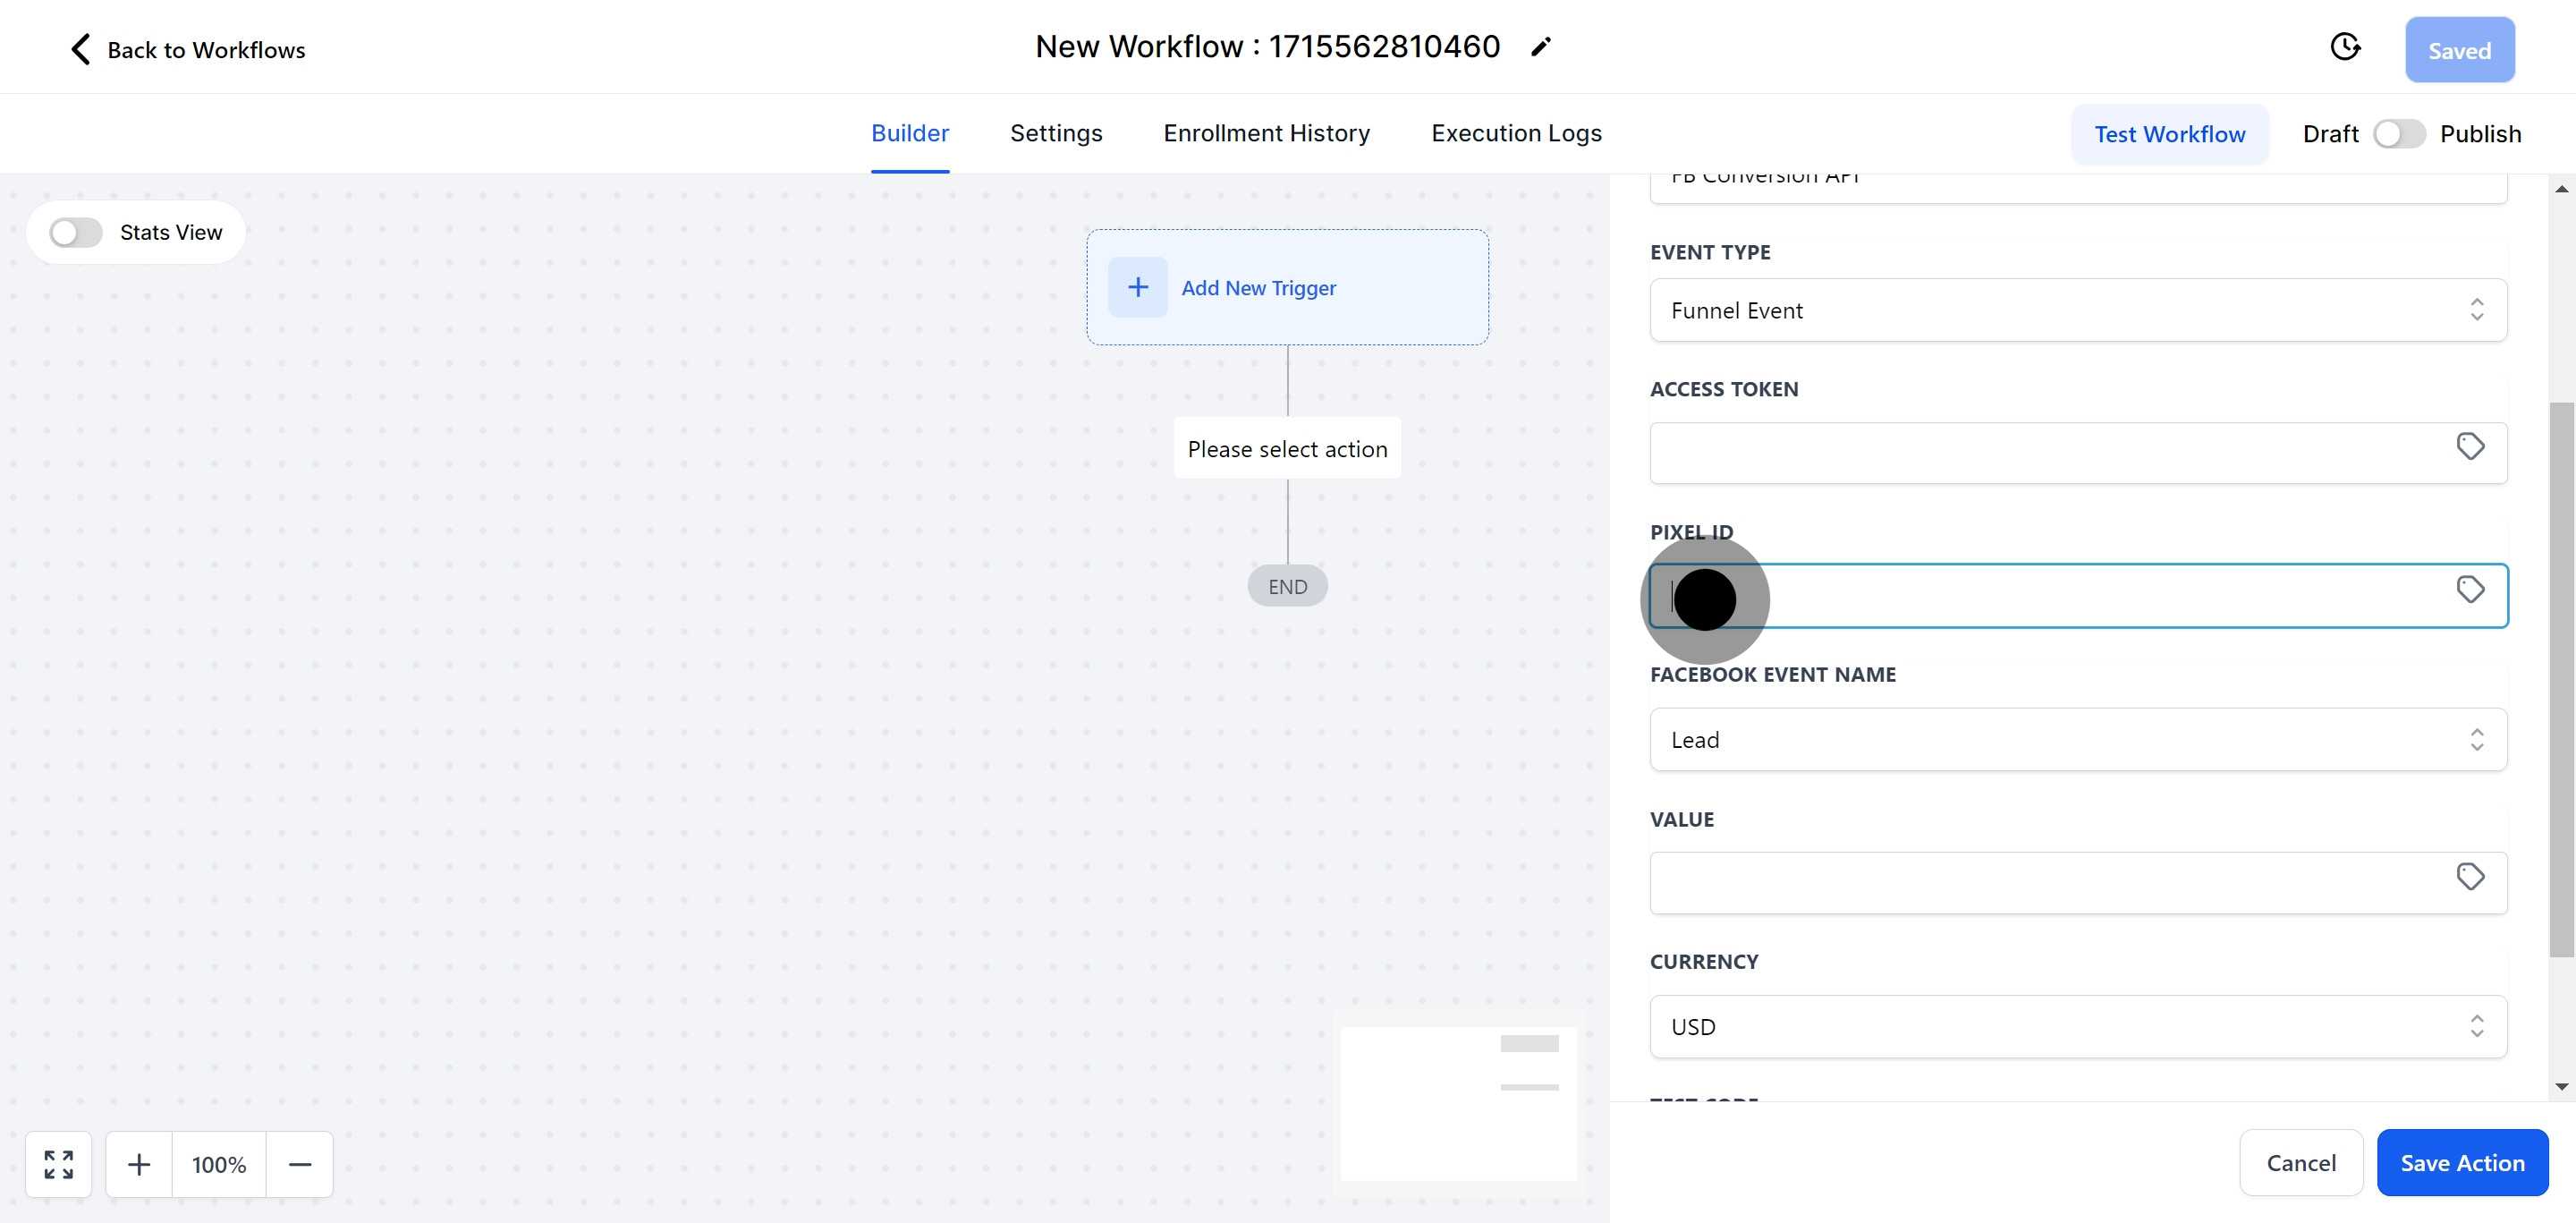
Find the Pixel ID in the details section of the Facebook Business Manager's settings and enter it into the "Pixel ID" field in your workflow.
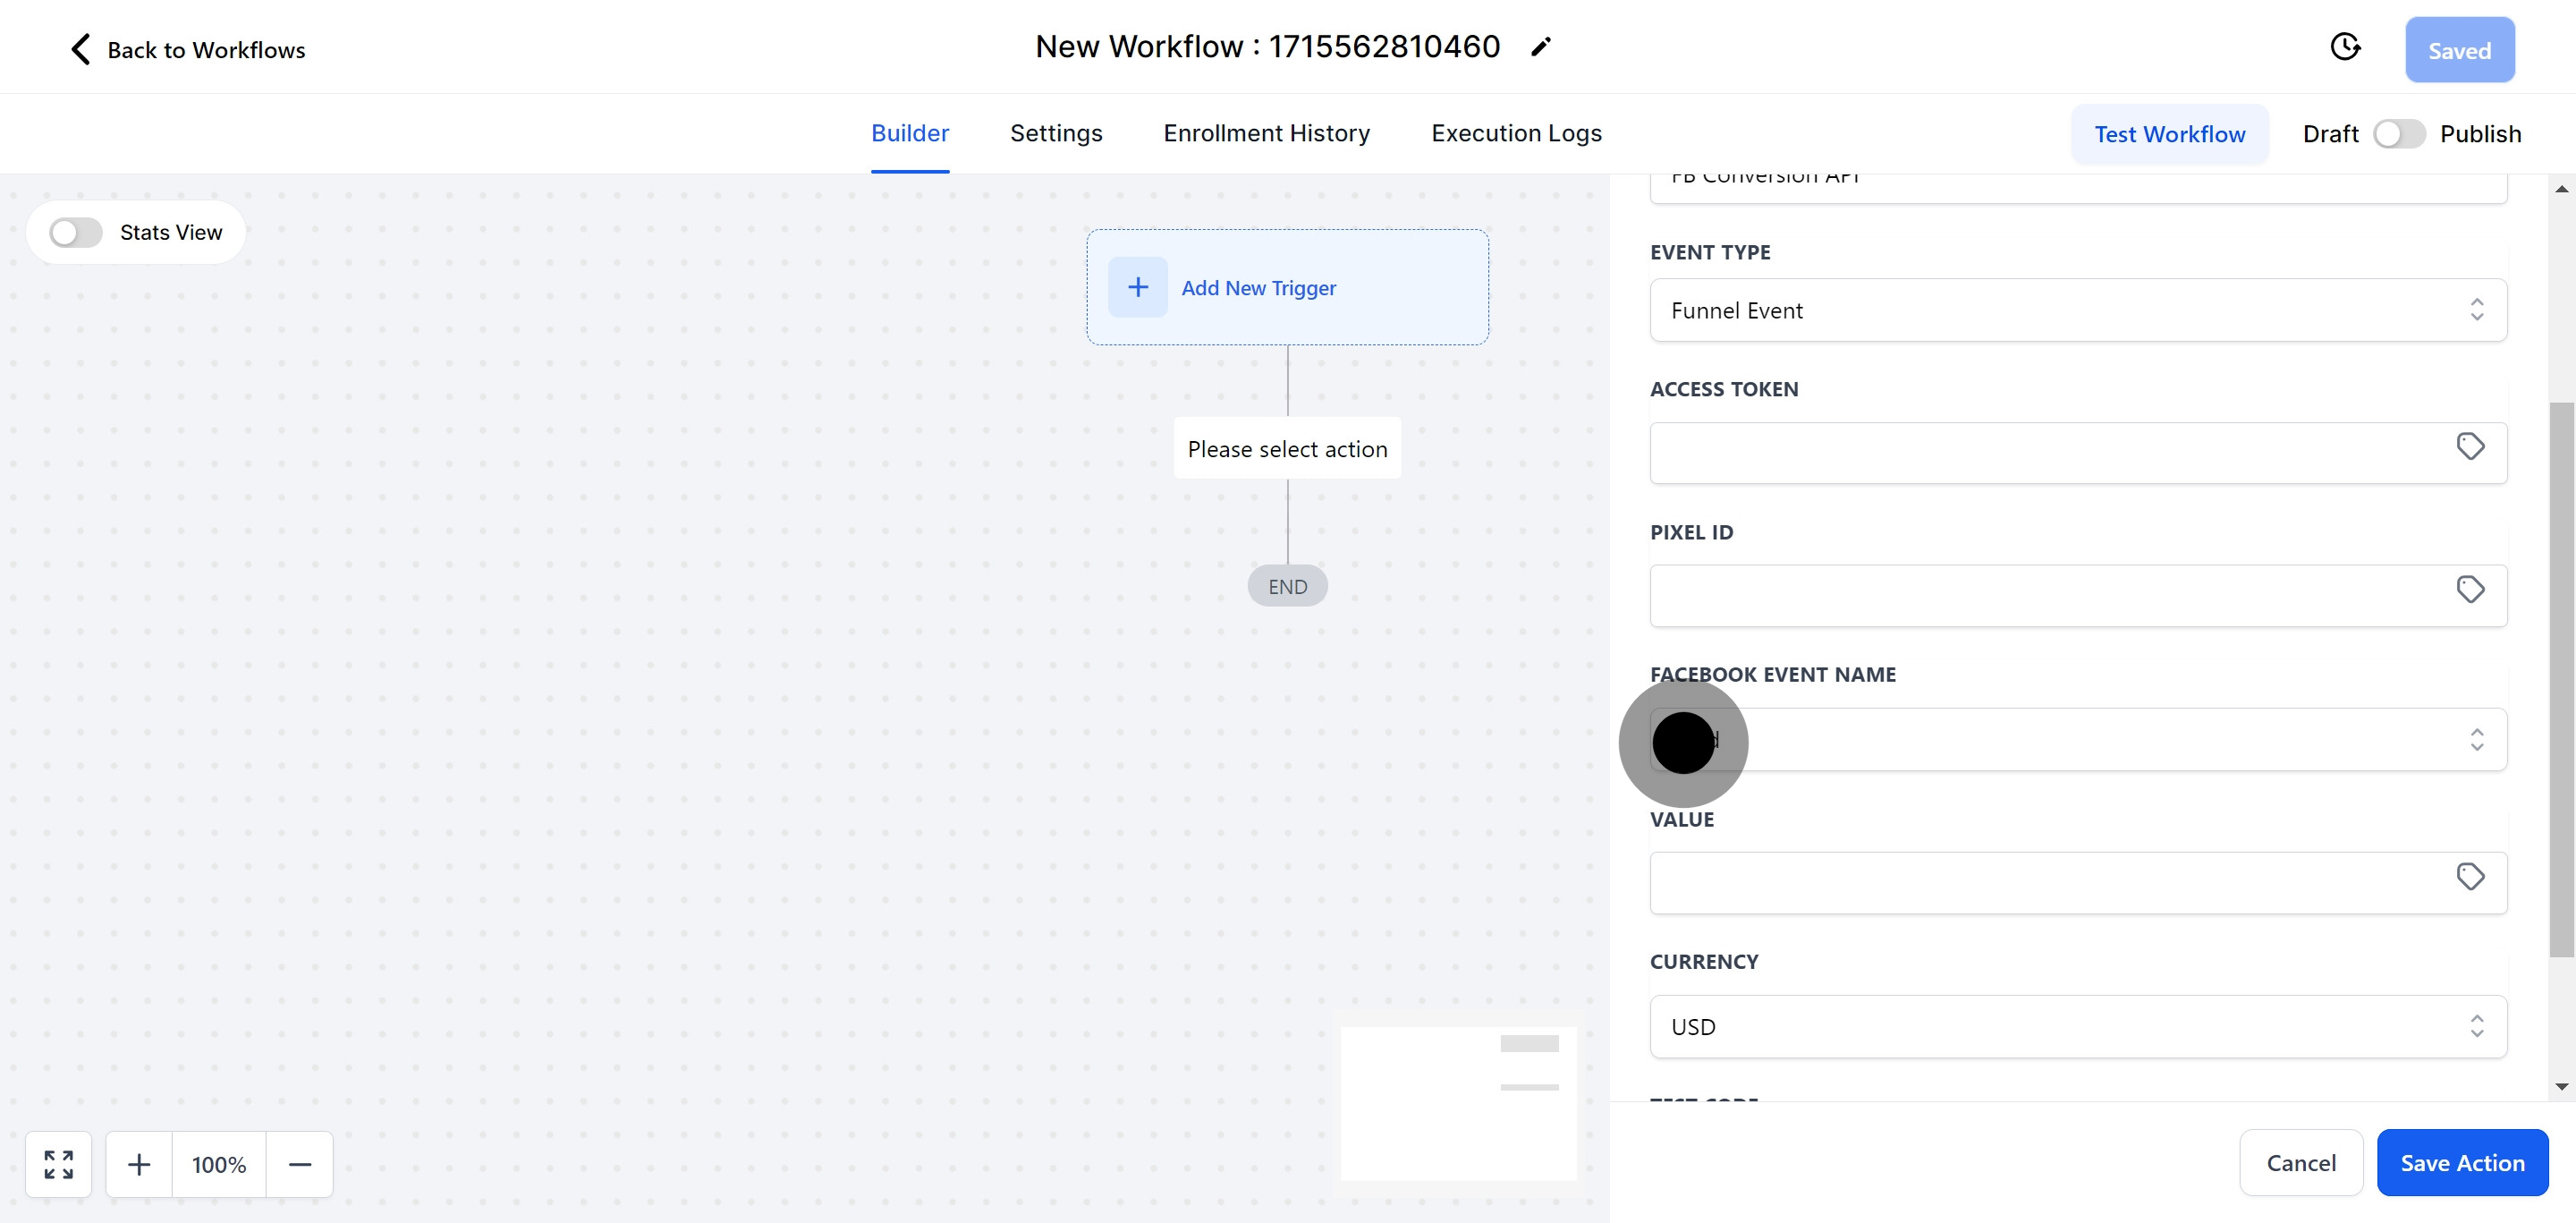
Select an event name from the provided list.
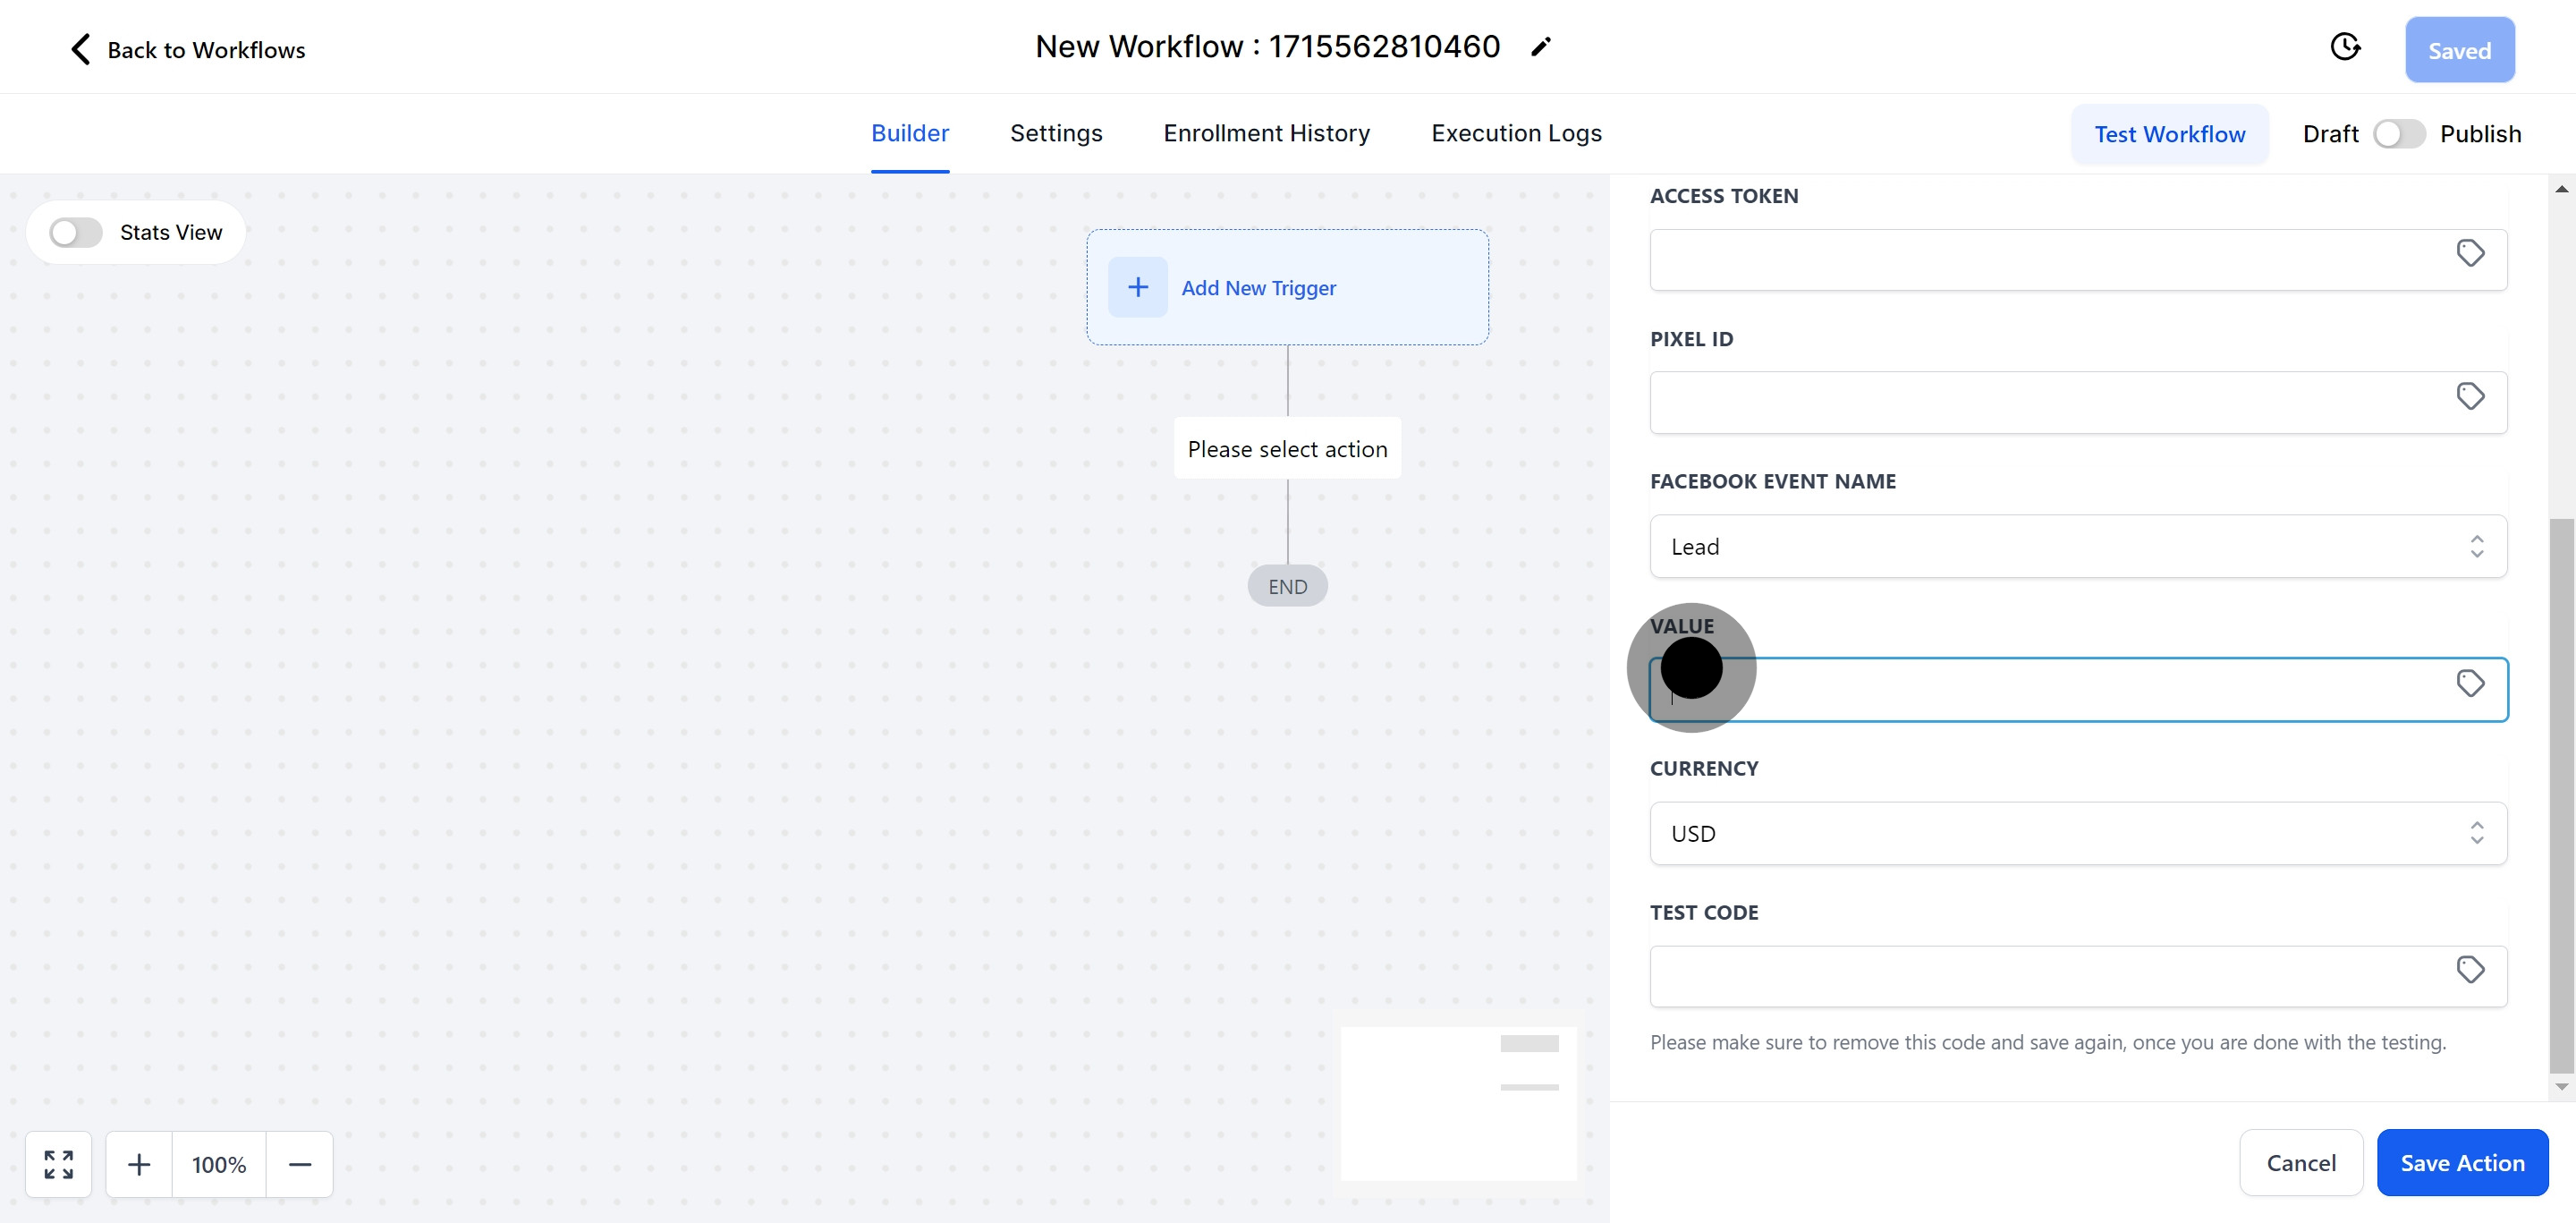
Enter the monetary amount related to the chosen Event Name in this field.
Indicate the currency for the value in this field.
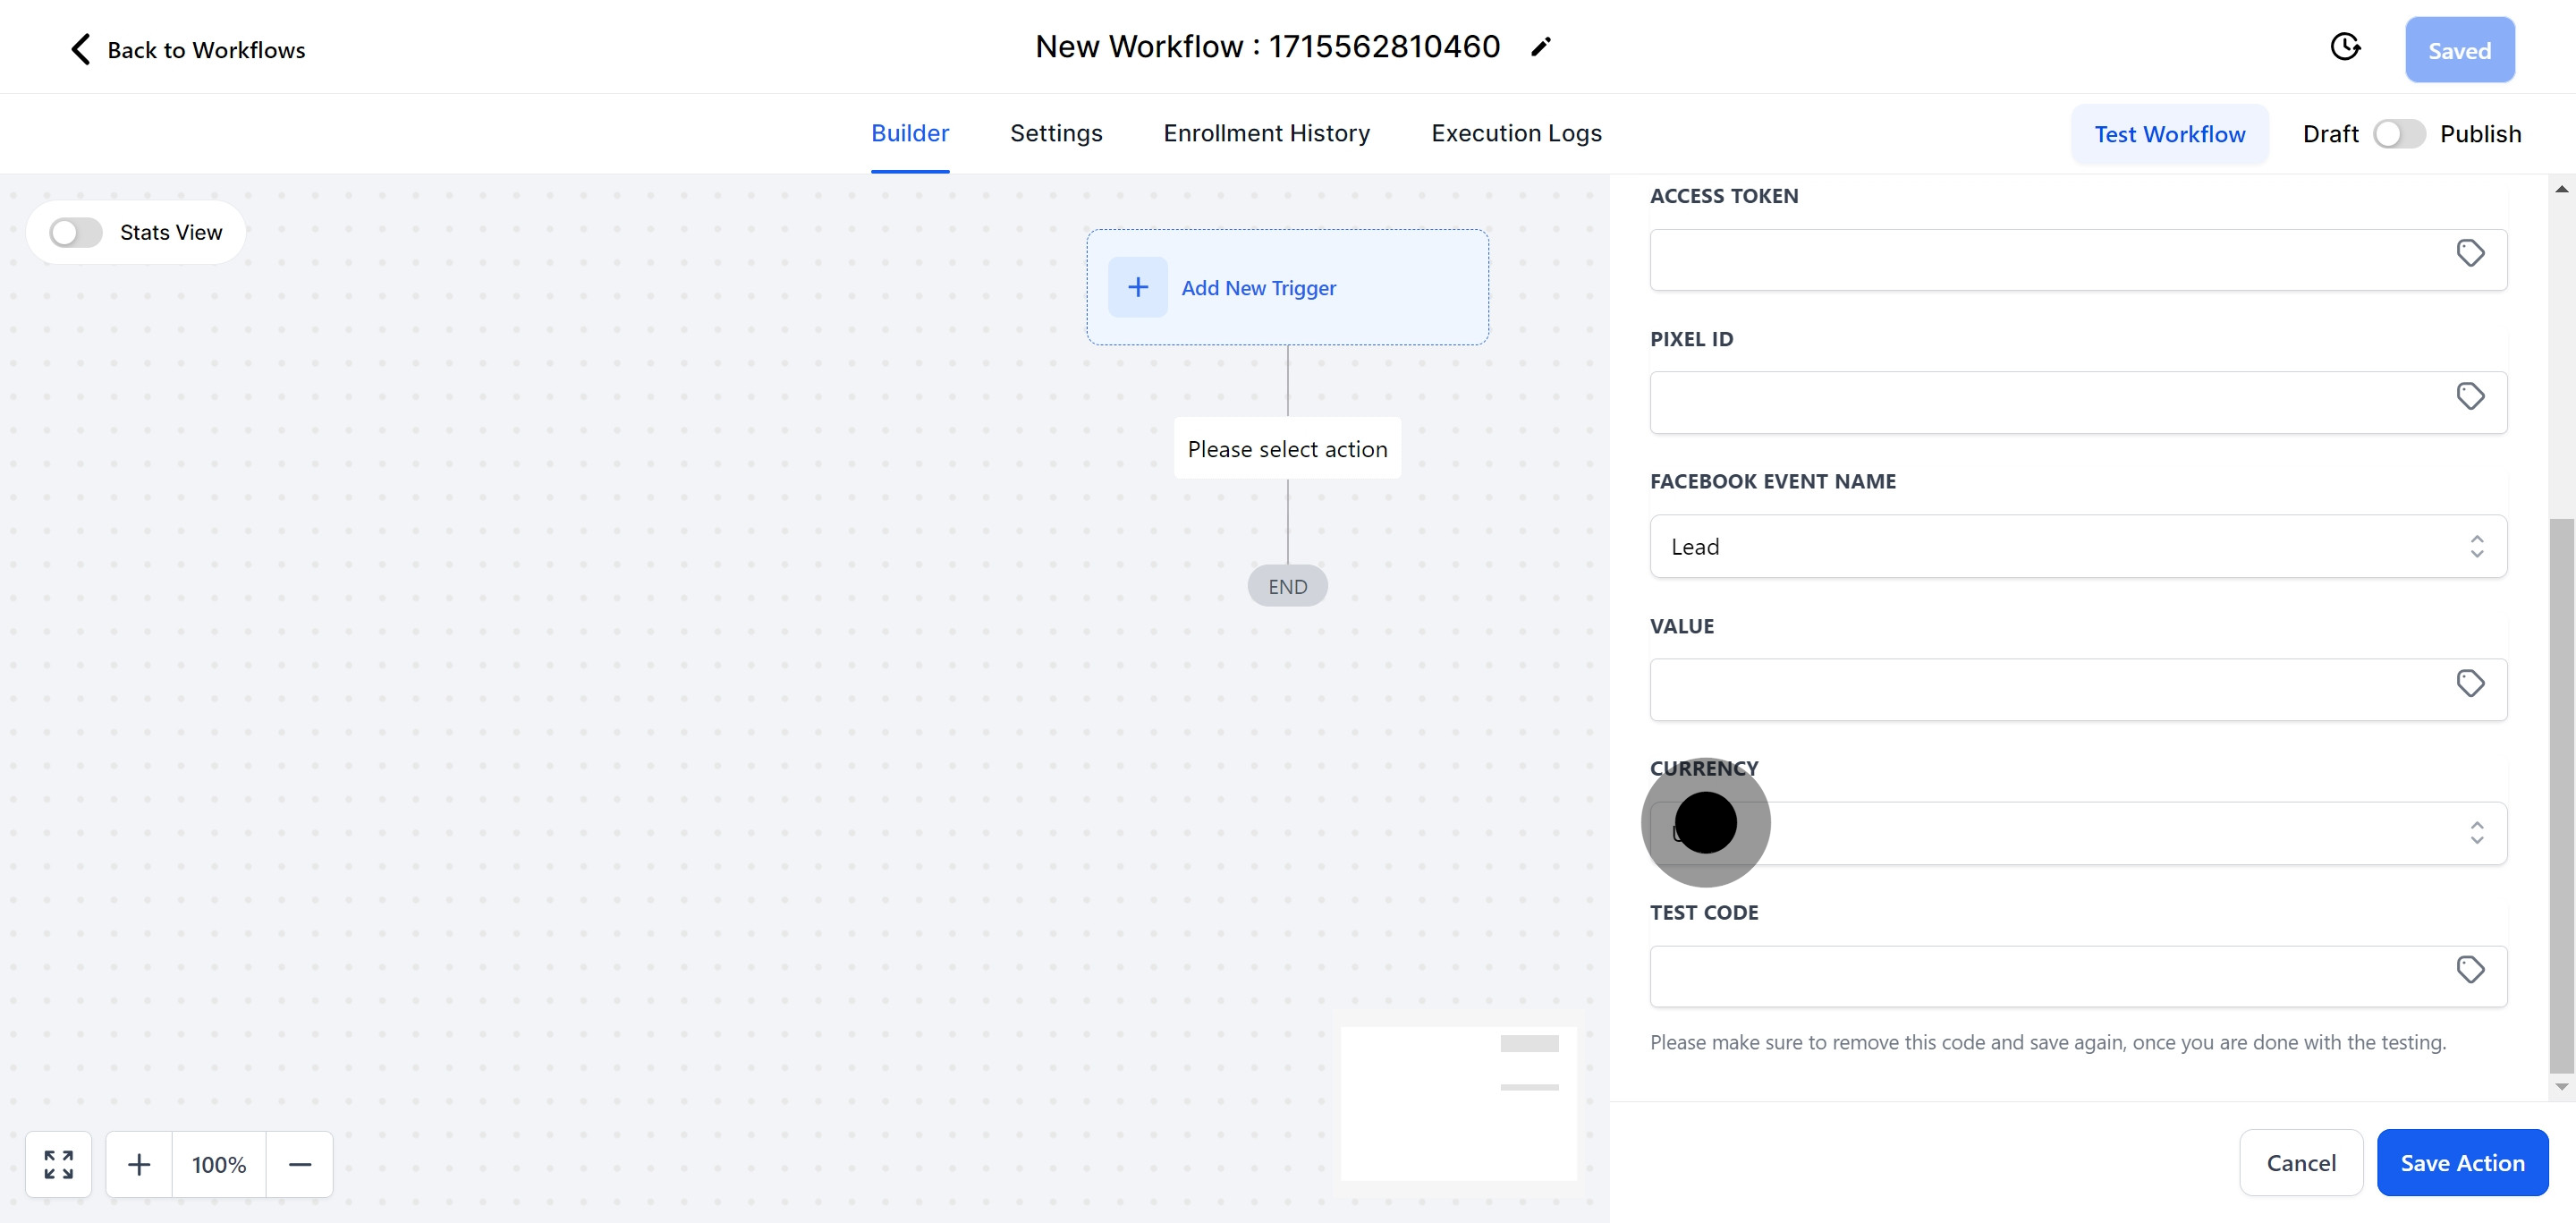
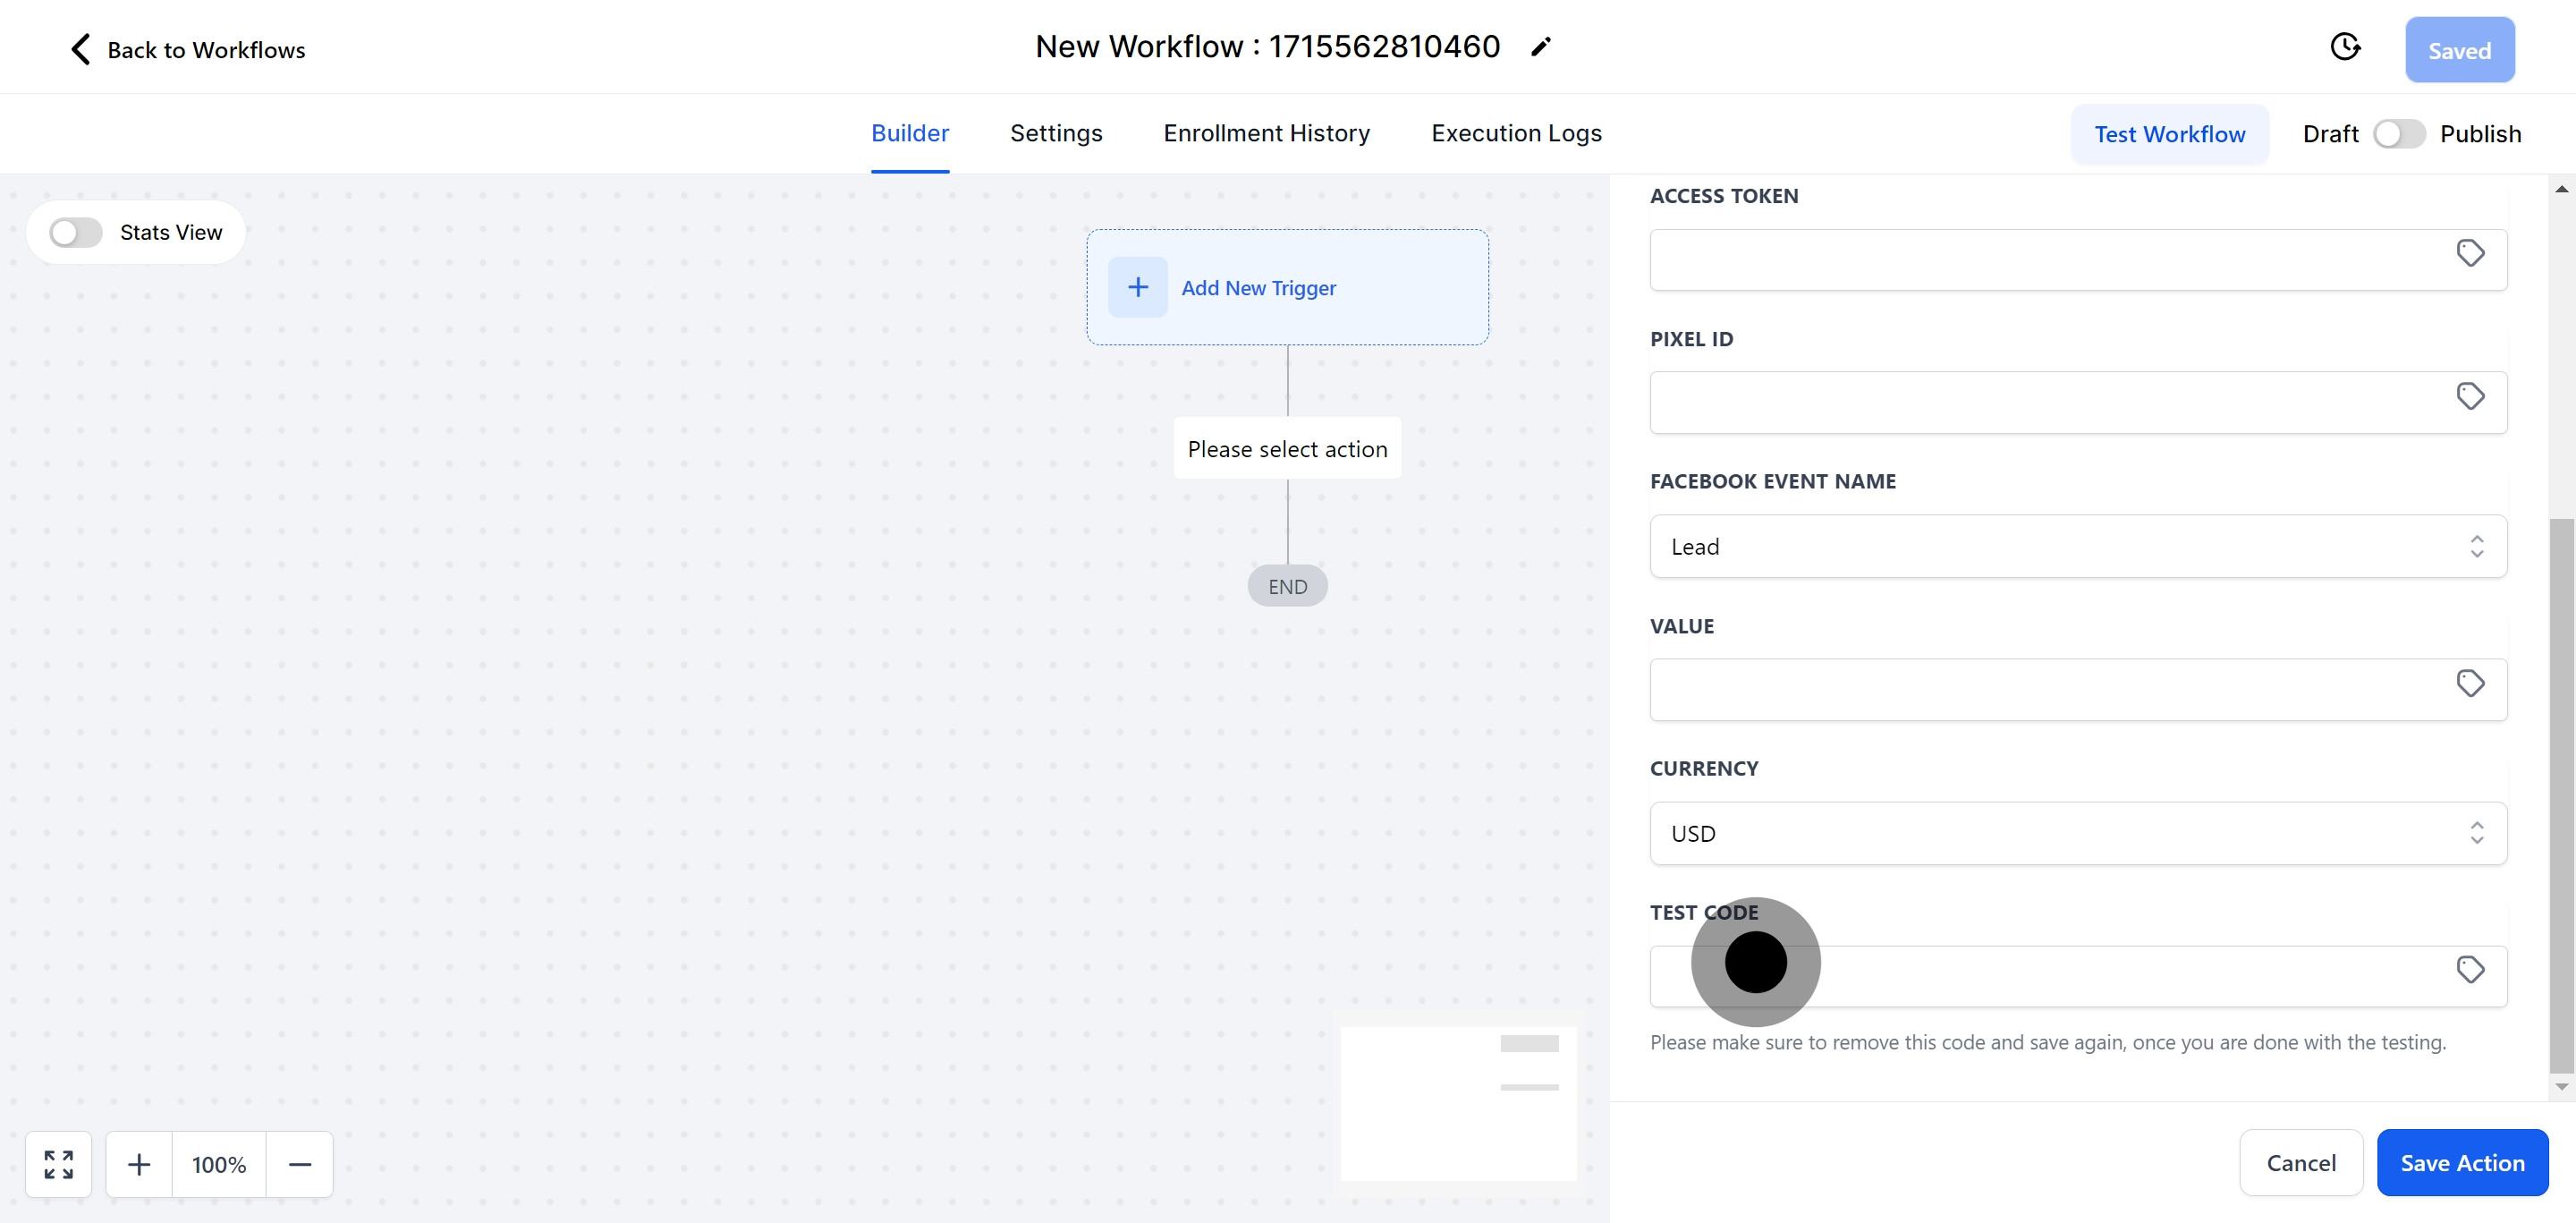
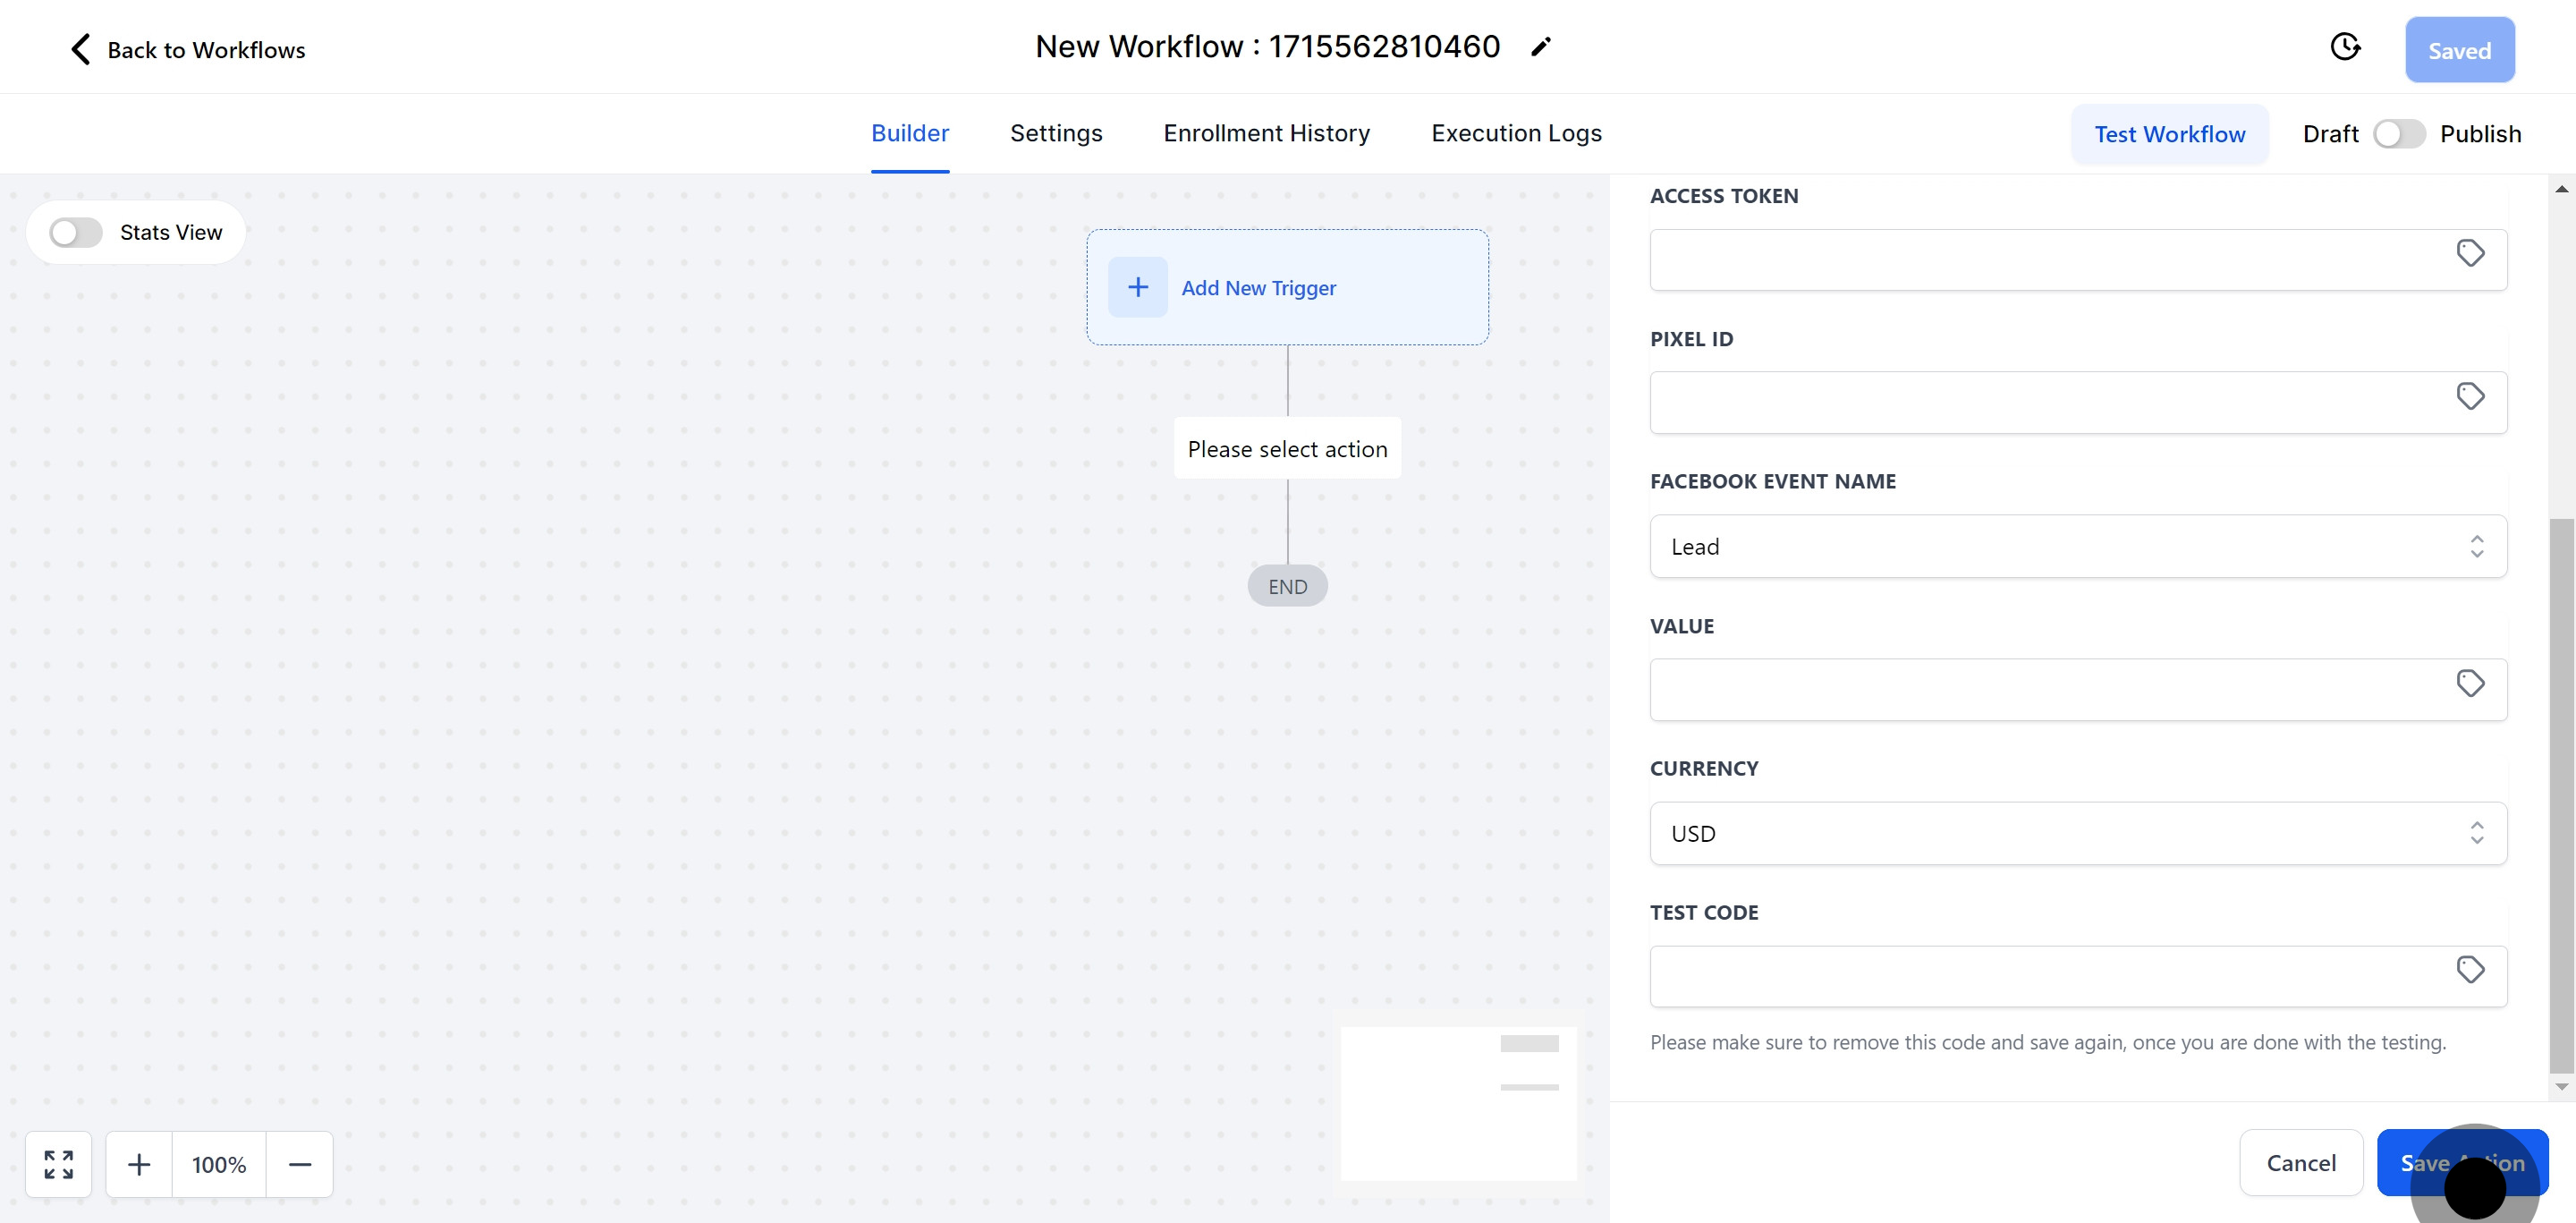
For testing the workflow, access the Facebook Business Manager, navigate to the data sources, select the appropriate pixel, and copy the test code from the test event configuration. Remember, this test code is for trial purposes only. Once testing is completed satisfactorily, remove the test code from this field and save the workflow again.