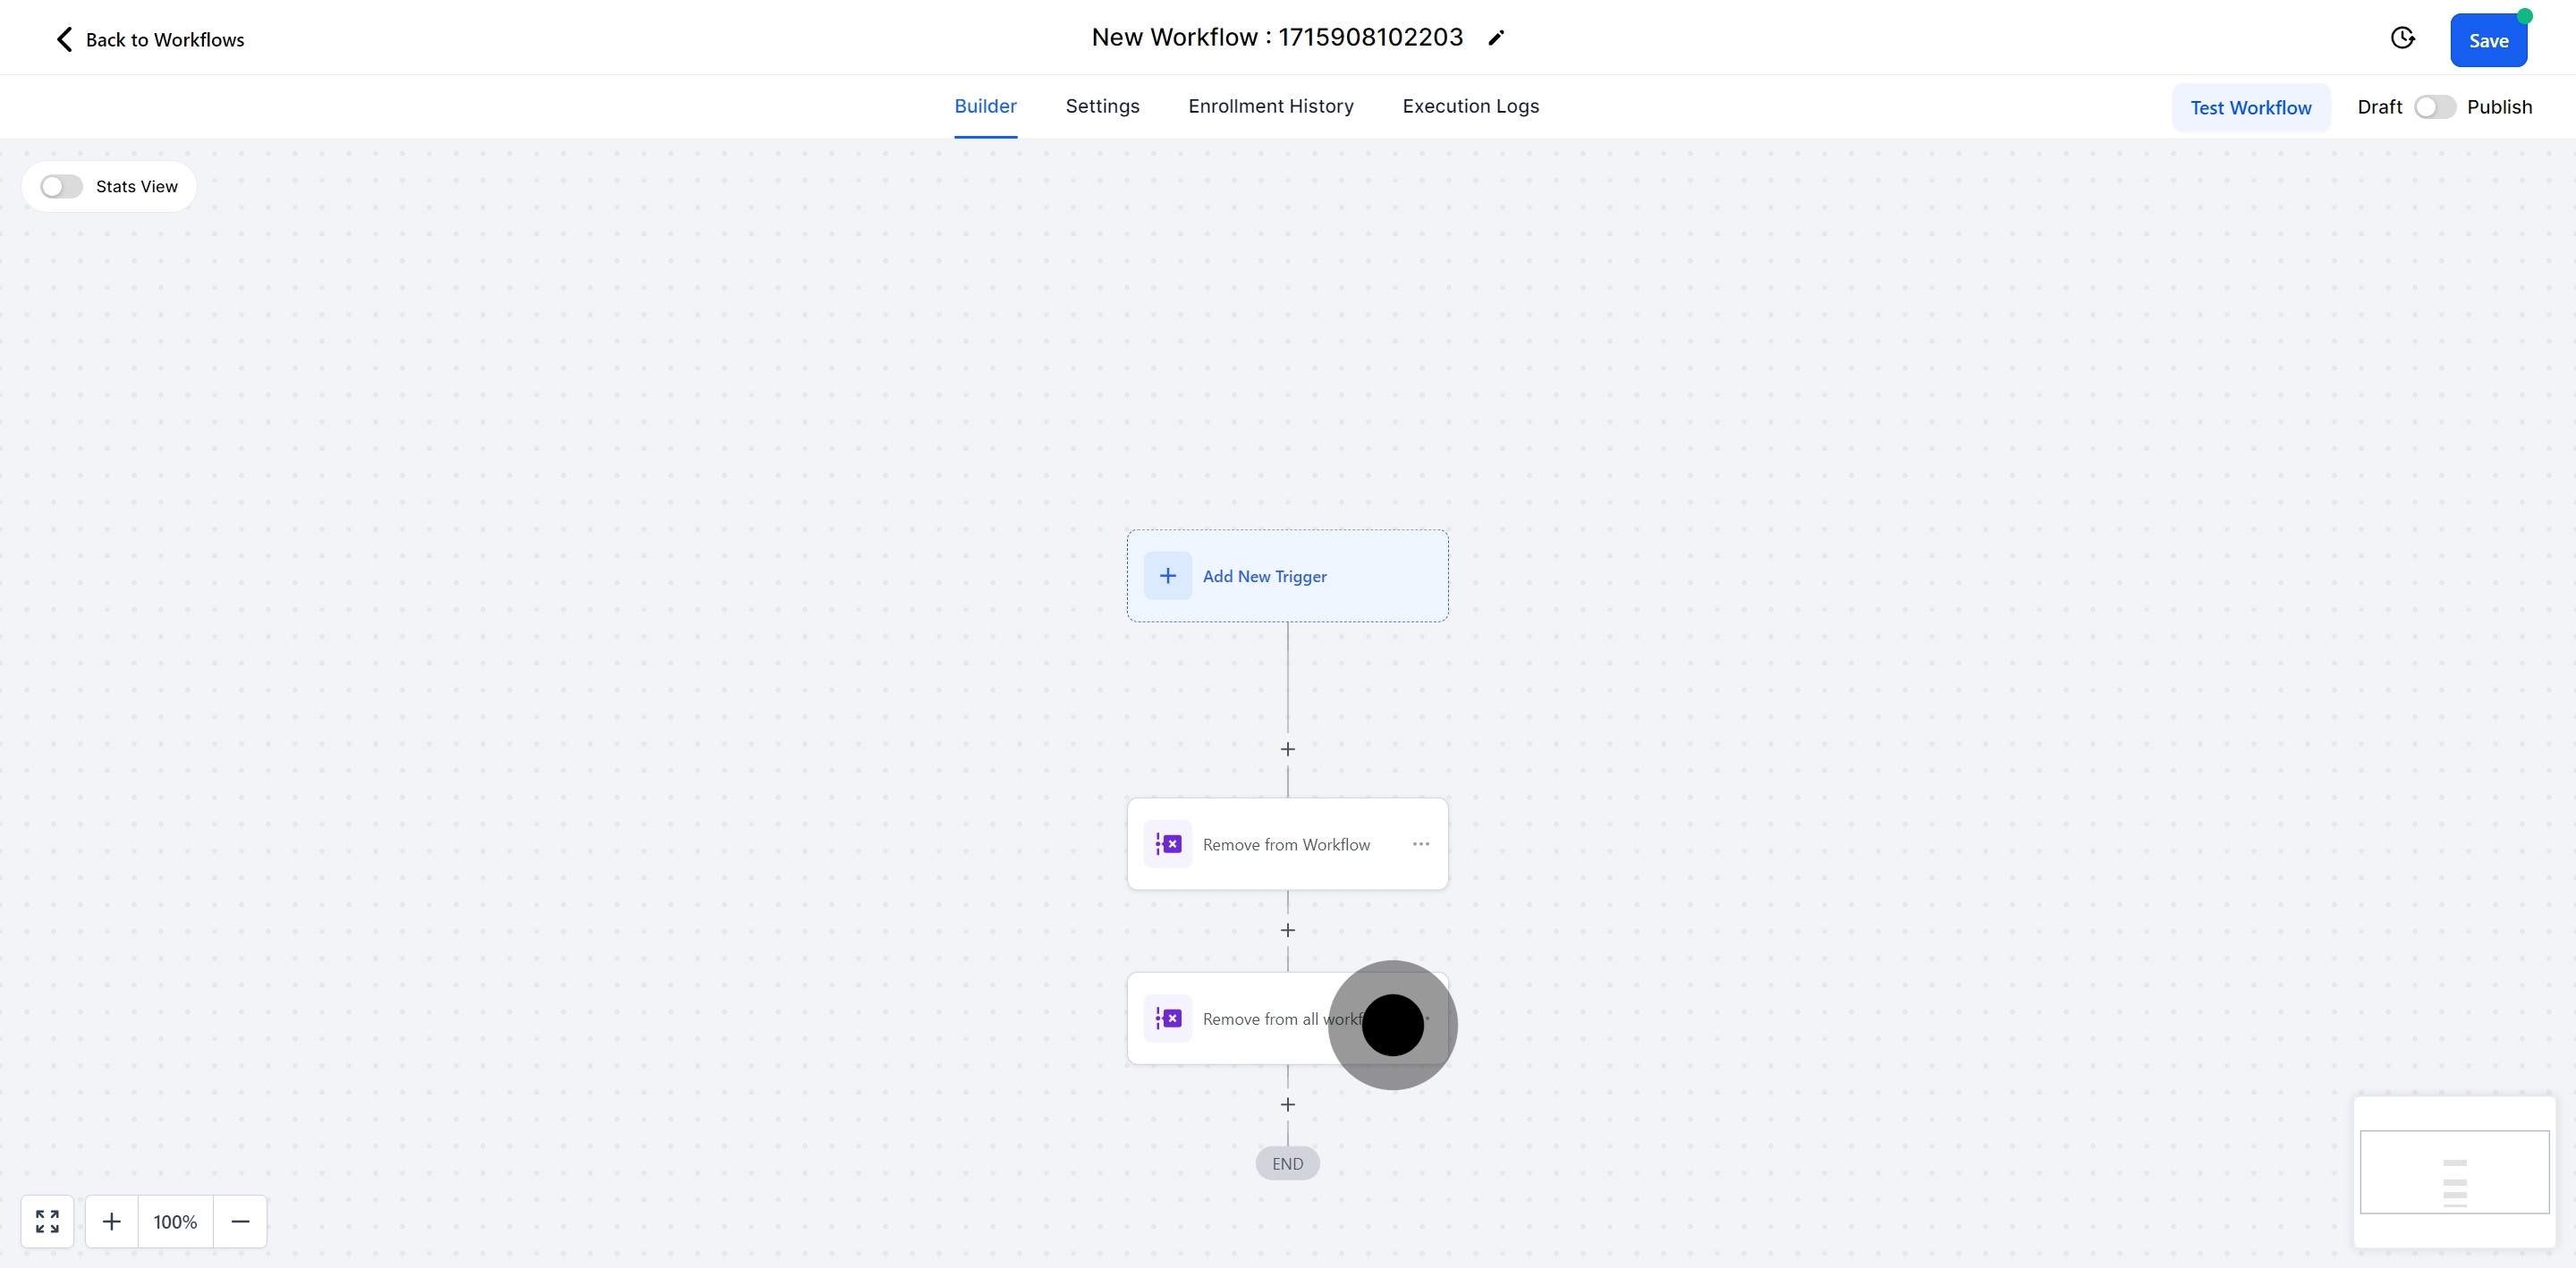
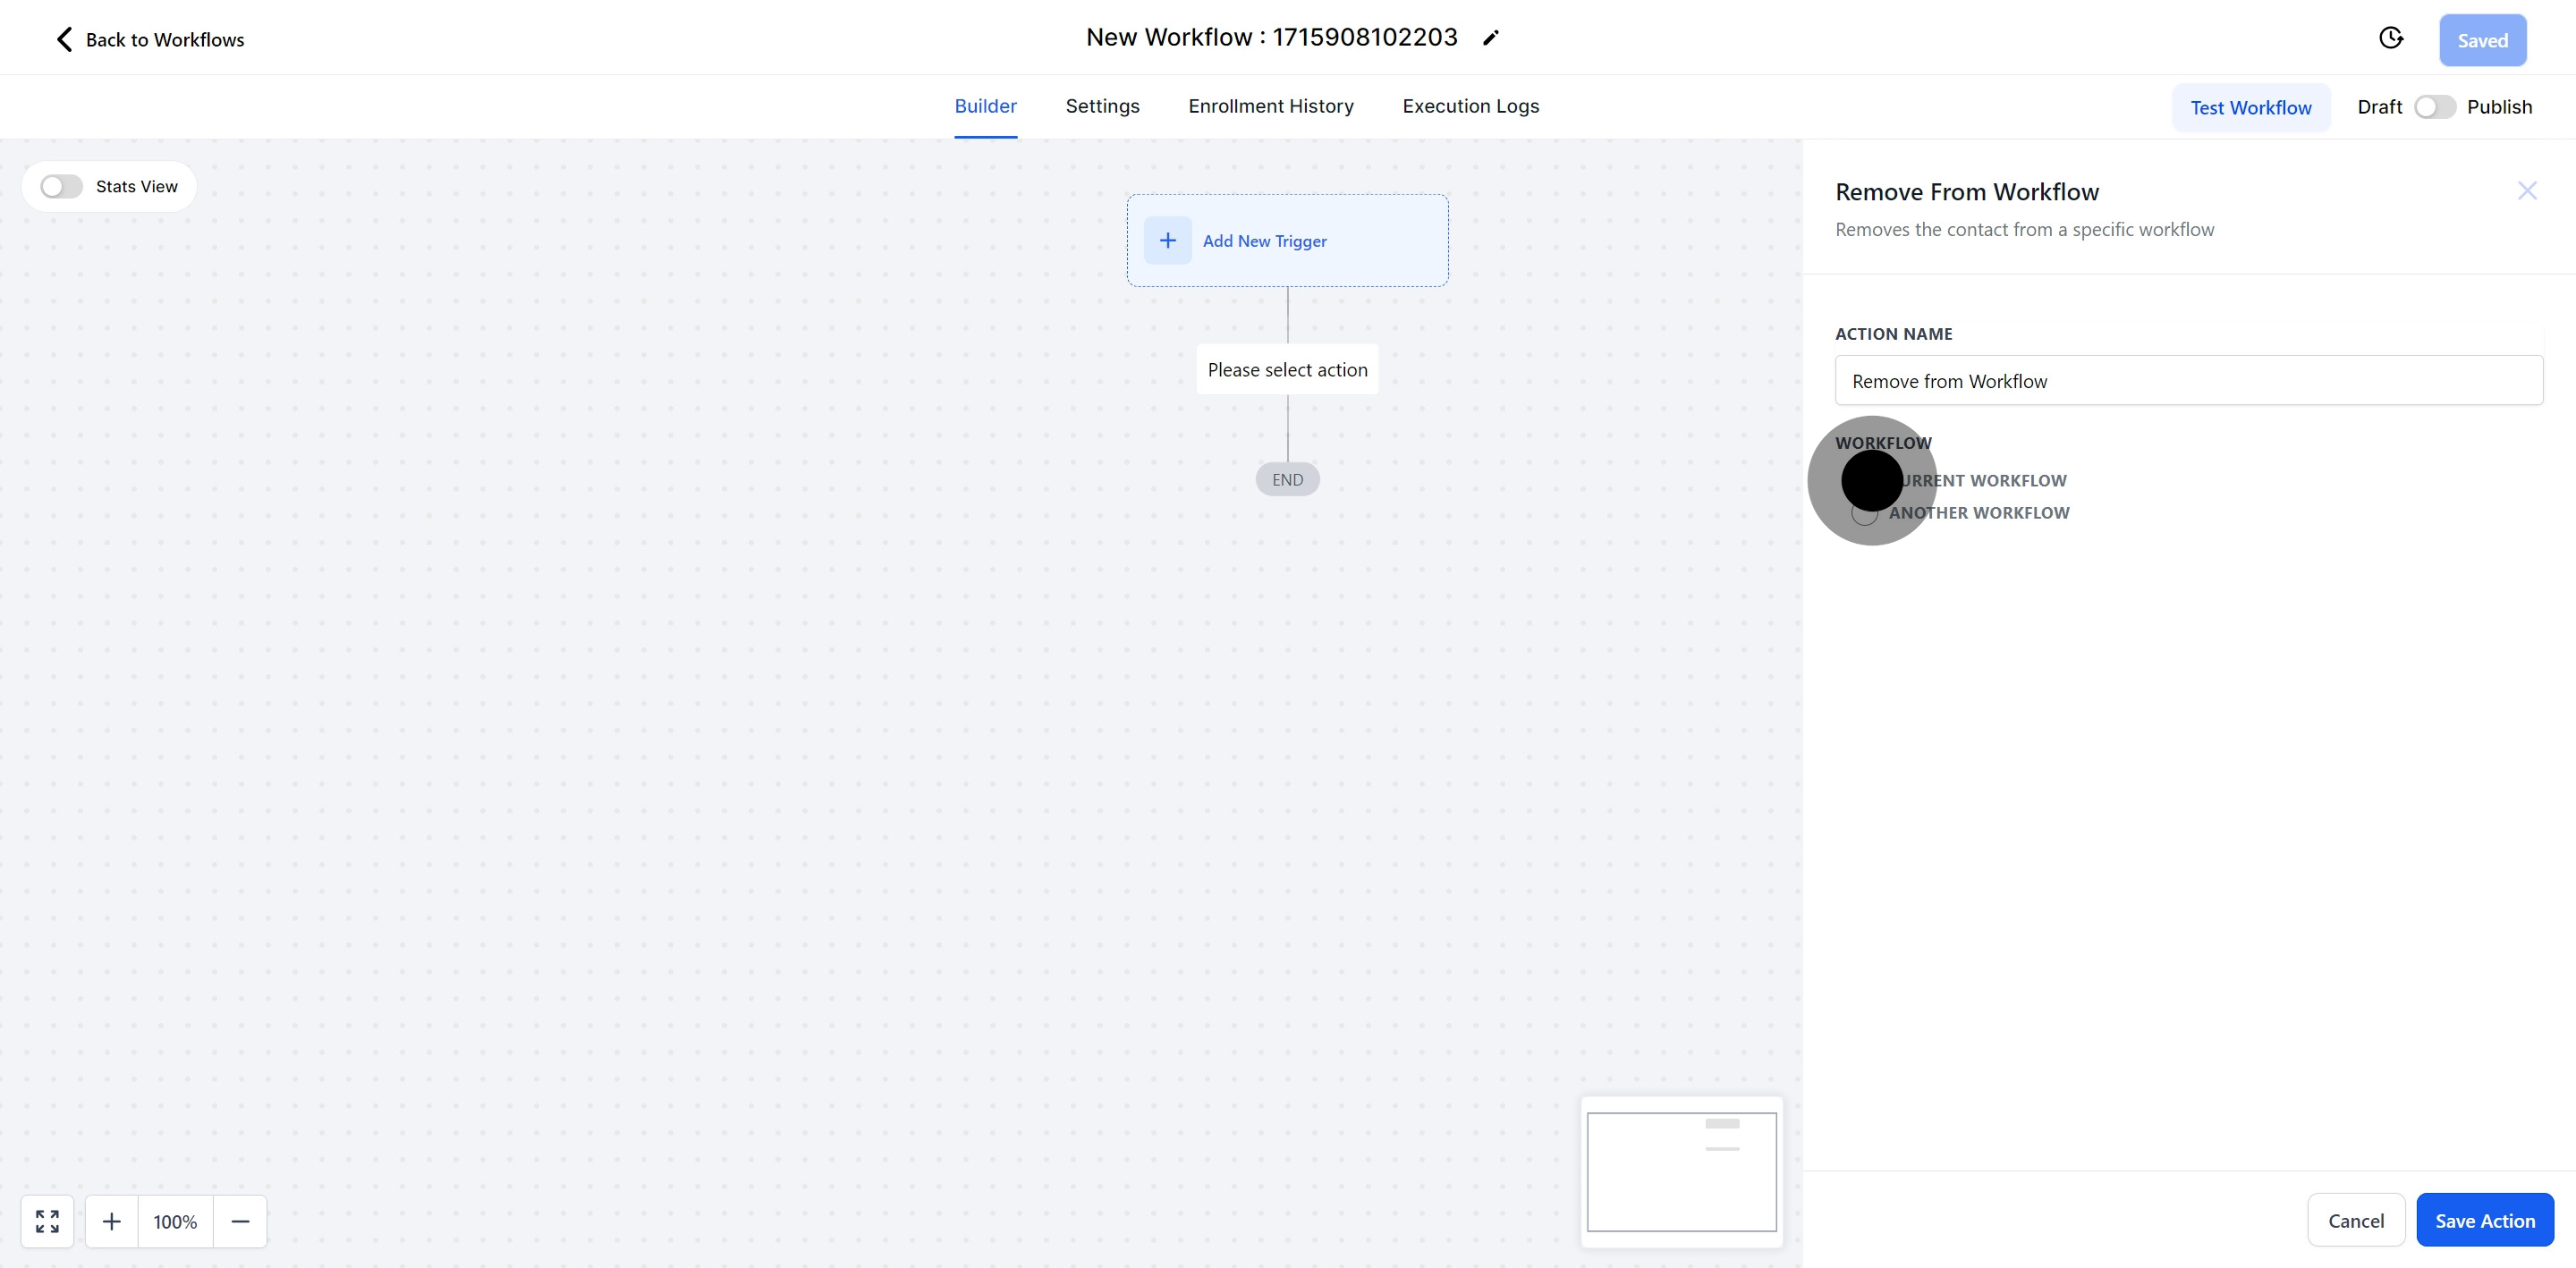
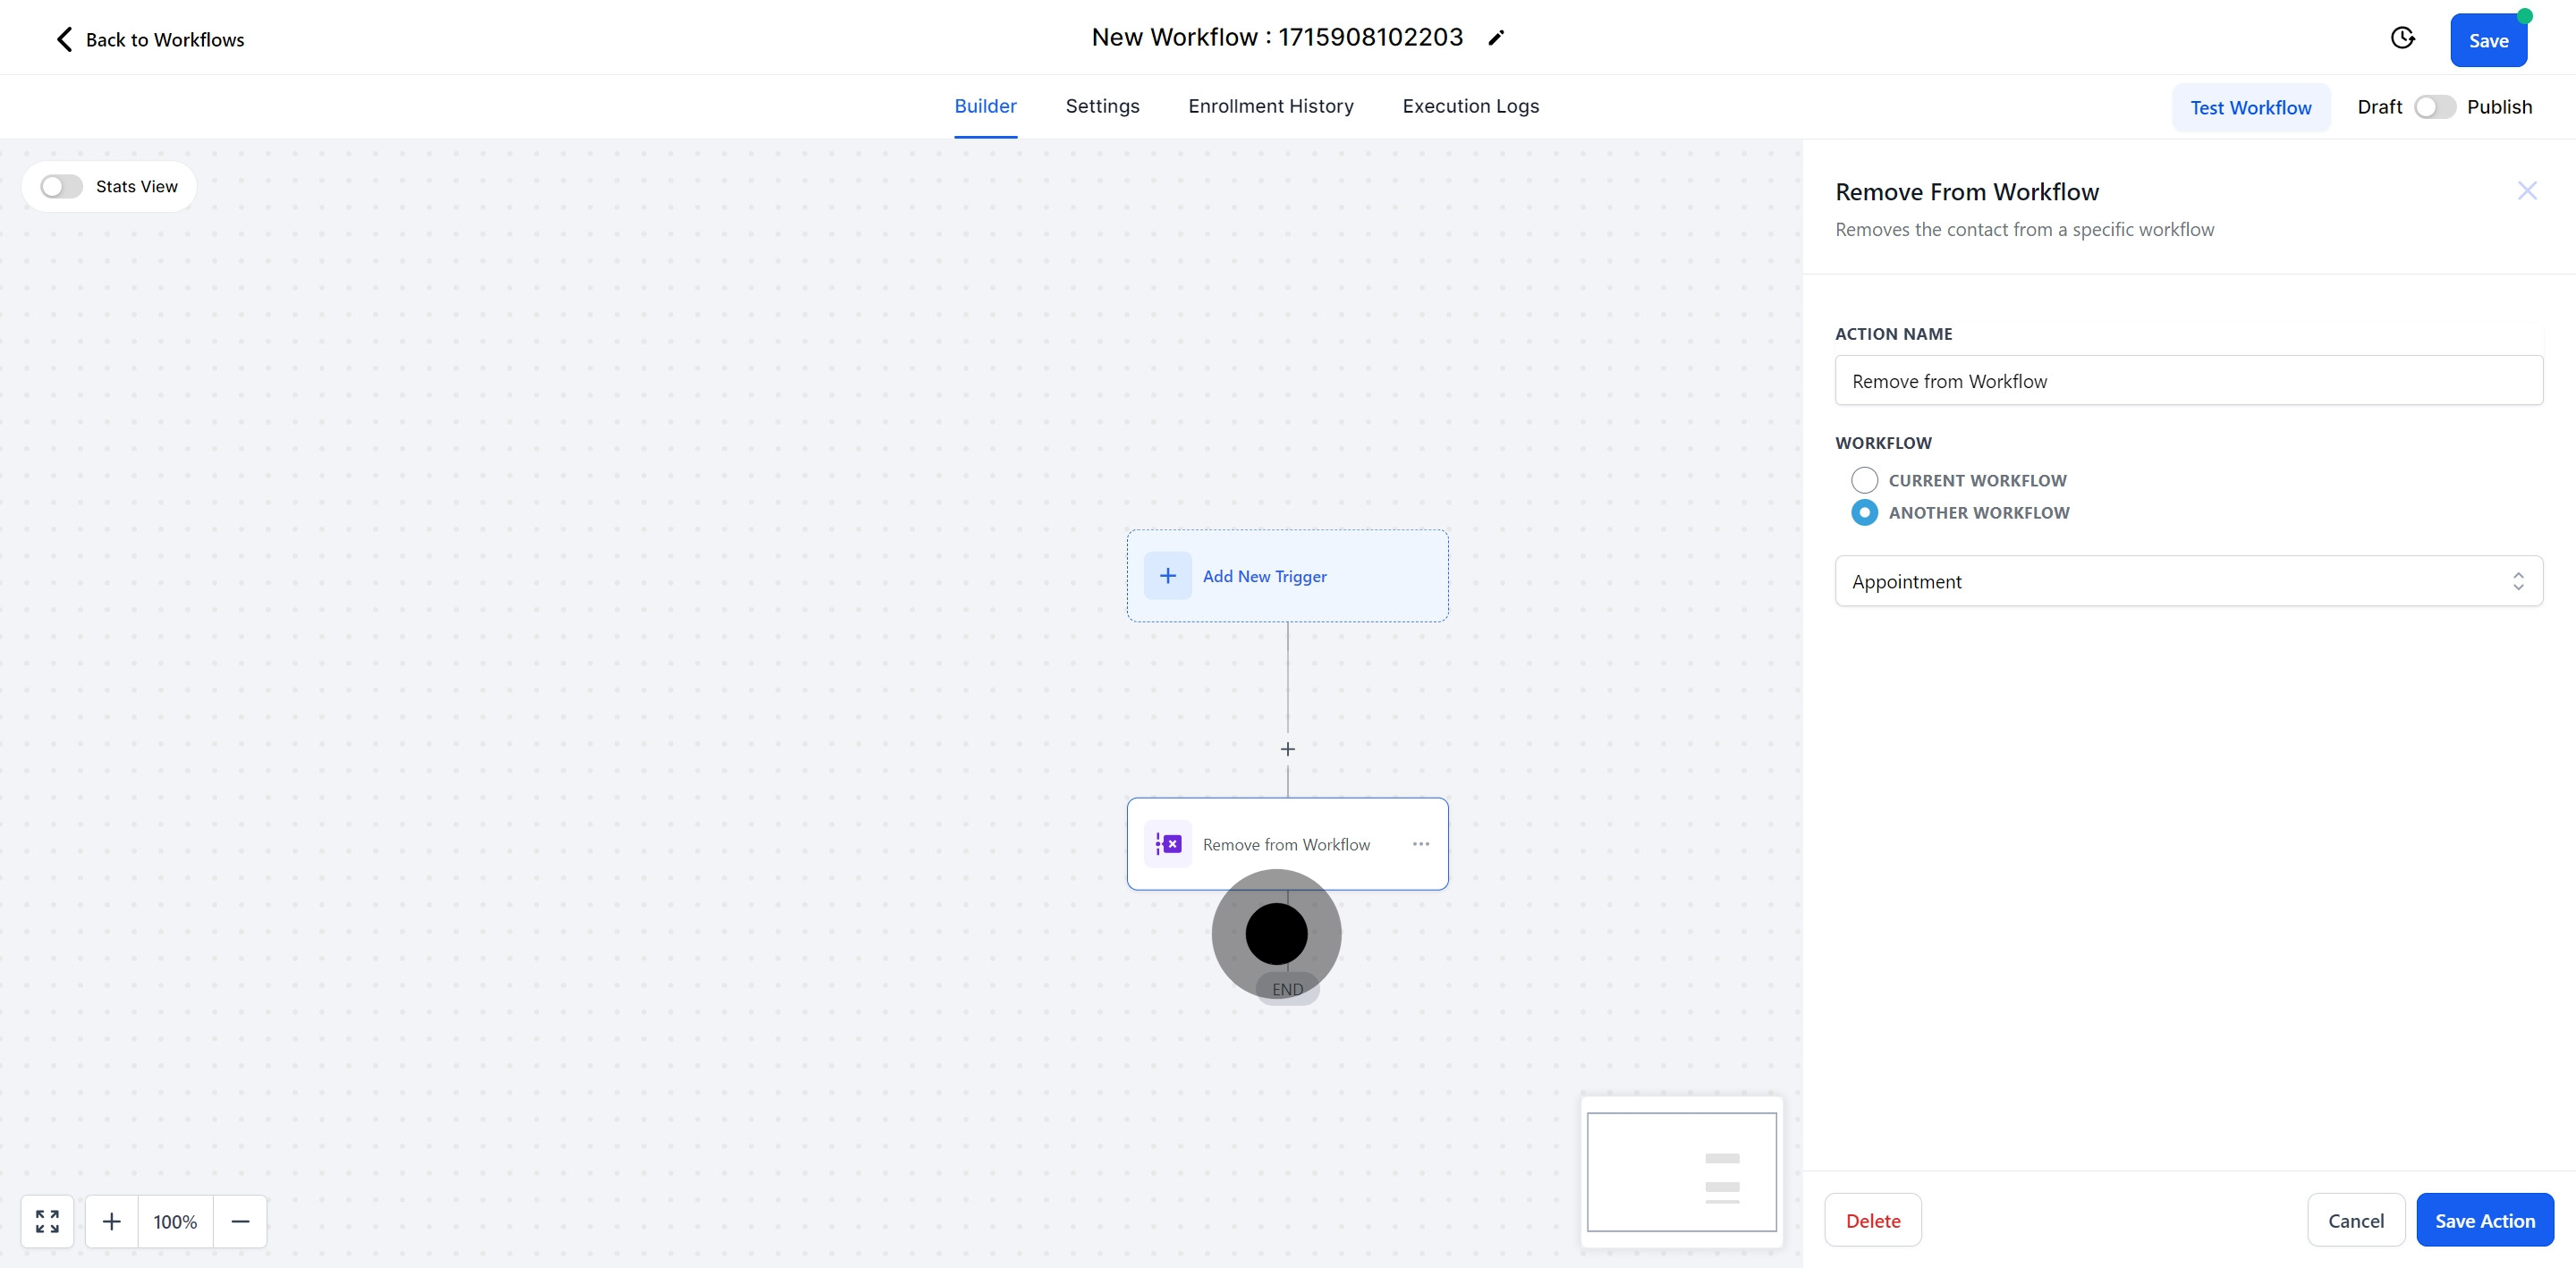
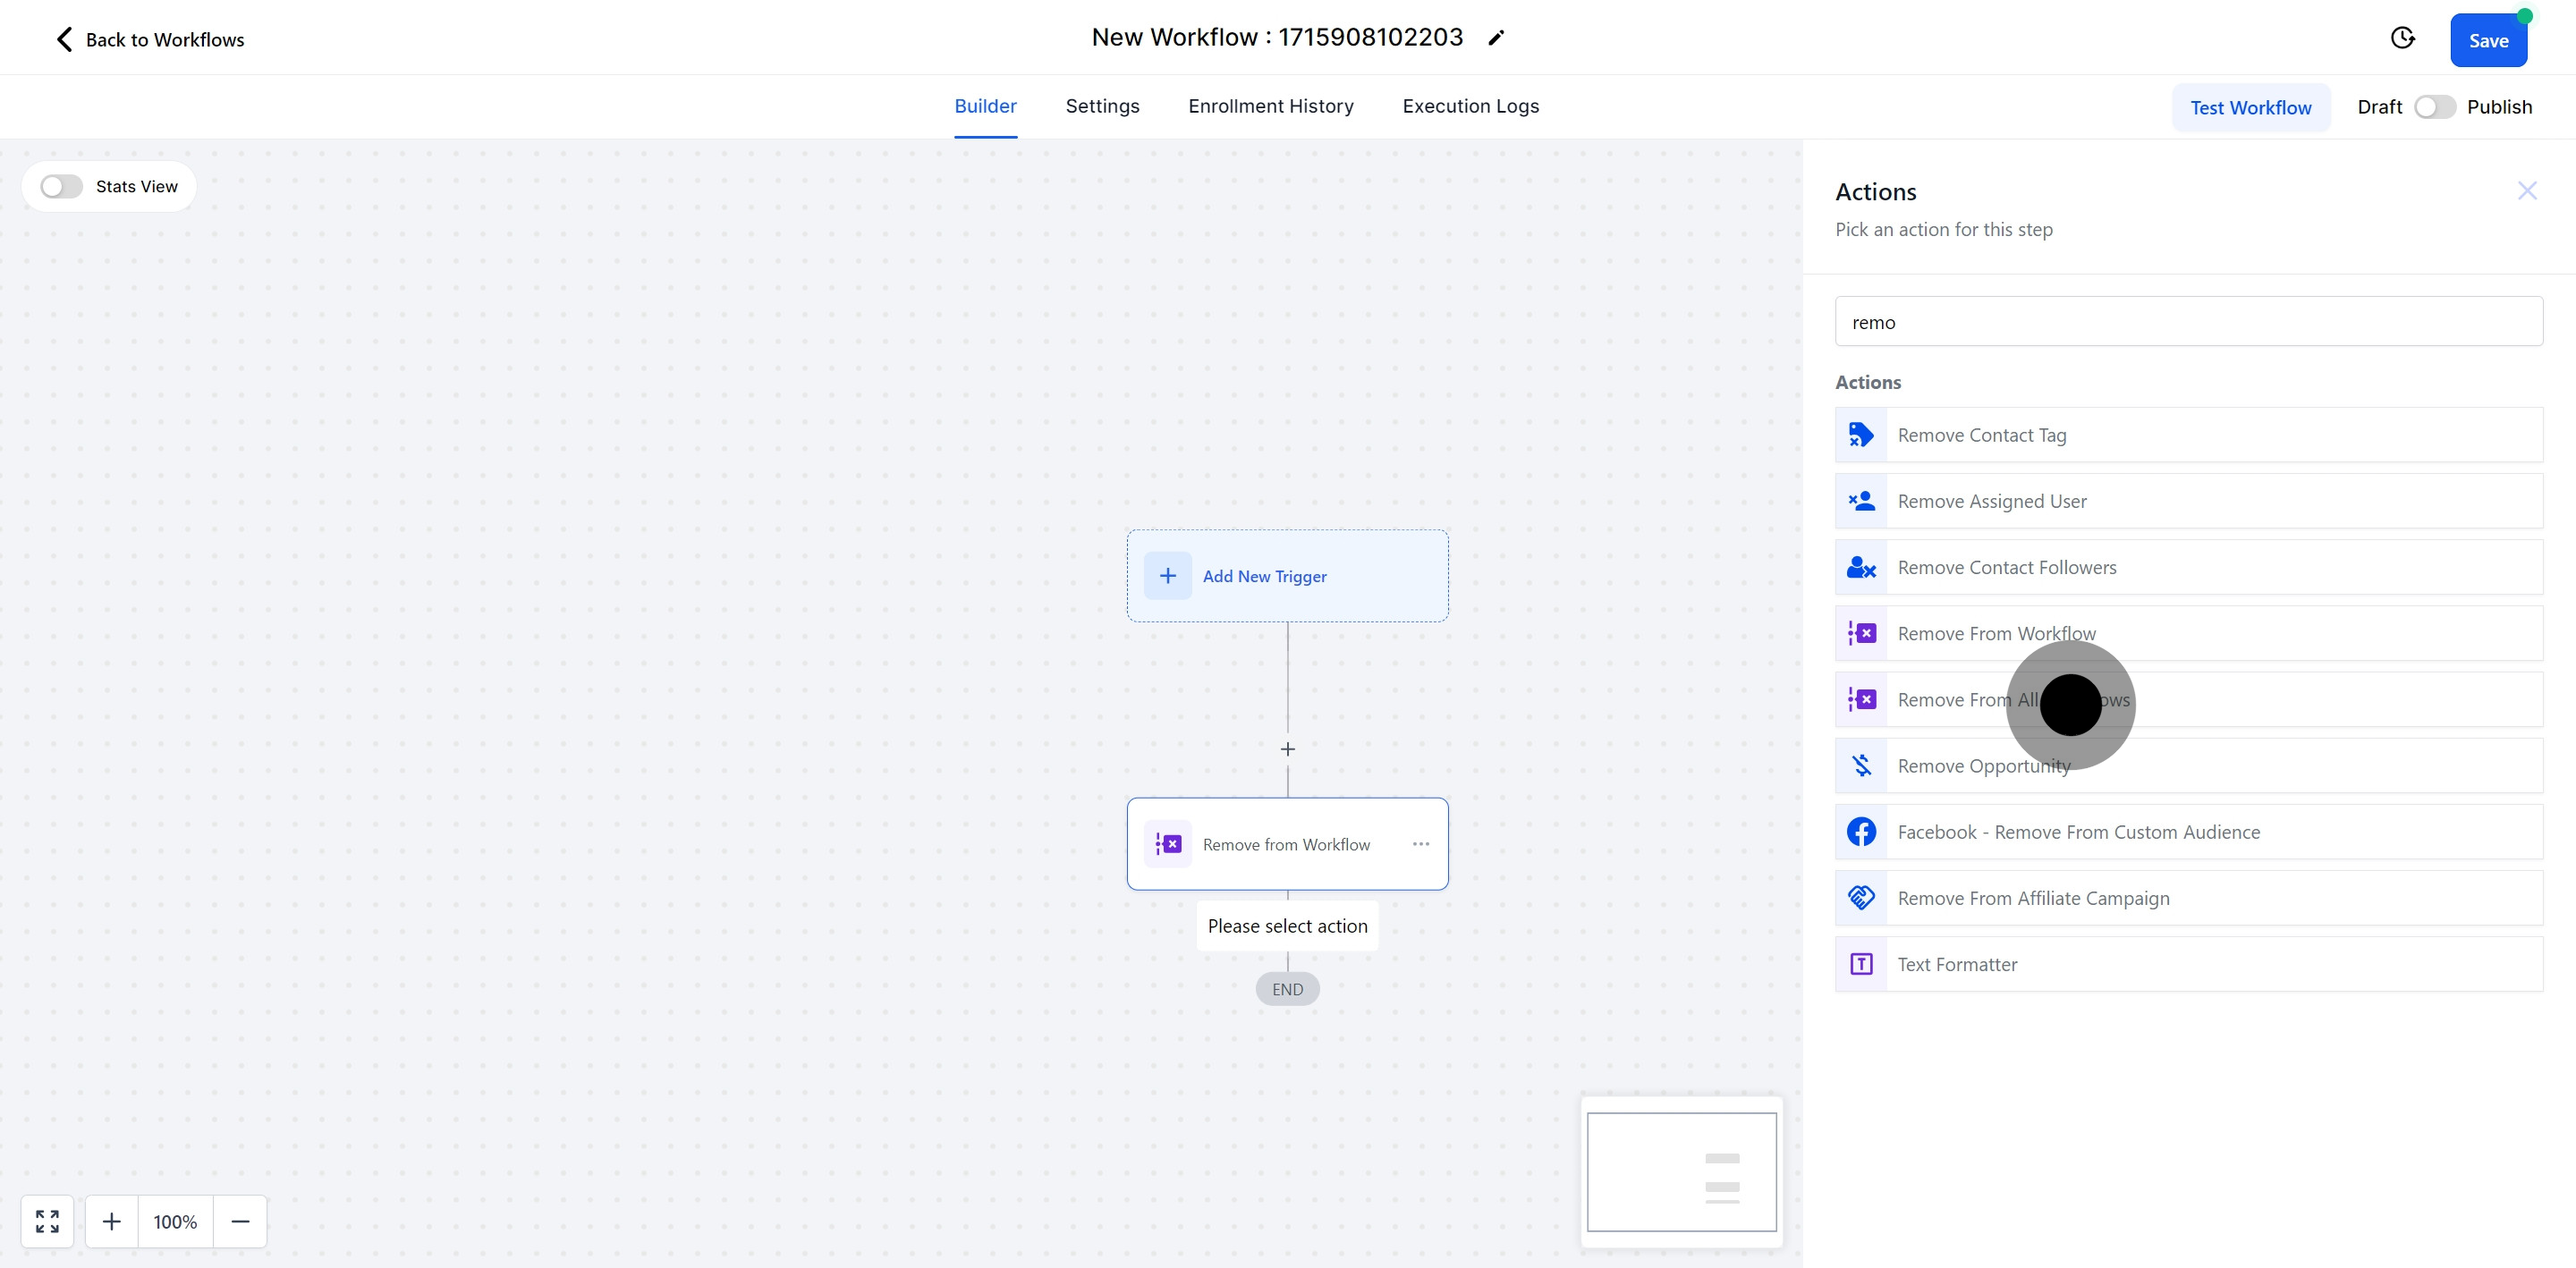
To publish a workflow, you must configure both a workflow trigger and a workflow action. Without these components, you can save the workflow, but not publish it.When this action is triggered, it enables you to remove contacts from any specified workflow.
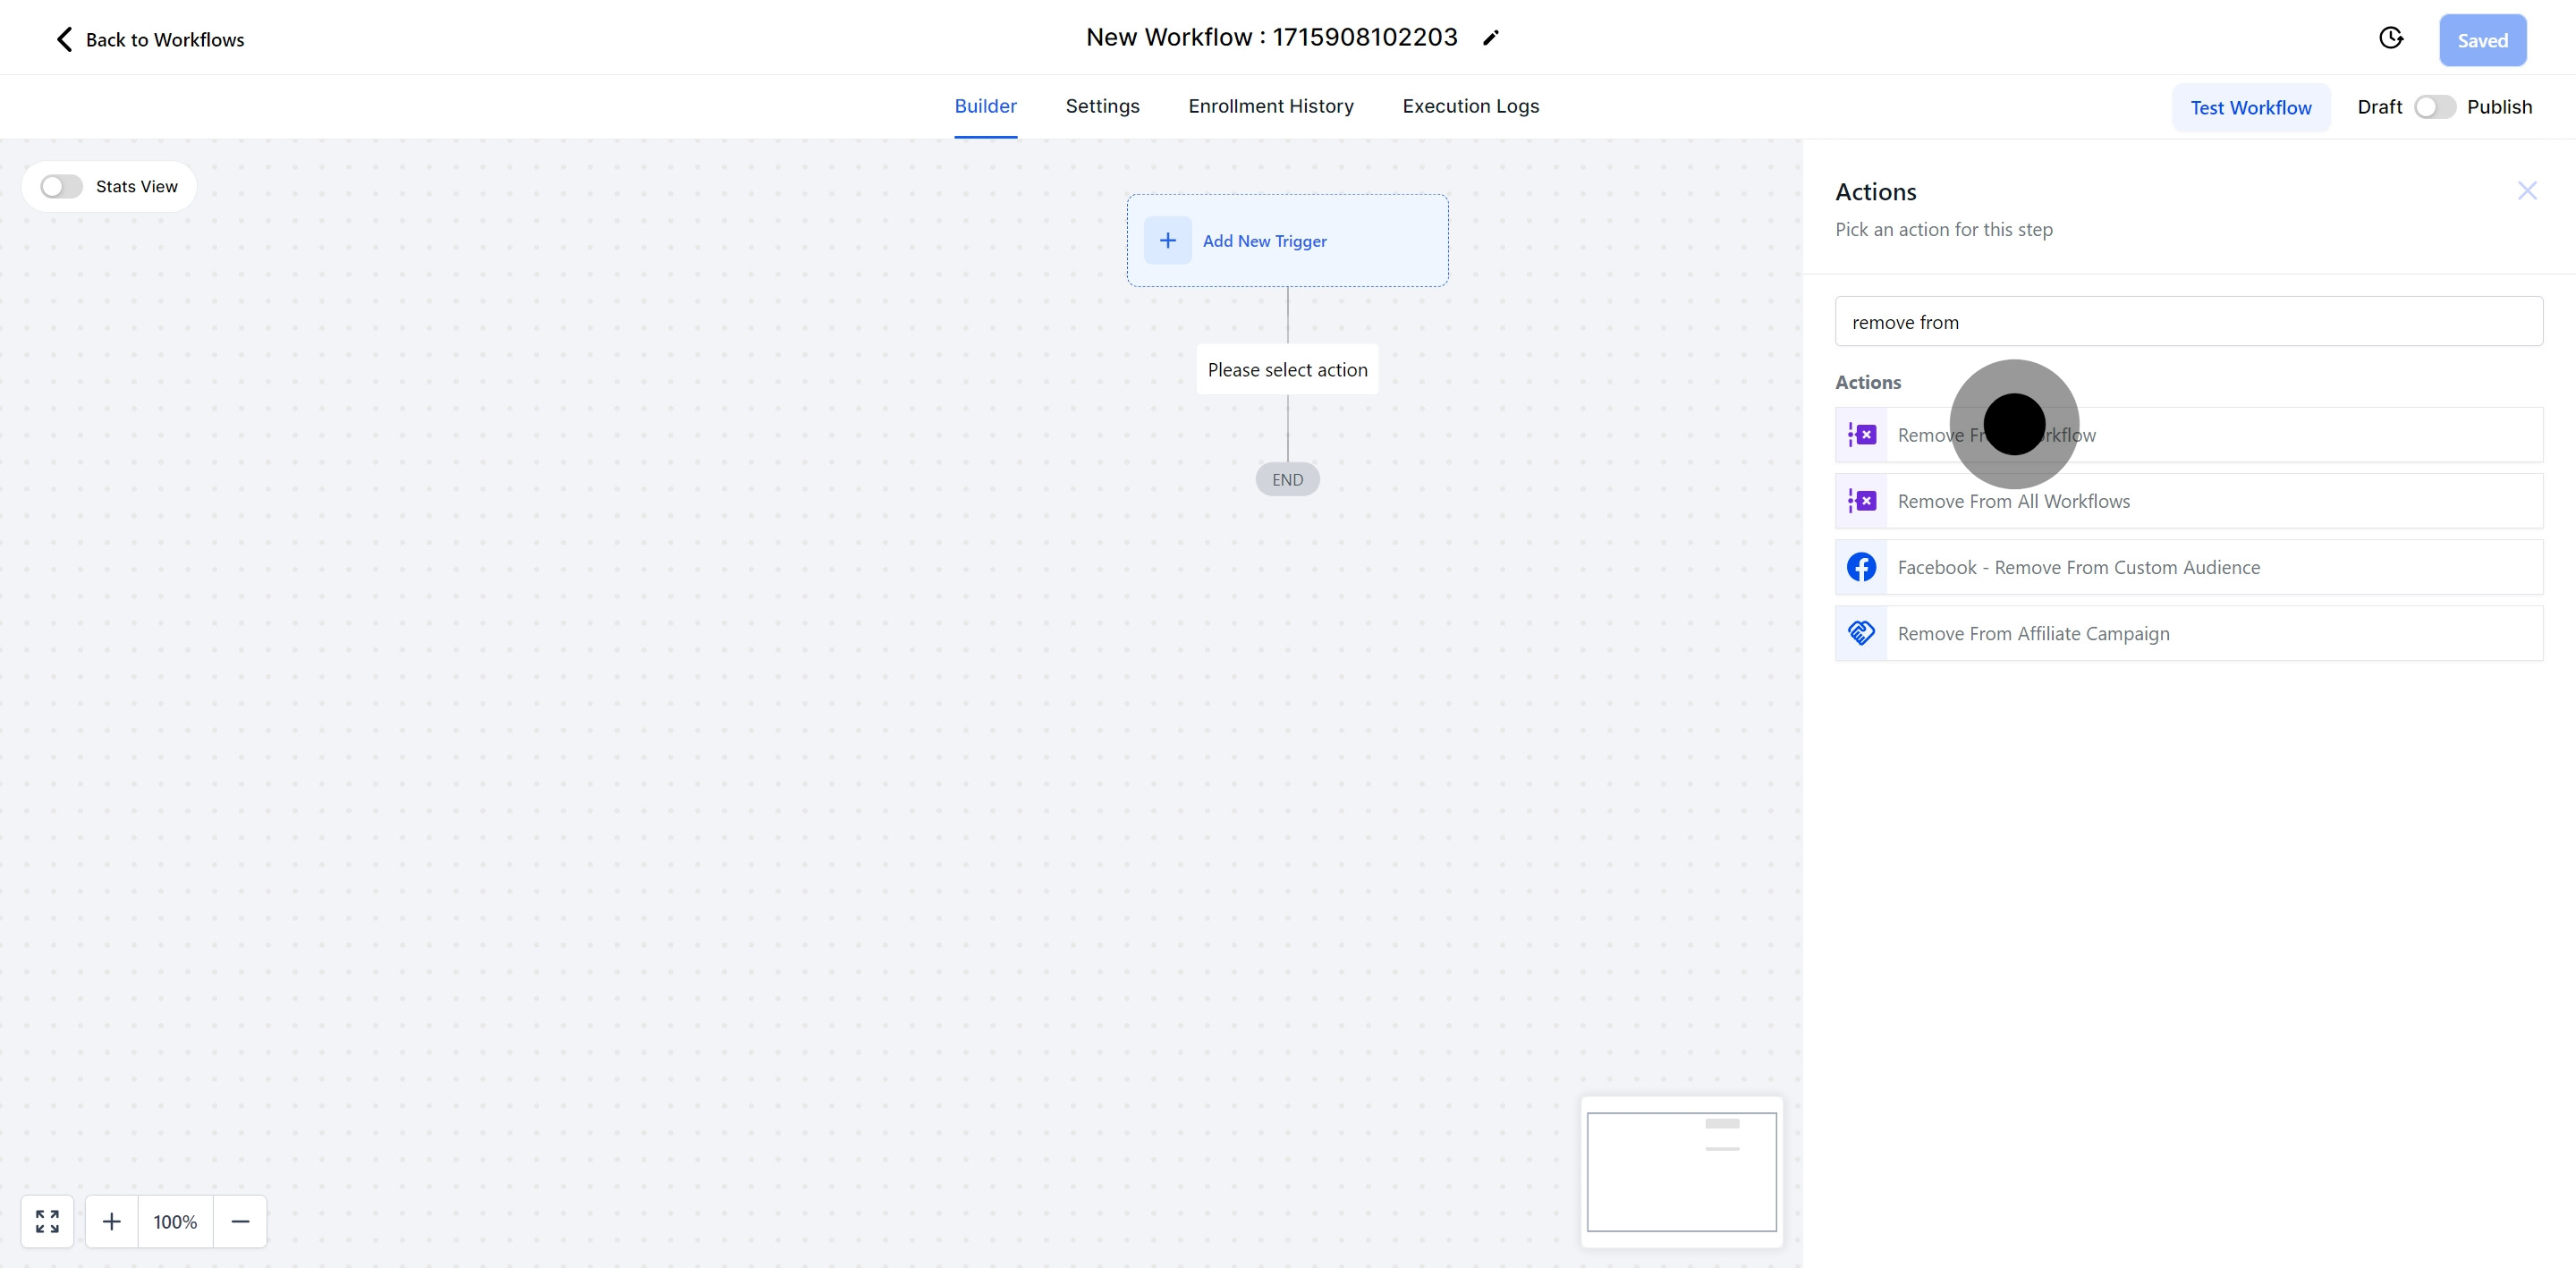
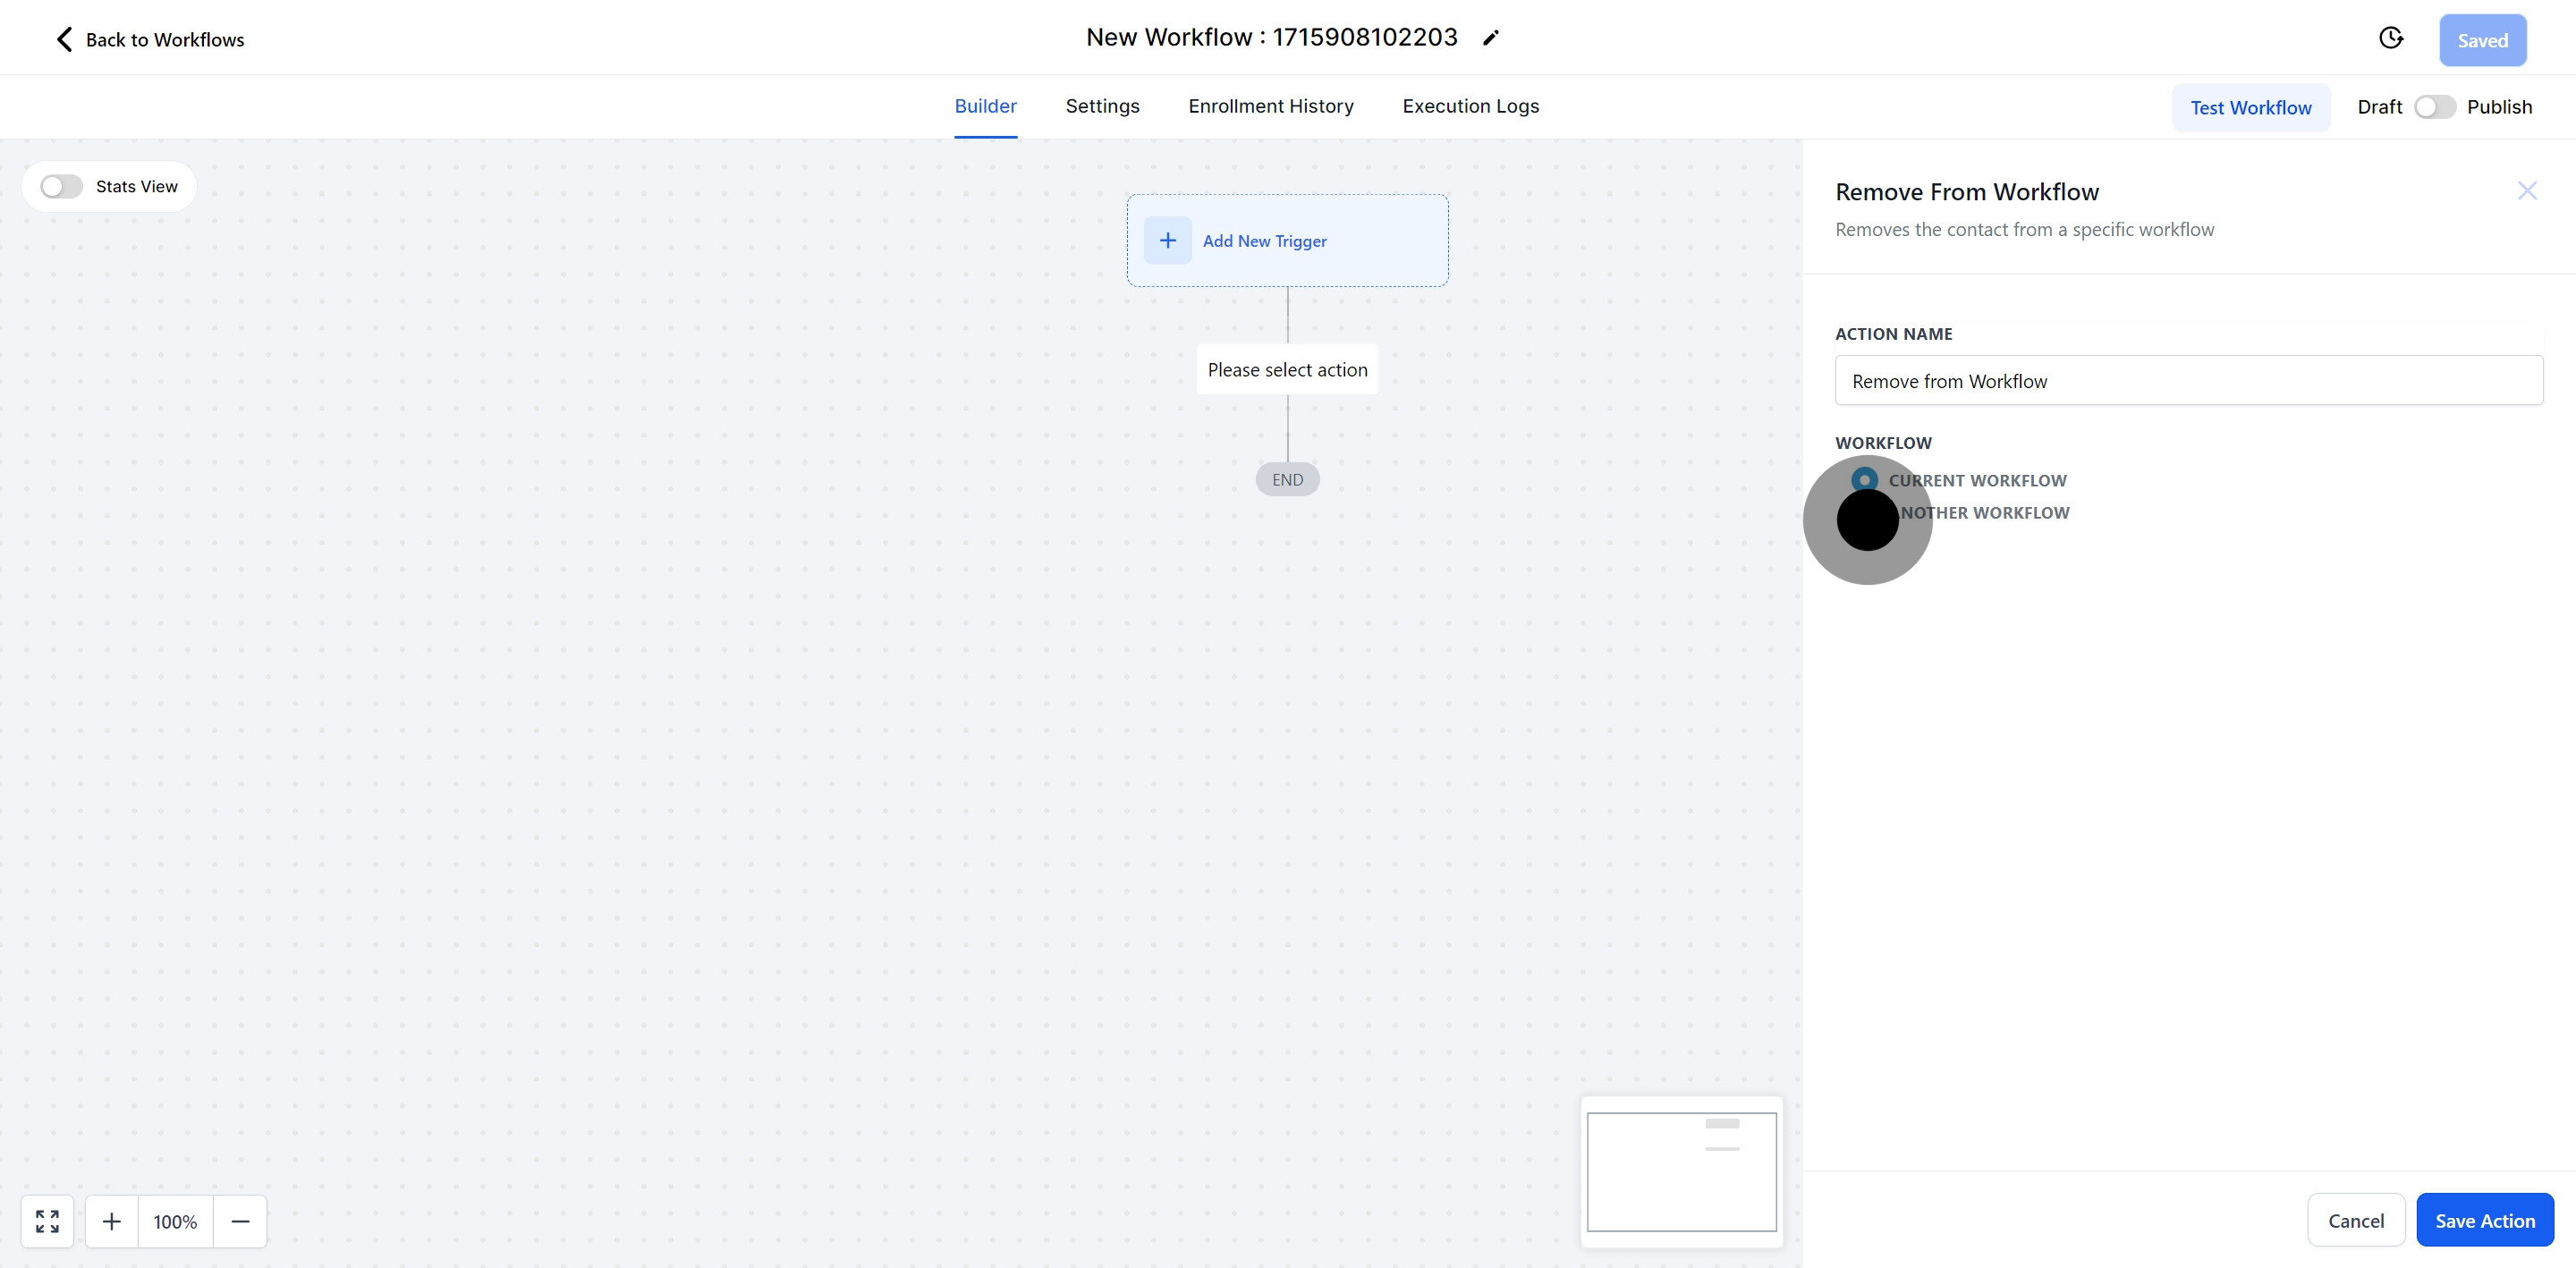
This setting removes the contact from the workflow you are currently working on.
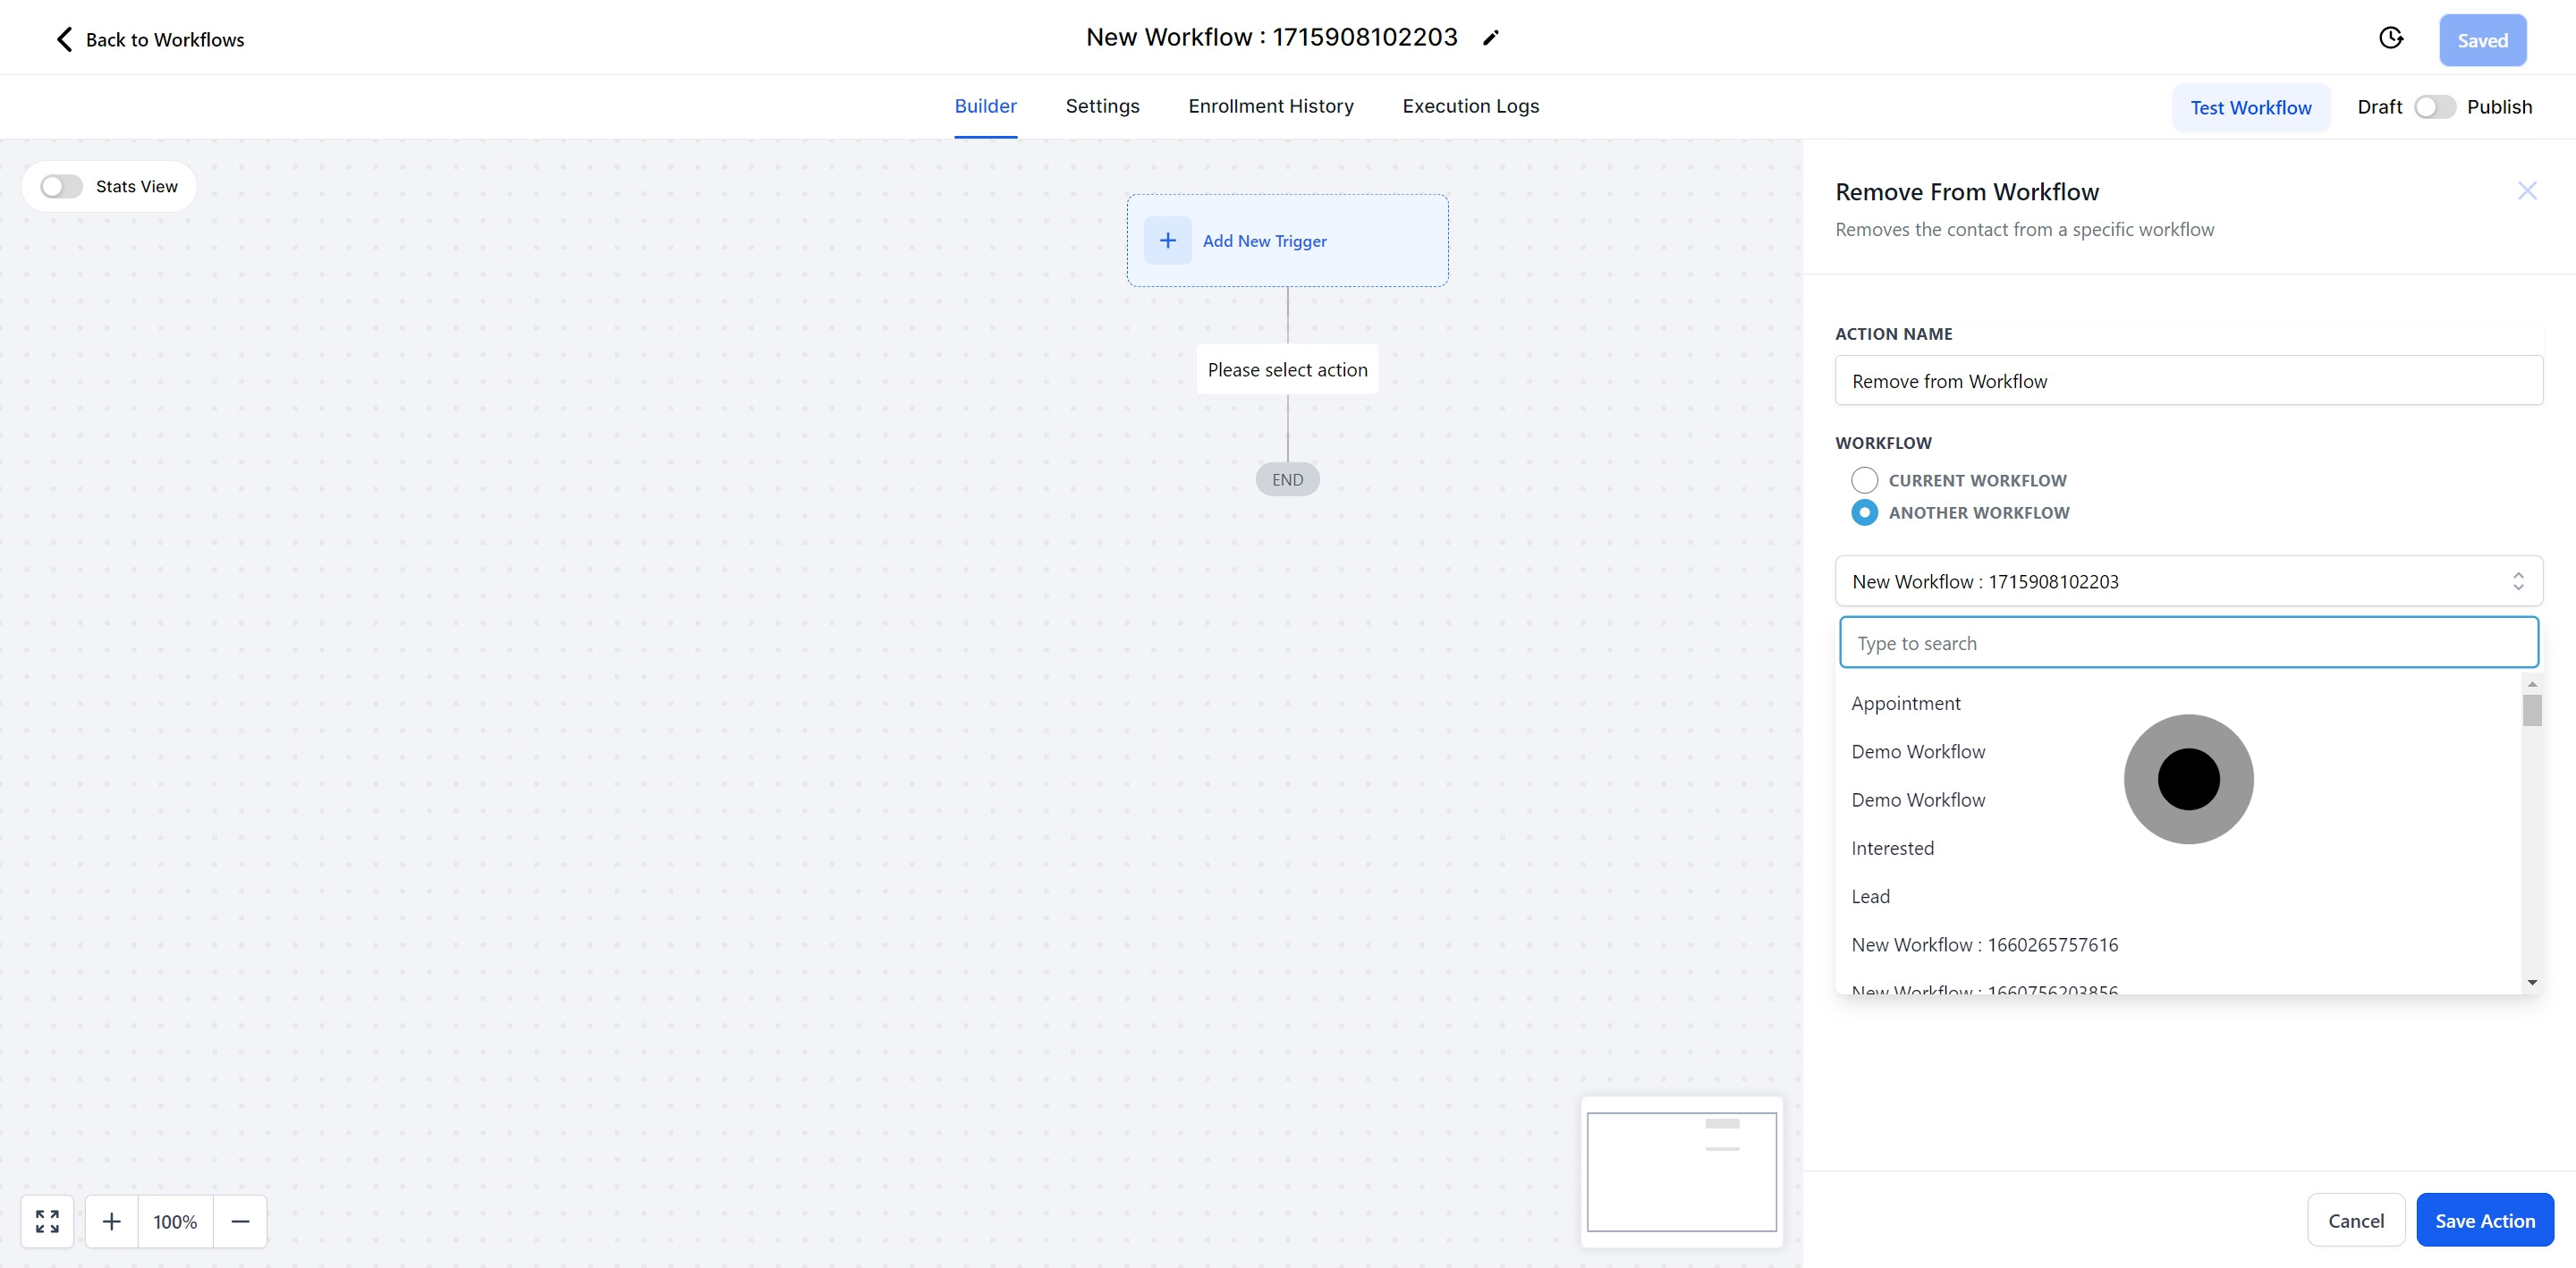
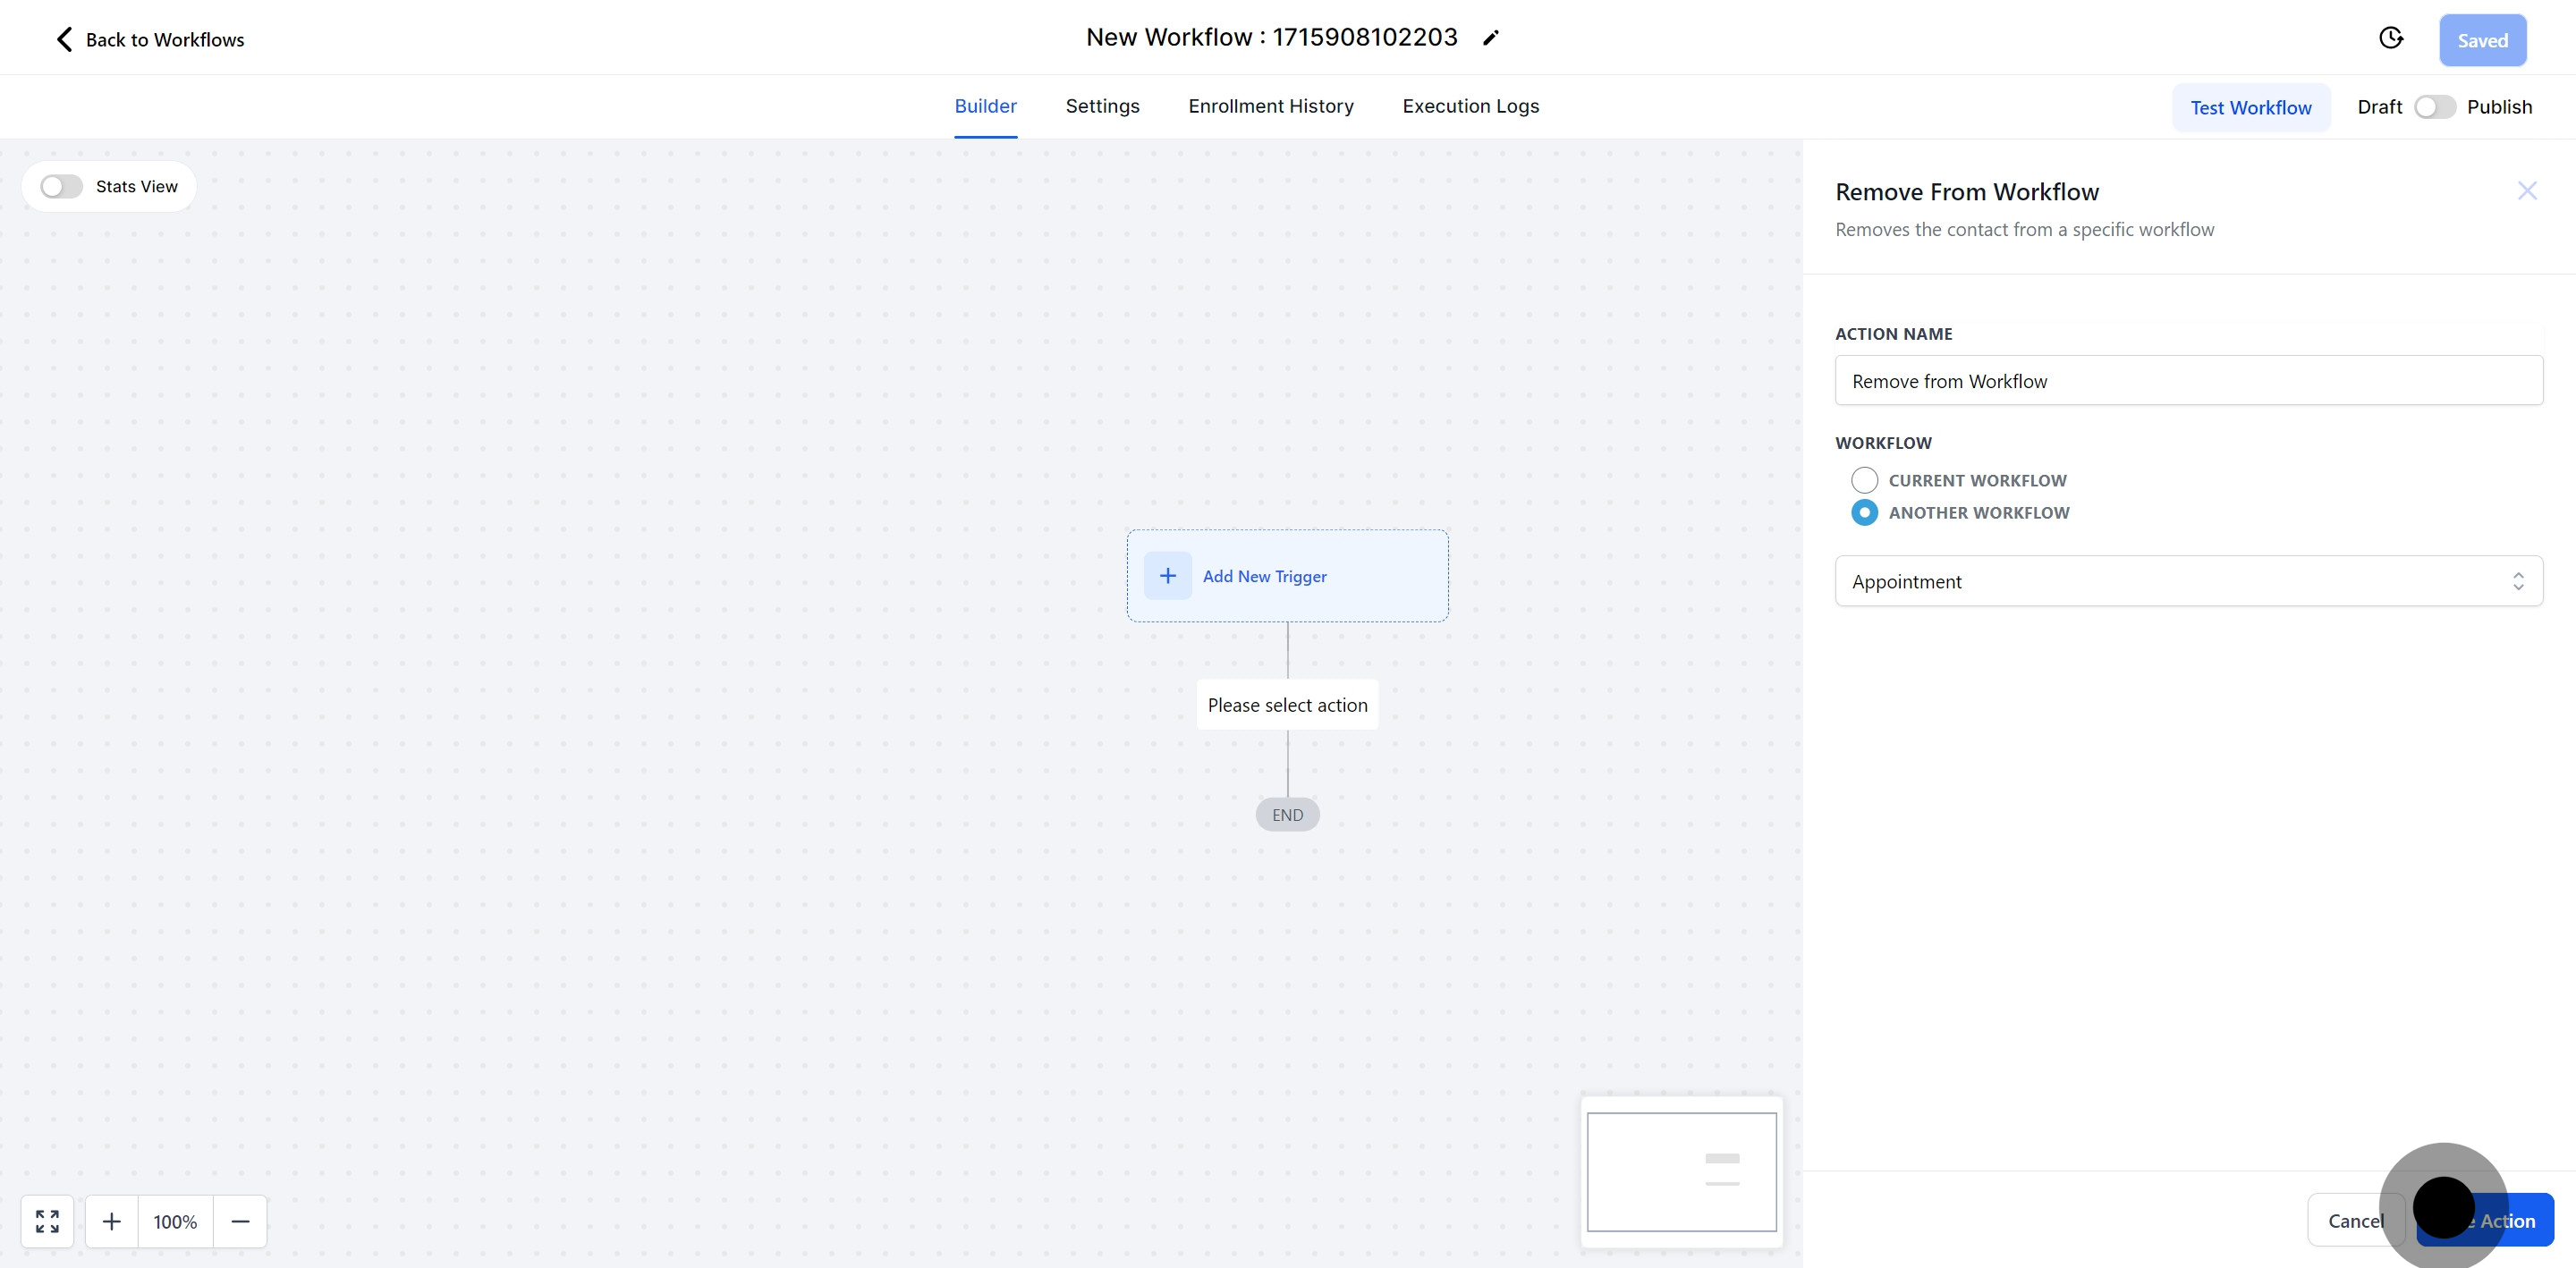
Enable the "Another Workflow" filter to select and remove the contact from a specific workflow in your CRM.
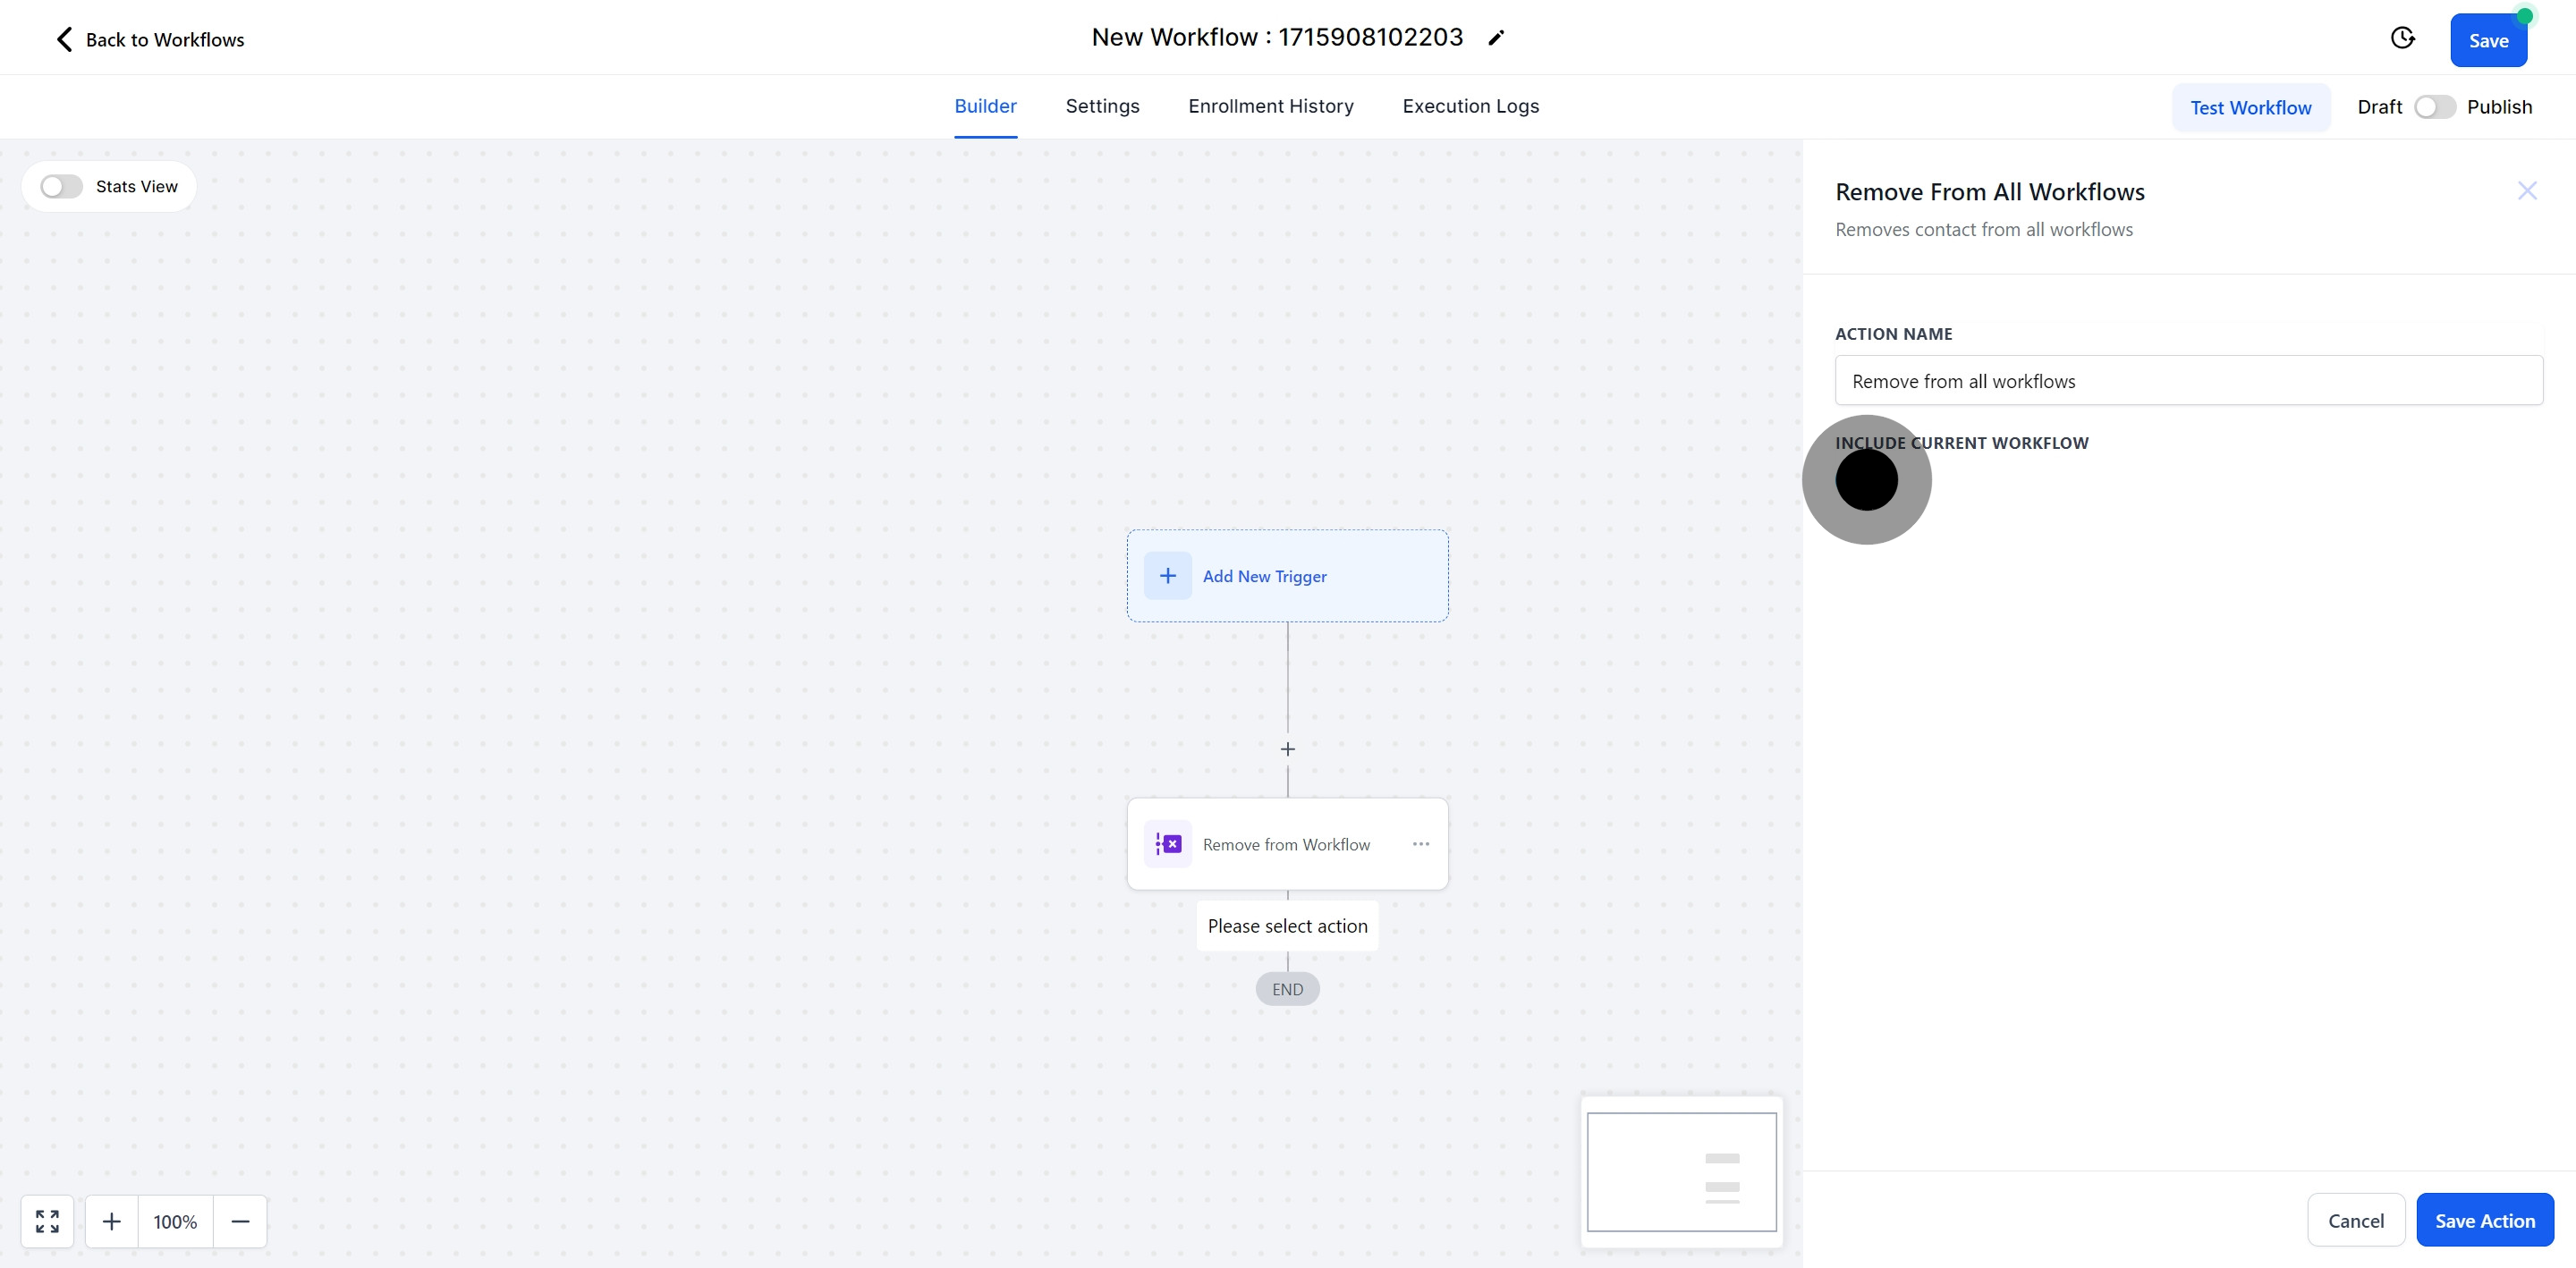
This action removes the contact from all workflows they are currently assigned to.
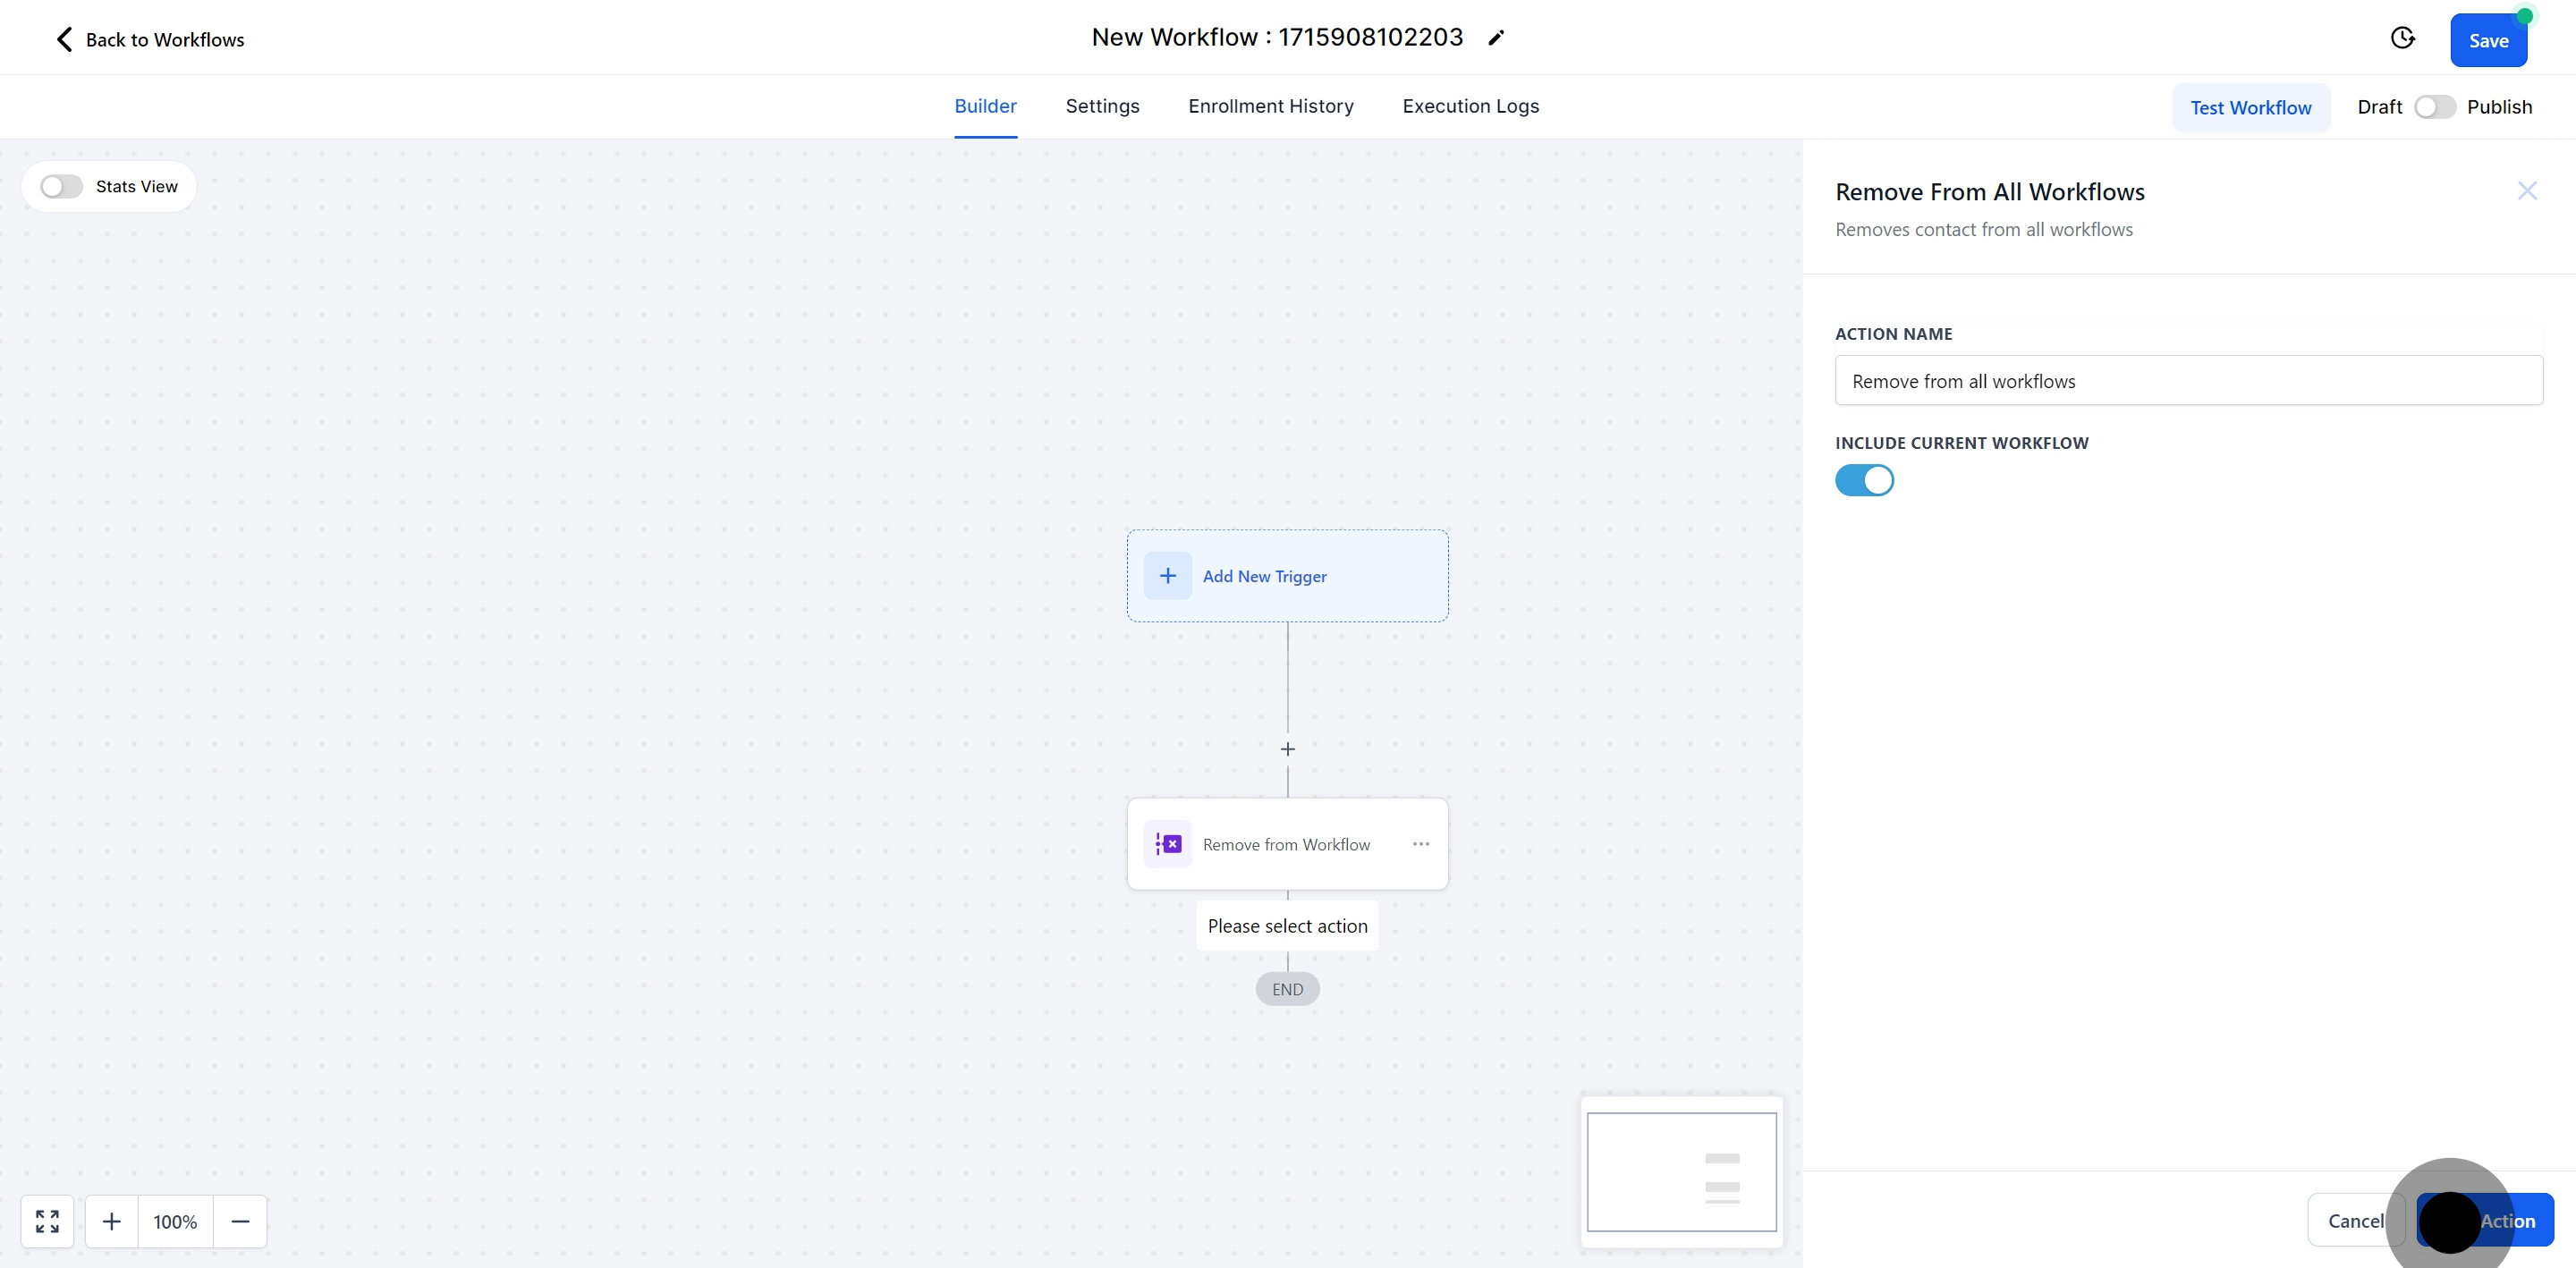
By enabling this option, you can remove the contact from all workflows, including the one you are currently creating.